This game had been in the show the last few years and had been running fine. During pre-show testing this year, however, the monitor lost sync briefly and there was a loud crack followed by nothing. The game played blind but the monitor was dead. There wasn't enough time to fix it before the show so the game ended up sitting this one out :(
|
|
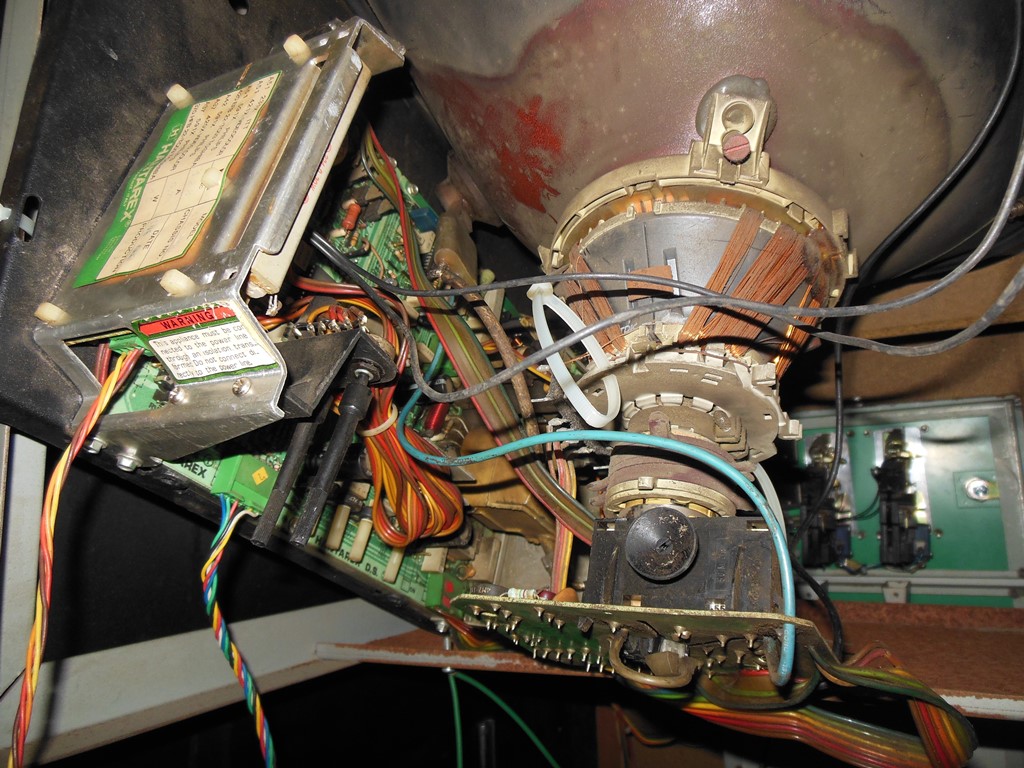
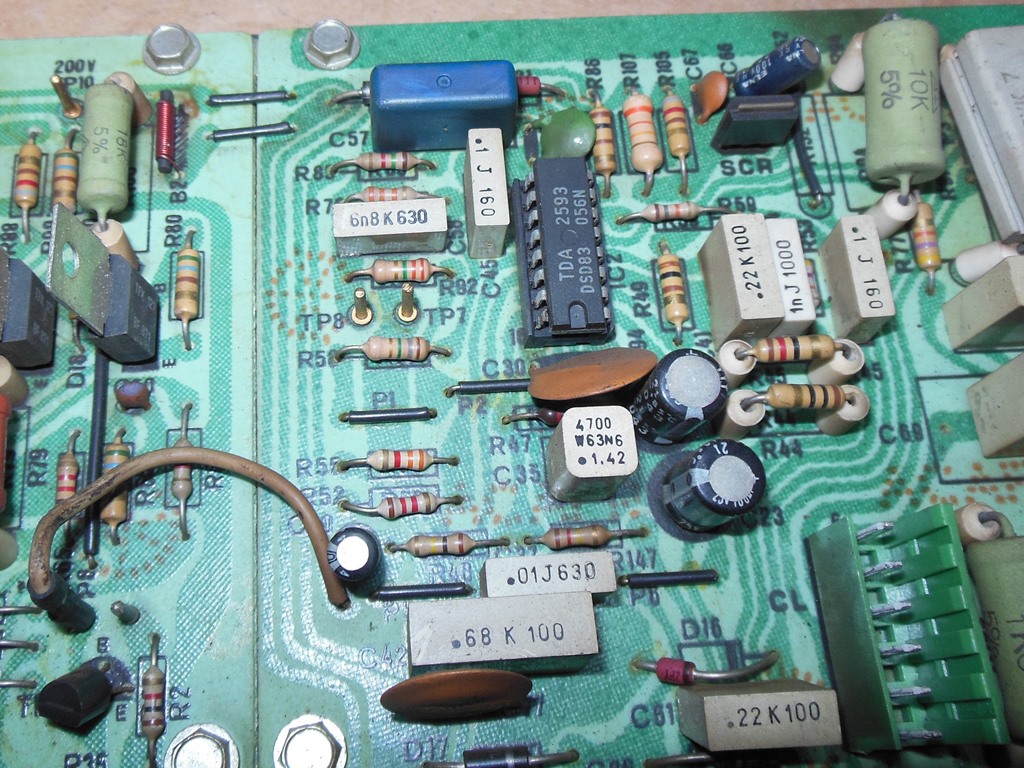
Looking at the chassis on the bench, the main power and bootstrap 12V both looked OK. As far as I could tell, the TDA2539 was idle. Replacing the TDA2593 brought the chassis to life and it ran fine for a few hours on the bench.

|
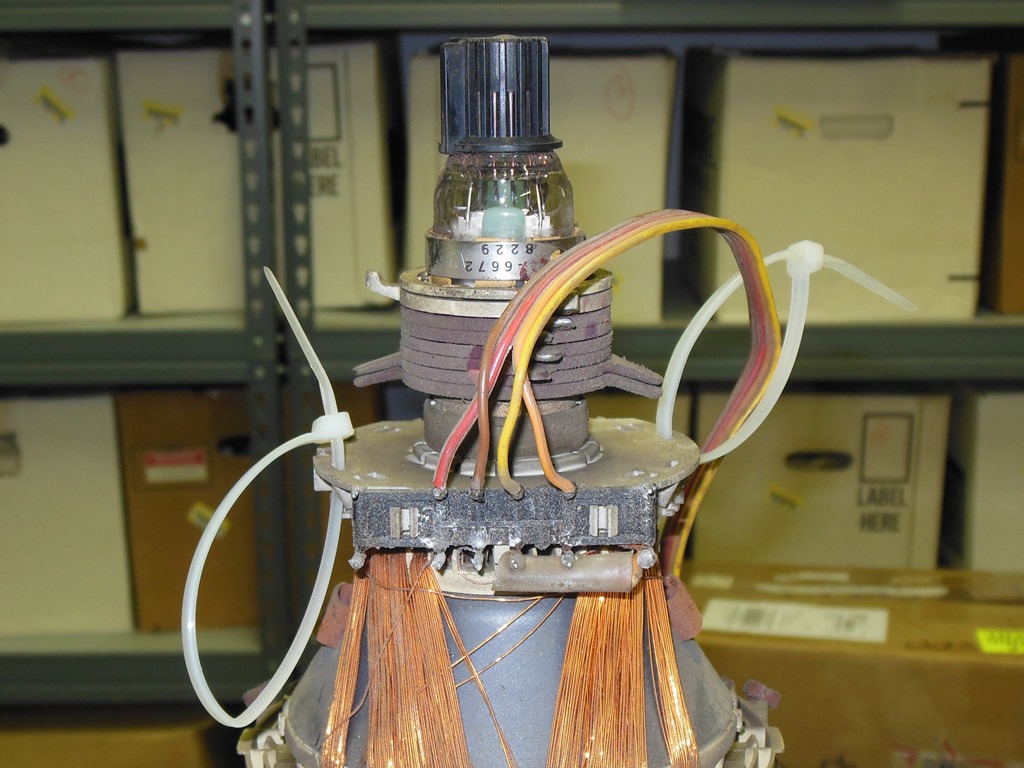
Putting the chassis back in the cabinet, power on yielded a picture for about five seconds before another loud crack and another dead chassis :(. I suspected the problem was that the HV cup was leaking slightly and arcing across to the chassis, killing it. There was only about half an inch between the HV cup and the chassis due to the CRT orientation. The proposed fix was to rotate the picture tube and flip the yoke connections to match so that the HV cup was on the opposite side away from the chassis.
|
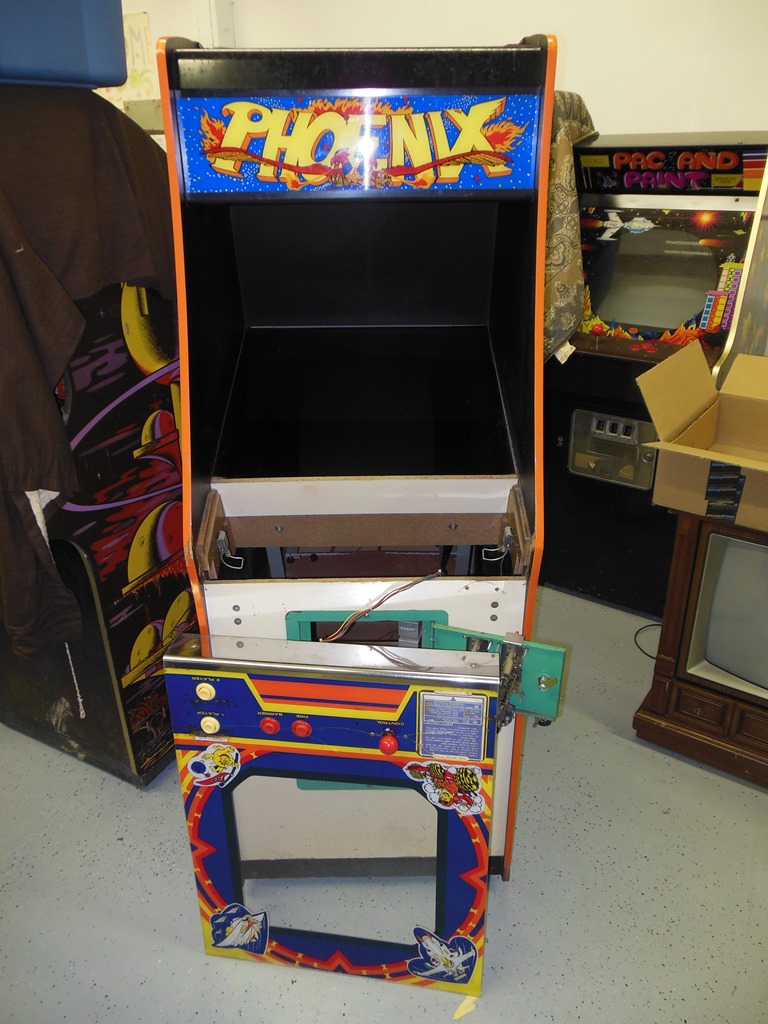
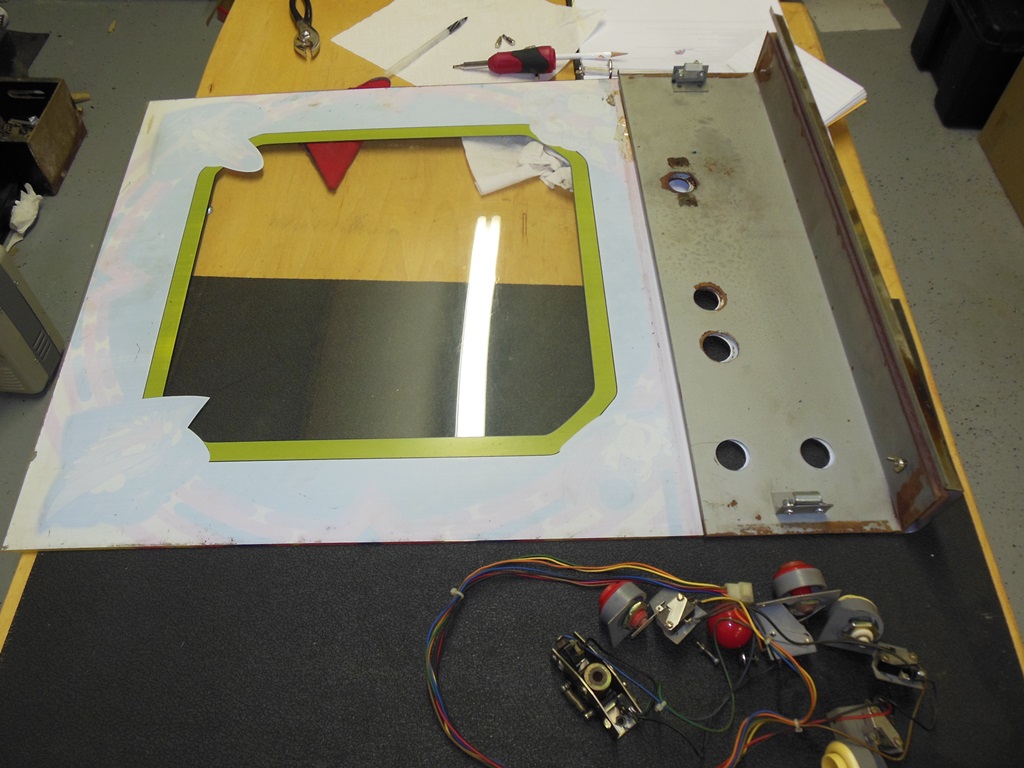
The monitor bezel and control panel are assembled into a single unit on this cabinet. The control panel/bezel combination is attached with clips accessible from the coin door. When unclipped the whole assembly slides forward an inch or so to allow the top of the bezel to slide out from underneath the back of the cabinet and then the whole assembly lifts out. It's a little awkward because the bezel is Perspex and the control panel heavy steel so there is a risk of splitting the bezel if the control panel isn't supported (the one on this cabinet was already cracked). The control panel wiring unplugs from the main cabinet.

|

|
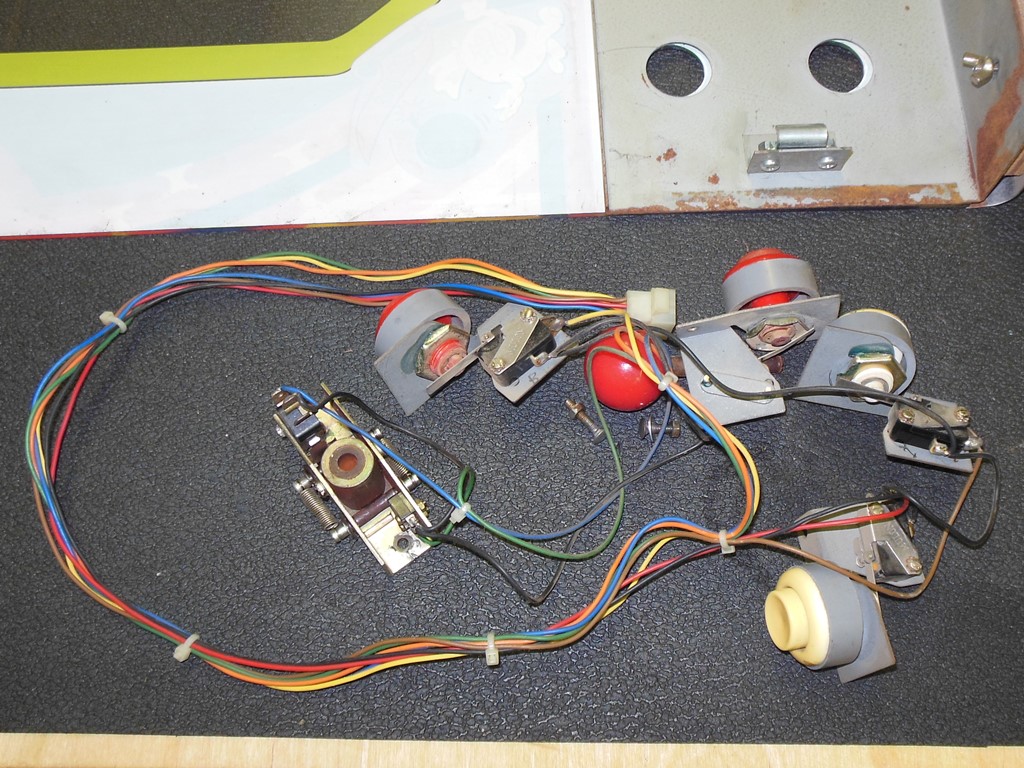
Since I was removing the control panel anyway I decided to do a little bit of restoration work on it. The control panel metal plate was rusting and since the bezel rests directly on it the bezel artwork was starting to wear. The plan was to strip down the control panel and respray it. Some minor repairs were also needed on the joystick to replace a micro switch.
|
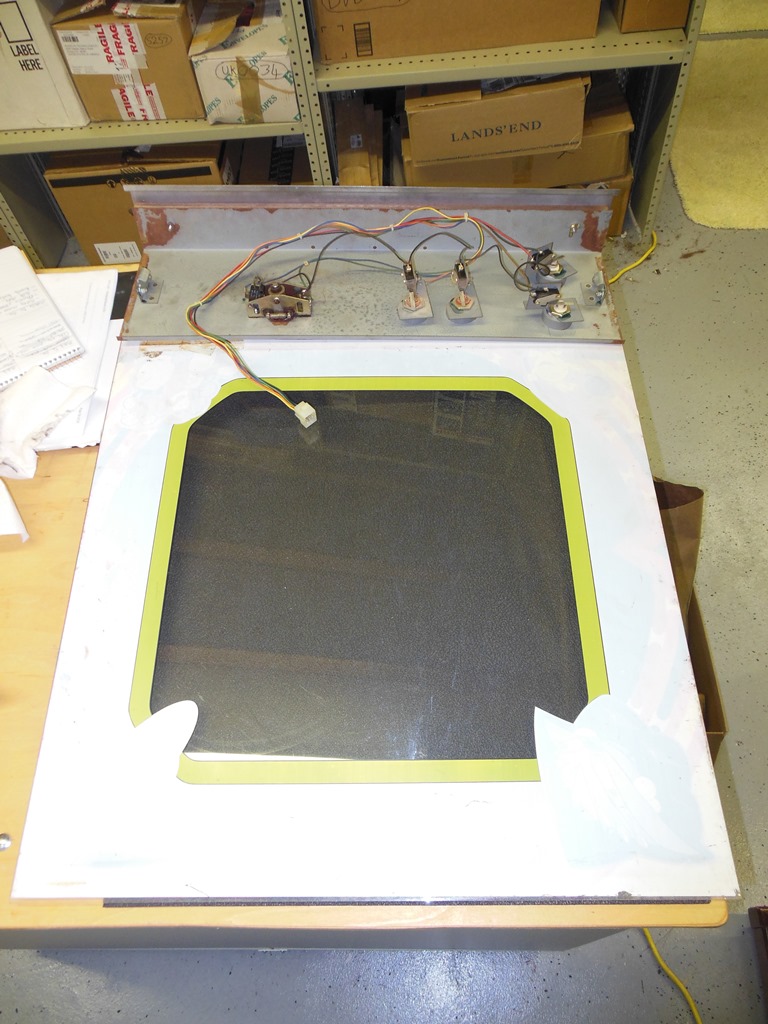
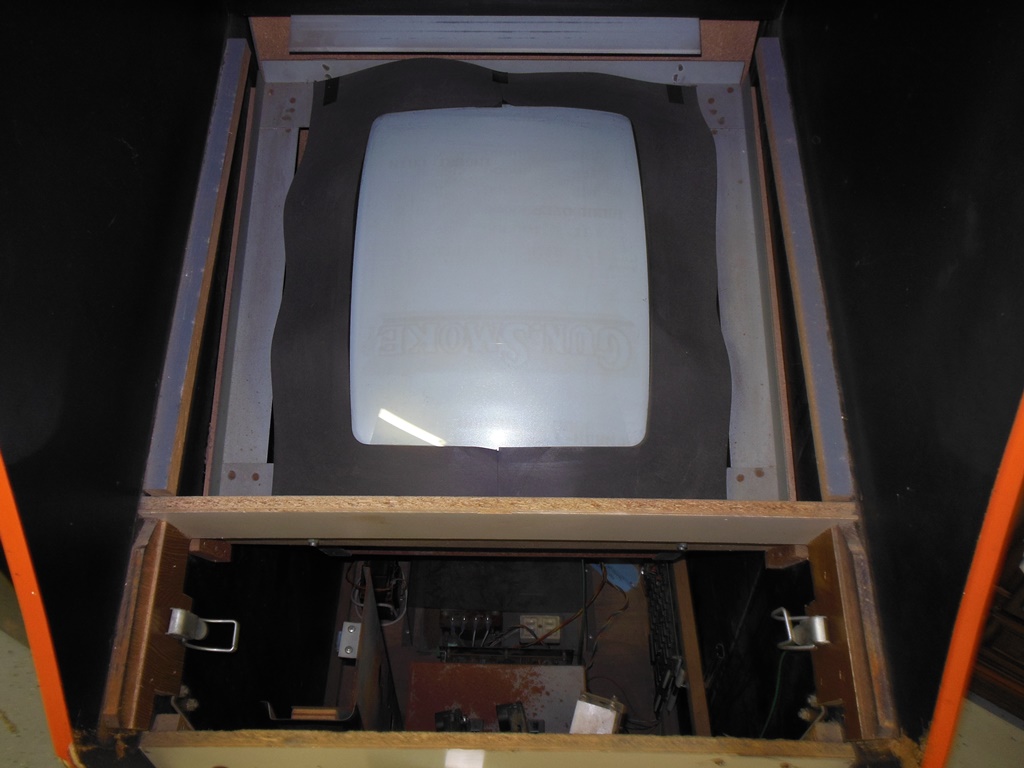
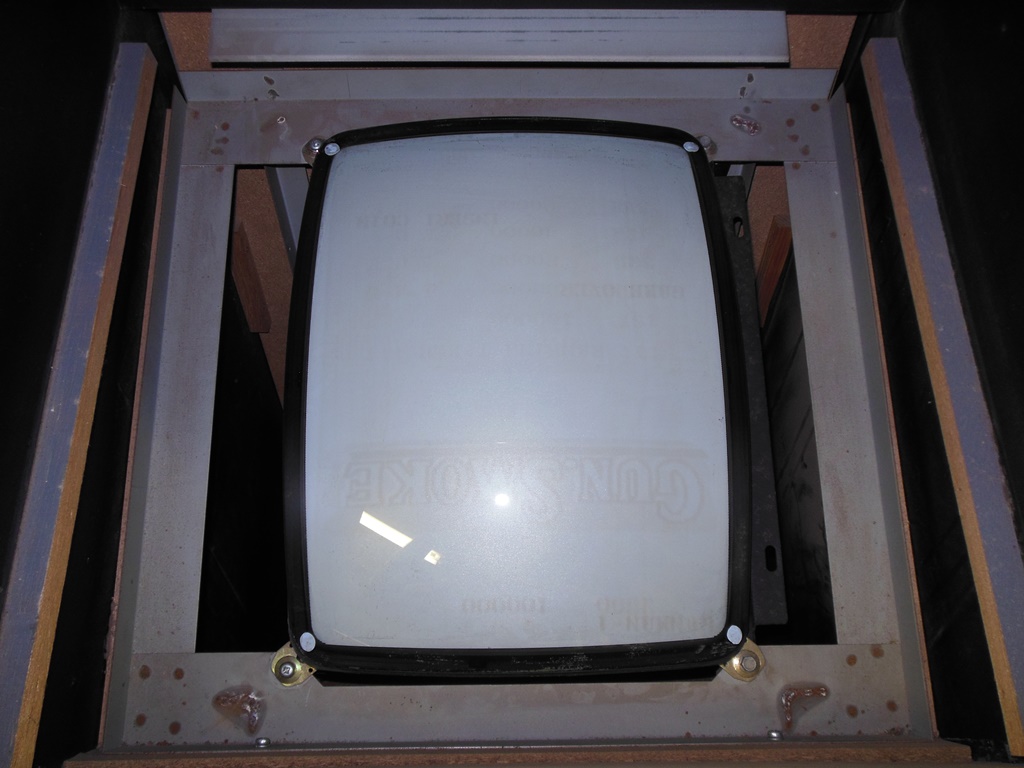
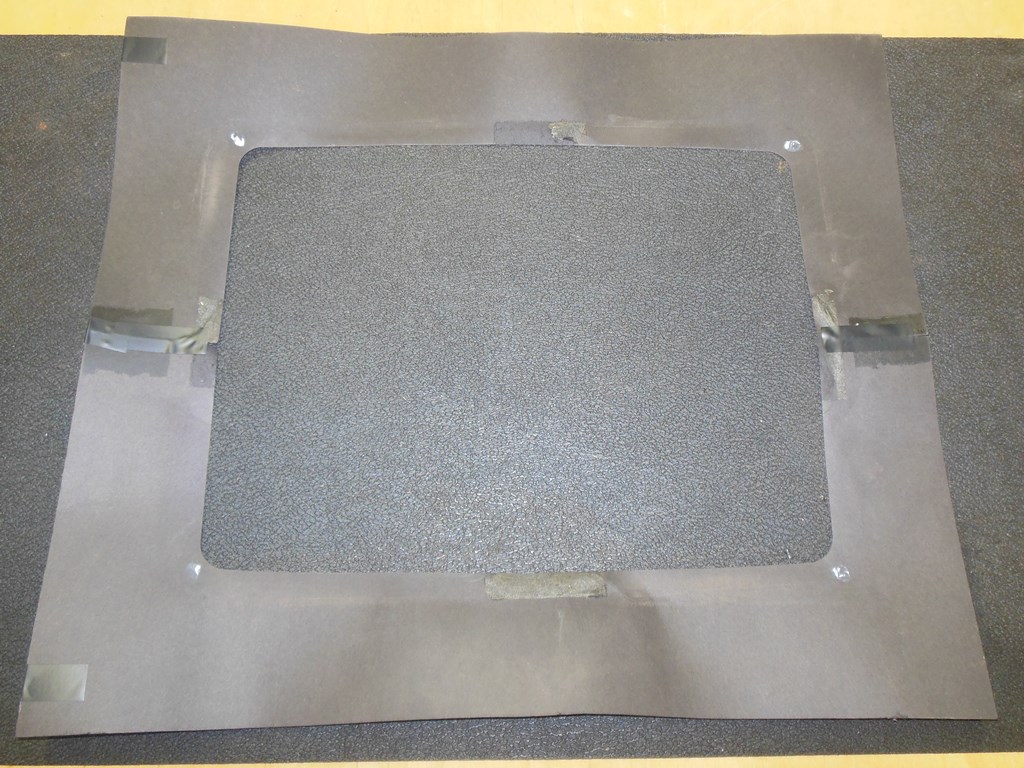
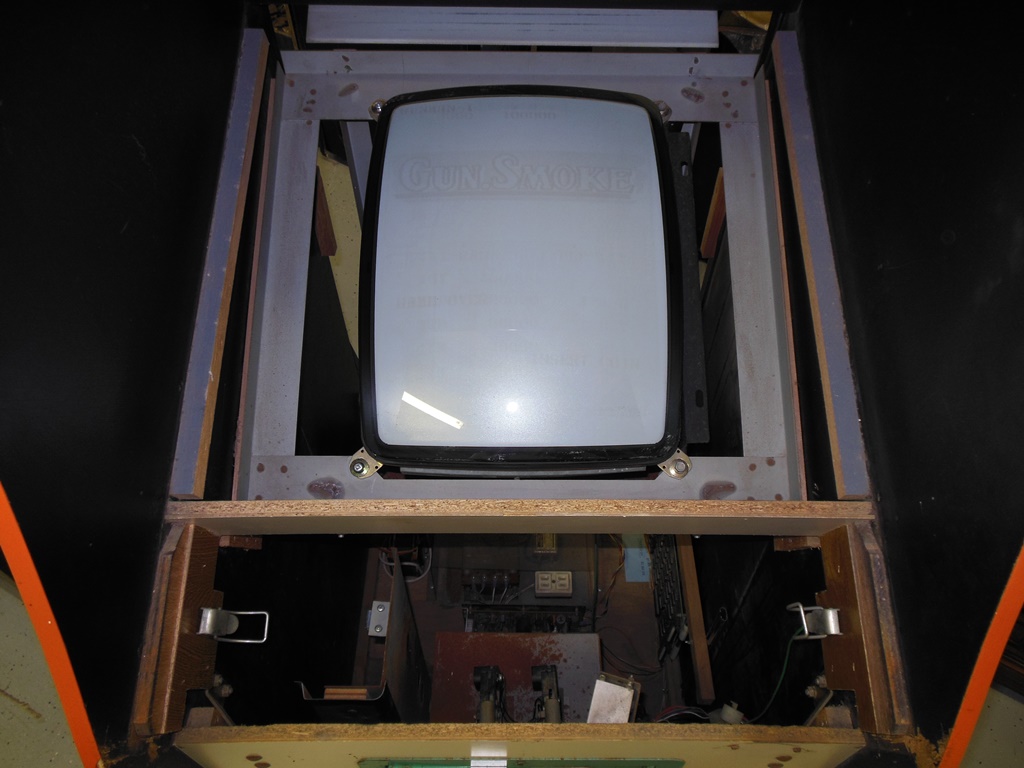
As can be seen from the pictures of the screen burn, the replacement monitor had seen a lot of use running Gun Smoke. The burn is not too noticeable behind the smoked Plexiglas. The monitor surround is a simple cardboard cut-out in two pieces taped together and taped to the CRT.
|
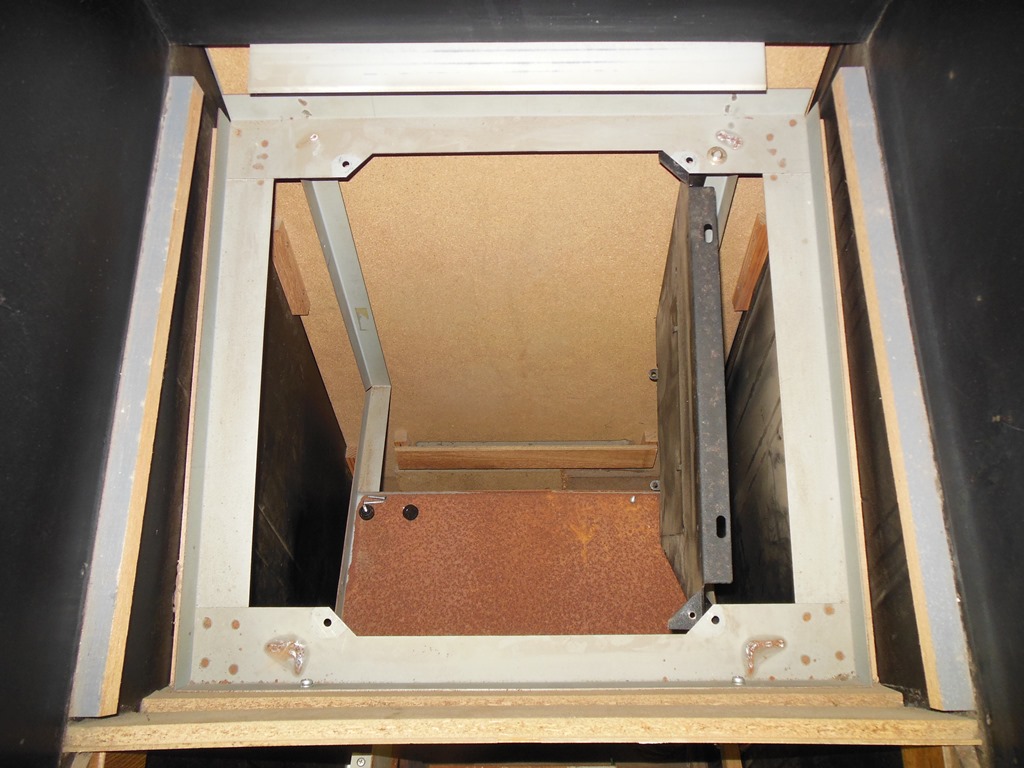
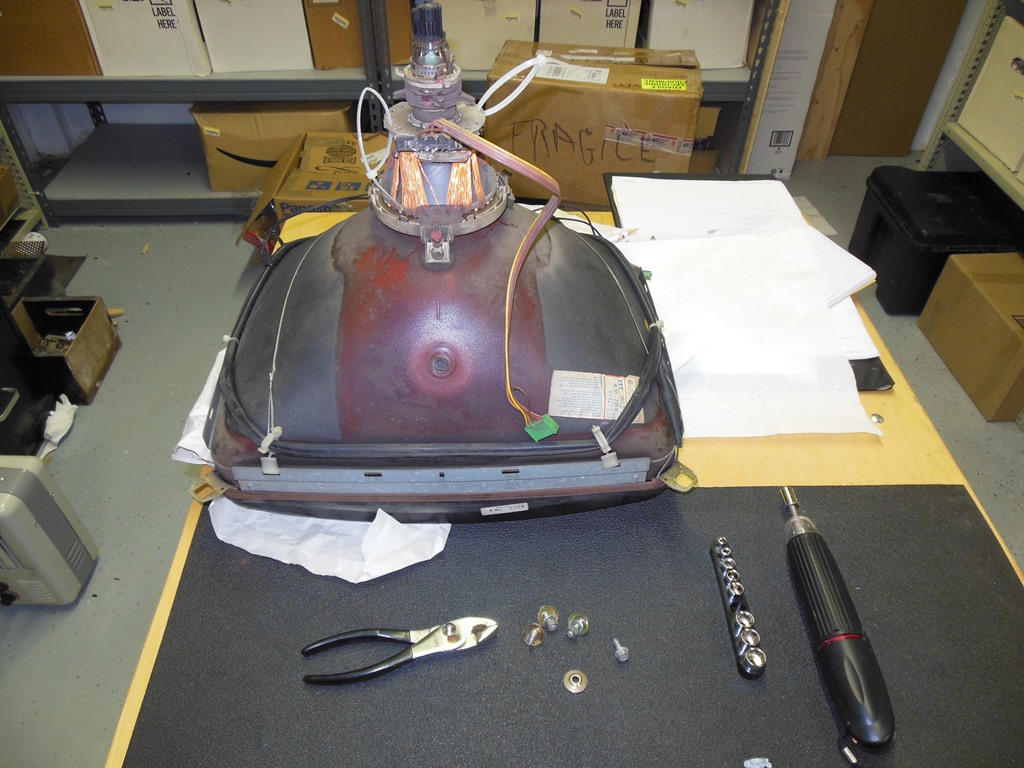
The monitor chassis was already out leaving only the four corner screws to remove to release the CRT.

|
In order to flip the picture to be the right way round both the horizontal and vertical yoke wires needed to be crossed. With that done the CRT could be refitted back into the frame.

|
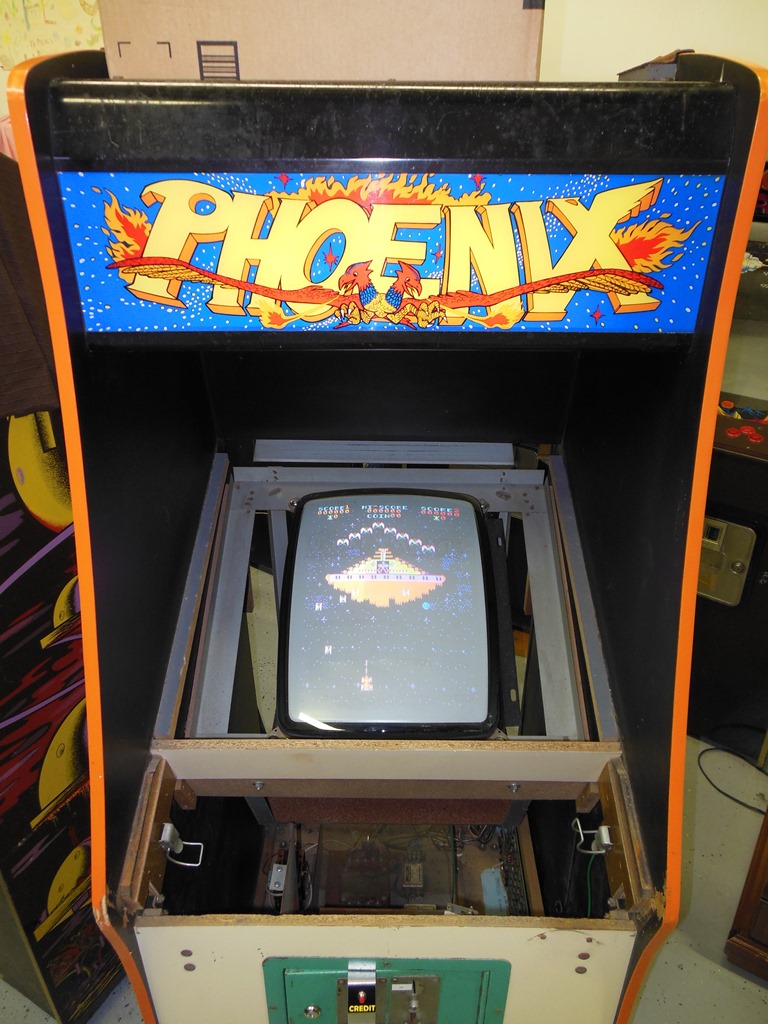
Refitting the chassis, reconnecting everything (with the HV cup now on the far side away from the chassis) and powering on yielded no issues. The game ran fine this time.
|
|
|
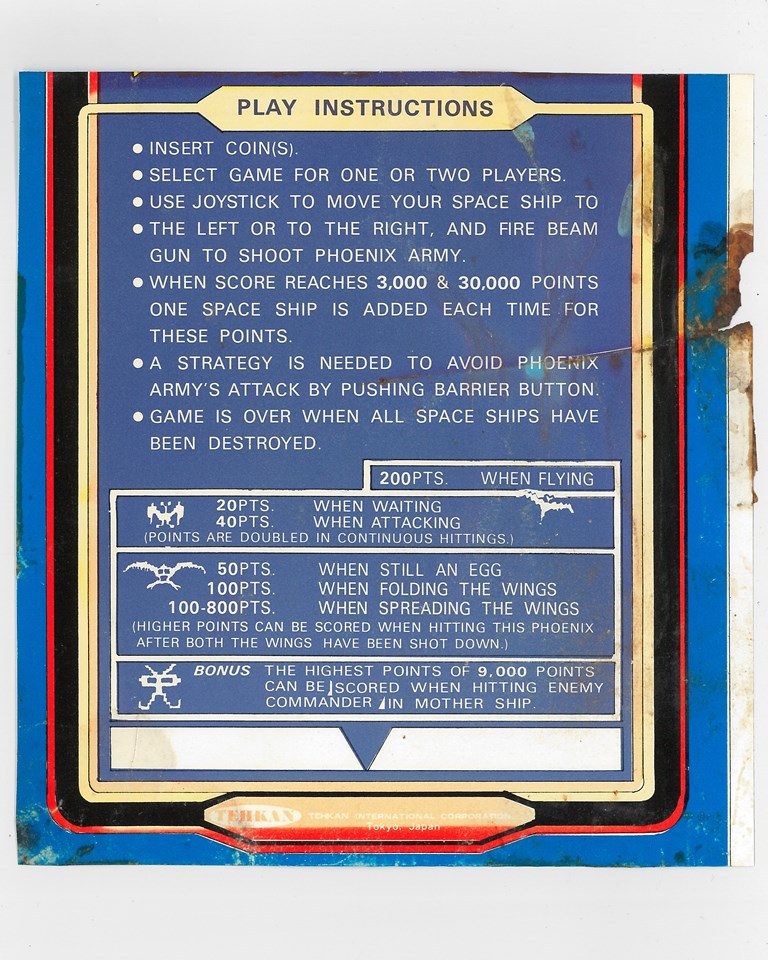
Scanned in the Tehkan Phoenix monitor glass.
300 DPI Tehkan Phoenix monitor glass scan (36.7MB).

|
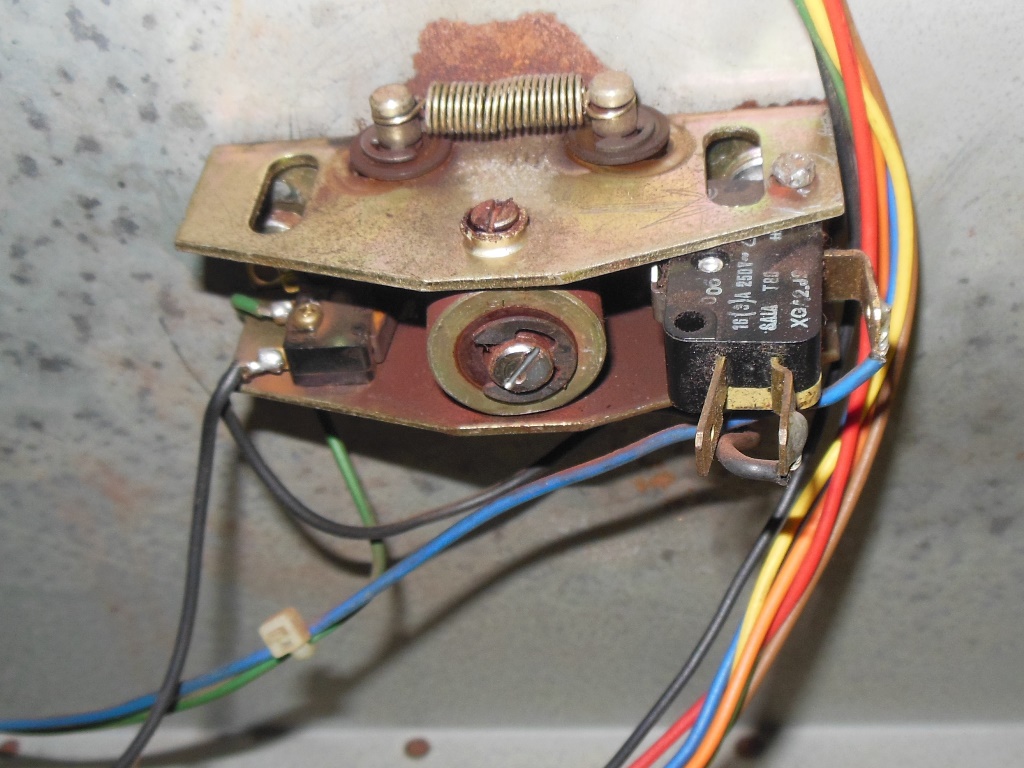
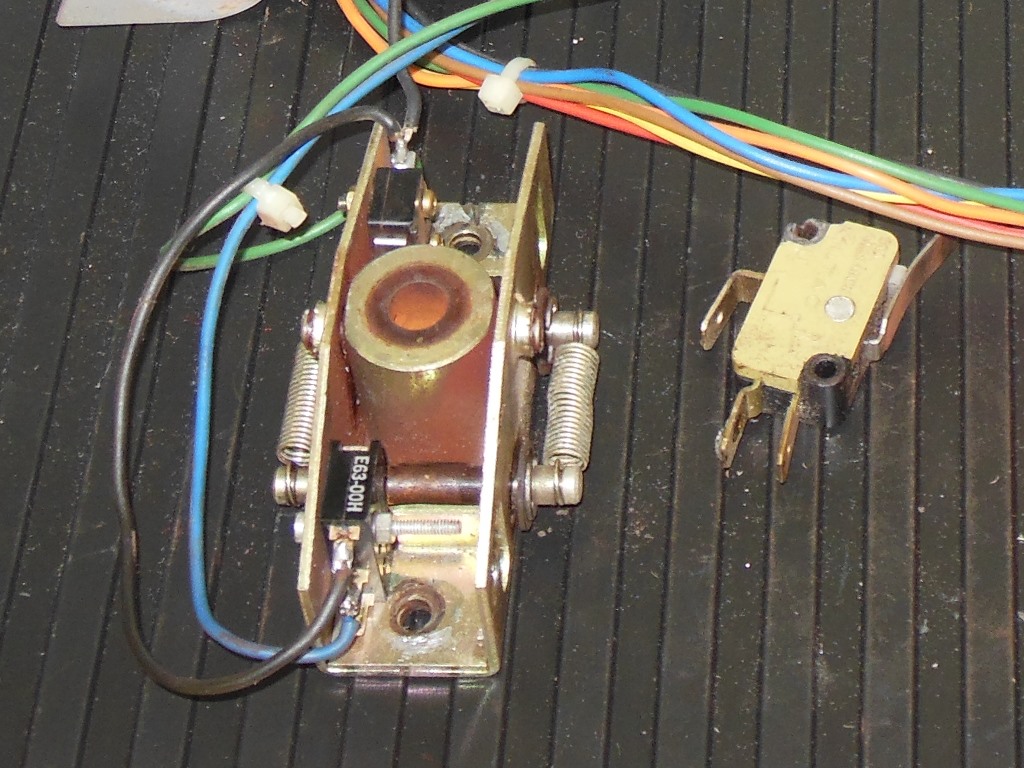
The joystick had a large micro switch hacked into it where there should have been a small lever switch. In a stroke of luck I found some of the right type of switch reclaimed from something that I could use to restore it back to original.
|
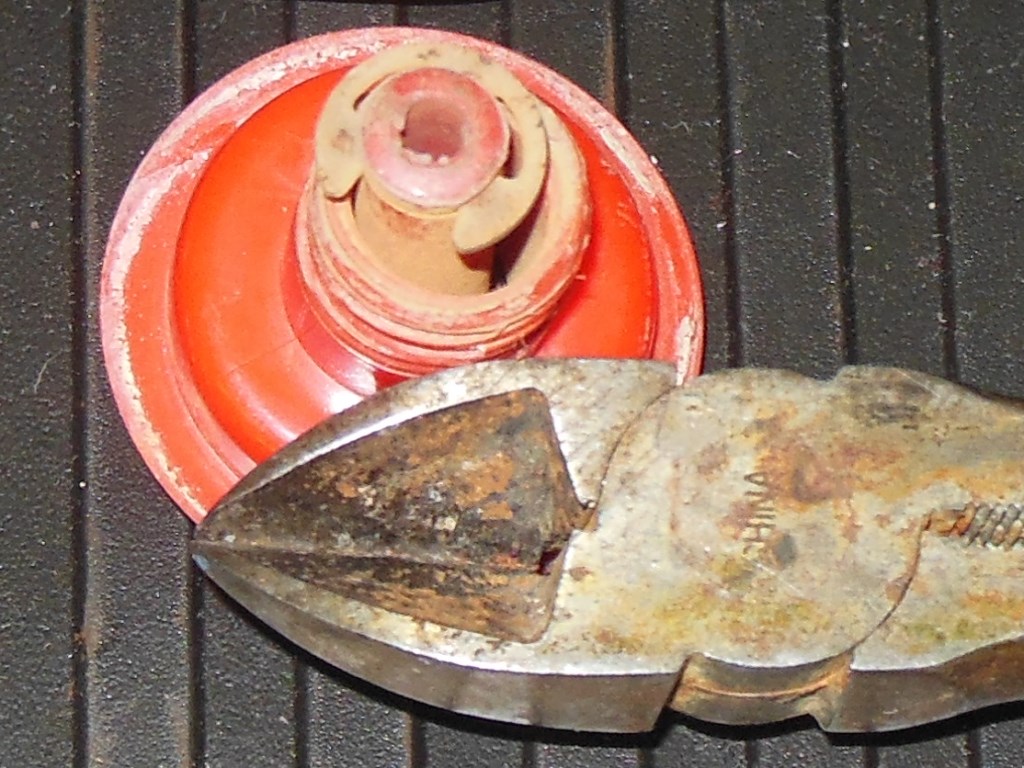
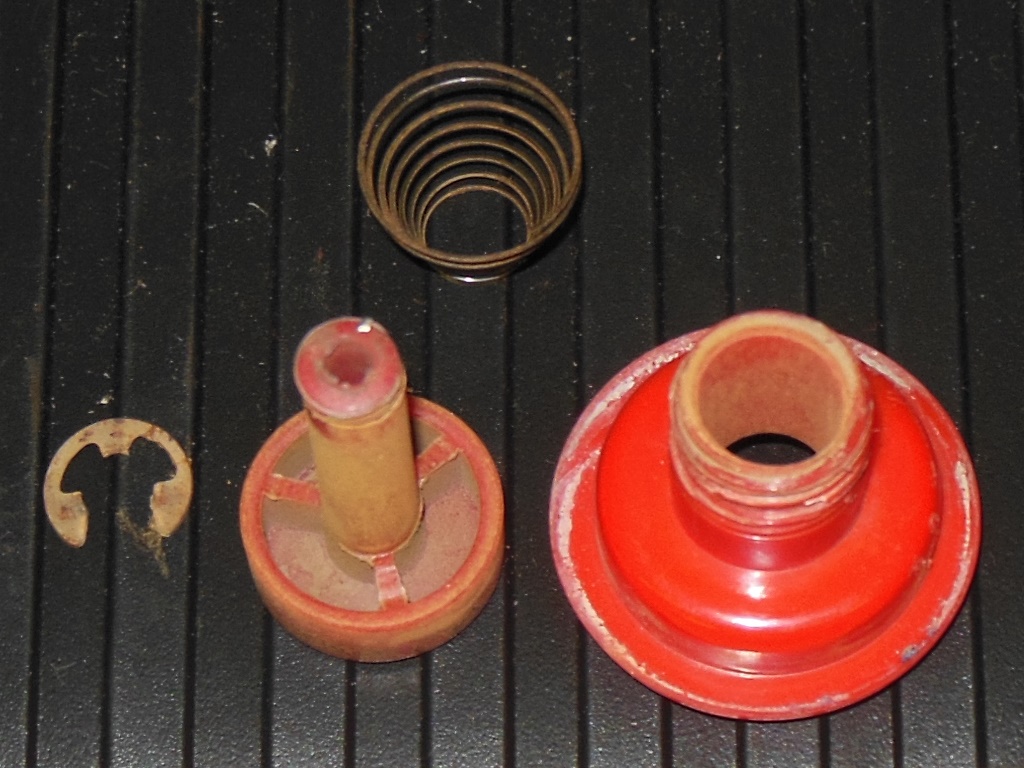
I also inspected the fire button that was very loose. At first I thought that the button was the wrong type for the holder since the rim & shaft seemed far too small for the socket but on comparing with the other buttons it looked like this button was just very very worn, to such a degree that the socket & button now had a large gap between them. I thought about replacing it but decided to clean it an leave it as is as a testimony to how much play this game has seen in its life.

|
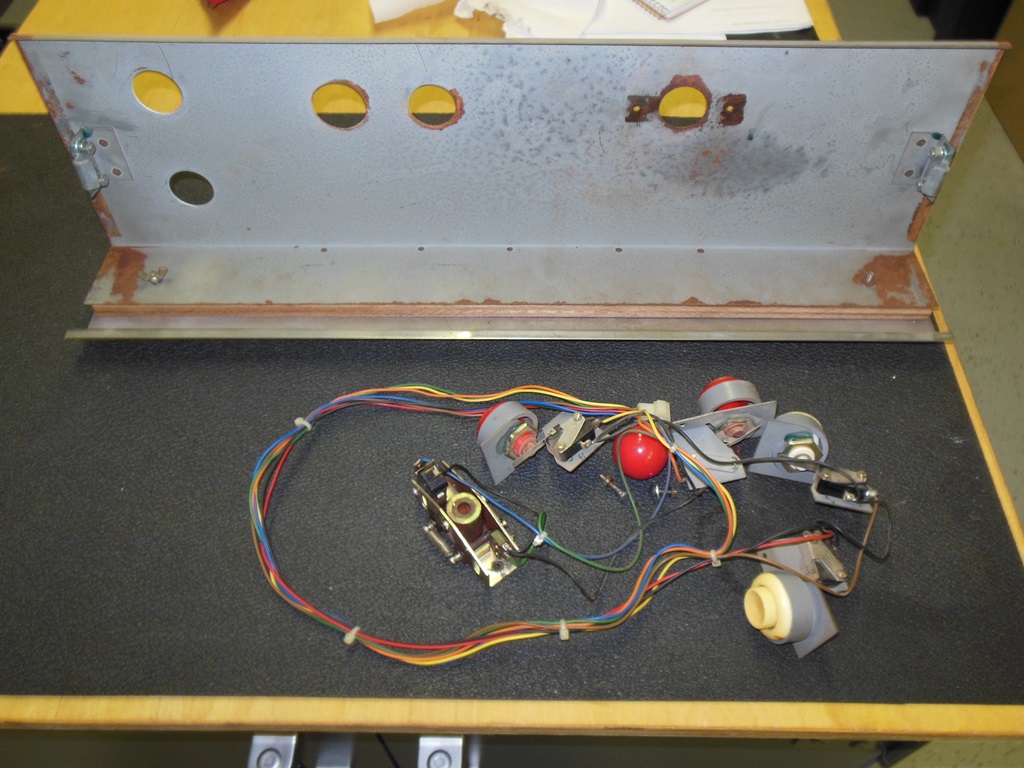
The control panel itself comprises the large flat panel for the controls and a stainless steel trim piece & wood strip spacer bolted to it with a couple of bolts.

|
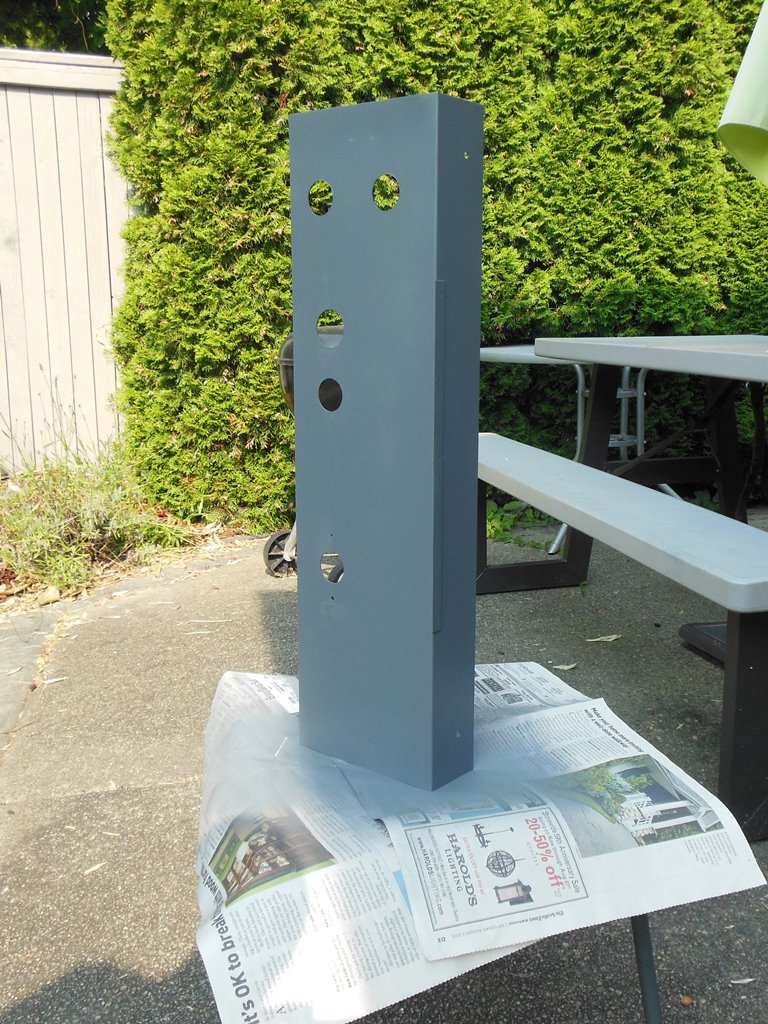
After sanding to remove the surface rust I sprayed the panel with a primer coat. The control panel clips on the back I masked off with masking tape. Since the control panel was fully covered by the monitor bezel & trim piece no top coat was needed and the gray was a reasonable approximation for the prior galvanized colour.


|
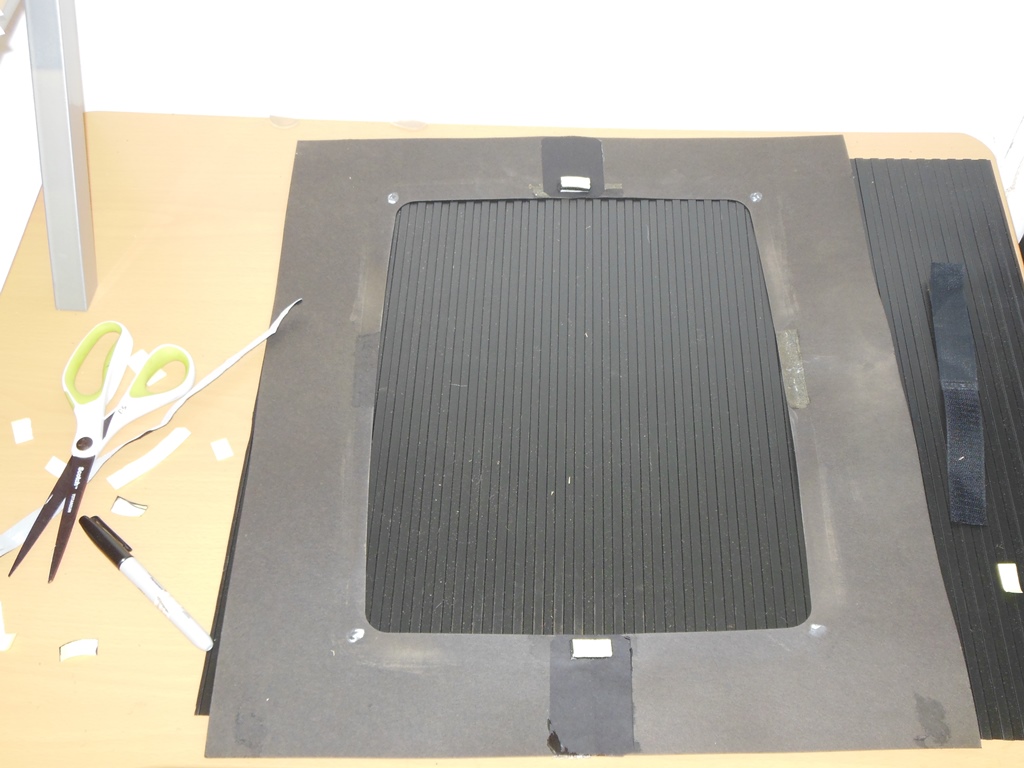
Previously the monitor surround had been joined with tape and taped to the CRT. The old tape I removed and then cleaned & flattened the surround for a few days before patching the surround with cardboard & paper glue to make a permanent long lasting join. To attach the surround to the CRT I used Velcro secured to the CRT & surround with double sided foam tape. This would allow the surround to be removed in future without tearing it up again. Since the foam tape was white I used a Sharpie to blacken the edges so that they wouldn't be visible under the smoked Plexiglas.

|
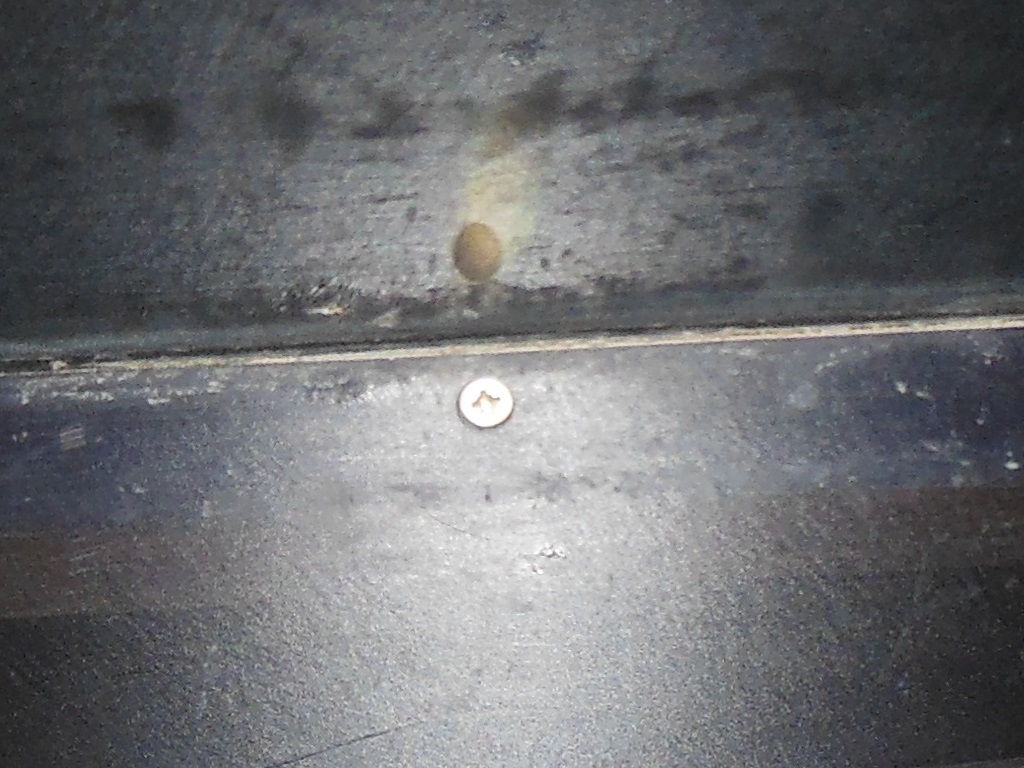
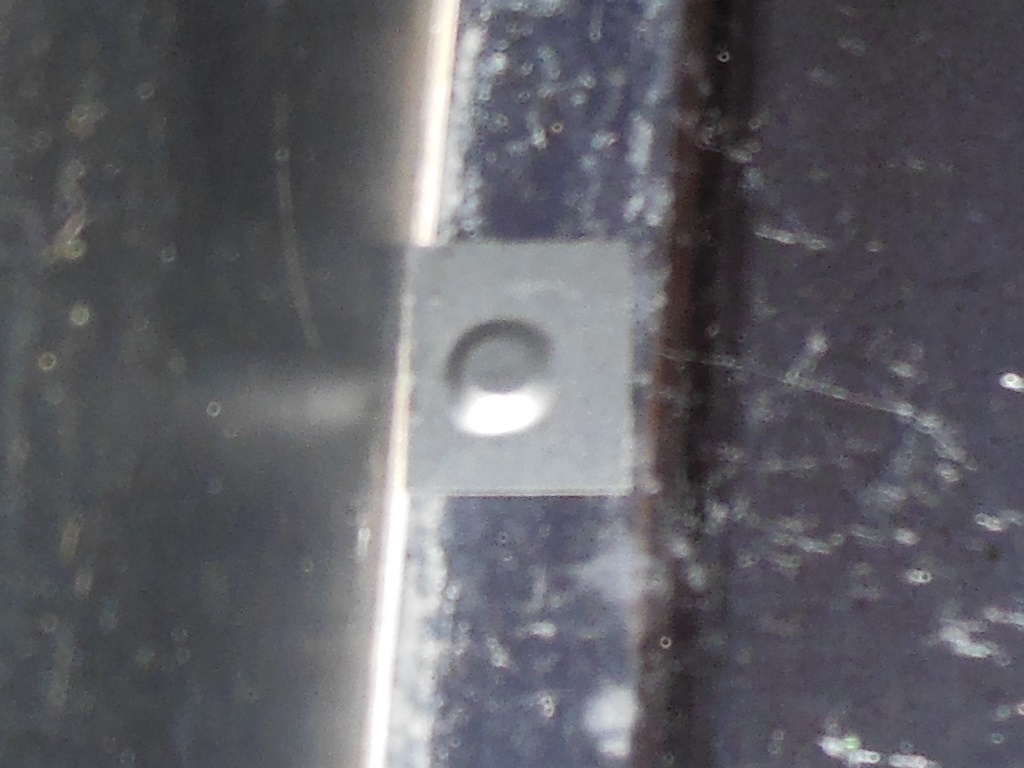
The smoked Plexiglas was not attached to anything and simply sat in the frame. The problem with this that I've seen before in other cabinets is that when the cabinet is moved the Plexiglas tends to slide around, scratching itself and the bezel and sometimes sliding out of place entirely. The fix for this design error is a couple of screws that hold the bezel in place, covered over to protect the bezel on top.

|
I reassembled the control panel and refitted it back onto the bezel ready to fit back on the cabinet.

|
After putting it all back together the game was ready for show time once again.