


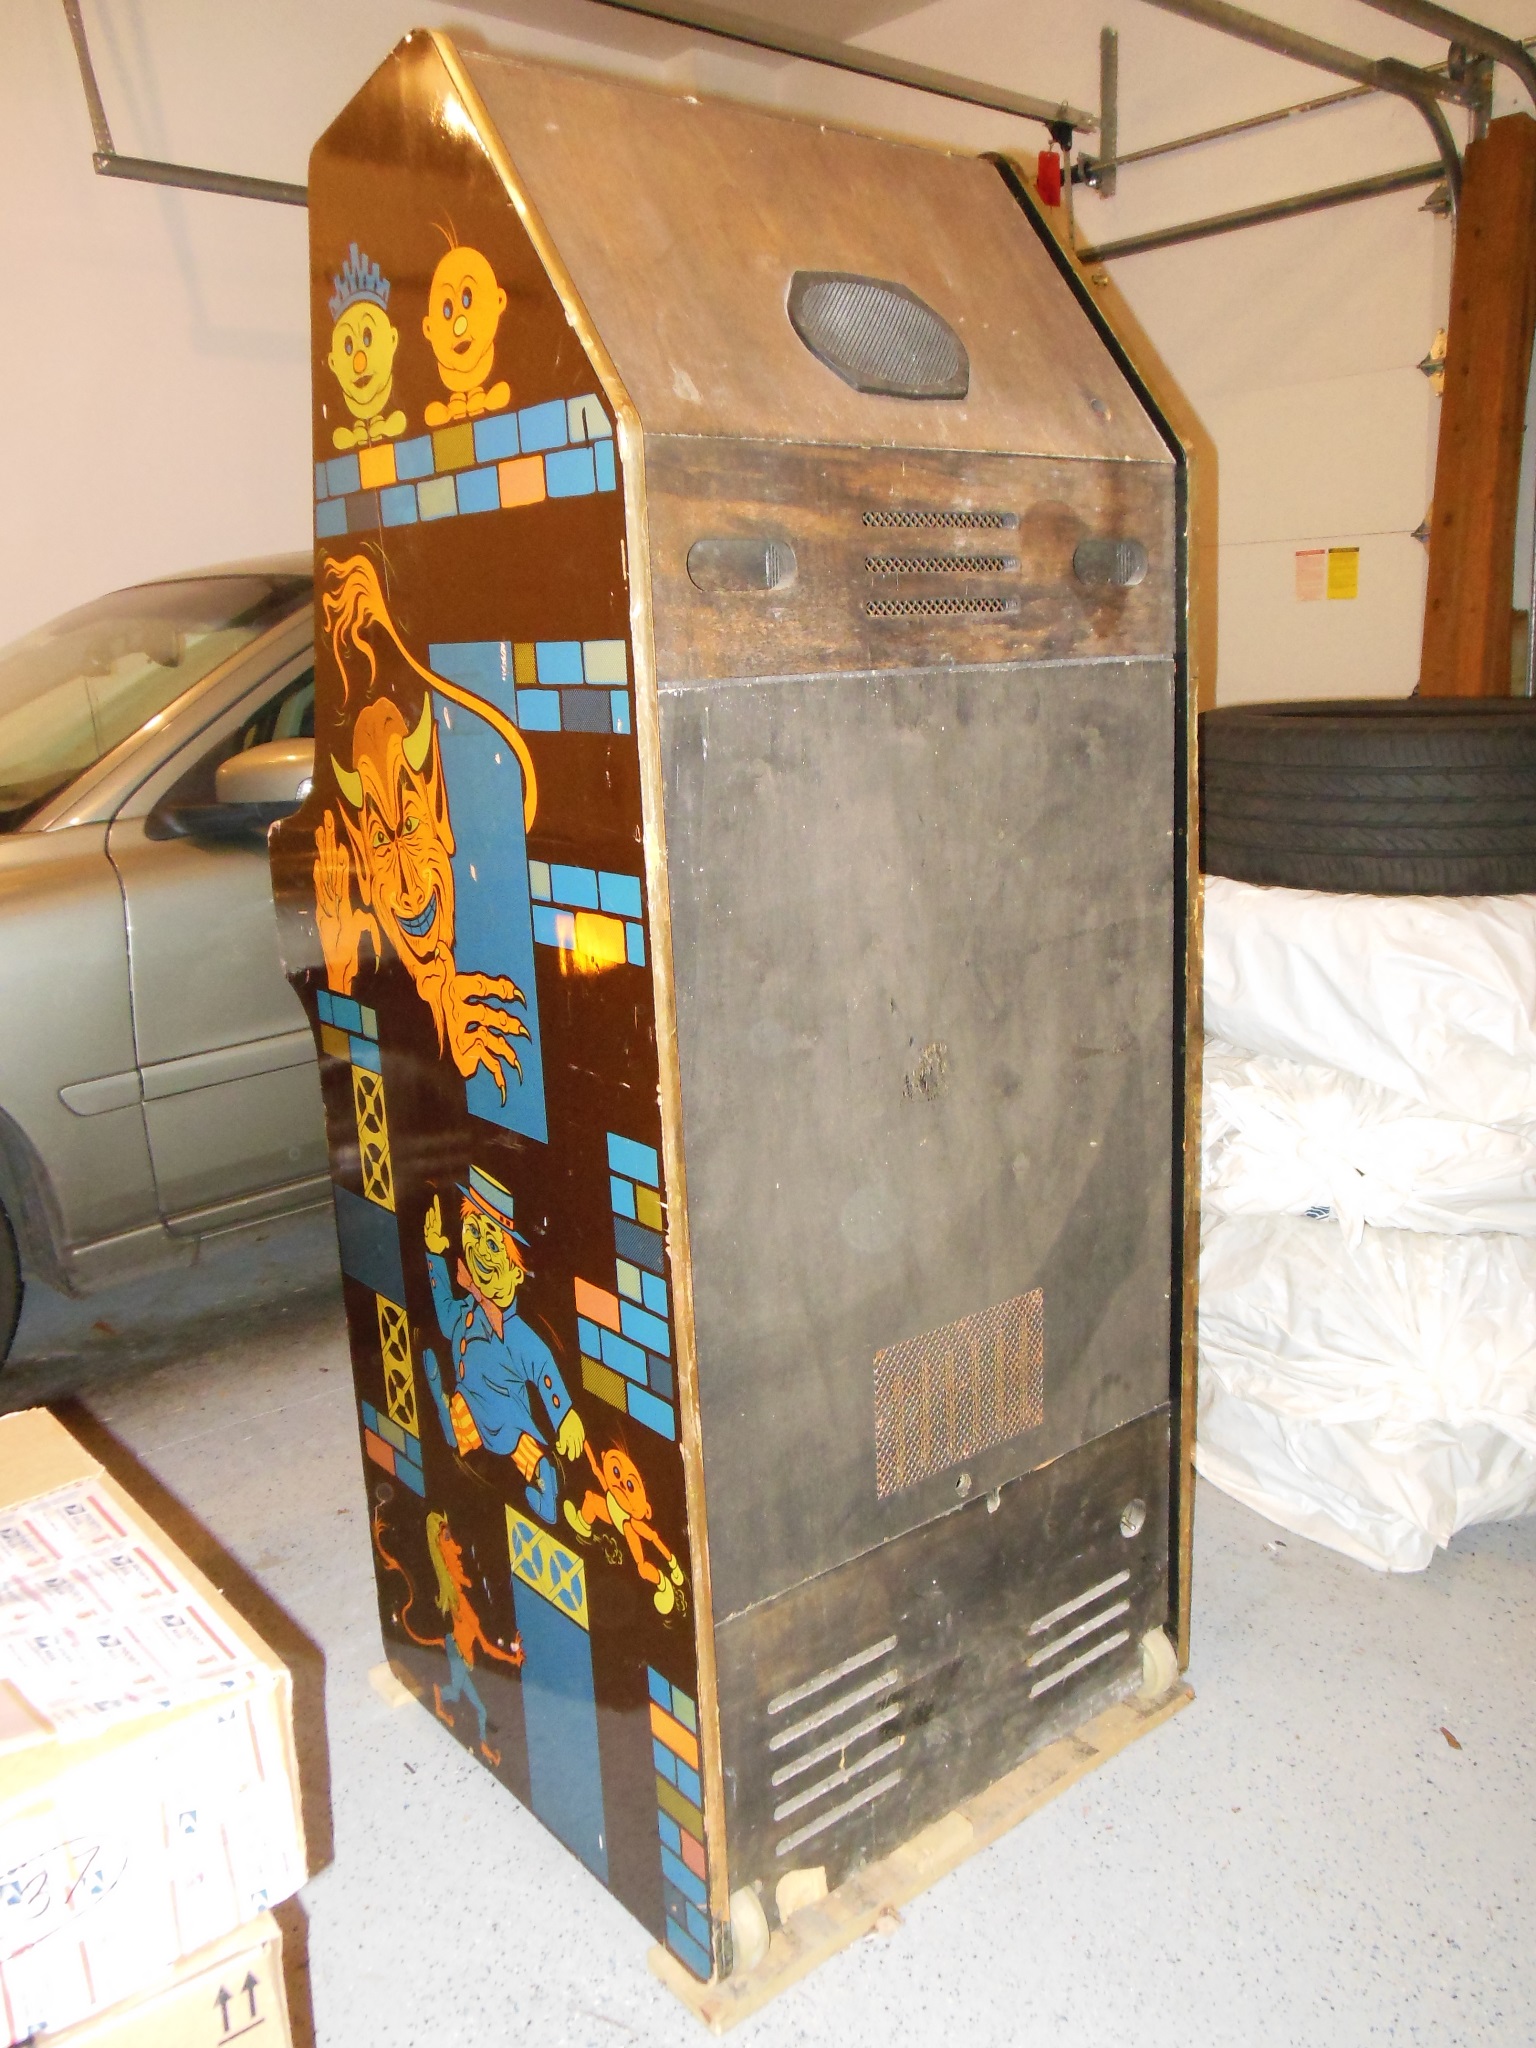
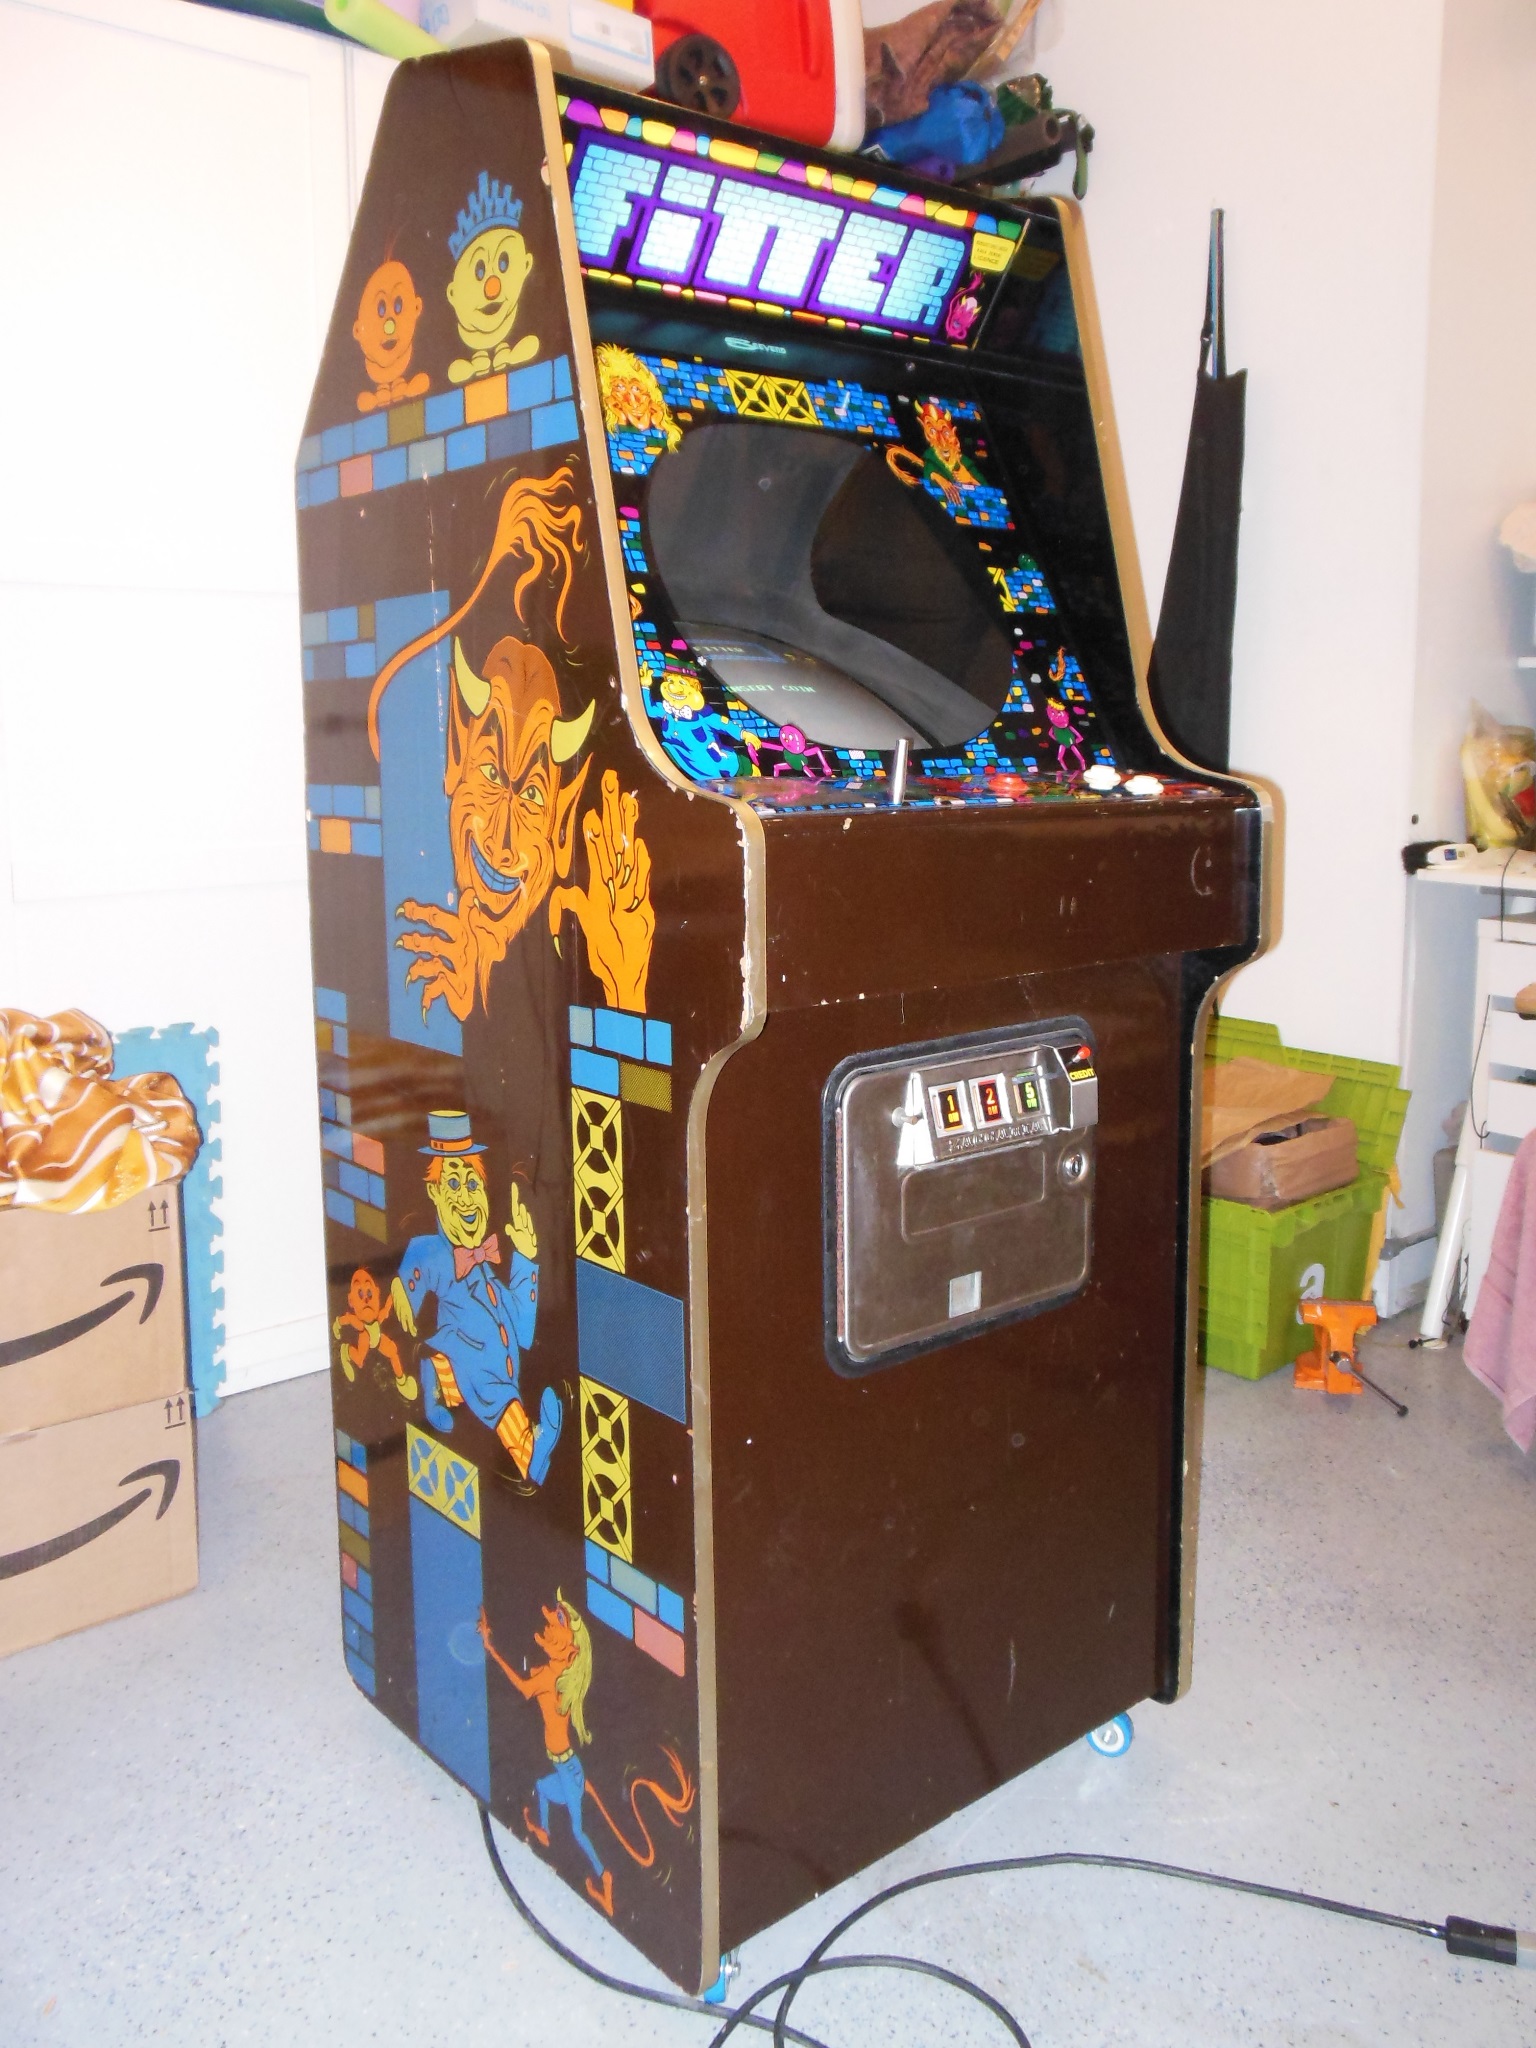
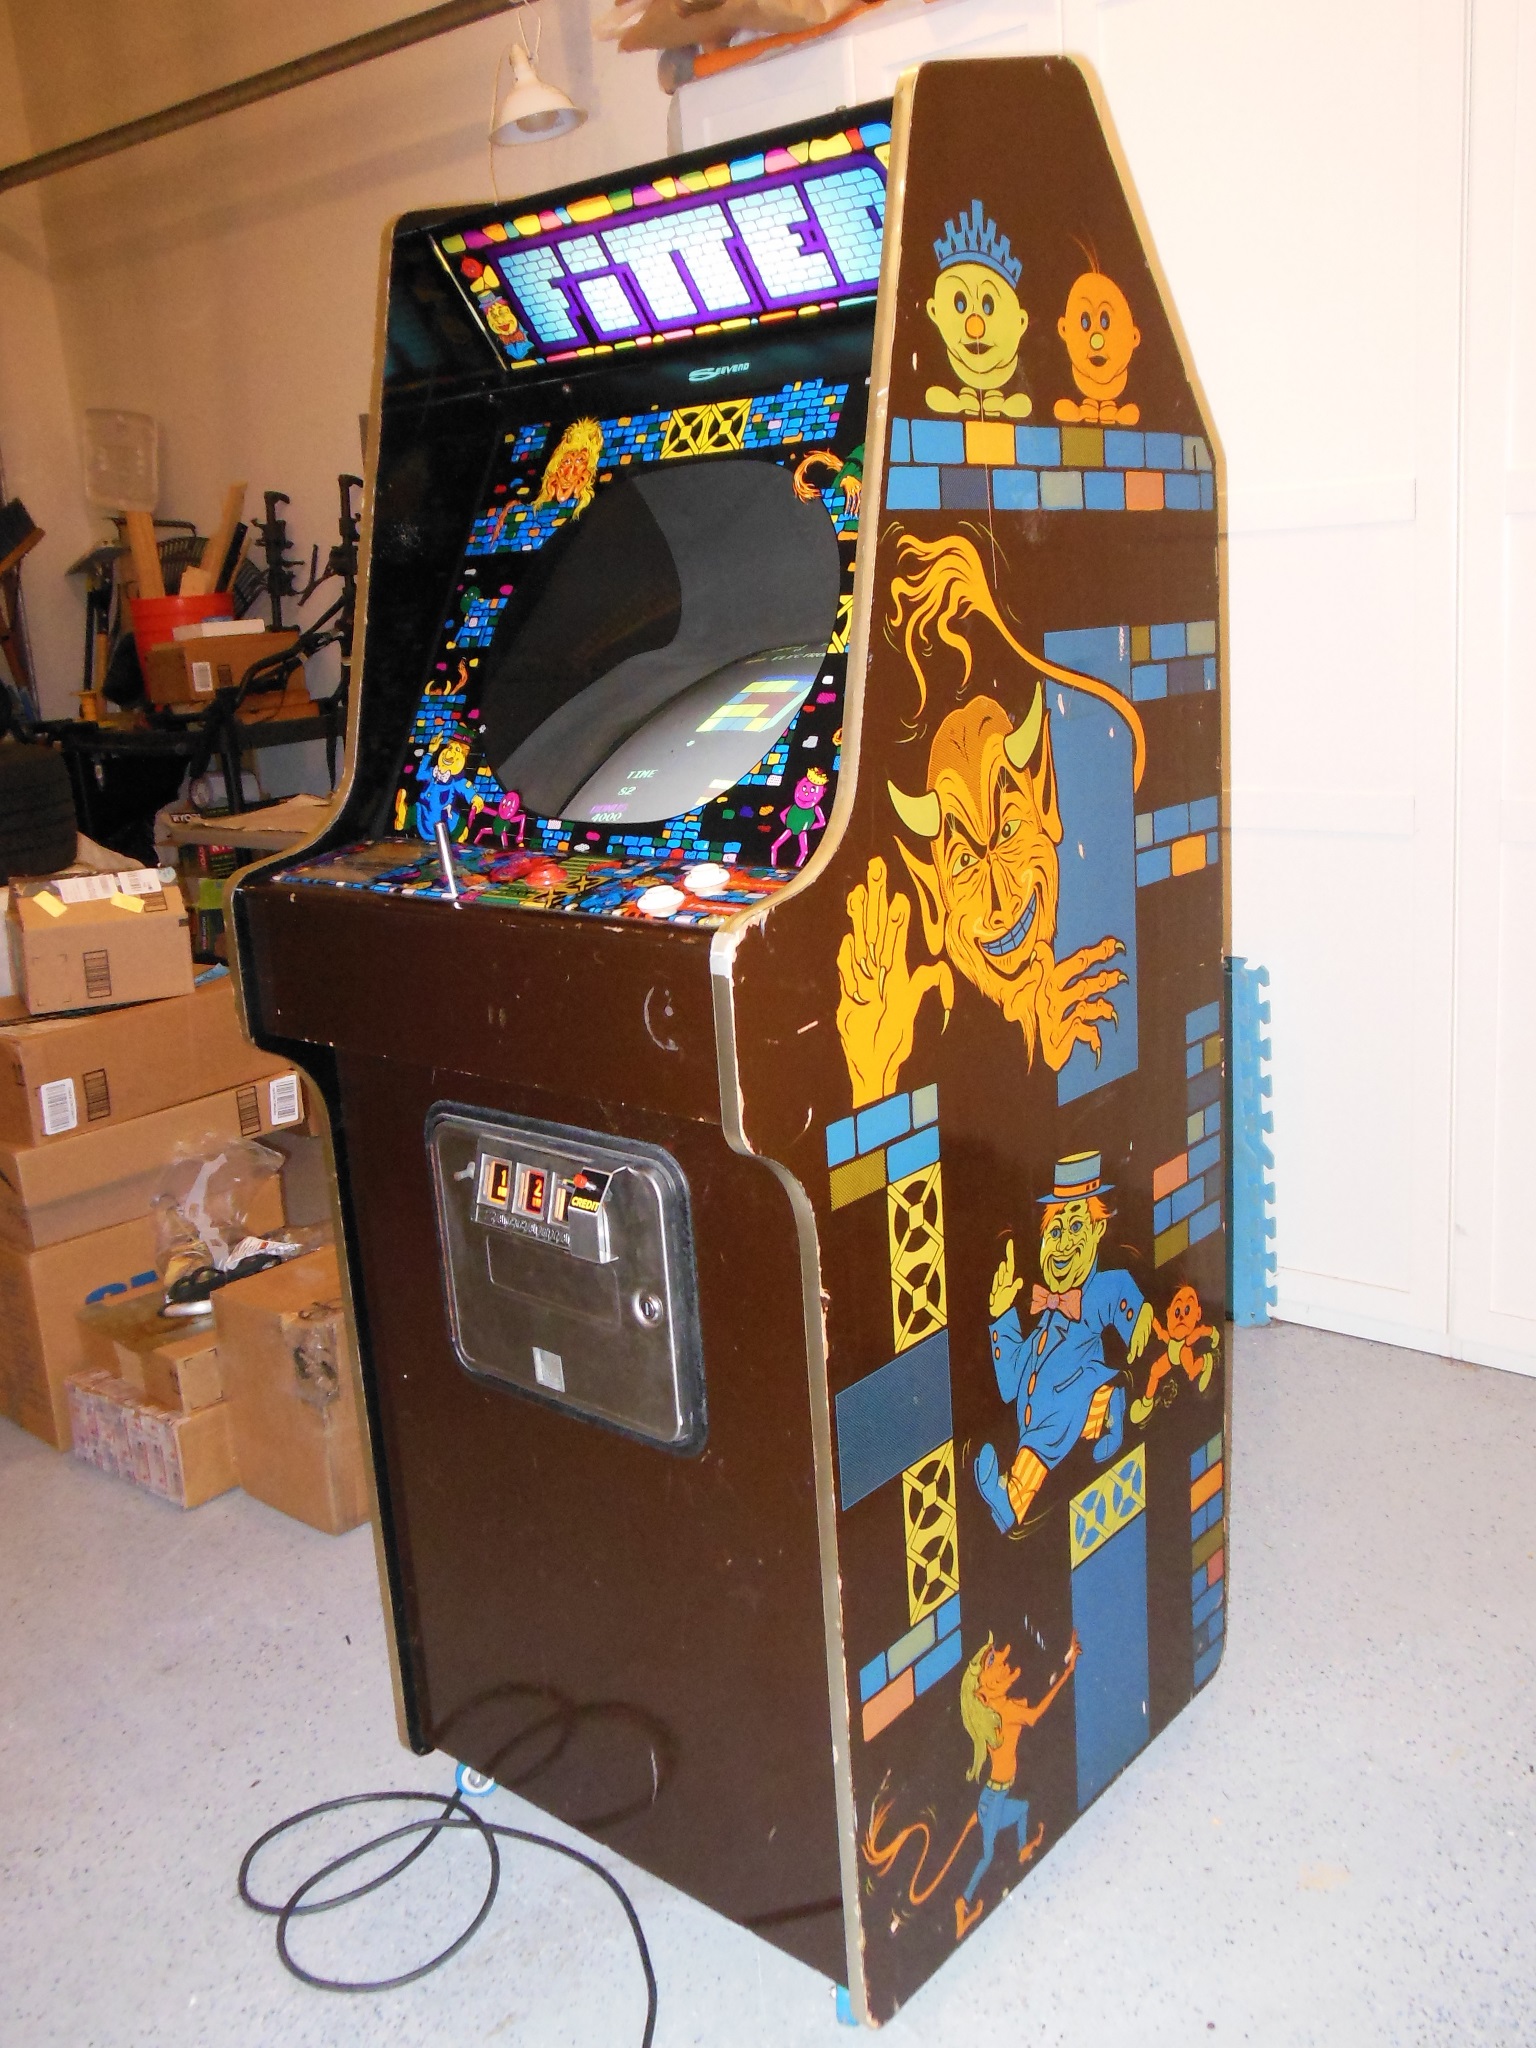
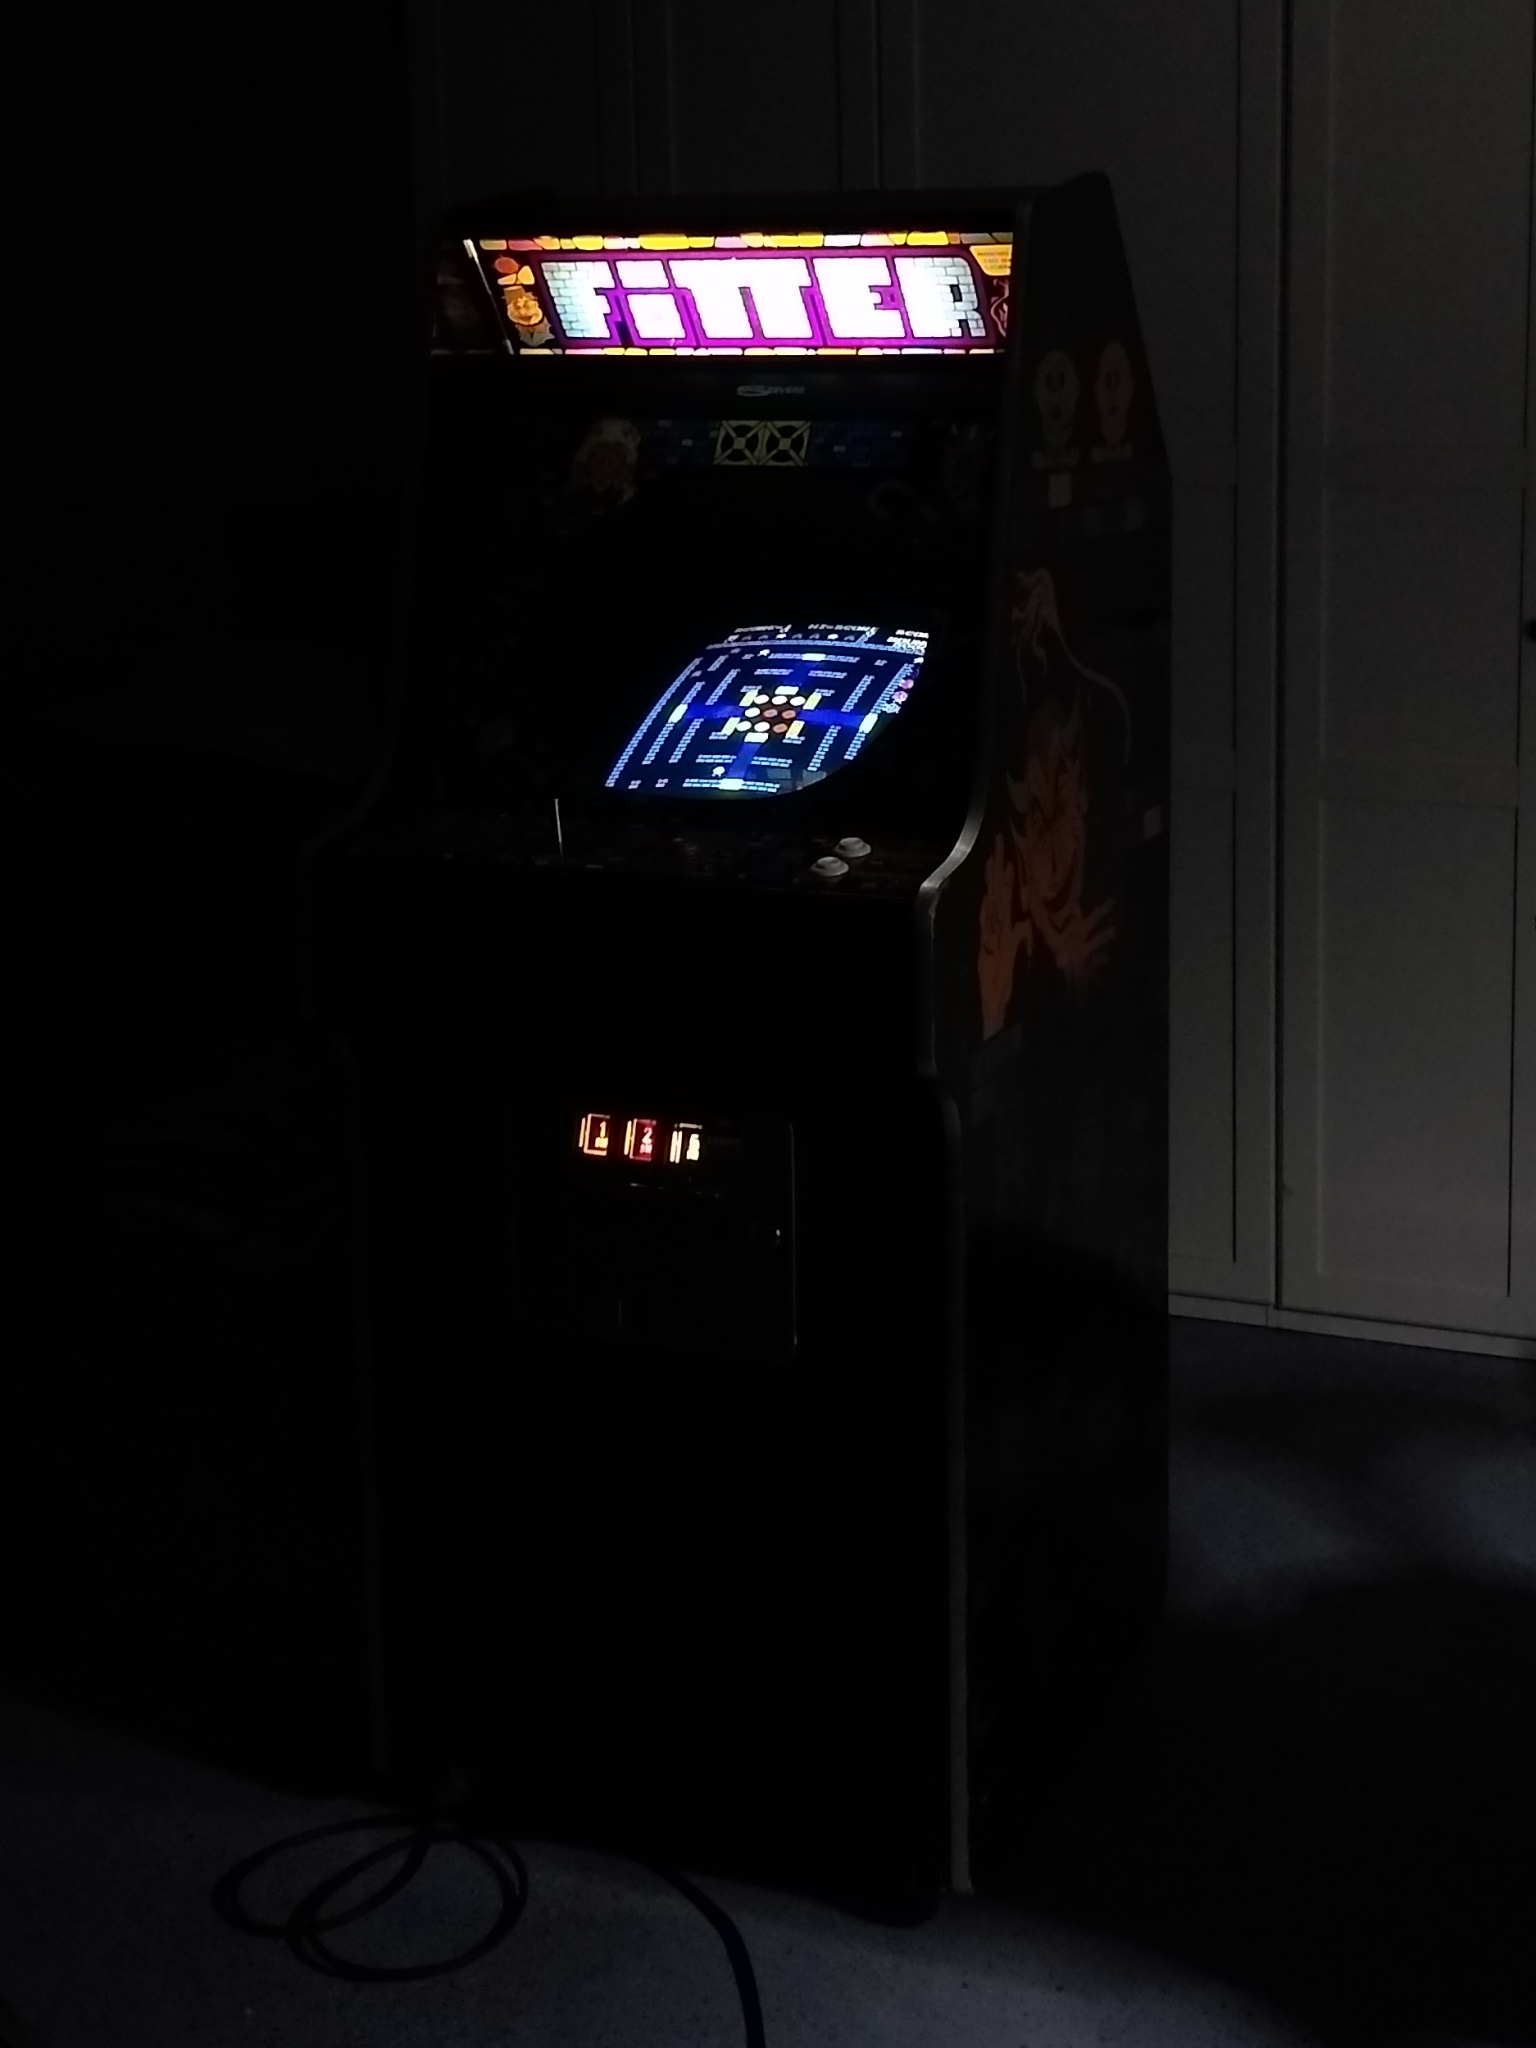
This Fitter was acquired in late 2009 after a referral from the Dragons Lair Fans forum to a Marktplaats listing in the Netherlands. I'd already acquired a Fitter cabinet from Germany a few years prior that had been converted leaving only the cabinet & monitor glass intact. This one was almost complete, unconverted and in good condition only missing the monitor glass that was earmarked to come from the German one to make it whole again.
|
|
The monitor glass had been replaced by plain glass and and the coin door was missing entirely. A door bell had been fitted to the front for credits and some T-molding was missing but otherwise the cabinet & artwork was in very good condition.

|
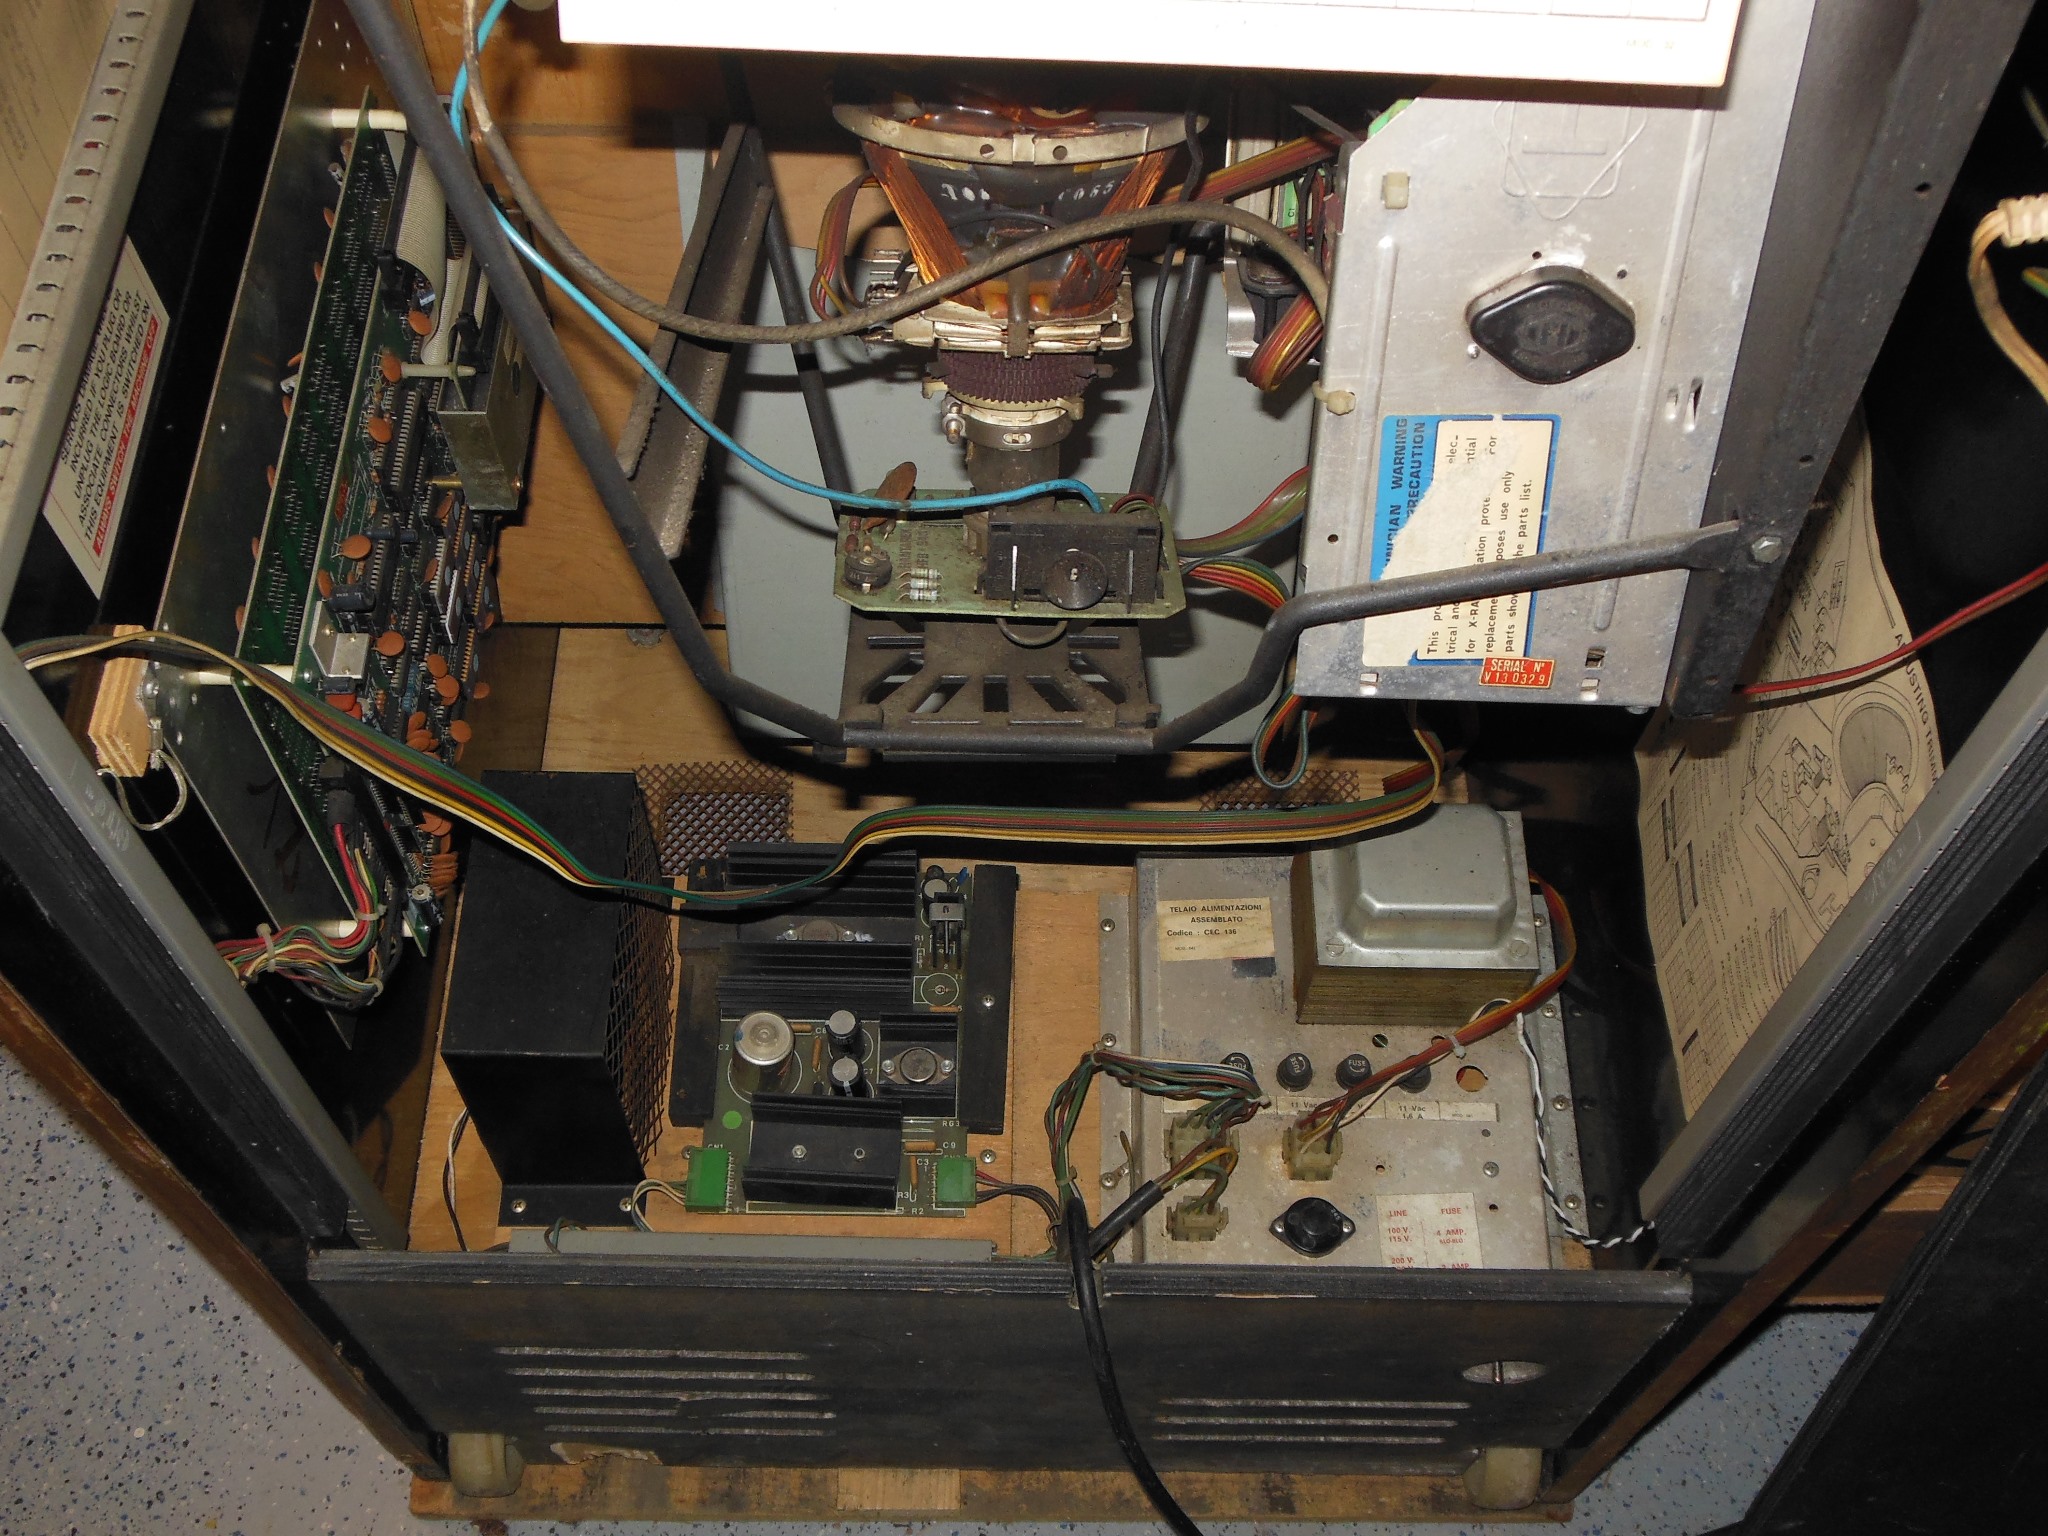
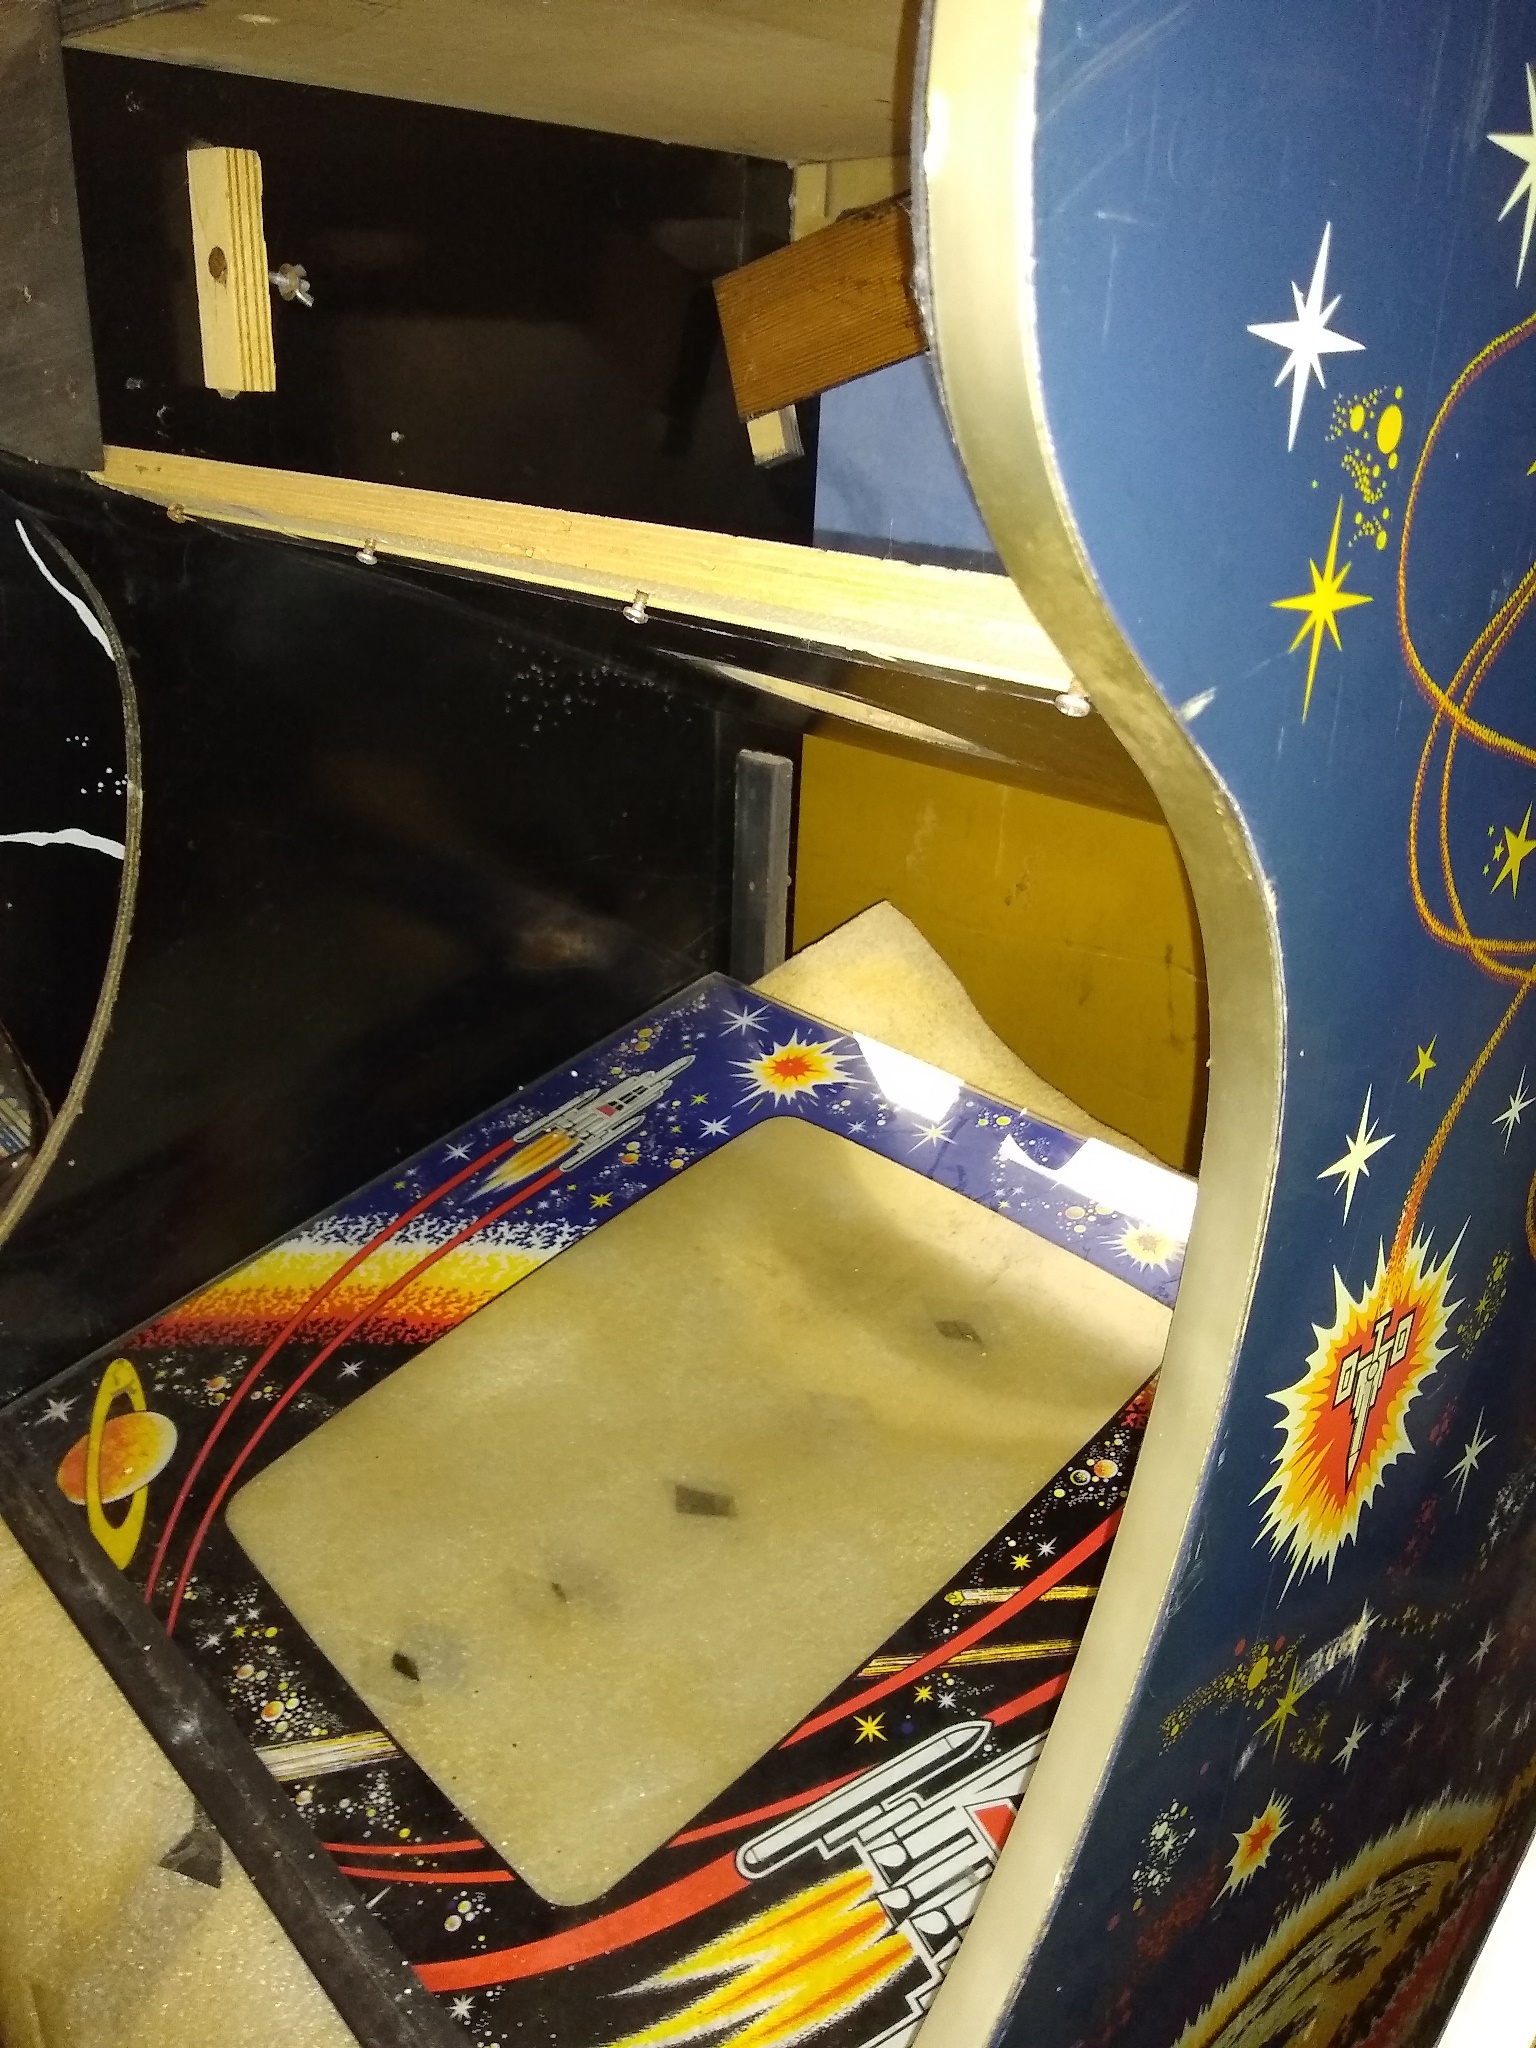
Internally everything looked mostly present and unhacked. The left slotted cable duct cover was missing as was the wiring from the power brick up to the marque light.

|
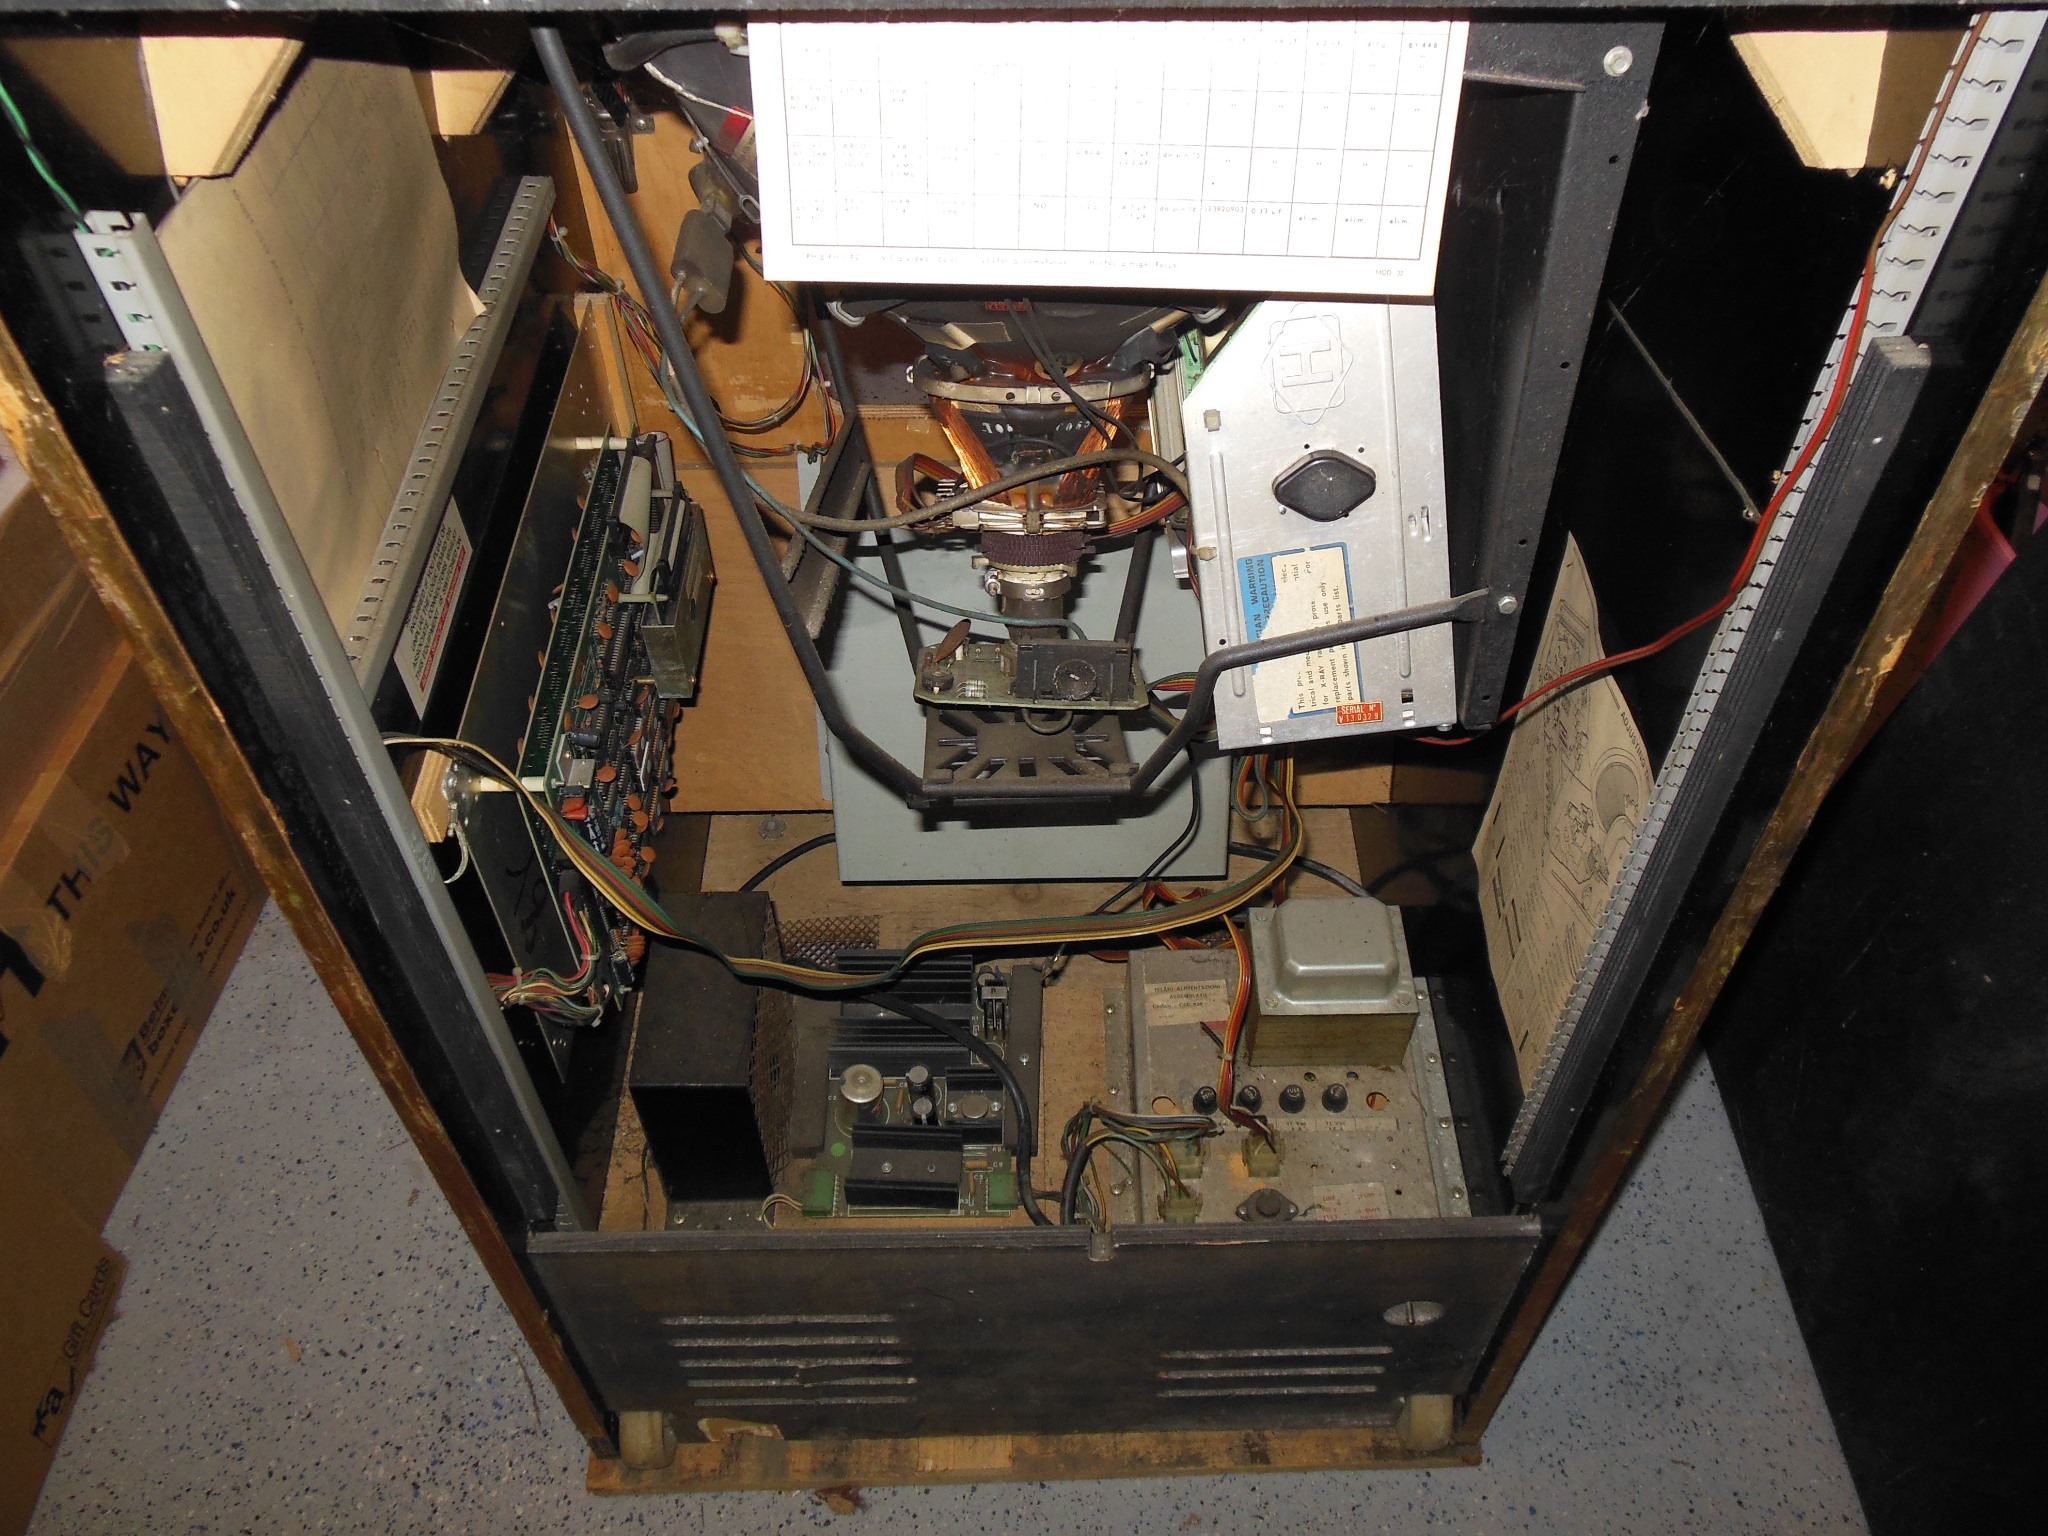
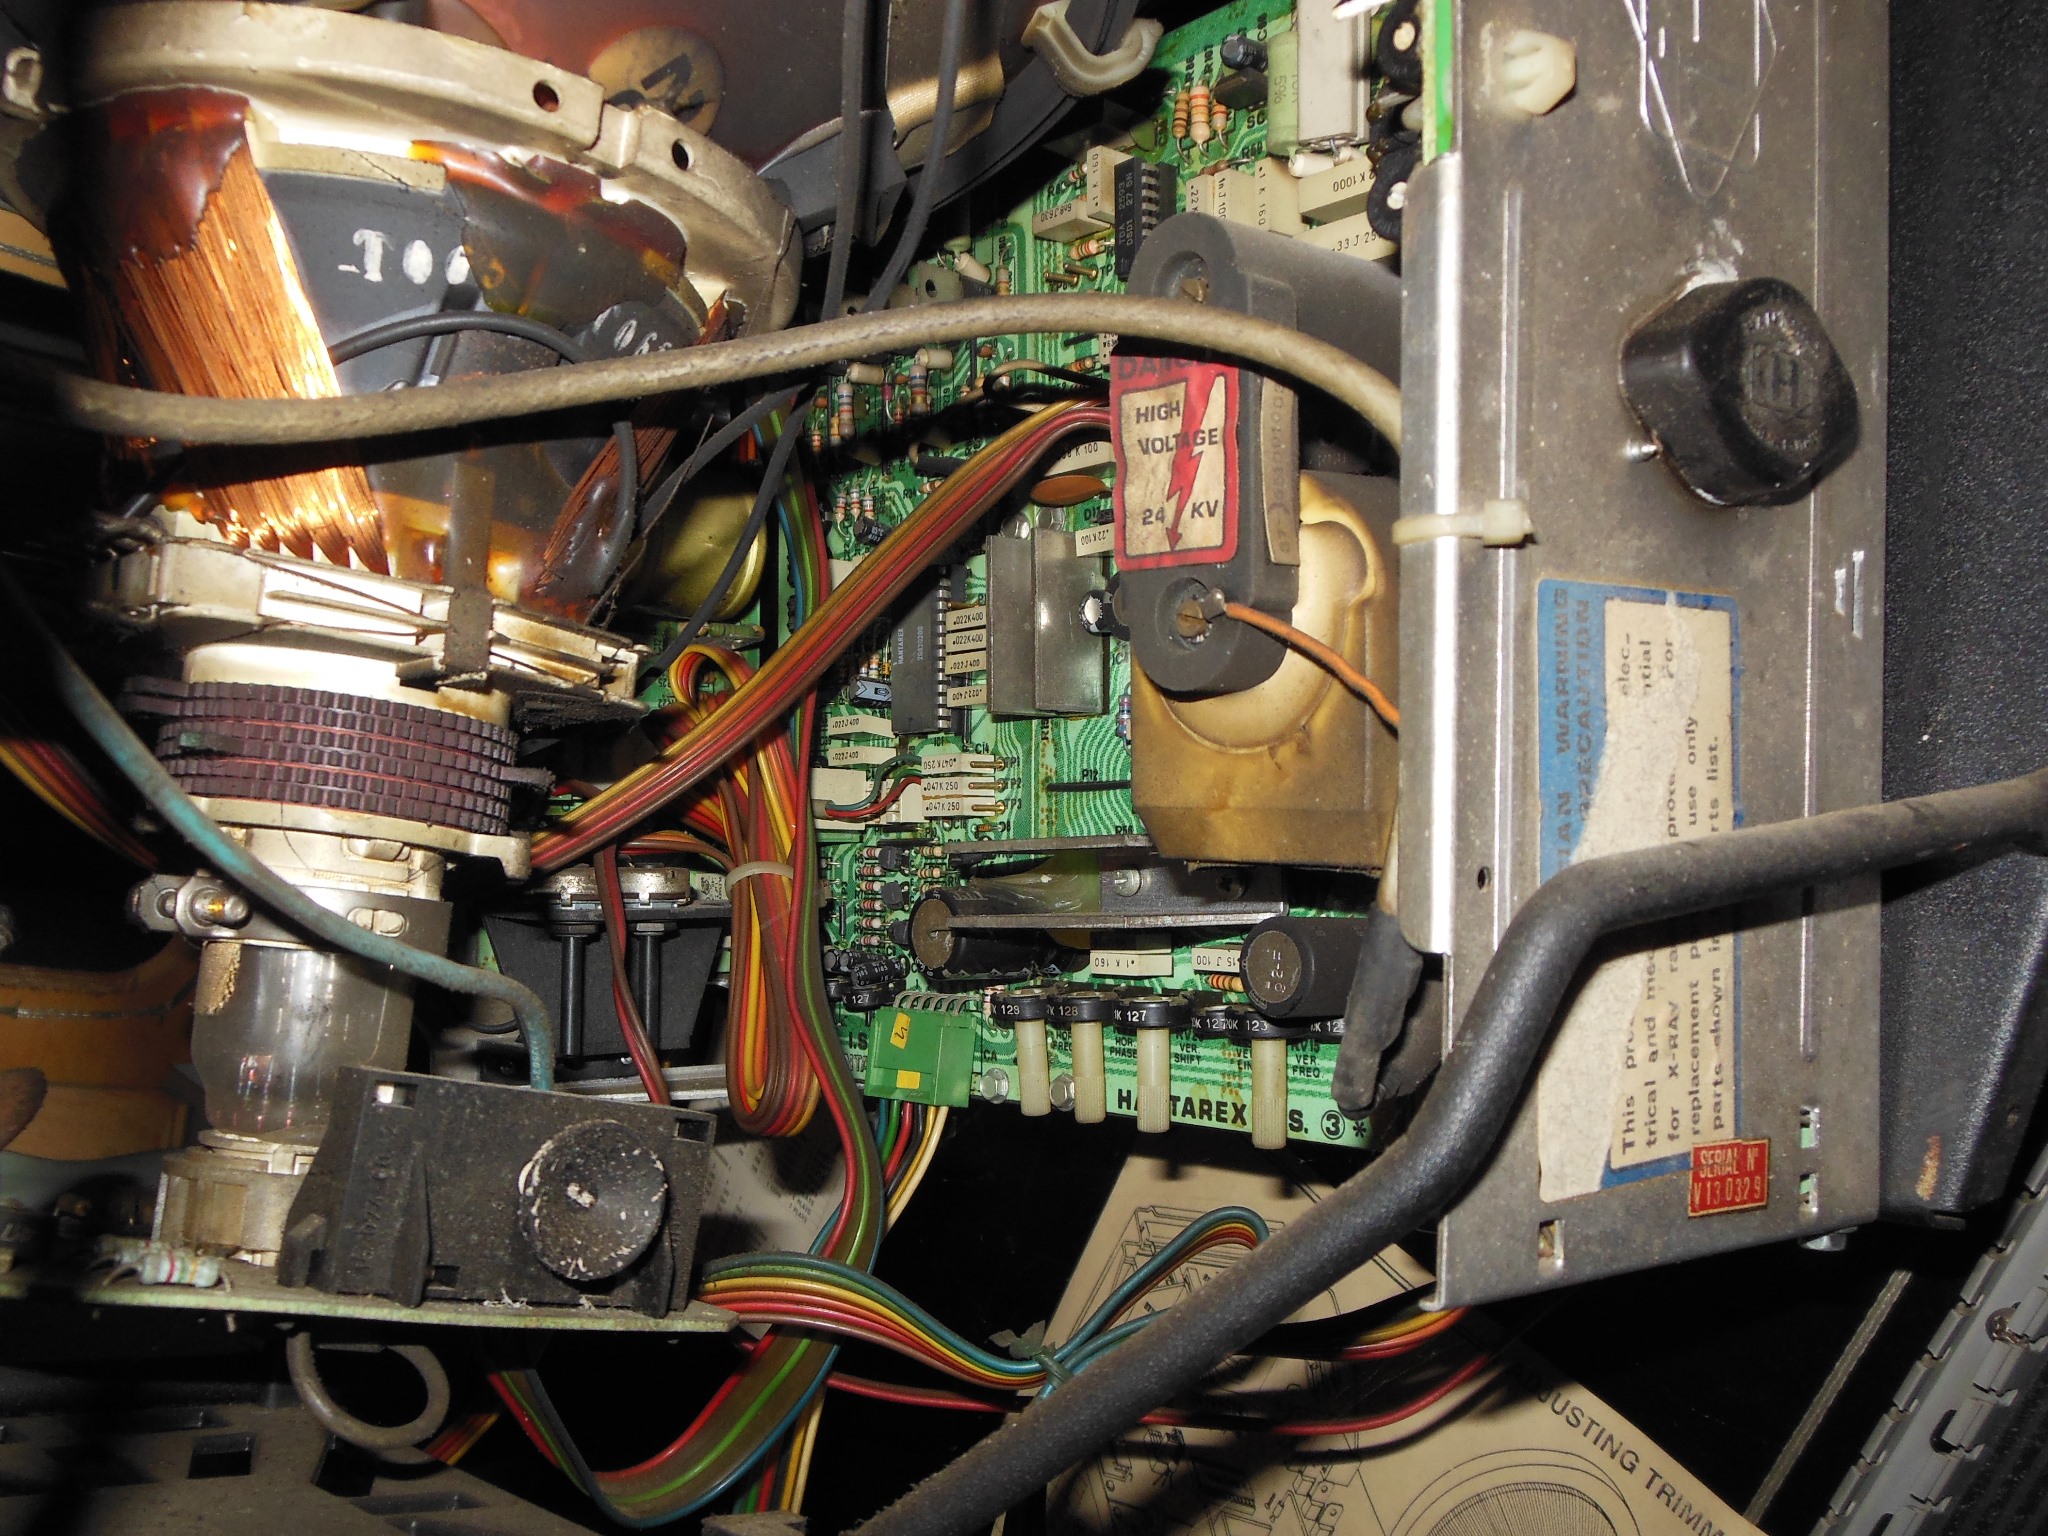
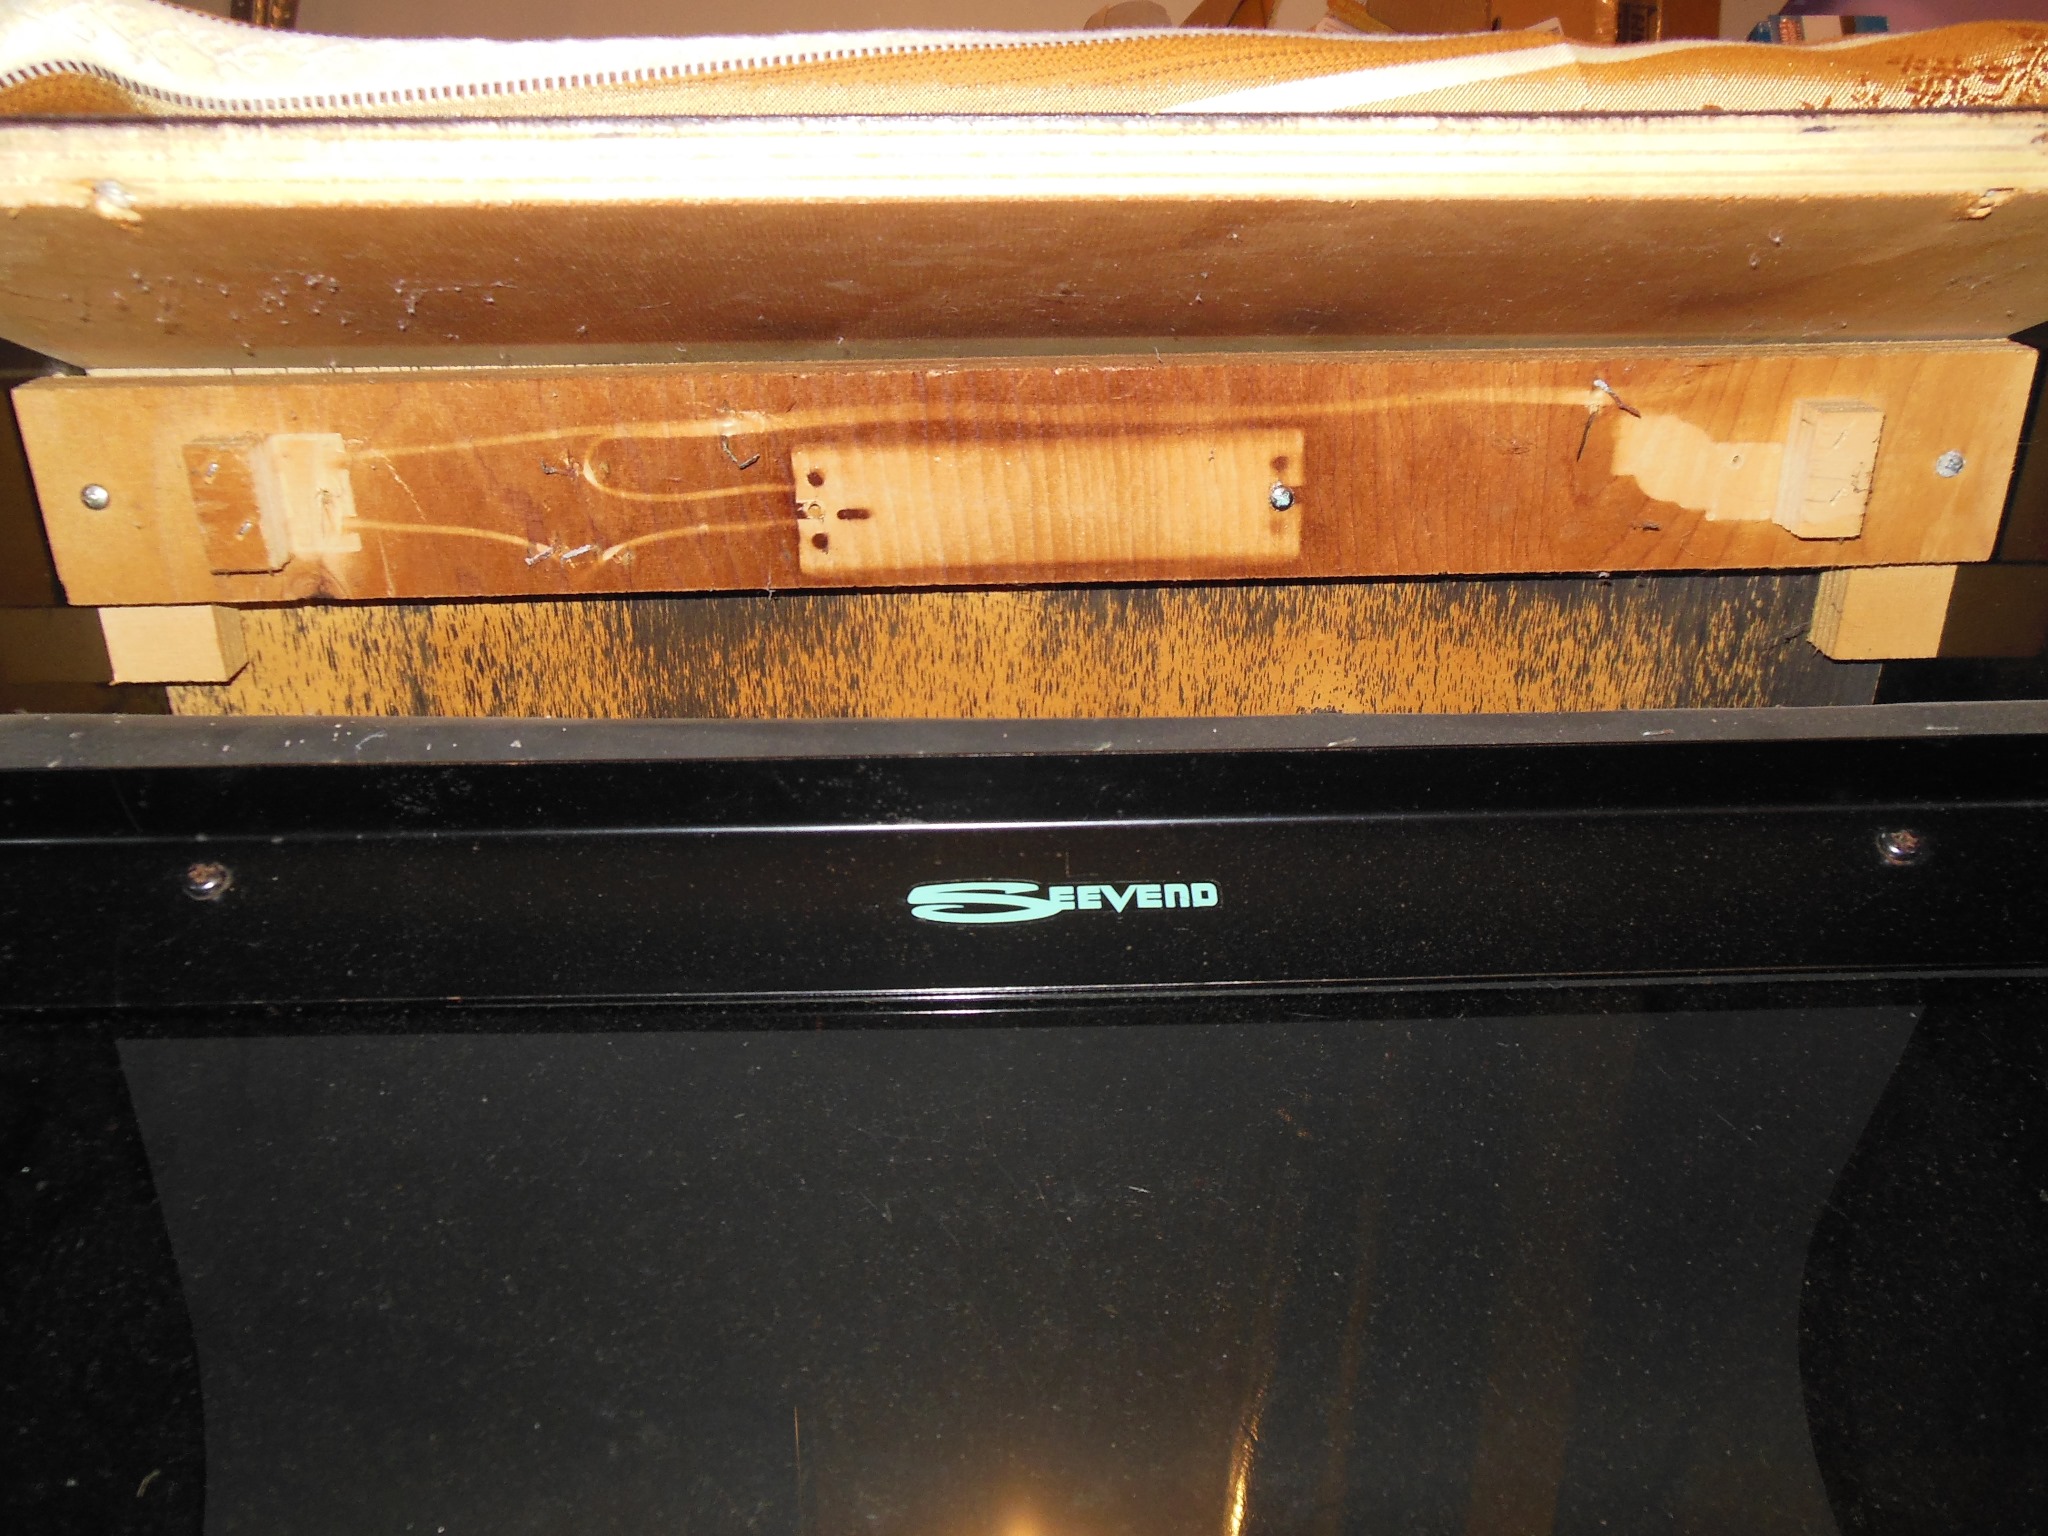
The cash box cover top was mangled and the Hantarex MTC-900 monitor was complete but not properly installed or connected up.

|
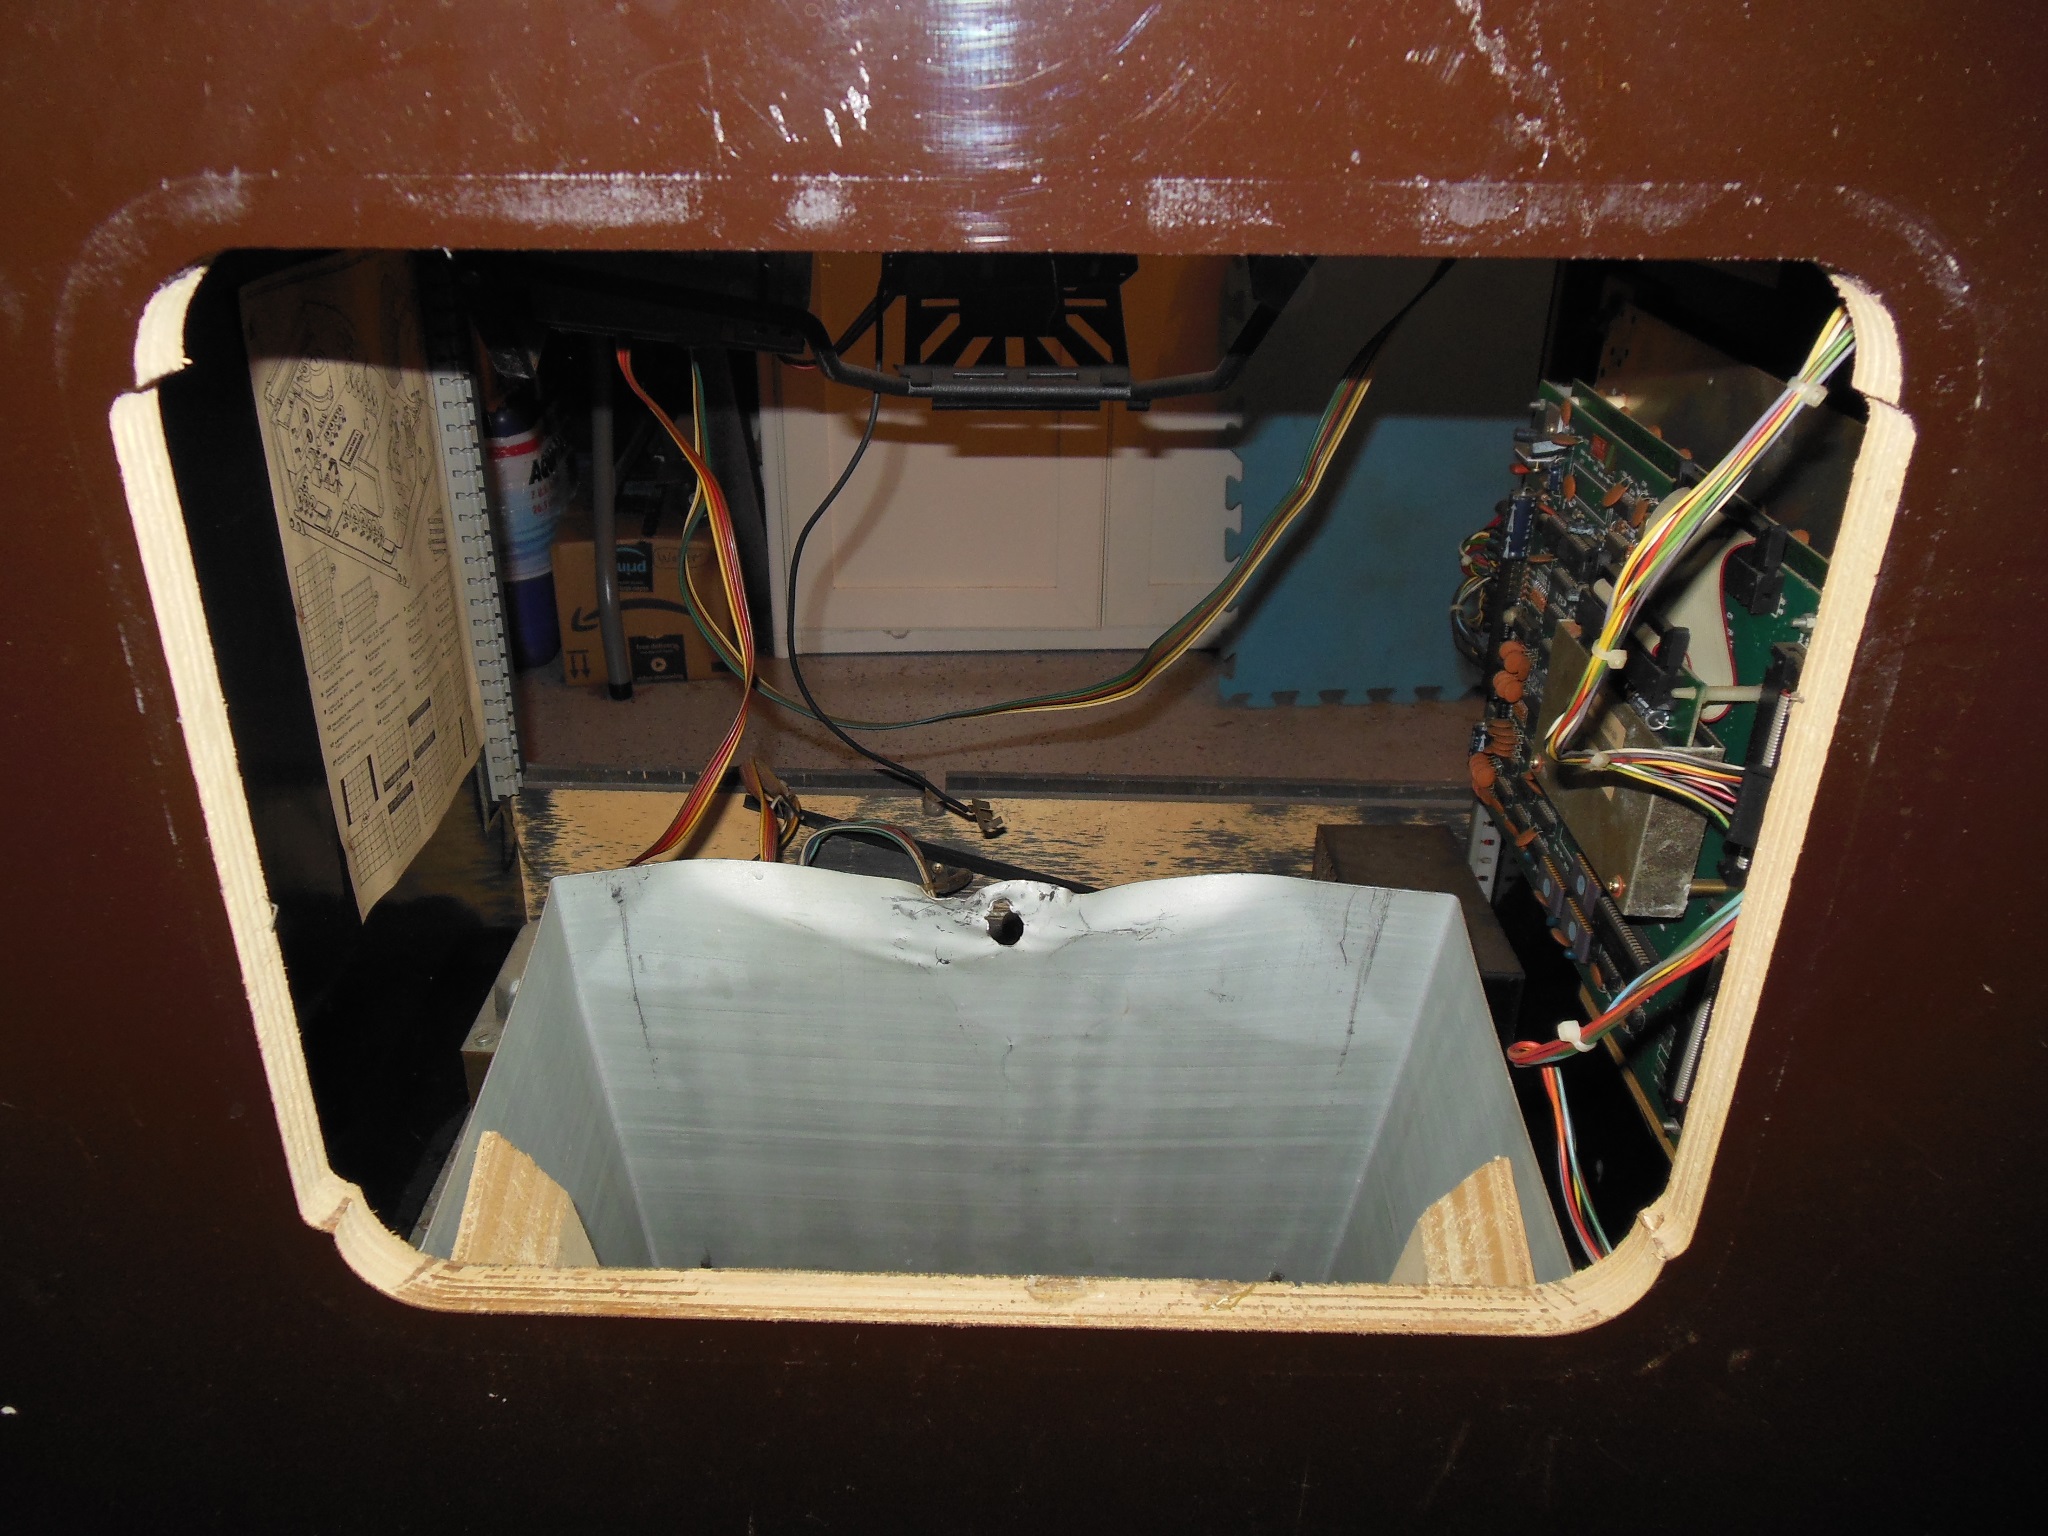
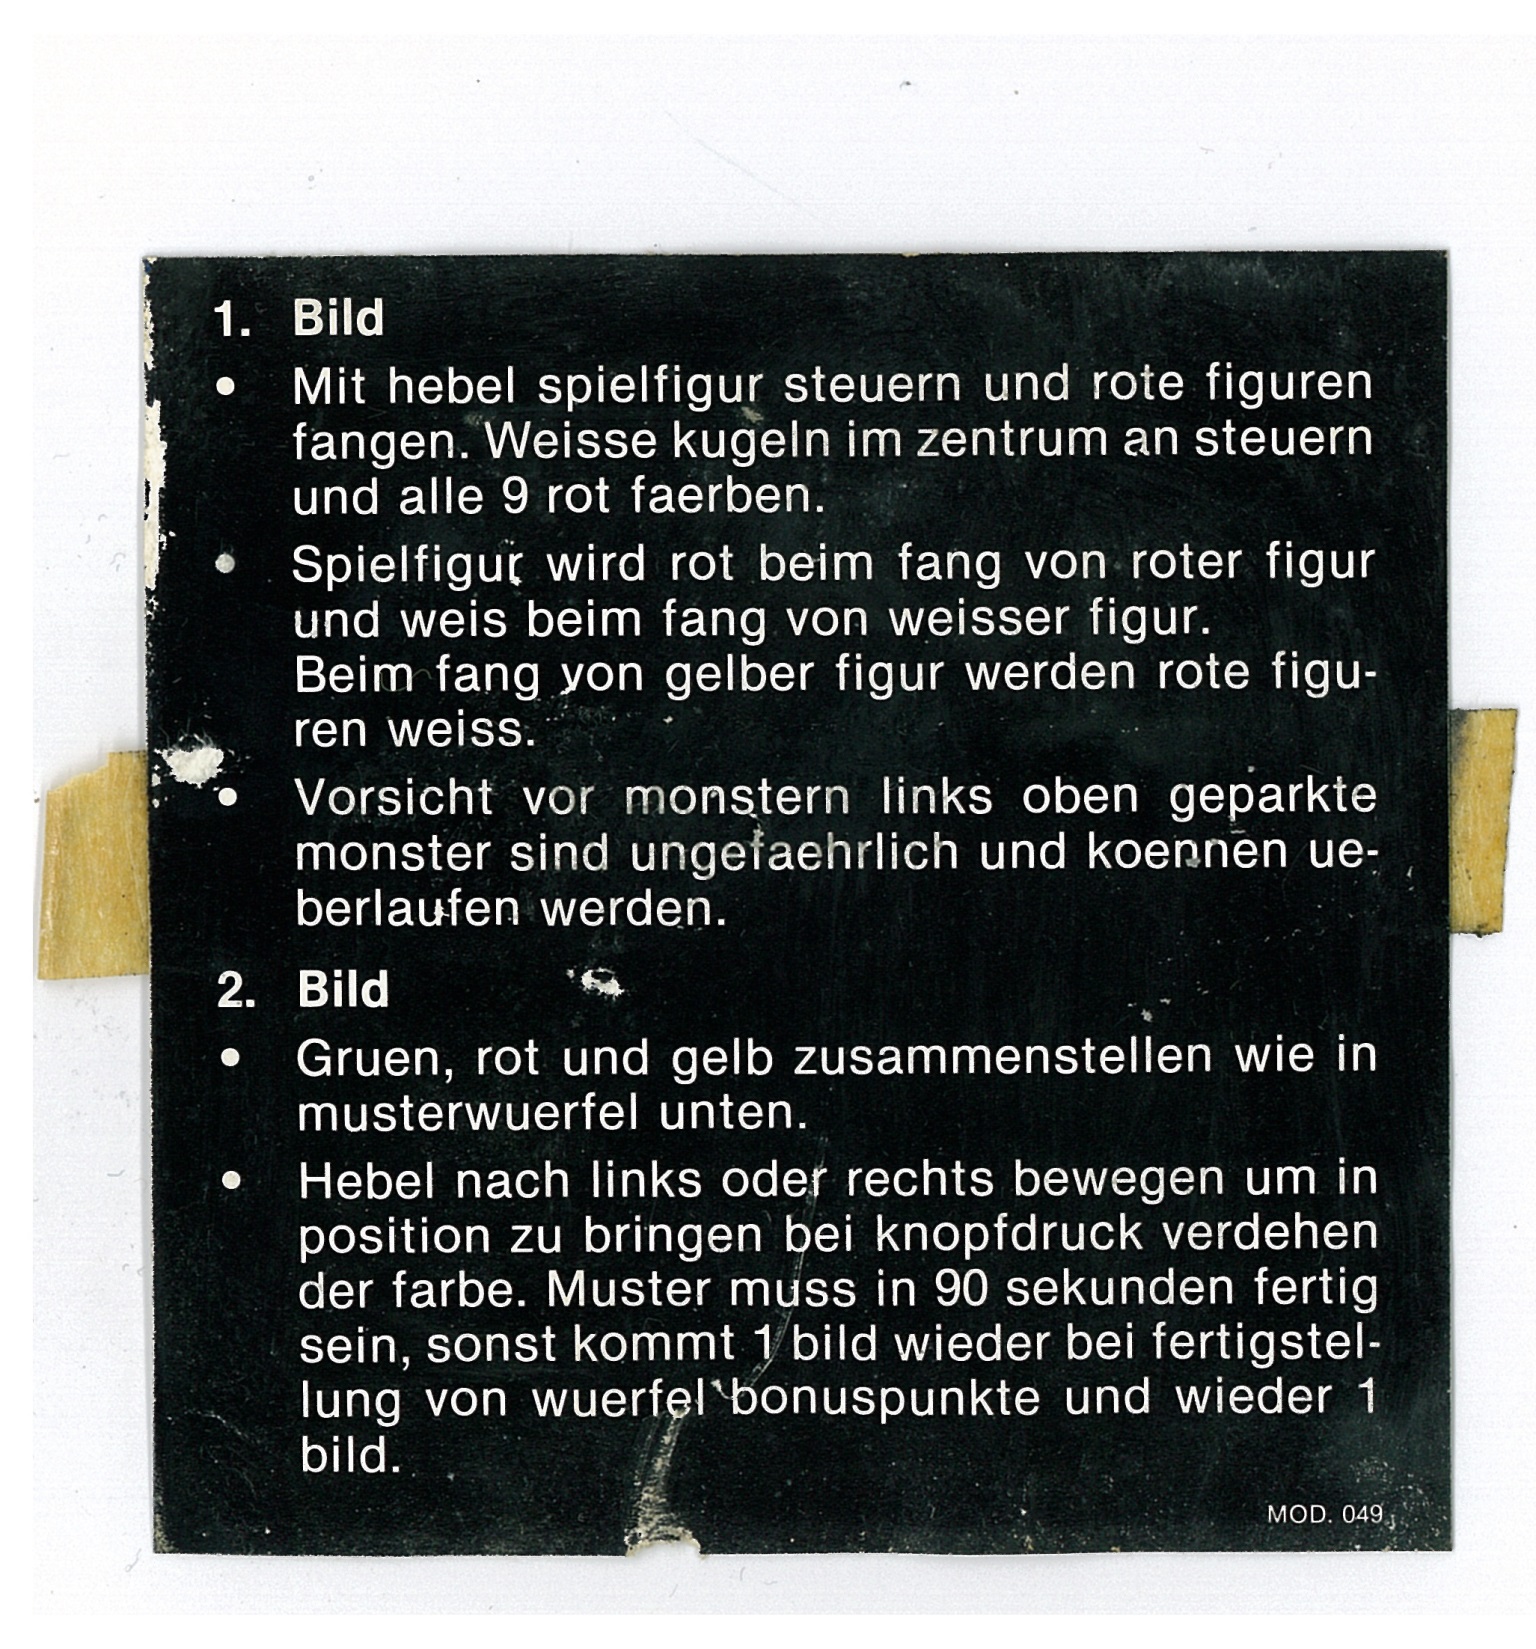
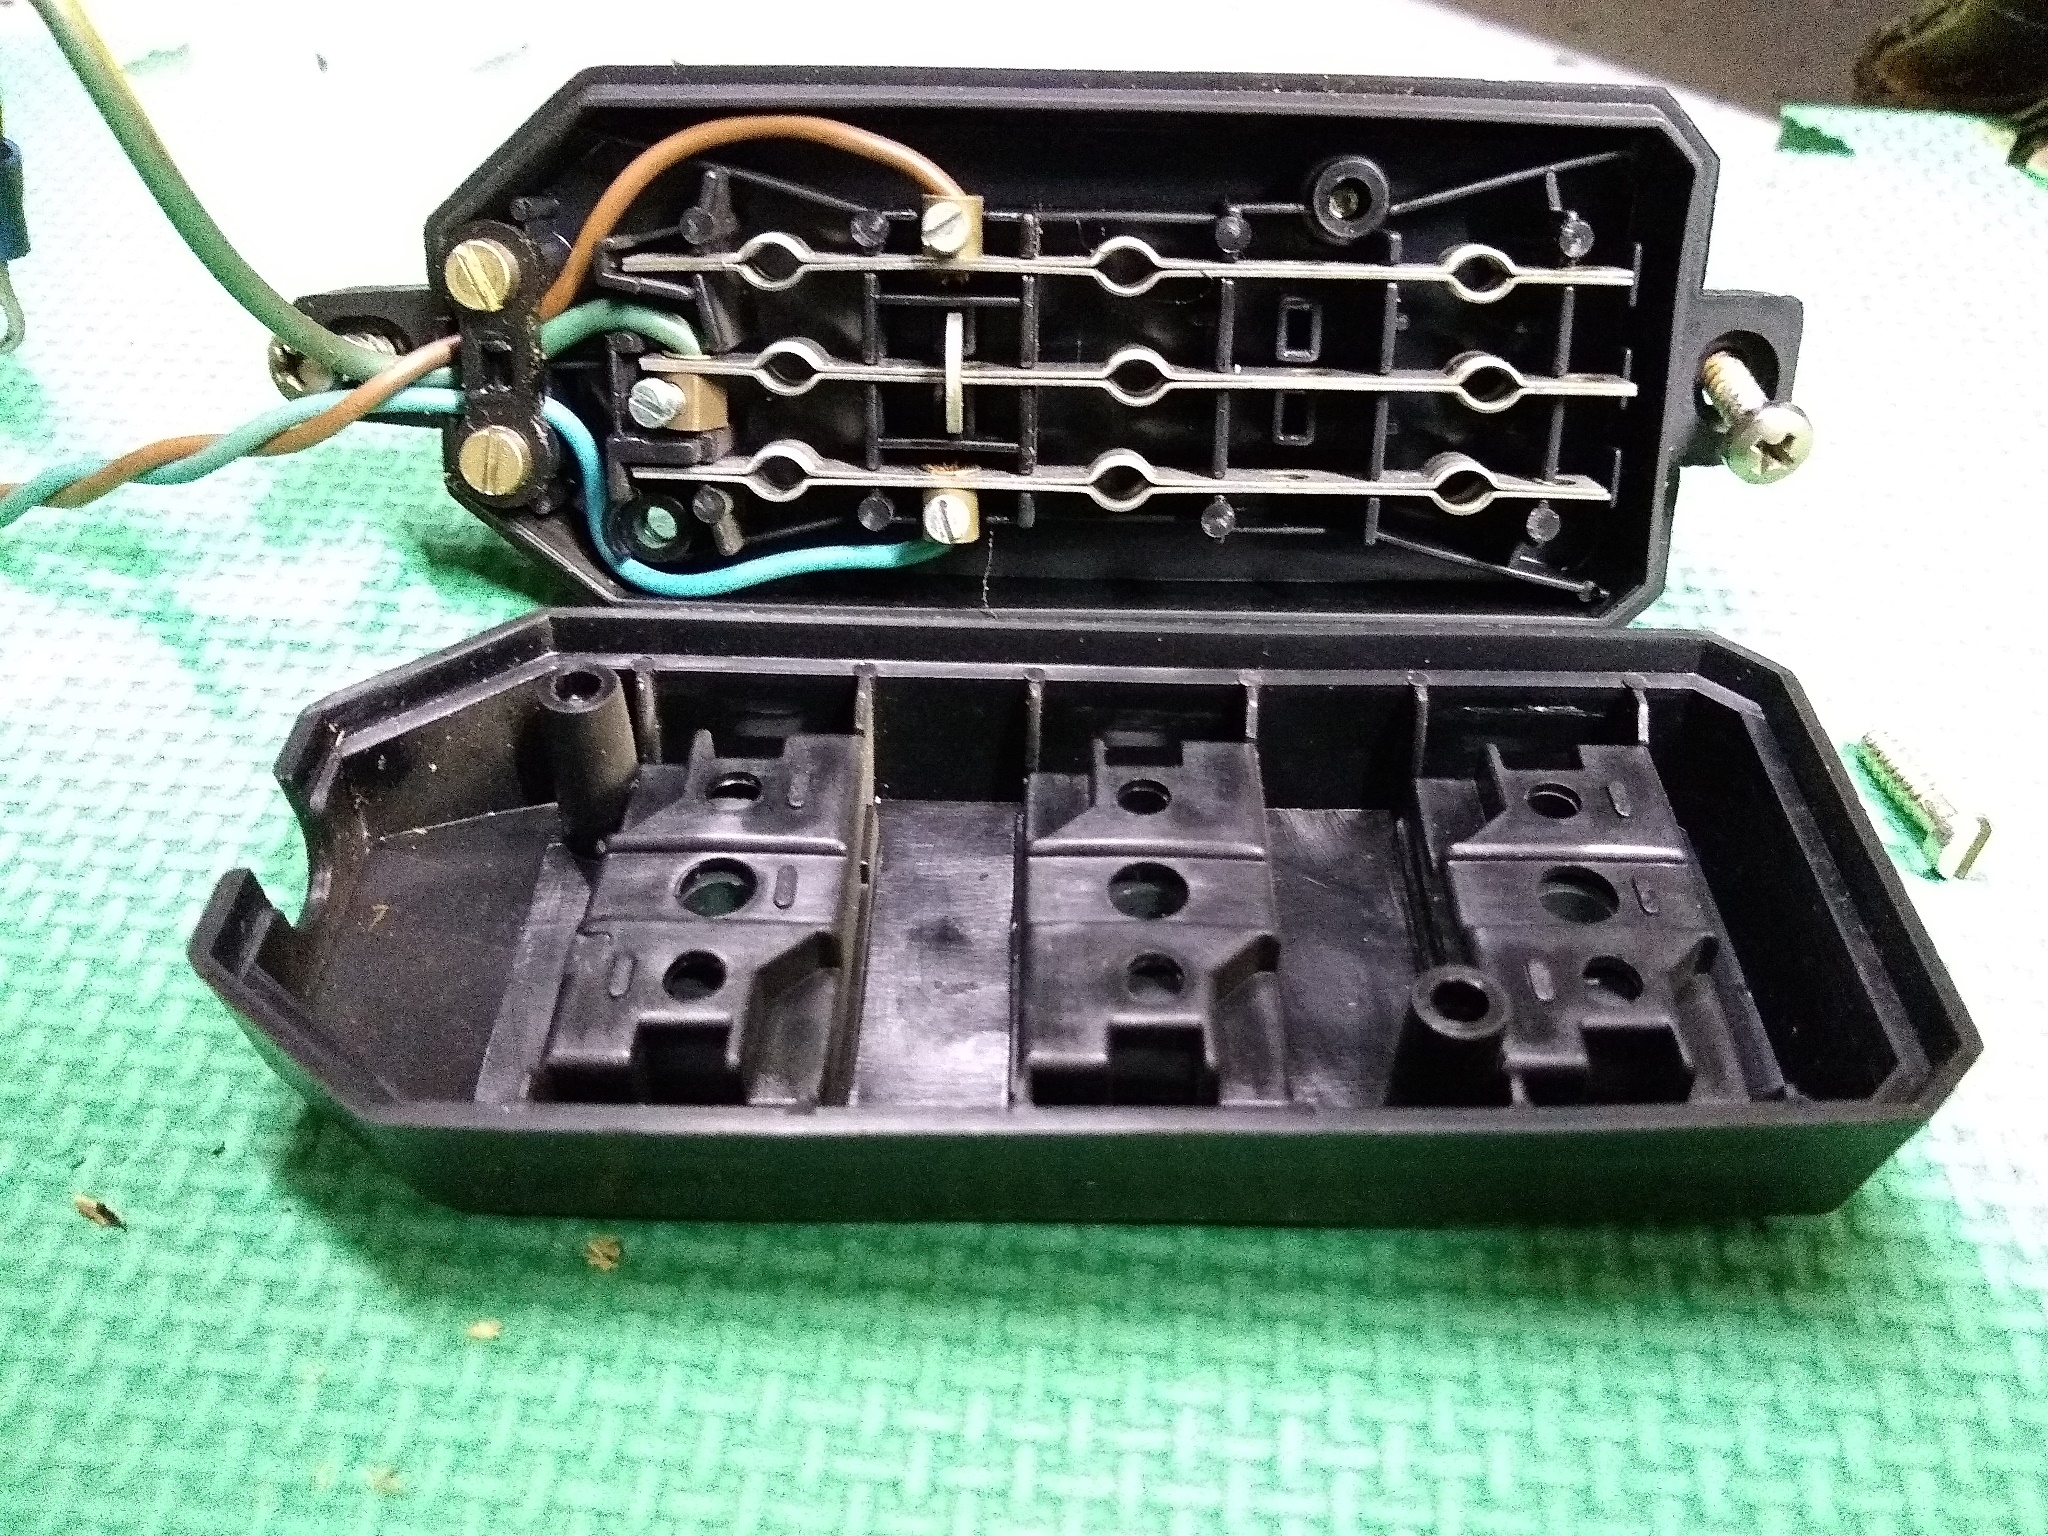
The original Fitter DIP switch sheet was stapled to the side wall. At the front of the cabinet the control panel cable duct cover was also missing with the wiring pulled out to reach the doorbell for credits.

|
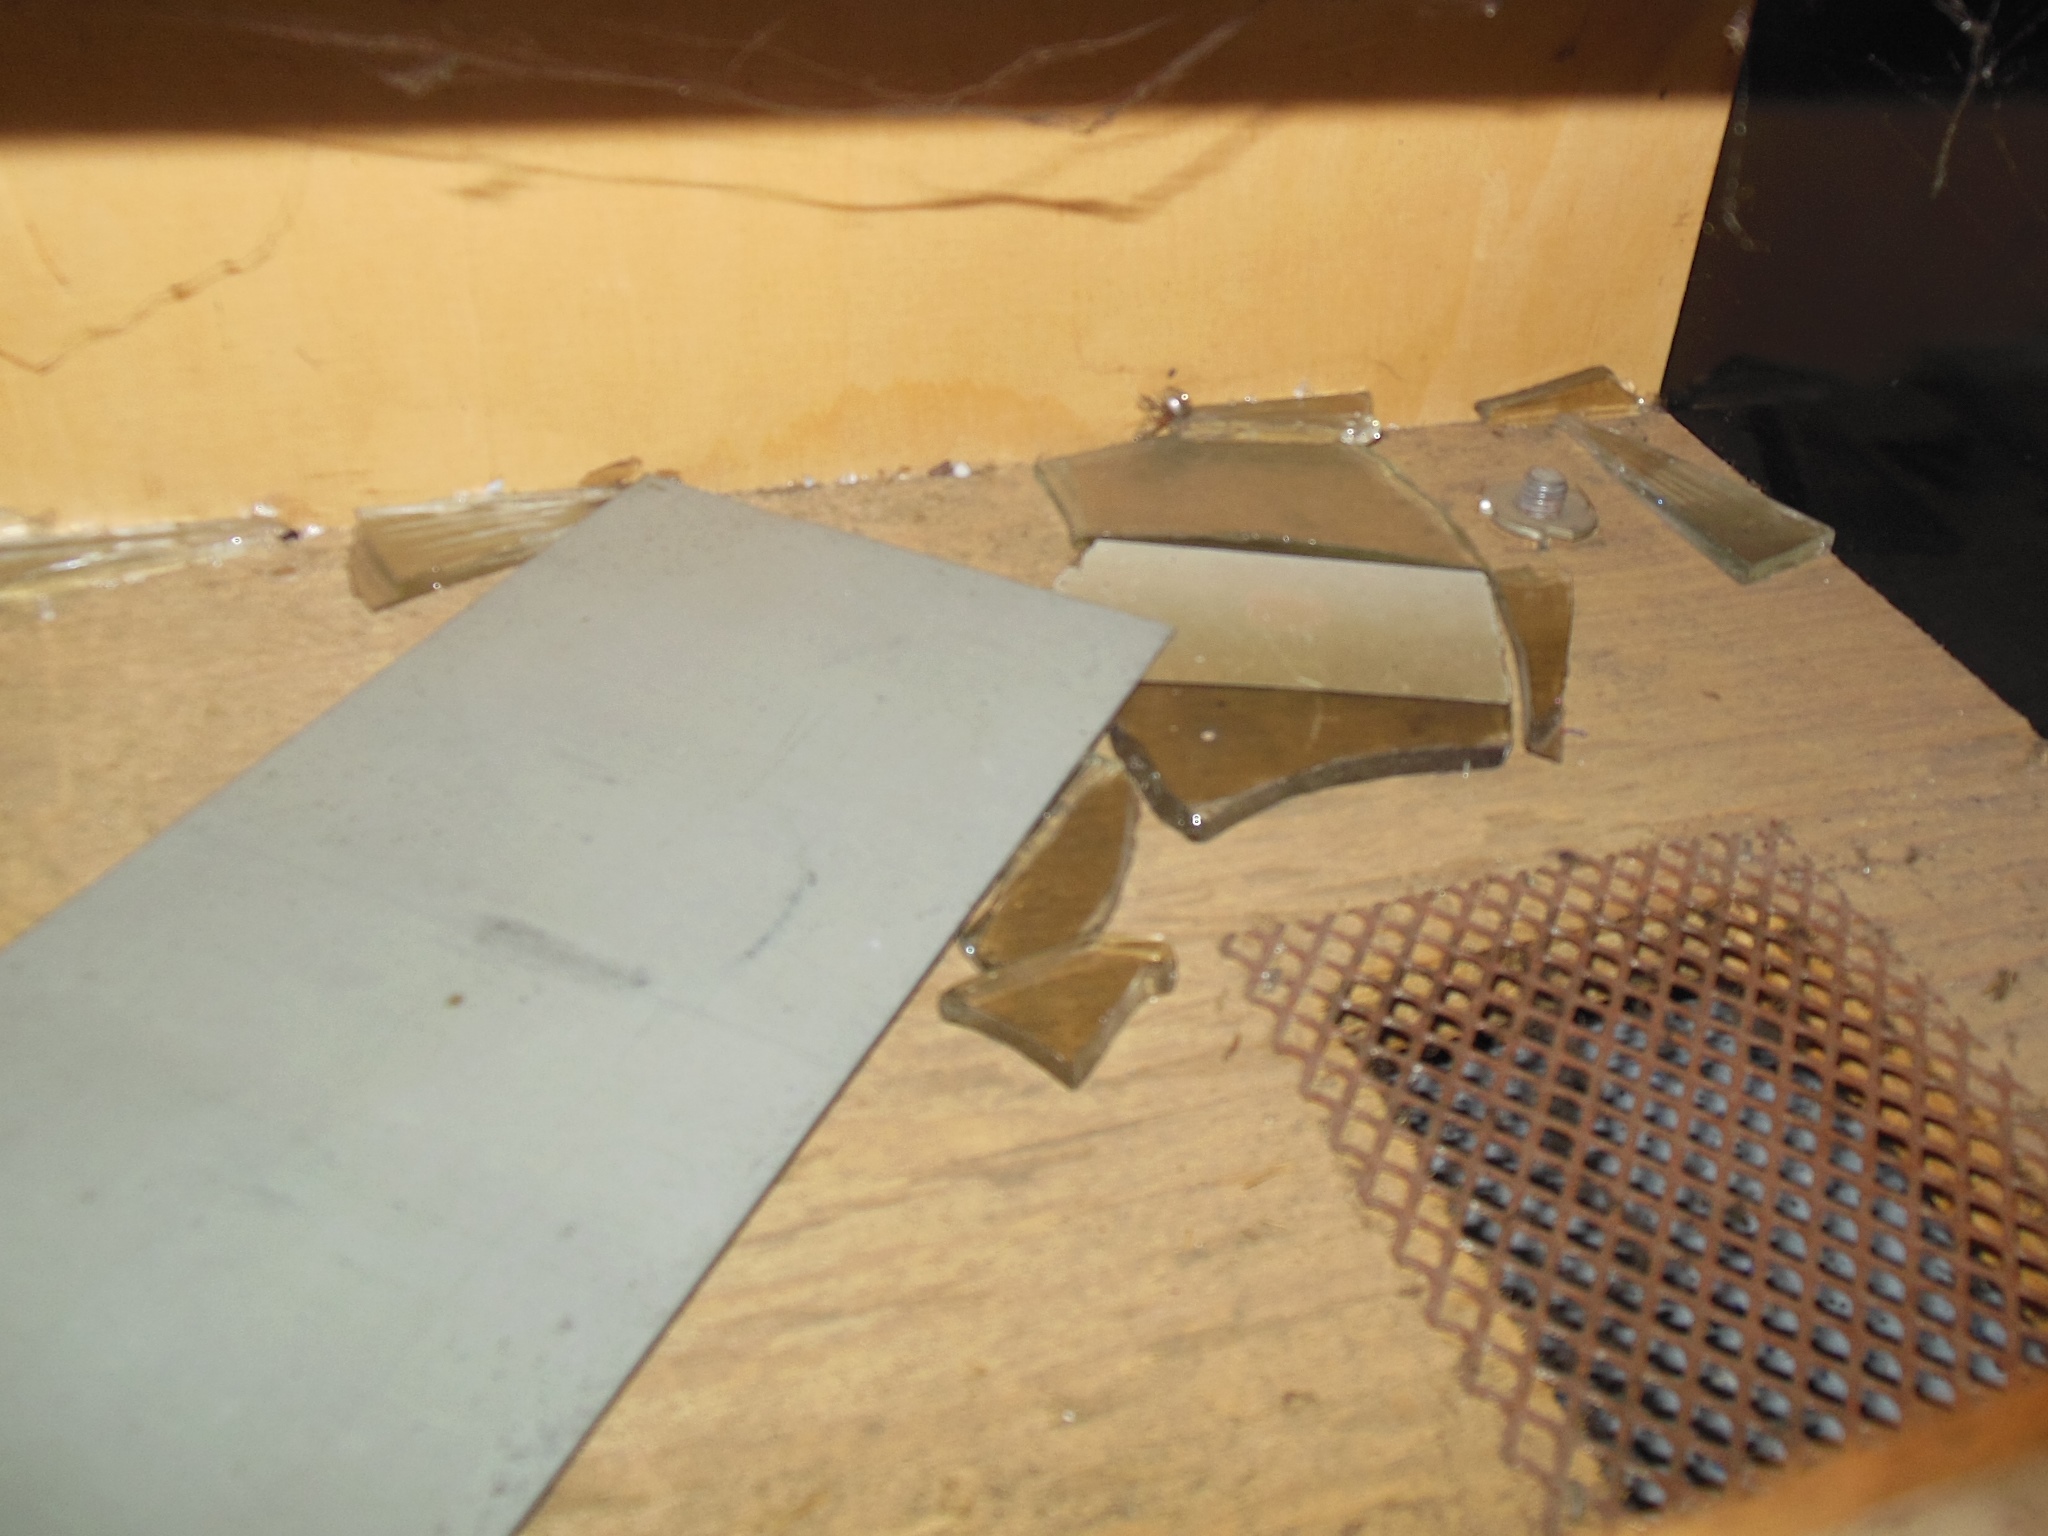
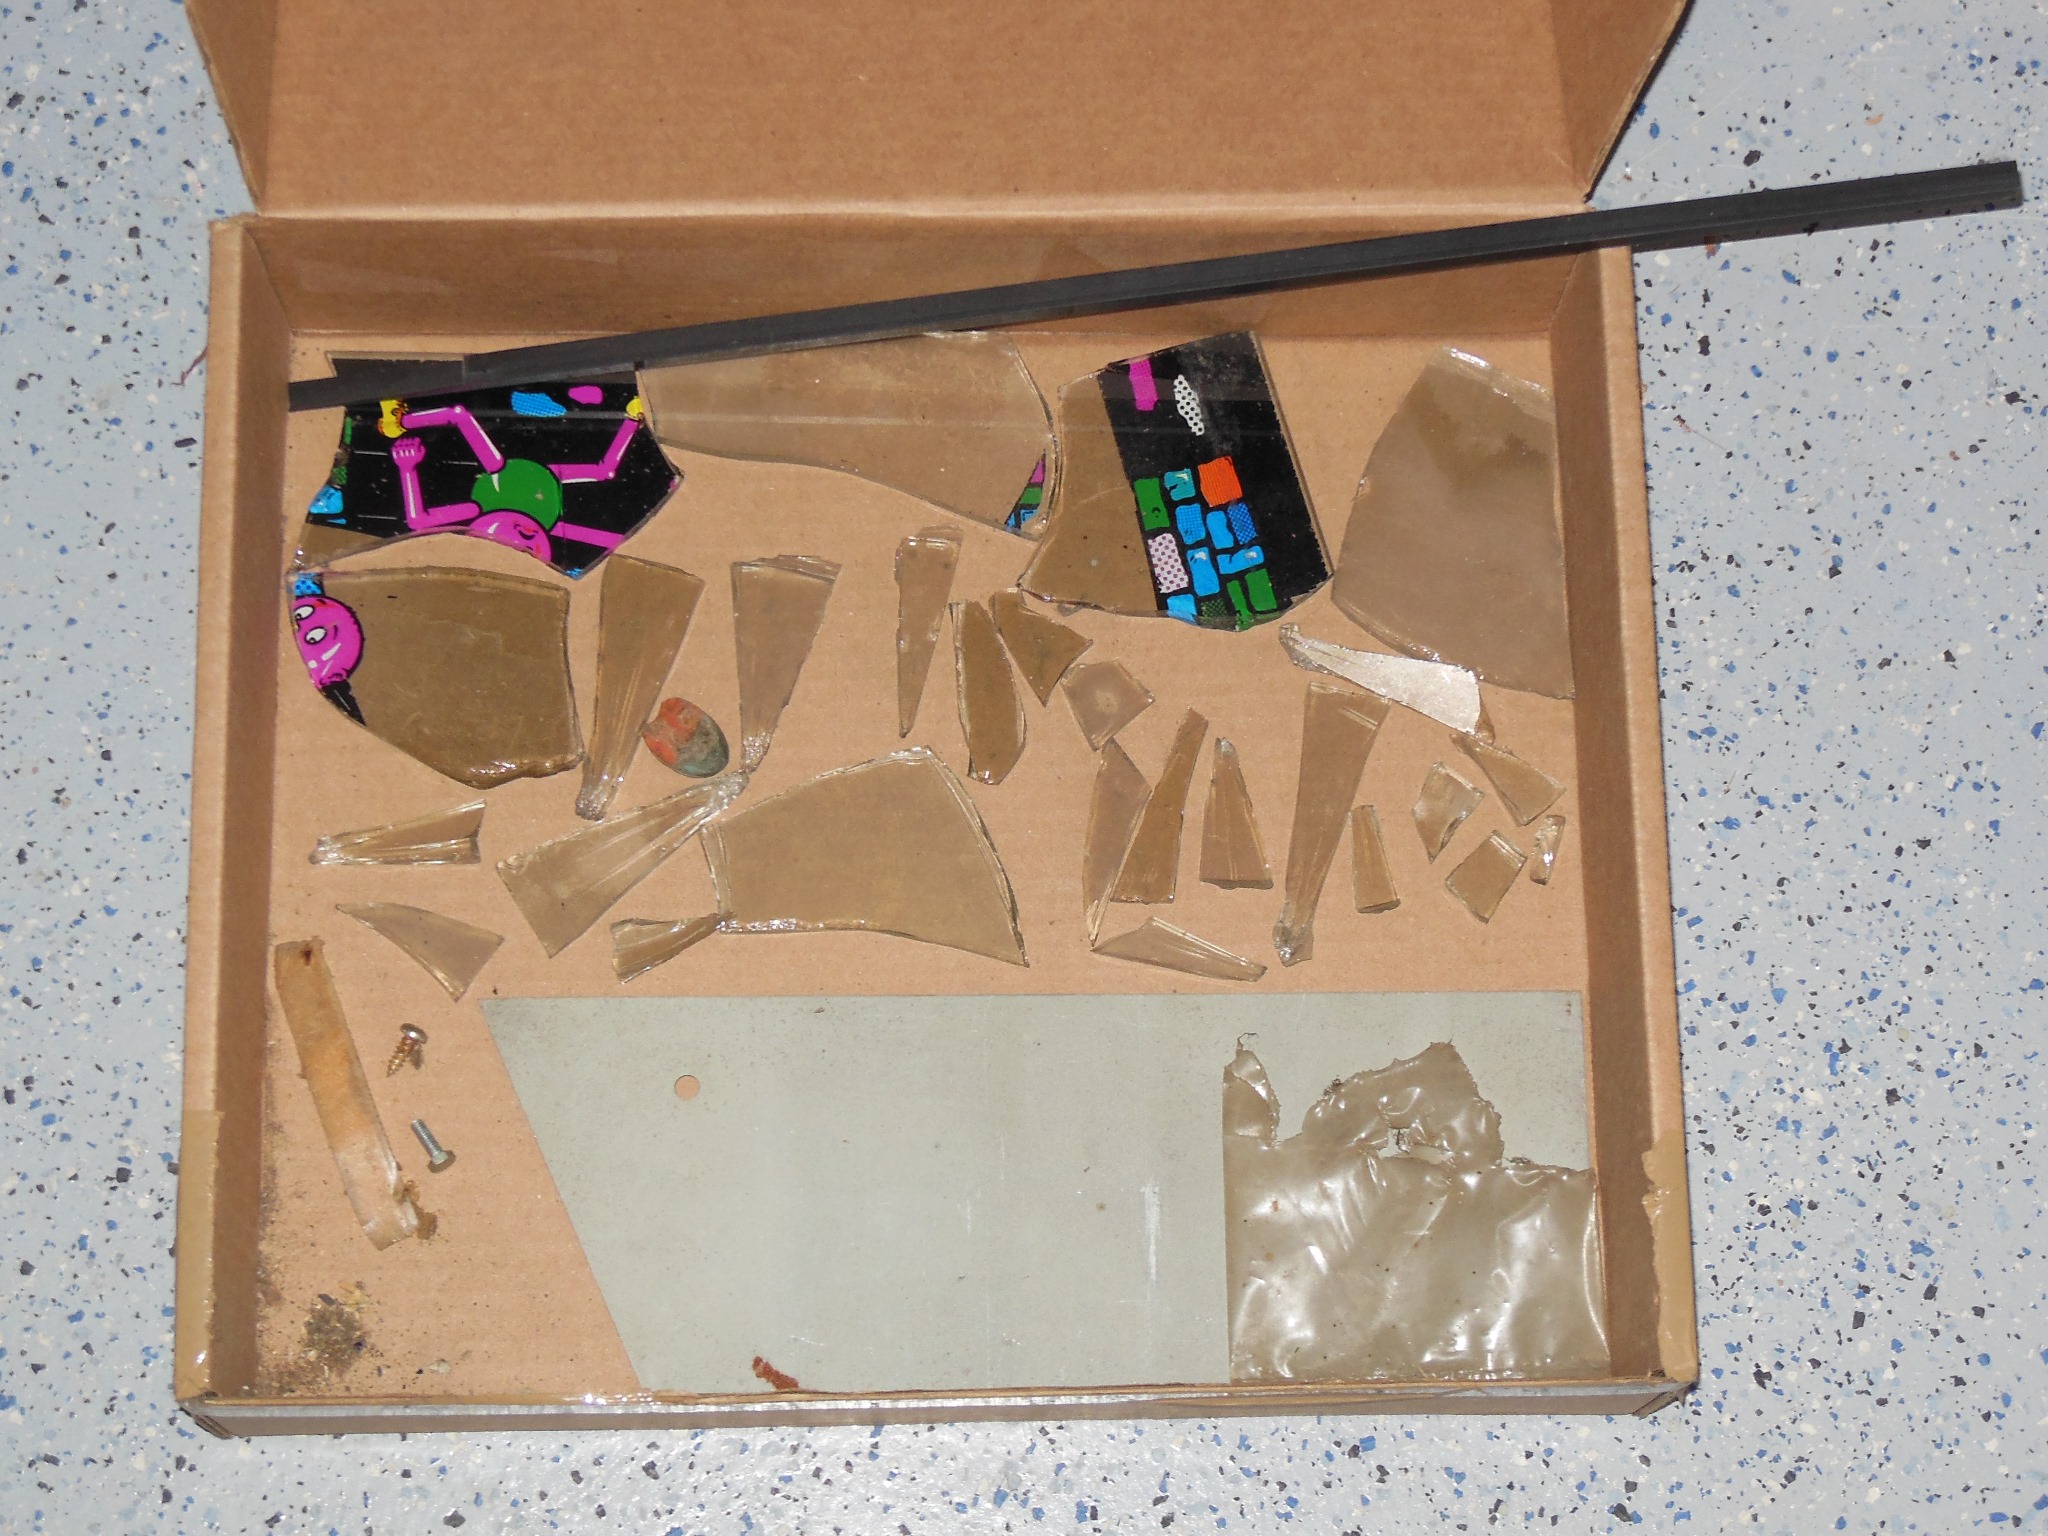
In the bottom of the cabinet was a metal plate that looked to related to the cash box and broken front monitor glass. My theory was that the front glass had been smashed to gain access to the back of the coin door to remove it and steal the cash box.
|
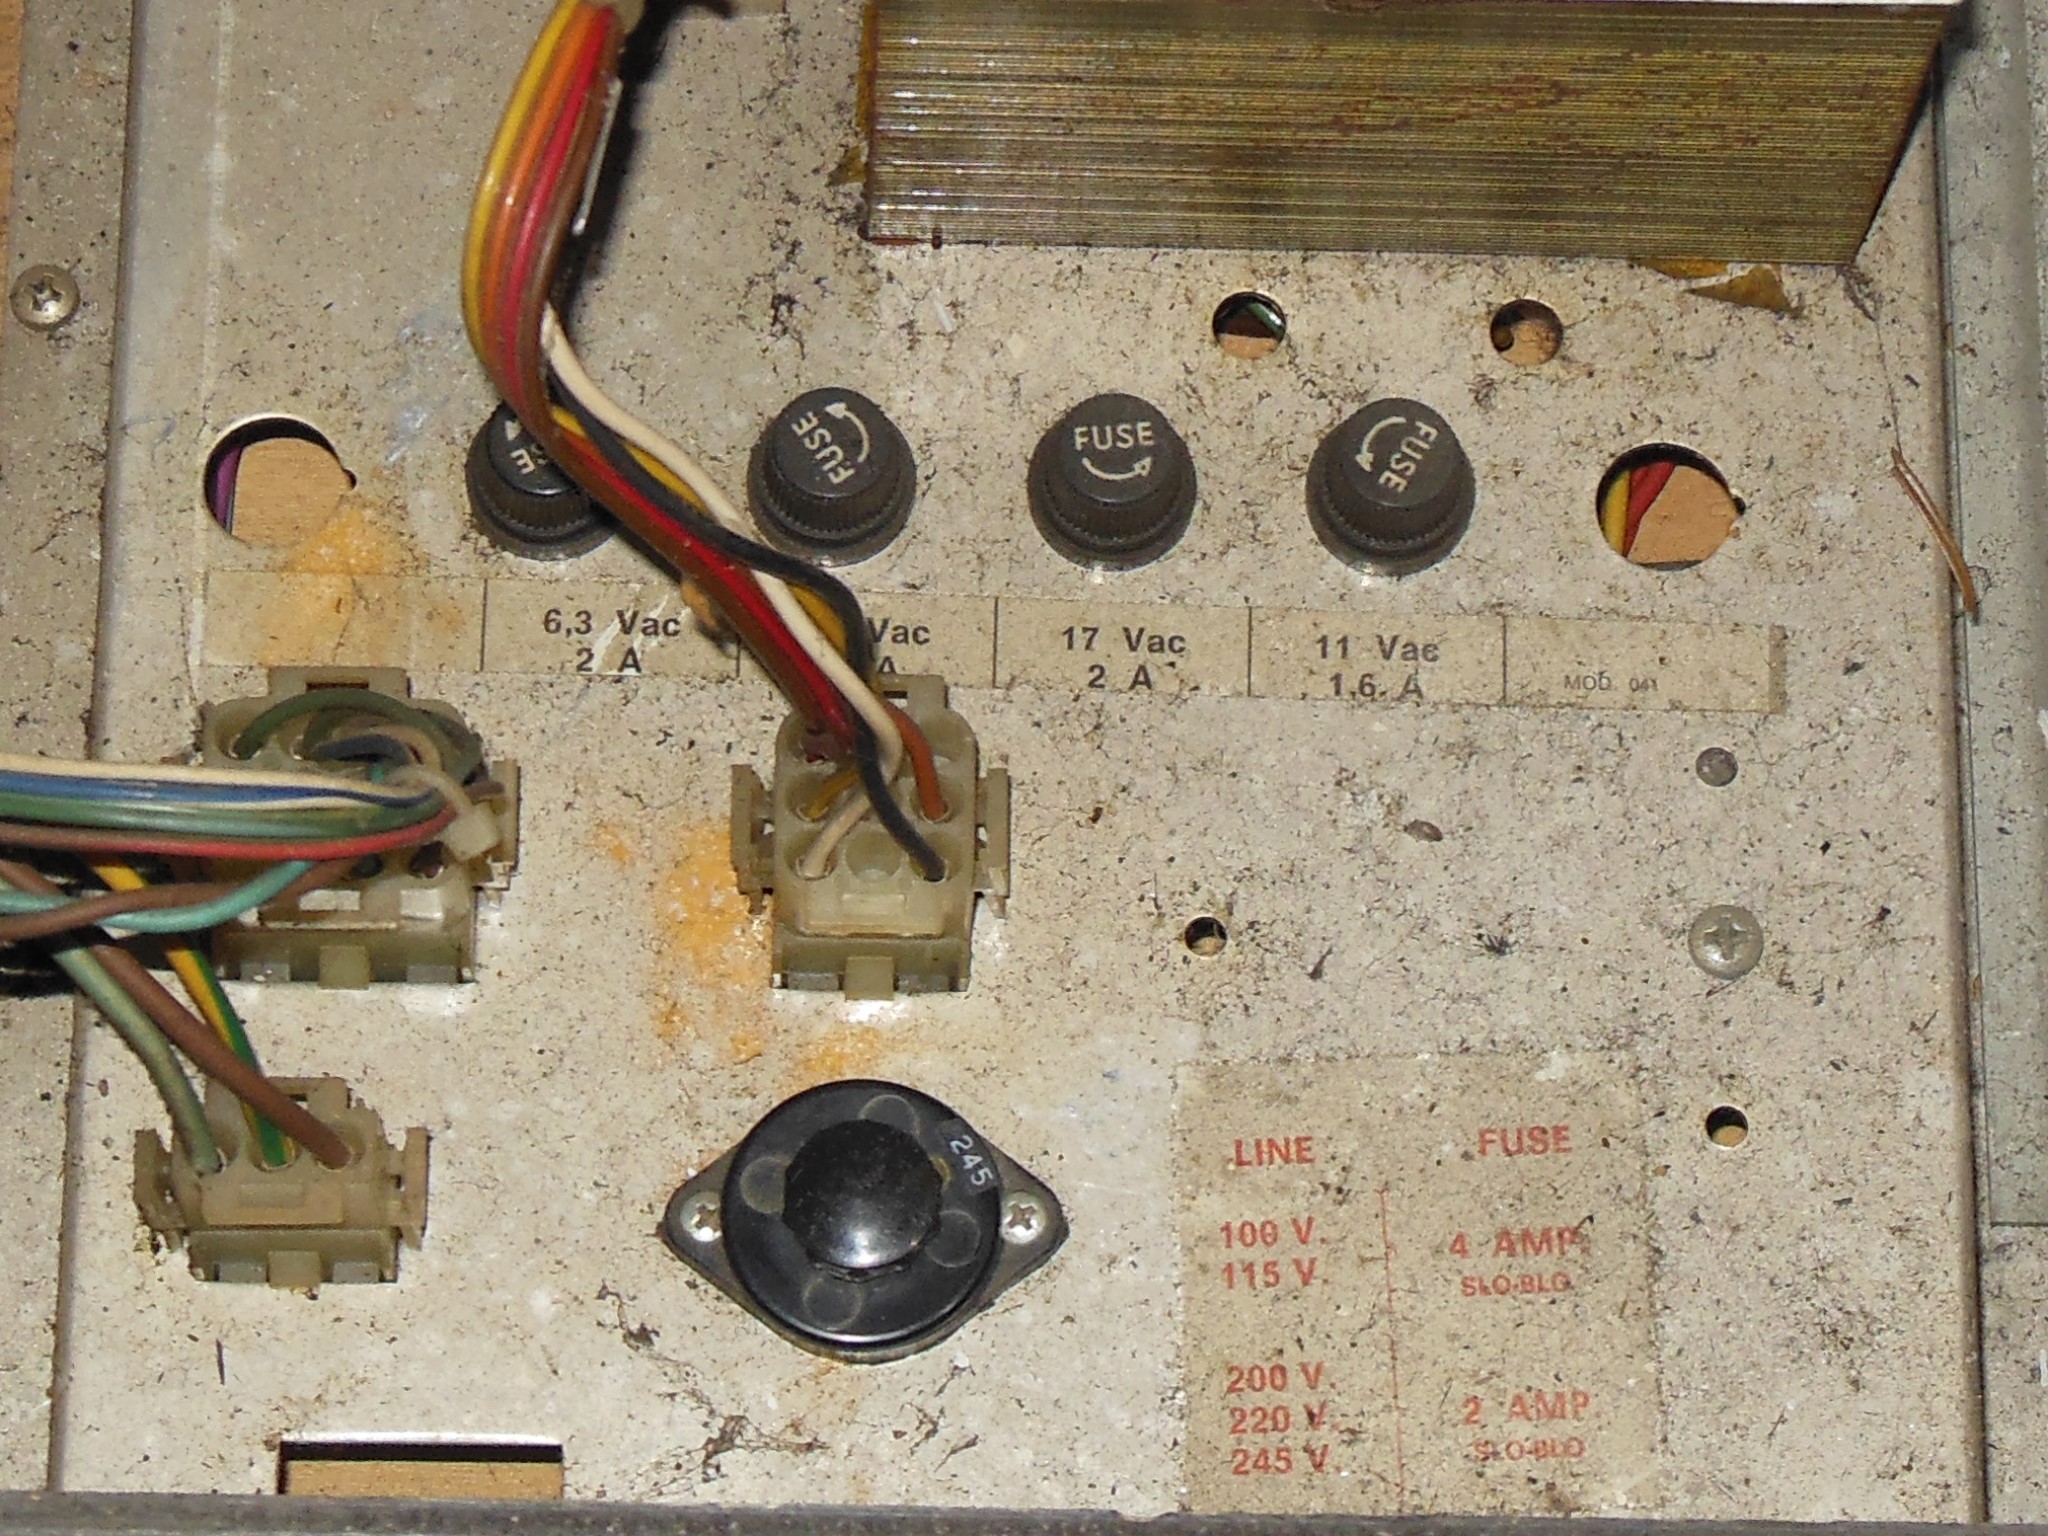
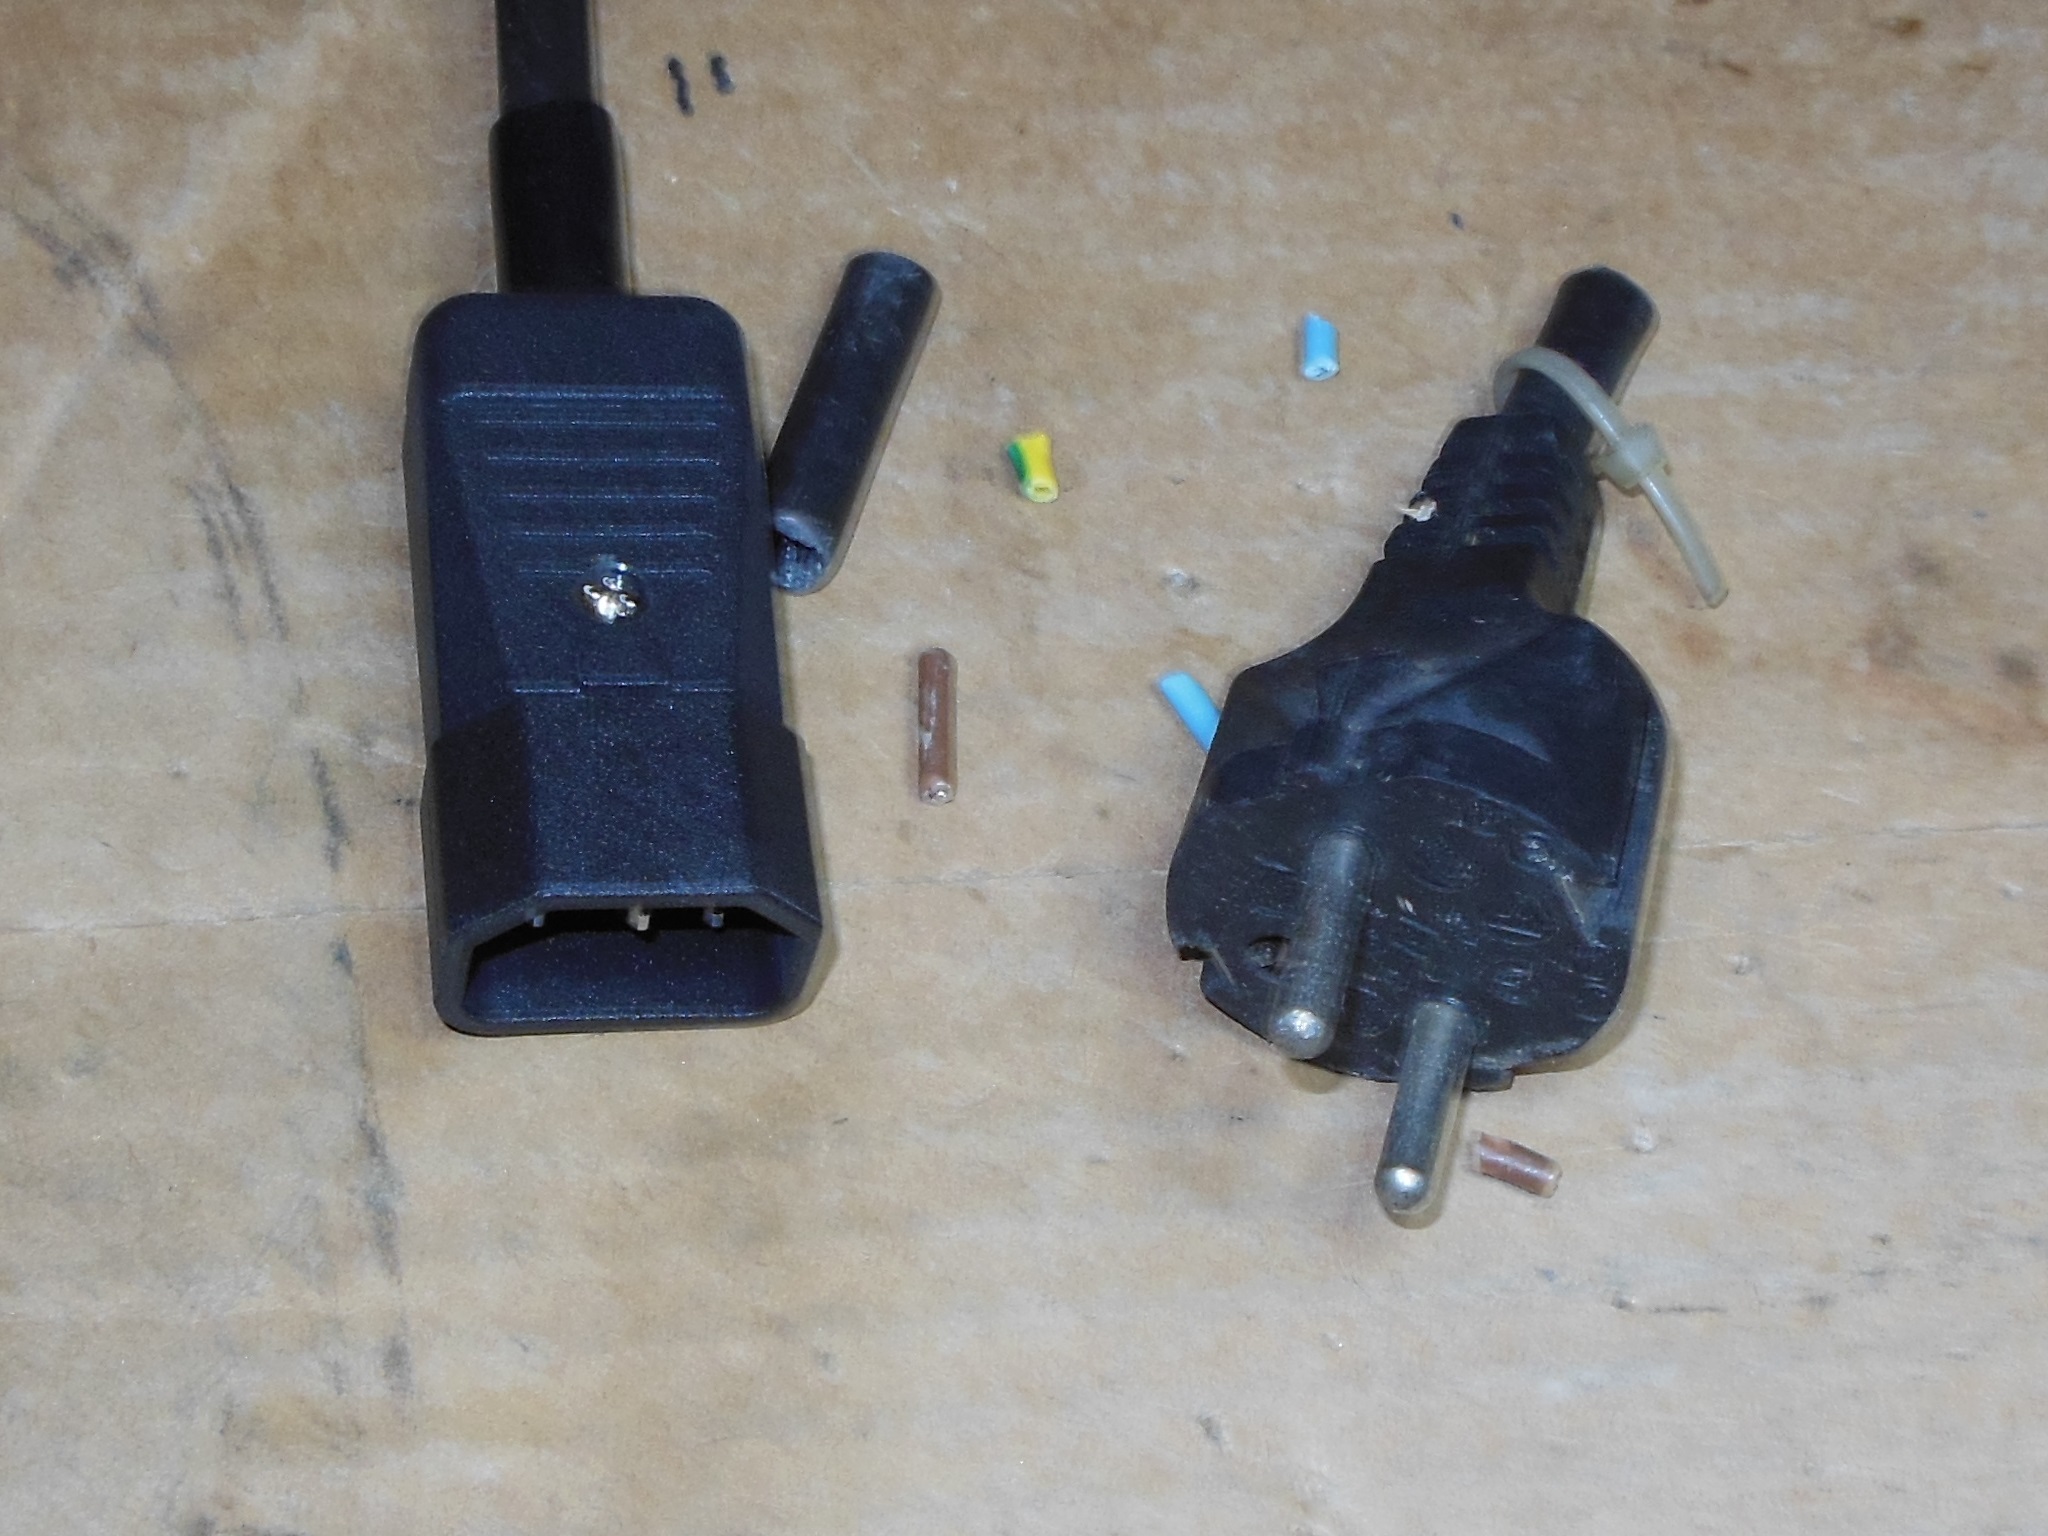
The power brick was set for 245V and the European plug replaced with an IE-C14 plug consistent with all the other 240V games. The monitor chassis was also properly installed prior to power on.


|
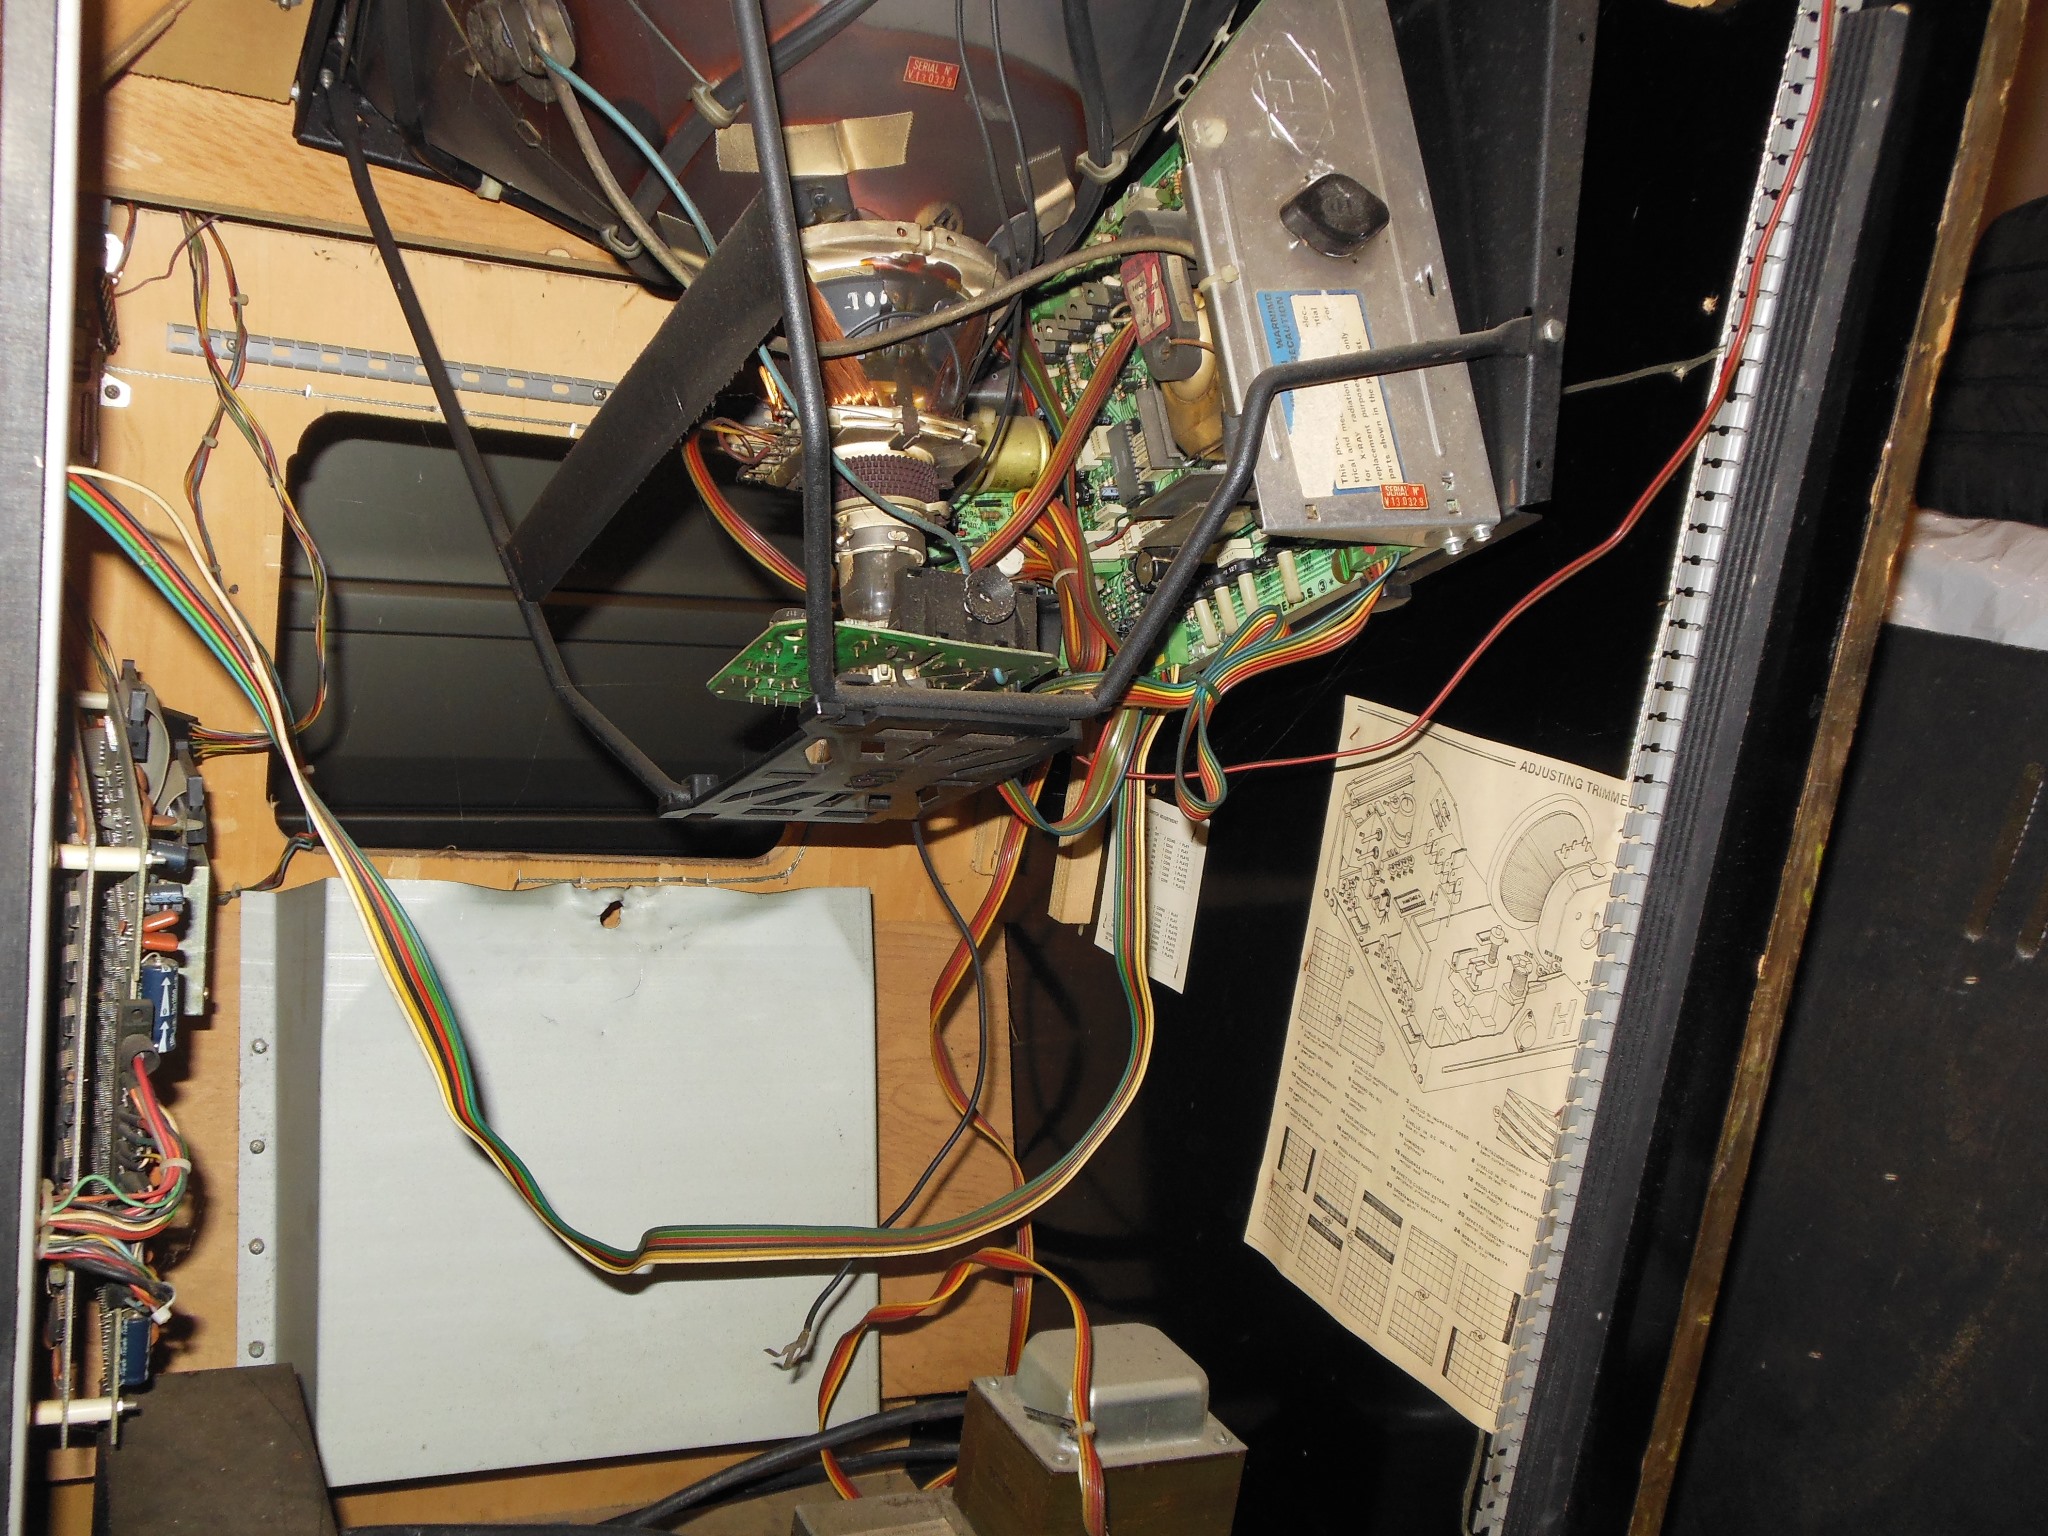
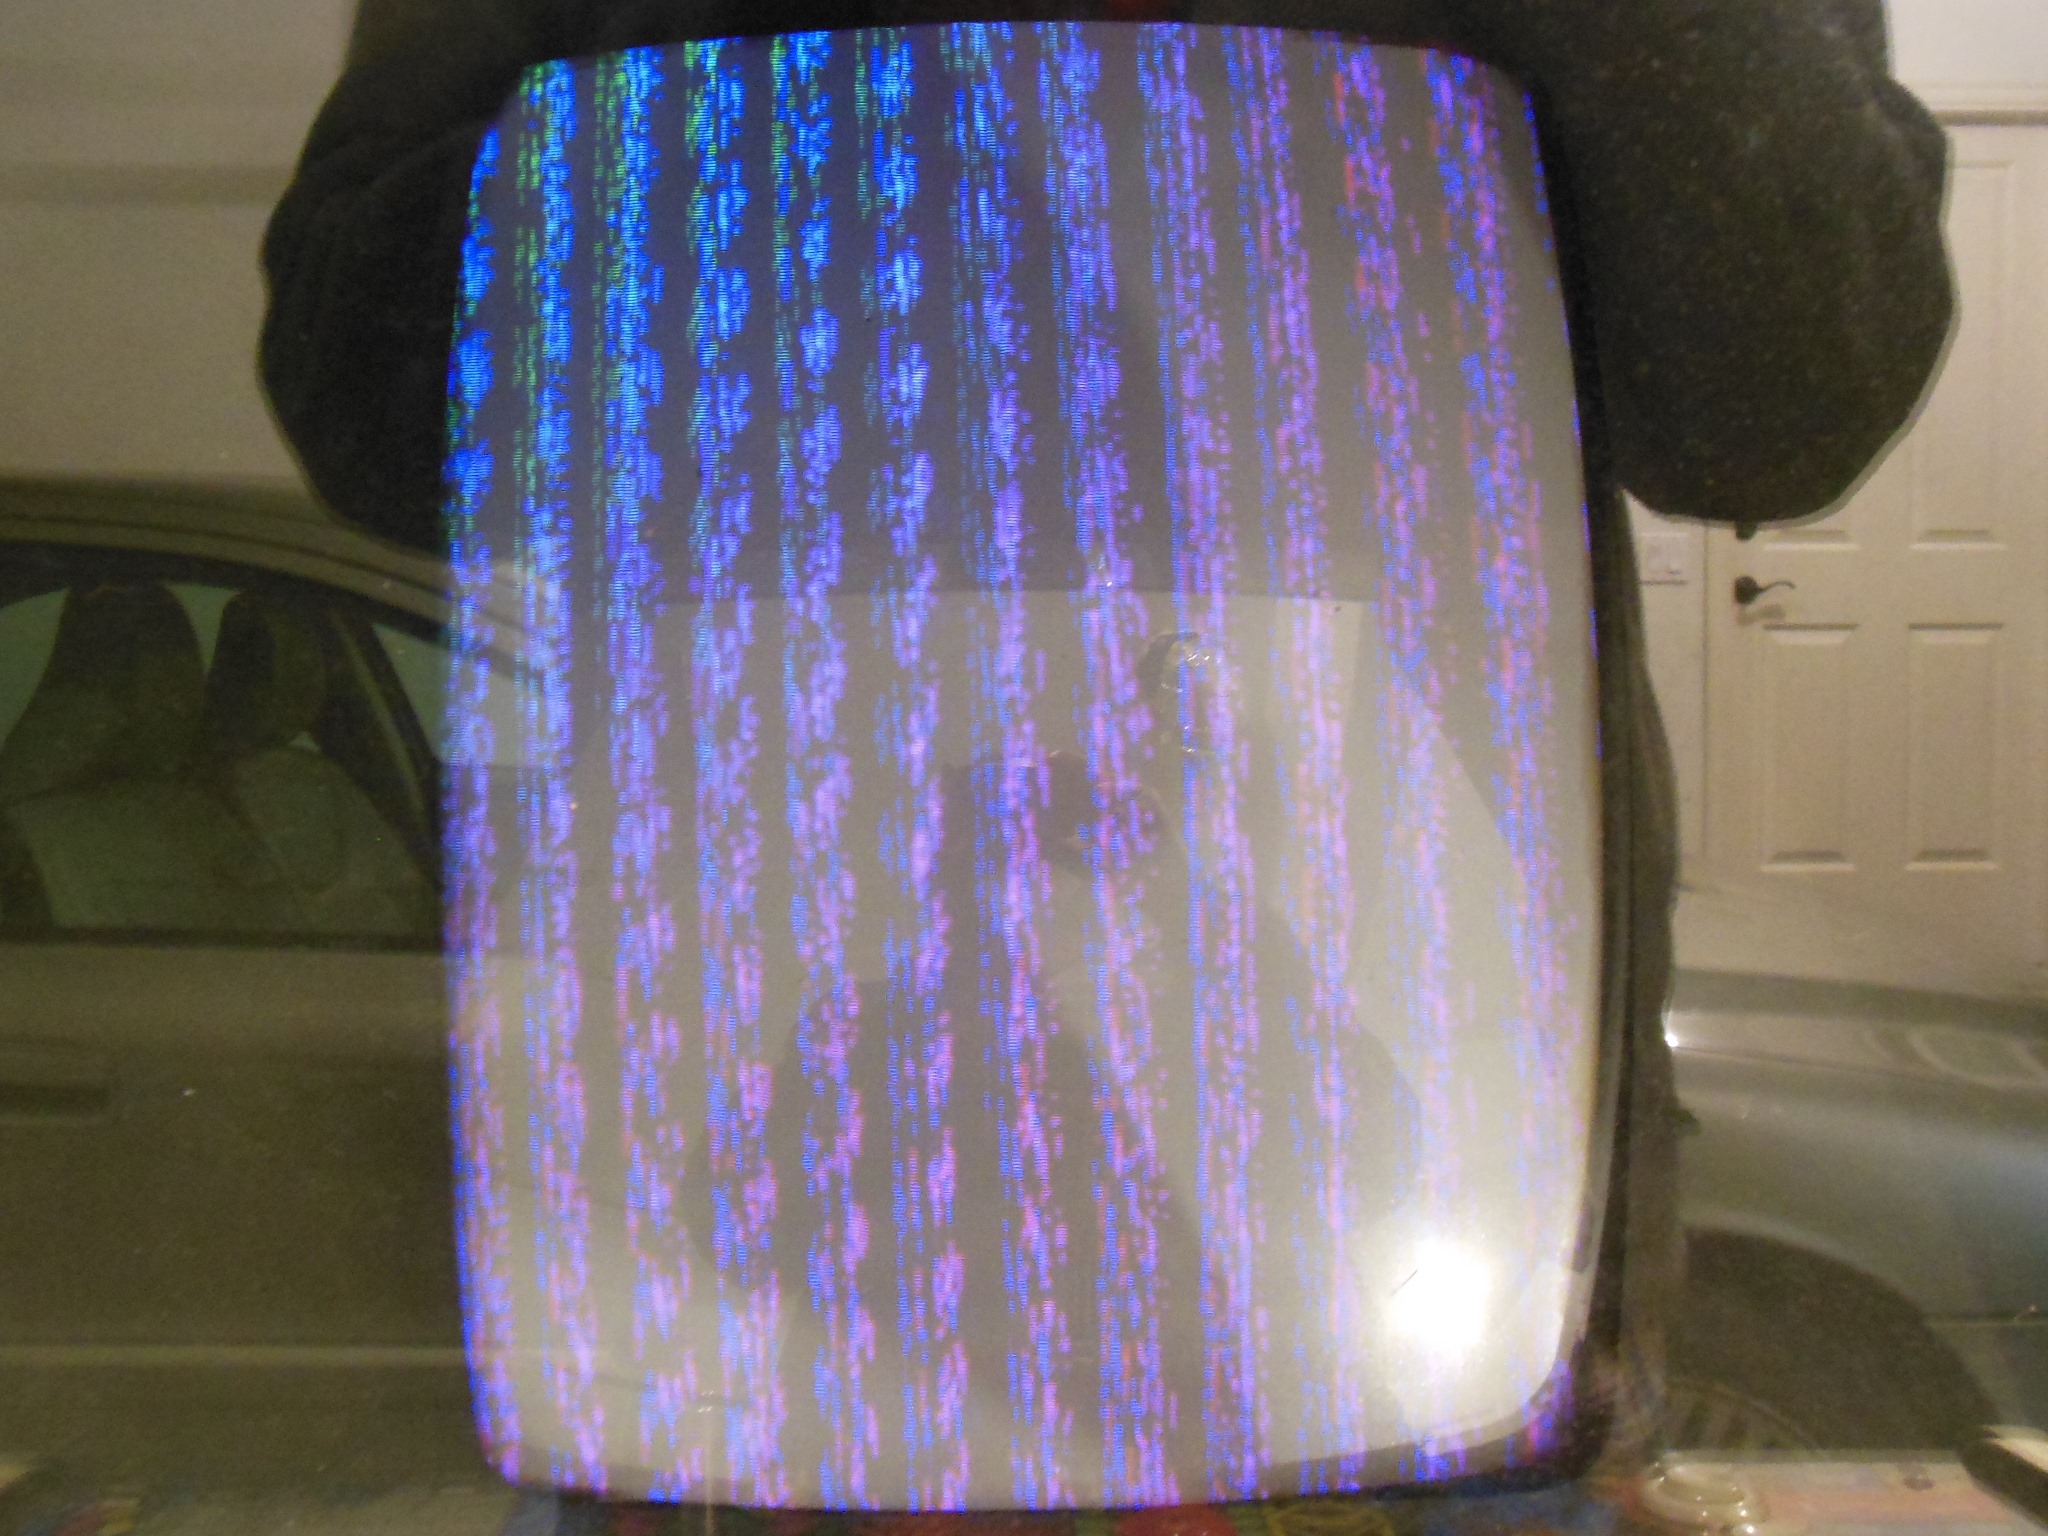
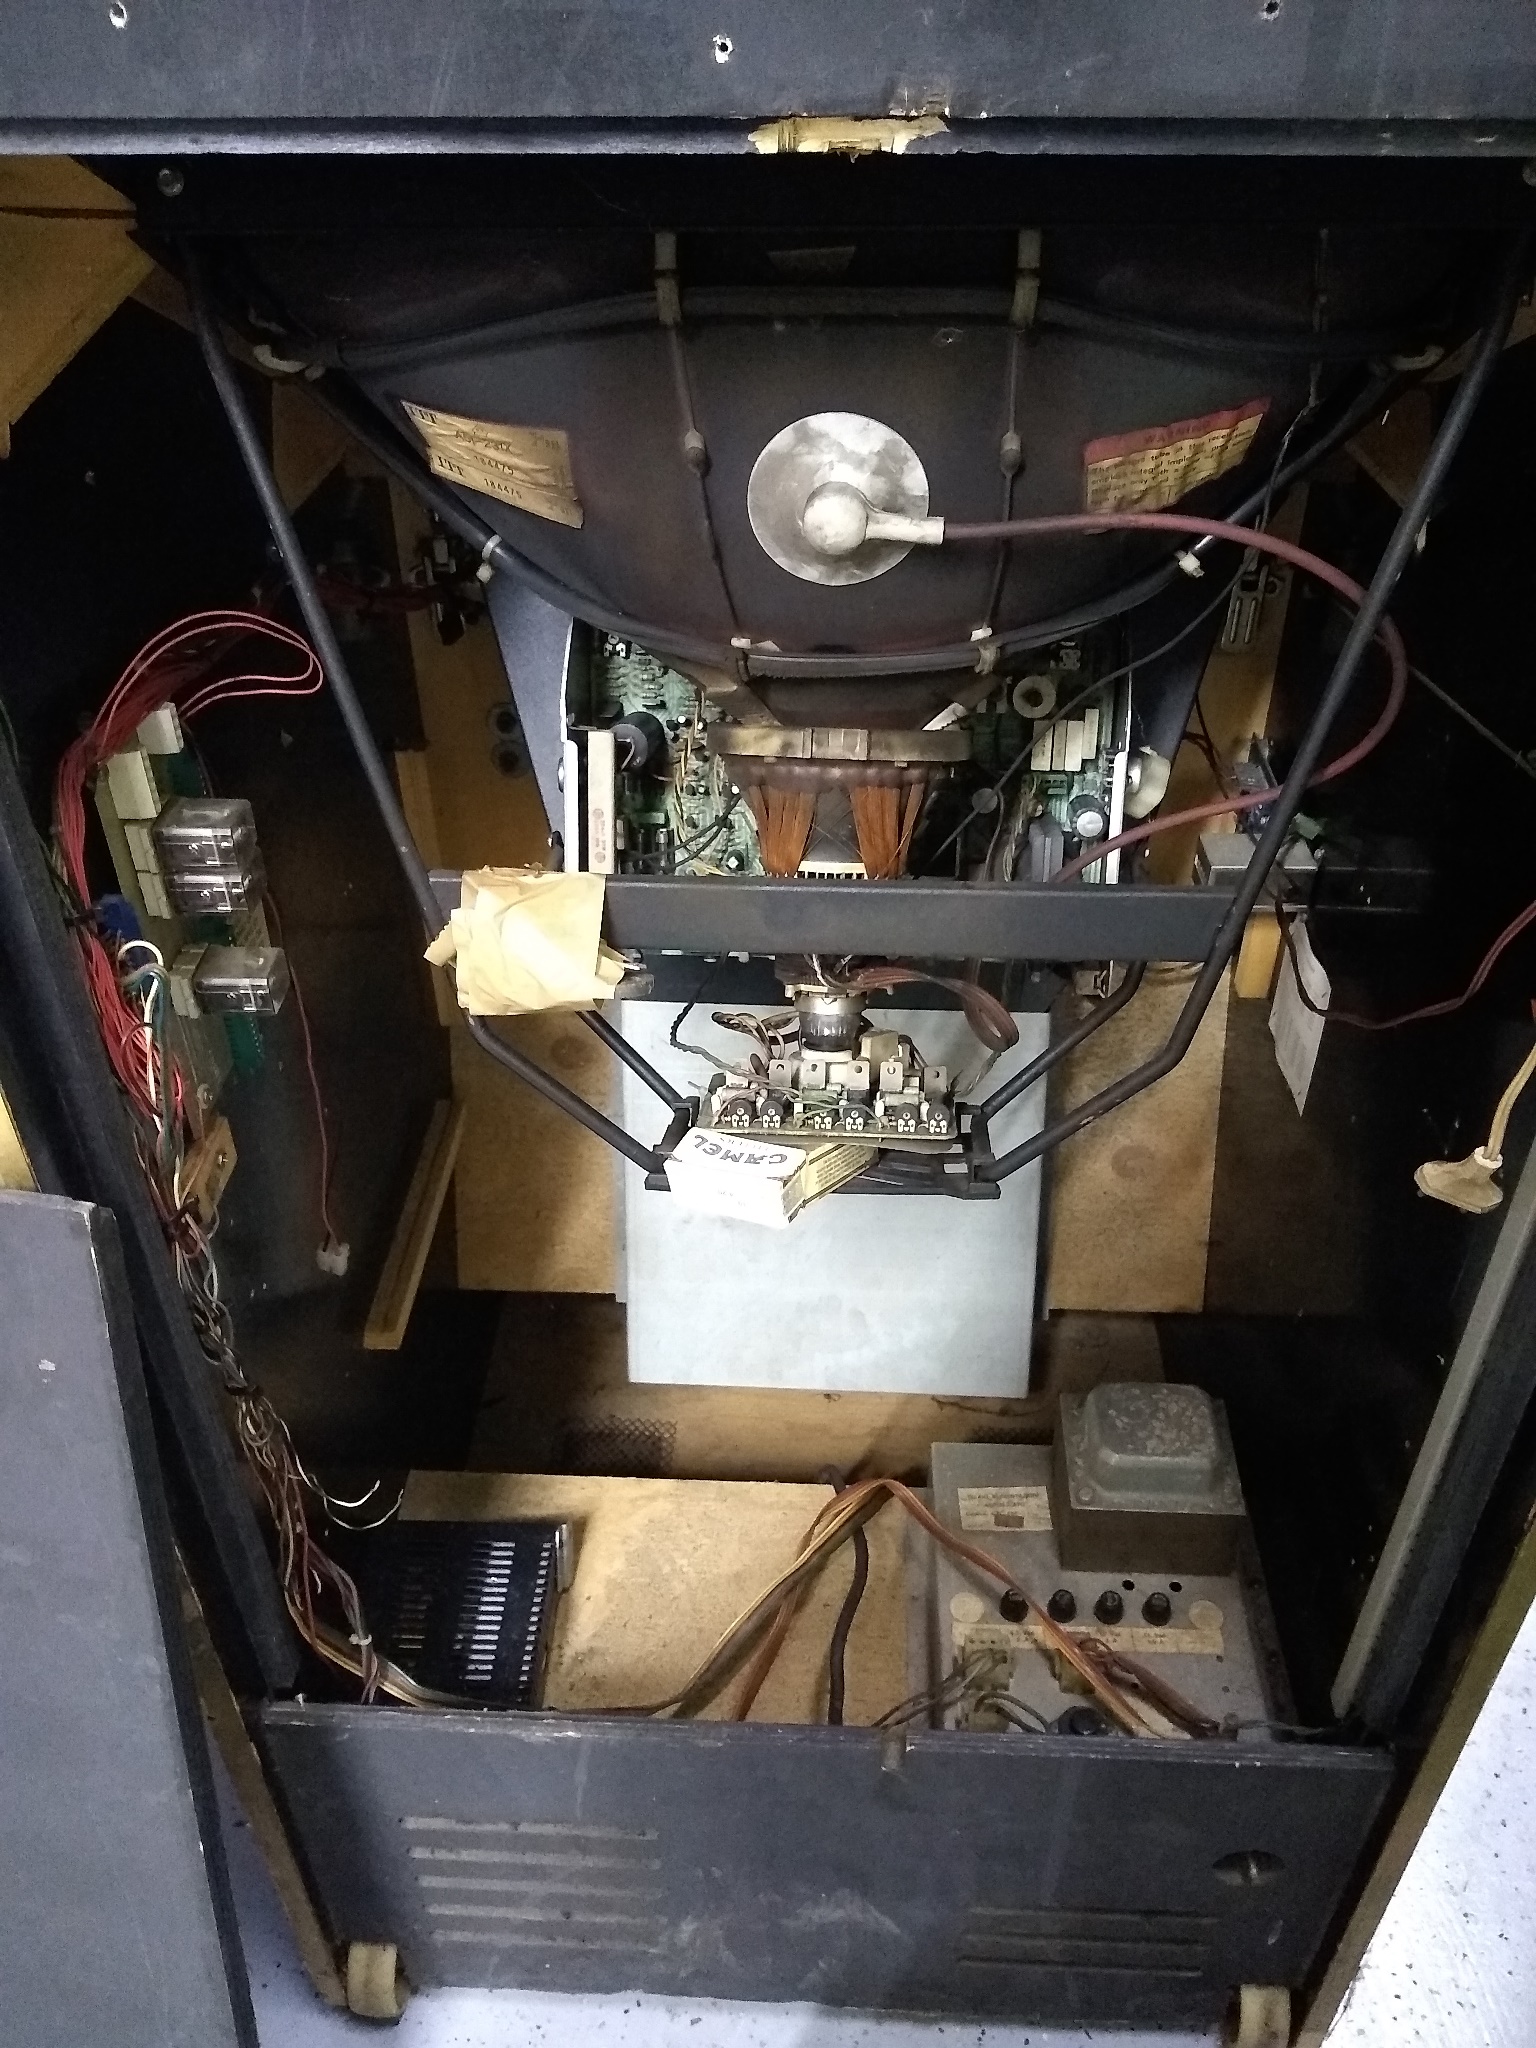
First power on resulted in an out-of-sync picture as the only proof of life given the abscence of coin door lights and missing marque light cabling. No amount of tweaking of the picture resulted in anything close to sync lock but the first thing to do with the monitor chassis was a cap kit anyway. There was enough of the picture to see the game PCB running something at least.
|
All of the marque electronics were missing leaving the component outline behind.

|
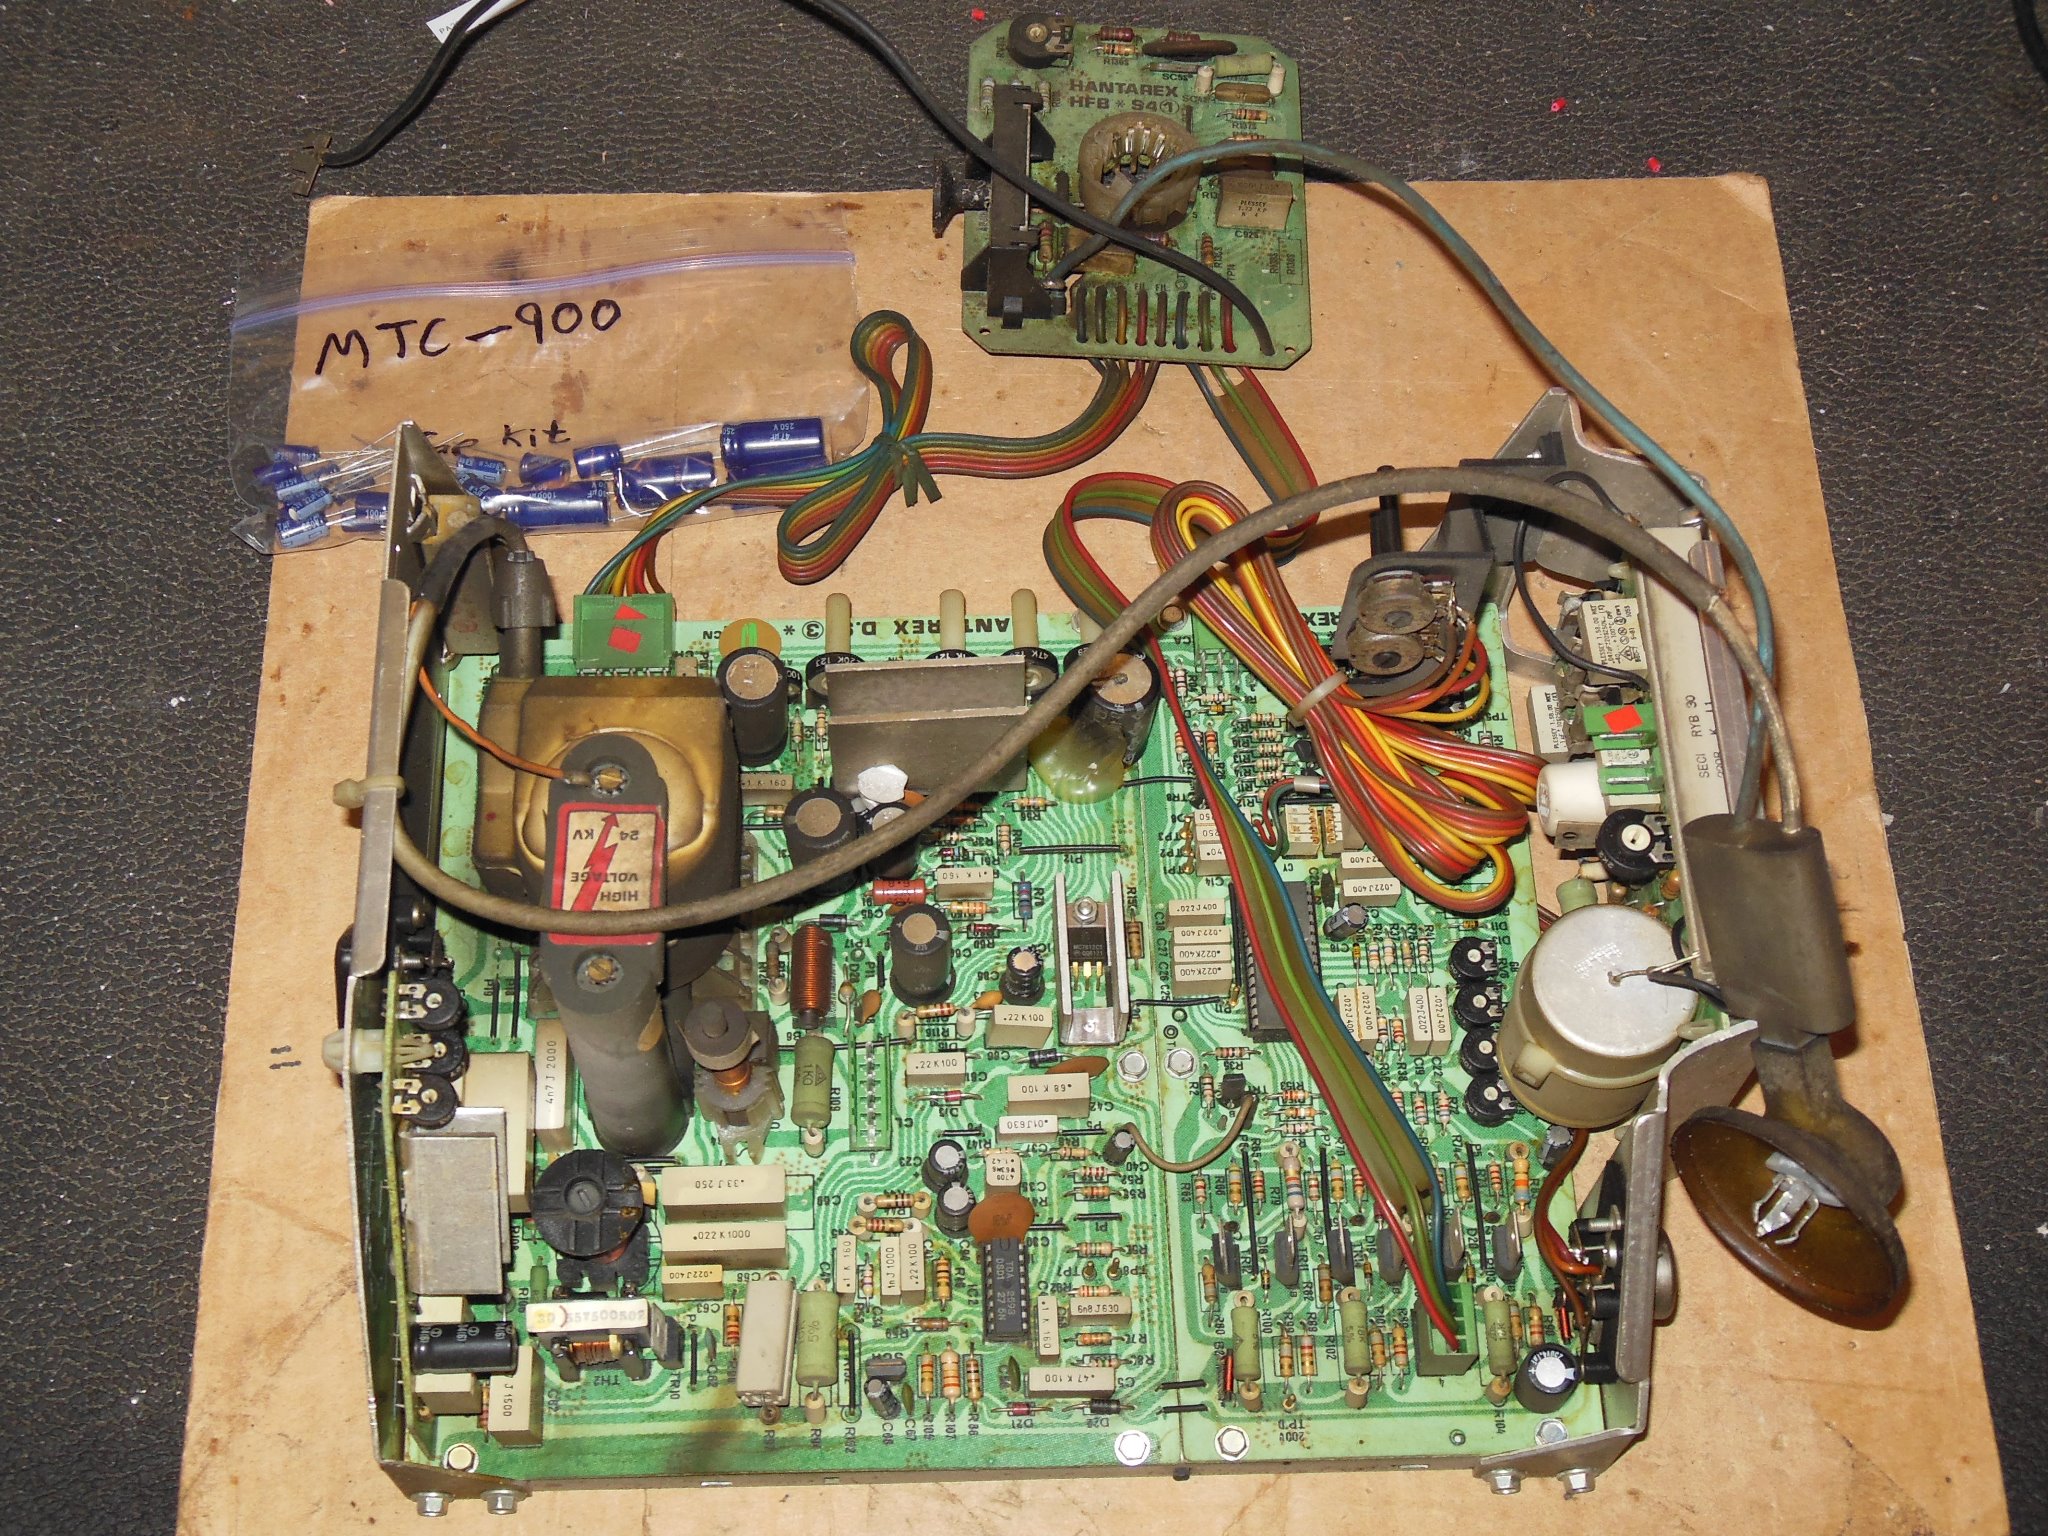
One of my home made MTC-900 DIY cap kits was fitted to the chassis without issue.
|
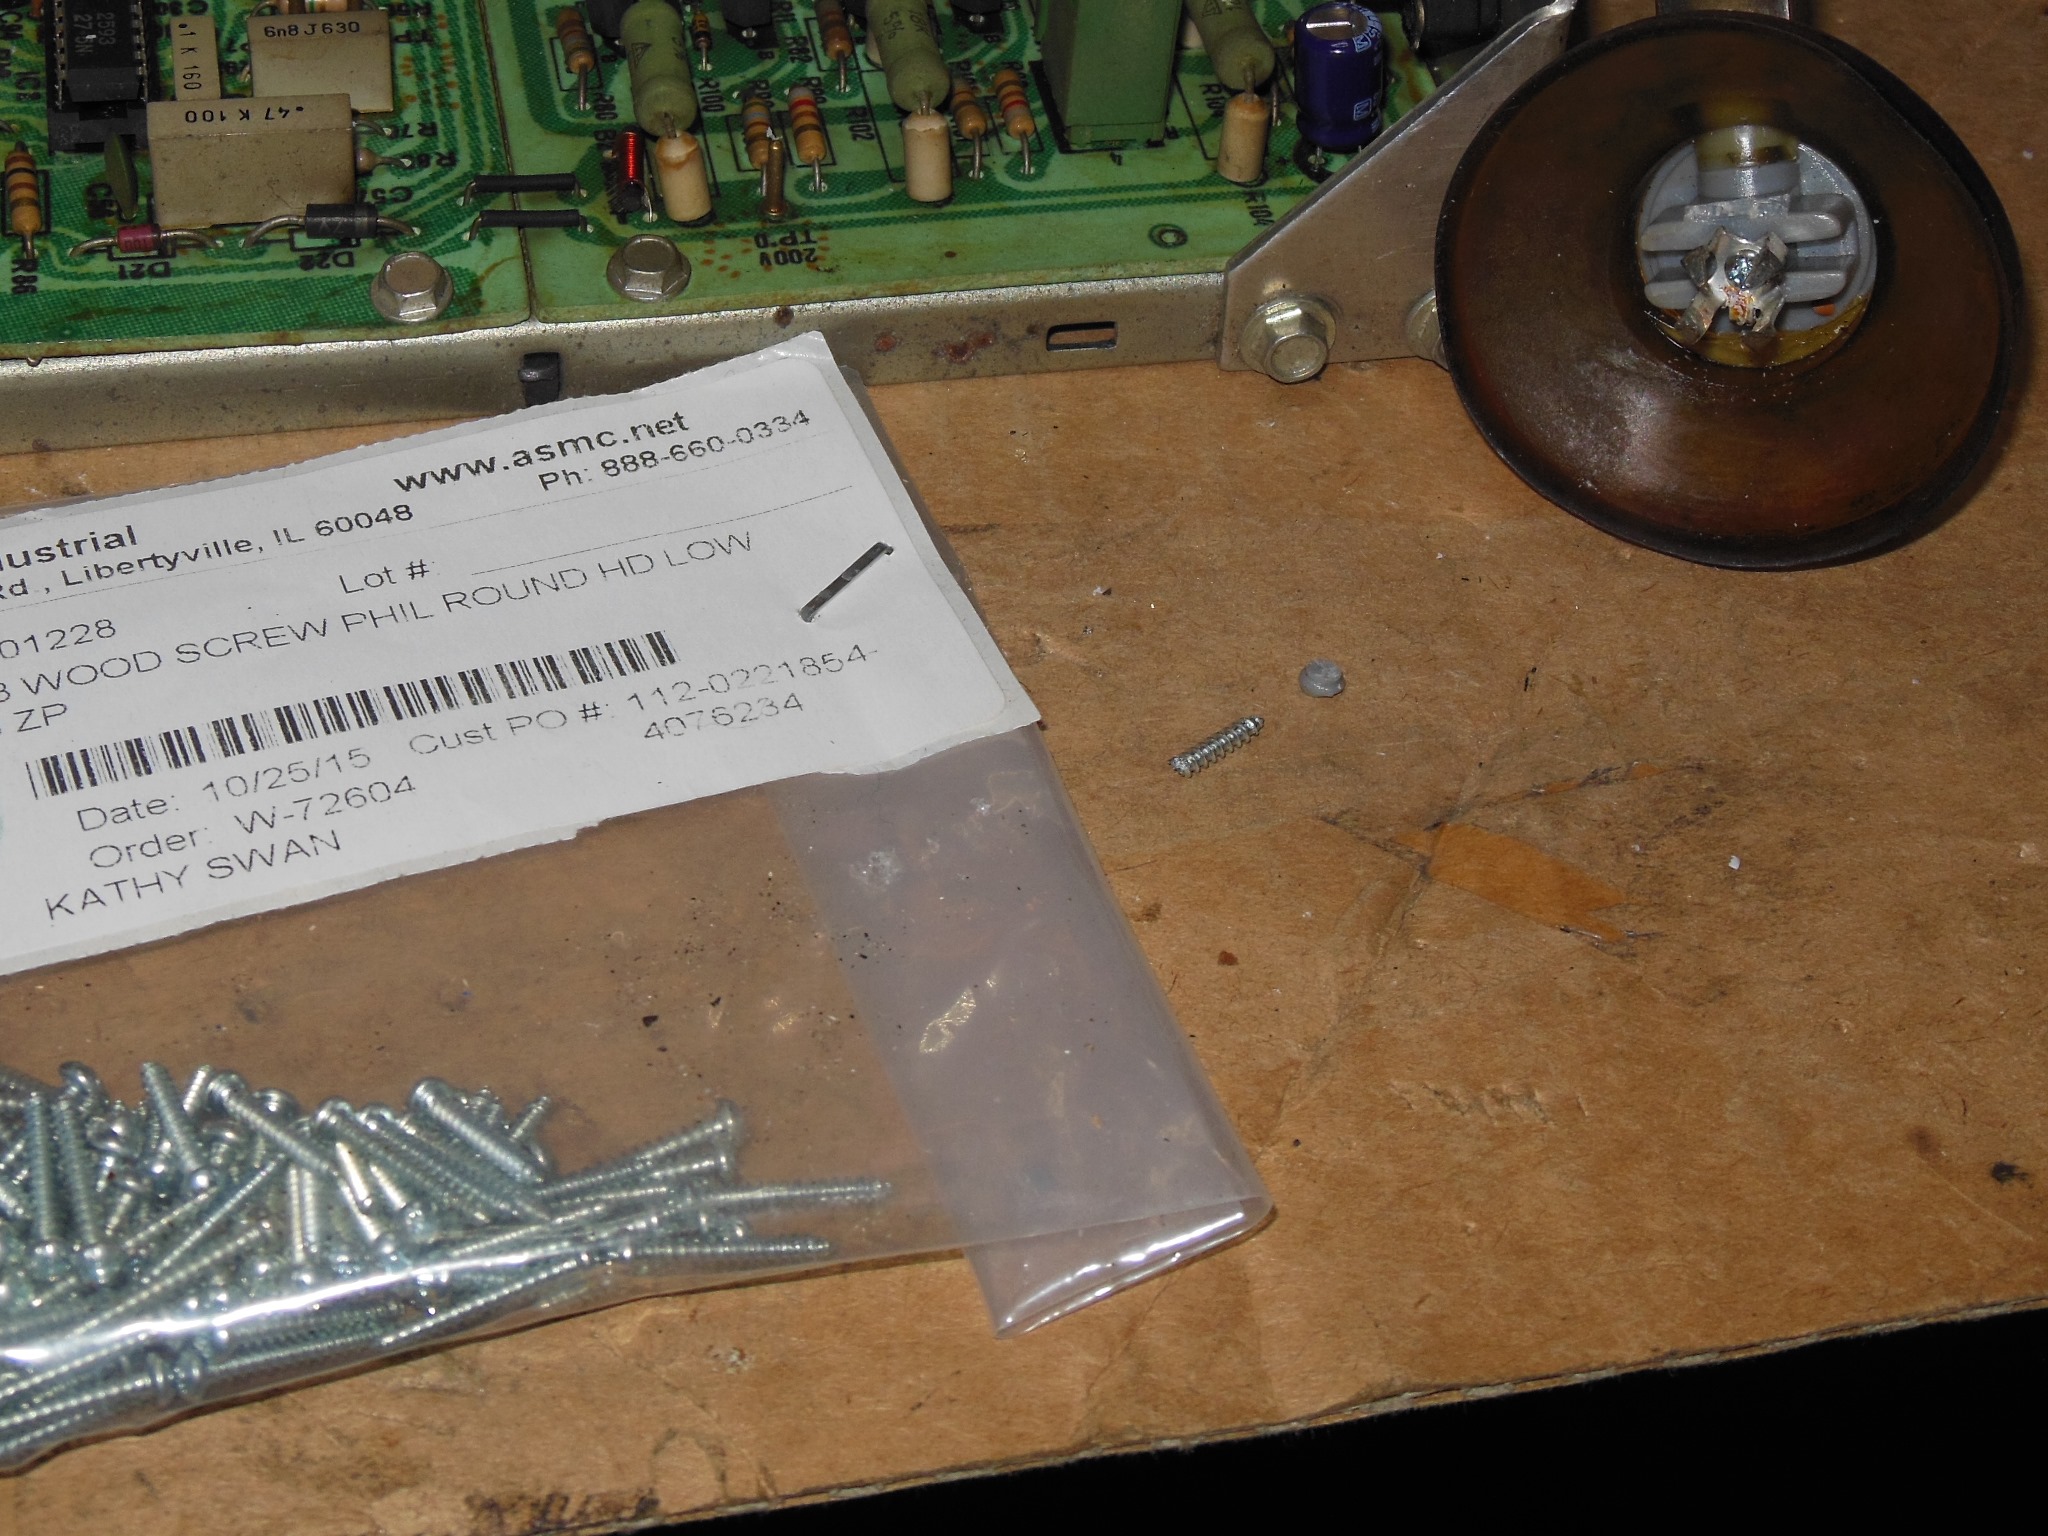
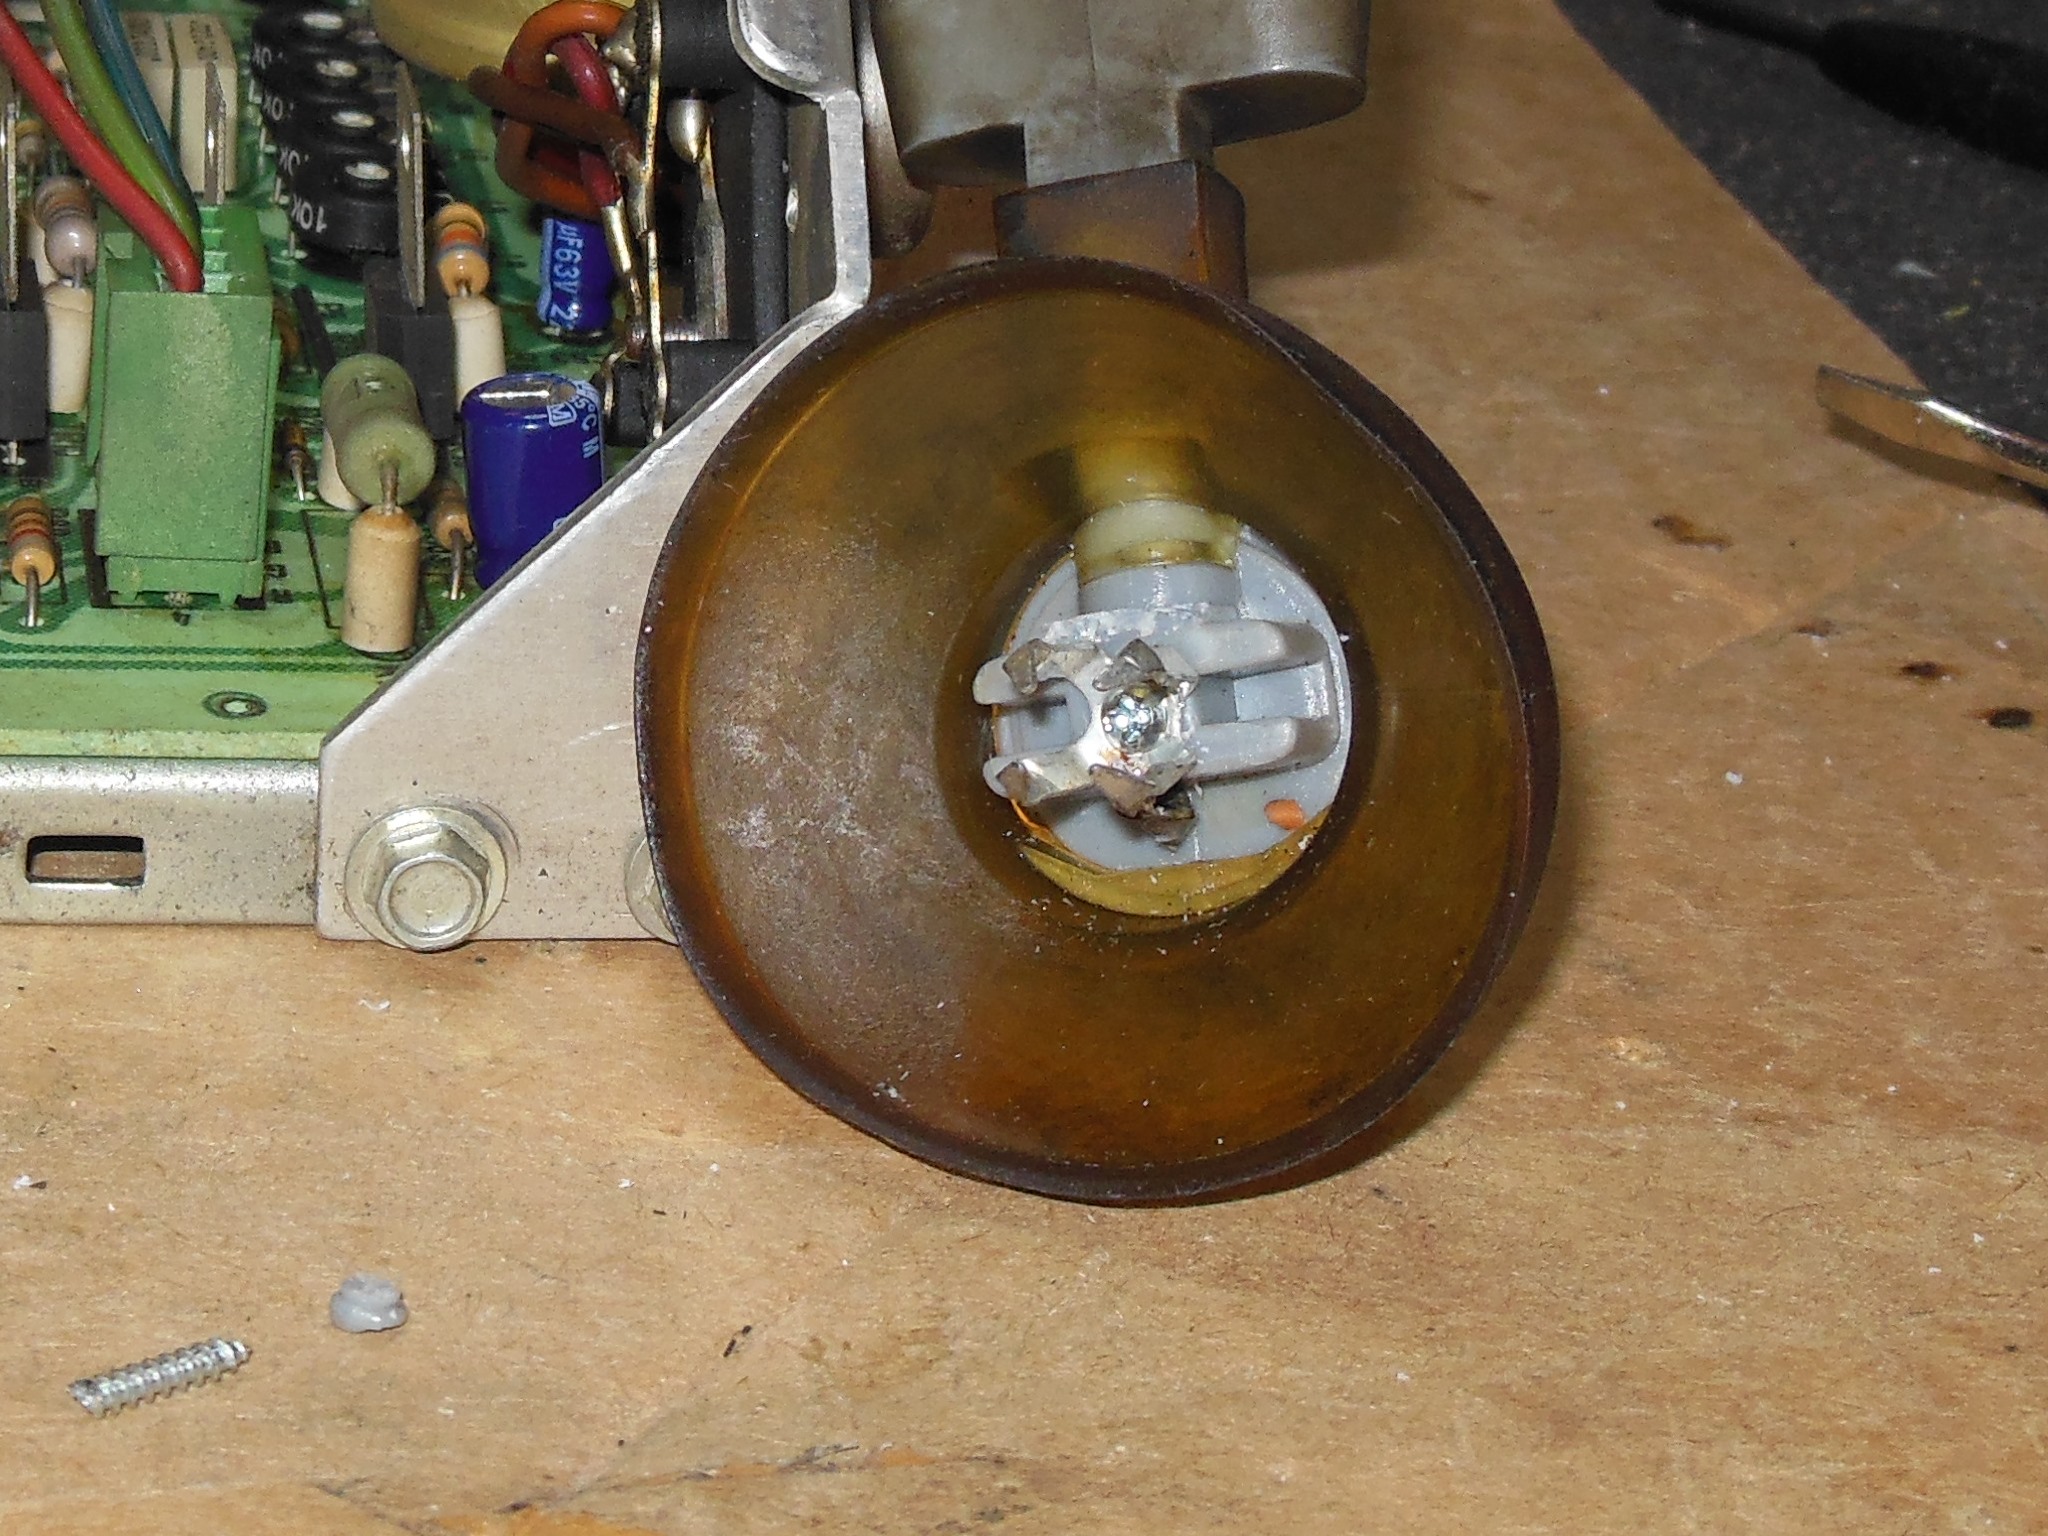
The clasp in the HV cup had broken off from the plastic housing. The fix I came up with for this was to cut down a small wood screw with the Dremel and drill a small hole in the housing to screw into. This worked and appeared stronger than the original melted plastic rivet that originally held the clasp in place.

|
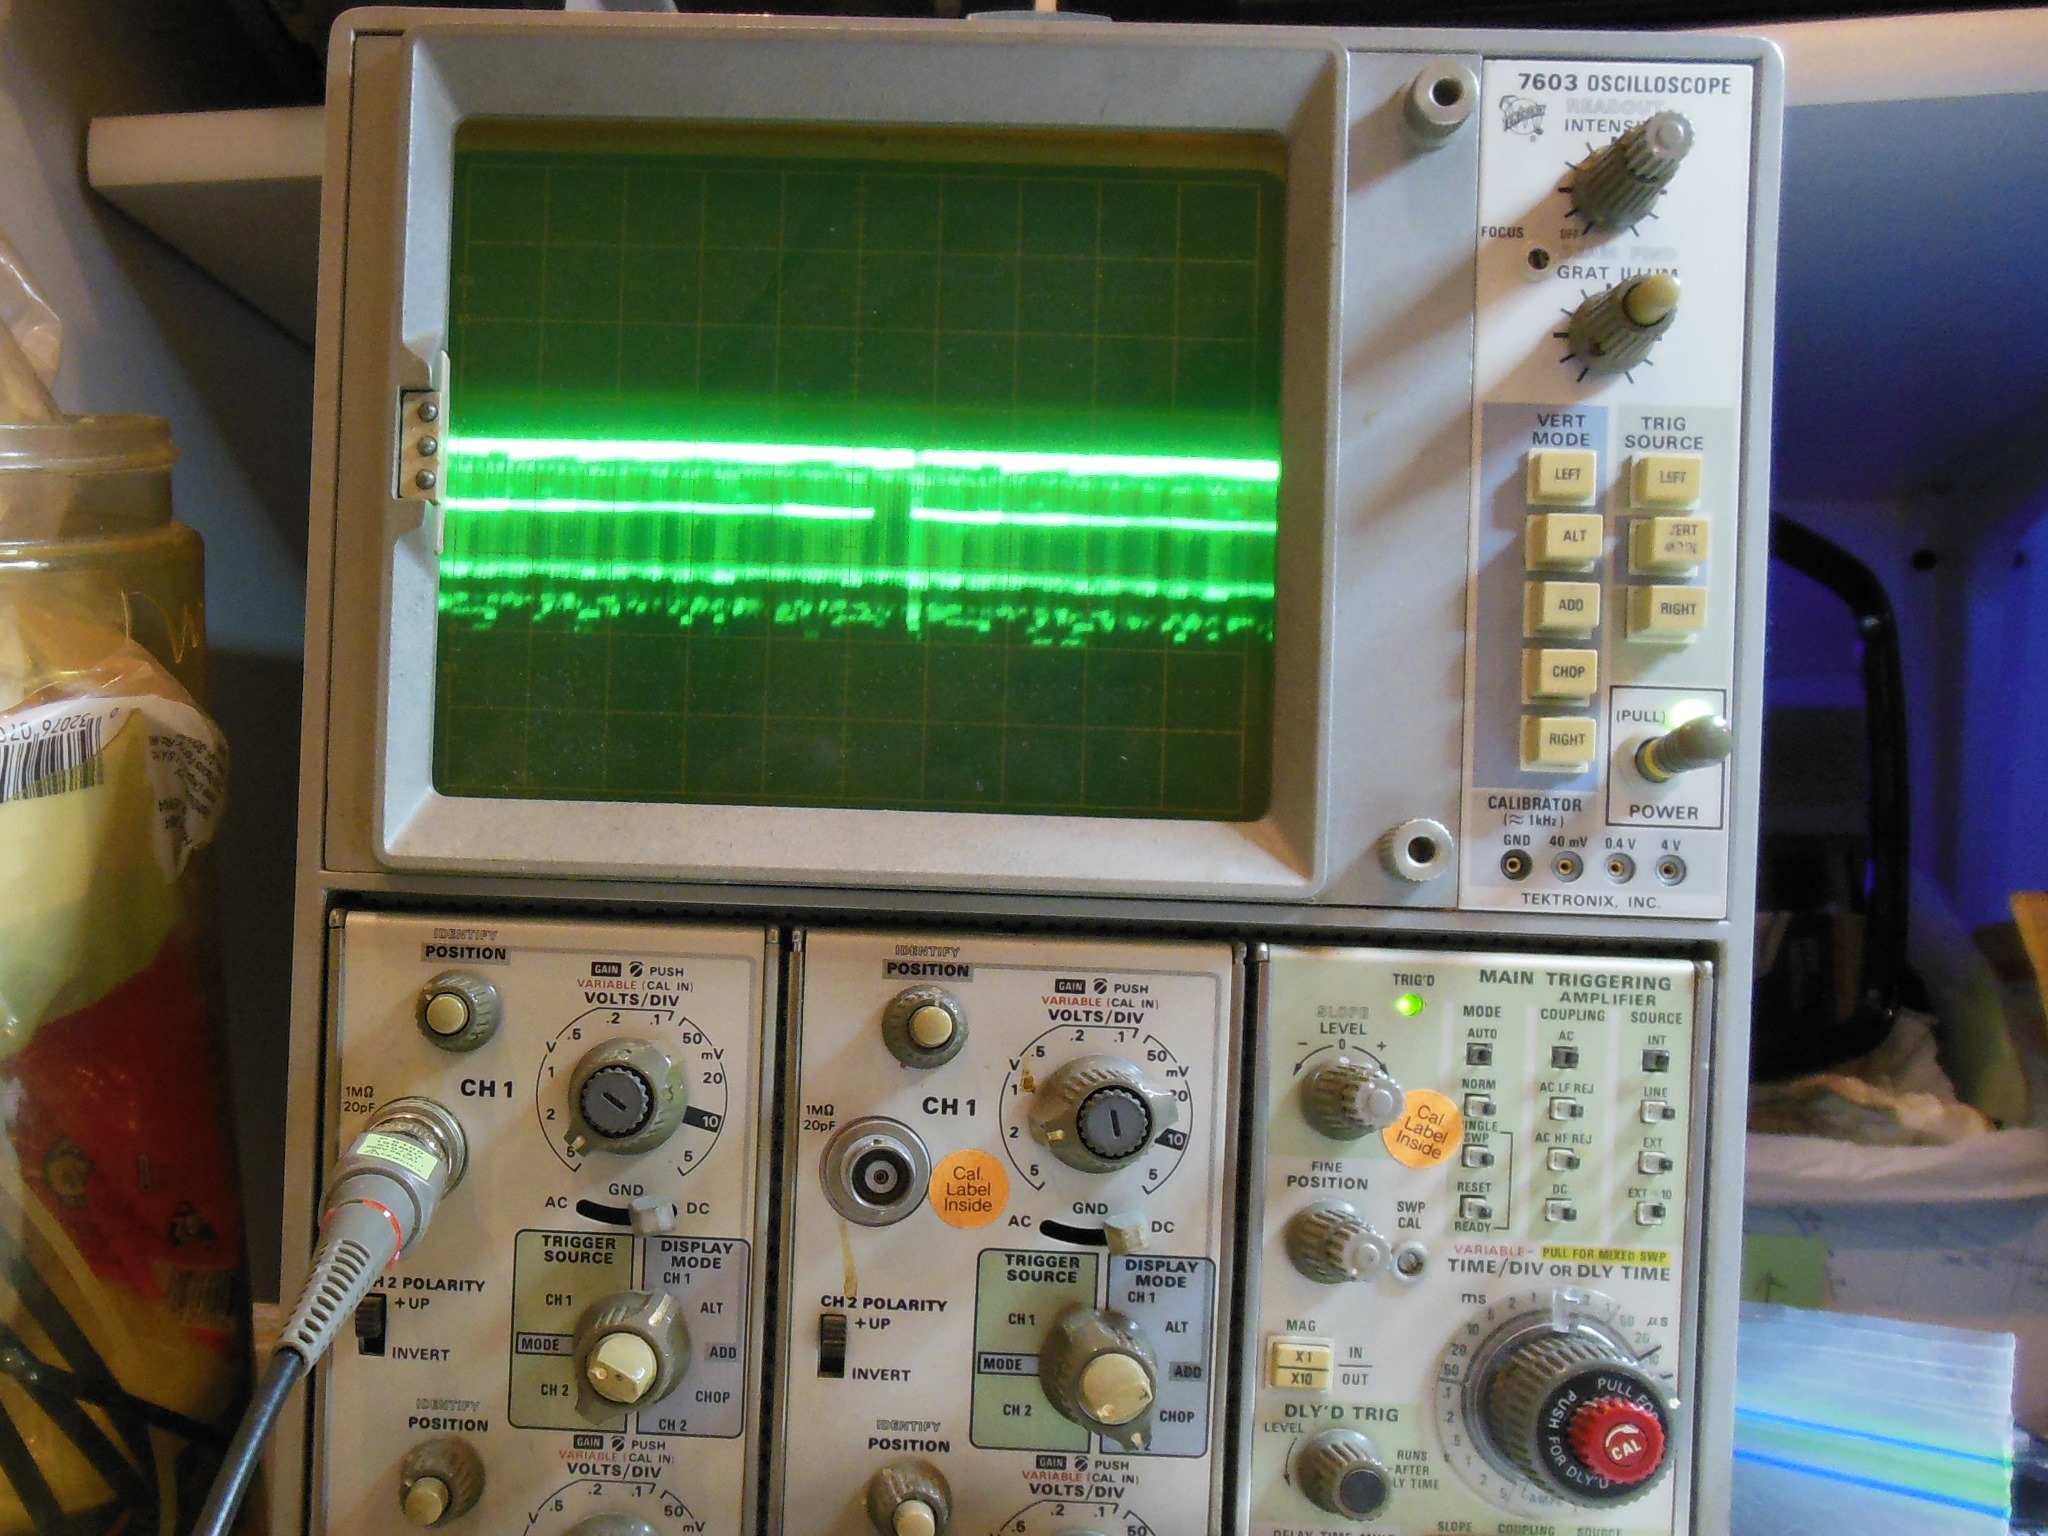
On the bench the newly cap-kitted chassis had no trouble syncing to my Super Basketball test PCB and the picture quality was pretty good. I did, however, fail to notice that there was no green in the picture :|

|
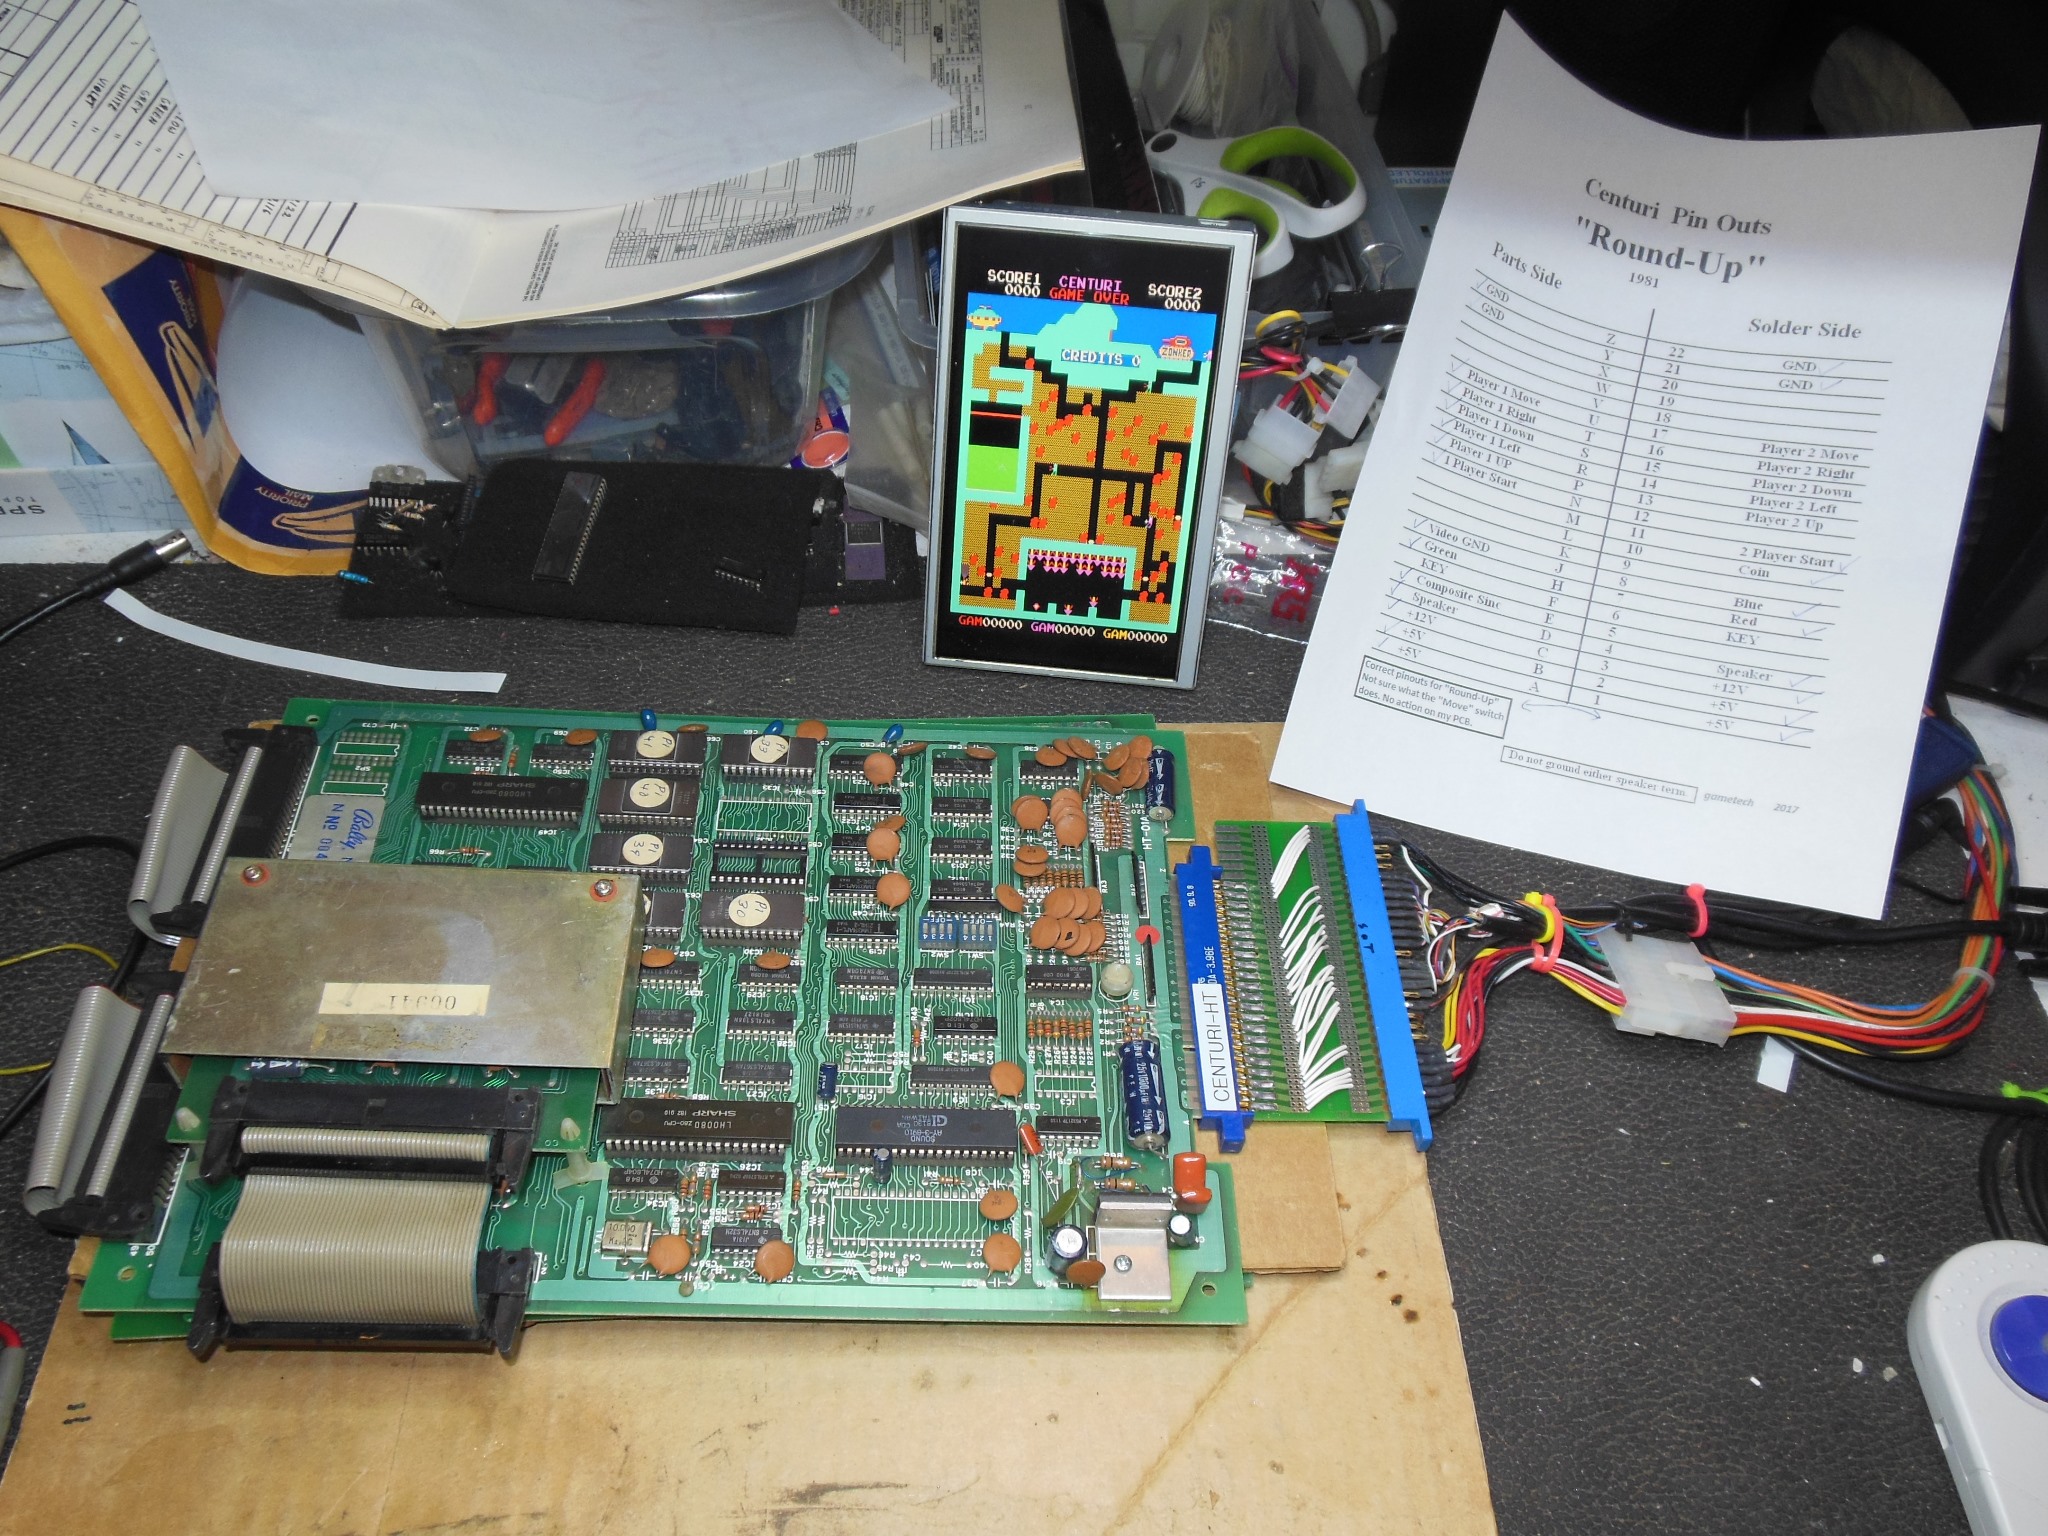
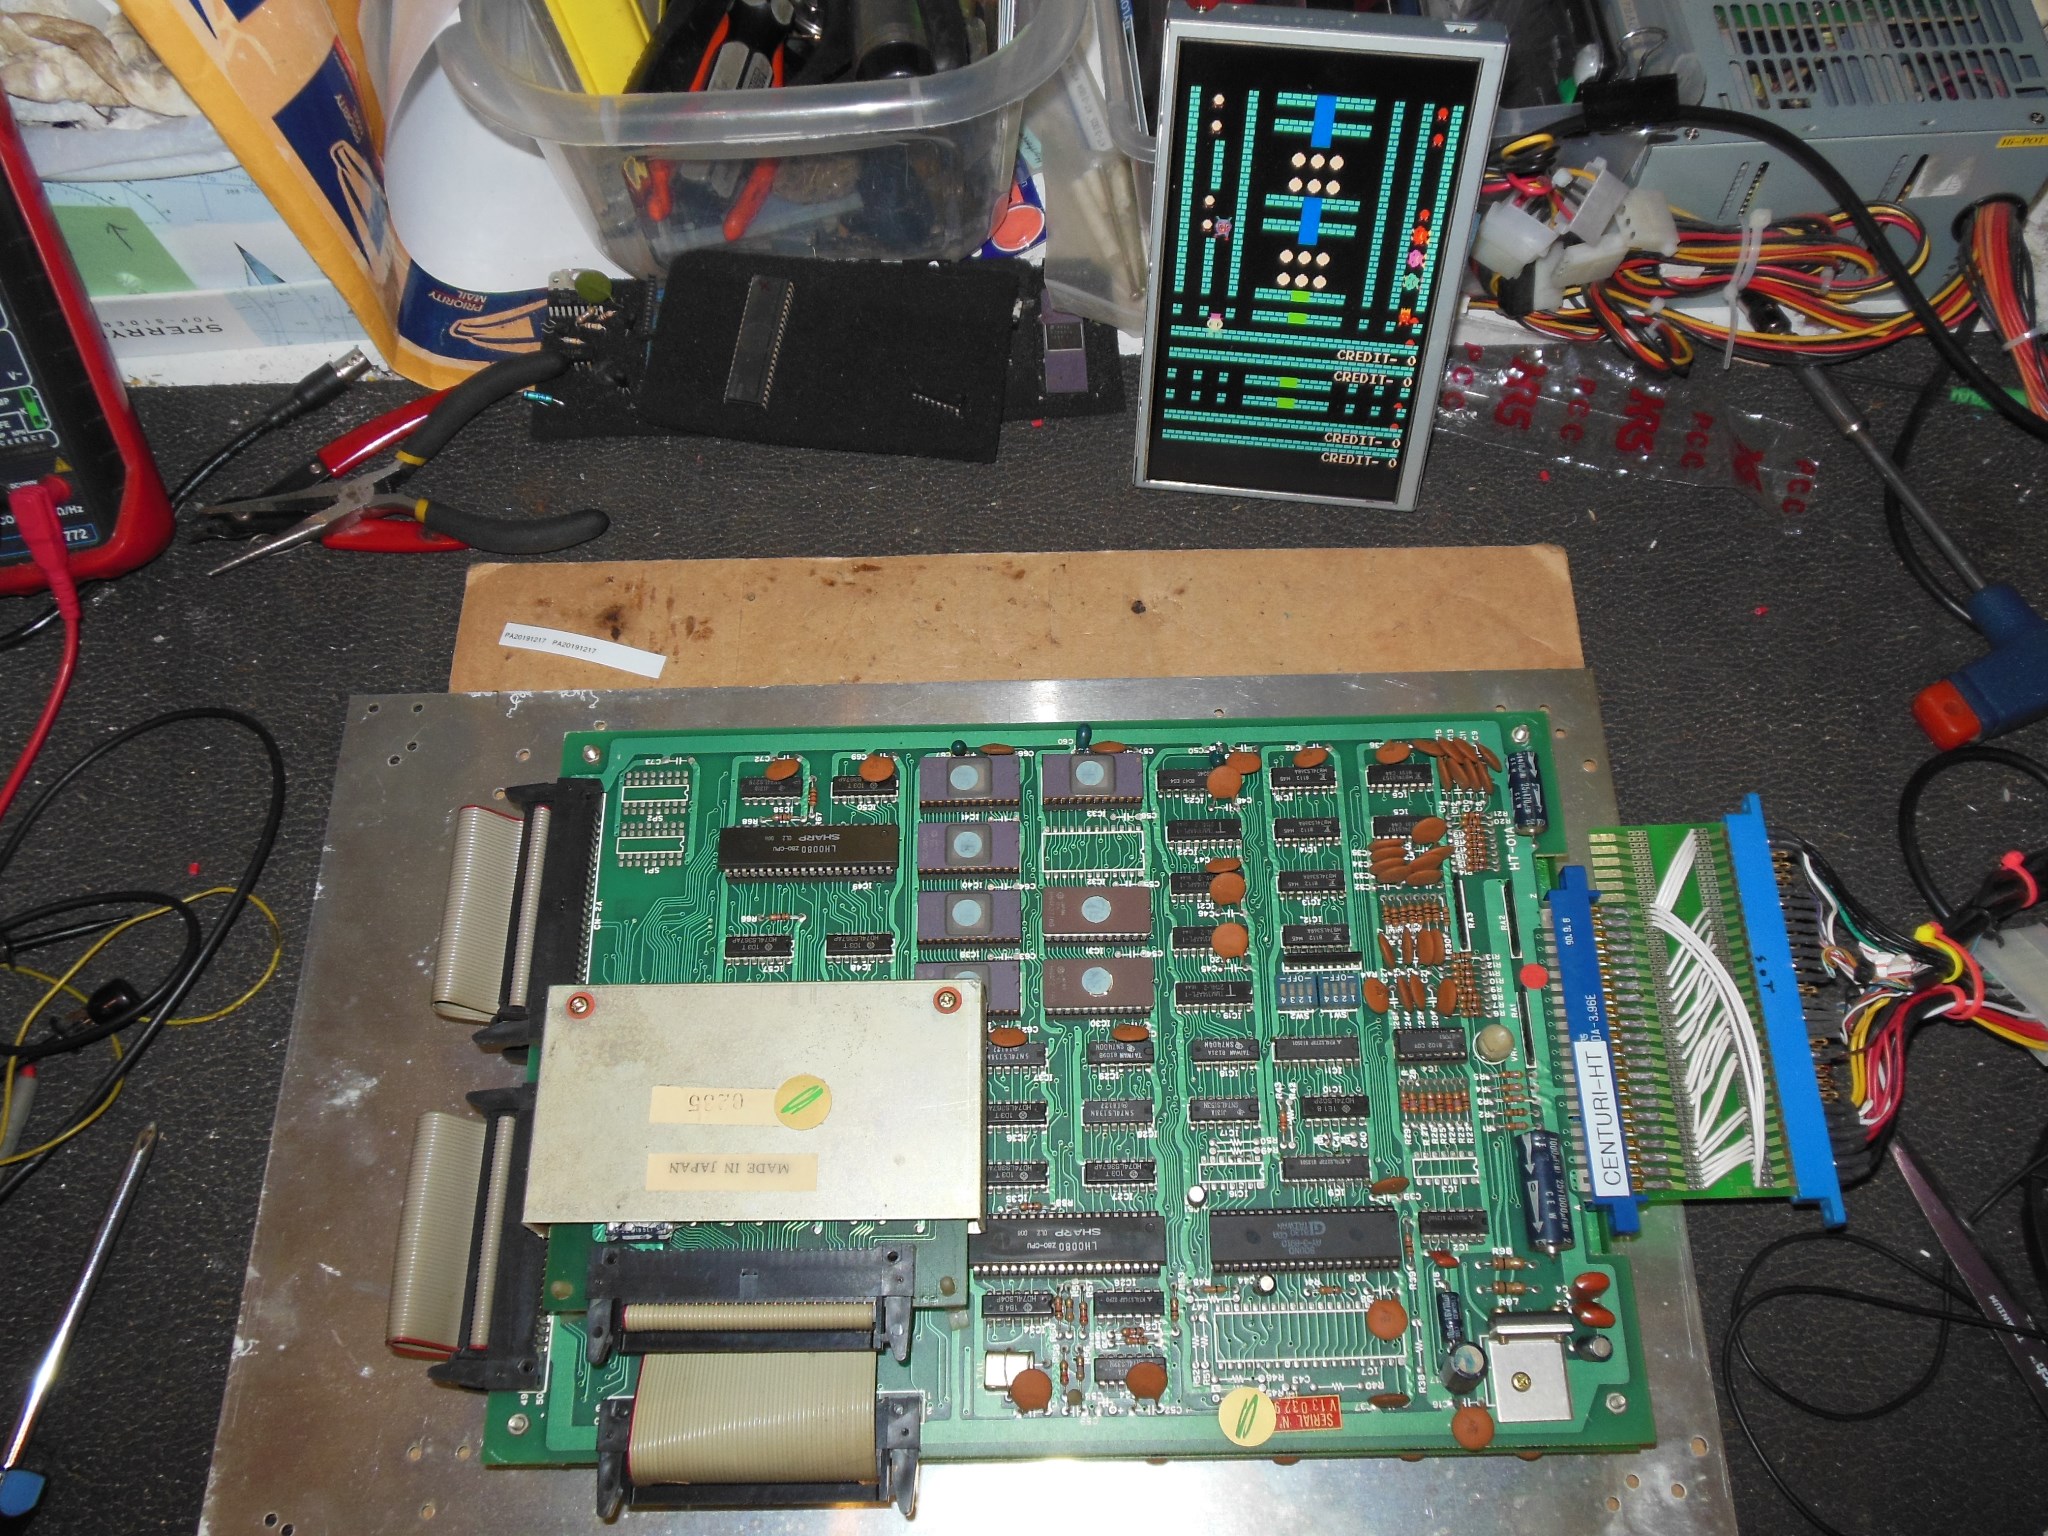
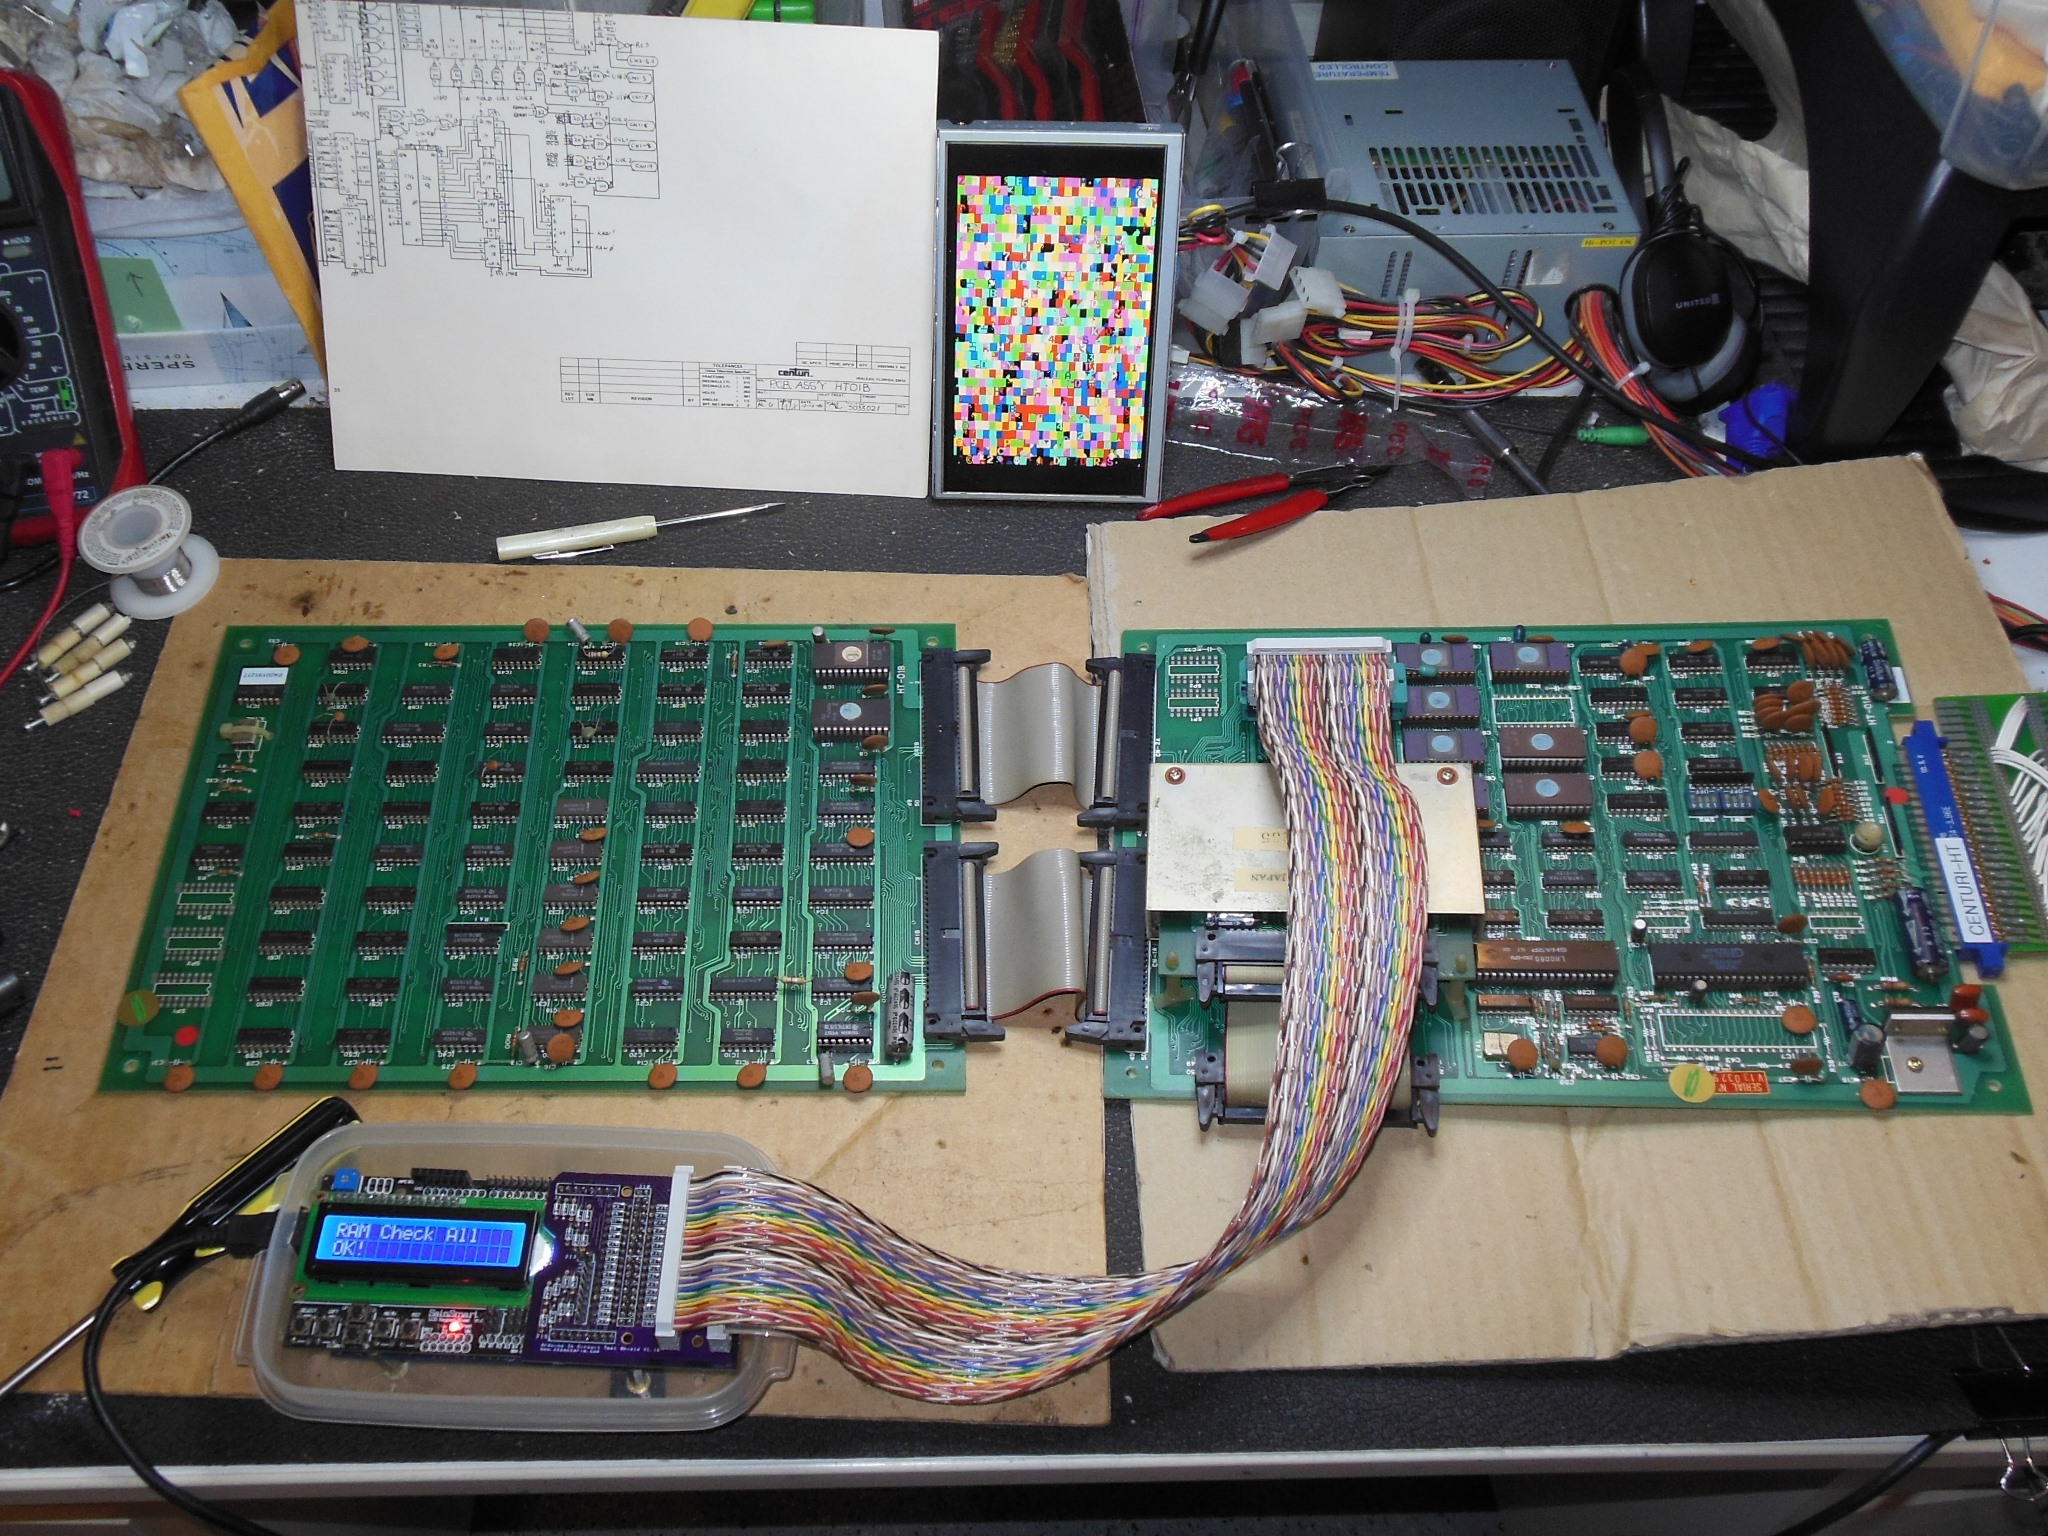
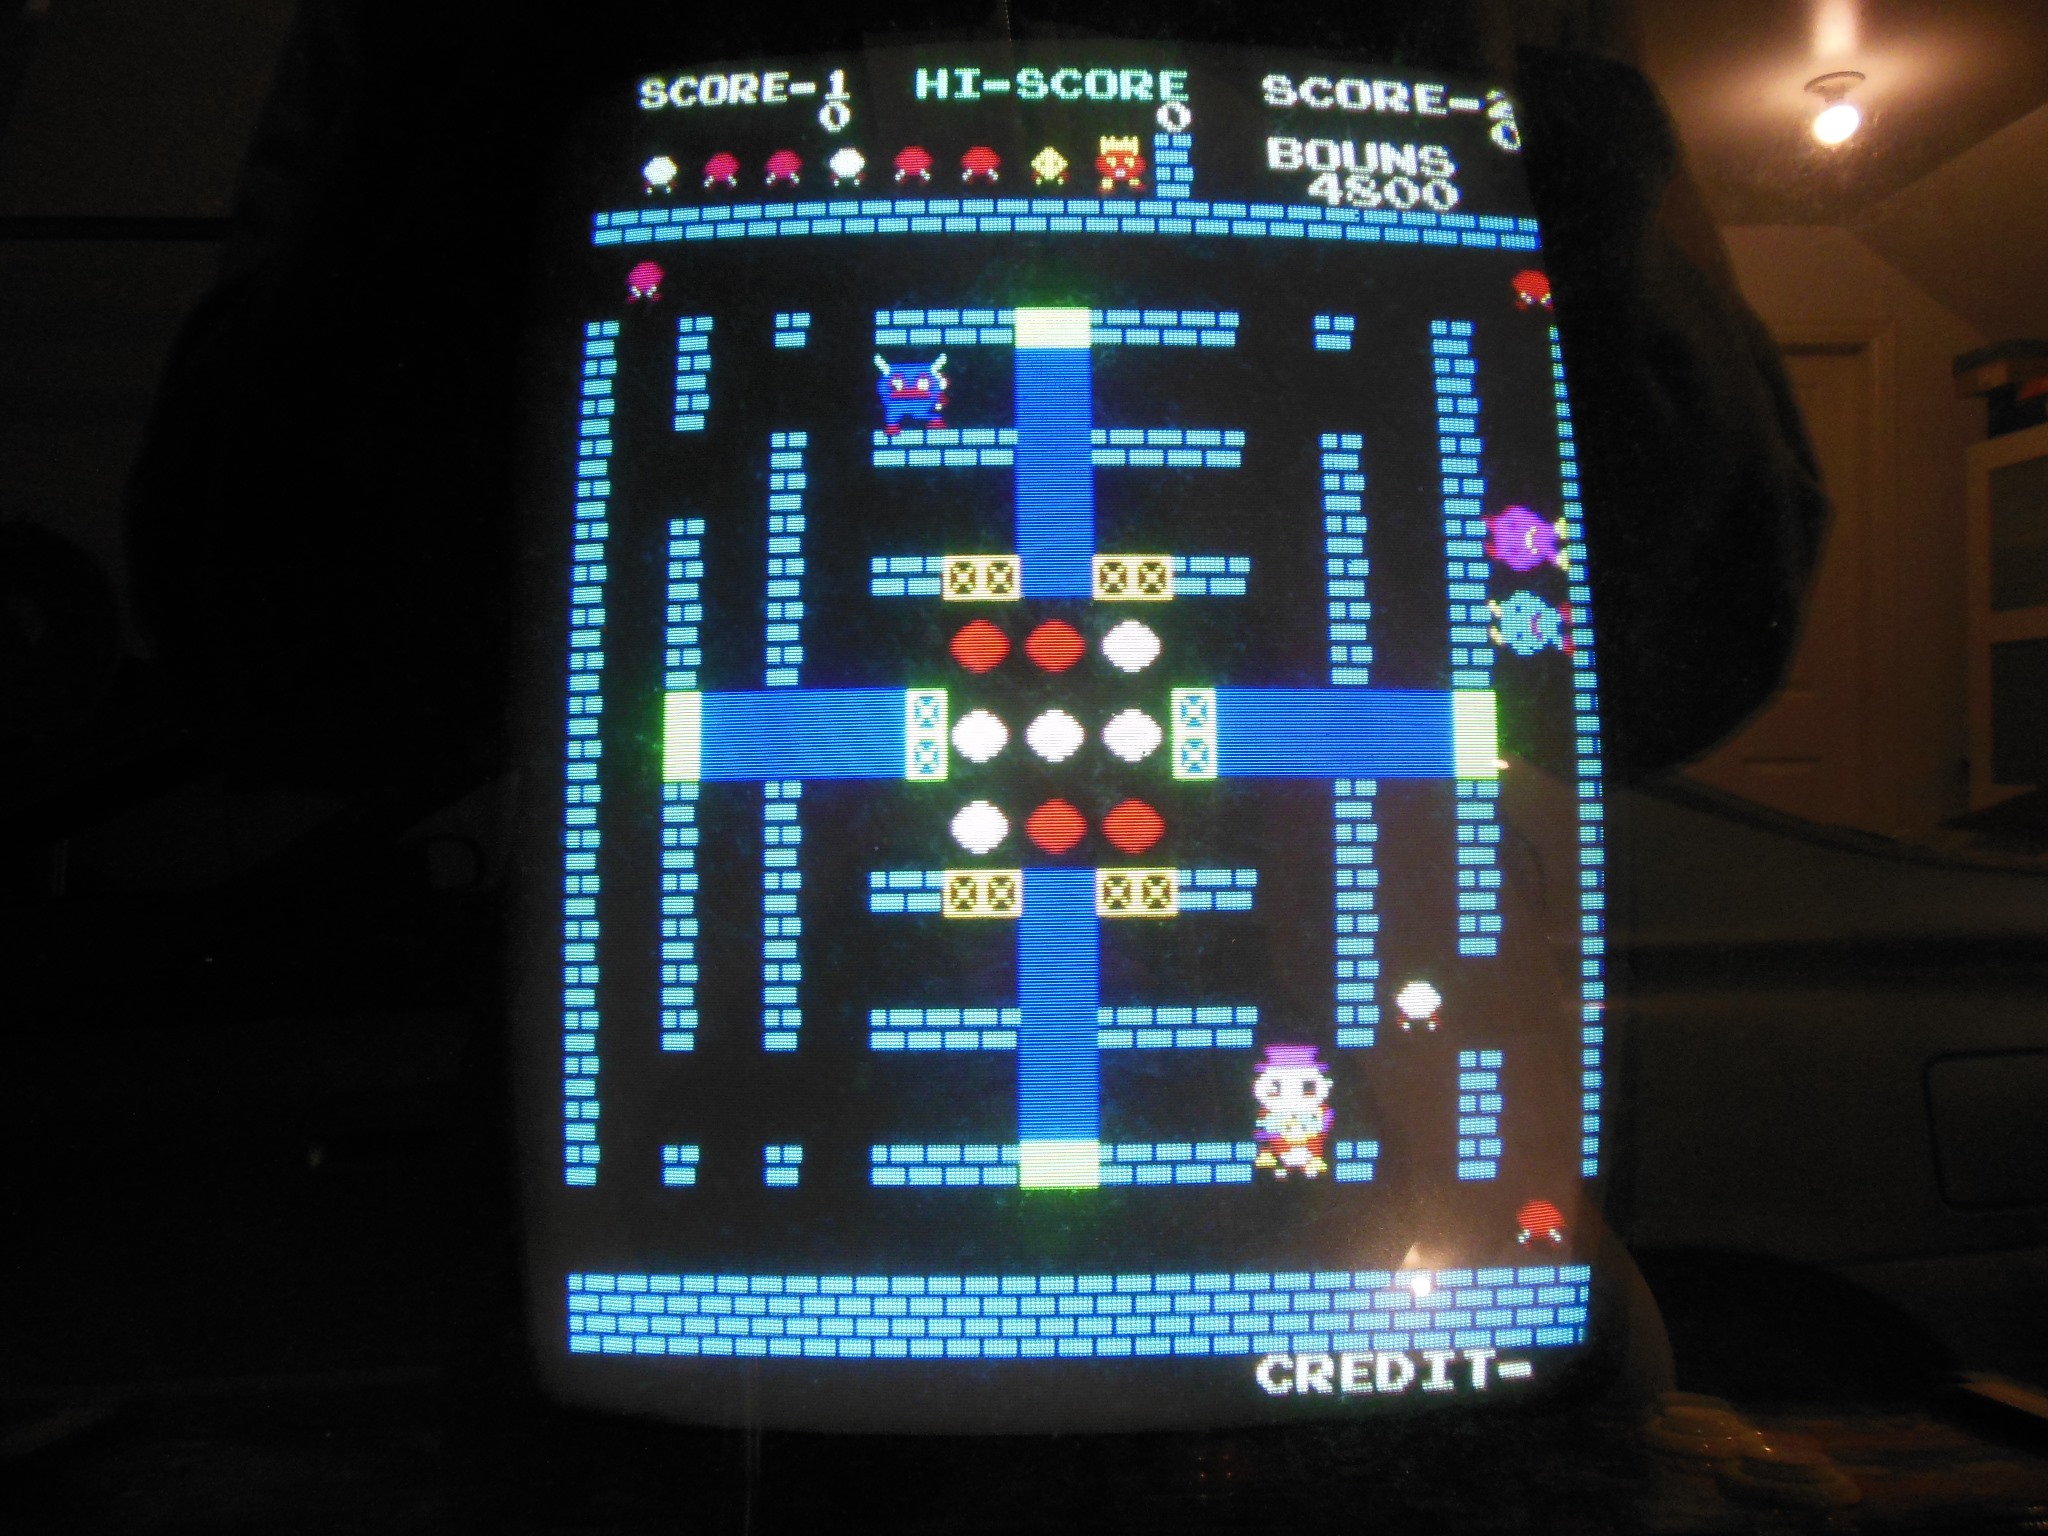
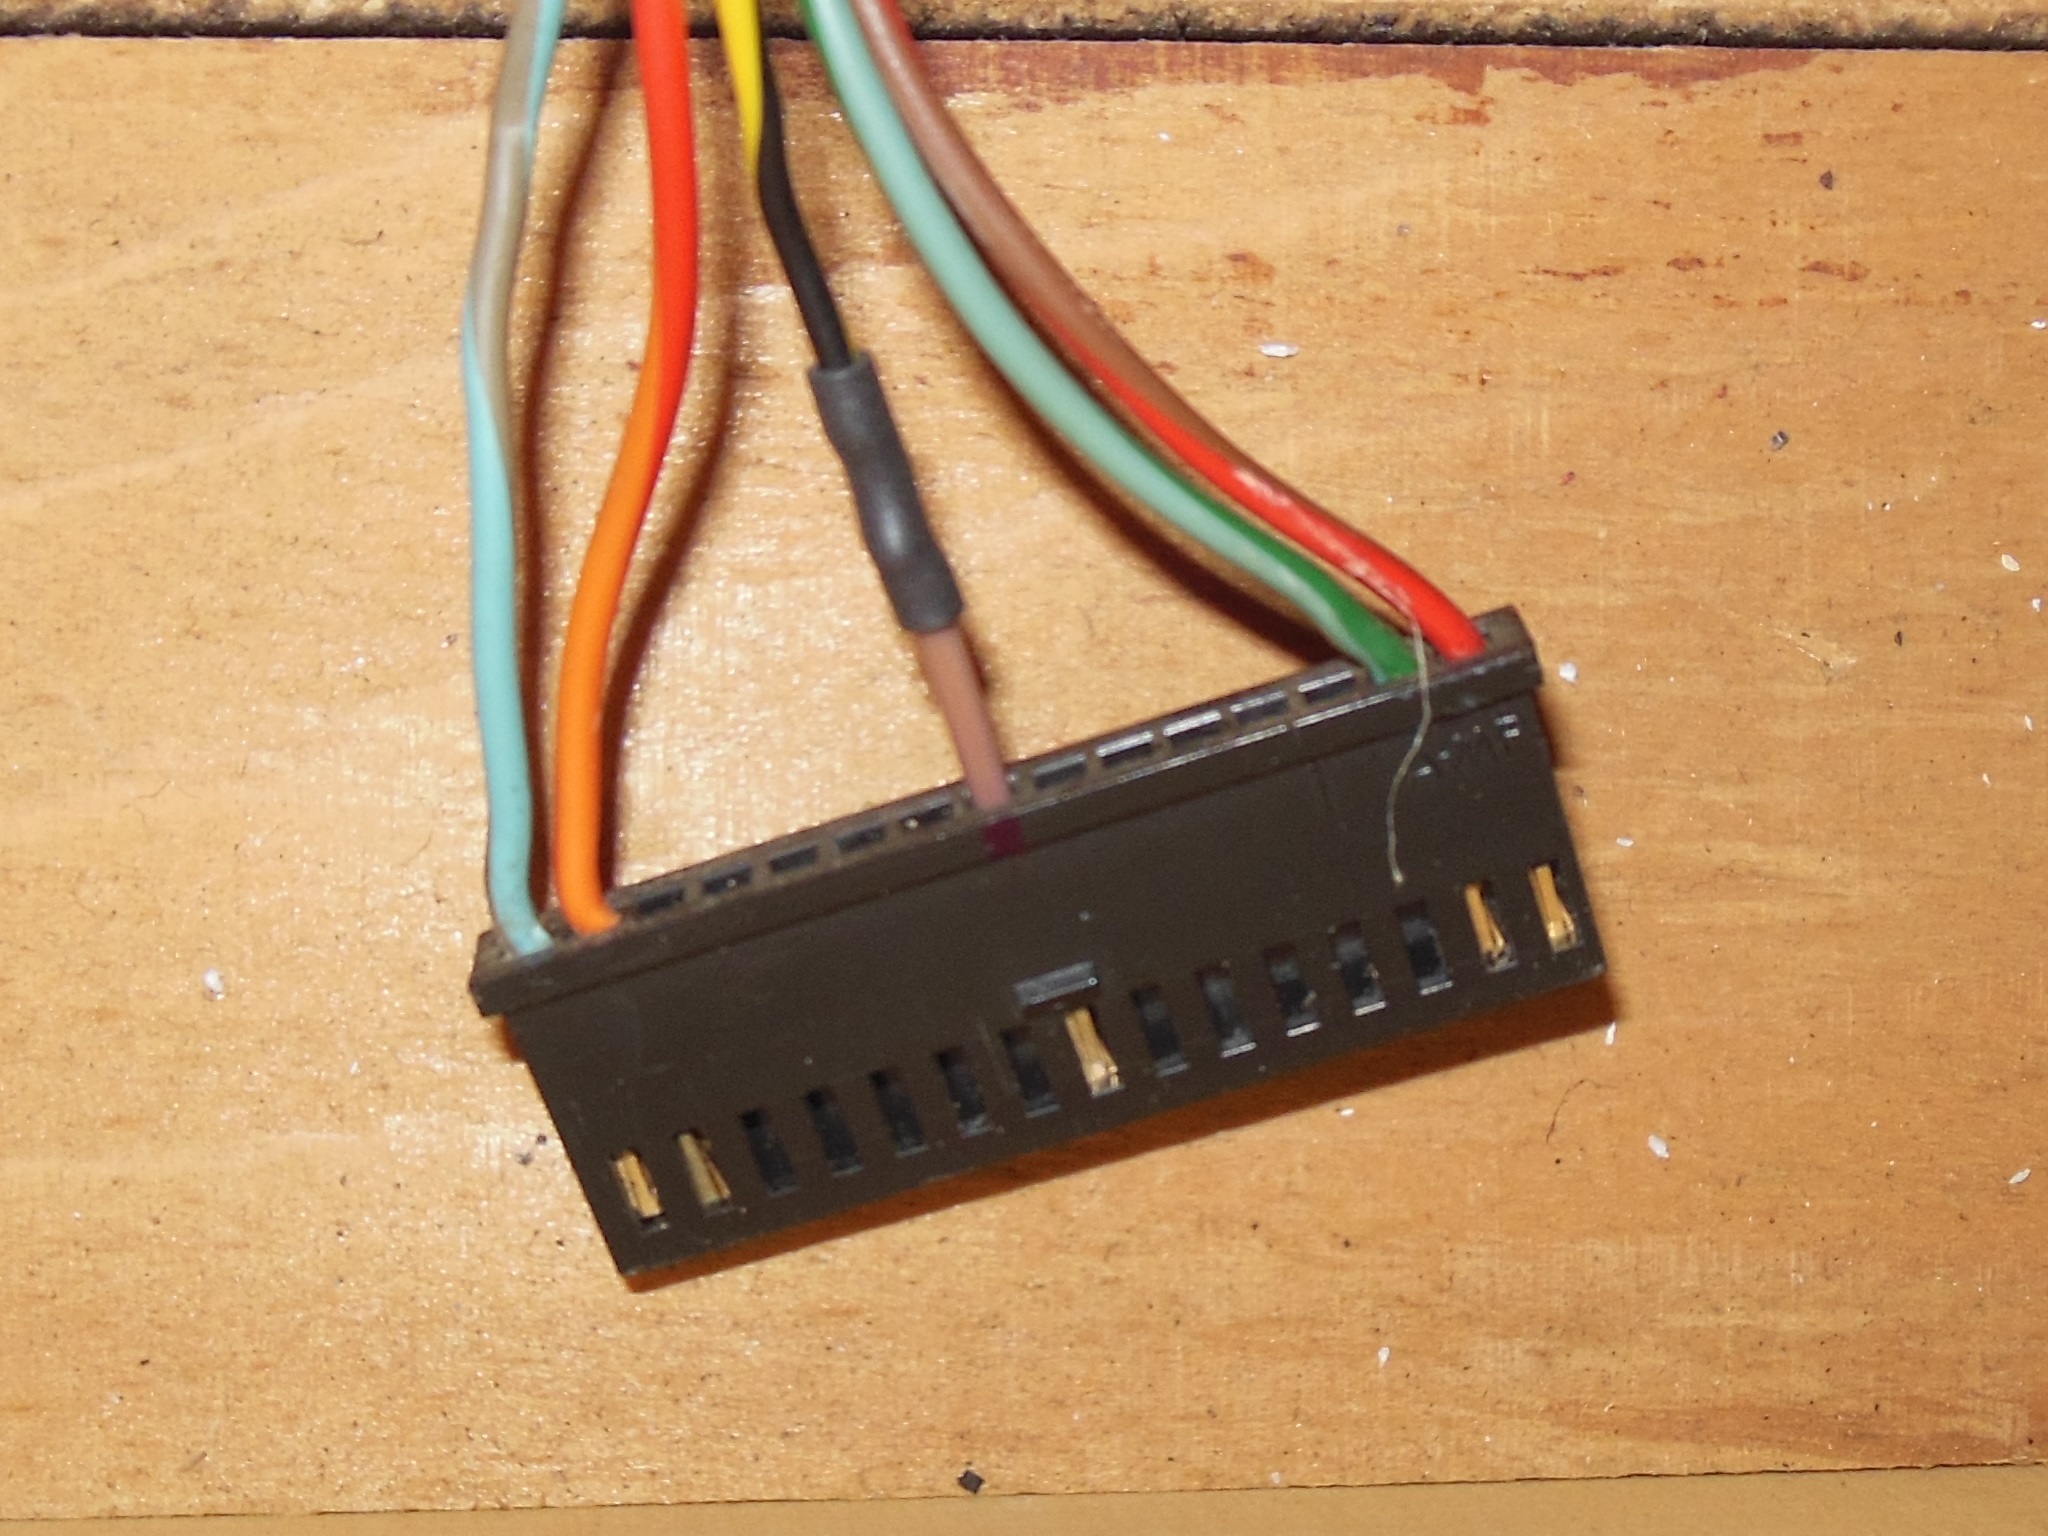
I hadn't previously worked with any "HT-01" based games and thus first needed to build a JAMMA adaptor for them. There wasn't anything unusual about the pinout, a straight forward adaptor. I had picked up a few game PCBs over the years in preparation for this restoration that I used to test the adaptor, including a few Centuri The Pit and a bootleg Taito Port Man that nicely illustrated the content of the epoxy can.
|
On the bench the Kaga Denshi Fitter PCB gave no problems syncing against my bench
test LCD monitor however there was a fault in the graphics. Suspicious that the sync
may still be bad and the cause might be early in the video counter chain I started
looking at those. IC 59 (LS161) output pins 11,12,13,14 on the scope didn't reveal
anything obvious. All four counters, IC 59,60,61,62, outputs looked OK. Switching to a
video probe on the counter outputs also suggested the video counters were running OK.
Looking more closely at the image indicated the sprites were correct but the background
graphics were doubled. Starting with the background RAM's IC's 2 & 3 (2114) address bus
on the scope showed video & CPU activity on all lines. Switching to the video probe on
IC 3 found:

|

|
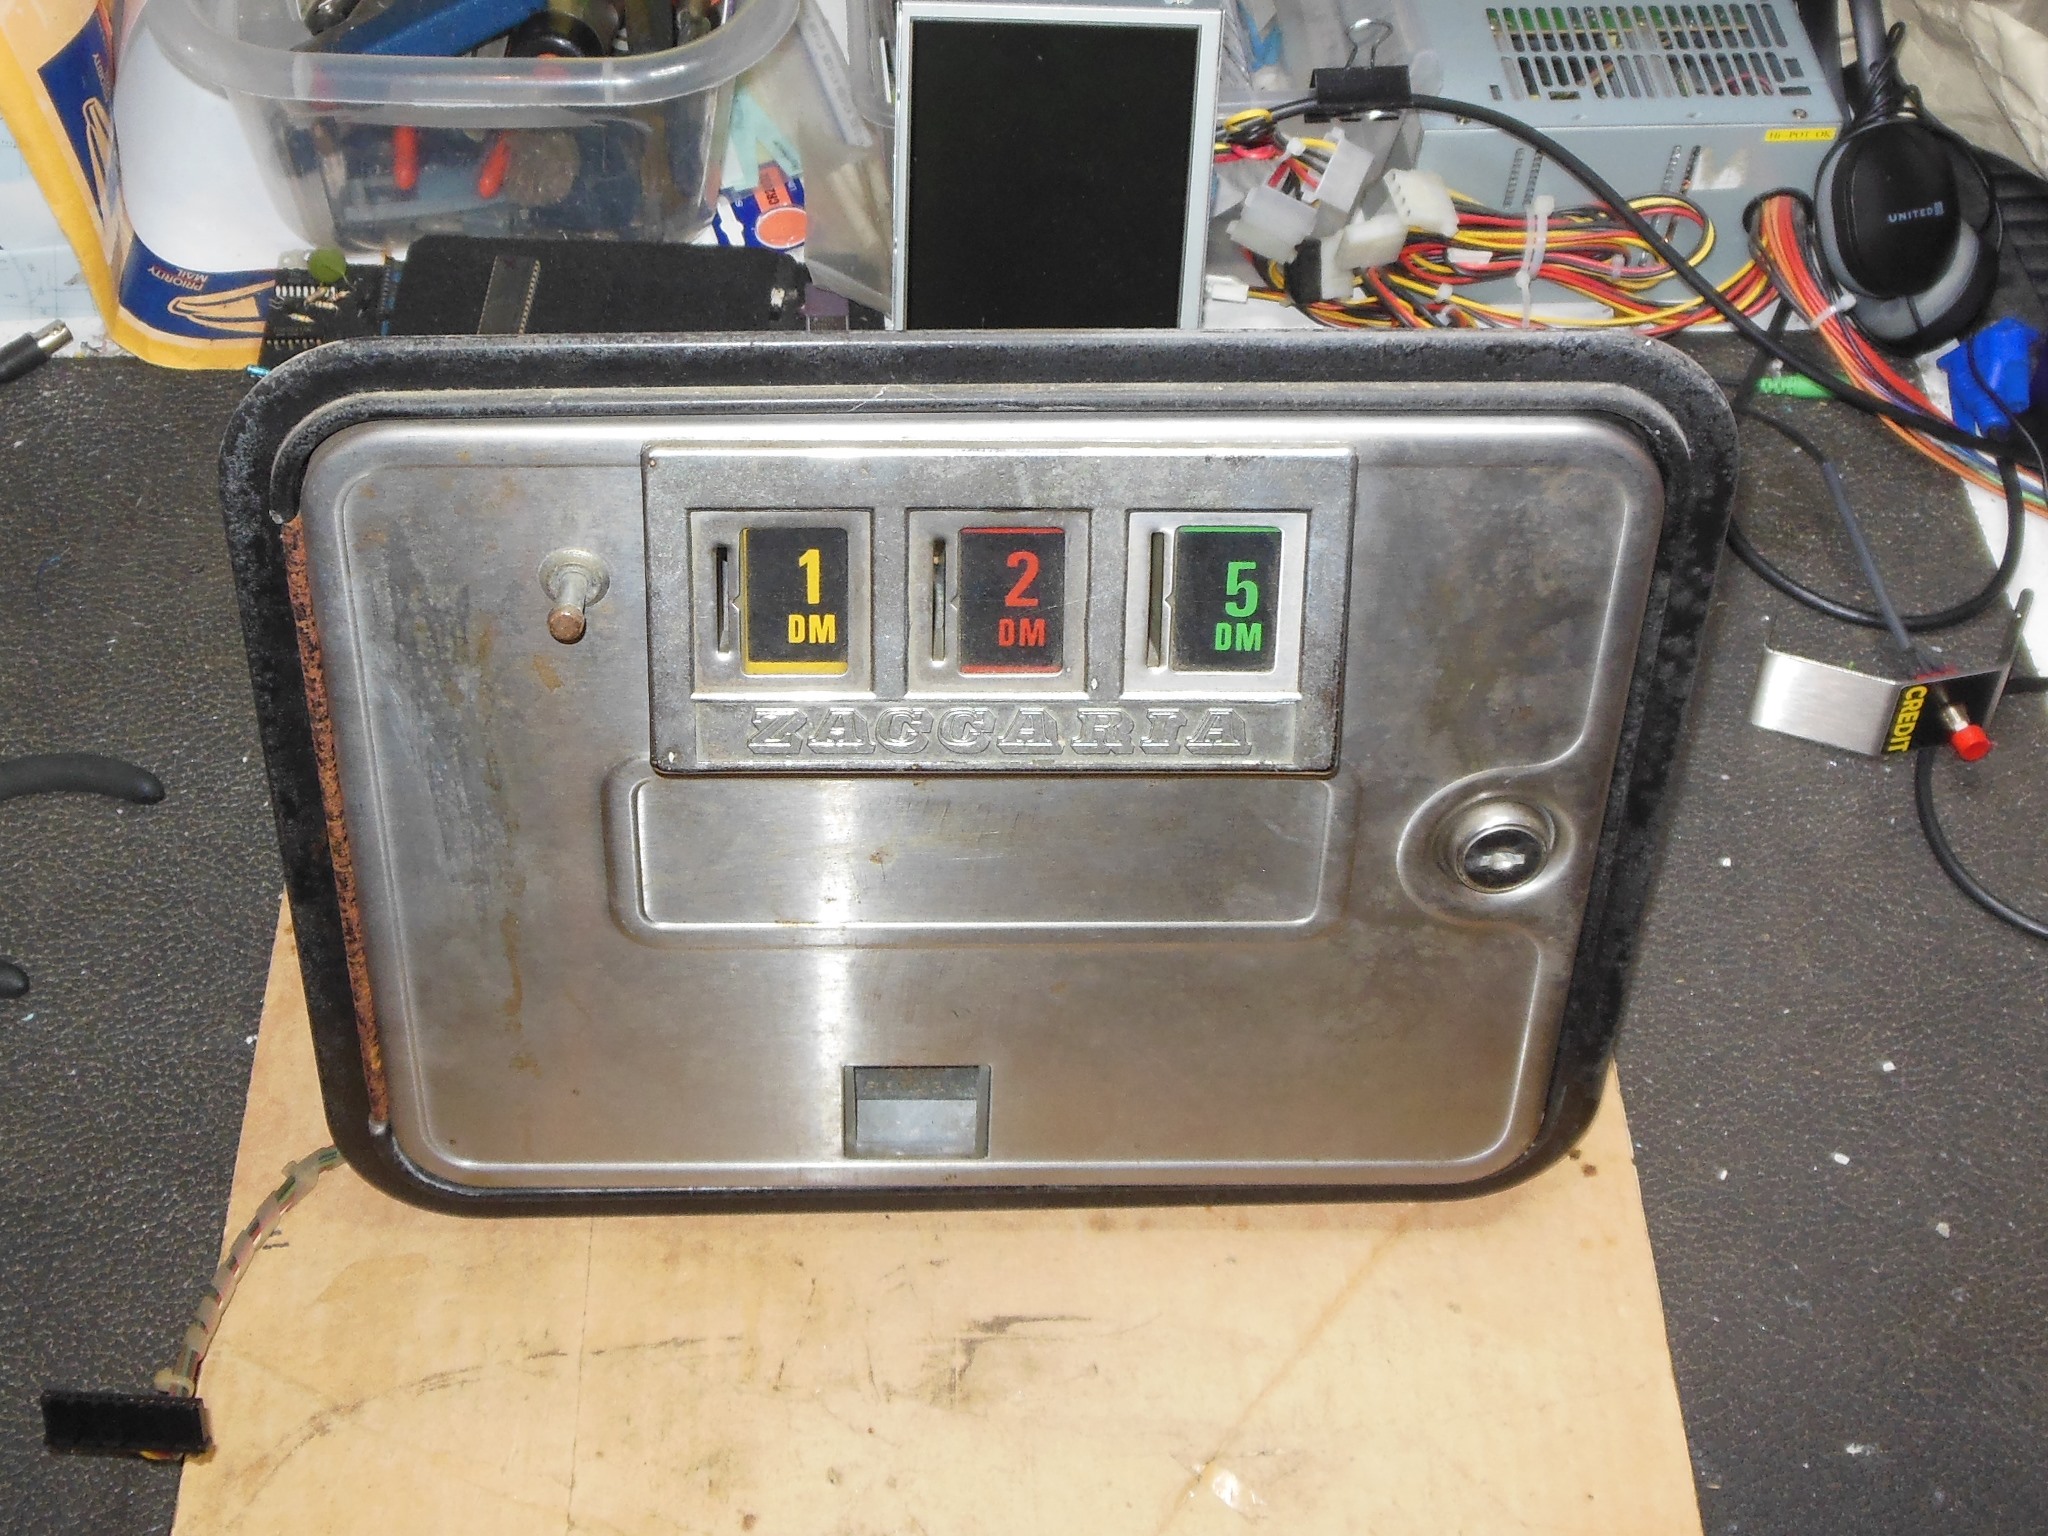
Unfortunately the 1st converted Zaccaria Fitter had already lost its Zaccaria coin door (replaced with an Atari coin door) so I needed to borrow one of those from another cabinet. The key component was the original Fitter monitor glass. I removed the lock bar from the rear access to be able to open the coin door and found a nice pile of Deutschmarks still in the cash box. The rest of the cabinet internals had been mostly replaced with a dual game kludge setup and a Hantarex MTC-900E replacing the original 900 monitor. I also took a closer look at the Comidar marque - it was a plastic sheet rather than factory glass so suspected it wasn't Zaccaria factory manufactured. The cabinet was set aside for now.
|
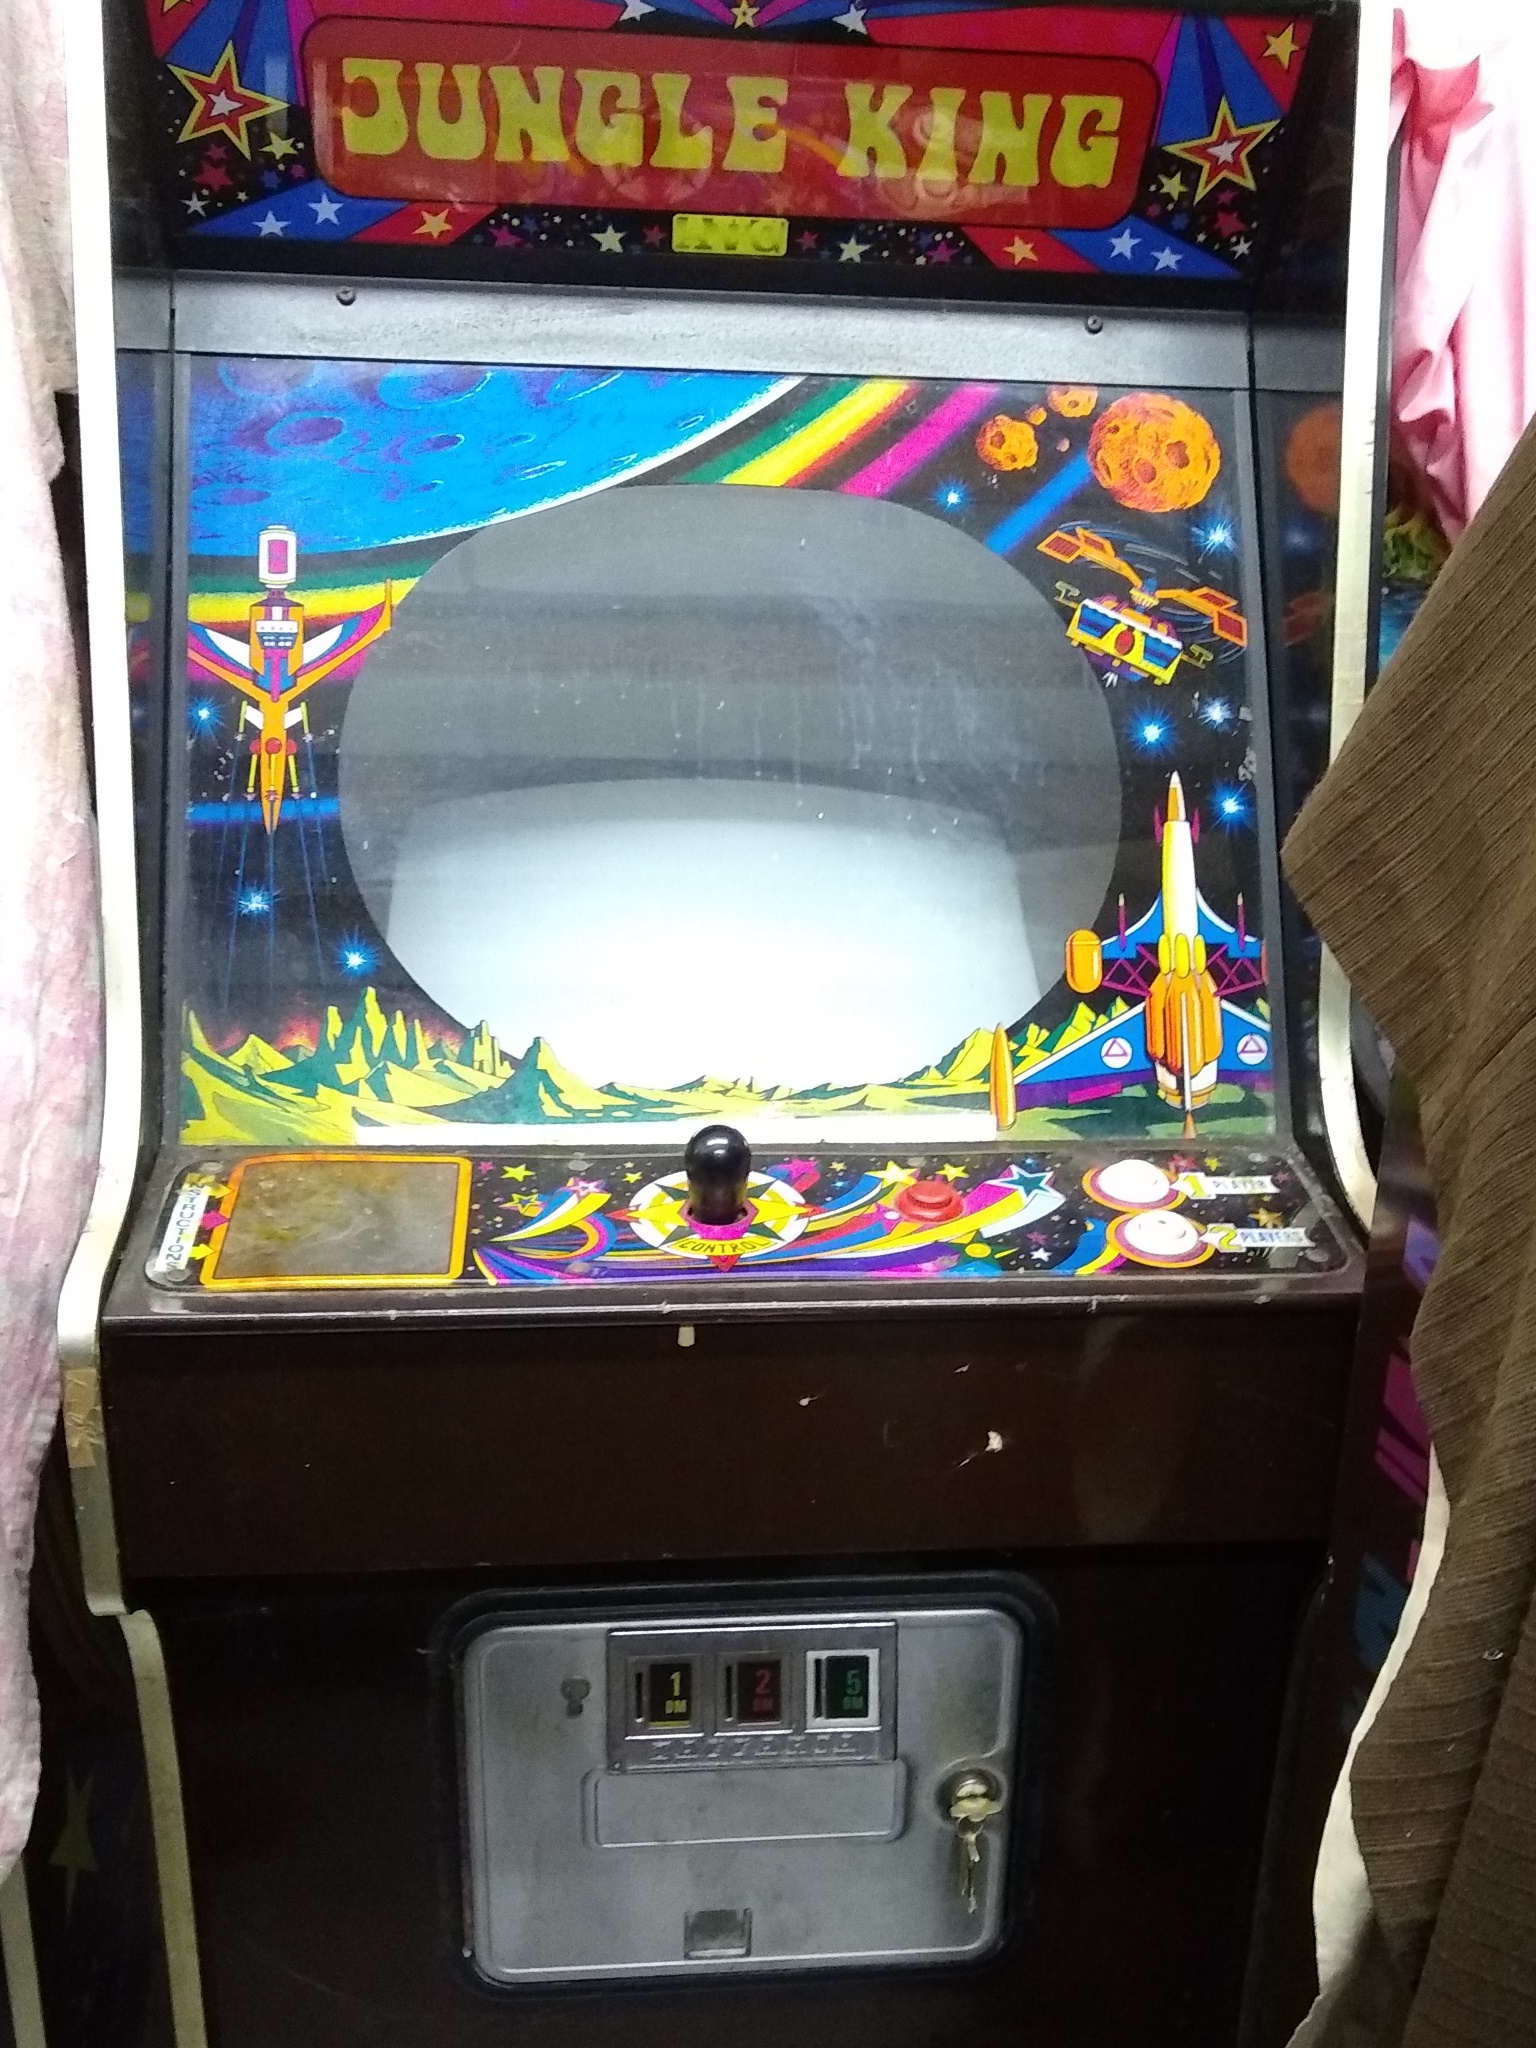
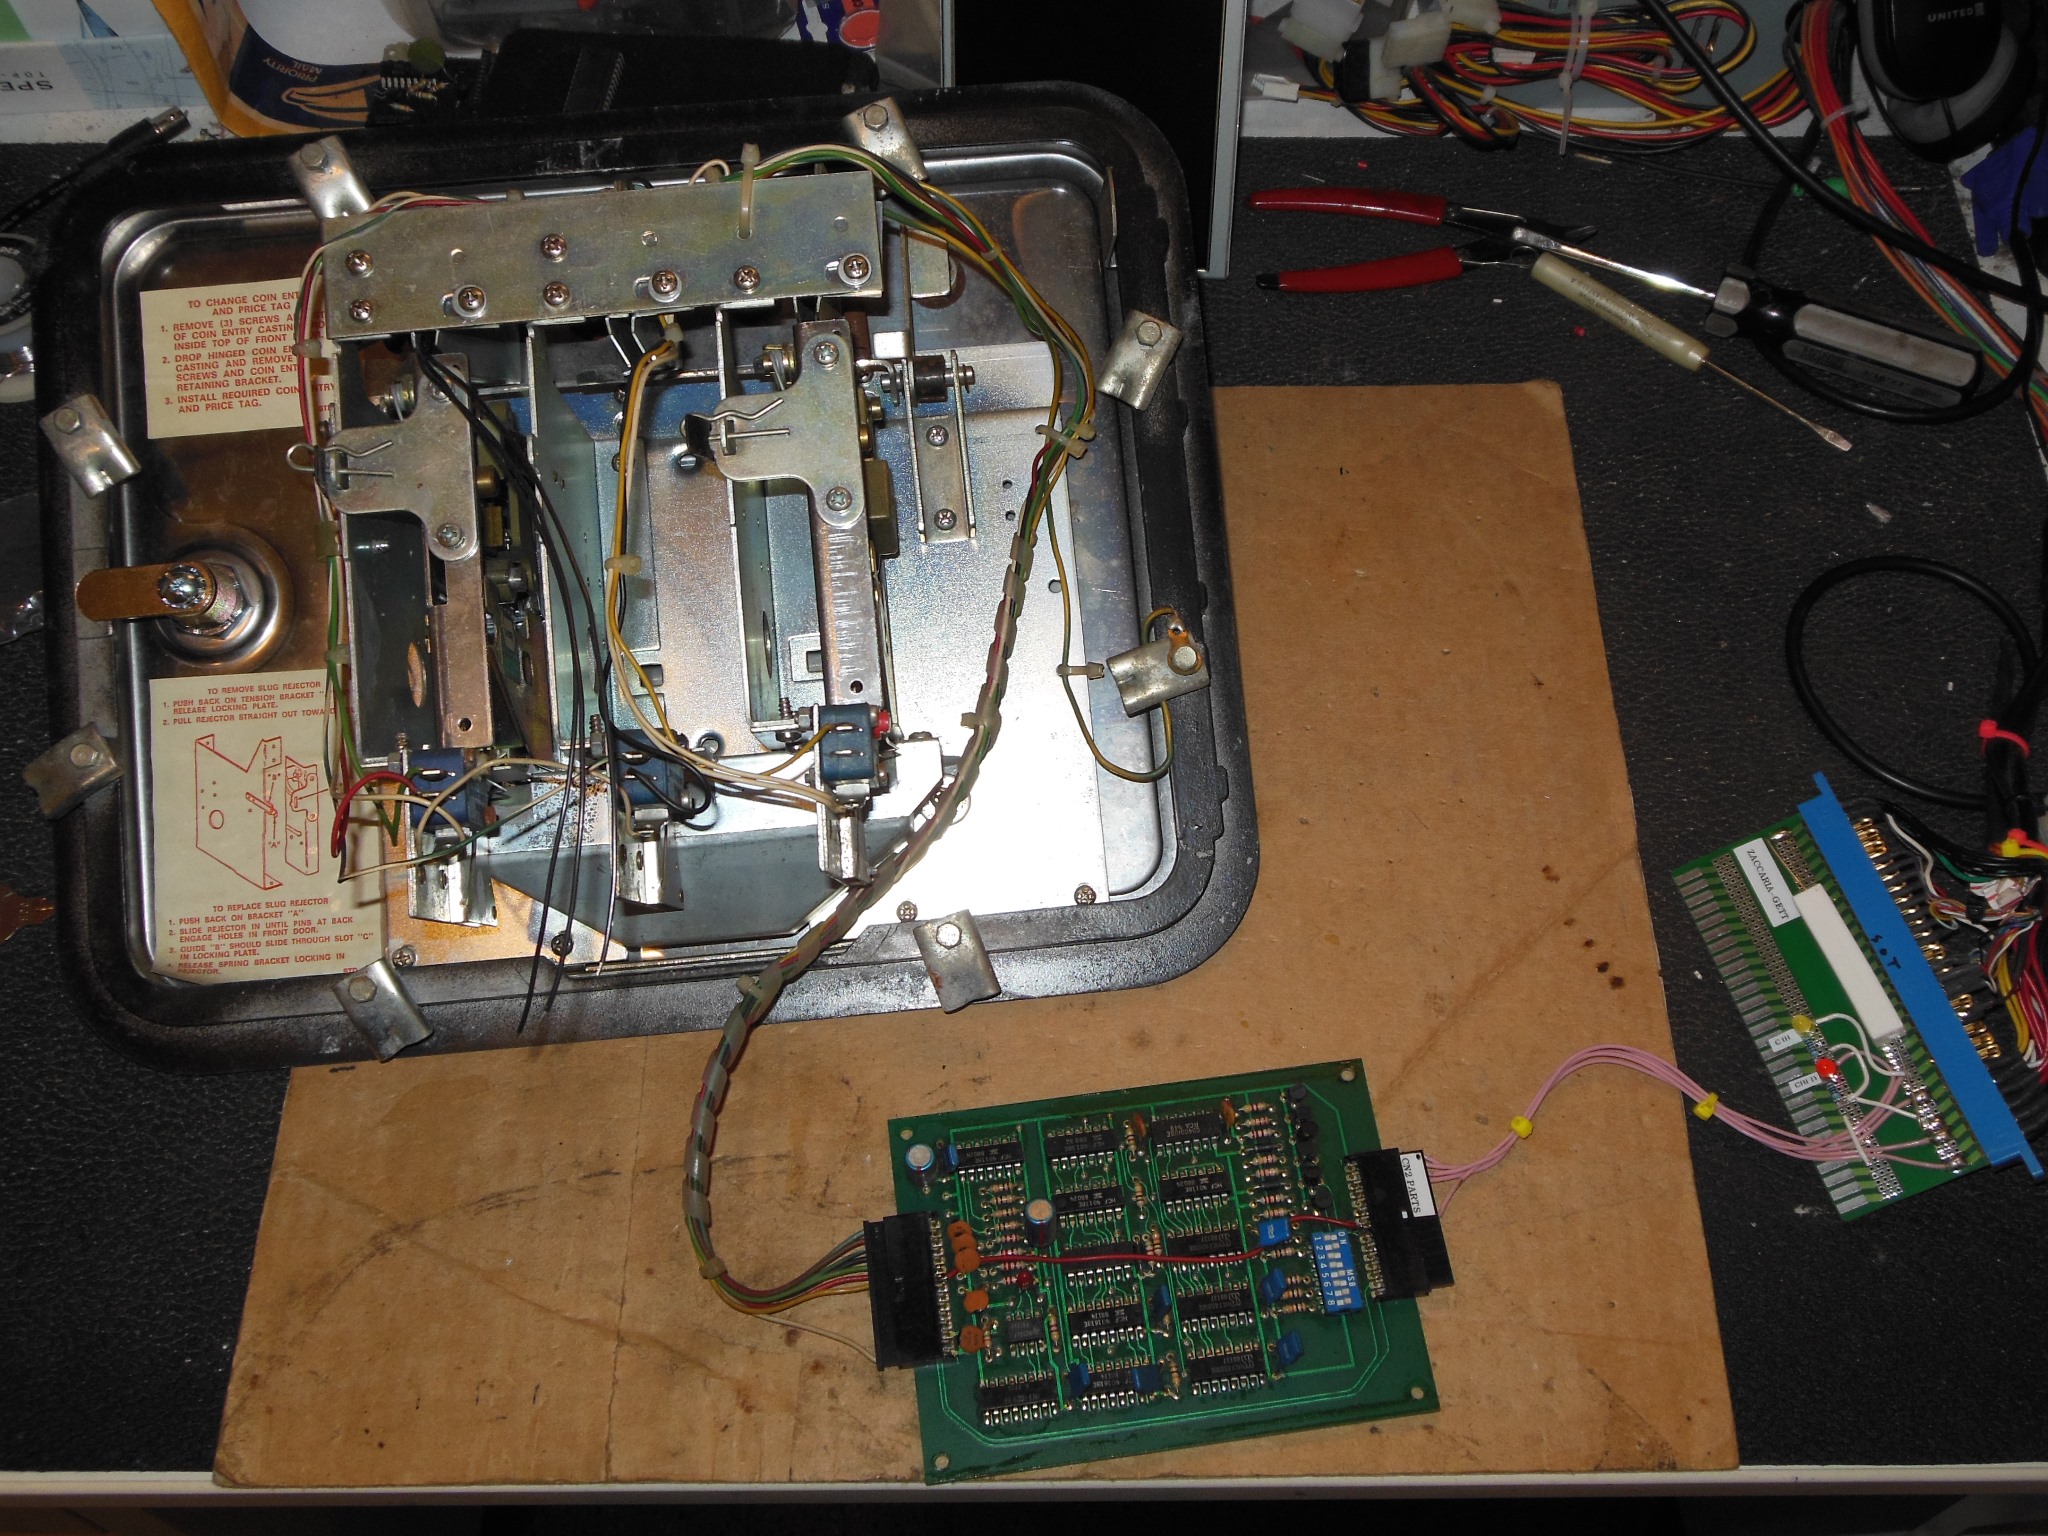
The replacement coin door and associated credit PCB I borrowed from German Jungle King cabinet that was the same style as the Fitter.

|
With The Pit in the cabinet there was no problem with the monitor sync so whatever problem there was initially appeared to have been resolved for now. The picture contrast looked poor and the colours were not correct in the game versus on the bench.
|
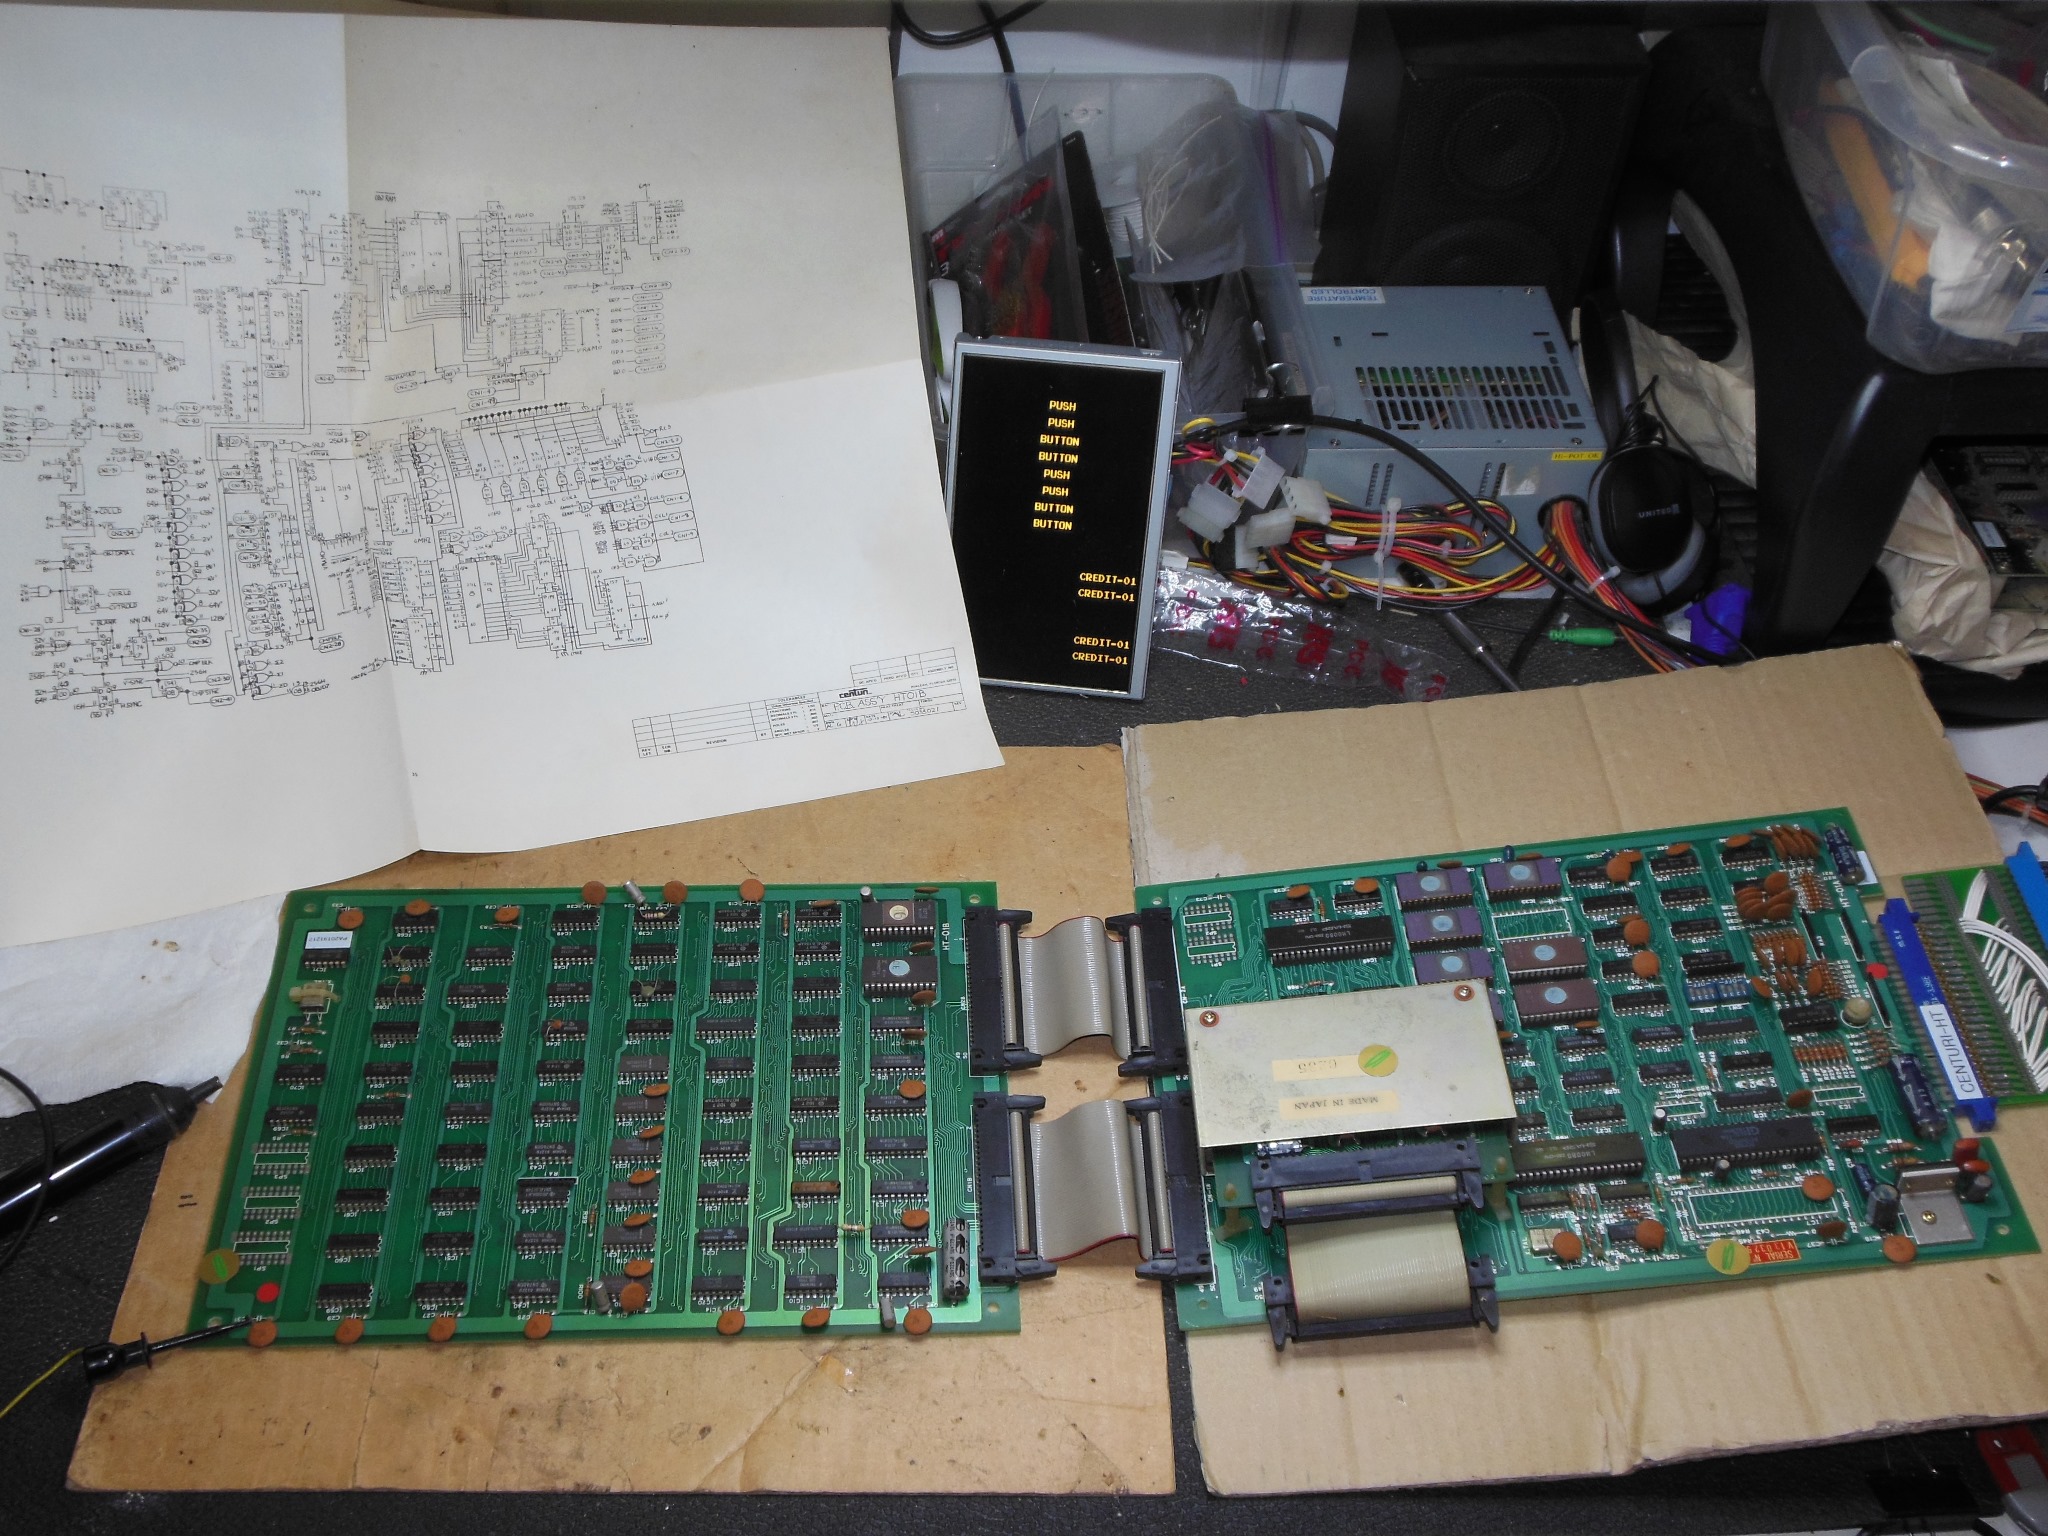
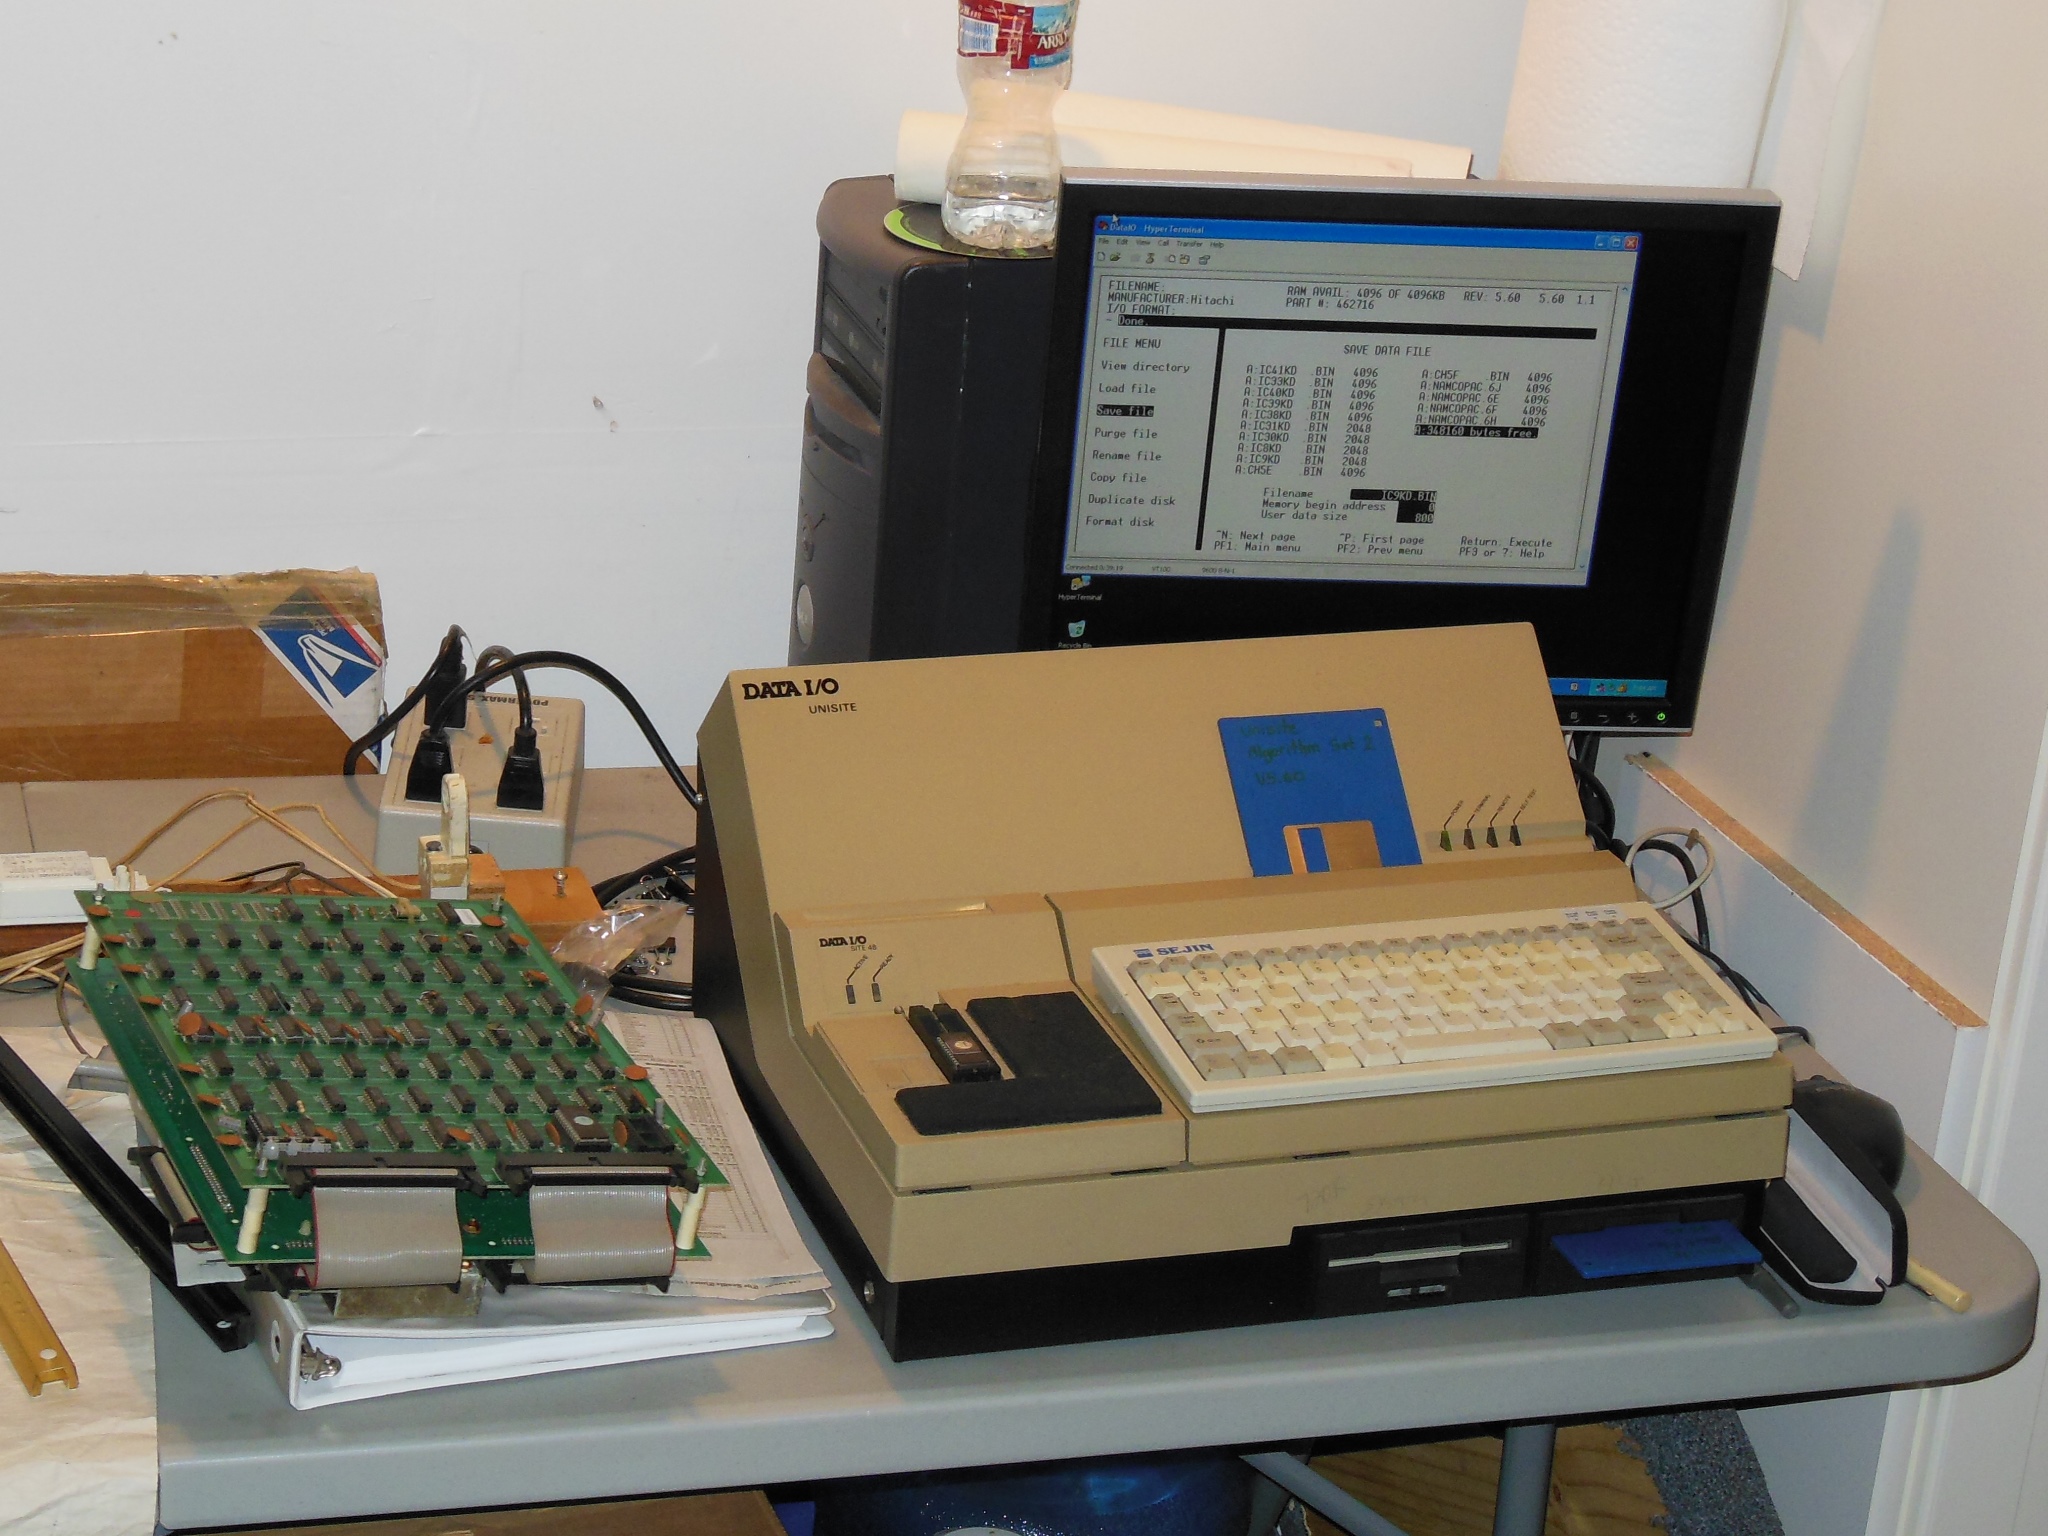
Since I had a second game PCB to fix that was at least missing all its EPROMS I added support for the HT-01 platform to the Arduino In-Circuit Tester. As part of that I discovered that the ROM set on this "Kaga Denshi" PCB didn't match any of the sets in MAME.
|
The large pieces of broken front glass, frame & cash box metalwork were removed from the bottom of the cab. I kept the glass for future use testing artwork patches or cleaning agents.
|
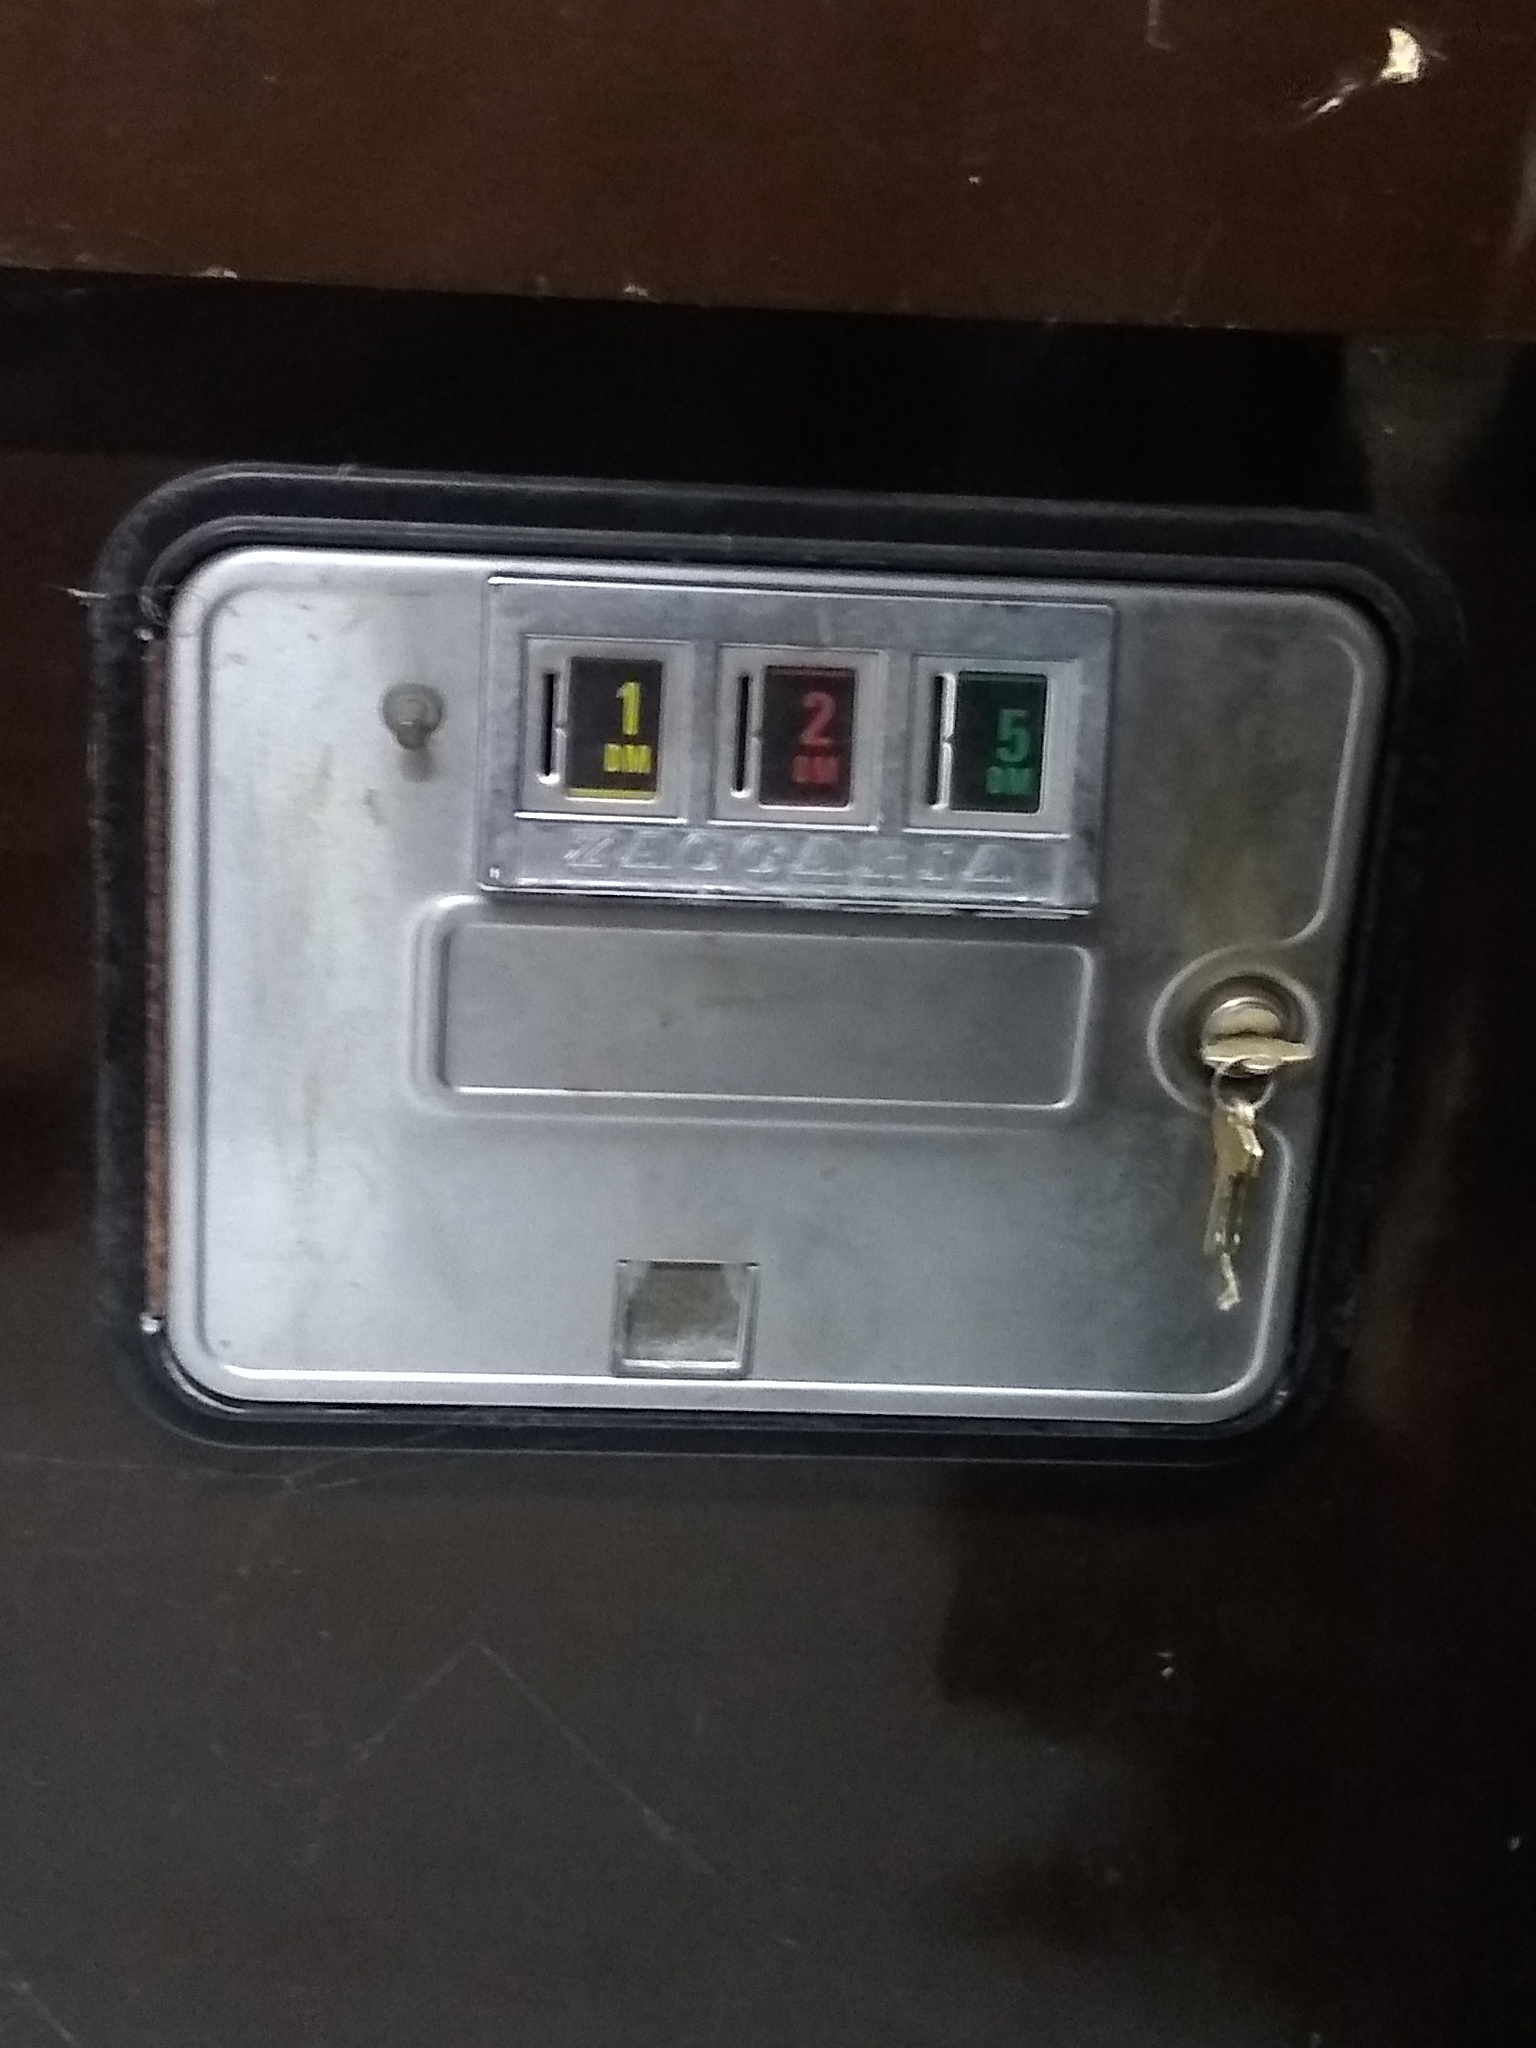
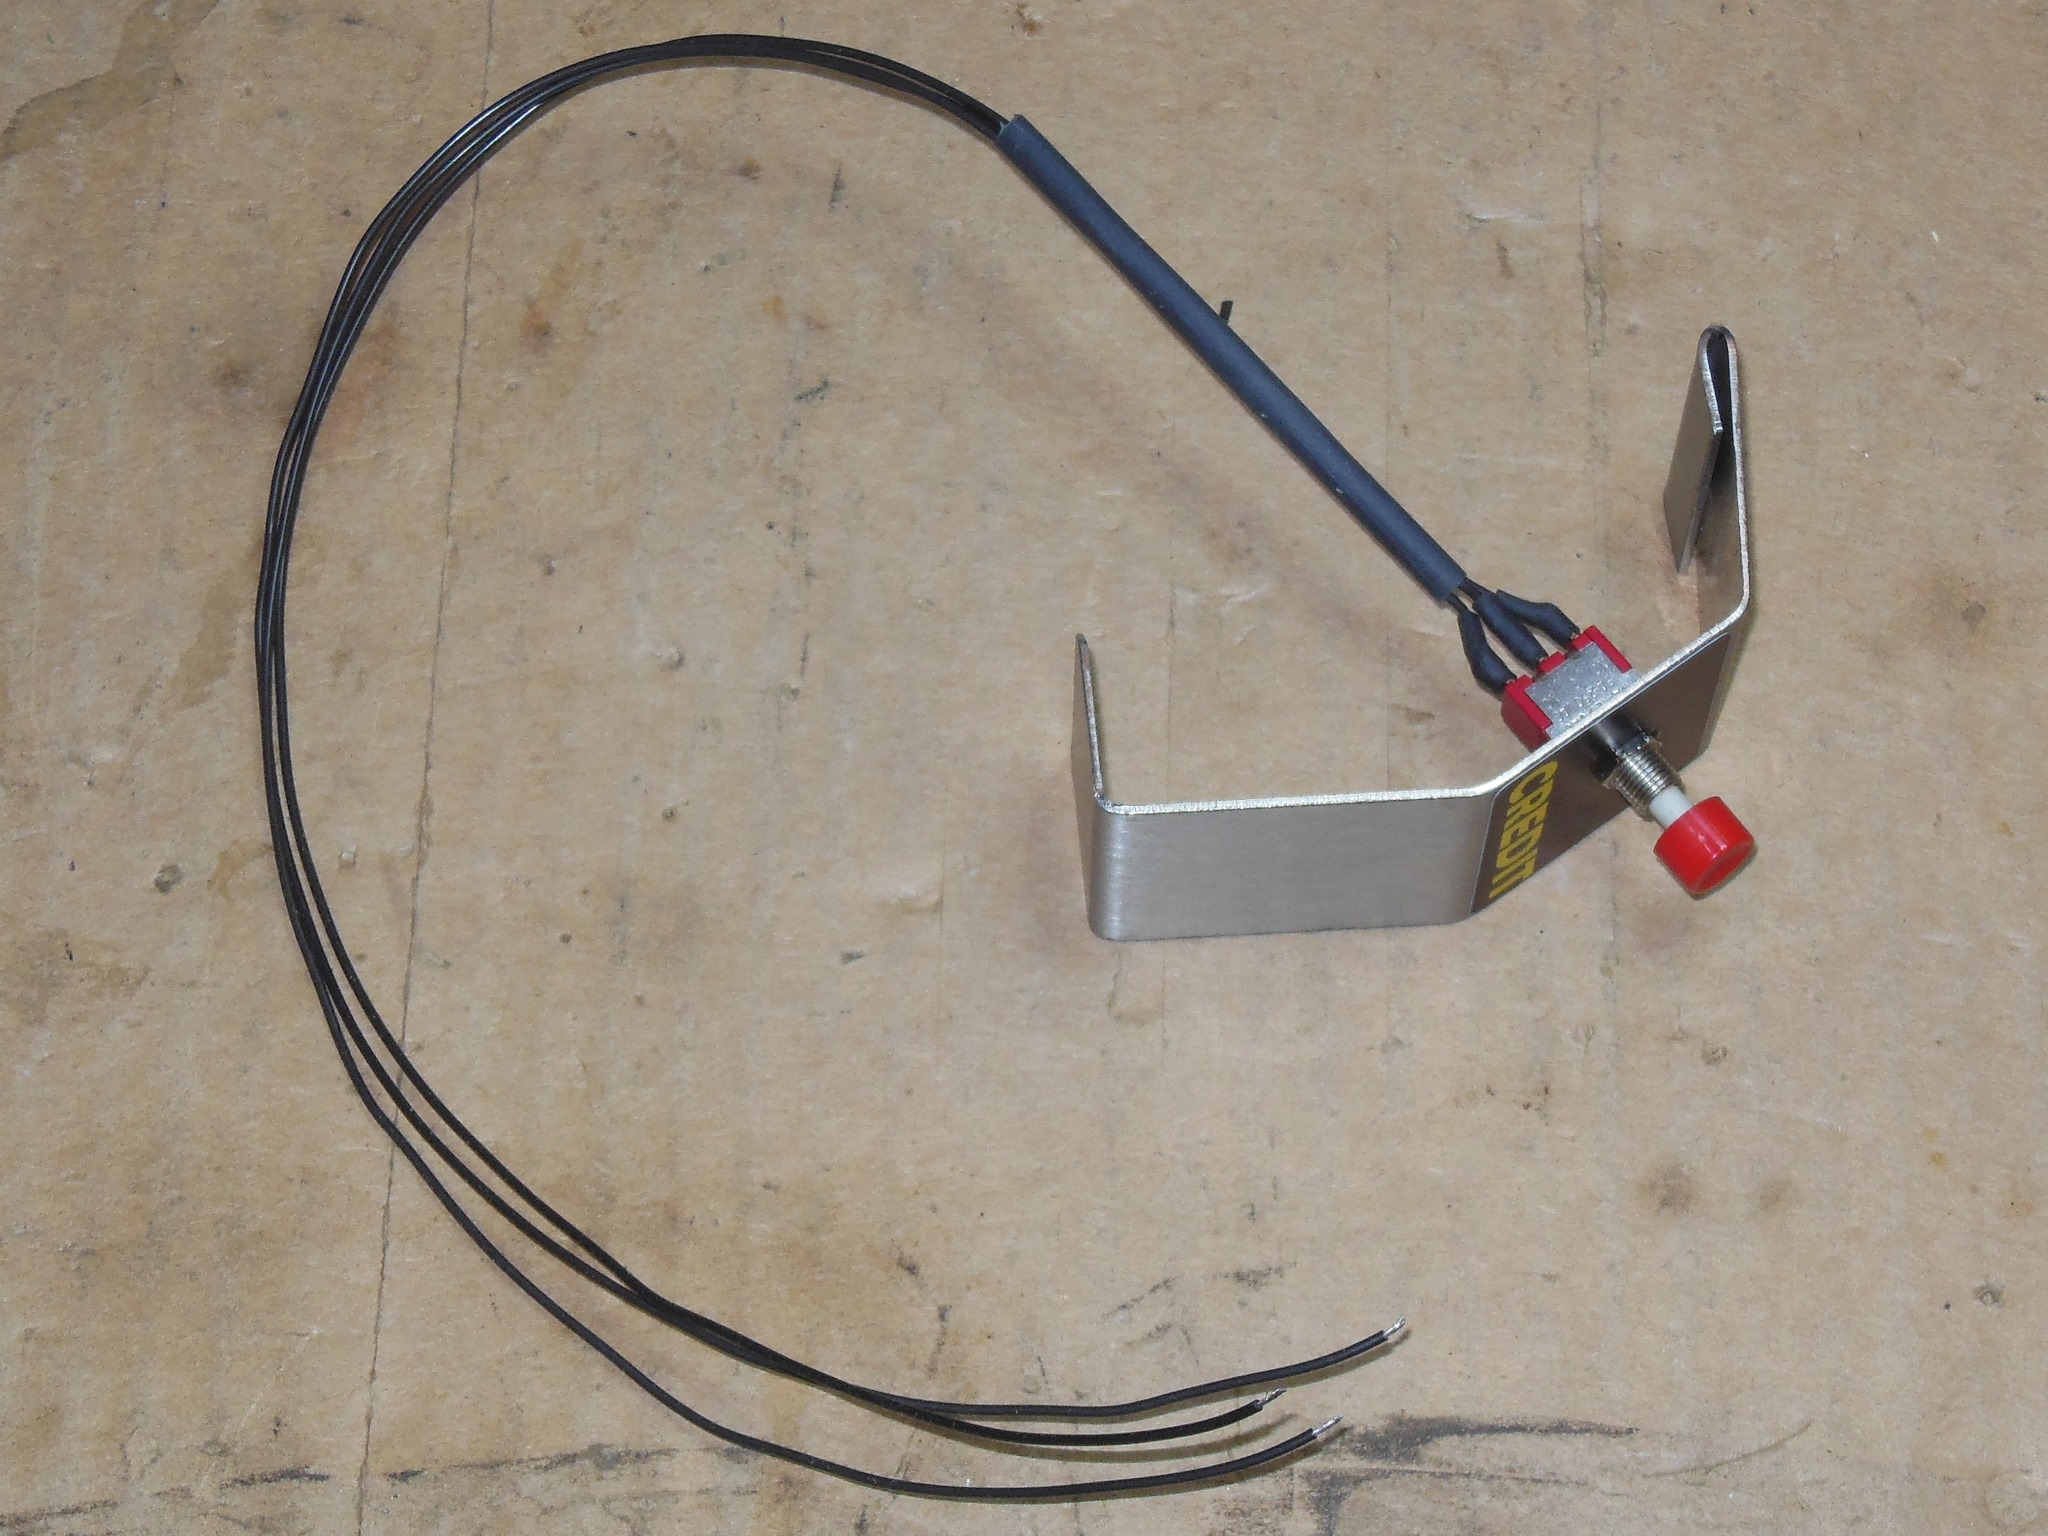
I assembled a credit button & bracket for the coin door tested the replacement coin door & credit PCB on the bench. The credit PCB itself only supports two coin slots even though the coin door was wired for three - there was a wire strap added to the credit PCB to directly connect one of the slots through to the credit signal to hard wire a 1 coin 1 credit slot.
|
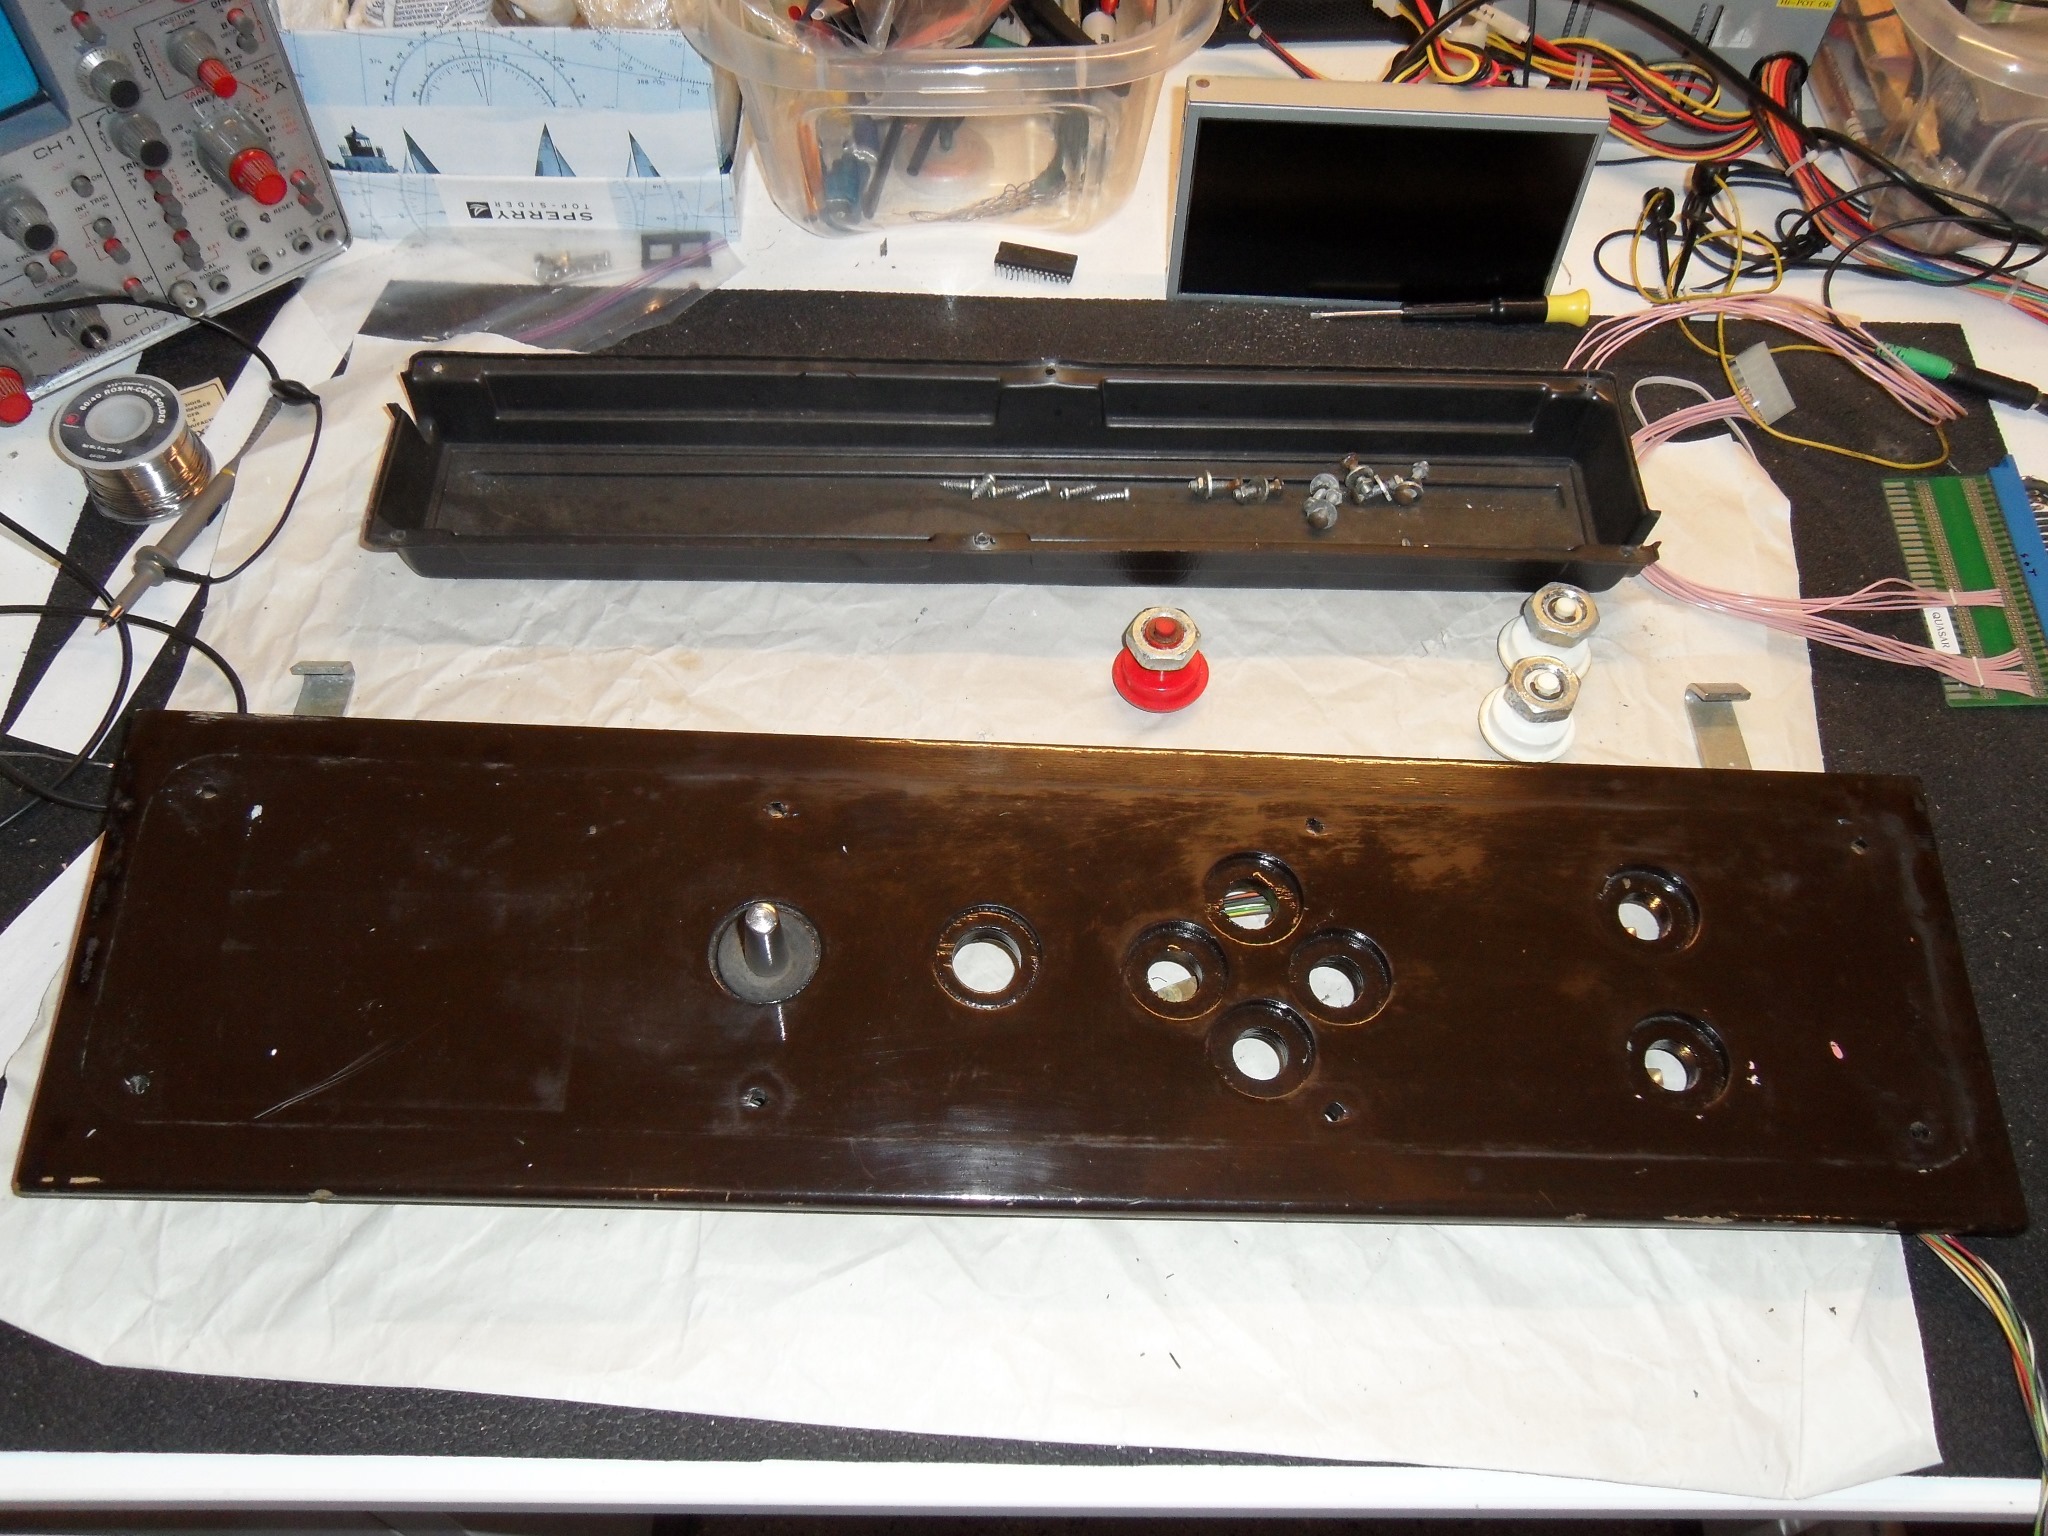
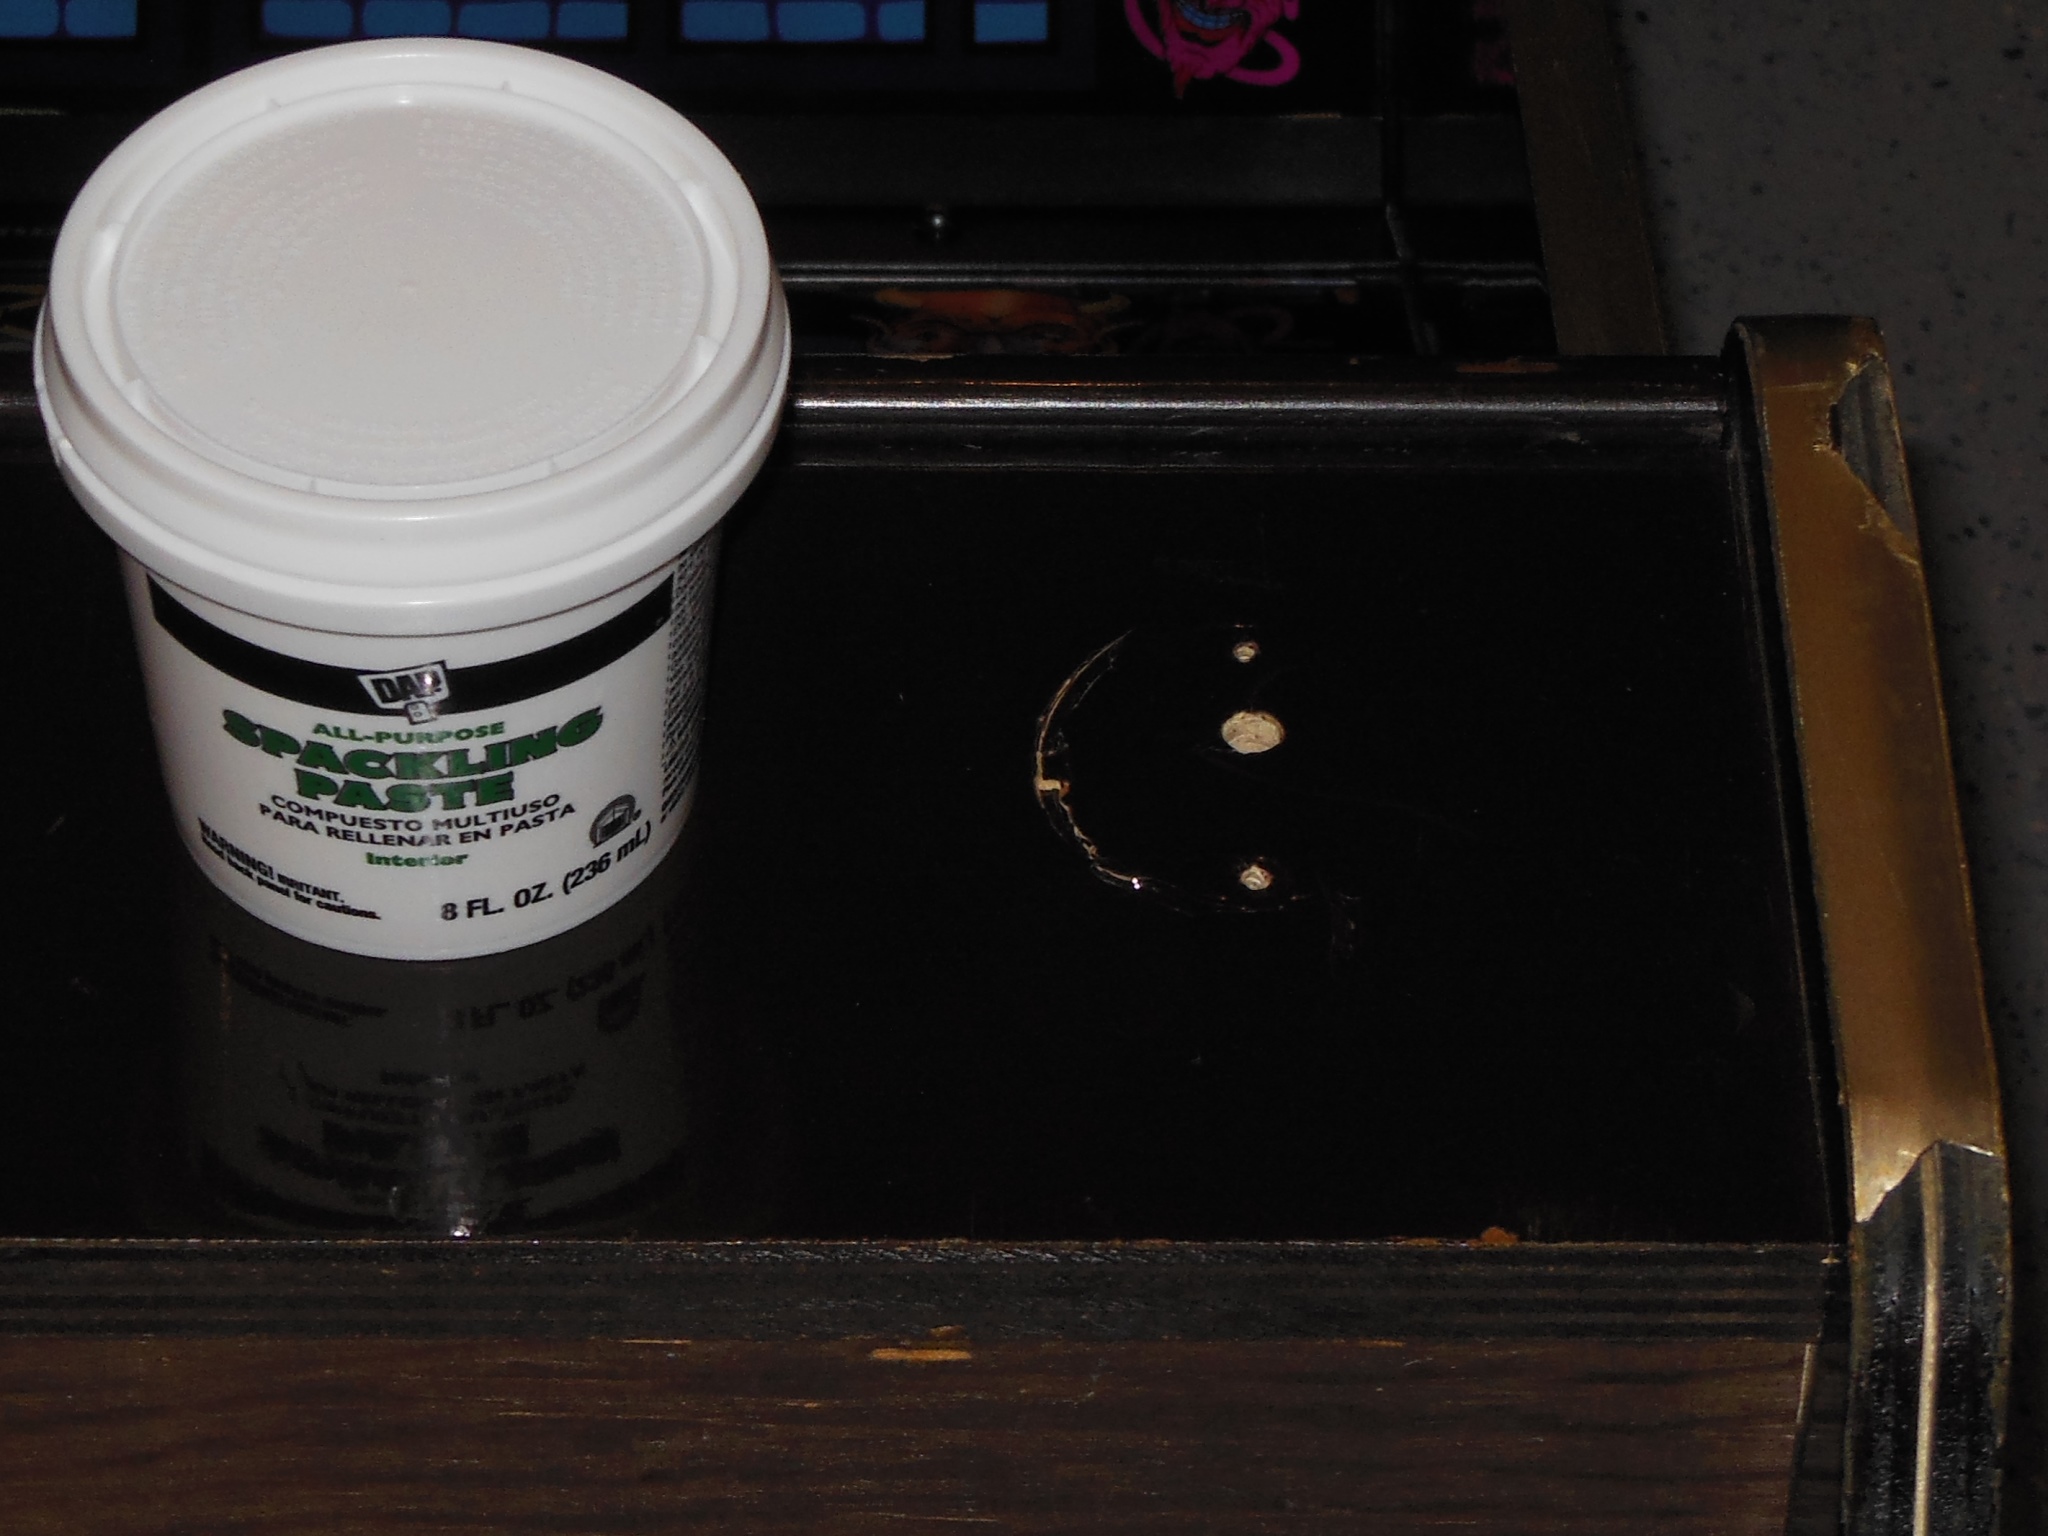
Unfortunately the doorbell addition had put a wire hole and screw holes into the otherwise near perfect front panel :( Further, the bell itself had been rammed into the wood leaving a sharp-edged circle of cracked paint. The only positive from this modification was that the pins from the credit PCB connector will still present and possibly salvageable.

|
I finally realized the chassis was missing green that I hadn't noticed when it was on the bench. A back-to-back diode check on TR's 2,3,4 measured ~0.710V on TR3 & TR4 and ~0.638V/~0.668V on TR2, some variation but nothing definitive. Similarly back-to-back diode checking TR's 16,14,12 found them all to be OK in circuit. On the scope the video signals present at TP's 1,2,3 were all consistent. Checking the gun drive on the neck confirmed read & blue OK but green was flatline. The flatline tracked back to the tab of TR14 and its input R82. Moving back to IC1 (TDA3501) found pins 5 & 27 active but pin 2 flatline. All the input pins to IC1, pins 14,13,12, all looked OK. Suspecting IC1 may be bad I replaced it with a spare but there was still no change.
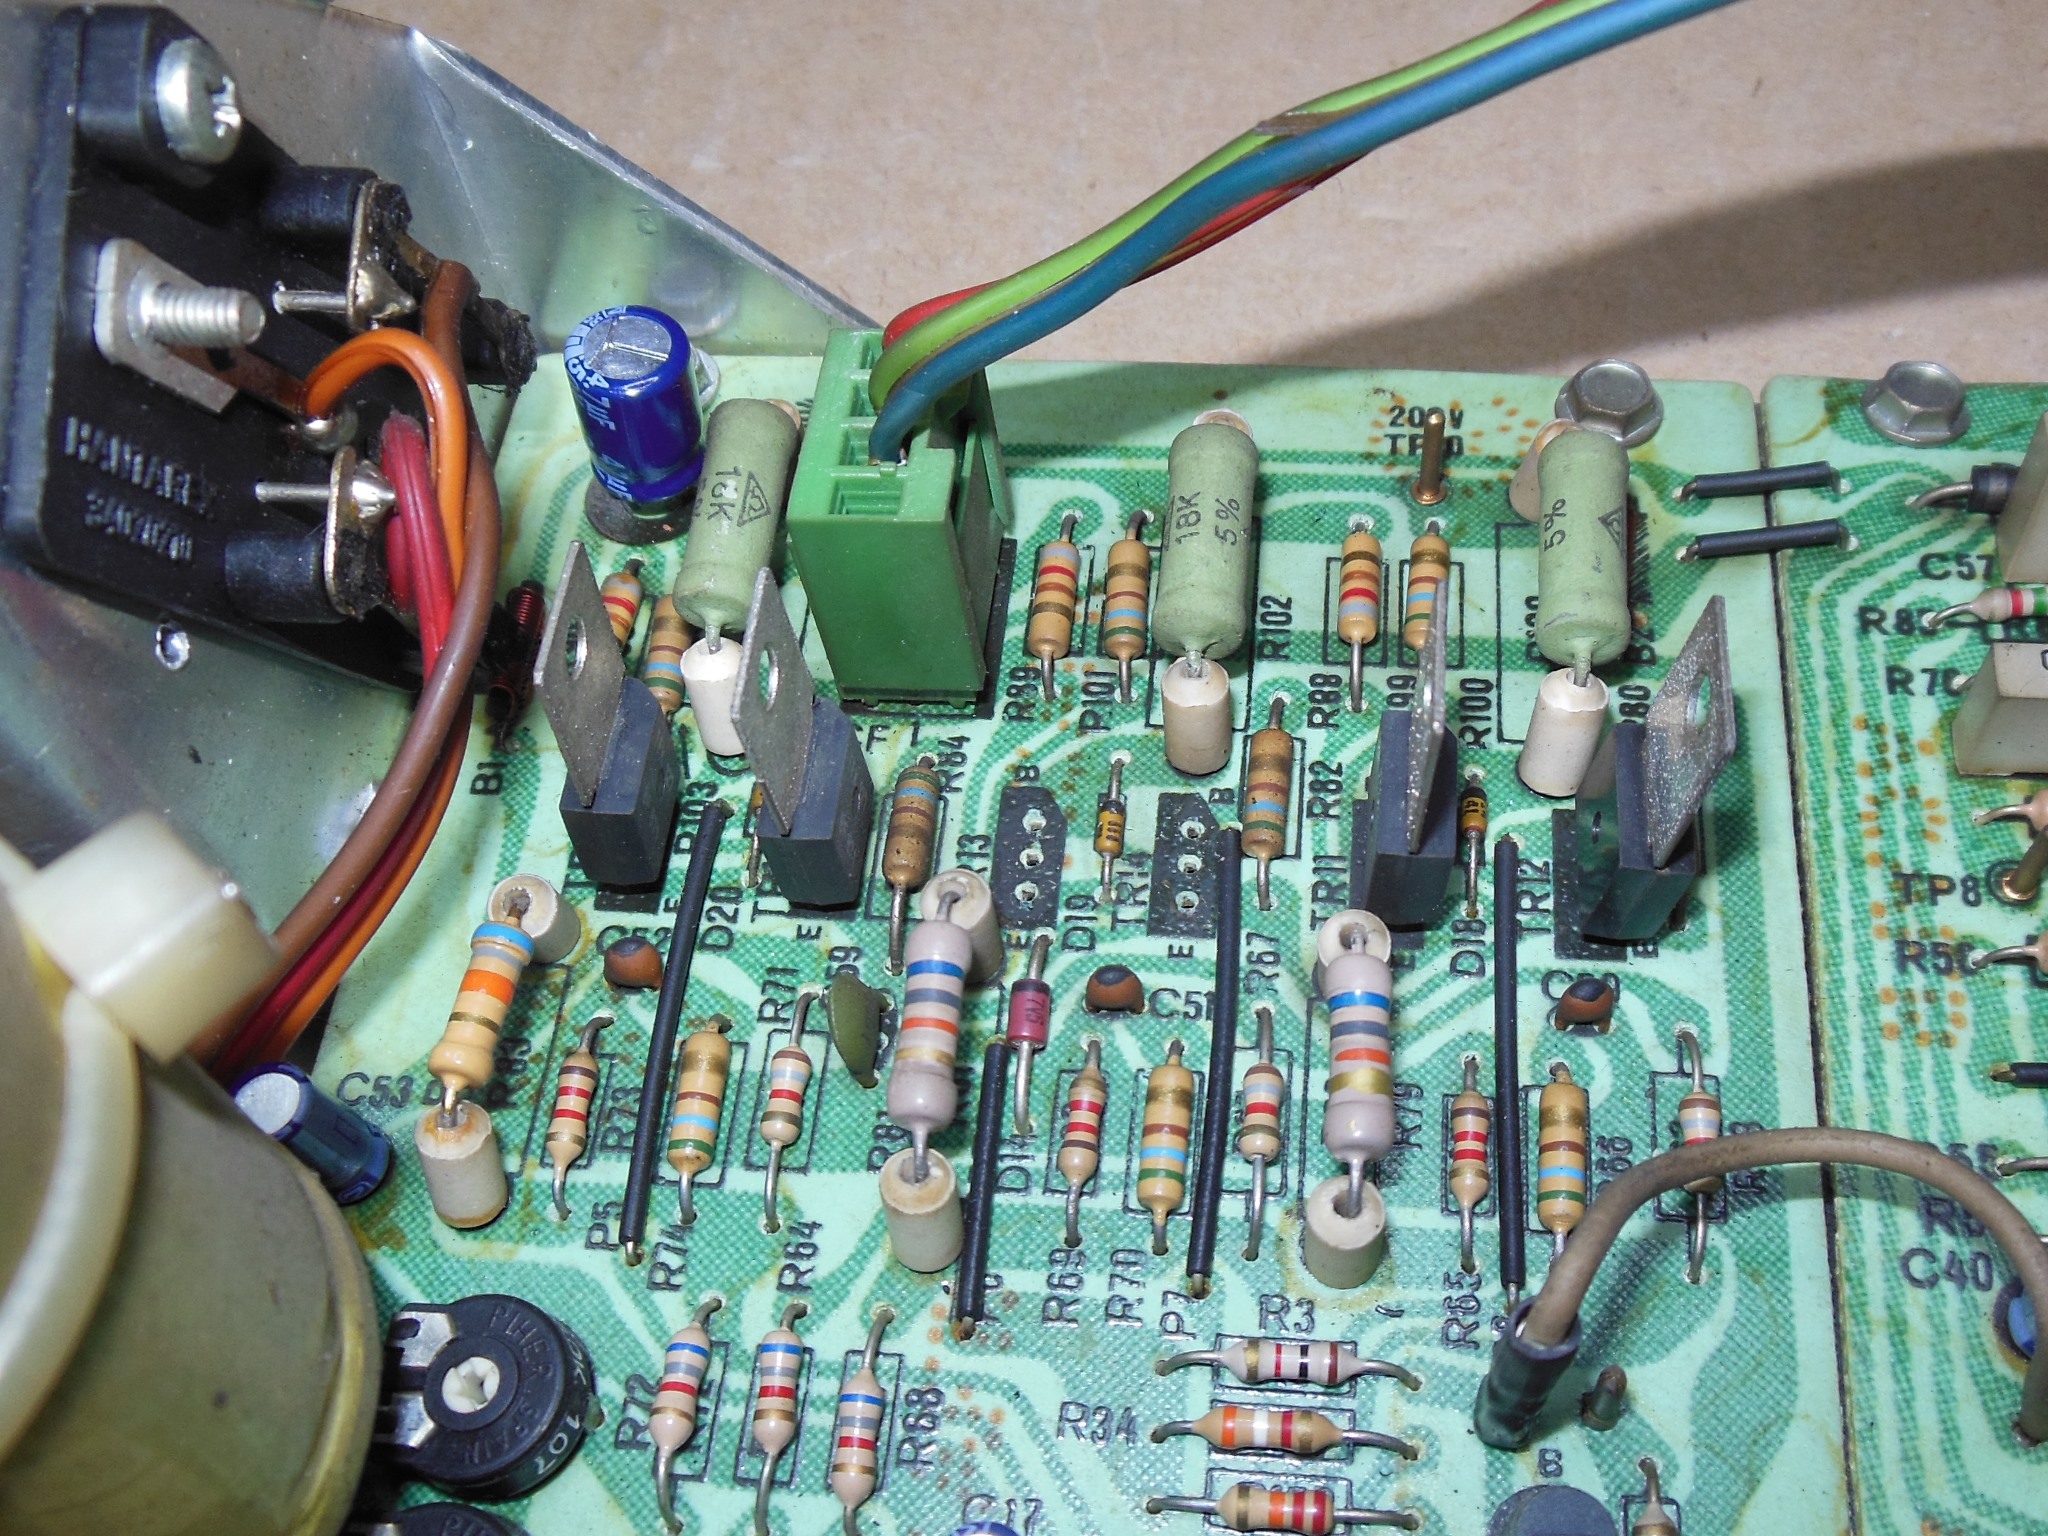
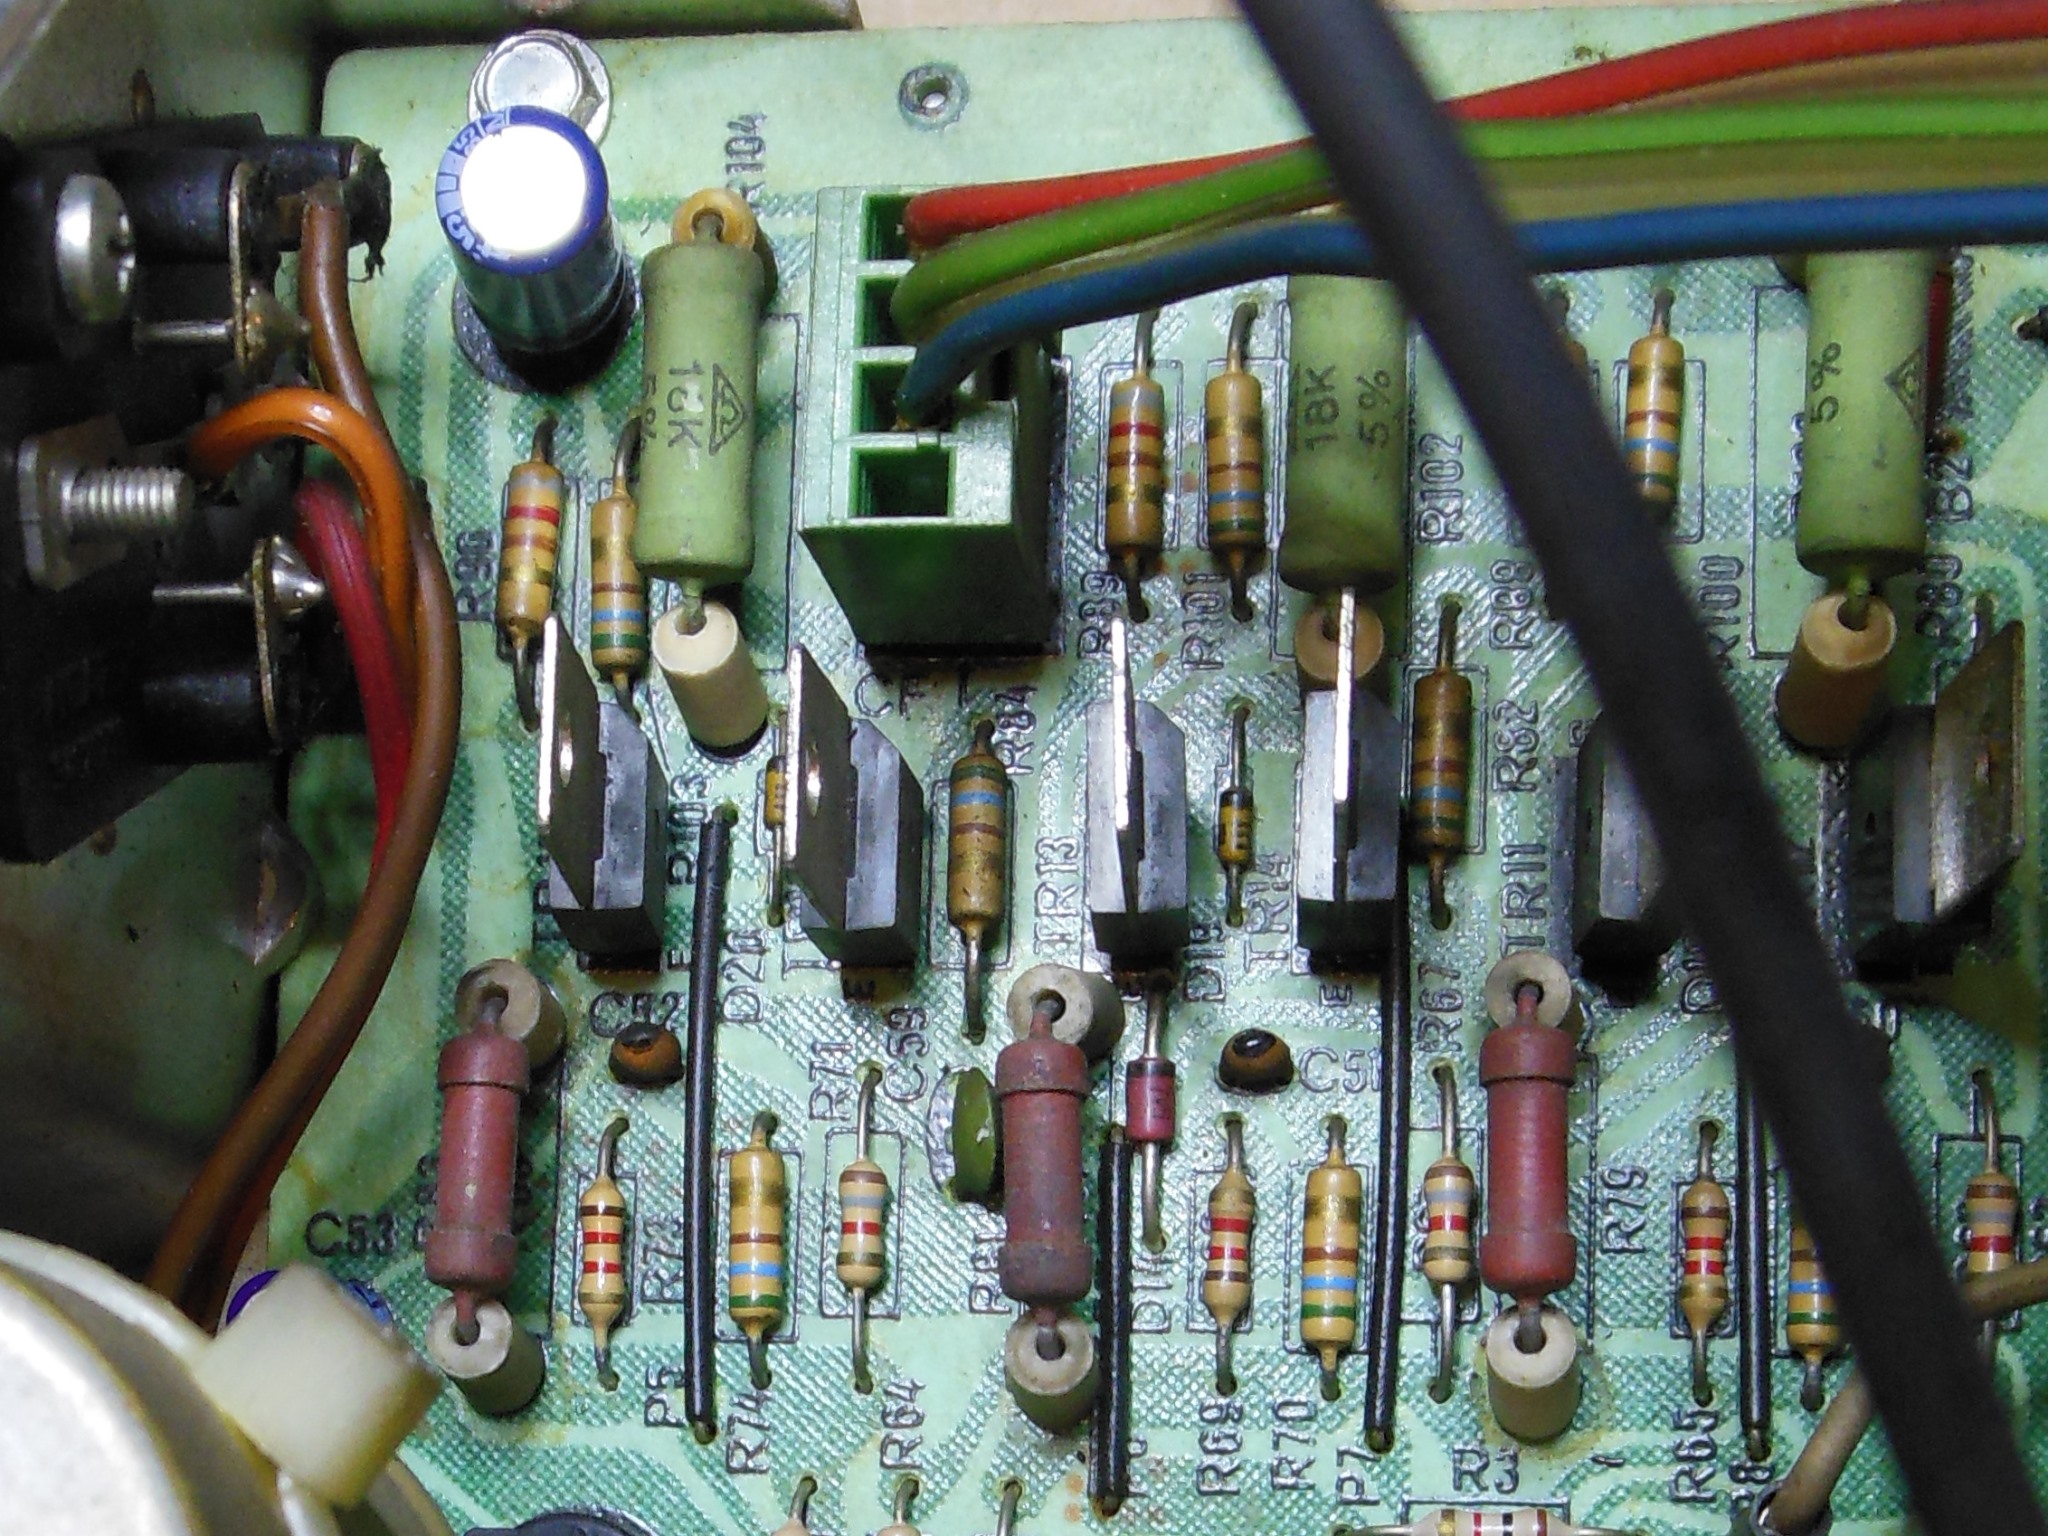
|
Pulling up the datasheet for the TDA3501 indicated that pin 2 was used as a feedback input from the gun drive circuit and that pin 1 was the actual output. Measuring IC1 pins 1,4,26 found them all to be ~400mV p-p AC. I decided to pull TR14 & TR13 to check out of circuit and both tested OK with Hfe 69 & 56 respectively. Whilst the two drive transistors were out I checked D19 and R82 as OK but encountered R81 (68K) open. Examining the PCB more closely found it's siblings R79 at 82K and R83 at 68K. R83 looked to have been replaced in the past. The theory was that 3 x 82K resistors had been fitted at factory and one had been replaced with 68K per manual in the past. Given that possibly 2 of 3 resistors had failed I decided to replace all three with a different style reclaimed from a scrap chassis. Retesting the chassis confirmed that green was back :)

|
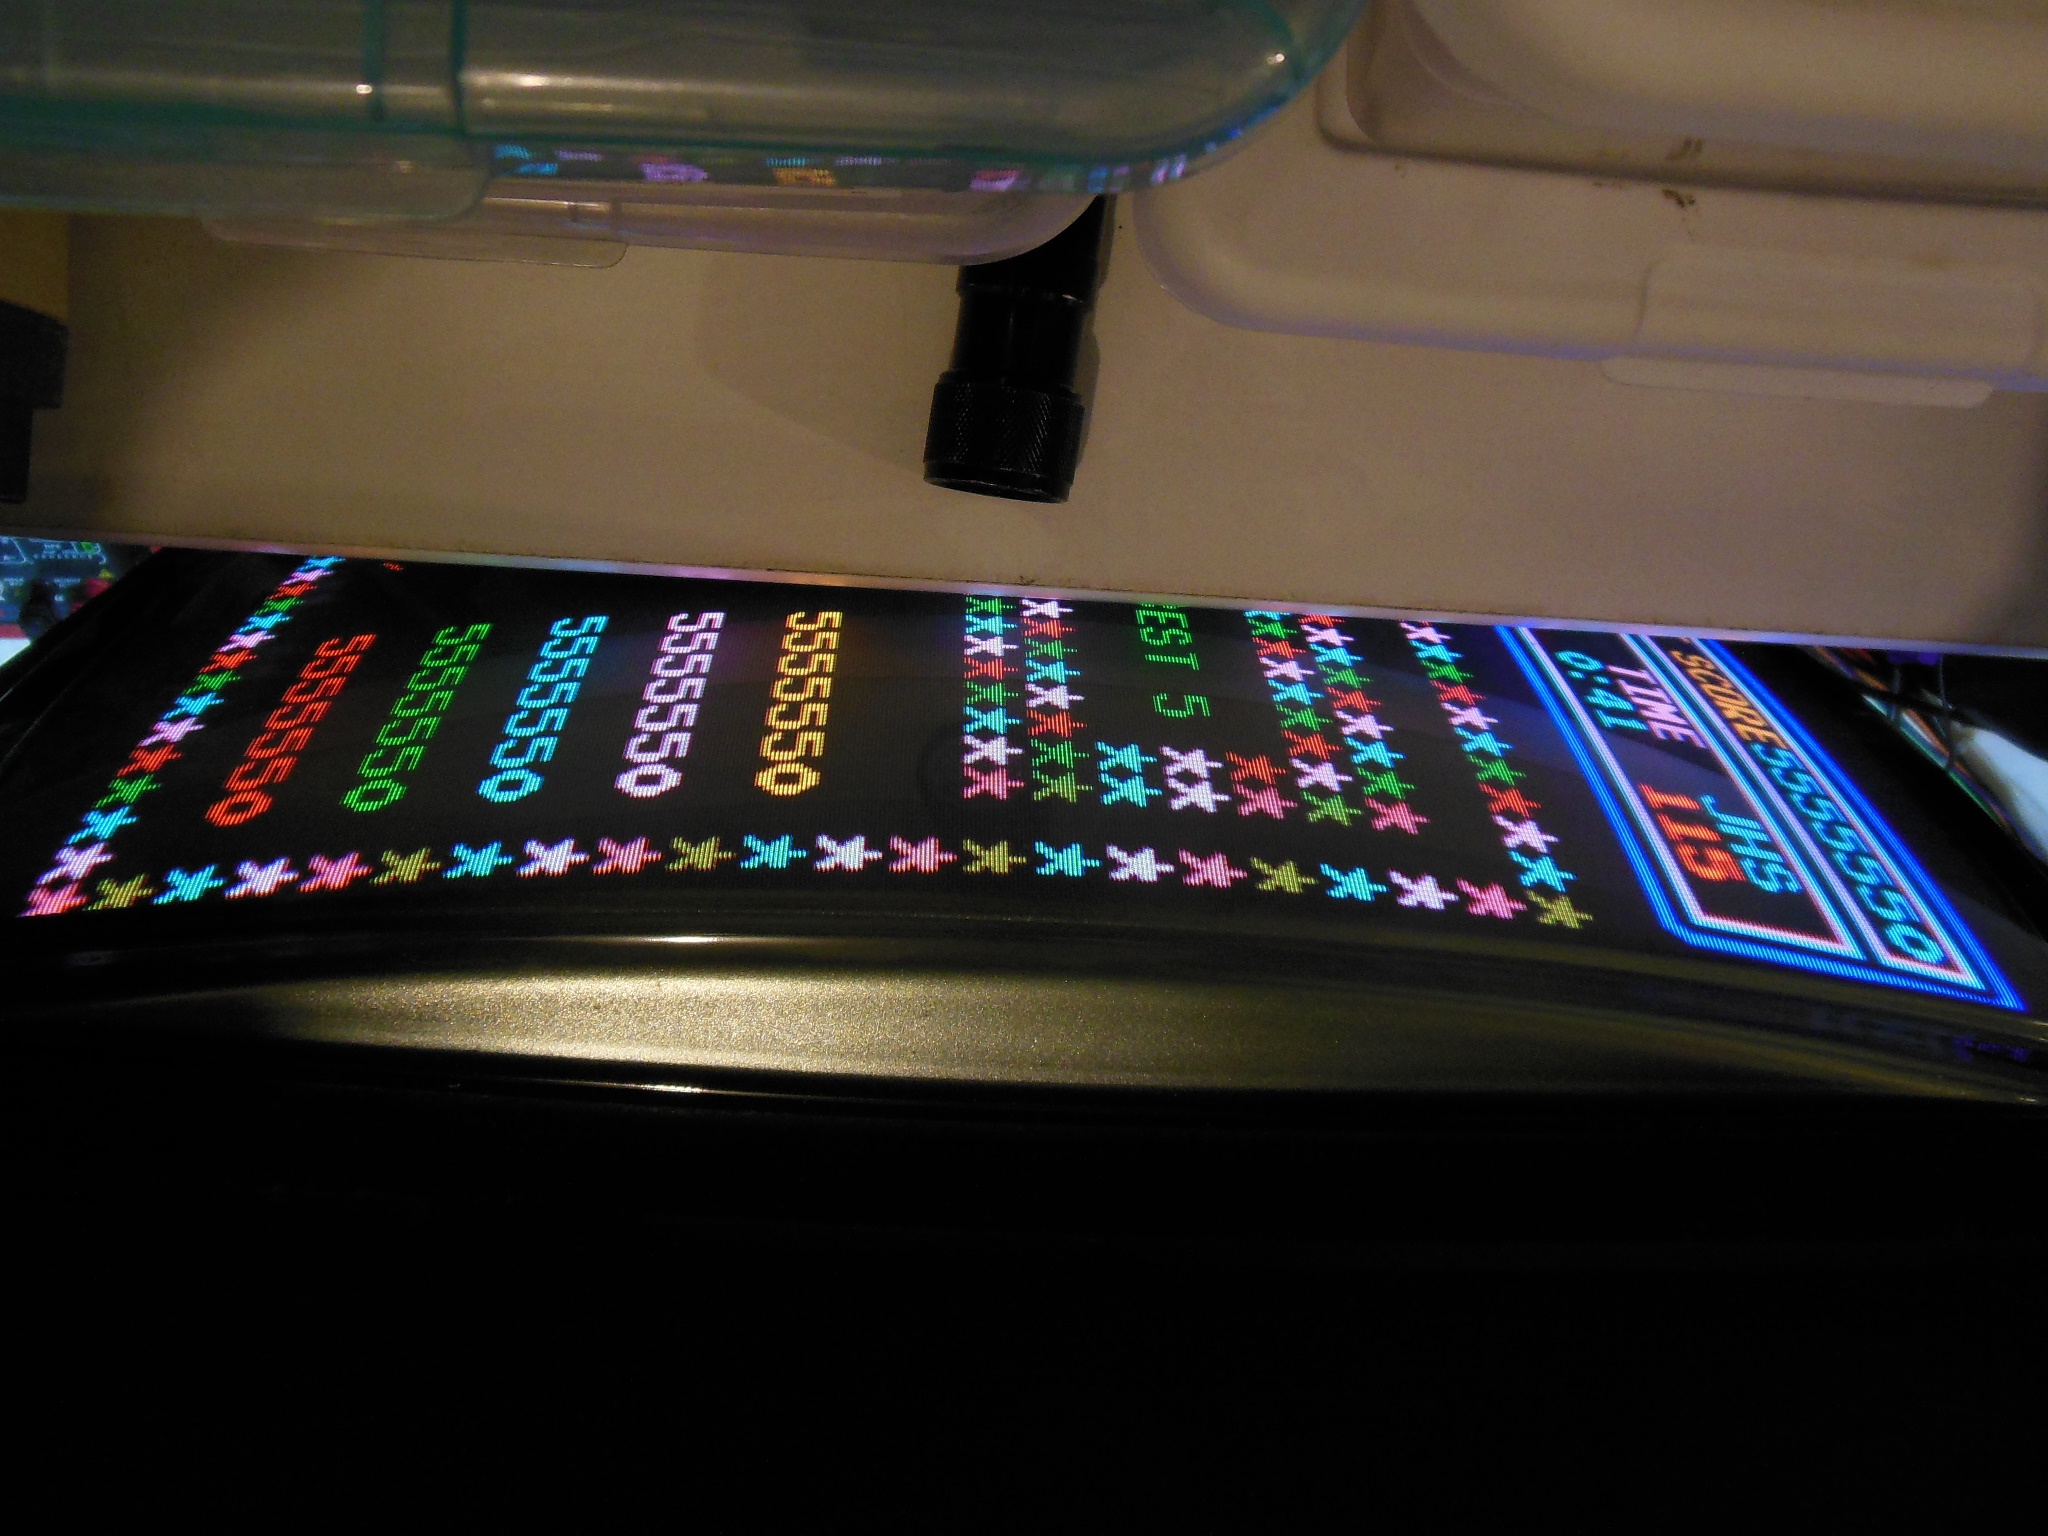
With all three power resistors in the gun drive input replaced with new values per the manual the colour balance was off. Due to slight colour blindness, calibrating the colour balance has always been a bit hit and miss so this time I decided to use the scope on the CRT gun inputs as a more accurate way to colour balance (though doing so assumes the CRT itself is balanced). I adjusted each colour such that the signal levels looked almost identical between the colours and was rewarded with a picture that looked almost identical to both MAME and the LCD bench monitor.
|
Scanned in the Fitter marque.
600 DPI Fitter marque scan (20.6MB).
|
|
Scanned in the Fitter monitor glass.
600 DPI Fitter monitor glass scan (24.0MB).
|
|
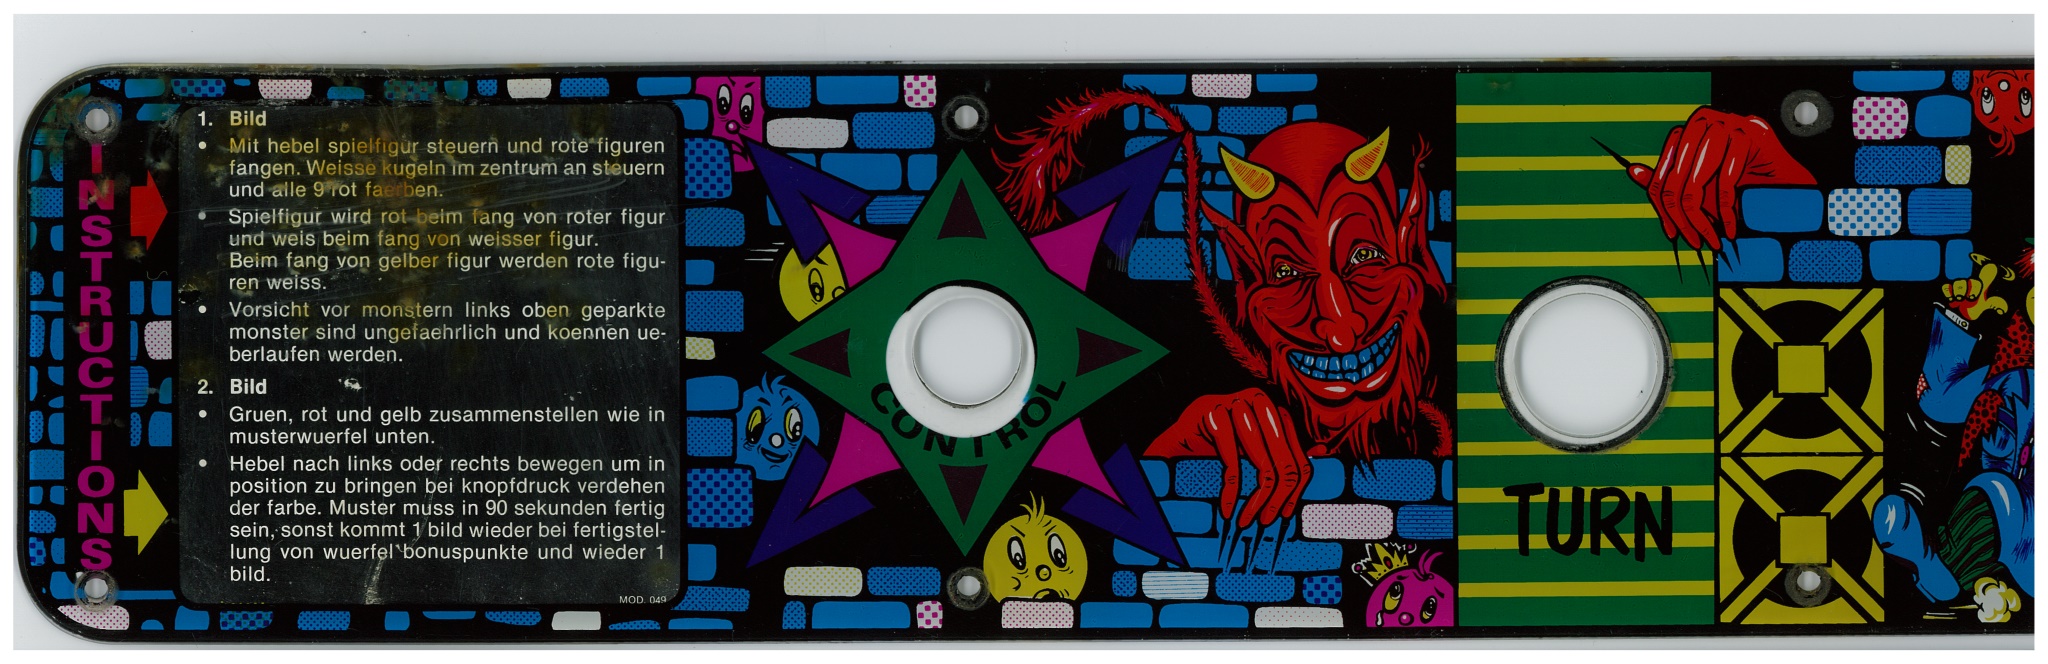
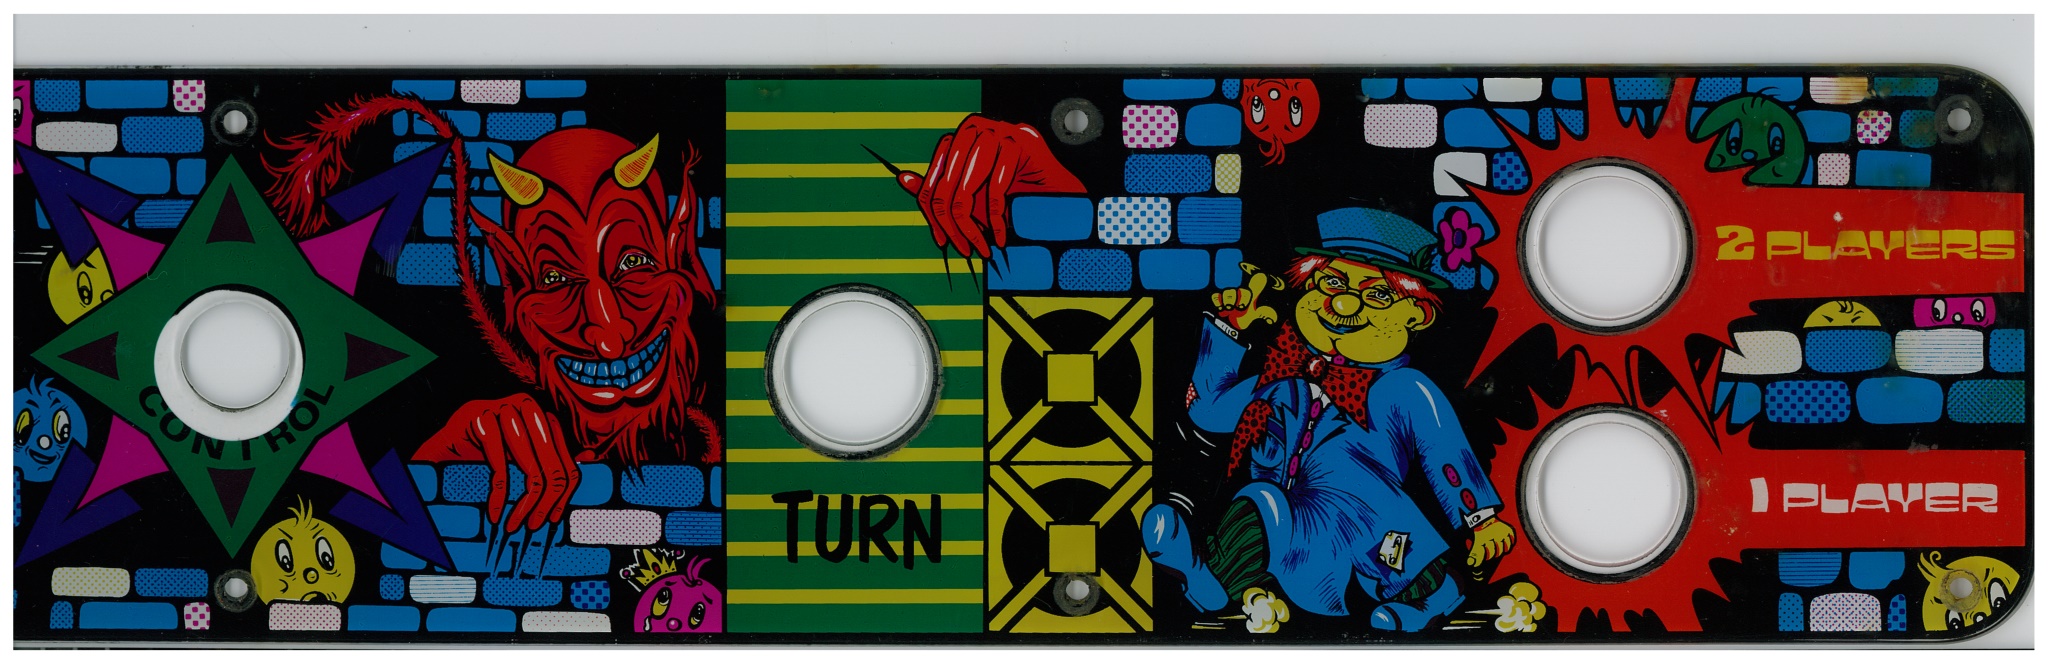
Scanned in the Fitter control panel overlay (requested by another collector in 2012).
400 DPI Fitter control panel overlay scan (12.0MB).

|
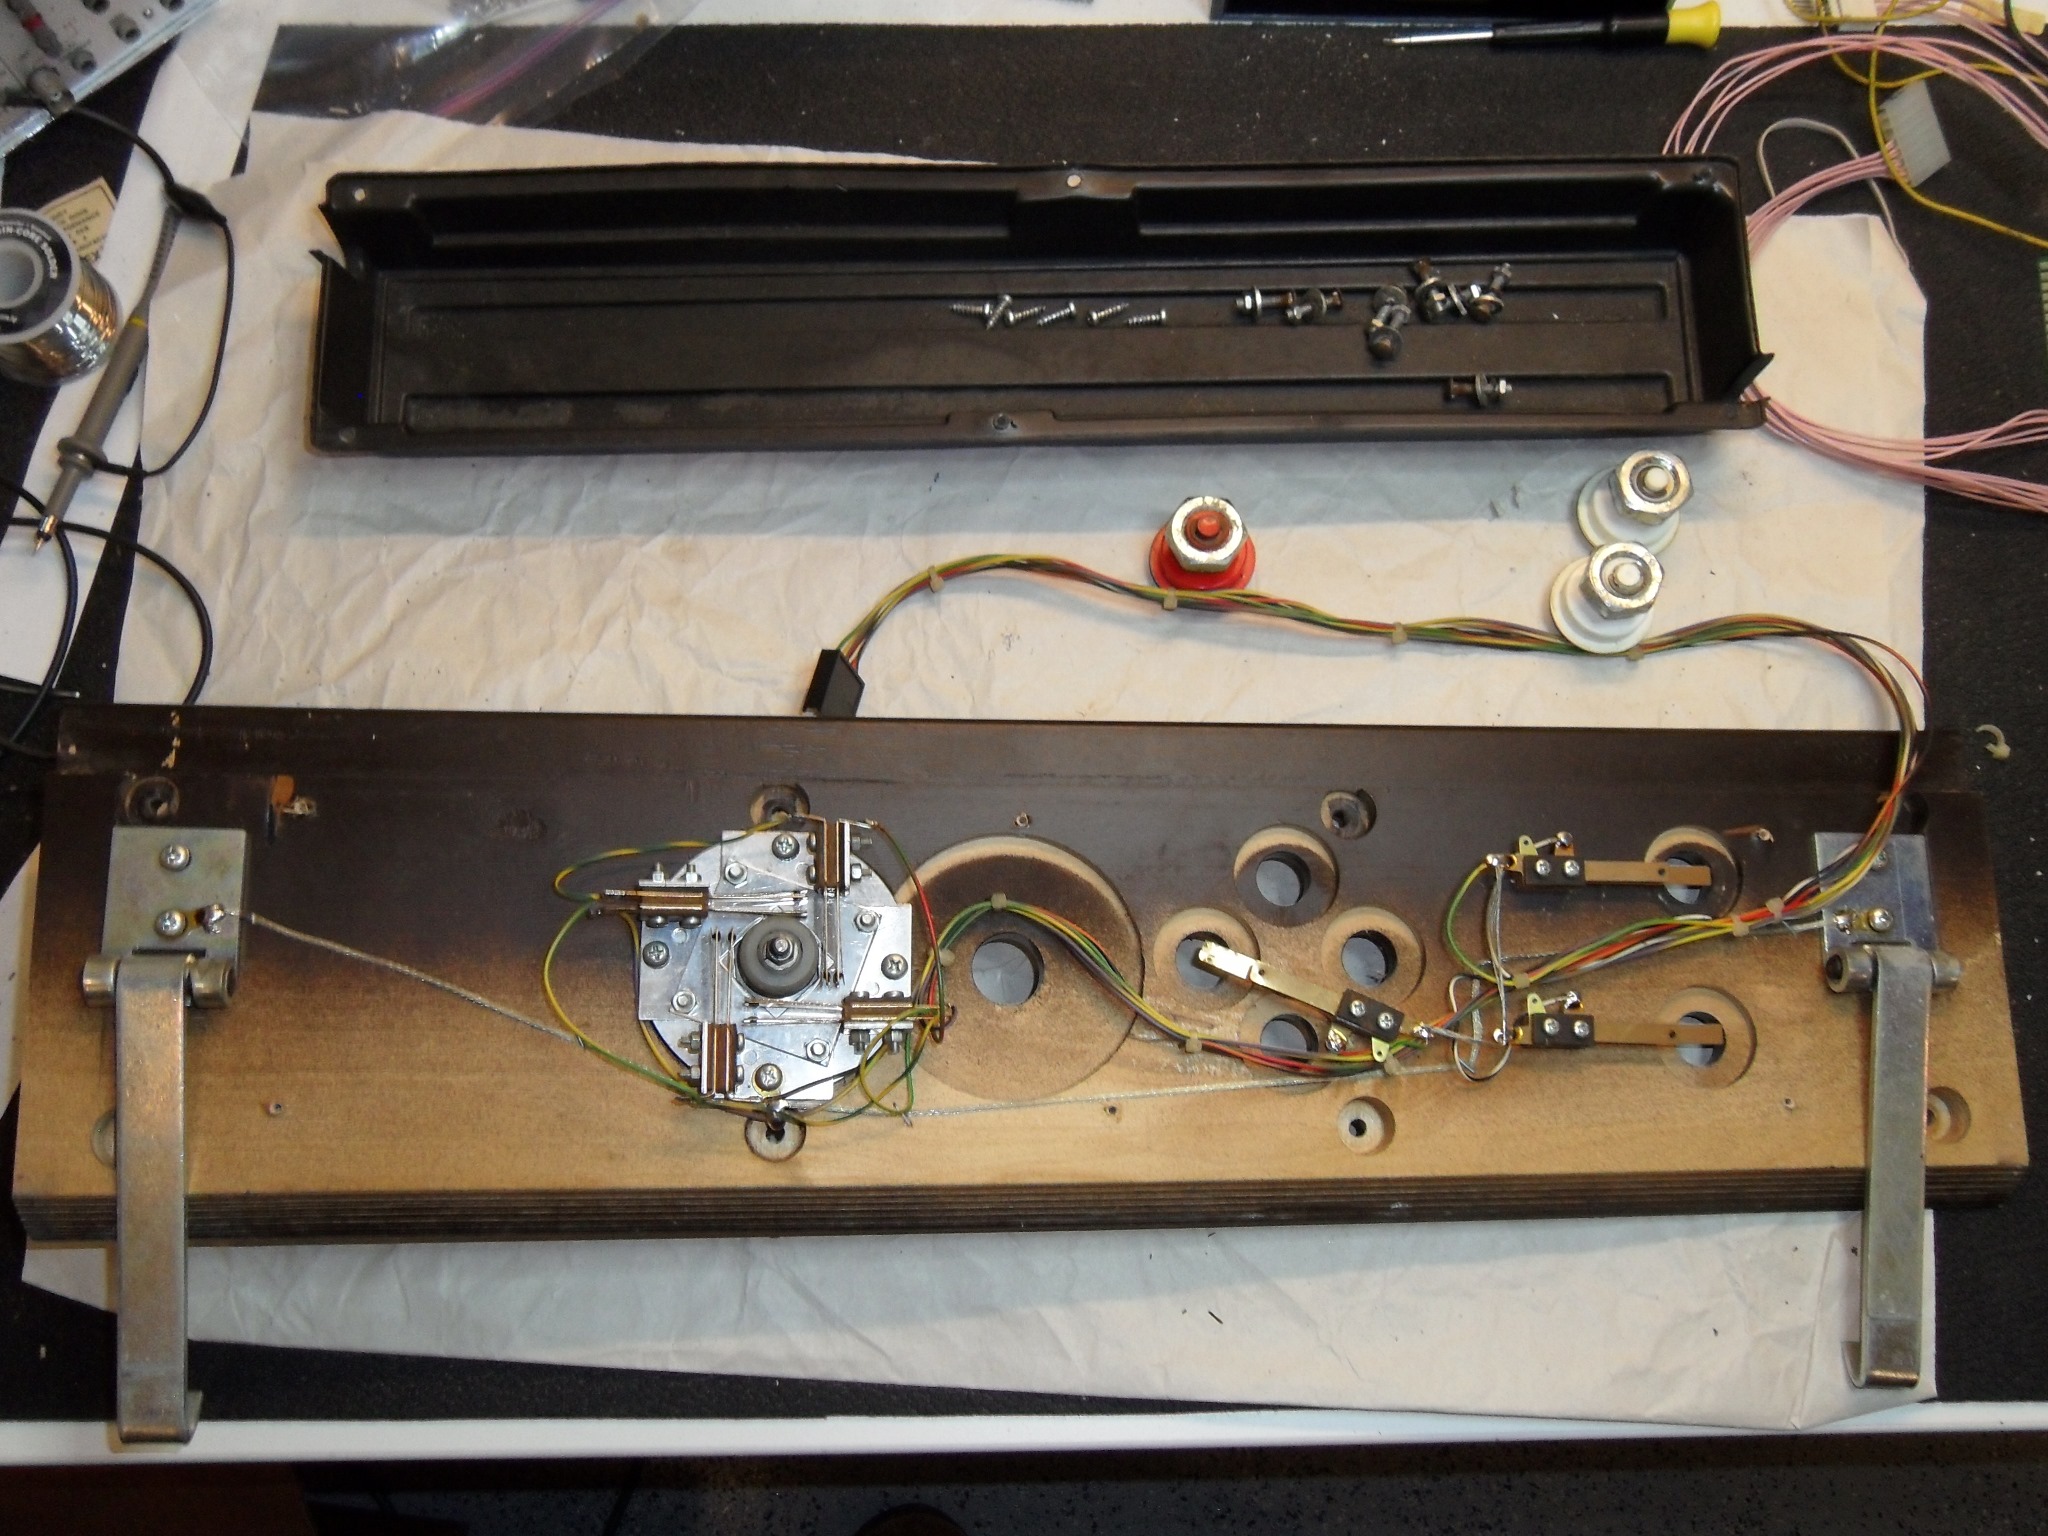
As part of the scan request in 2012 I'd already cleaned up the control panel and there were no issues with the joystick or buttons.
|
The Arduino ICT support work had encountered an unknown ROM set on the game PCB
that I dumped for the archive.
Kaga Denshi Fitter ROM set

|
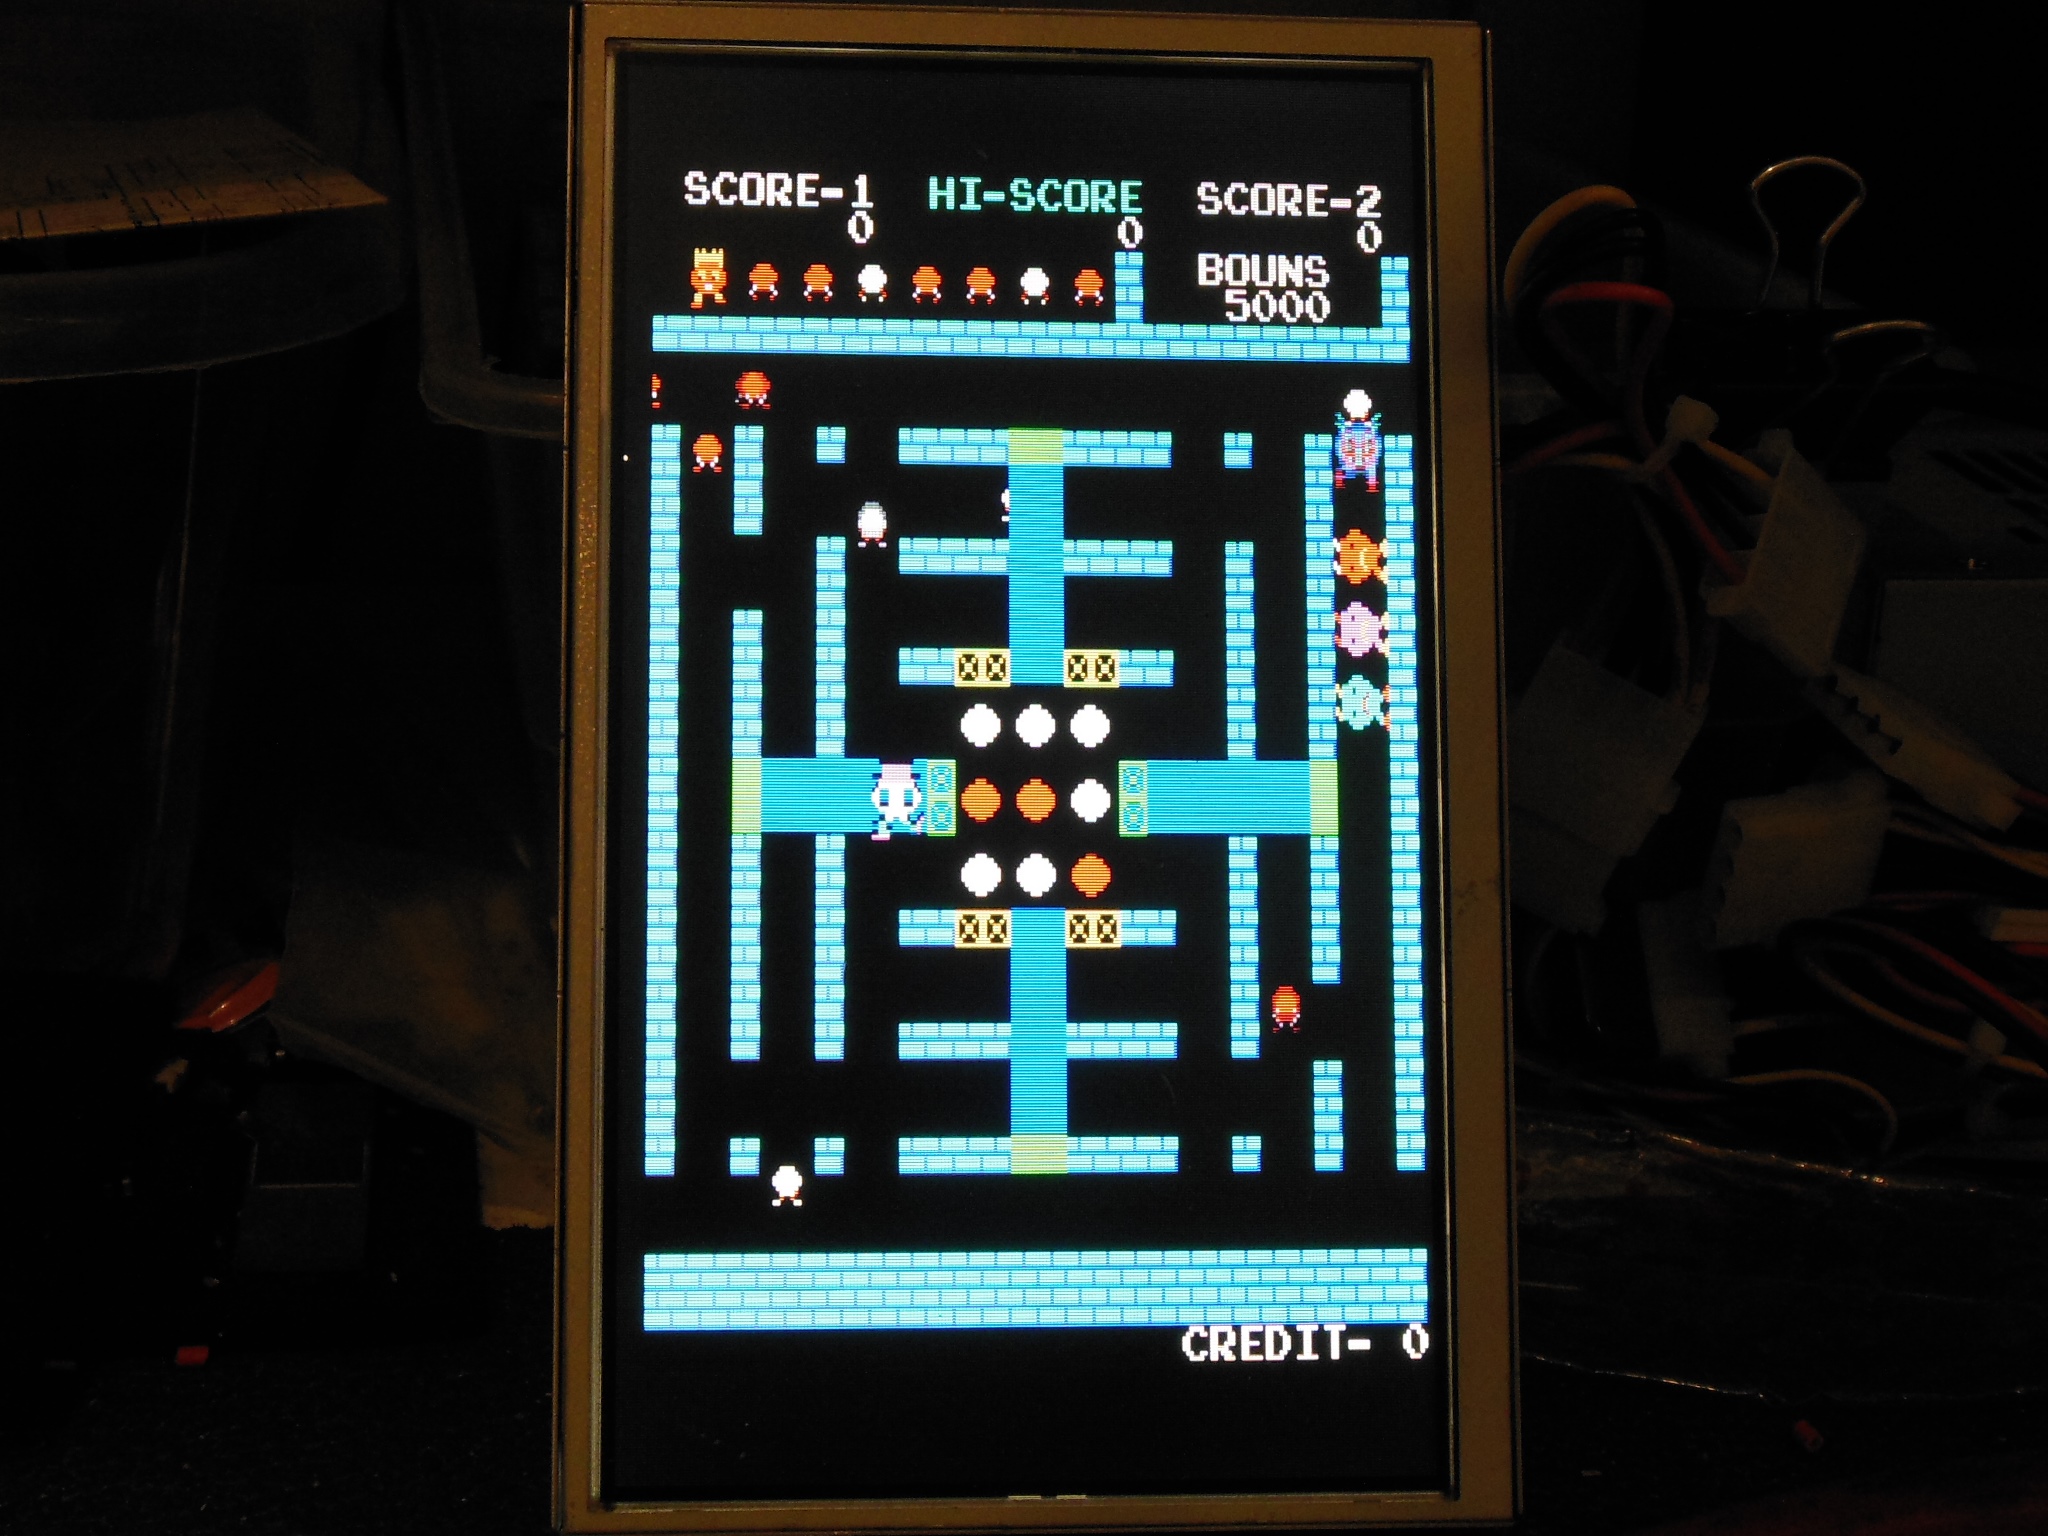
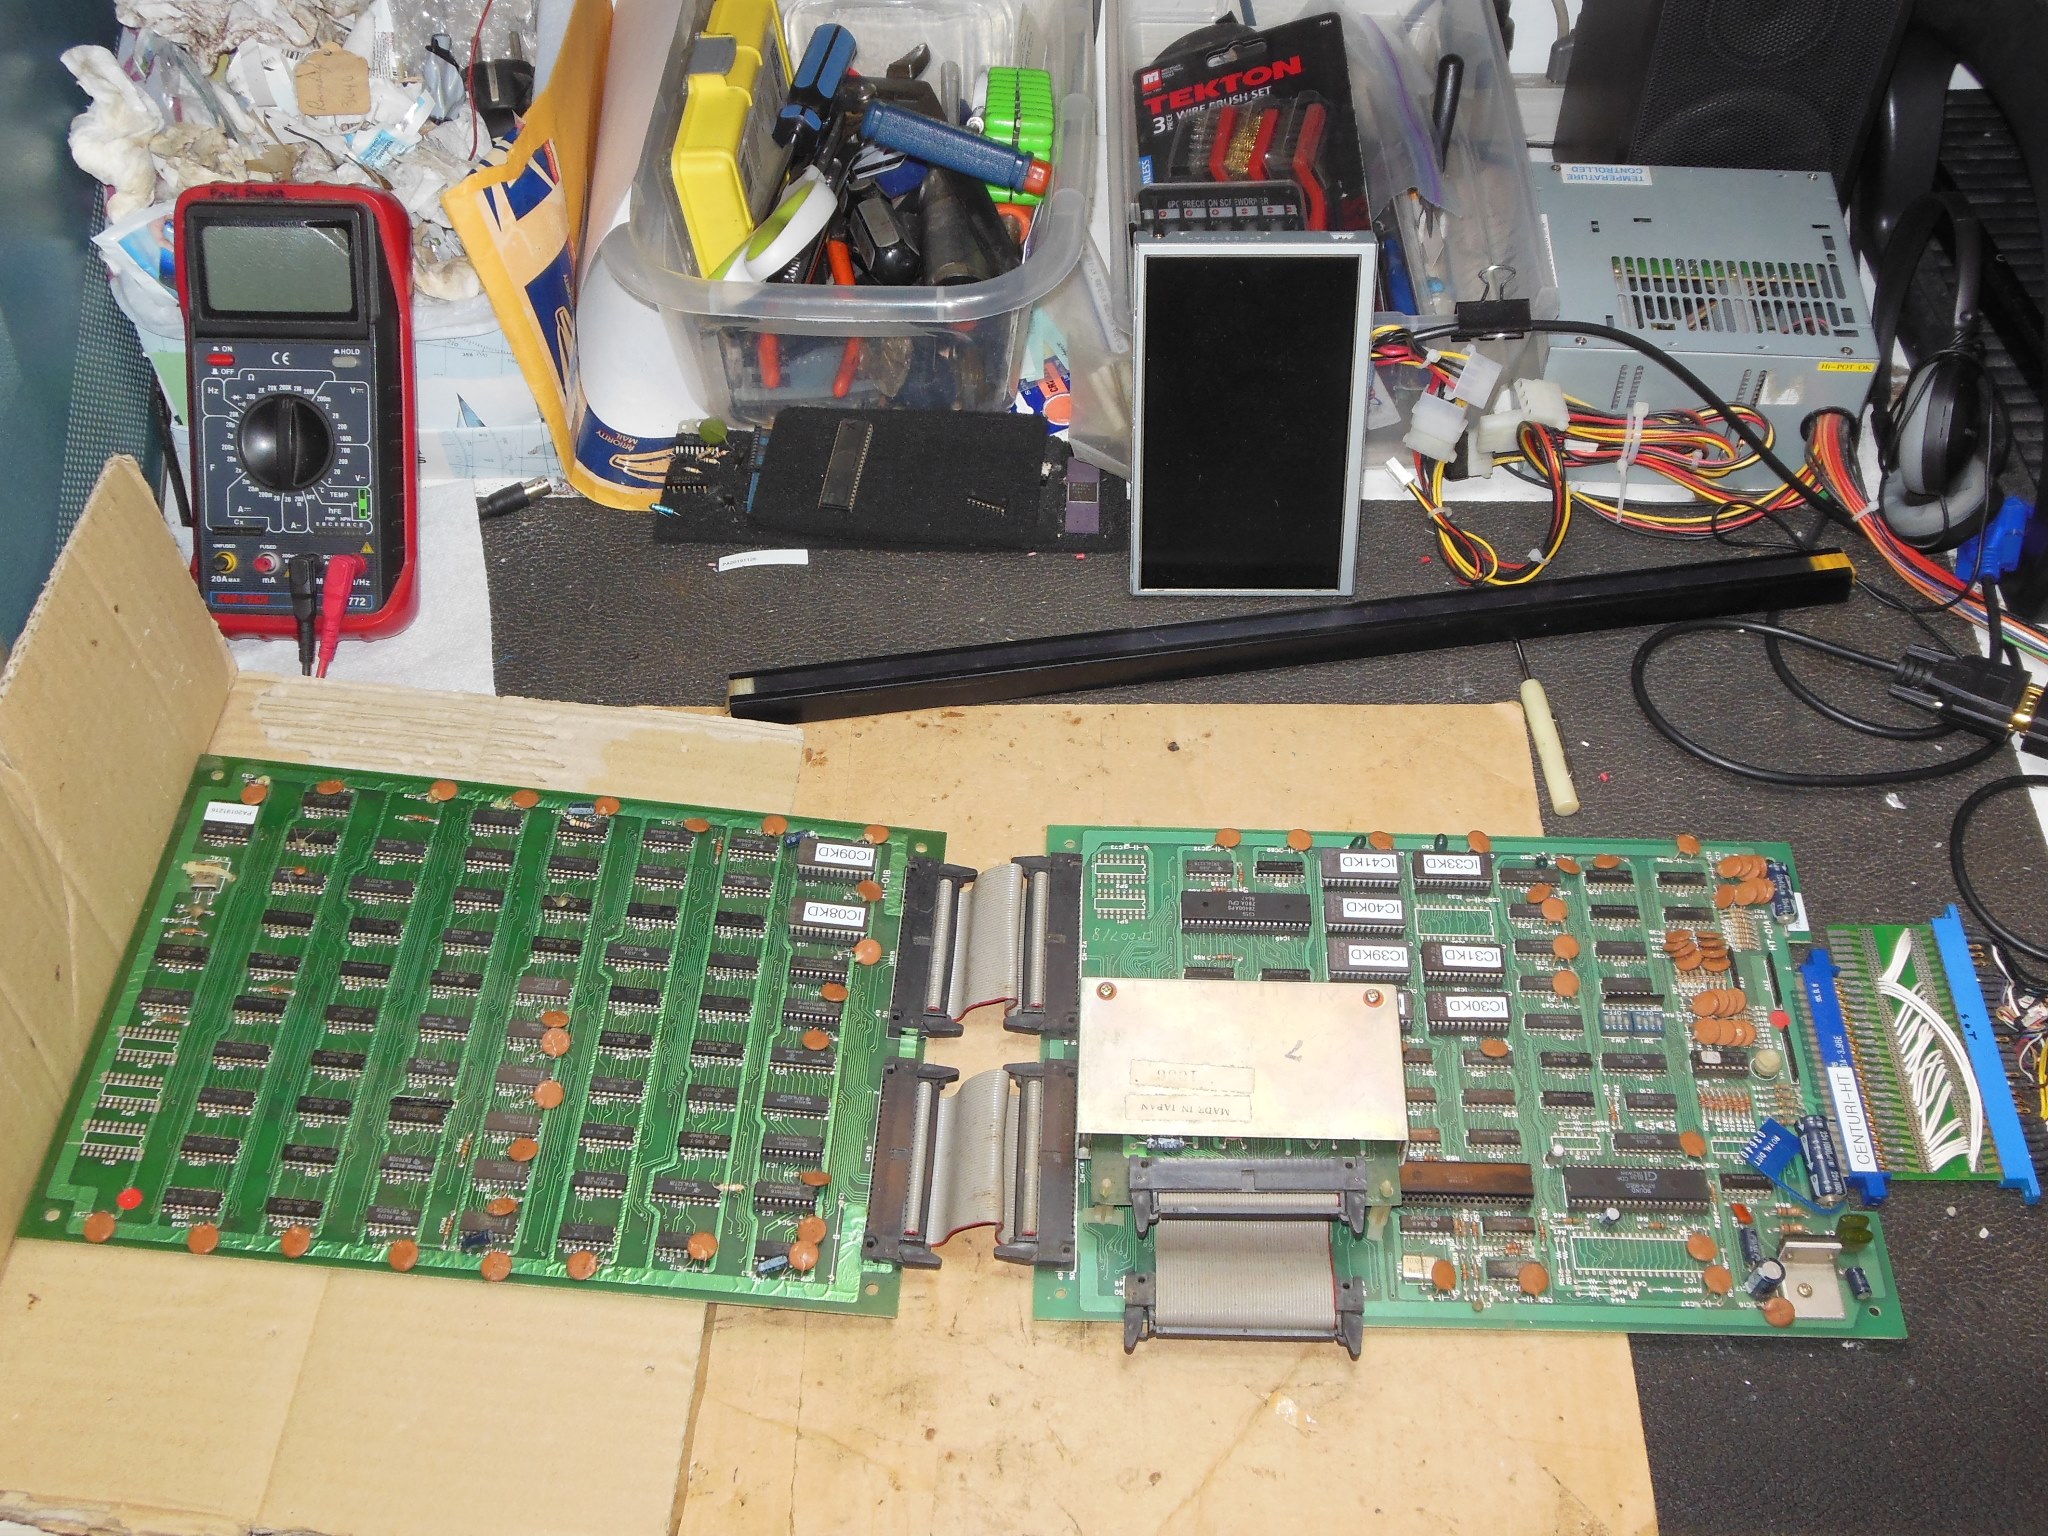
The spare Centuri Round-up PCB was populated with a newly programmed set
of Kaga Denshi Fitter EPROMS dumped from the original cabinet PCB but on power
on the game was dead - no video or video sync. Starting with IC69 (LS107) pin 3
found the clock running. Moving on to IC70 (LS04) pin 10 clock output was also OK.
IC60 (LS161) horizontal counter input pins 10,7,2 were all OK and the output
pins measured:
|
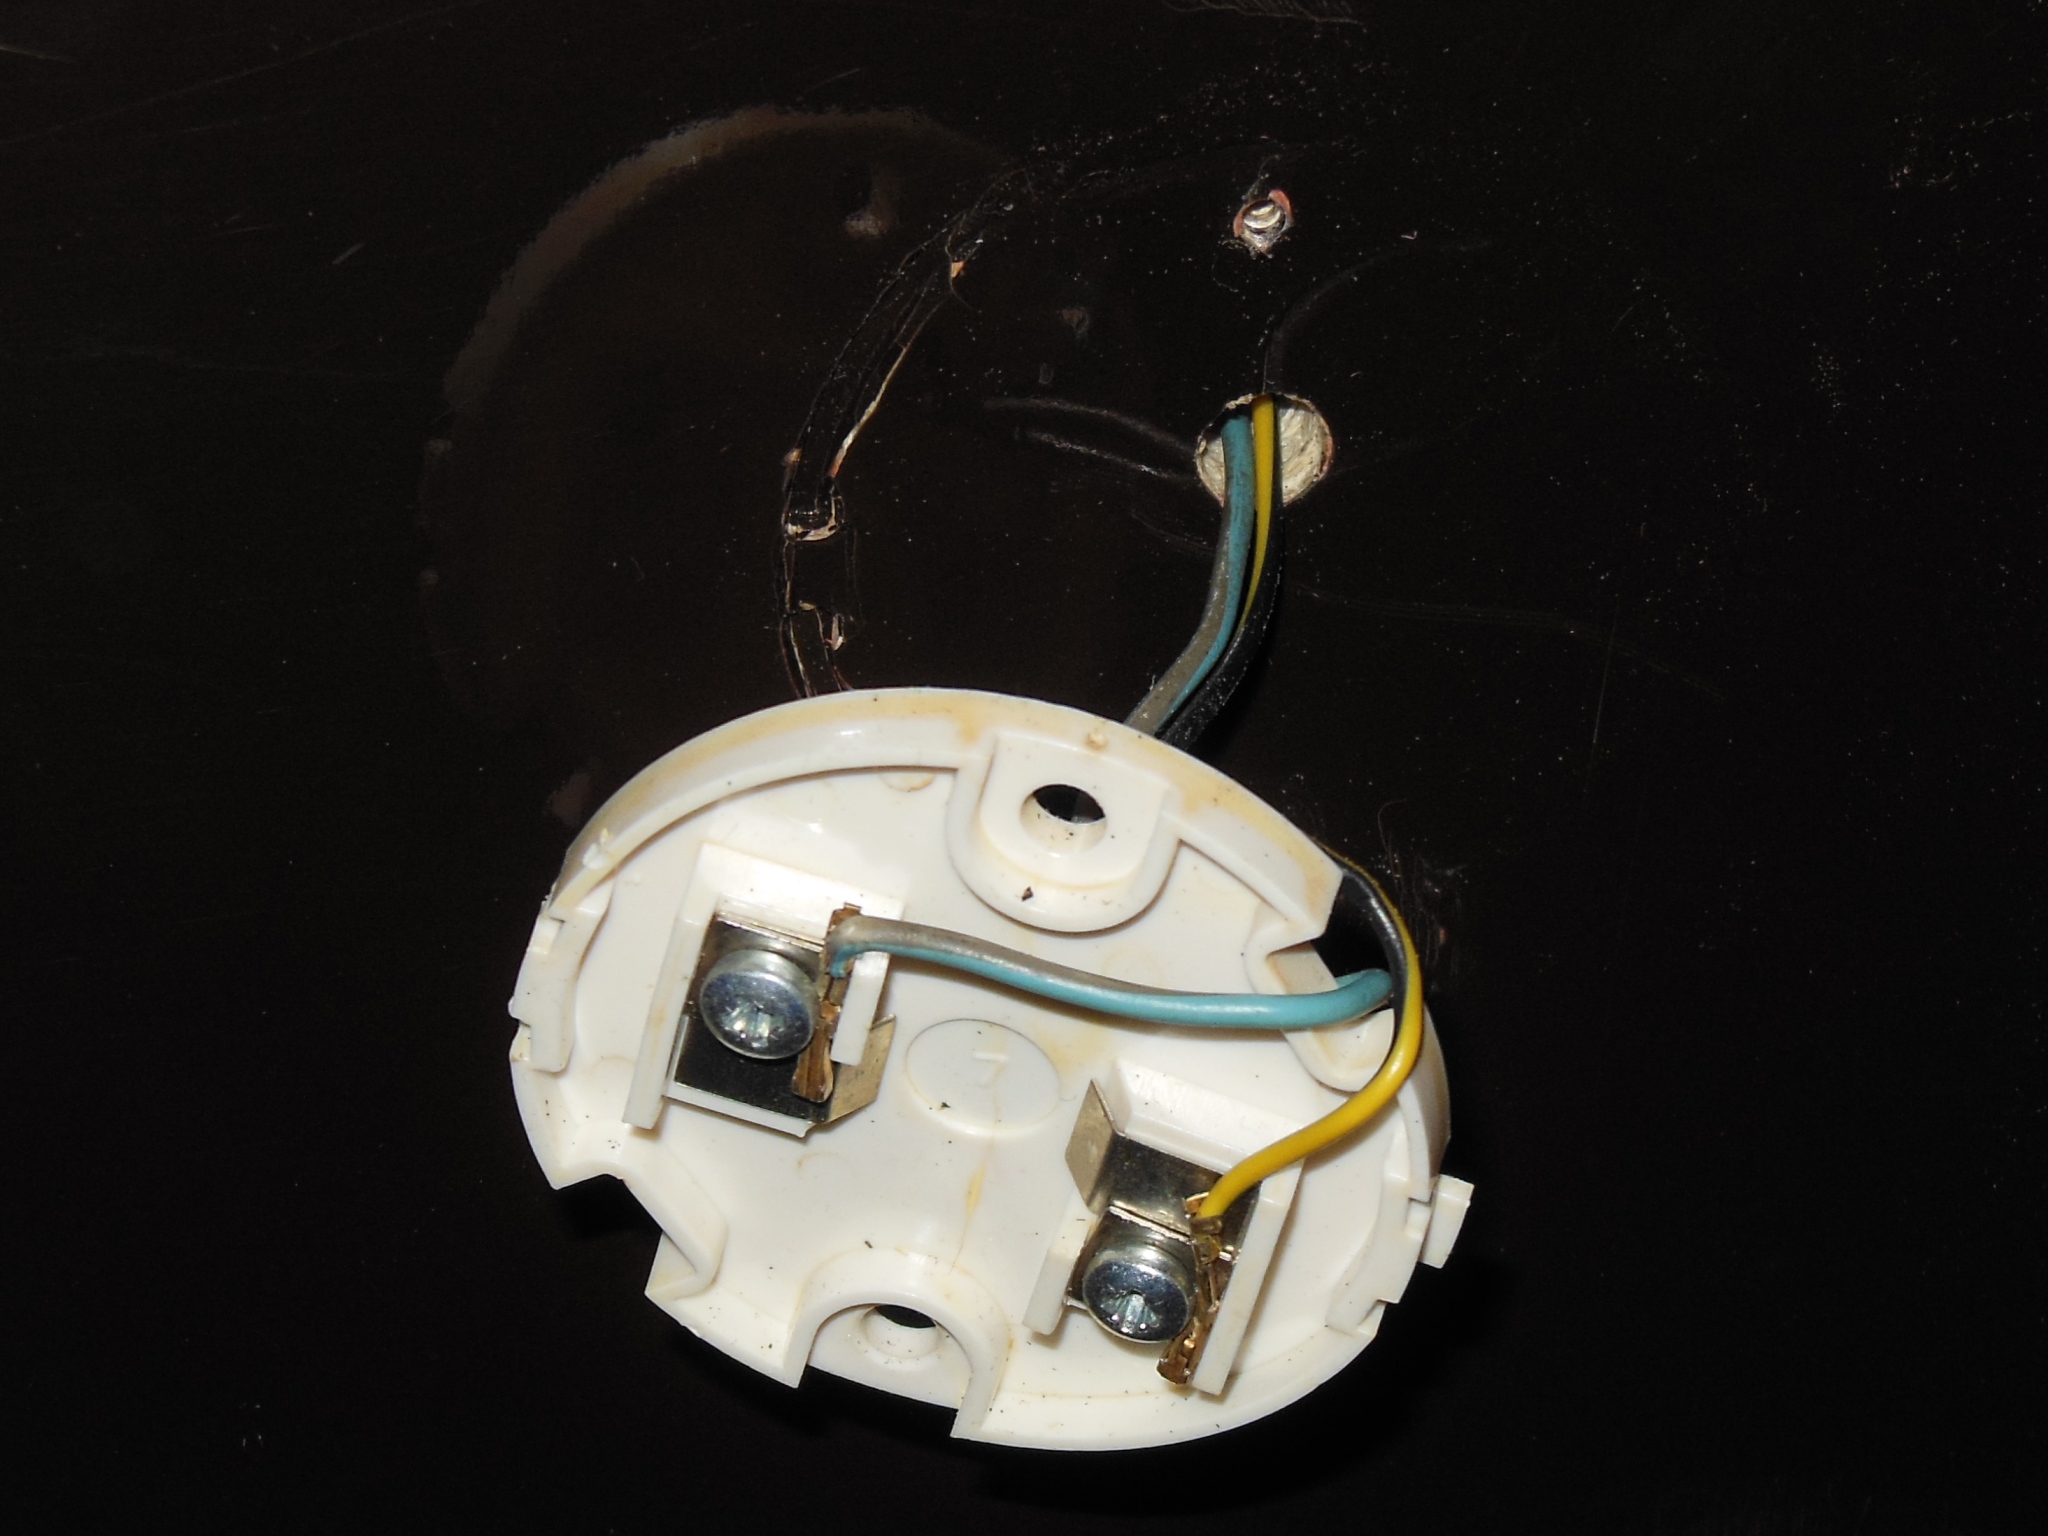
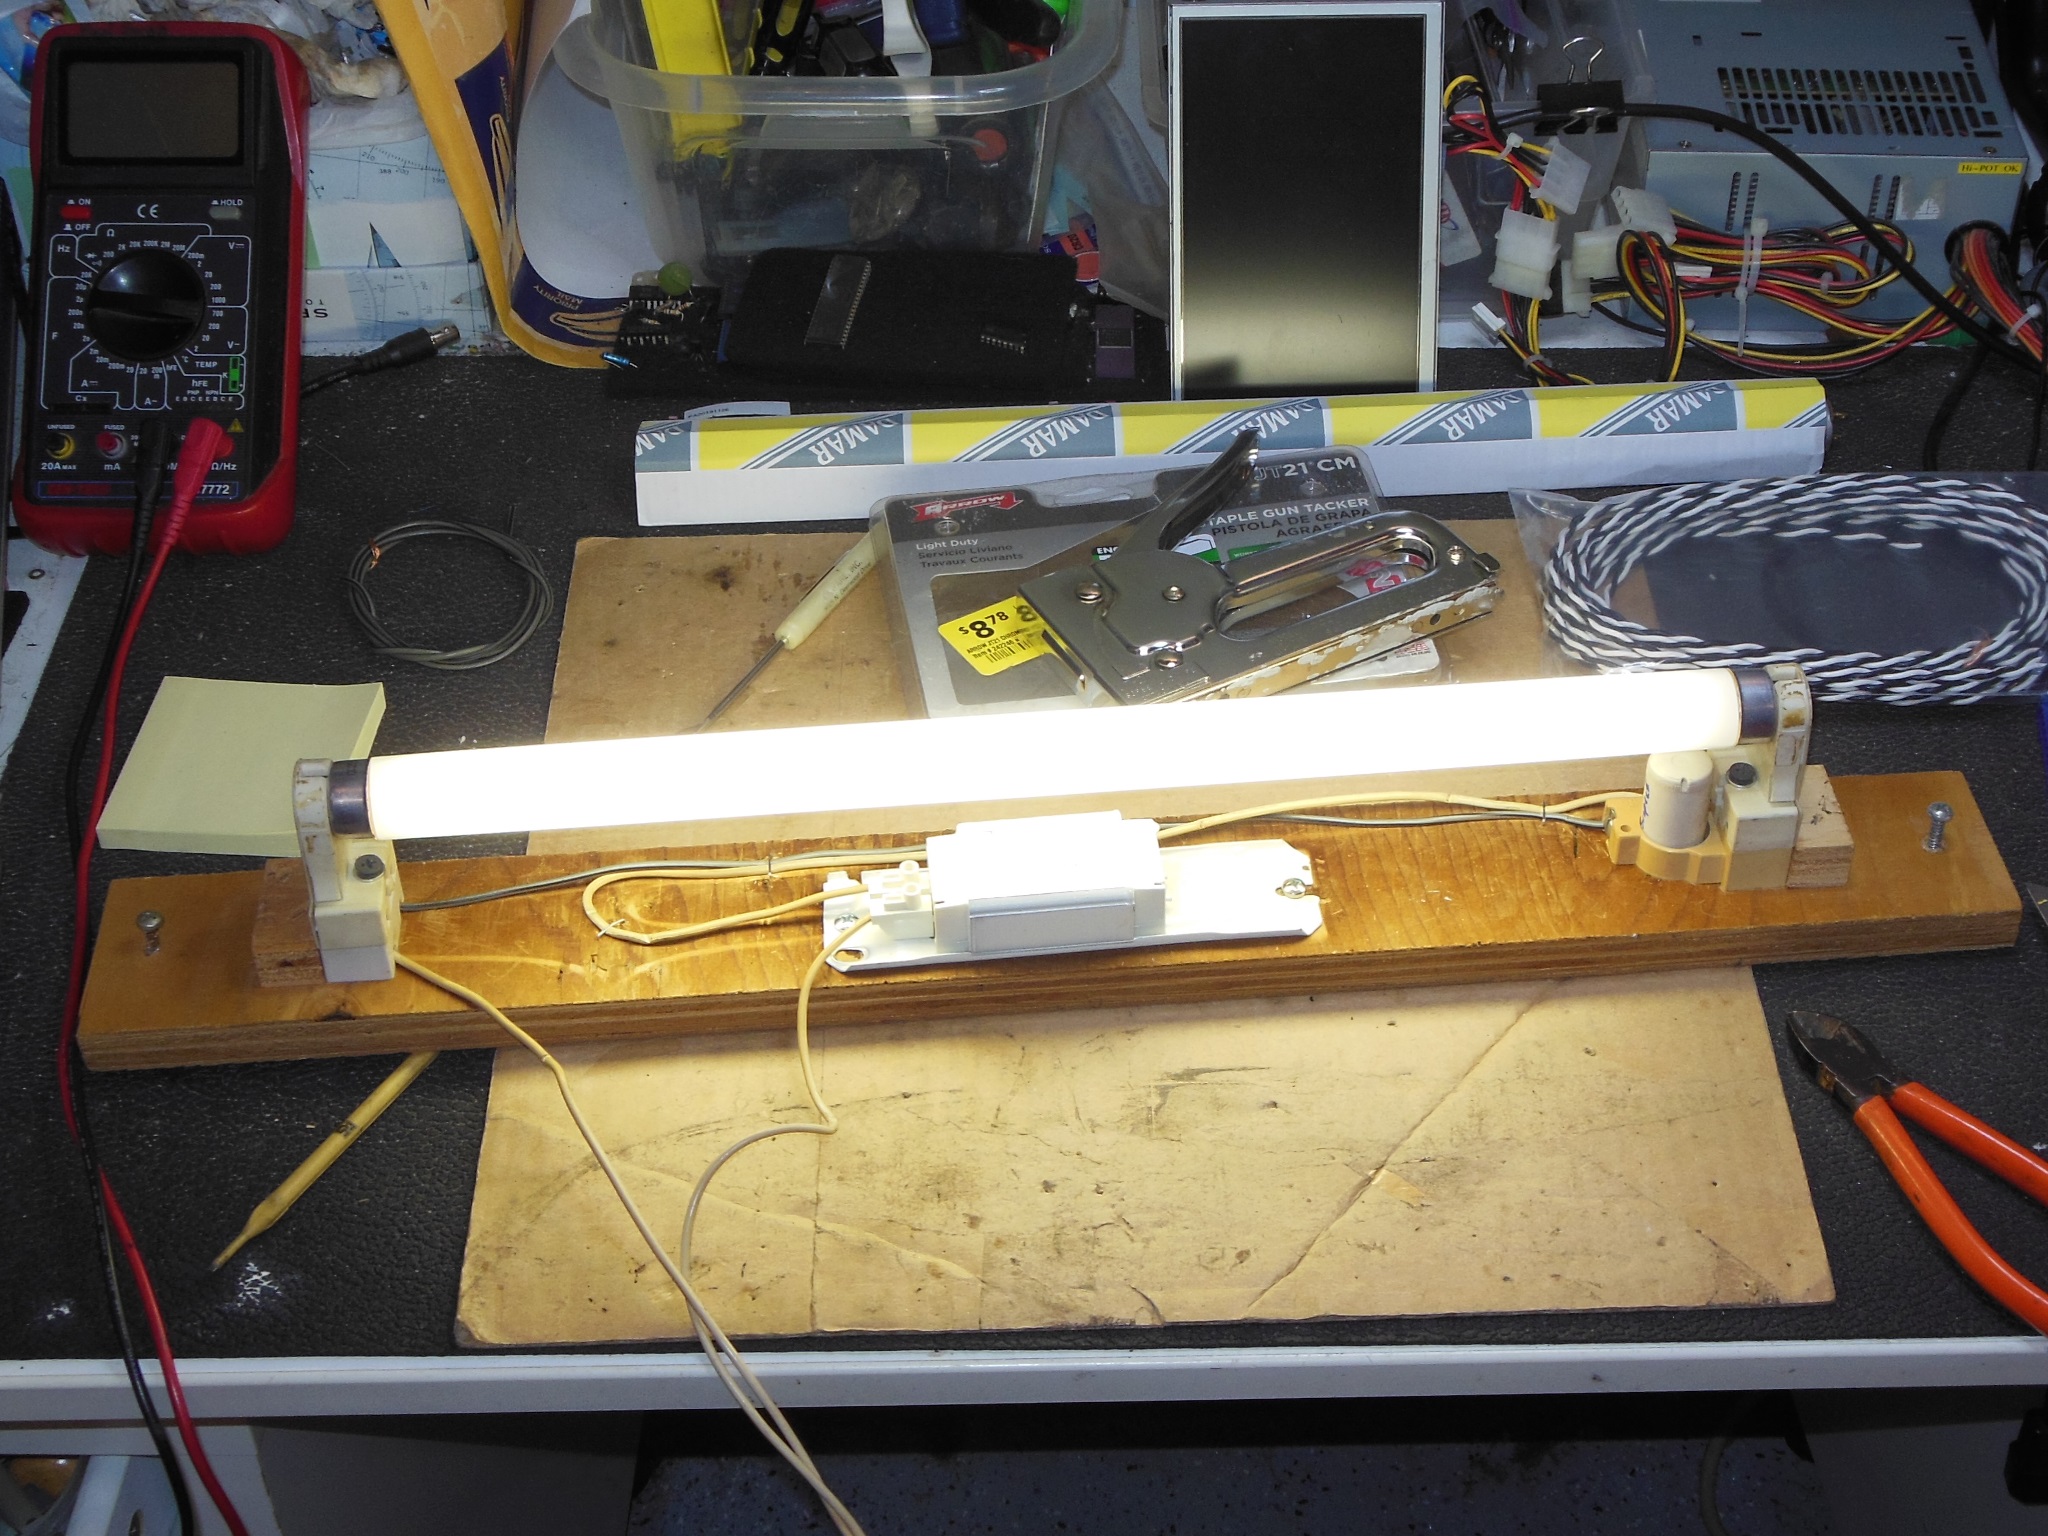
All of the marque light electronics were missing but I had some spare light parts and a NOS ballast to reconstruct a working fixture.
|
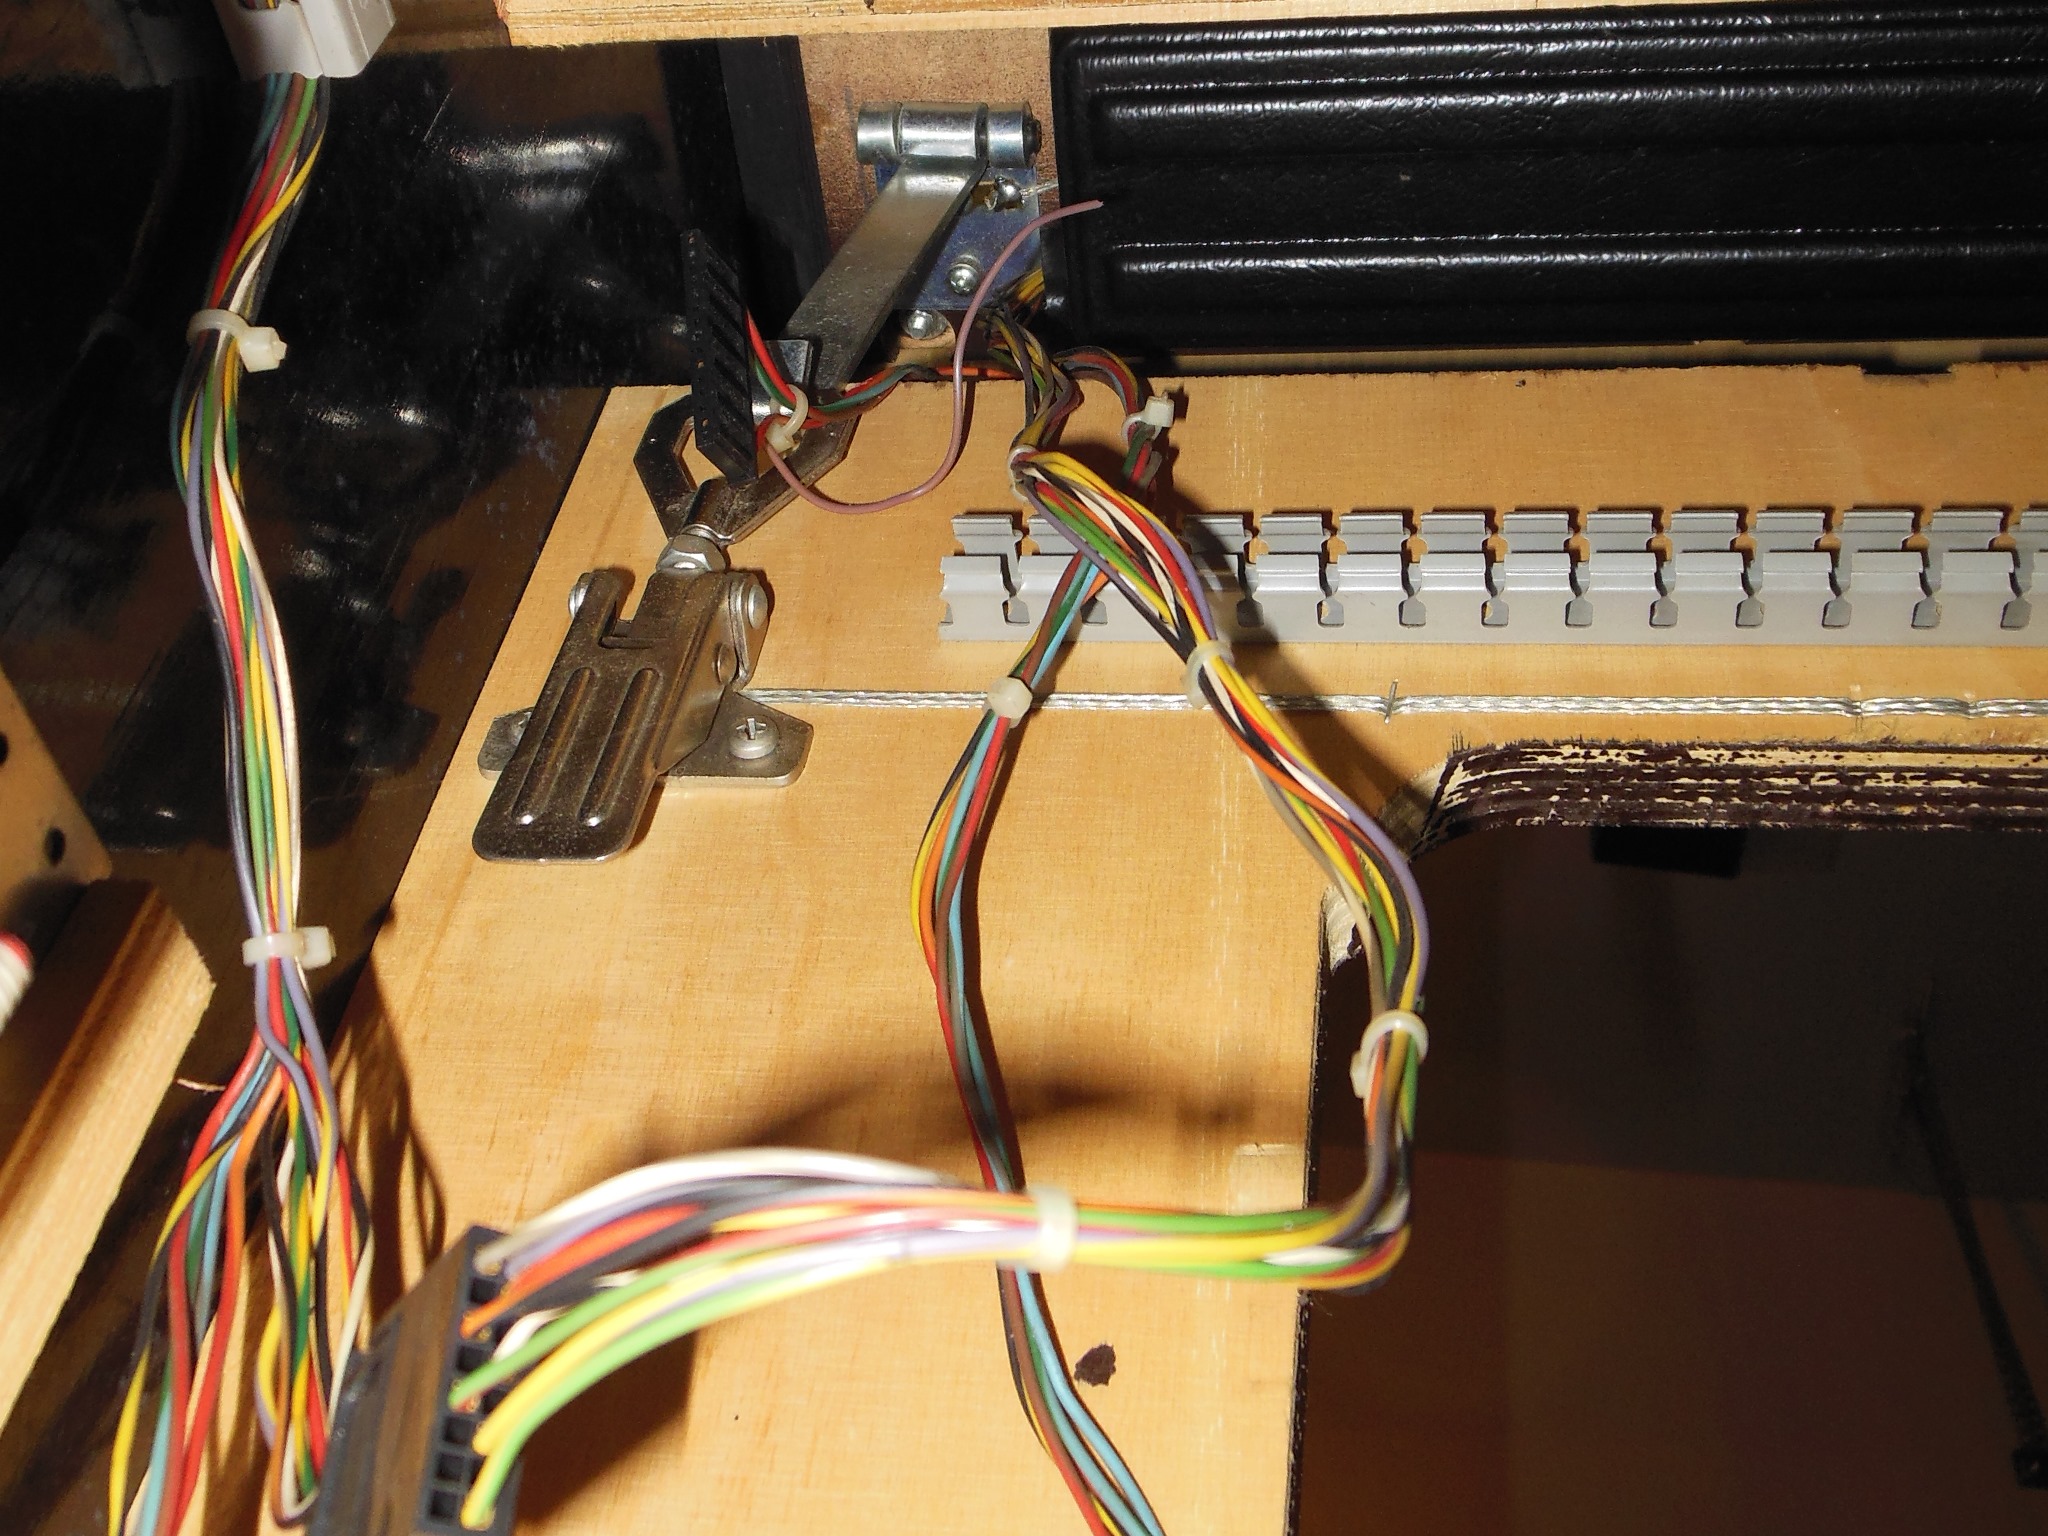
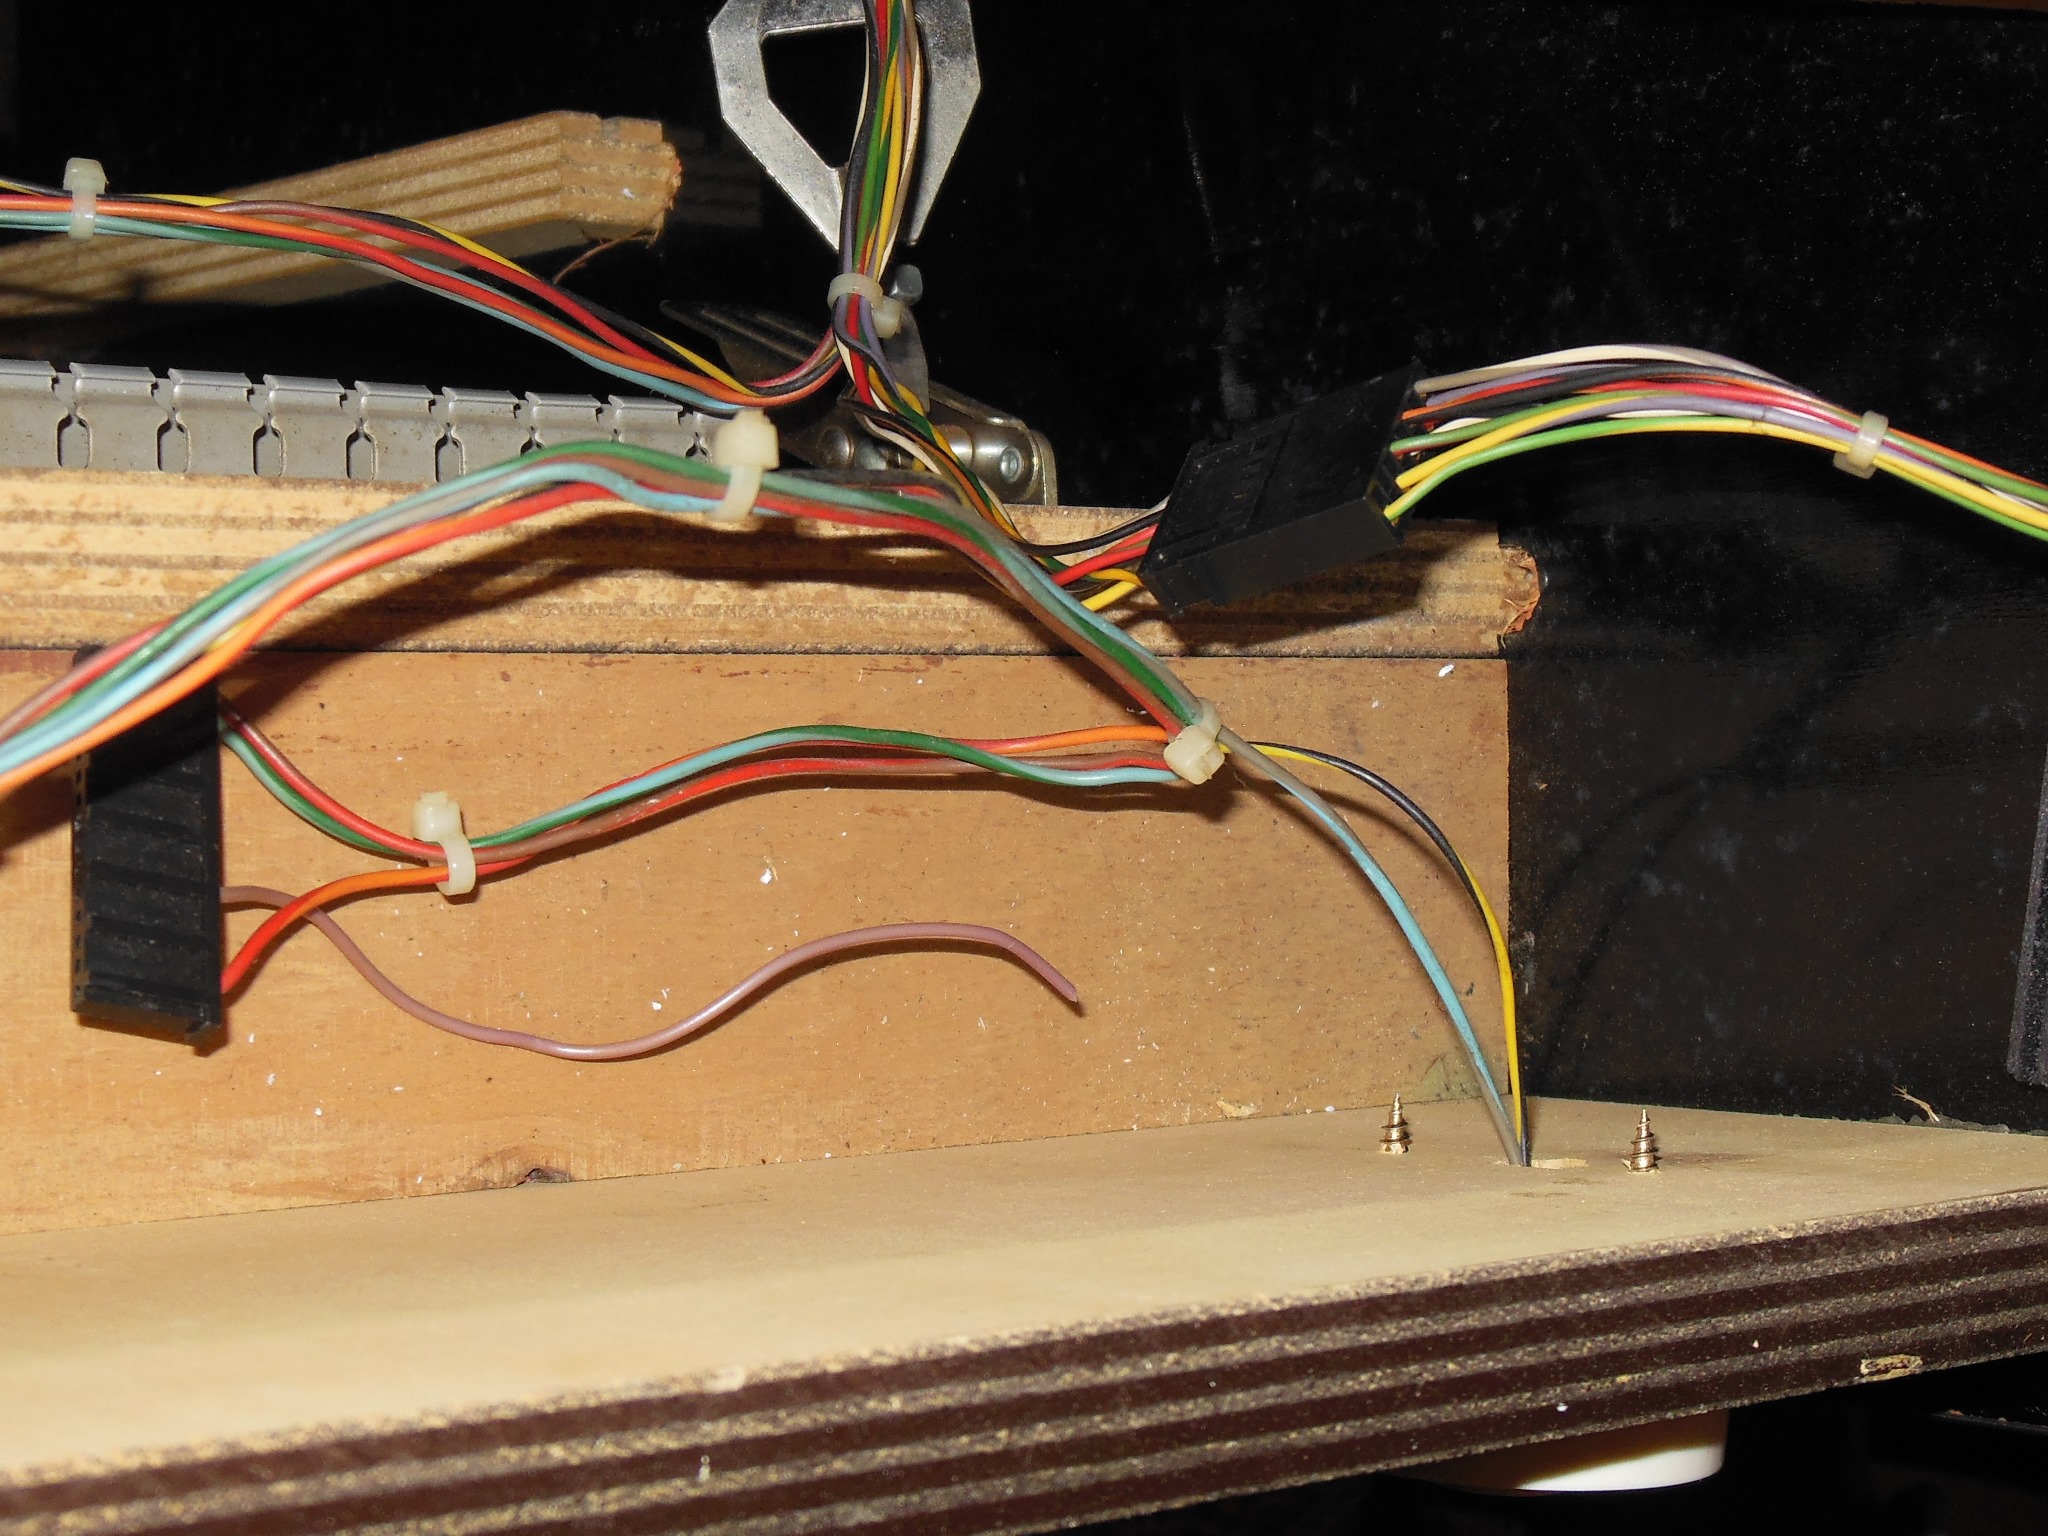
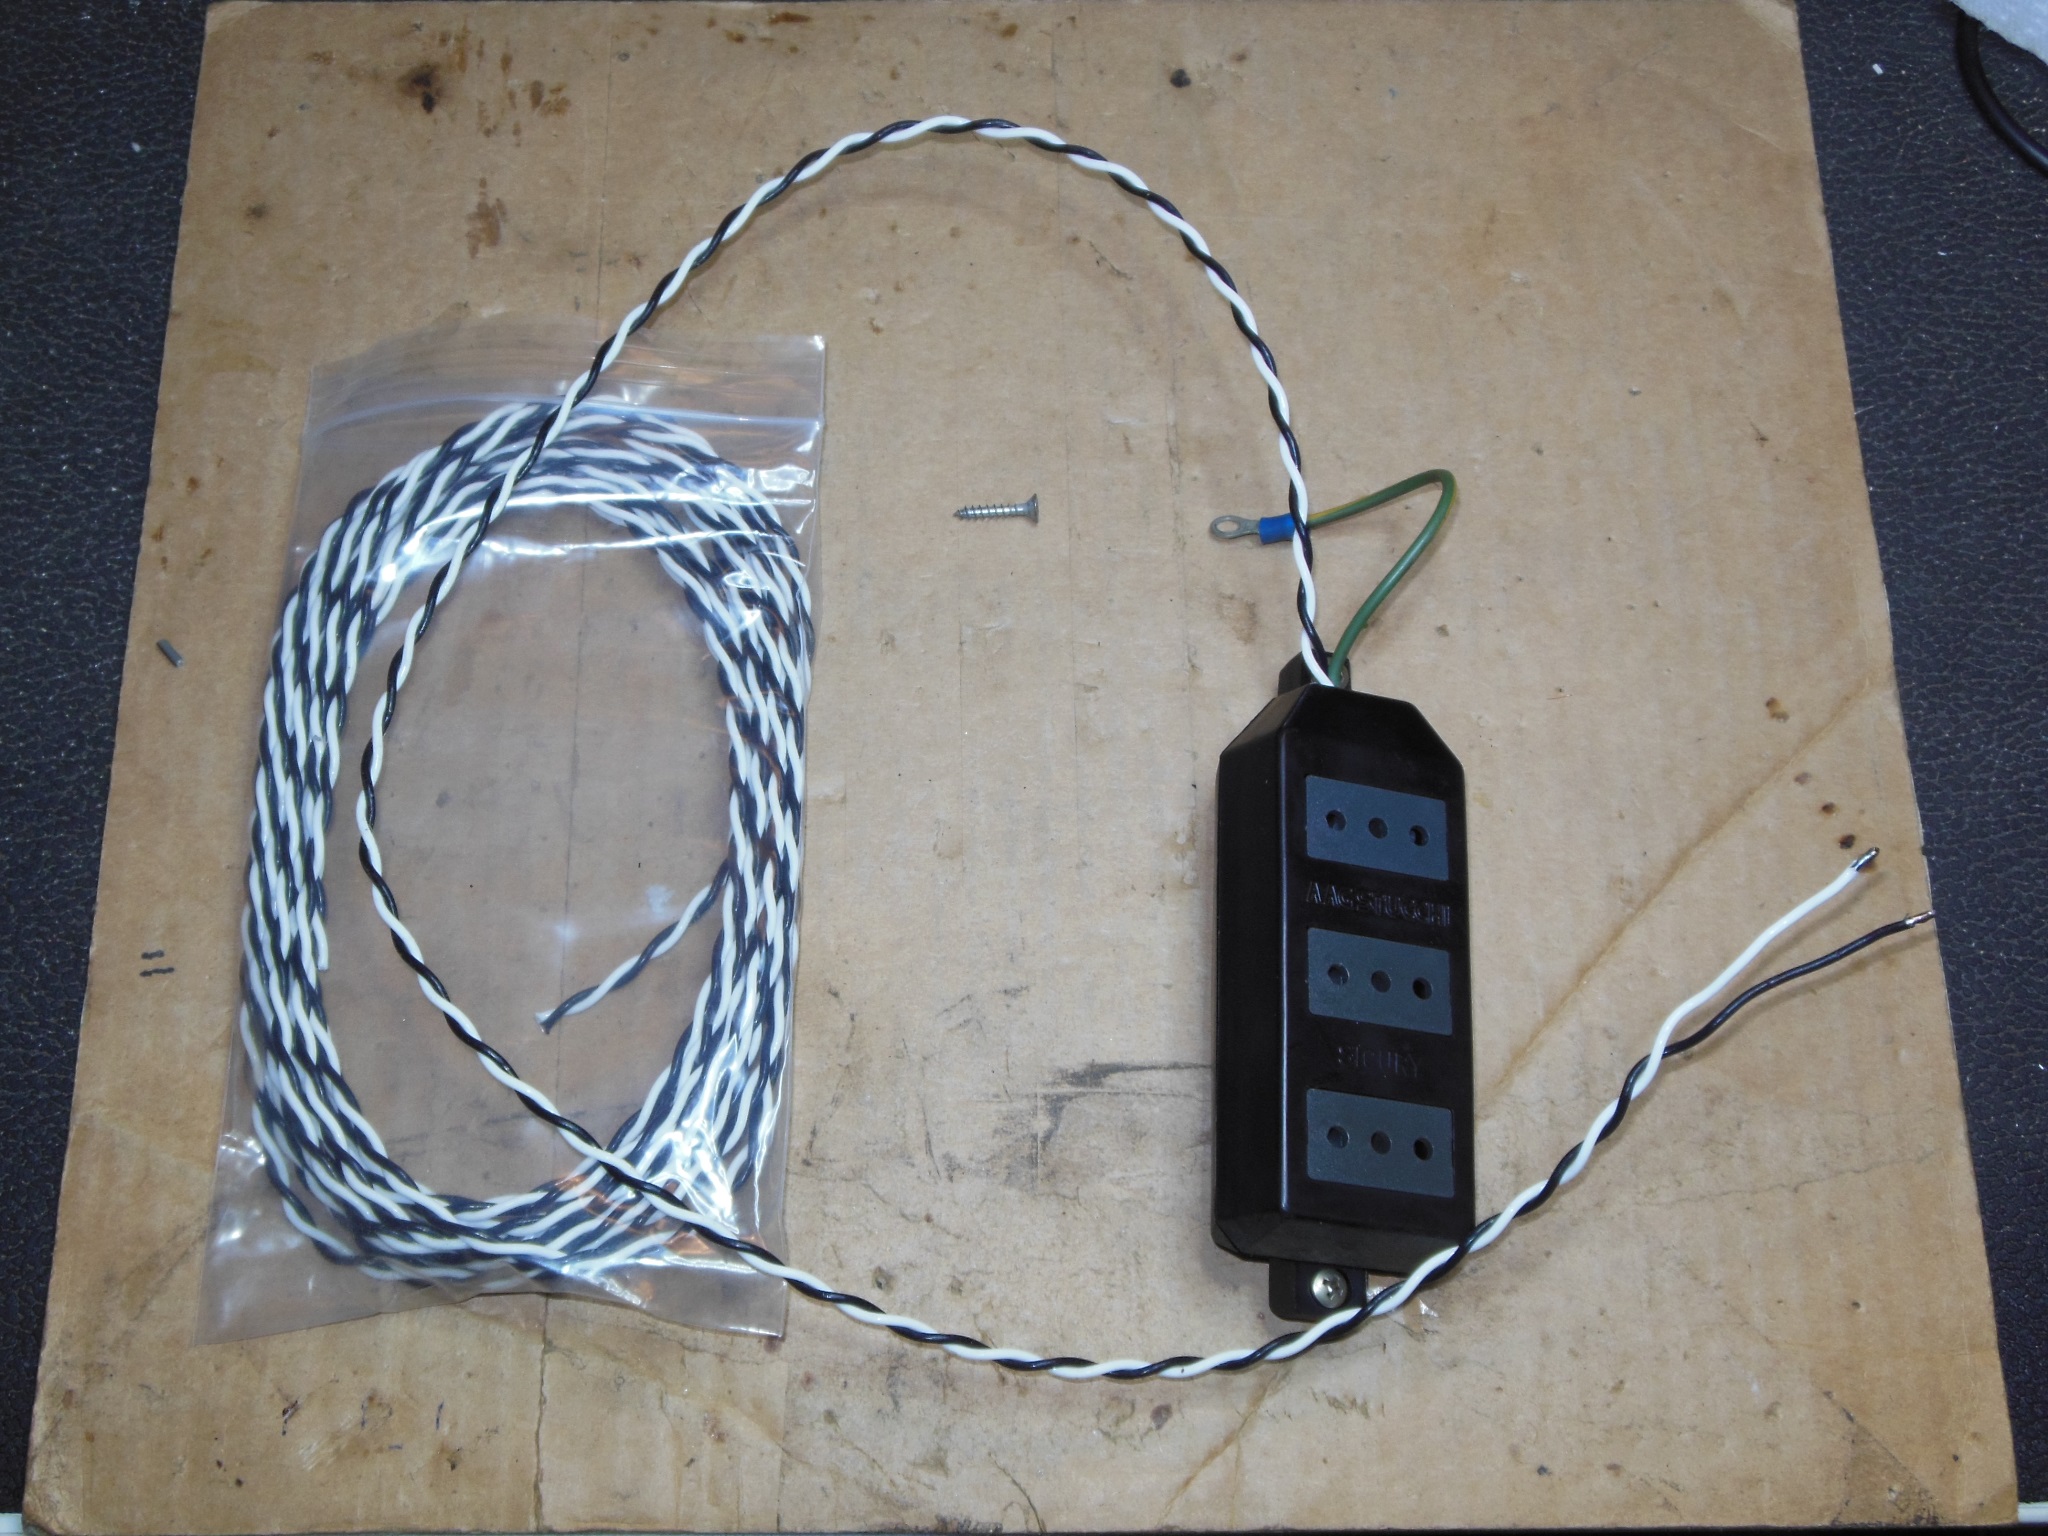
The service outlet and slotted cable duct cover (15mm wide) I removed from the other converted Fitter to put into this one. The outlet wiring in this cabinet was a black and white twisted pair that I ordered from eBay to match since I didn't have any appropriate wire long enough.


|
The service outlet was installed into the cabinet and the wiring spliced back onto the power brick. On power on the marque lit up OK.
|
Though the connector pins were still present they had been damaged by the bell screw. With no replacements known to still exist, one of the pins looked partially salvageable but the other was too badly damaged. The connector still had one wire stub from the missing coin counter that I decided to re-use for the damaged pin and forgo refitting the coin counter.


|
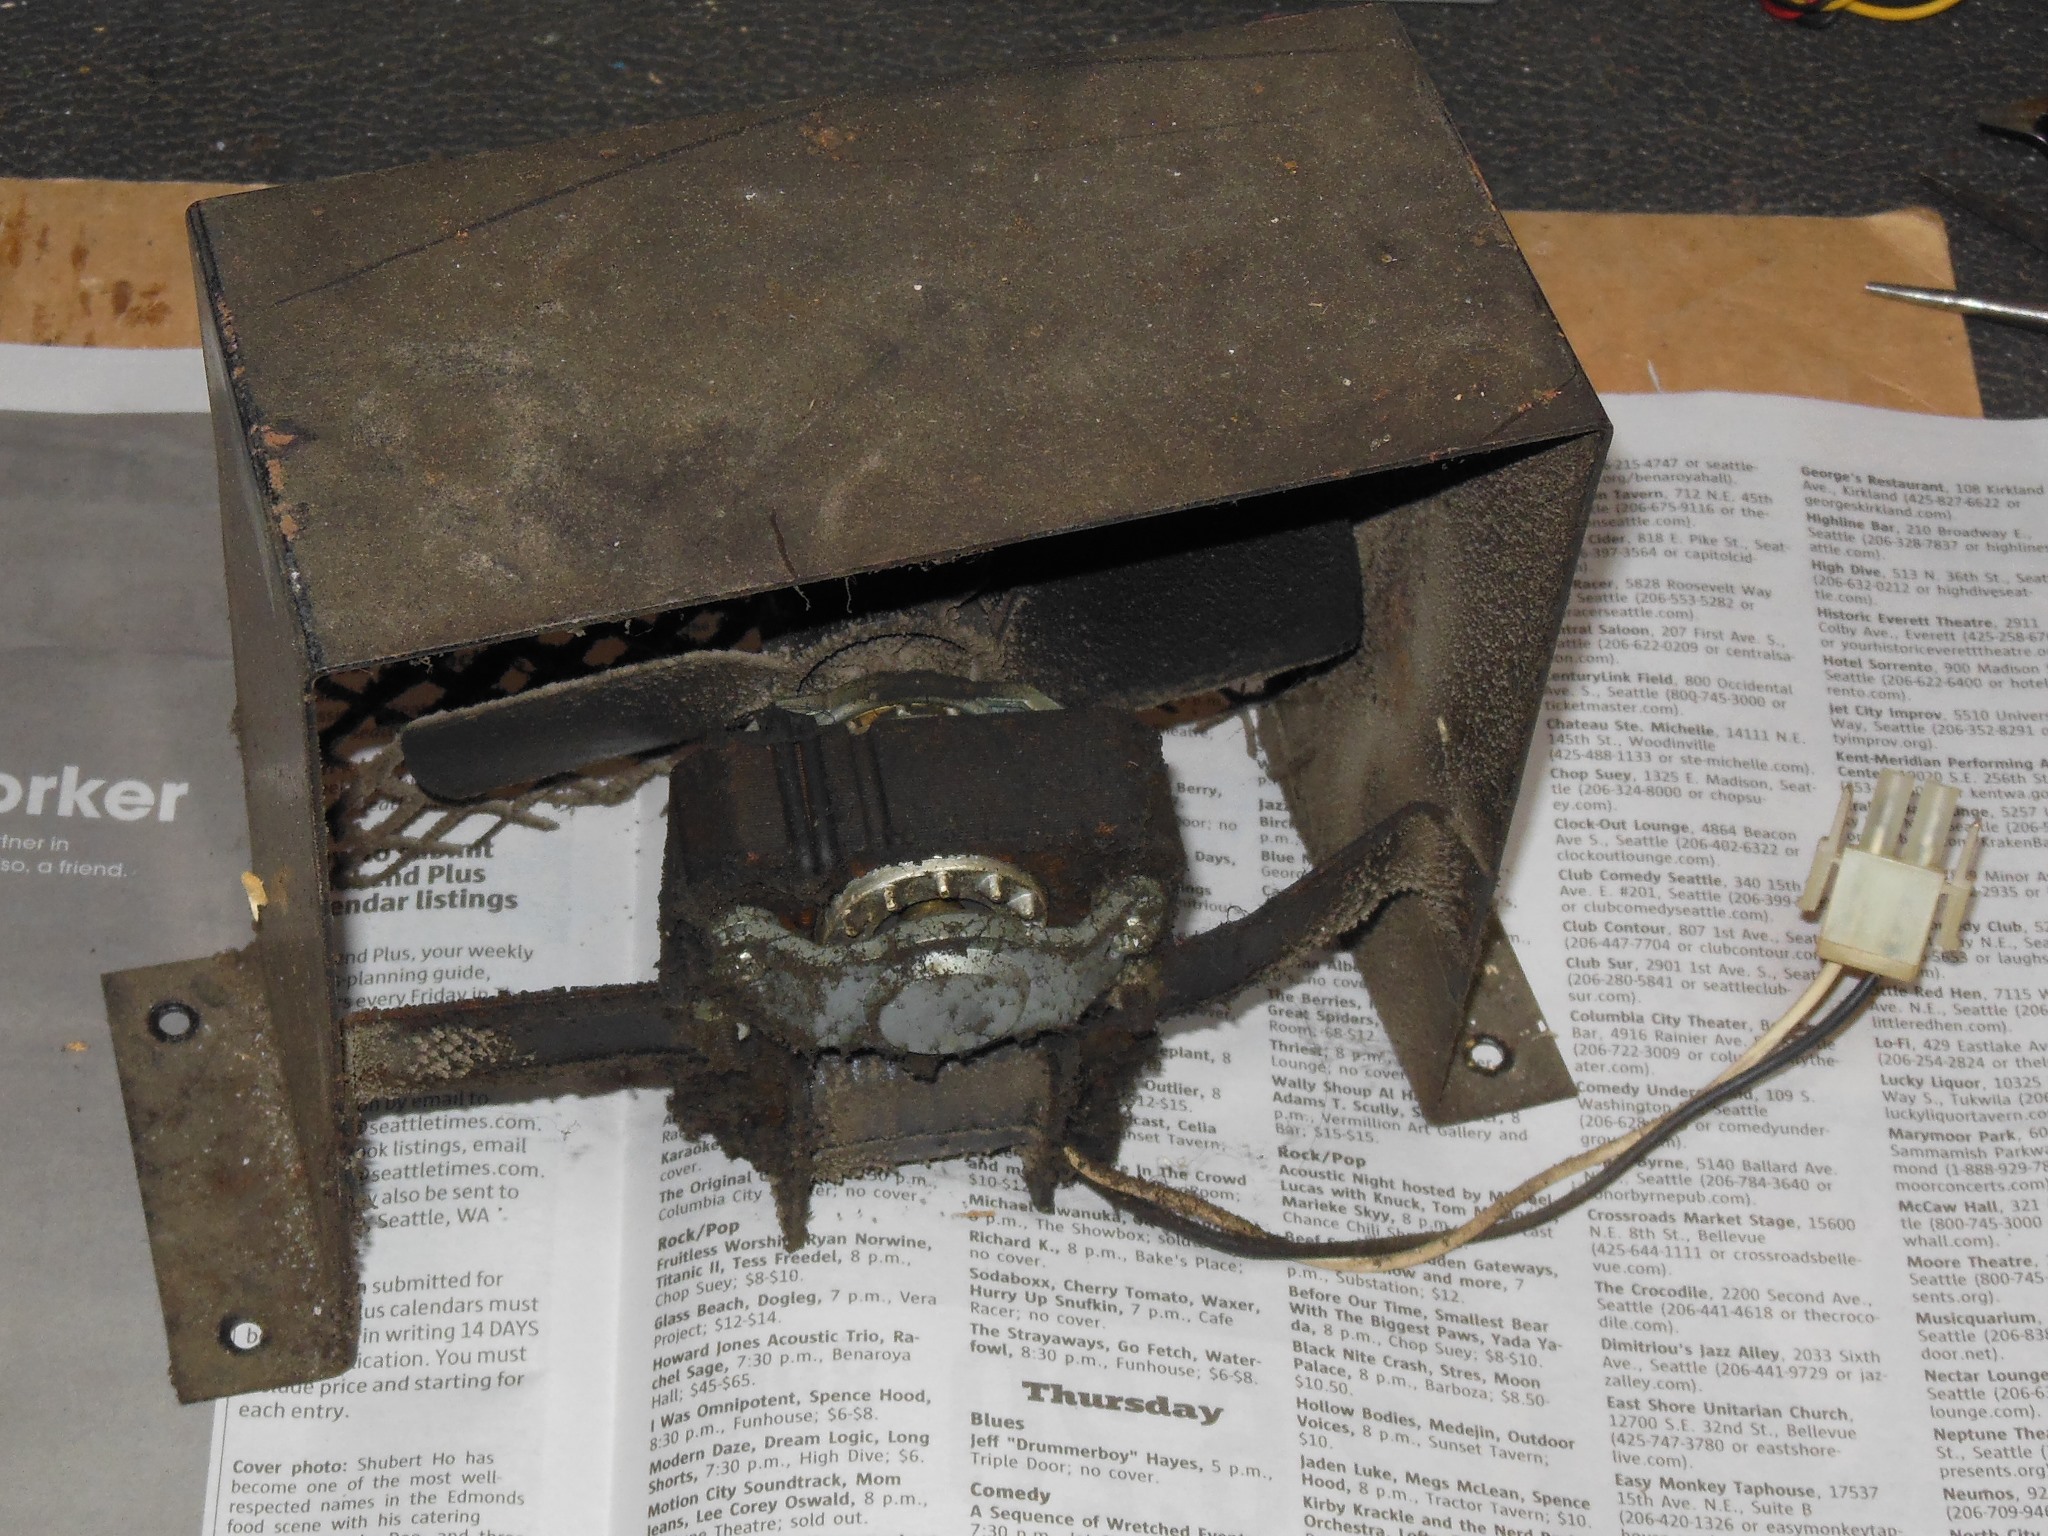
The cabinet fan was the usual mix of grill rust & dust that I disassembled, cleaned and greased.

|
With most of the power assembly removed the cabinet base was vacuumed & cleaned.

|
It looked like the CRT had already been cleaned fairly recently except for the edges that still had some thick brown nicotine residue requiring the usual amount of elbow grease to remove. The surround was in good condition and didn't need any repairs only a wipe down. The replacement Fitter monitor glass was fitted, completing the dedicated artwork.

|
The interior of the game was reassembled, installing the game PCB, power PCB and fan. On power on the fan seemed to be a noisier higher power than I'd remembered previous fans. This one didn't have a power rating, only the model number VA-130B compared with at least one prior fan model that was VA-130A. As far as I could tell it was working properly.
|
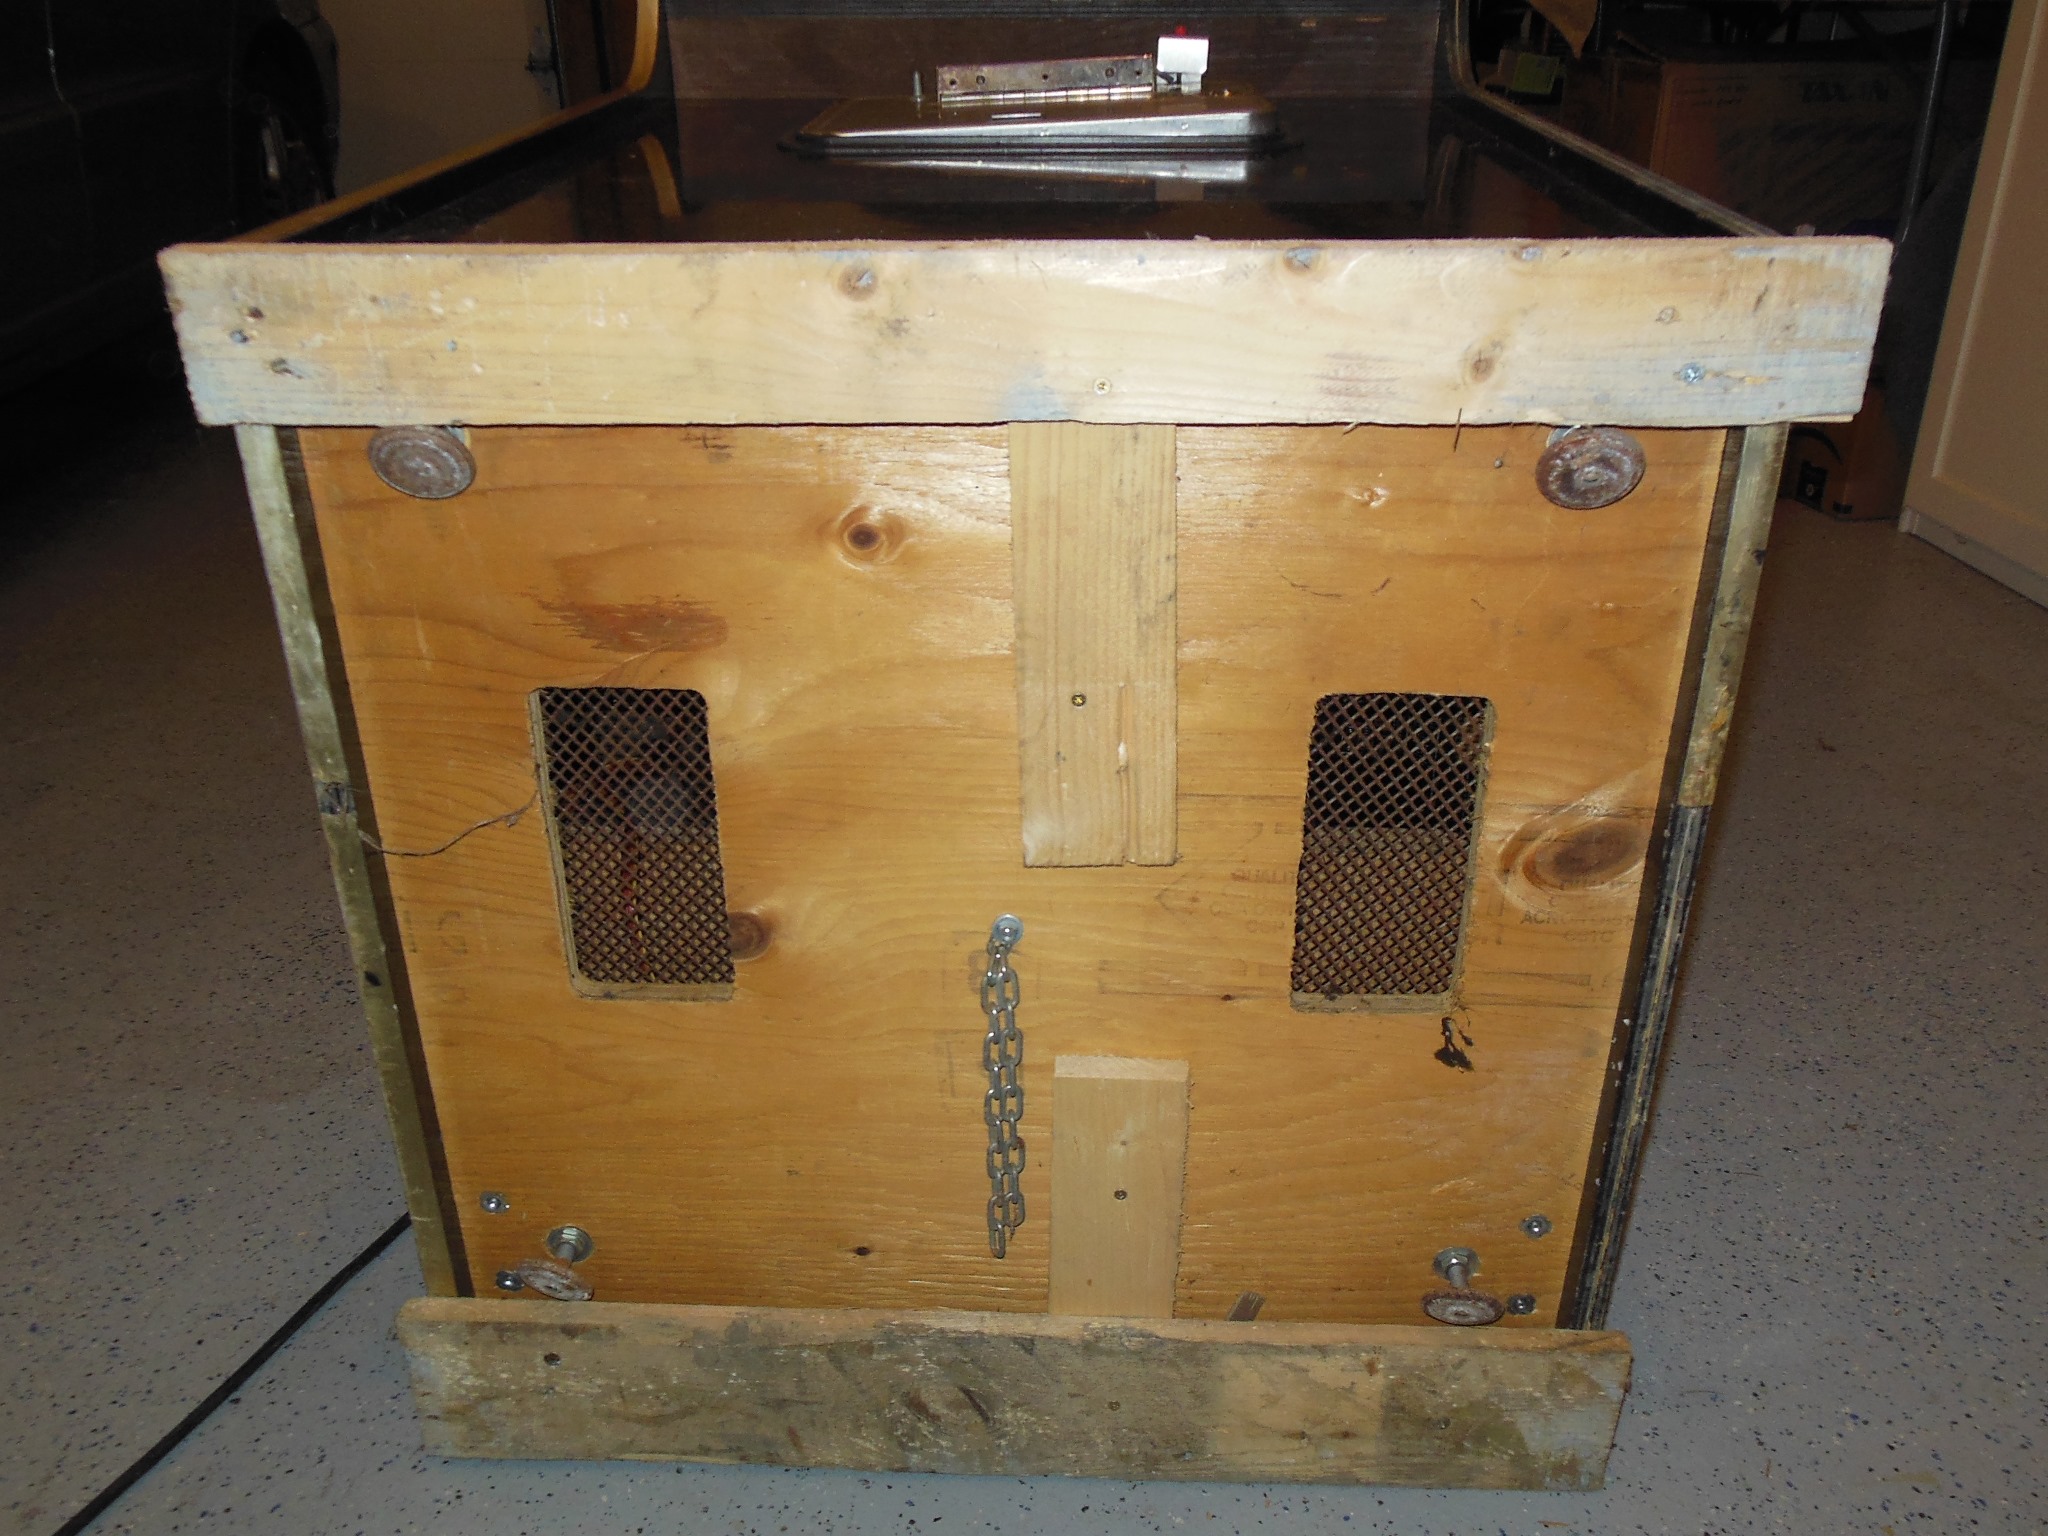
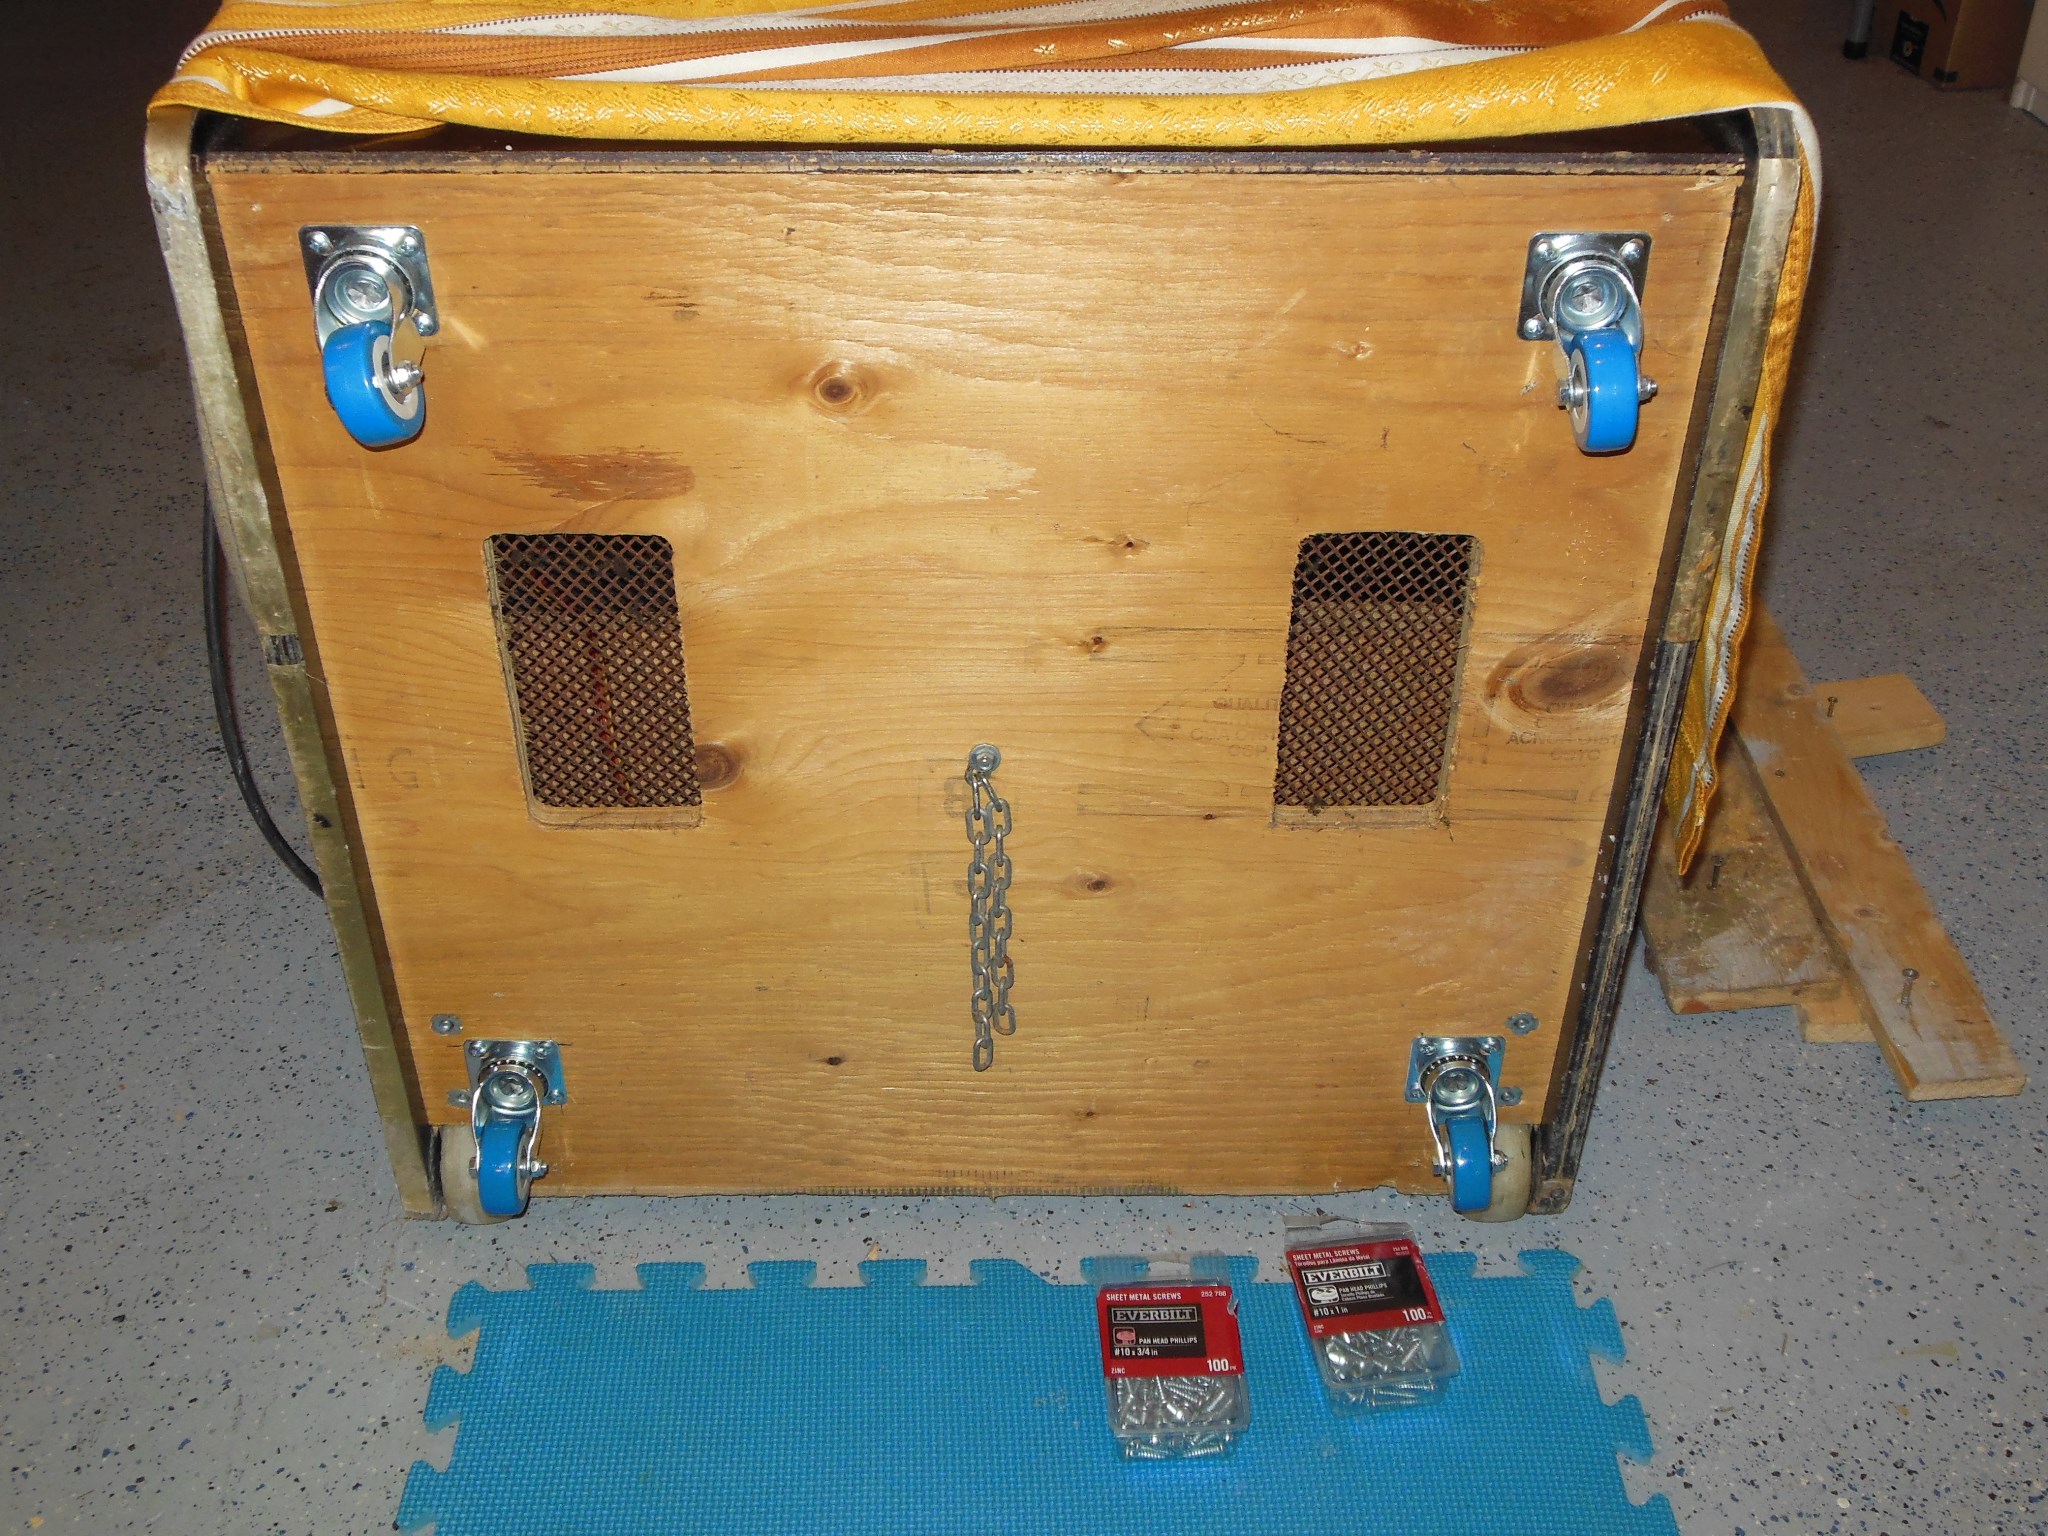
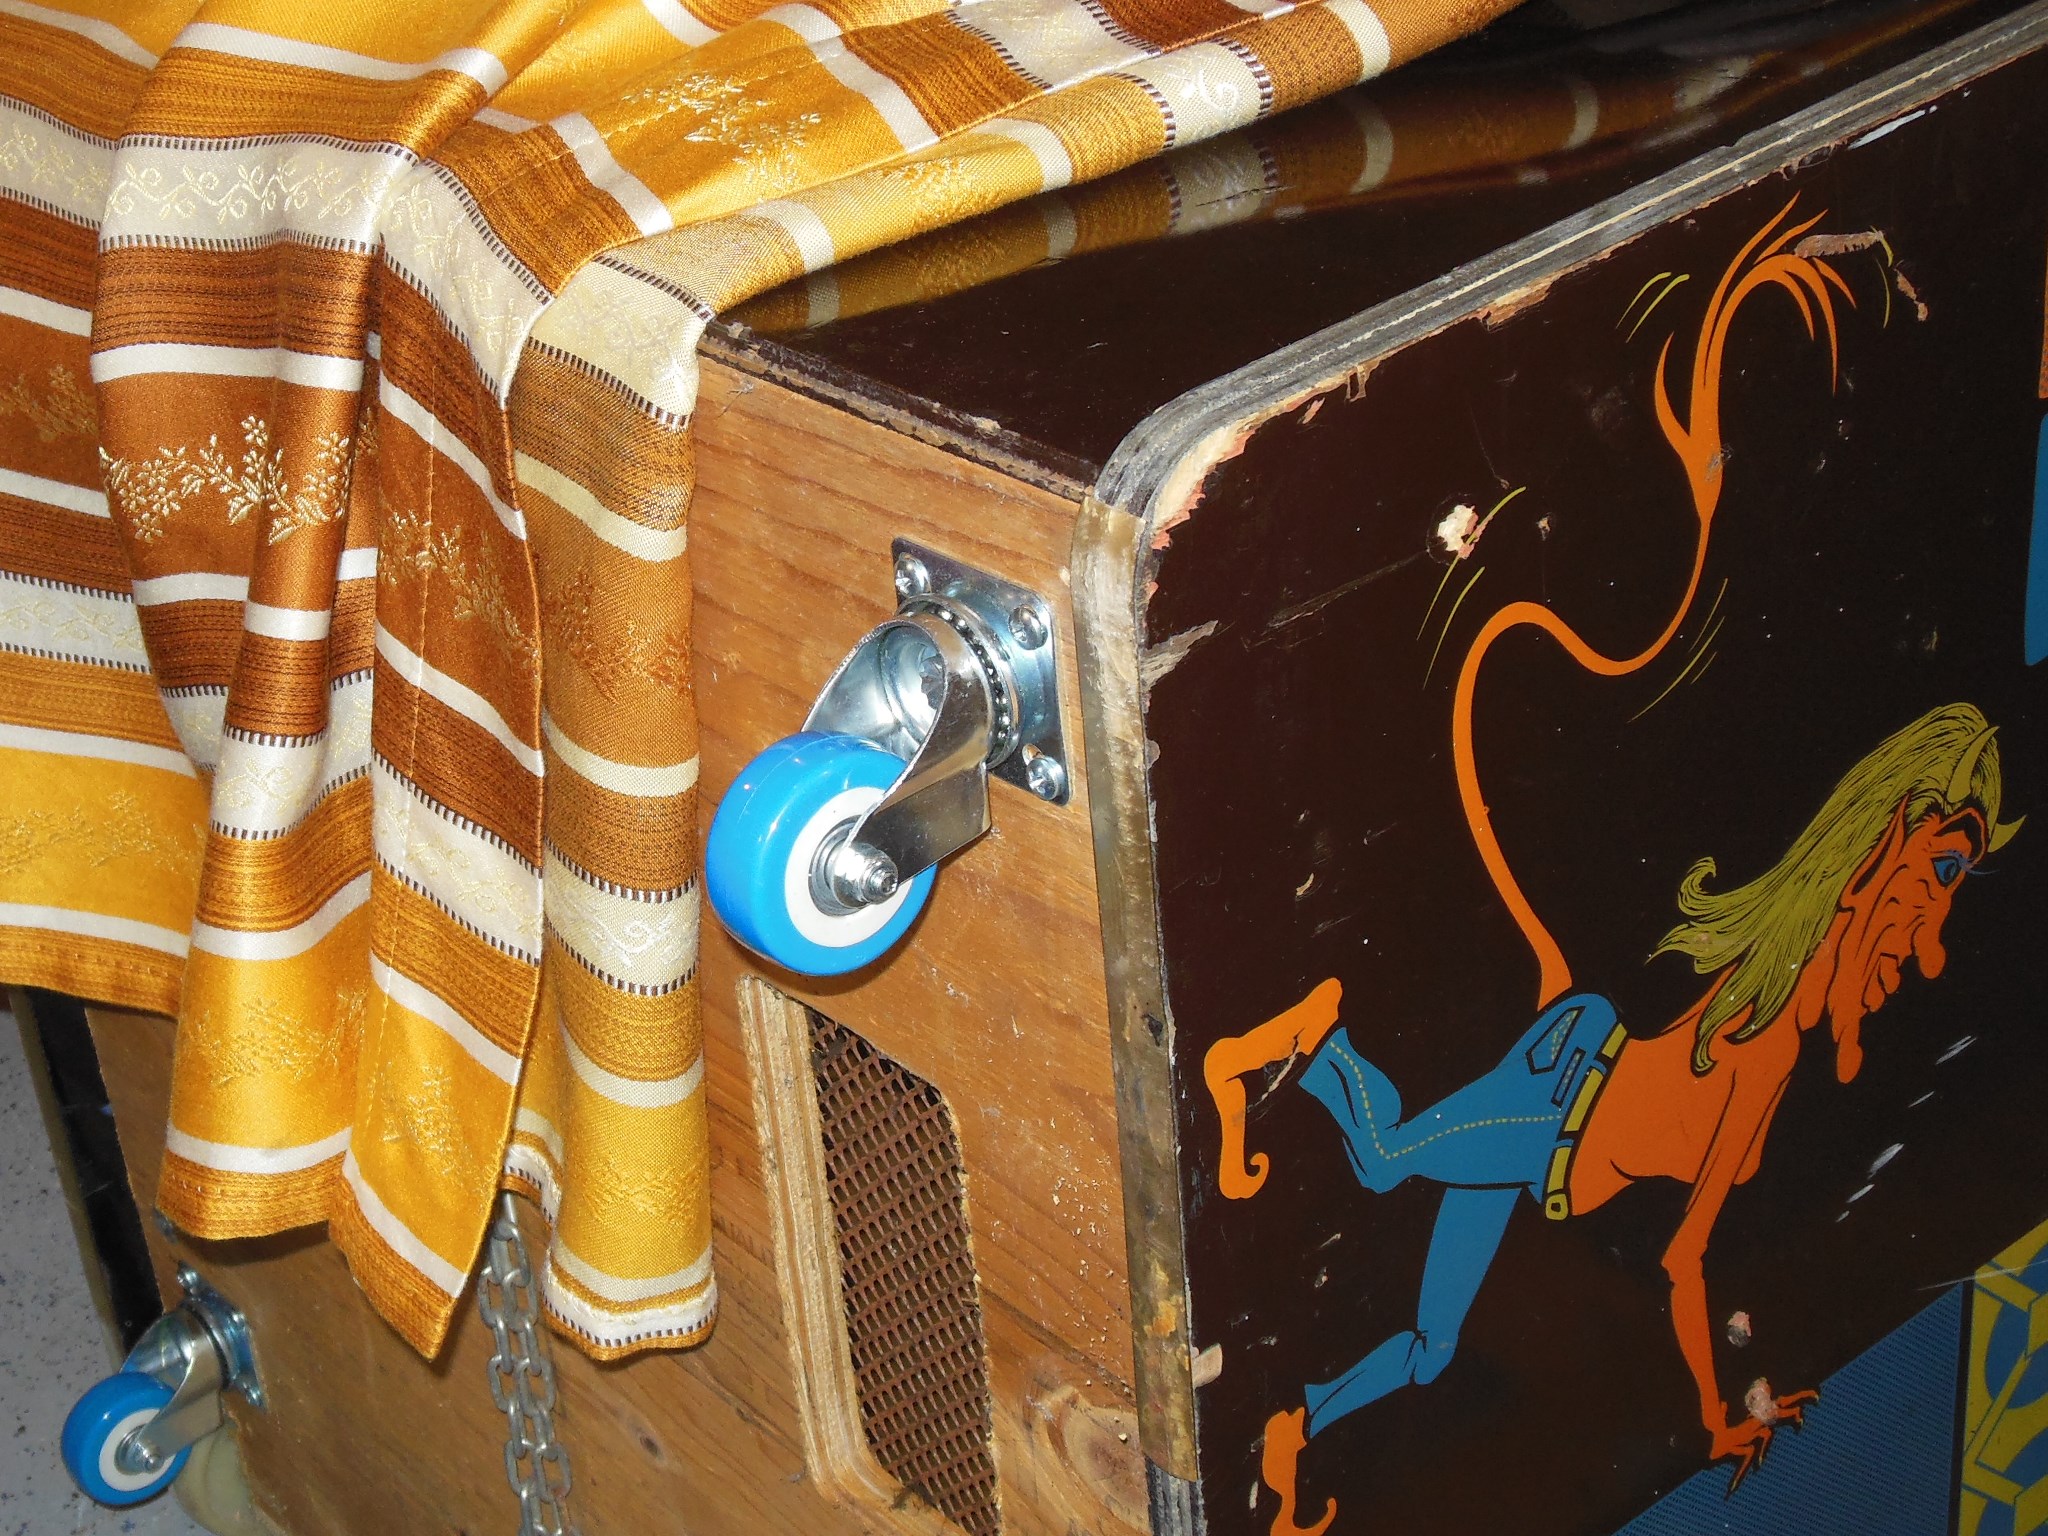
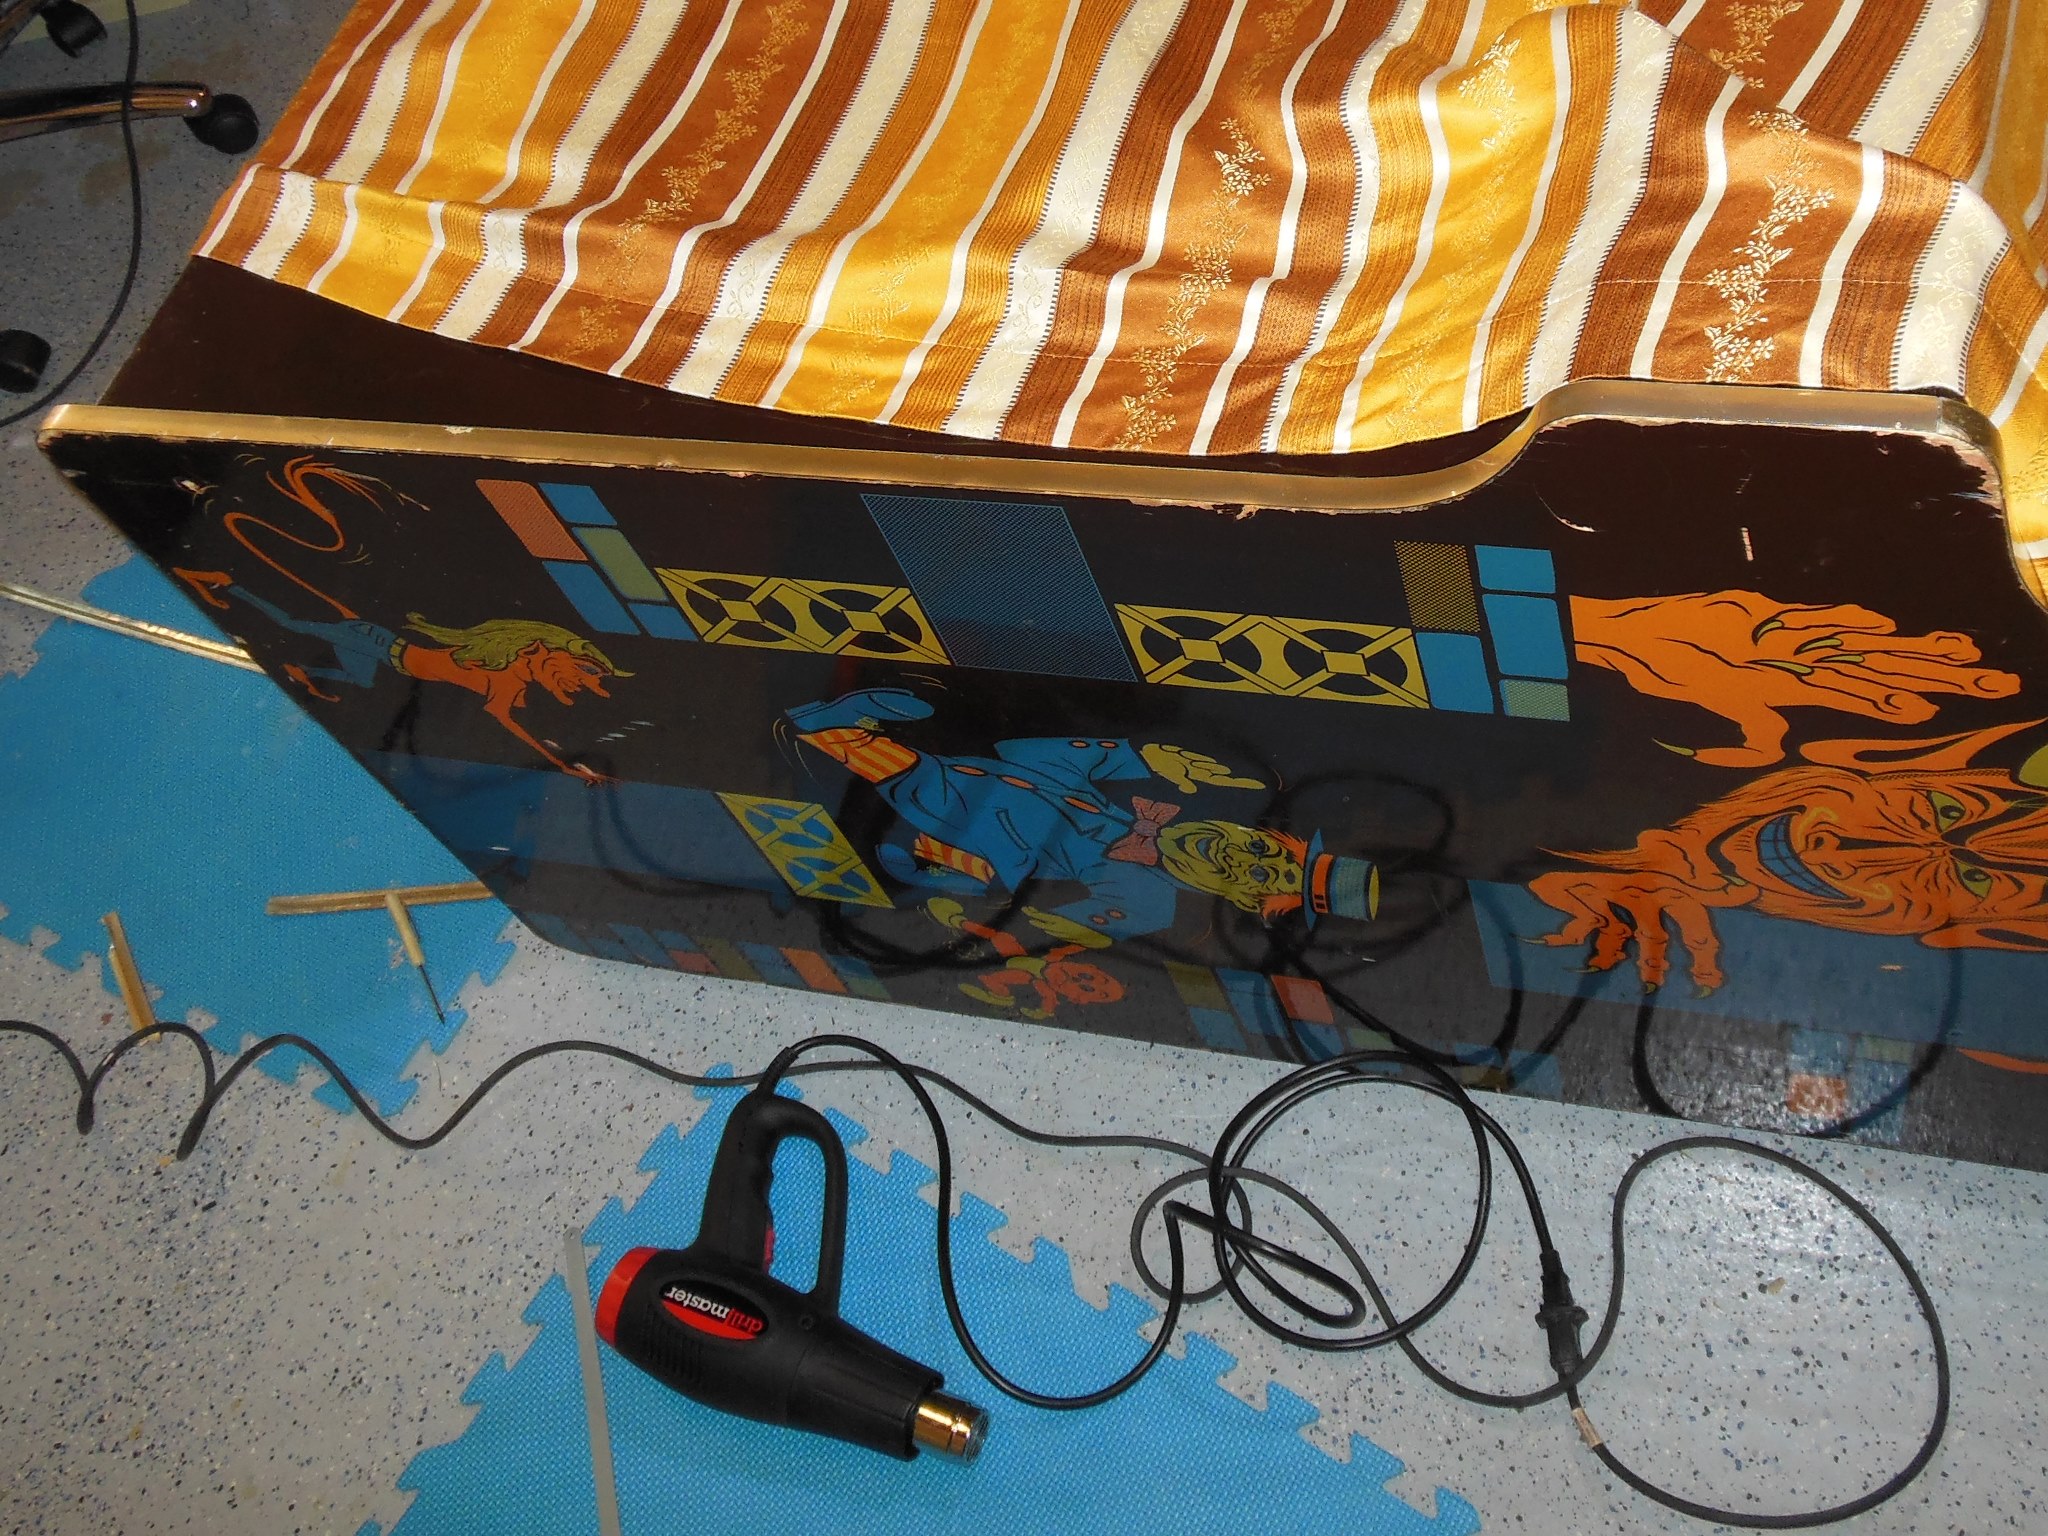
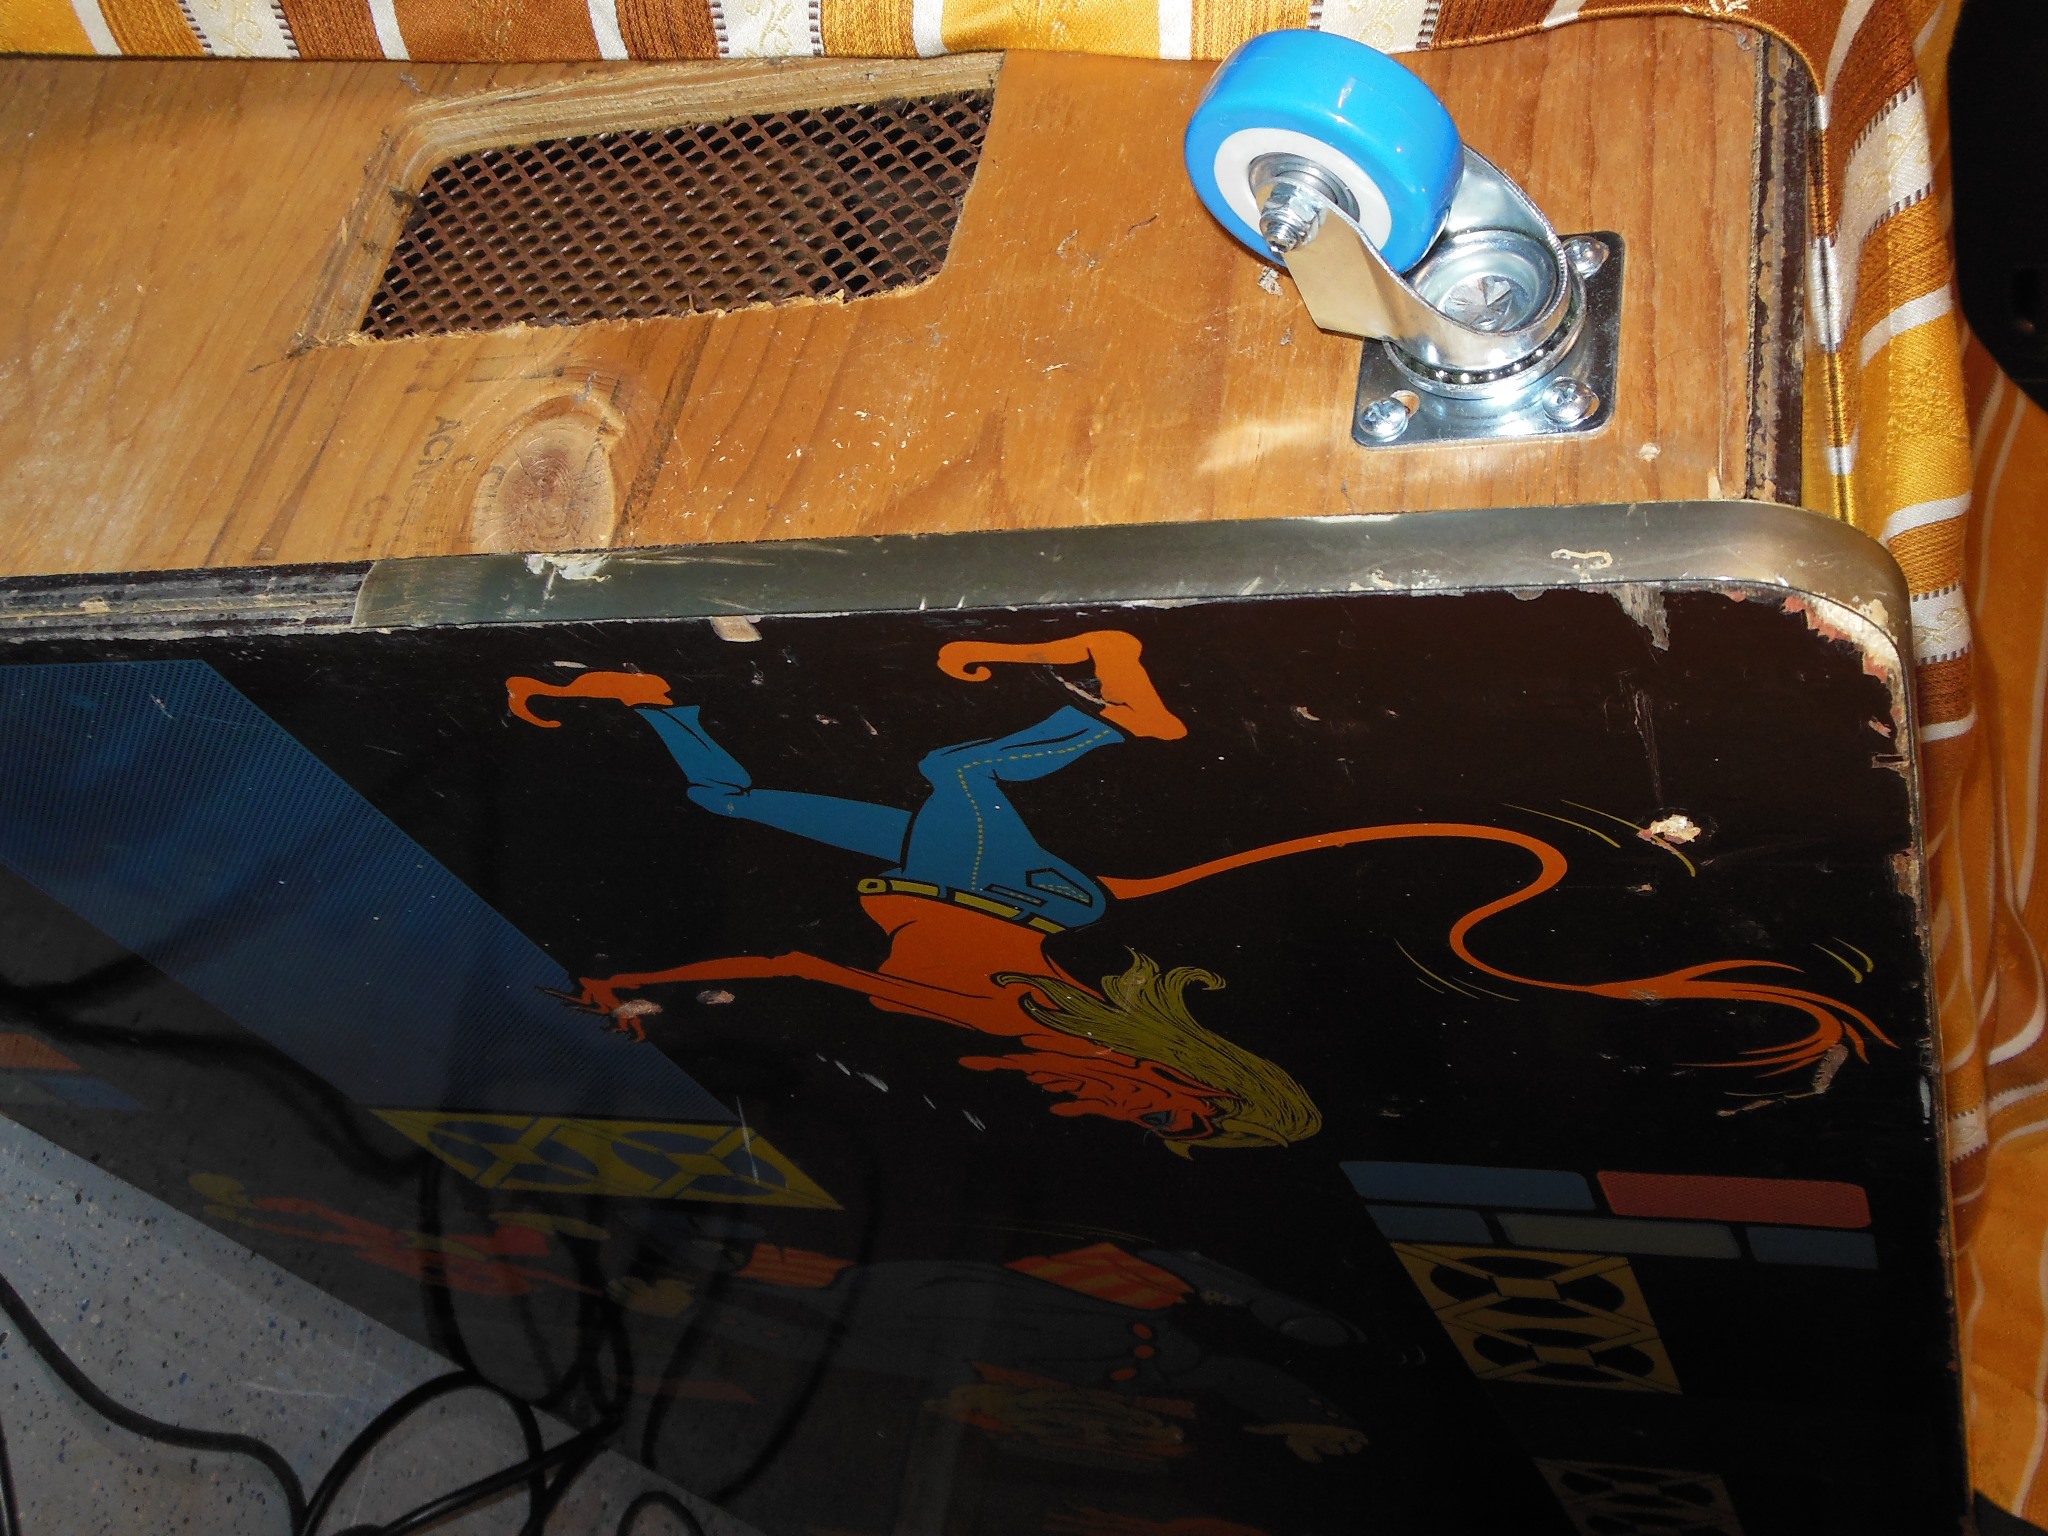
The seller had mounted two wood boards on the base to protect it during shipping (that I was grateful for) that I removed and swapped out the feet for castors.

|
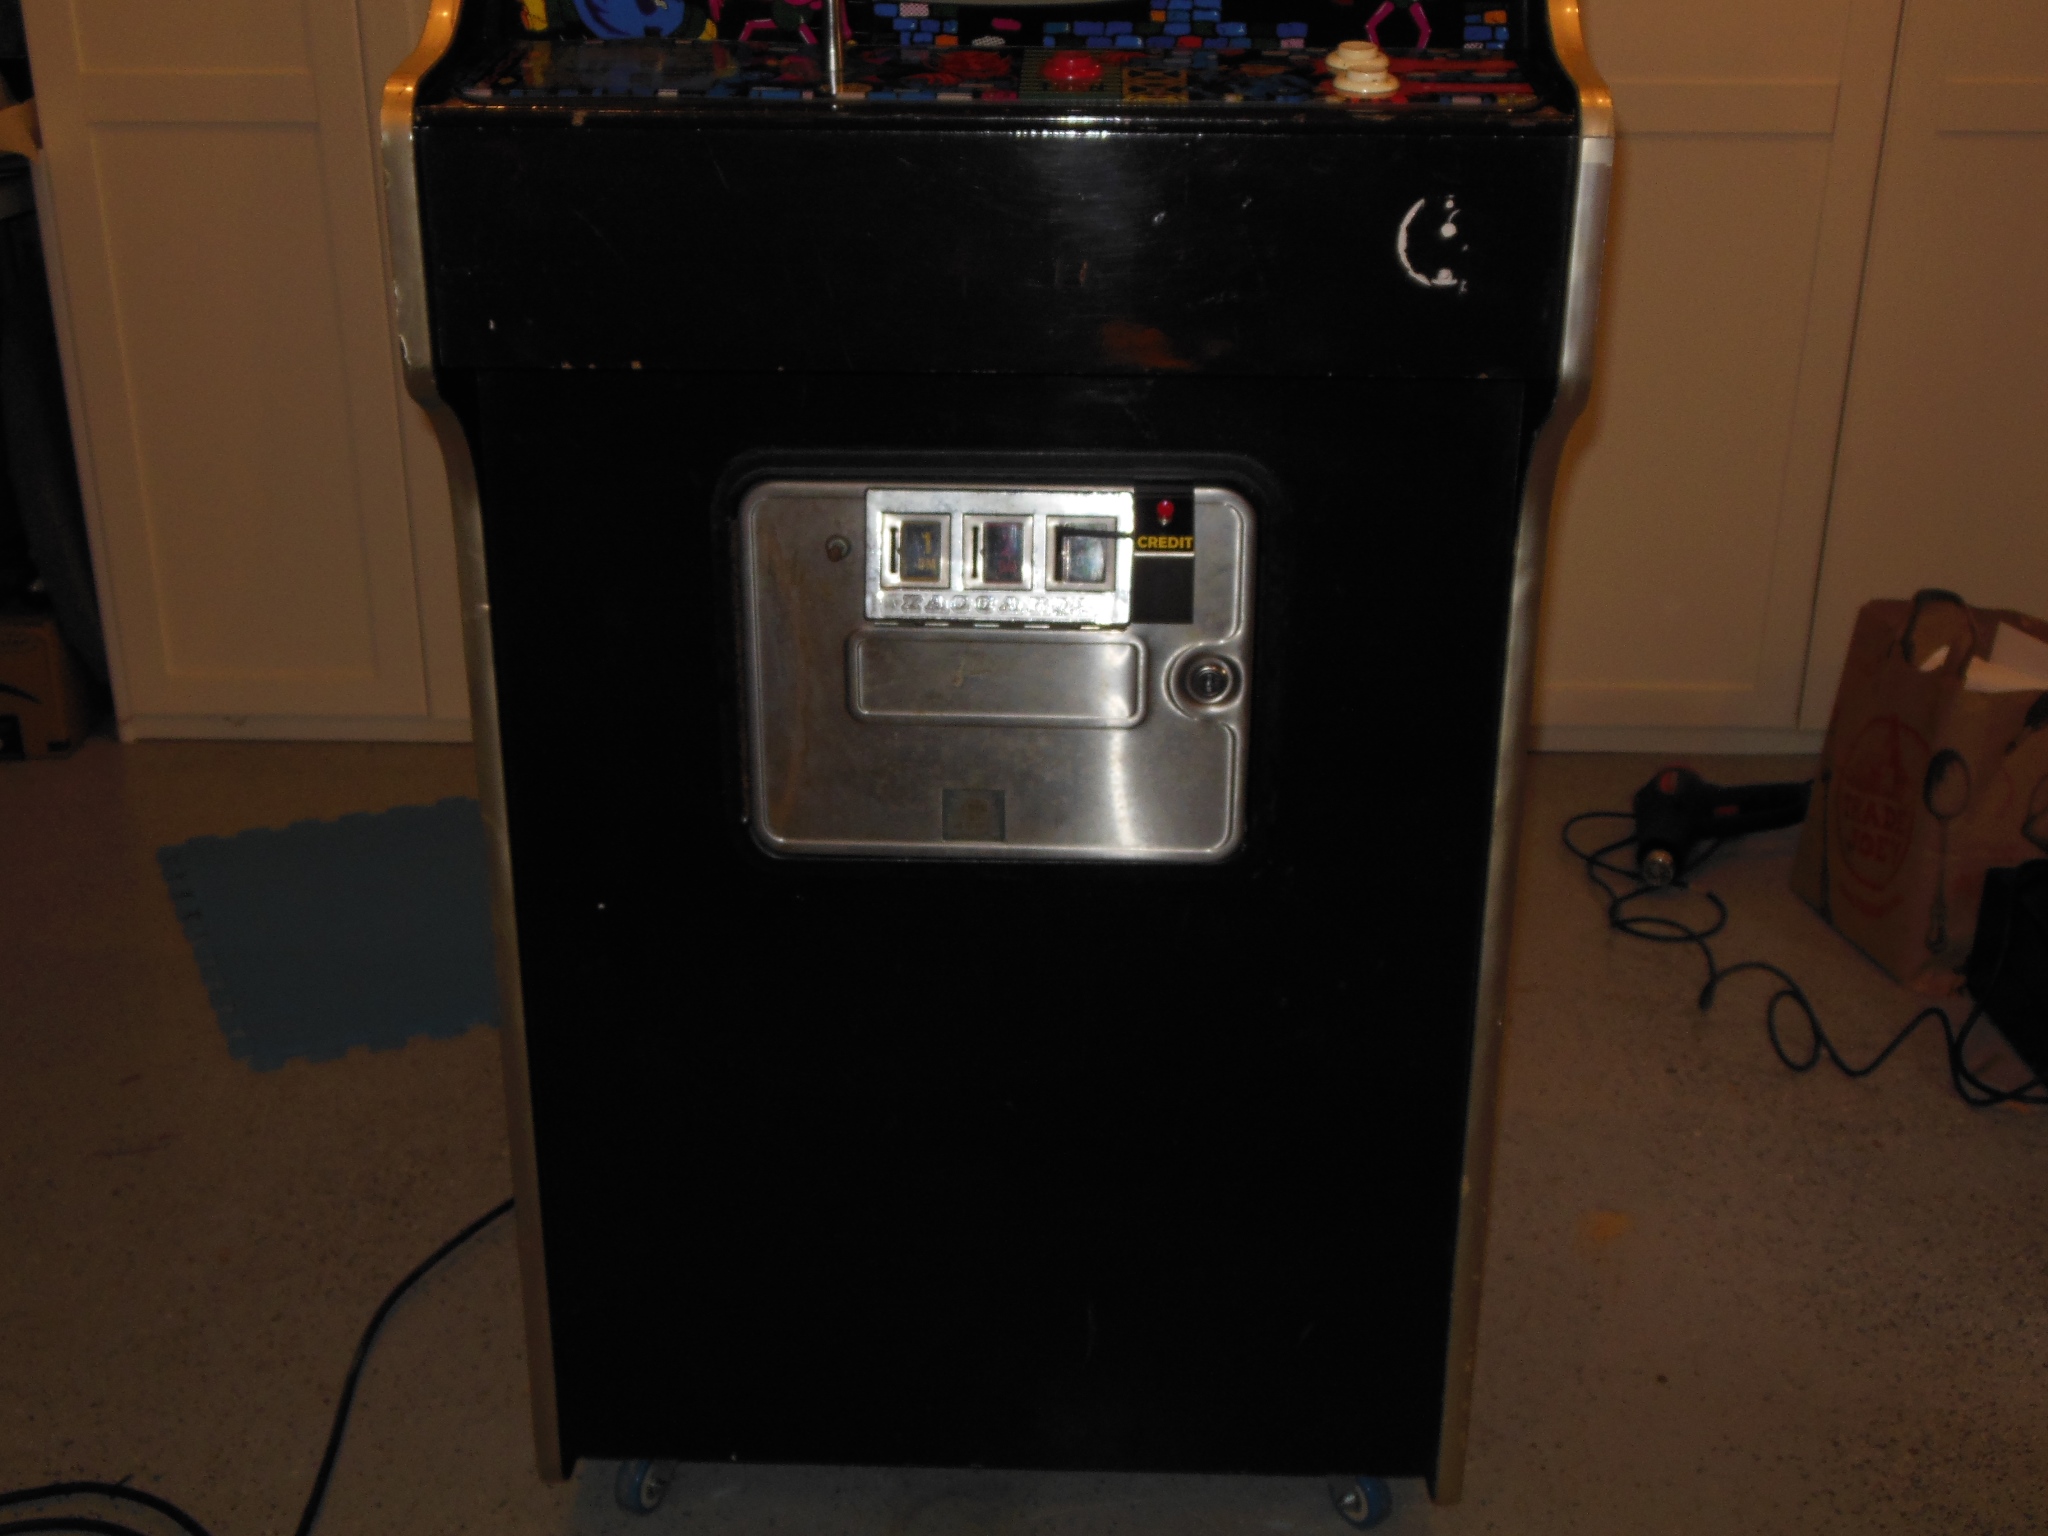
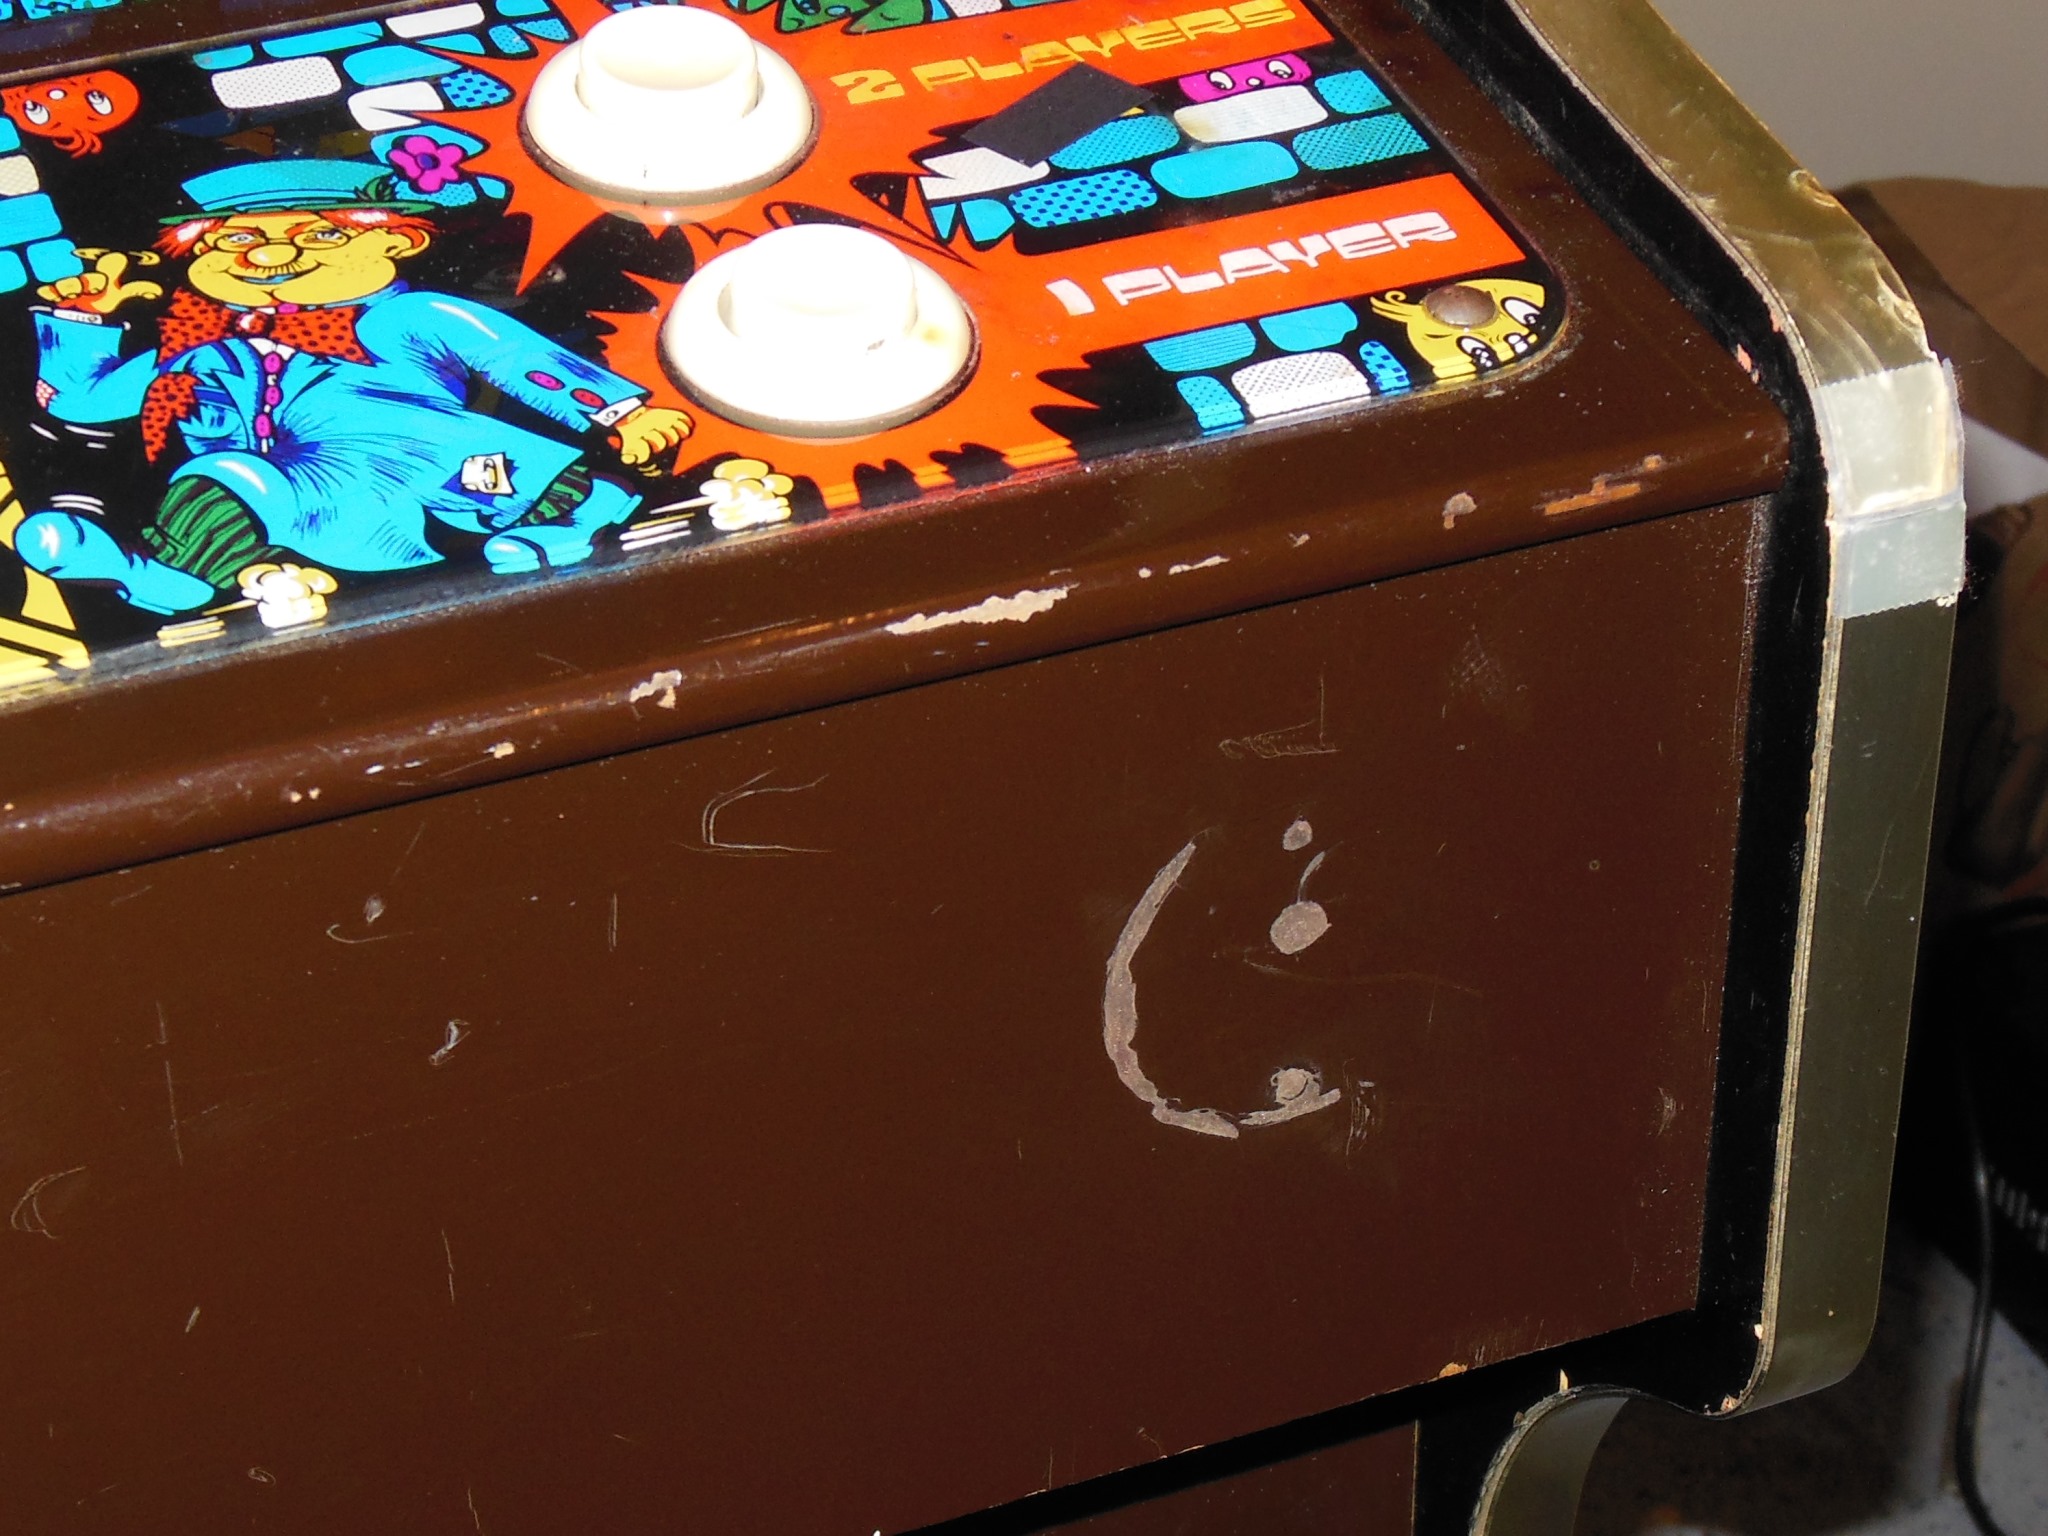
The damage the door bell had caused to the front panel was filled in with spackle.


|
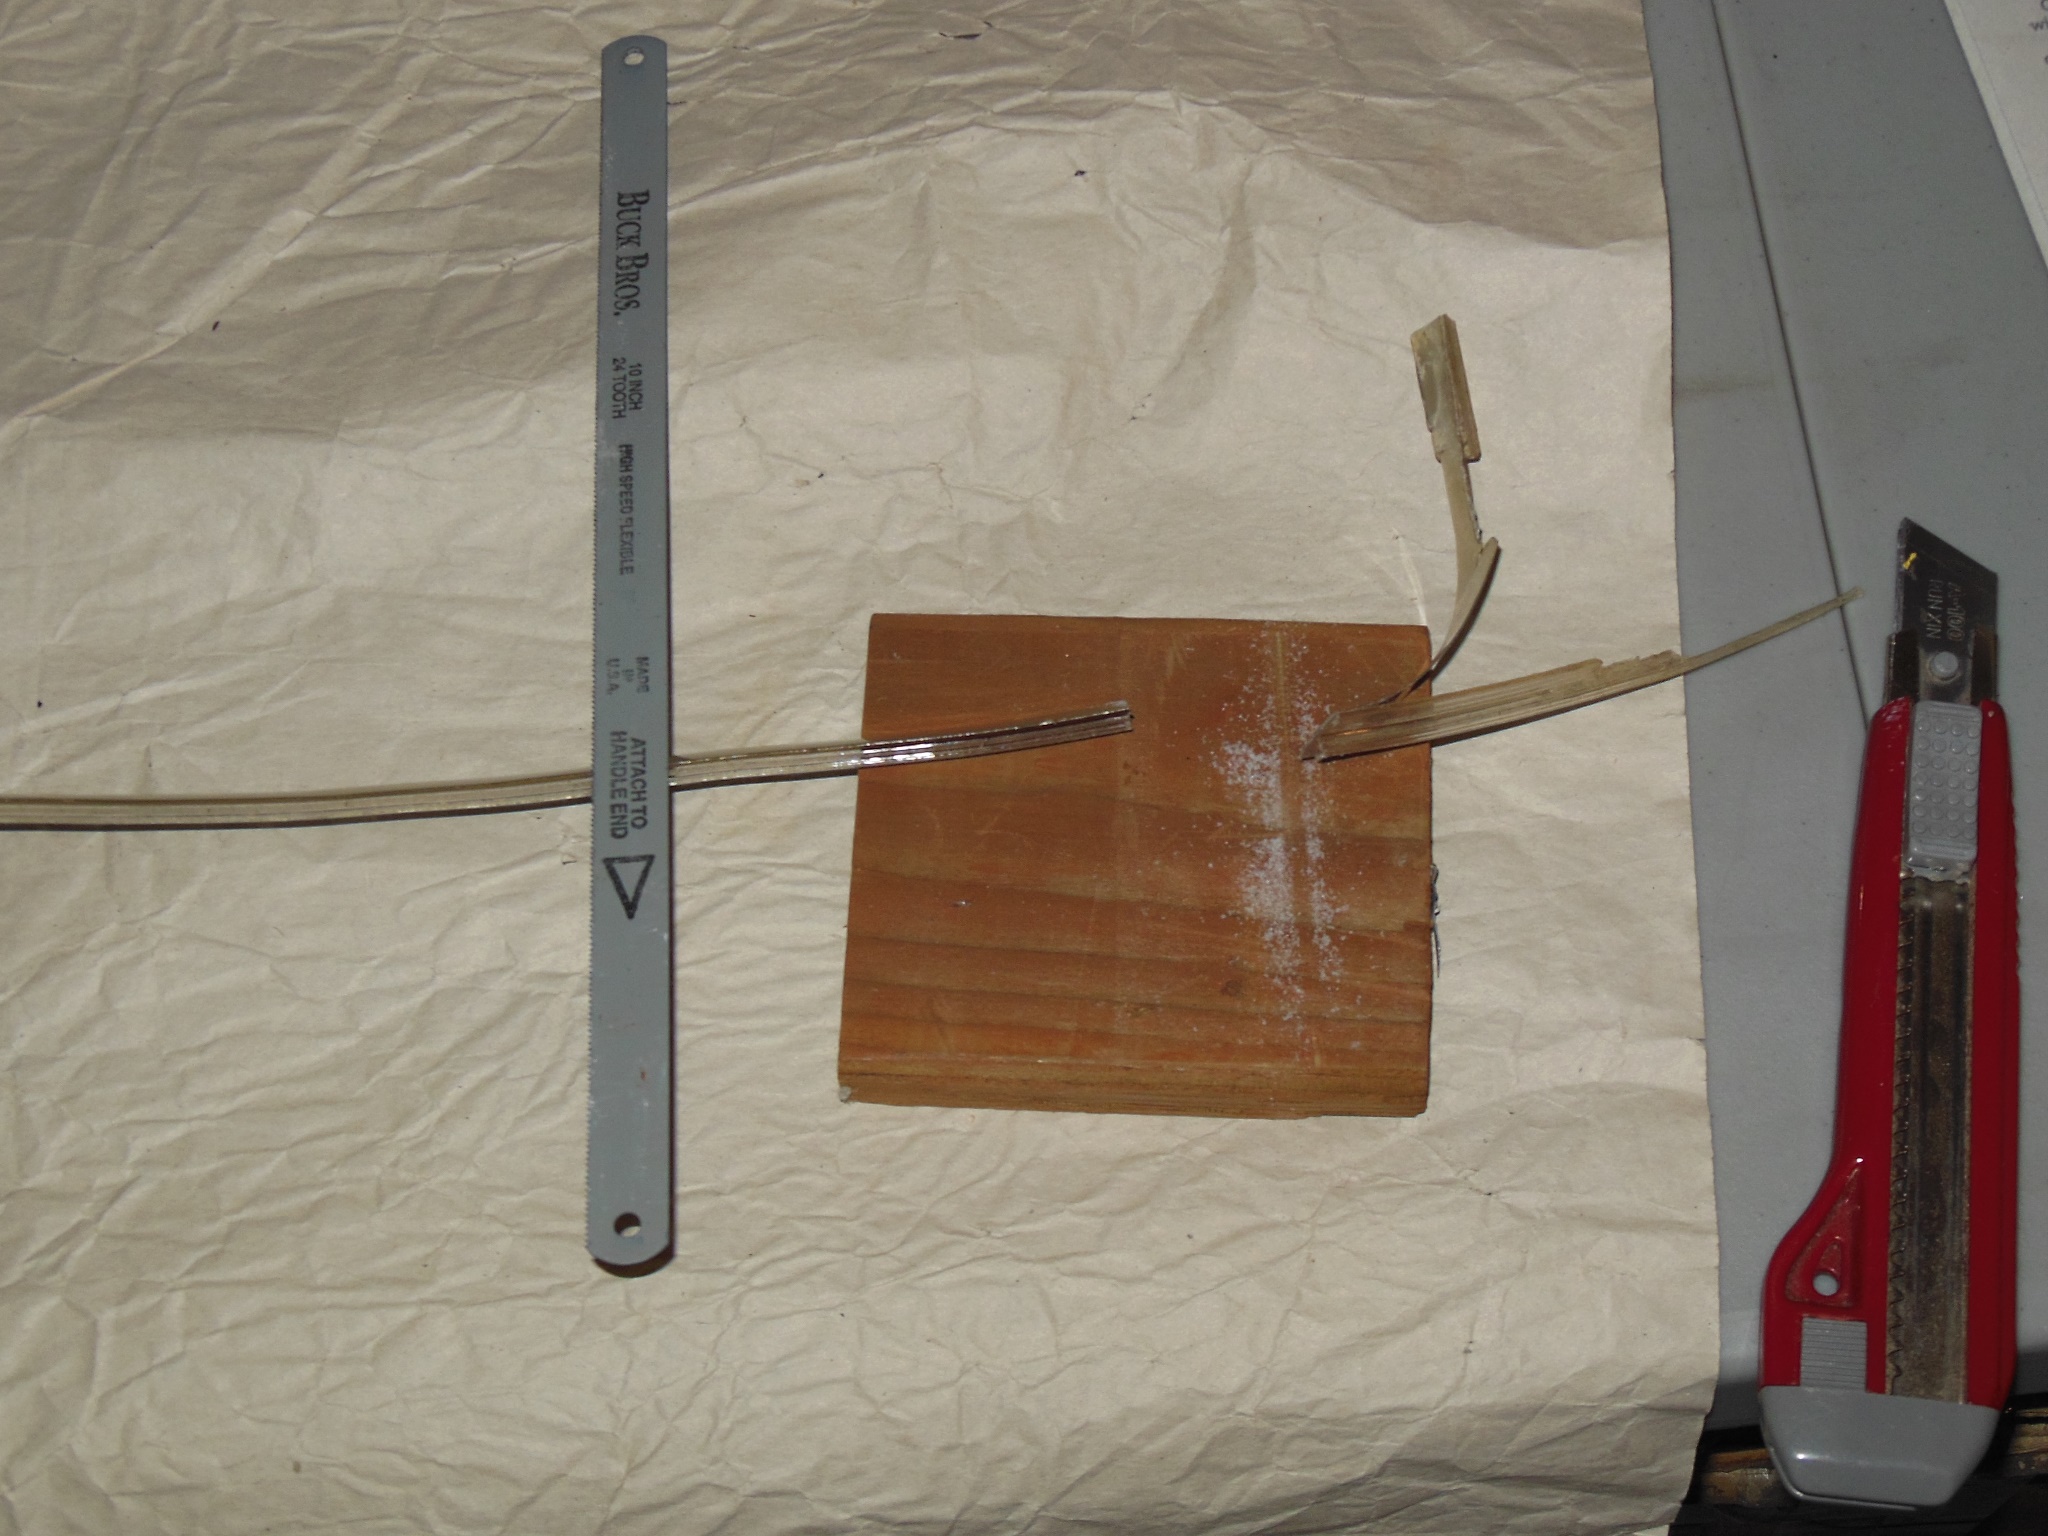
I did measure the T-molding (16mm) and hunt around various web sites to try to find a reproduction close enough to match but wasn't able to find anything :( Plan B was to recover a length from one of the parted-out Duke of Lancaster Astro Wars cabinets that was a near perfect match and "splice in" the missing section as best I could.
I quickly discovered that some care & patience is needed to prevent delamination of the top and snapping of the spine during removal. Once home I used a heat gun to gently flatten out the T-molding.
|
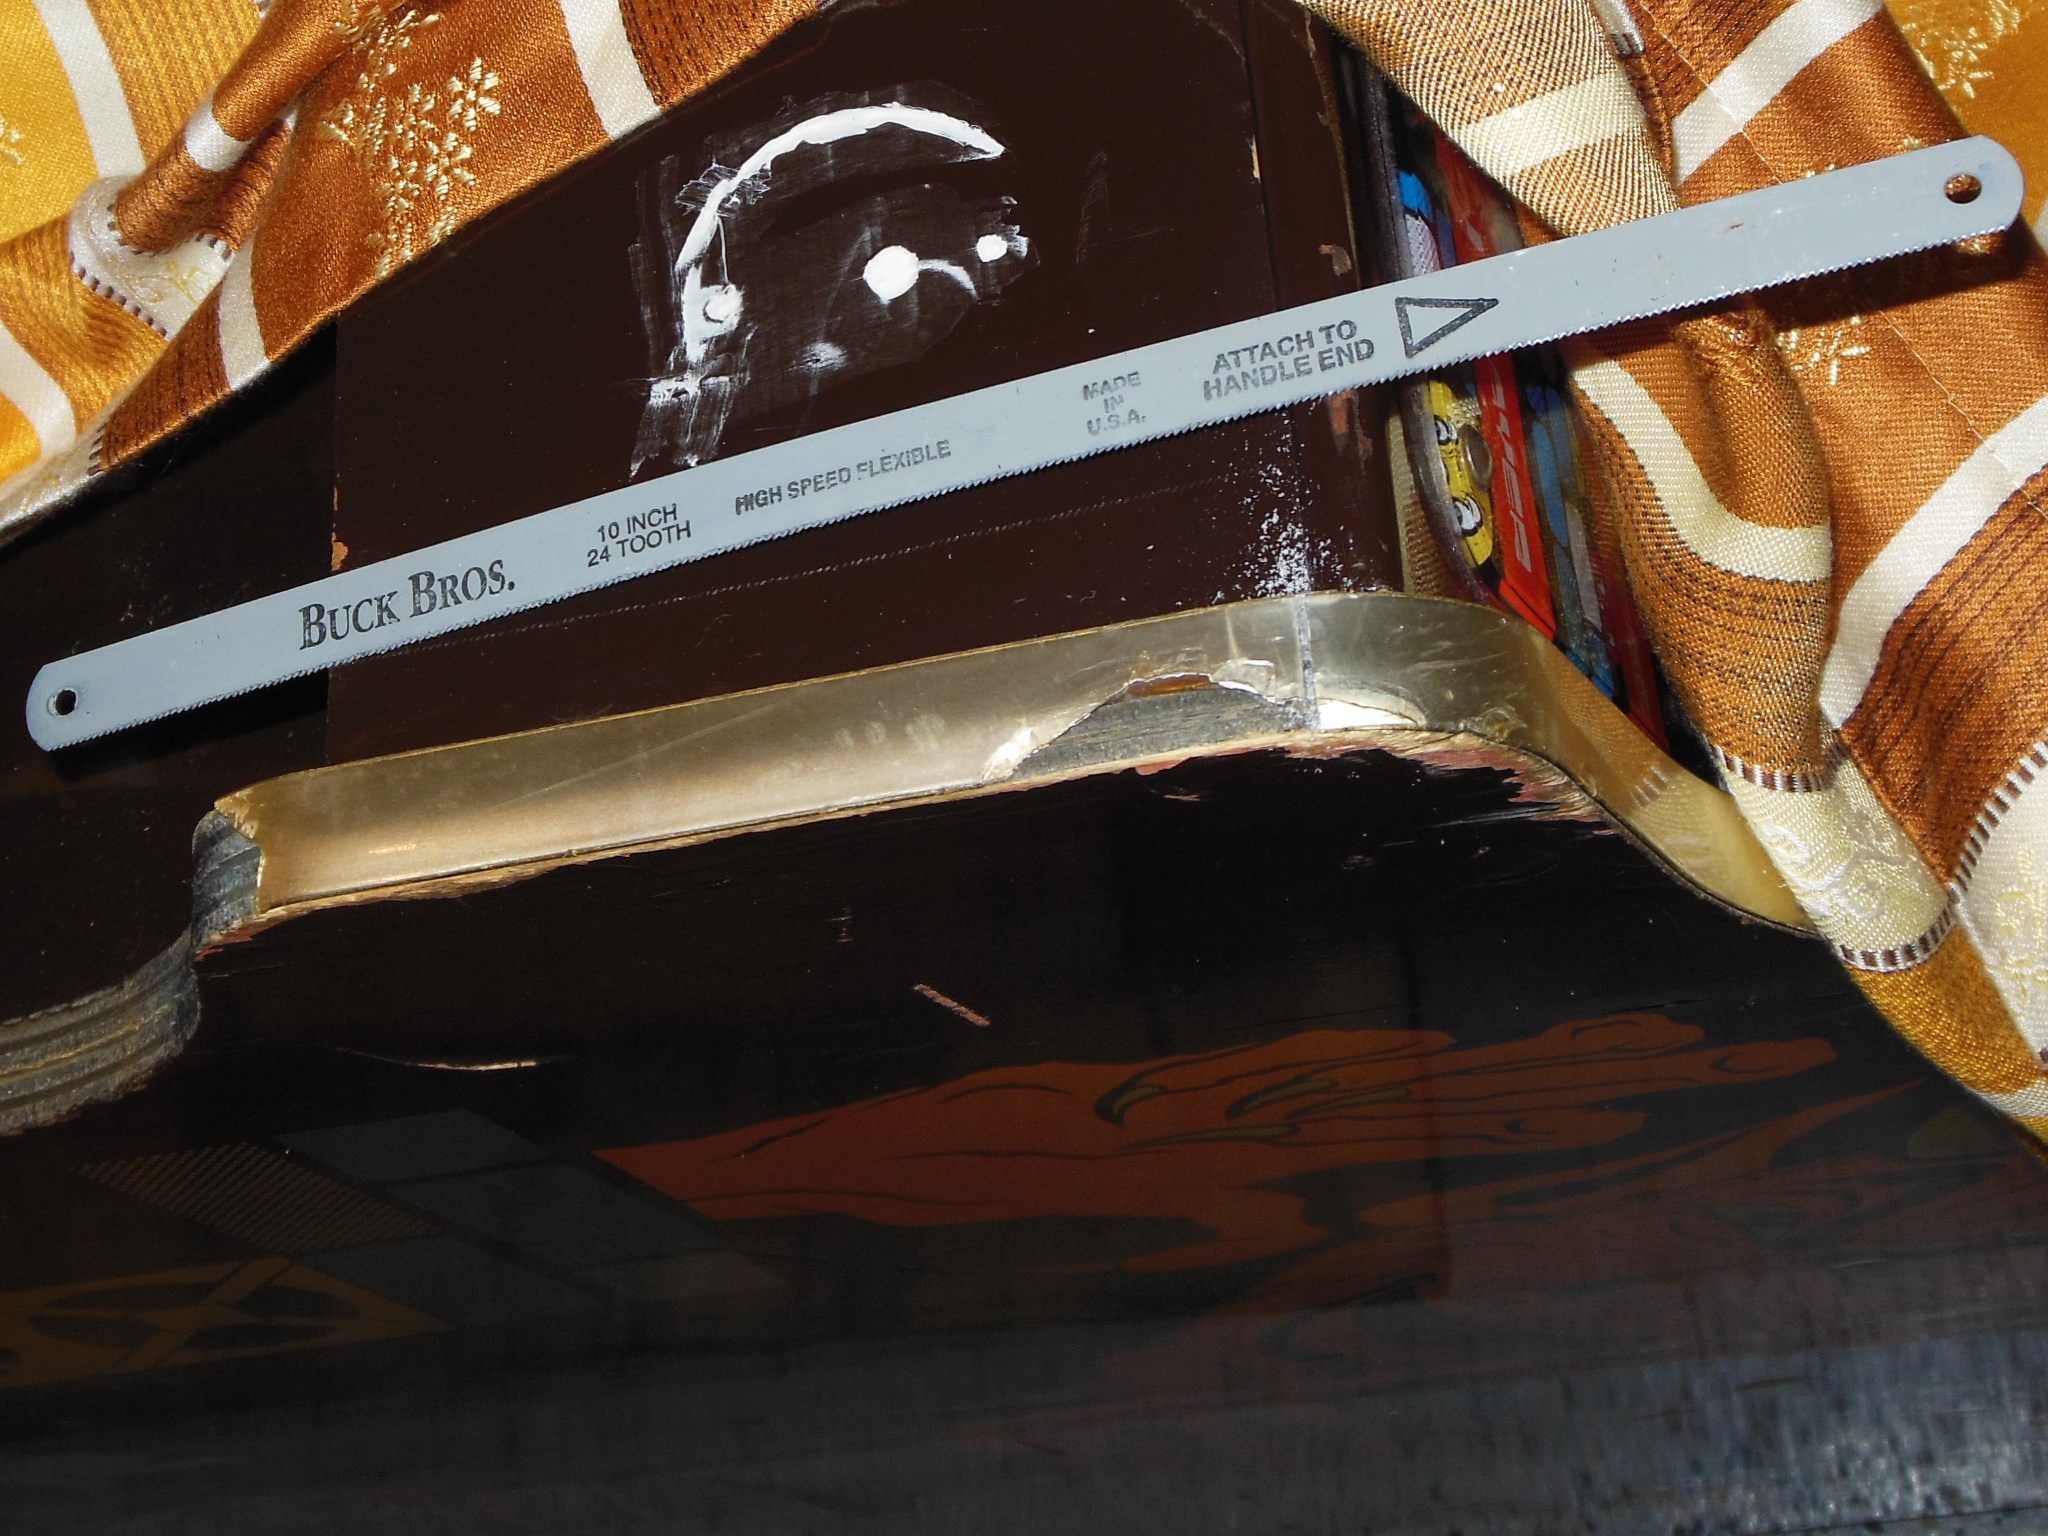
The reclaimed T-molding had a frayed end that I cut off to a neat edge to mate against a similar cut edge on the remaining T-molding of the cabinet. The small section of the remaining T-molding on the bottom of the cabinet was removed.
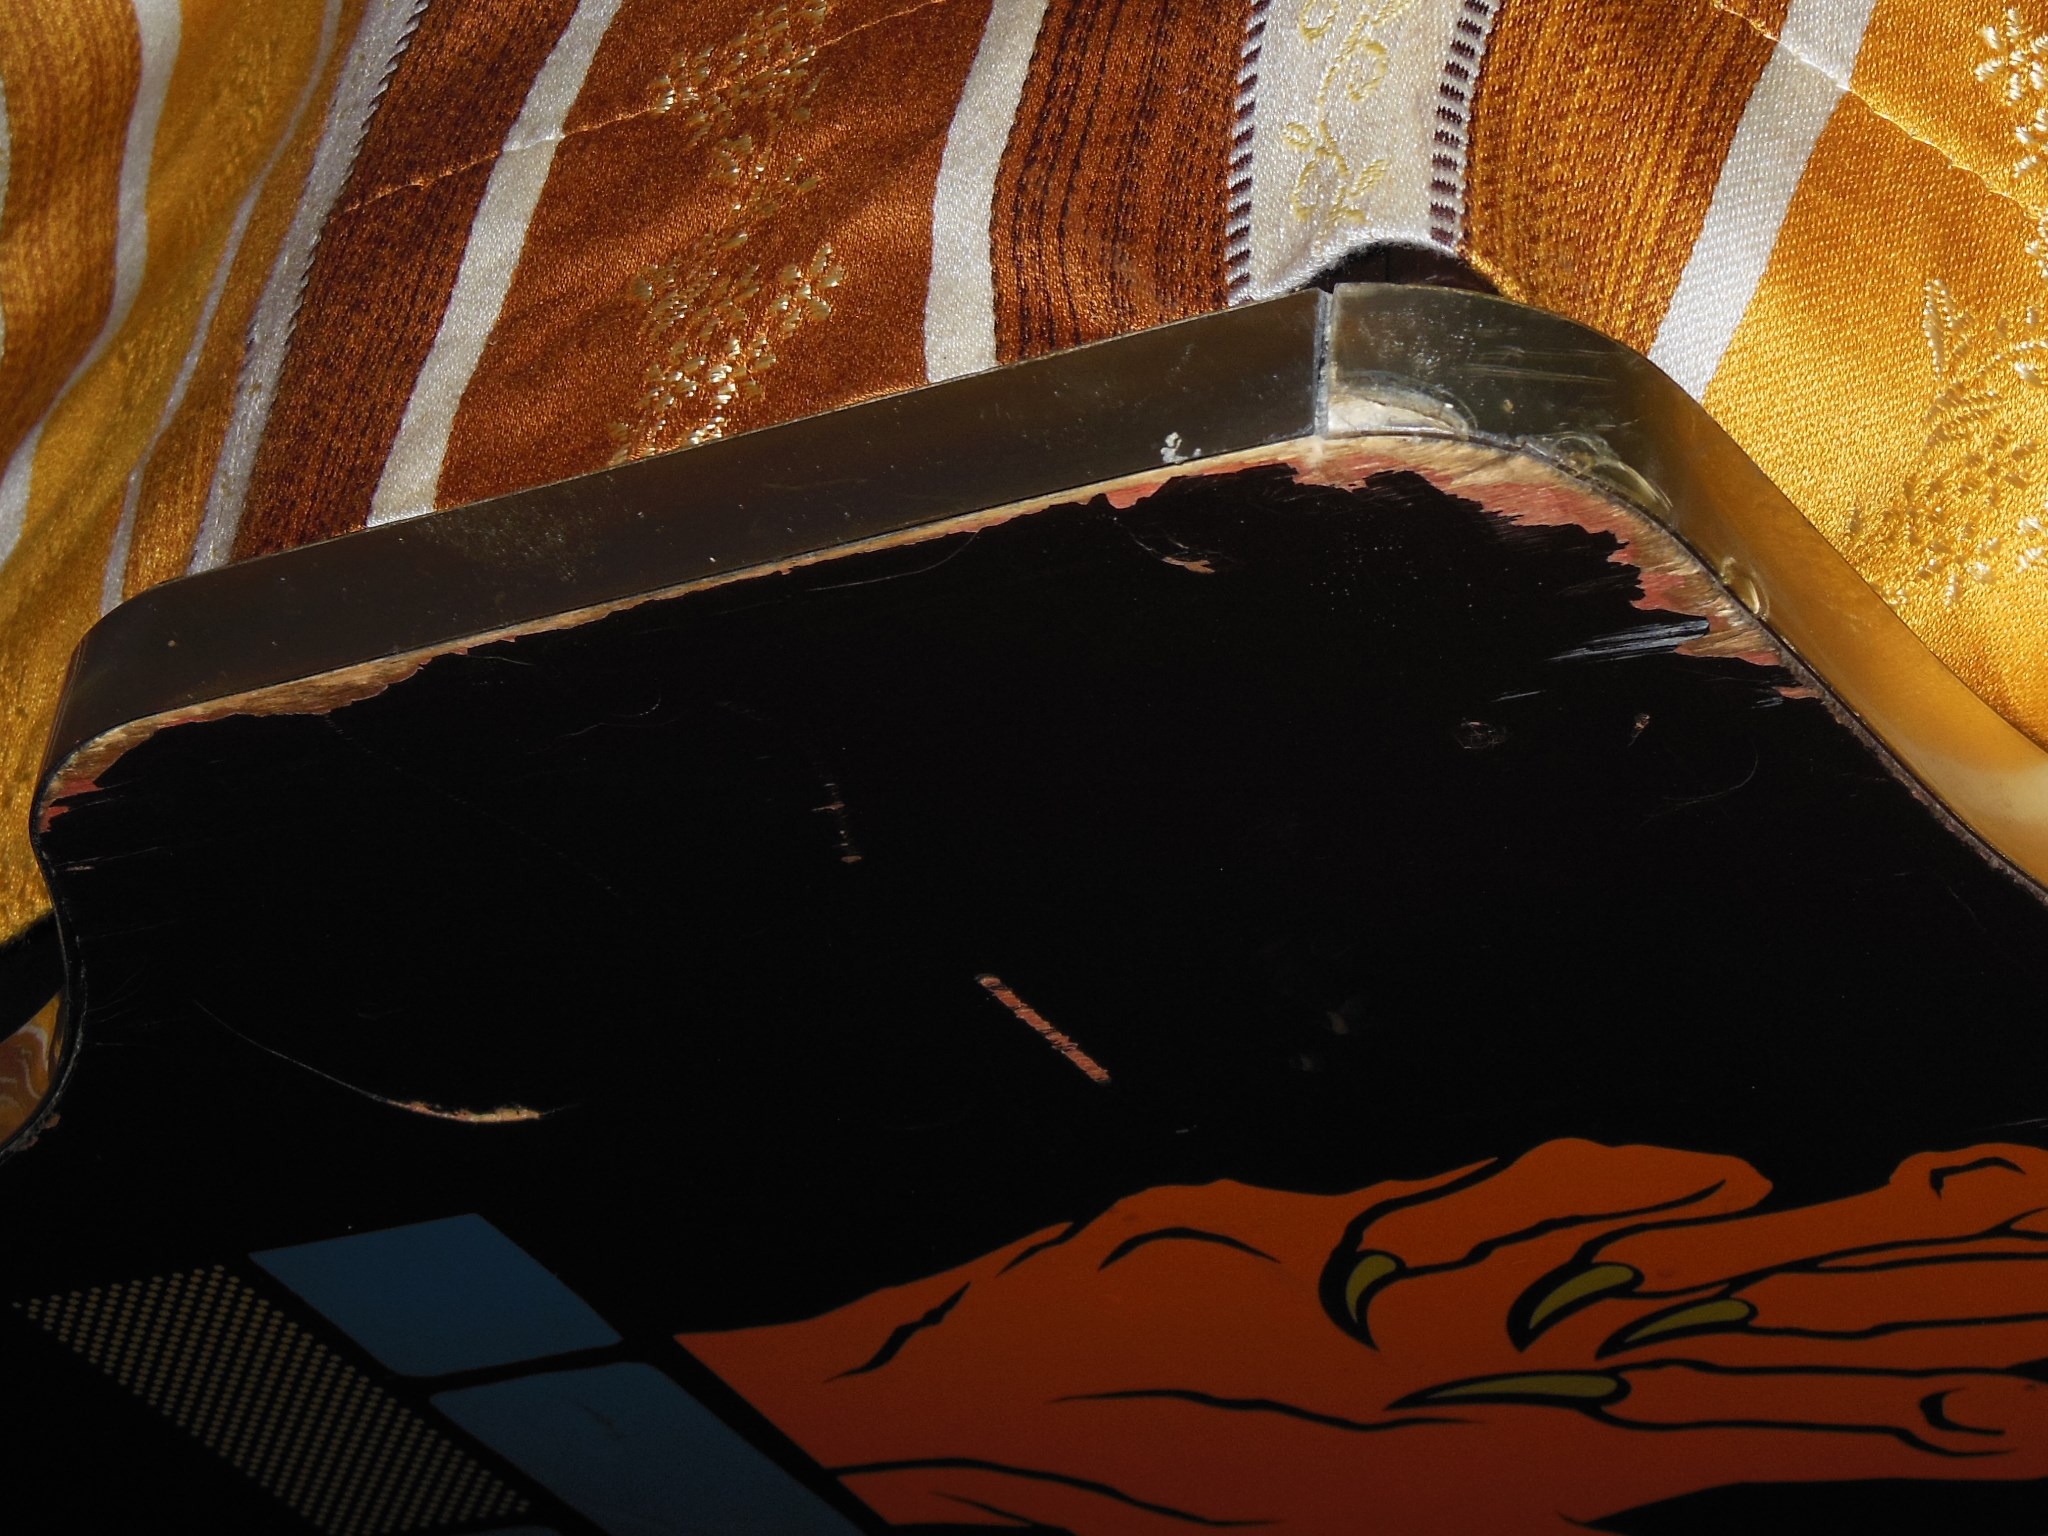
|
Starting from the top the replacement T-molding was pressed into place taking special care to soften it with the heat gun around the curved areas so as not to snap the spine.
|
The top join was by no means seamless but overall from a distance it looked OK. I used a small piece of clear tape to bridge the seam, not for looks but to prevent it catching on clothing brushing against it.
I also used a dark brown marker to colour the spackle filling the bell damage that made it much less visible, especially in low light.
|

|
Several hours of burn-in testing didn't encounter any failures and final cleaning finished off the restoration ready for the show.