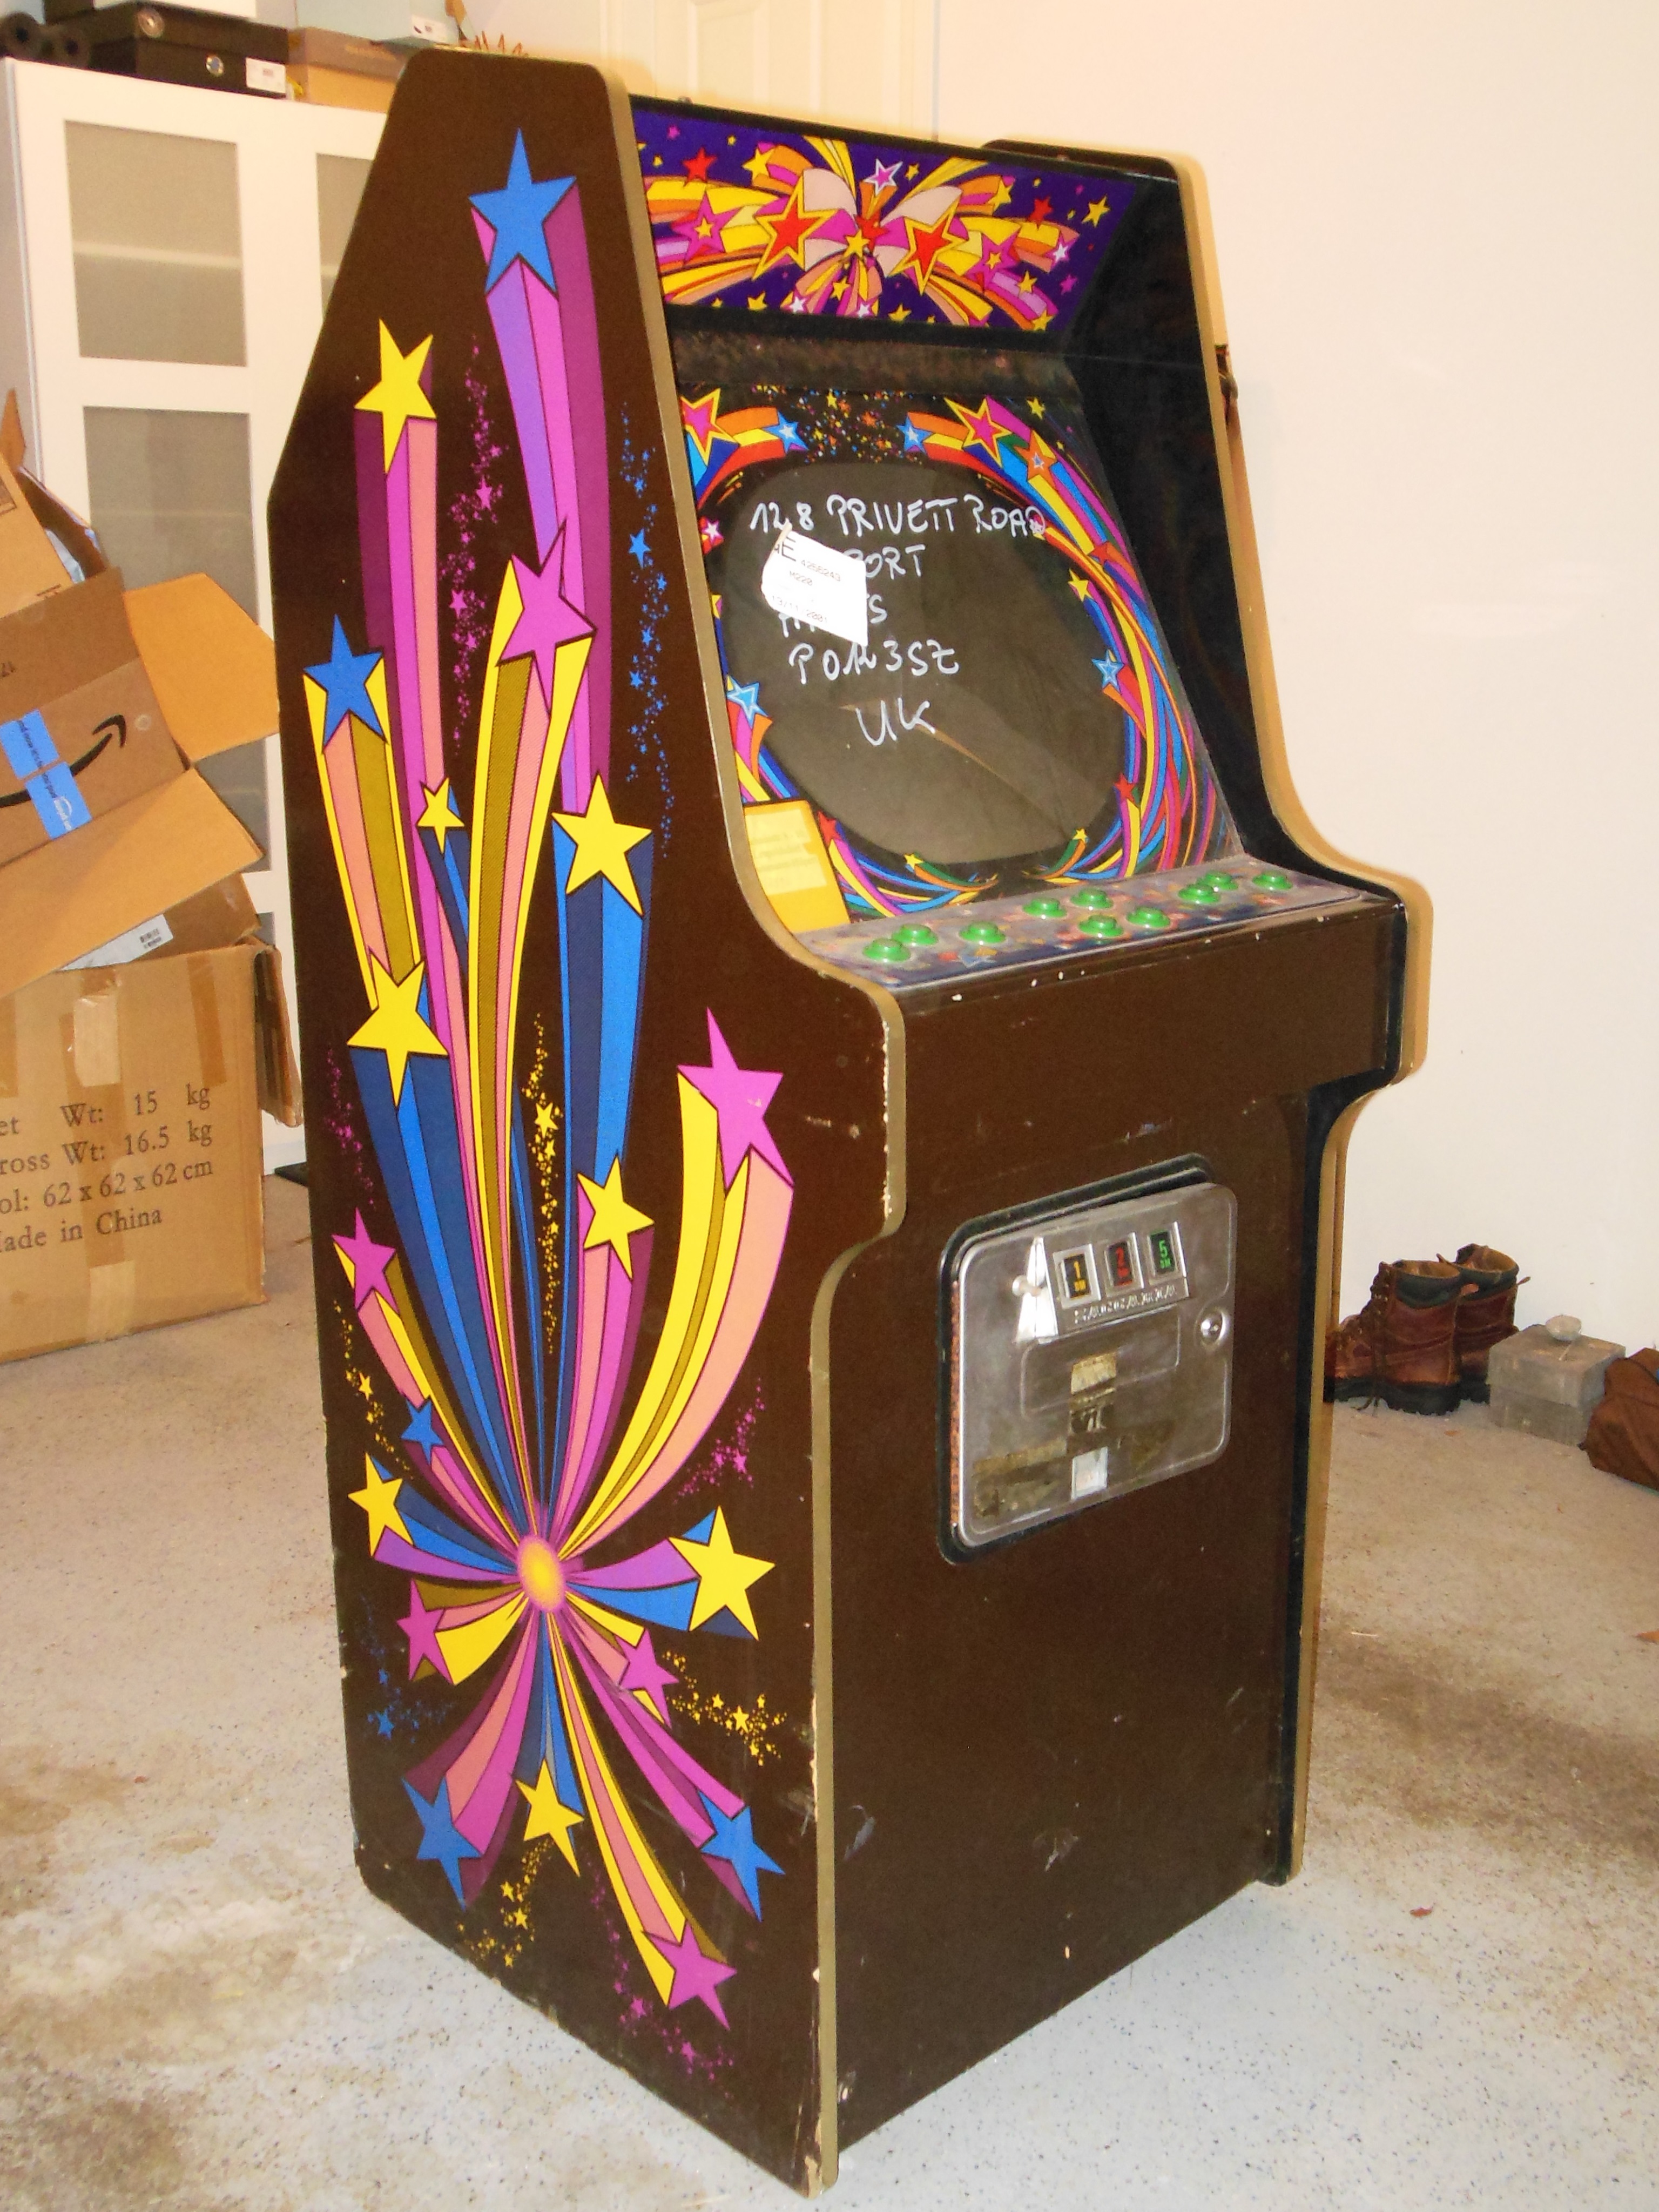
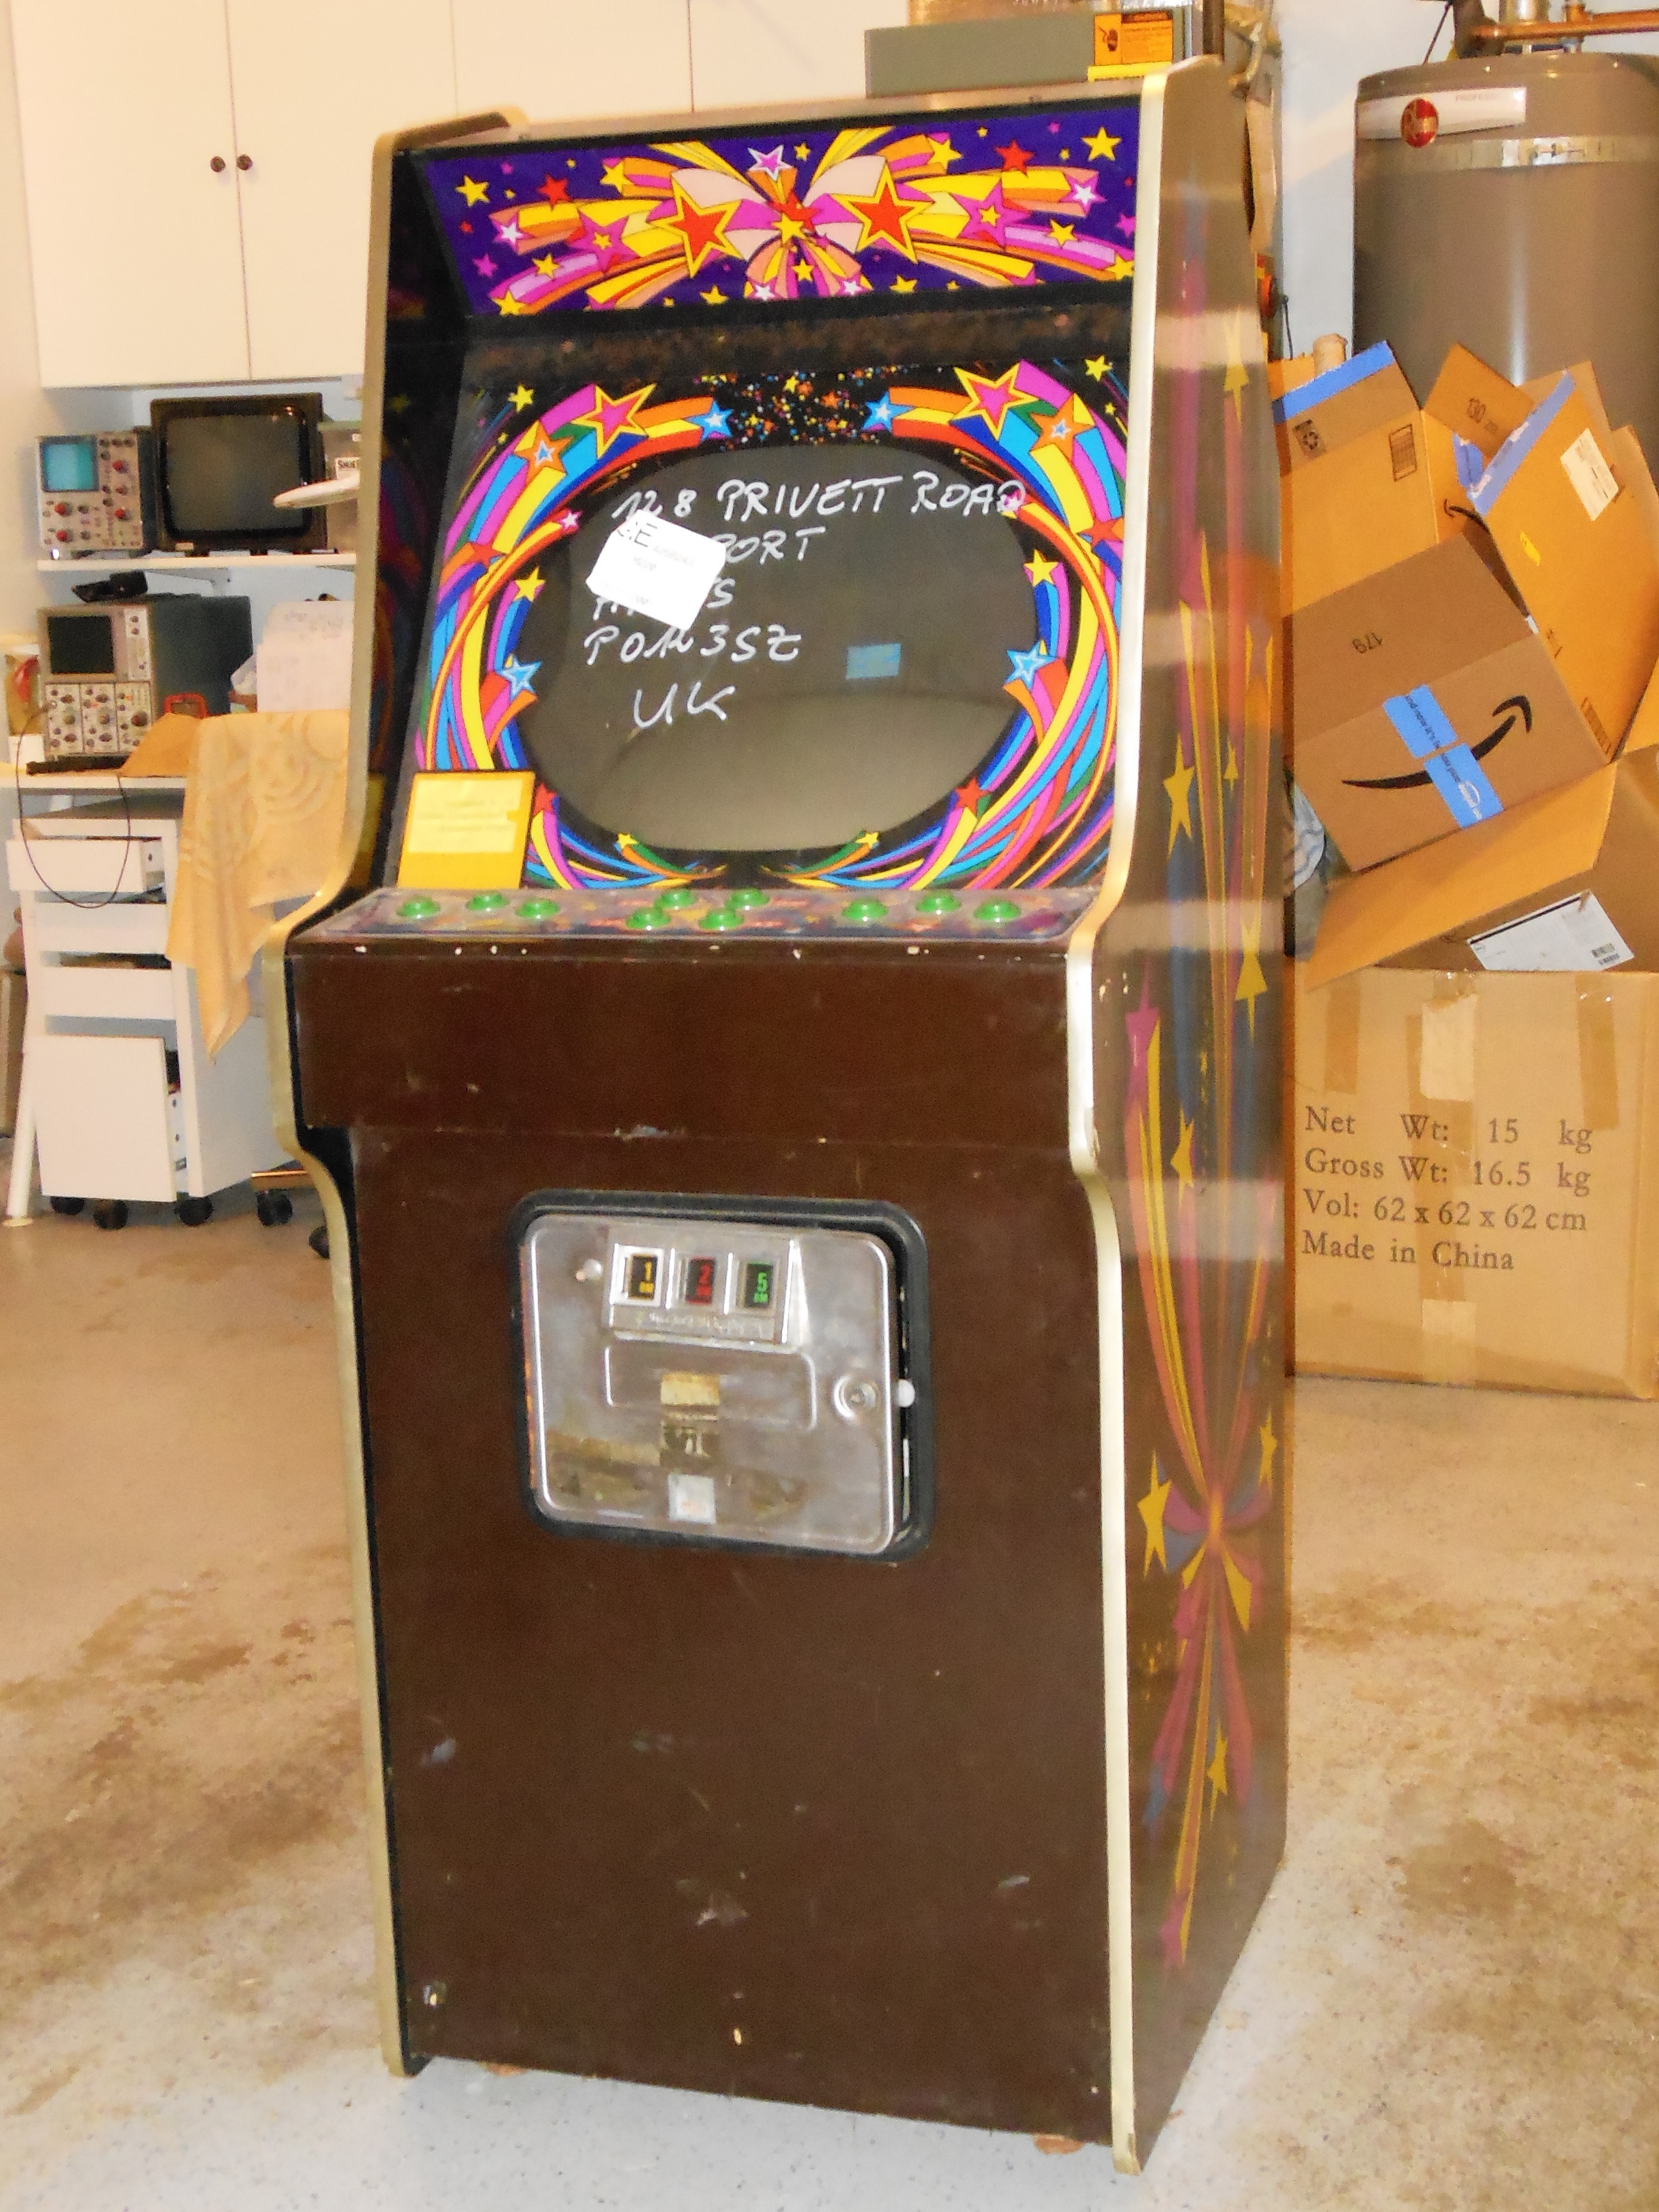

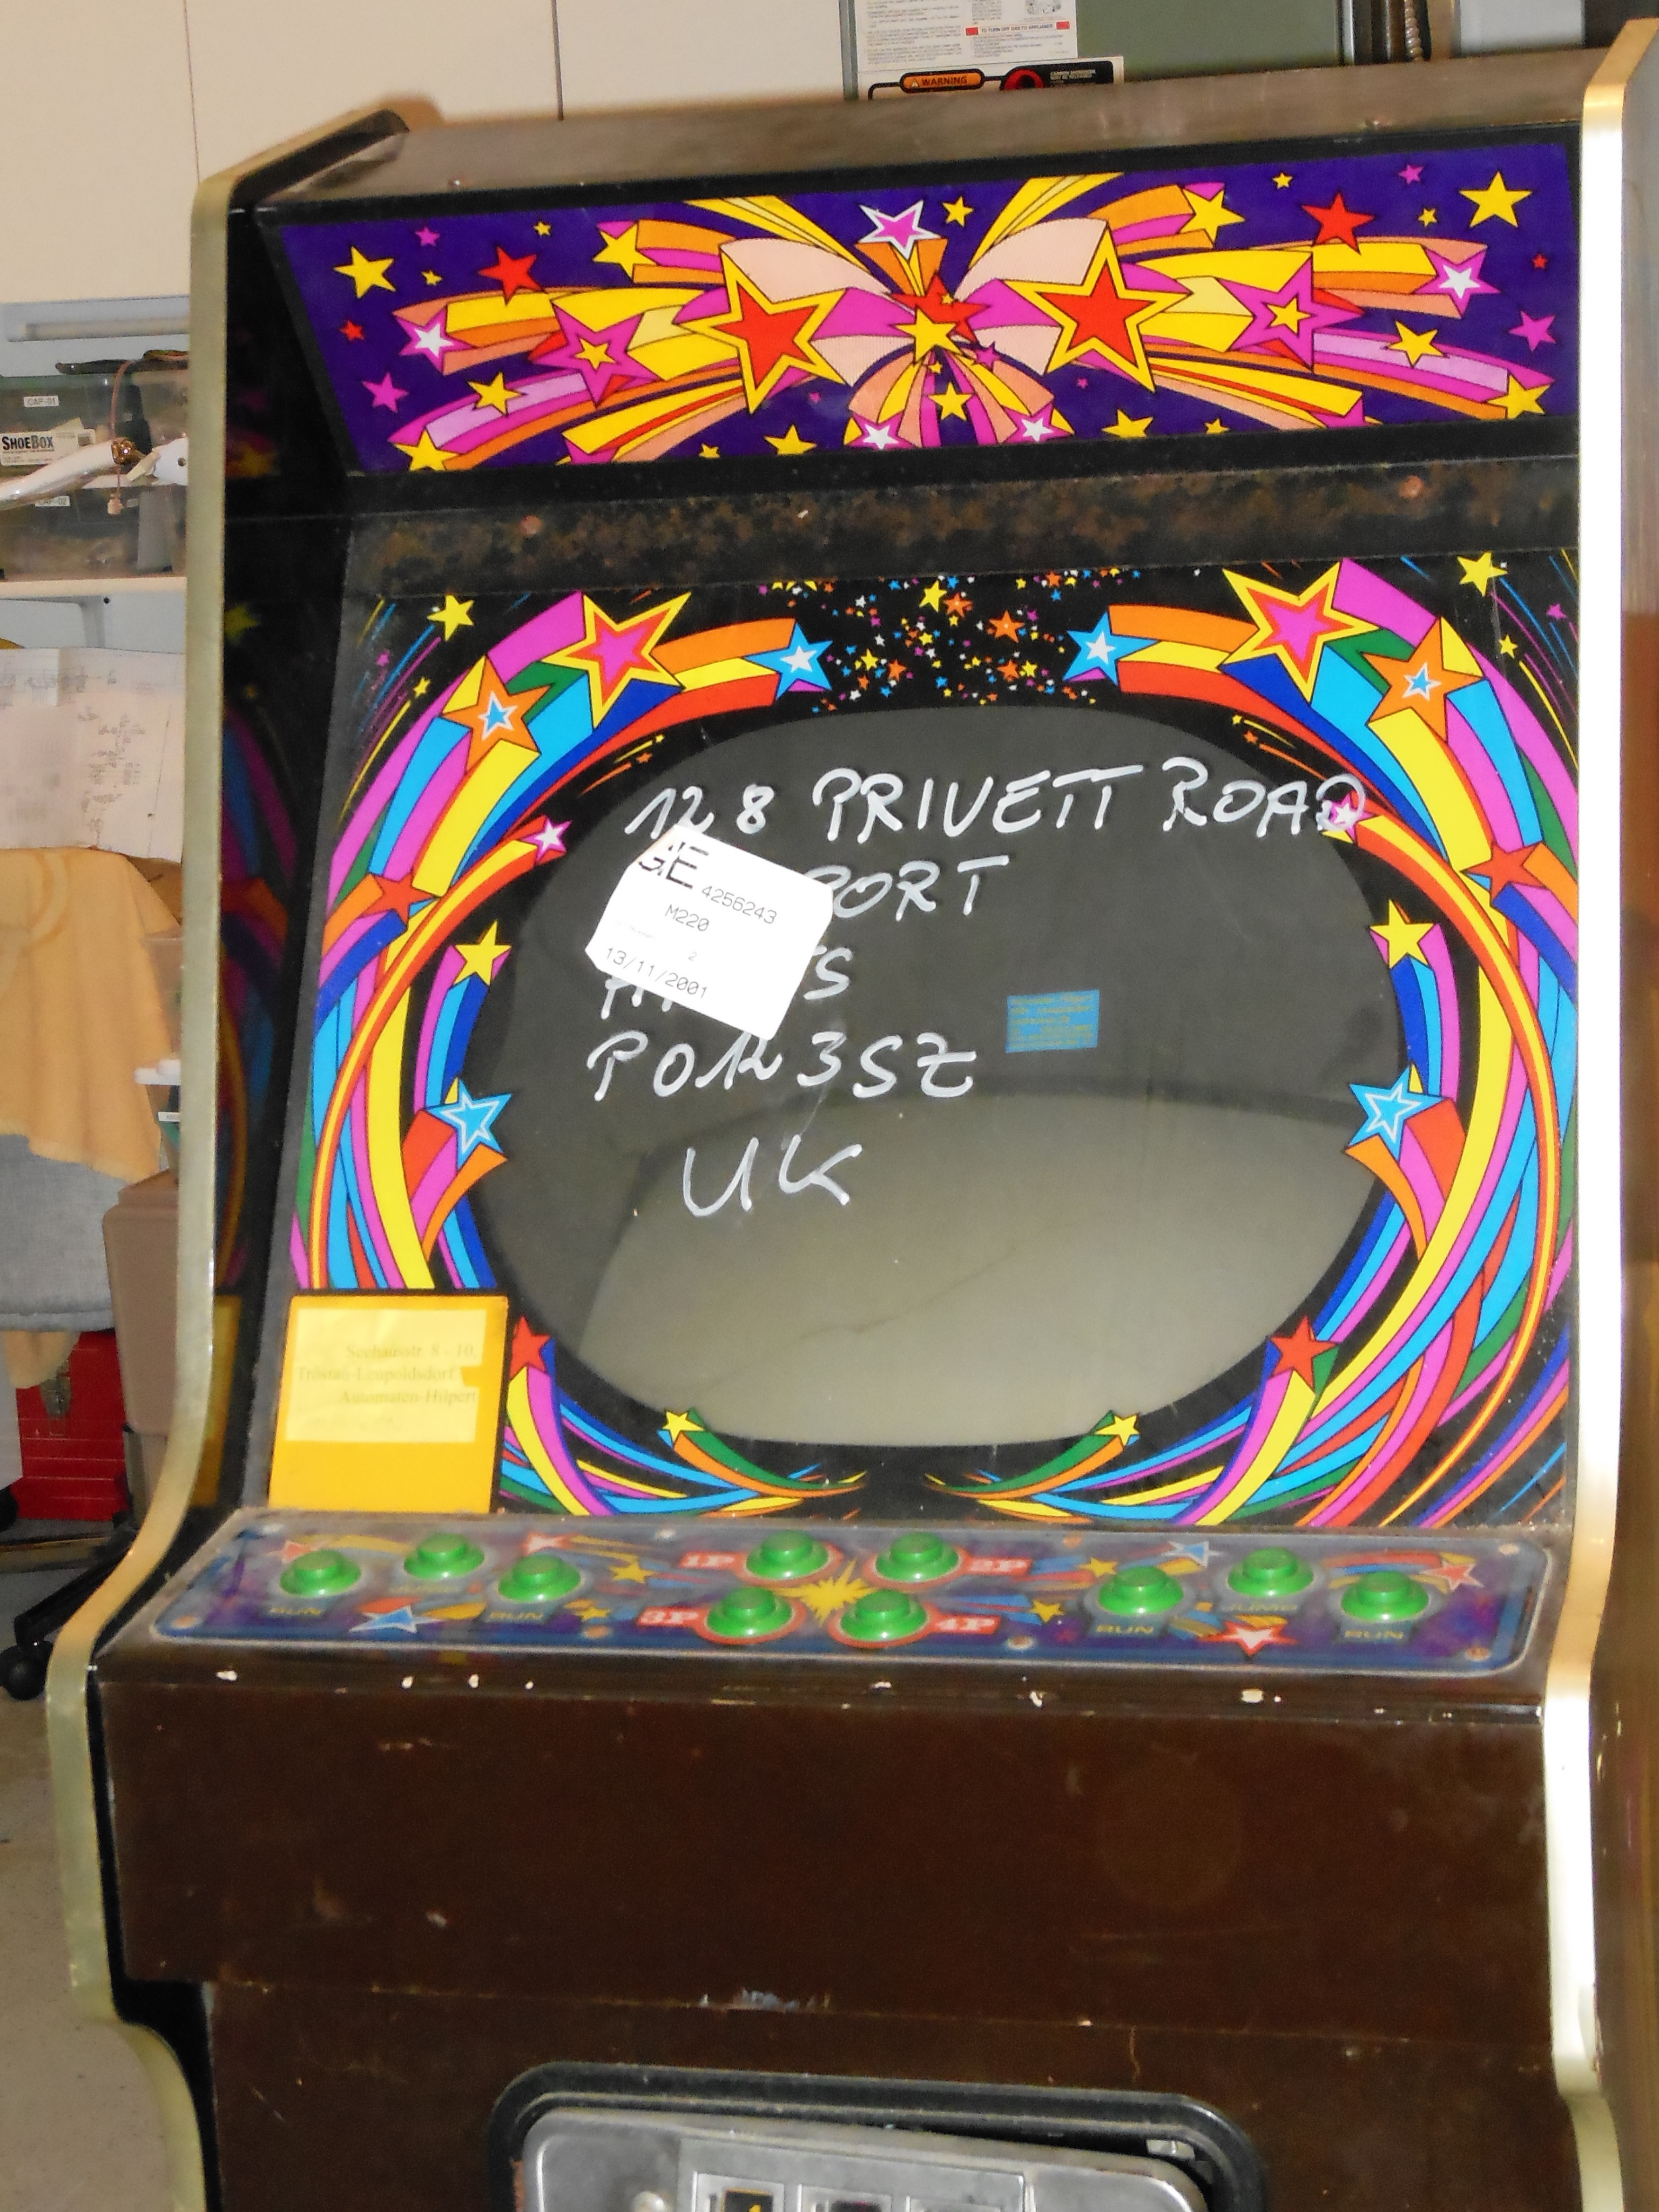
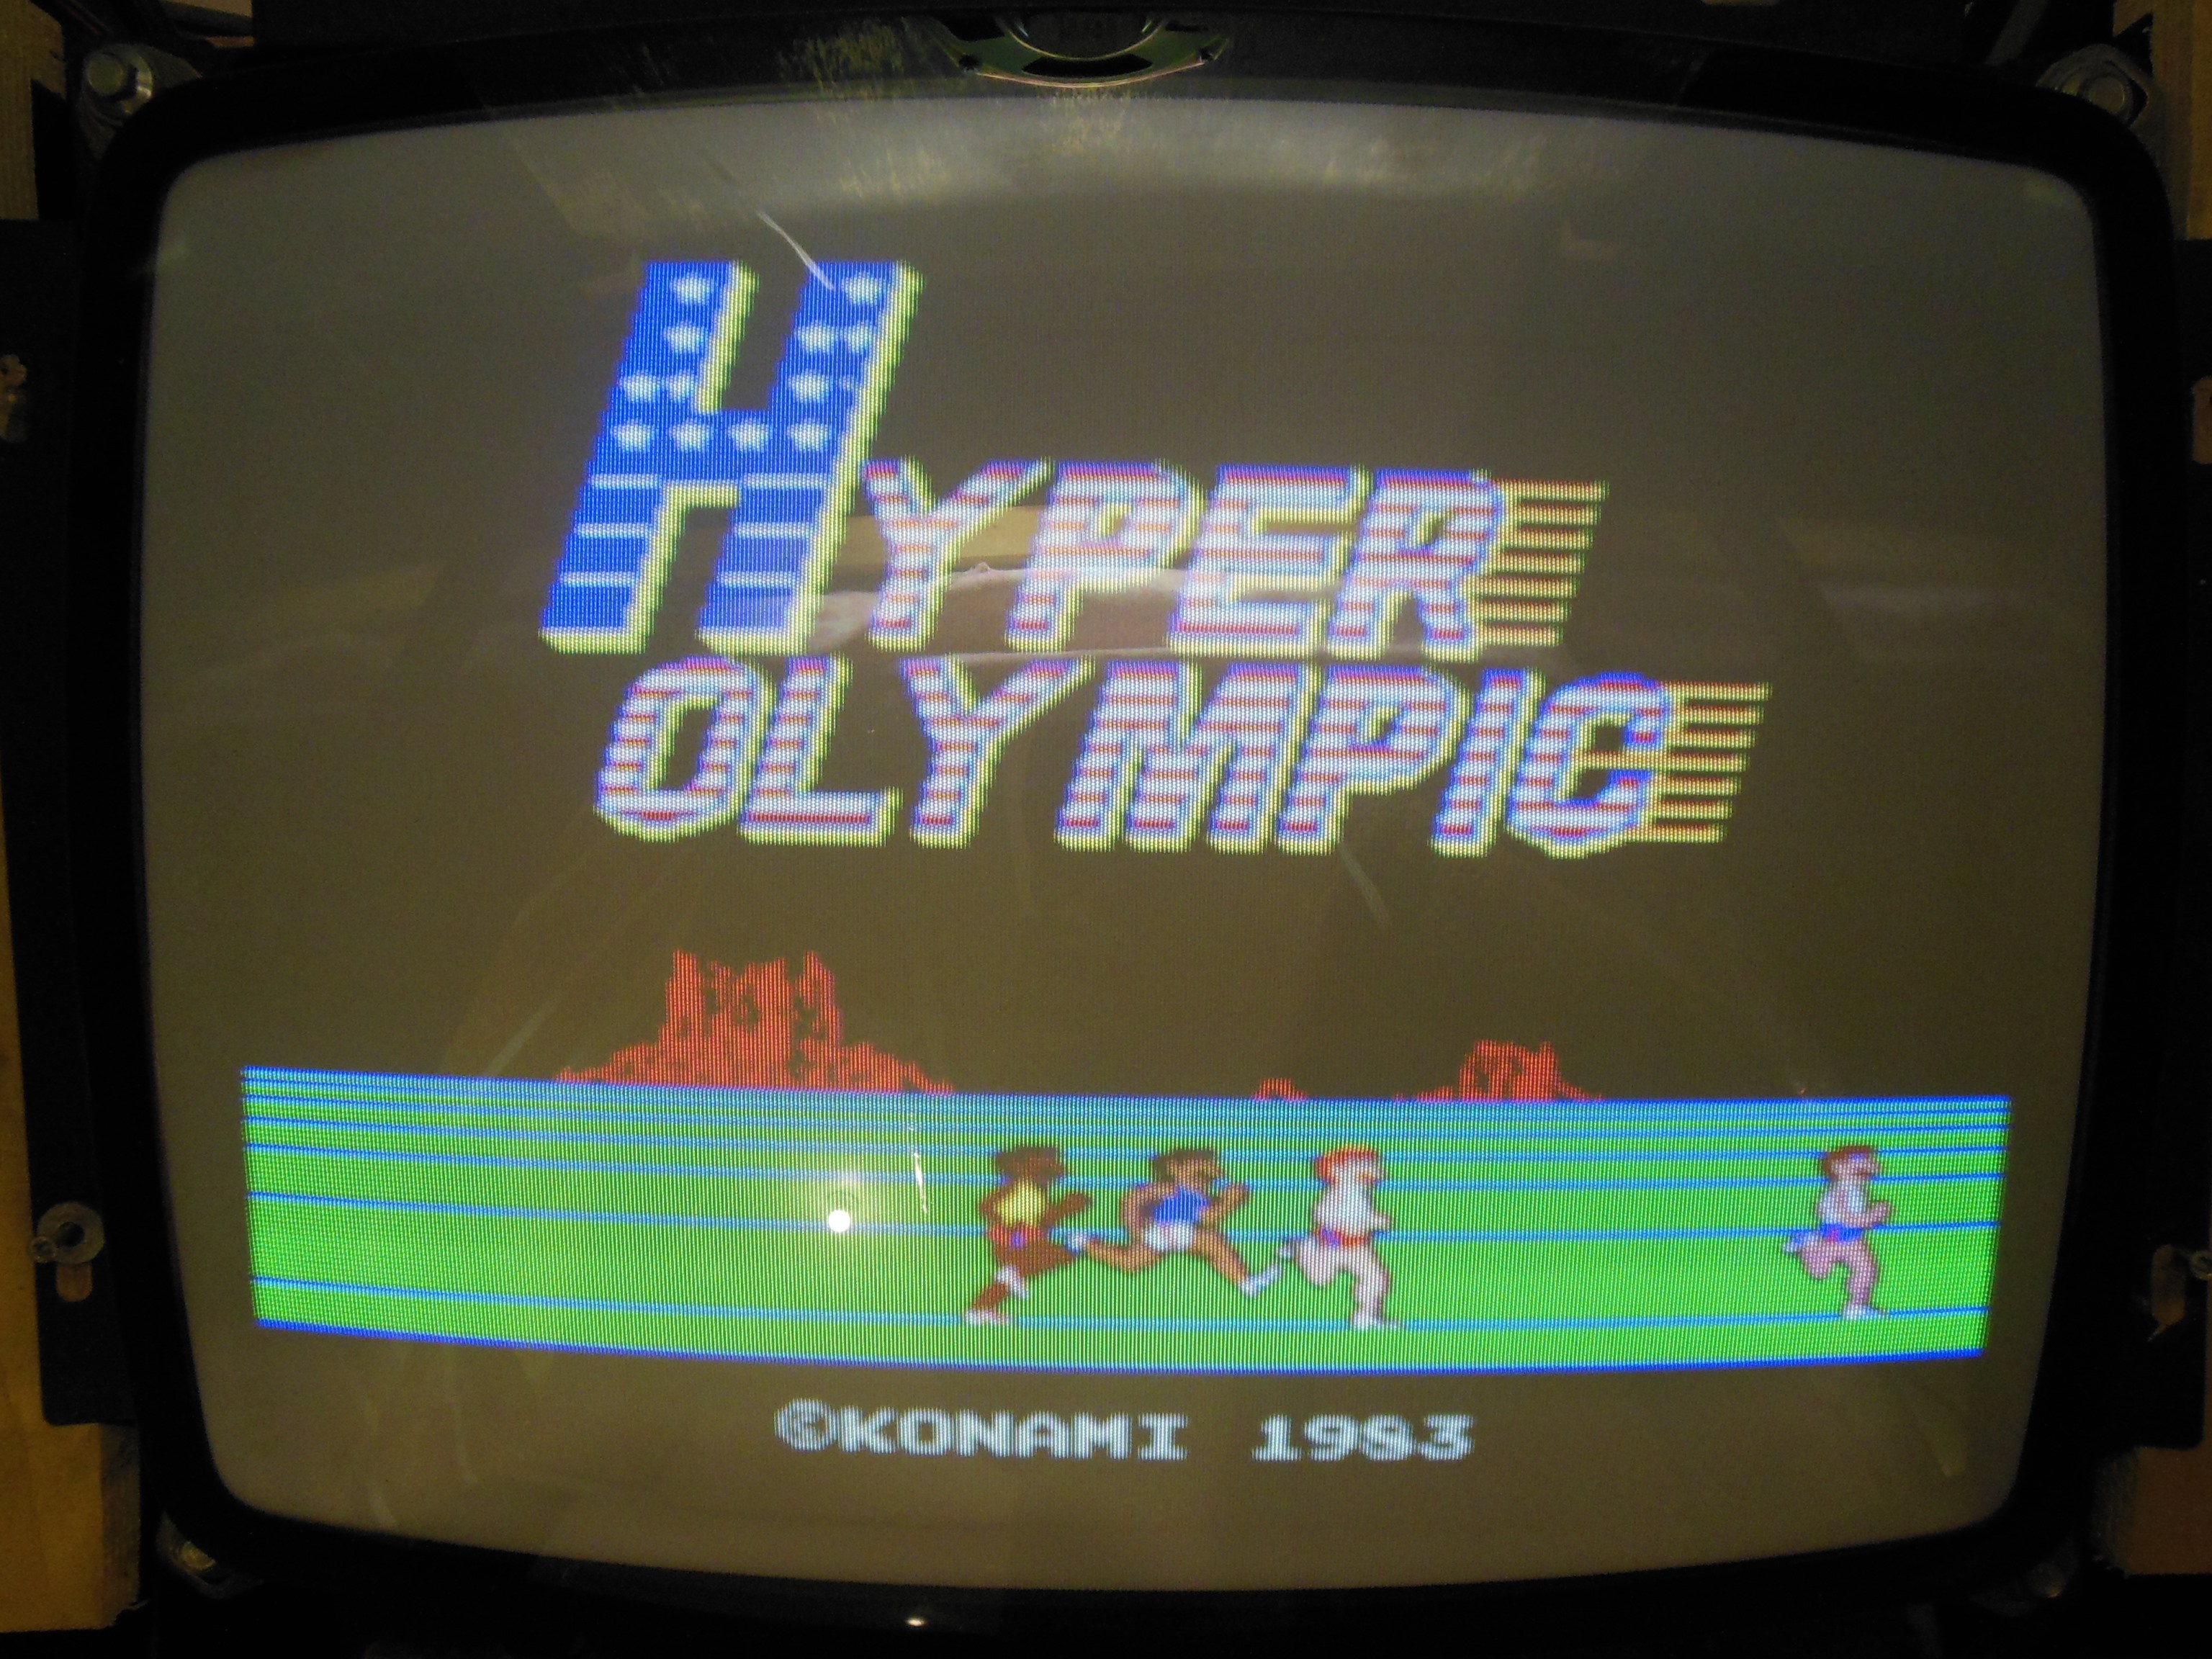
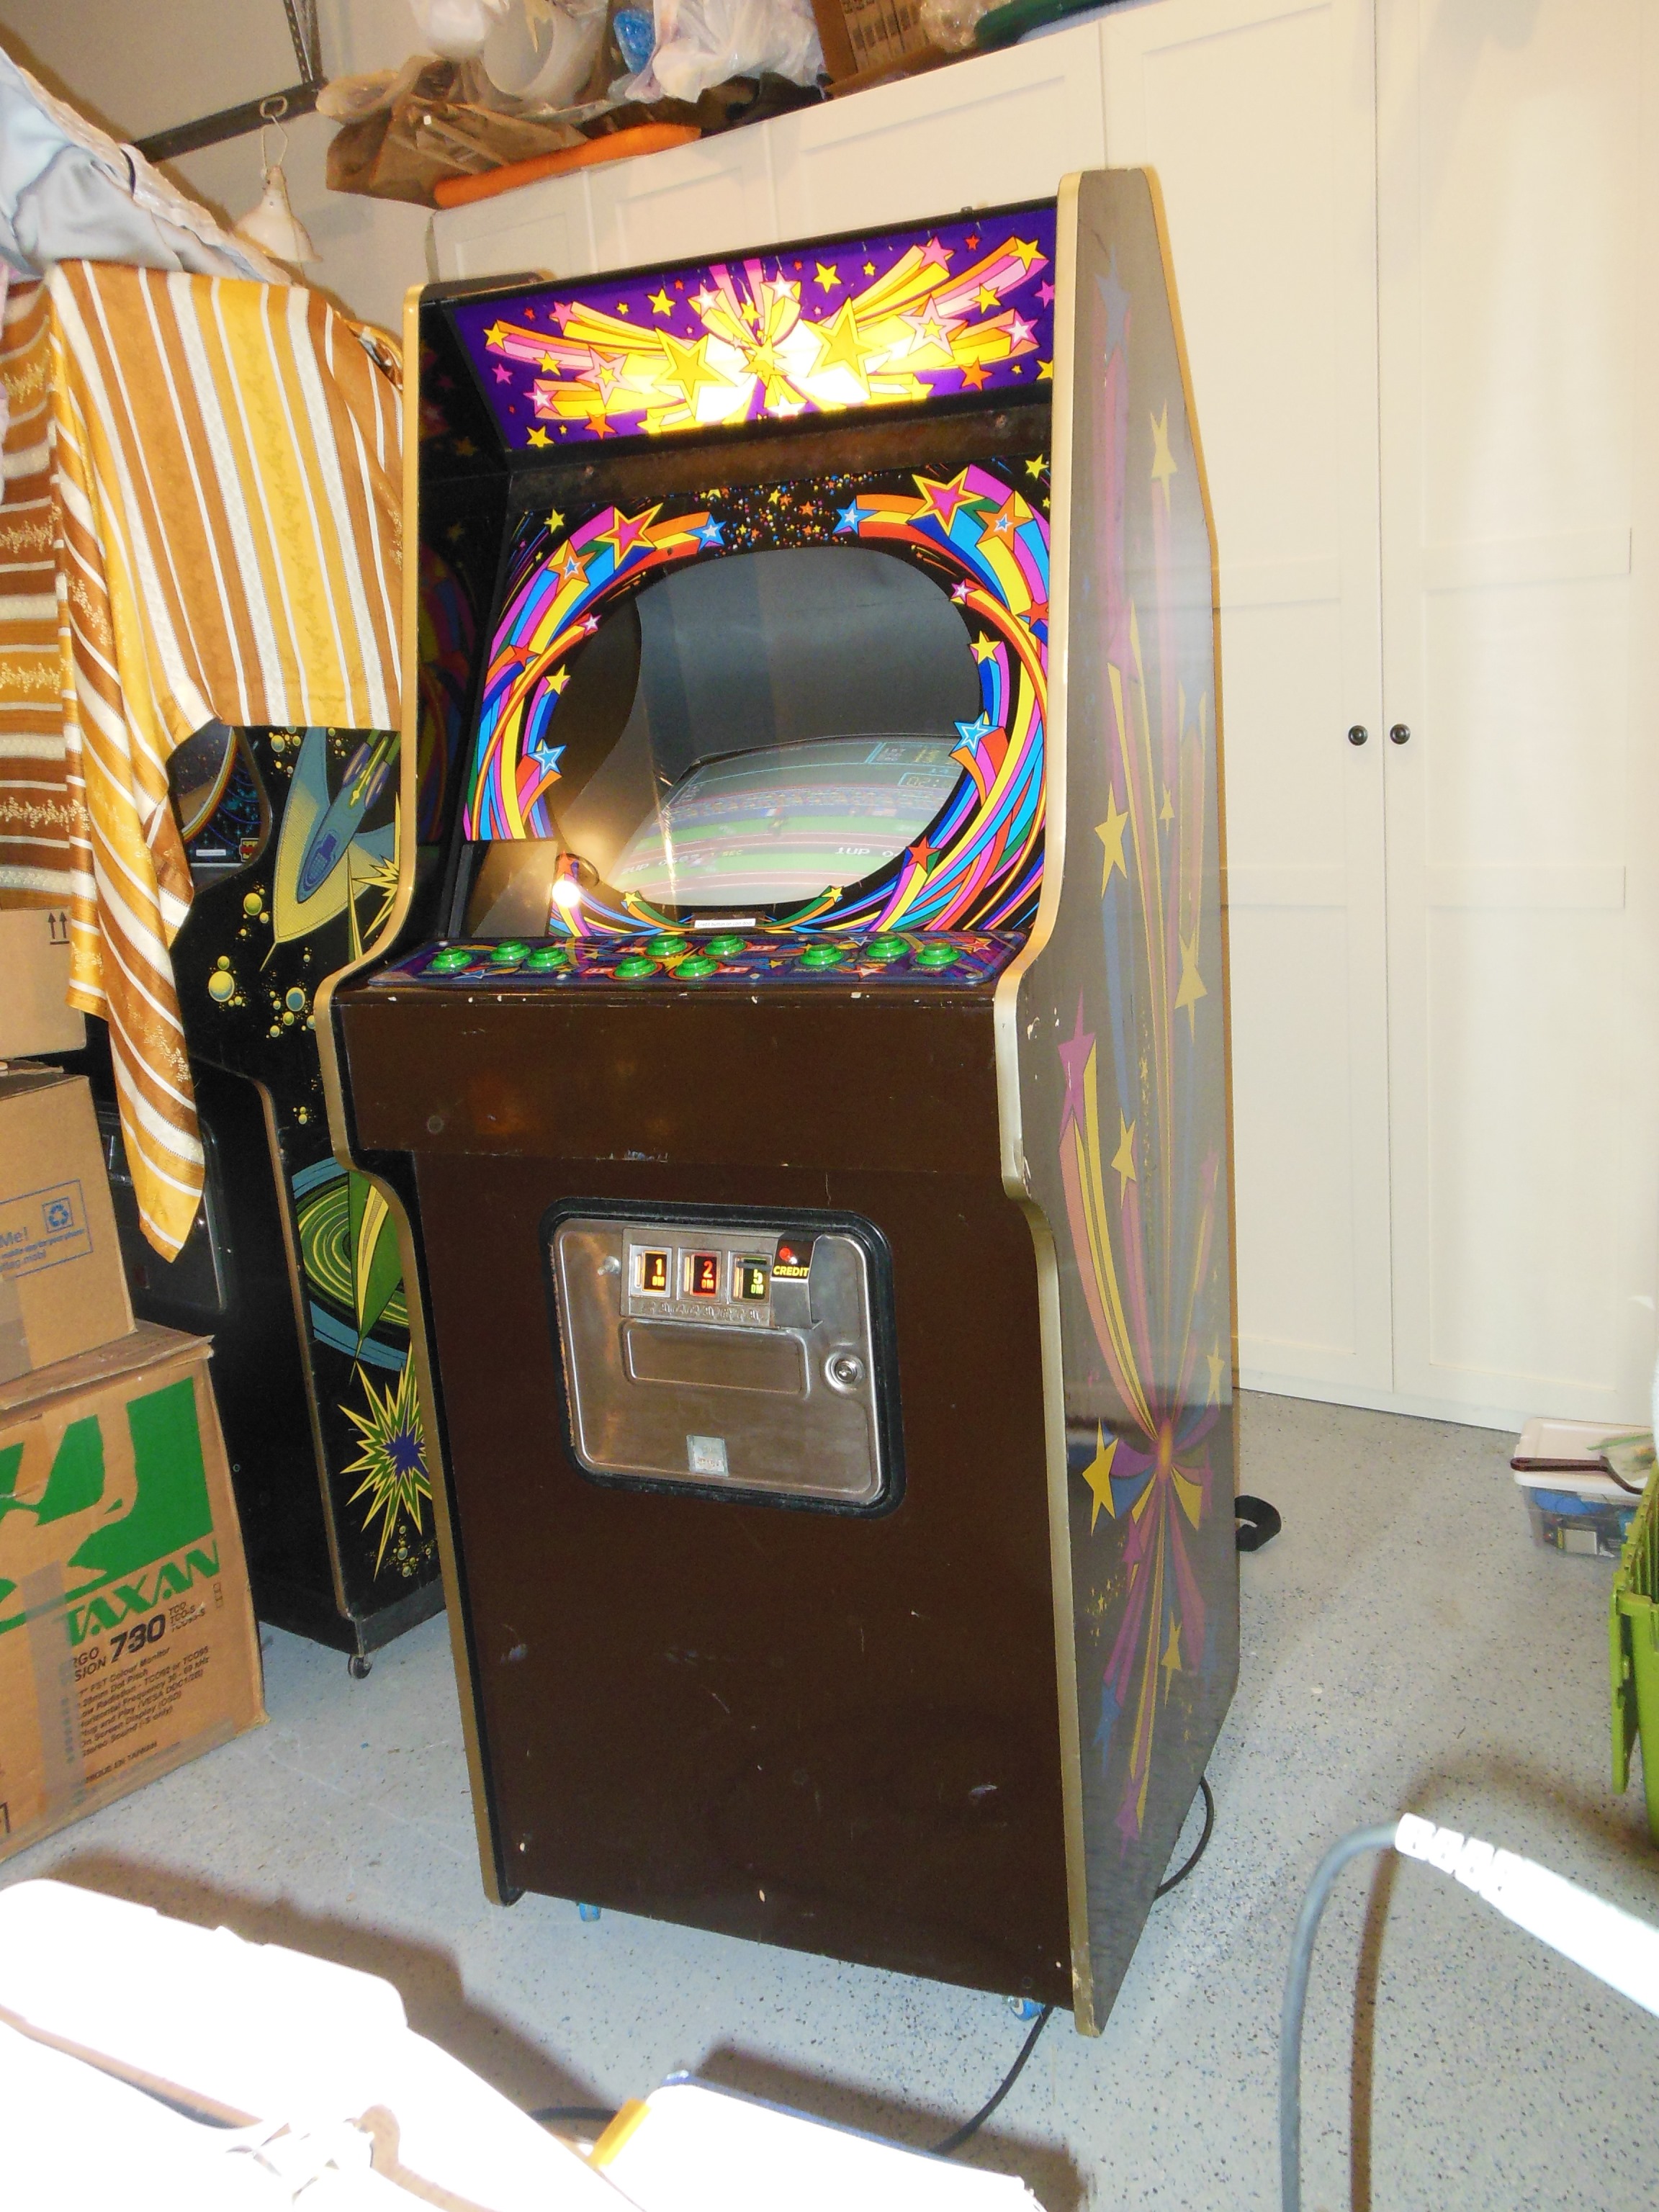
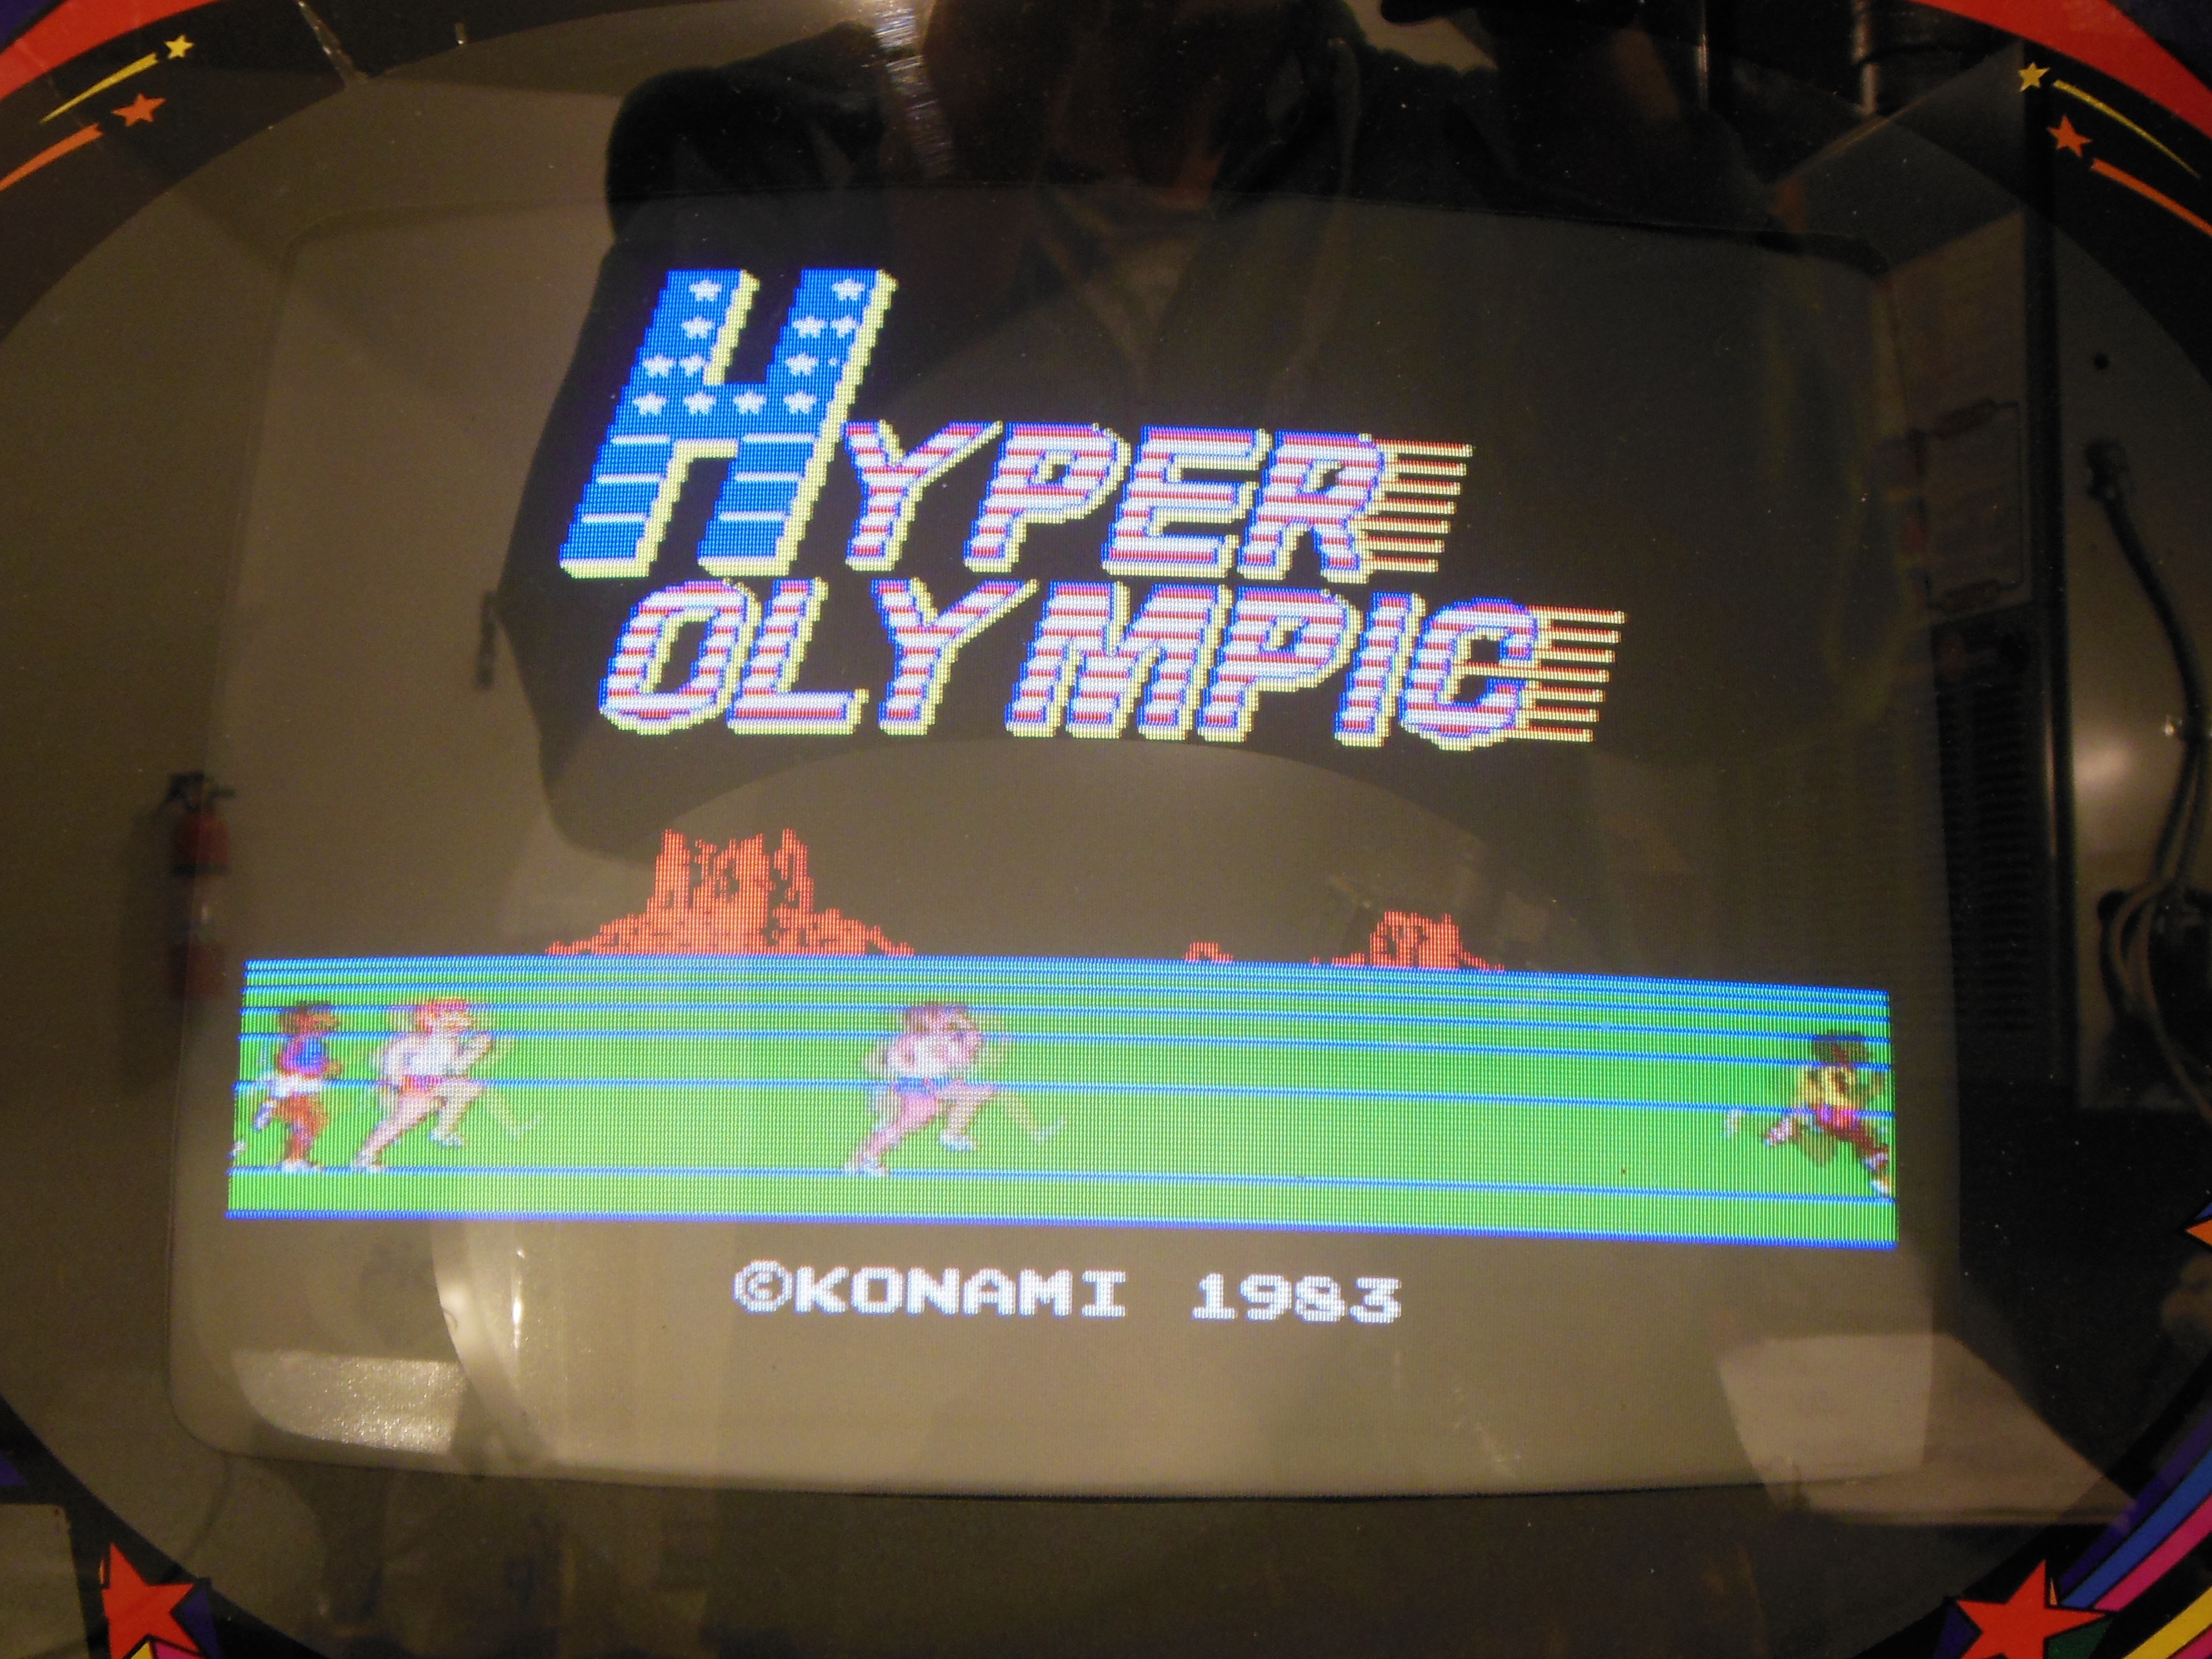
This universal star upright cabinet converted to Hyper Olympic was sourced by a fellow collector from an undisclosed location in Germany.
|
|
|
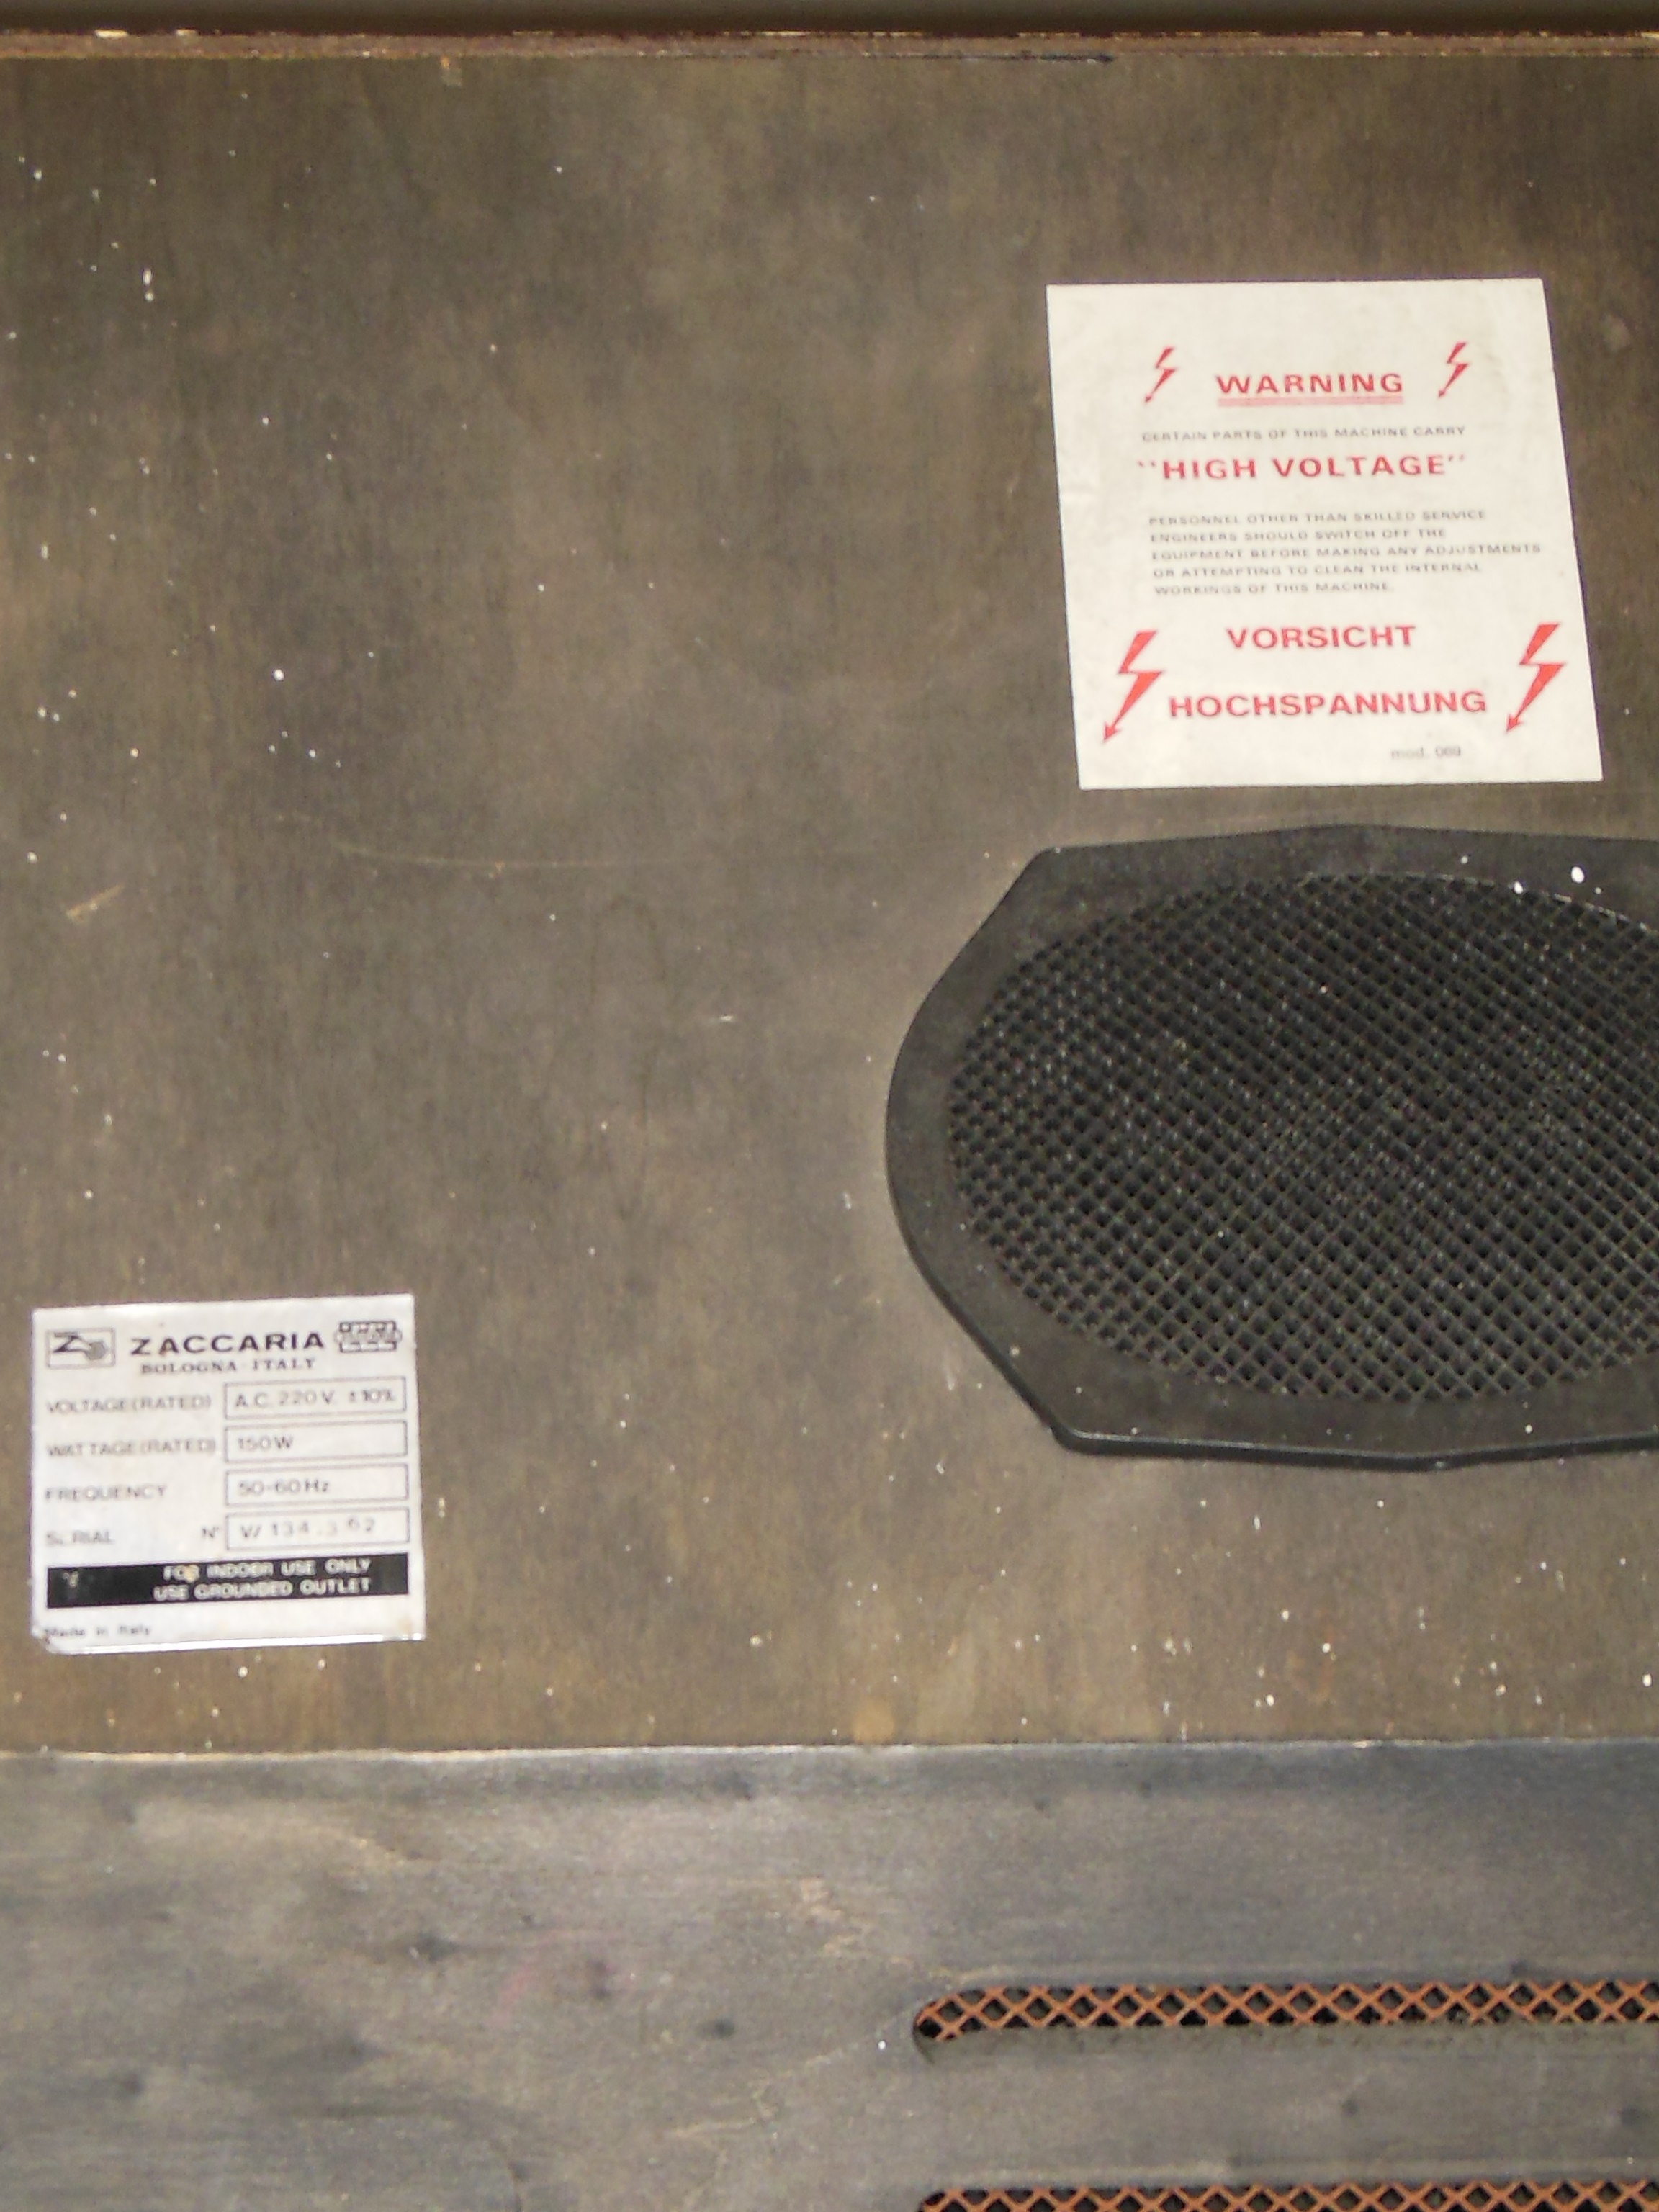
Overall the cabinet was in good & original condition, however there was some flaking of the monitor glass and marque artwork.

|
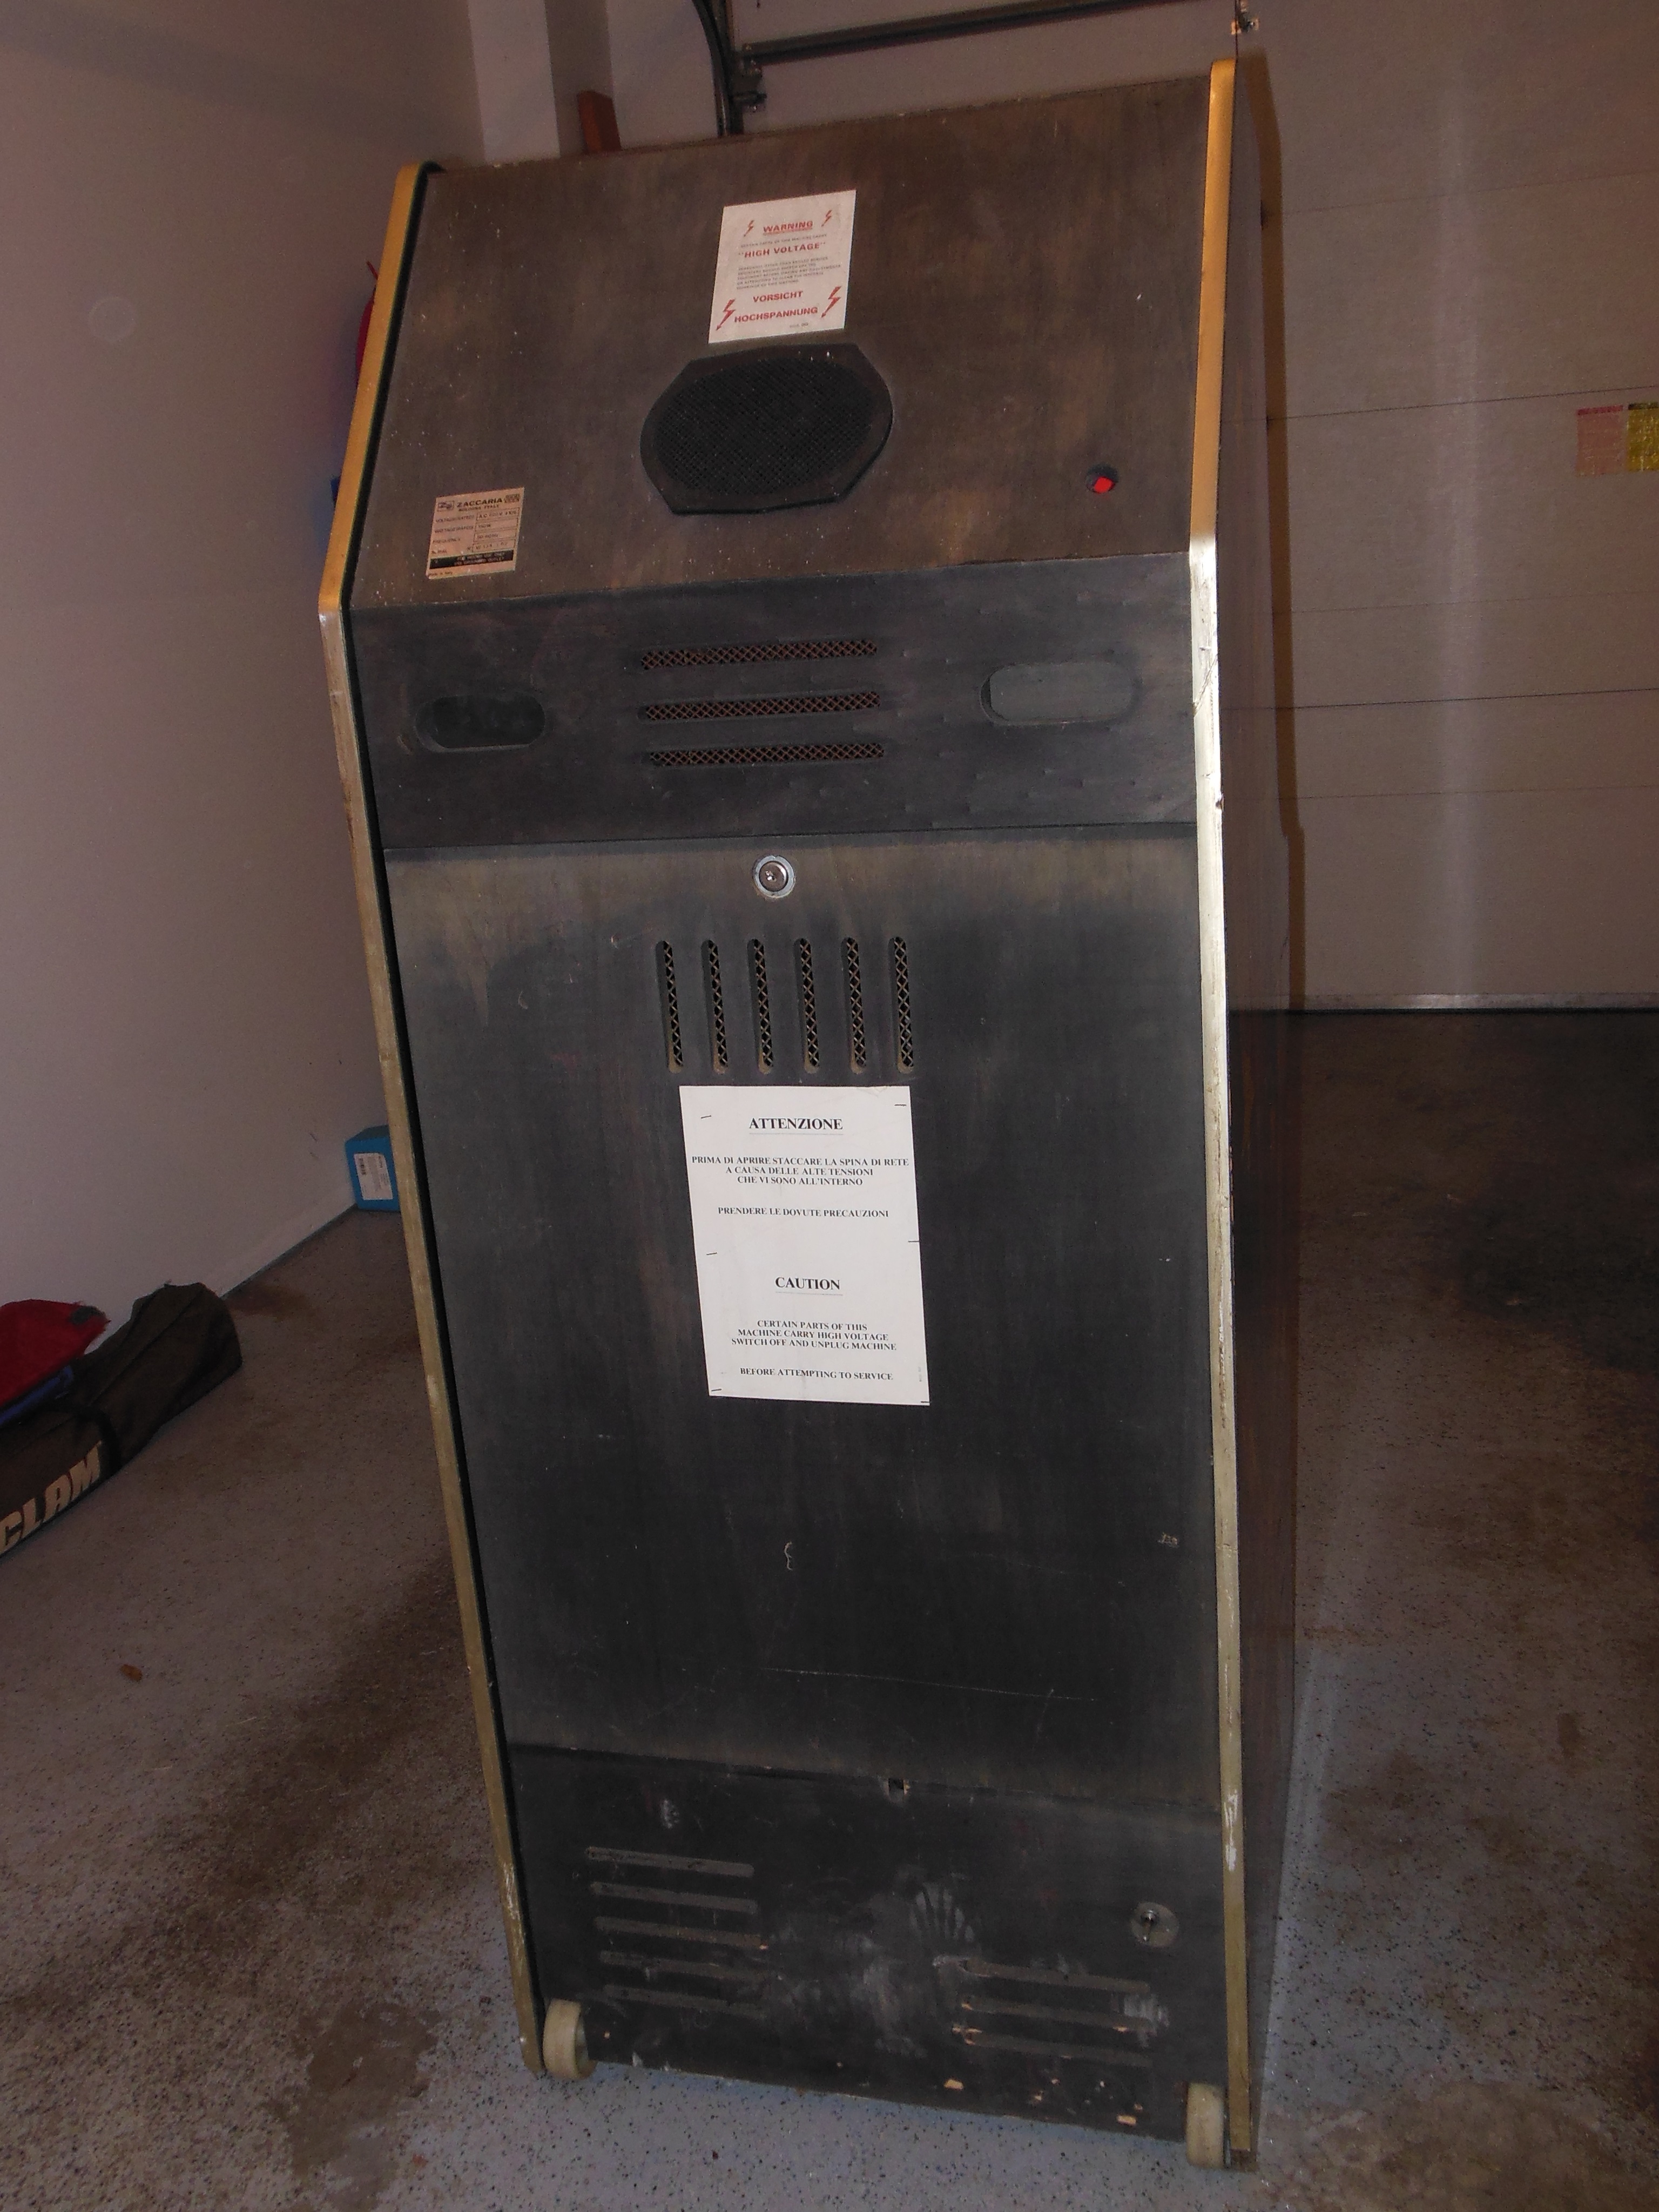
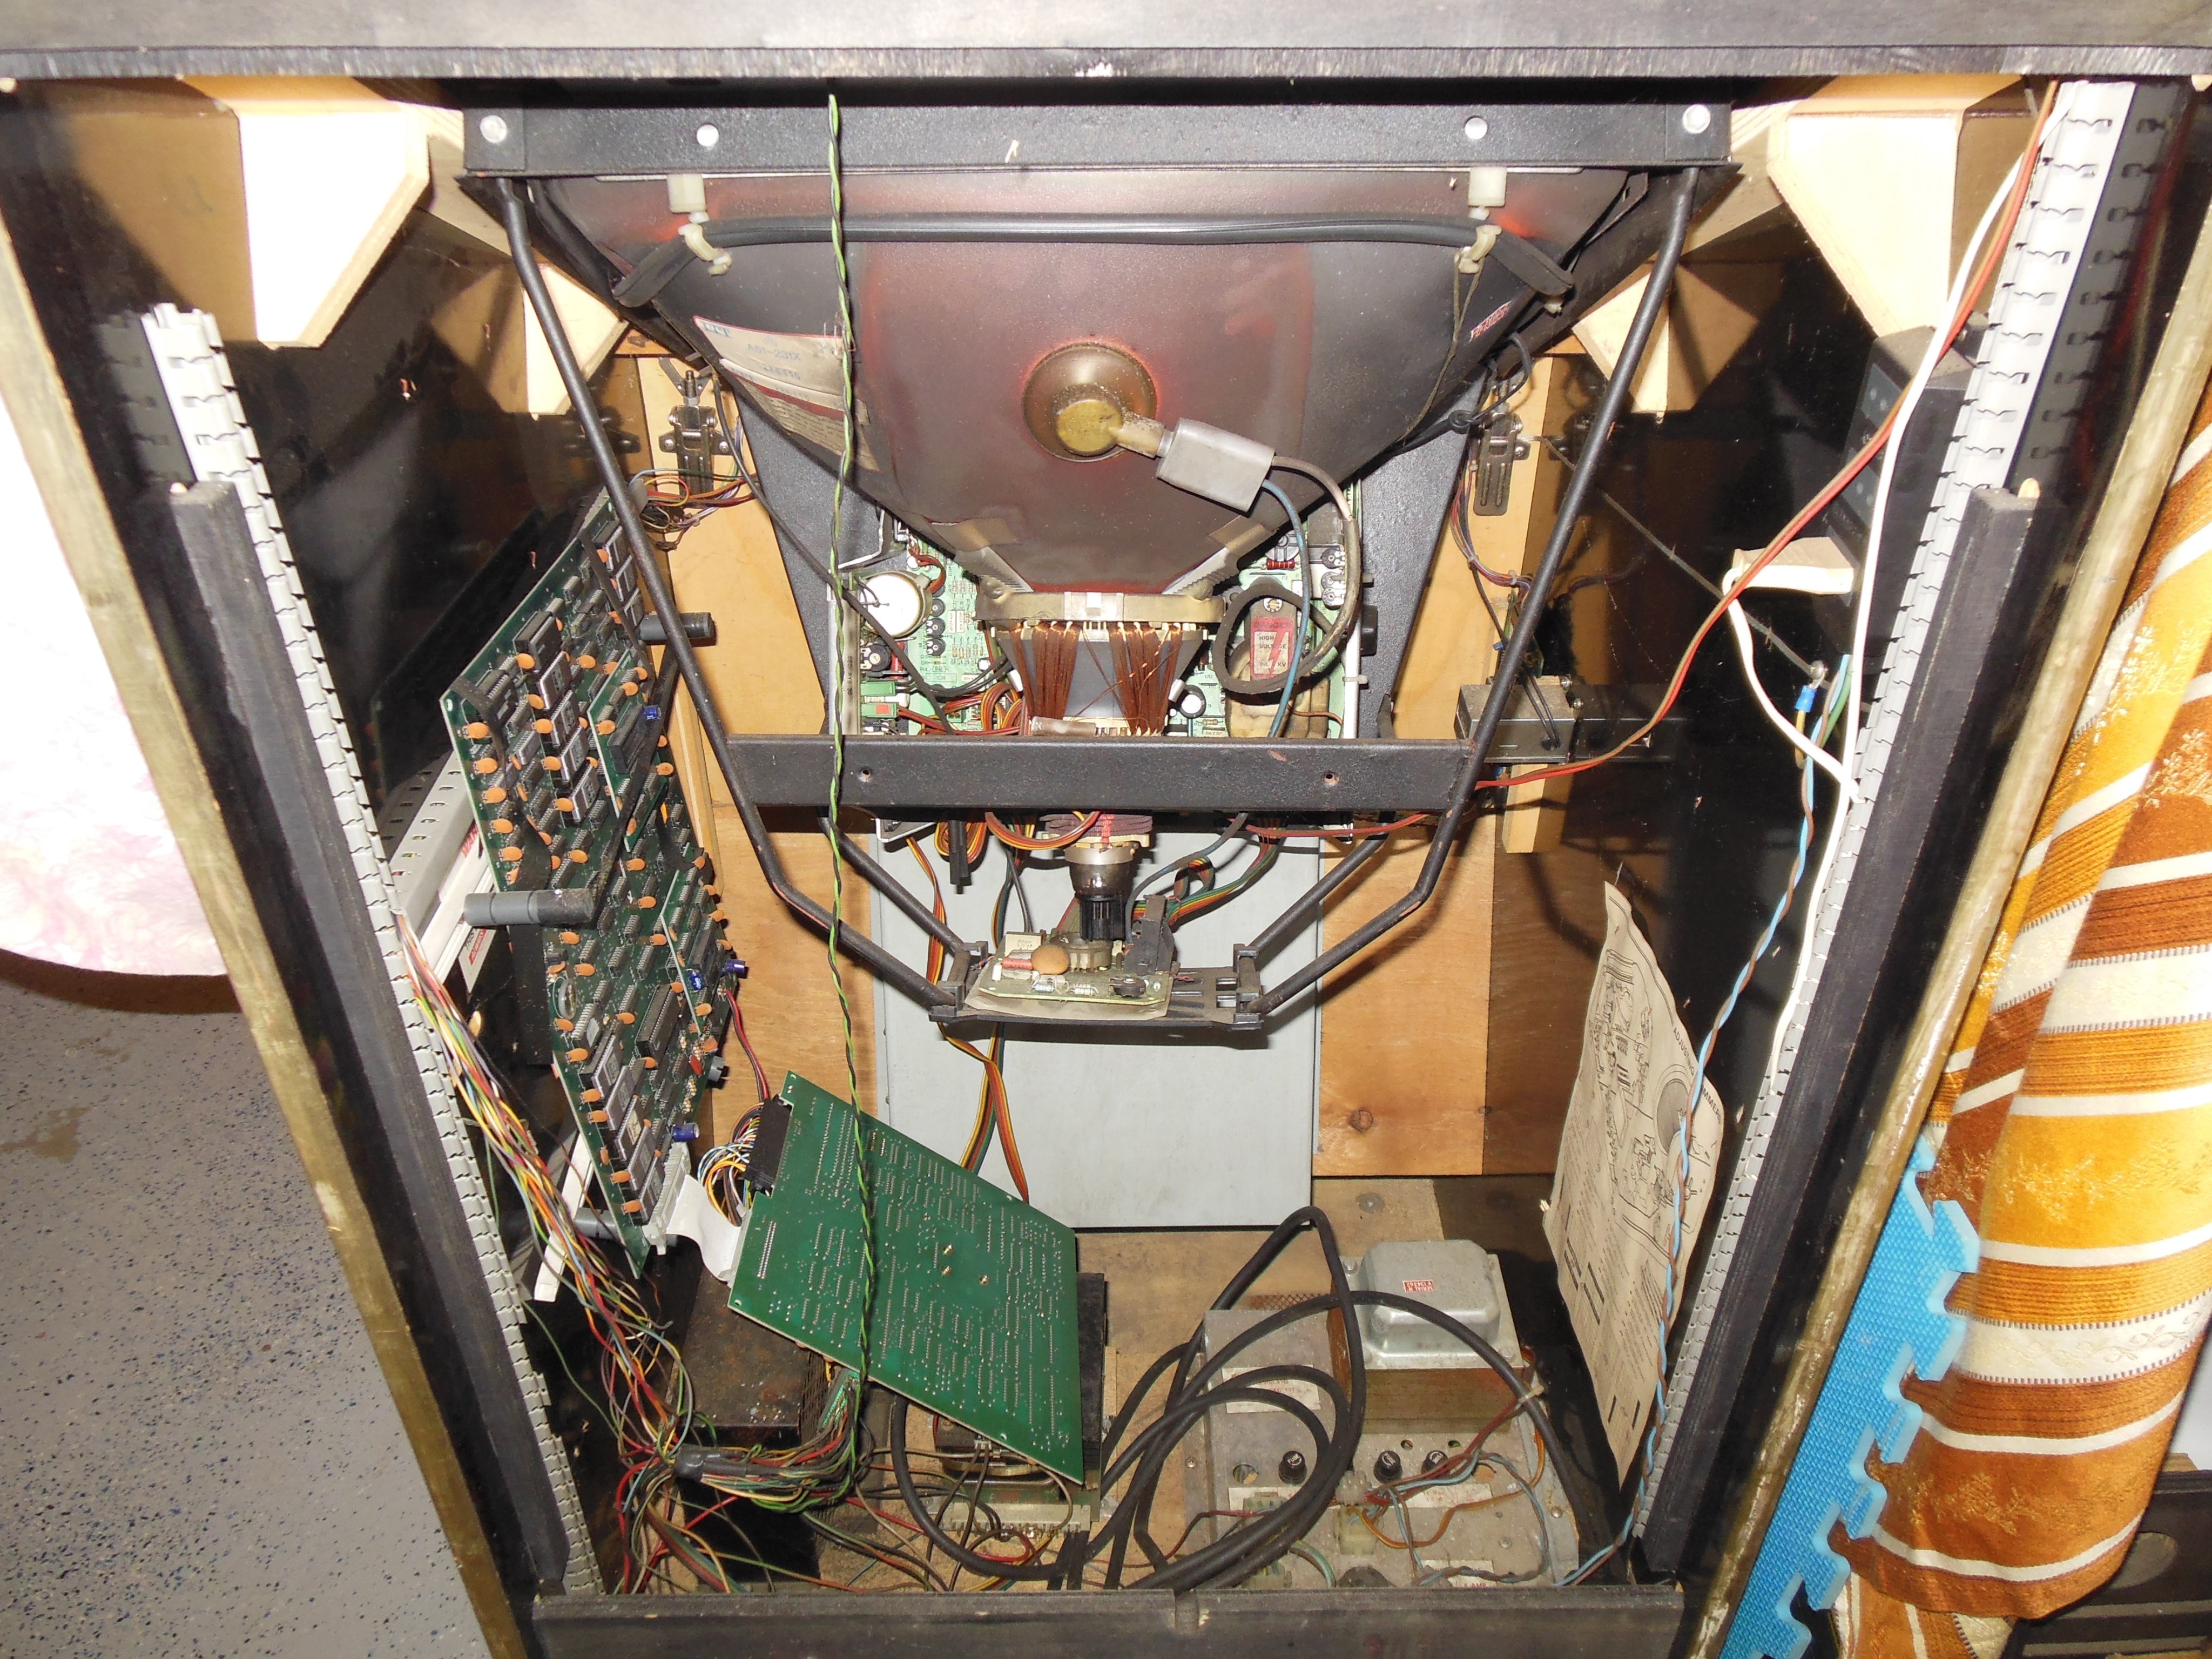
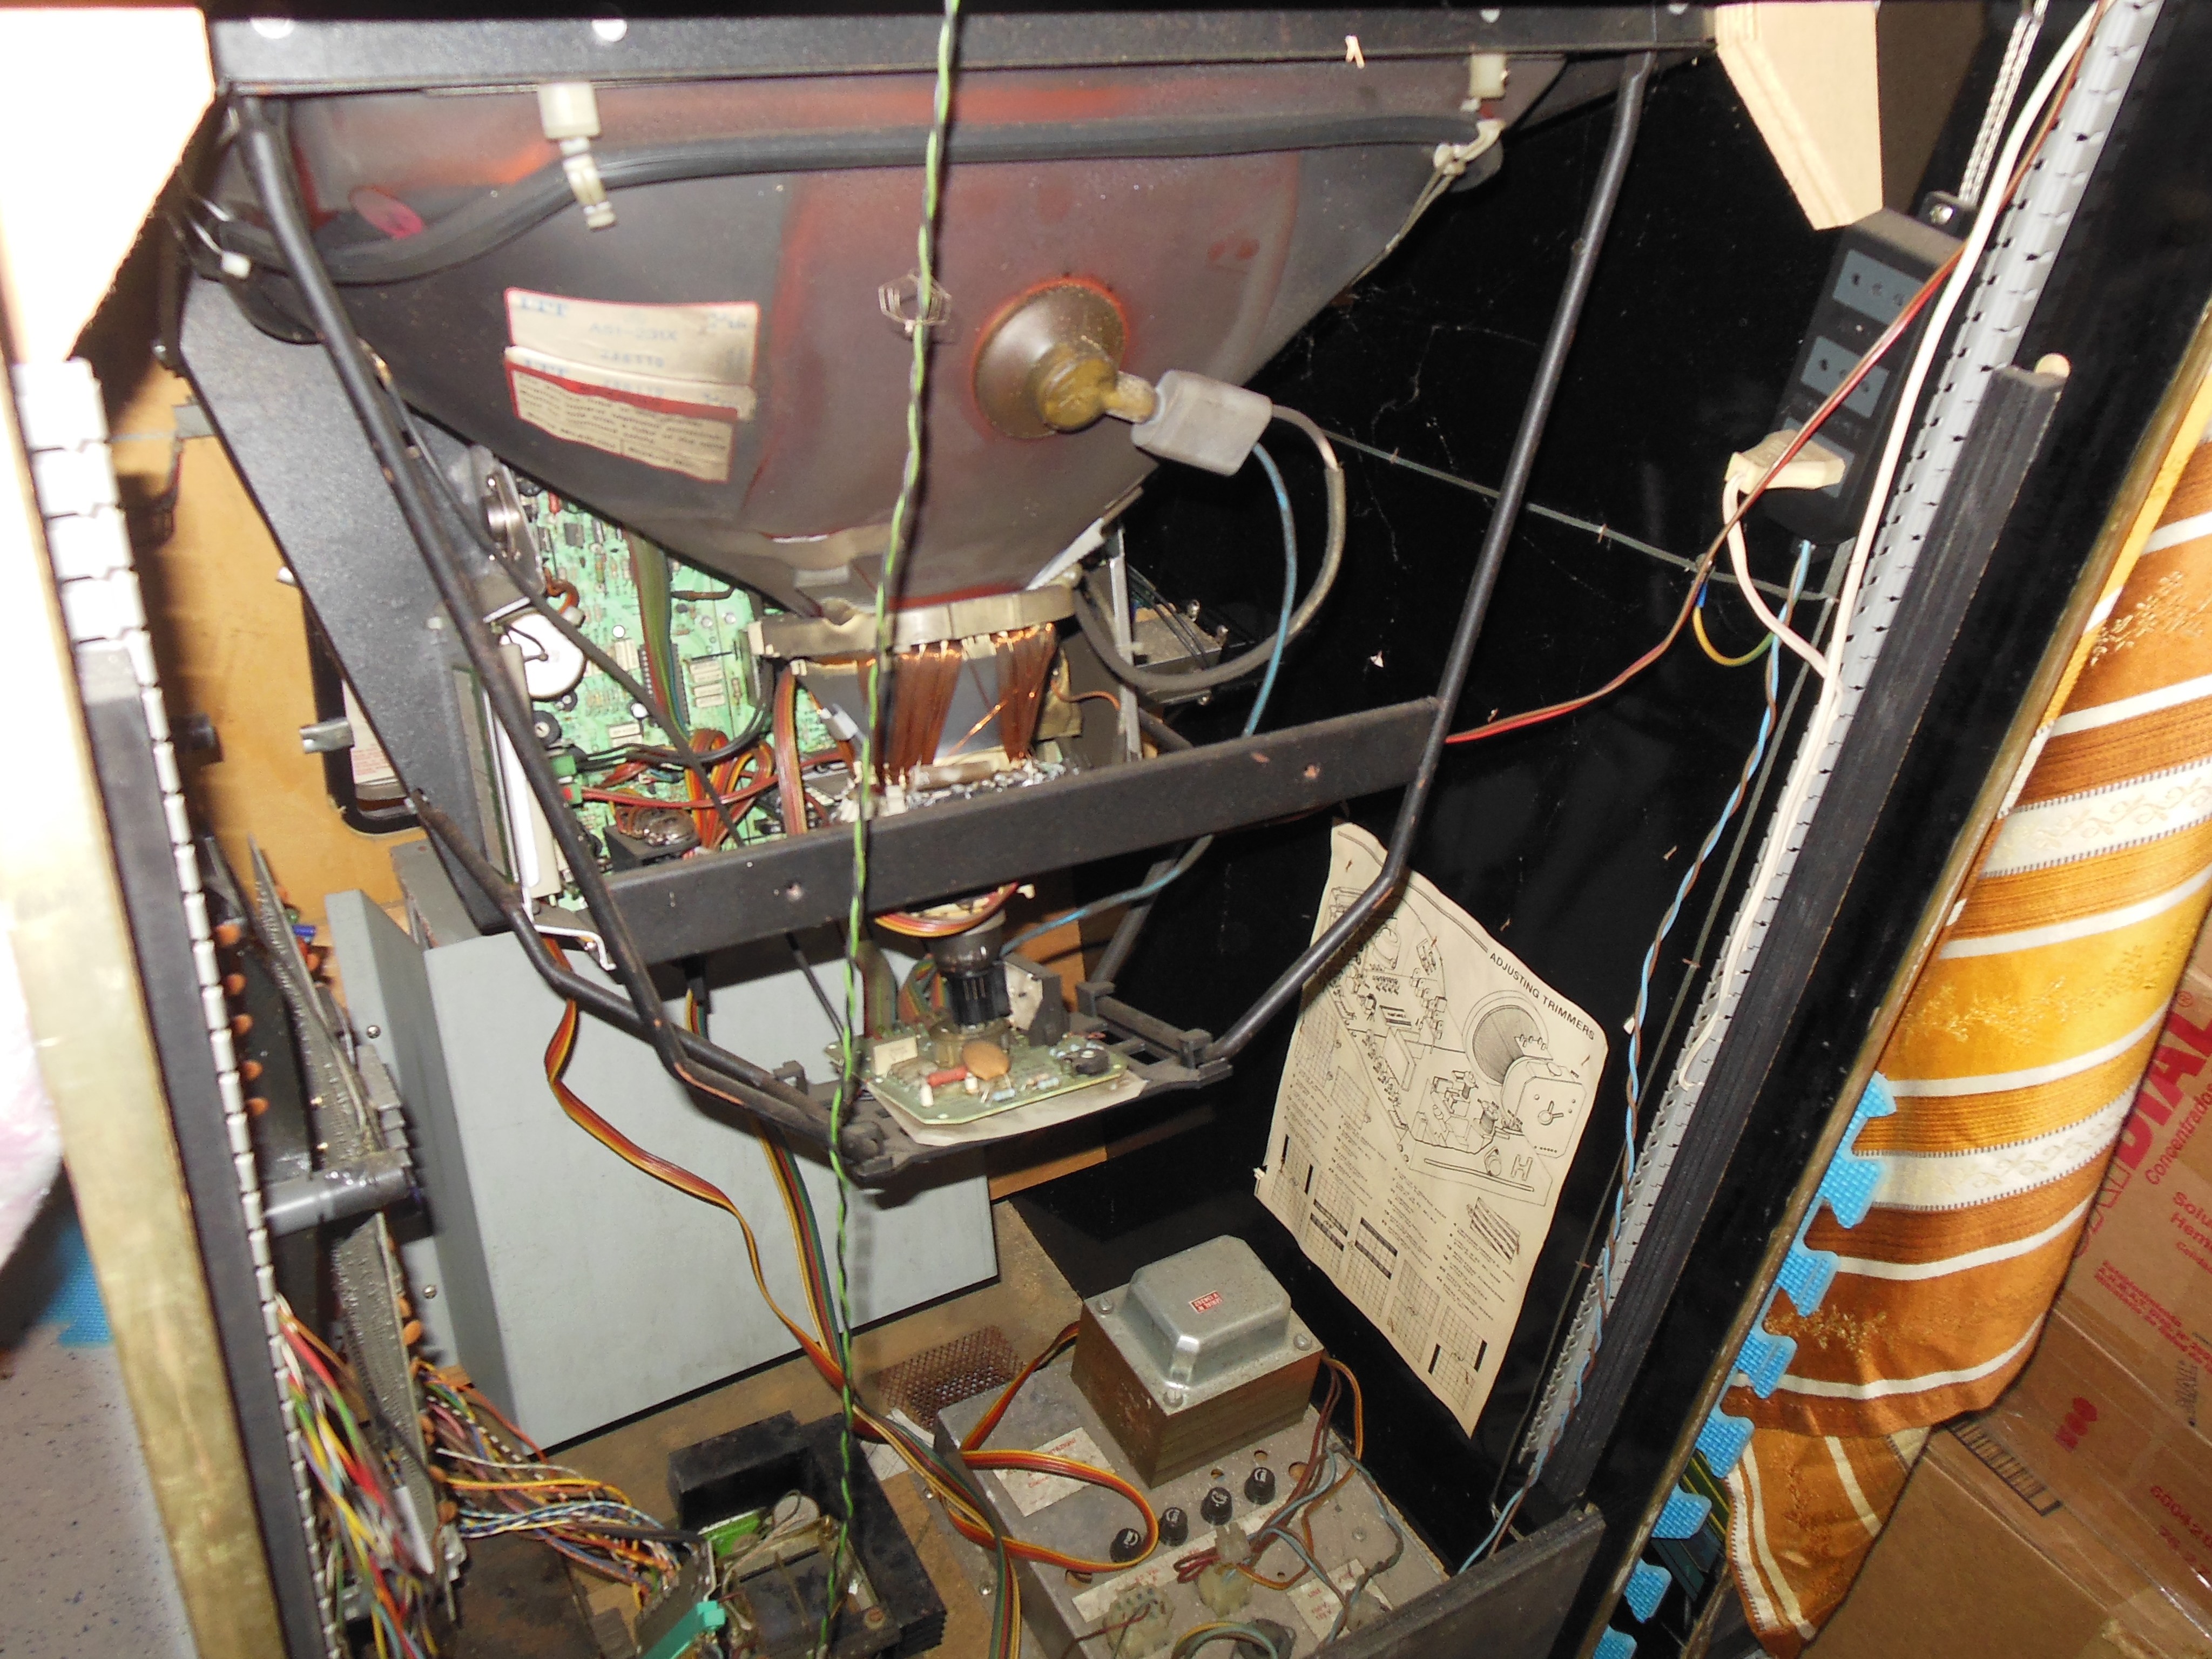
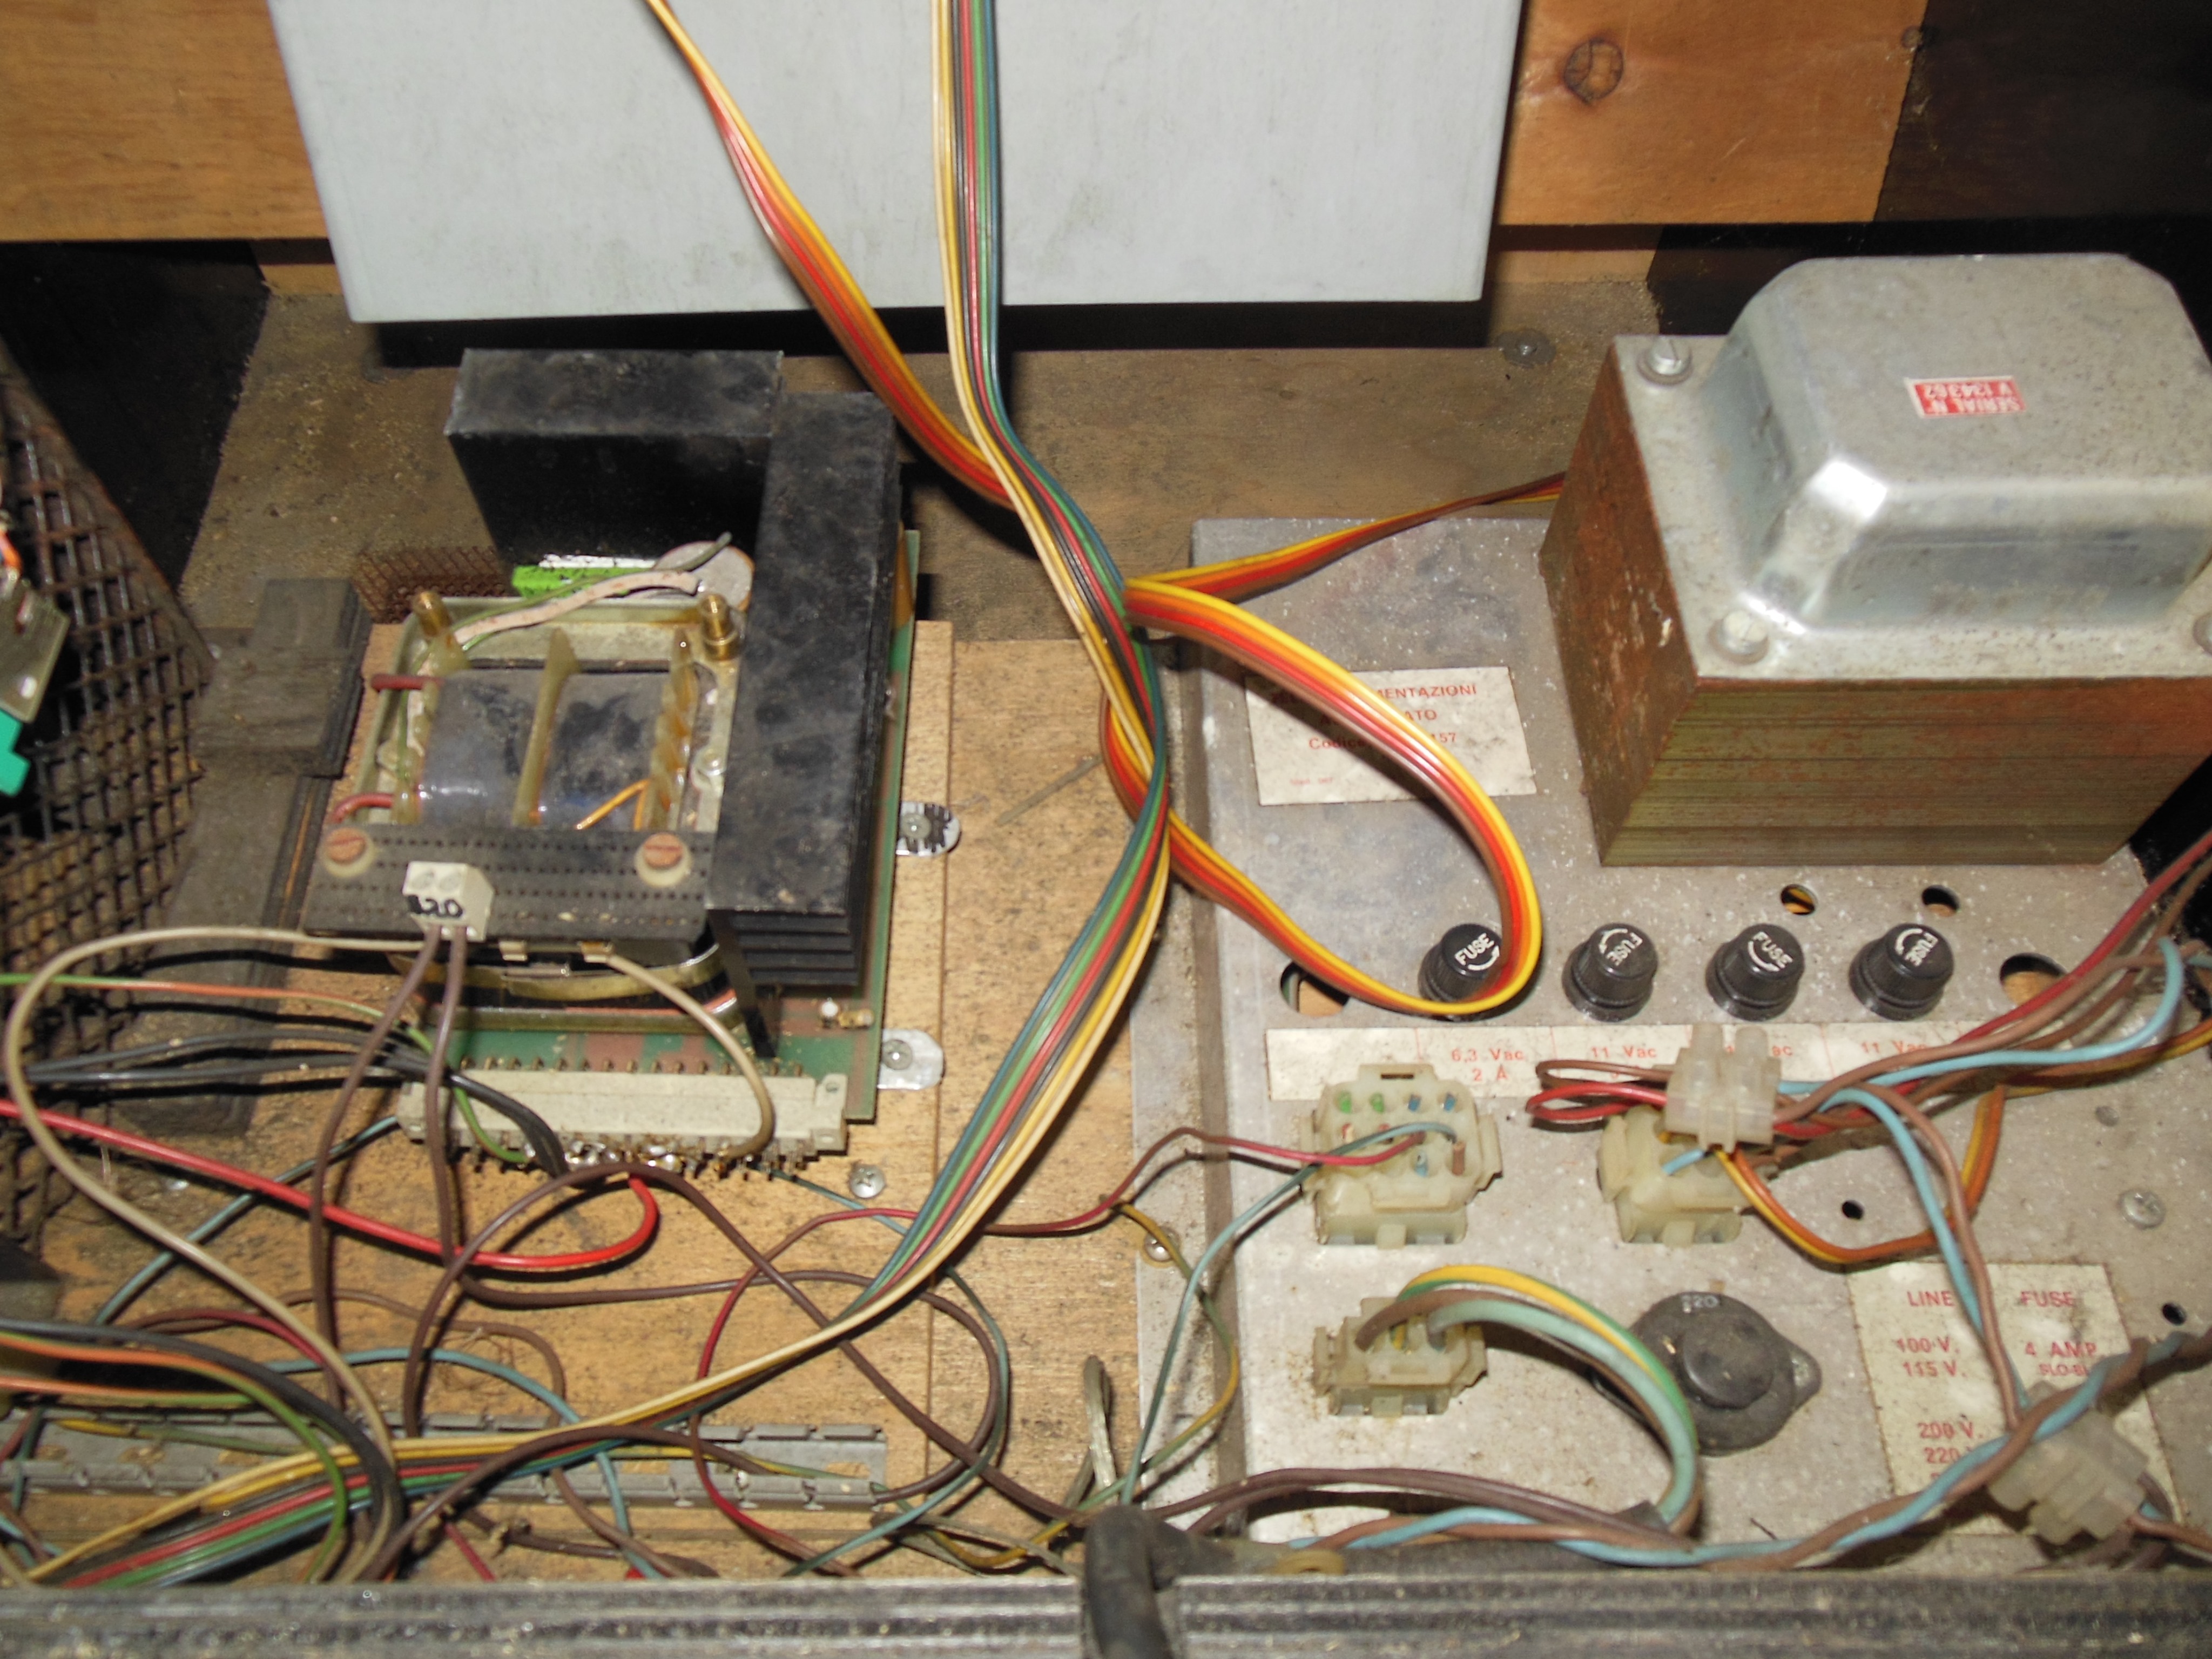
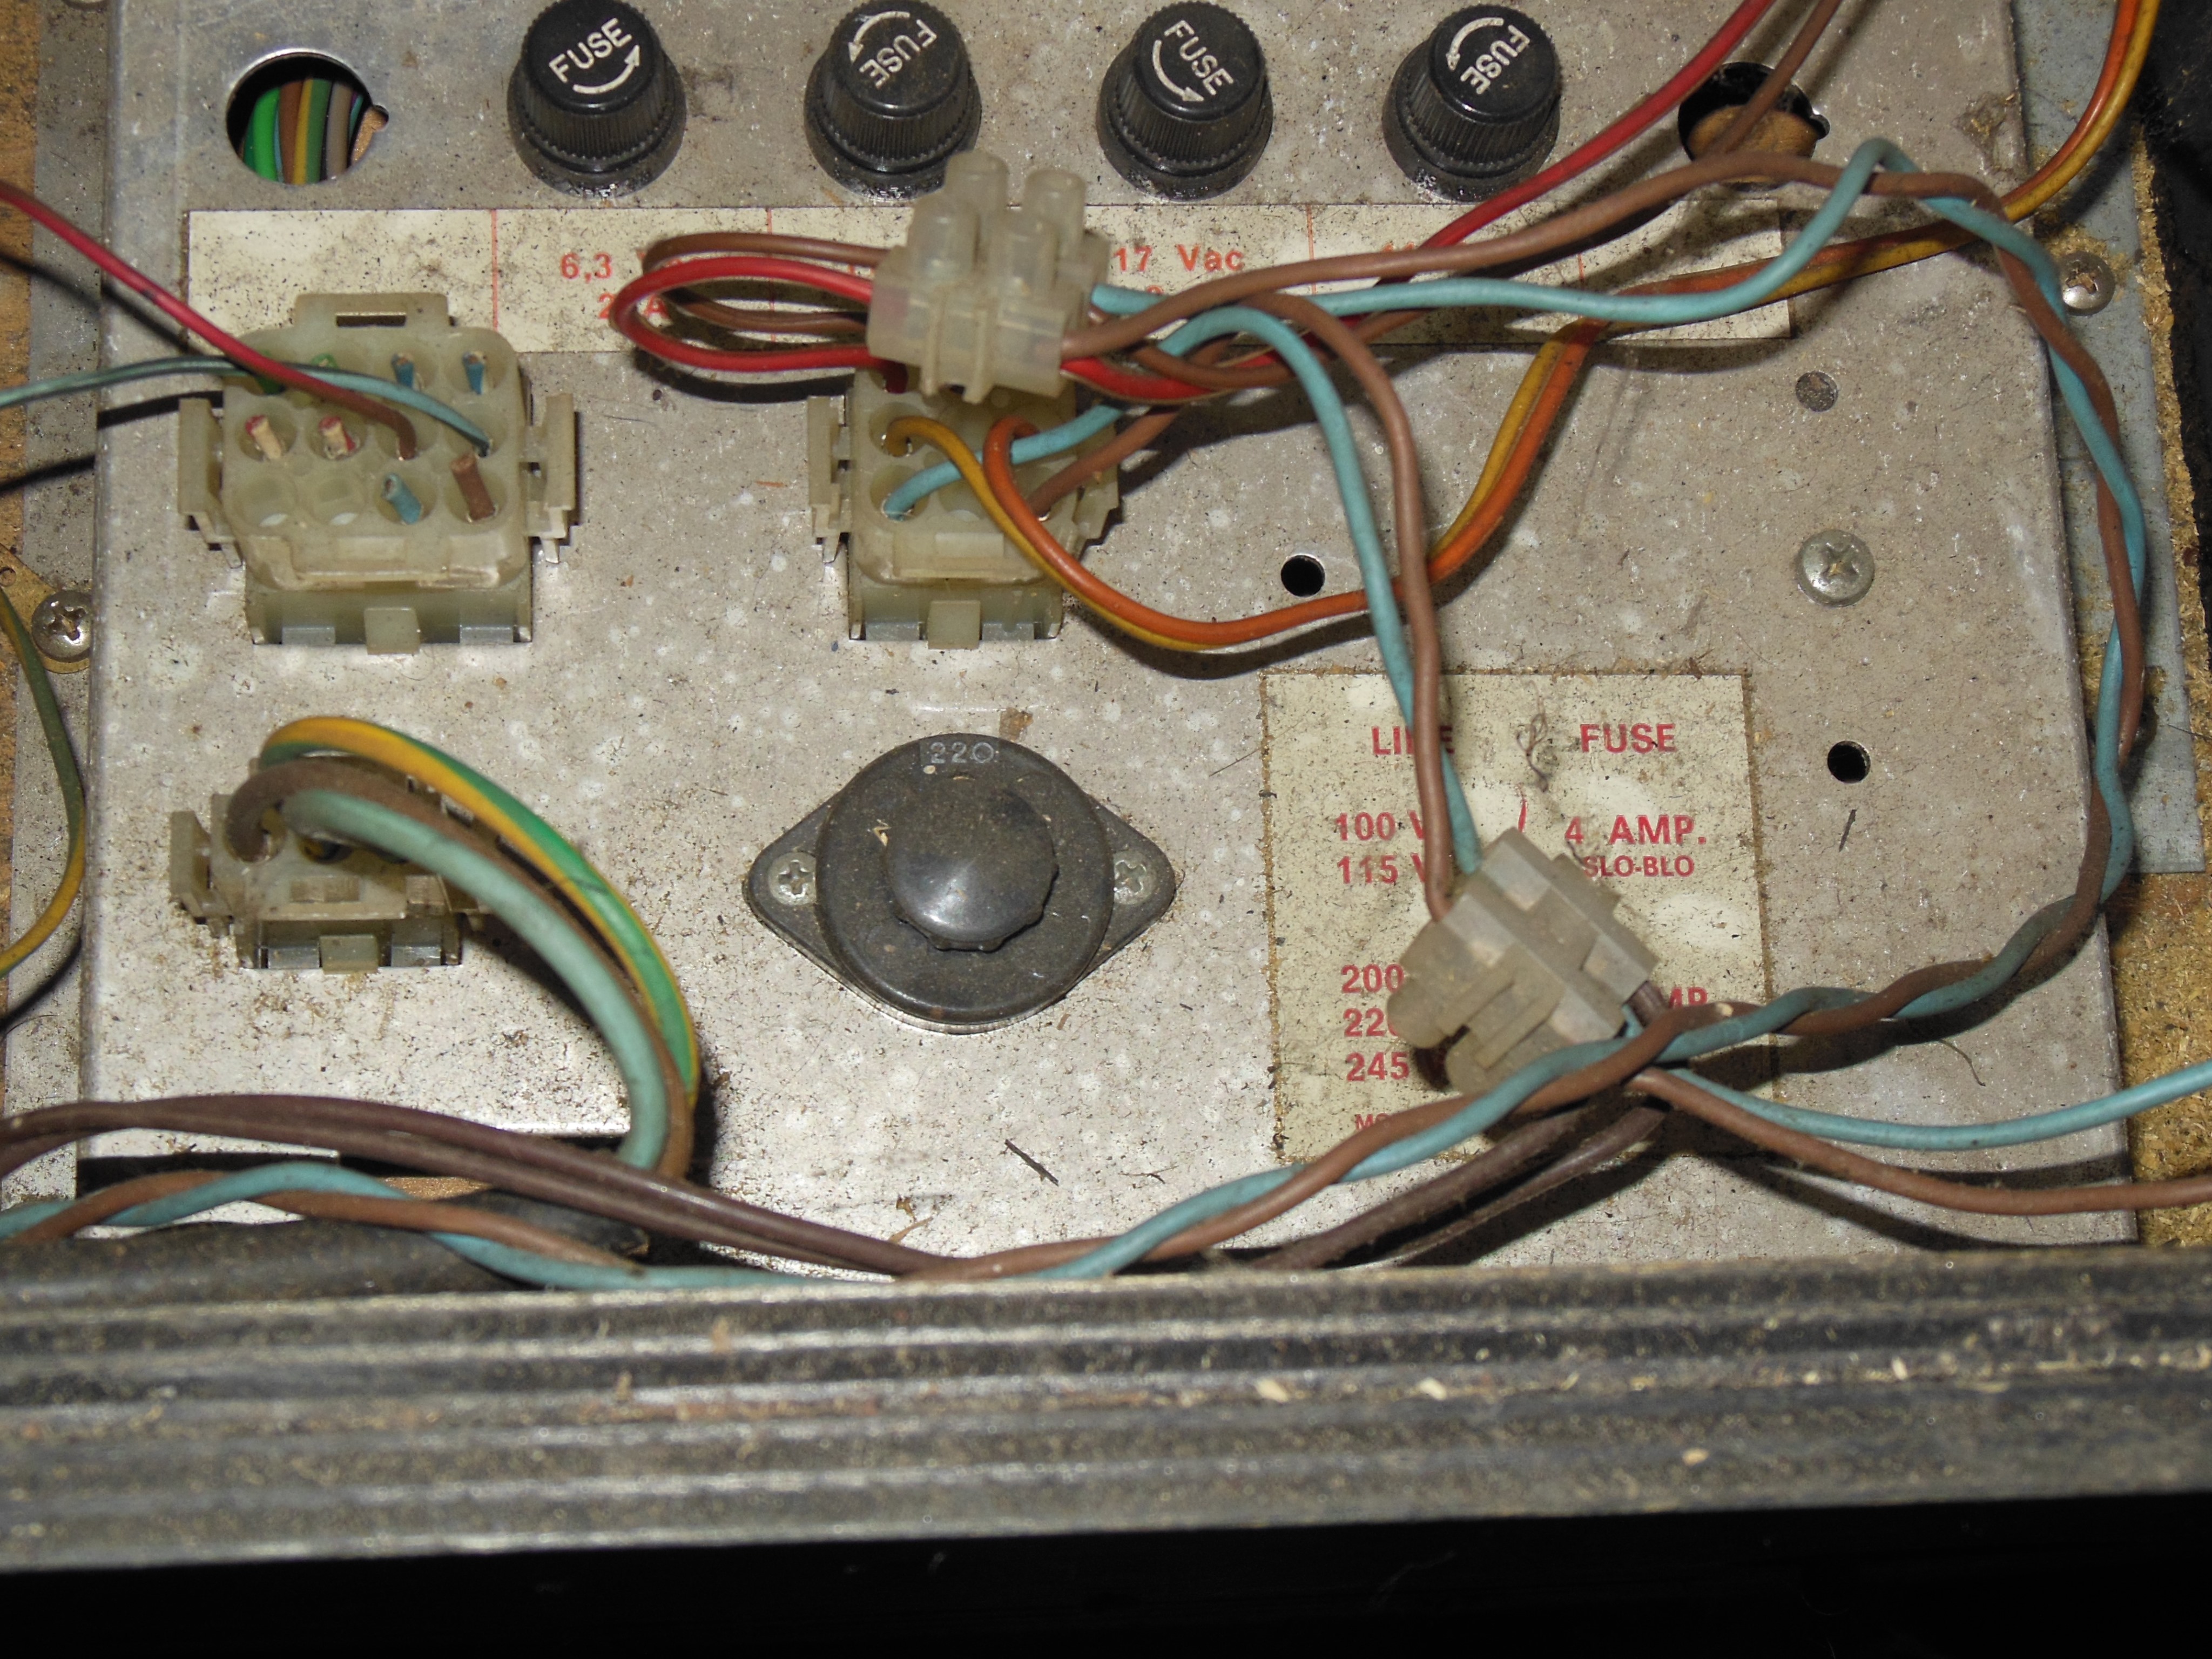
Internally, the monitor had been rotated with messy cuts to the mounting shelves and surround. The original power supply had also replaced.
|
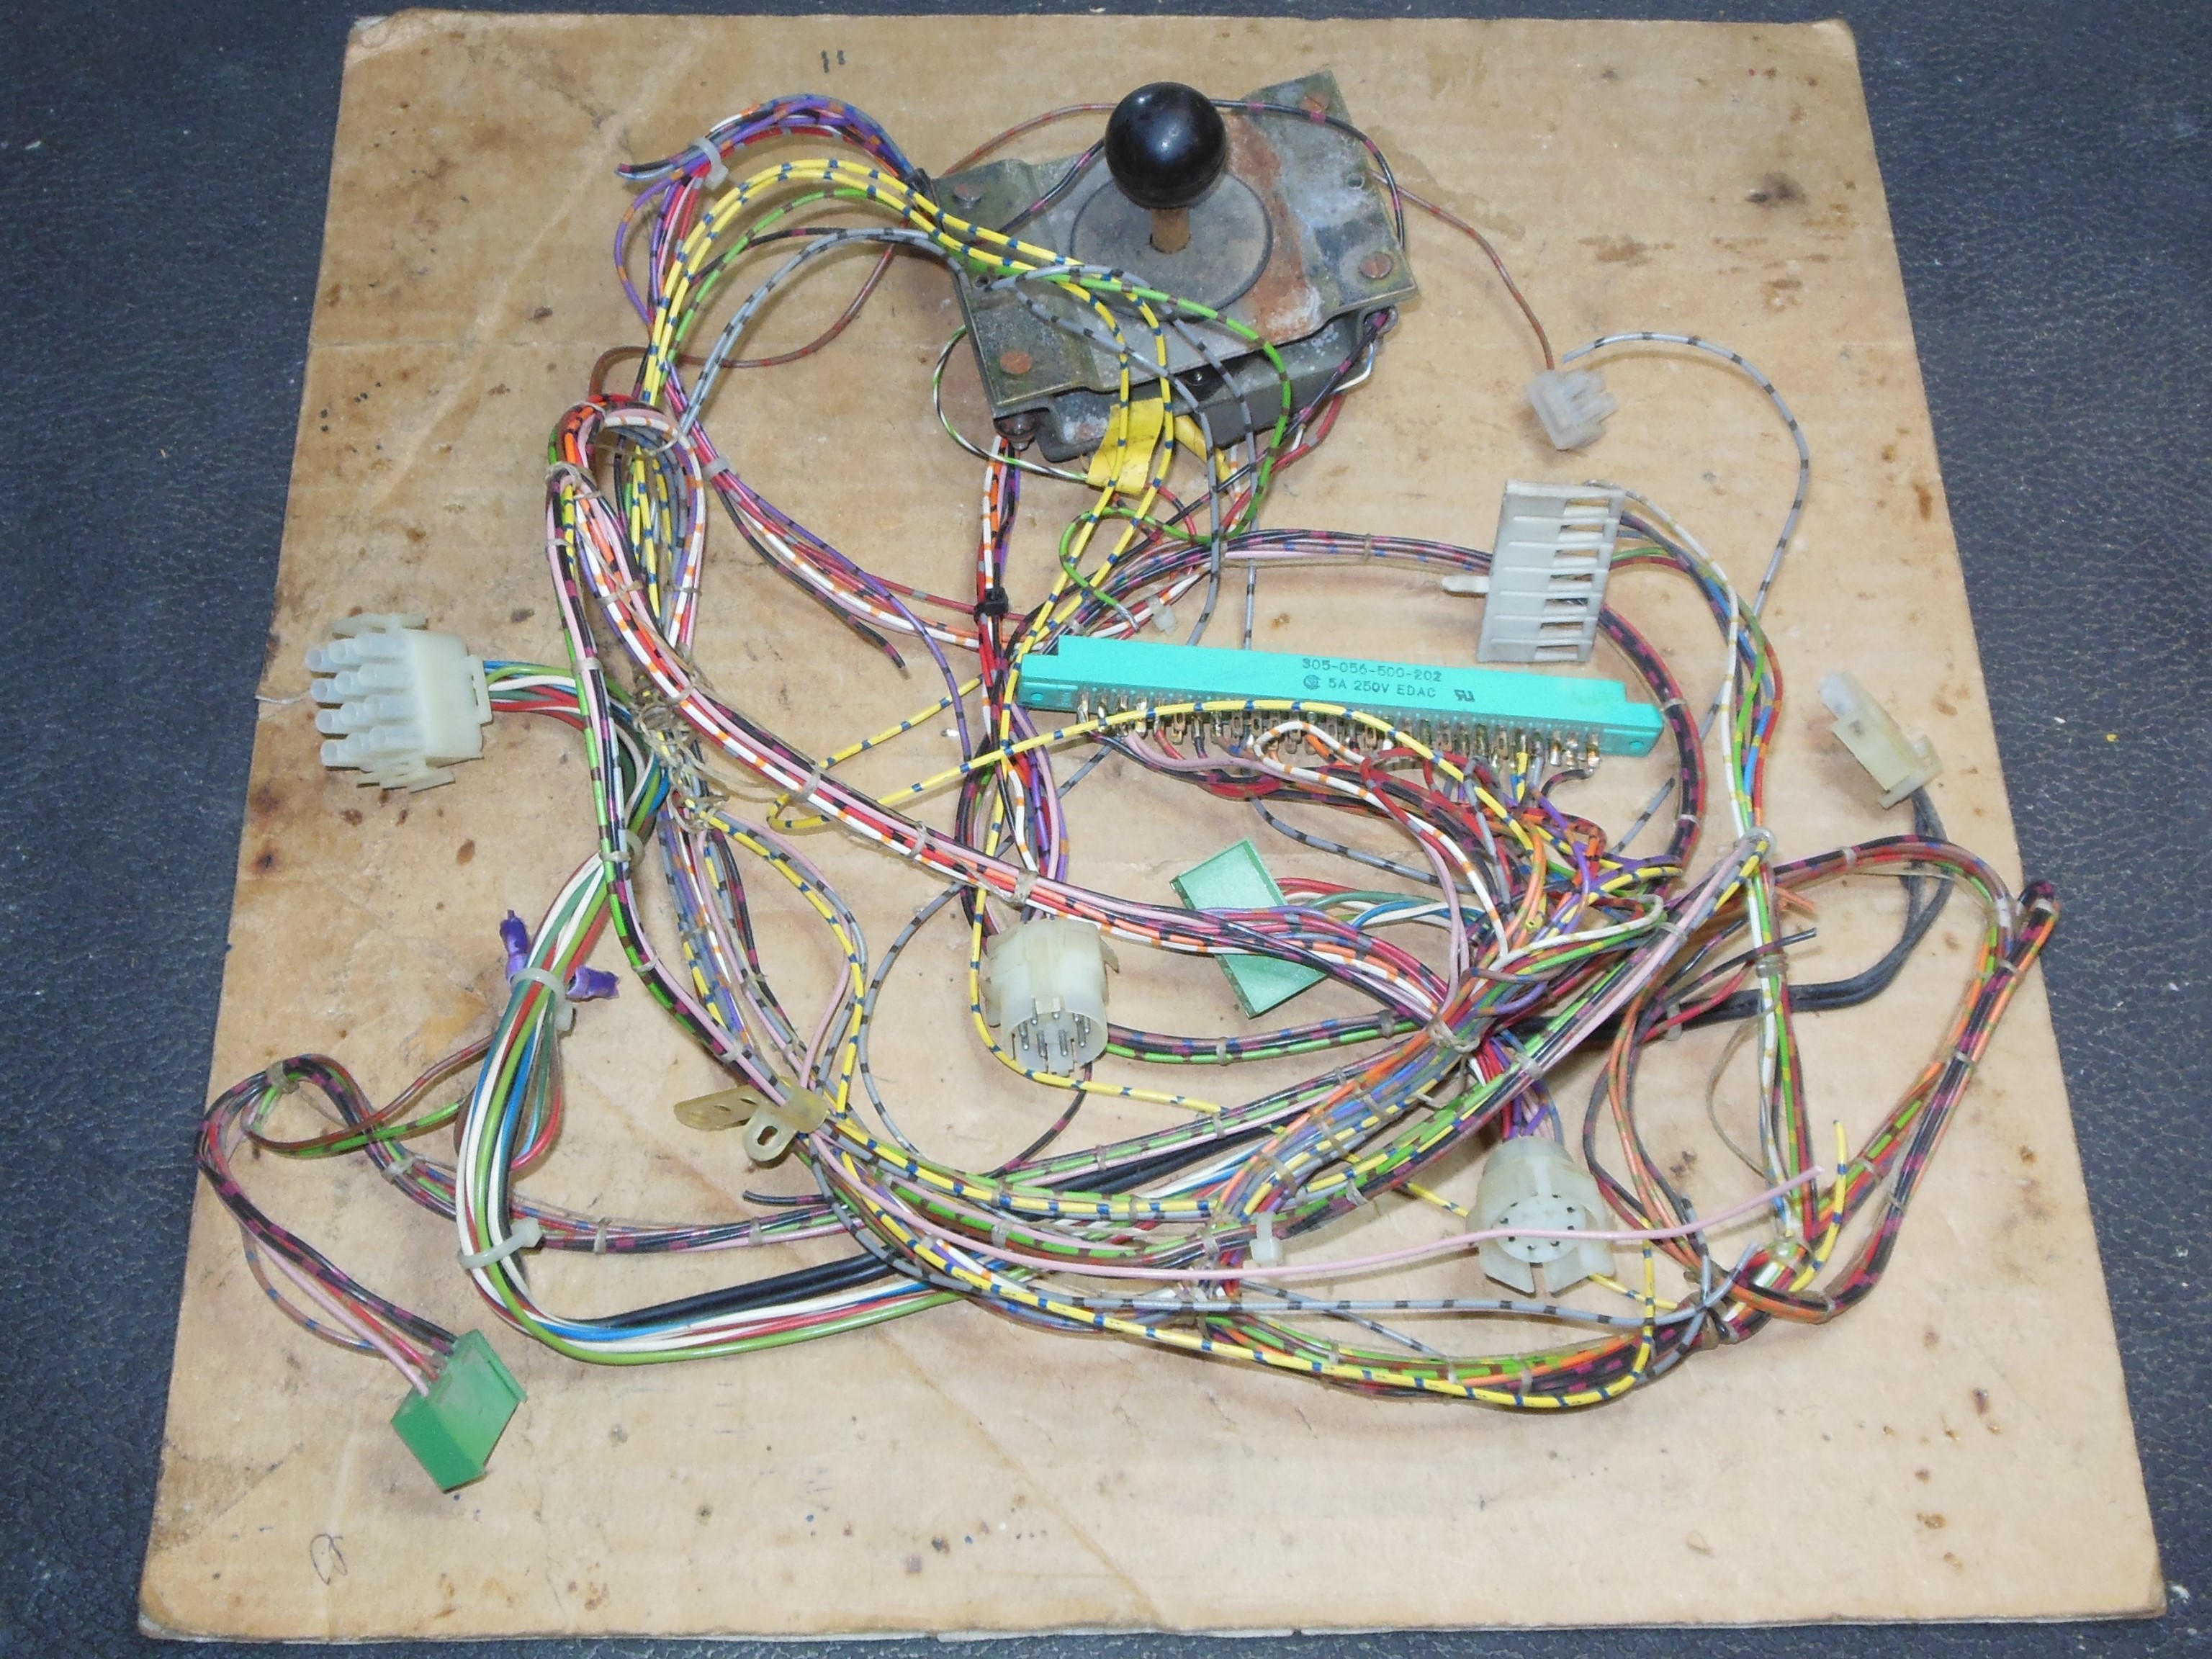
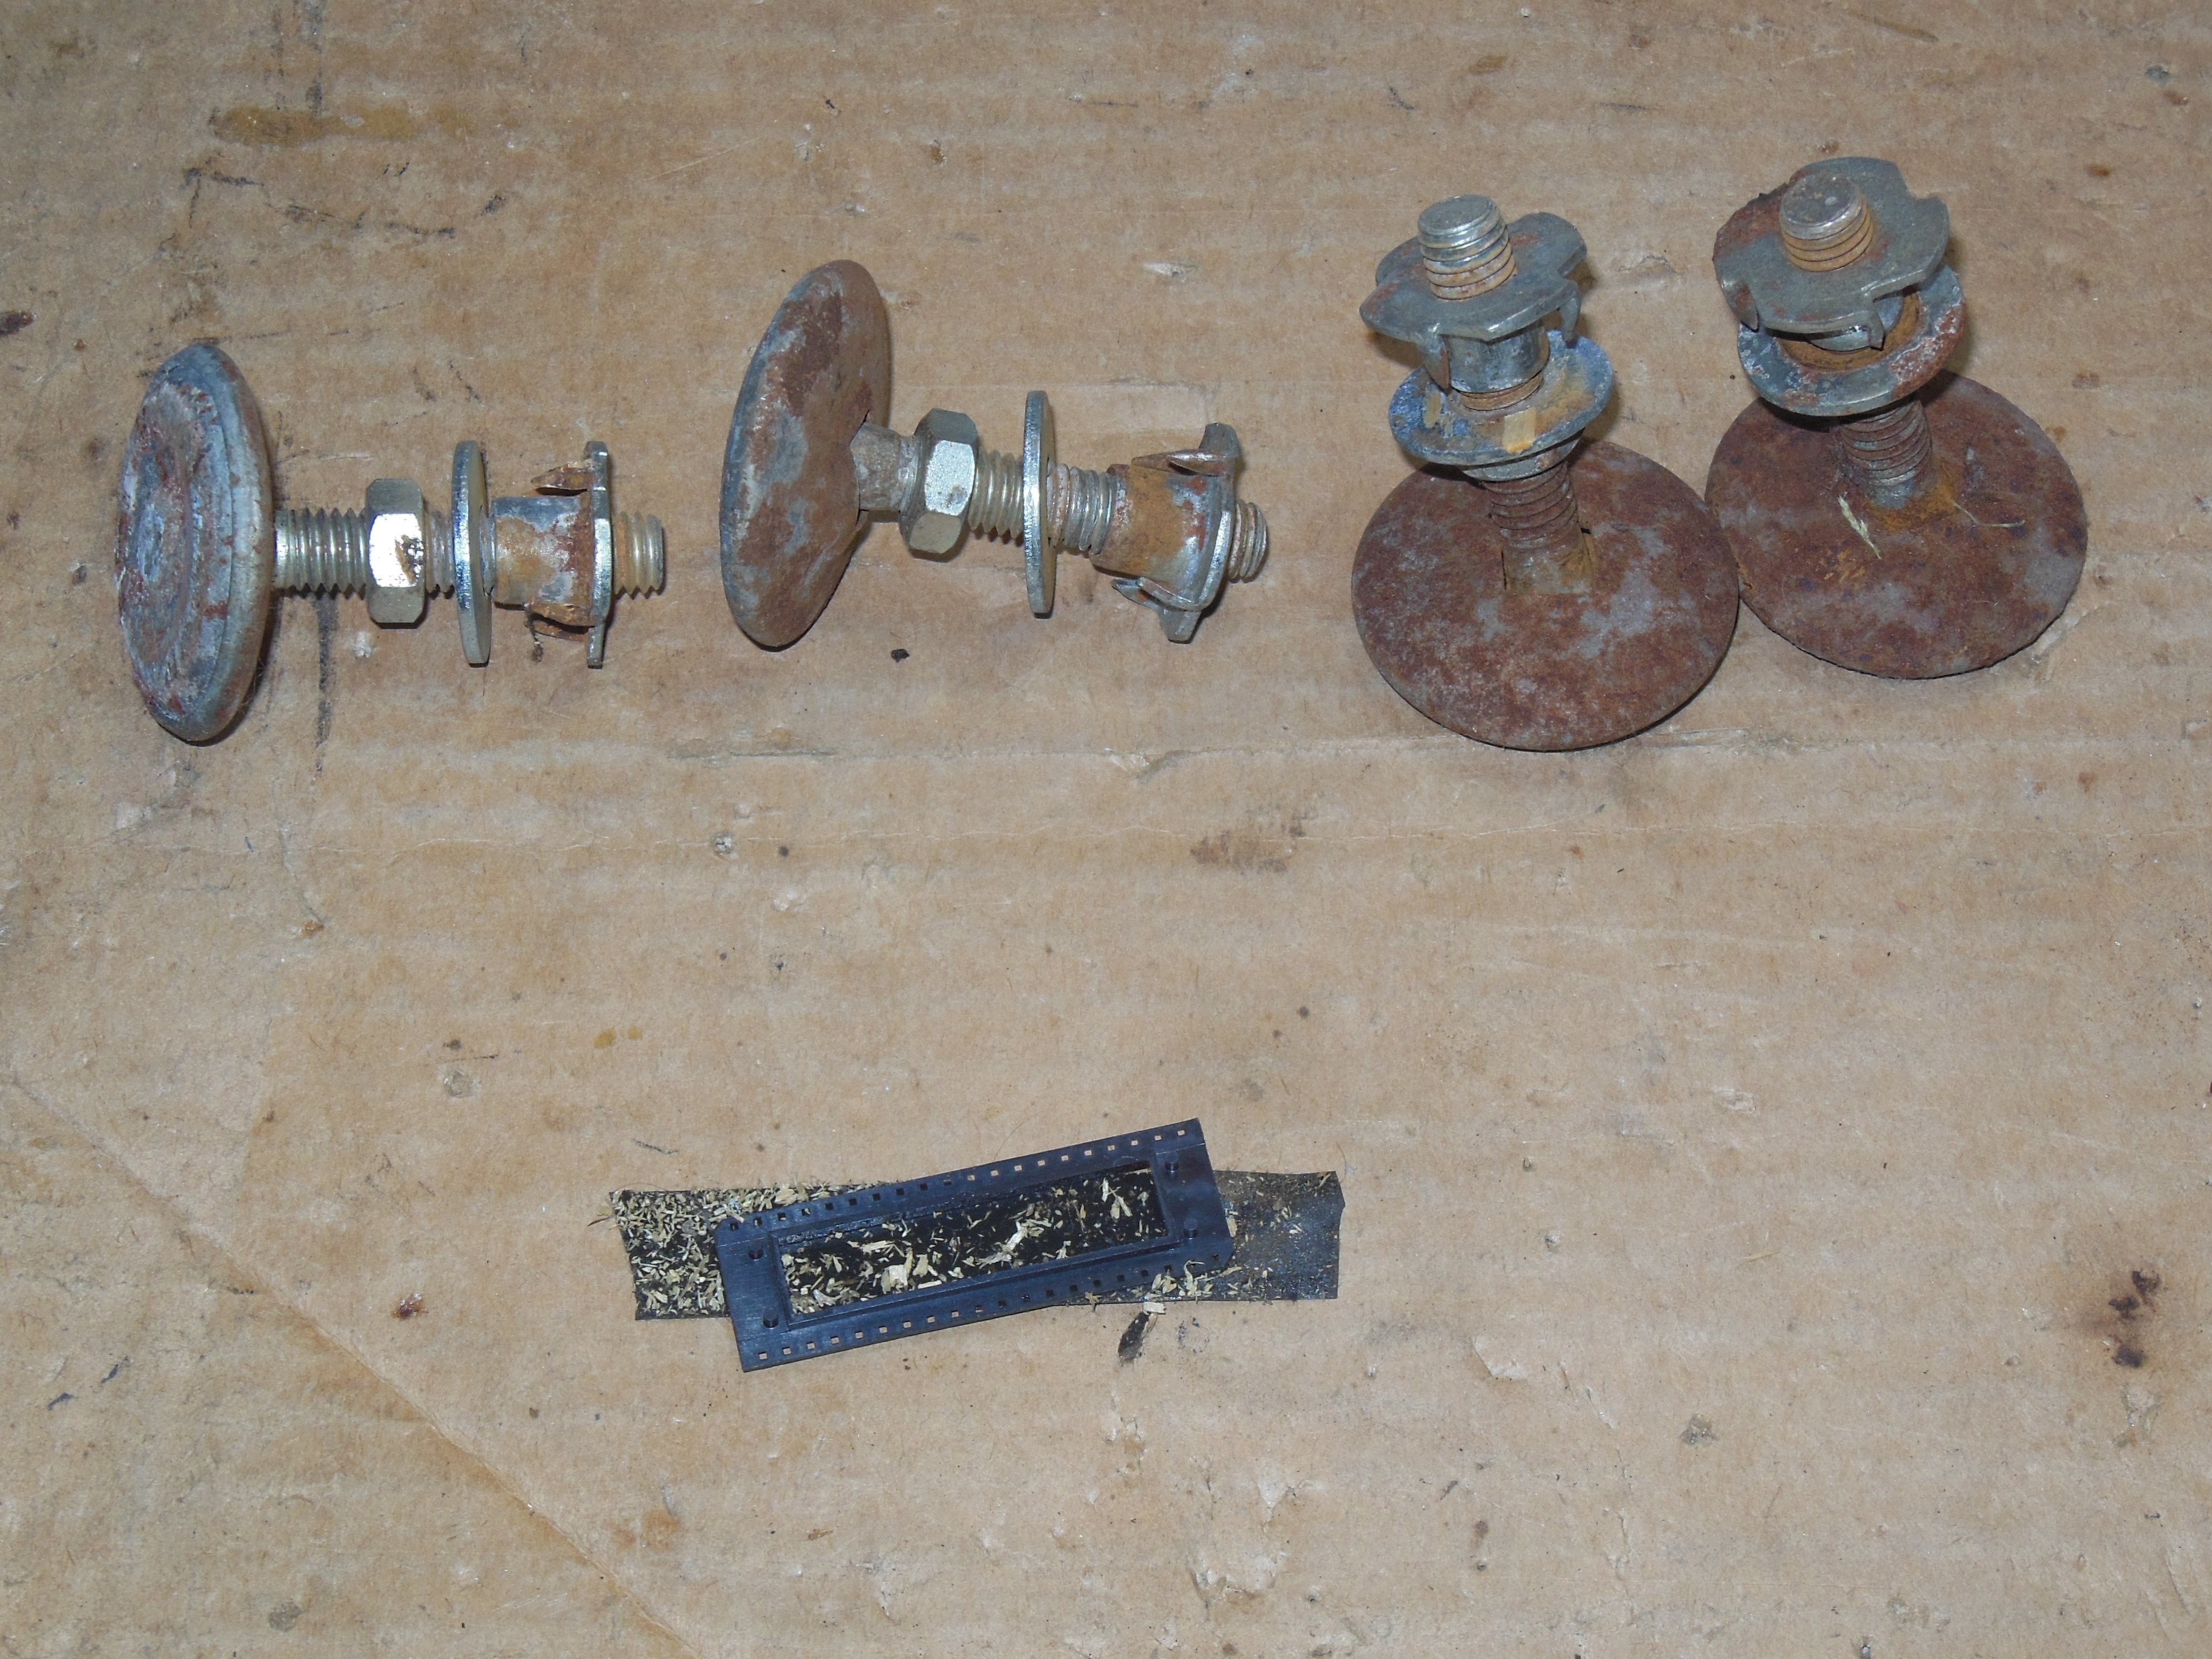
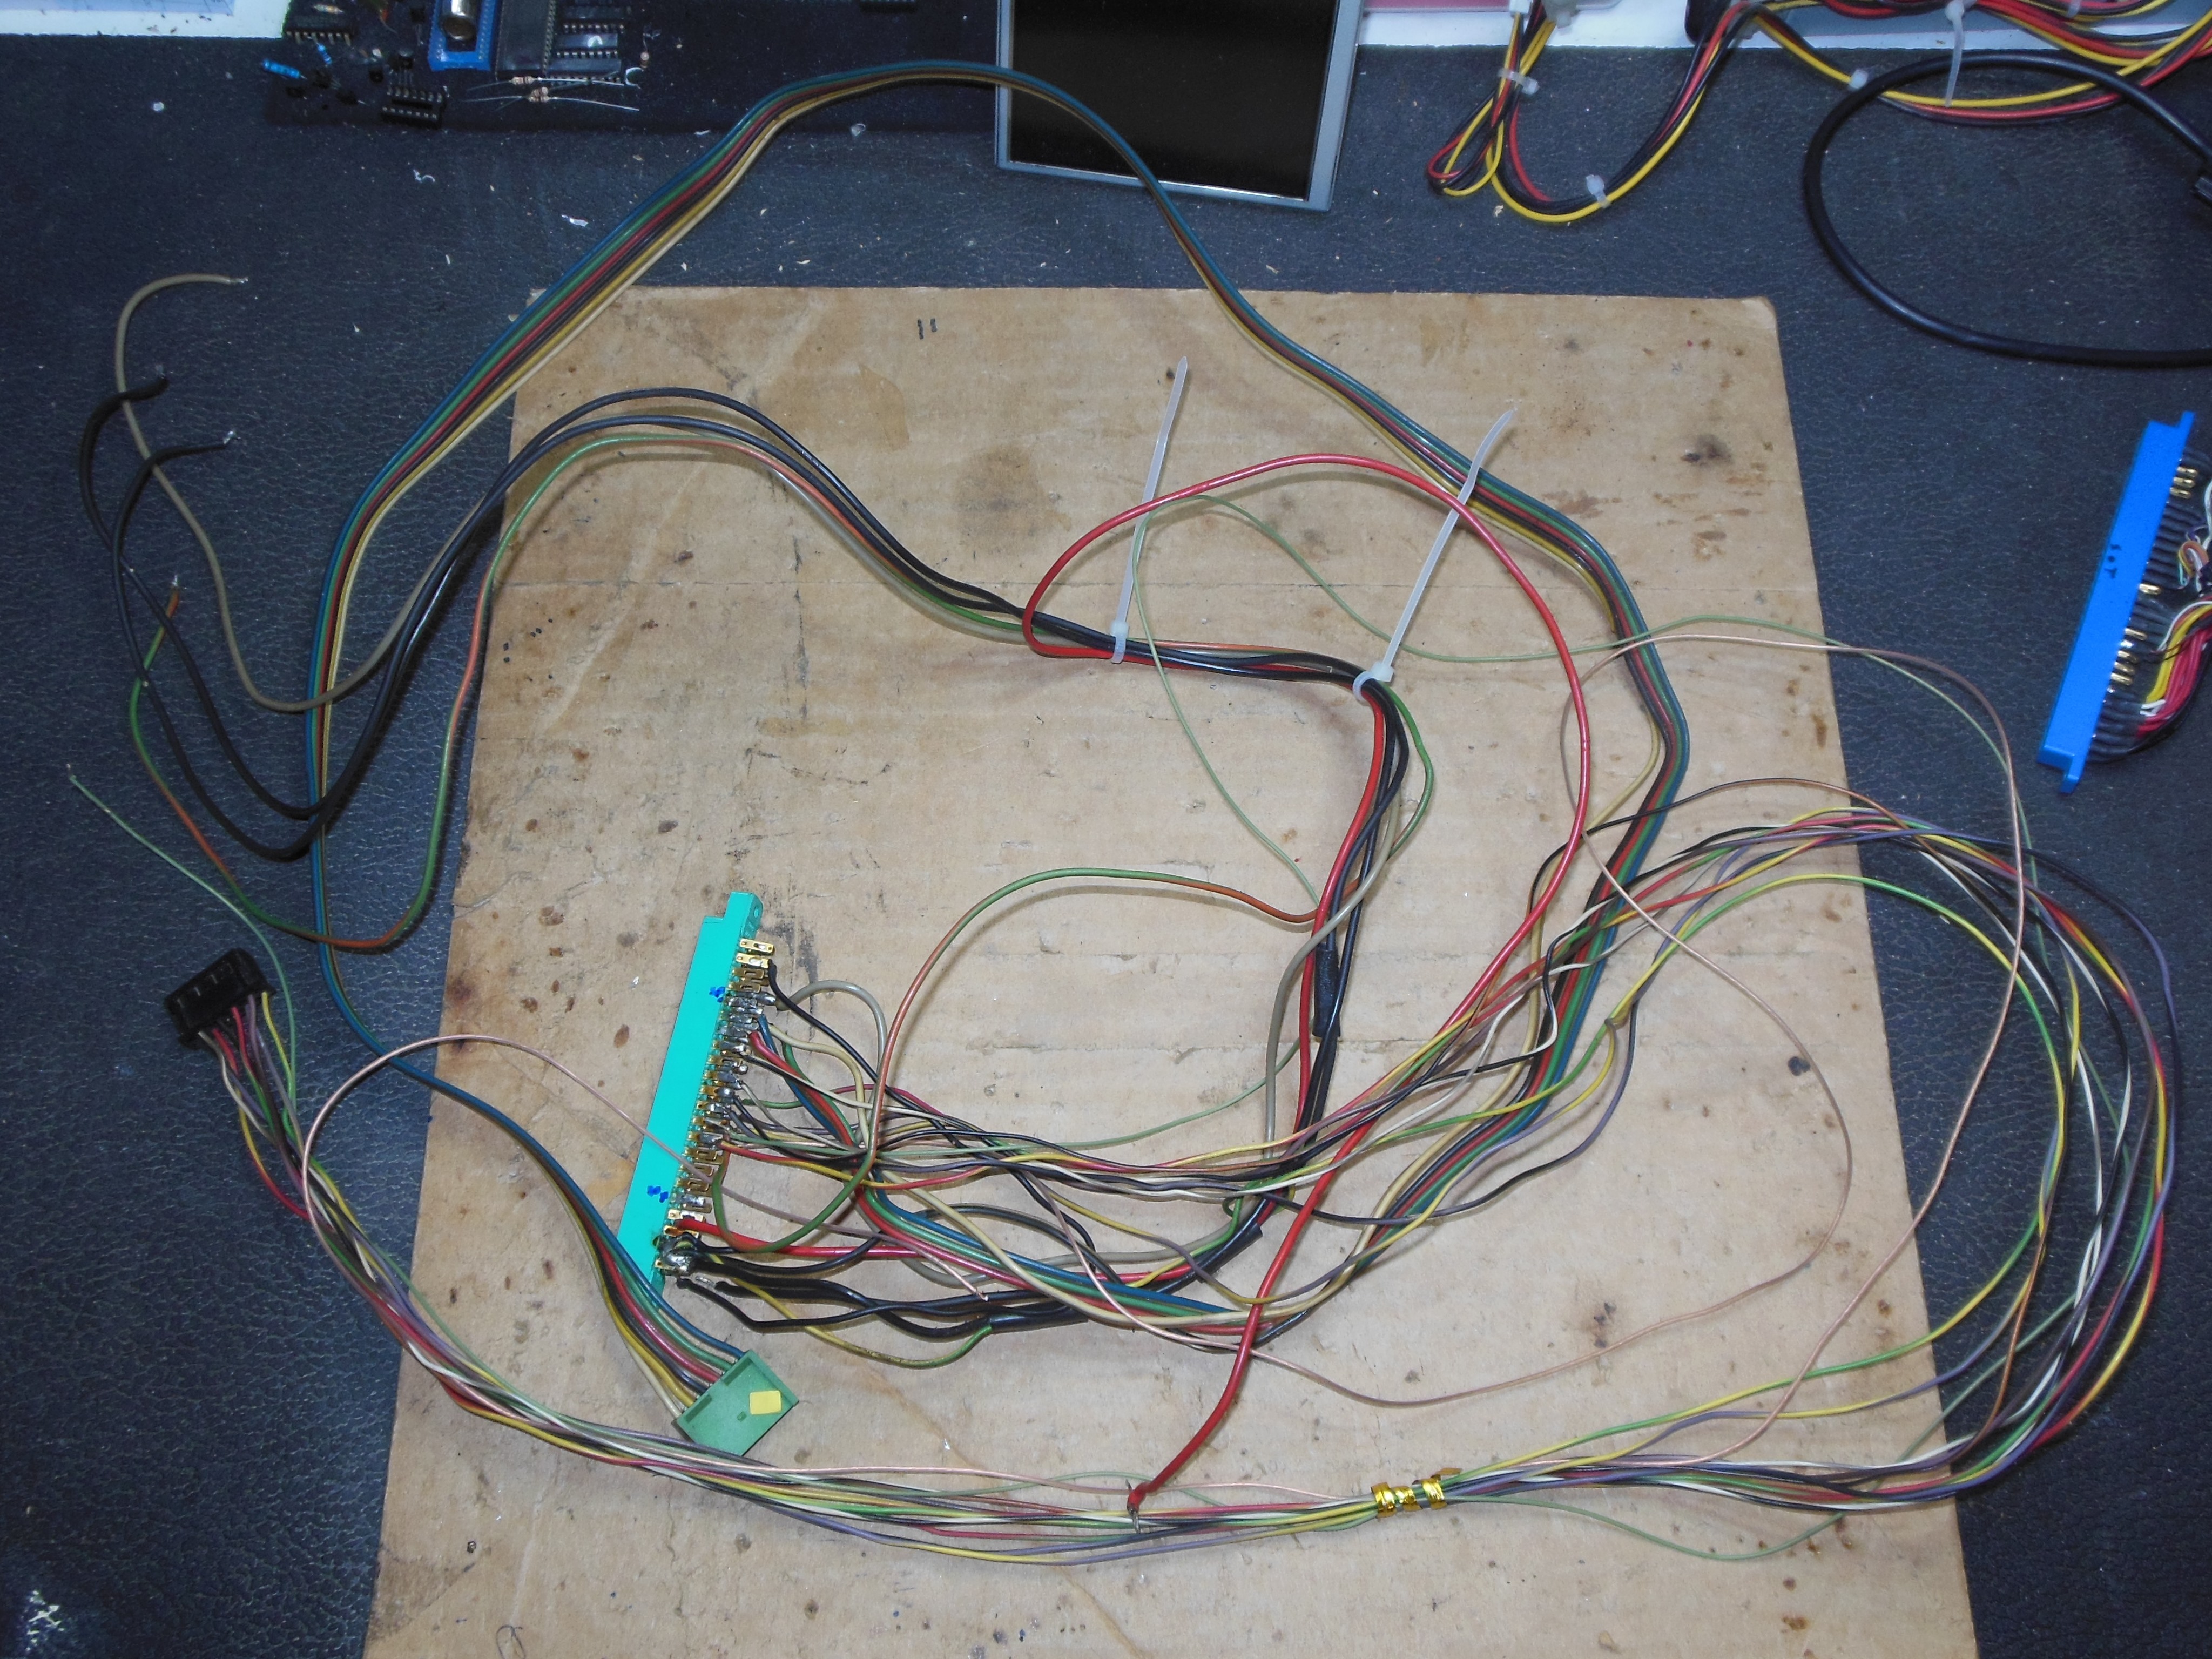
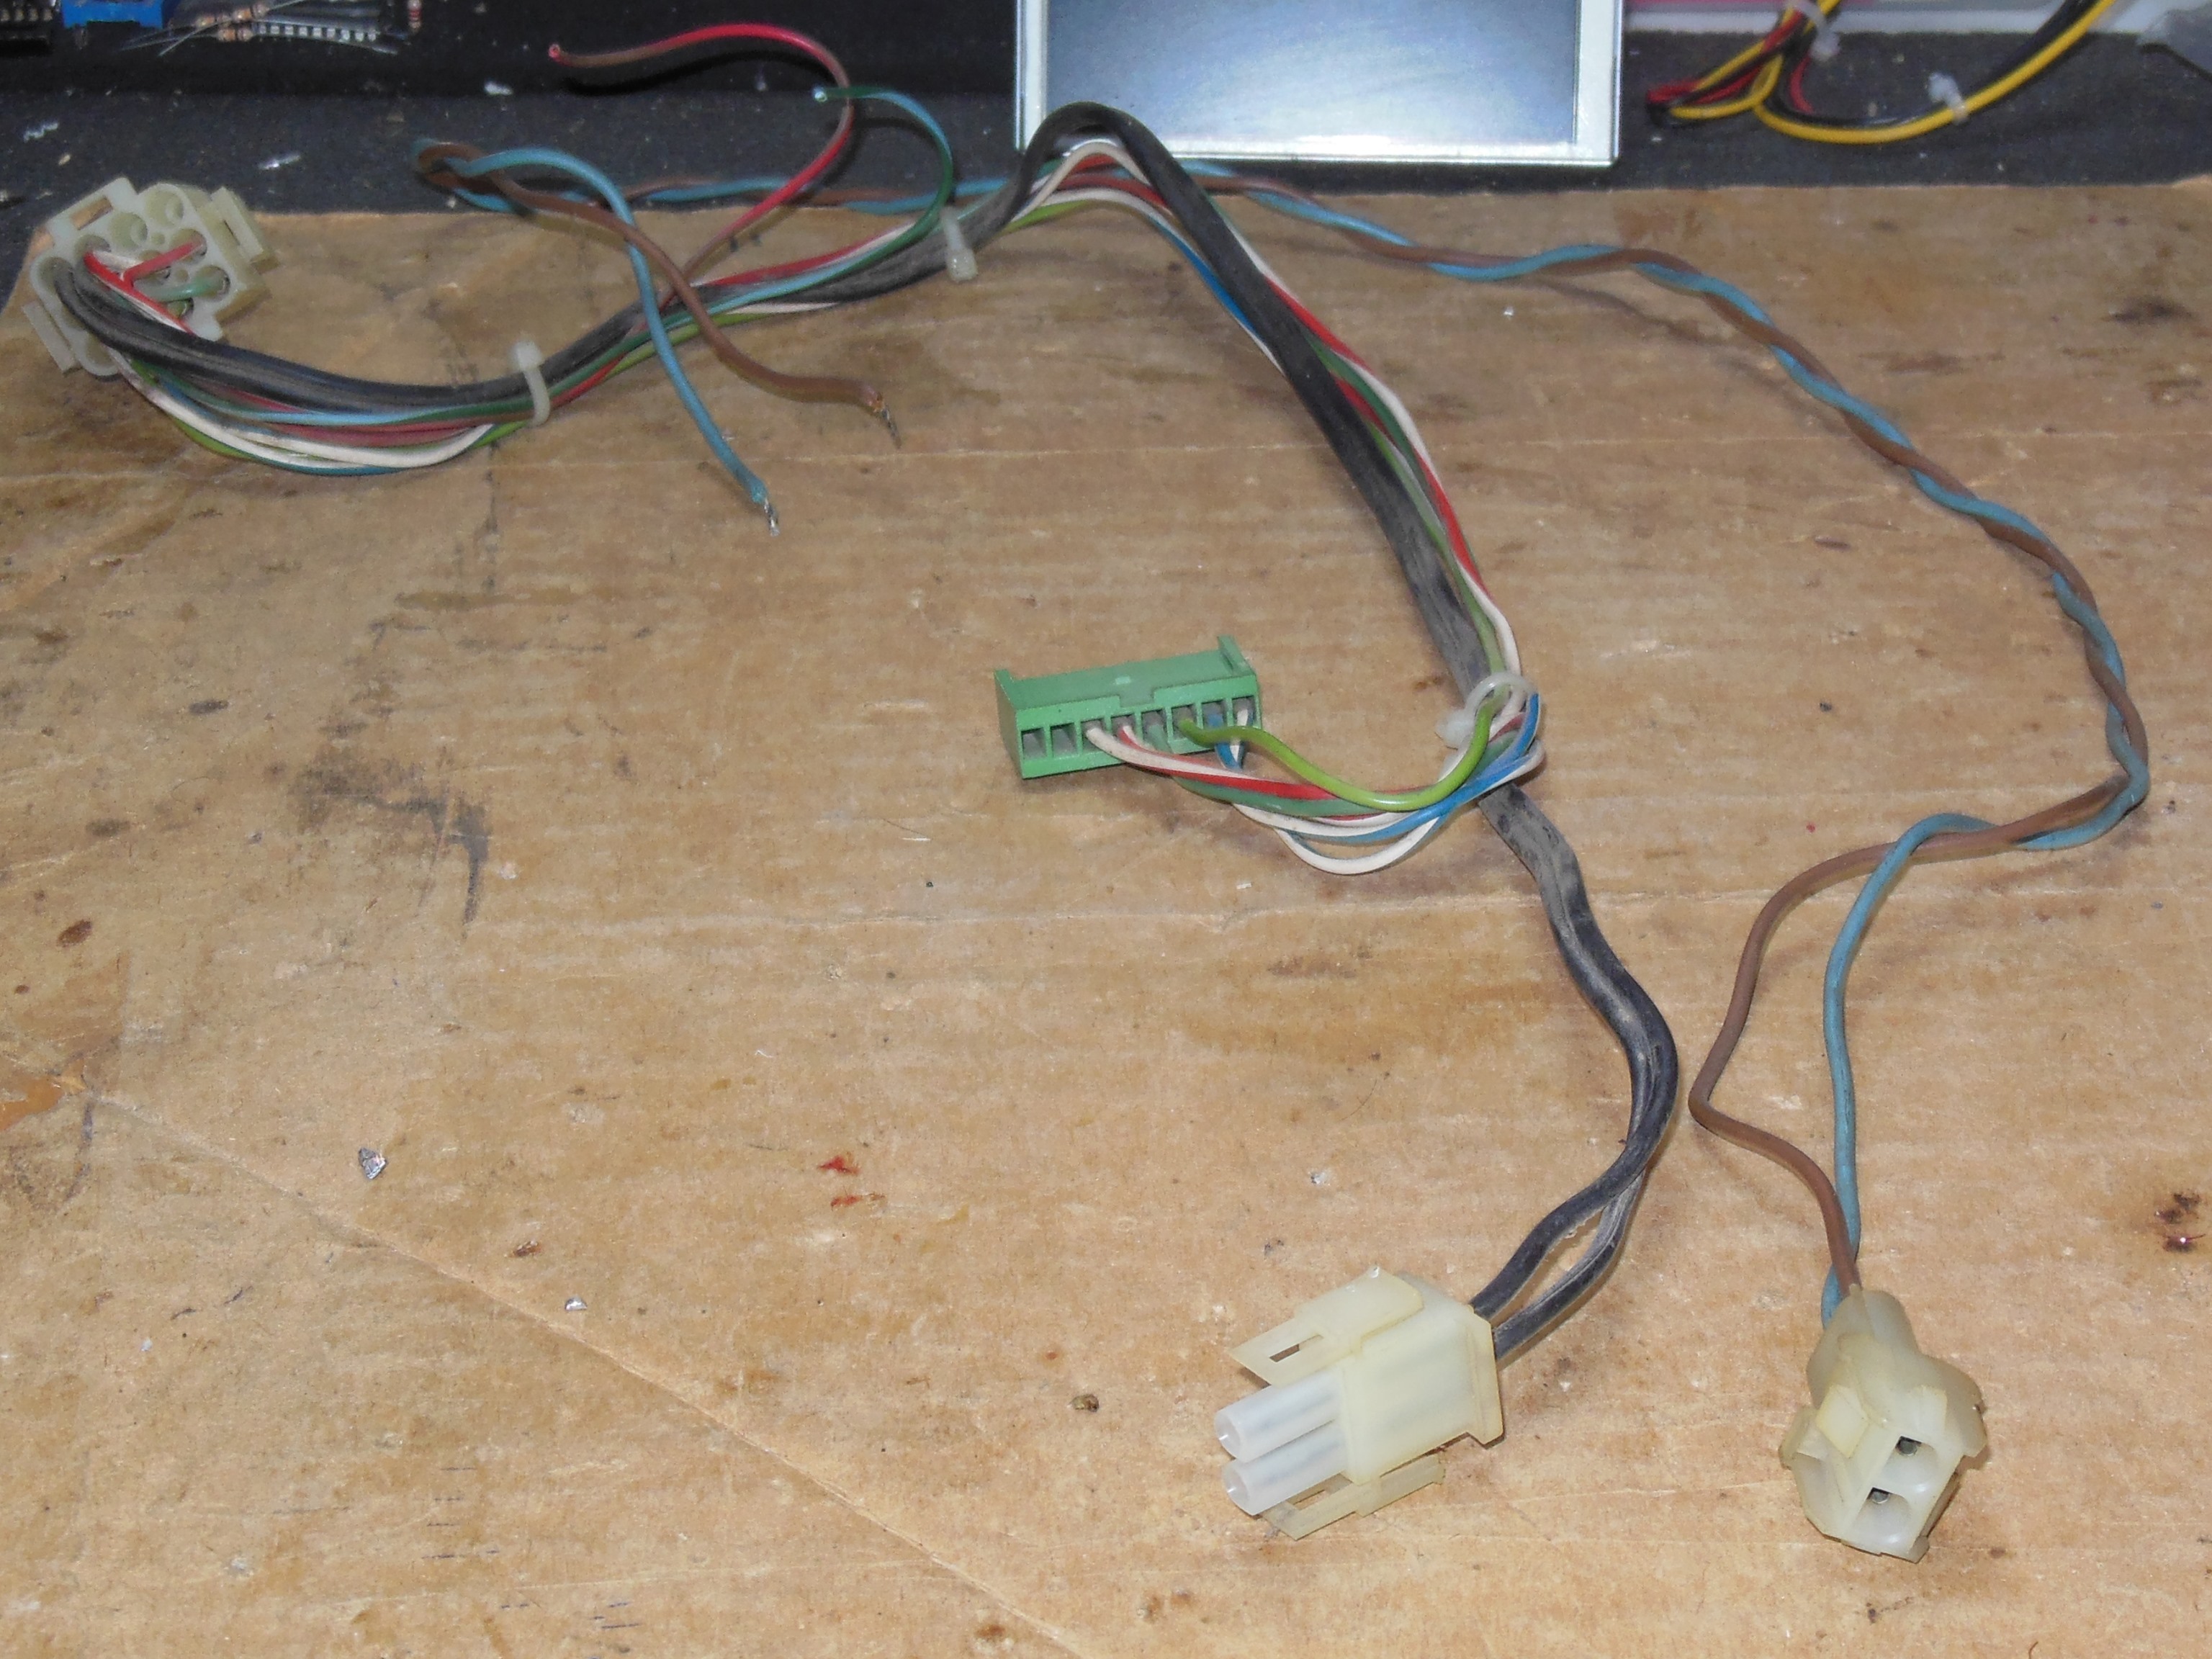
The wiring had been badly hacked and the AC low voltage loom had been cut out. Most of the cable guide covers were missing. It was going to need a complete rebuild of the cabinet wiring :(
|
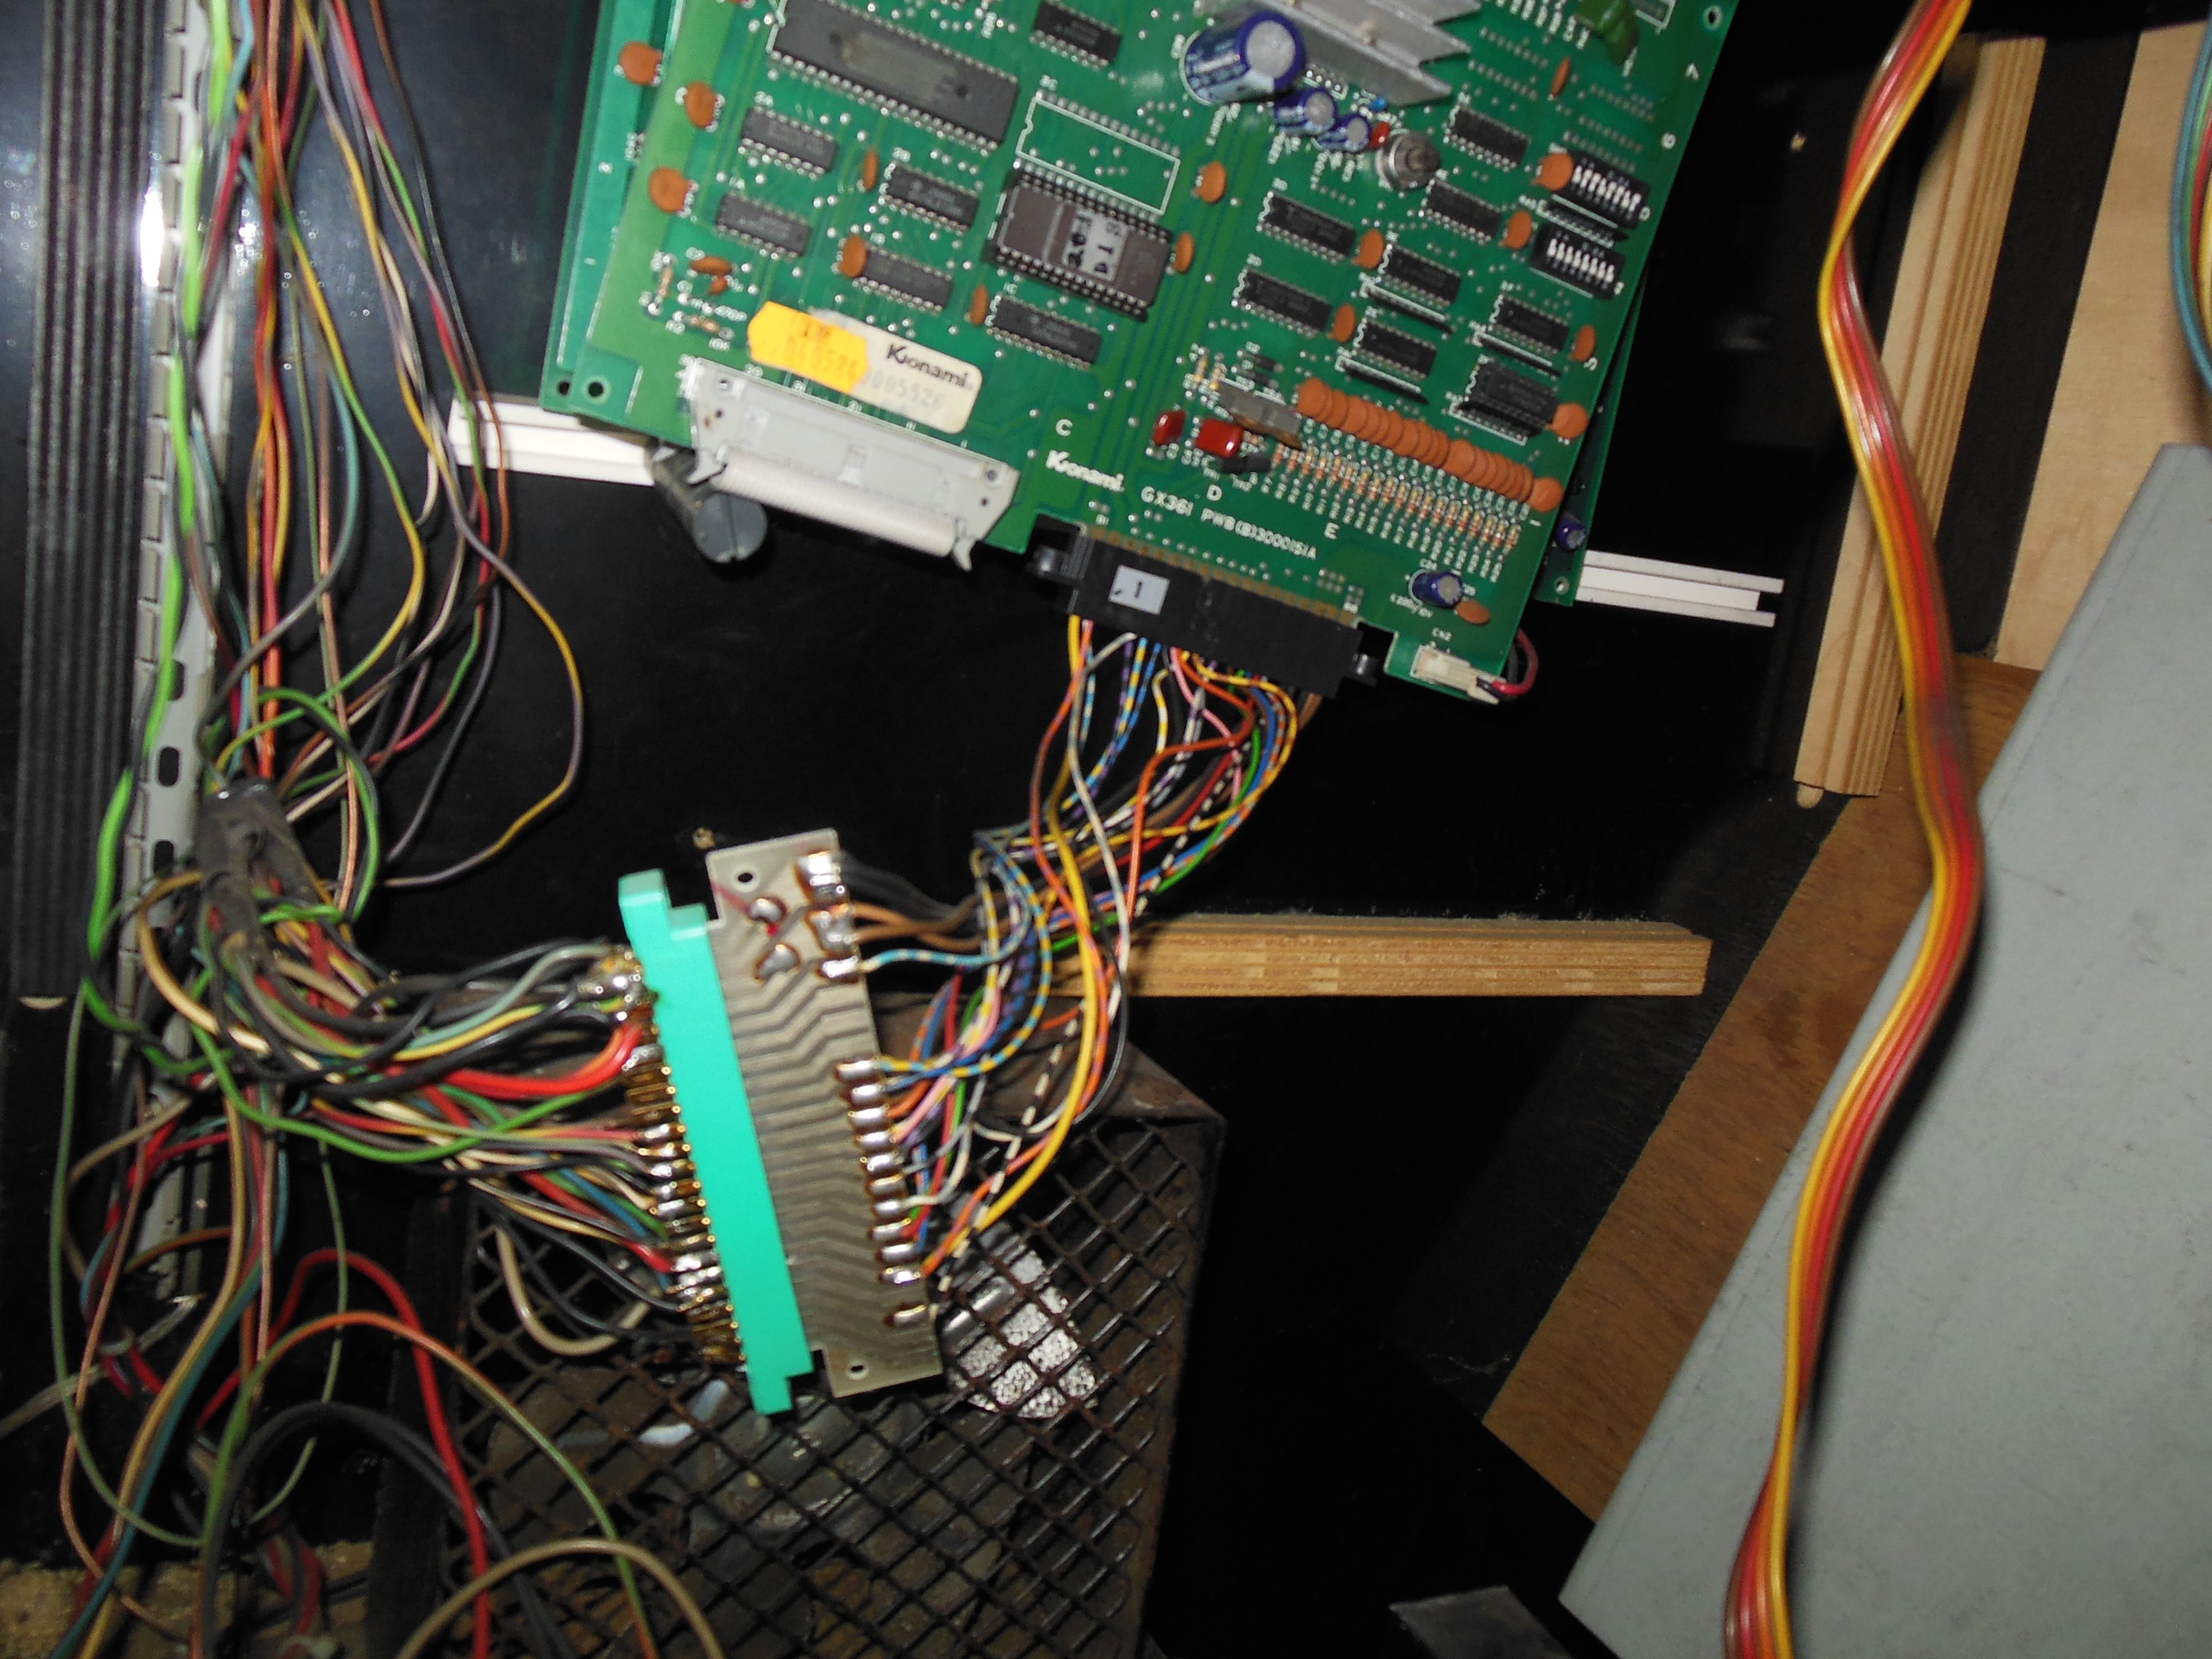
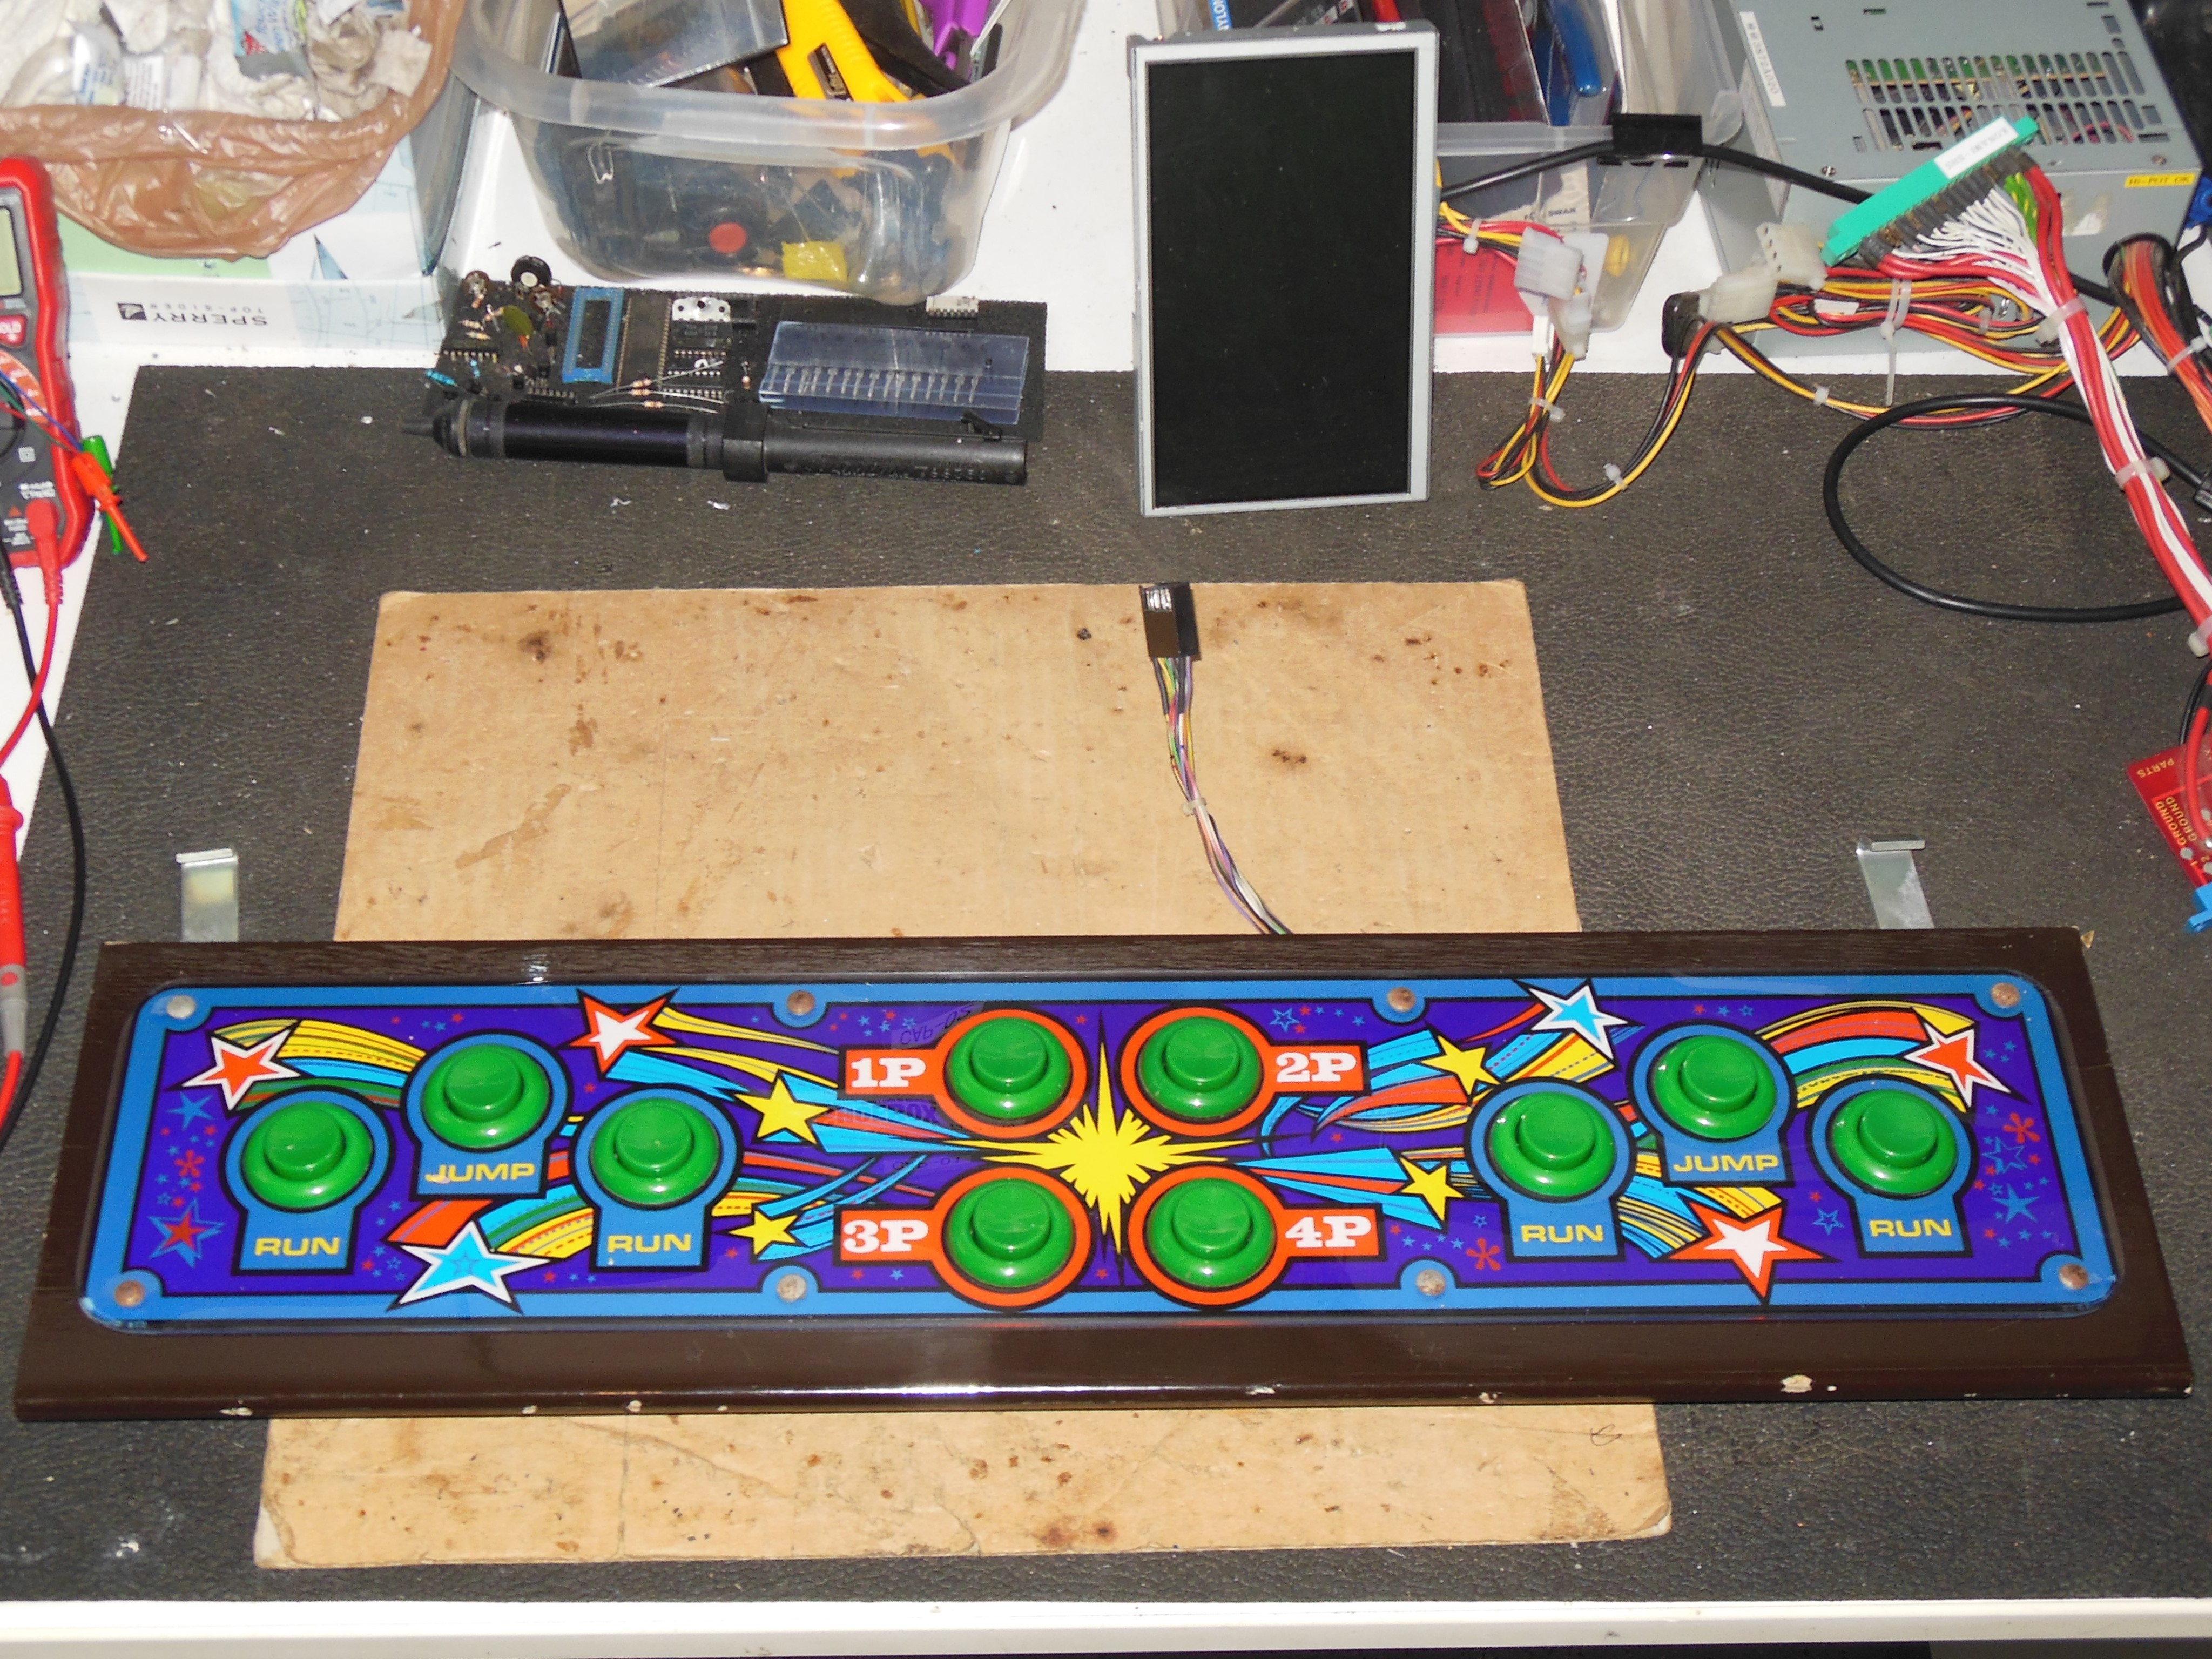
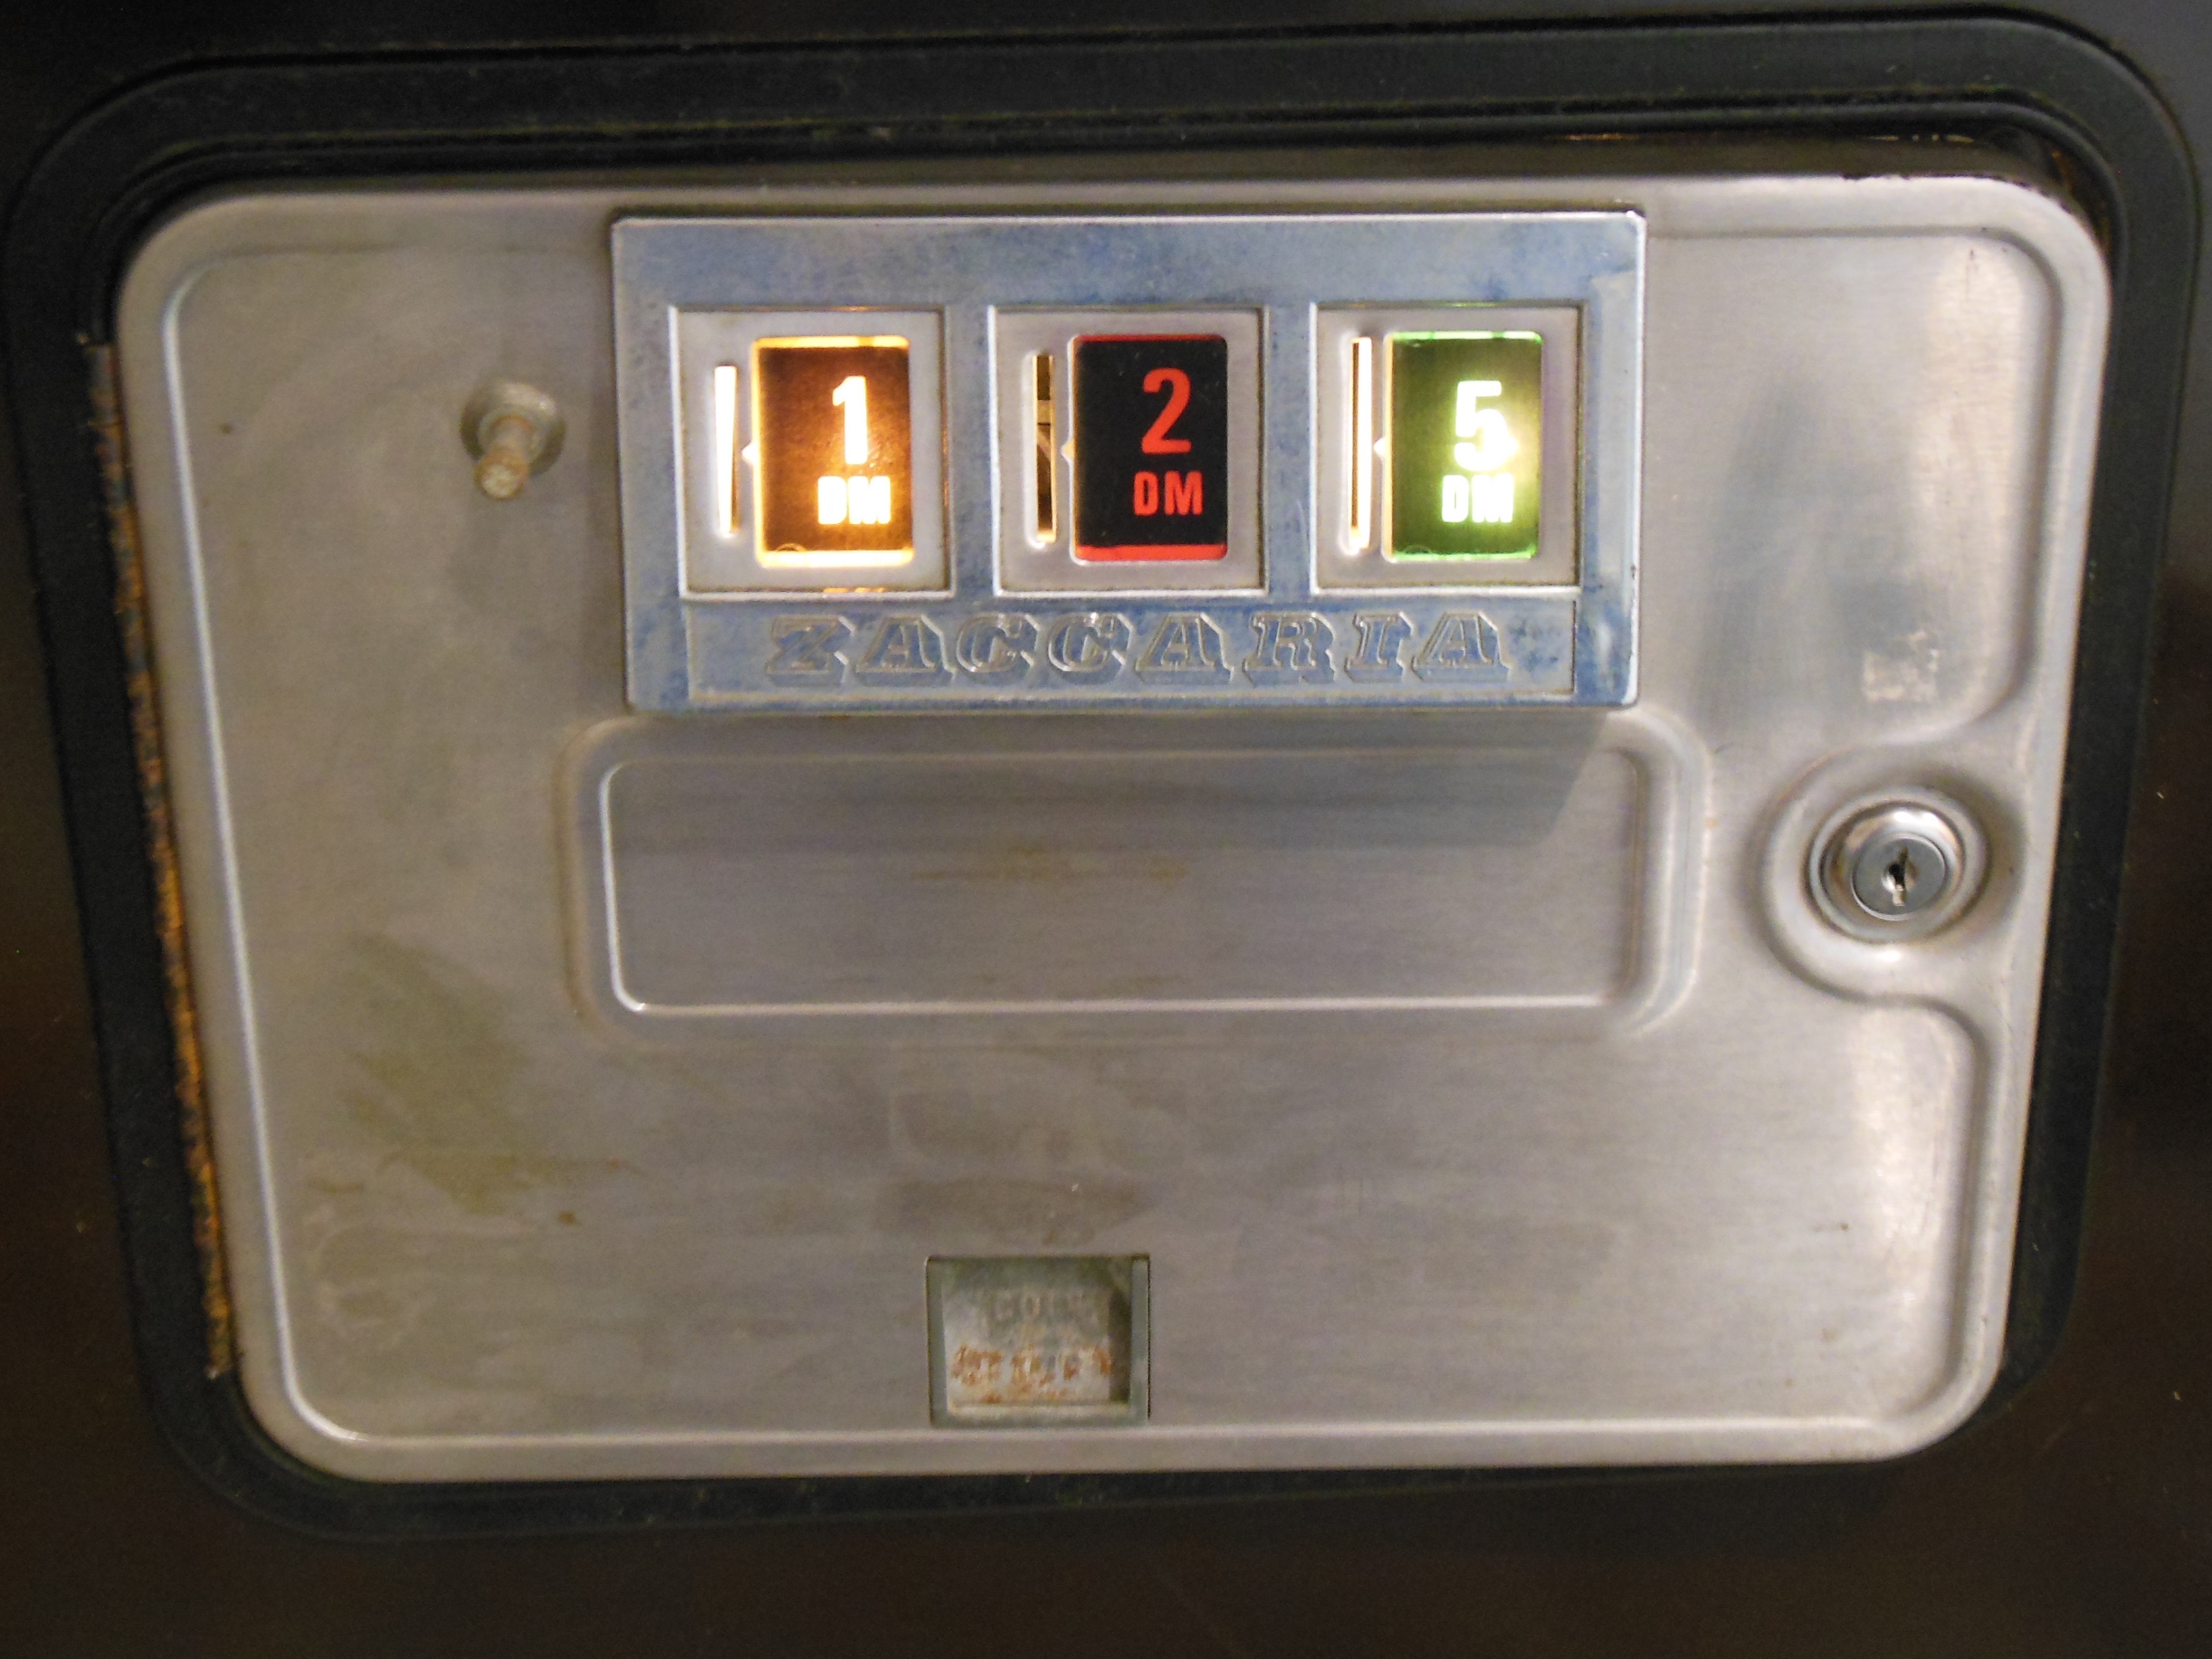
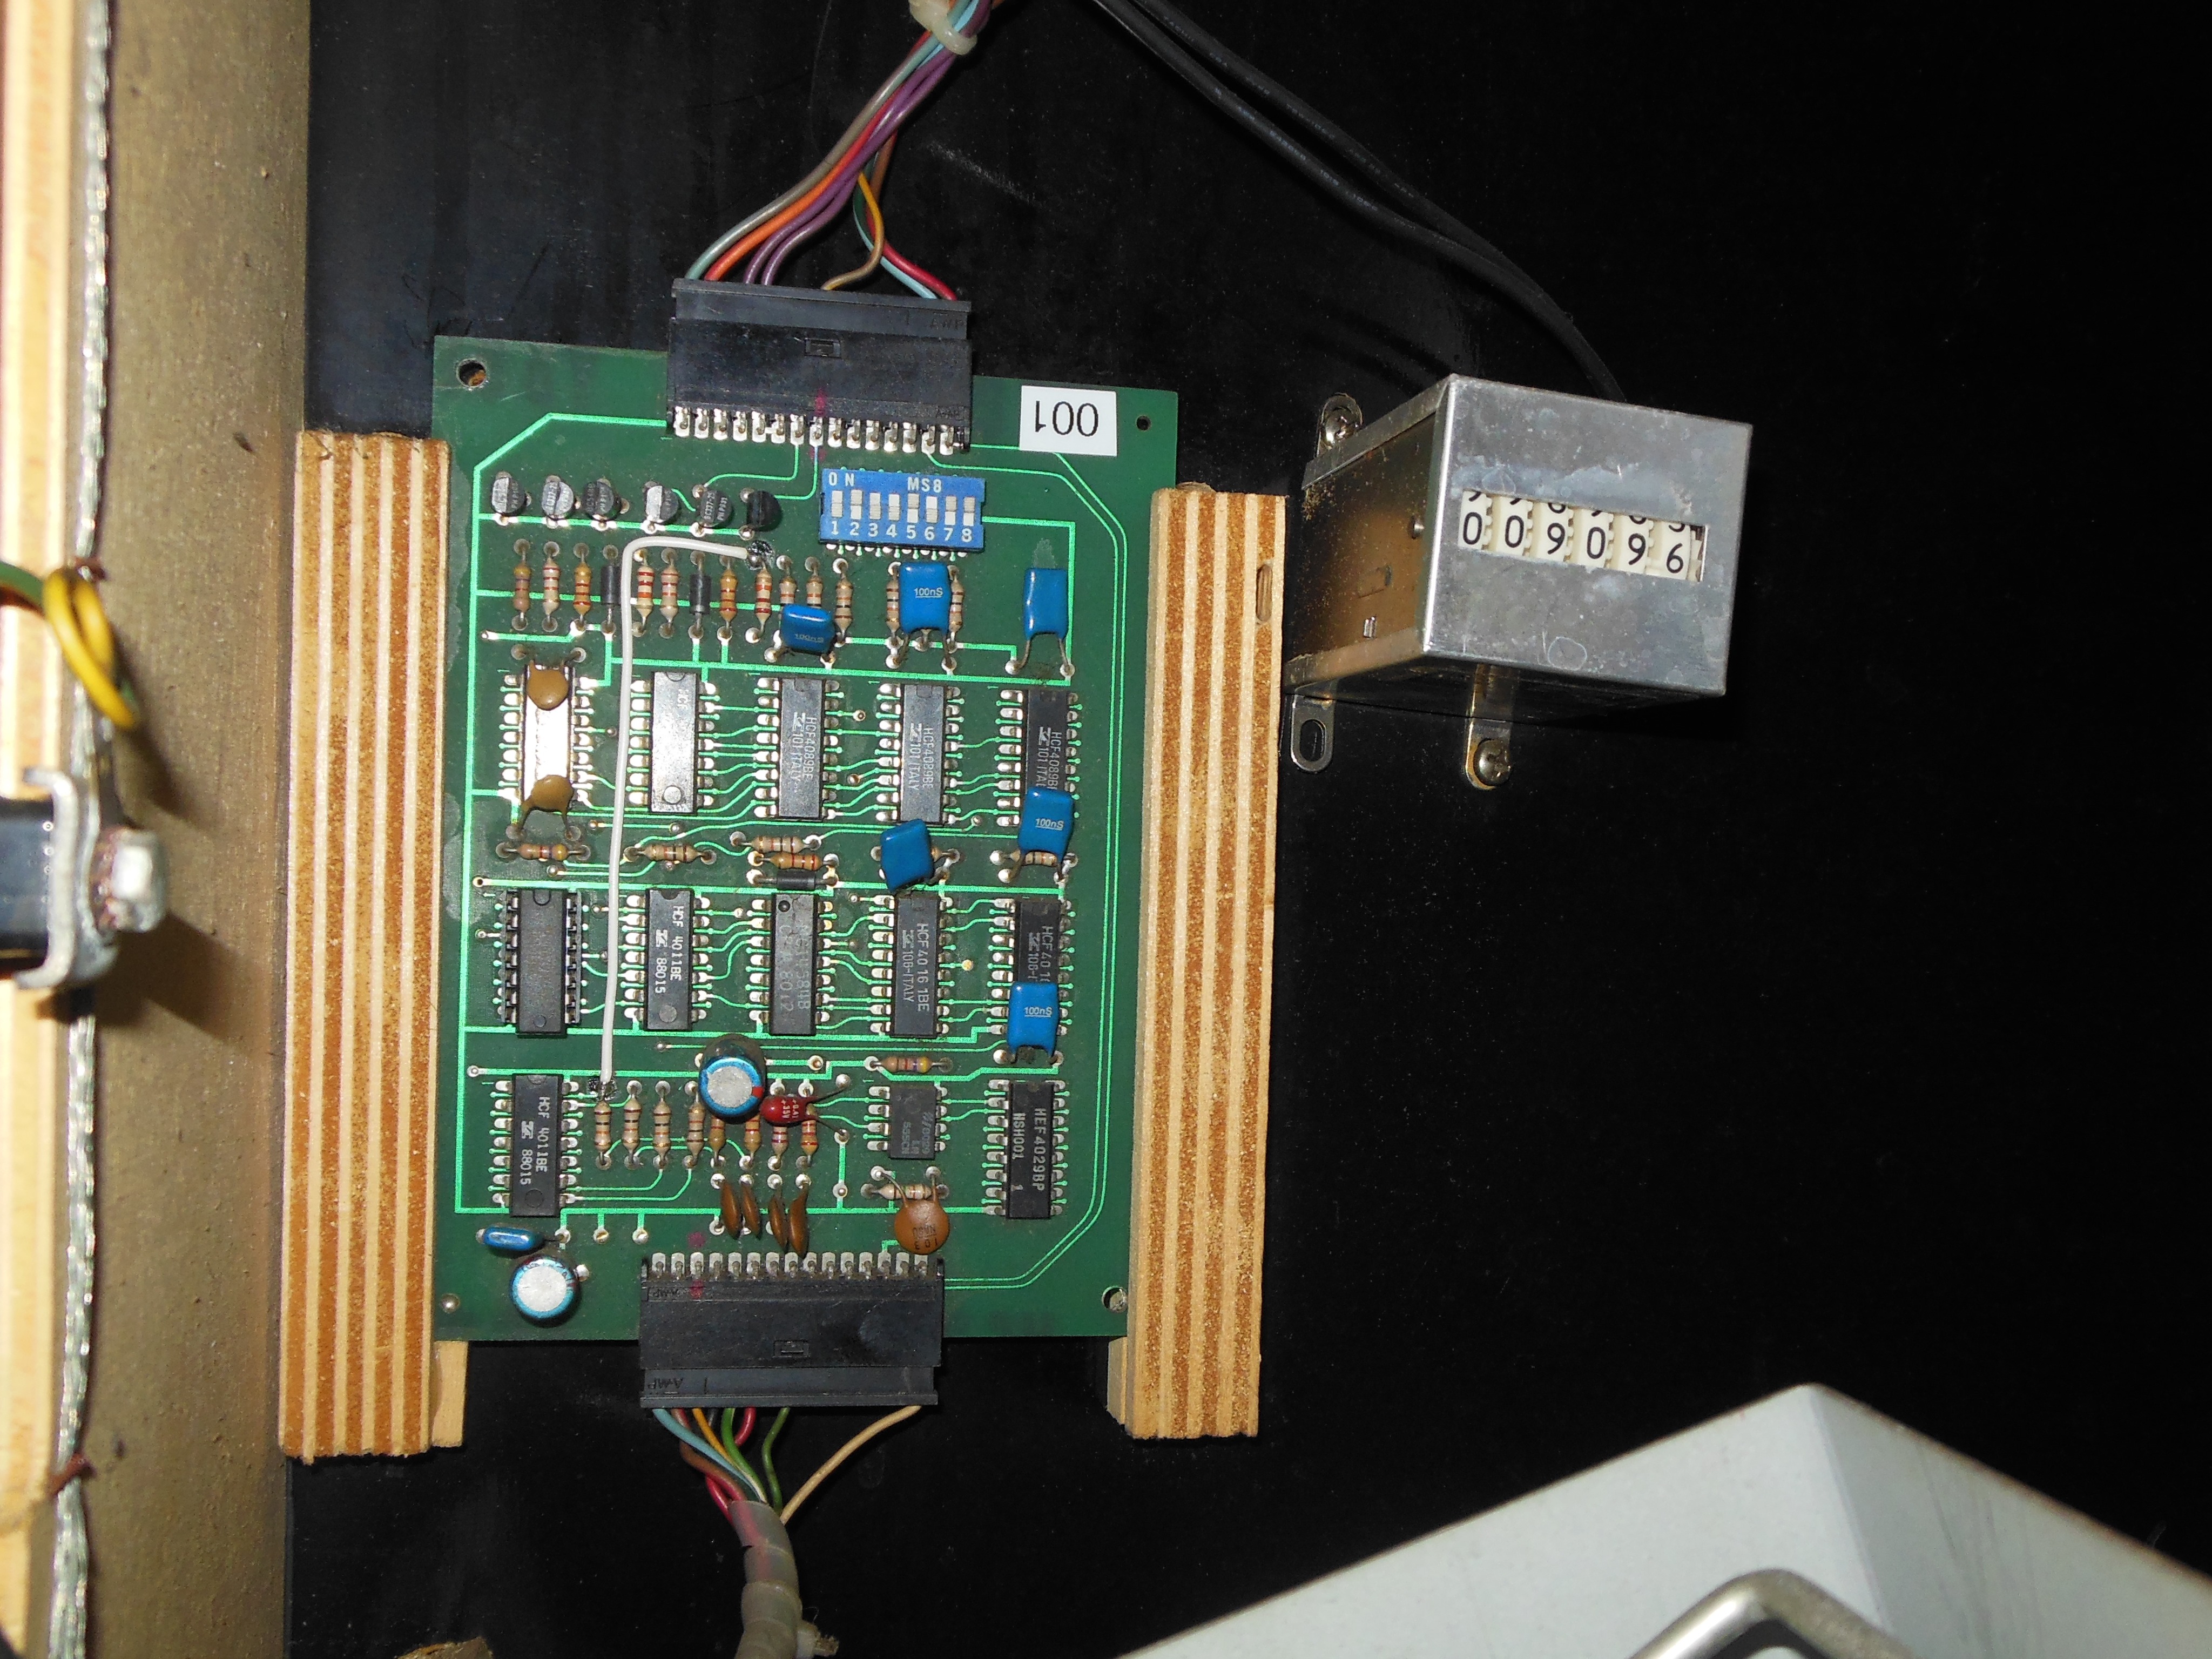
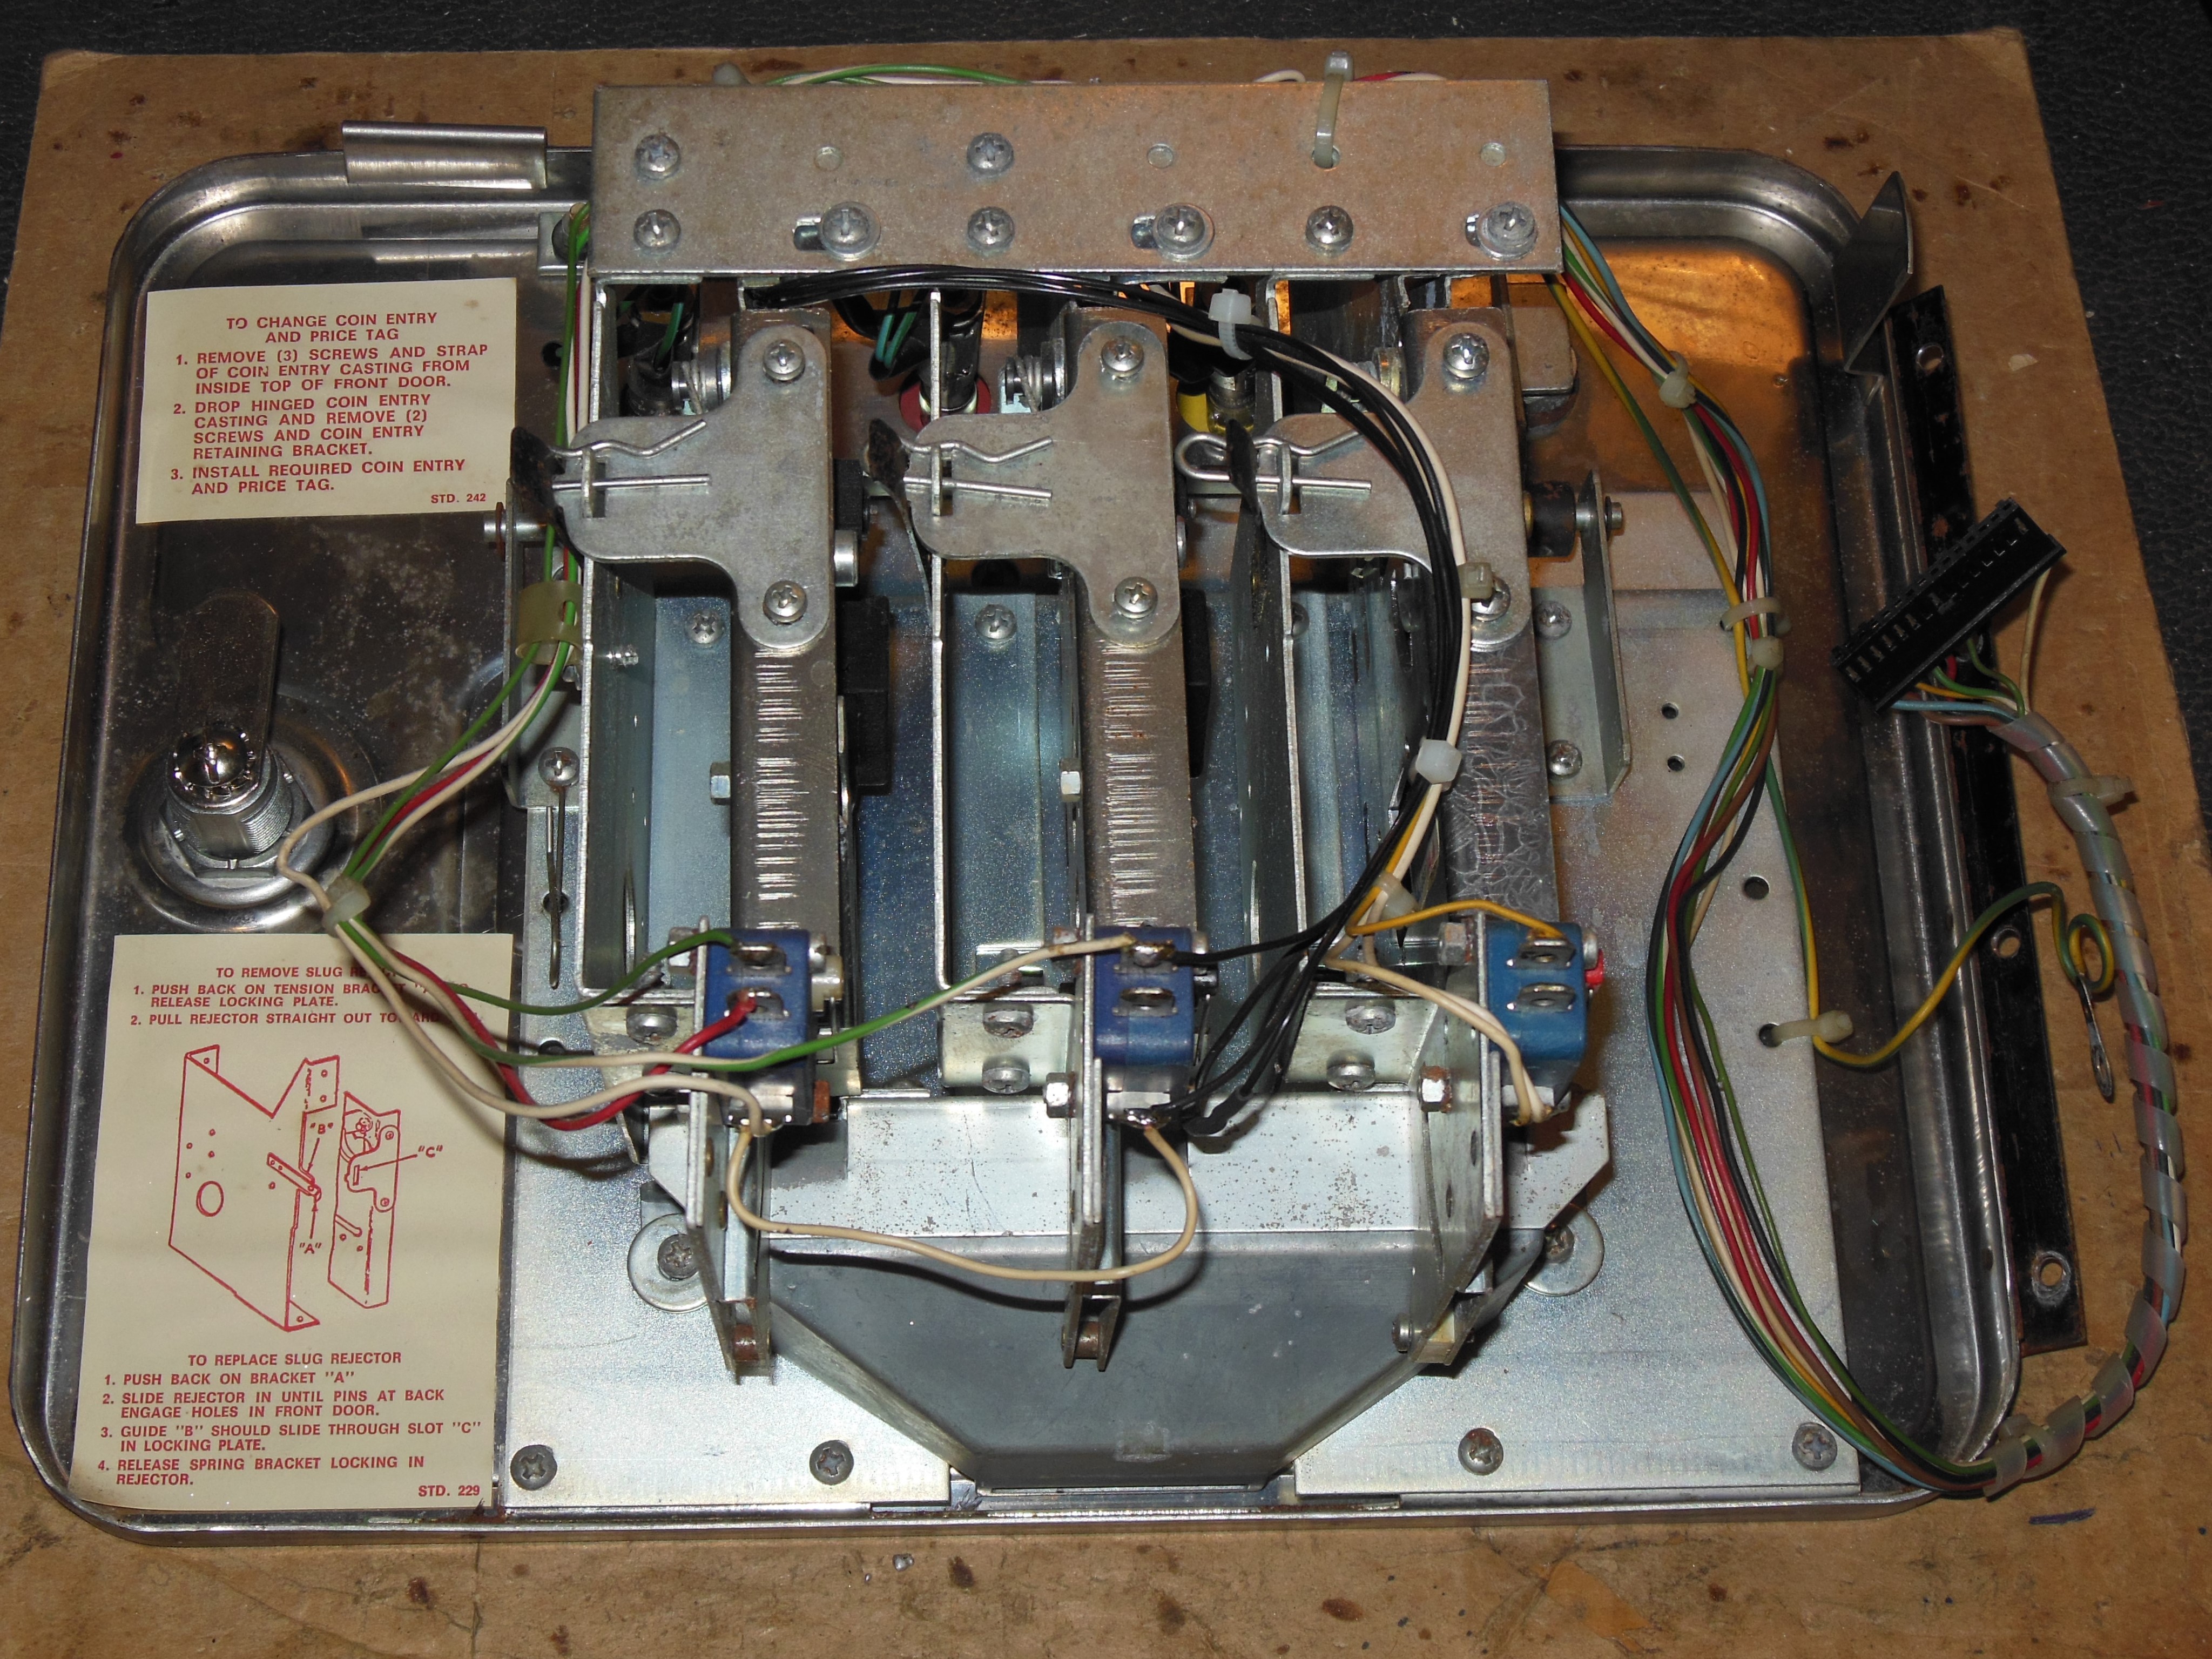
Both coin door and wiring were still in original condition, however the 1B1145 old style credit PCB had been replaced with a 1B1185 new style PCB. The control panel and wiring appeared all original and unhacked.
|
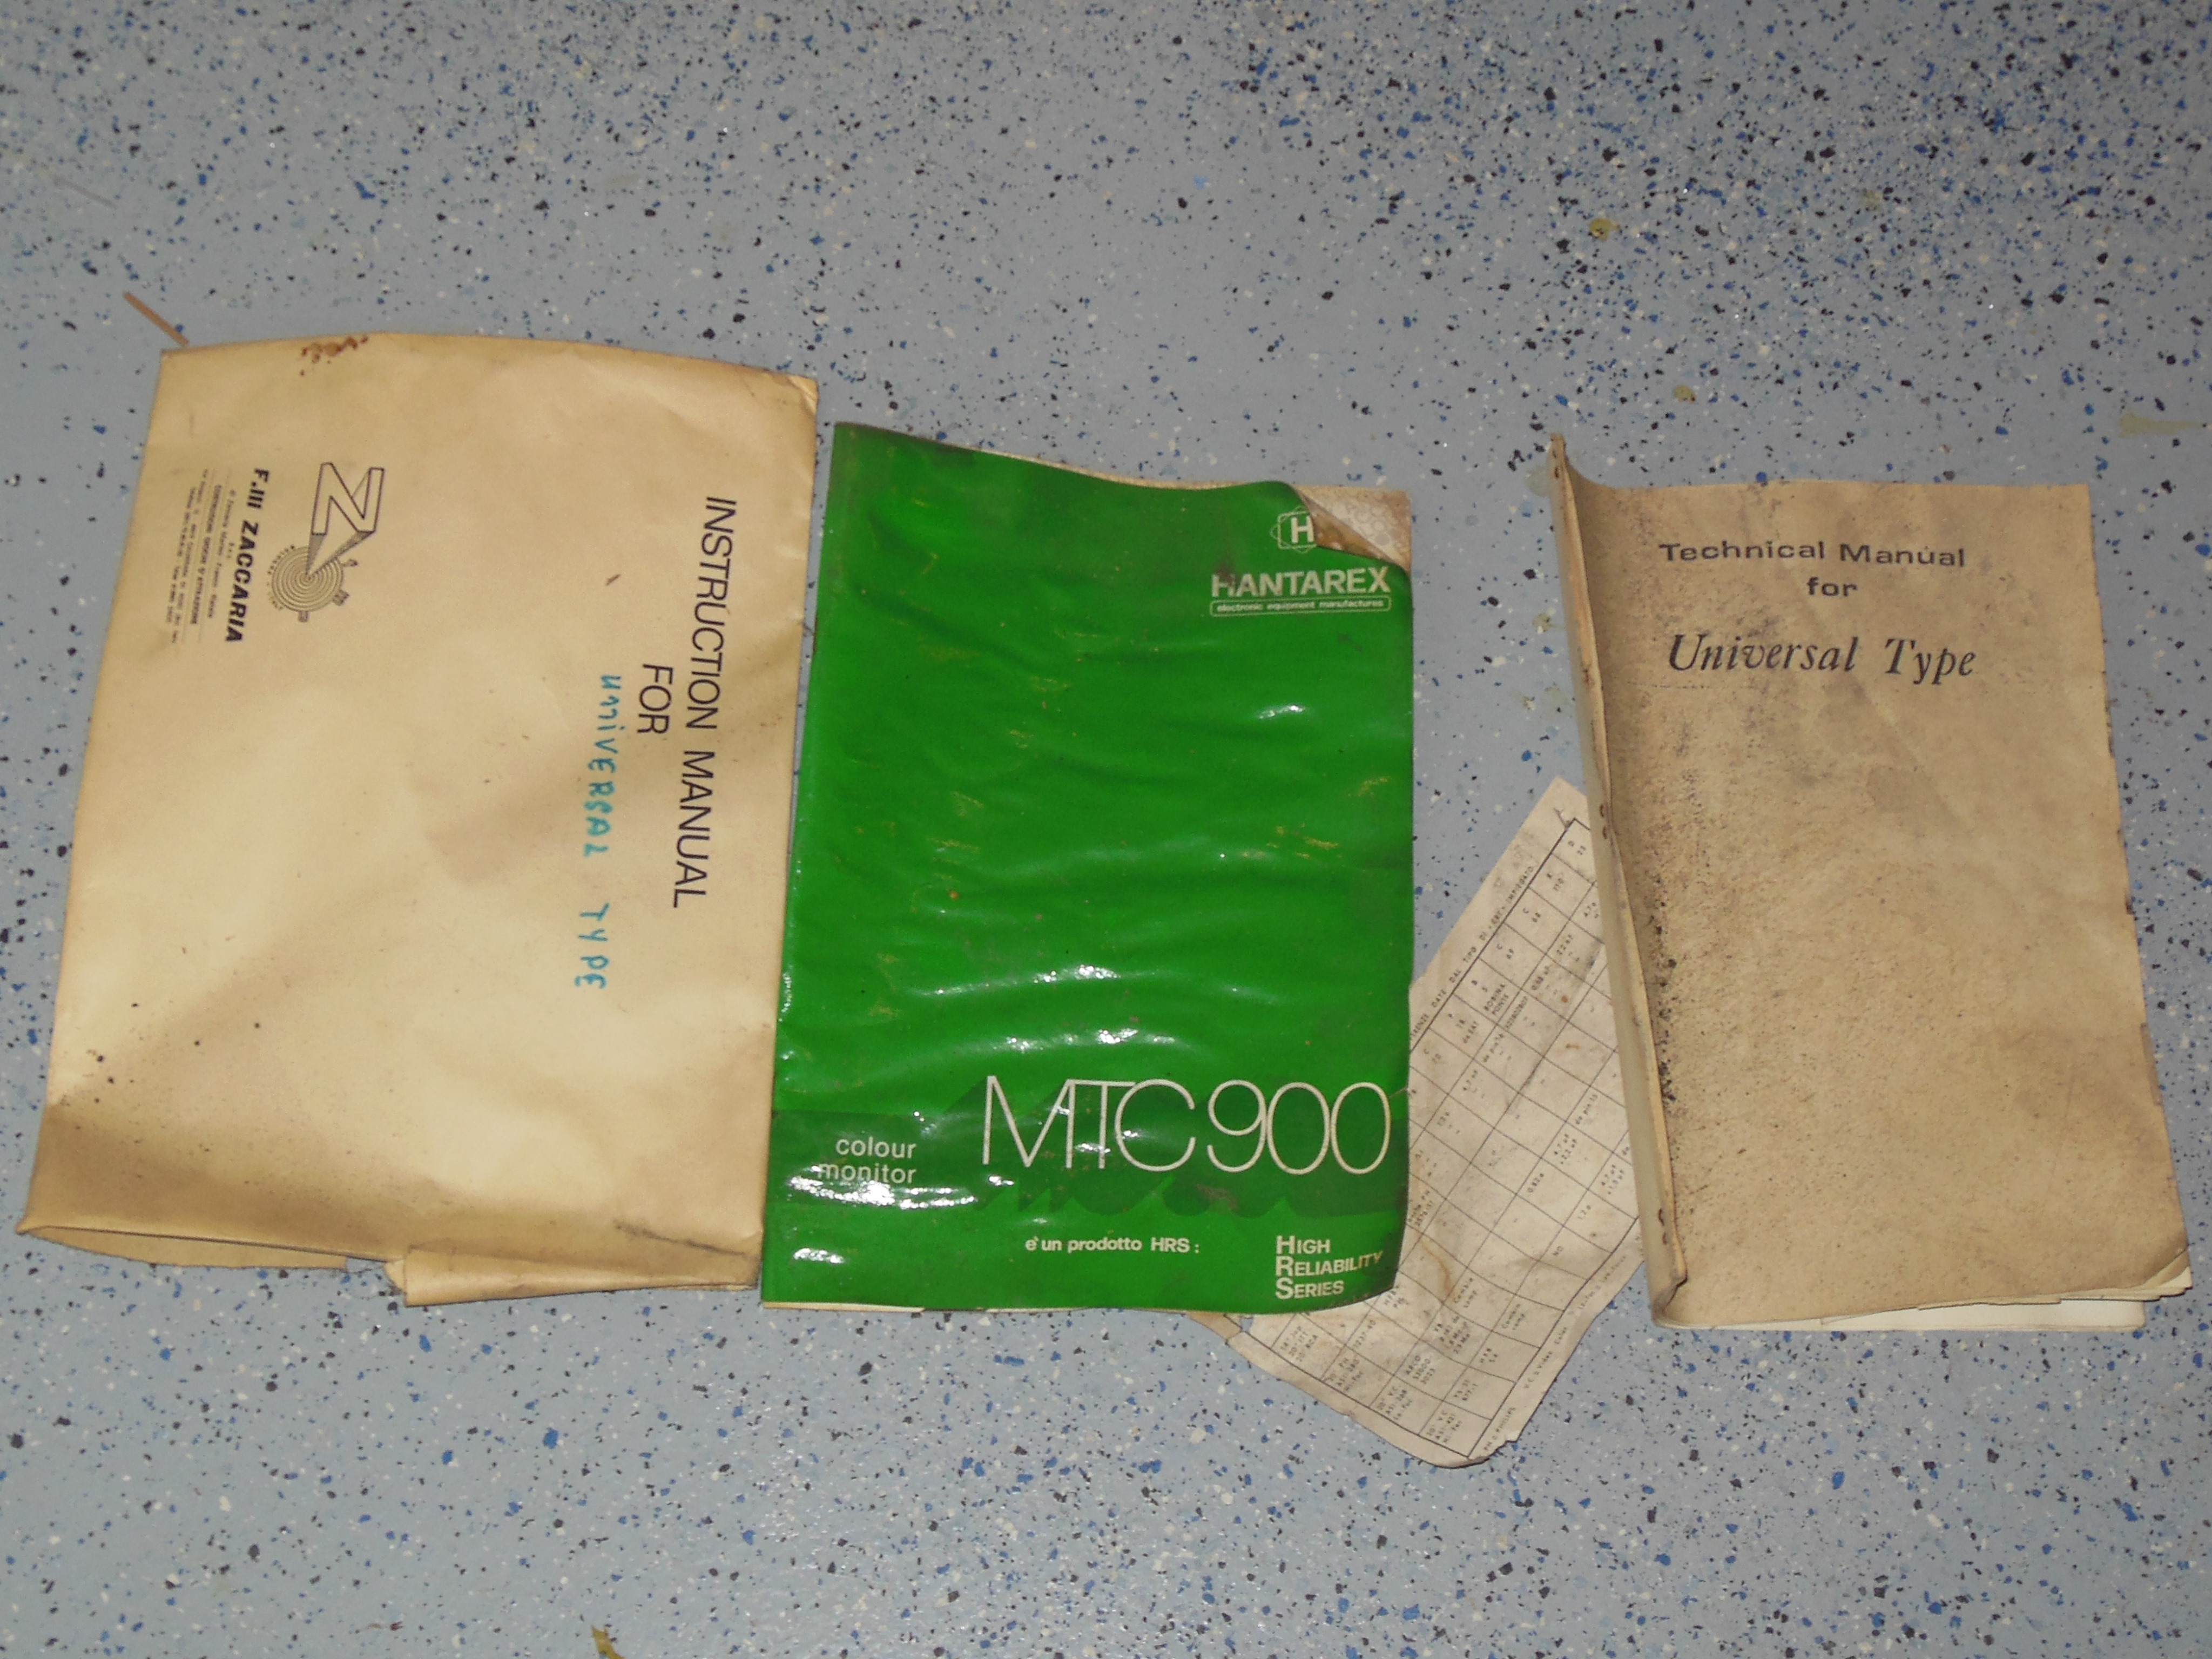
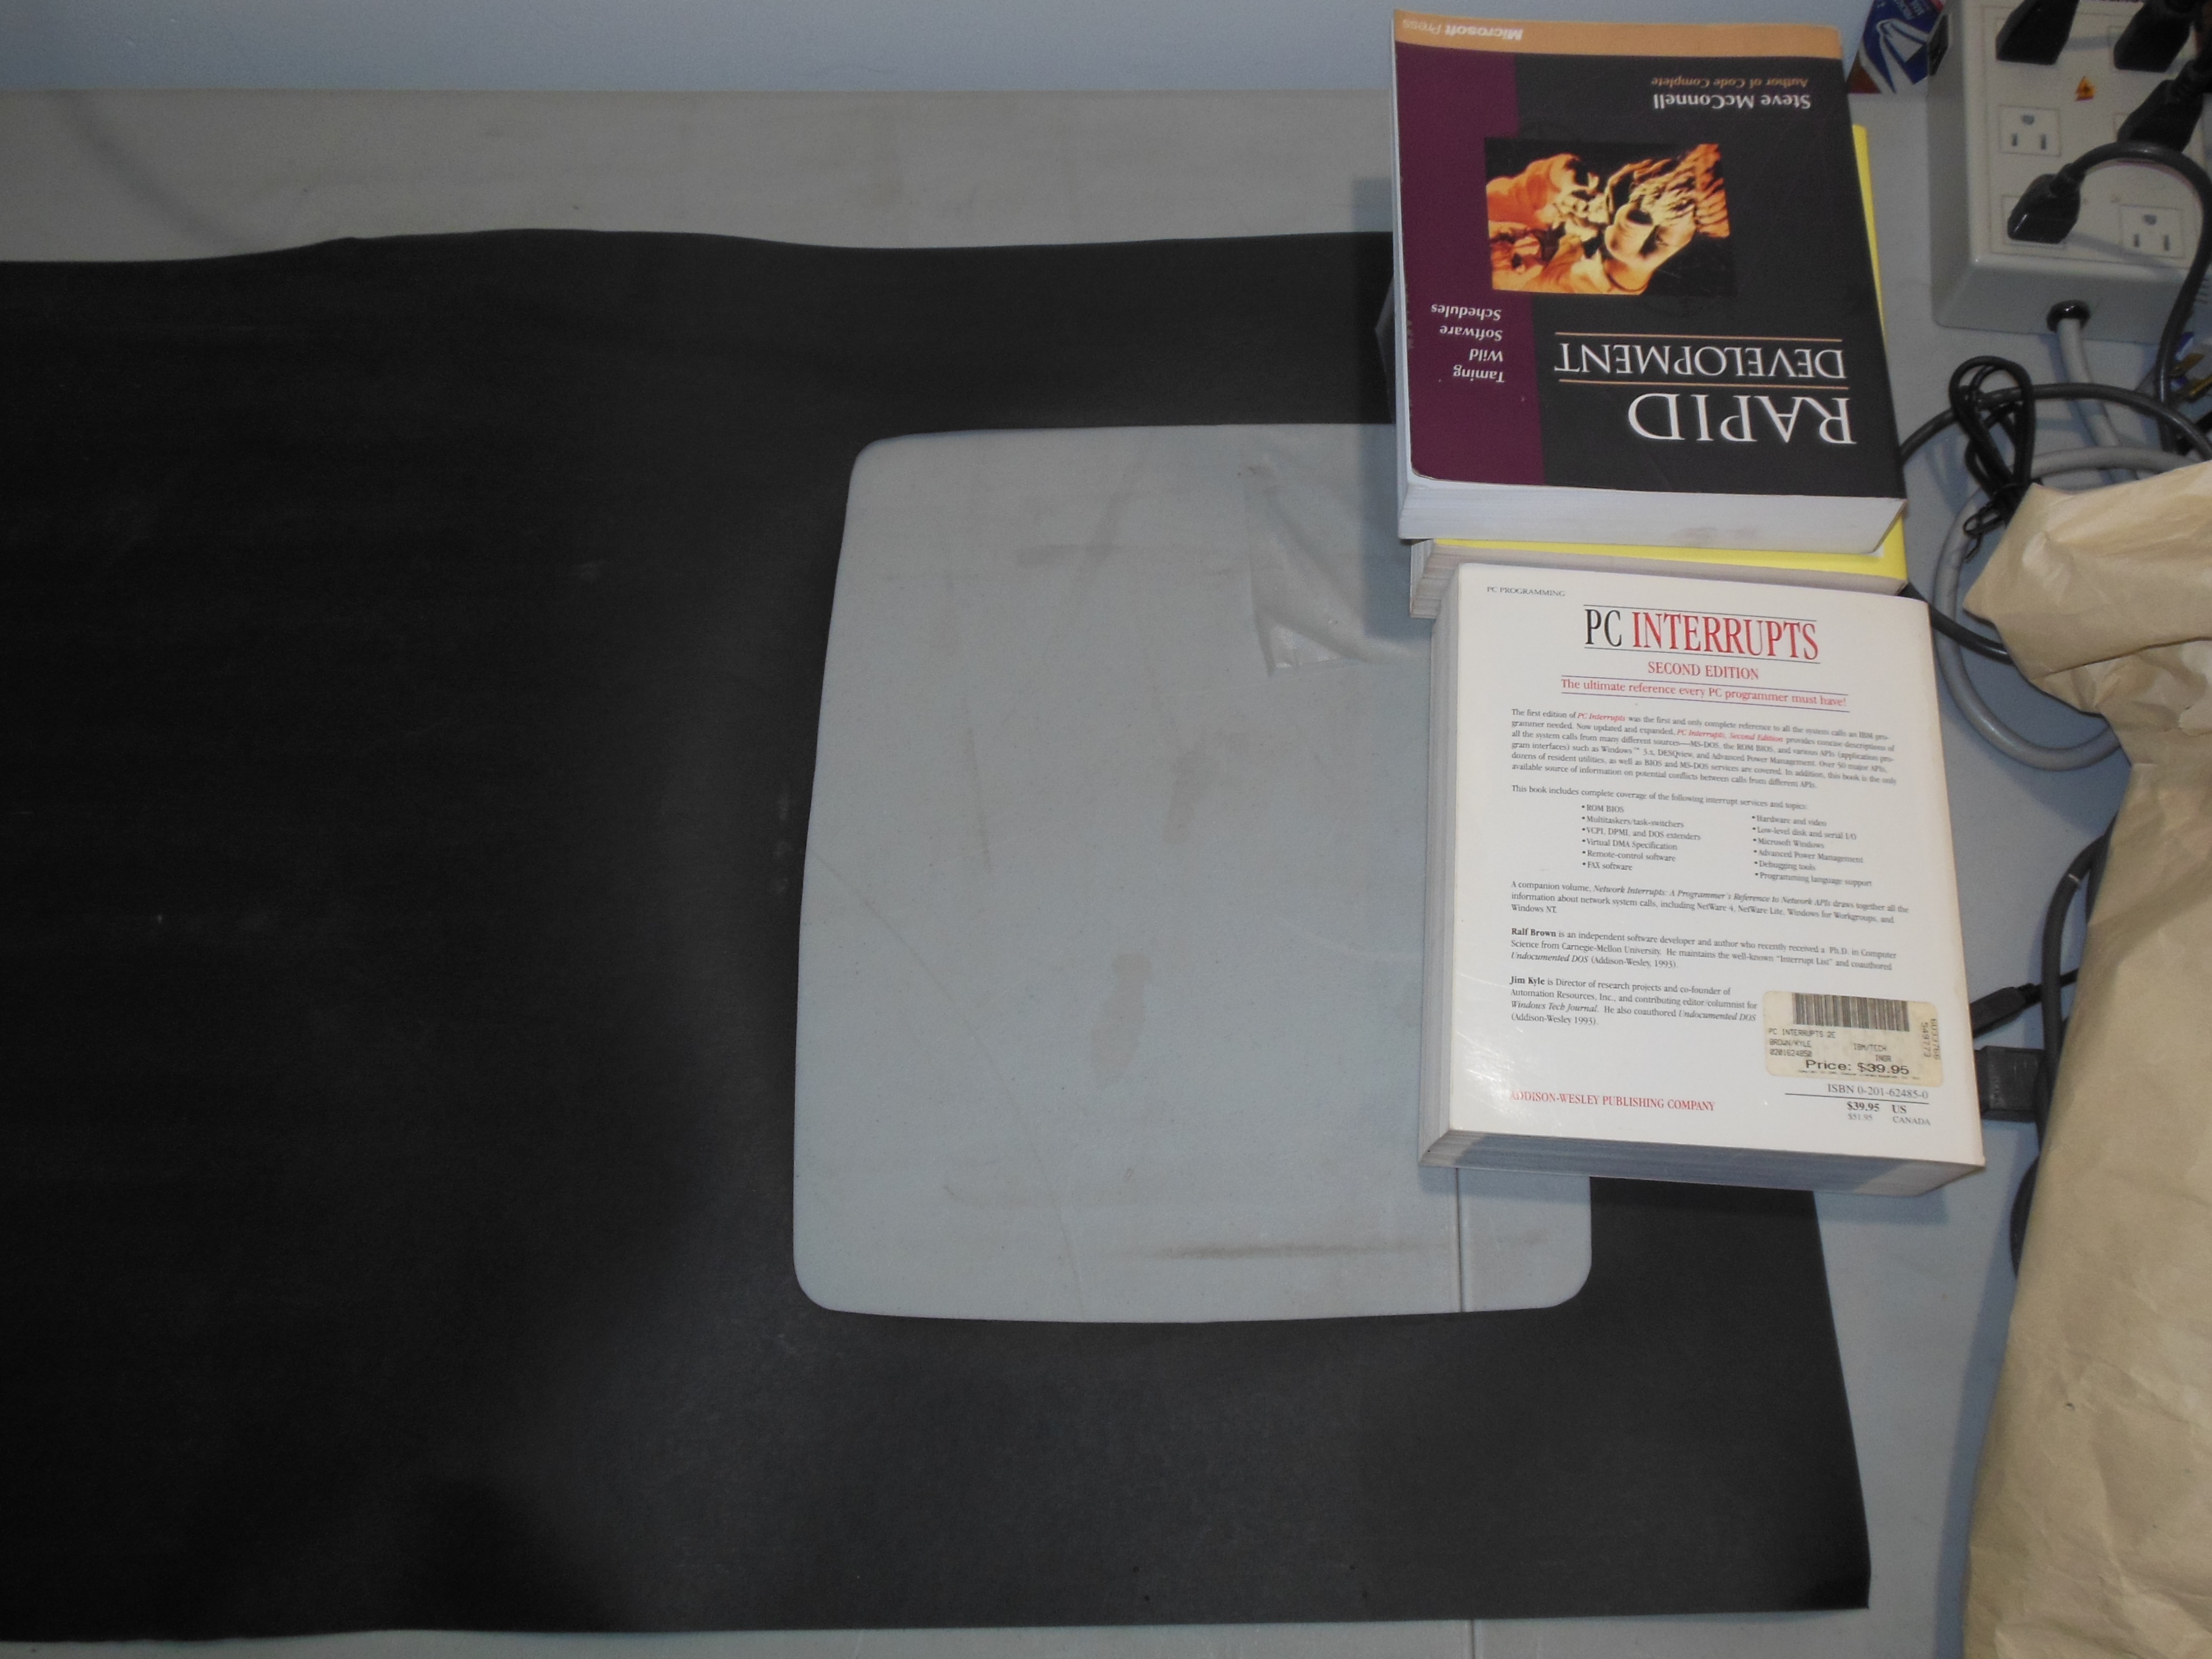
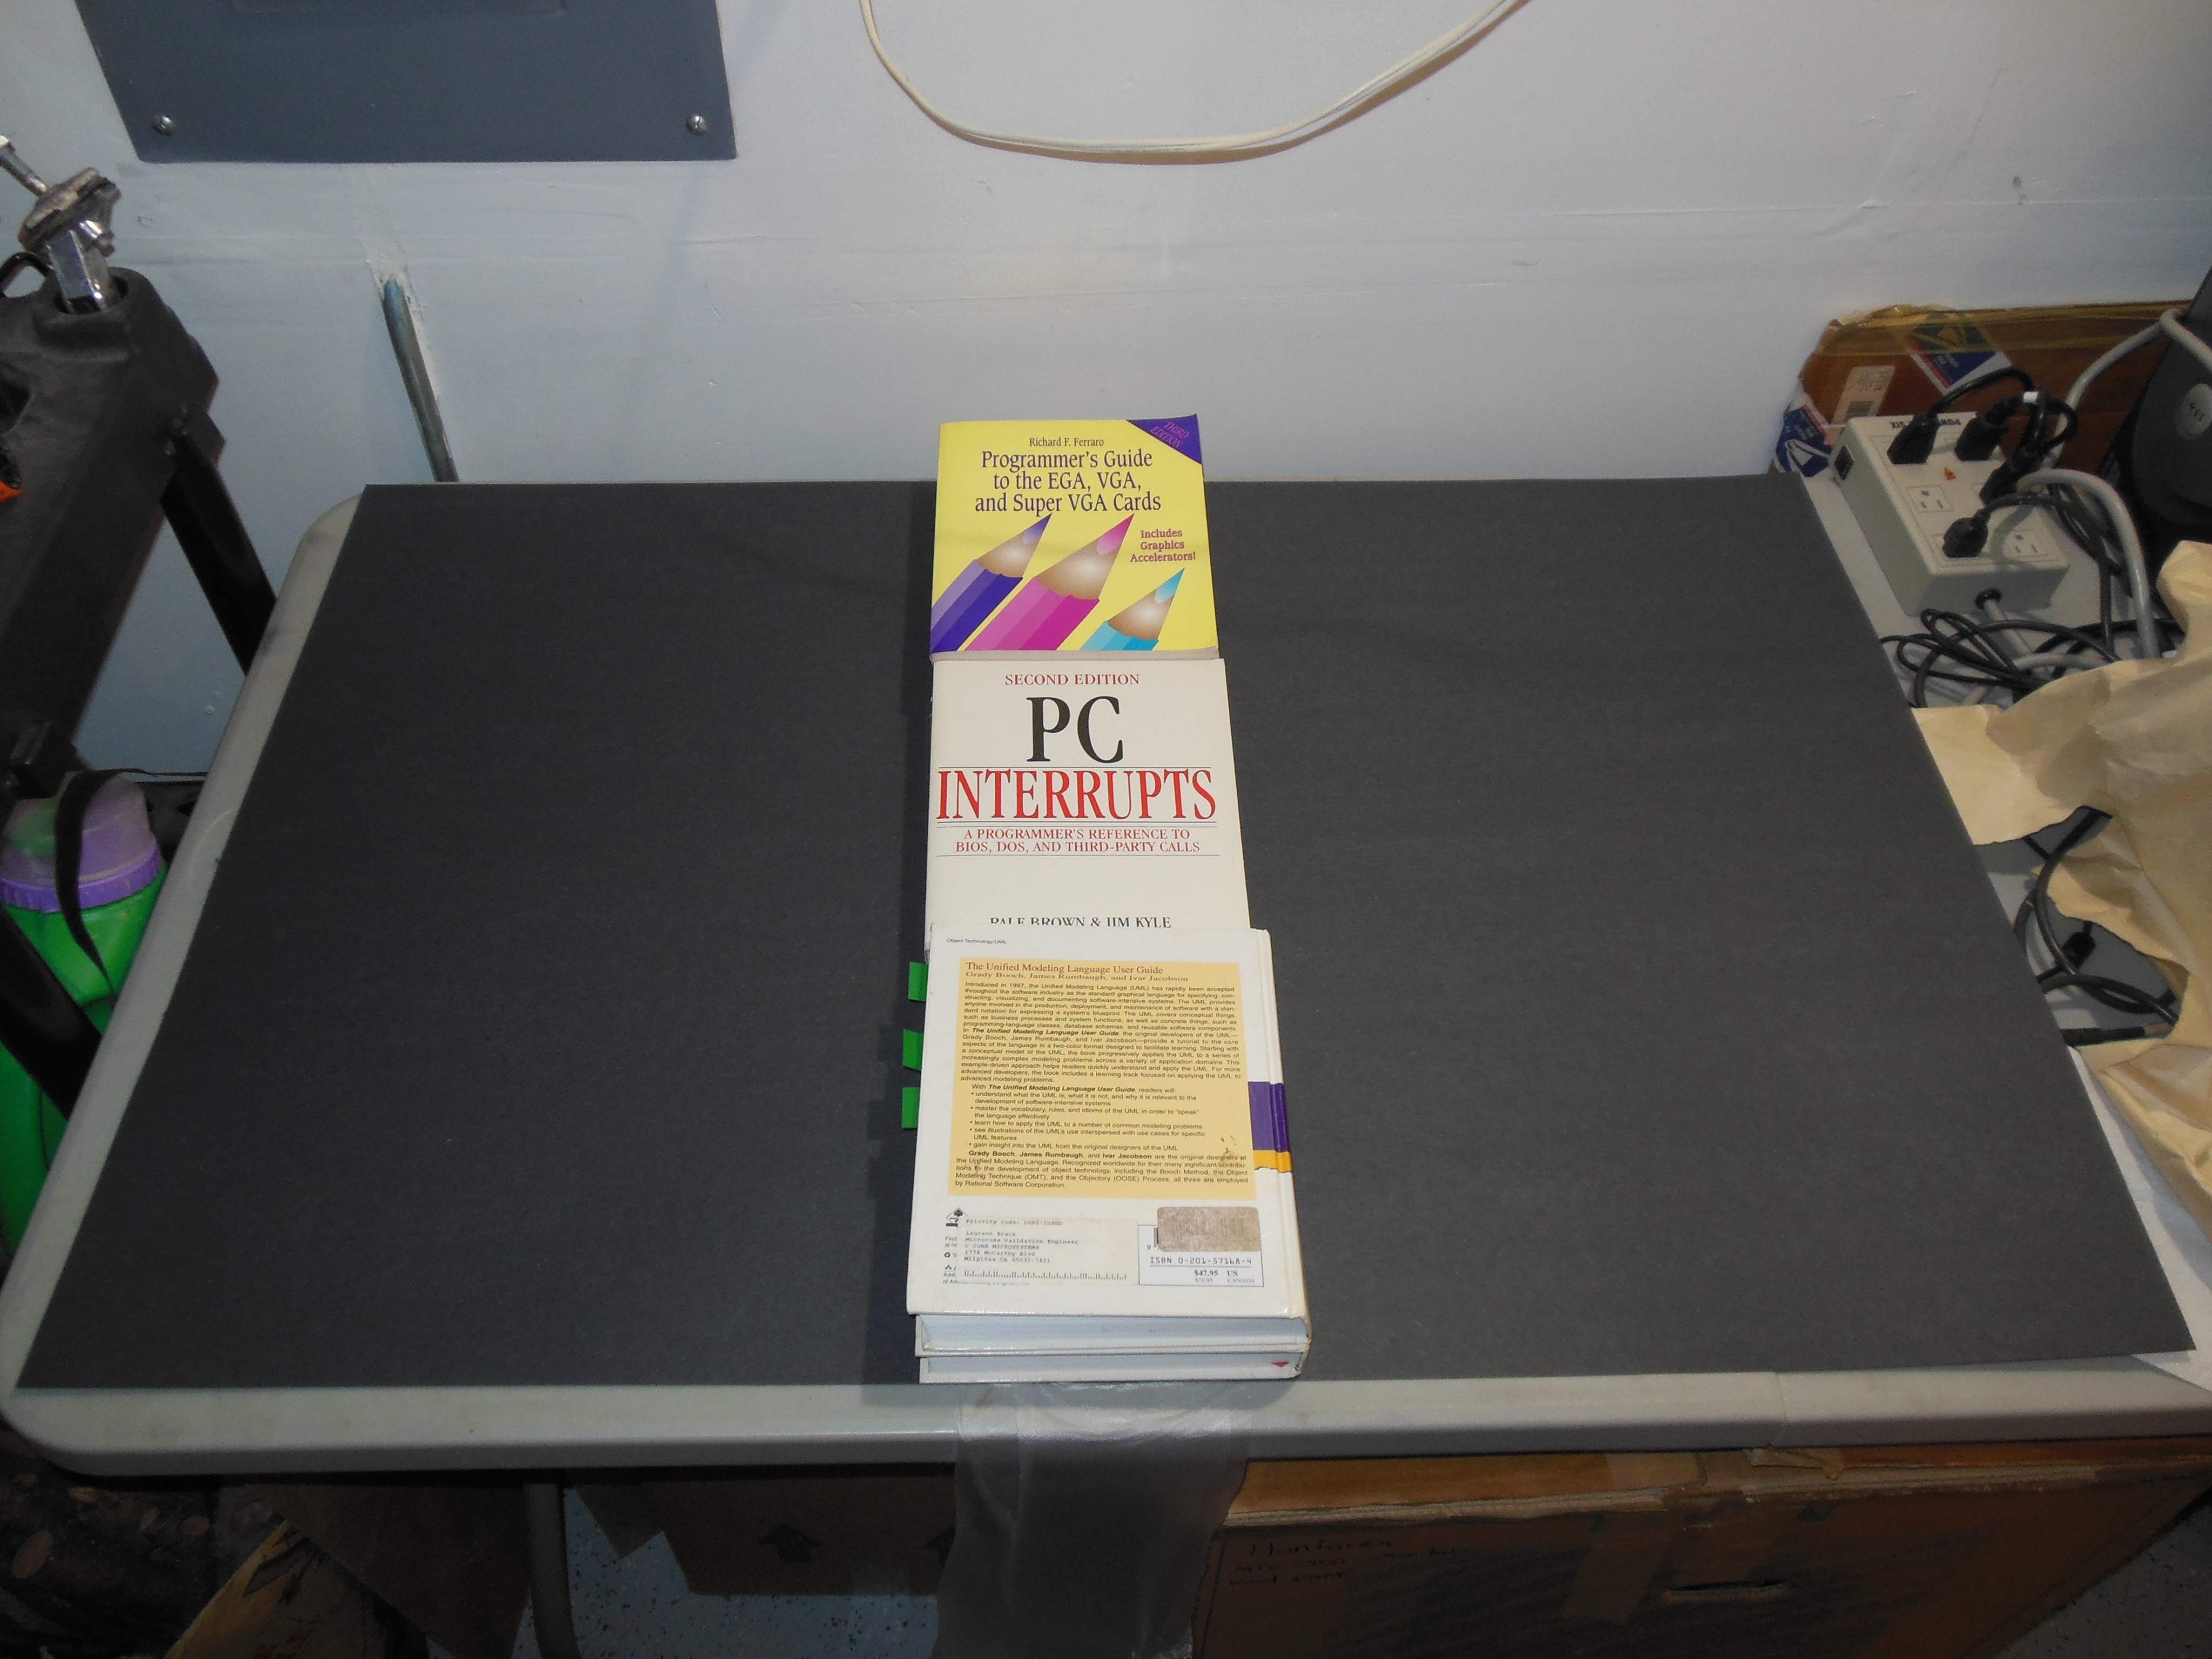
In the bottom of the cabinet was a manual packet with a Universal Type technical manual inside and an MTC-900 manual that had was entirely fused into a rigid board, presumably from long term moisture exposure. The enclosed CRT configuration sheet was forever one with that manual.
|
I also realized that Hyper Olympic uses 10 inputs, but Universal Type cabinets with a Konami pinout would only have had 8 inputs wired. The Universal Type manual in the cabinet had a wiring chart that looked like it was Vanguard, that also uses 10 inputs, that could also explain why the game PCB used an adaptor.
Scanned in the Universal Type Vanguard manual.
300 DPI Universal Type Vanguard manual scan (77.0MB).

|
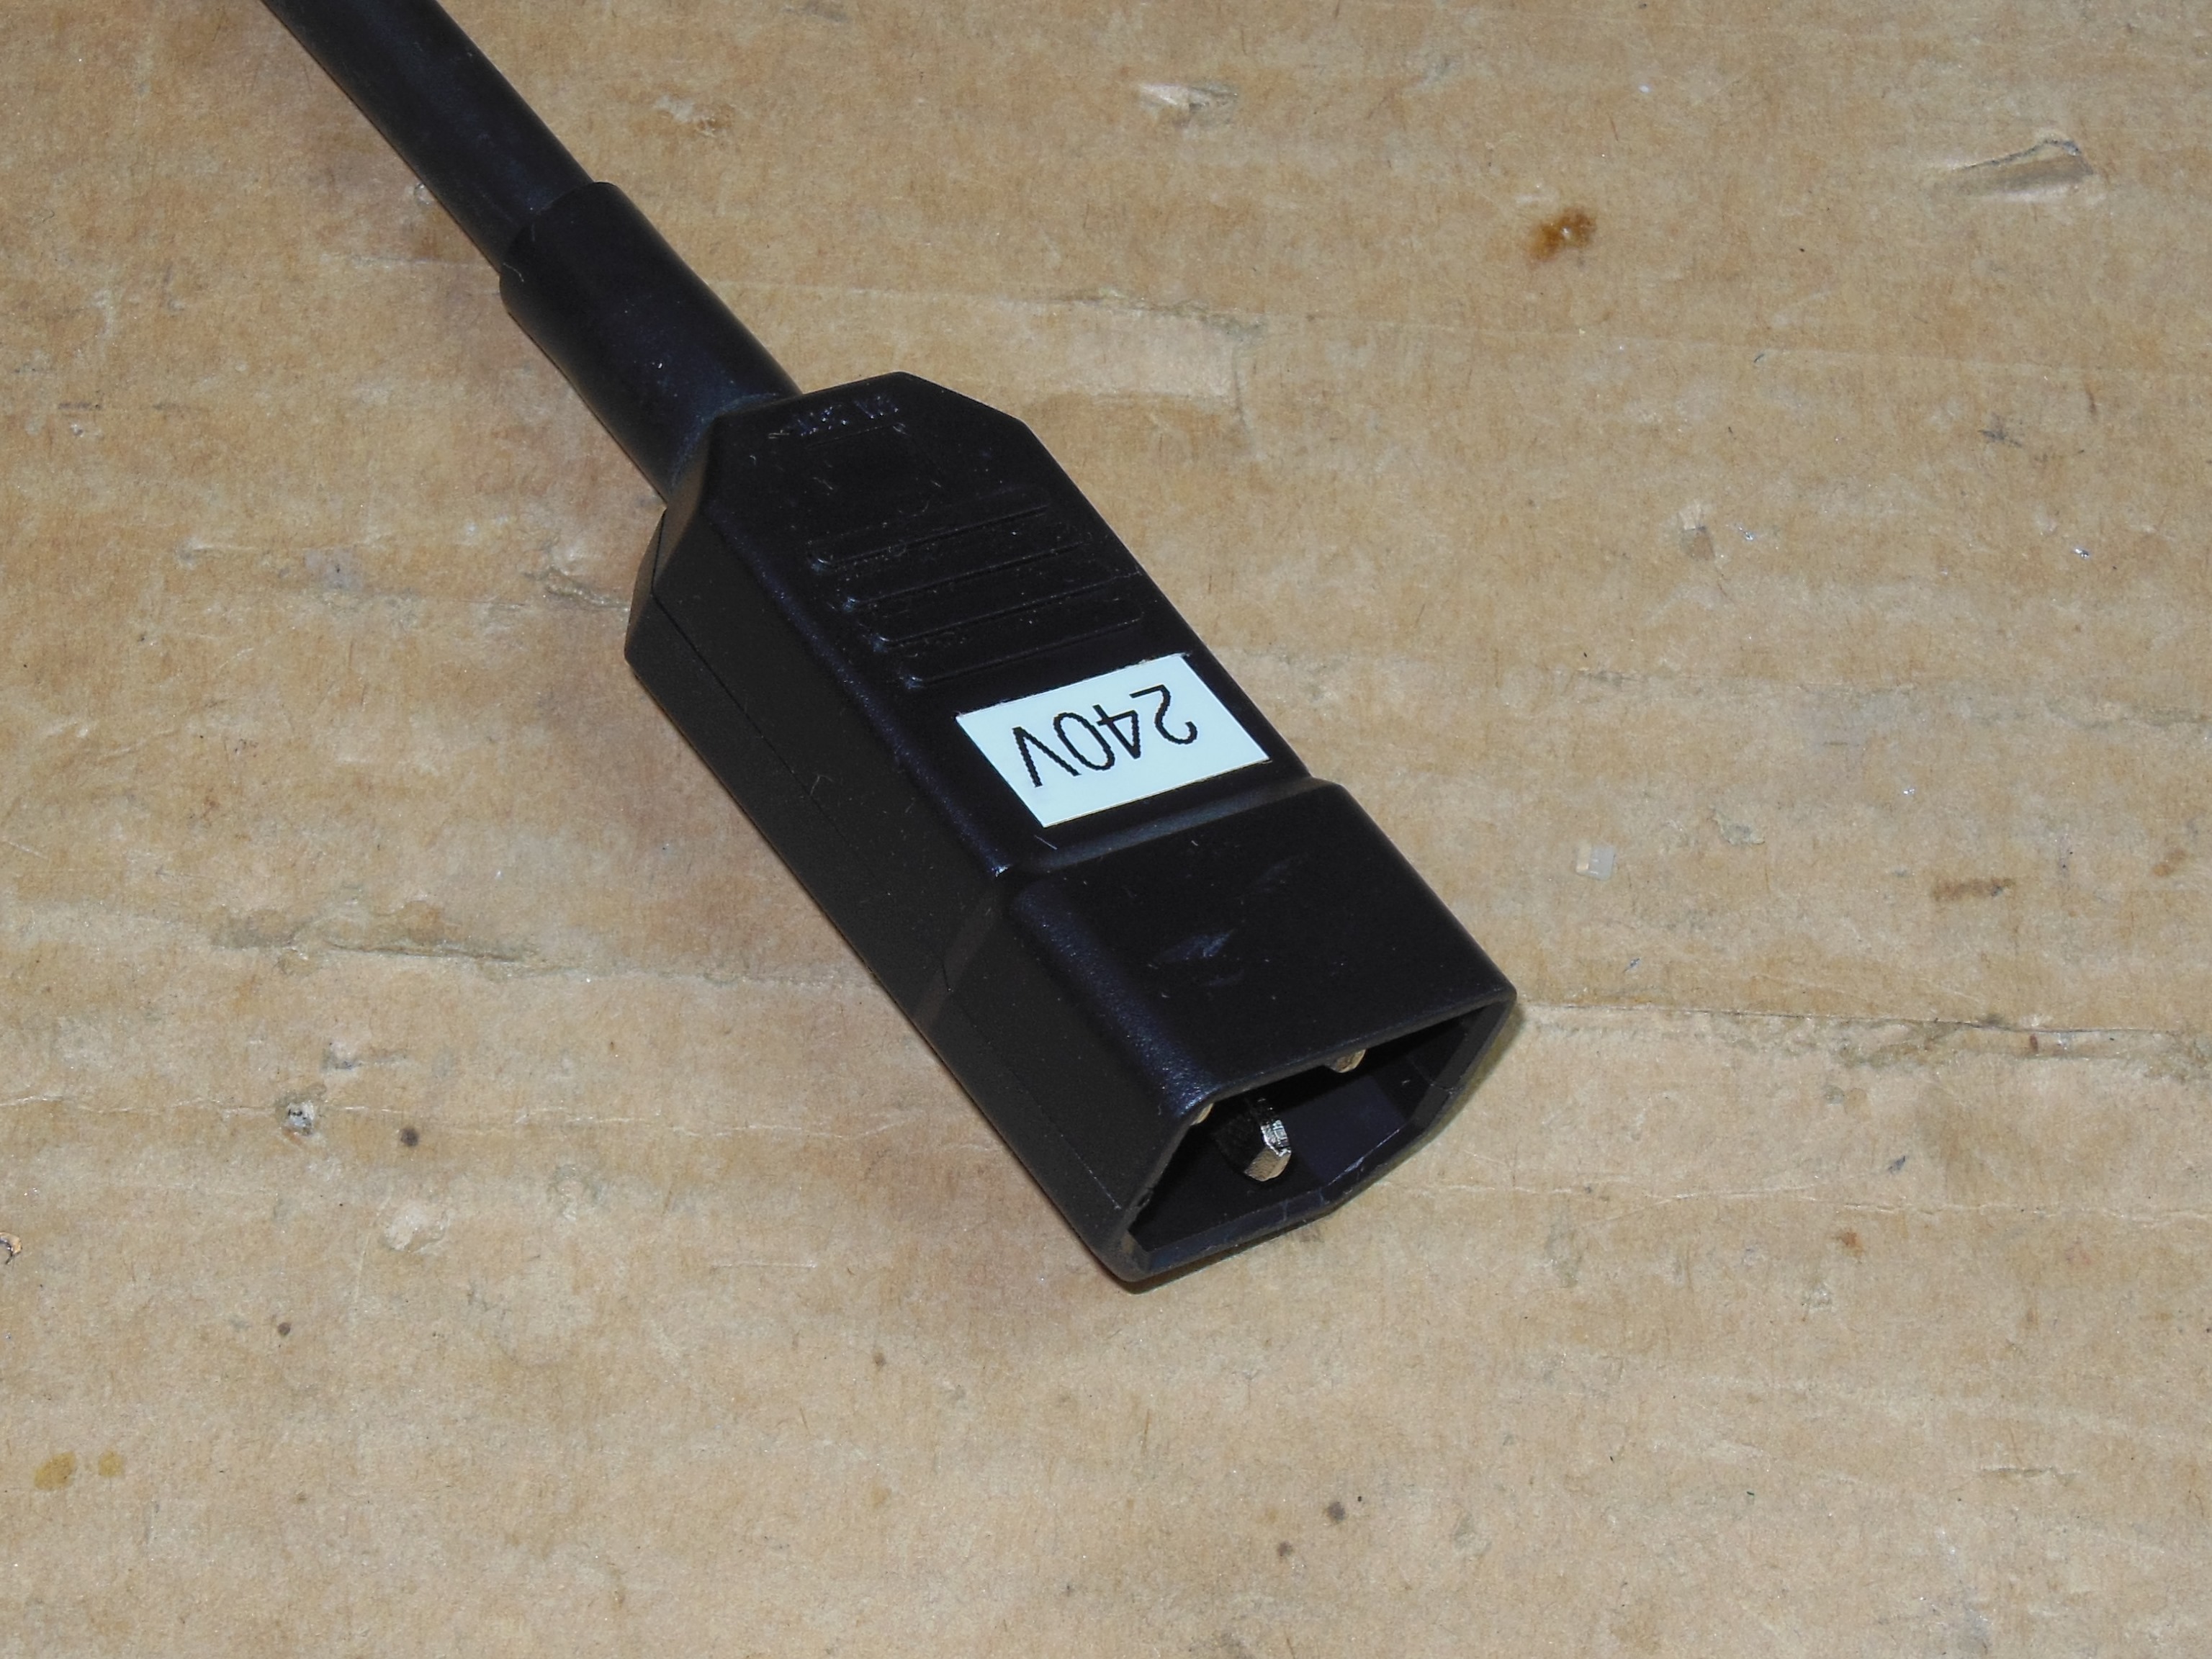
An IEC C14 power plug was fitted and the voltage selector on the transformer block set to 245V.
|
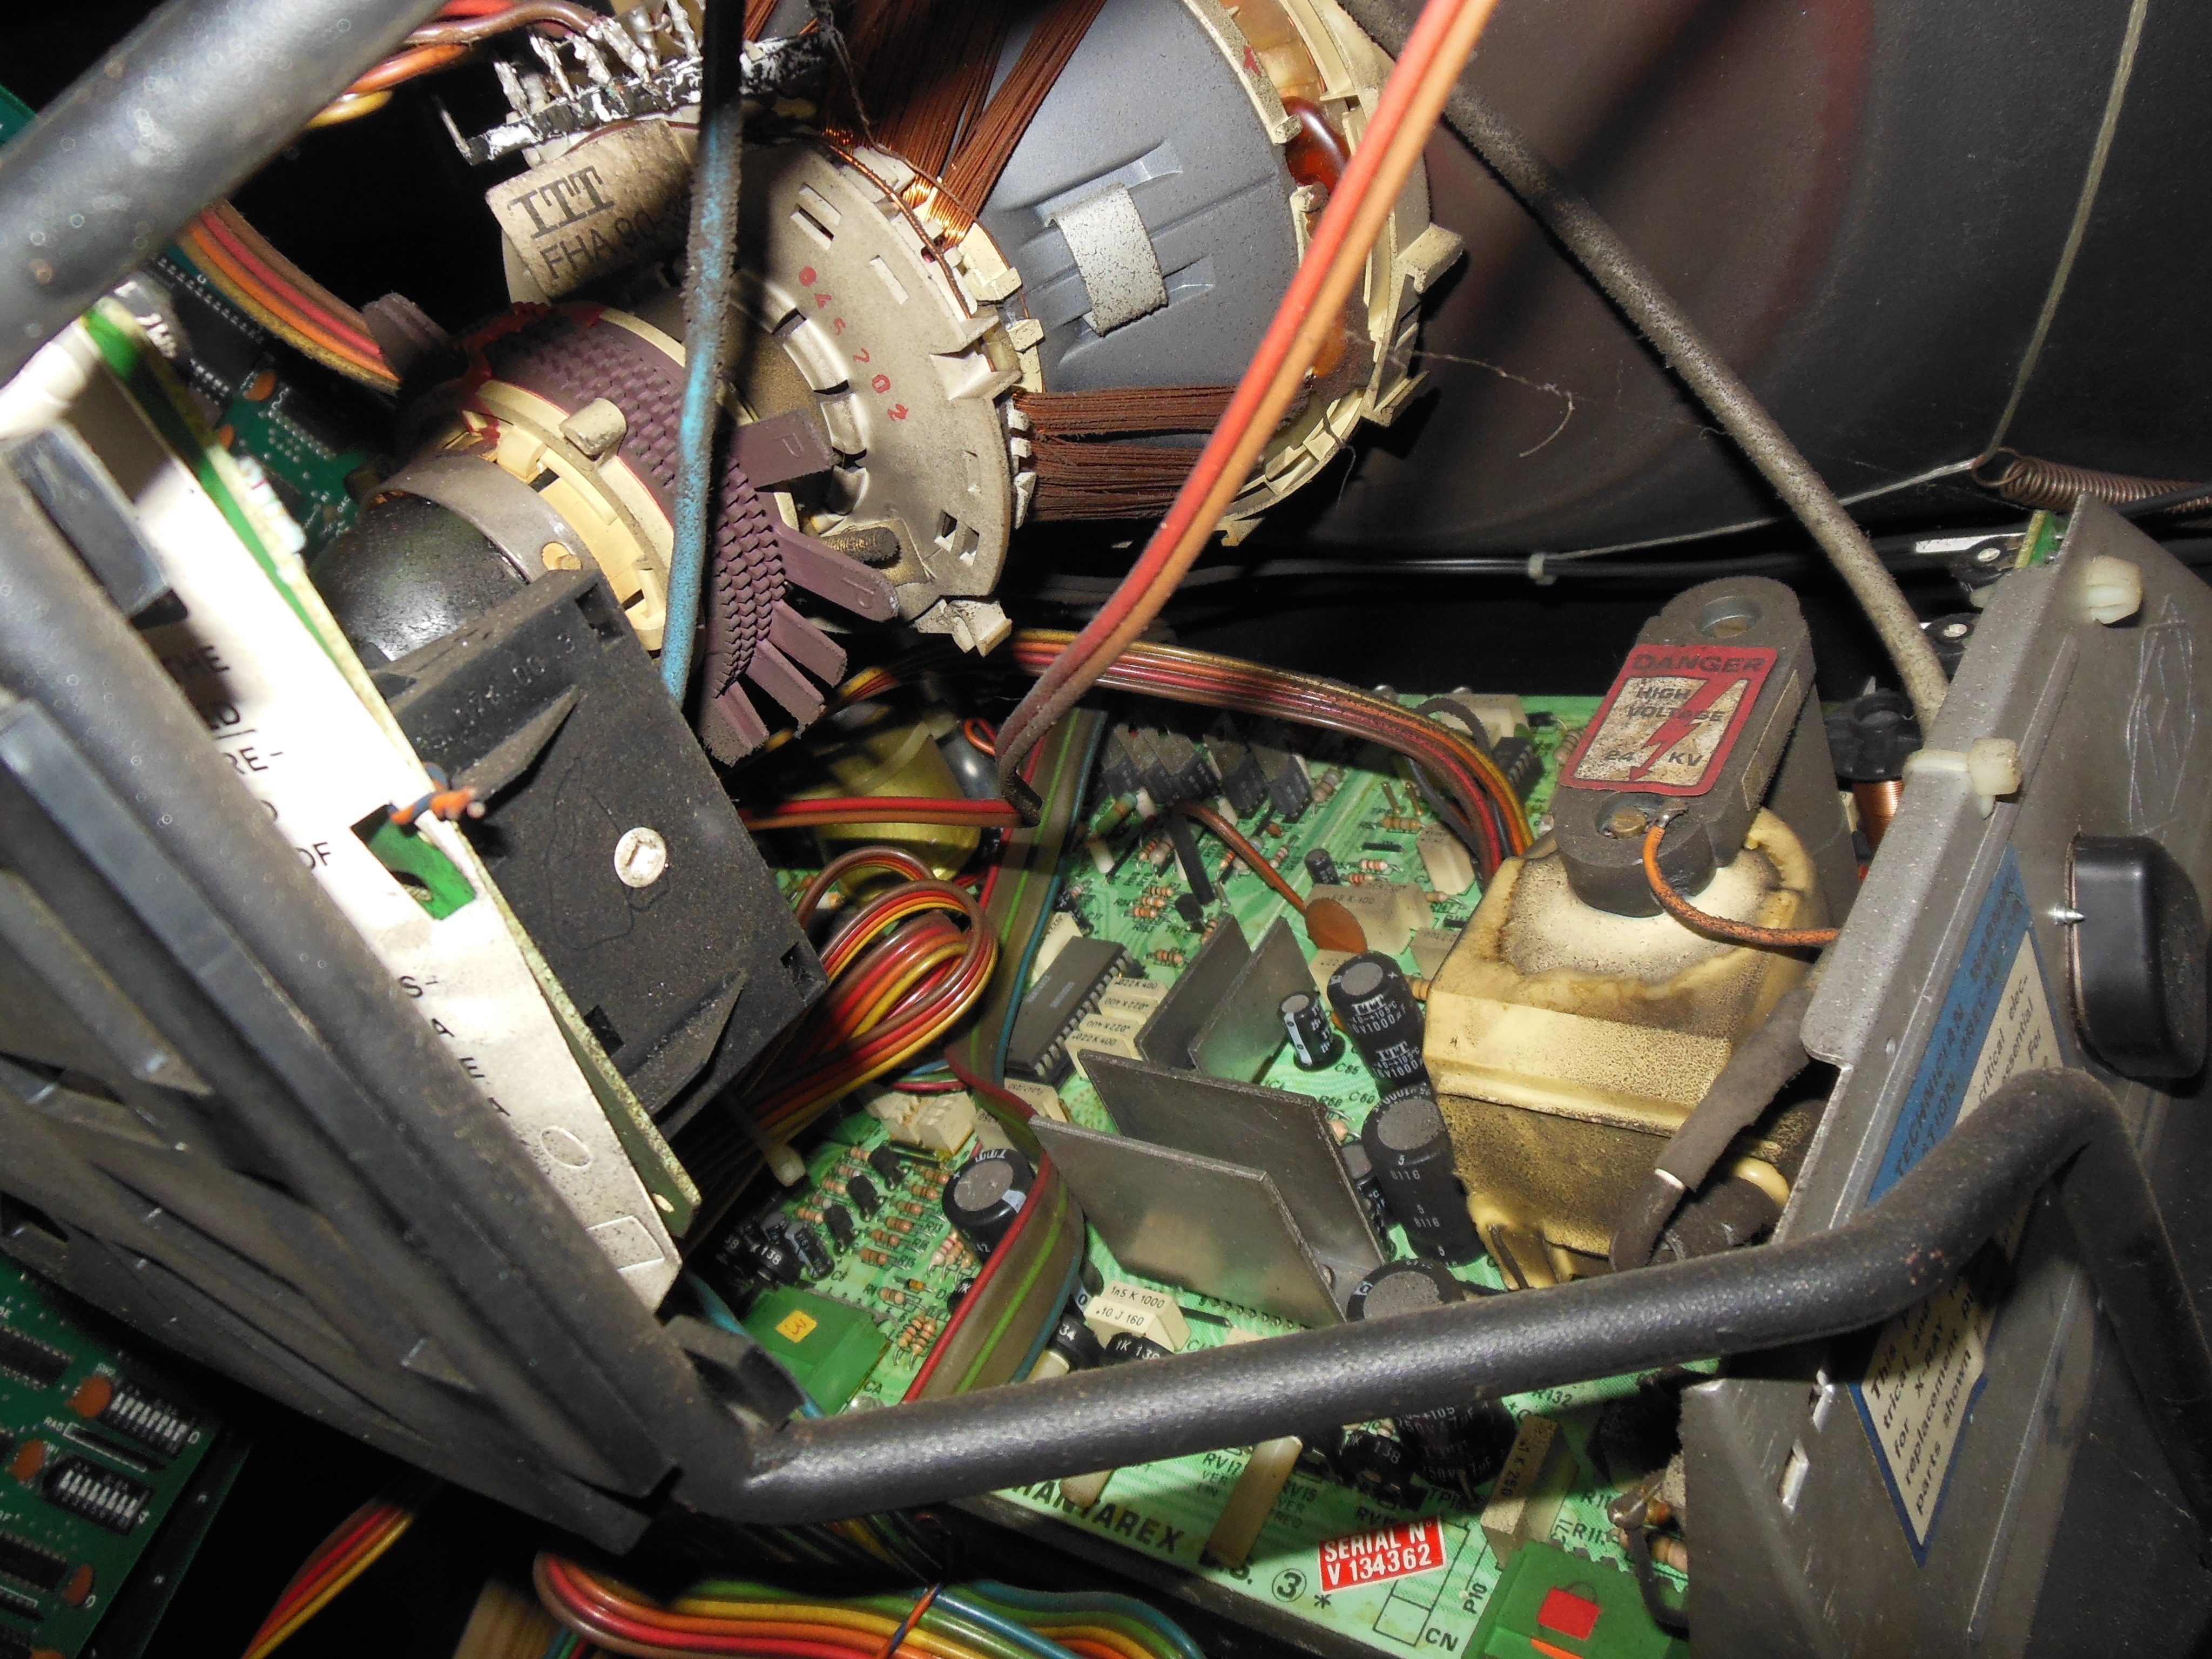
Given the poor state of the cabinet wiring, the game PCB and hacked in power supply were disconnected. Jason Kopp's Test Pattern Generator was connected to provide a video signal and the monitor powered on with a good picture and no smoke. The cabinet fan was running at low speed due to its wiring hacked to the monitor 128VAC instead of 220VAC. The marque light flickered but didn't stay lit.

|
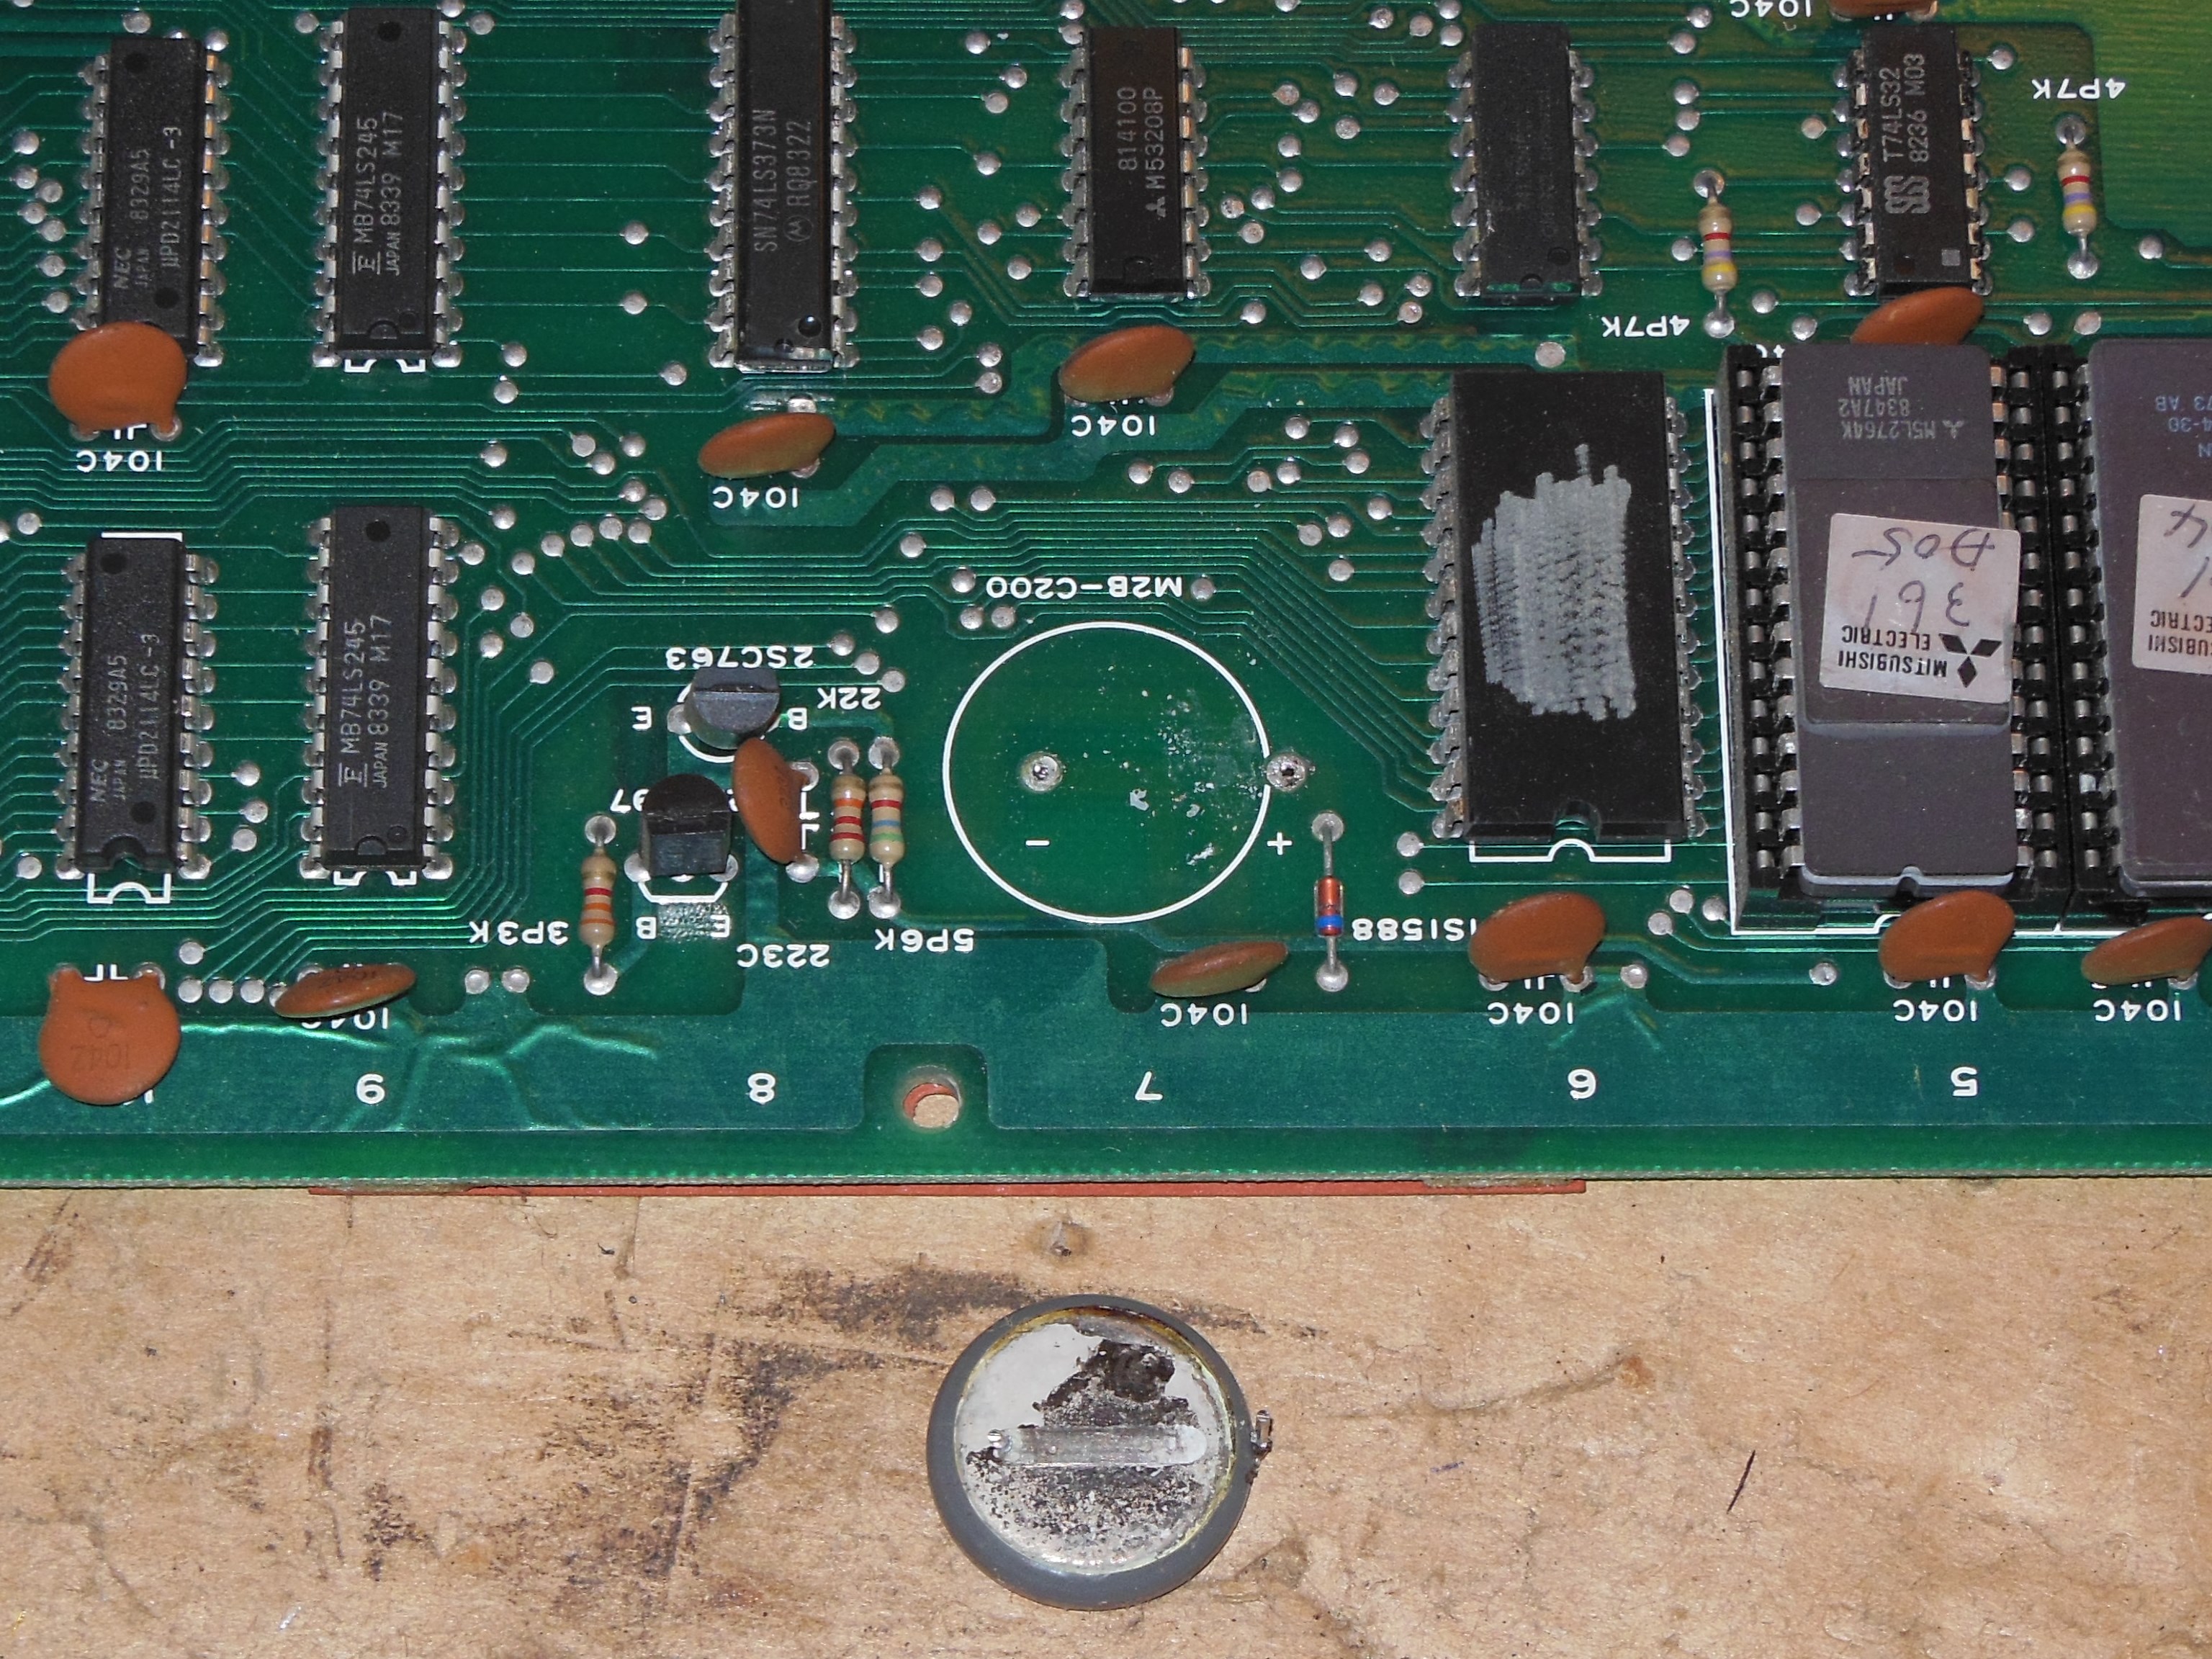
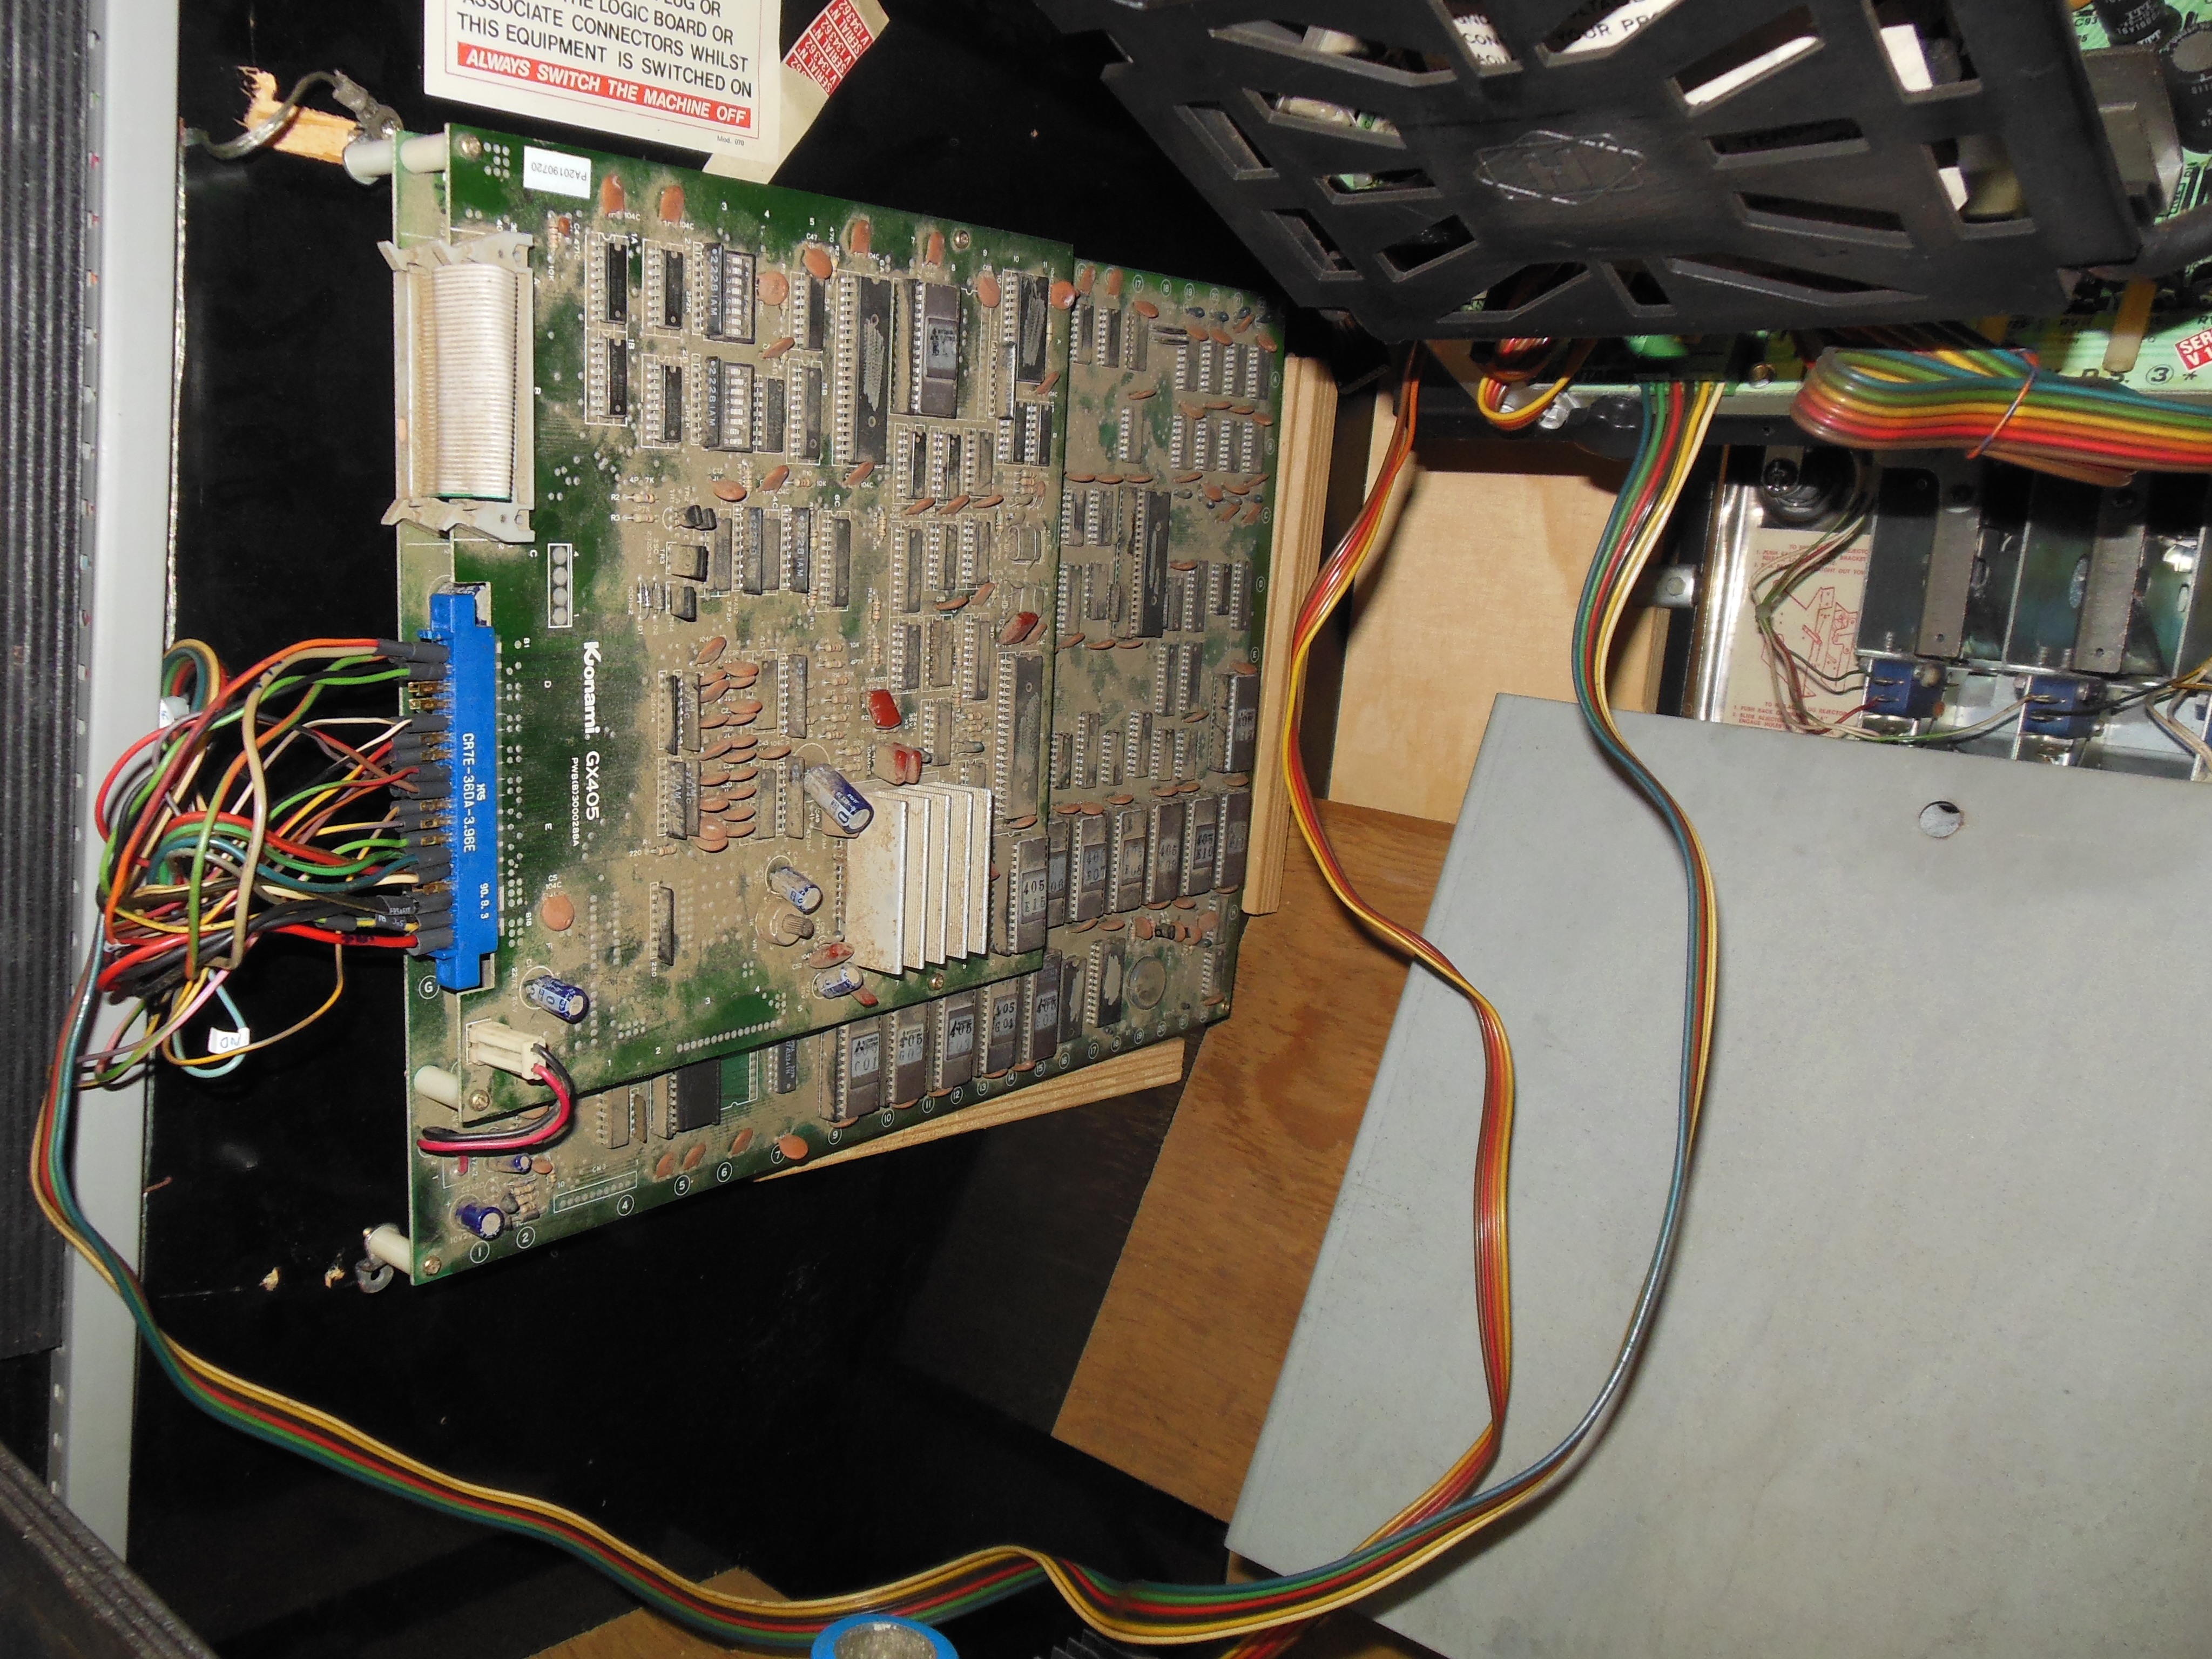
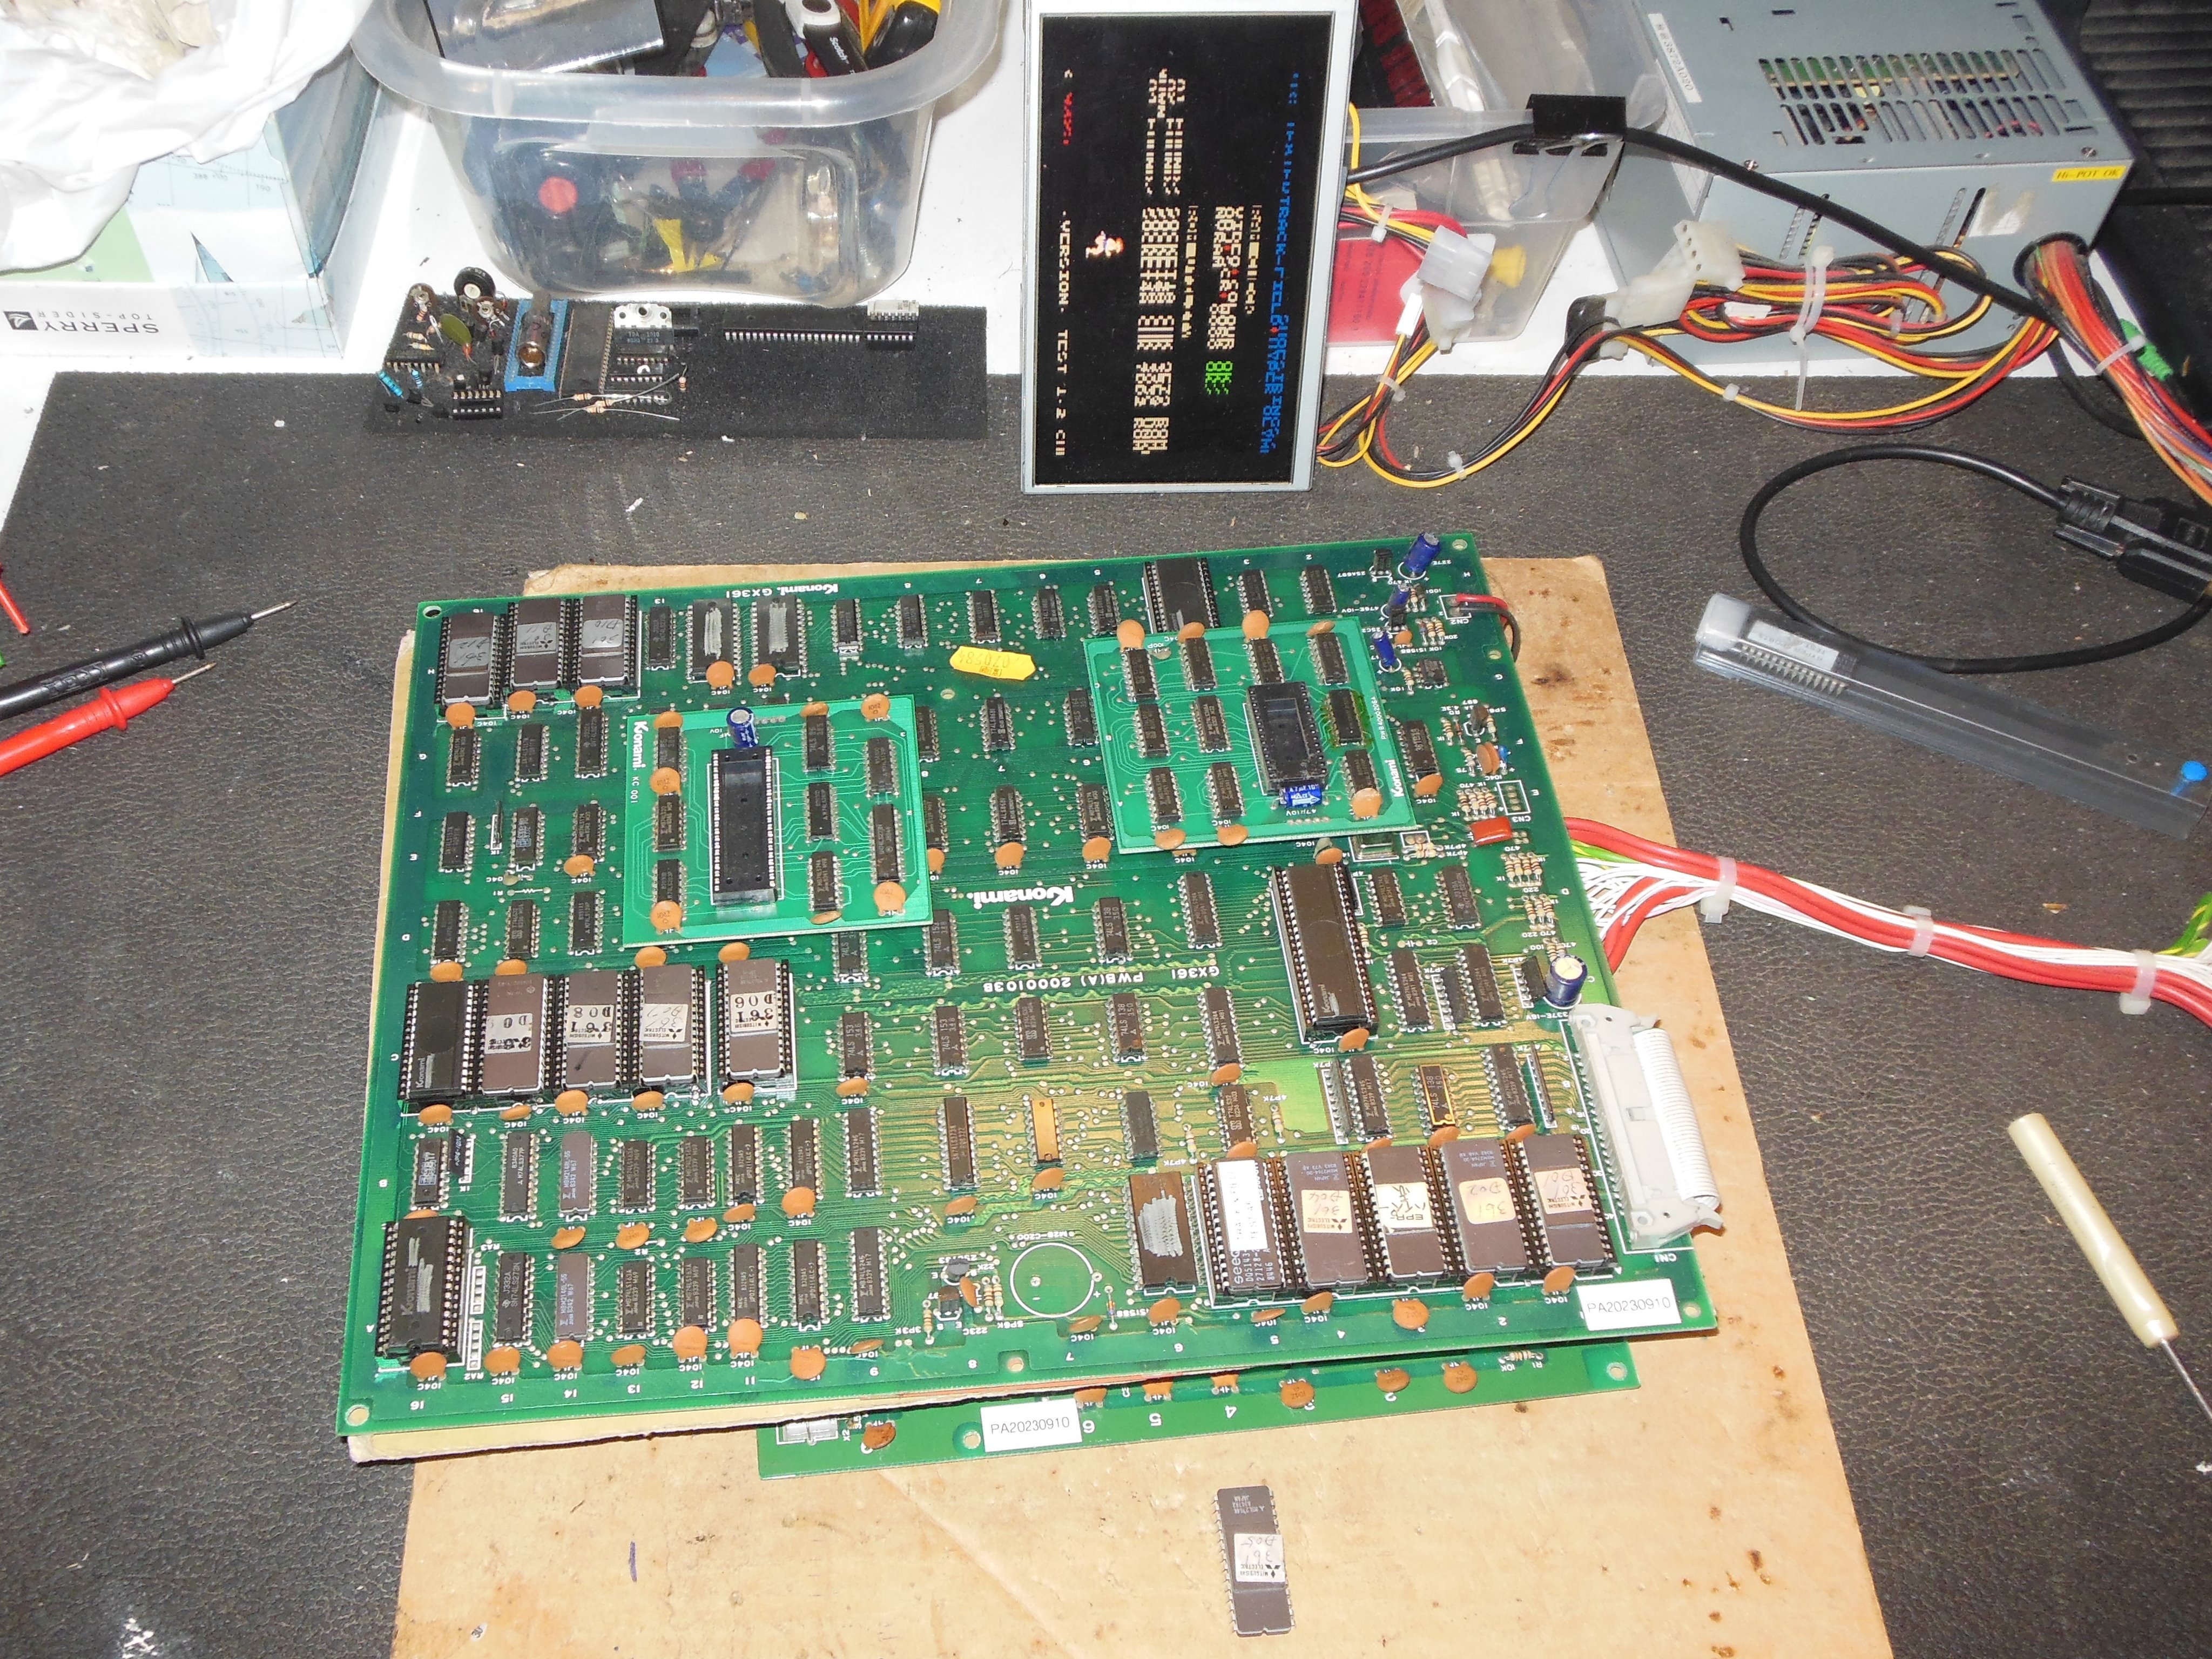
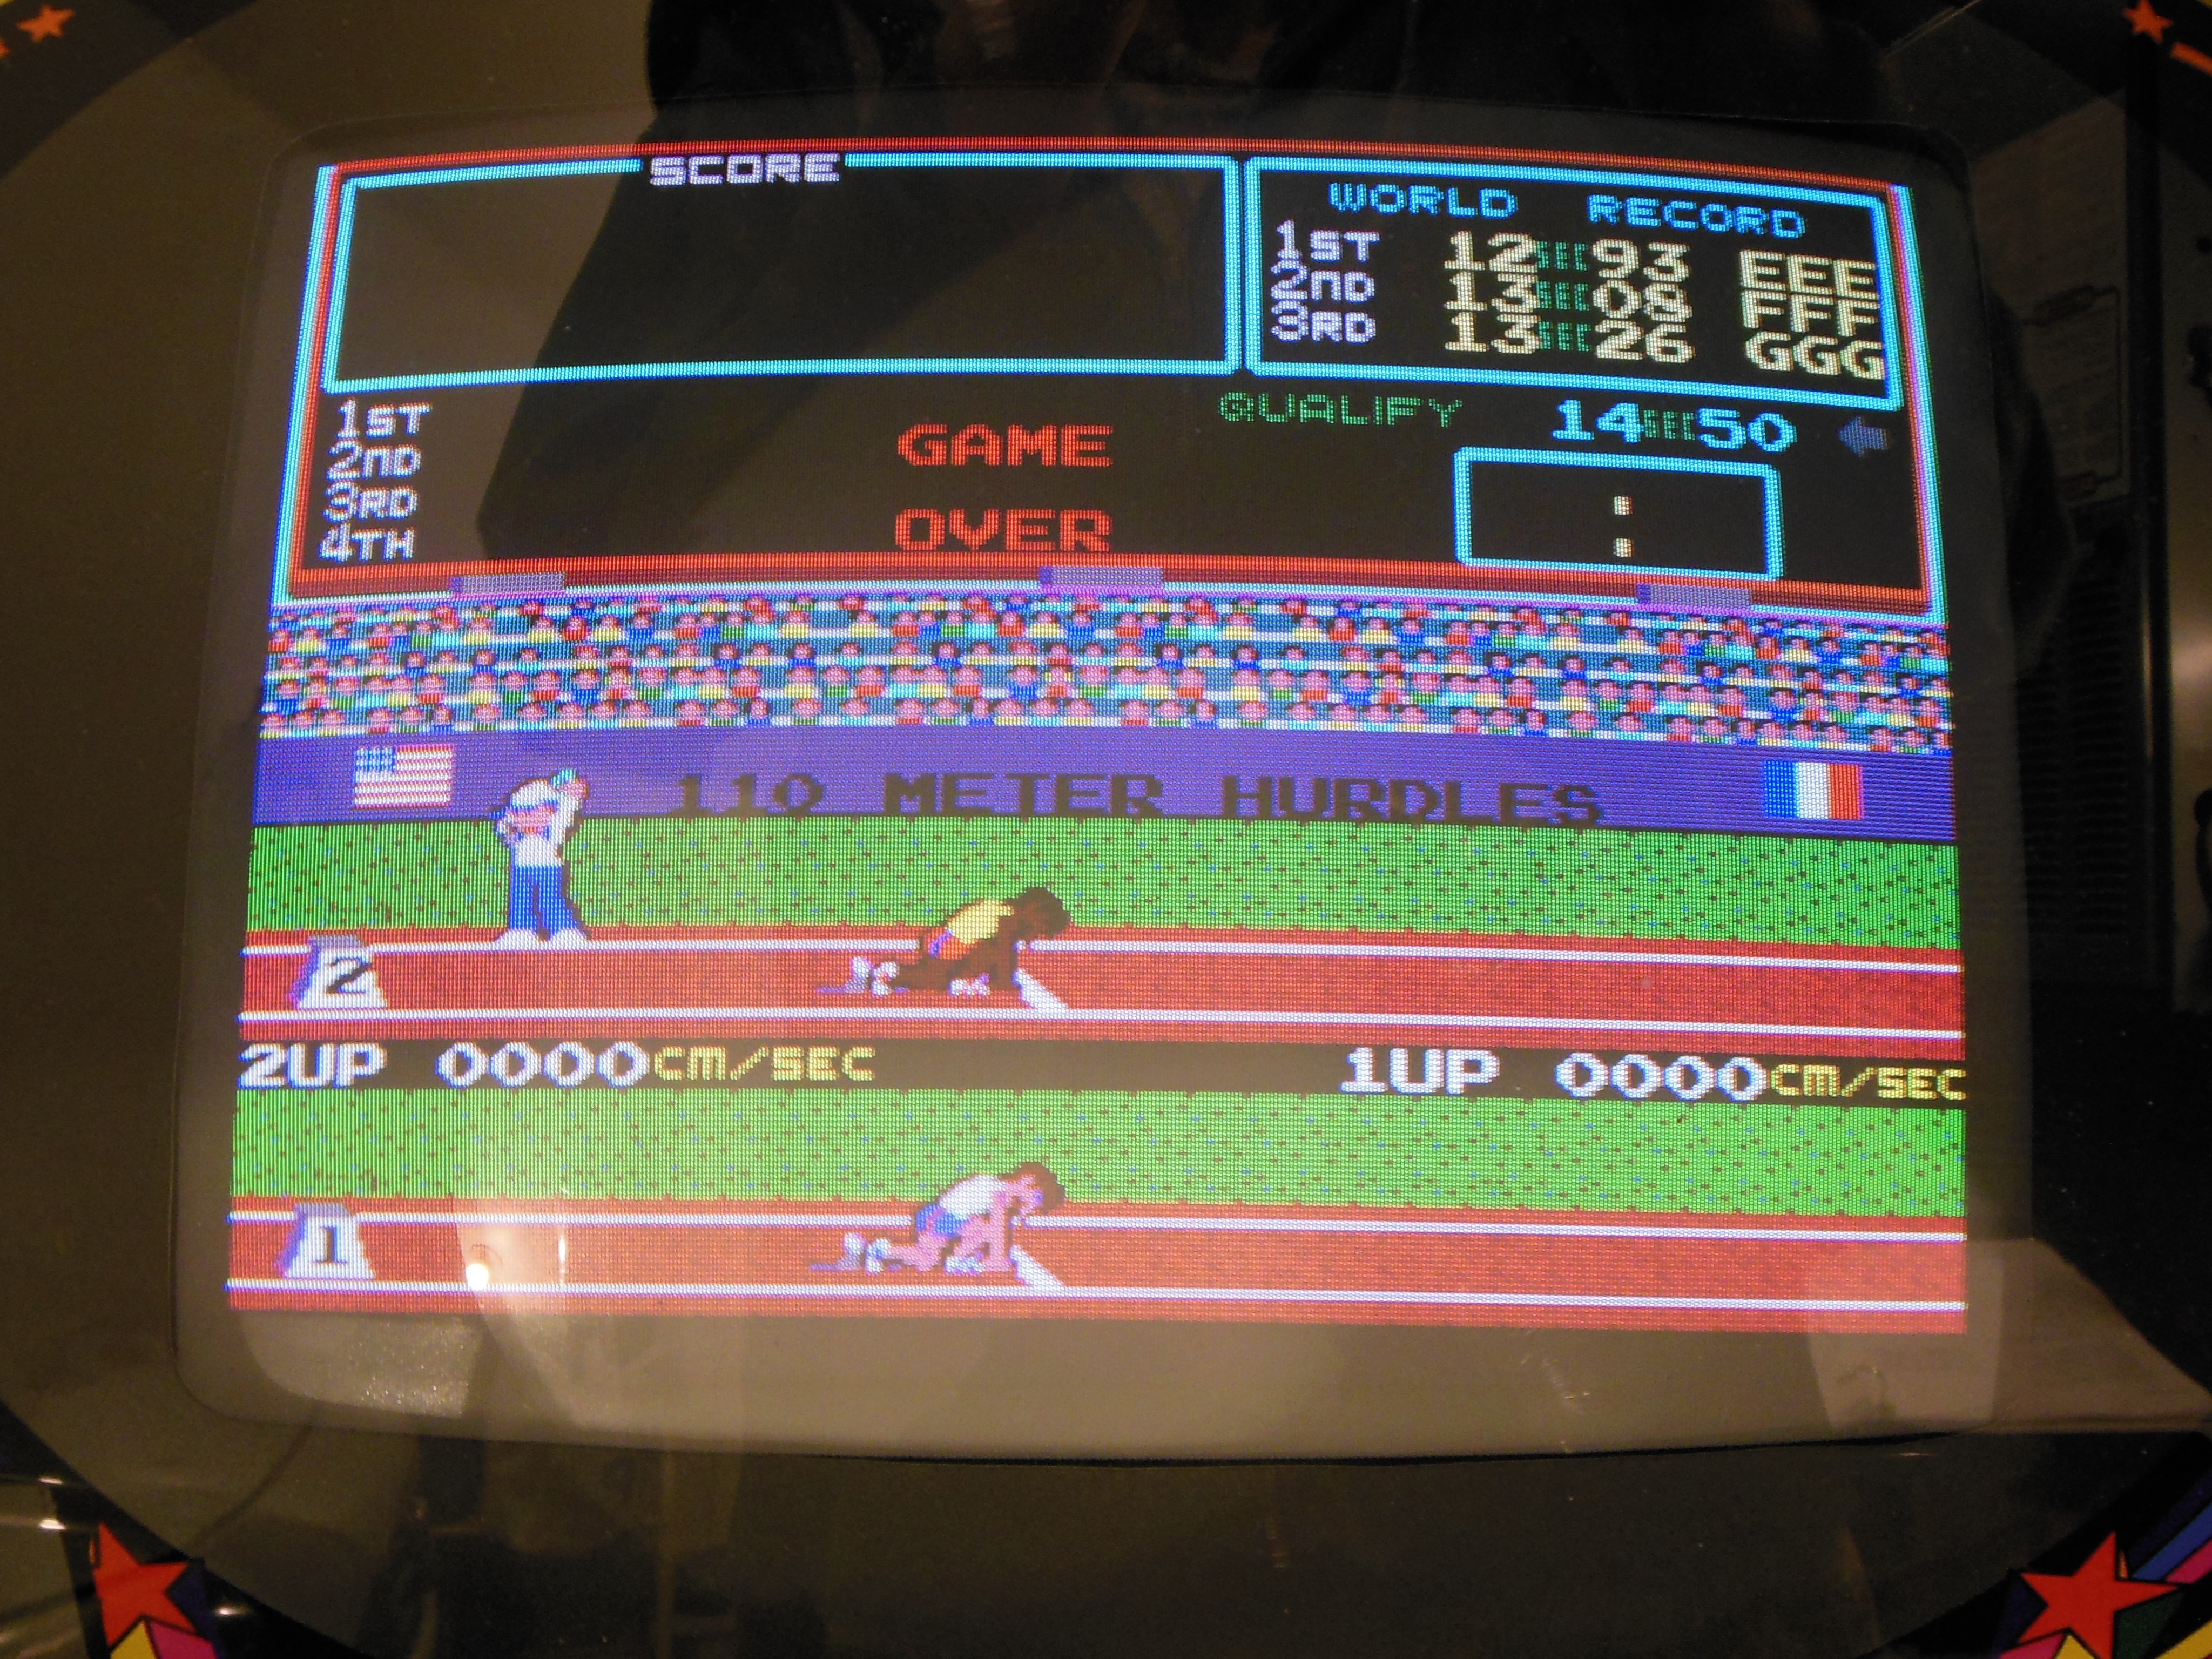
Before powering on the game PCB, the battery was removed to prevent any further leakage damage. There was some corrosion from the battery around the positive terminal, but it hadn't gone far enough to reach any tracks. On power on, the PCB had graphics issues. Background scroll wasn't working and alternate lines were missing. Sprite graphics, sound, and game play were working OK. The PCB was set aside for later repair.
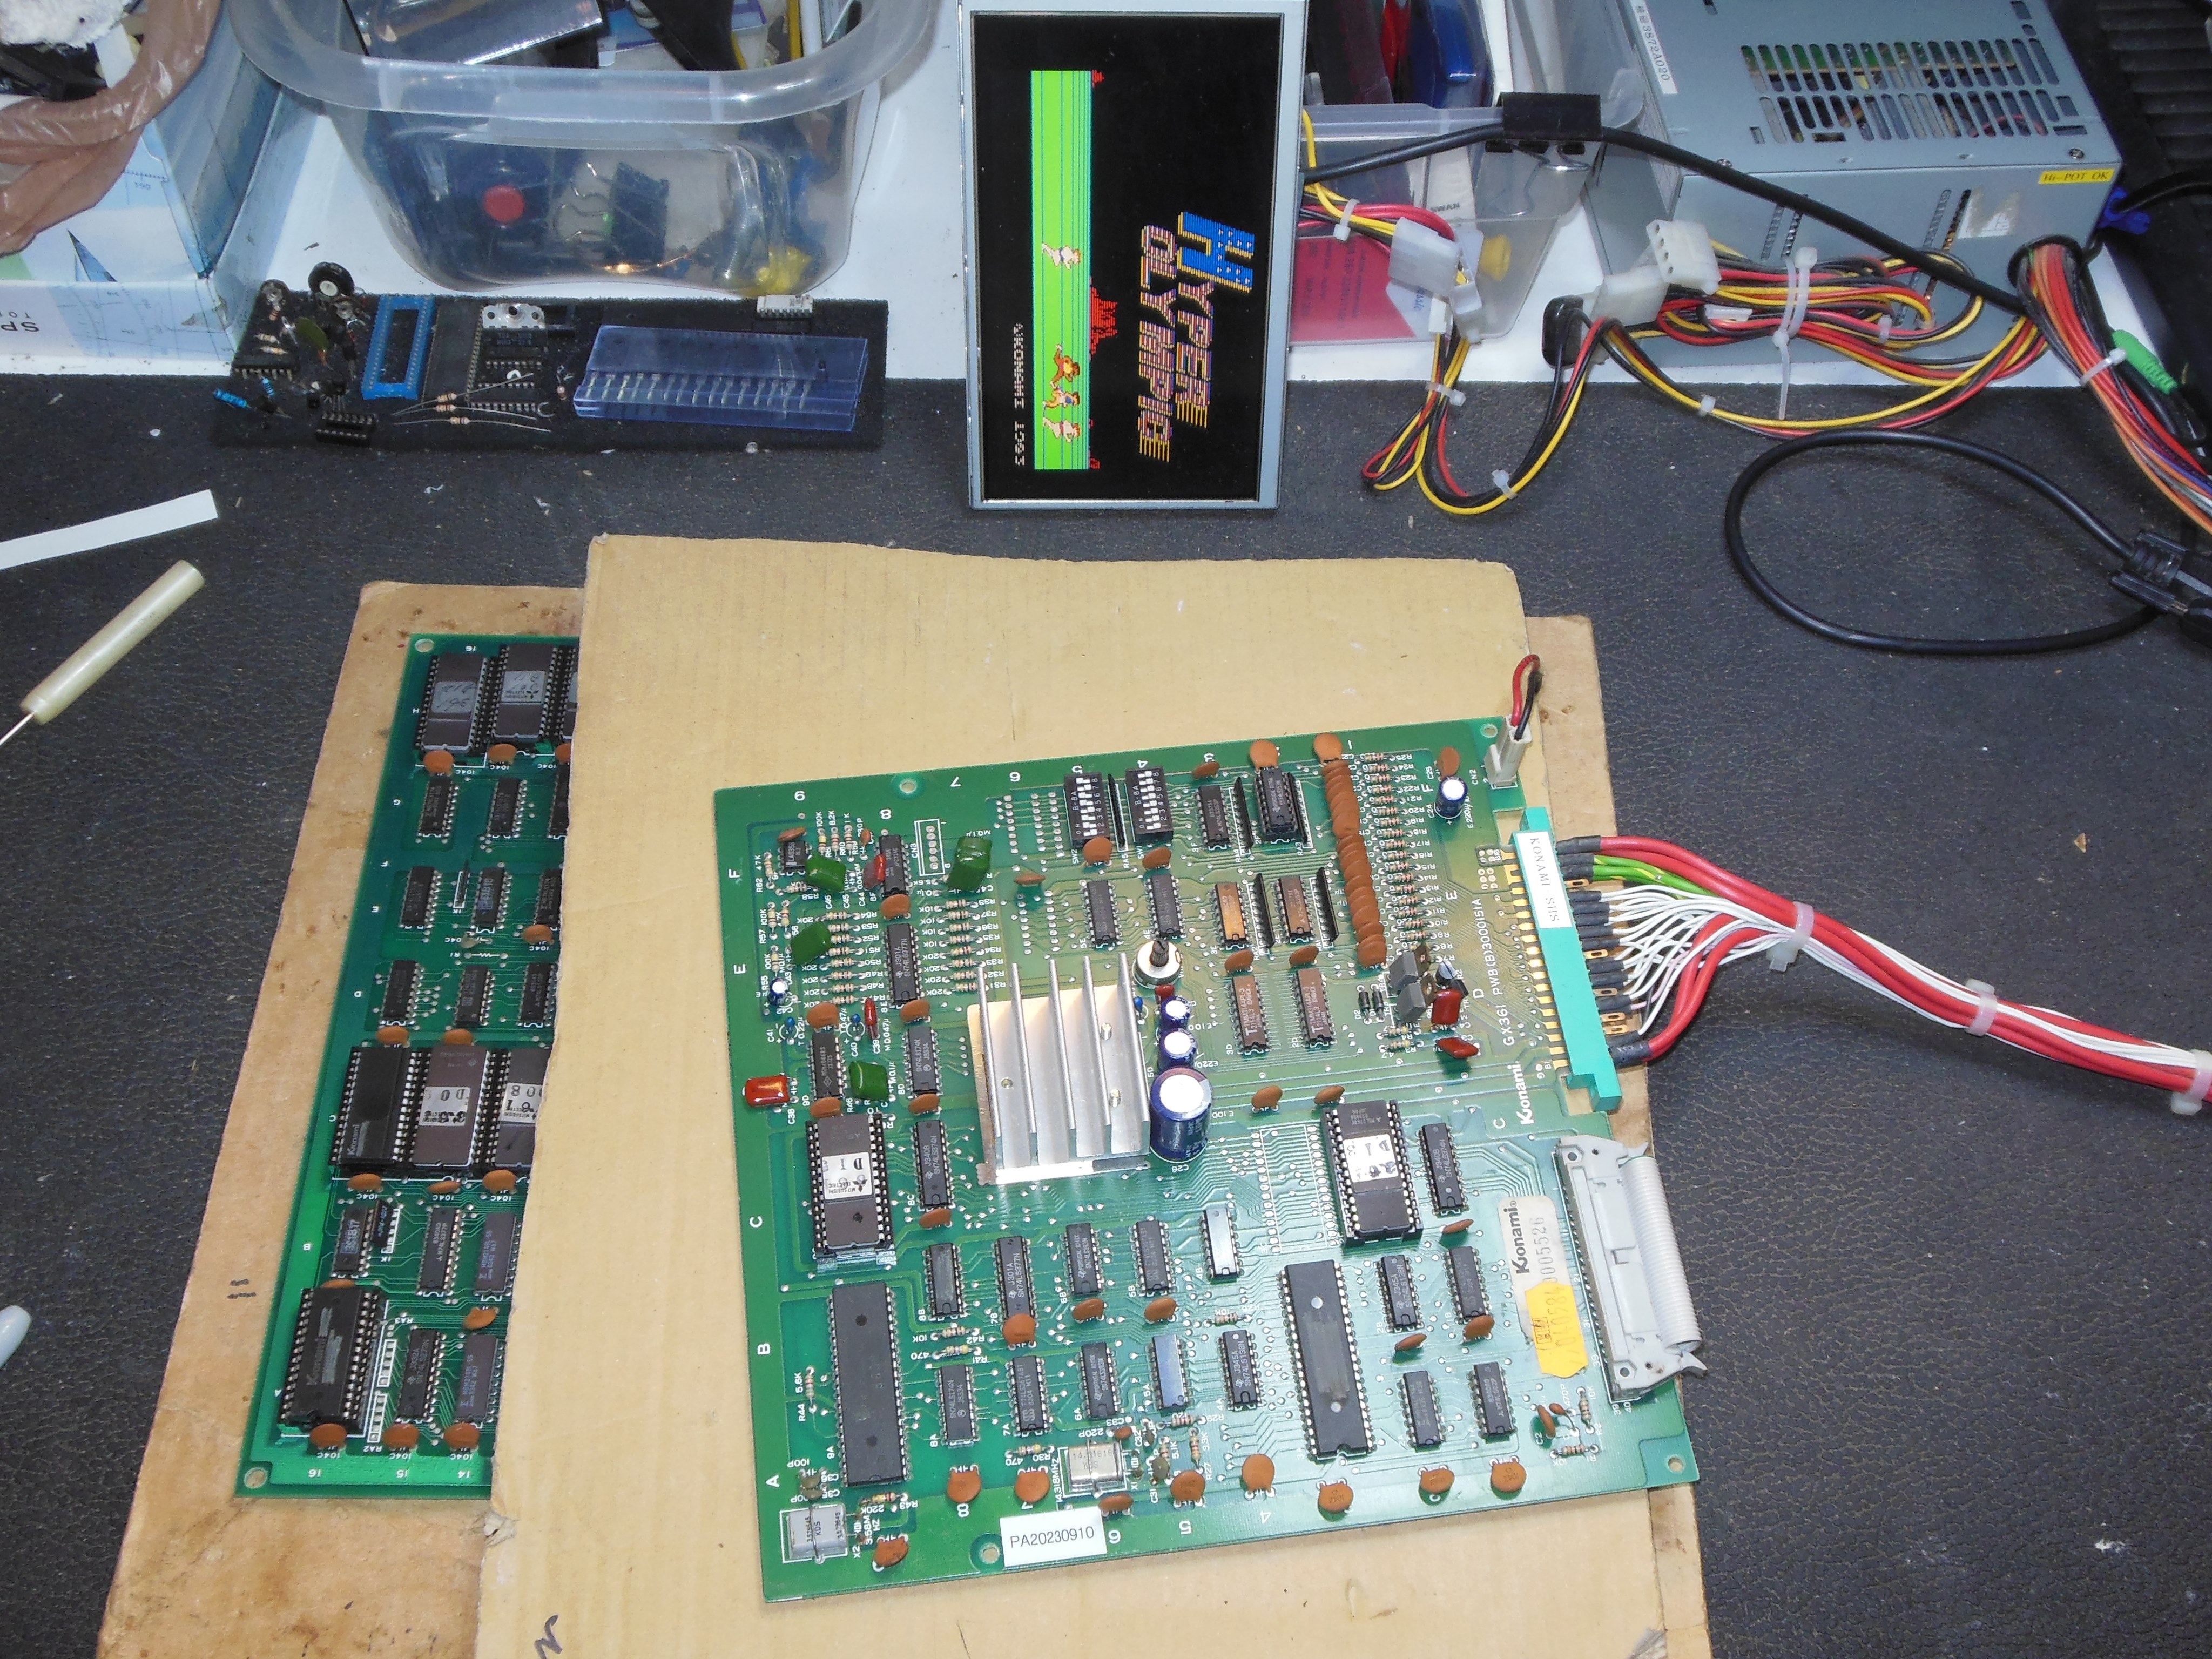
I also had three spare Hyper Olympic/Track & Field game PCBs that I removed all batteries and tested on the bench.
|
Initial power on resulted in no video and a single audio tone. Flexing the game PCB allowed the game to boot that was isolated to somewhere around IC 4H or 3E, likely bad sockets. Background graphics had vertical lines and character corruption but sprites, sound and game play were working OK.
|
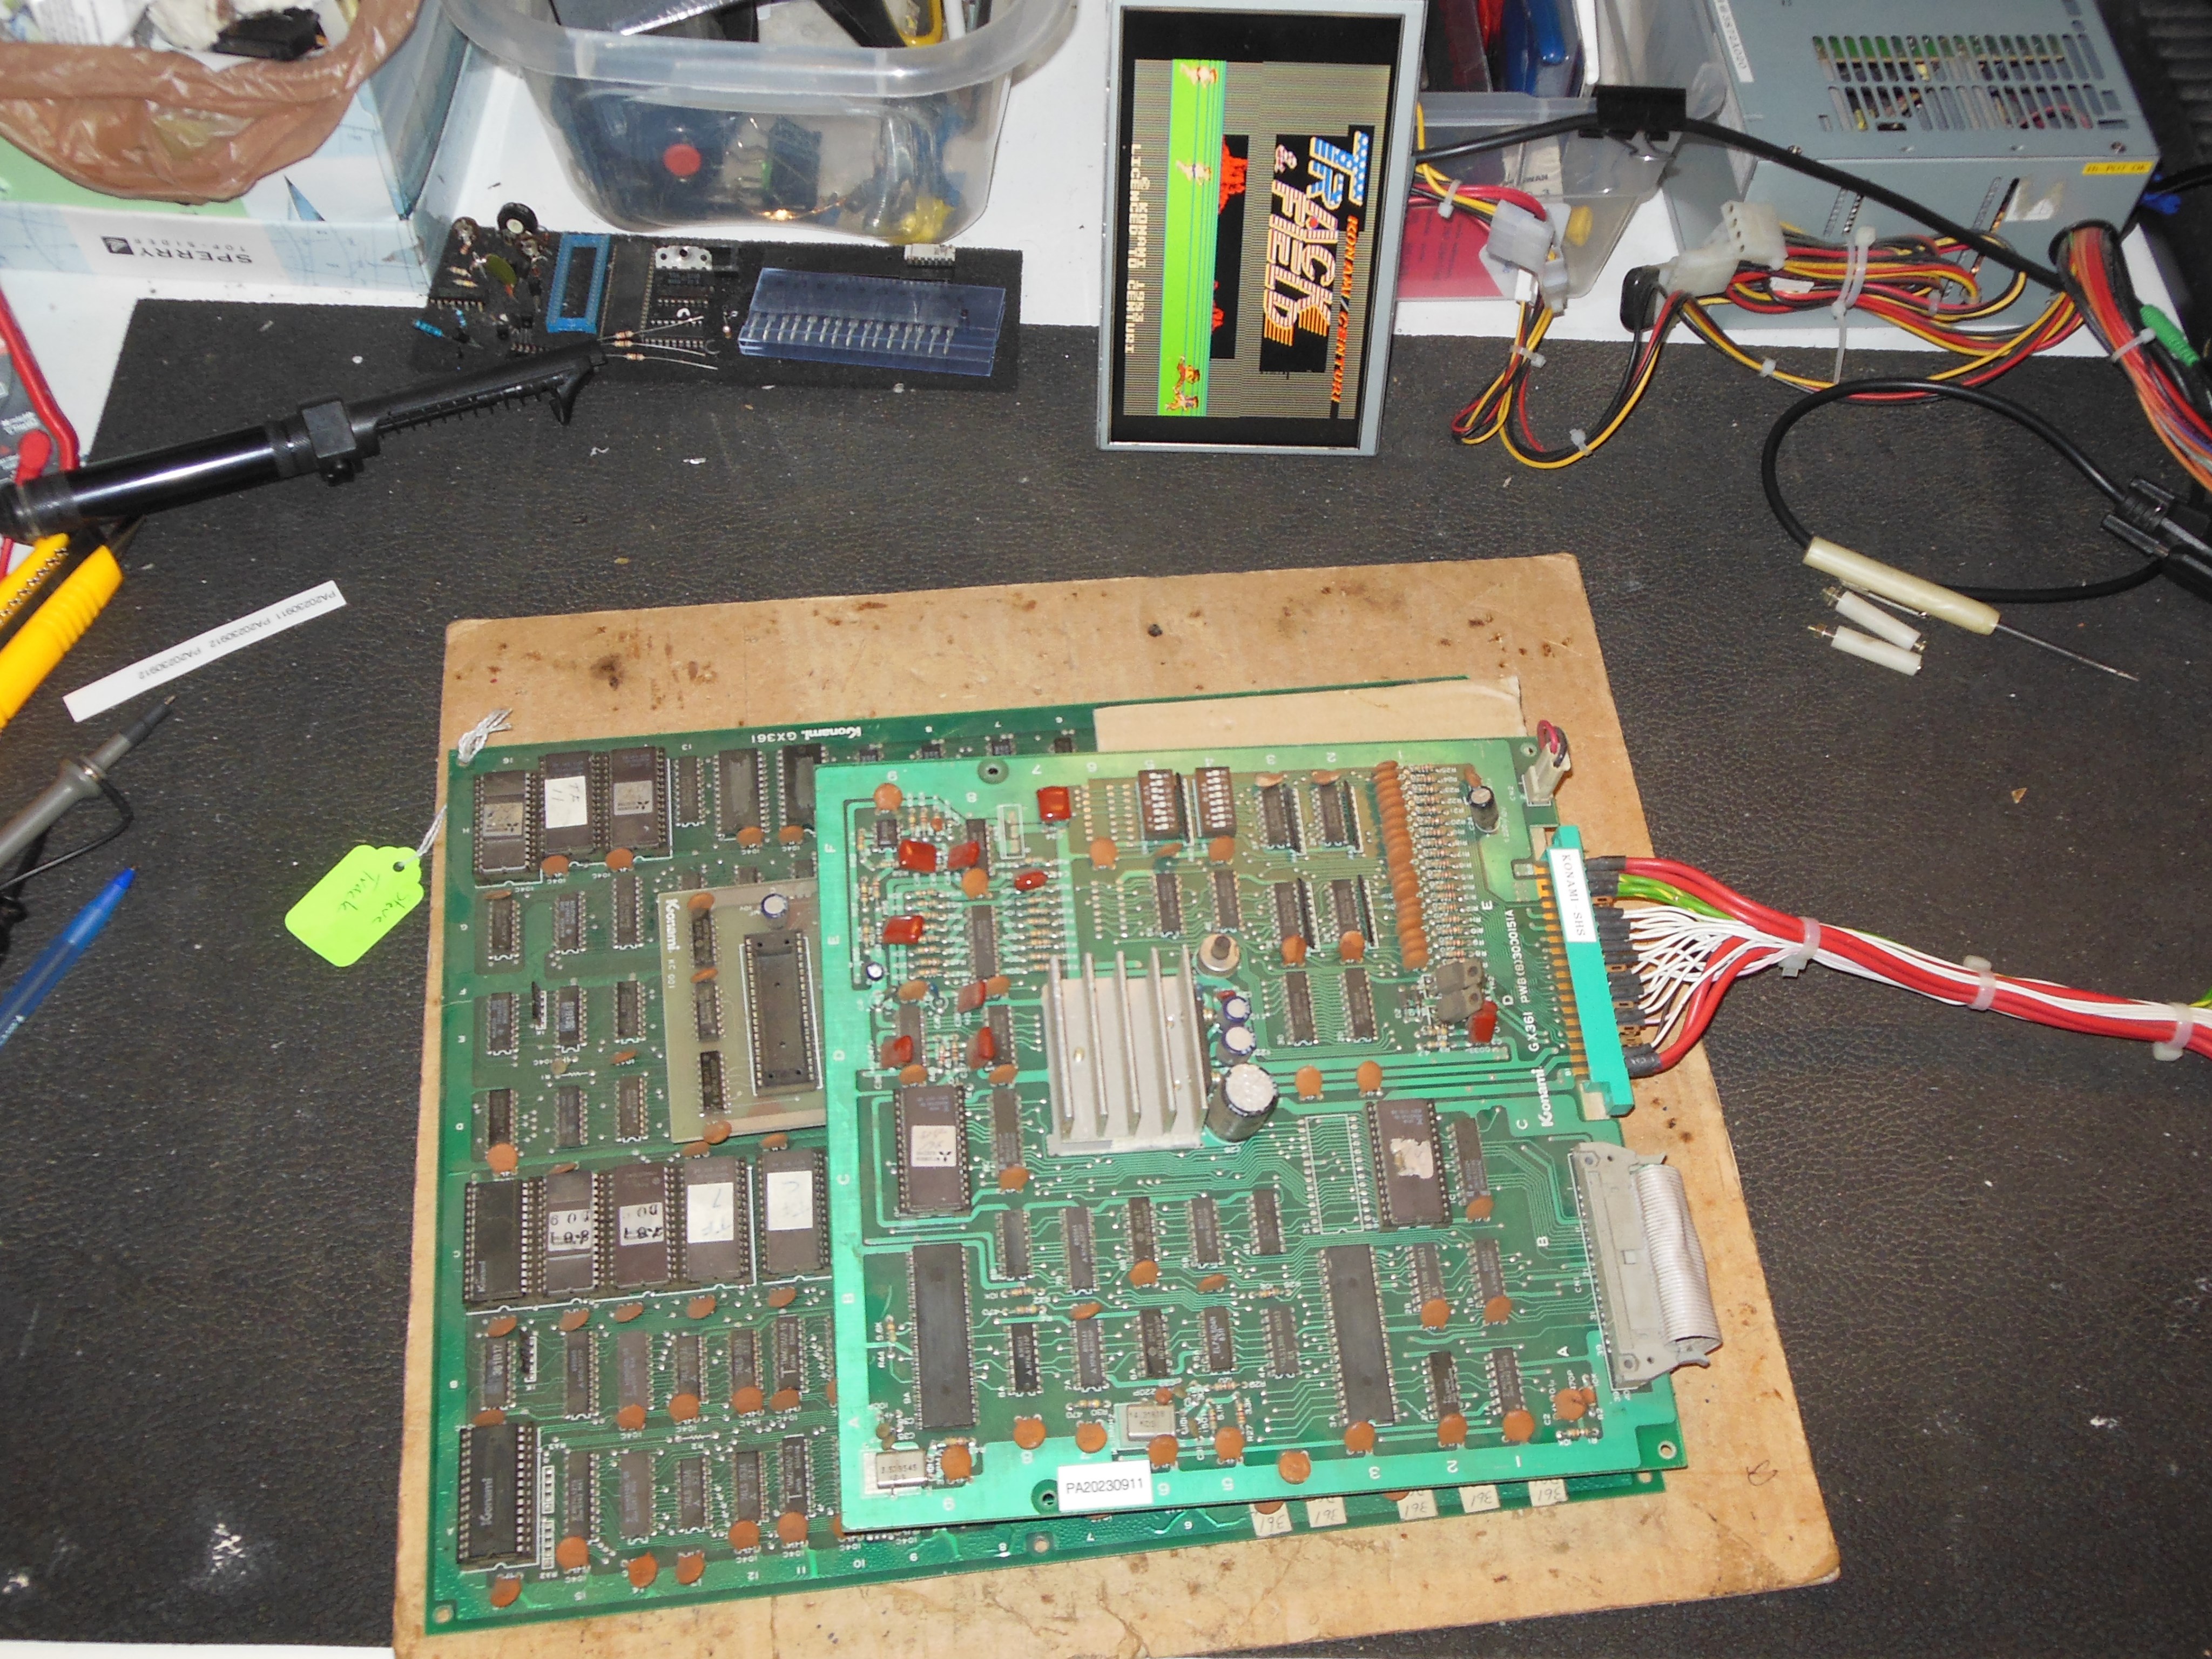
The PCB was labelled "bad sockets" and initial power one yielded a static display of all "Z". Flexing the game PCB changed the display and sometimes the game would boot then stutter or freeze, likely bad sockets. When it ran, the colours & background characters were corrupted but sprites, sound and game play were working OK.
|
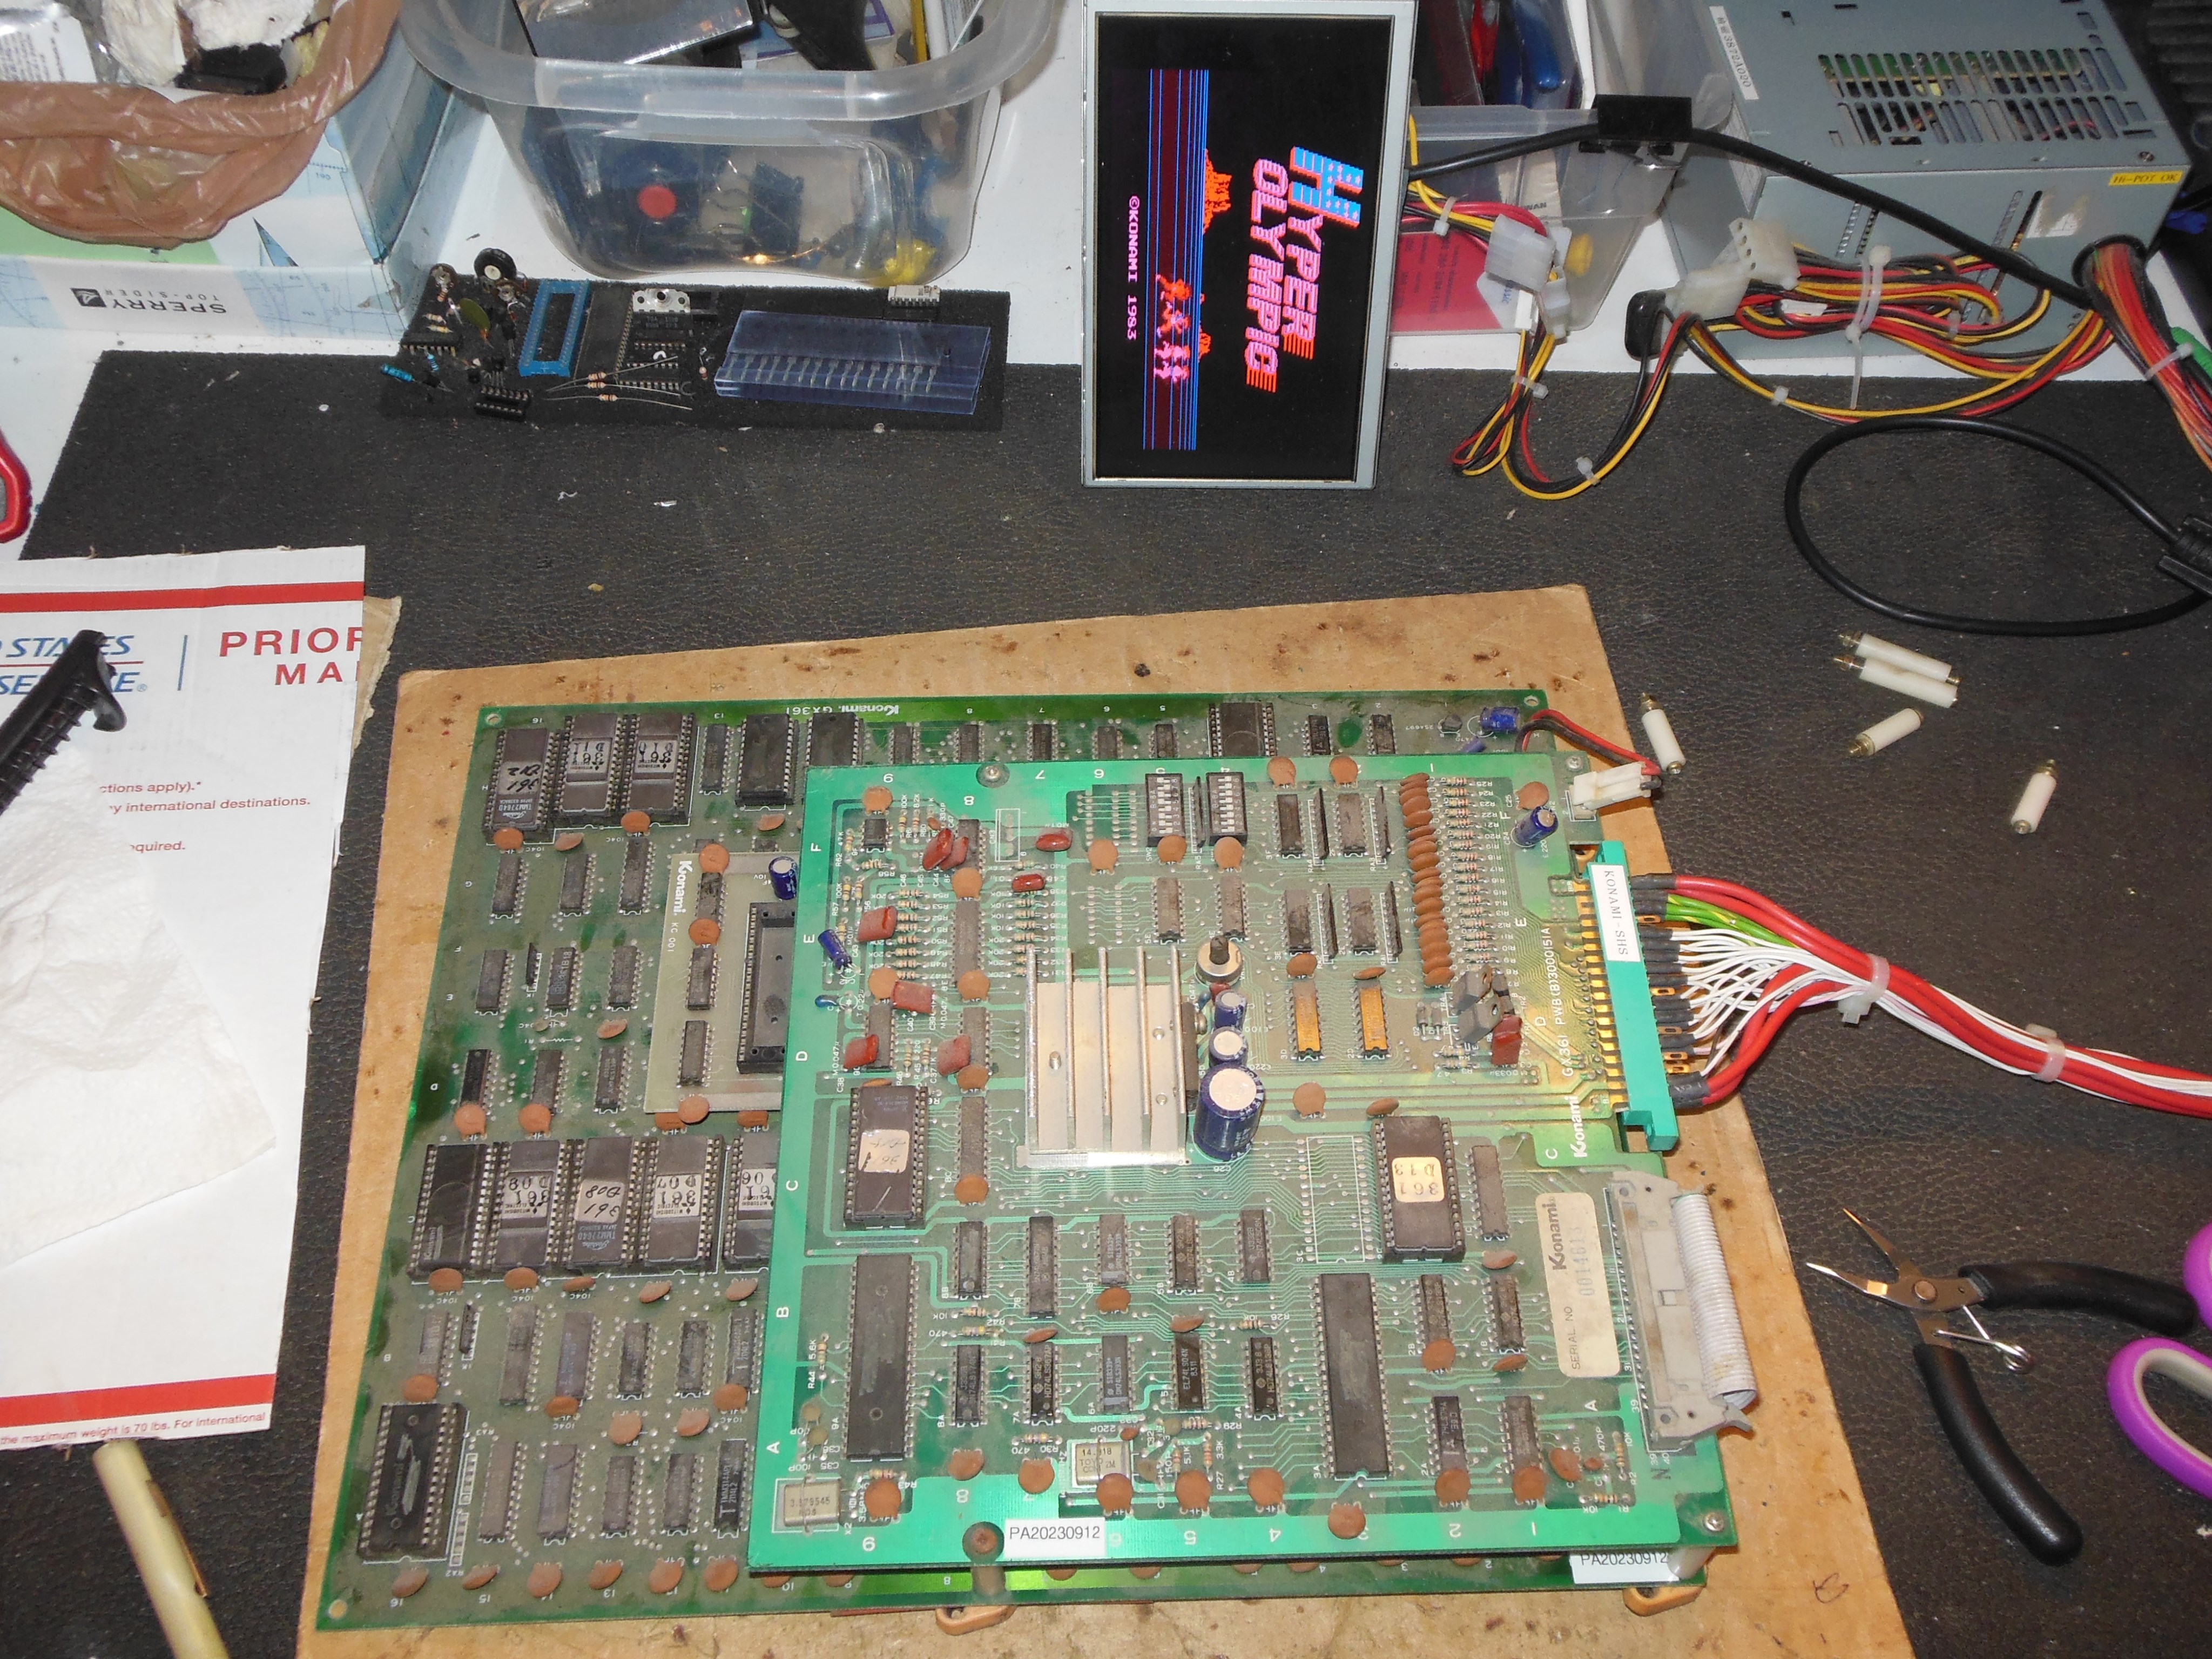
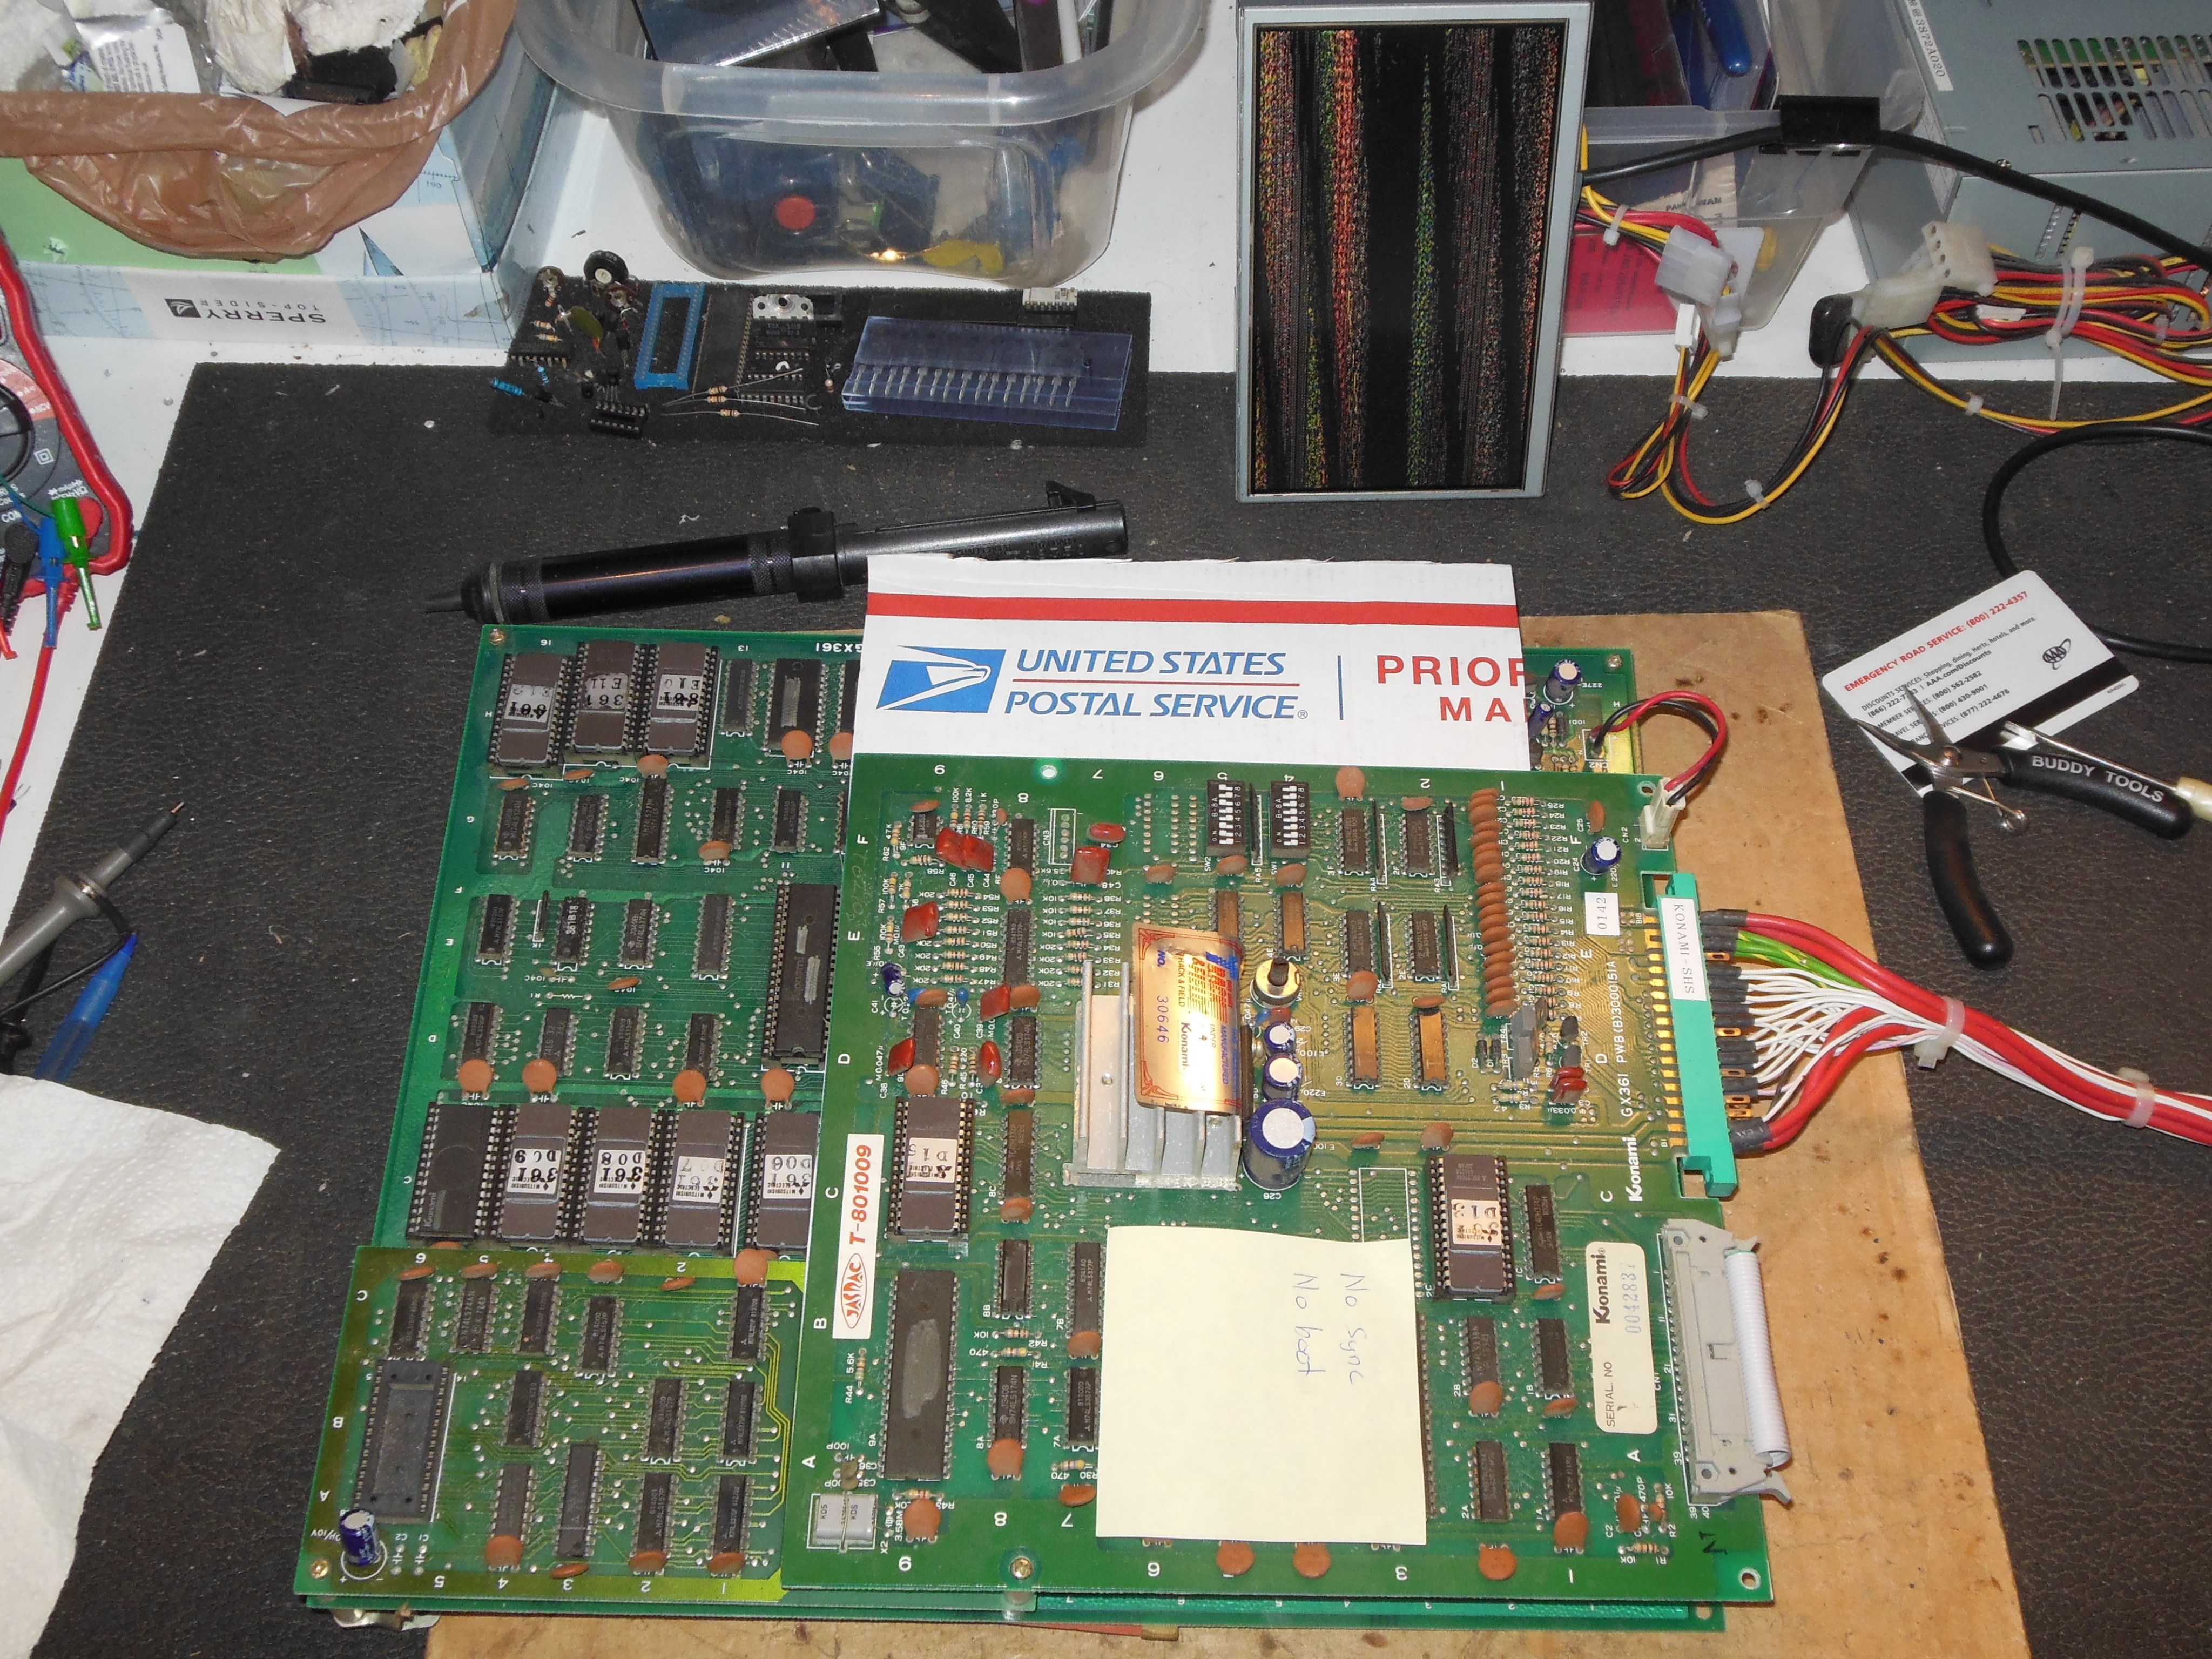
This PCB was labelled "no sync, no boot" that was confirmed. There appeared to be only static graphics in the snow, confirming the label. There was no response to coin or start, no sound or any speaker hum and no change when the PCB was flexed.
|
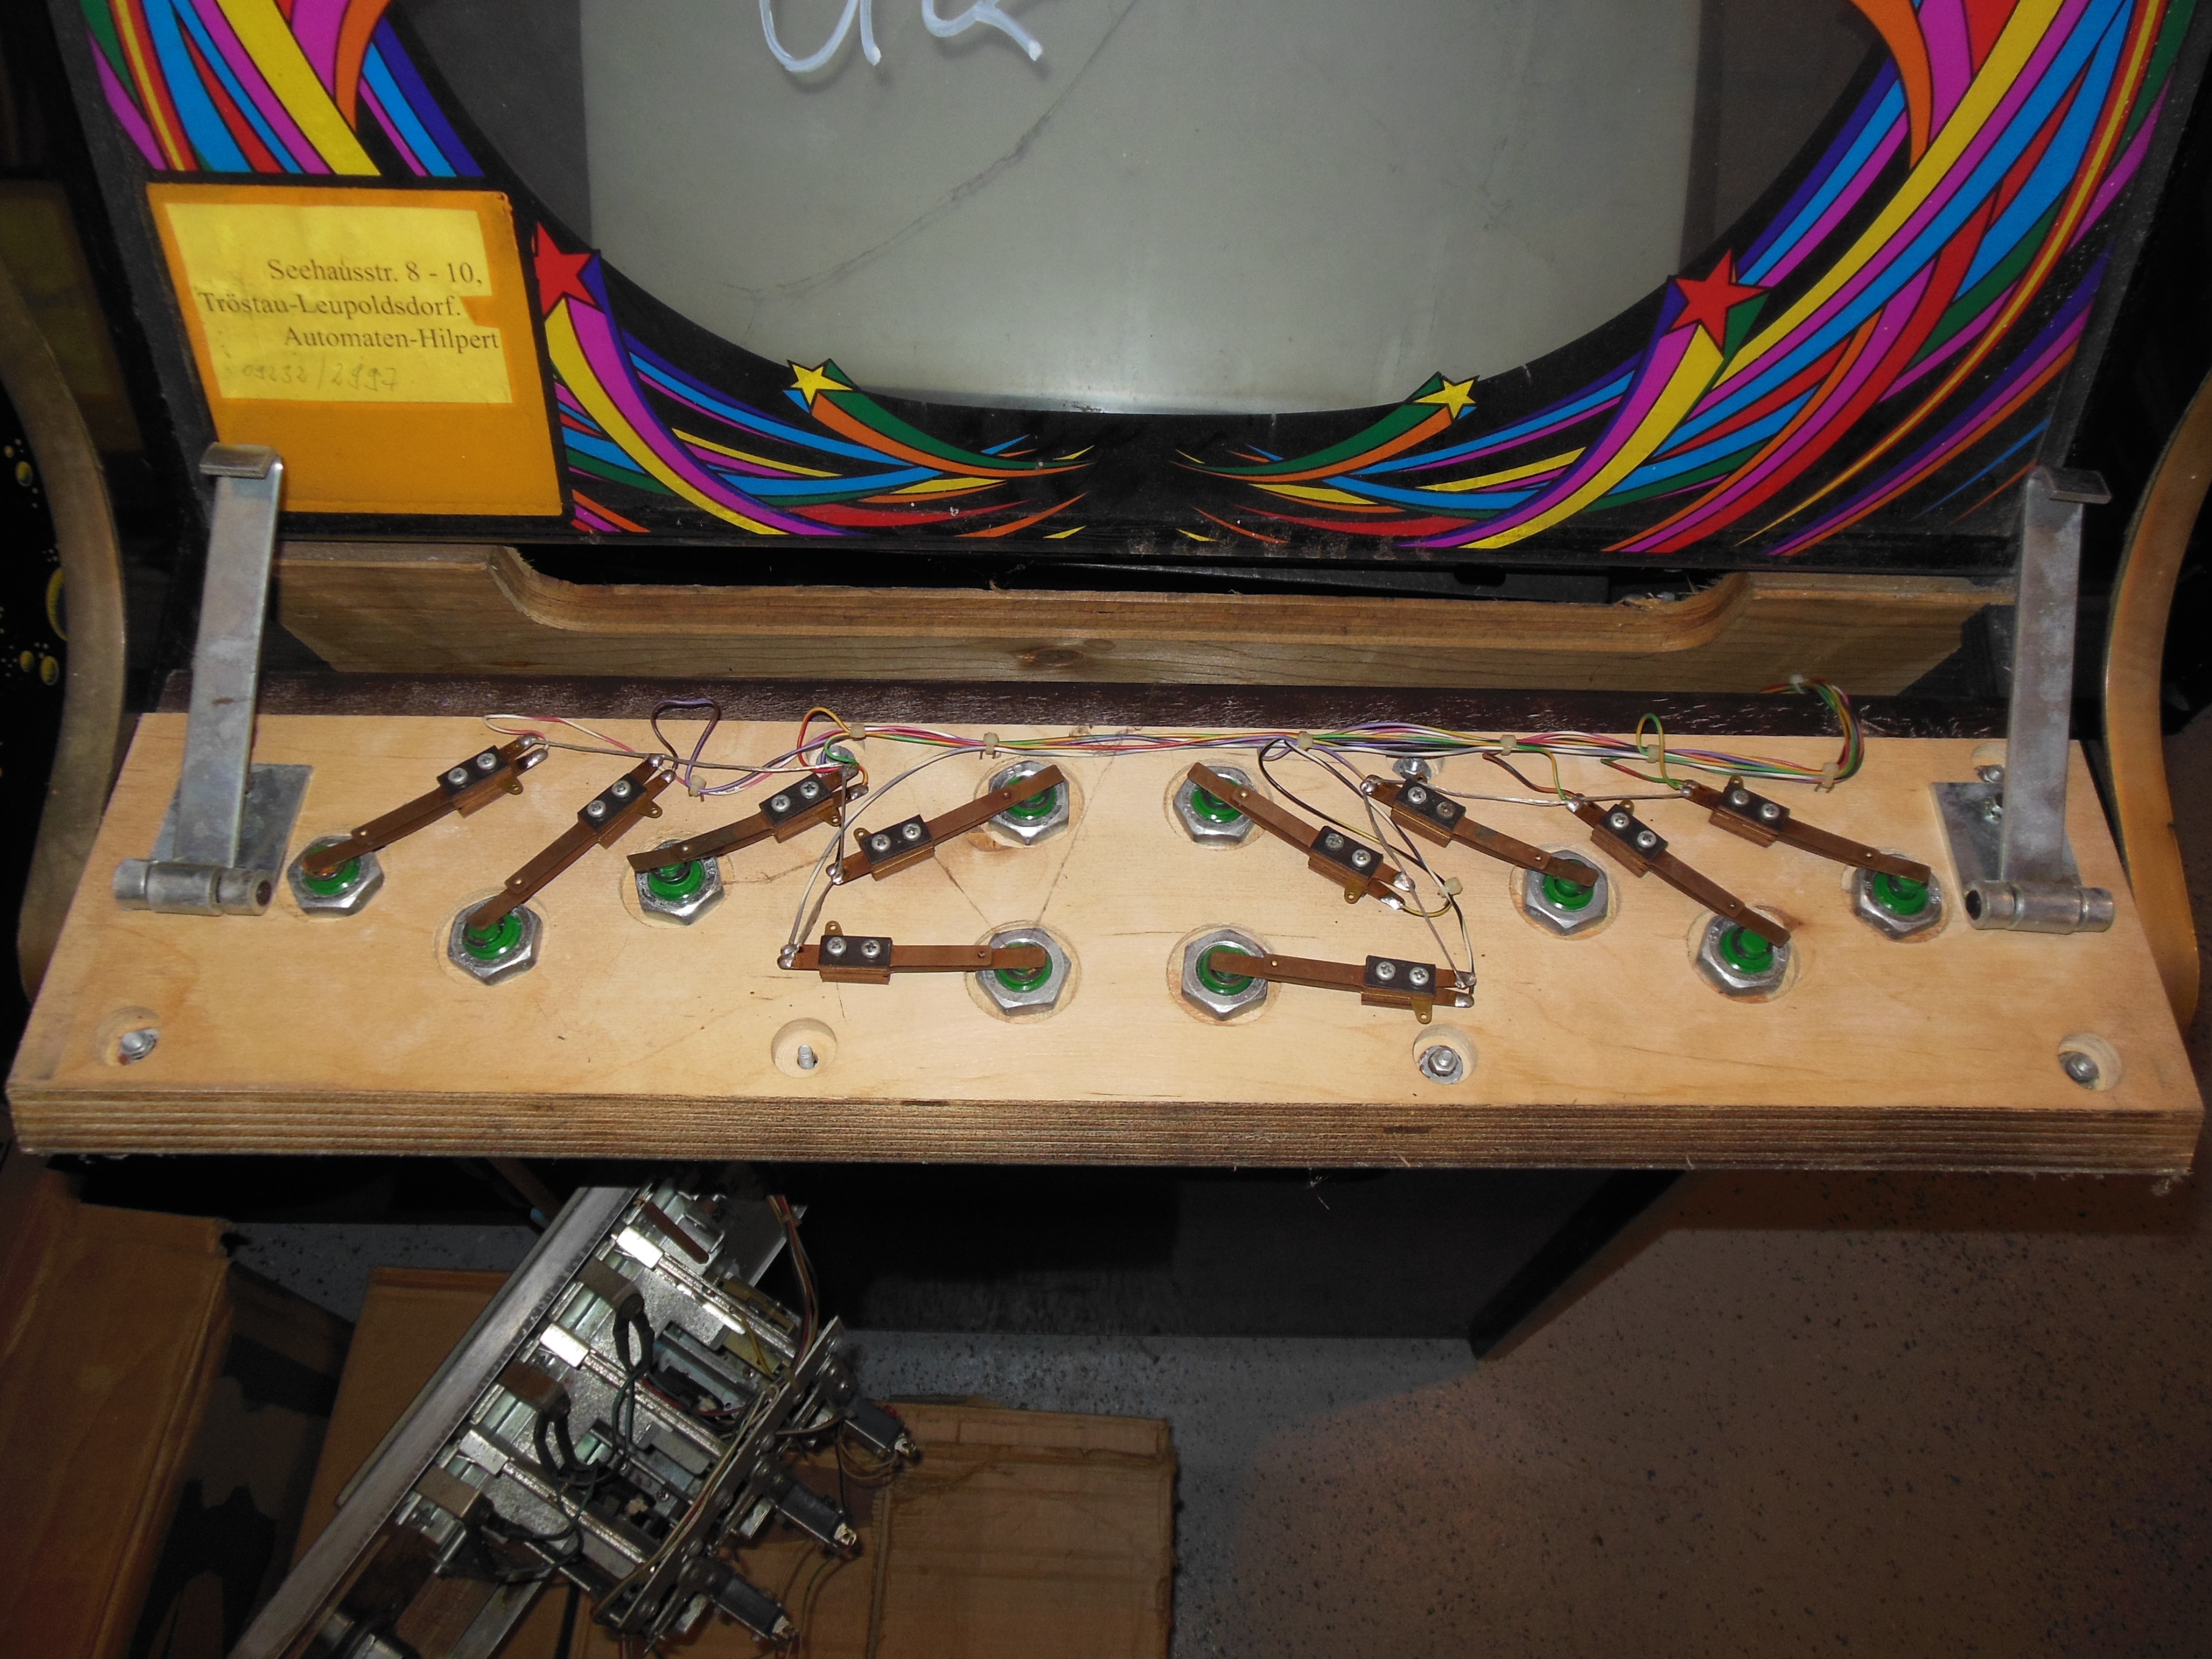
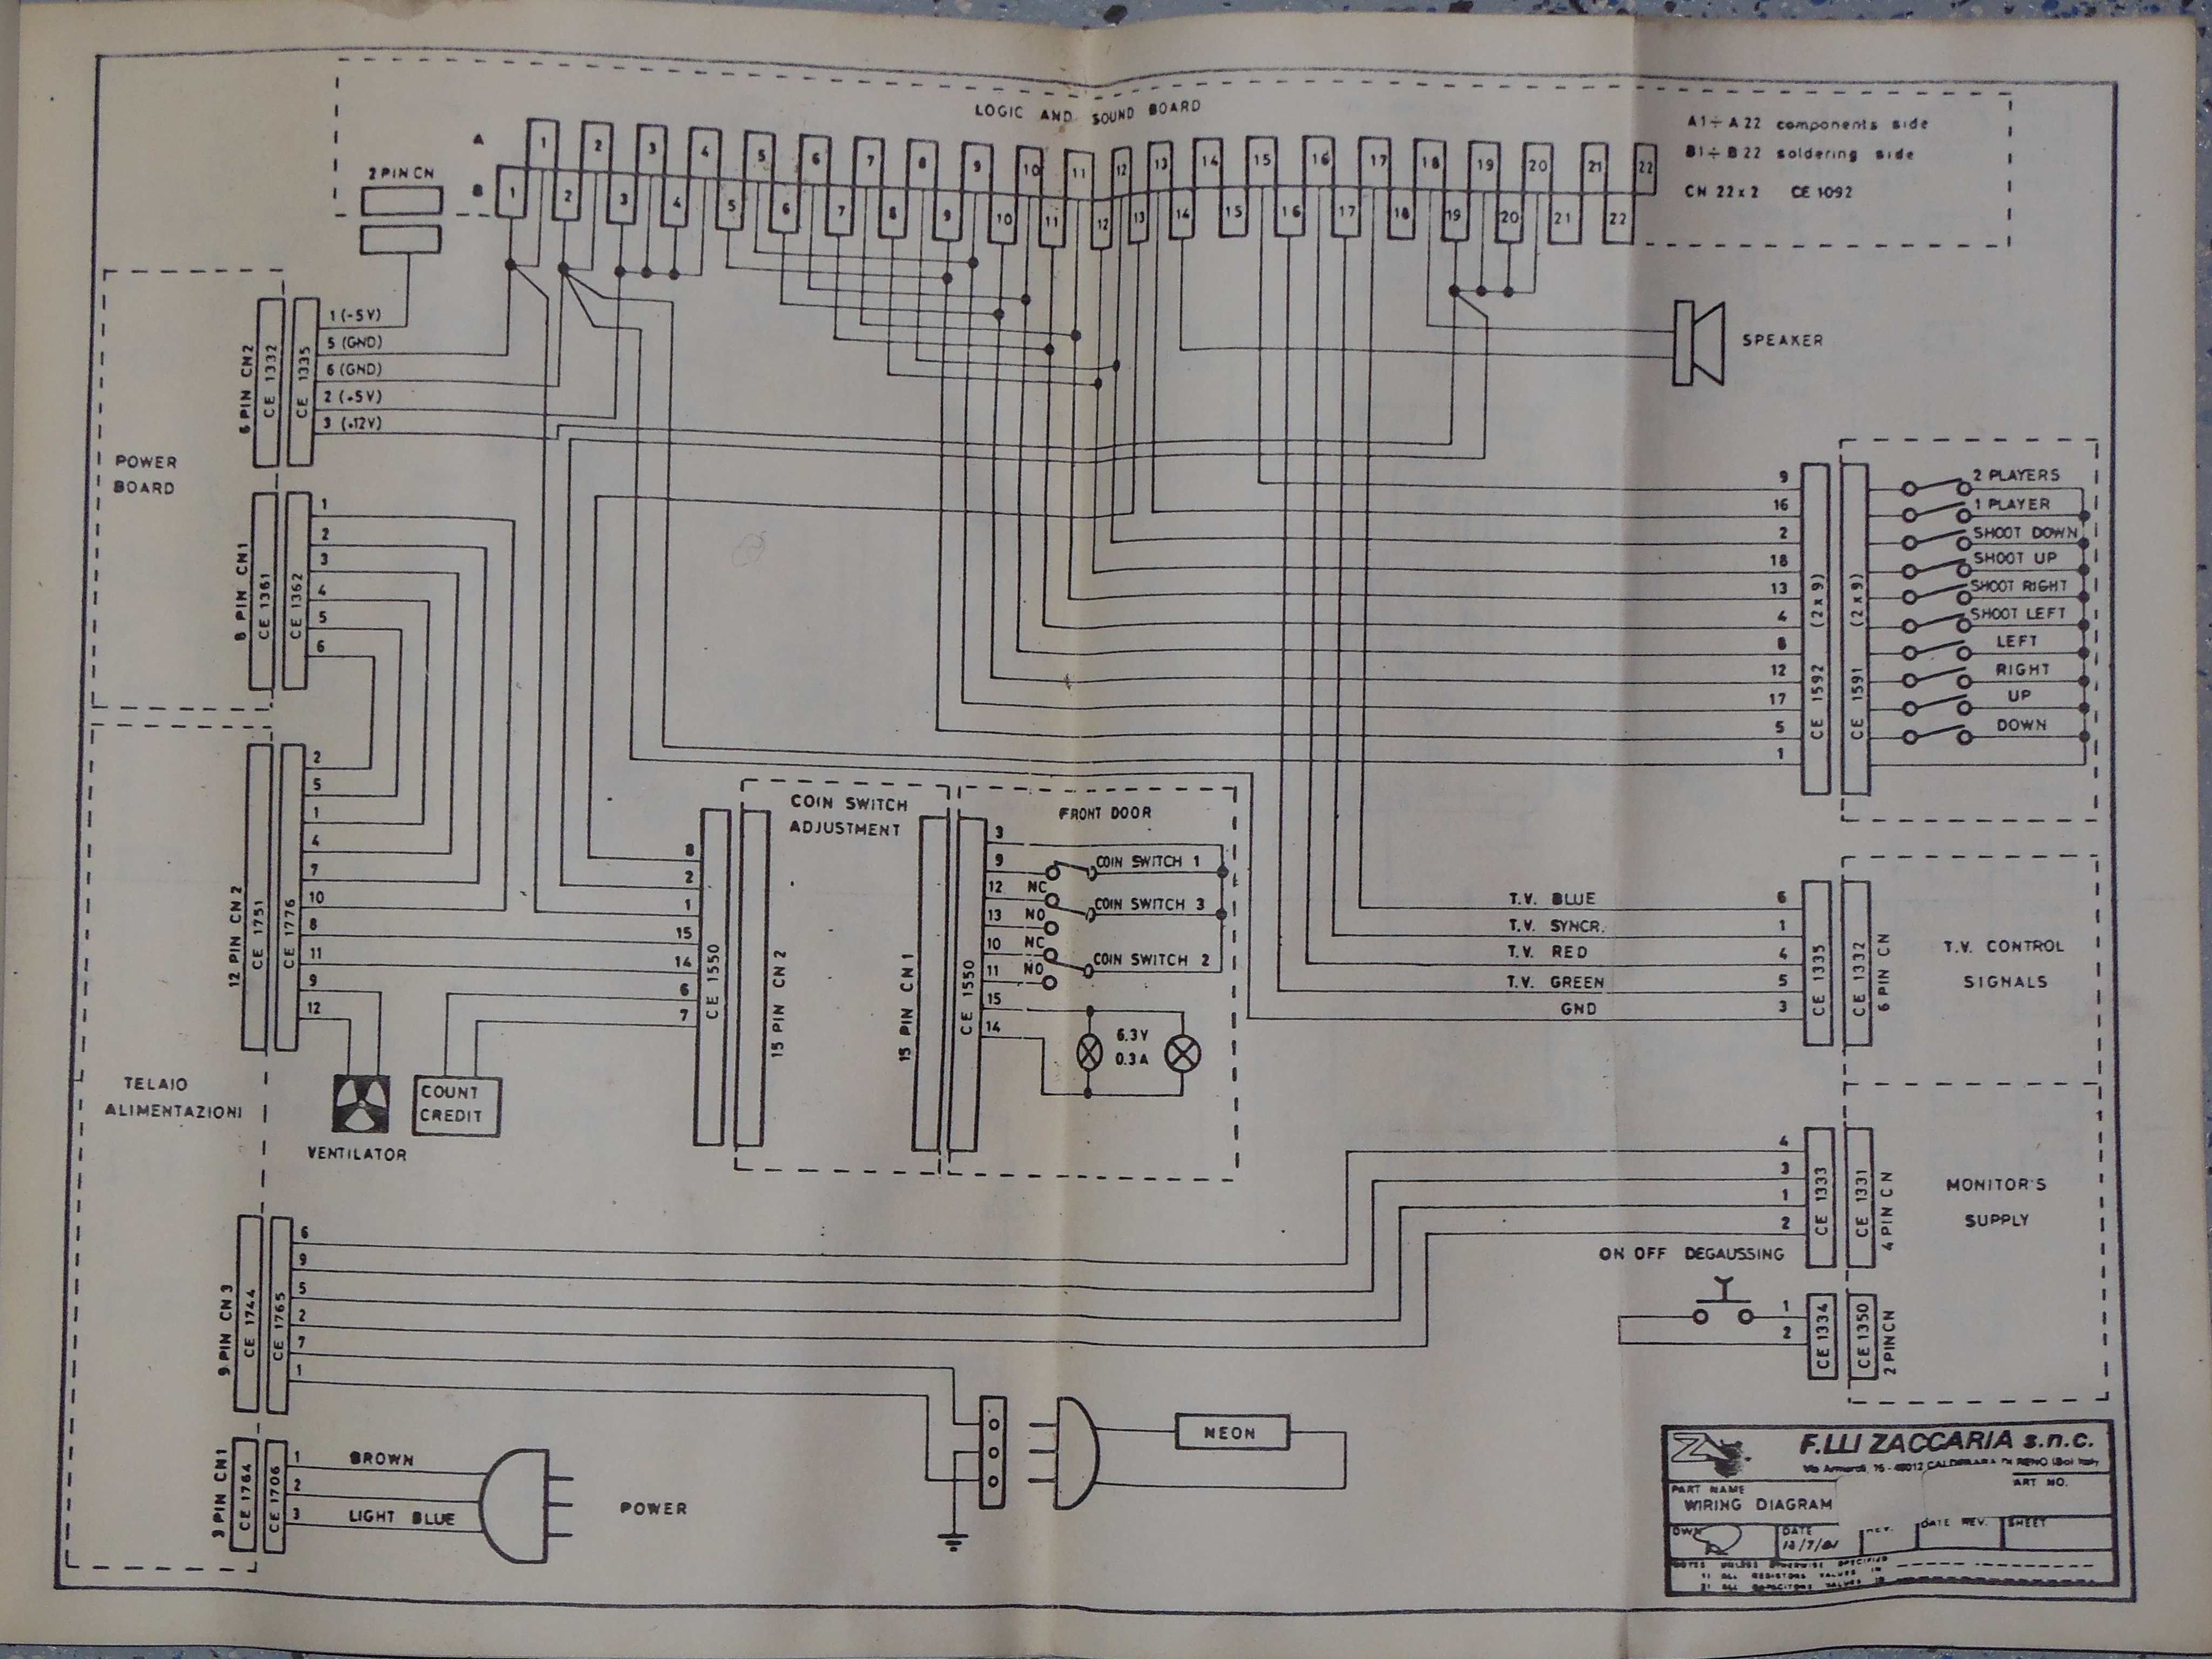
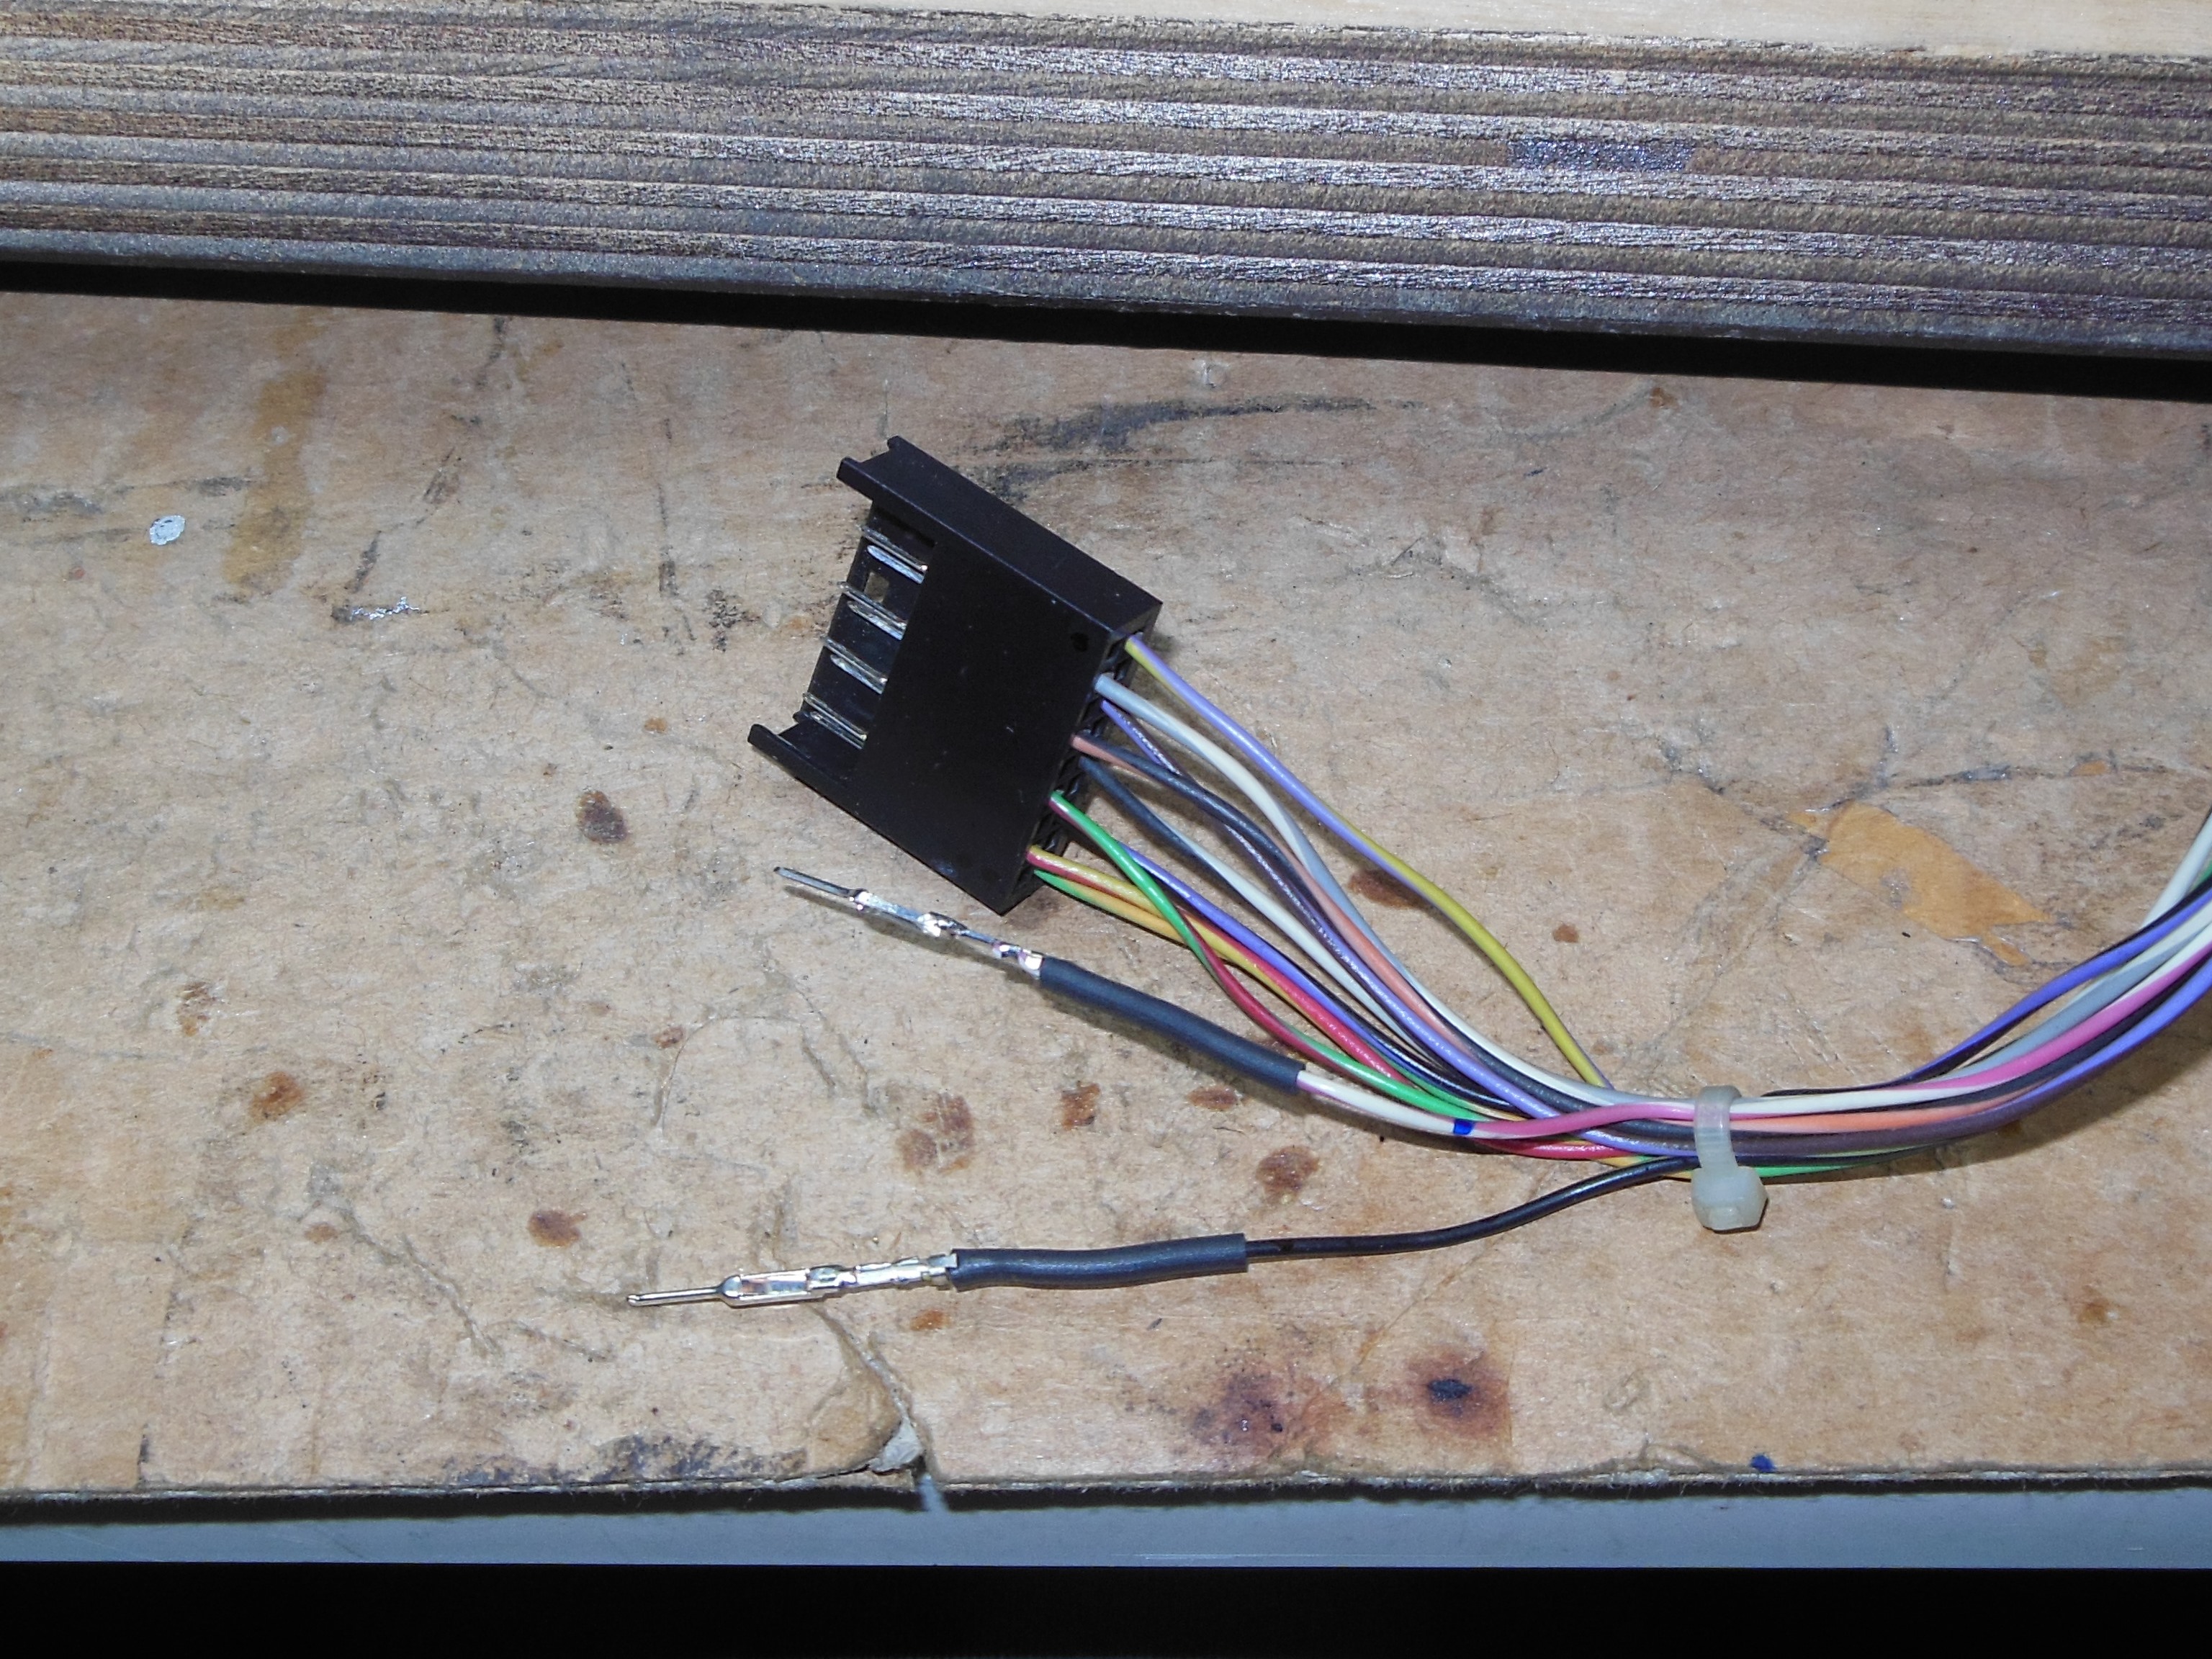
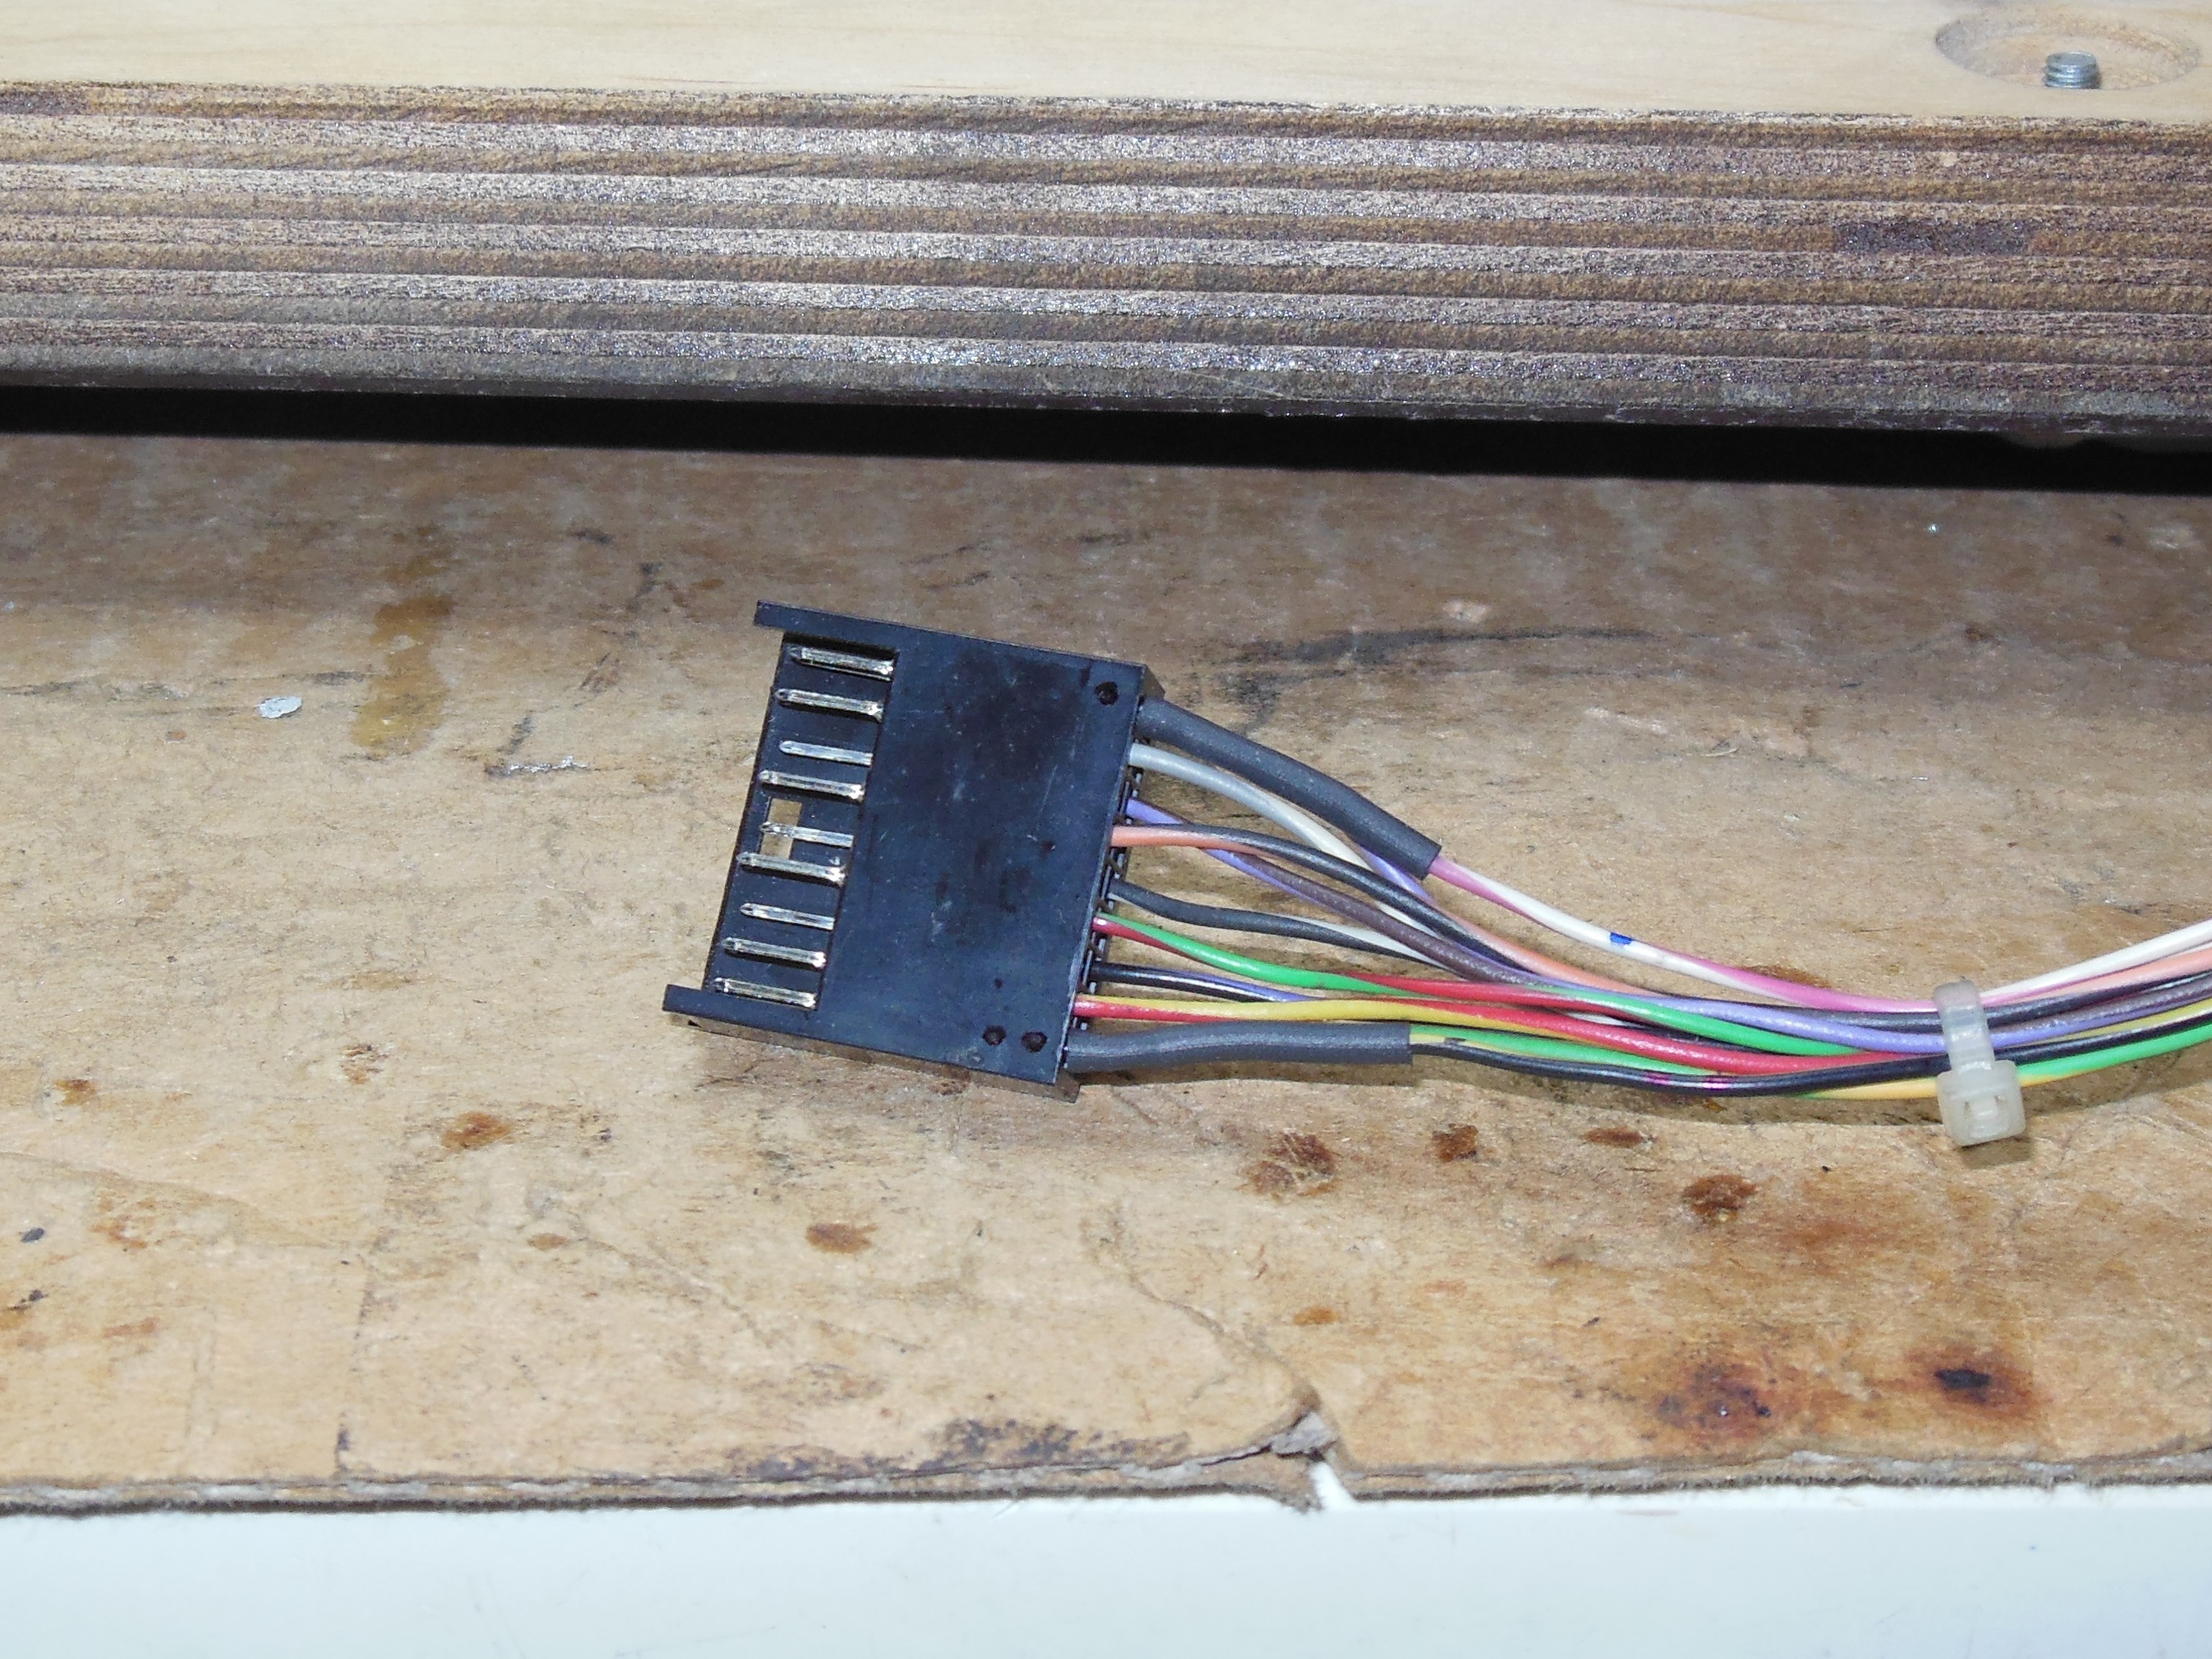
The first step was to work out the control panel pinout of the cabinet edge connector.
| B | A | ||
| A | 1 | ||
| B | 2 | ||
| C | 3 | ||
| D | 4 | ||
| E | 5 | ||
| F | 6 | ||
| H | 7 | ||
| J | 8 | ||
| (II) 4P Start | K | 9 | 1P Jump |
| 3P Start | L | 10 | 1P Run Left (I) |
| 1P Run Right | M | 11 | 2P Run Left |
| 2P Run Right | N | 12 | 2P Jump |
| P | 13 | 1P Start | |
| R | 14 | ||
| S | 15 | 2P Start | |
| T | 16 | ||
| U | 17 | ||
| V | 18 | ||
| W | 19 | ||
| X | 20 | ||
| Y | 21 | ||
| Z | 22 | ||
| [ | ] | |||||||
|---|---|---|---|---|---|---|---|---|
| 18 (I) | 16 | 14 | 12 | 10 | 8 | 6 | 4 | 2 (II) |
| 1P Run Left |
1P Start |
1P Jump |
2P Run Right |
1P Run Right |
4P Start |
|||
| 2P Run Left |
1P Jump |
2P Start |
3P Start |
GND | ||||
| 17 | 15 | 13 | 11 | 9 | 7 | 5 | 3 | 1 |
| [ | ] | |||||||
|---|---|---|---|---|---|---|---|---|
| 18 | 16 | 14 | 12 | 10 | 8 | 6 | 4 | 2 |
| Fire Up |
1P Start |
Right | Left | Fire Left |
Fire Down |
|||
| Up | Fire Right |
2P Start |
Down | GND | ||||
| 17 | 15 | 13 | 11 | 9 | 7 | 5 | 3 | 1 |
Though the cabinet contained a Universal Type manual with a pinout for Vanguard, the combination of the hacked cabinet wiring and Konami to Vanguard adaptor didn't match the manual. The control panel harness in the cabinet was also 8-pin rather than the 10-pin shown in the manual. Possibly it was replaced or a conversion attempt from a standard Konami Universal Type cabinet. I was faced with two choices: 1) Restore the cabinet wiring to Vanguard and rework the Konami to Vanguard adaptor to match, or 2) Restore the cabinet to dedicated Konami Hyper Olympic. I chose to go with the neater (no adaptor) solution of a dedicated Hyper Olympic.
|
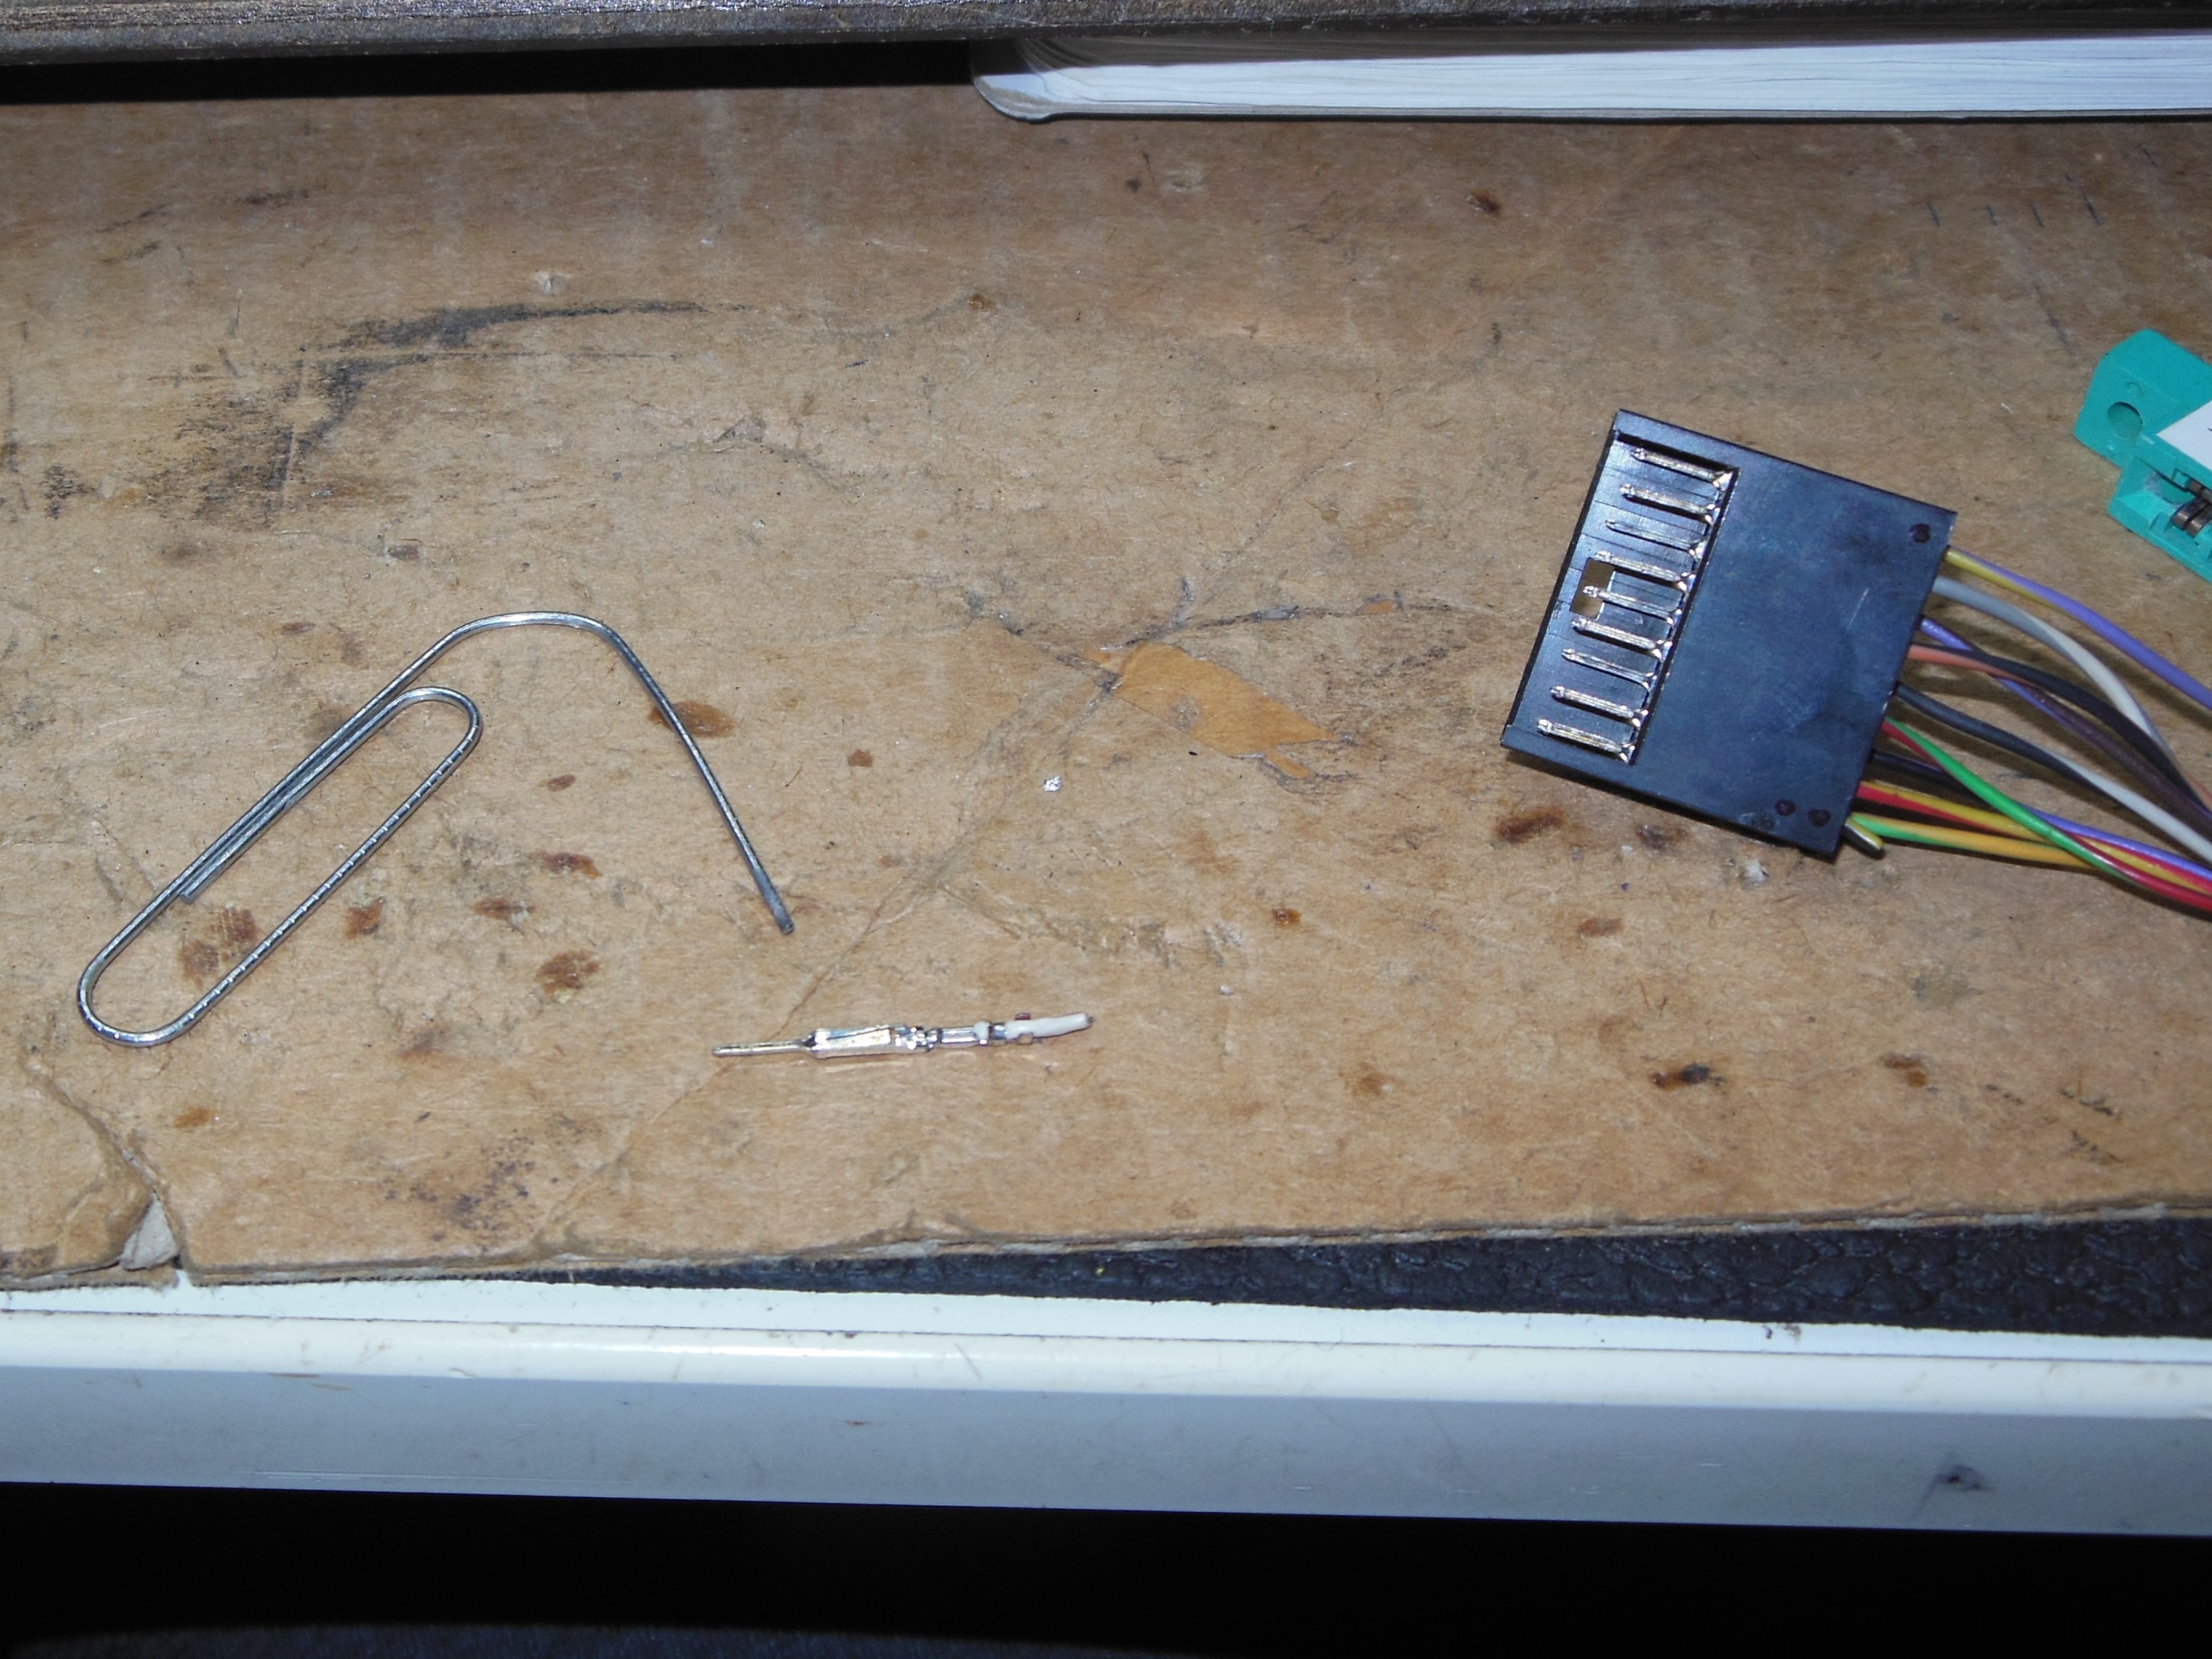
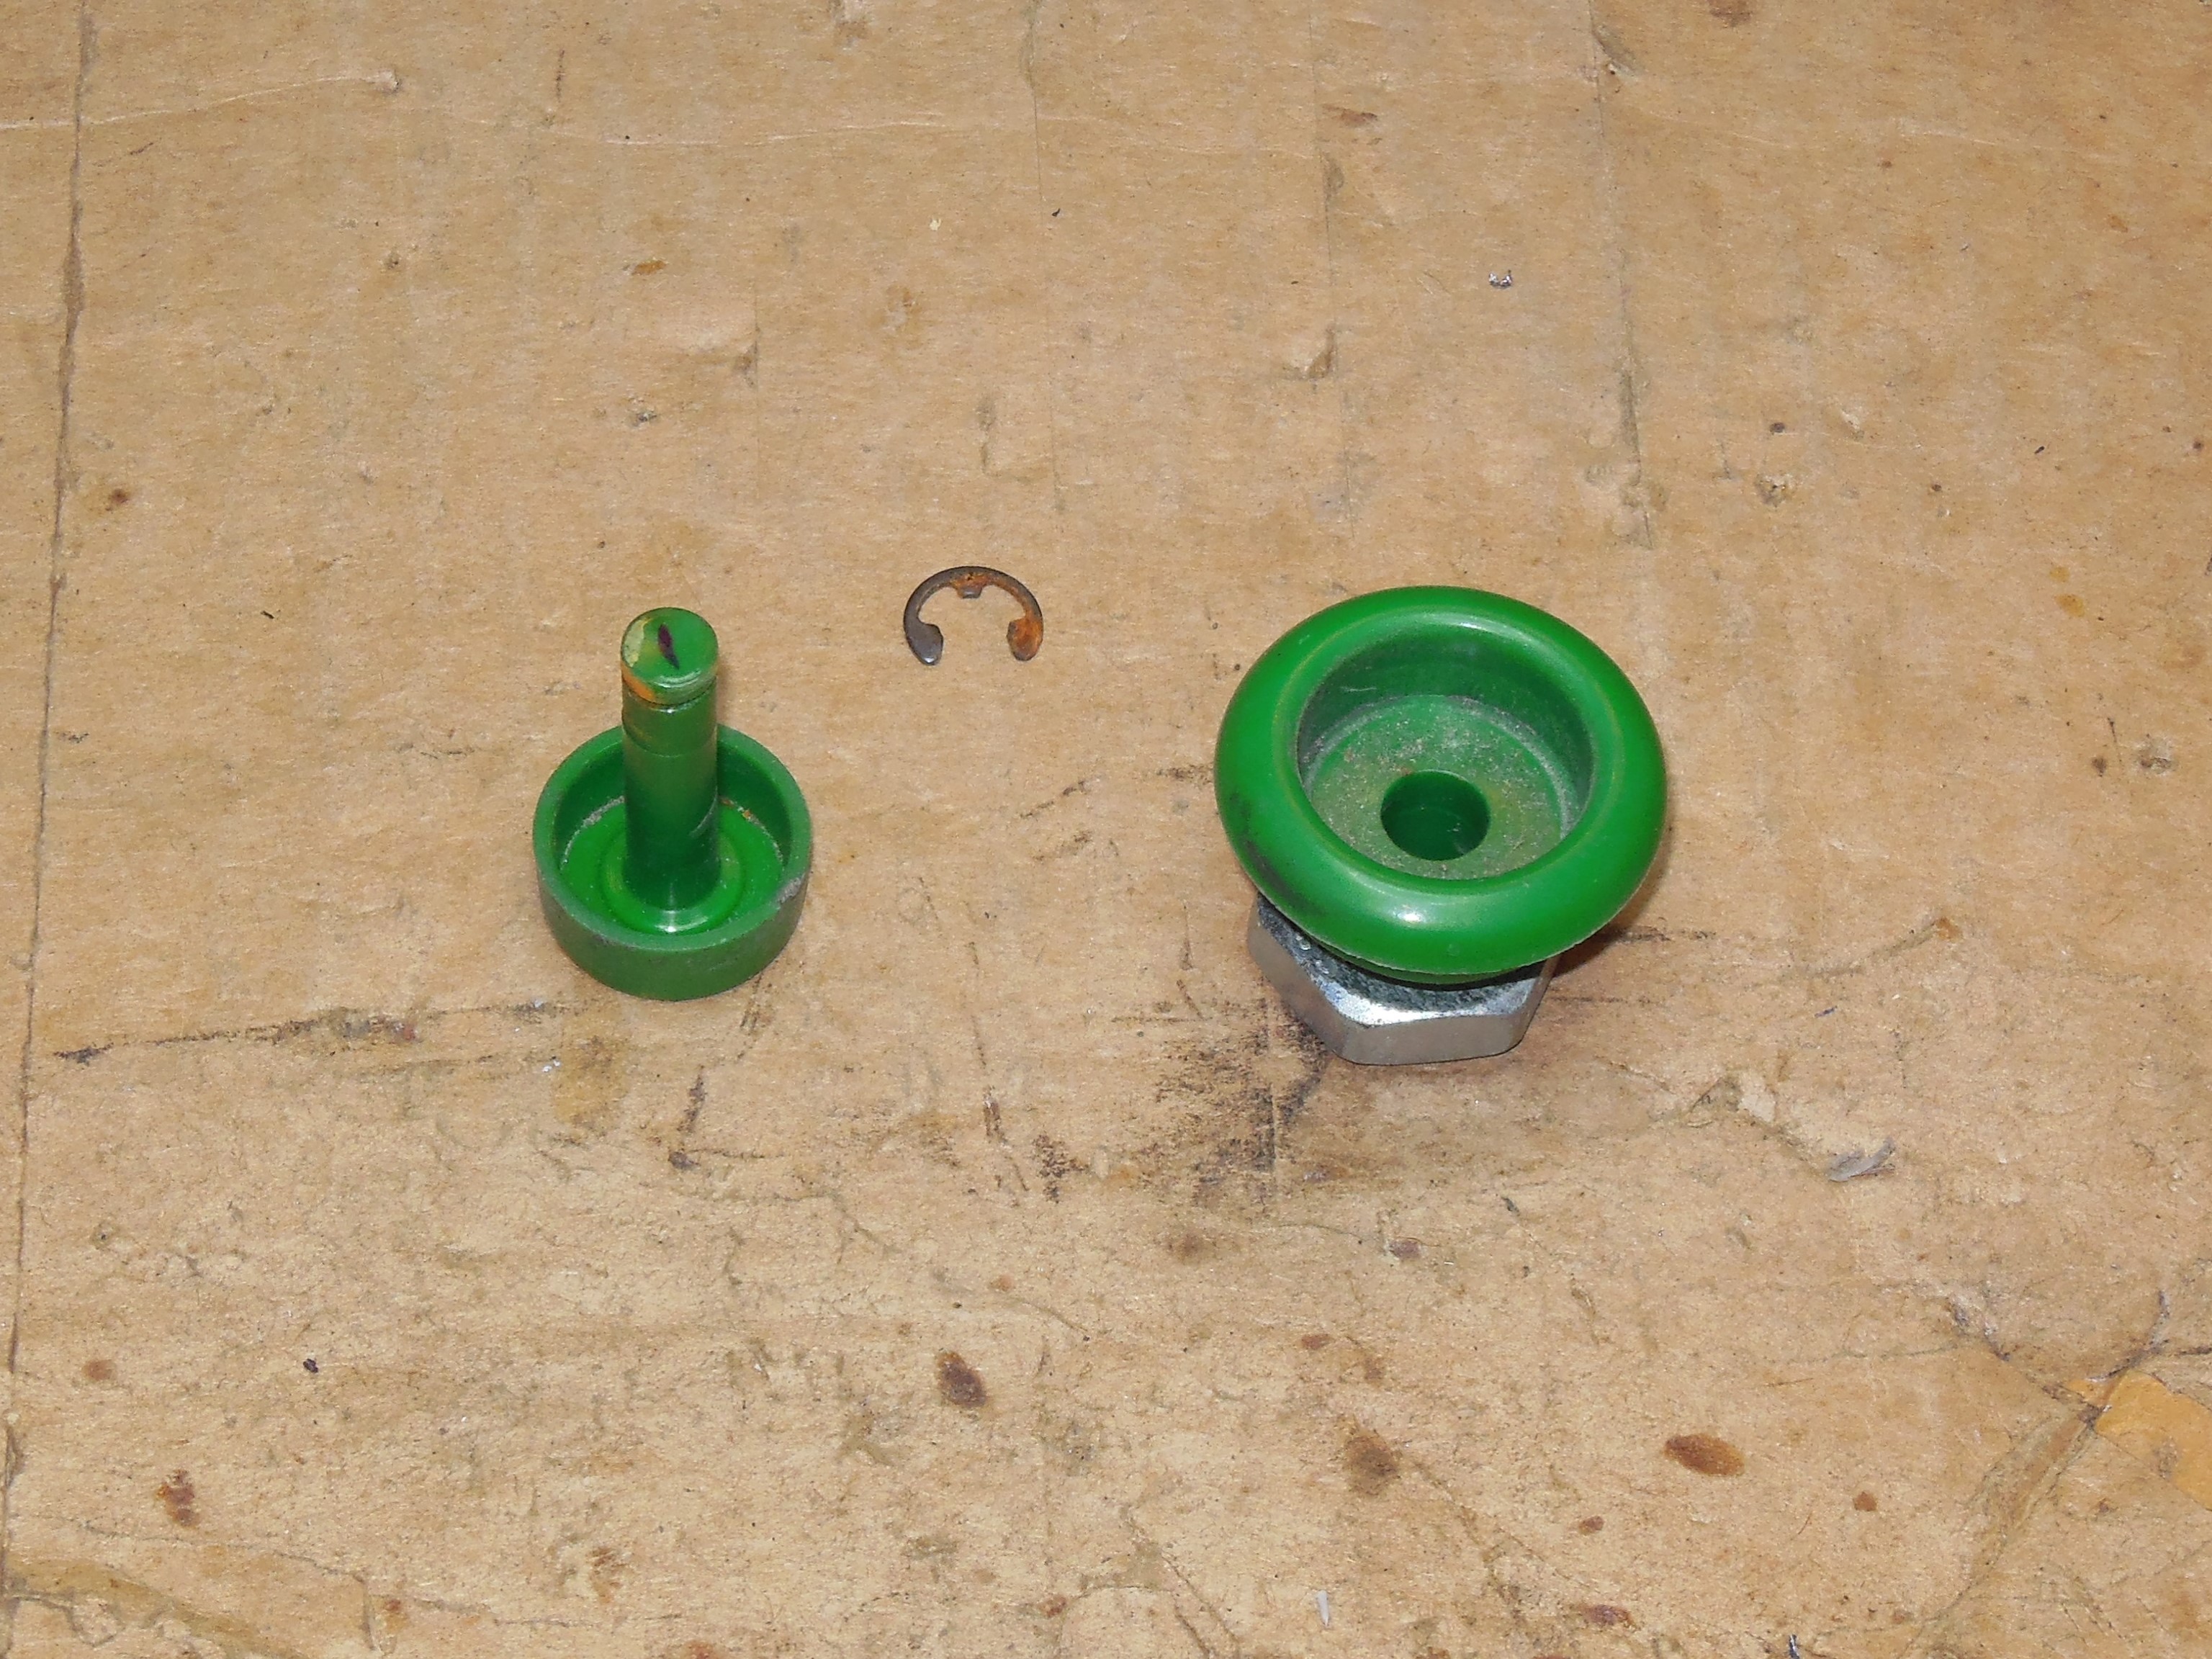
The two cut pins used for the fly leads (I) and (II) above were repaired. The cut was too close to the housing to solder directly so the pins were removed using a paperclip, the cut repaired and pins reinserted.
|
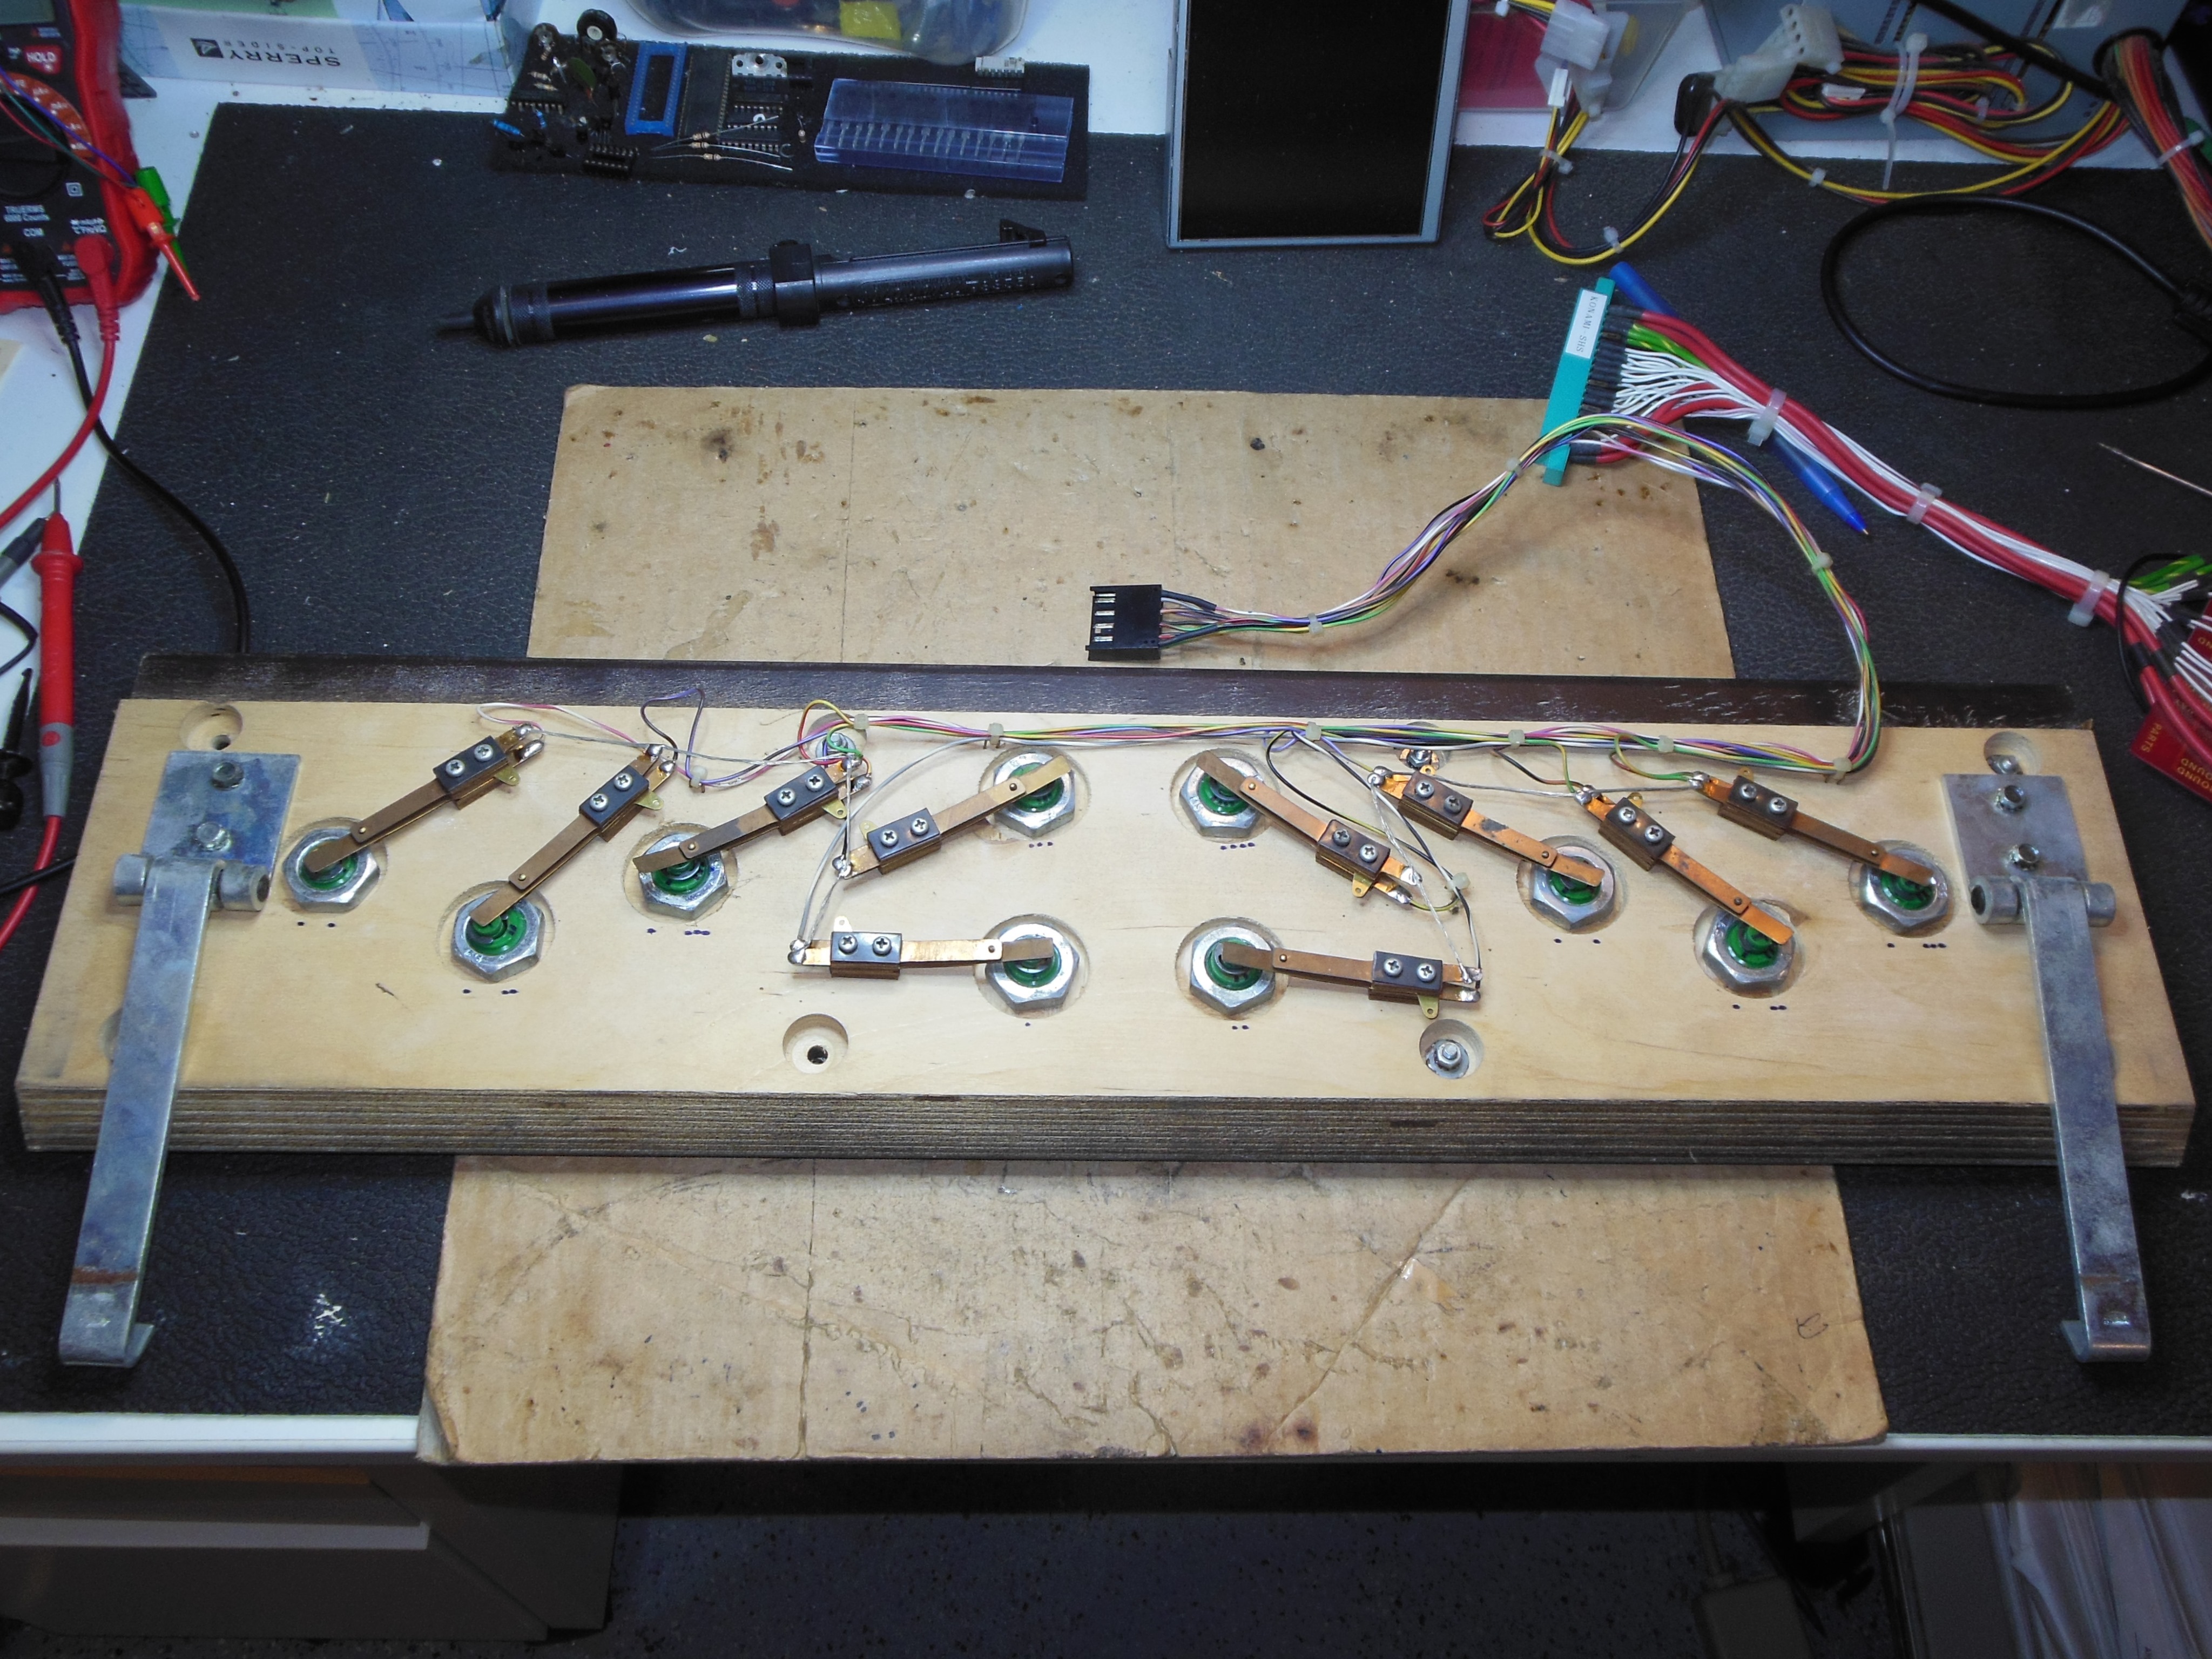
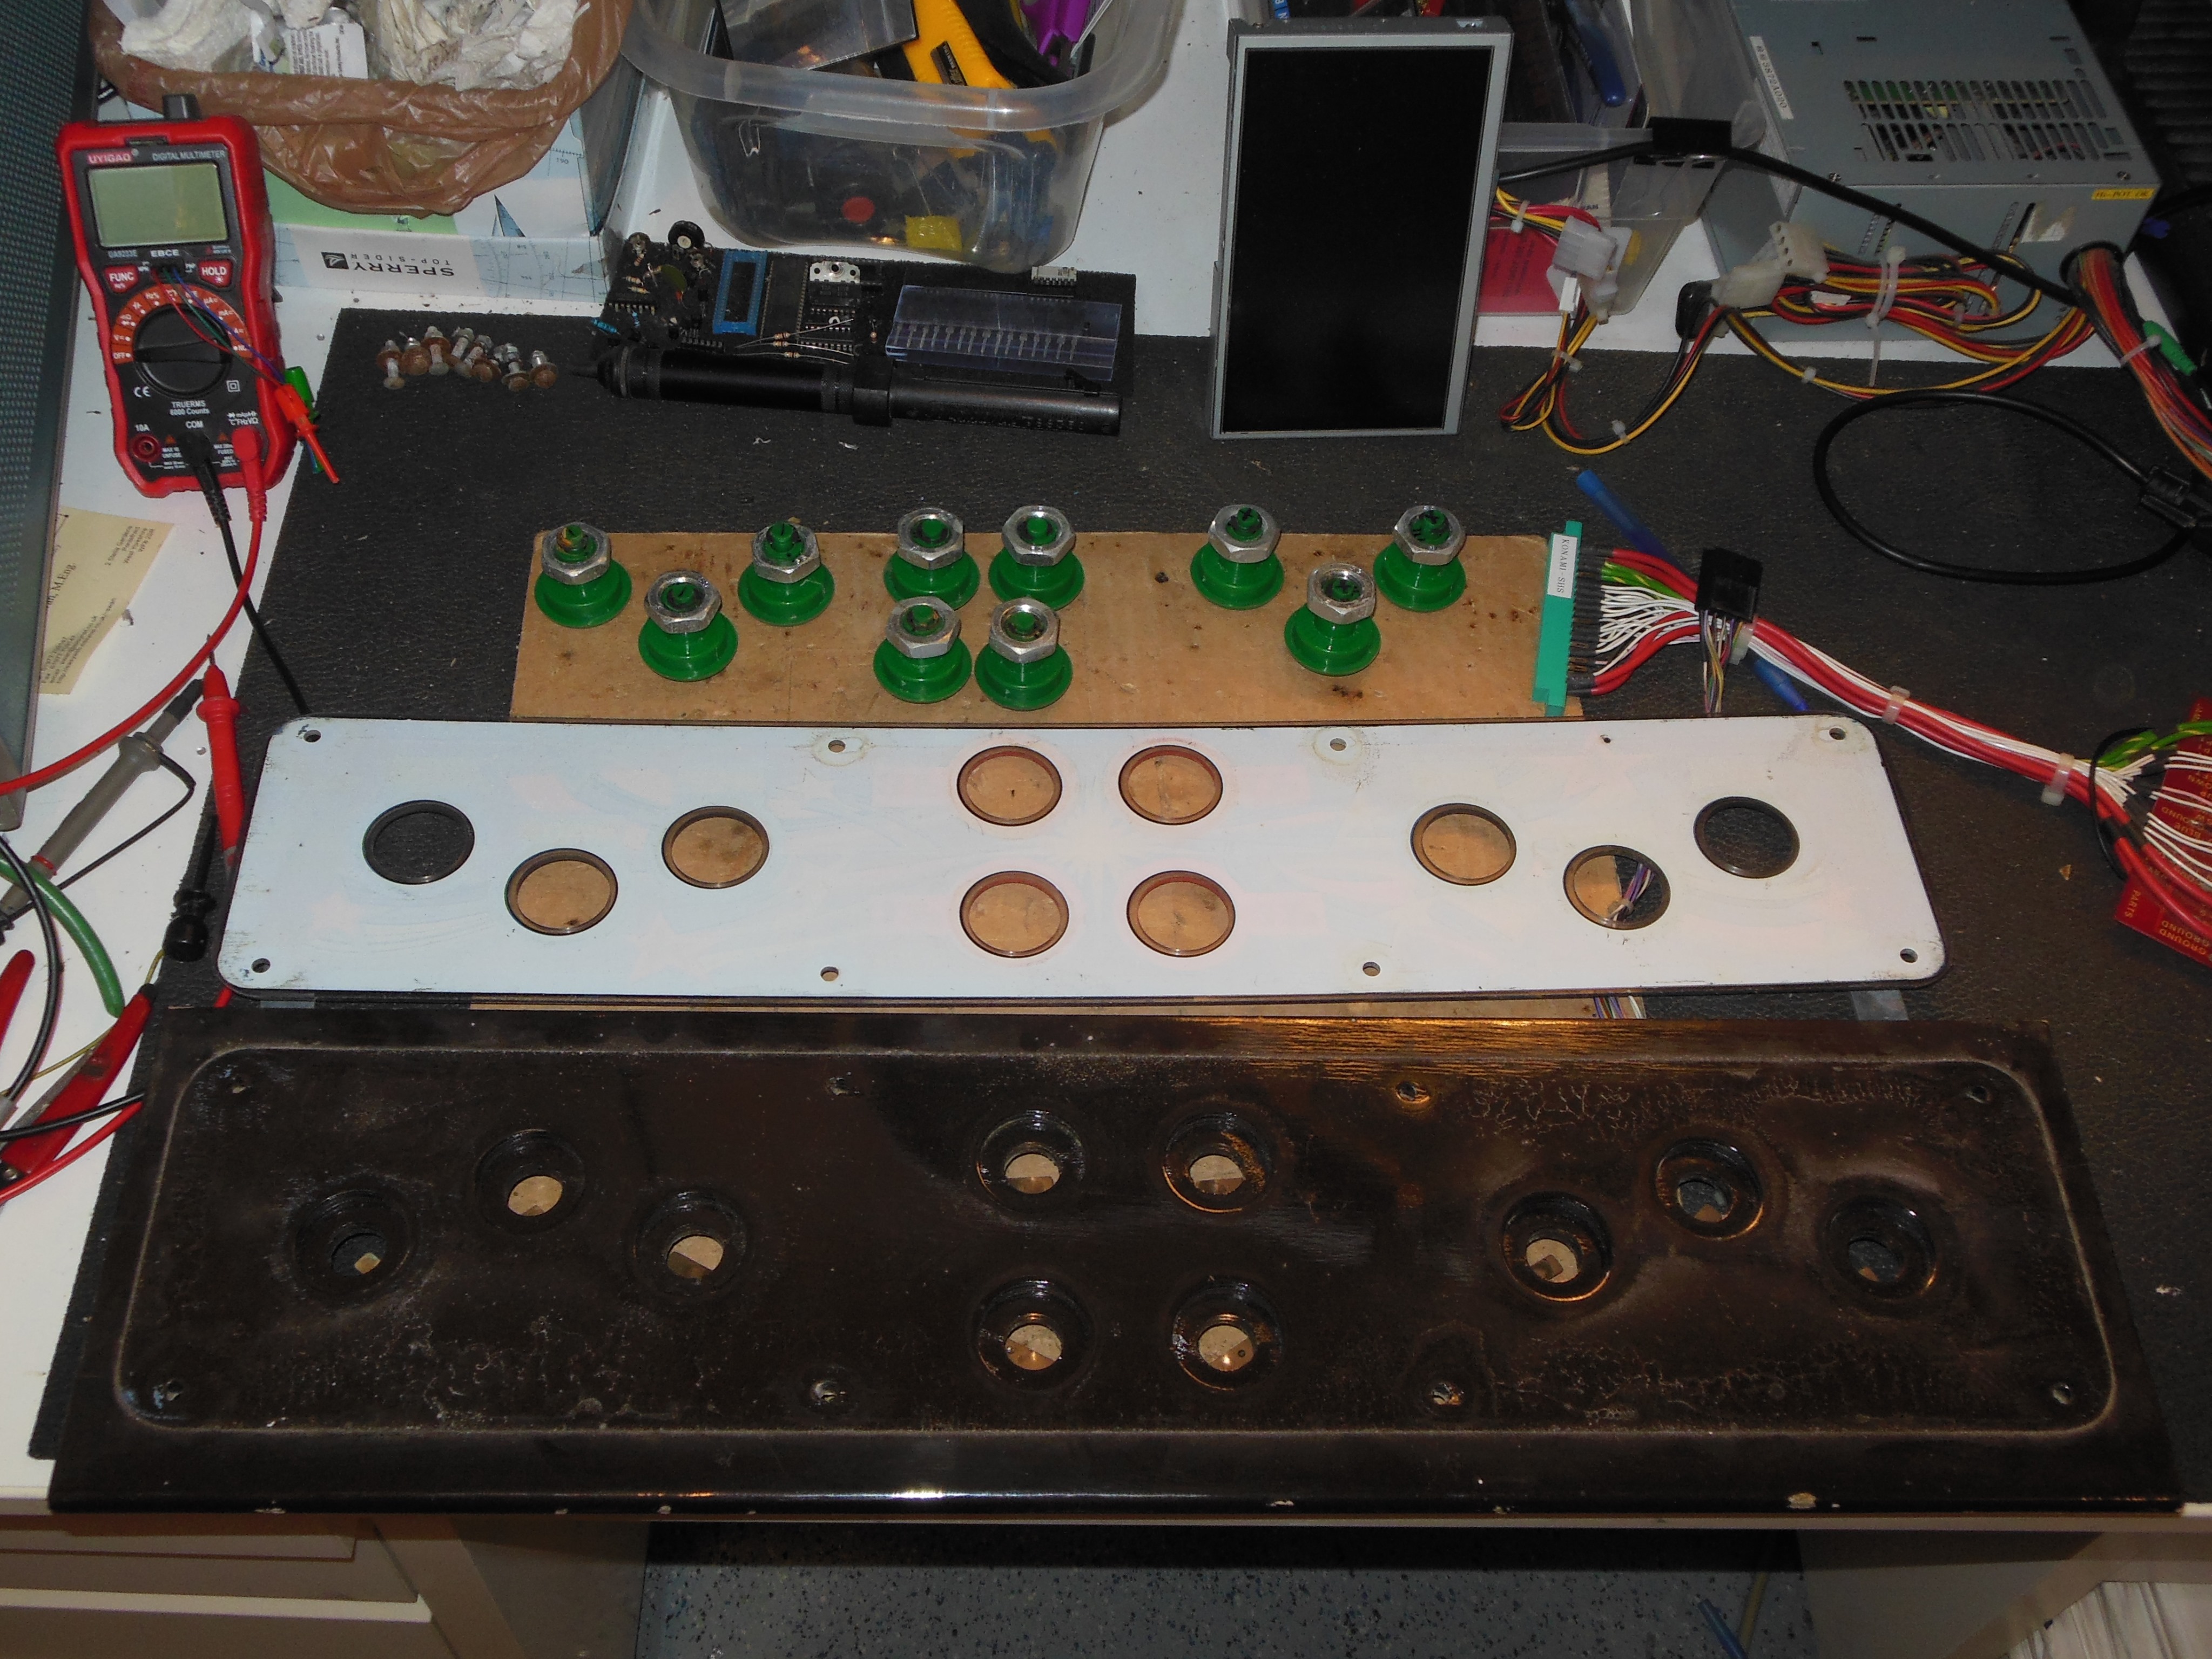
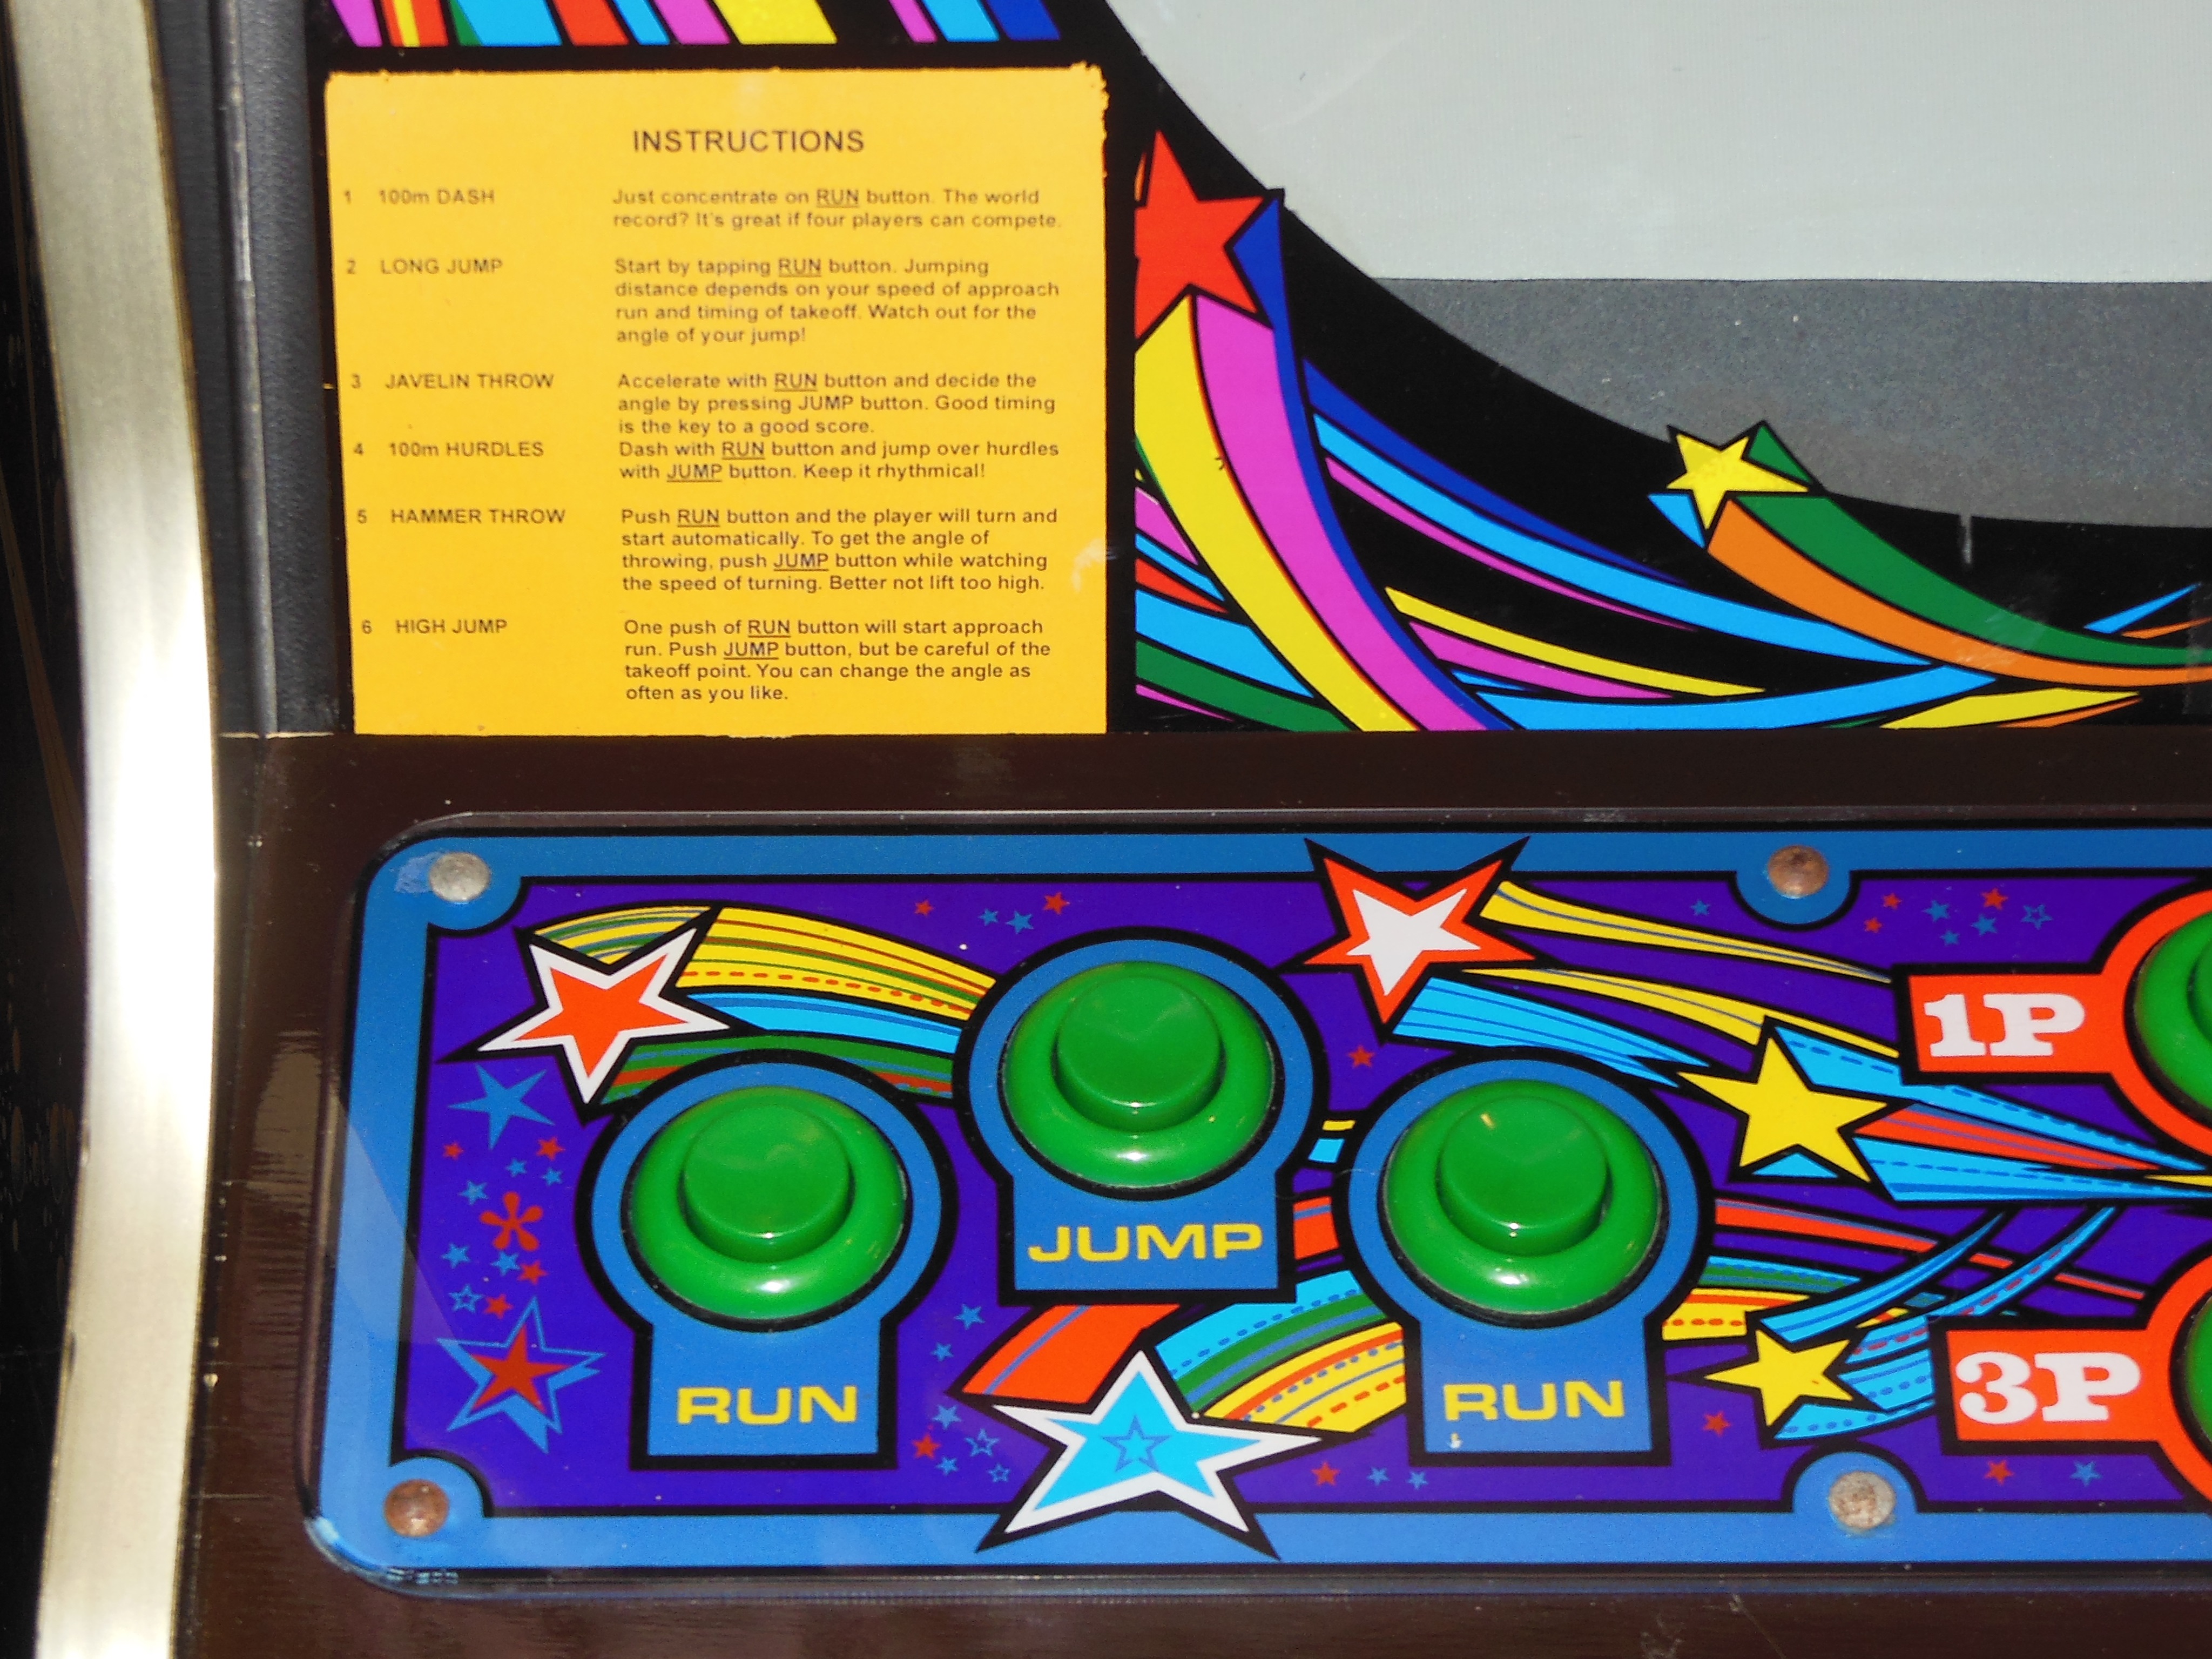
The control panel was disassembled & cleaned. Whilst cleaning the buttons I discovered that all four "RUN" buttons were missing the springs that I assume was done to leave the buttons resting on the leaf switches for a lighter press and less finger fatigue. The modification was left as is.
|
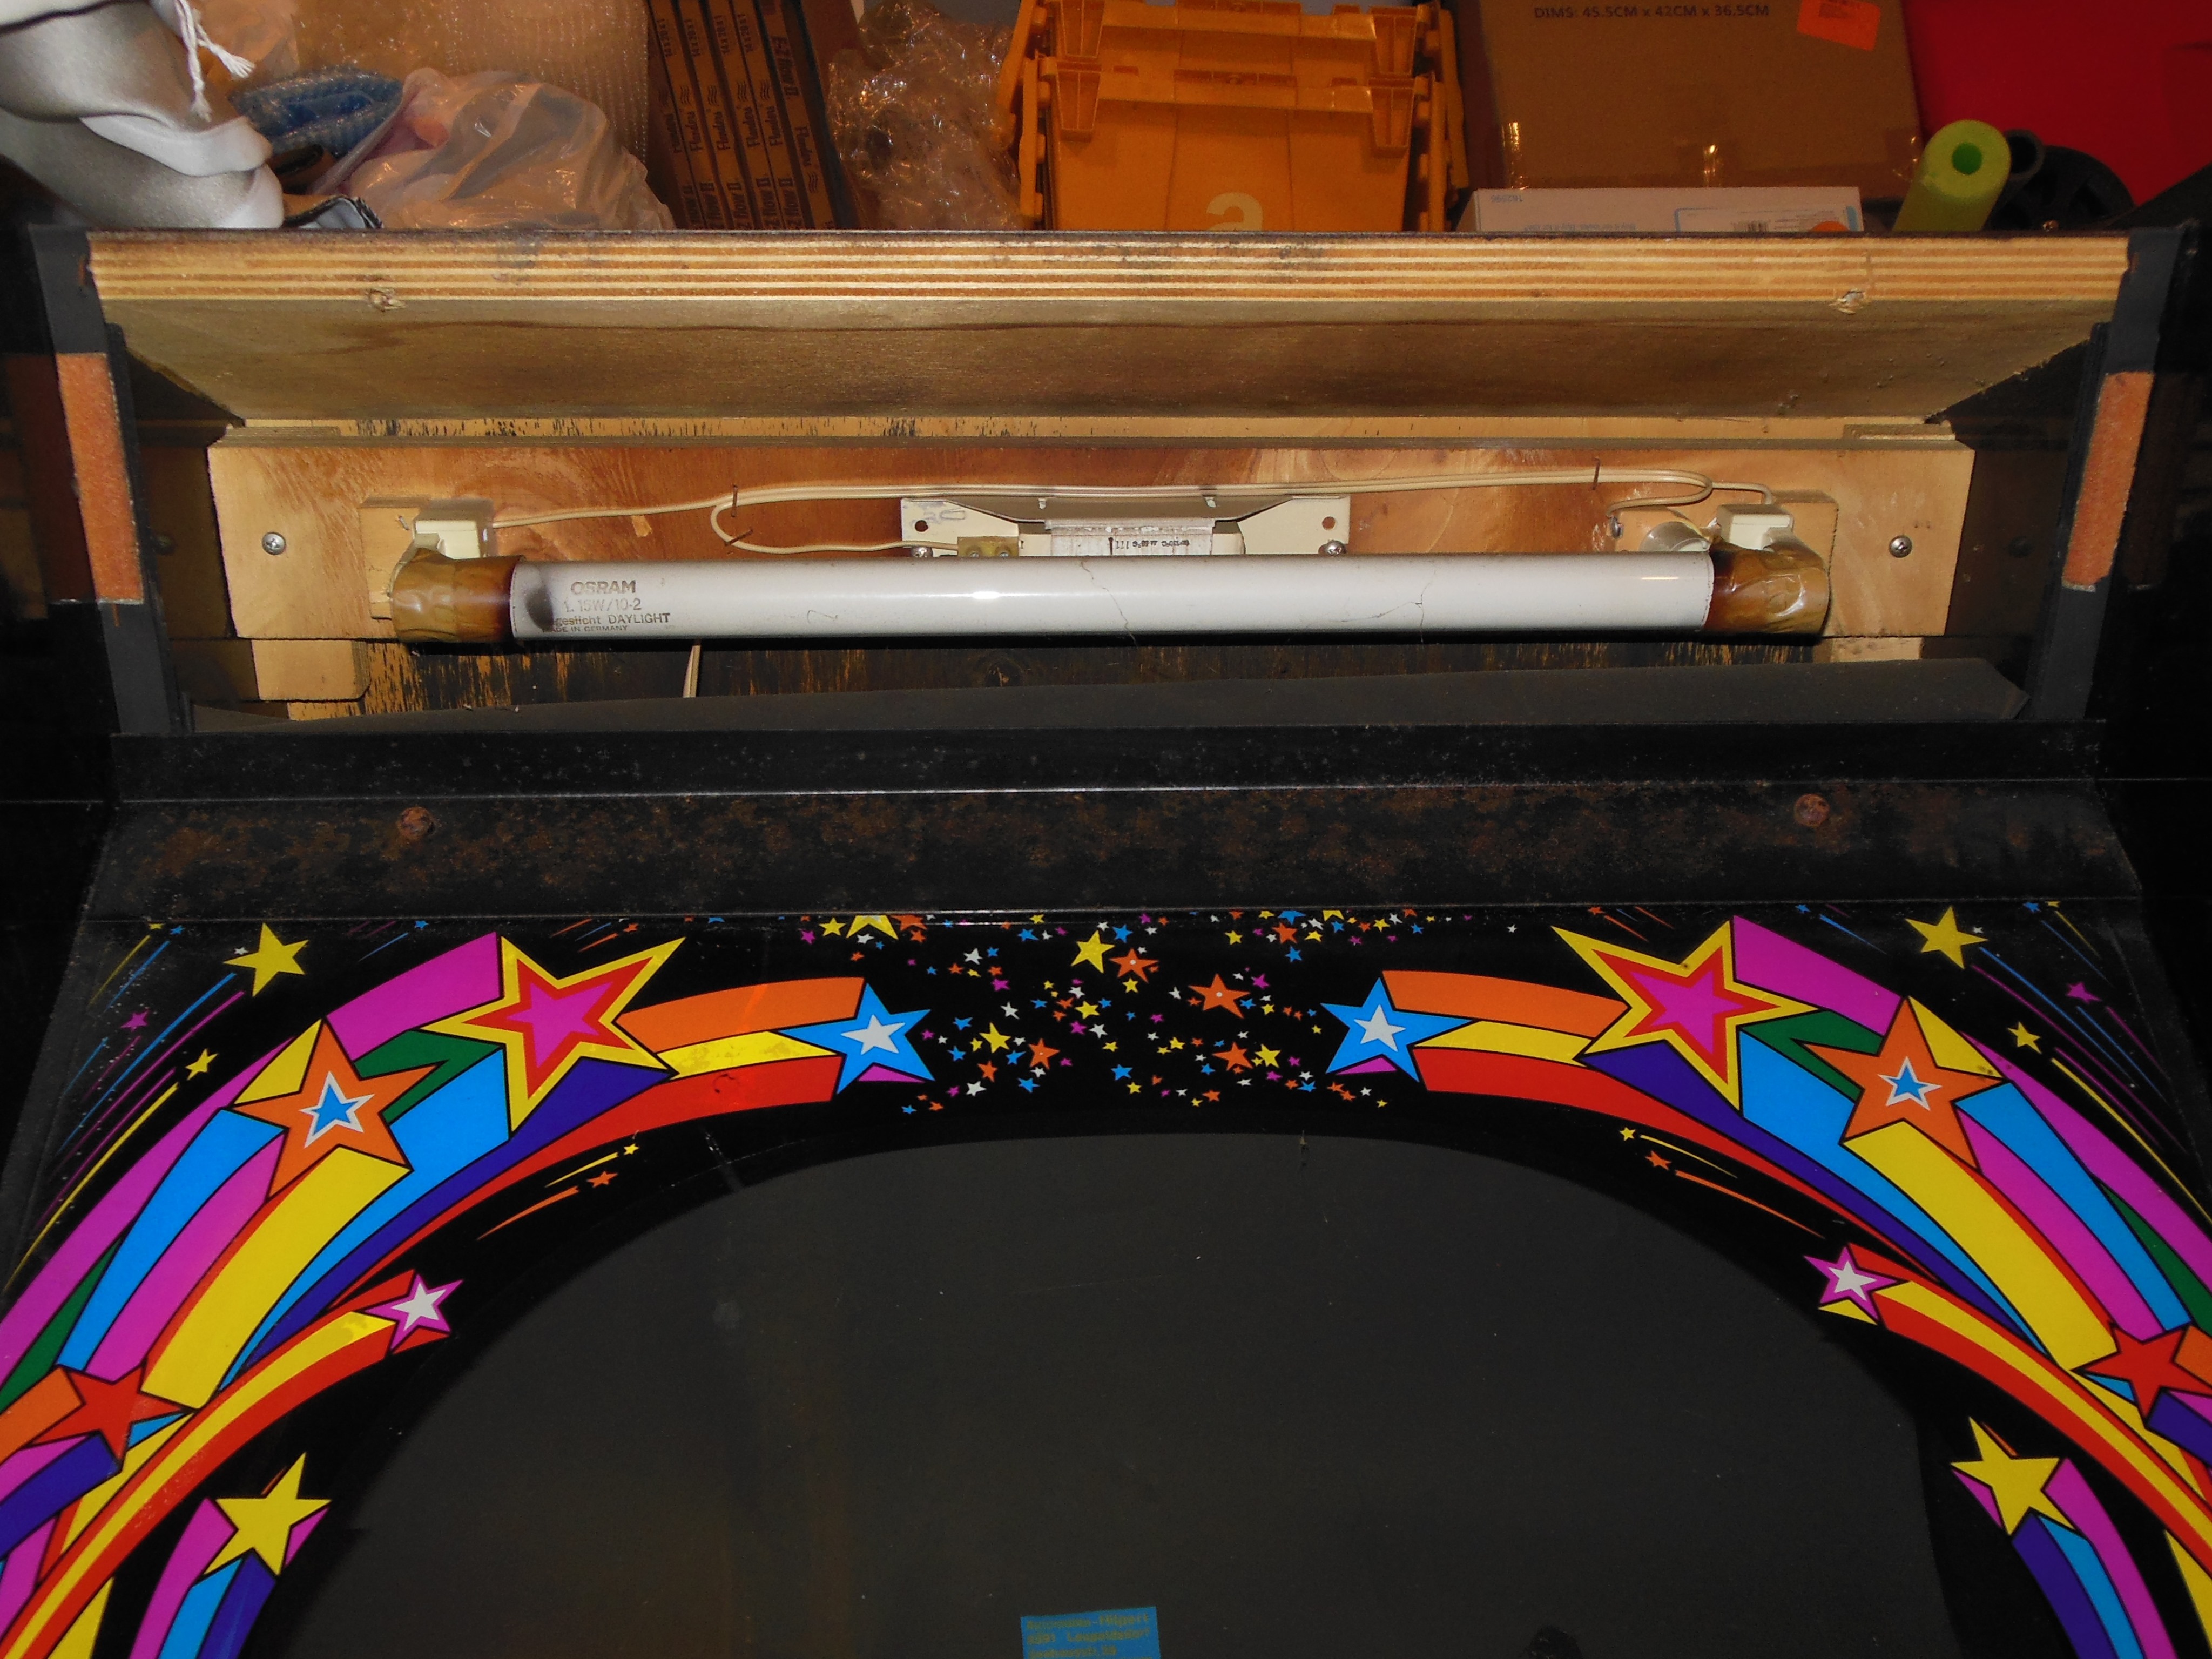
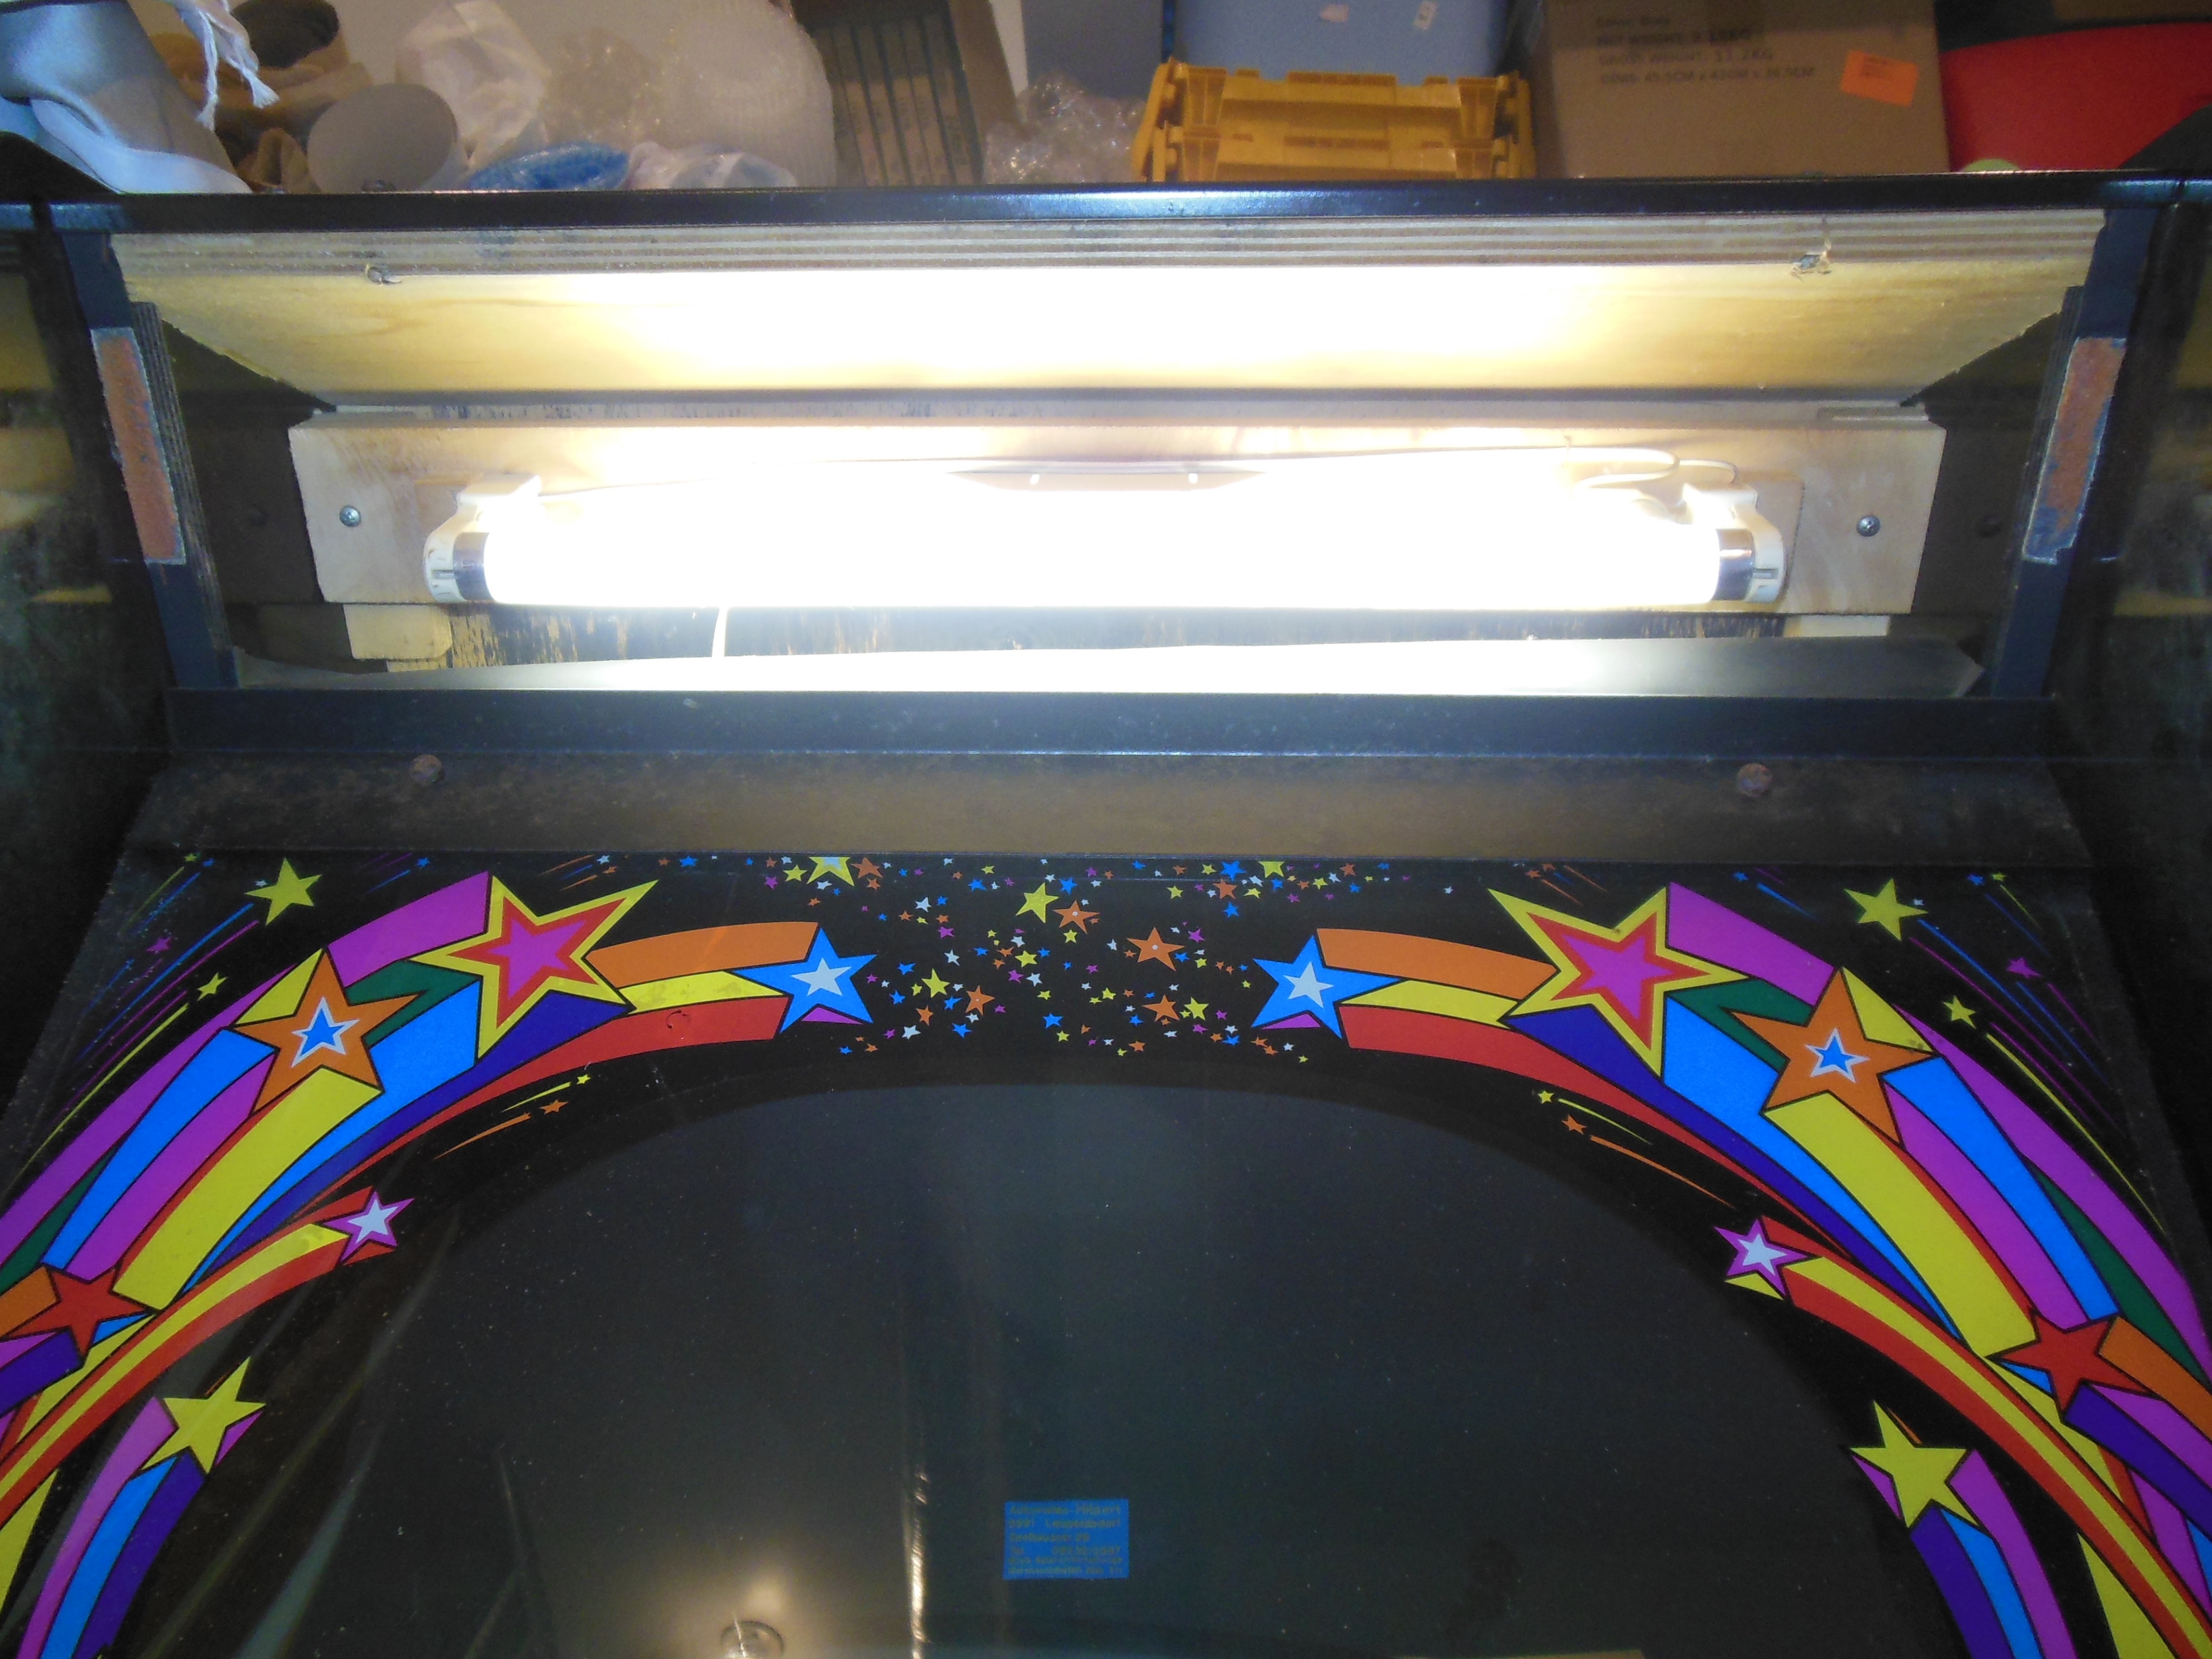
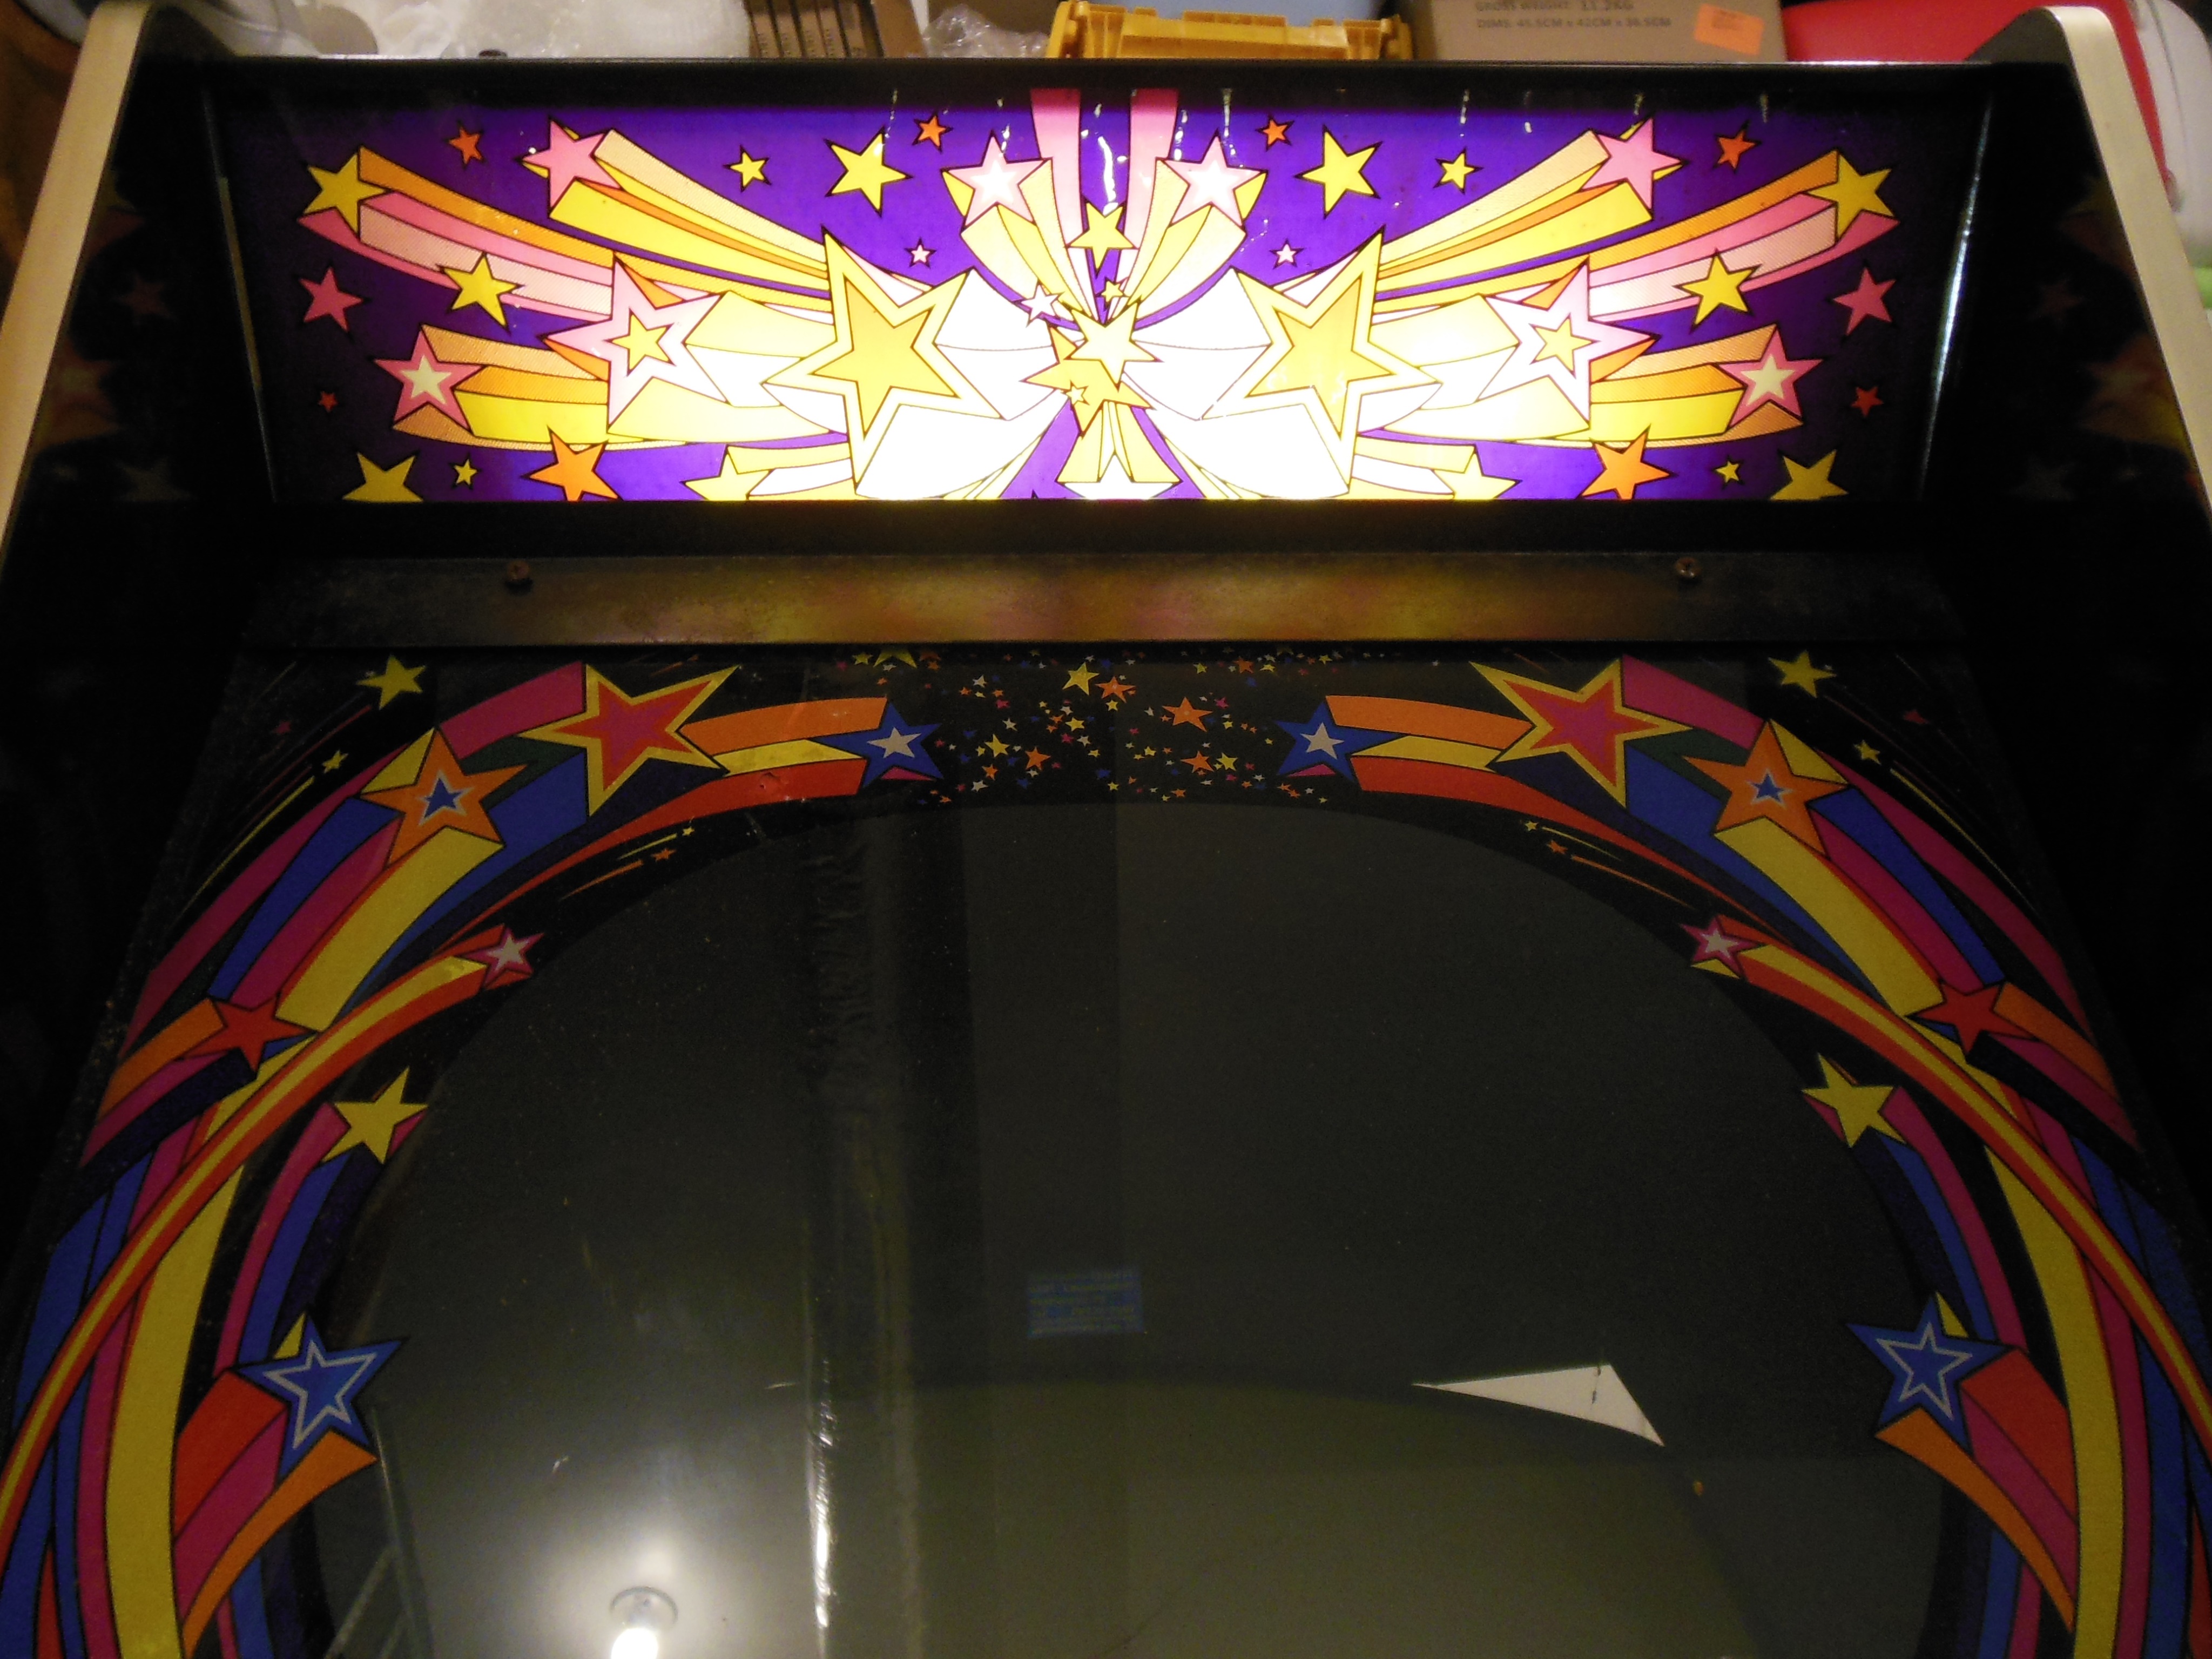
Fixing the marque light required only a new lamp. There was some flaking of the marque itself that was left as is.
|
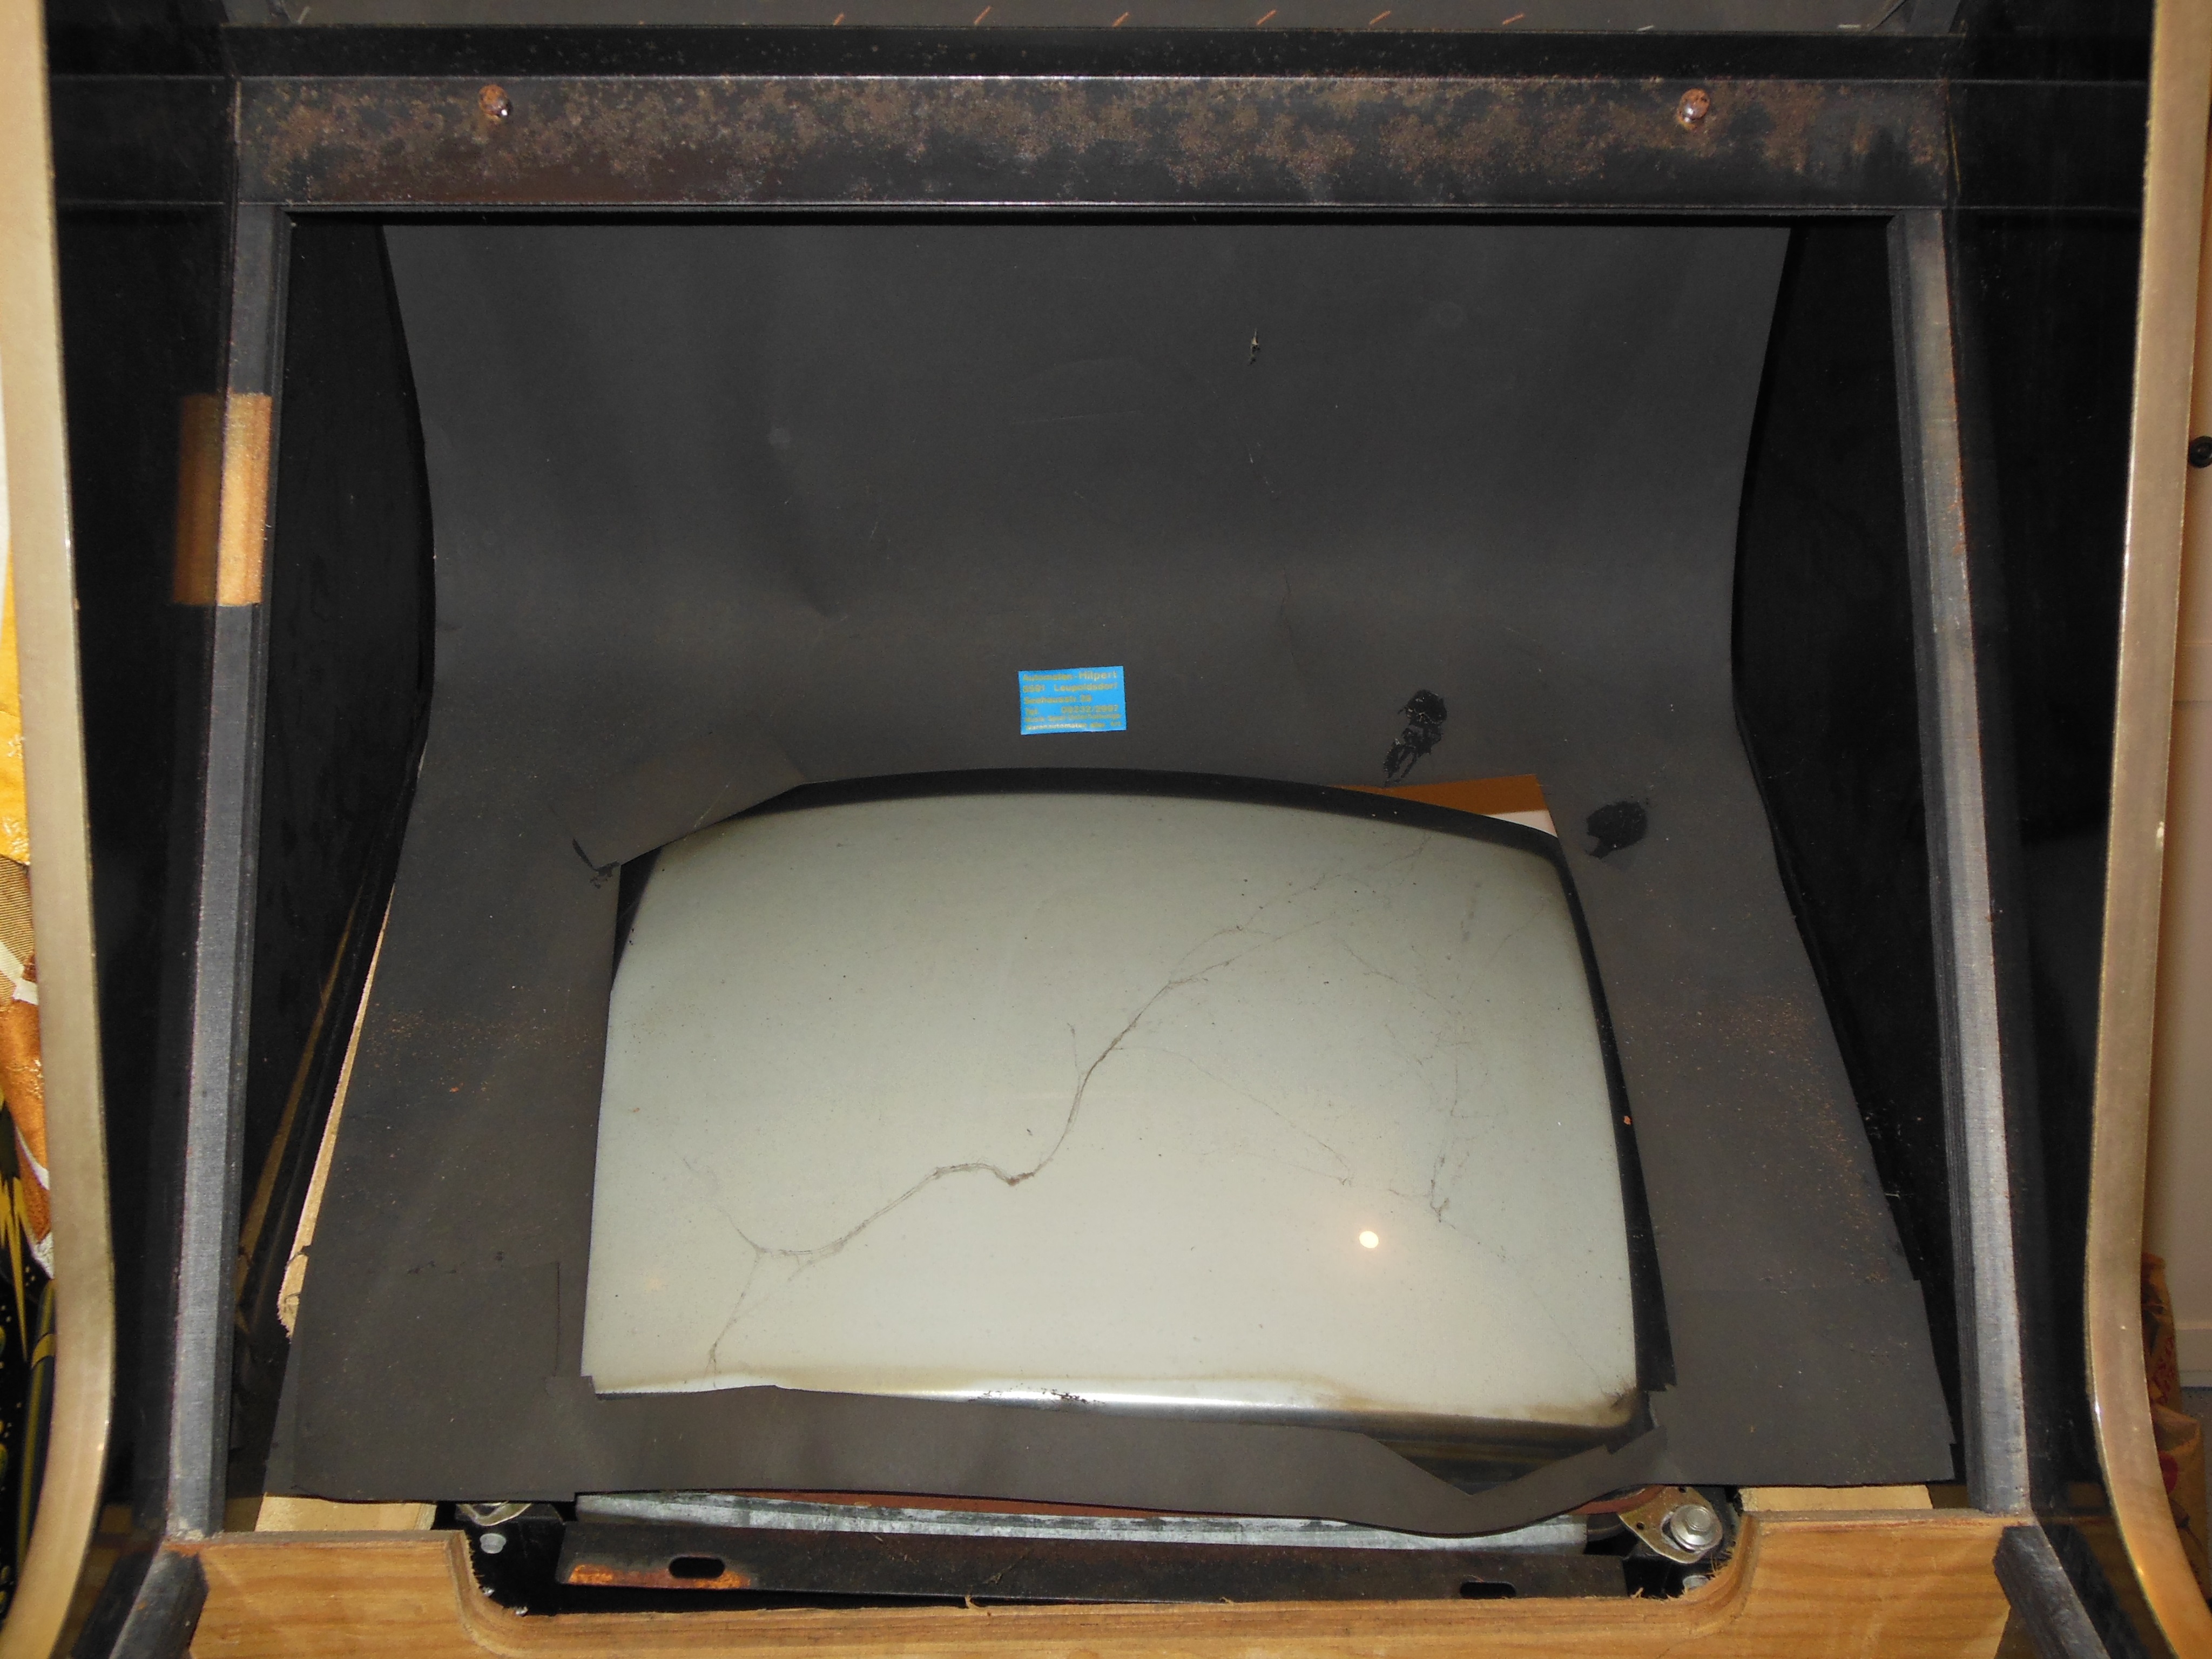
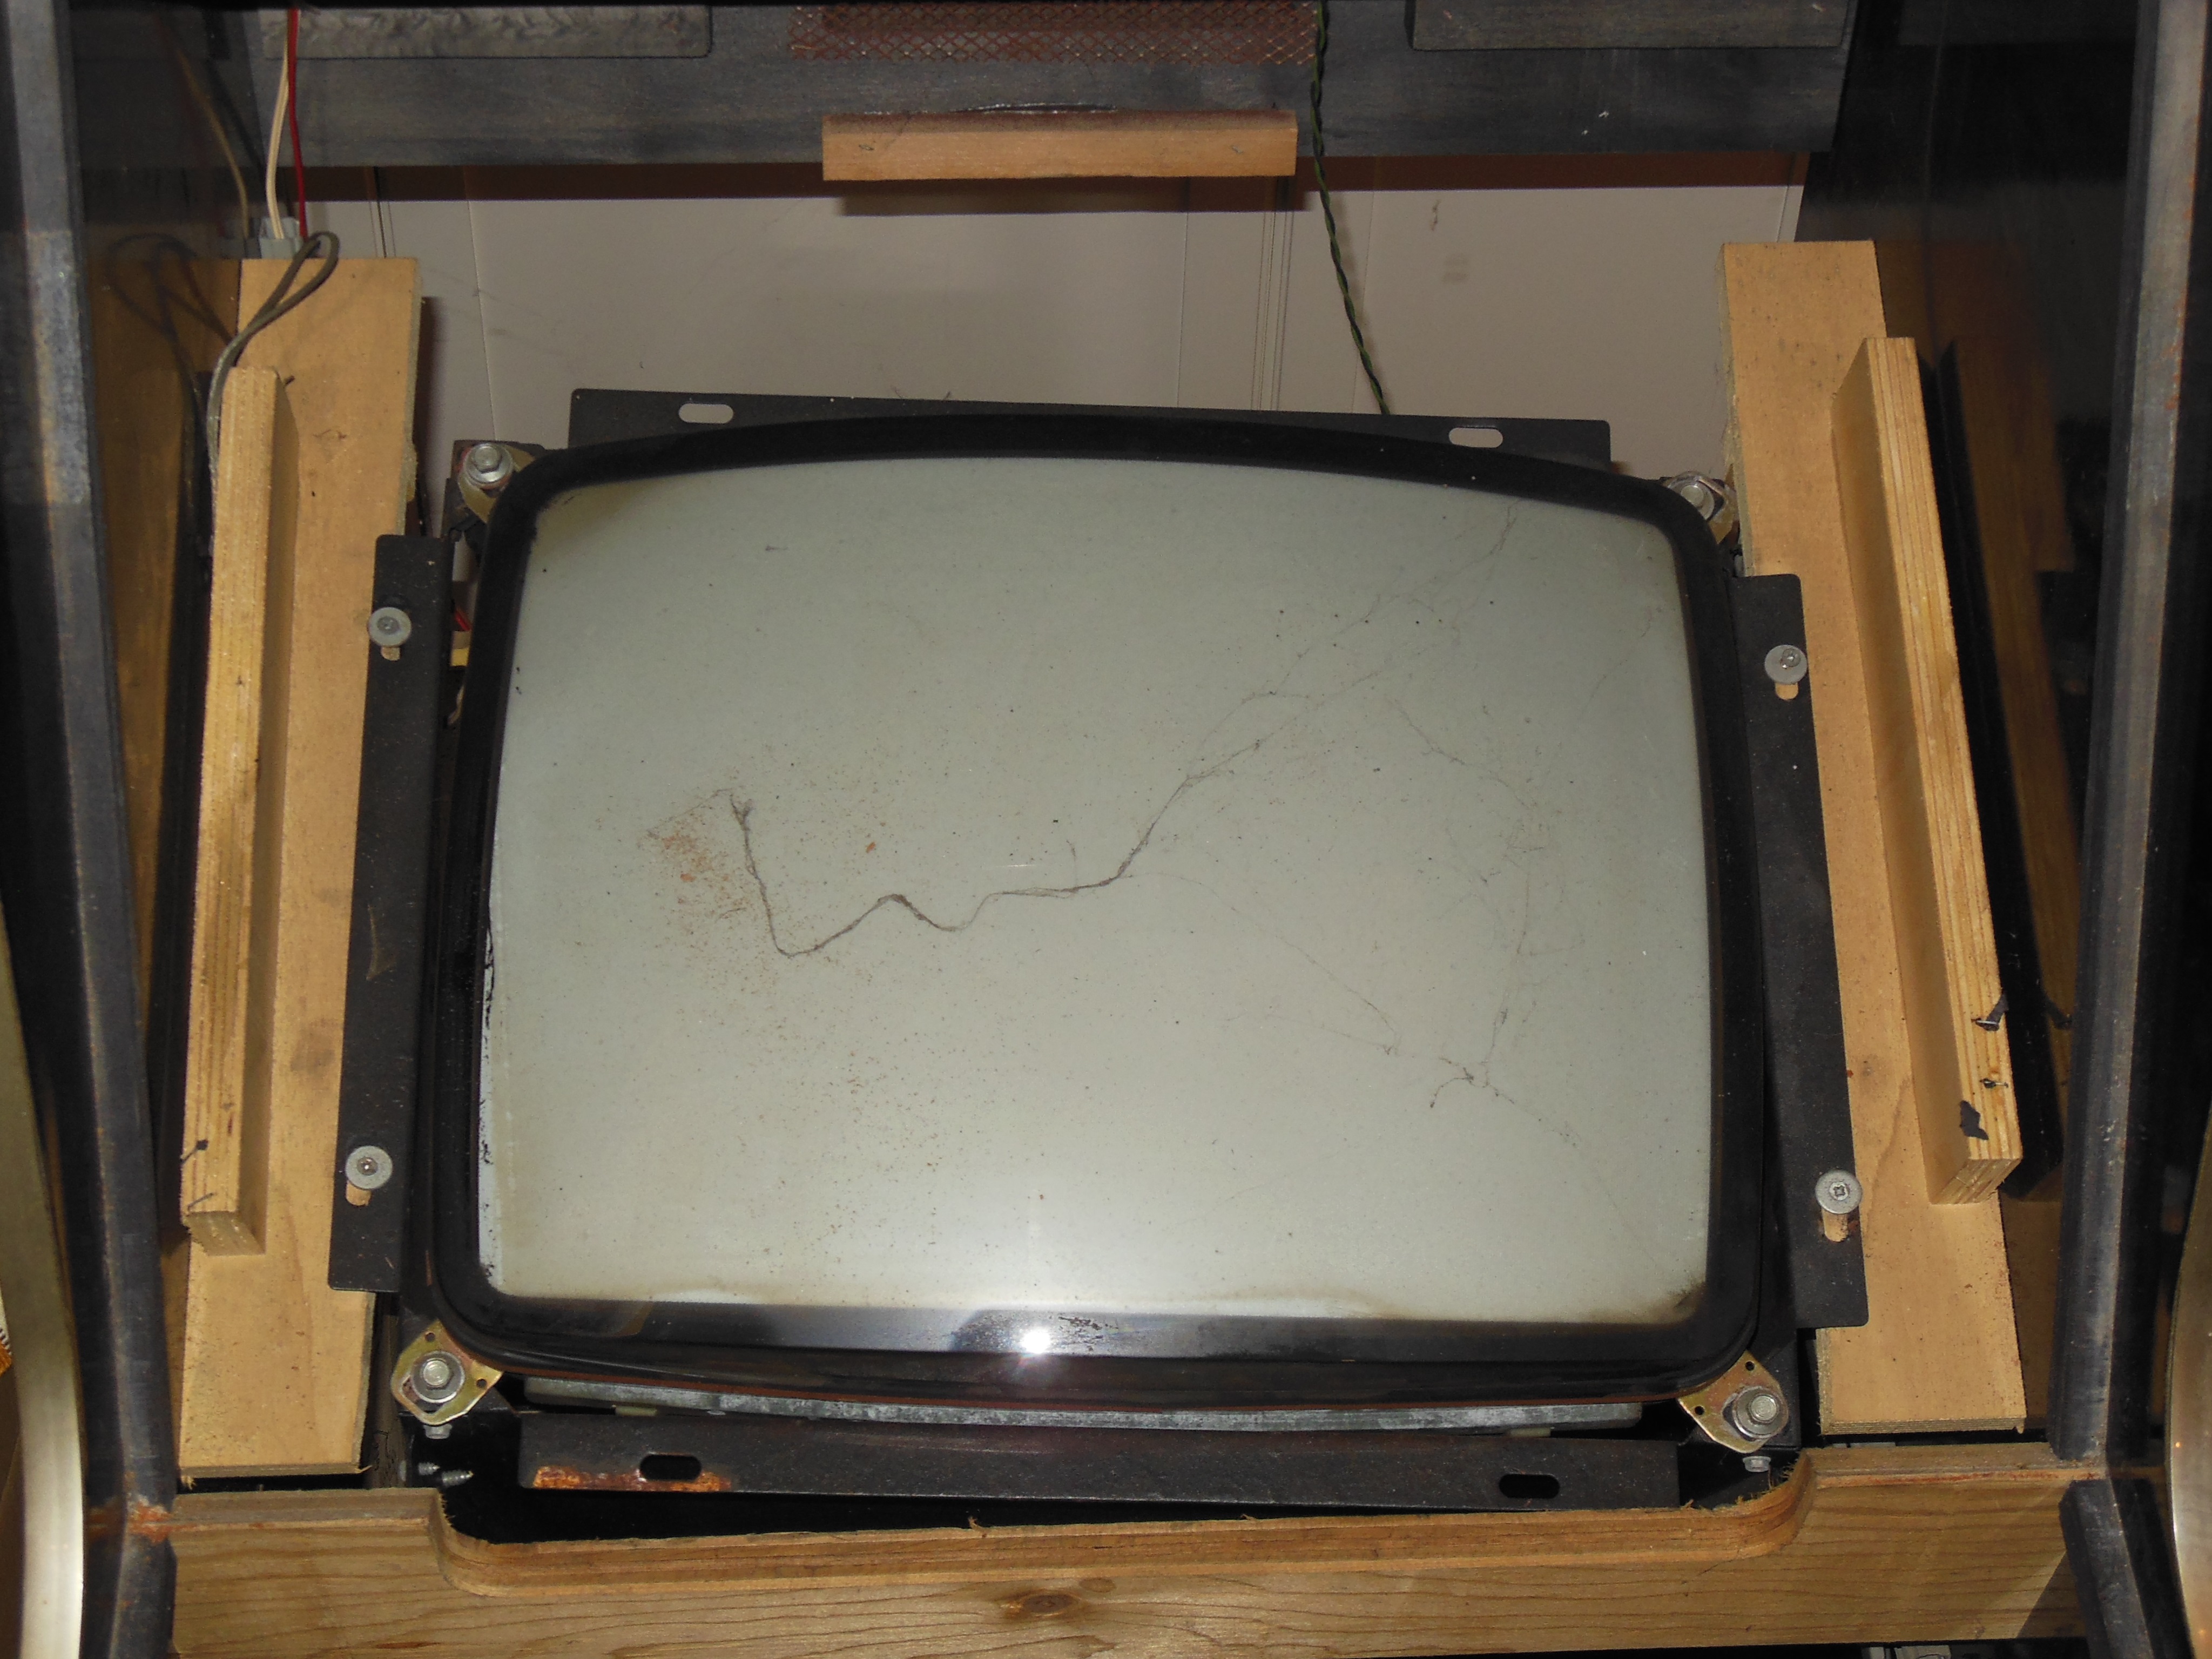
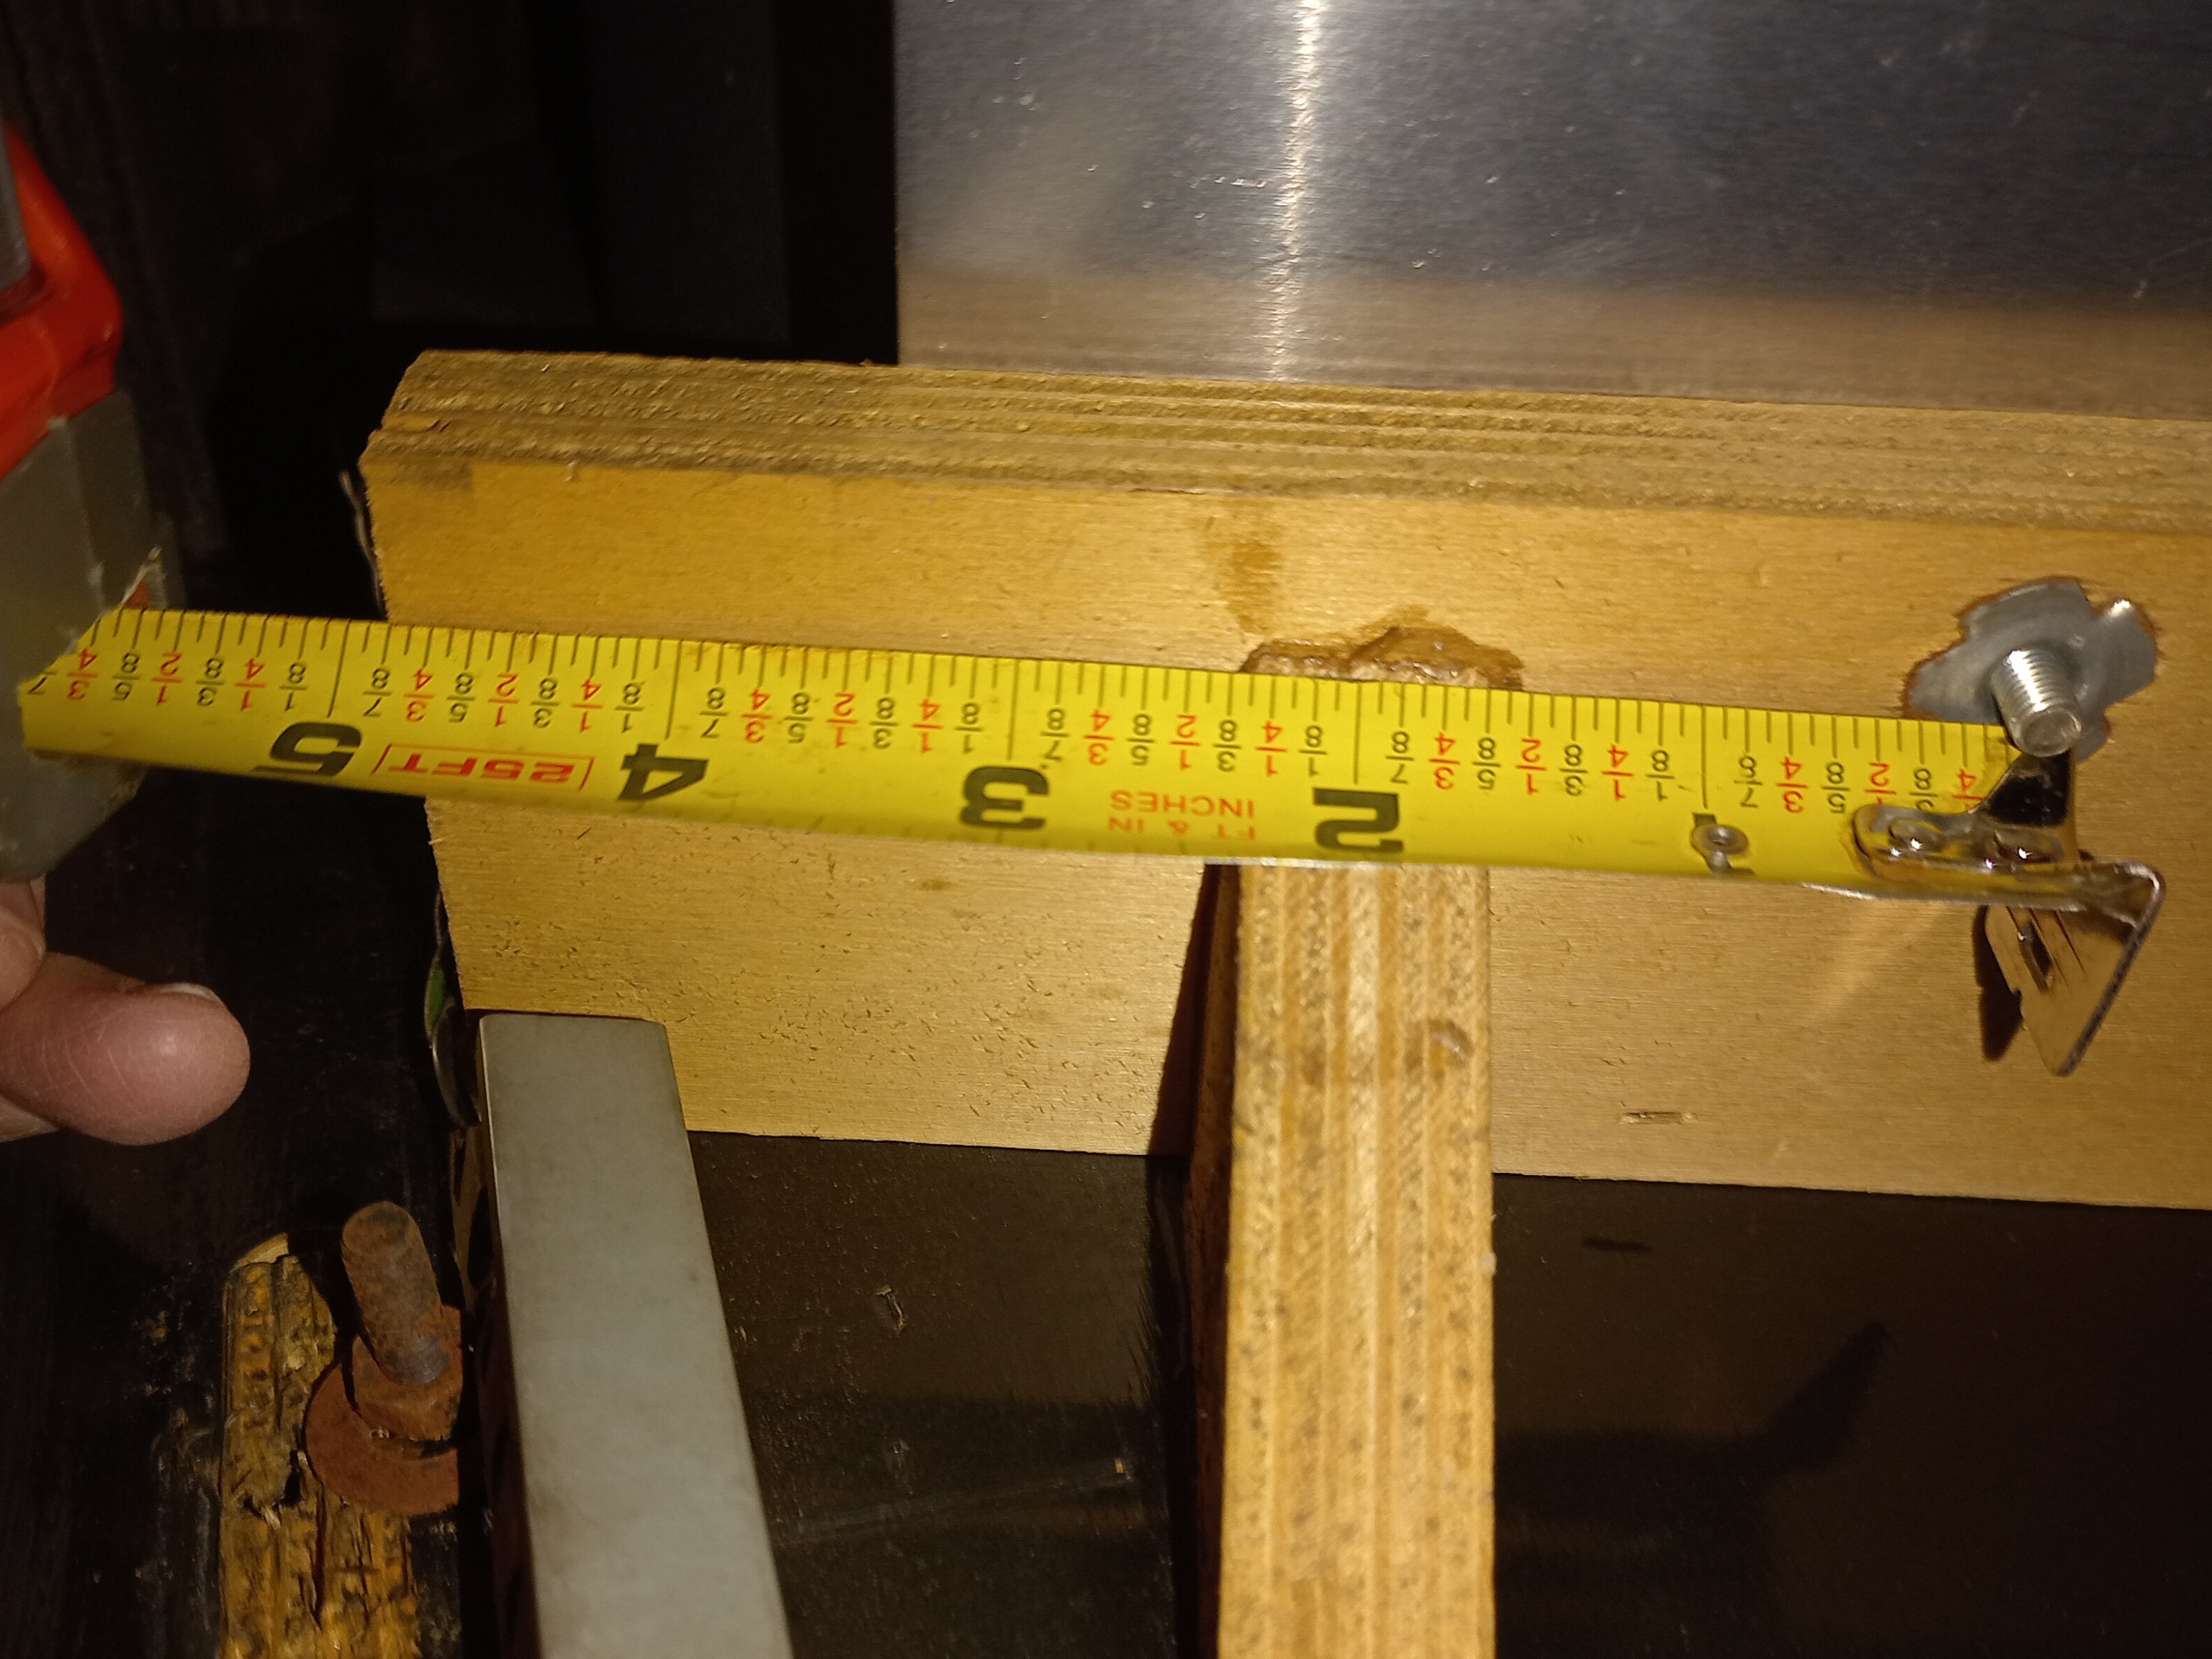
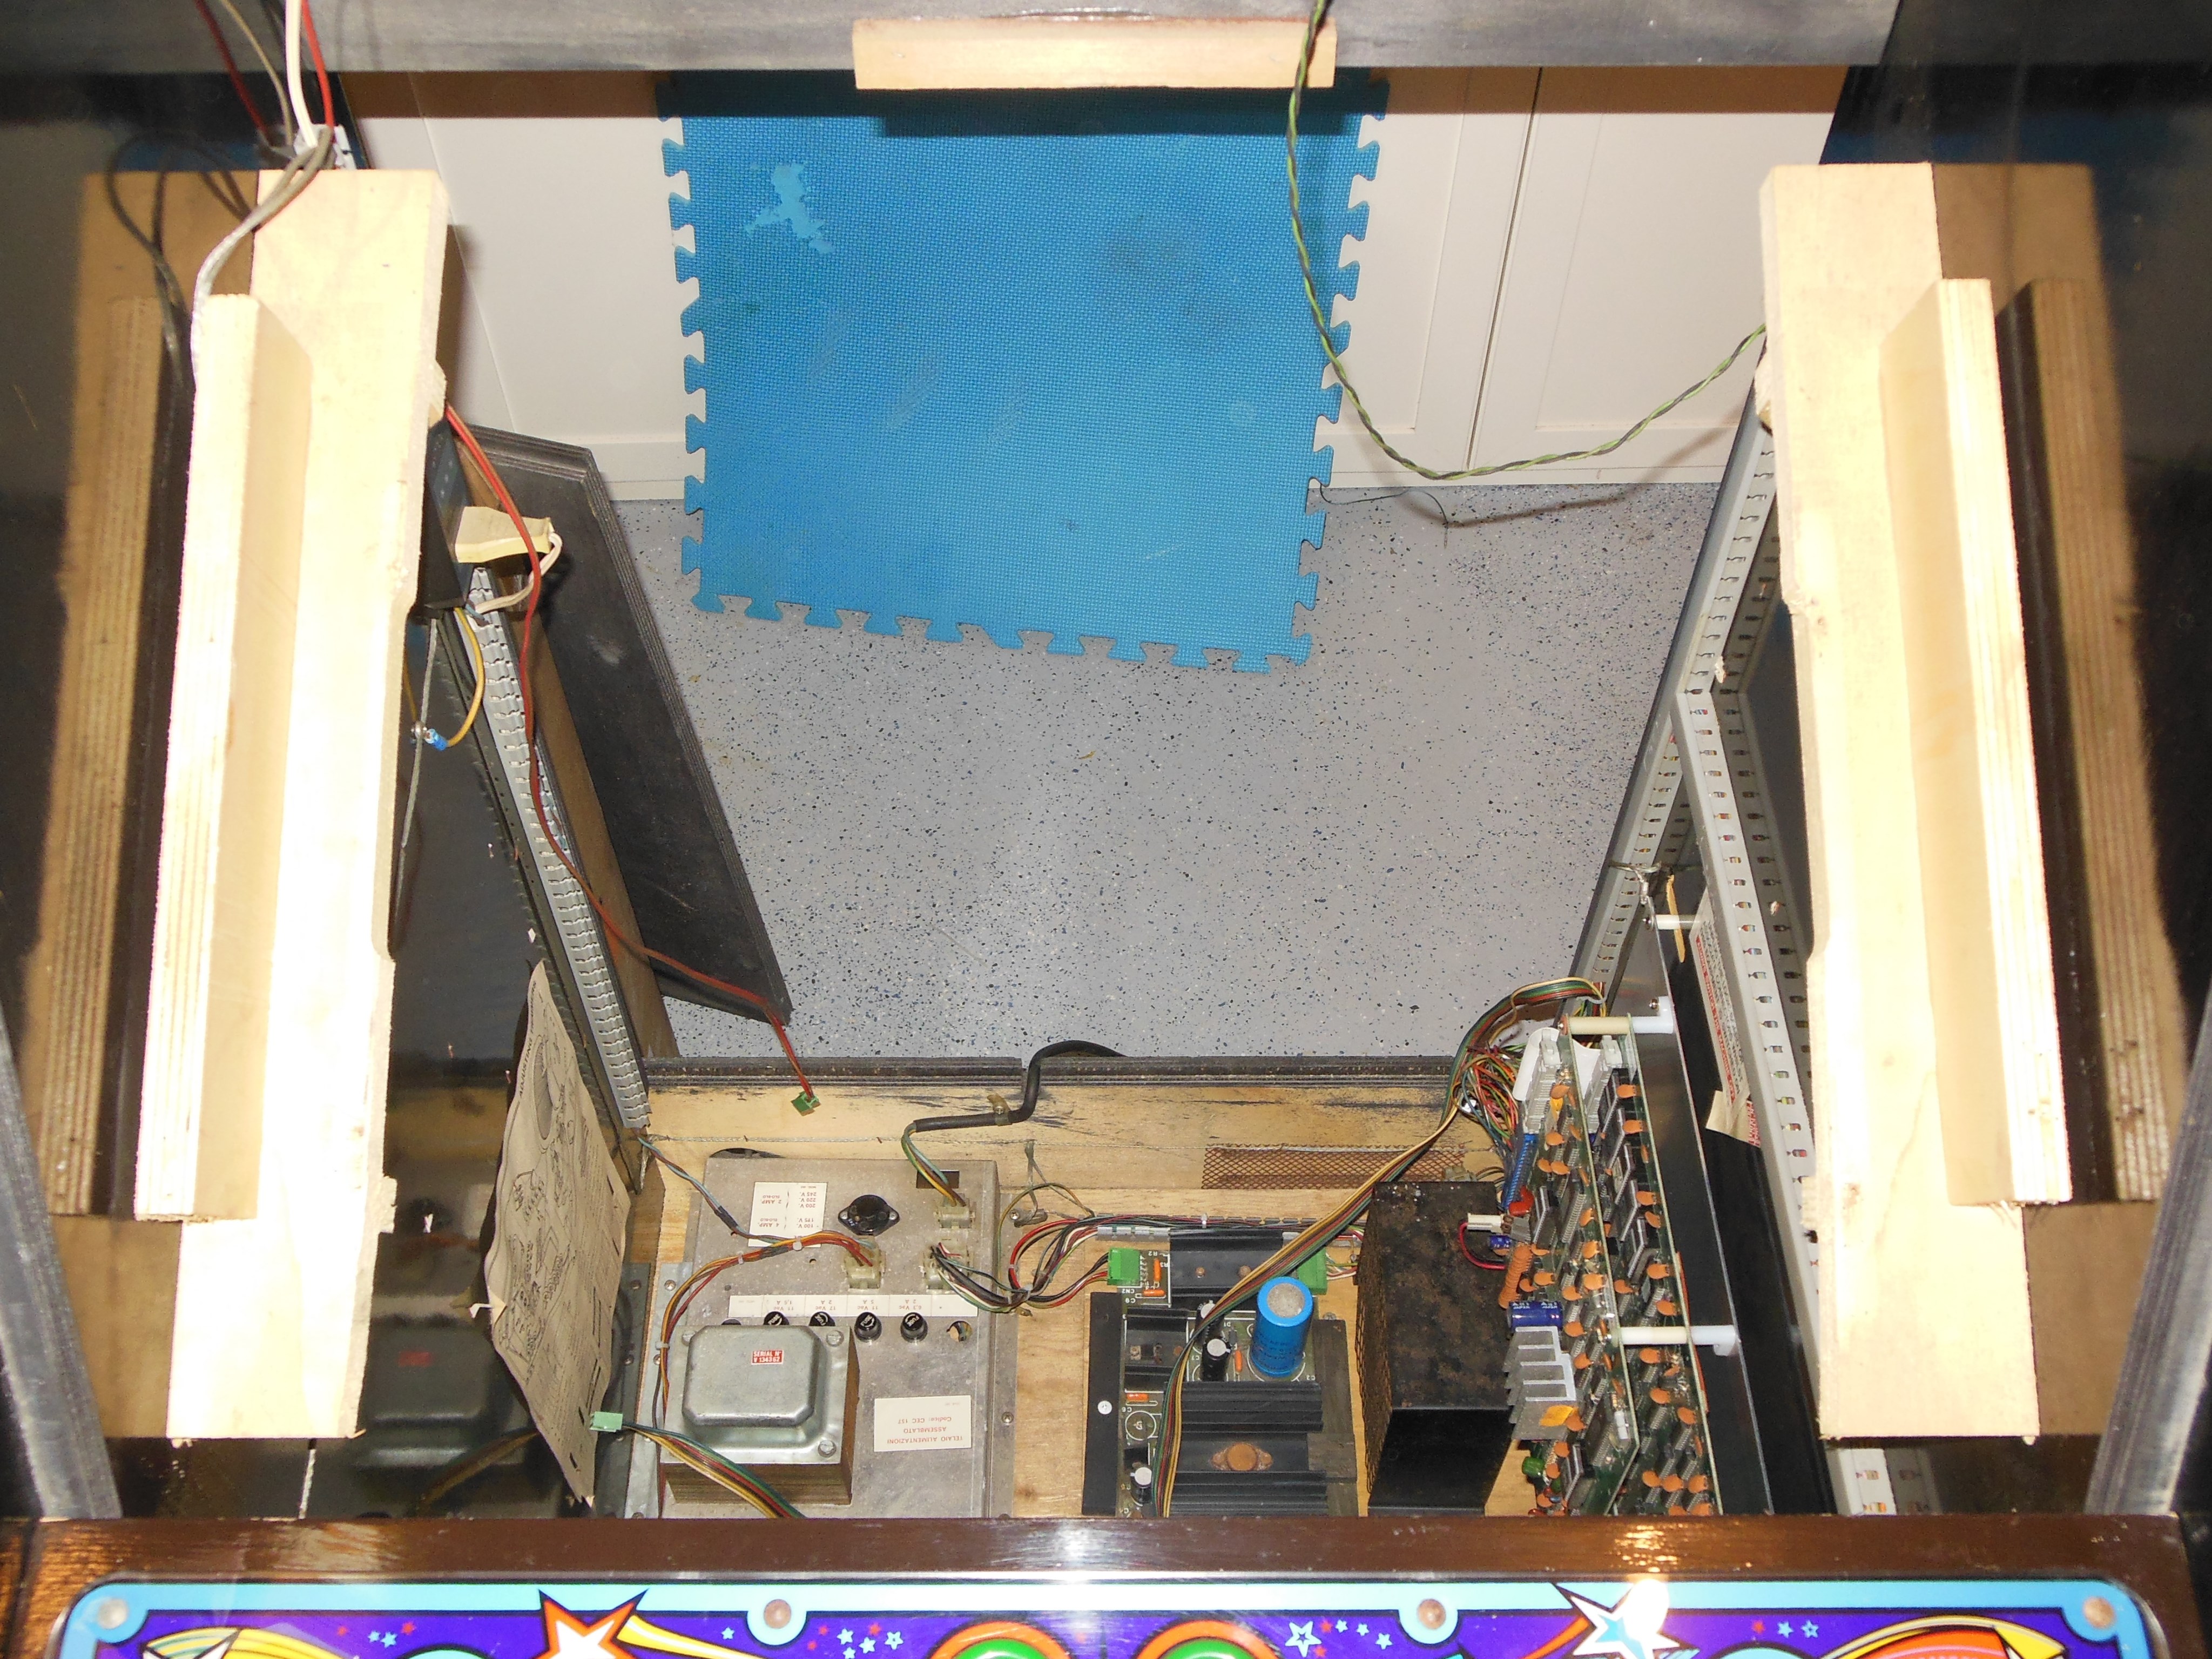
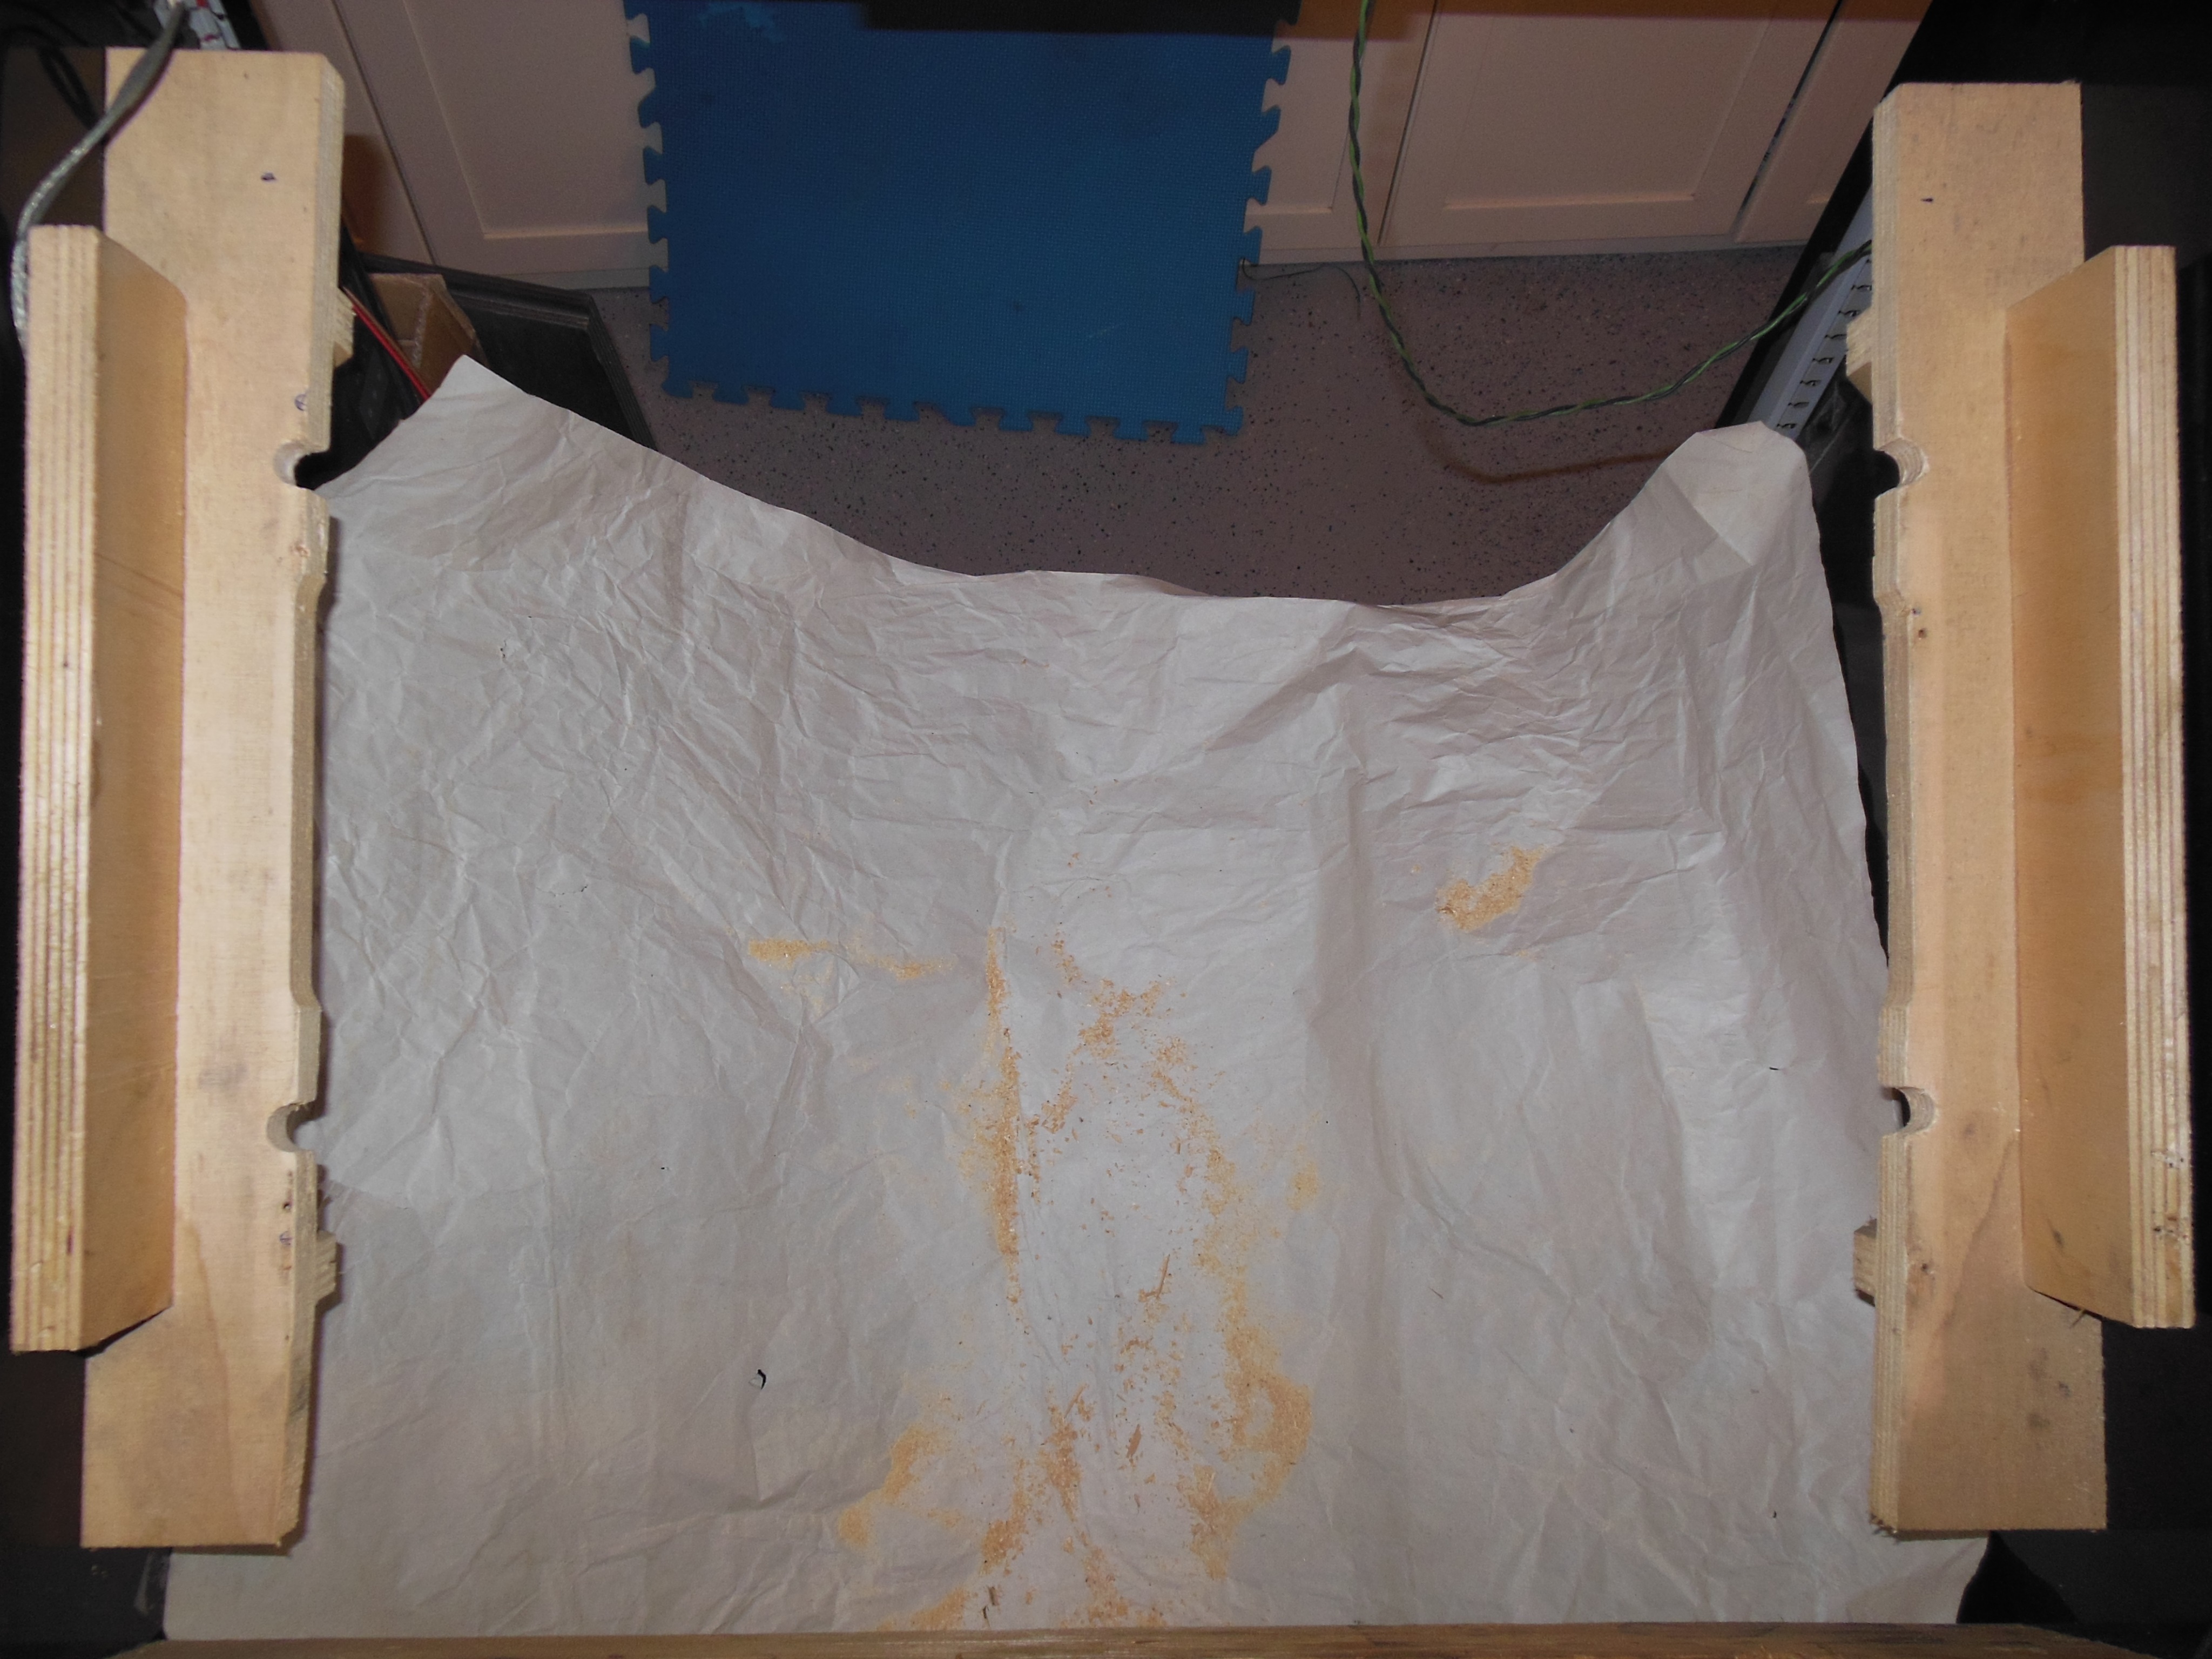
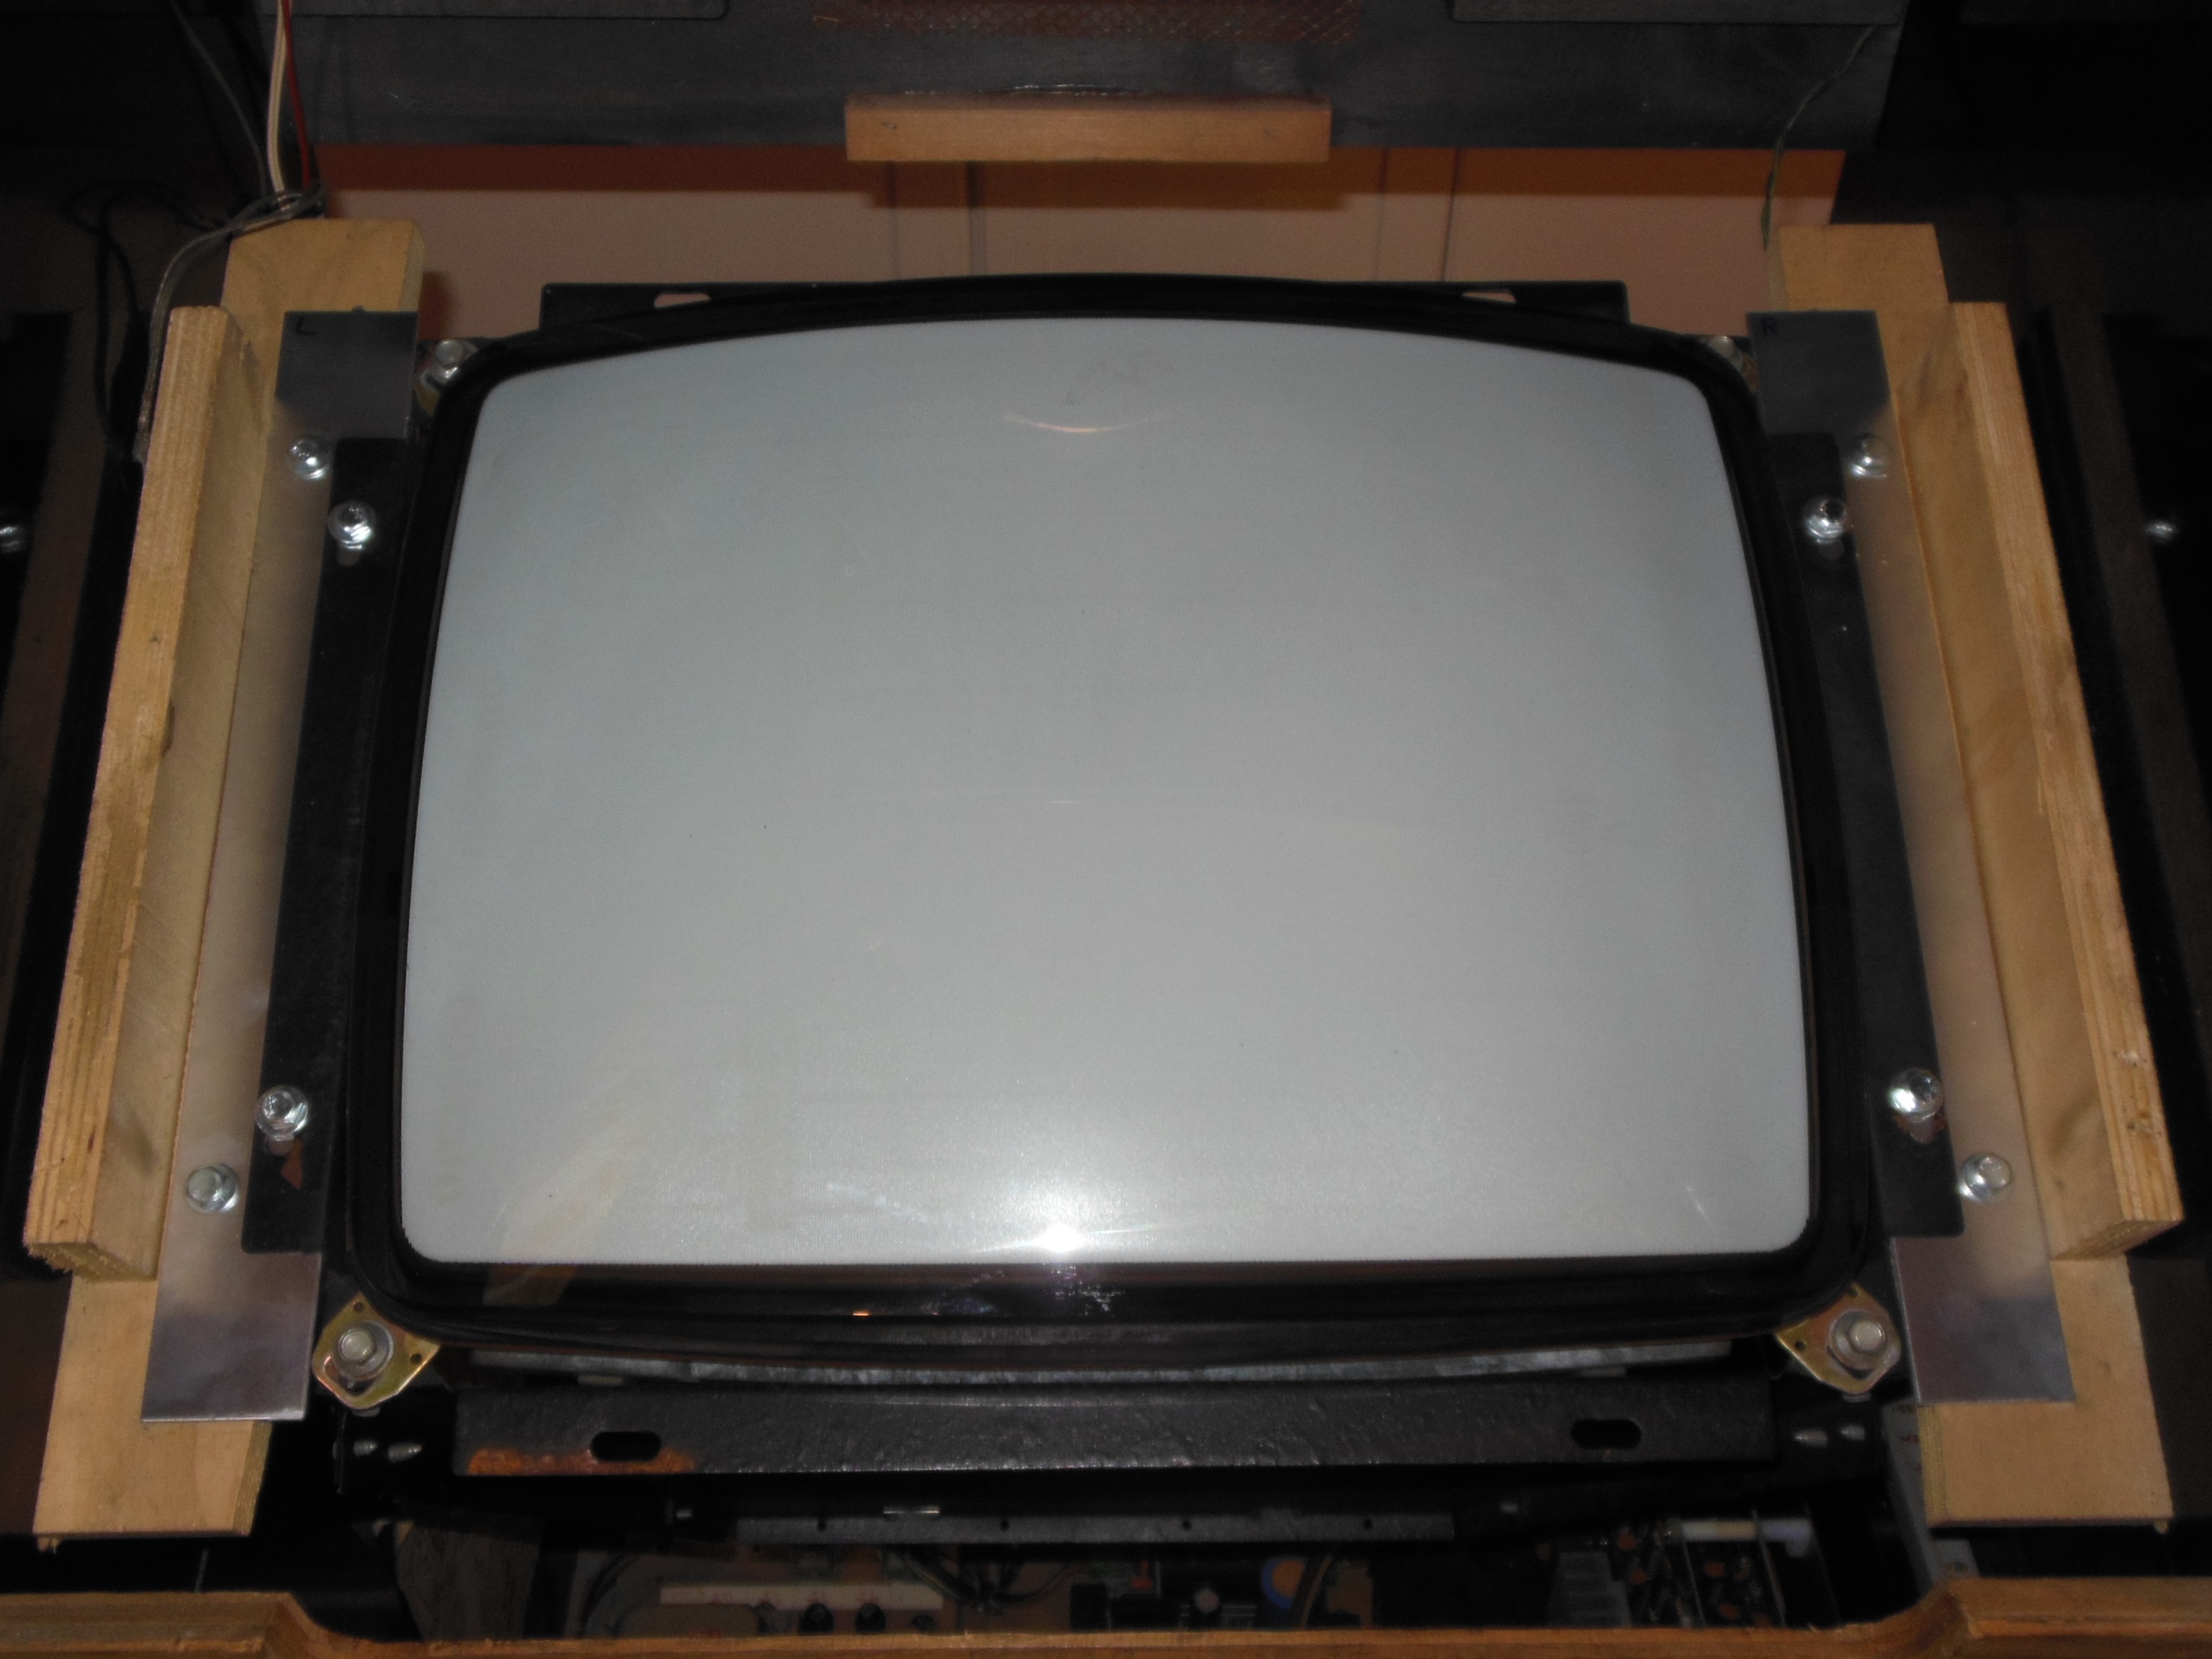
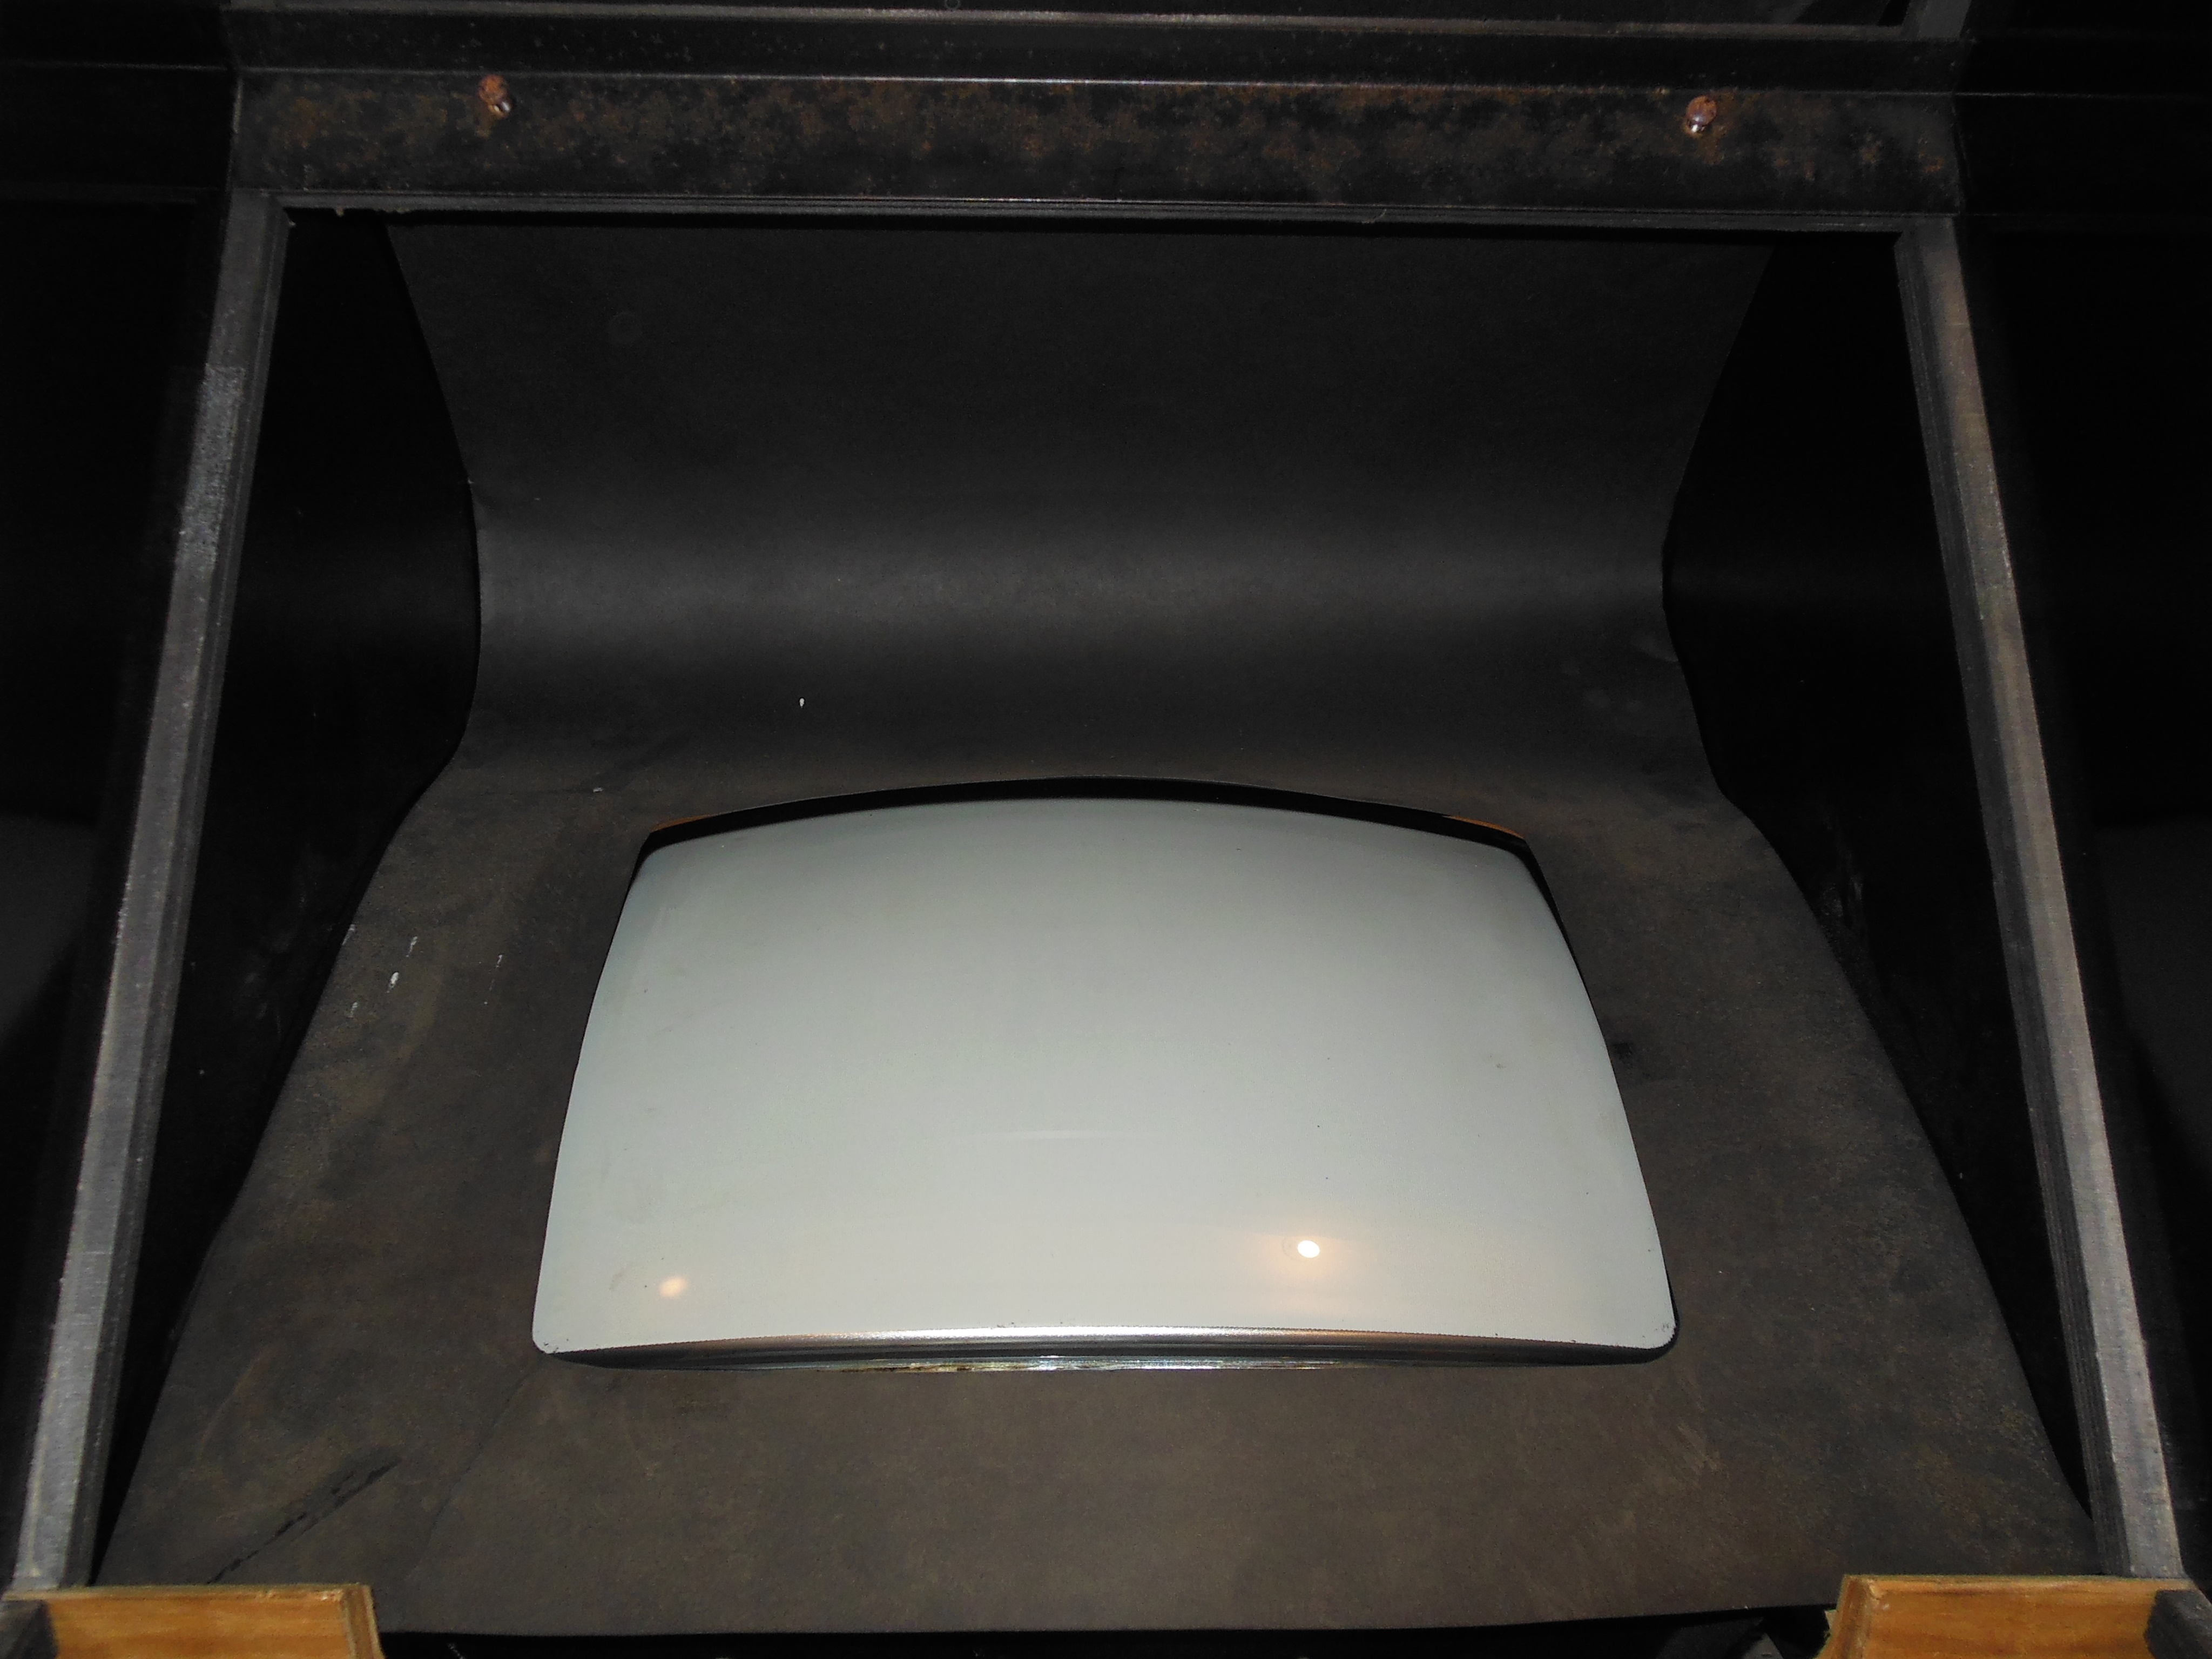
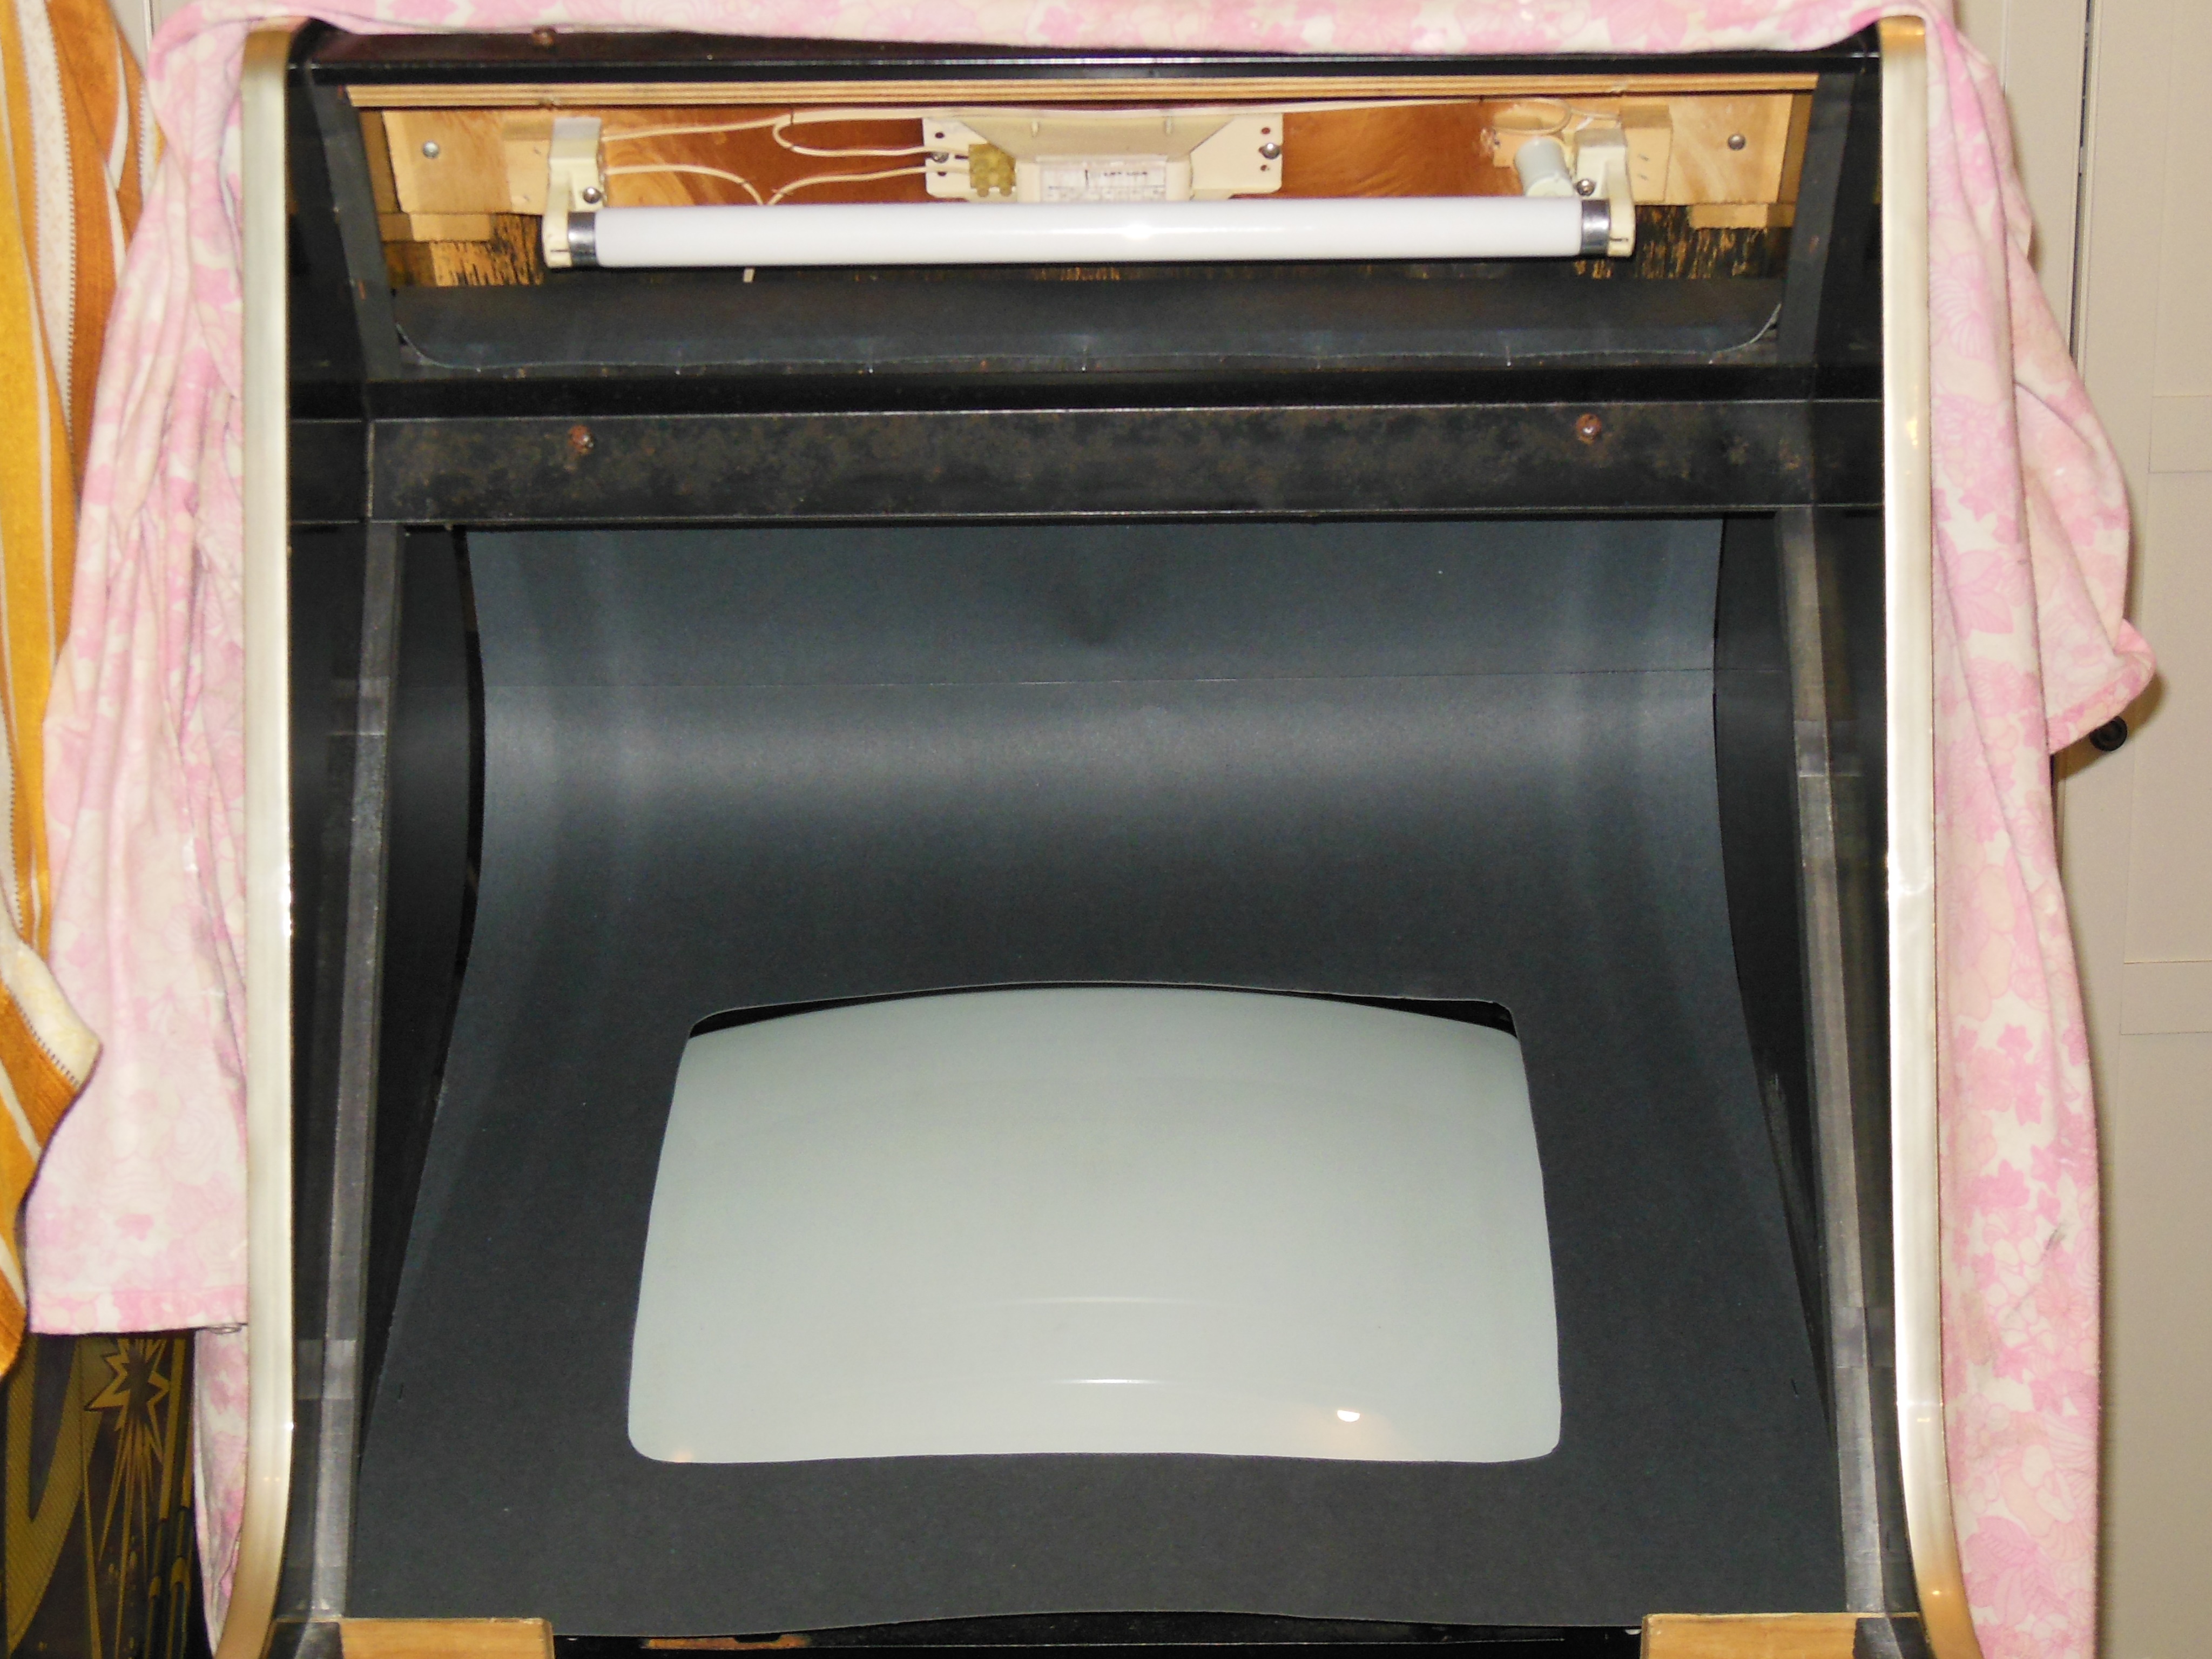
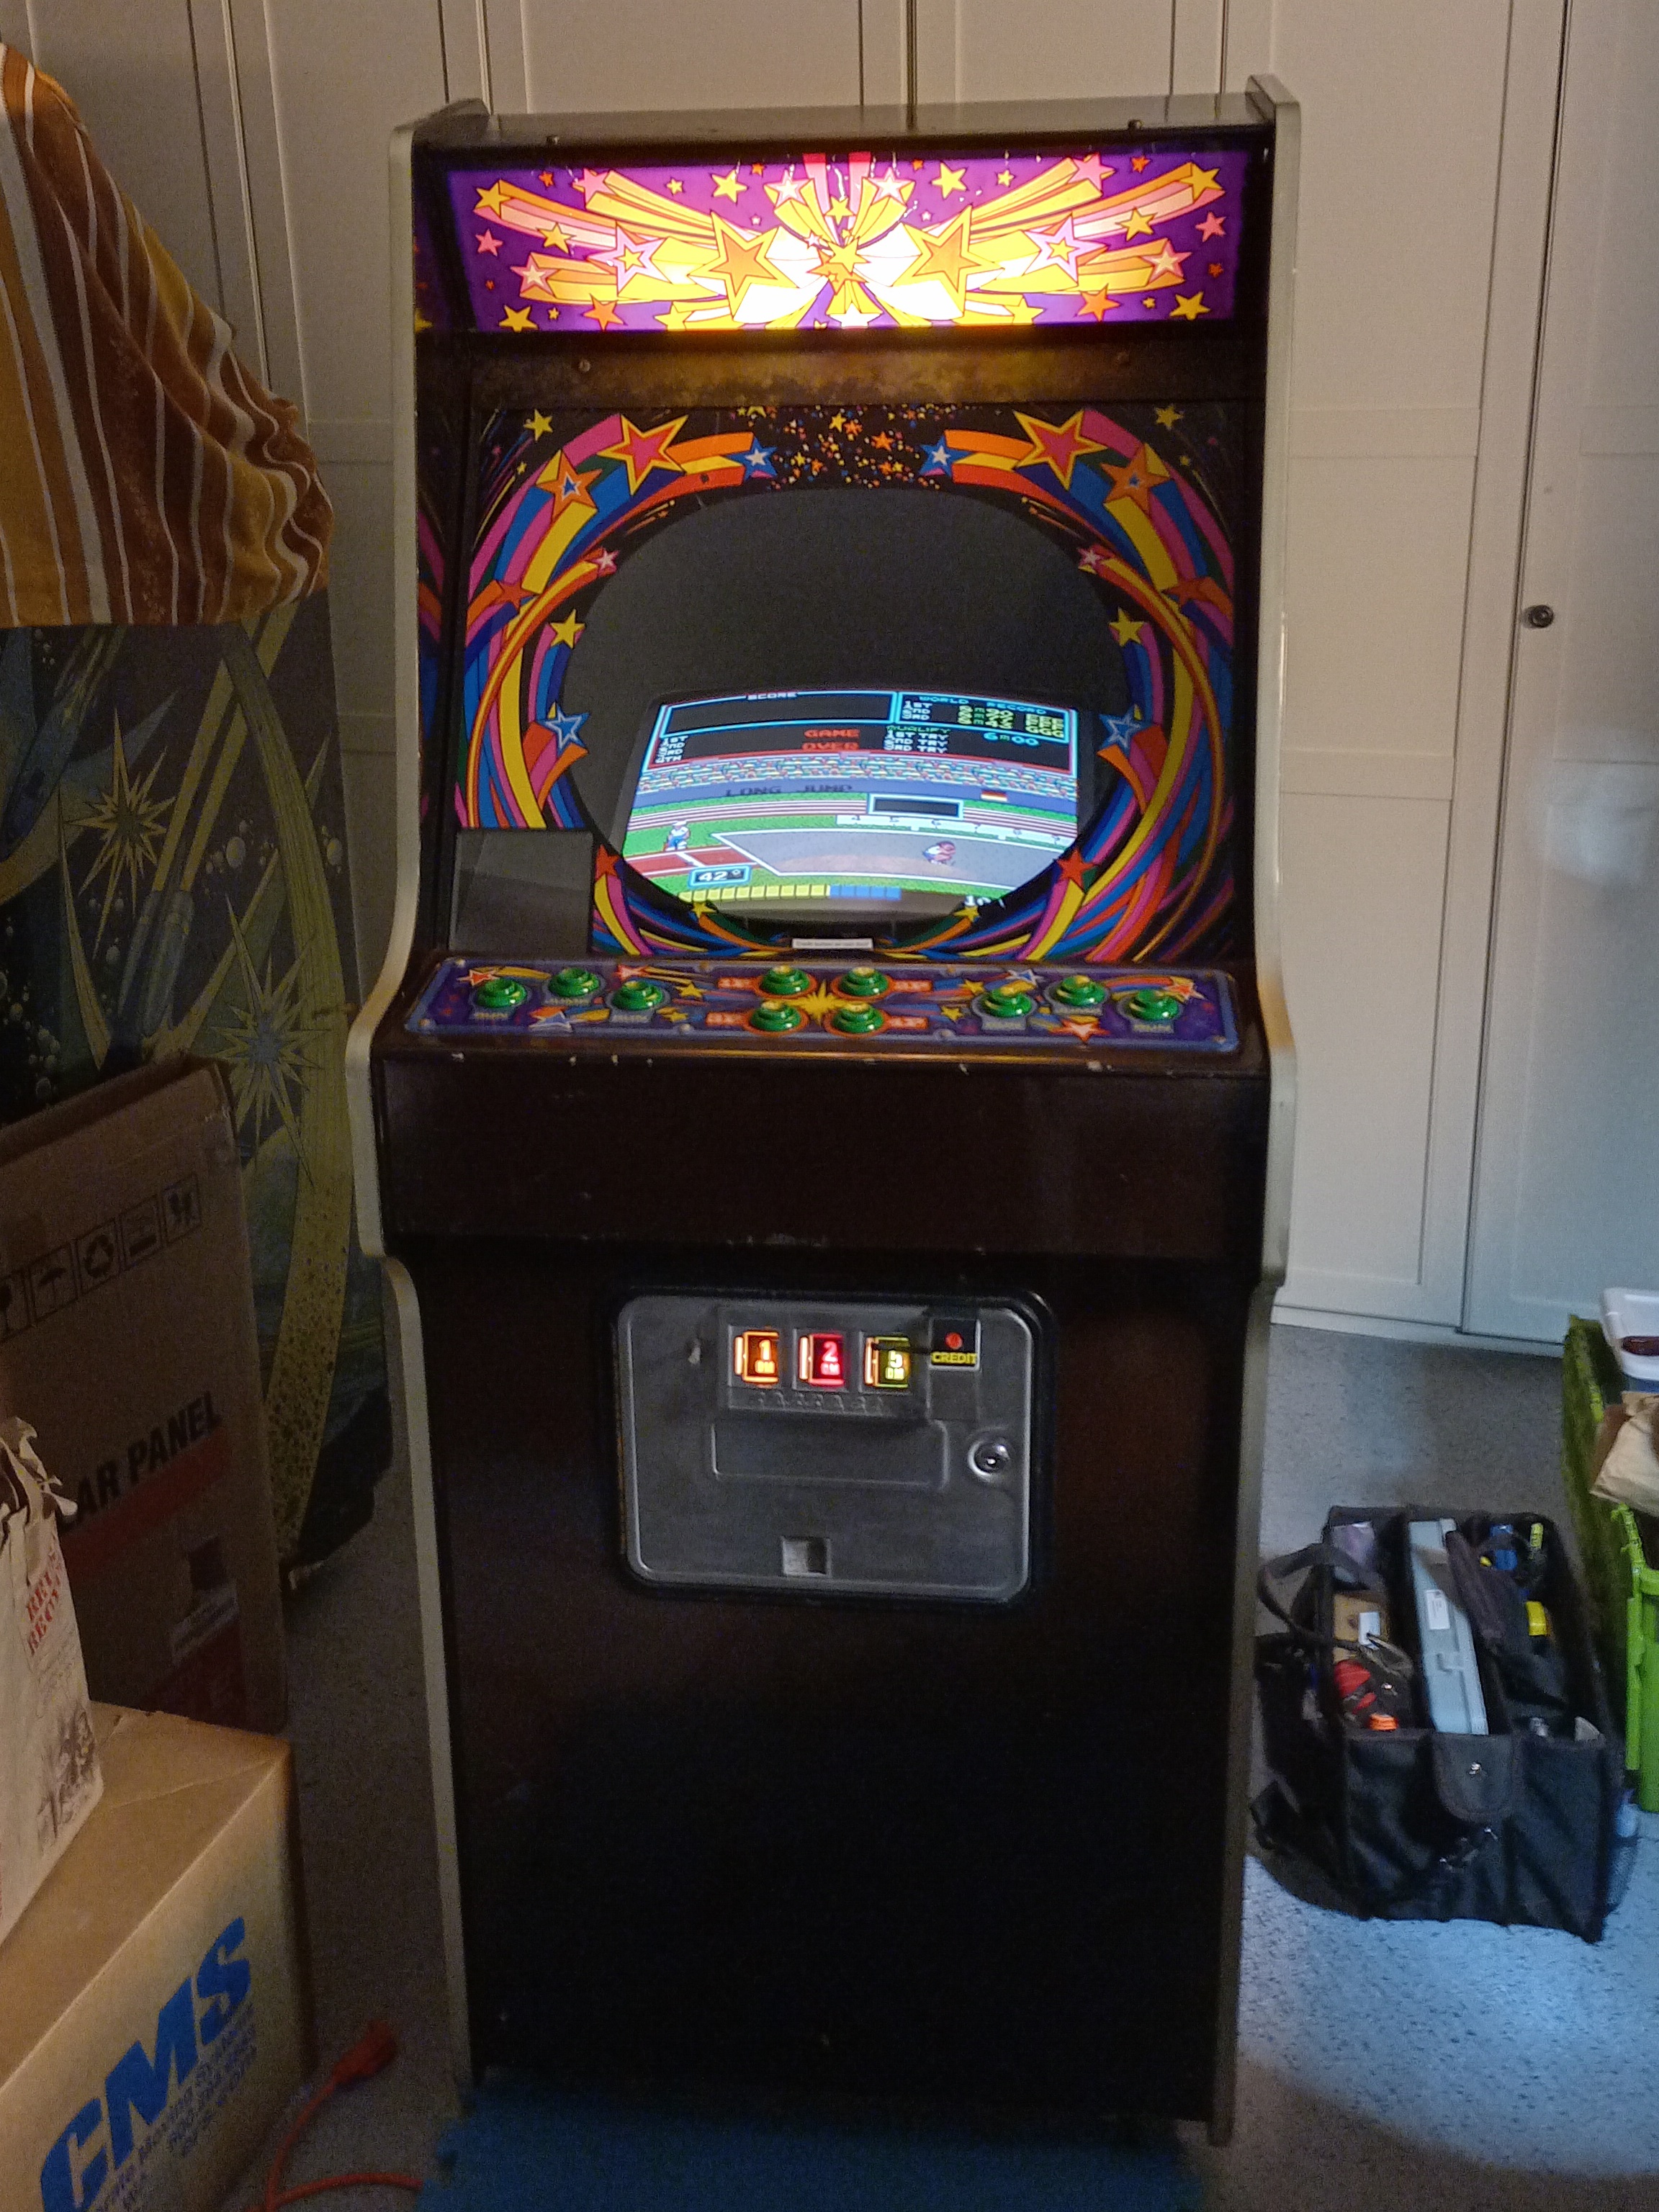
The monitor surround was a vertical version that had been cut & taped to fit the horizontal monitor. It was incomplete and the plan was to make a new horizontal surround. The monitor CRT was dirty and nicotine stained. Both side brackets had been badly cut down and were now too narrow for the monitor to fit safely. It would need new custom spacer plates and some woodwork to securely fit the monitor in the correct position :(
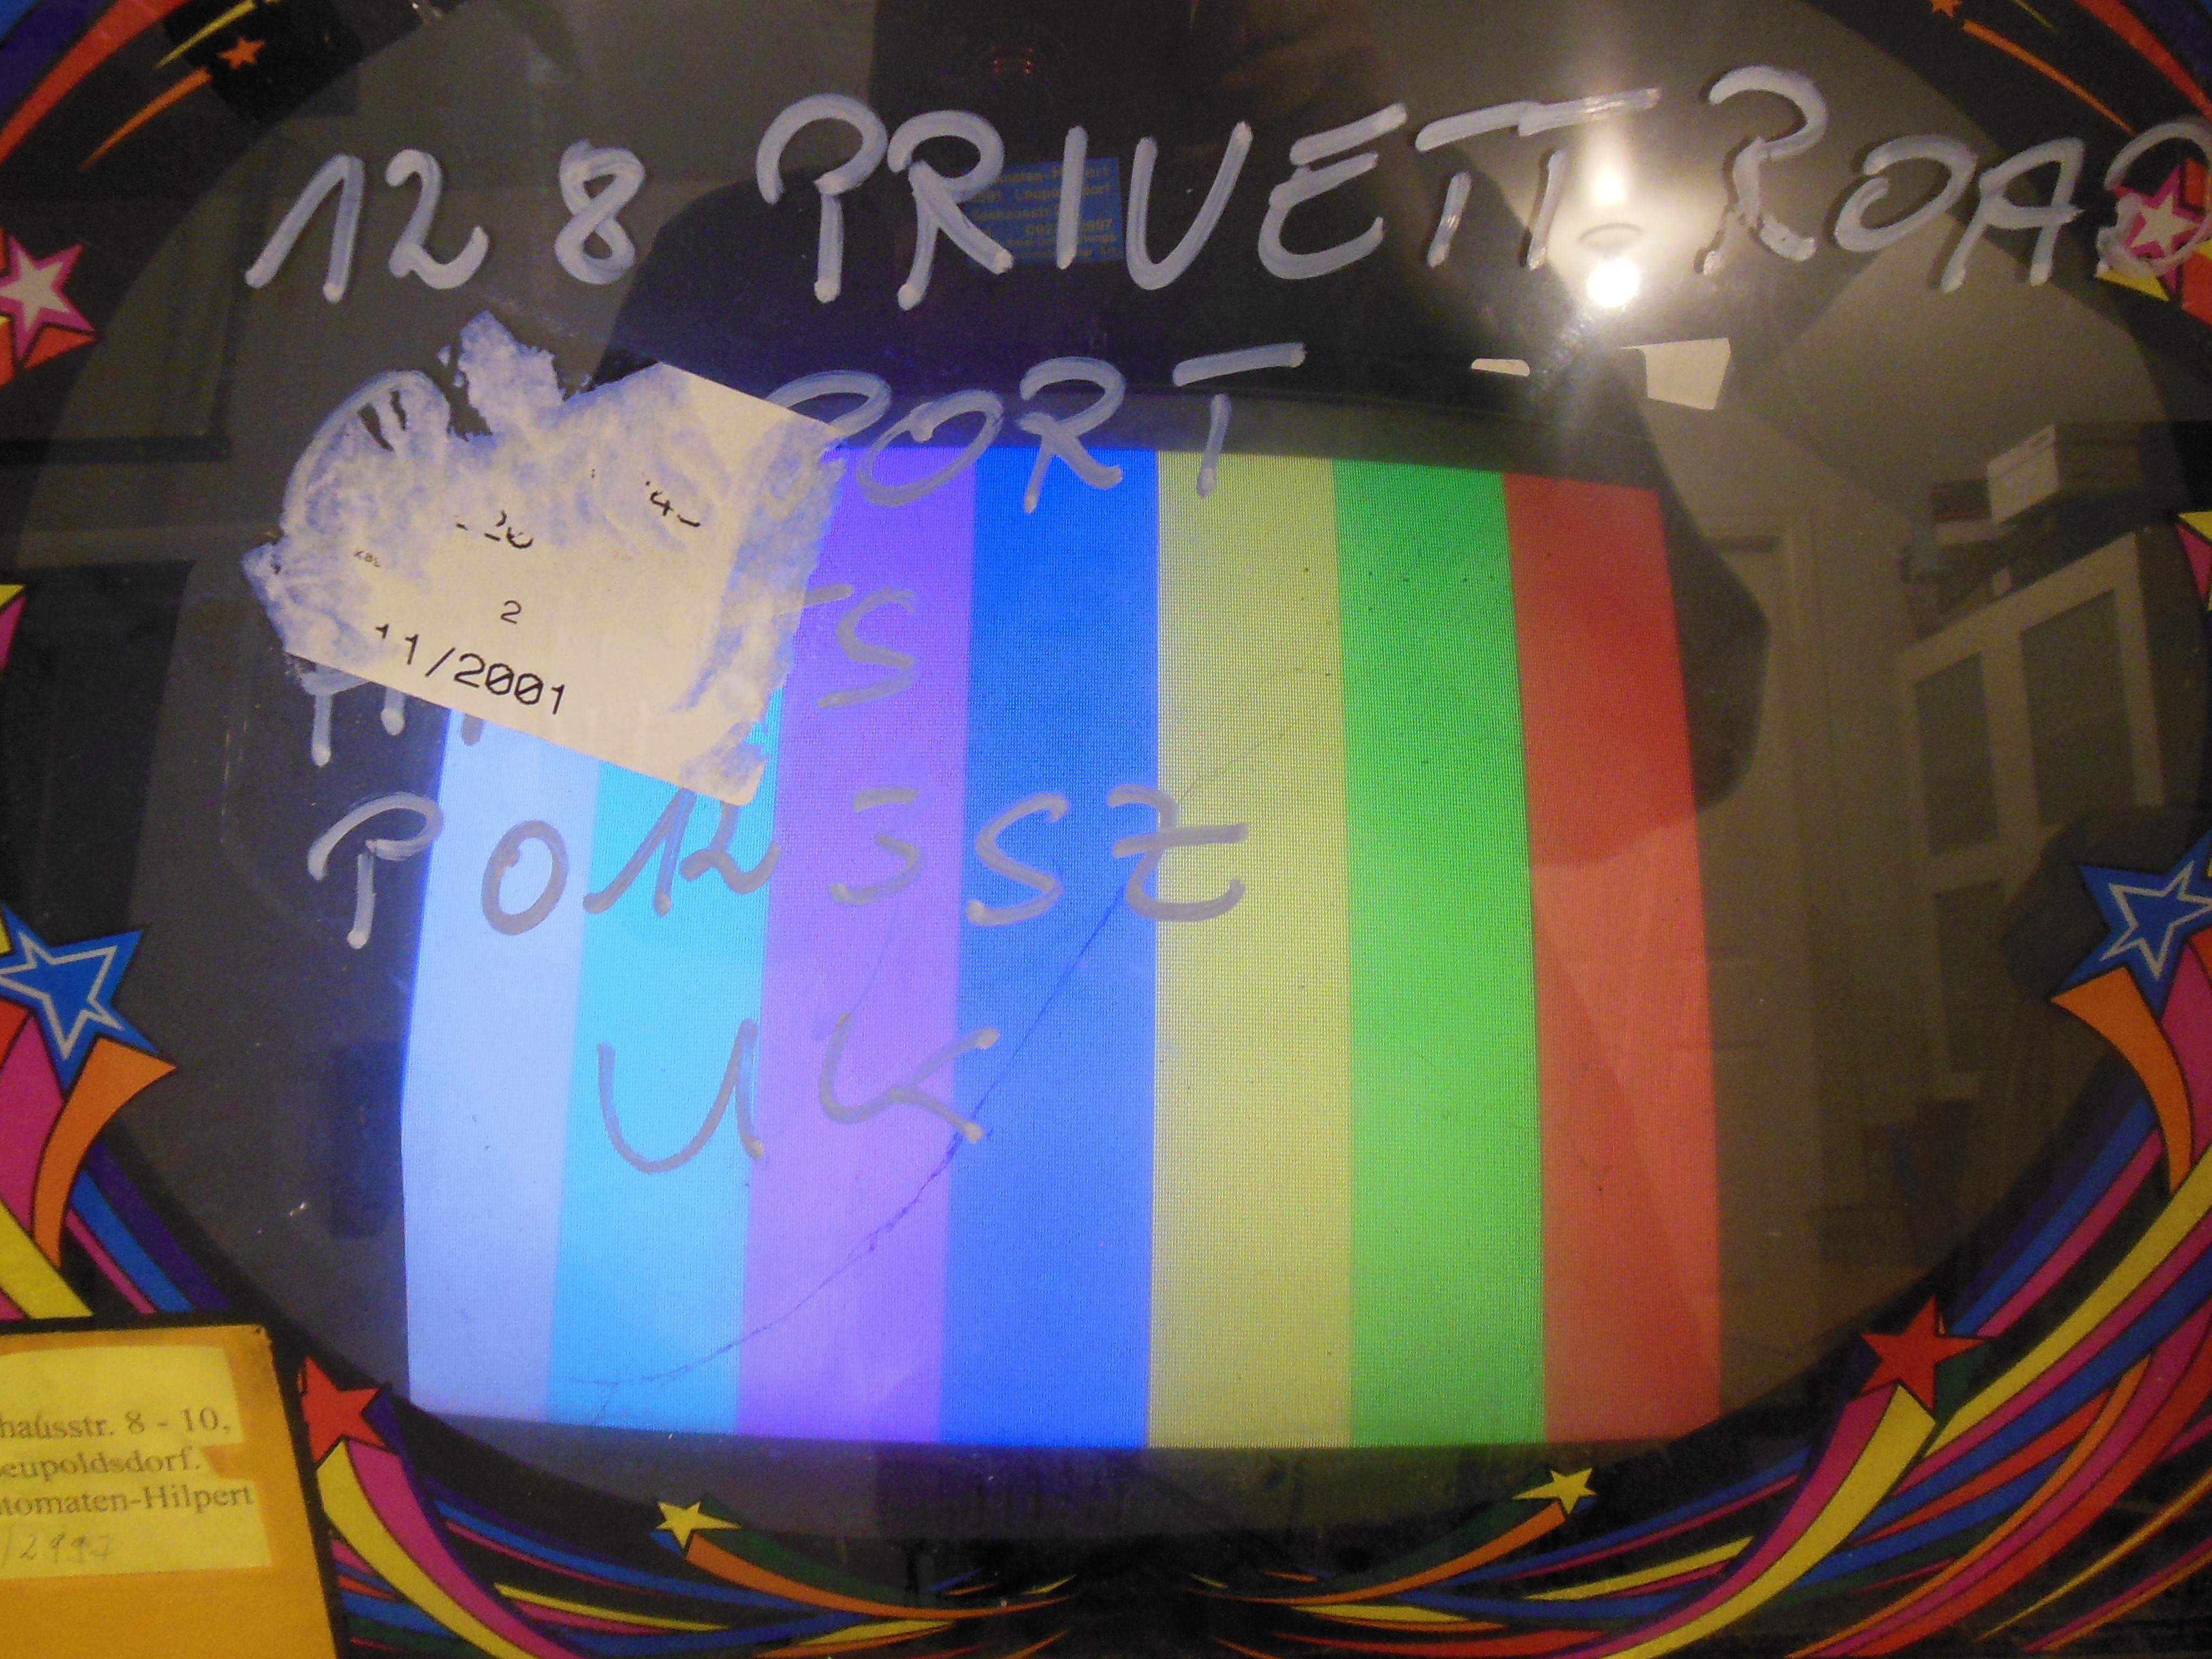
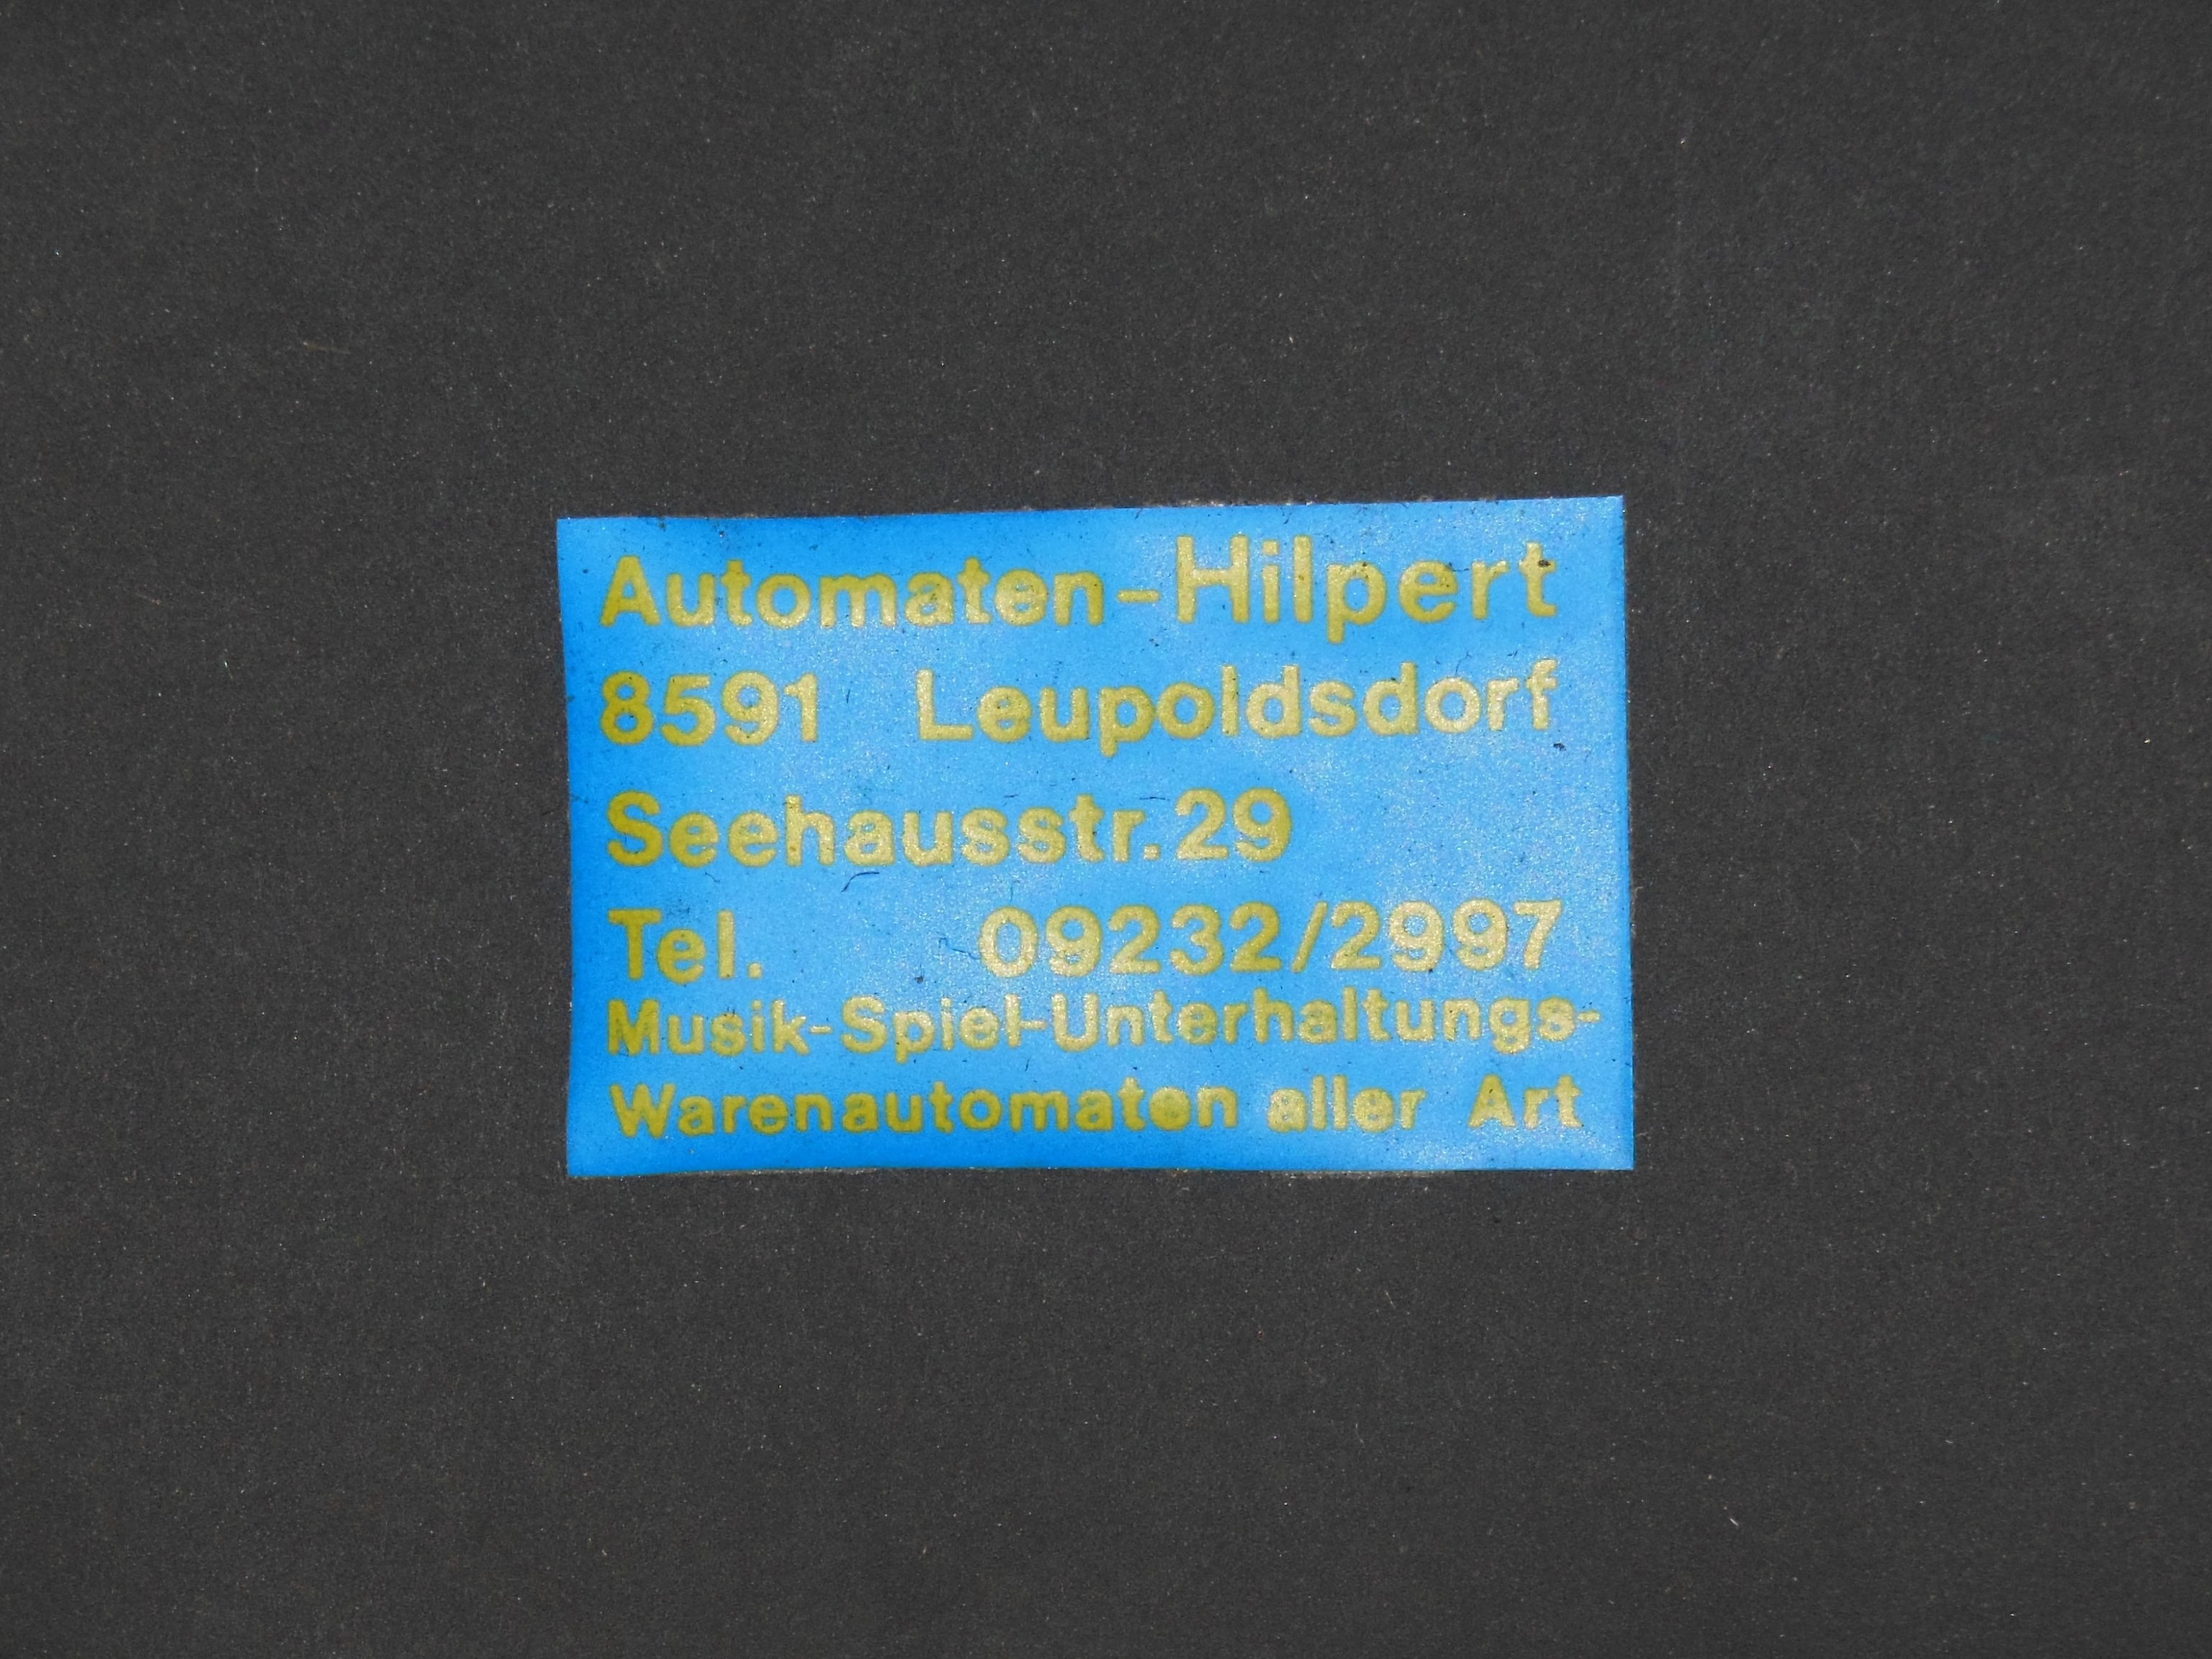
A label on the surround suggested that it was likely operated by:
Automaten-Hilpert, 8591 Leupoldsdorf, Seehausstr. 29
Musik-Spiel-Unterhaltungs-Warenautomaten aller Art
An internet search identified the location as a building in small town in Wunsiedel, Bavaria.
A more current listing for the business was nearby:
Automaten-Hilpert Max Hilpert, Seehausstr. 8 - 10, 95709 Tröstau (Leupoldsdorferhammer)
|
A lot of scrubbing removed most of the nicotine from the monitor CRT.
|
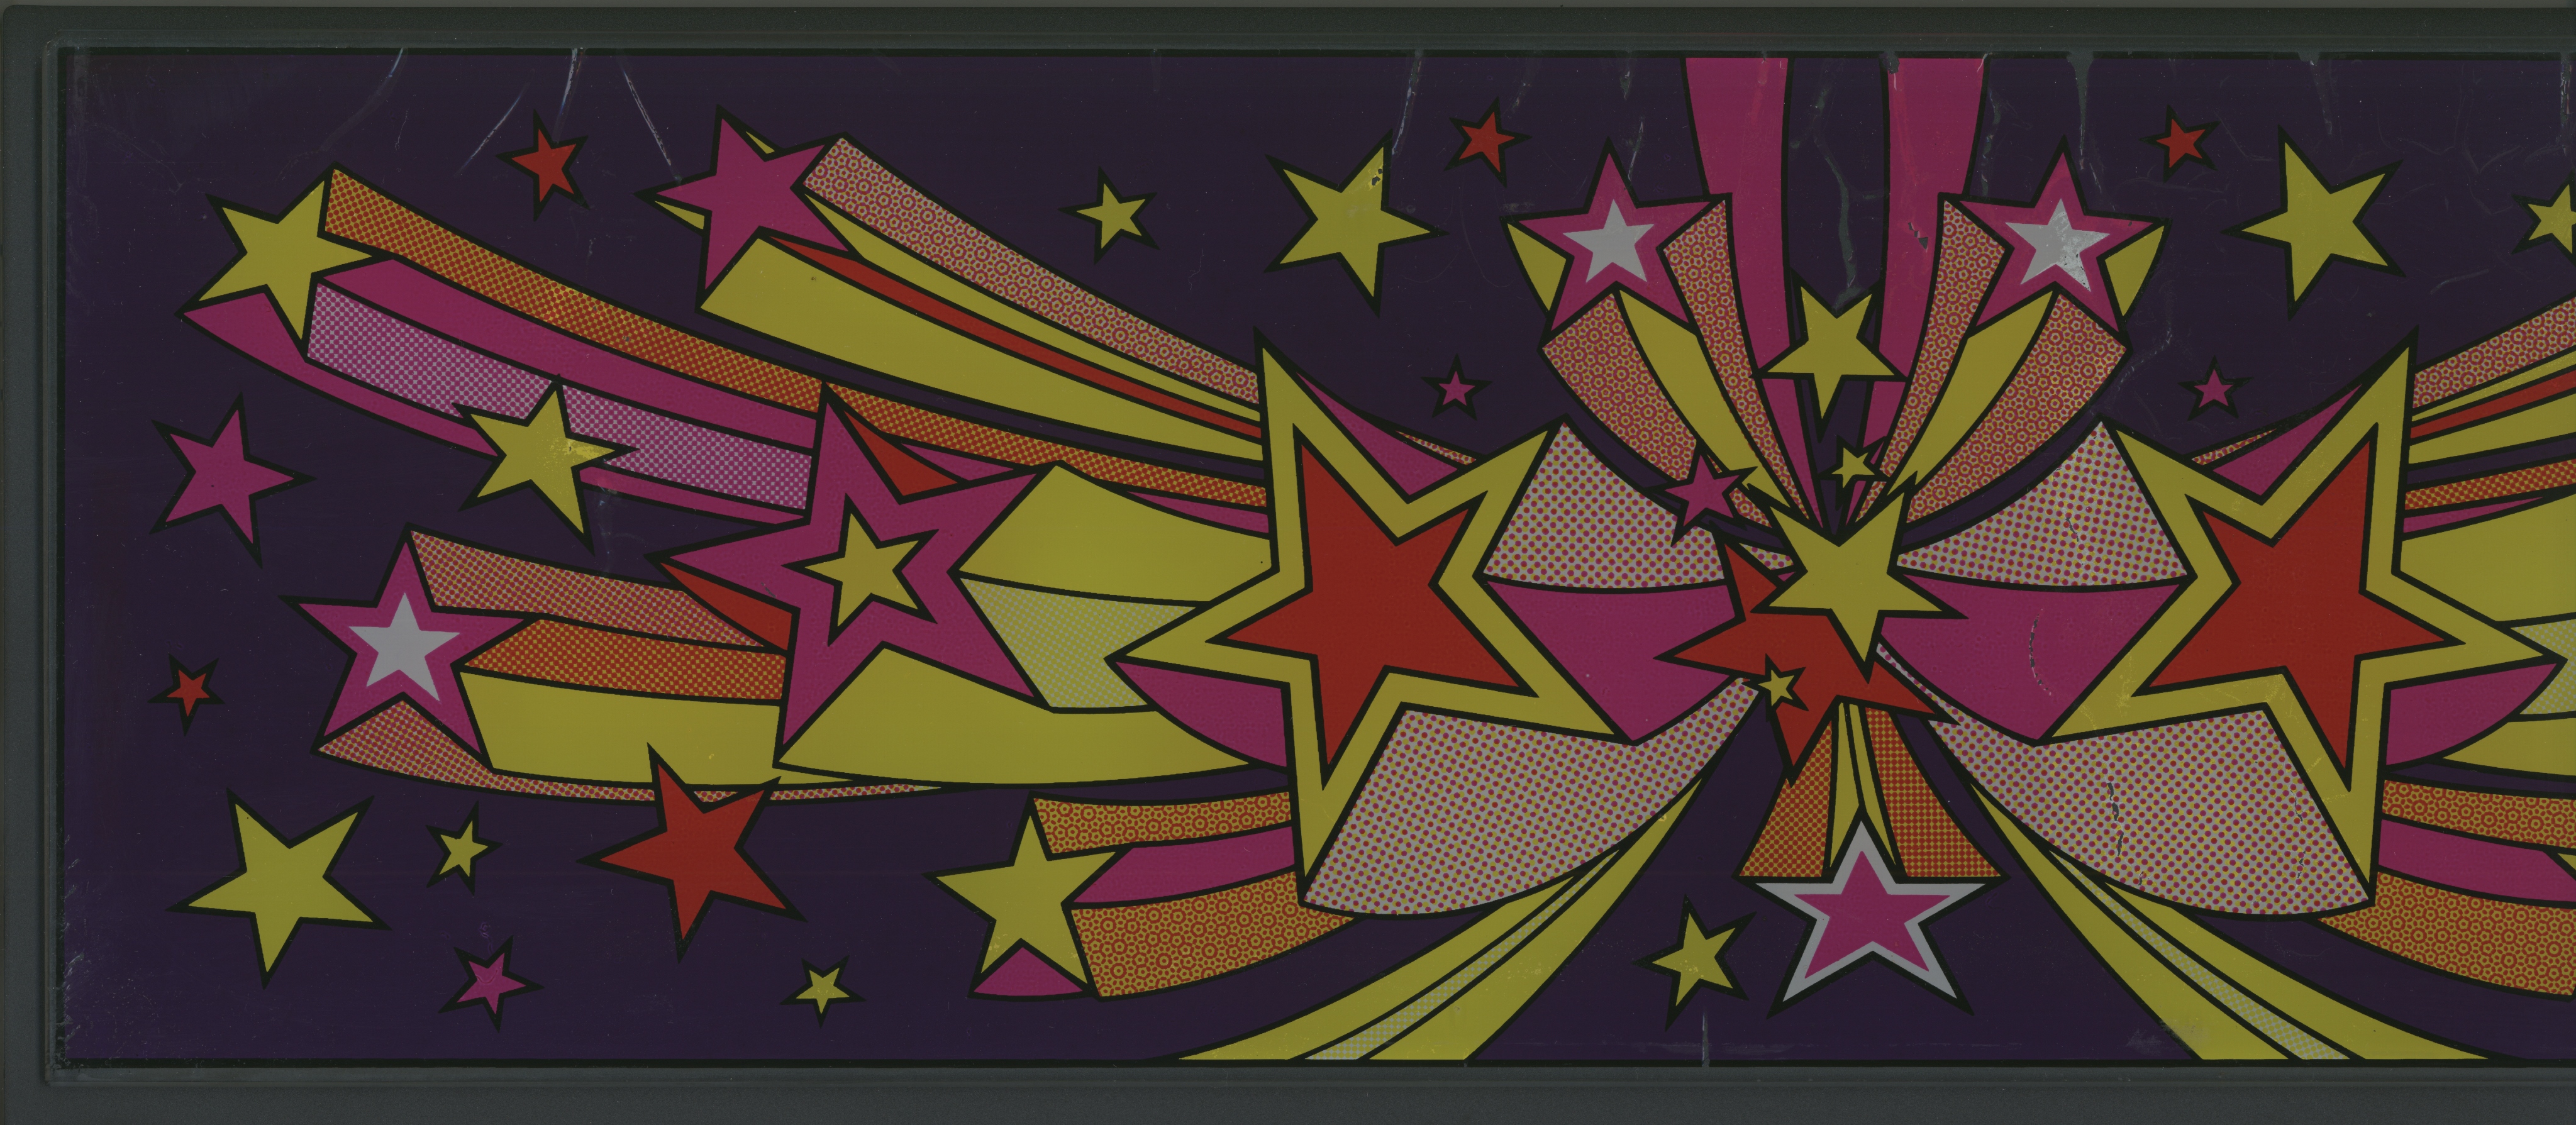
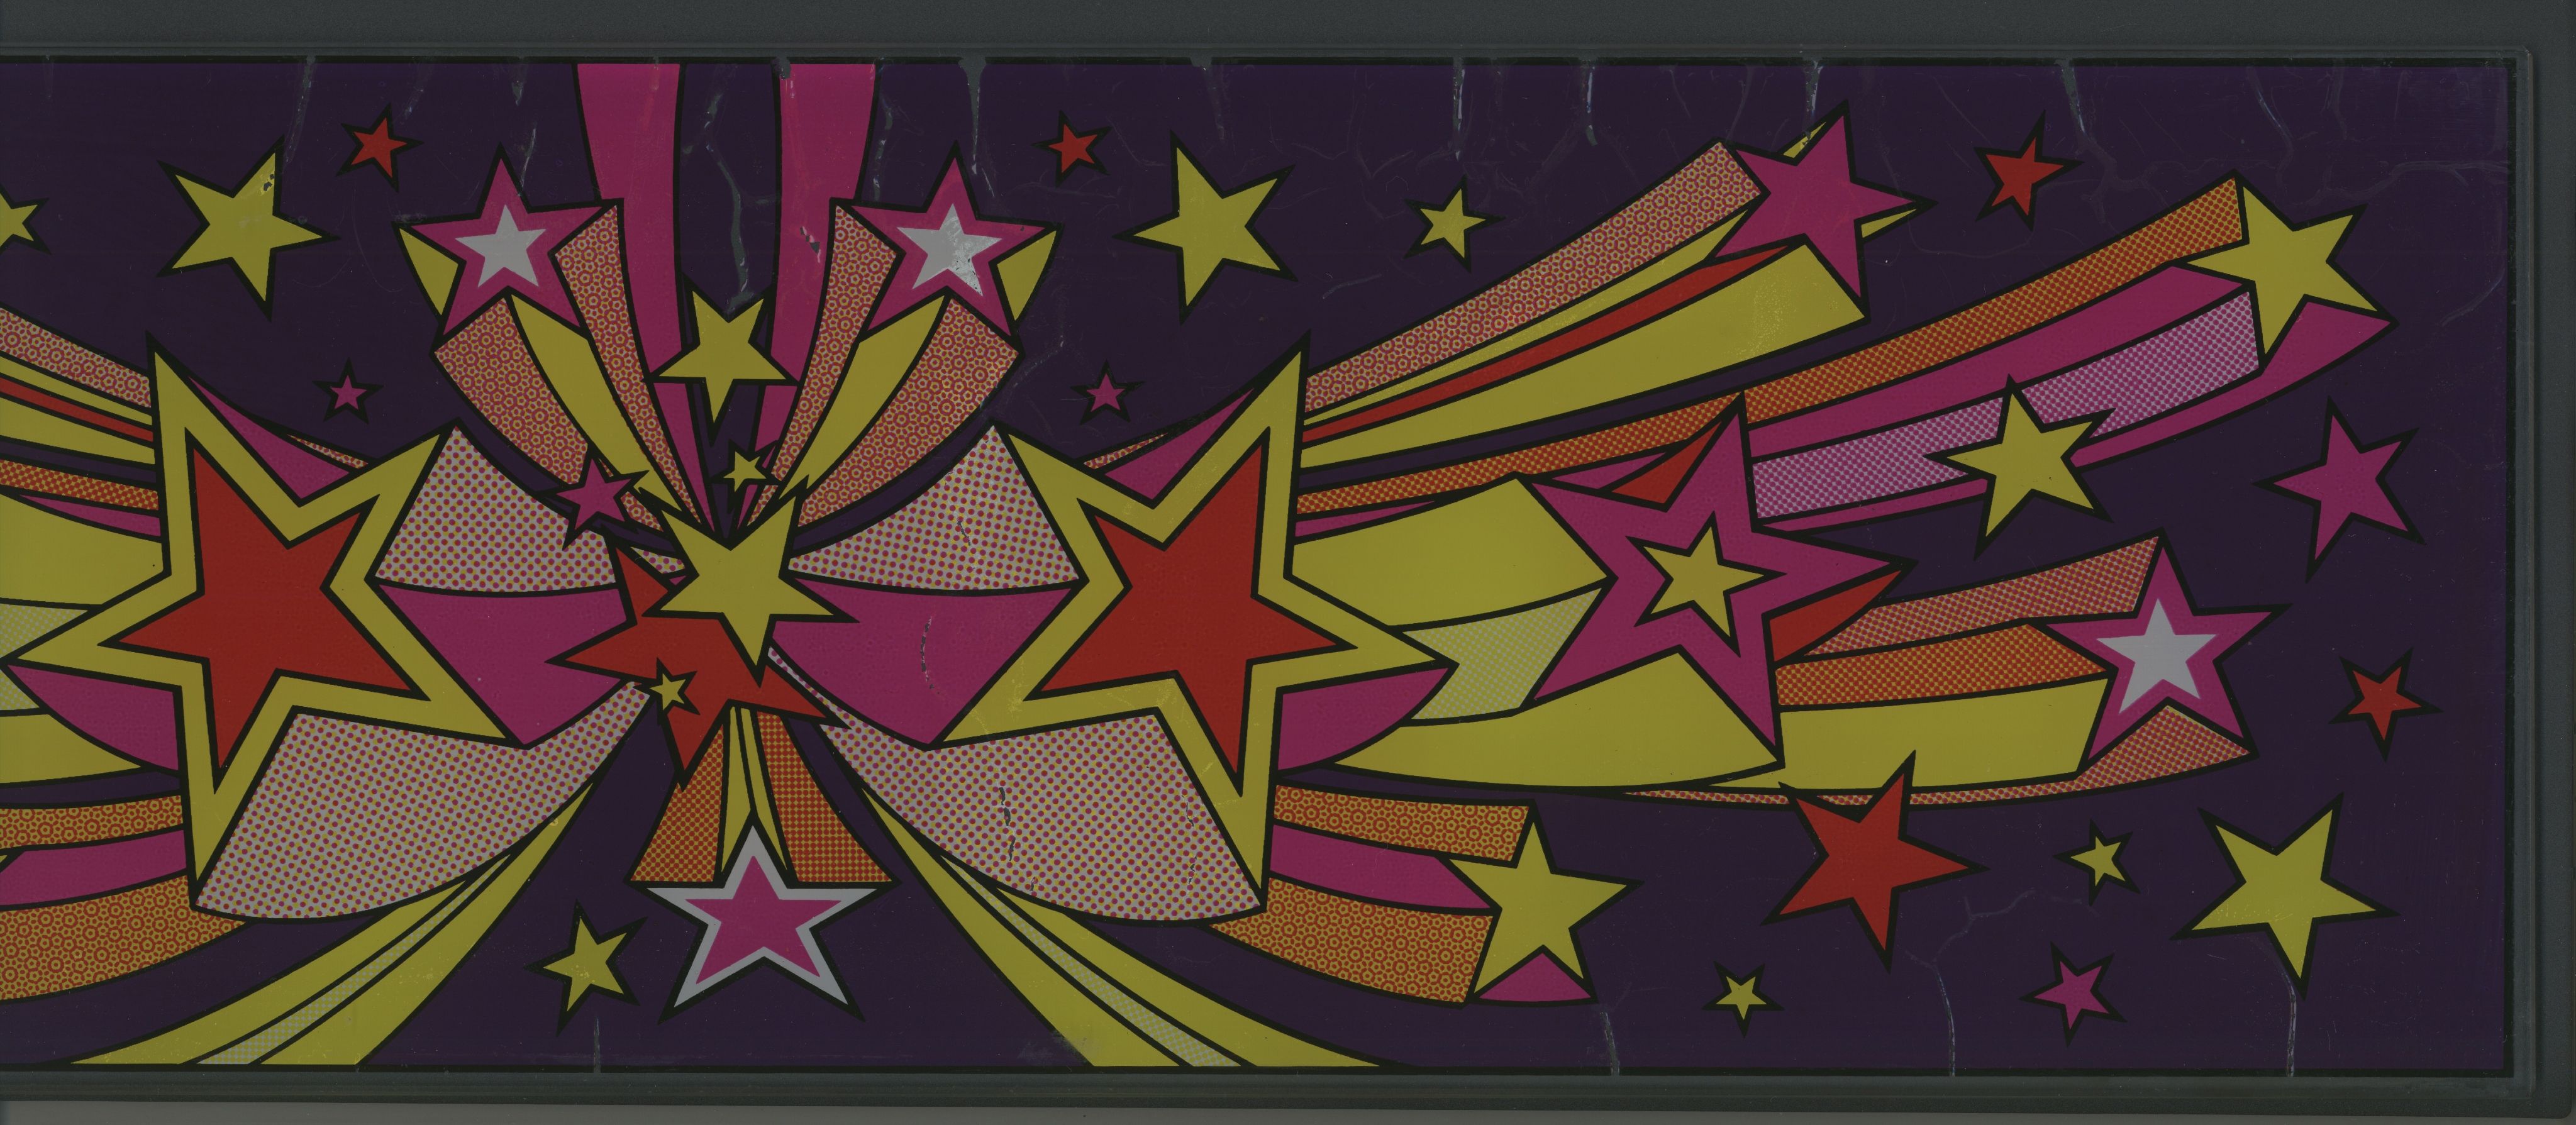
Scanned in the Universal flat marque.
600 DPI Universal flat marque scan (139MB).
|
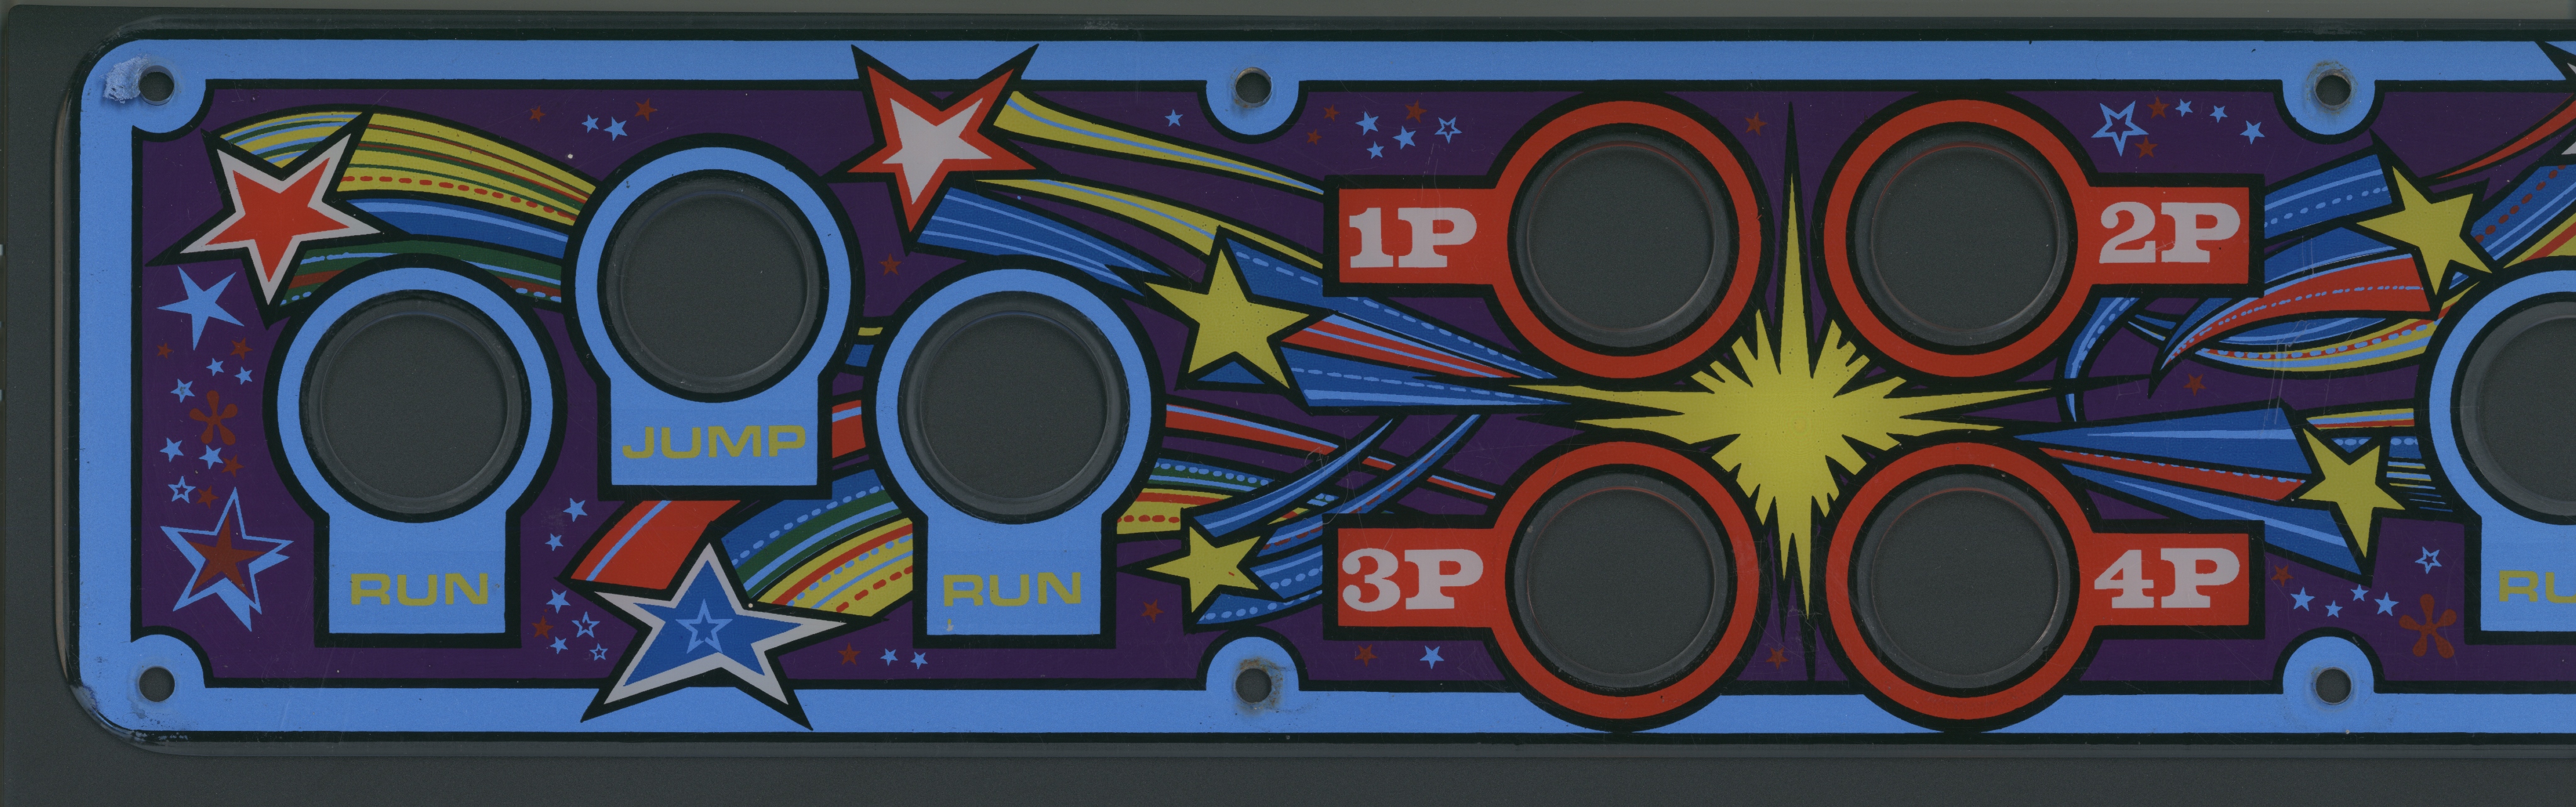
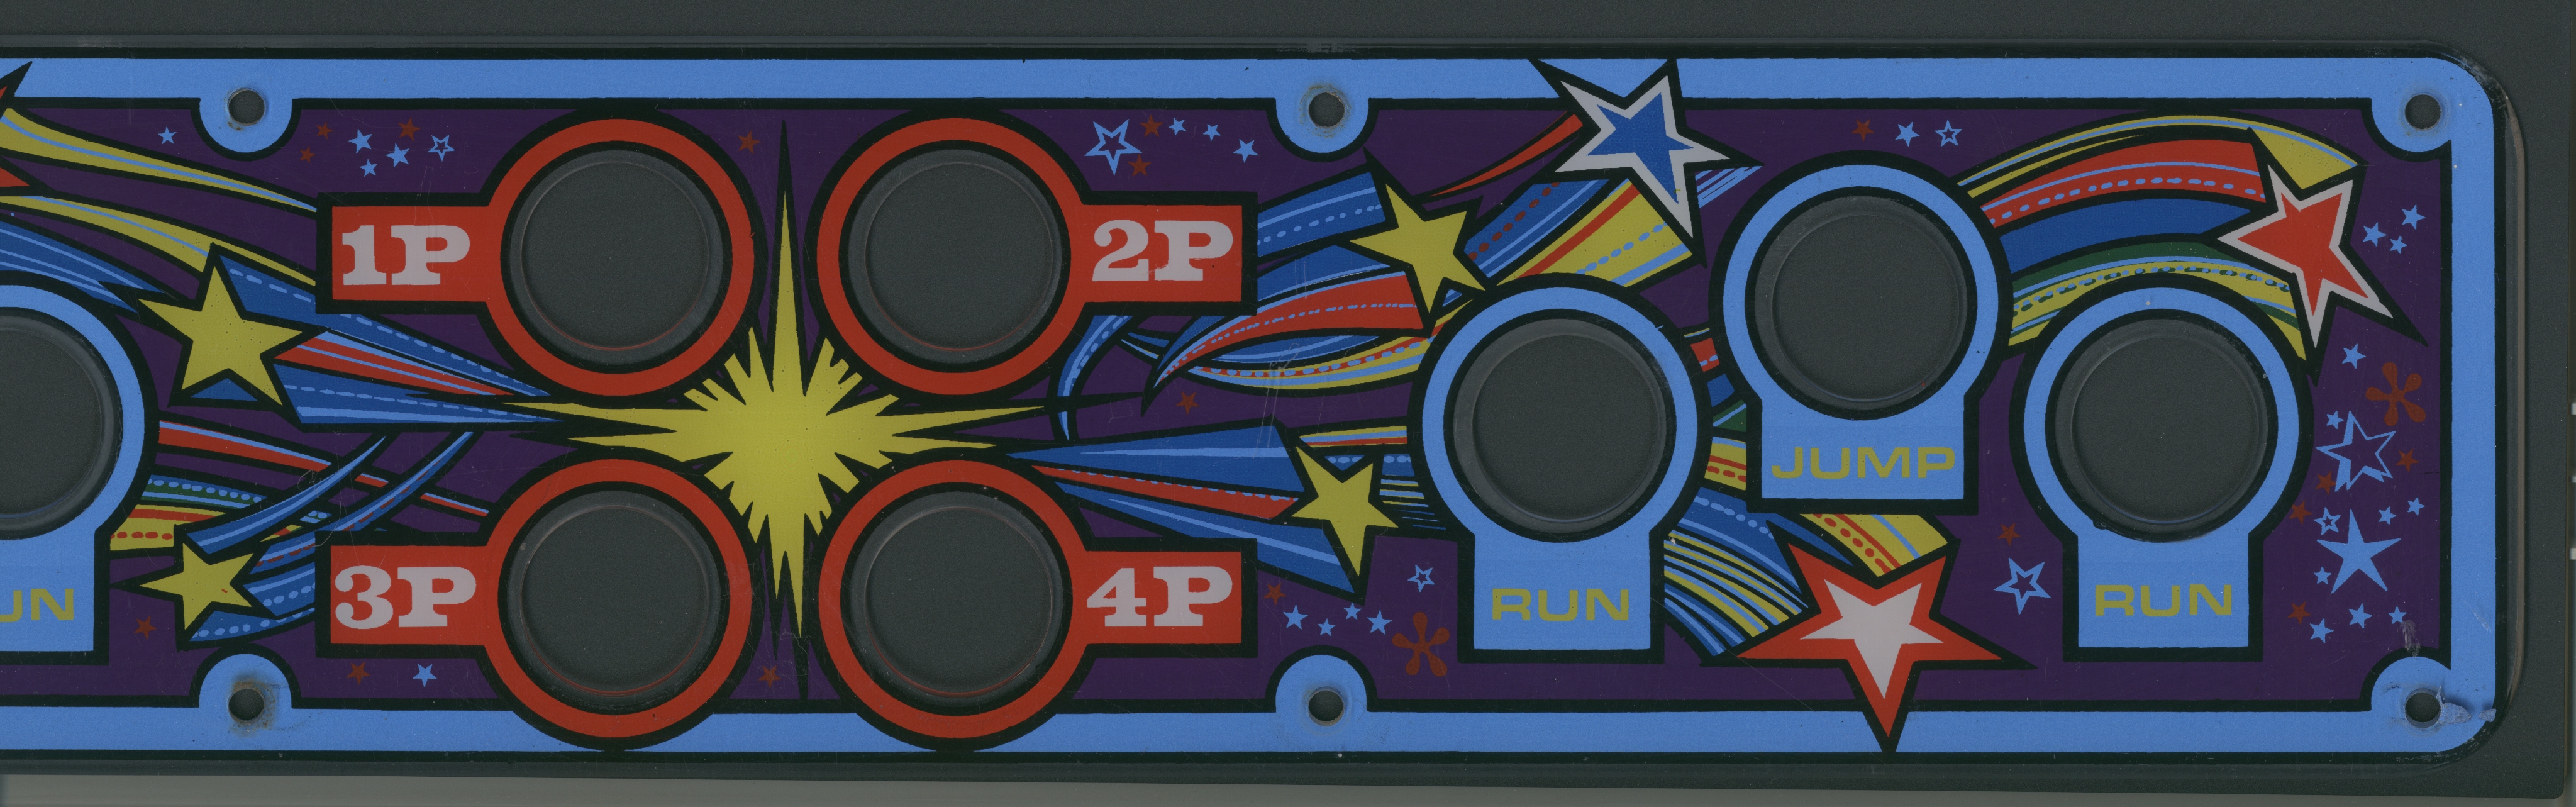
Scanned in the Hyper Olympic control panel overlay.
600 DPI Hyper Olympic control panel overlay scan (112MB).
|
The control panel was reassembled.
|
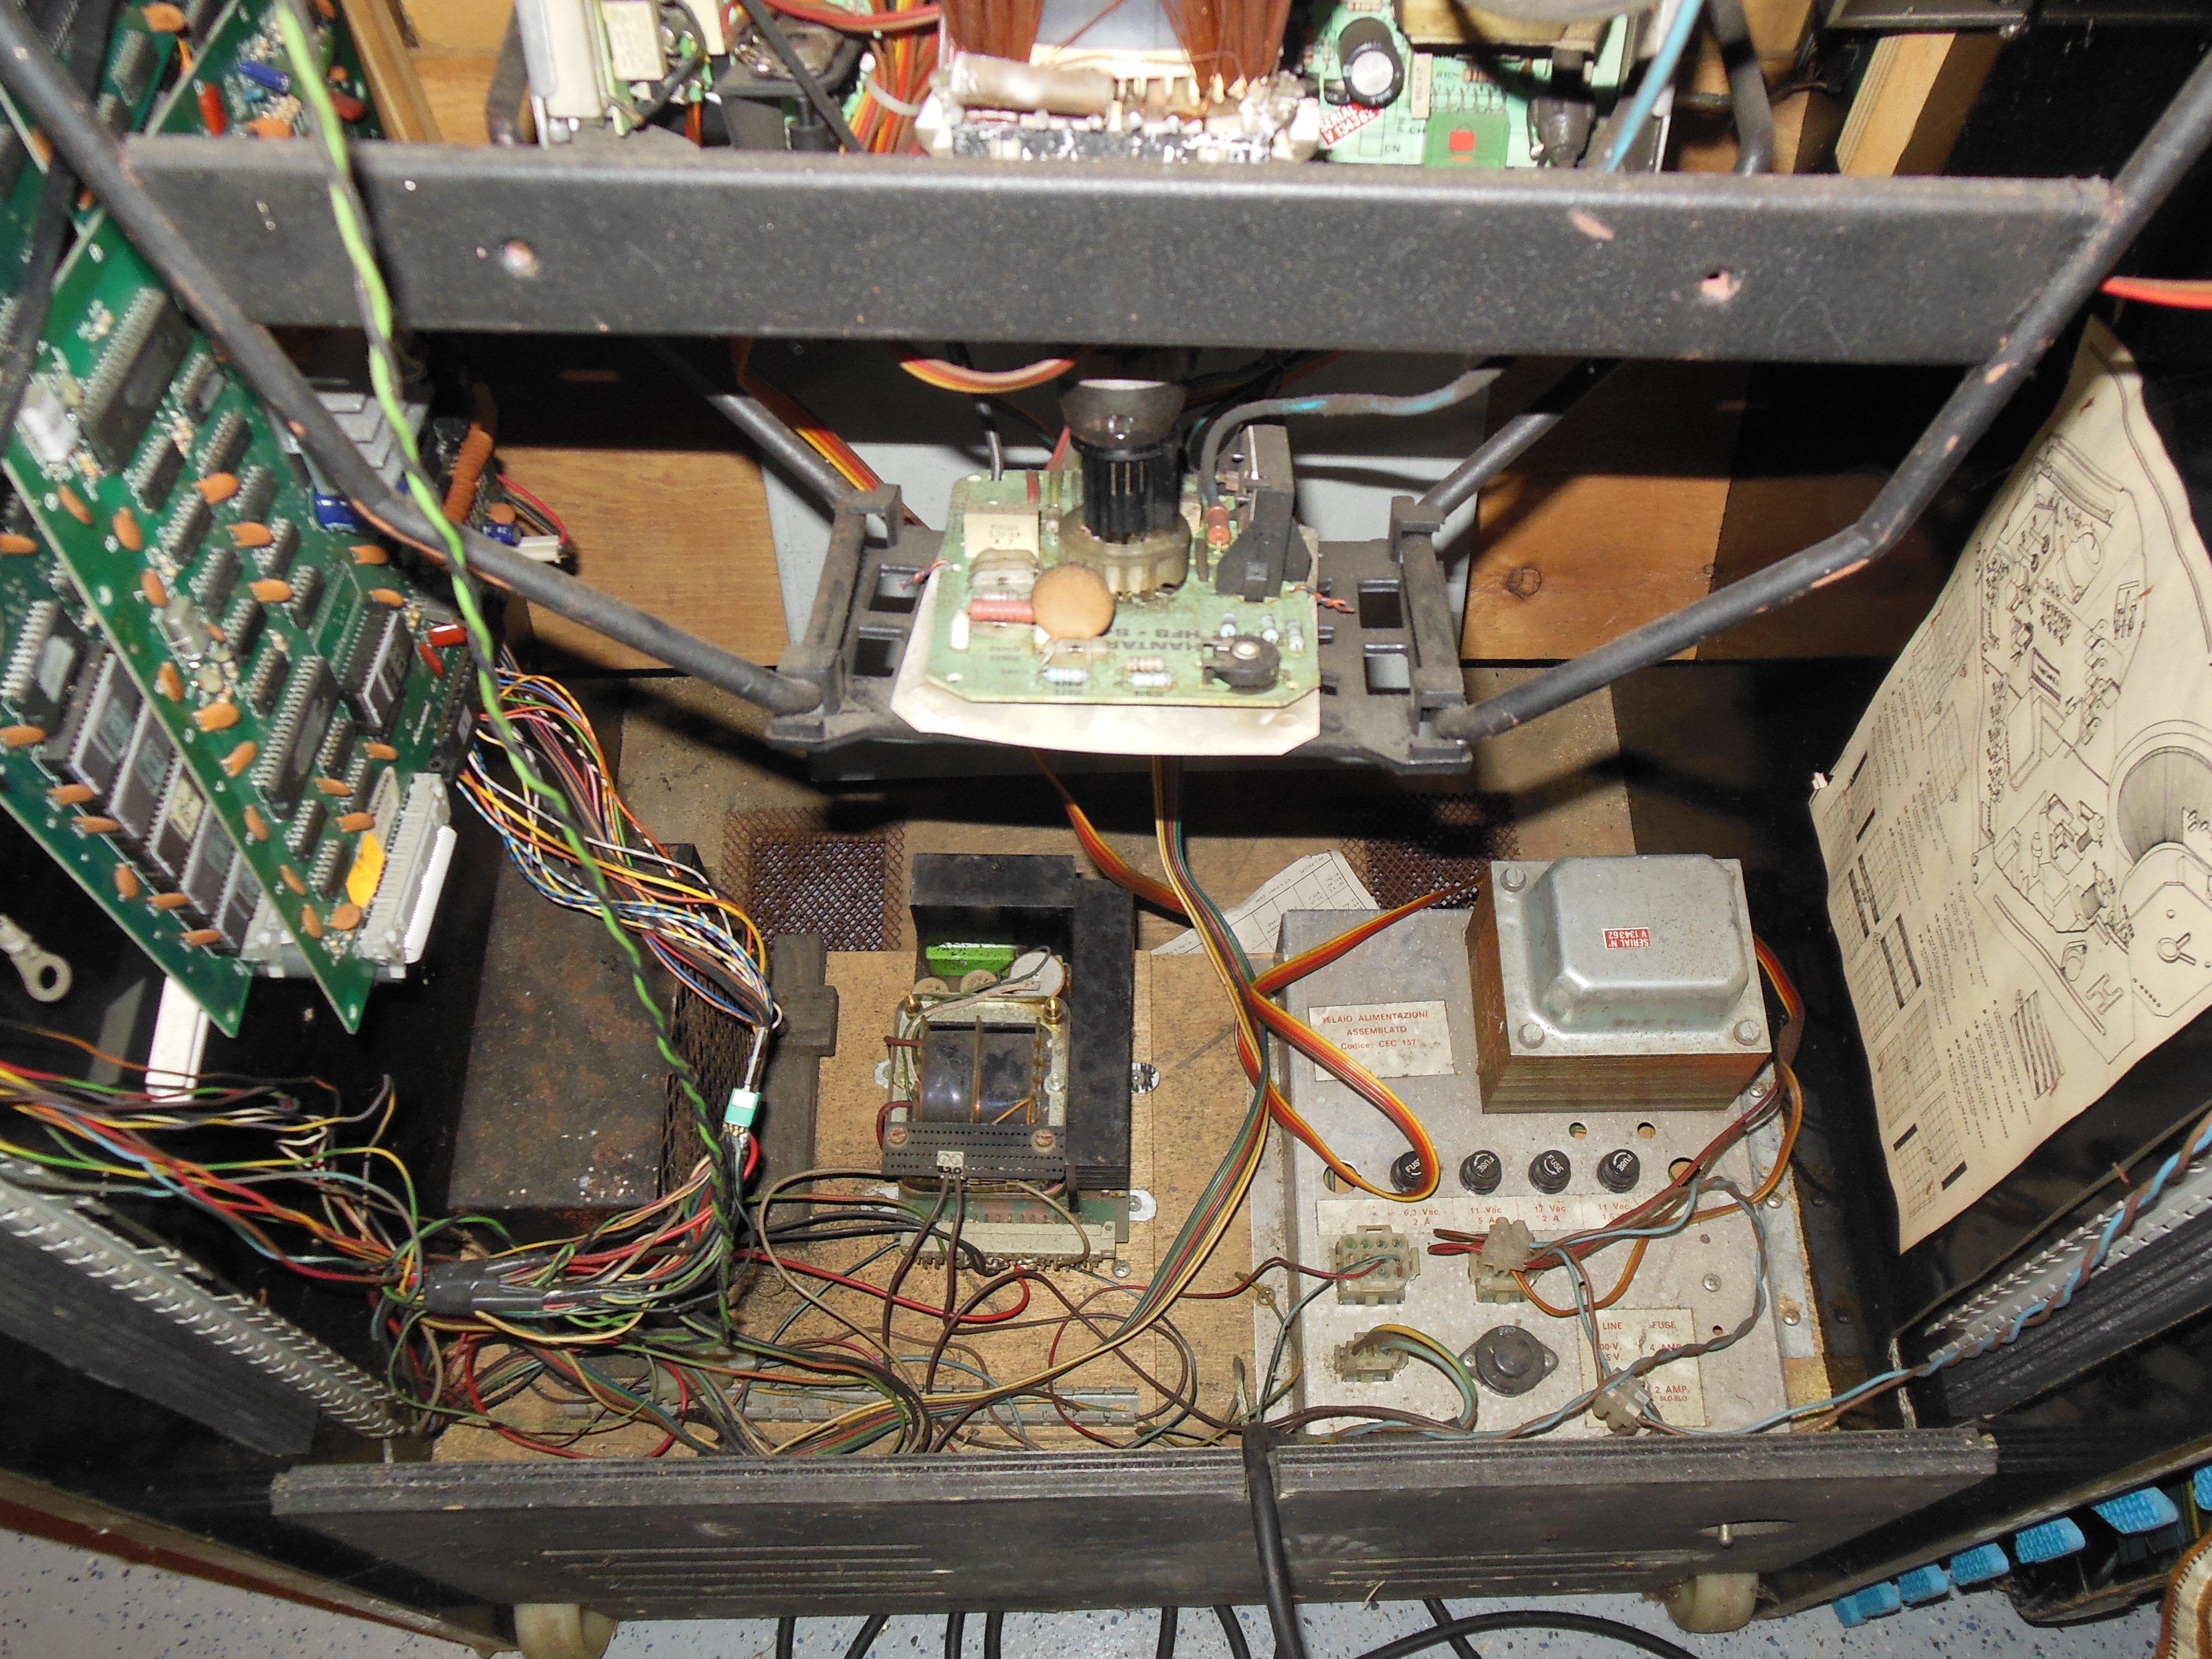
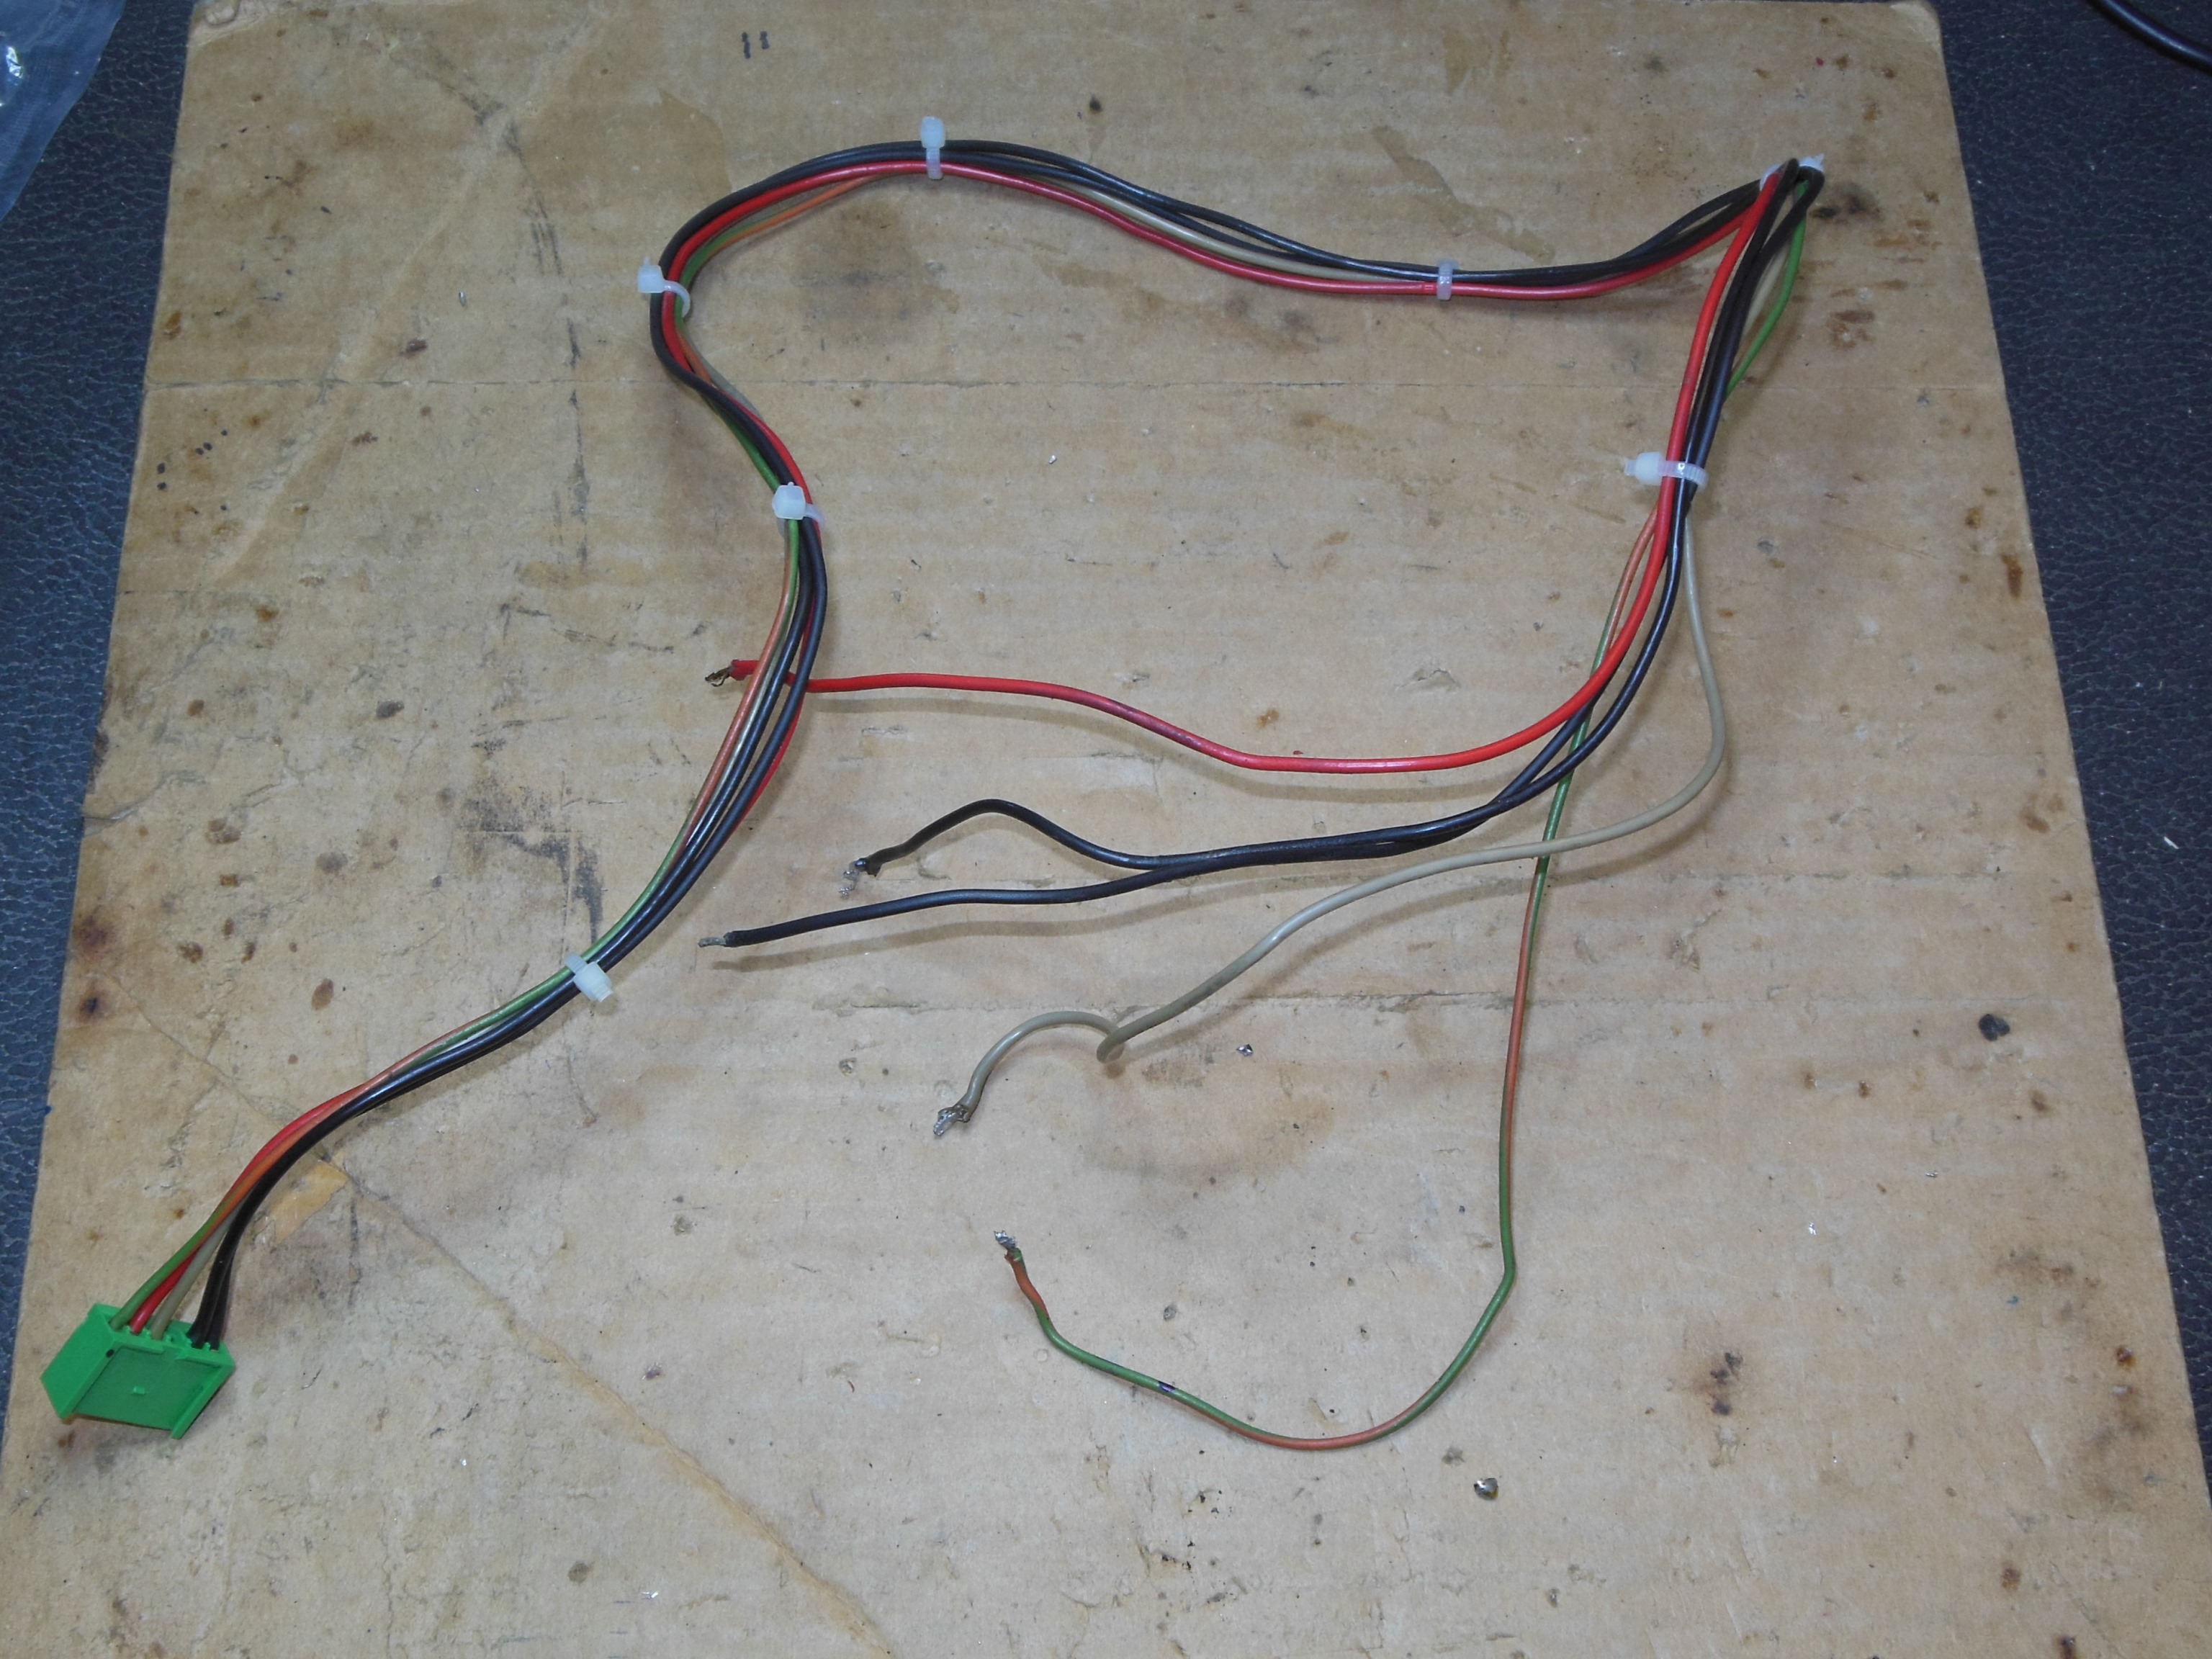
A search through parts boxes found a hacked wiring harness that still had a complete low voltage AC cable loom. The loom was removed for use in the later construction of a new wiring harness.
|
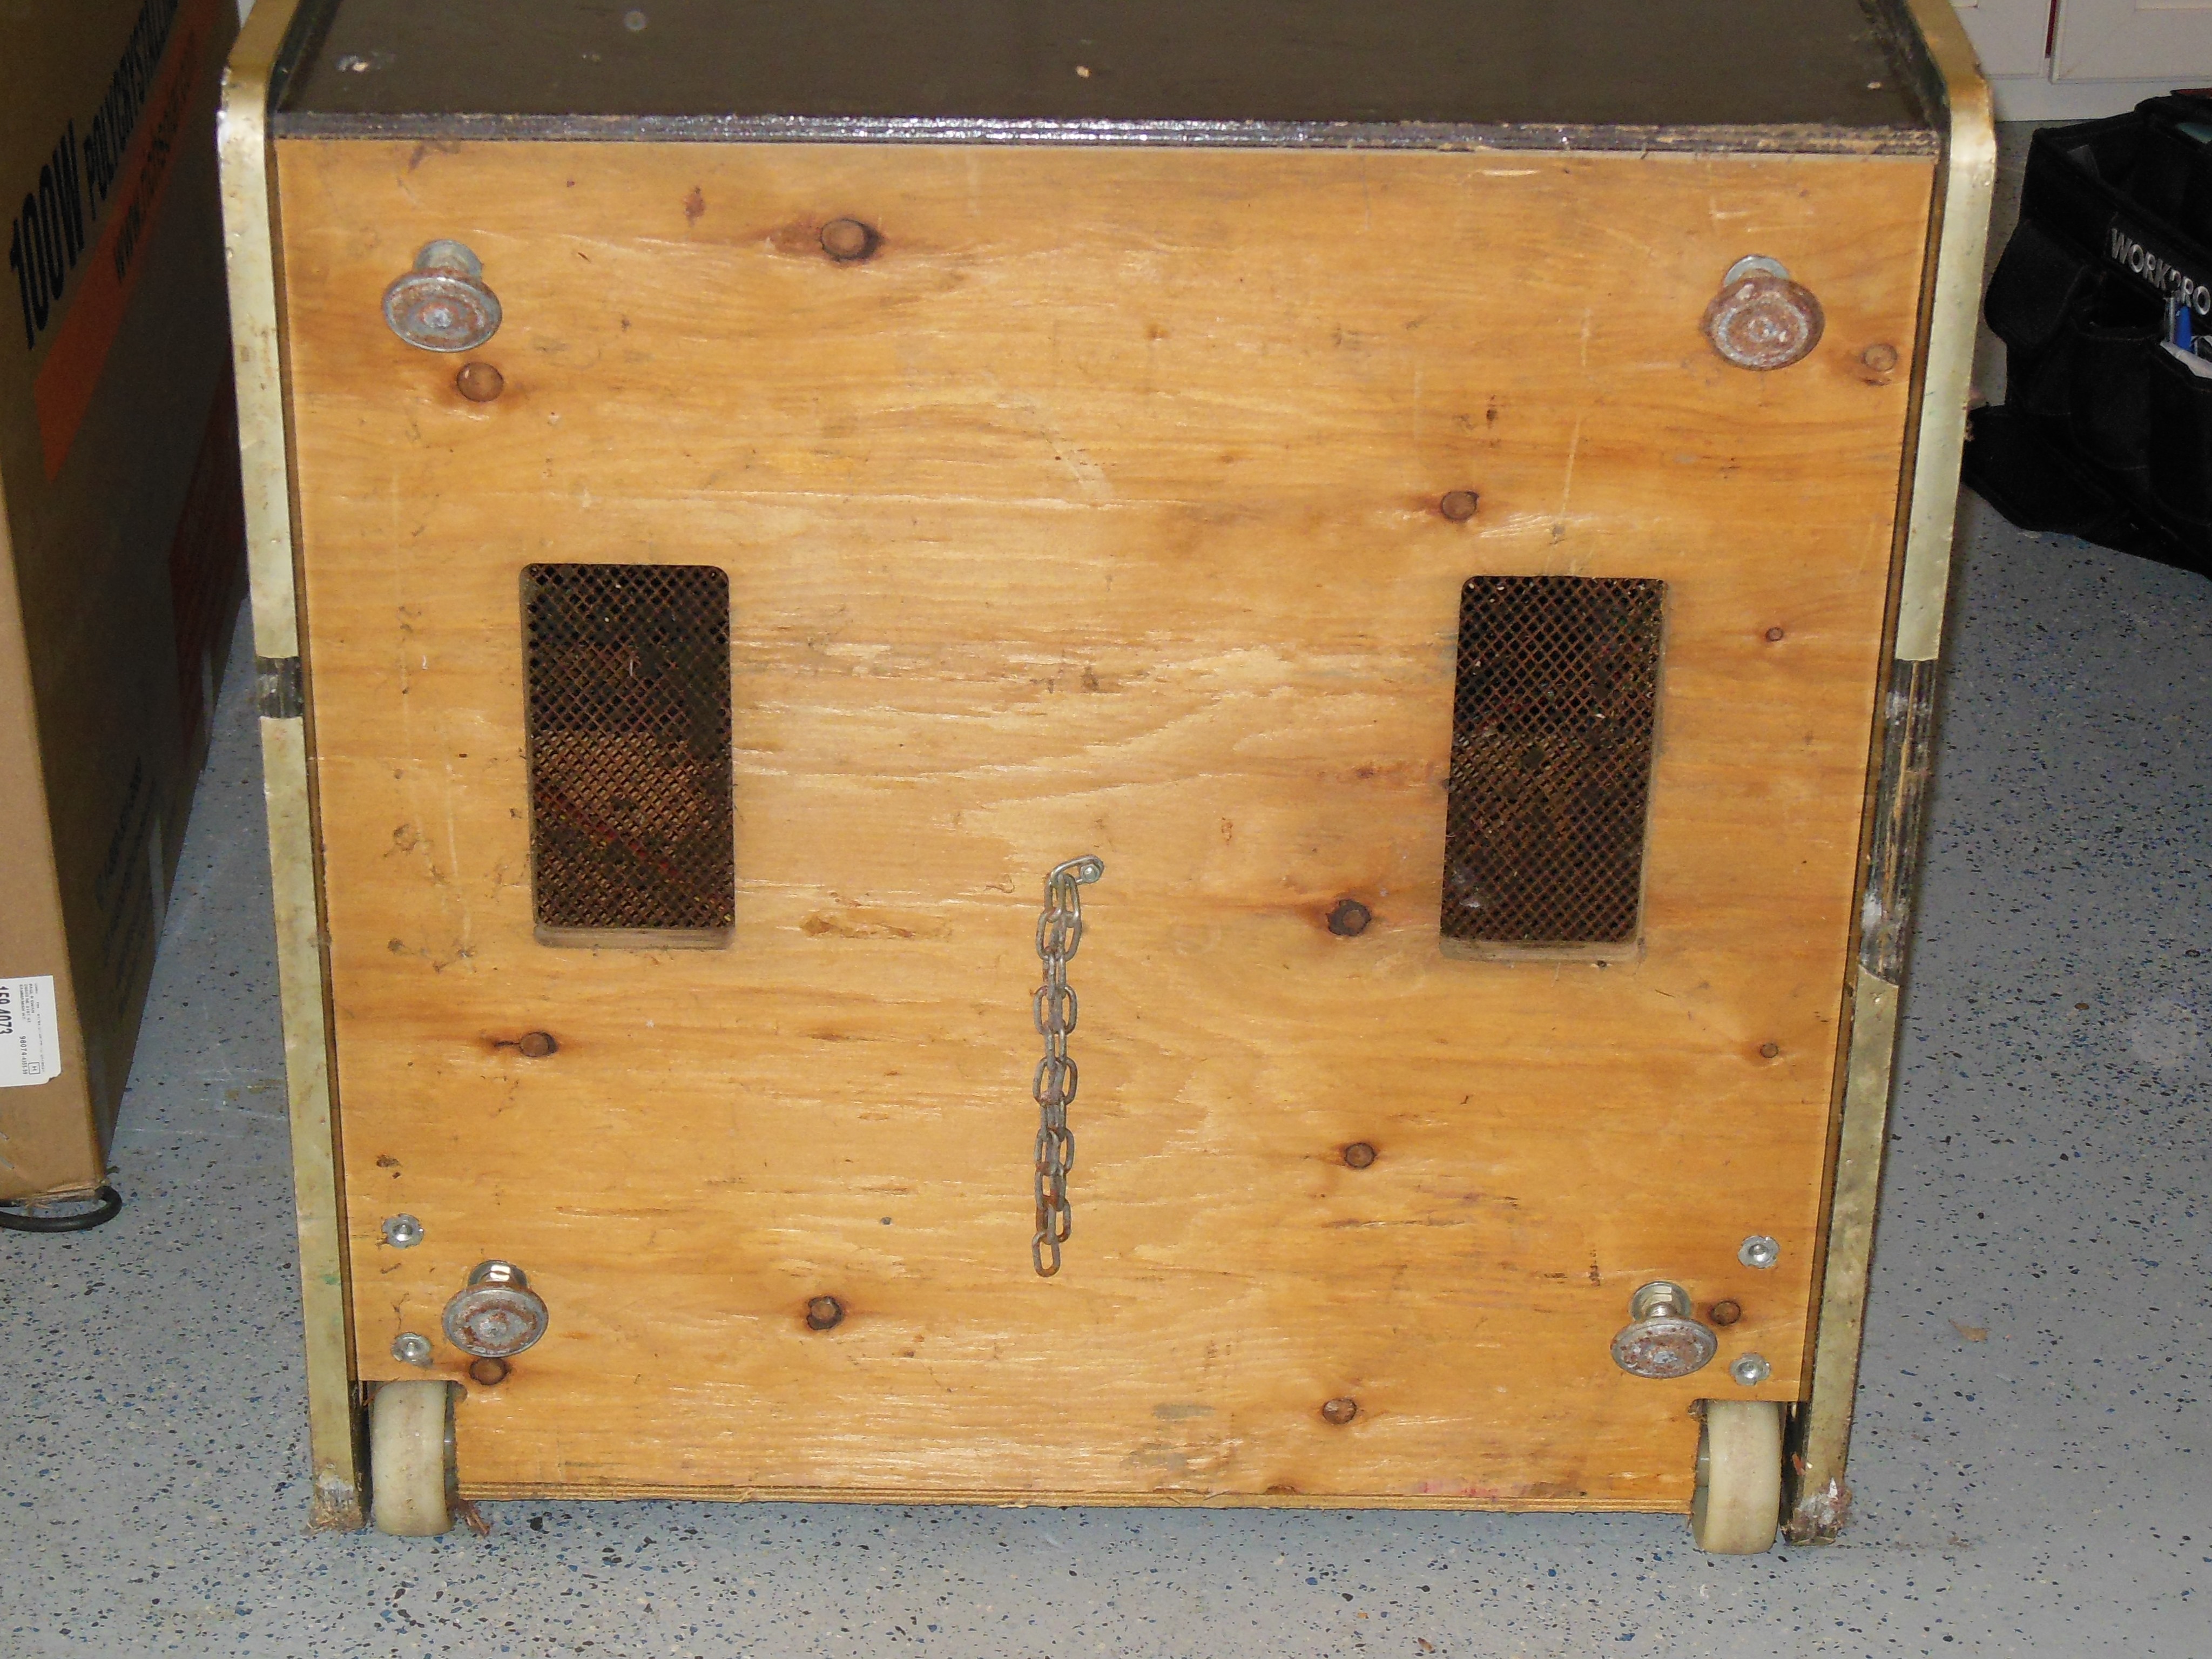
The cabinet feet were removed, and castors fitted.
|
Two hacks in the AC wiring loom were restored back to original and secured.
|
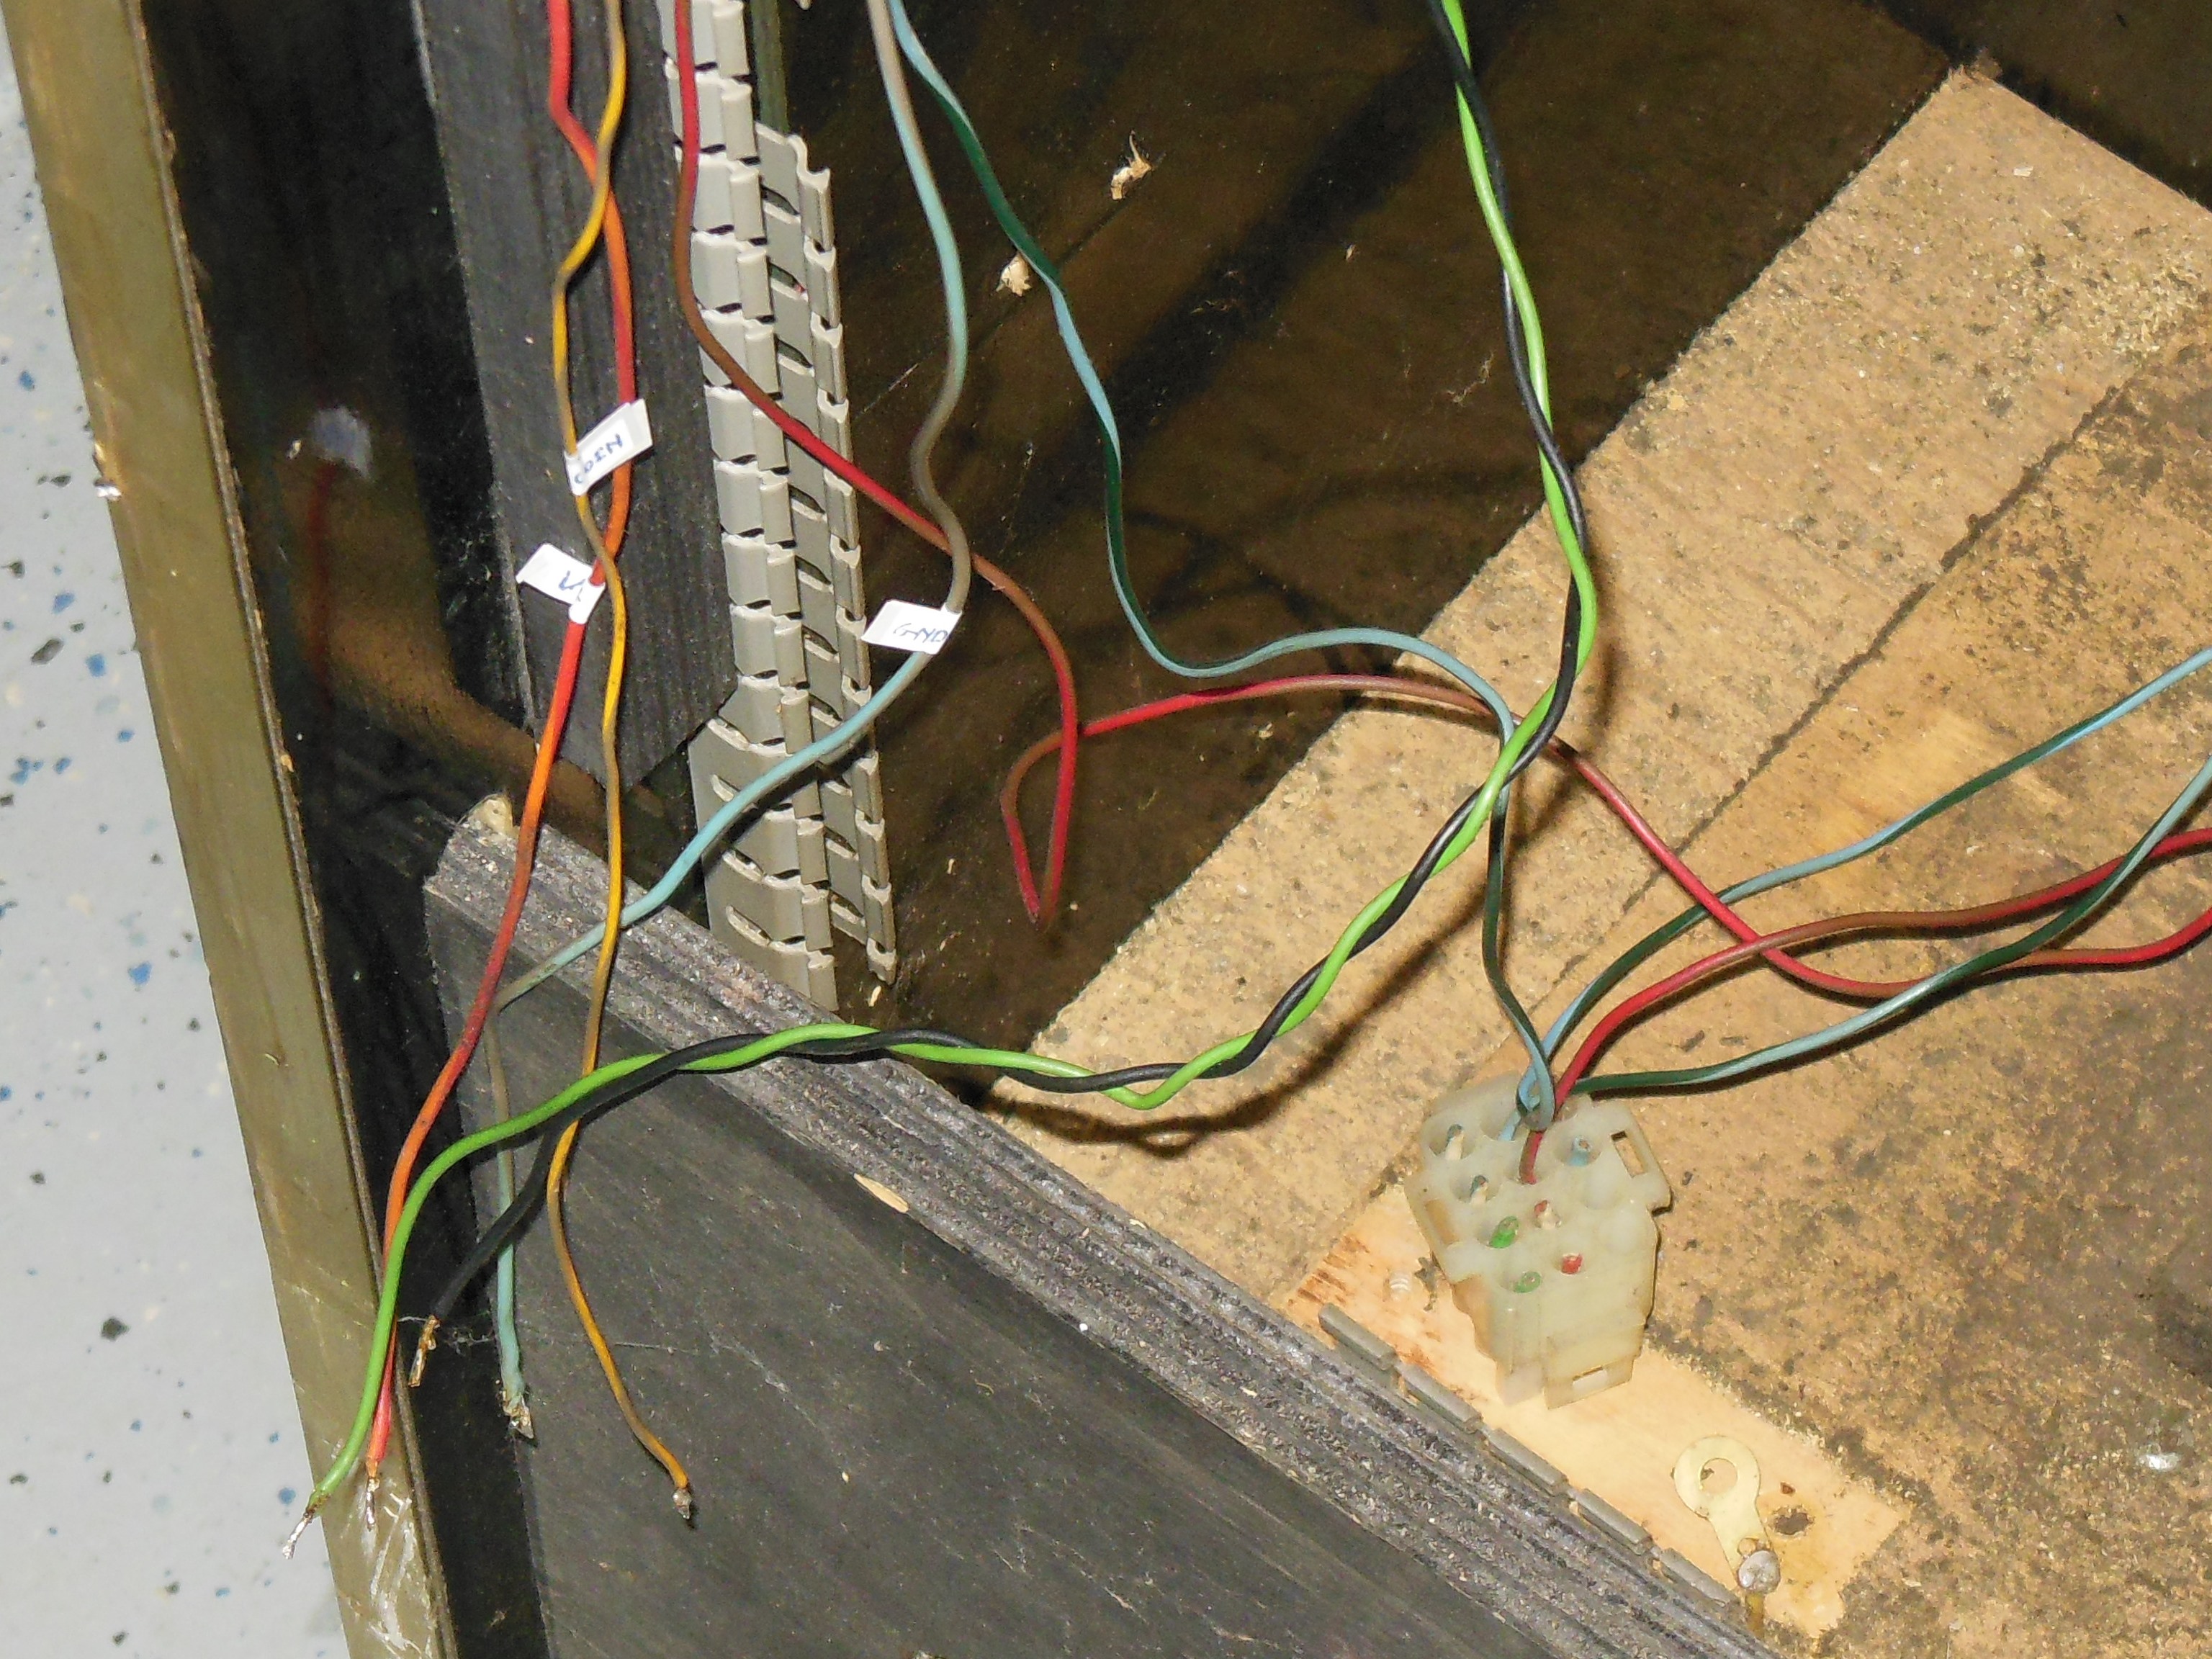
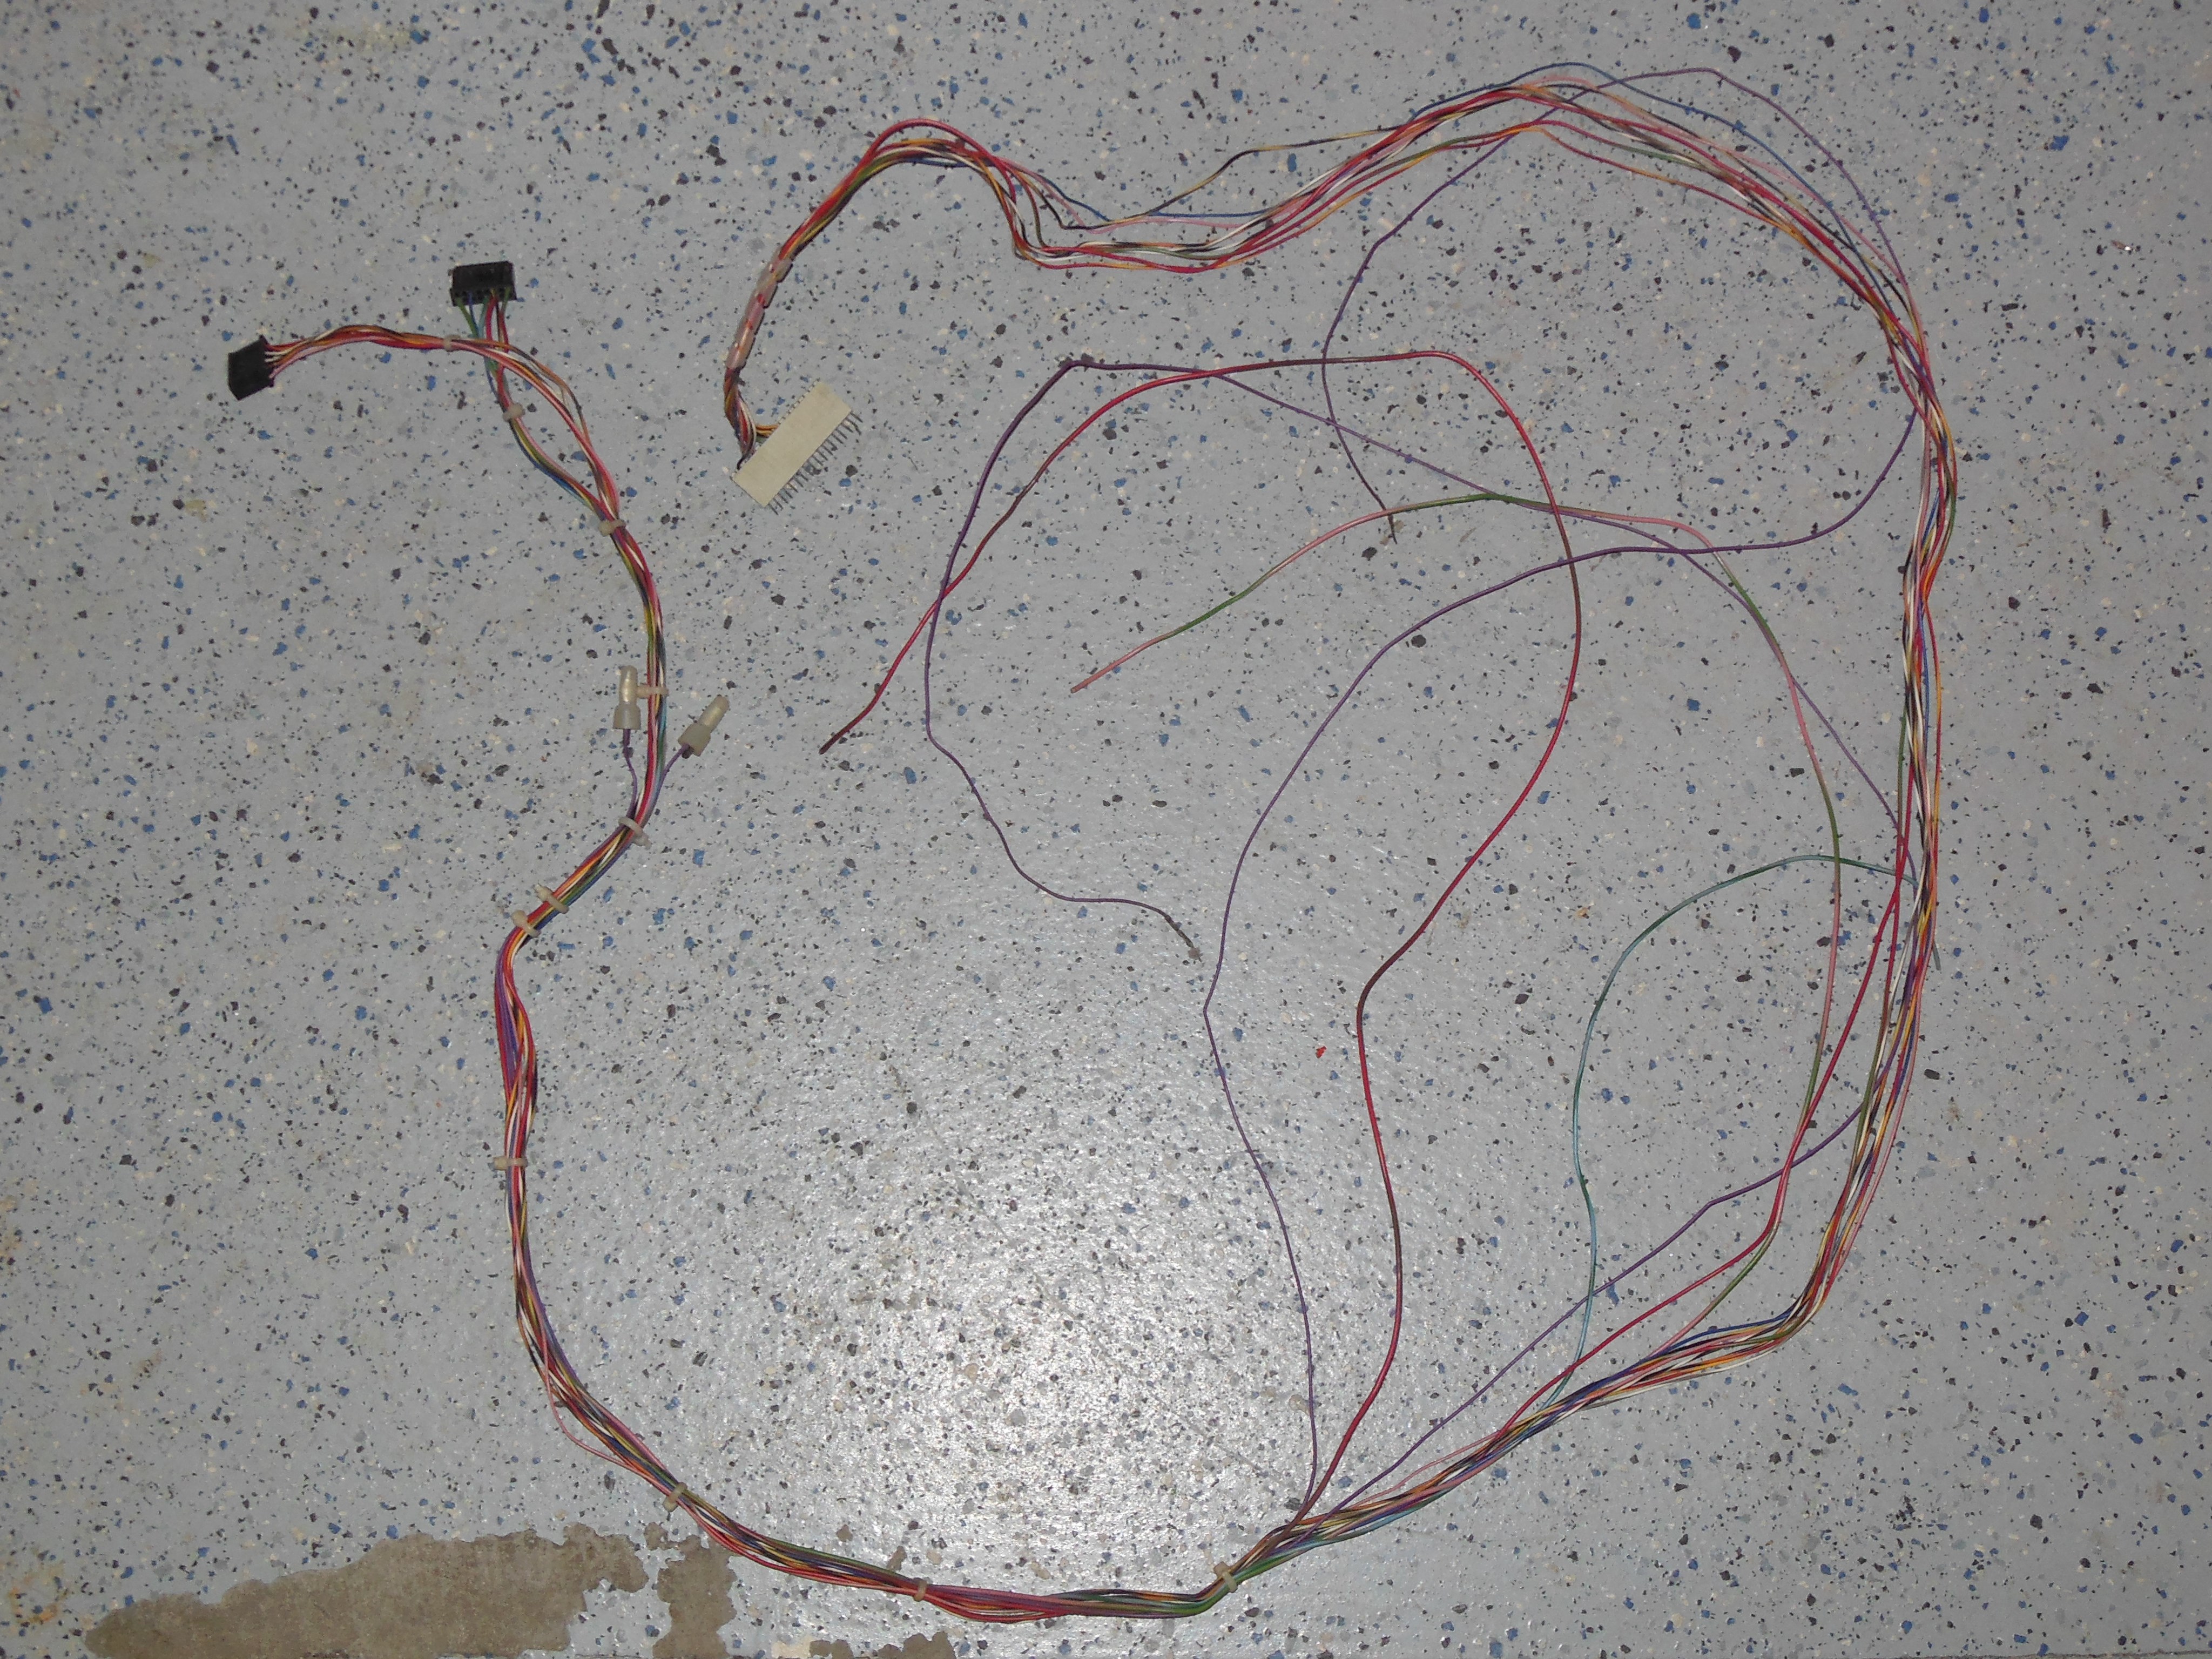
The hacked wiring harness was mostly removed leaving the speaker & credit PCB harness in the cabinet with connection labels. The credit PCB harness was labeled as +12V power ready for use with a 1B1145 credit PCB and the +5V 1B1185 credit PCB was removed (to prevent a nasty accident). The hacked wiring harness was split apart to recover the control panel harness and DC power cabling.
|
A spare Astro Wars control panel cable set donated two wires to add to the existing 8 input Universal control panel cable to make the 10 inputs needed for Hyper Olympic.
|
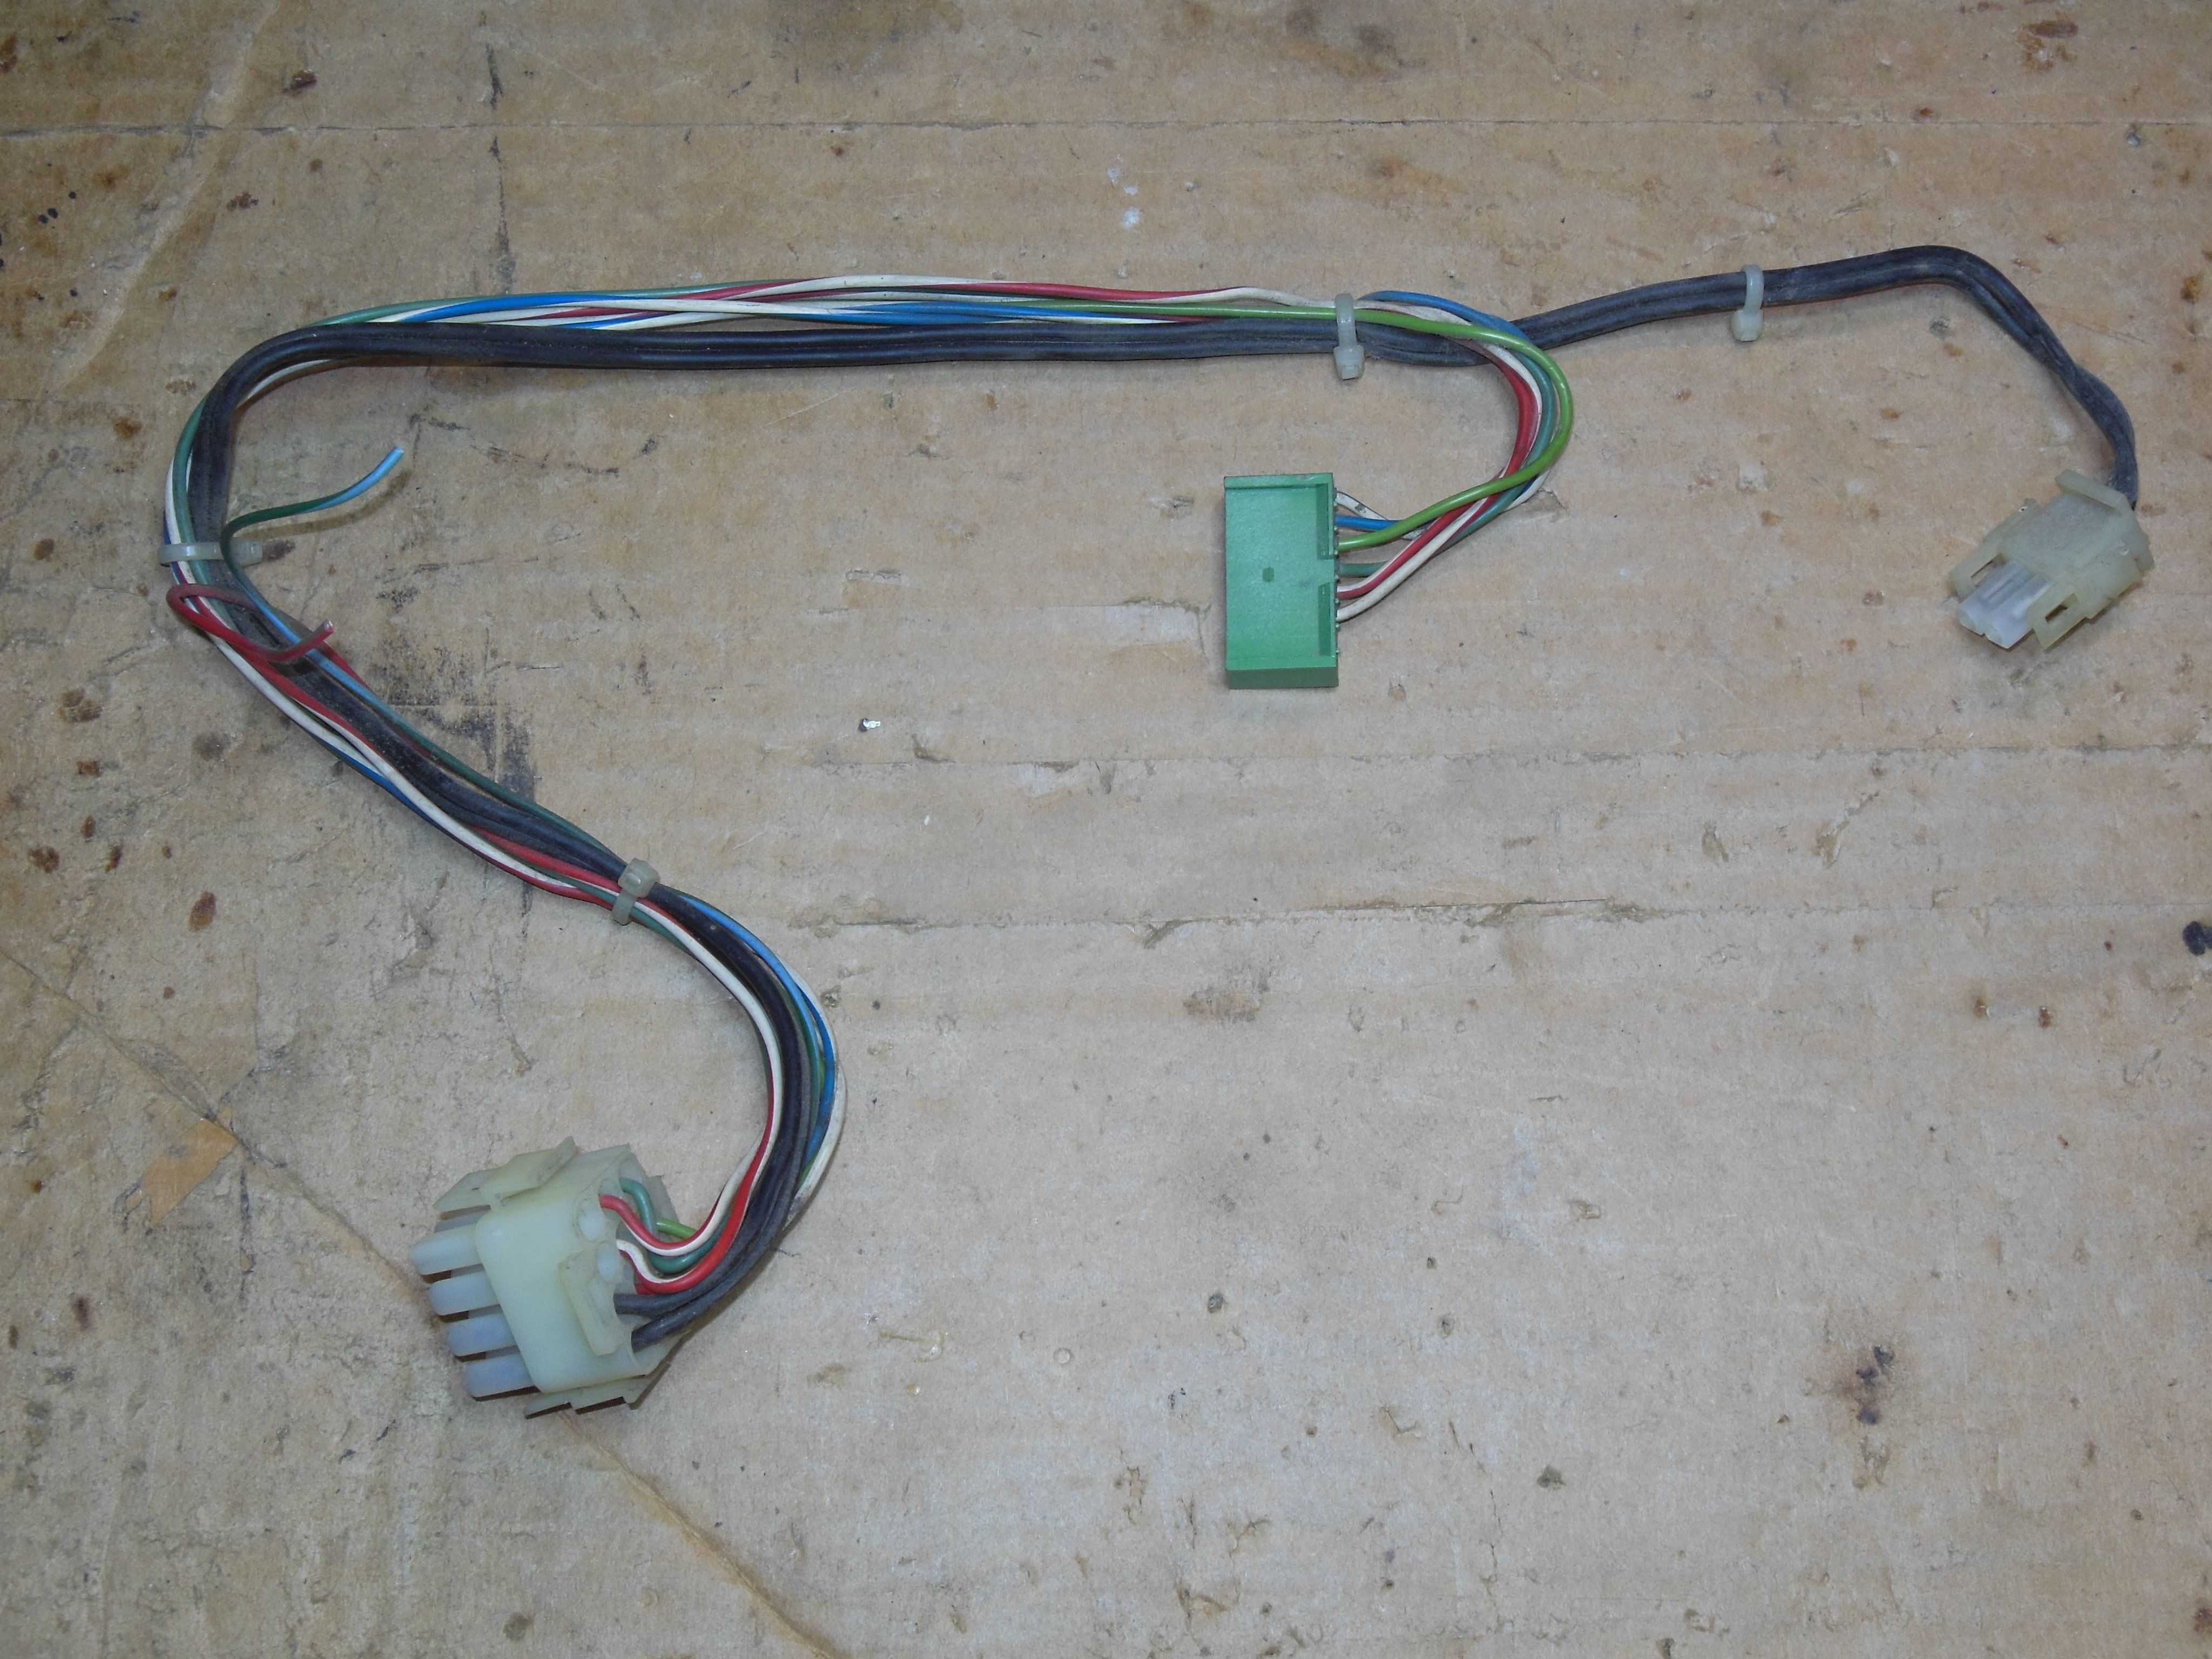
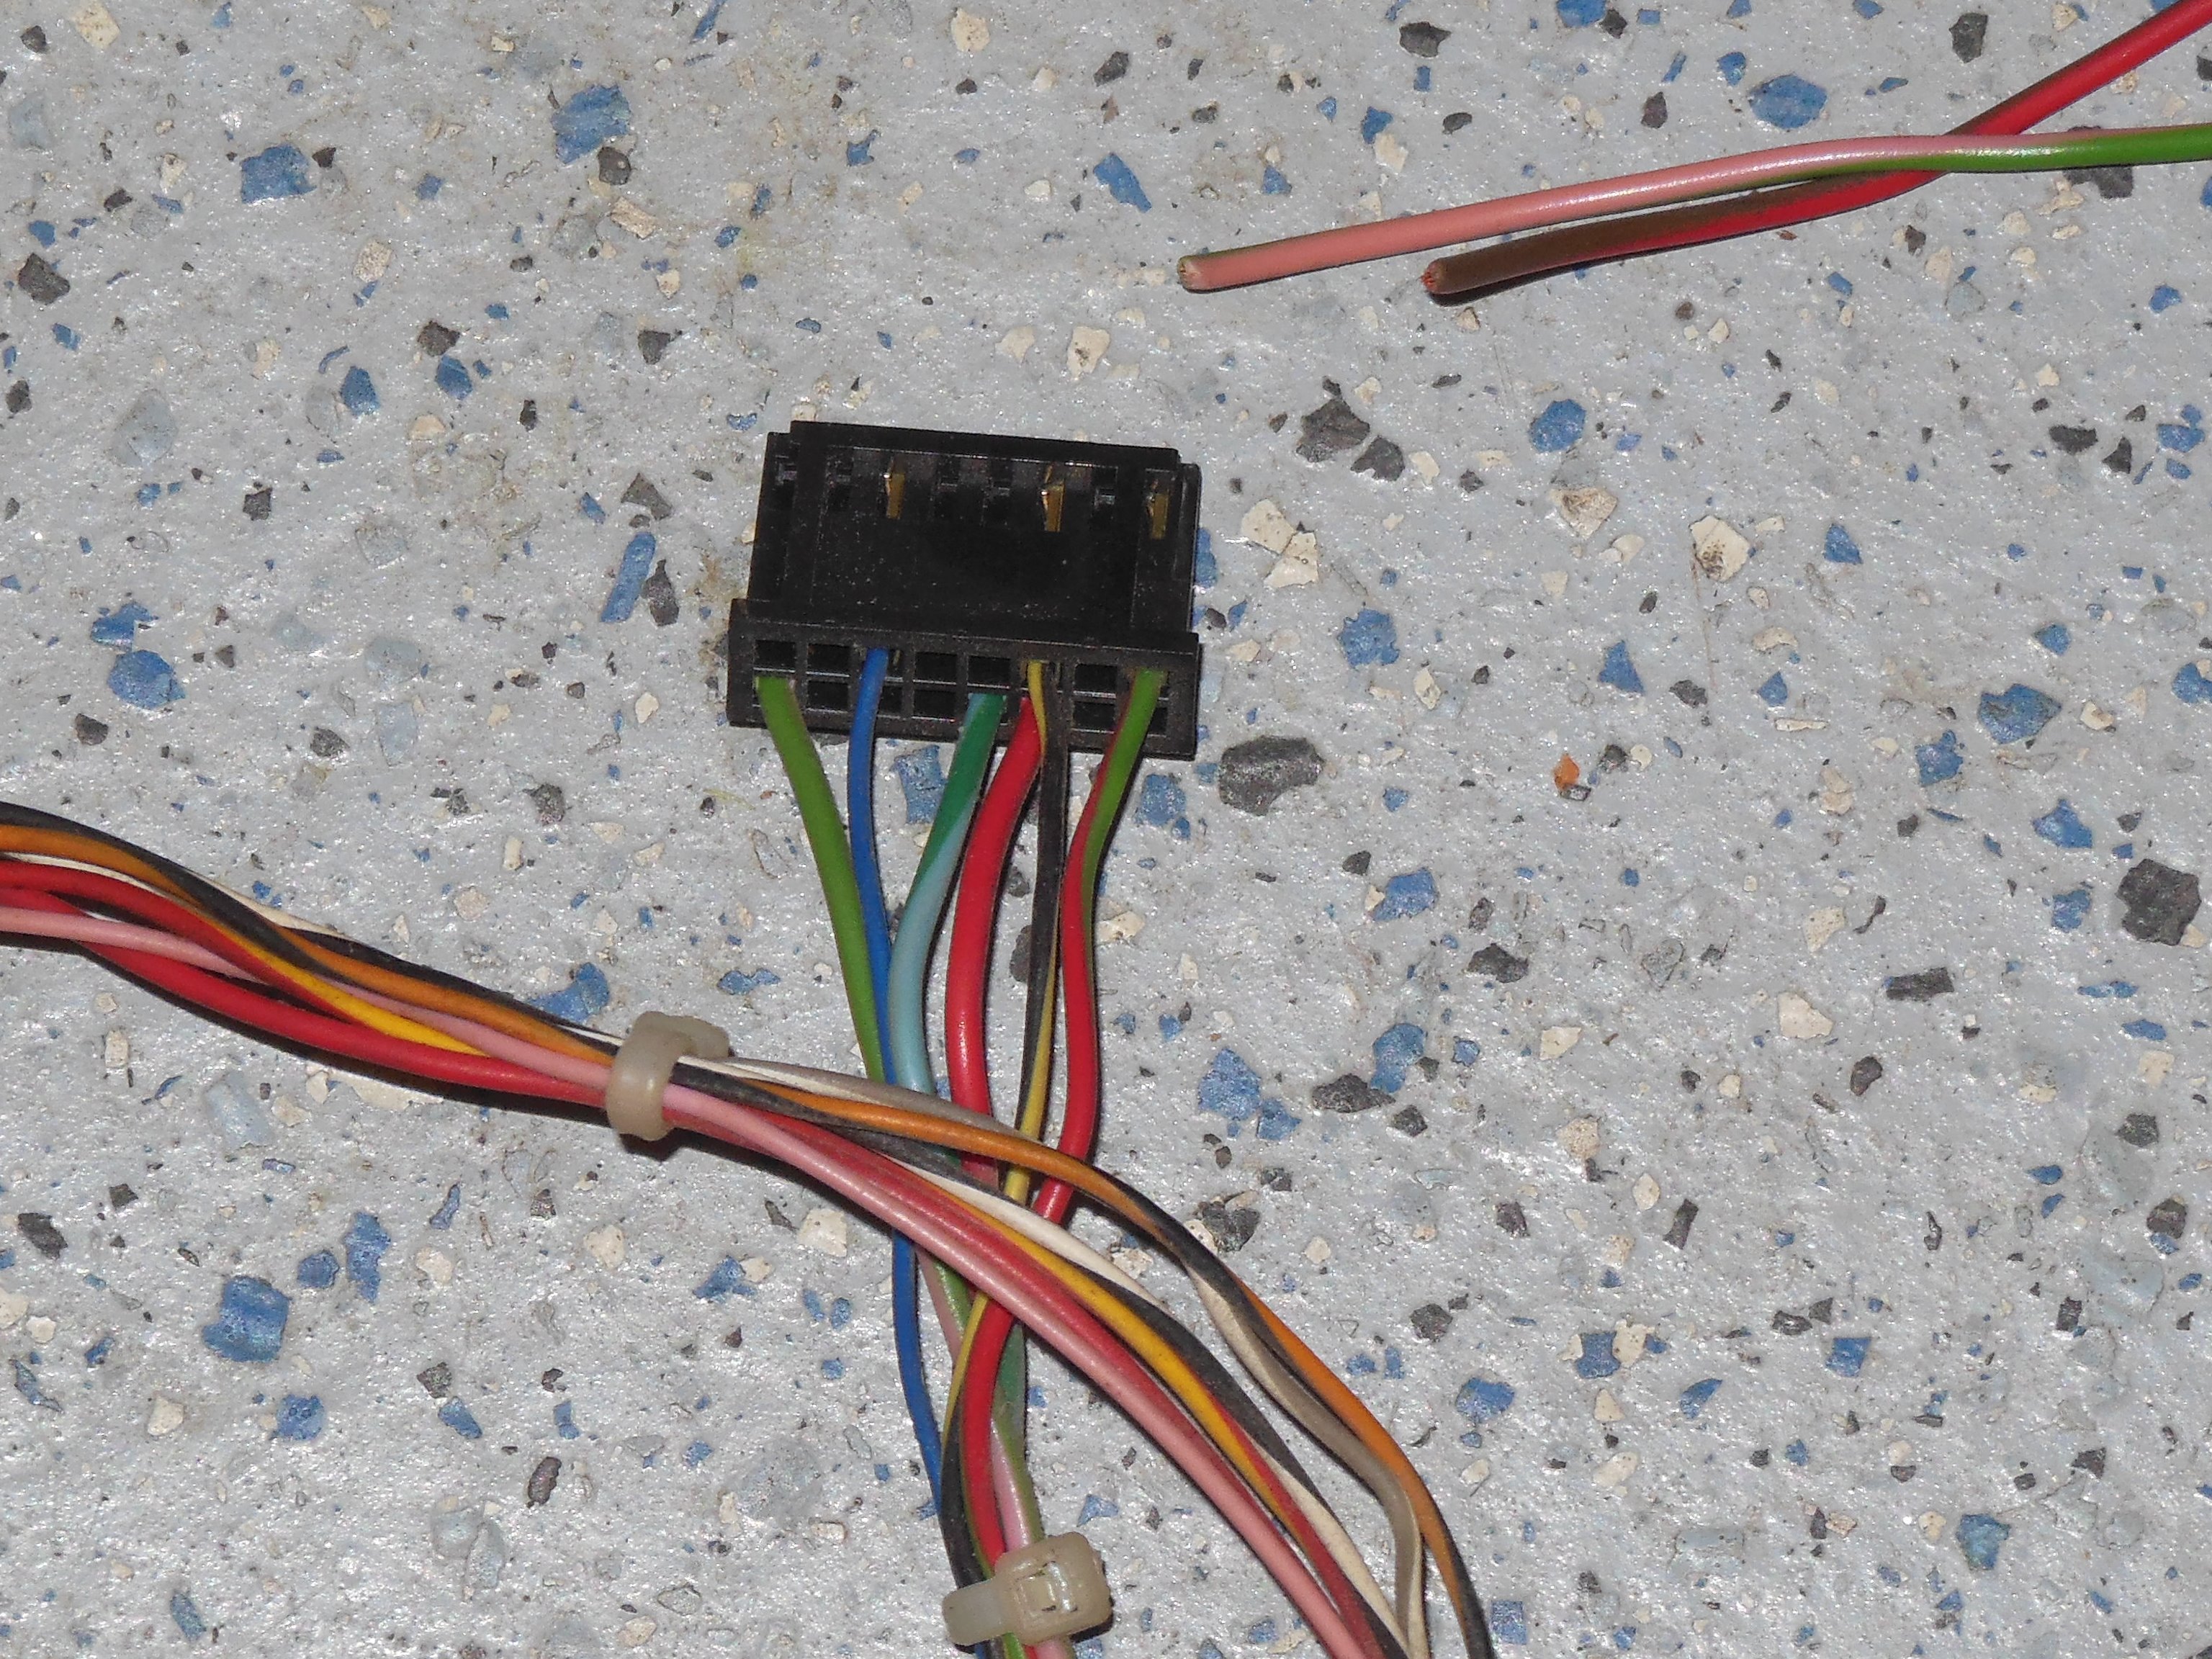
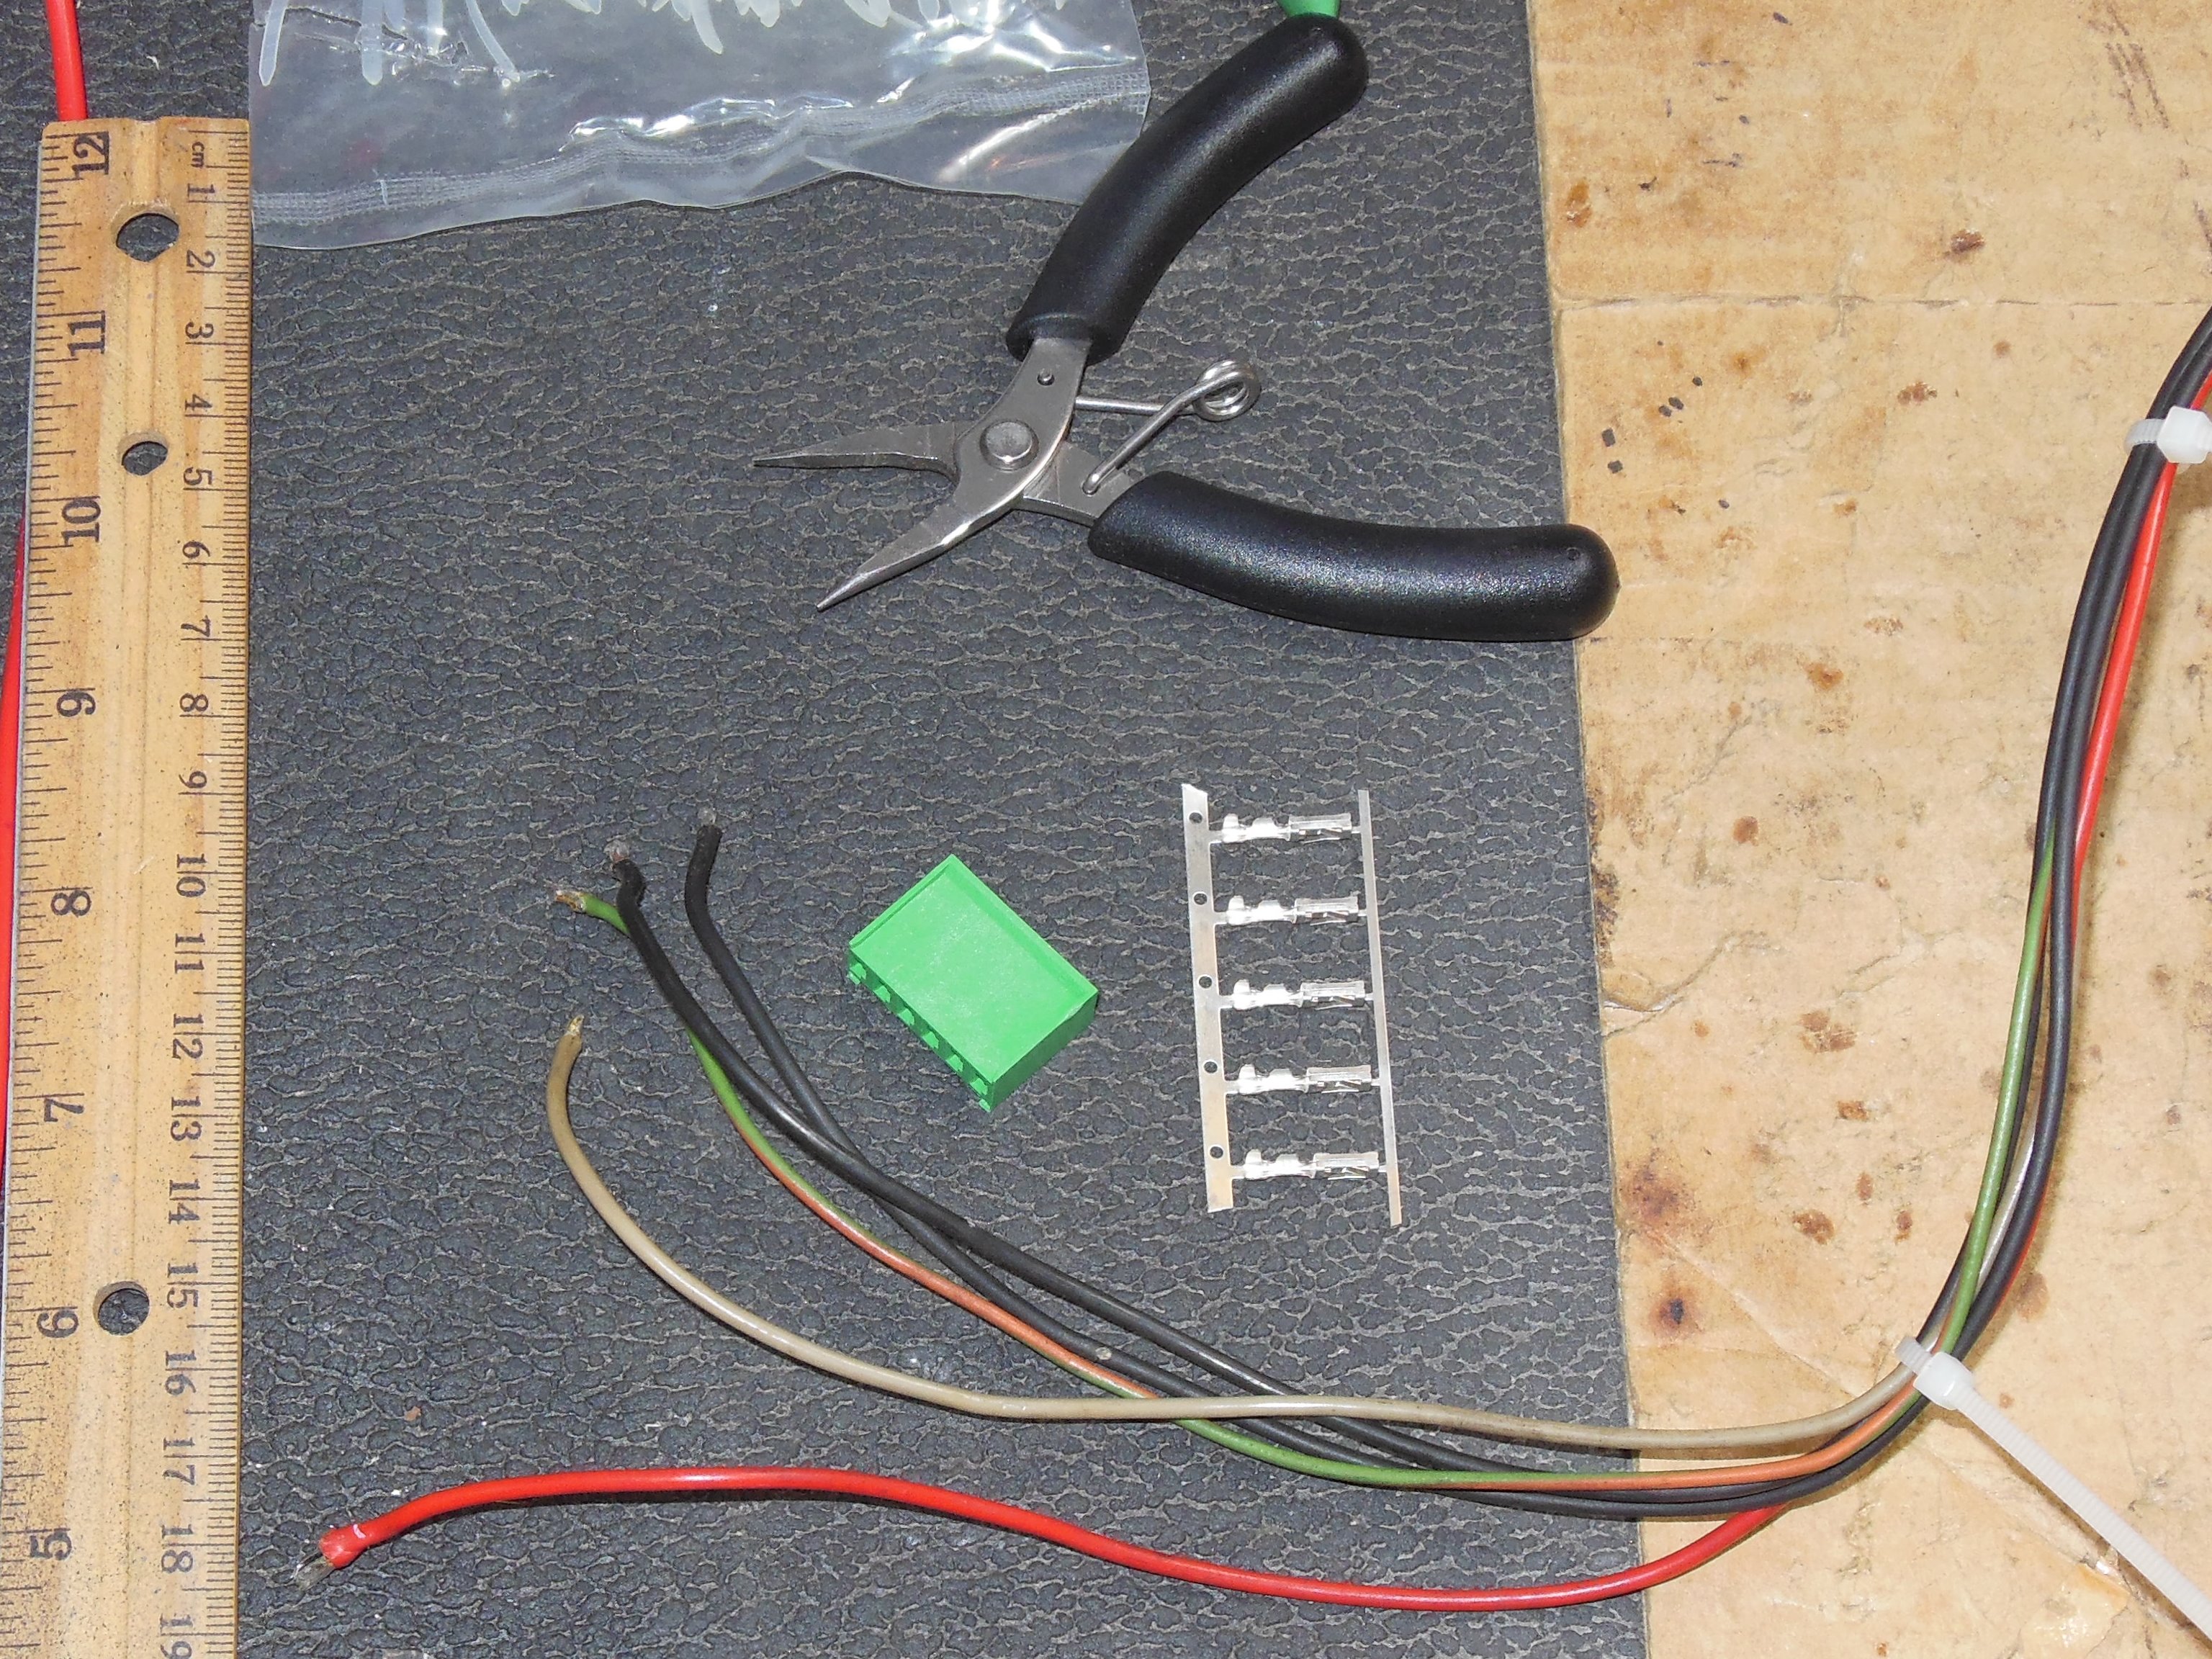
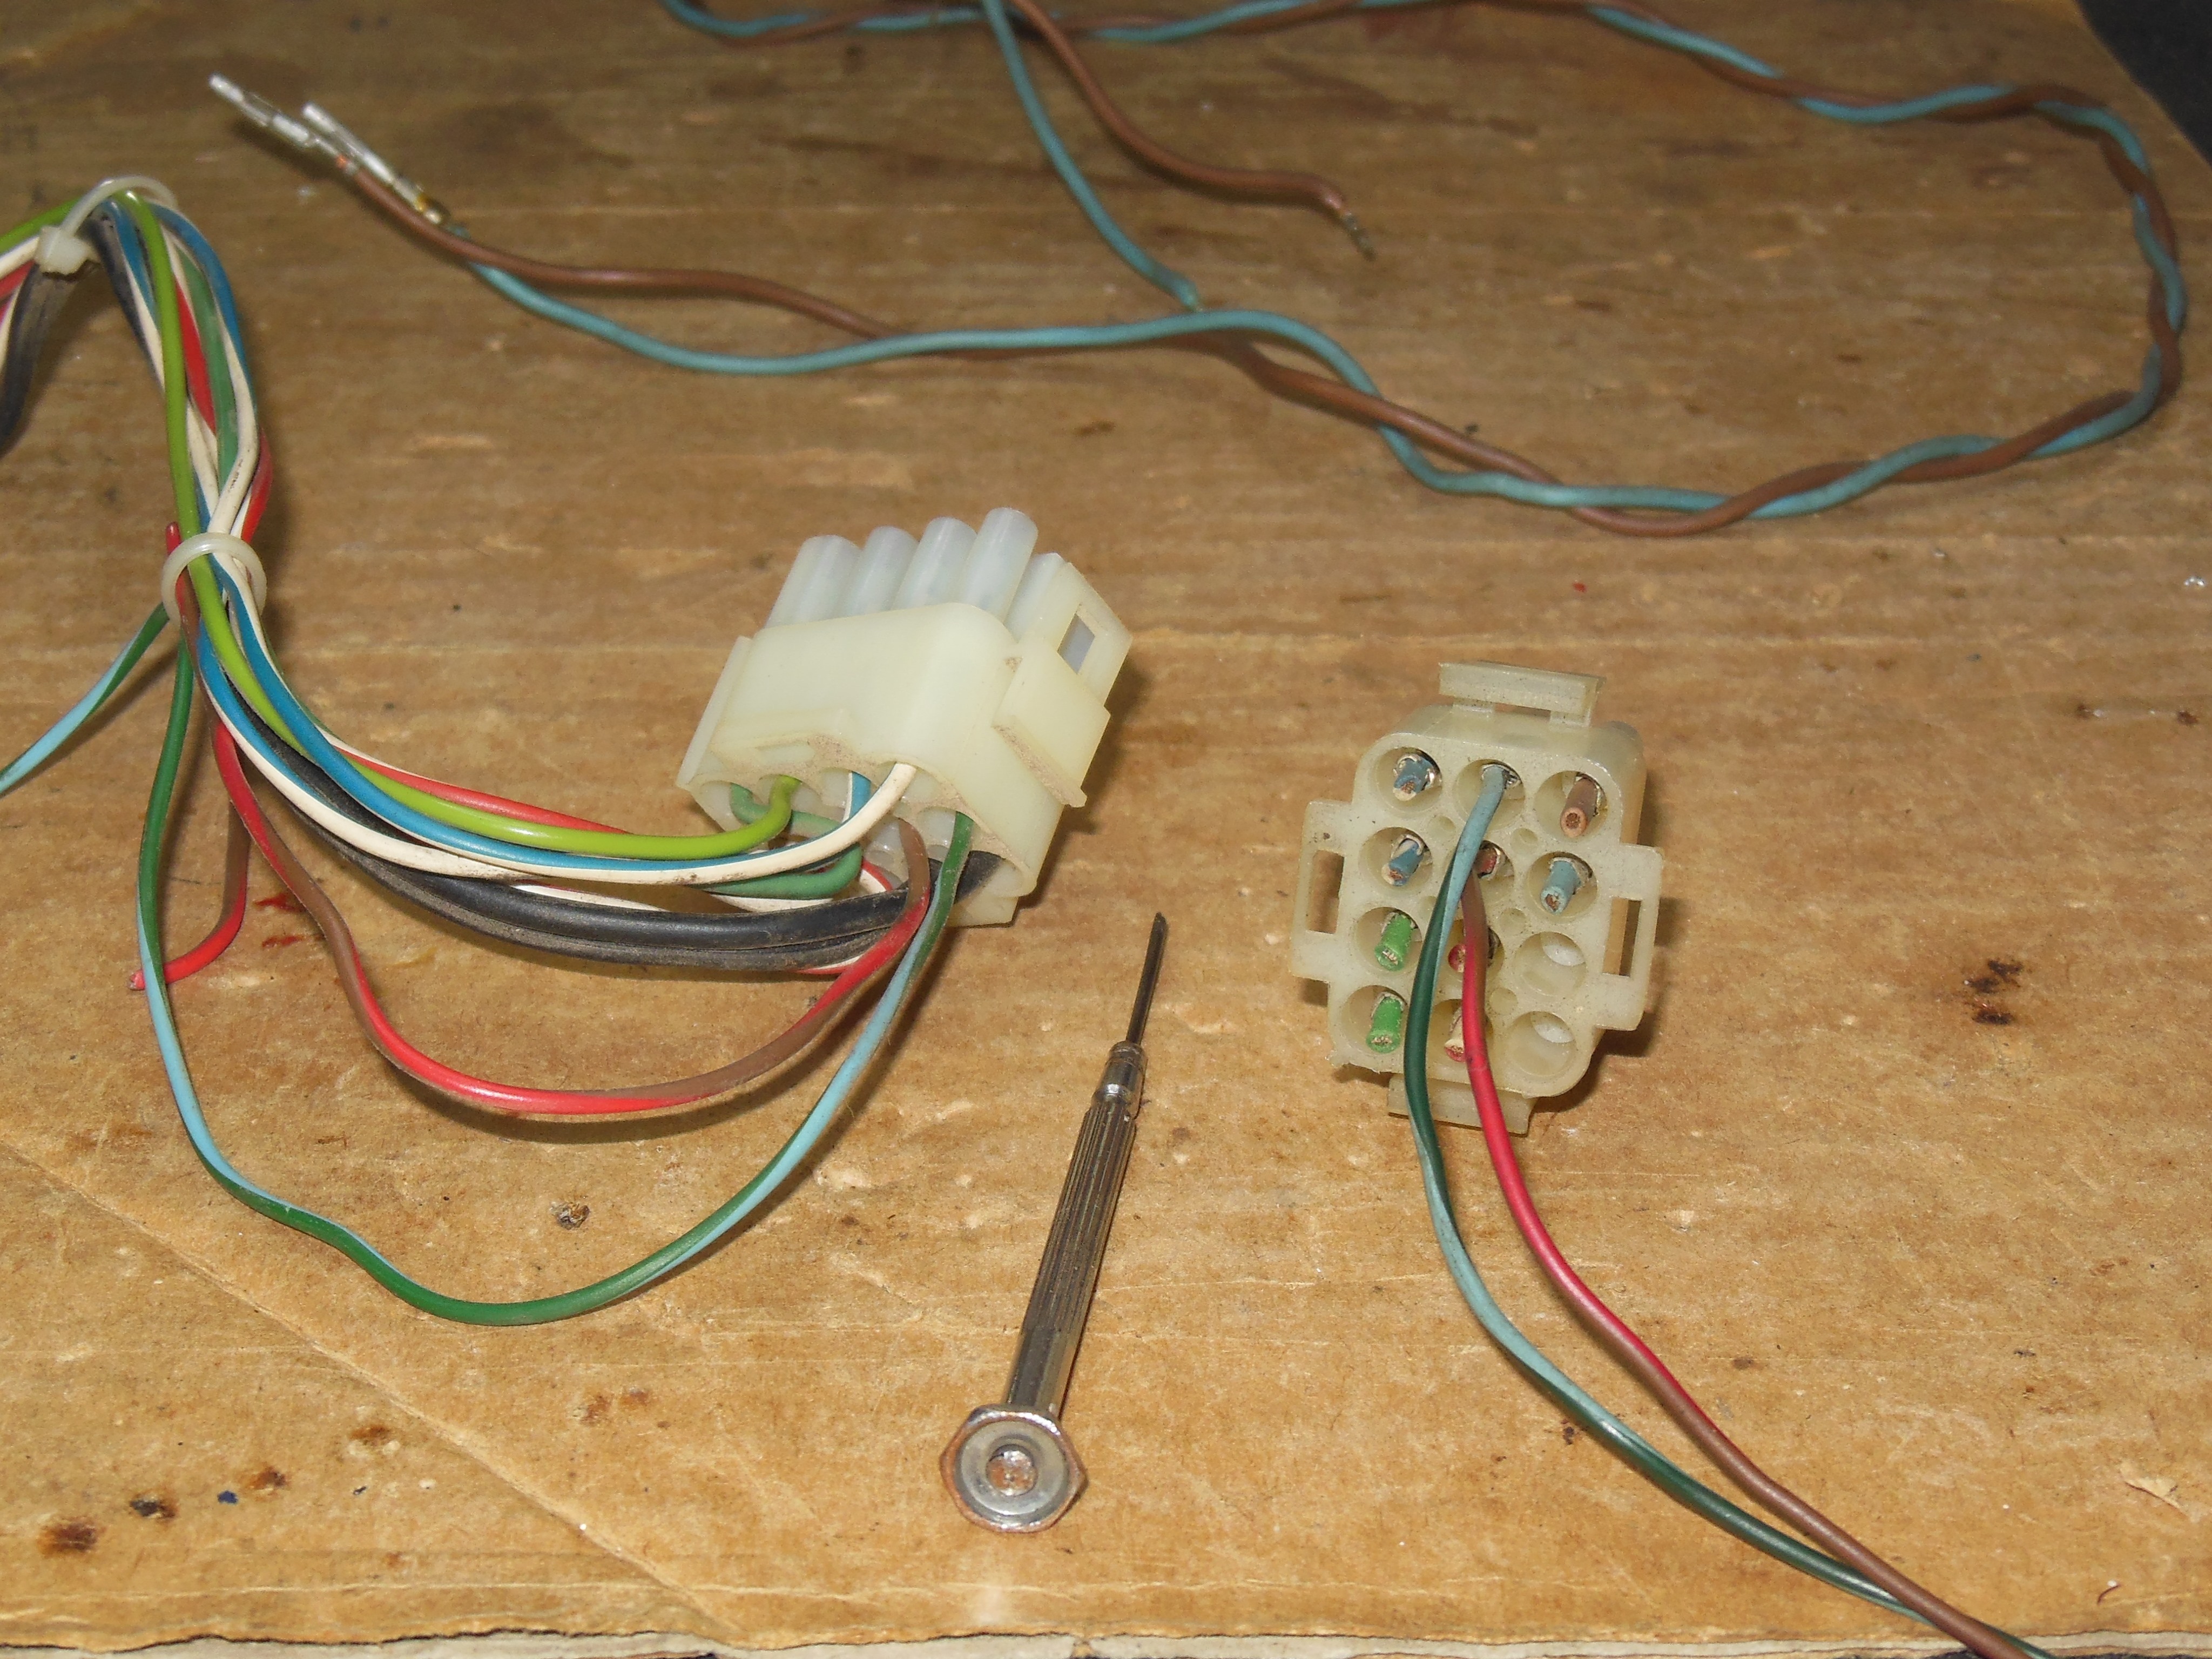
The DC power wires were still present but the 1B1126 power connector had been cut off to connect to the hacked in power supply. There was enough length to reuse the original wires with a new connector fitted.
|
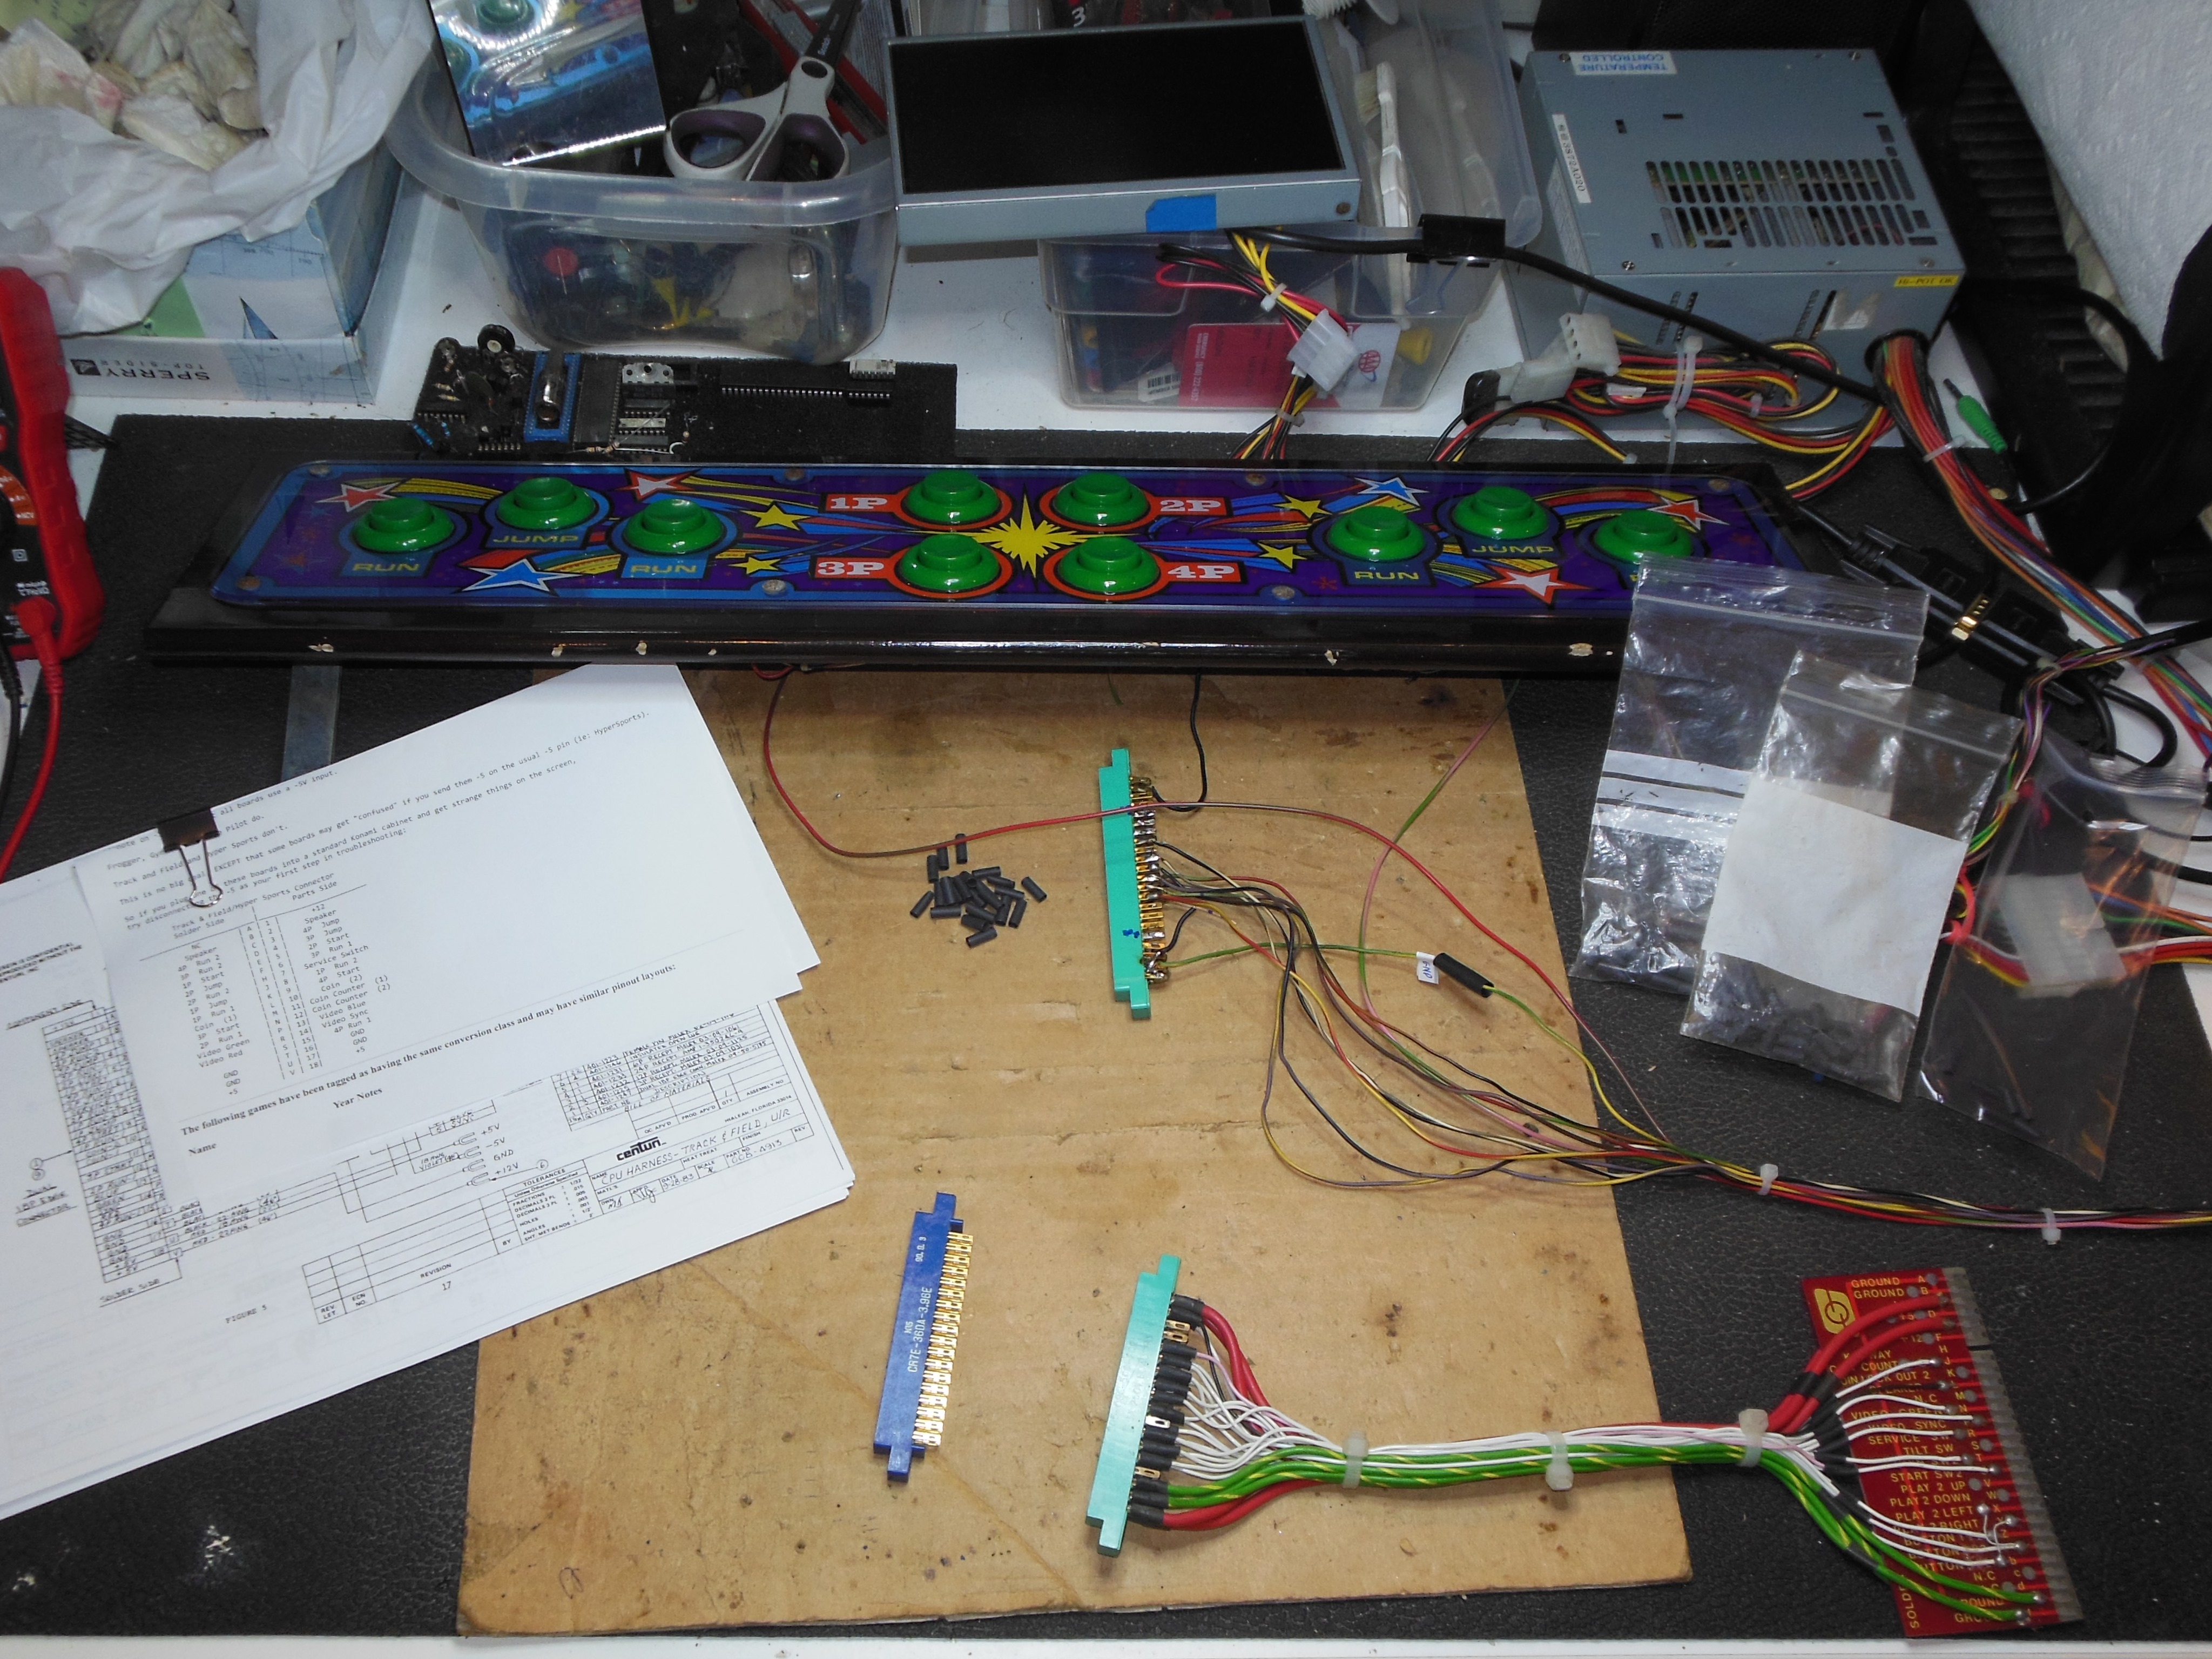
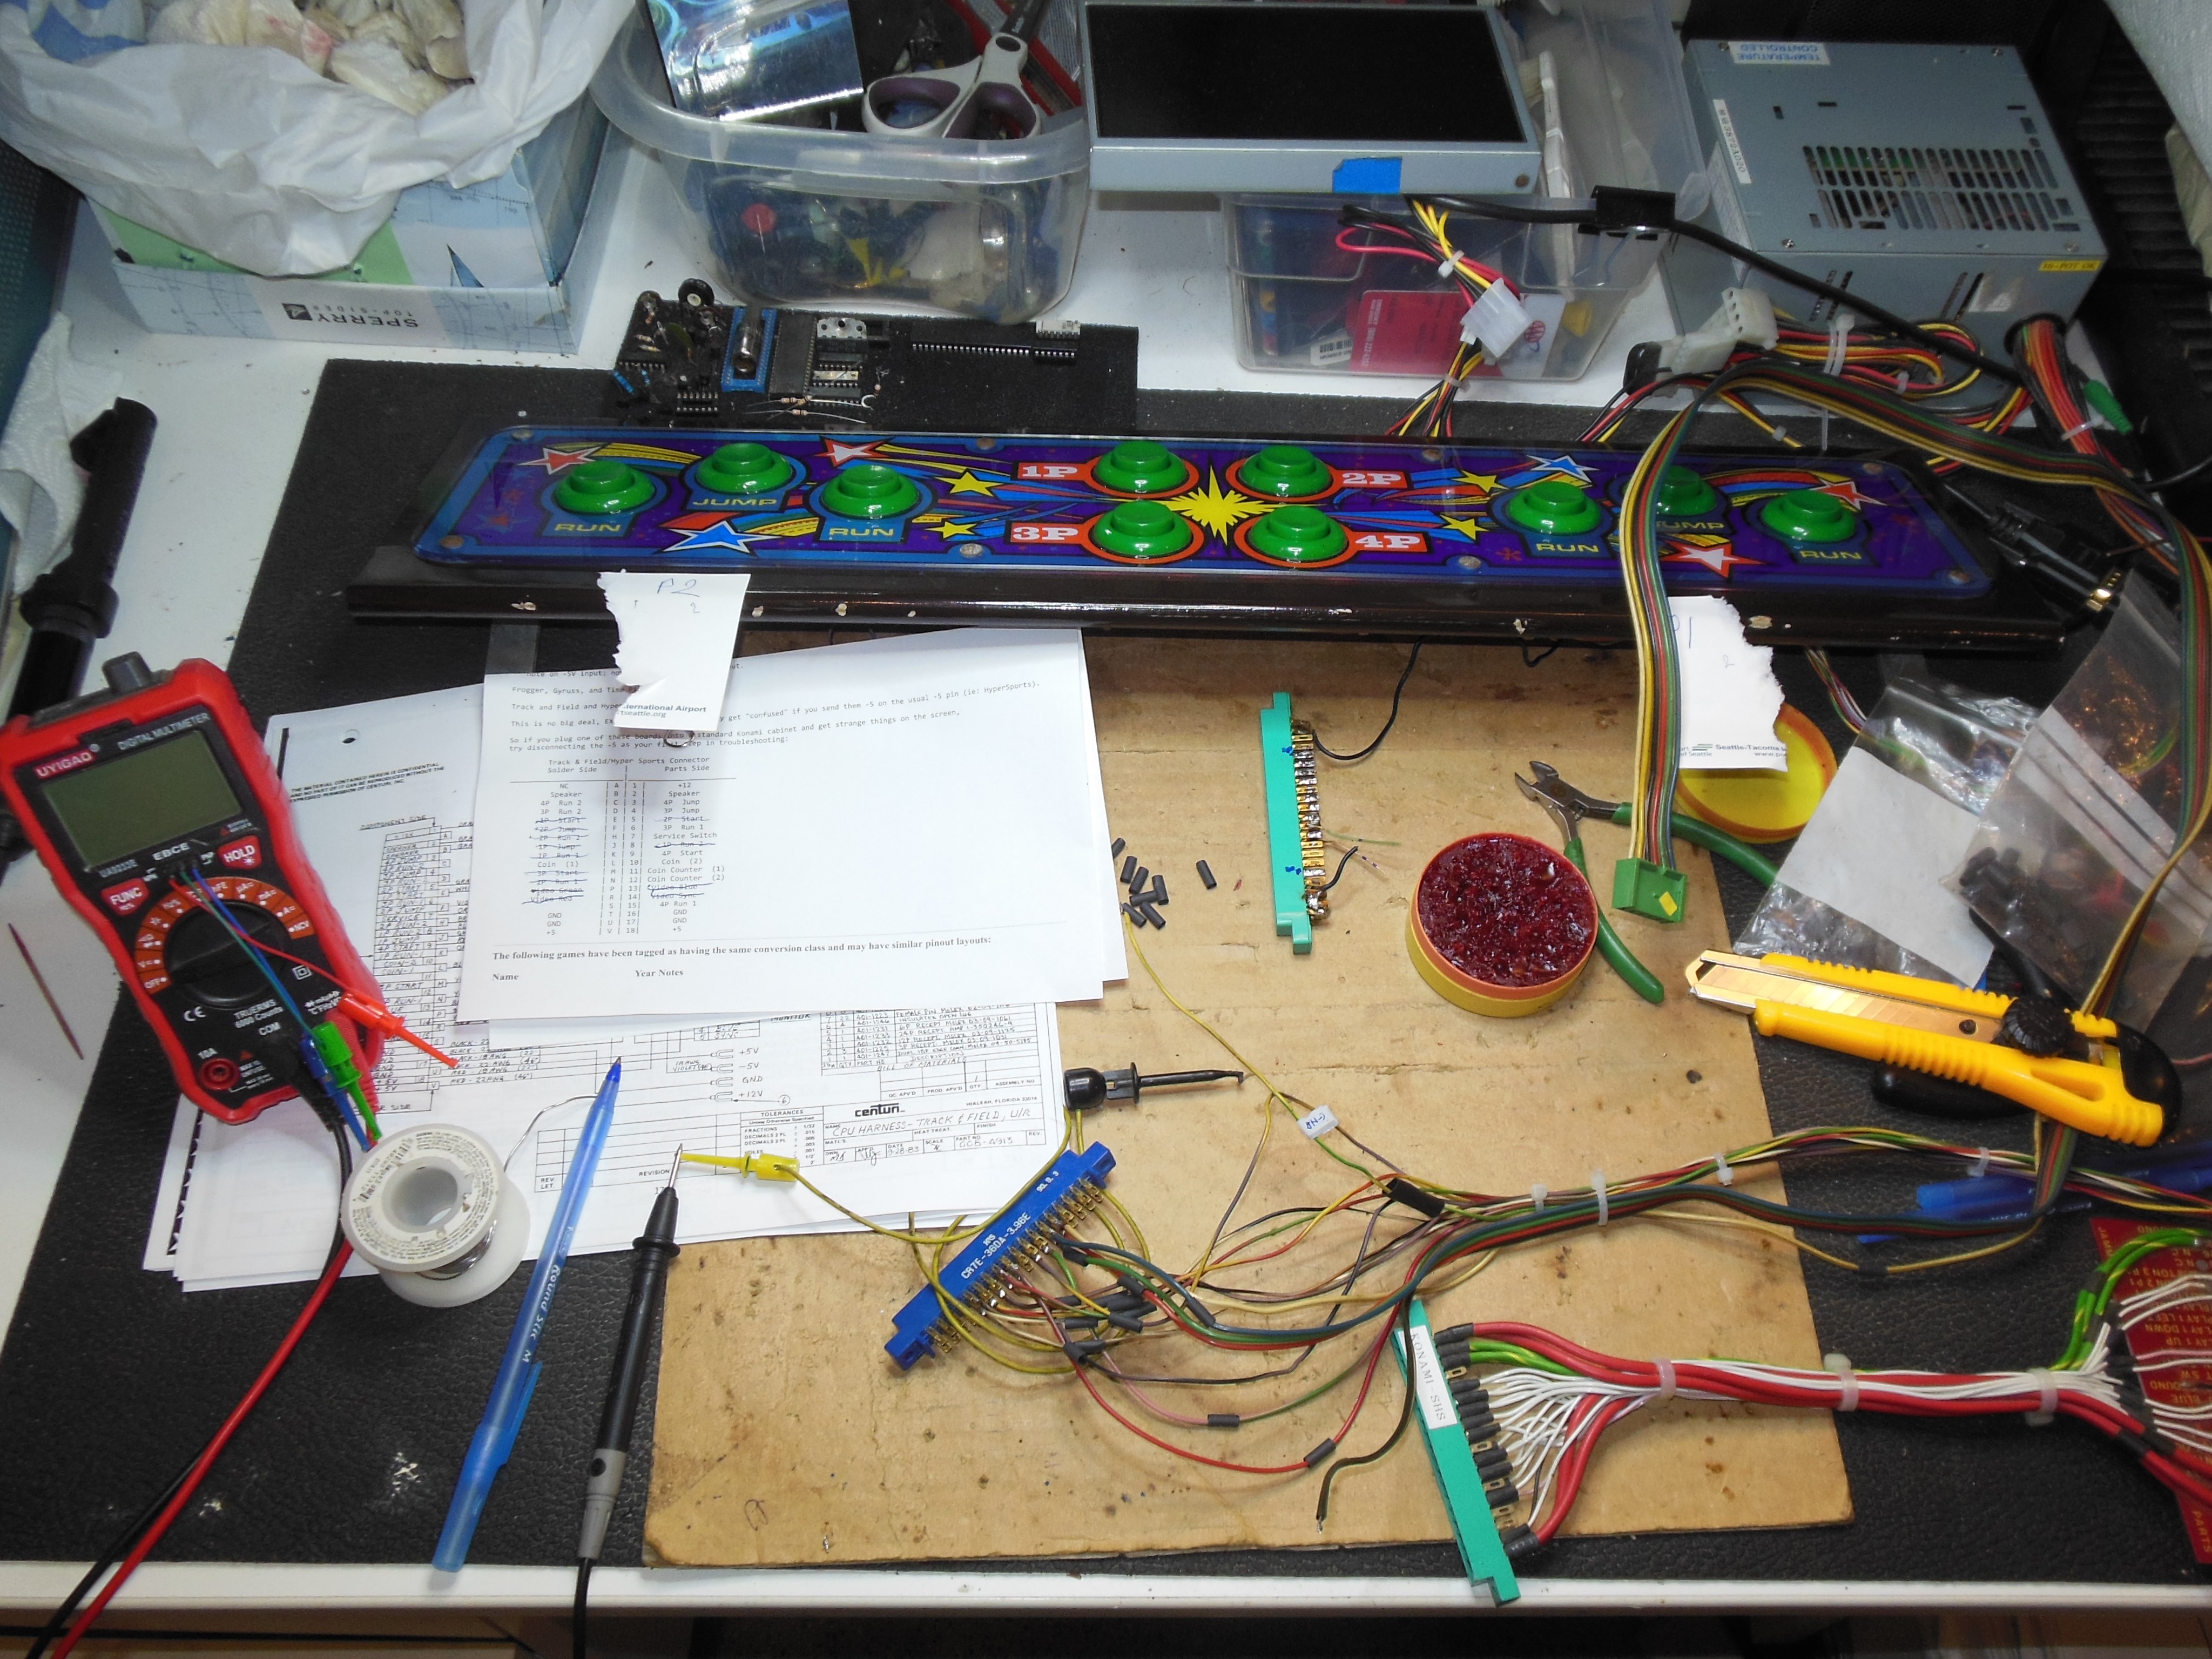
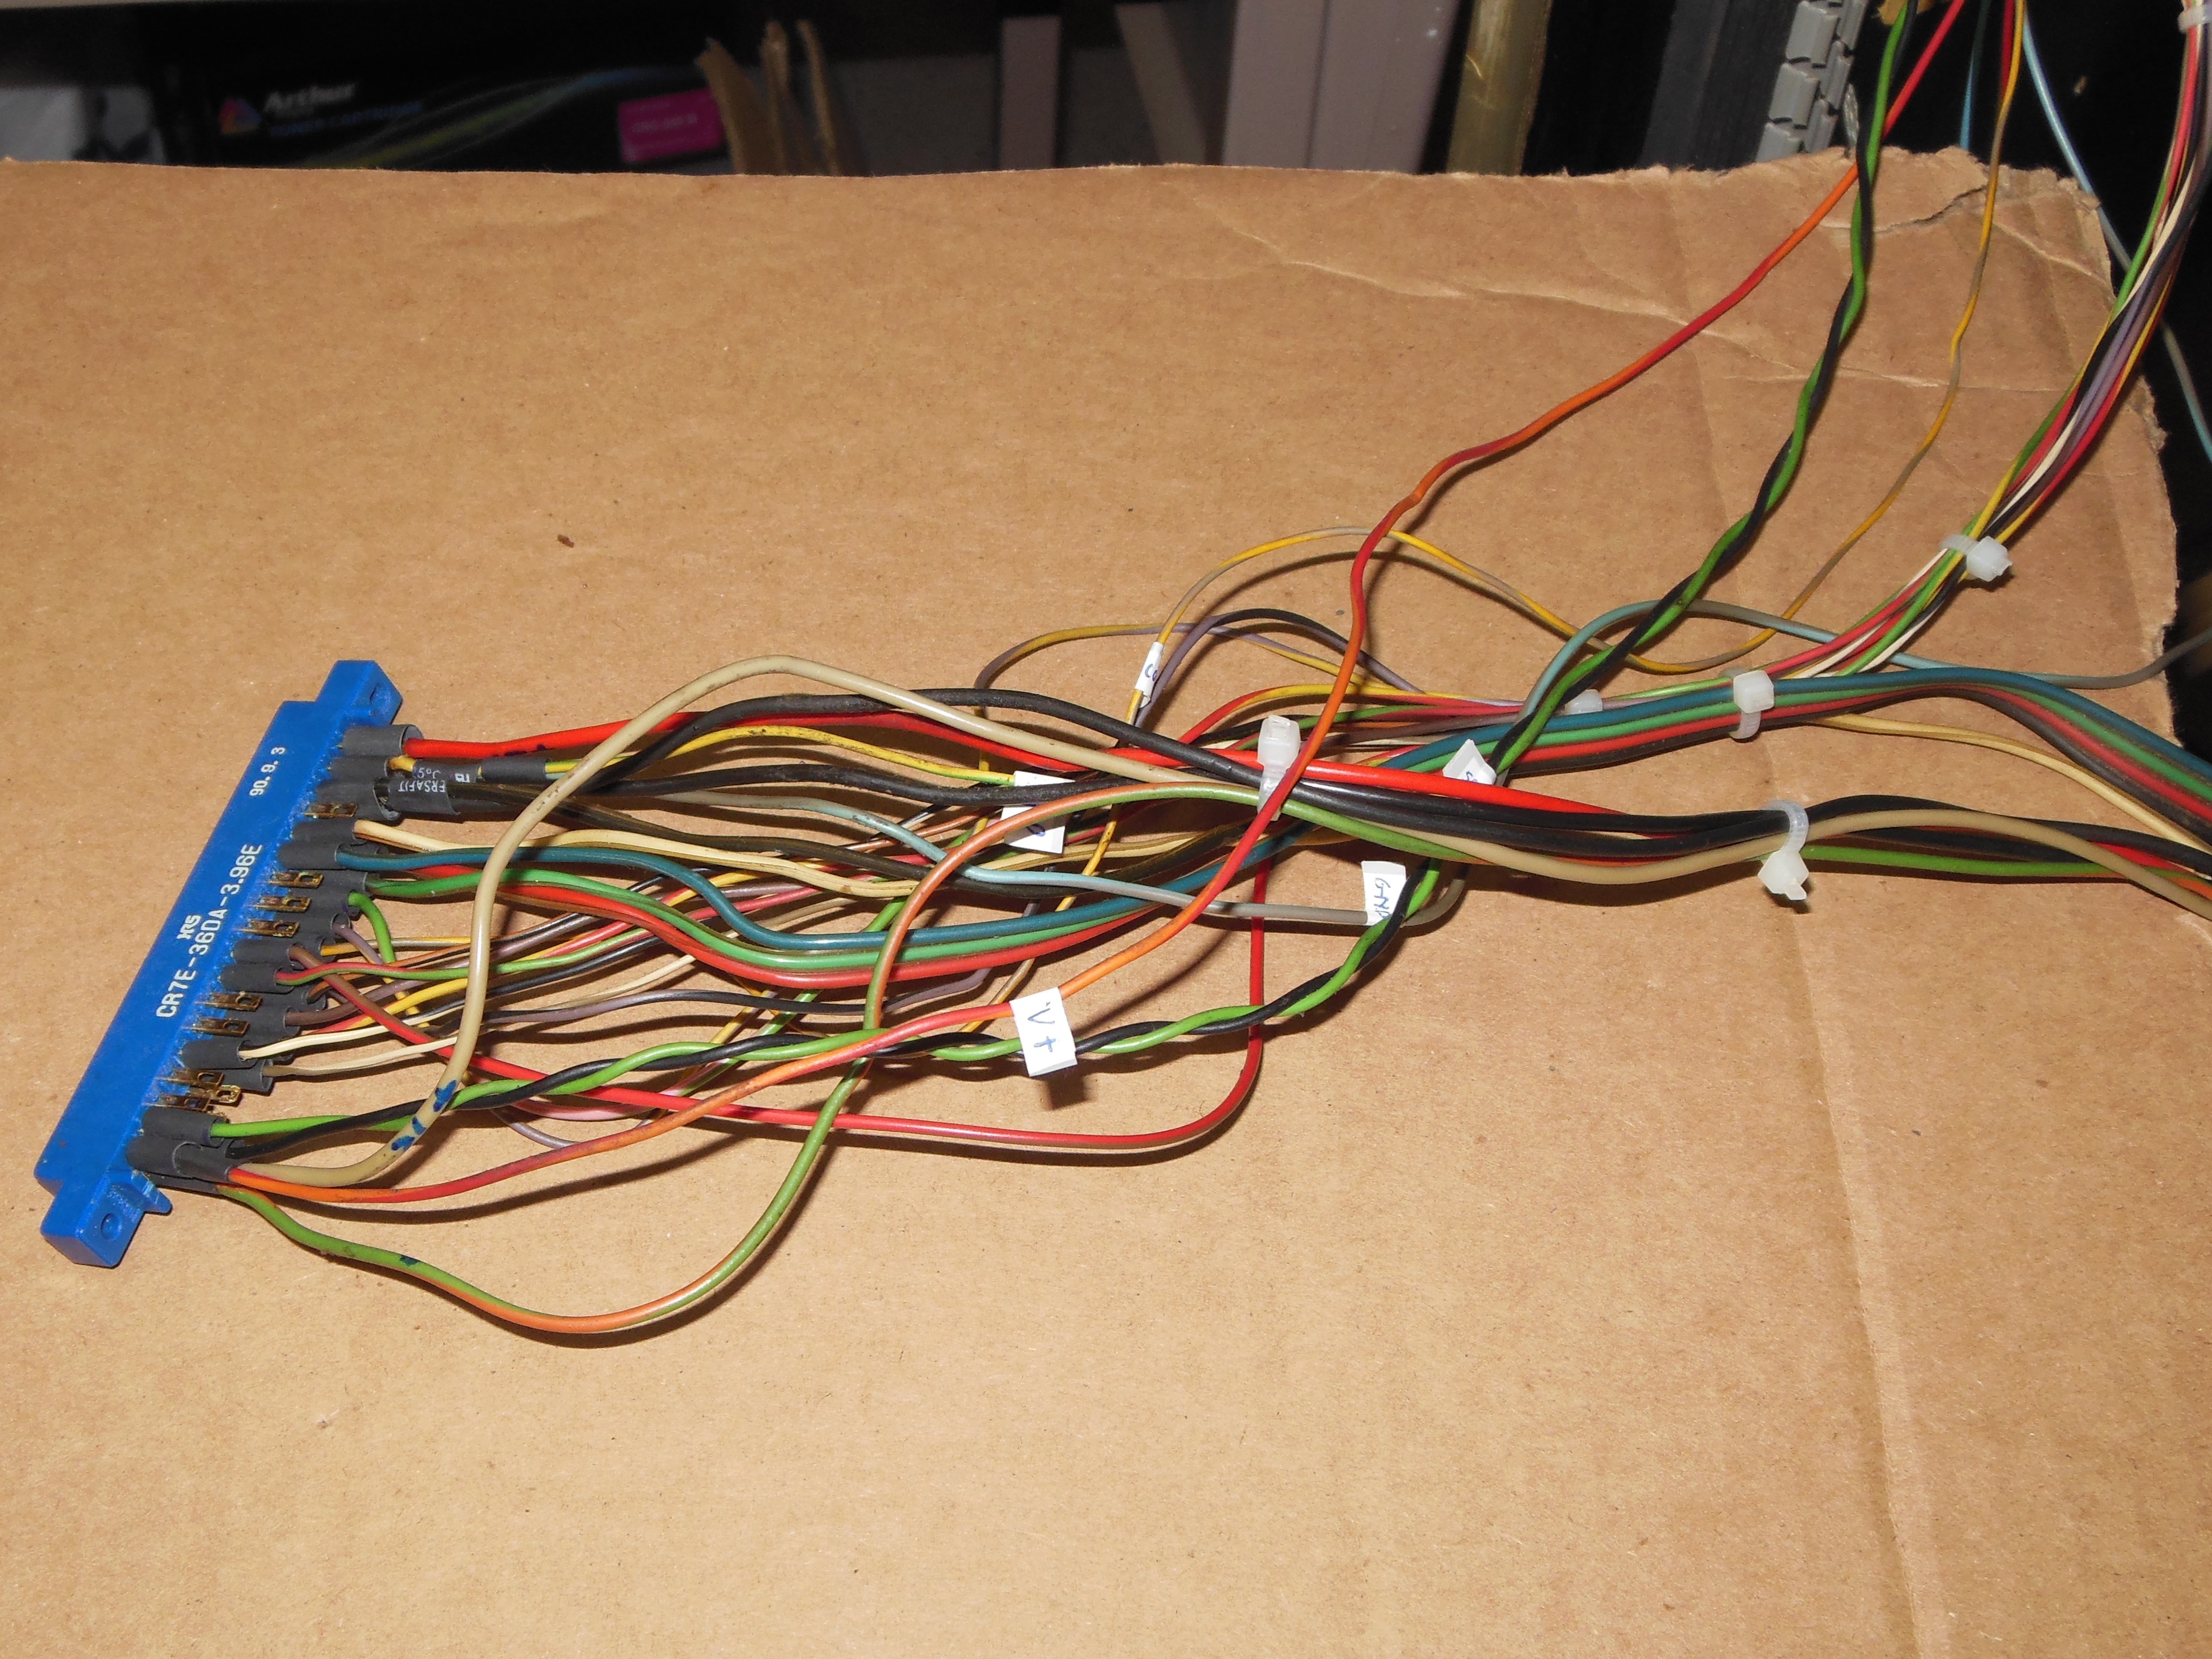
Assembling the game PCB edge connector tying it all together was done in stages:
|
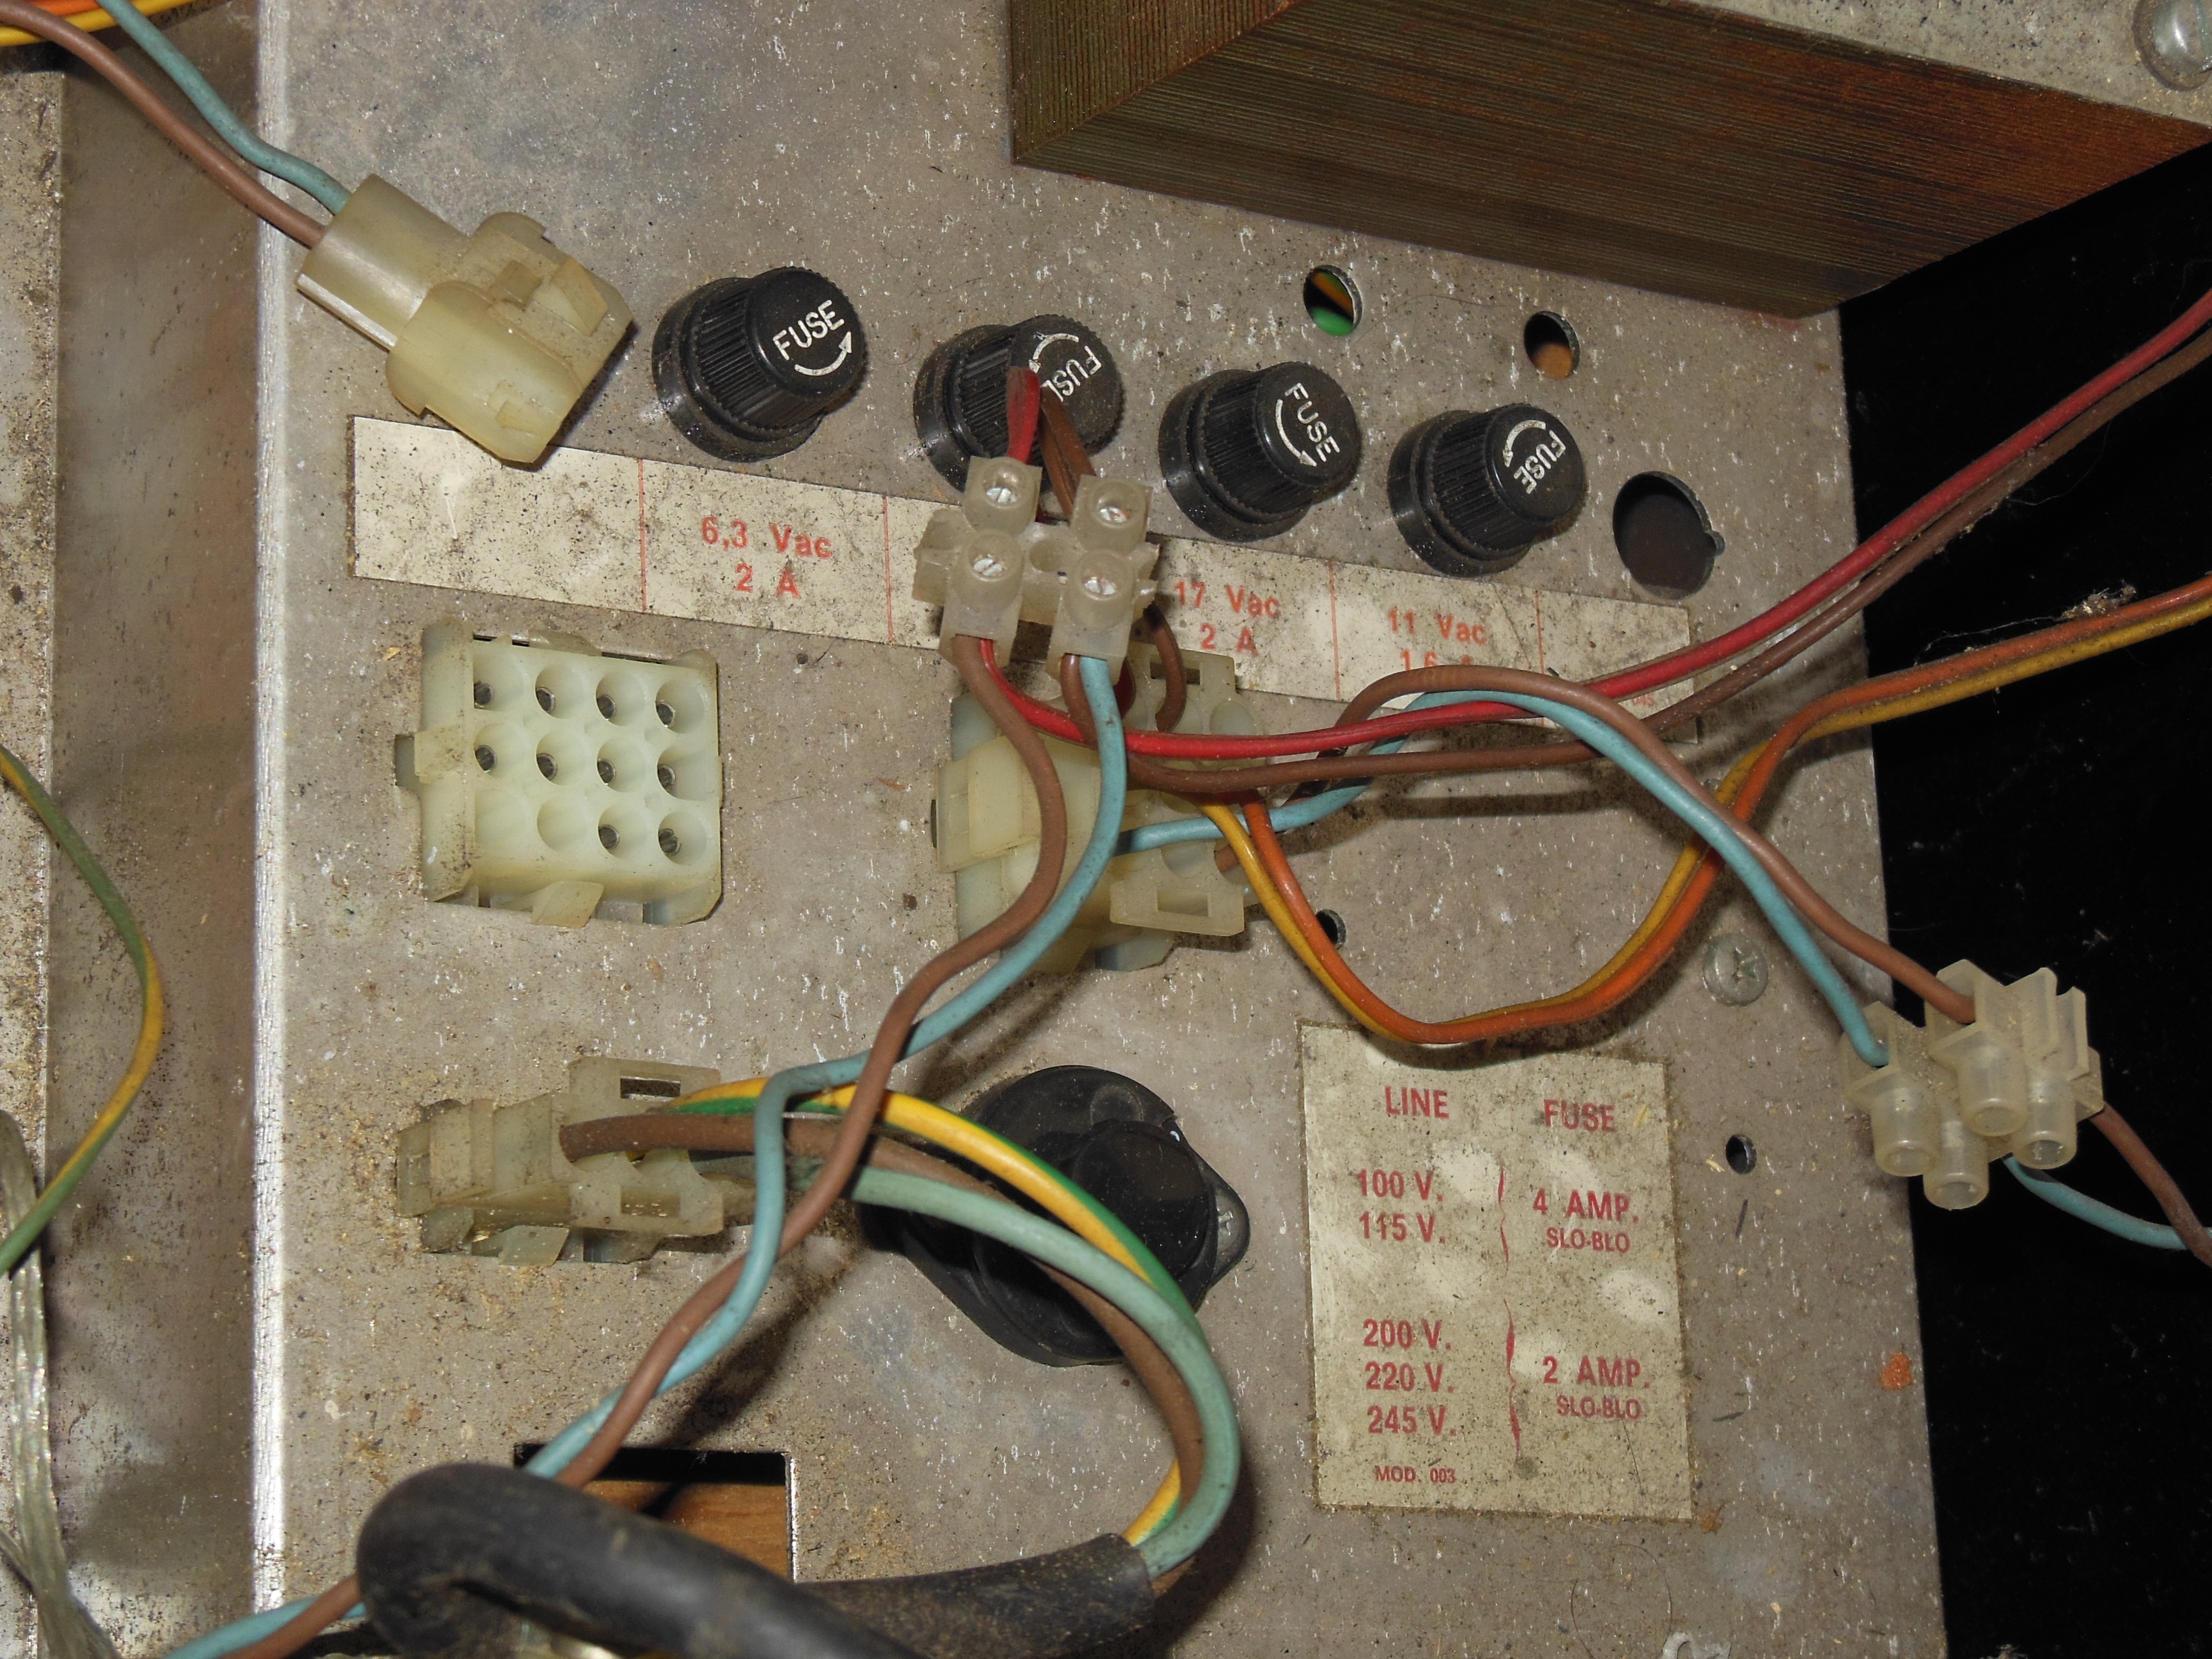
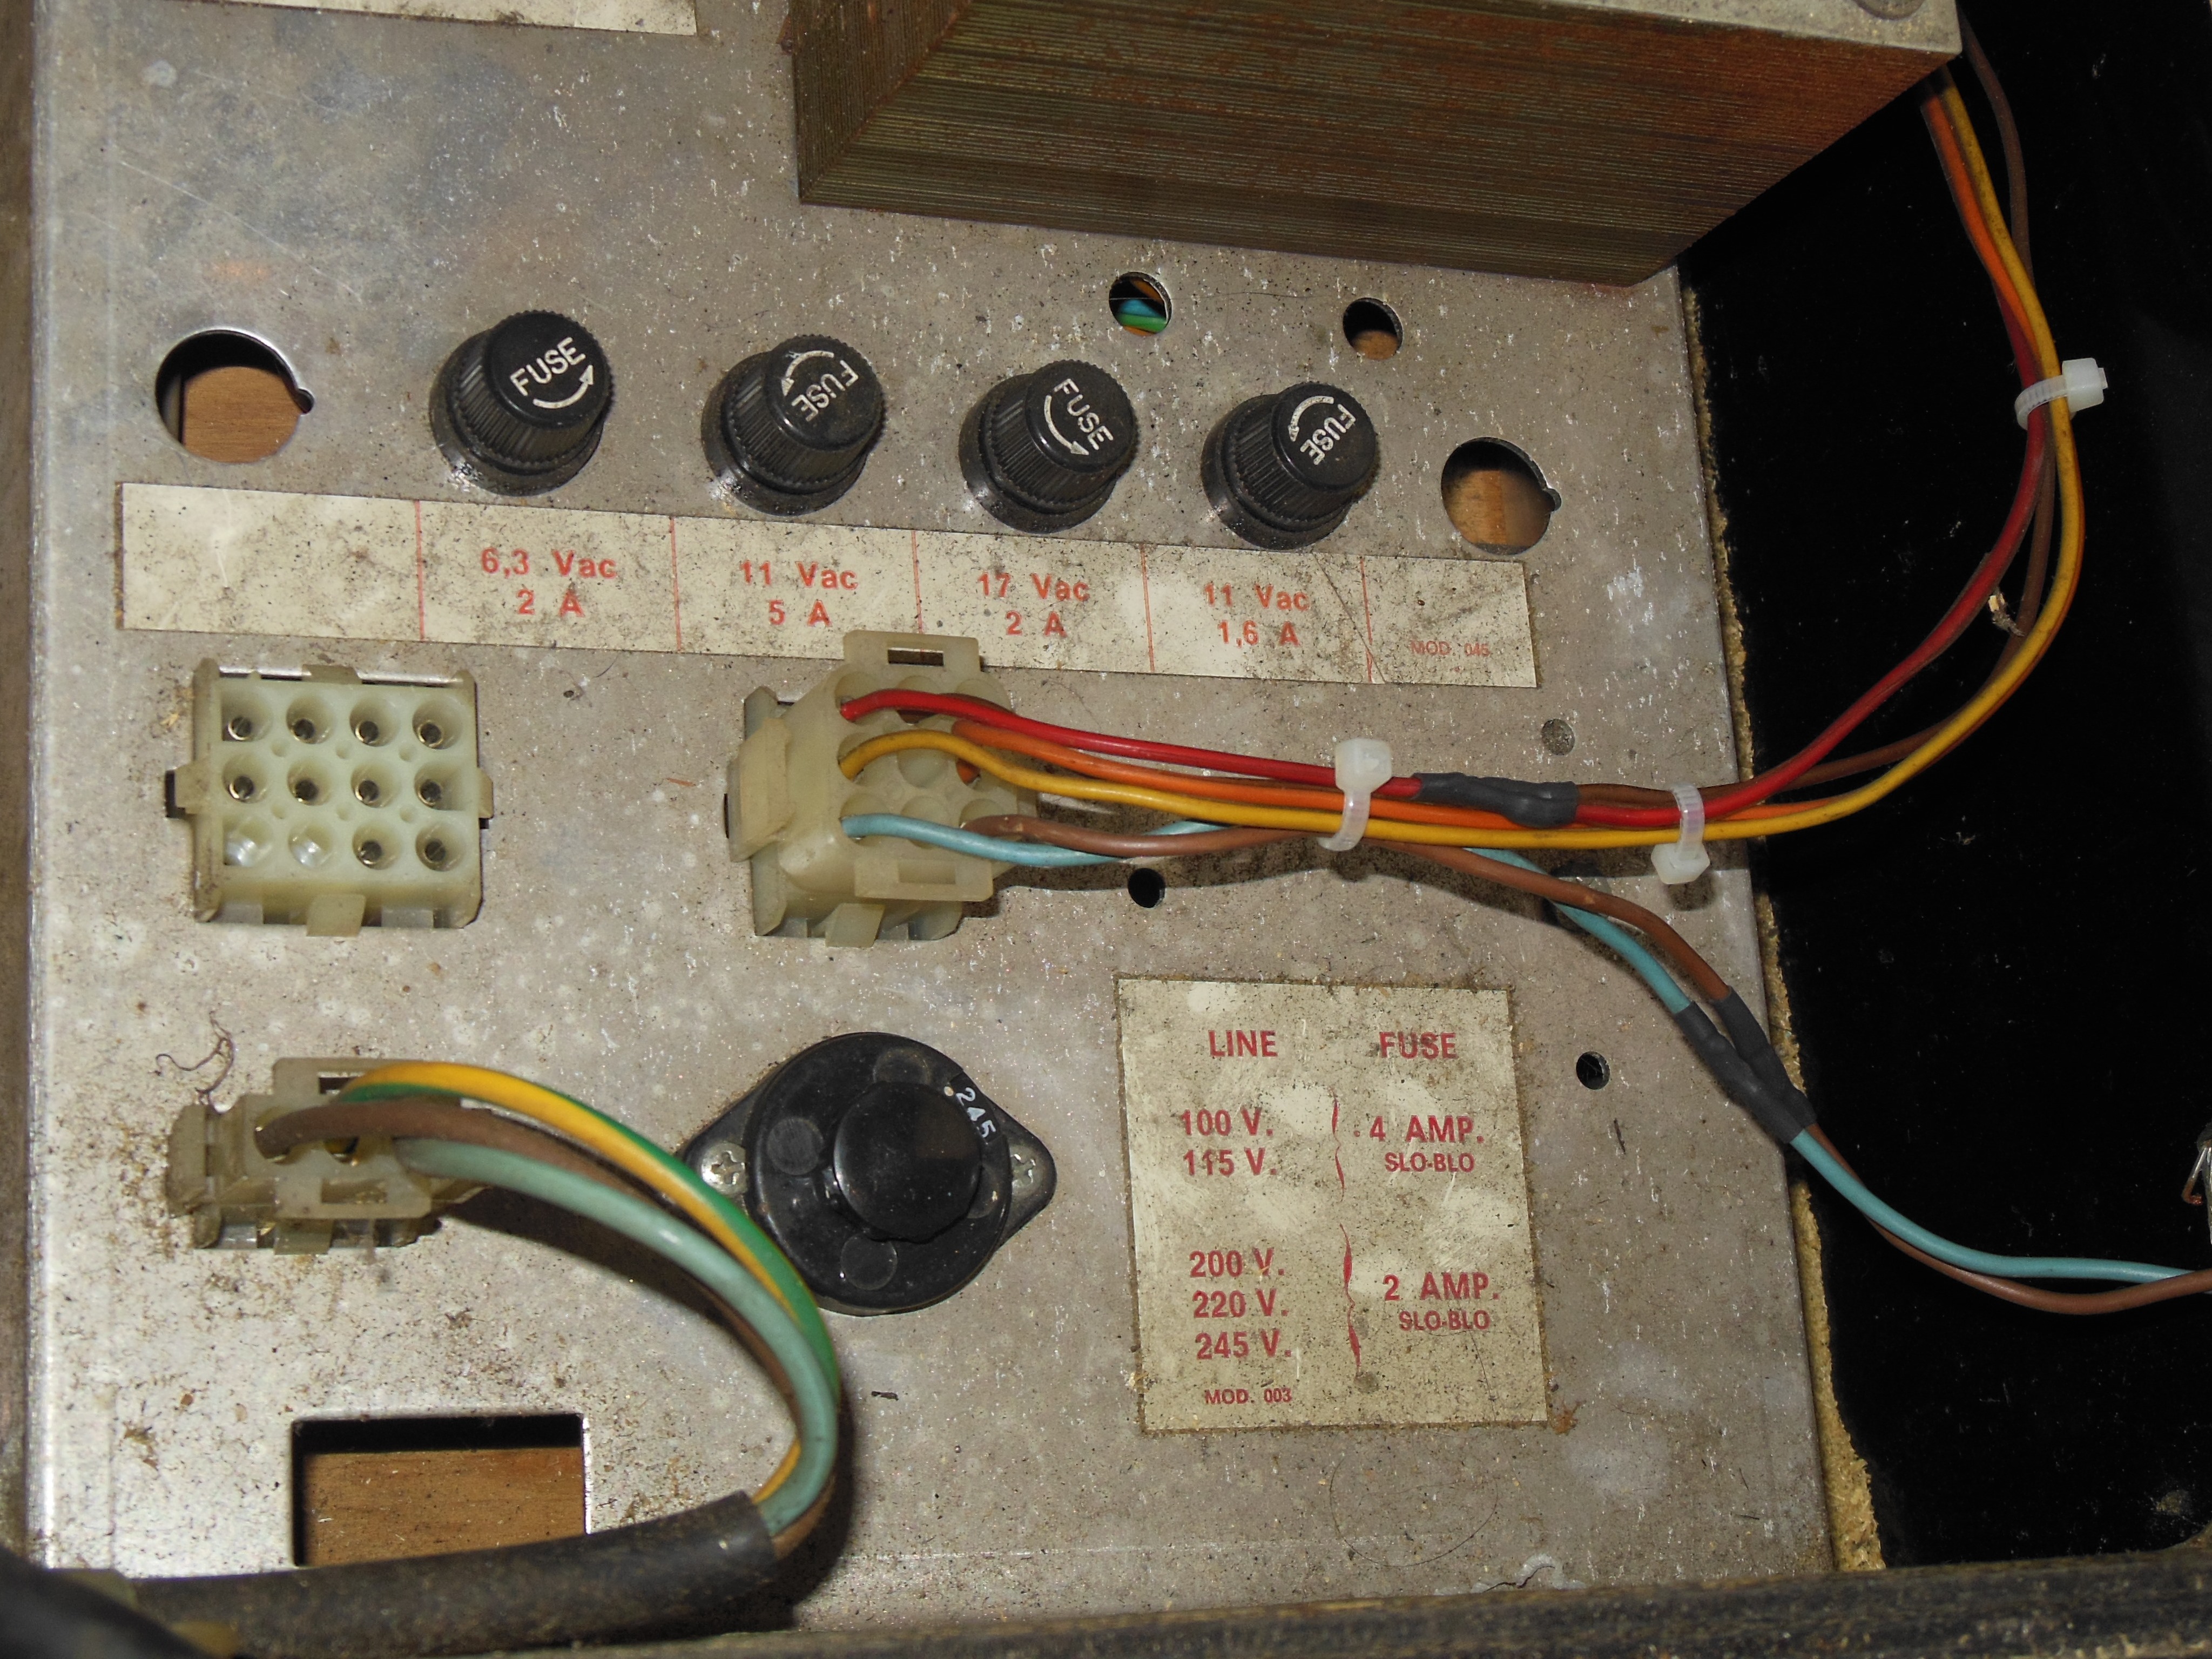
The replacement low voltage AC power harness used the opposite gender housing for the fan connector. The pin gender remained the same that allowed a simple housing swap to fix.
|
There was one AC power line running directly from the power transformer block to the credit PCB & coin door. The two pins were swapped over into the replacement low voltage AC wiring harness.
|
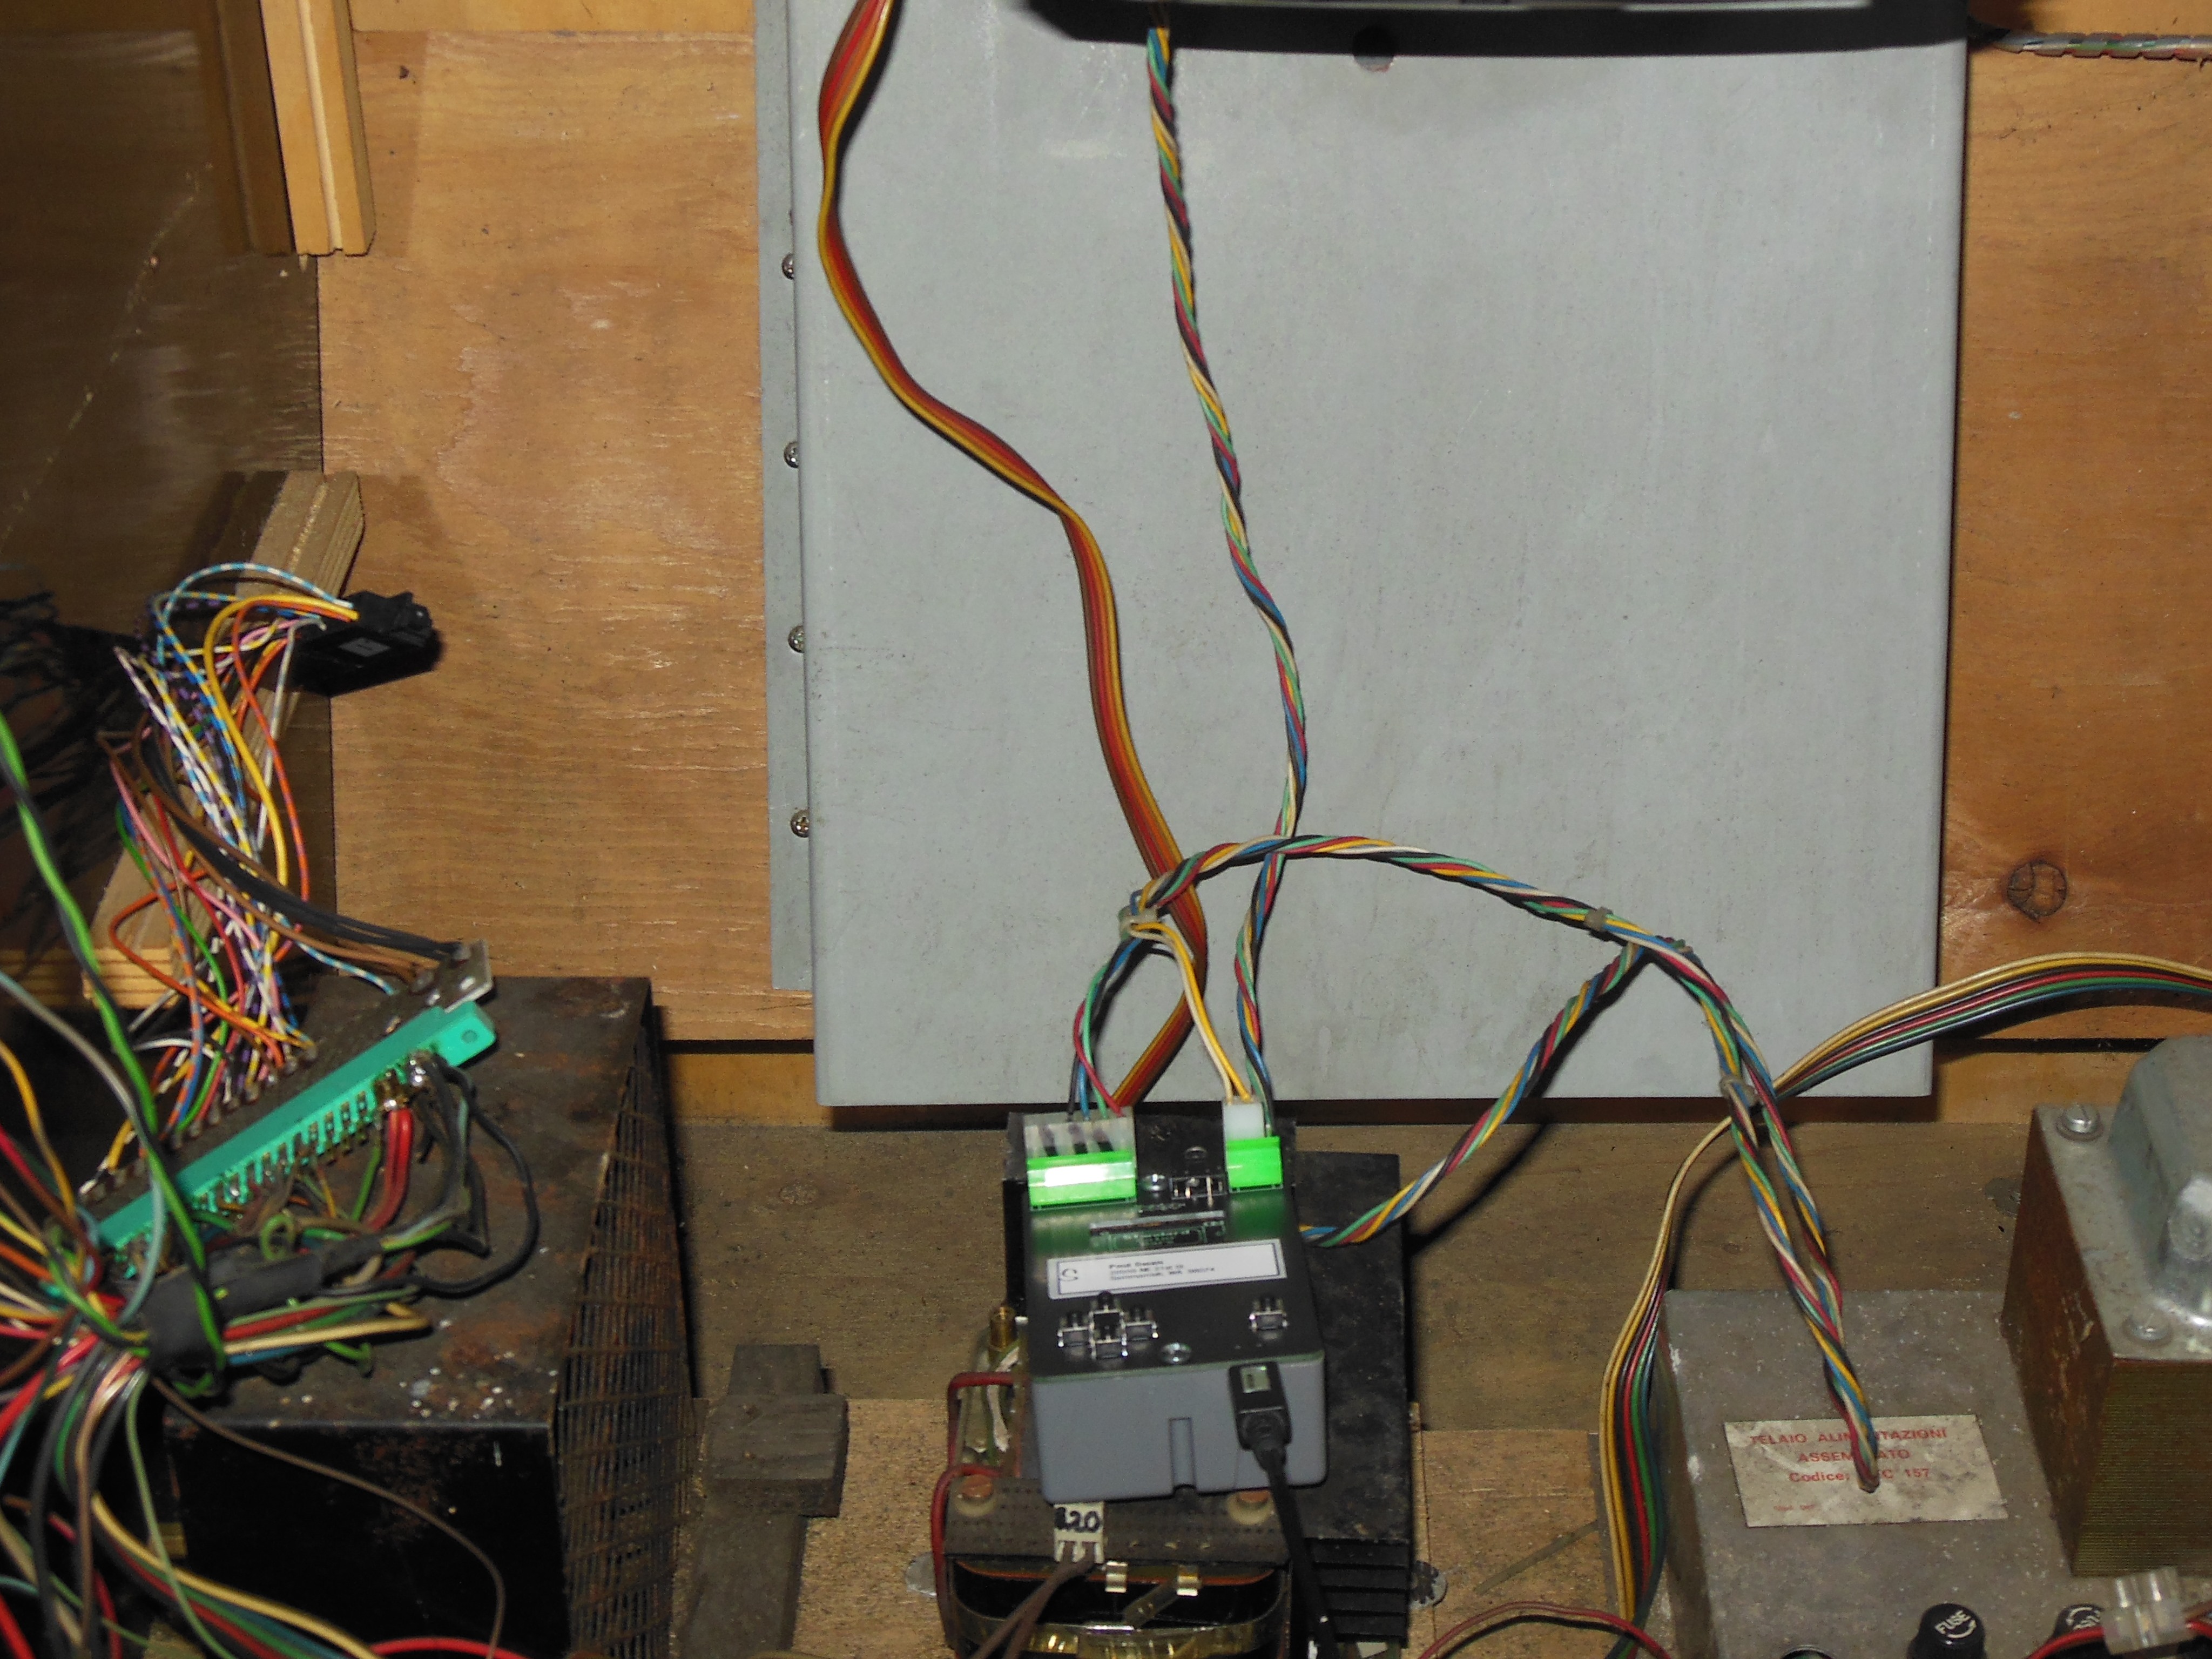
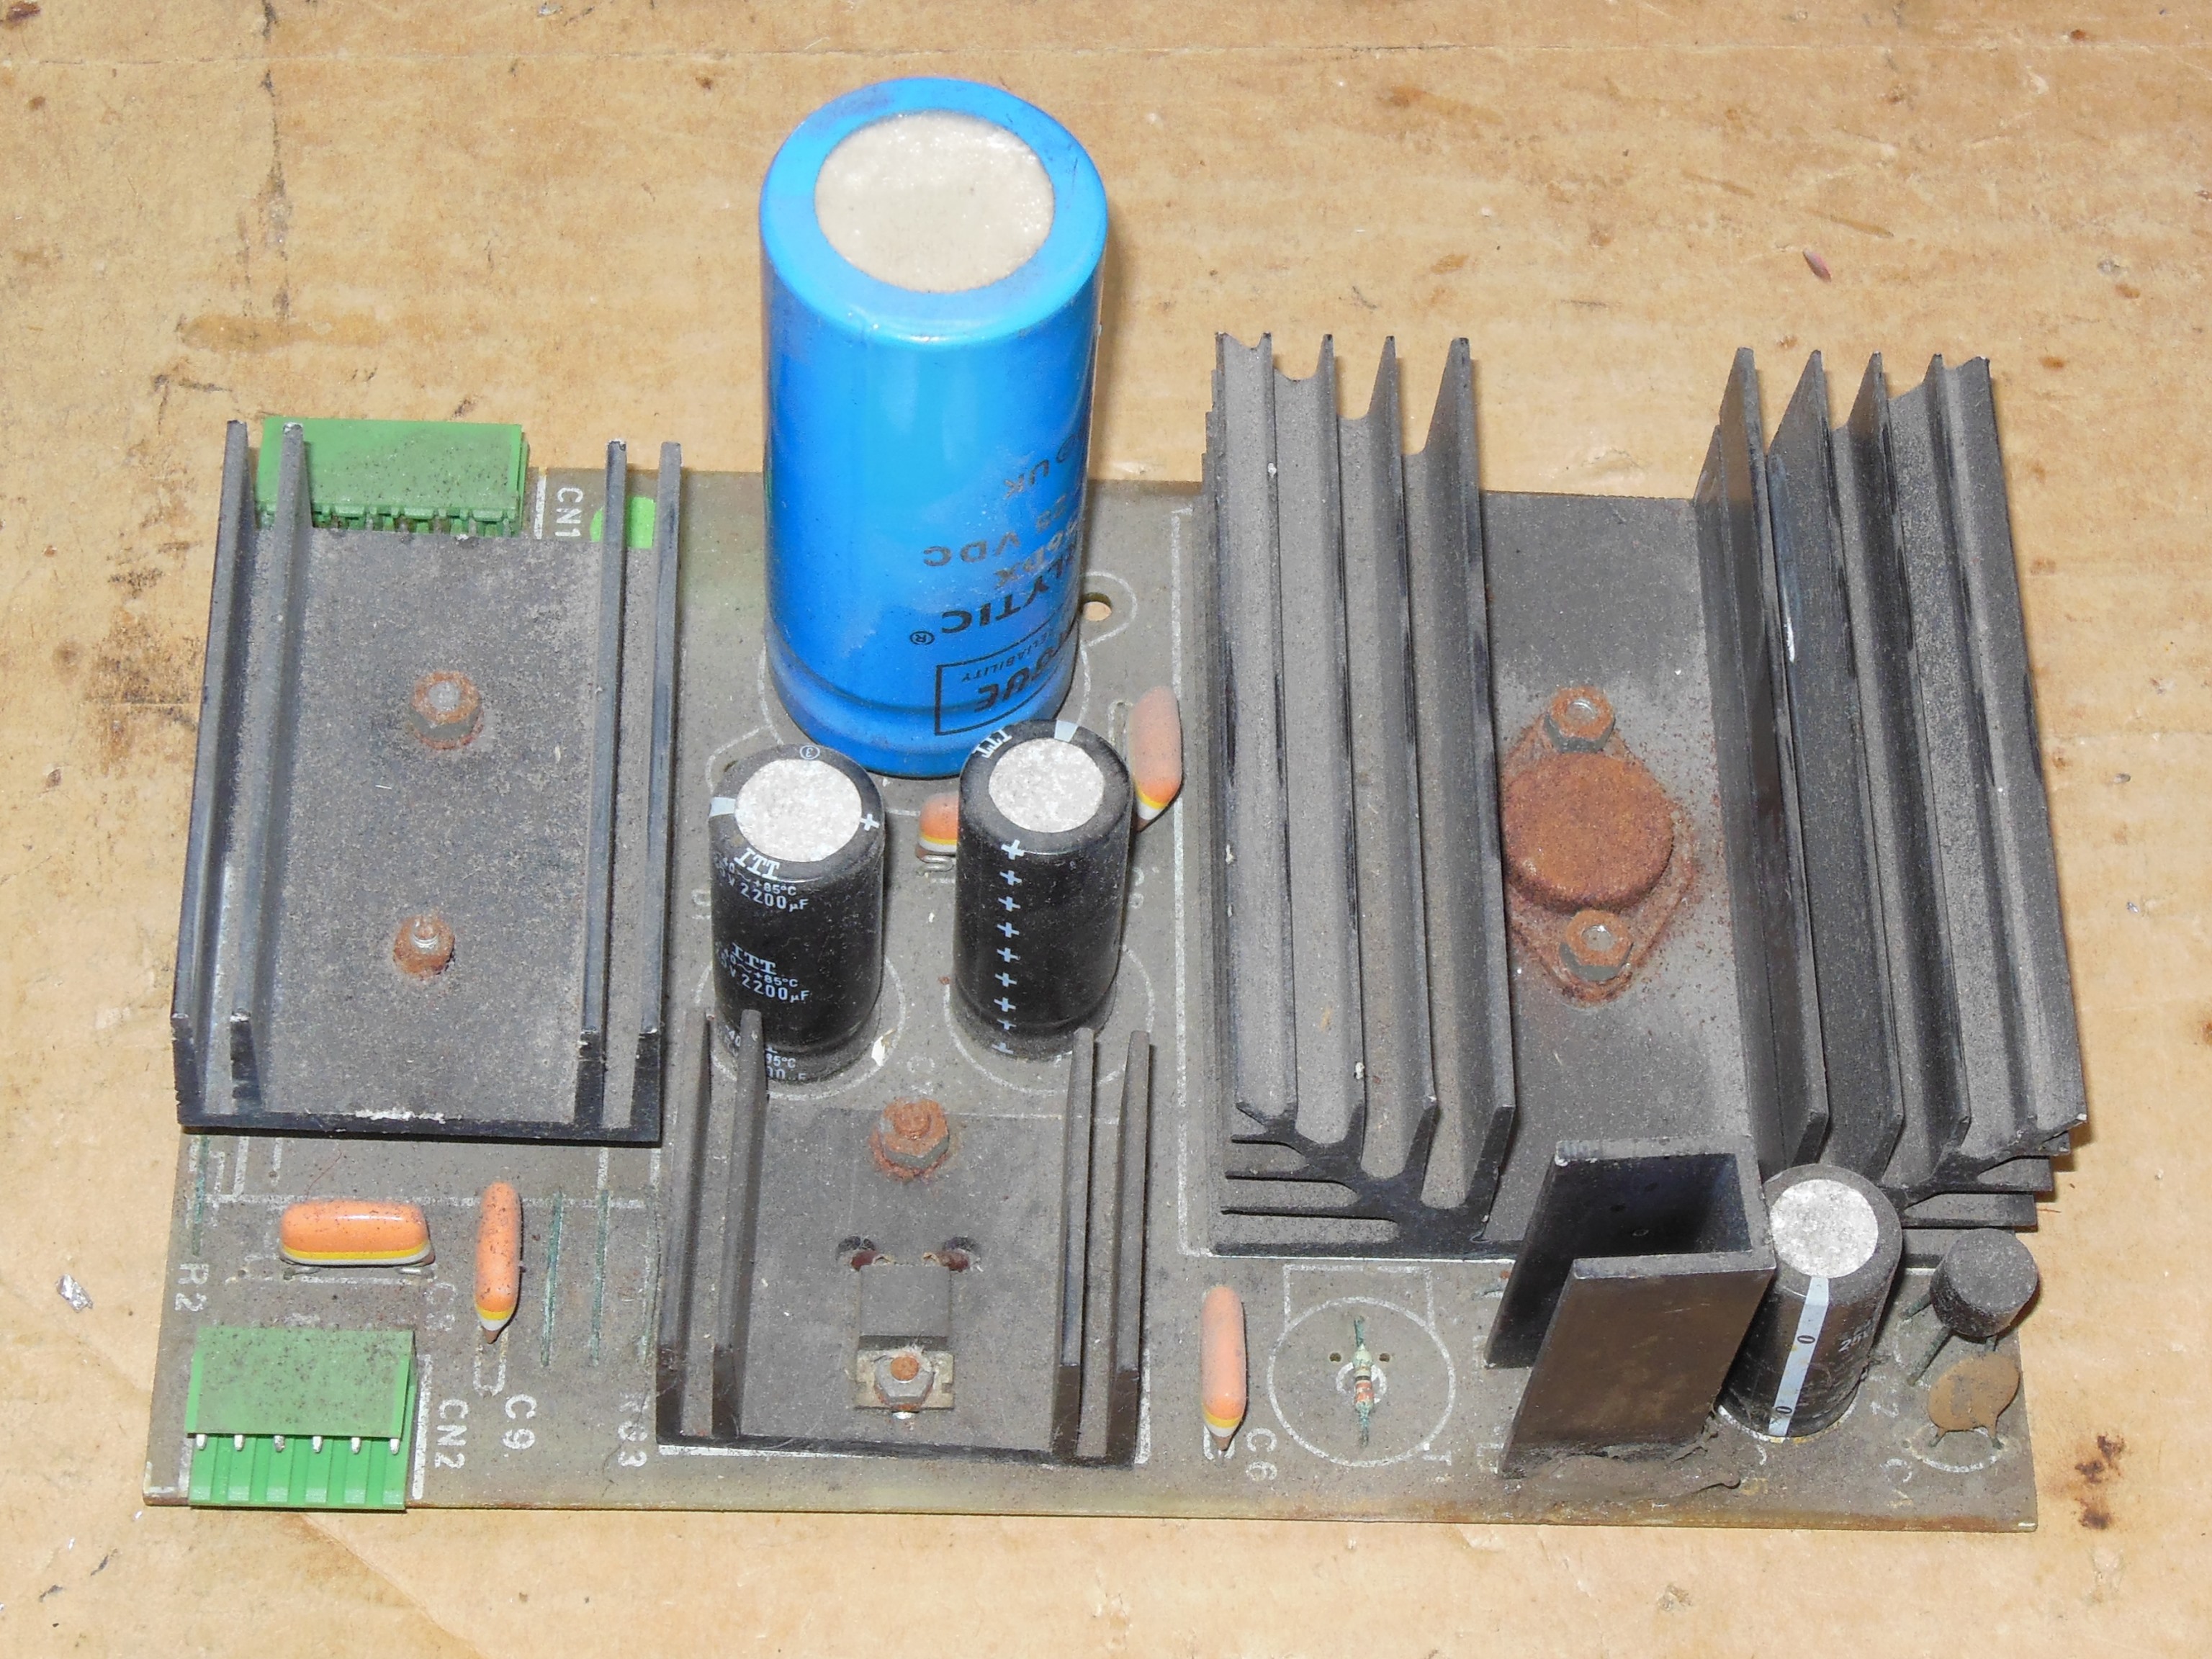
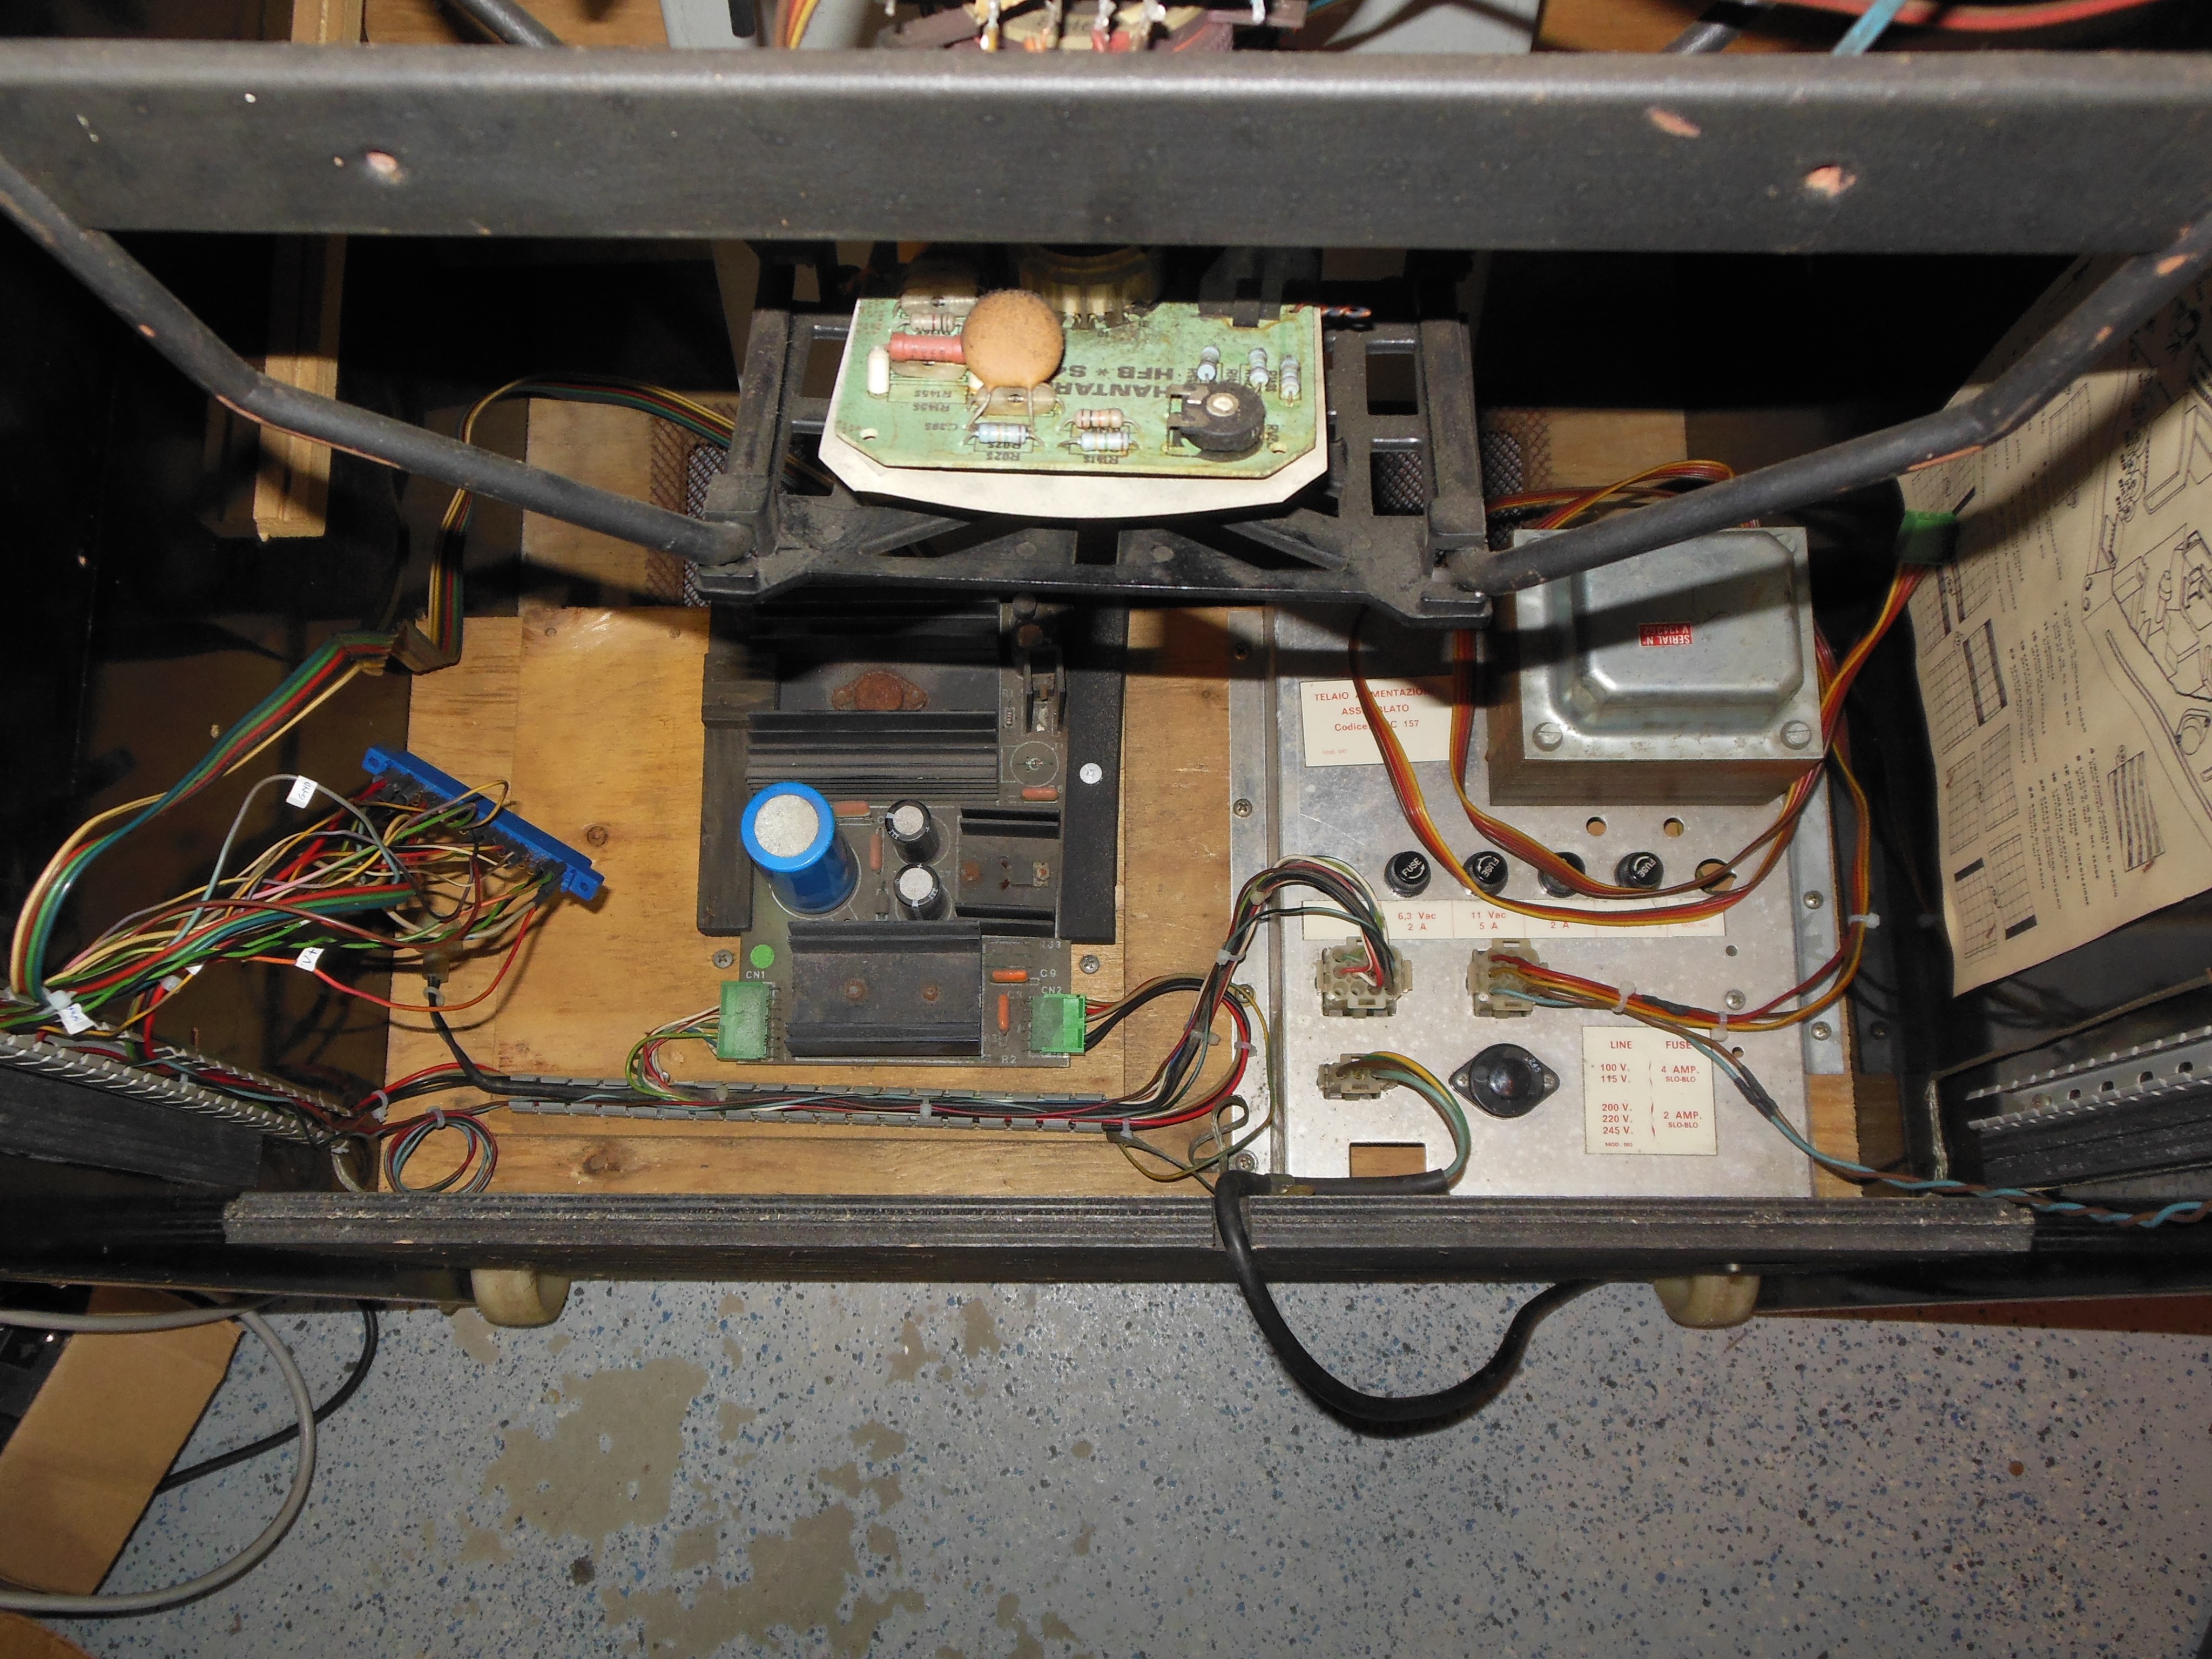
After vacuuming & cleaning the cabinet interior, a 1B1126 power regulation PCB was dusted off and installed in the cabinet along with all the harnesses.
|
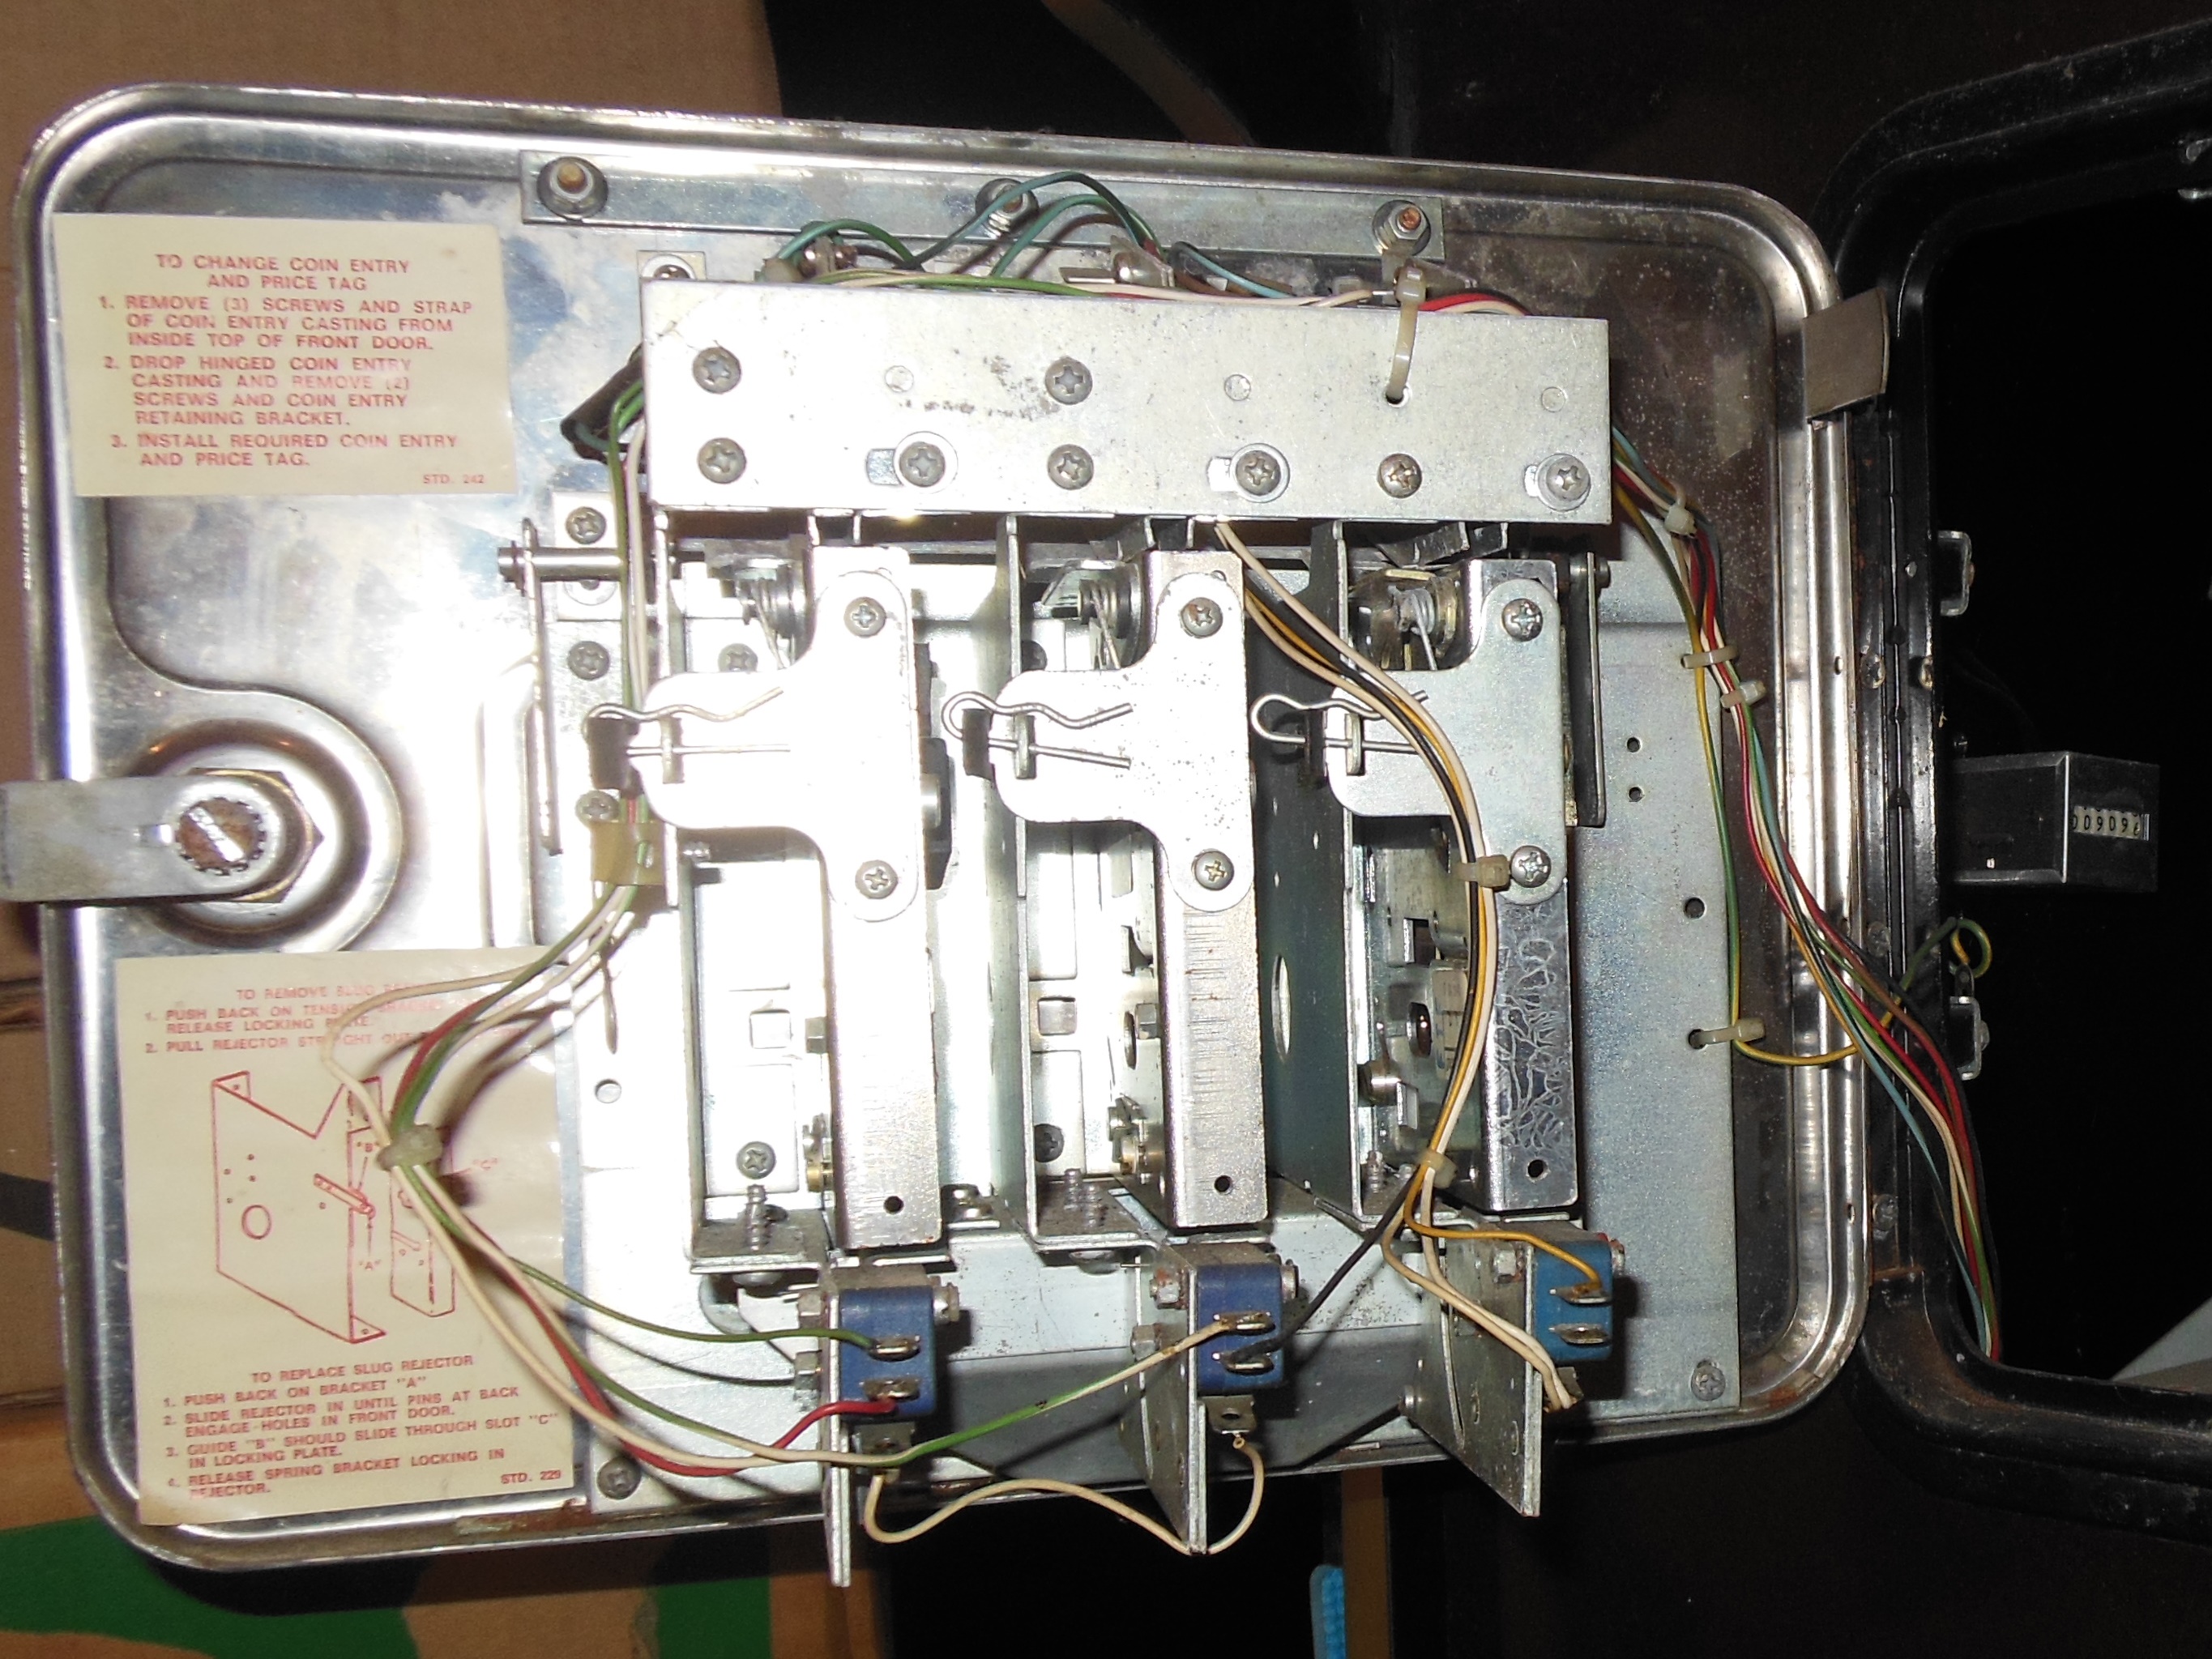
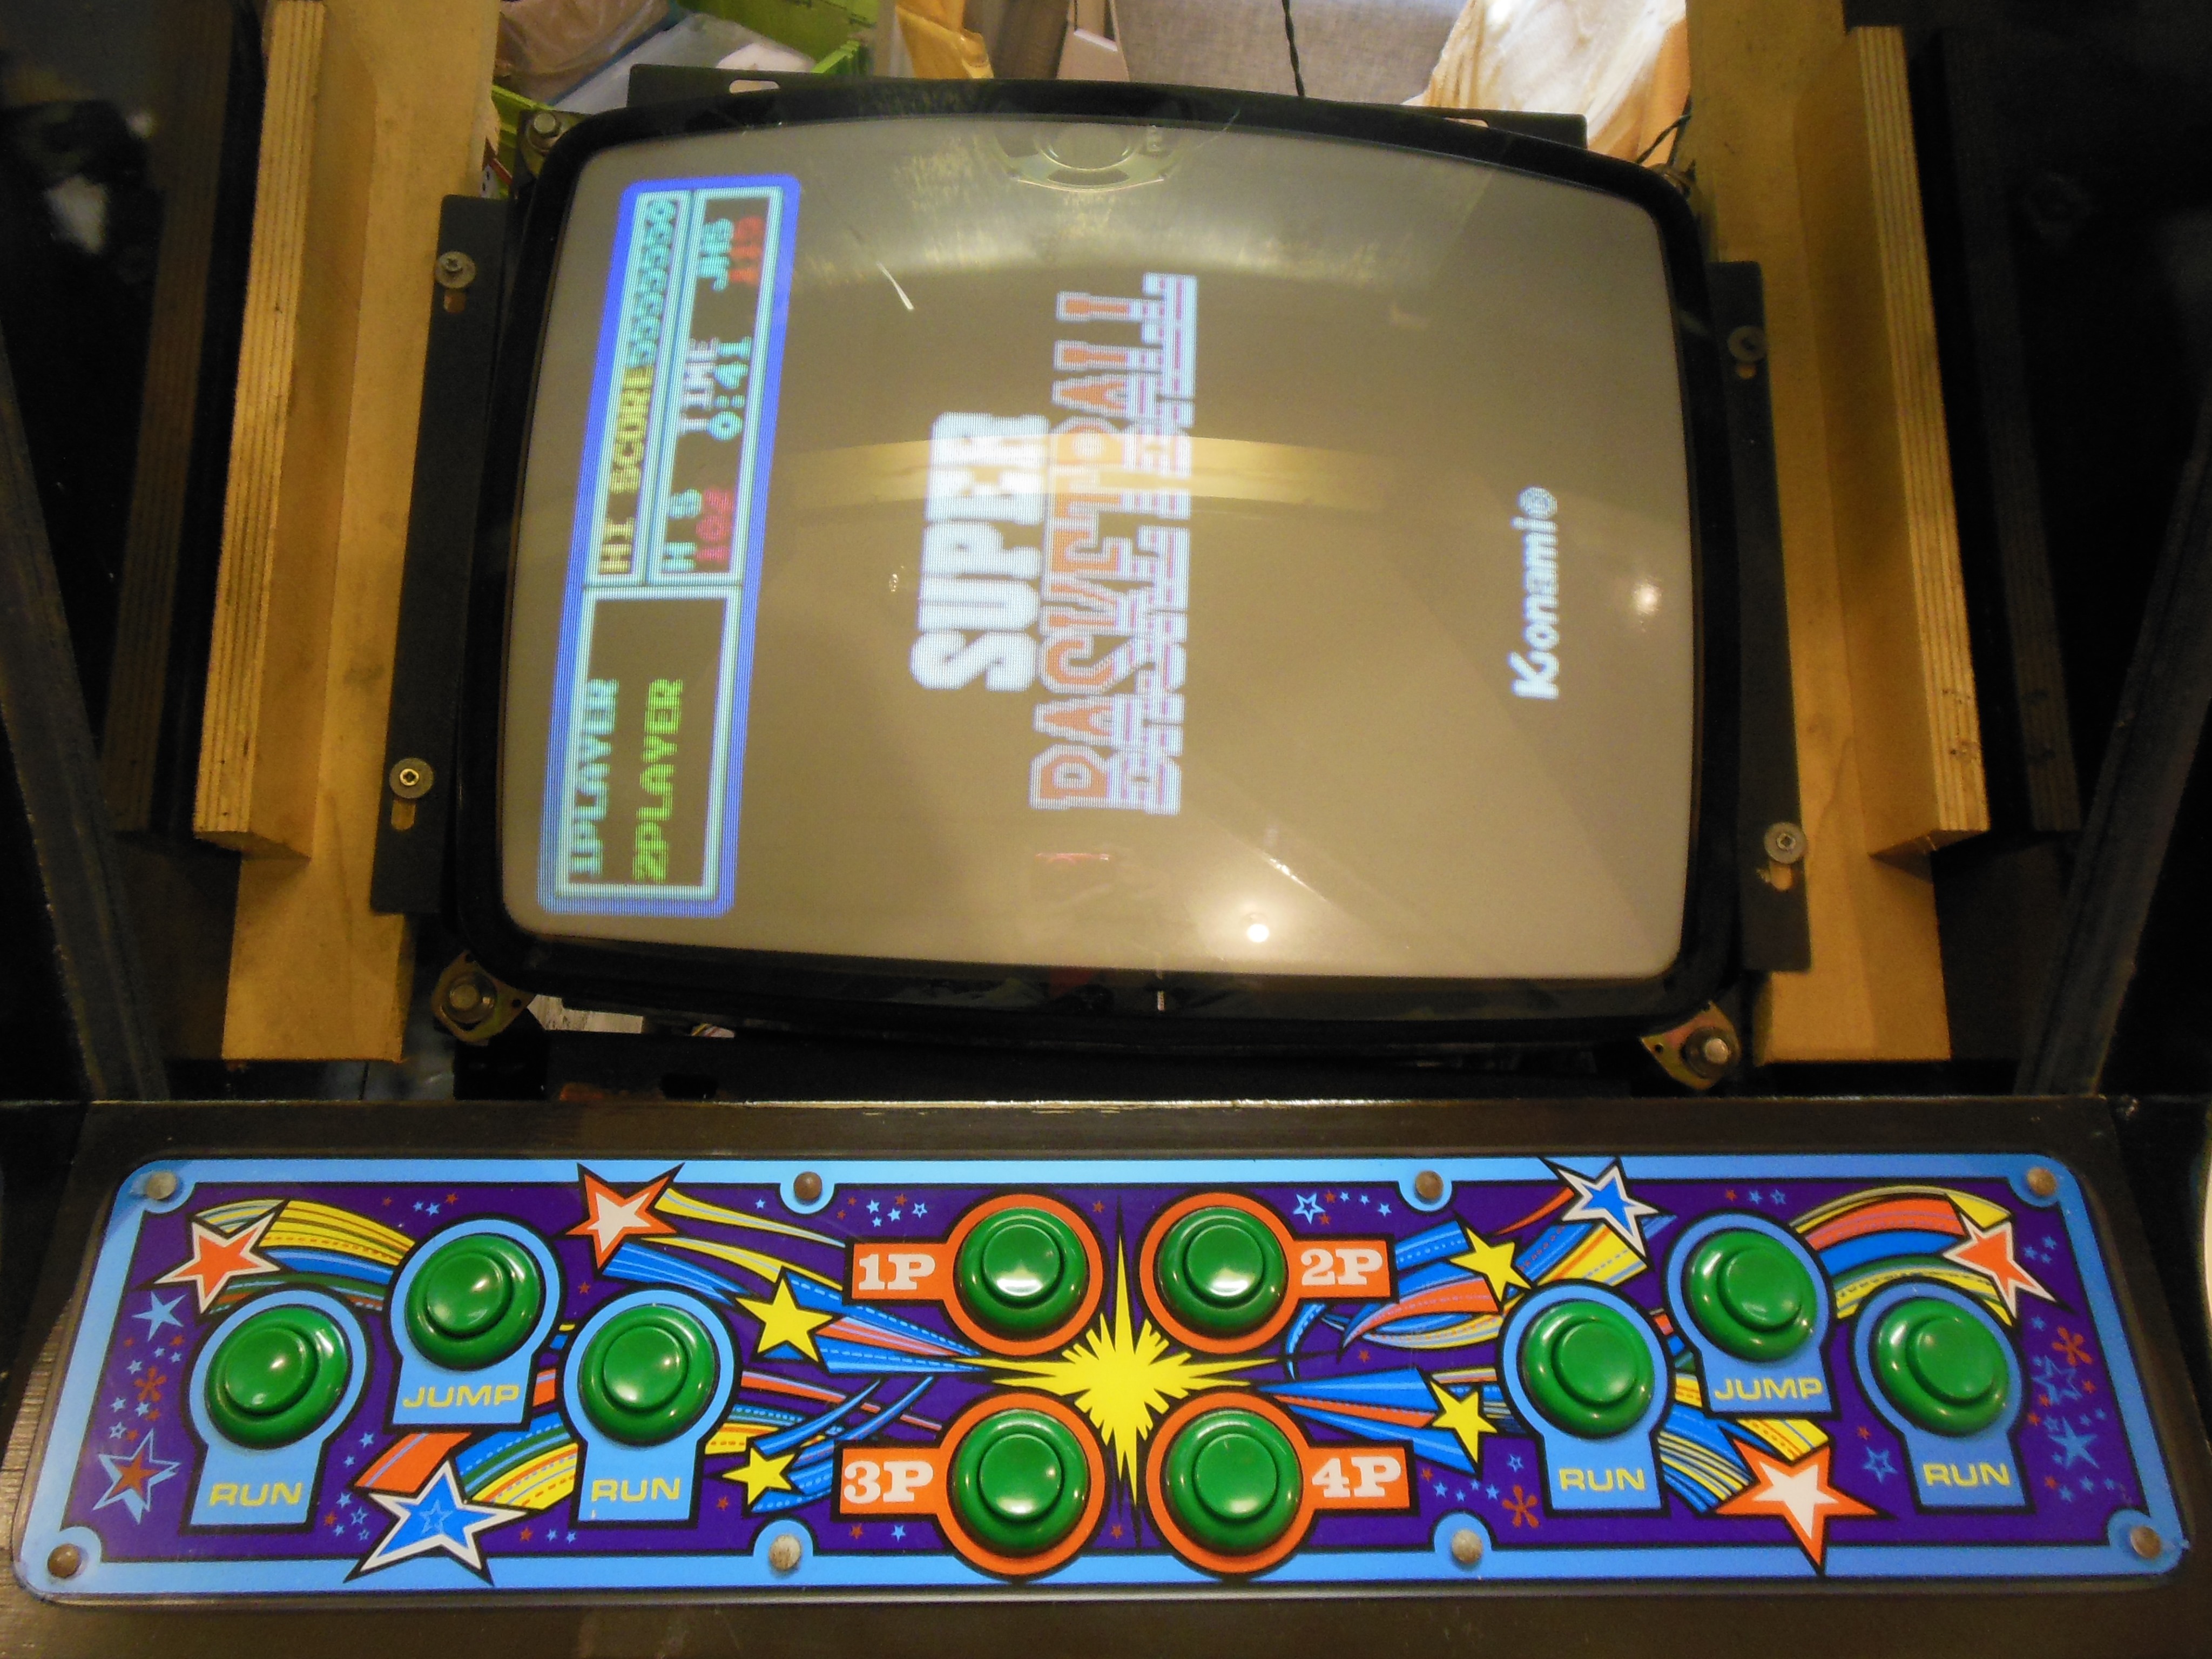
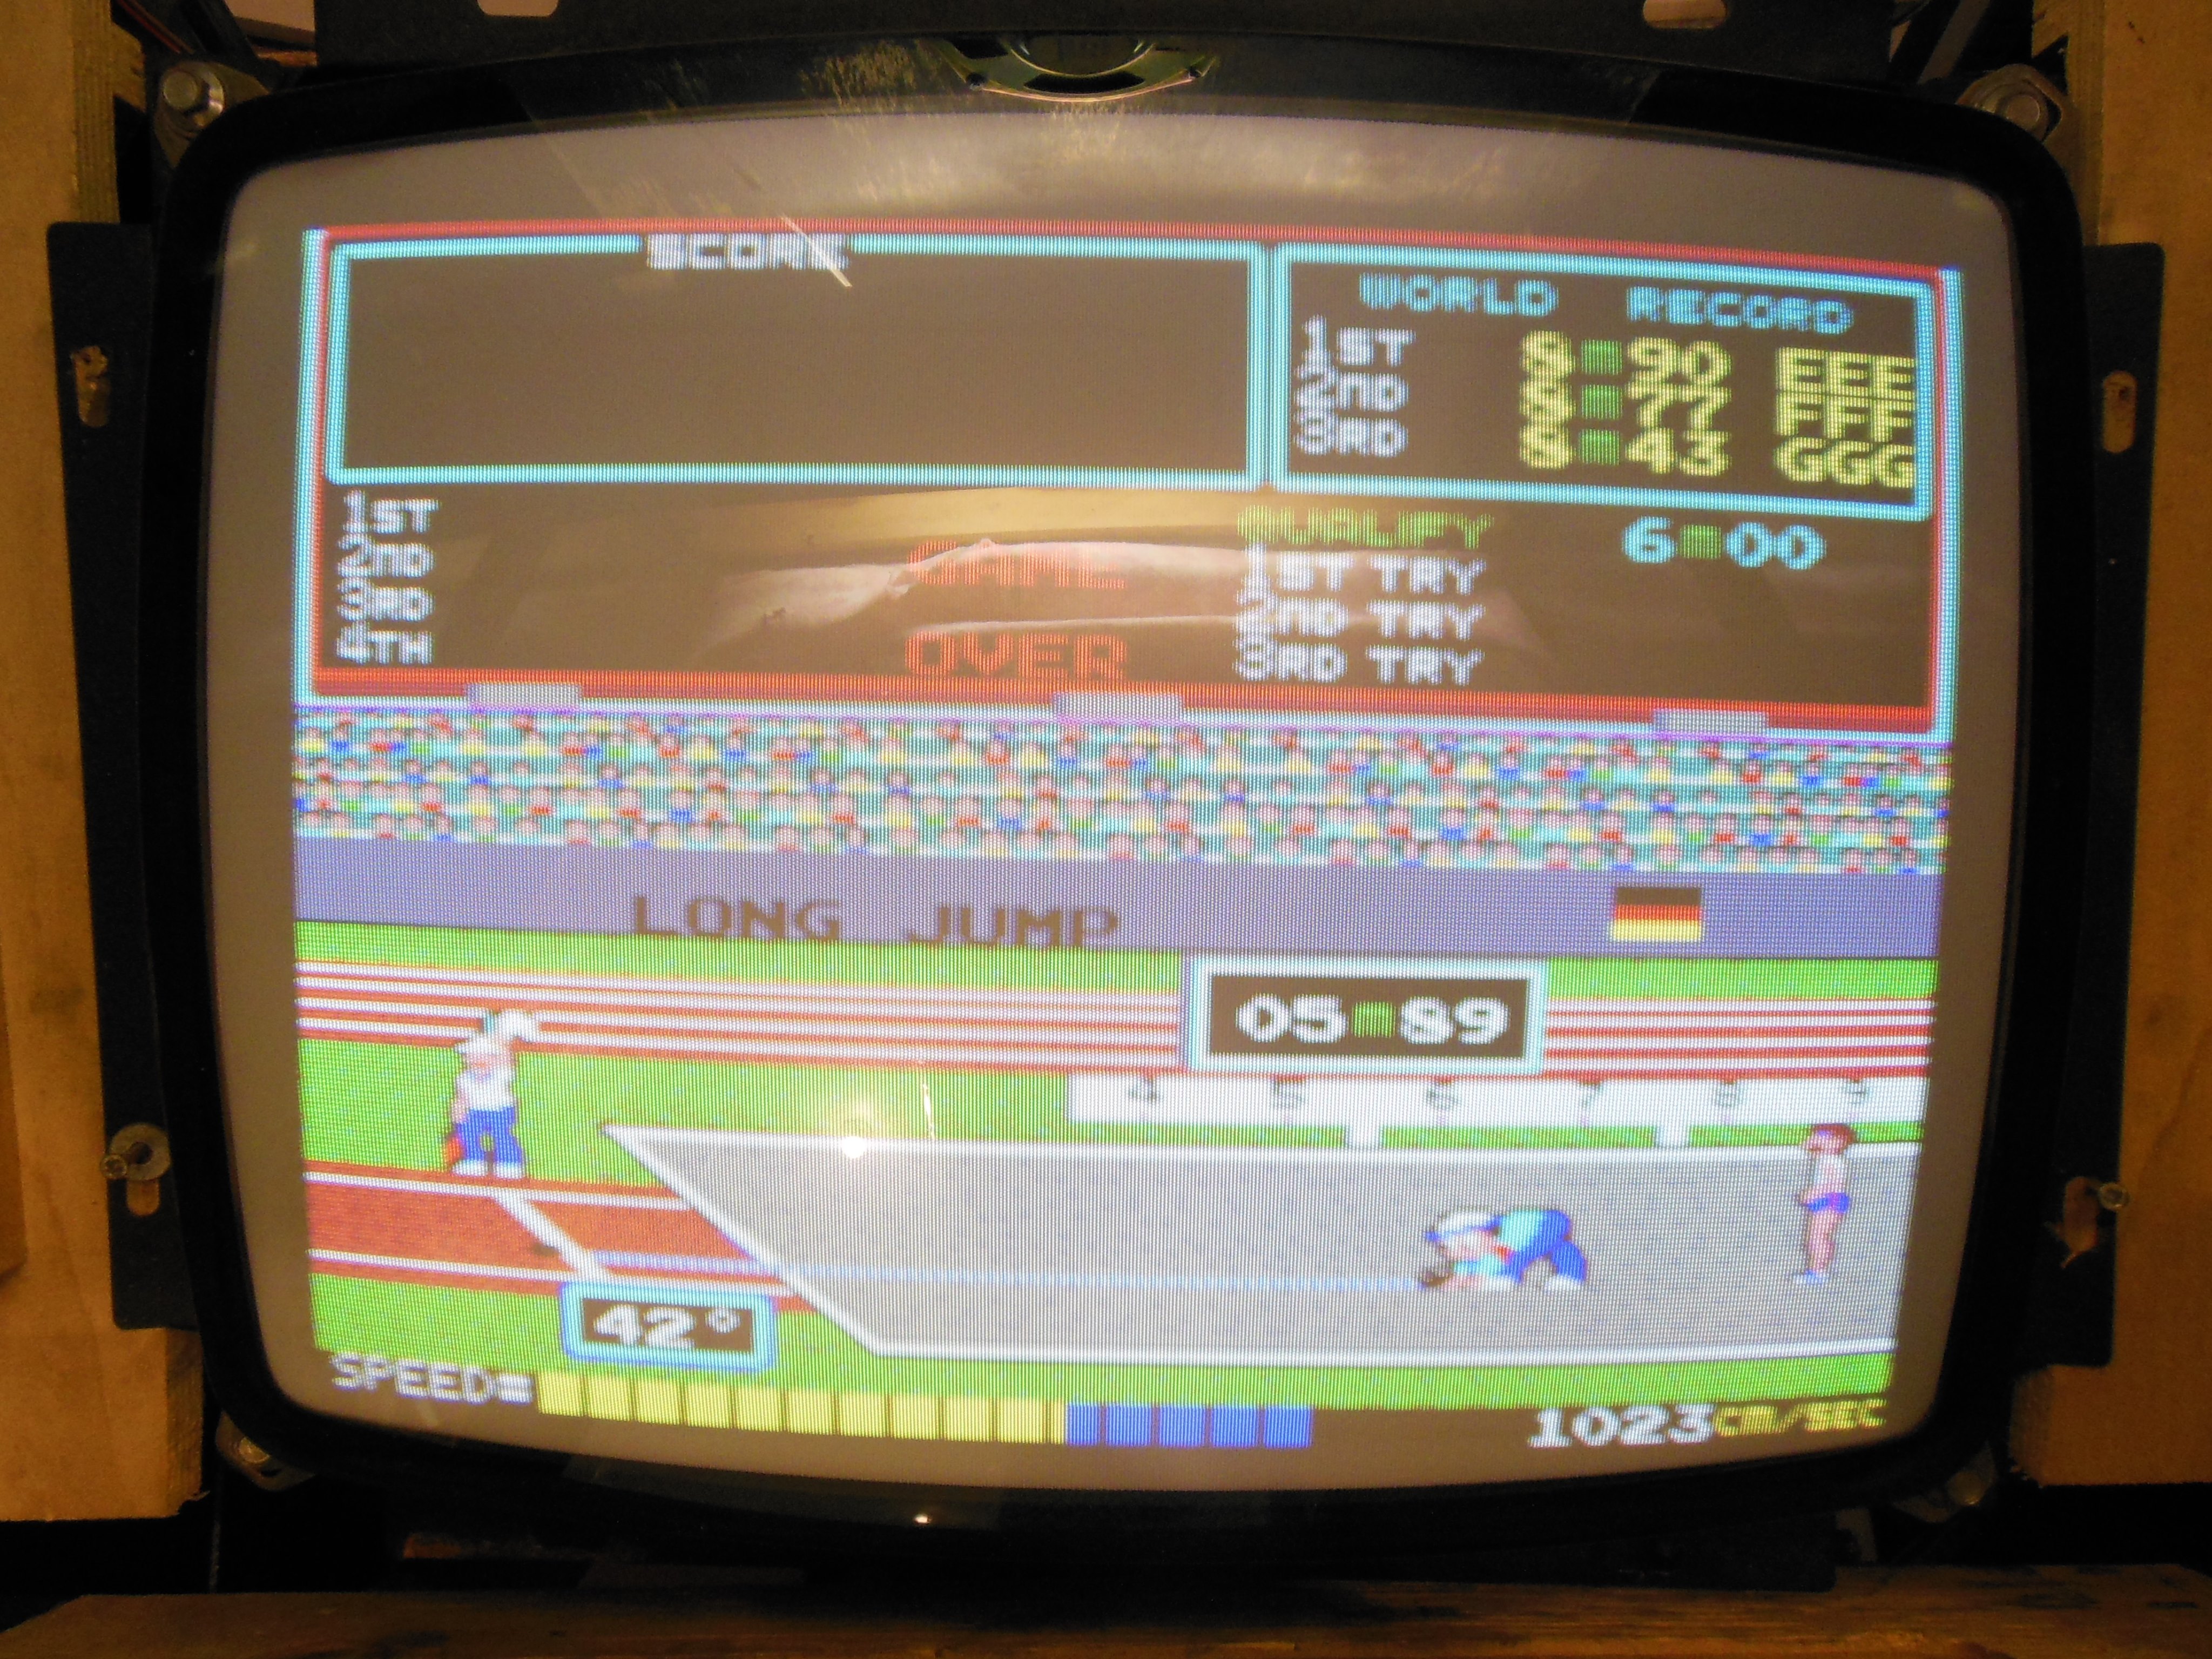
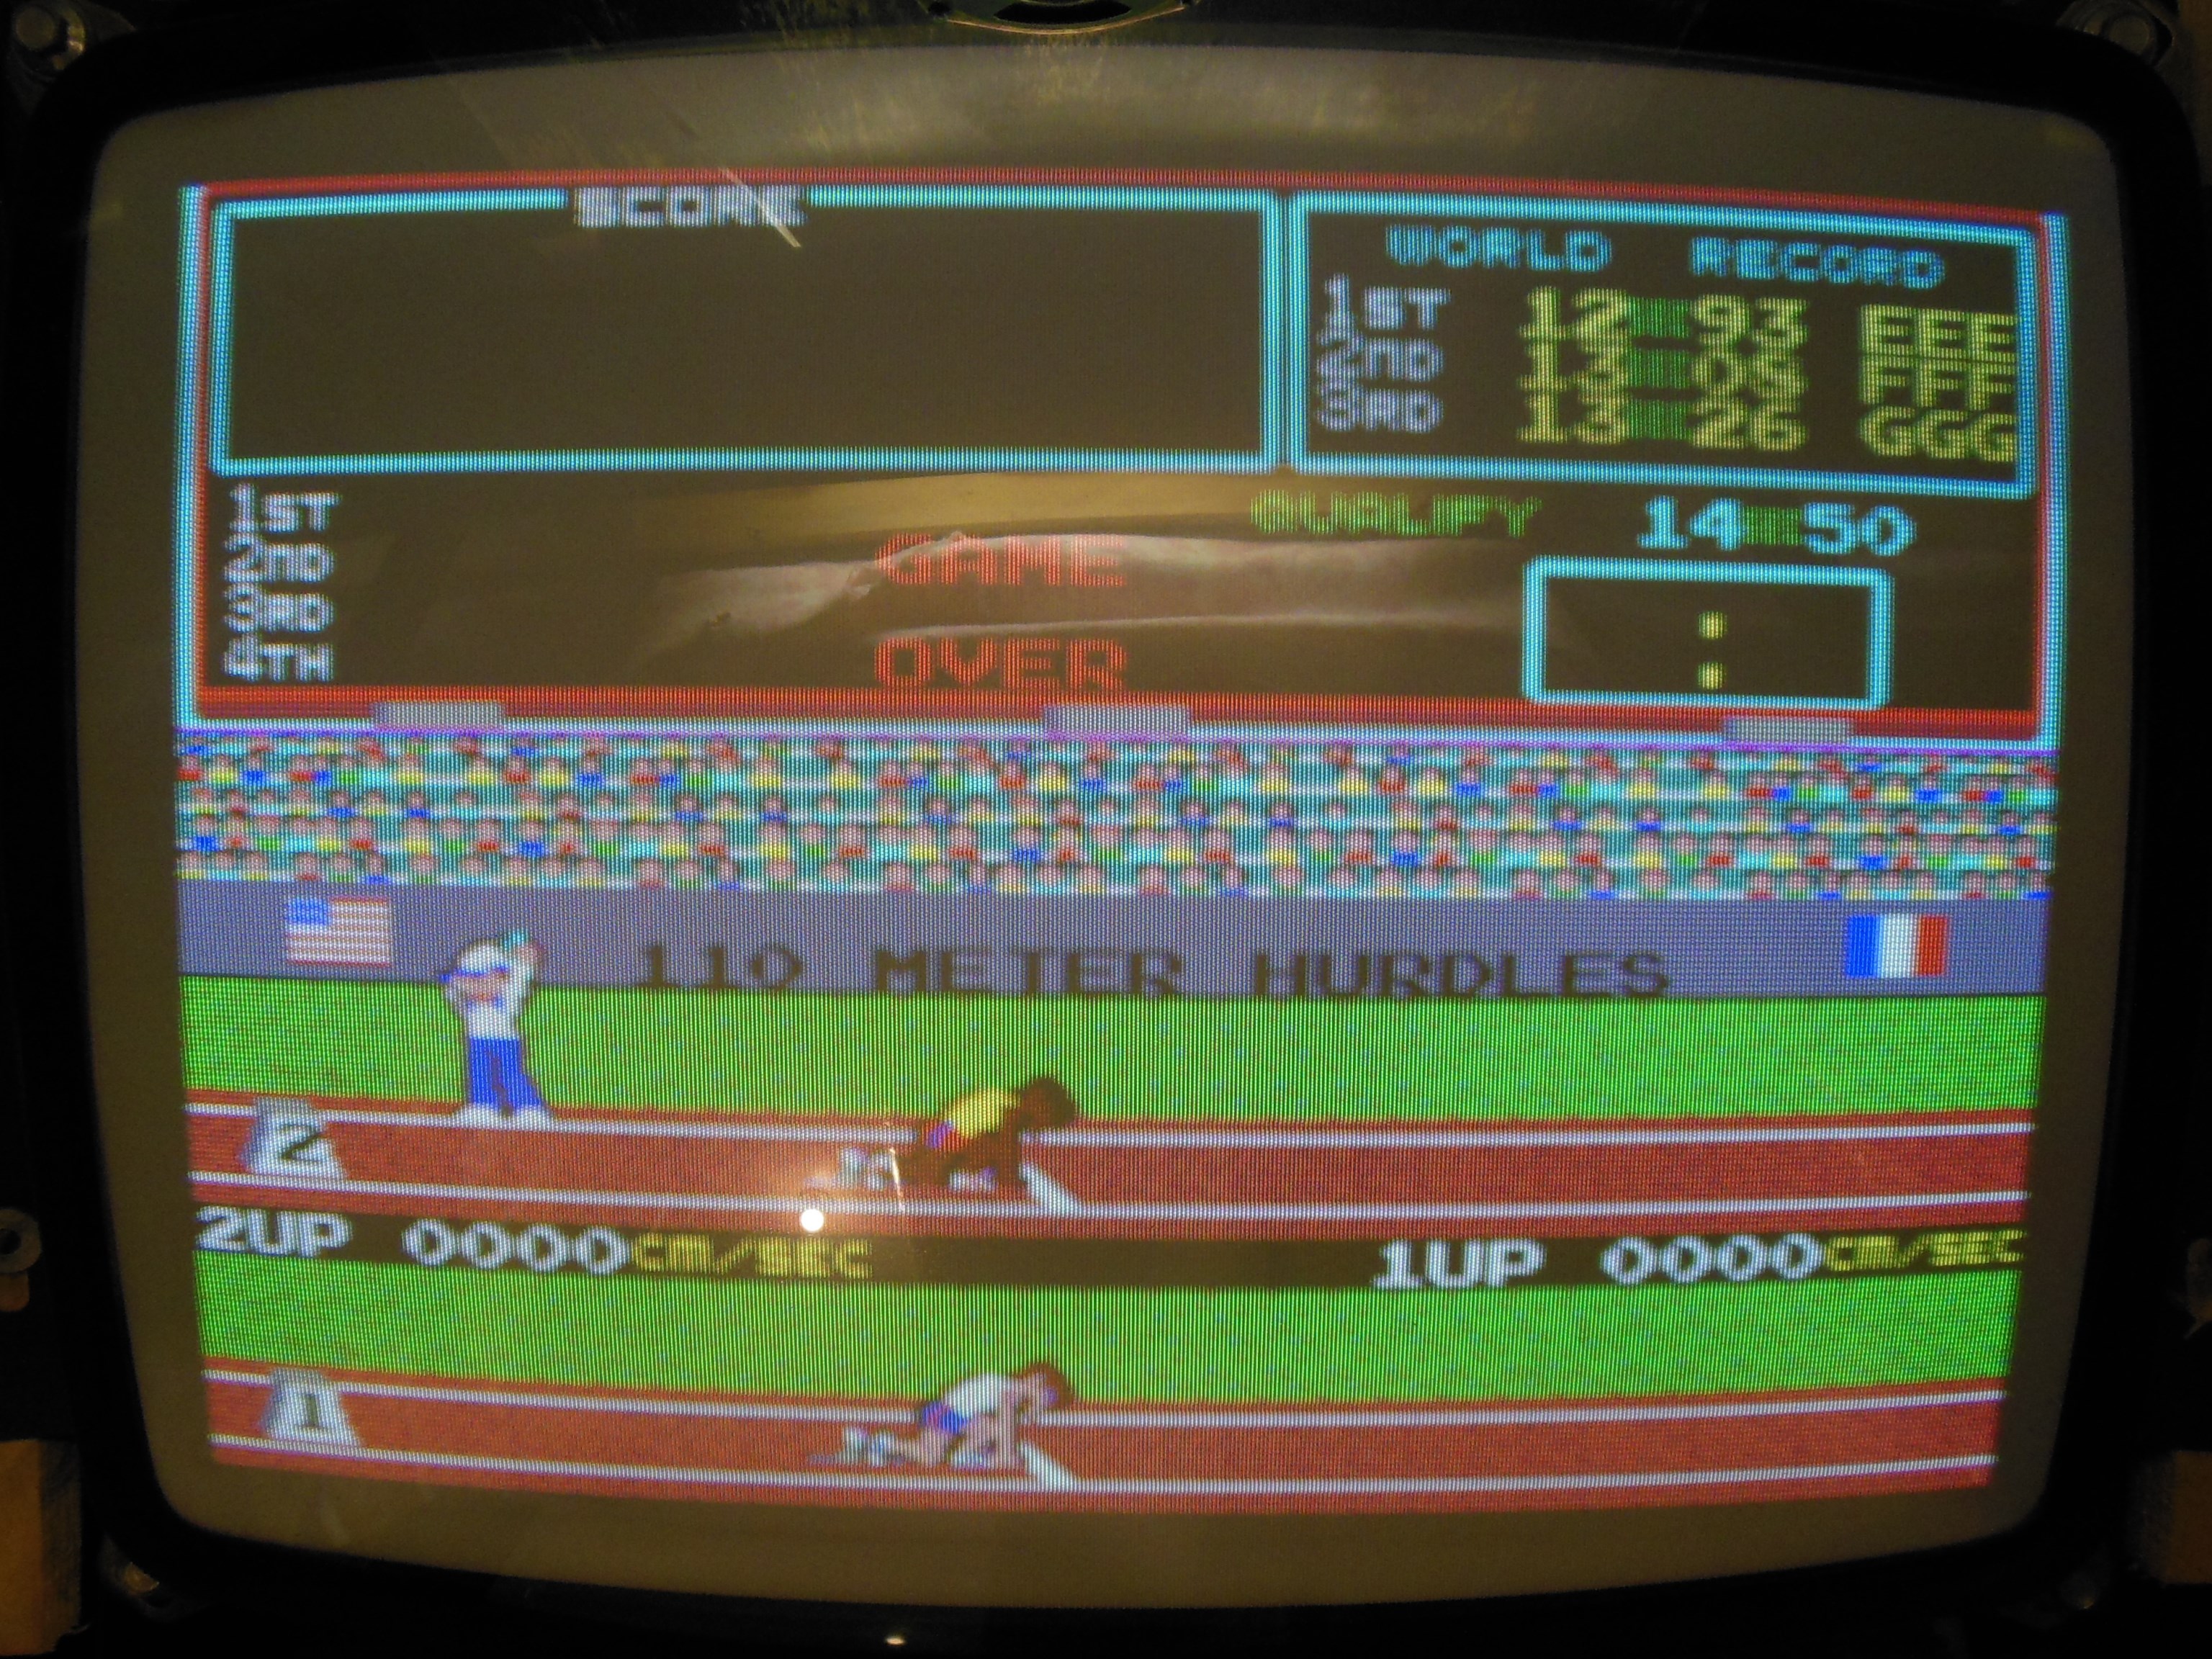
An initial power on check found all the power supply voltages working and wired correctly. The coin door lights also came on and the burned-out middle bulb replaced. A Super Basketball PCB was installed for testing to avoid risking damage to the Hyper Olympic game PCB in case of a wiring error.
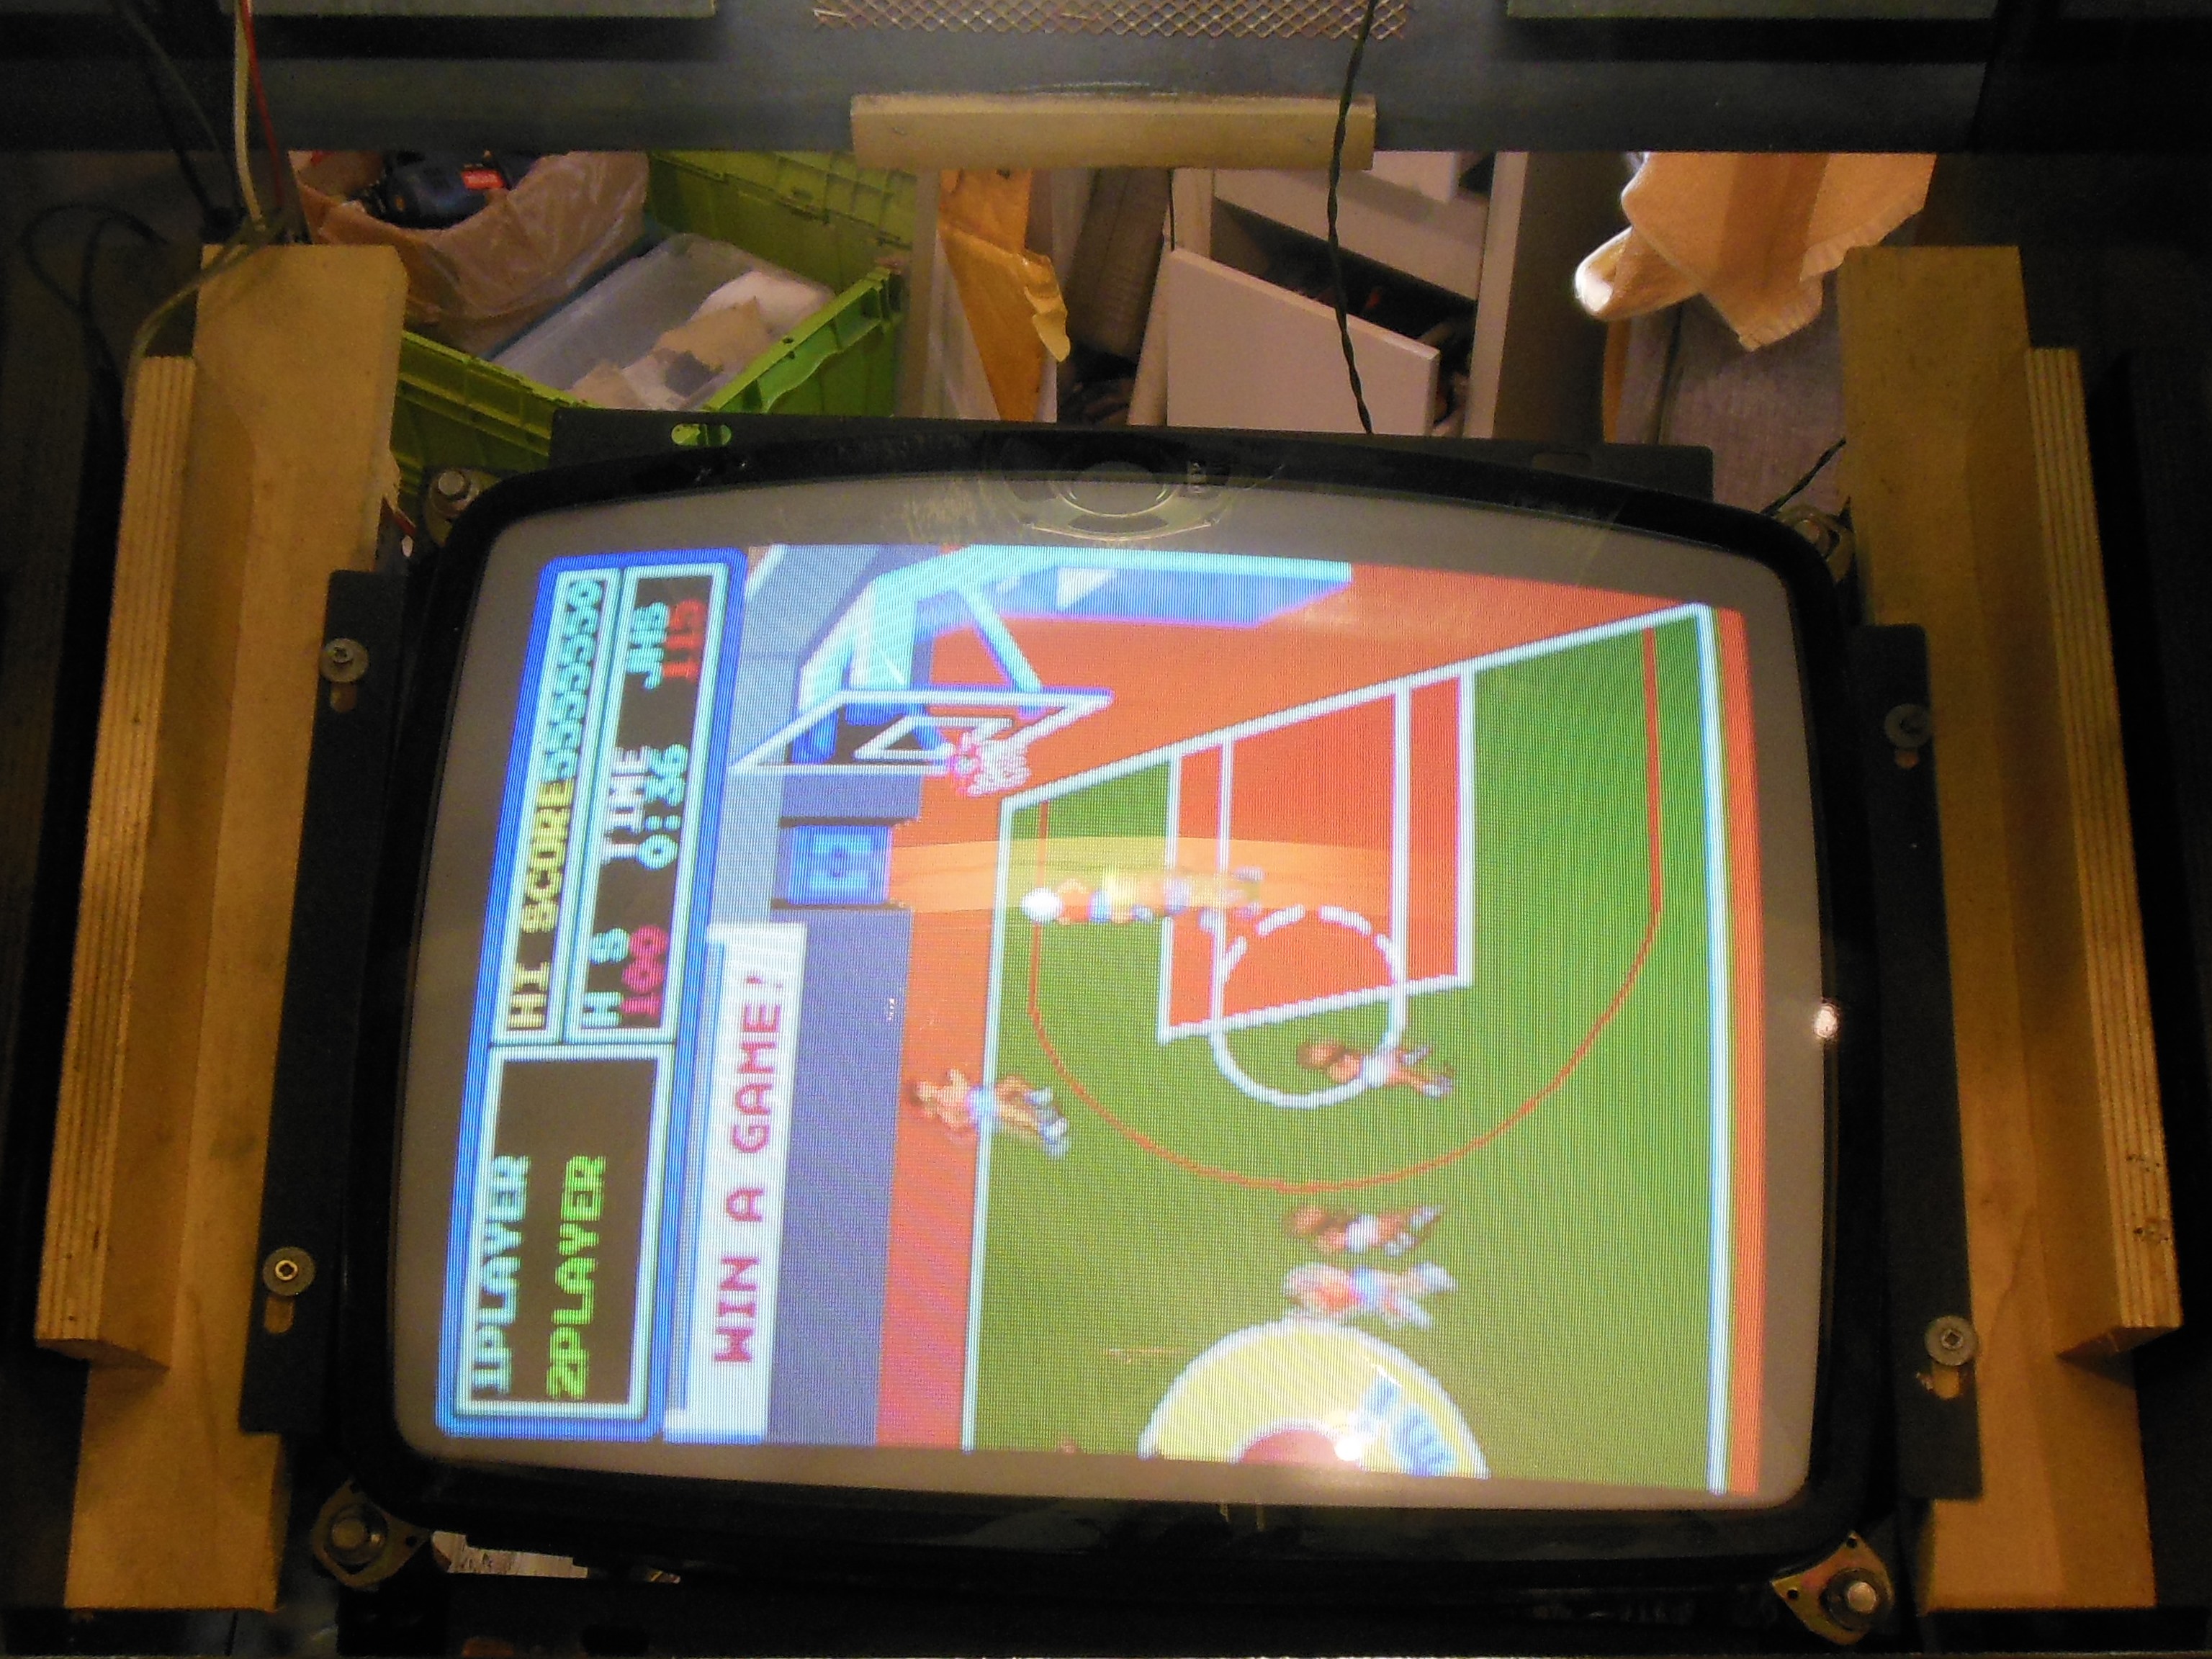
|
With Super Basketball there was picture, sound, coin up and game all working OK (apart from controls that didn't match the Hyper Olympic dedicated control panel). The picture was slightly out of focus that would be investigated after a cap kit.
|
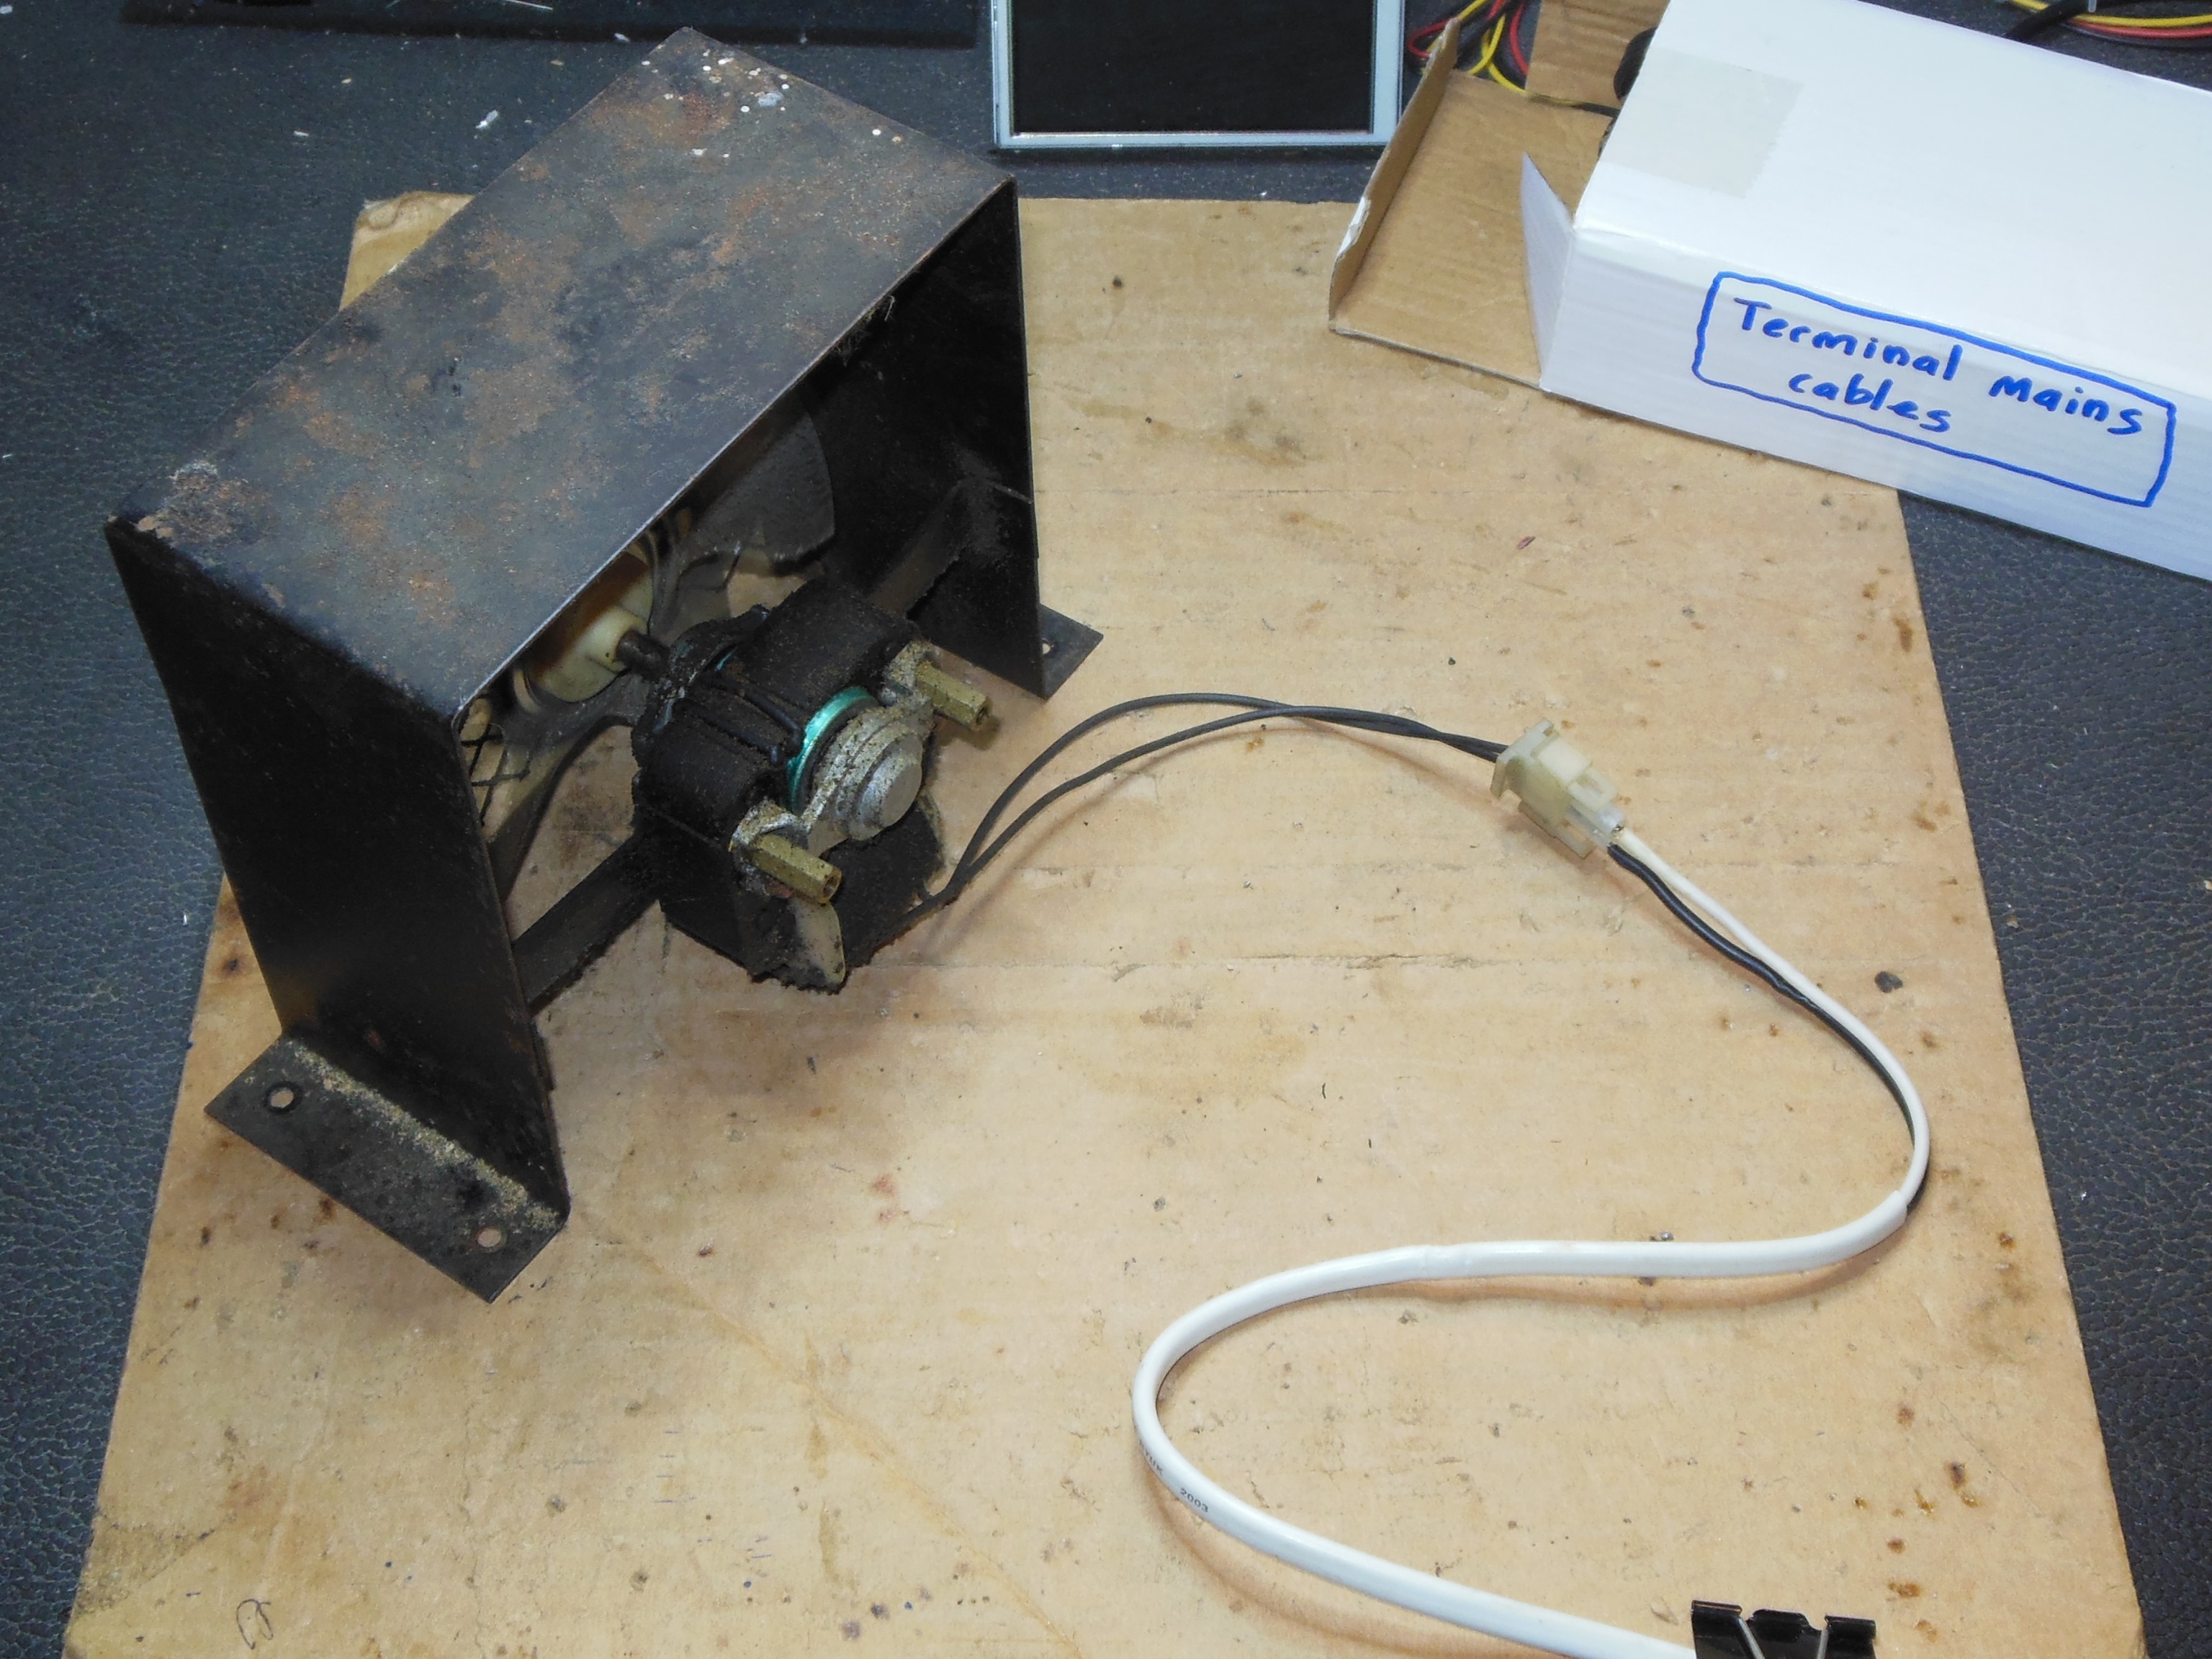
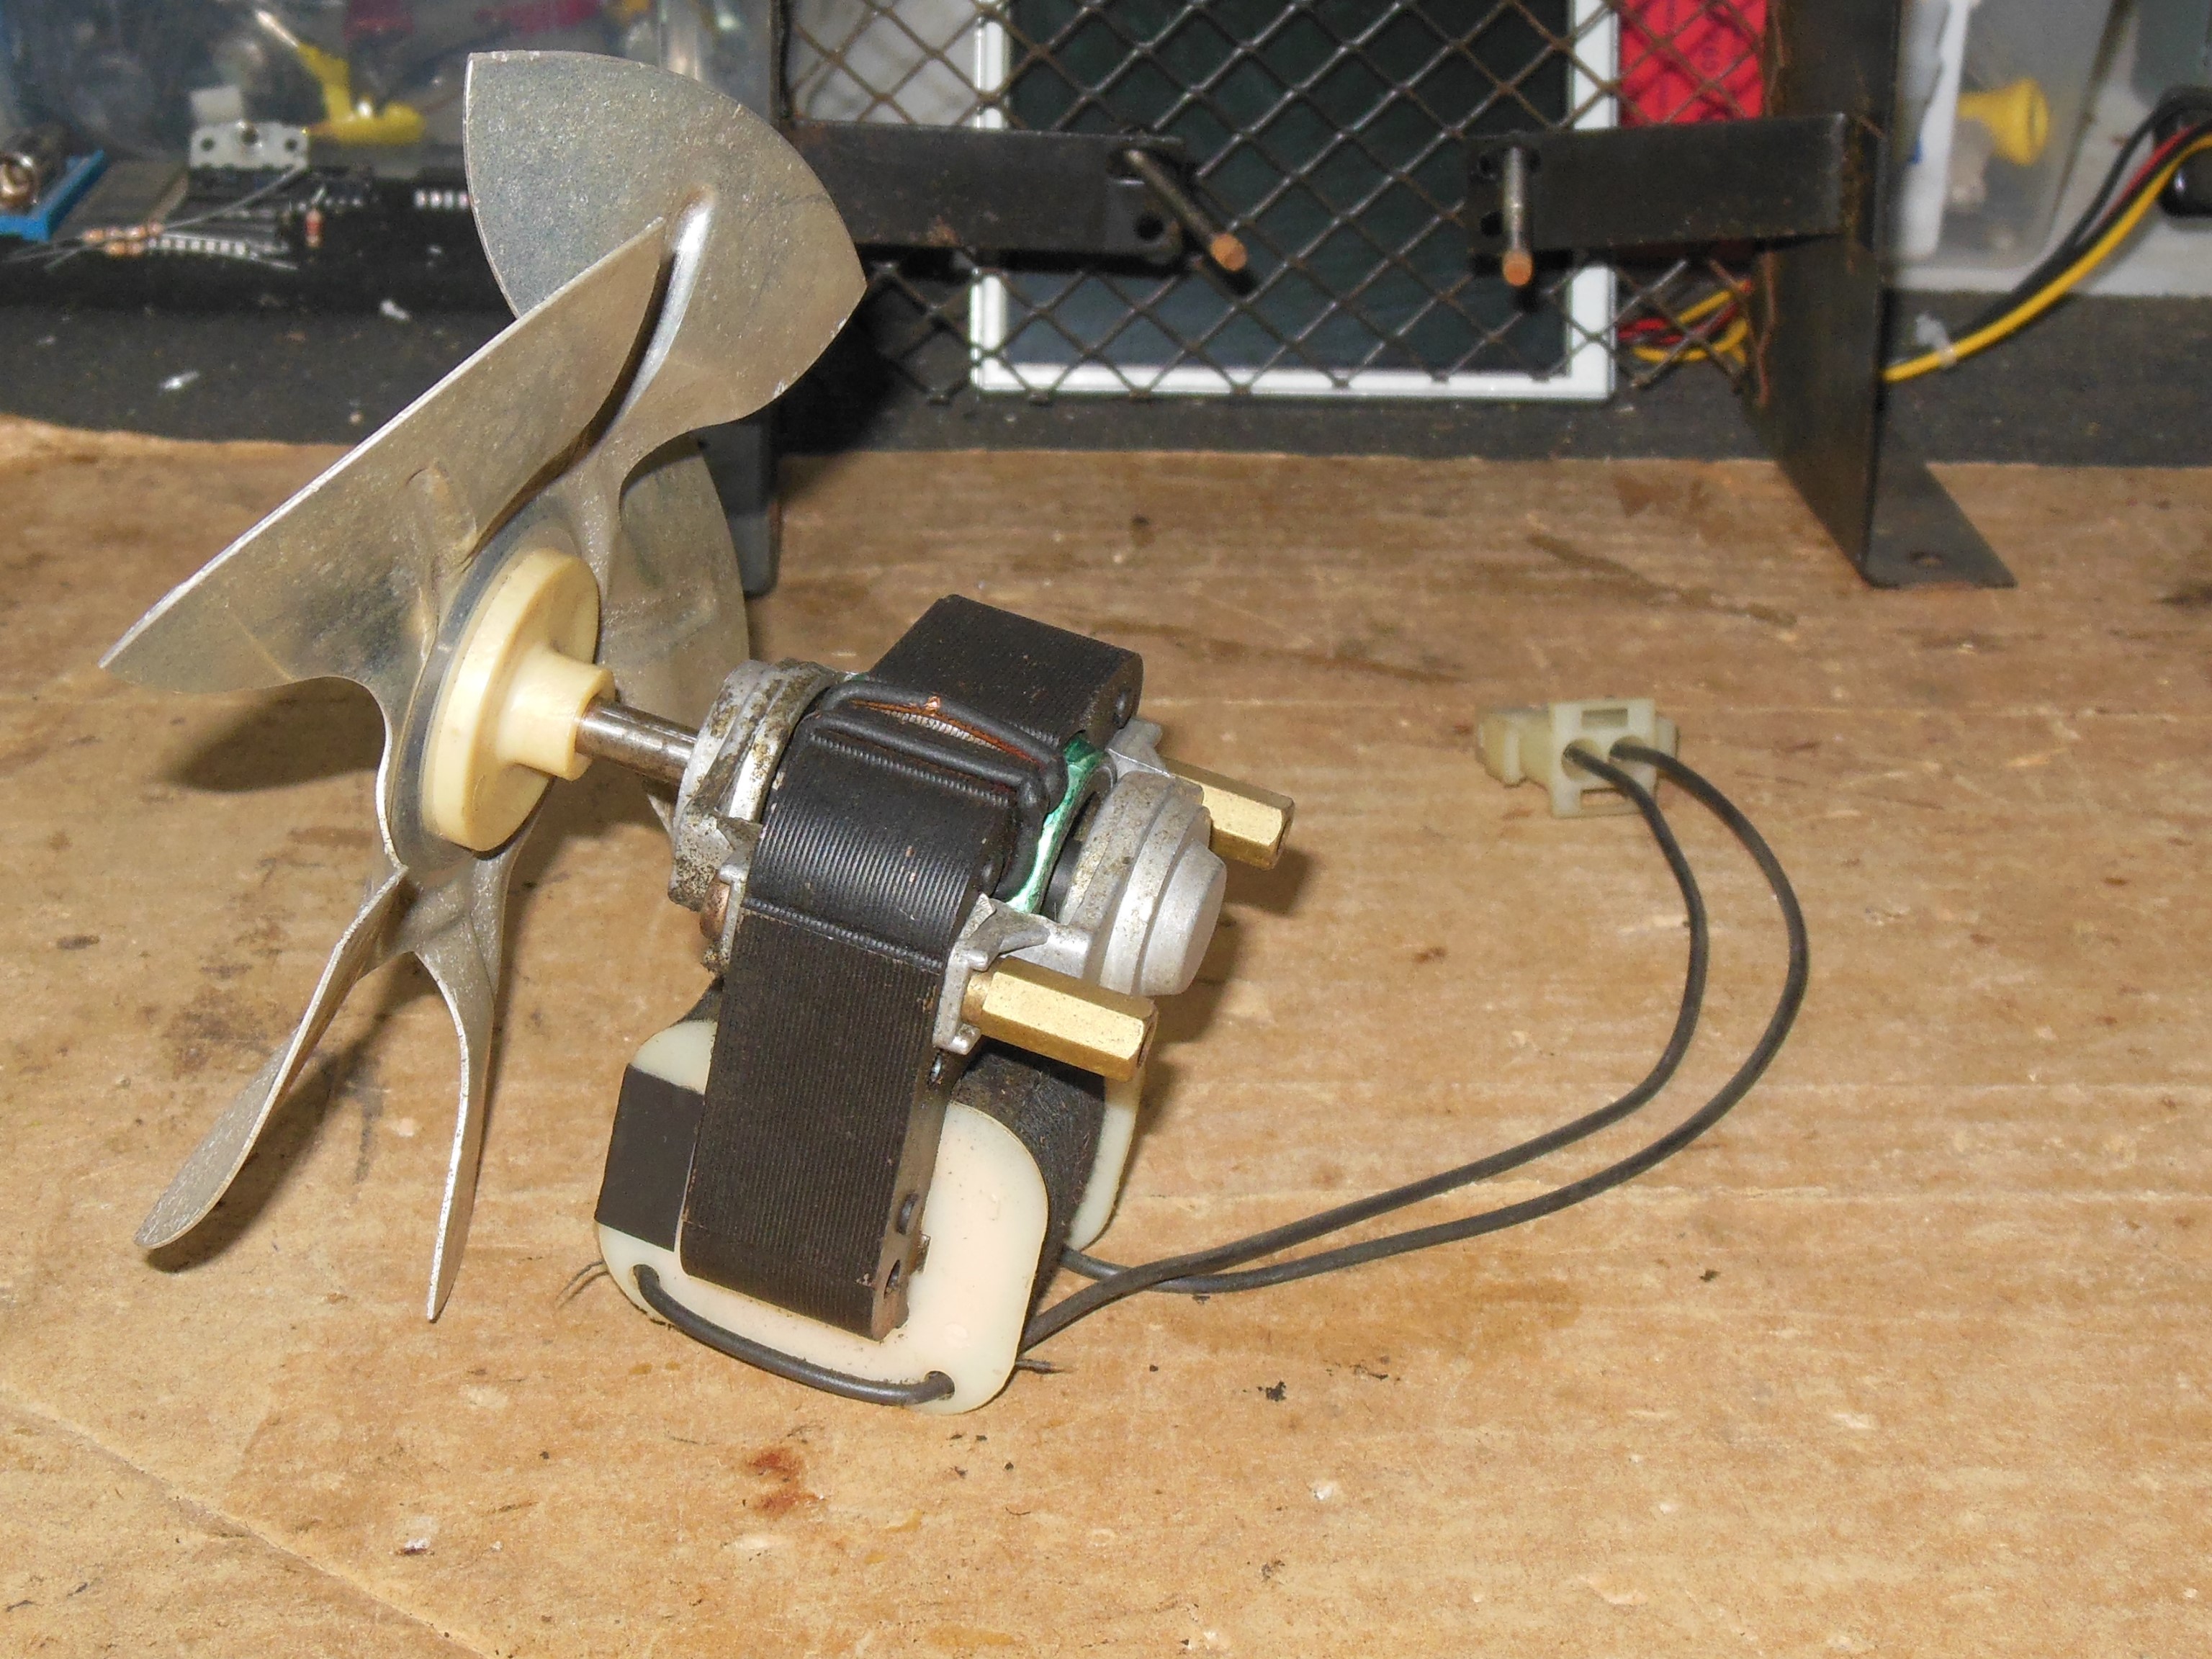
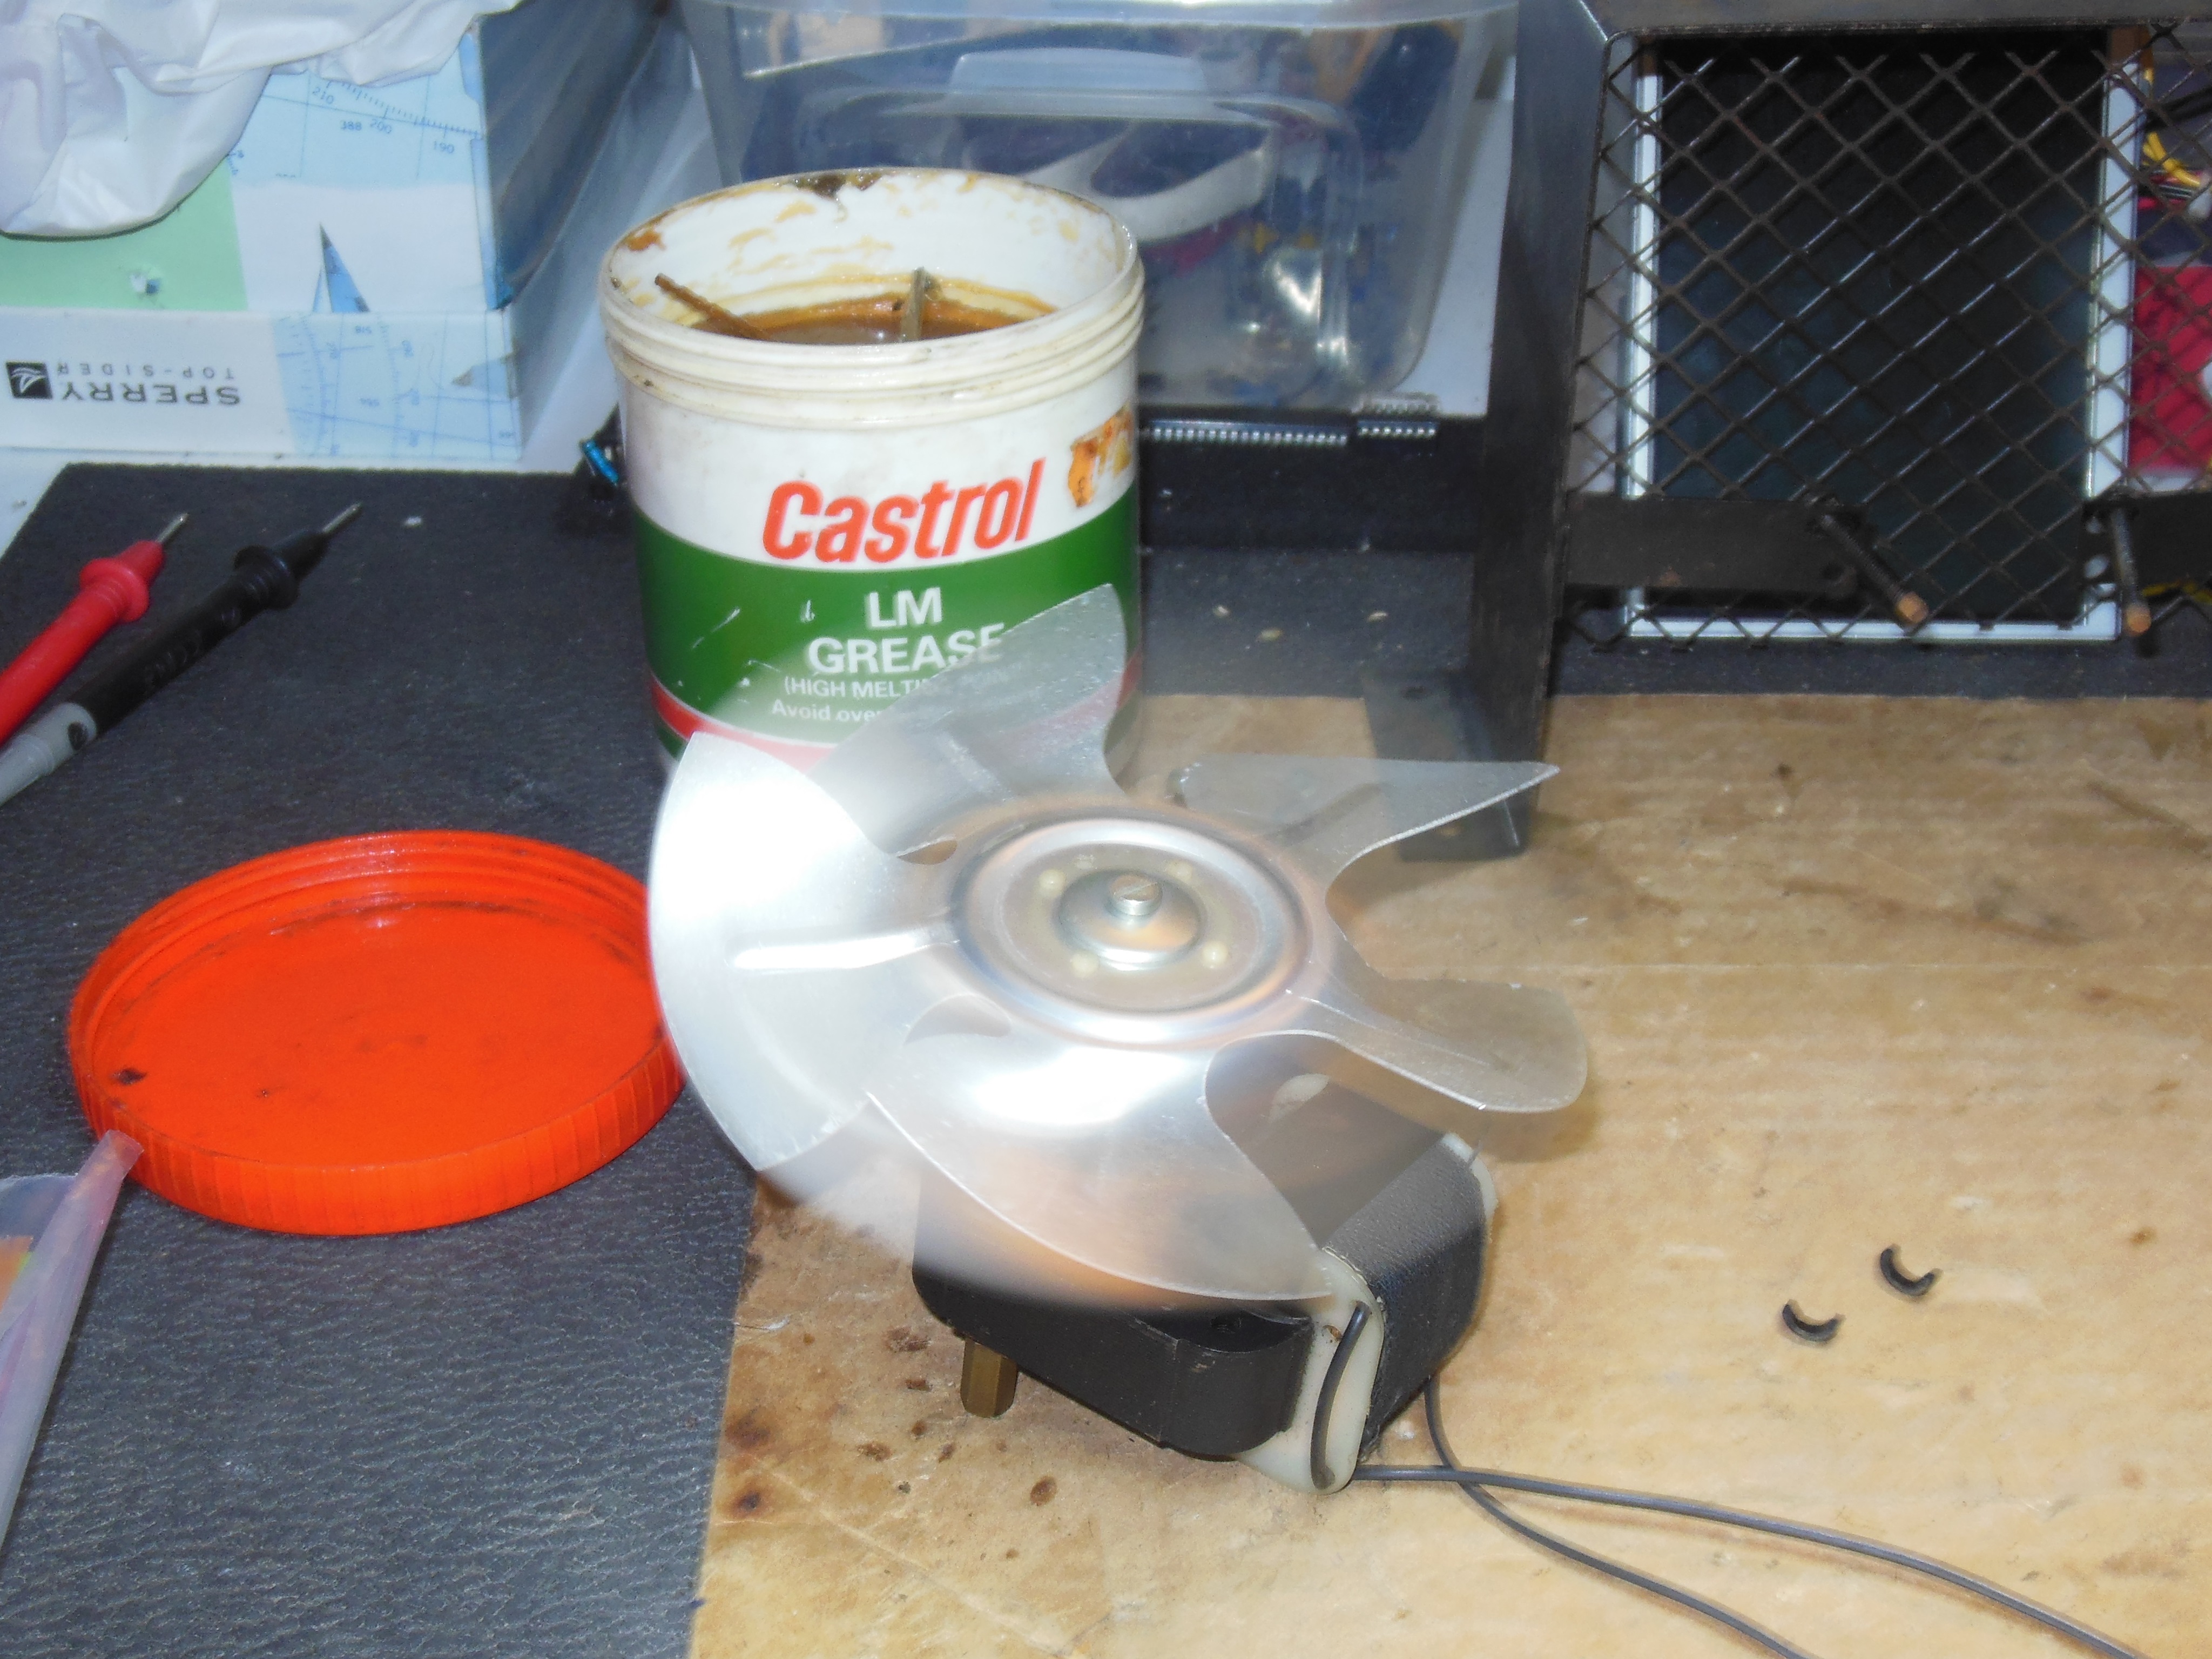
The cabinet fan seemed to be in good condition and working OK. It was cleaned and the bearings greased.
|
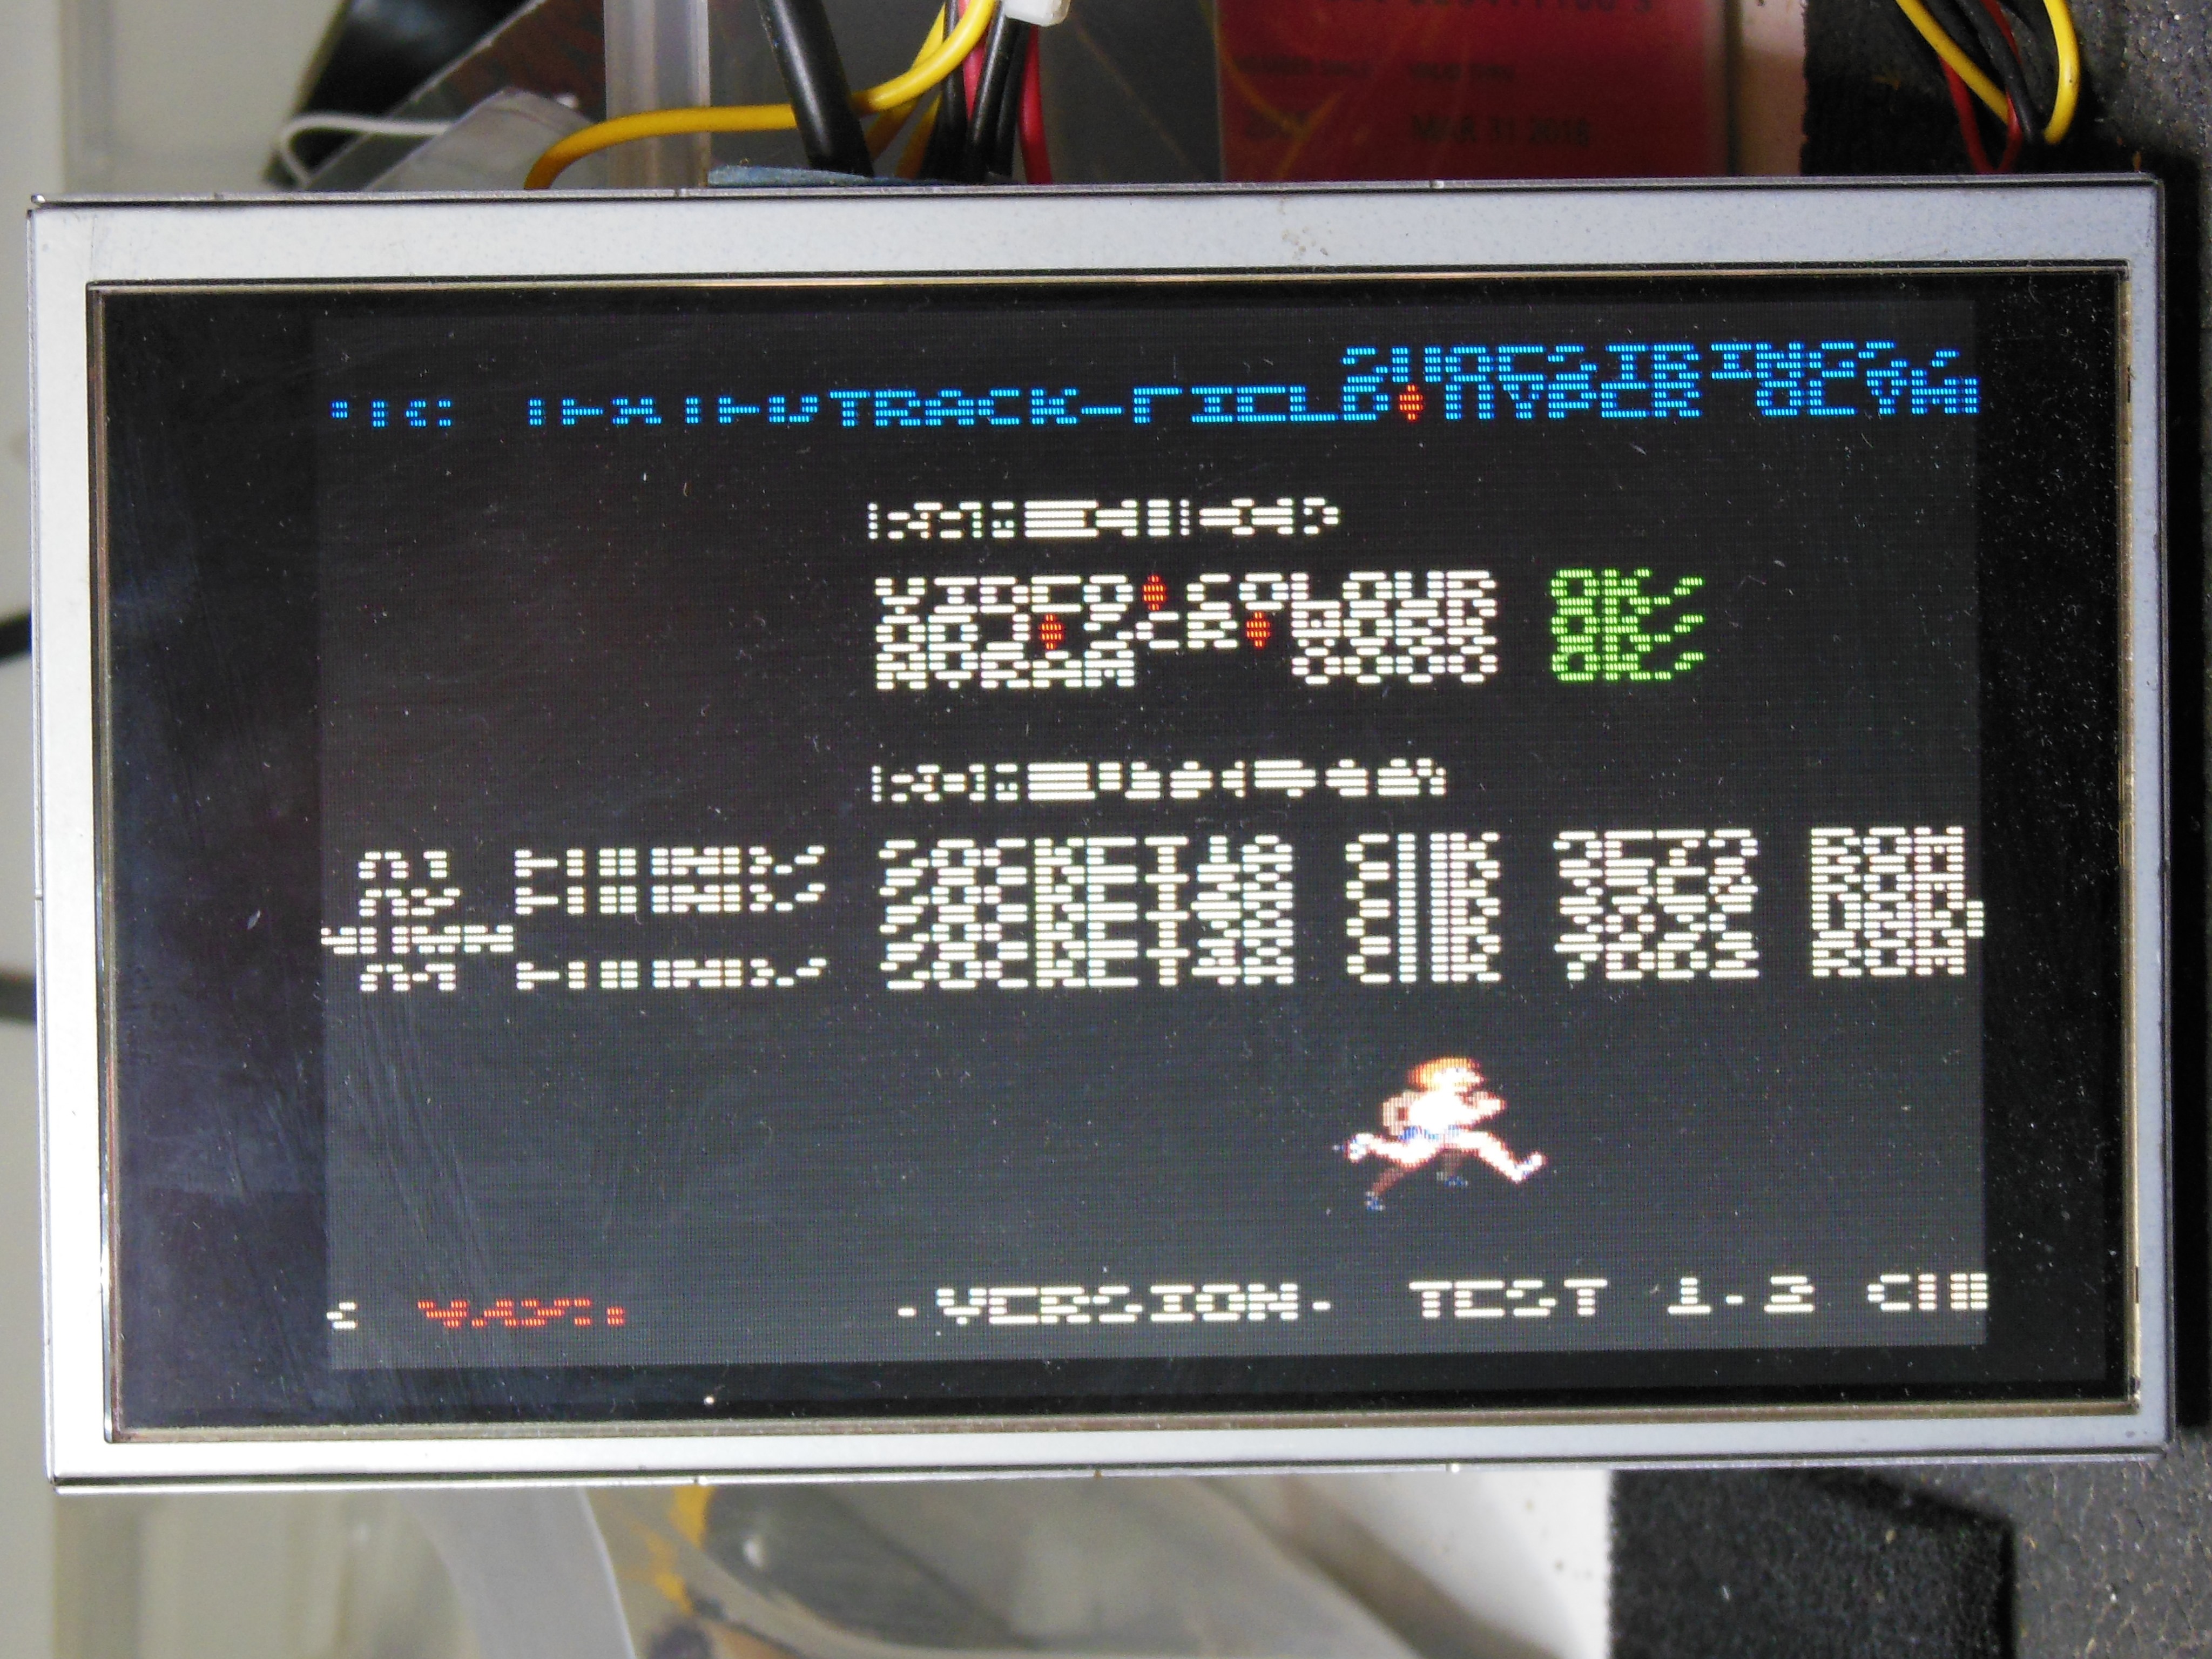
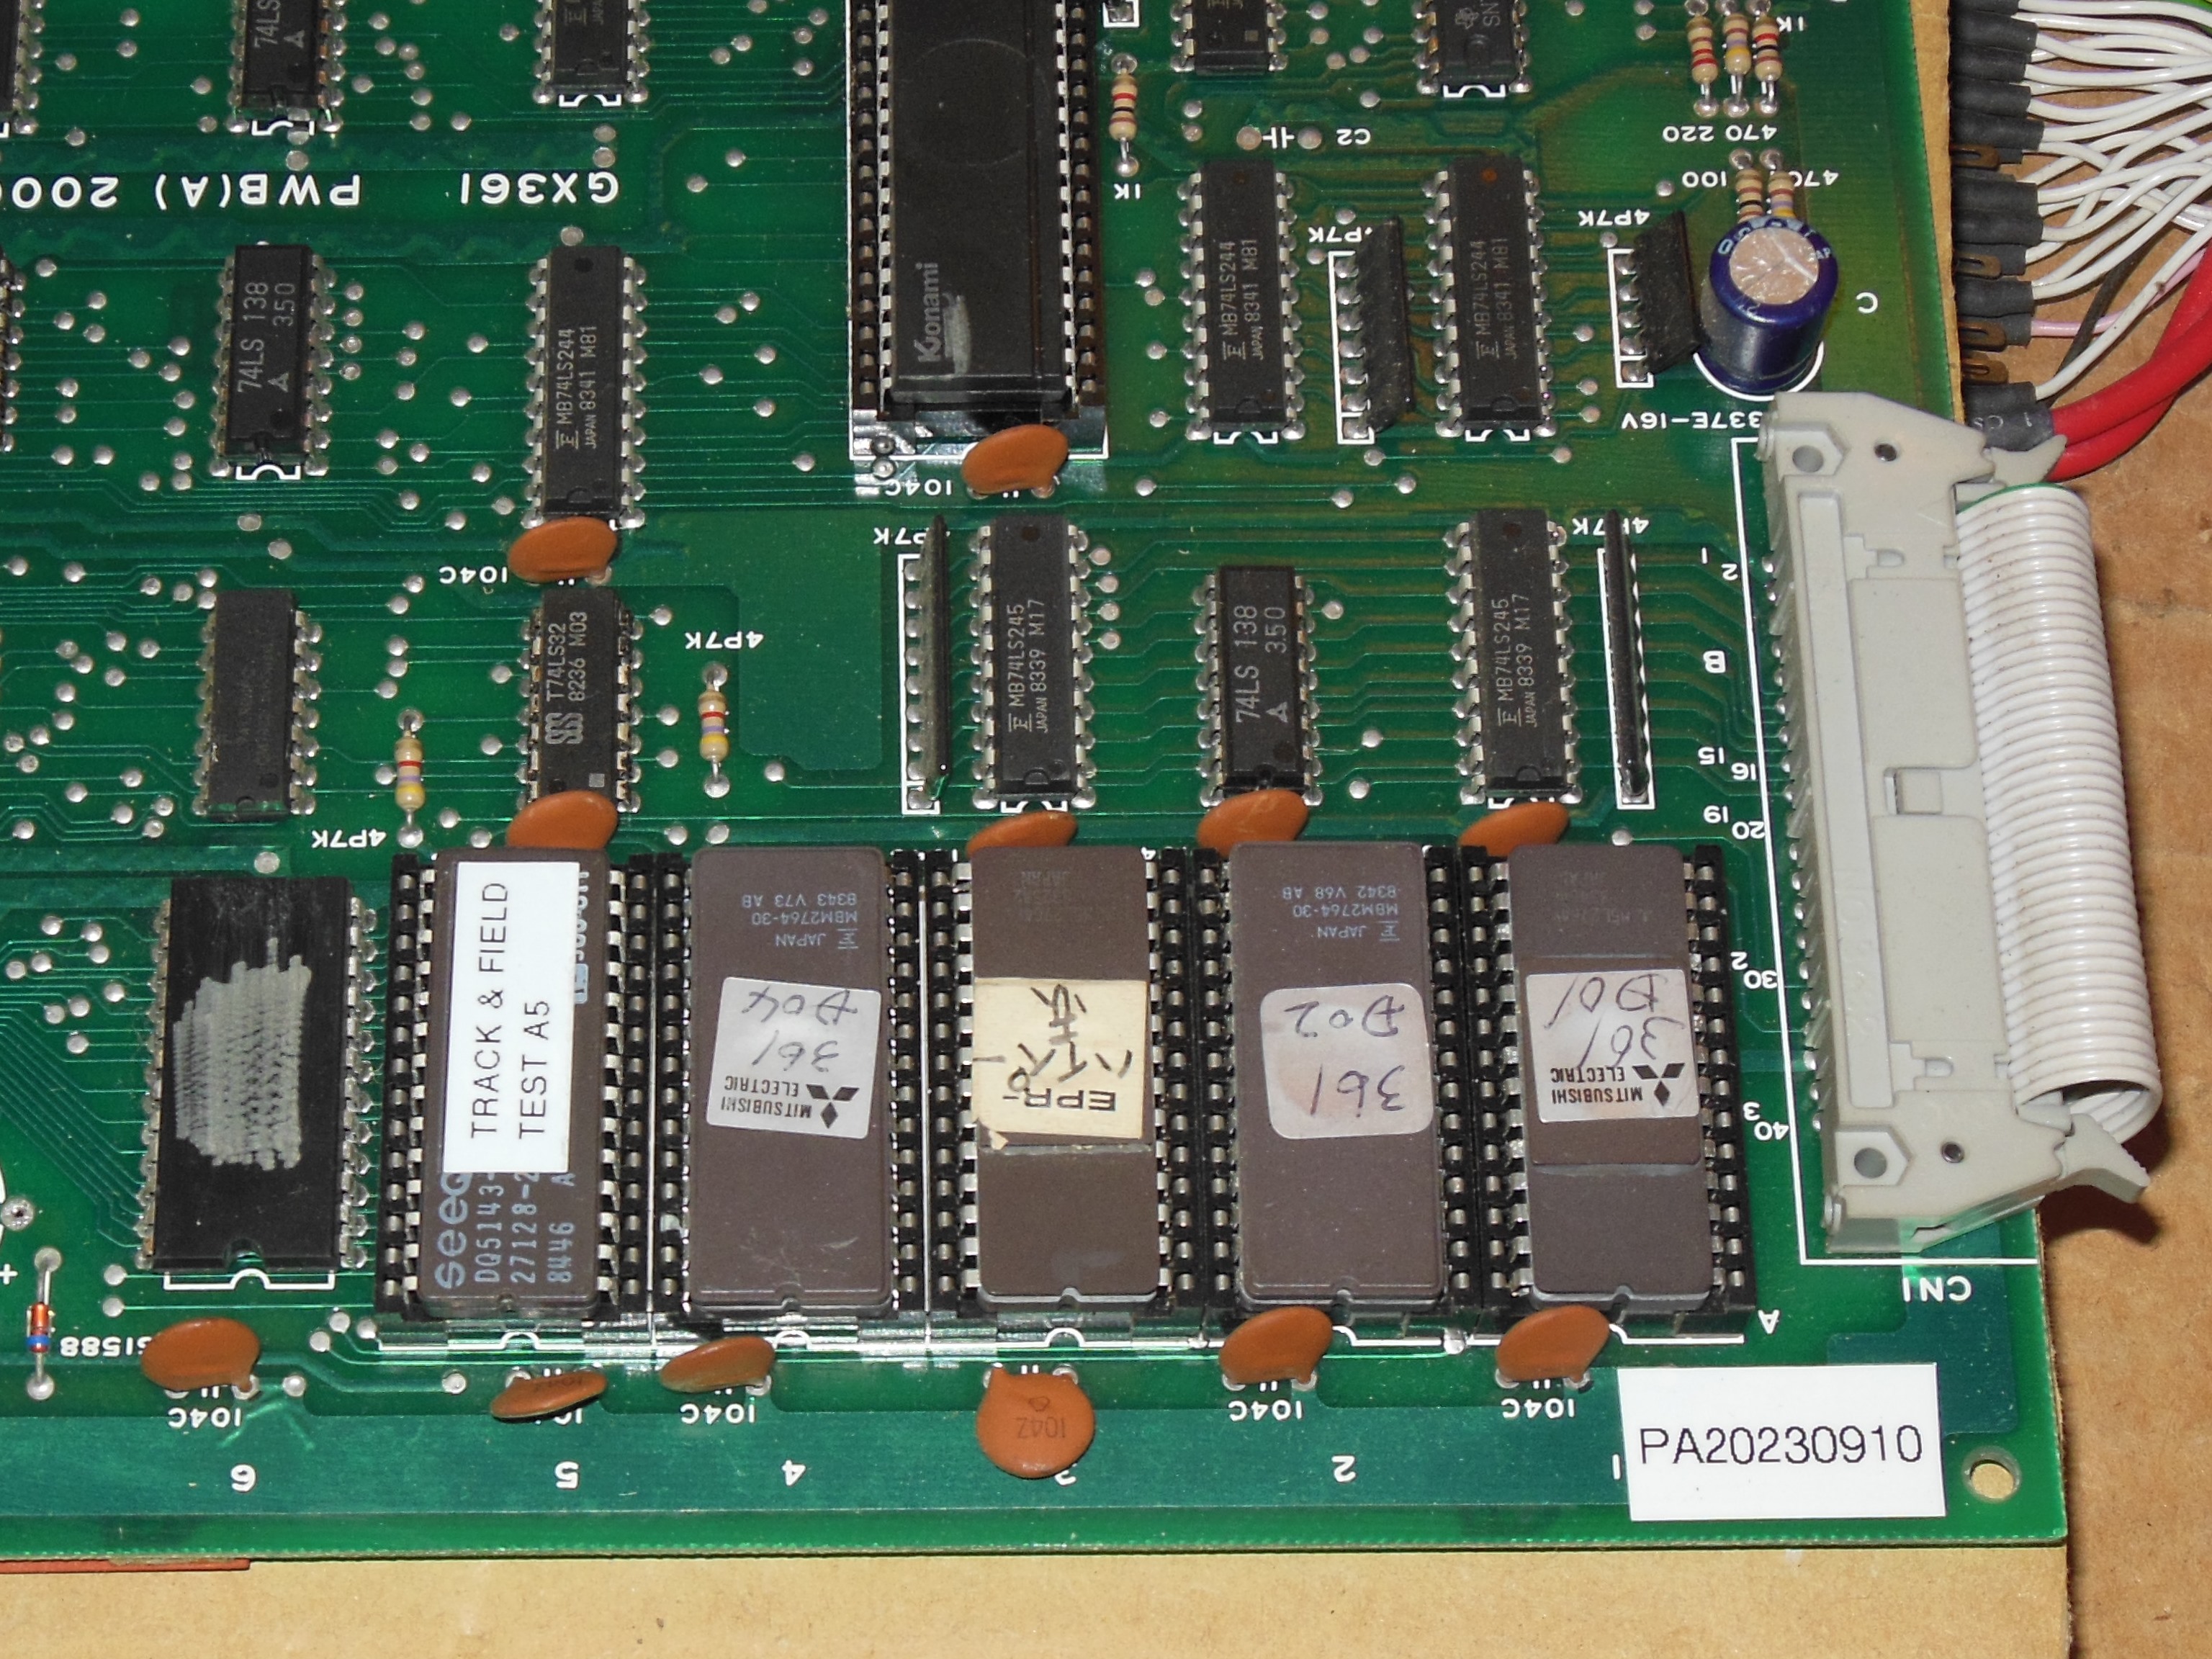
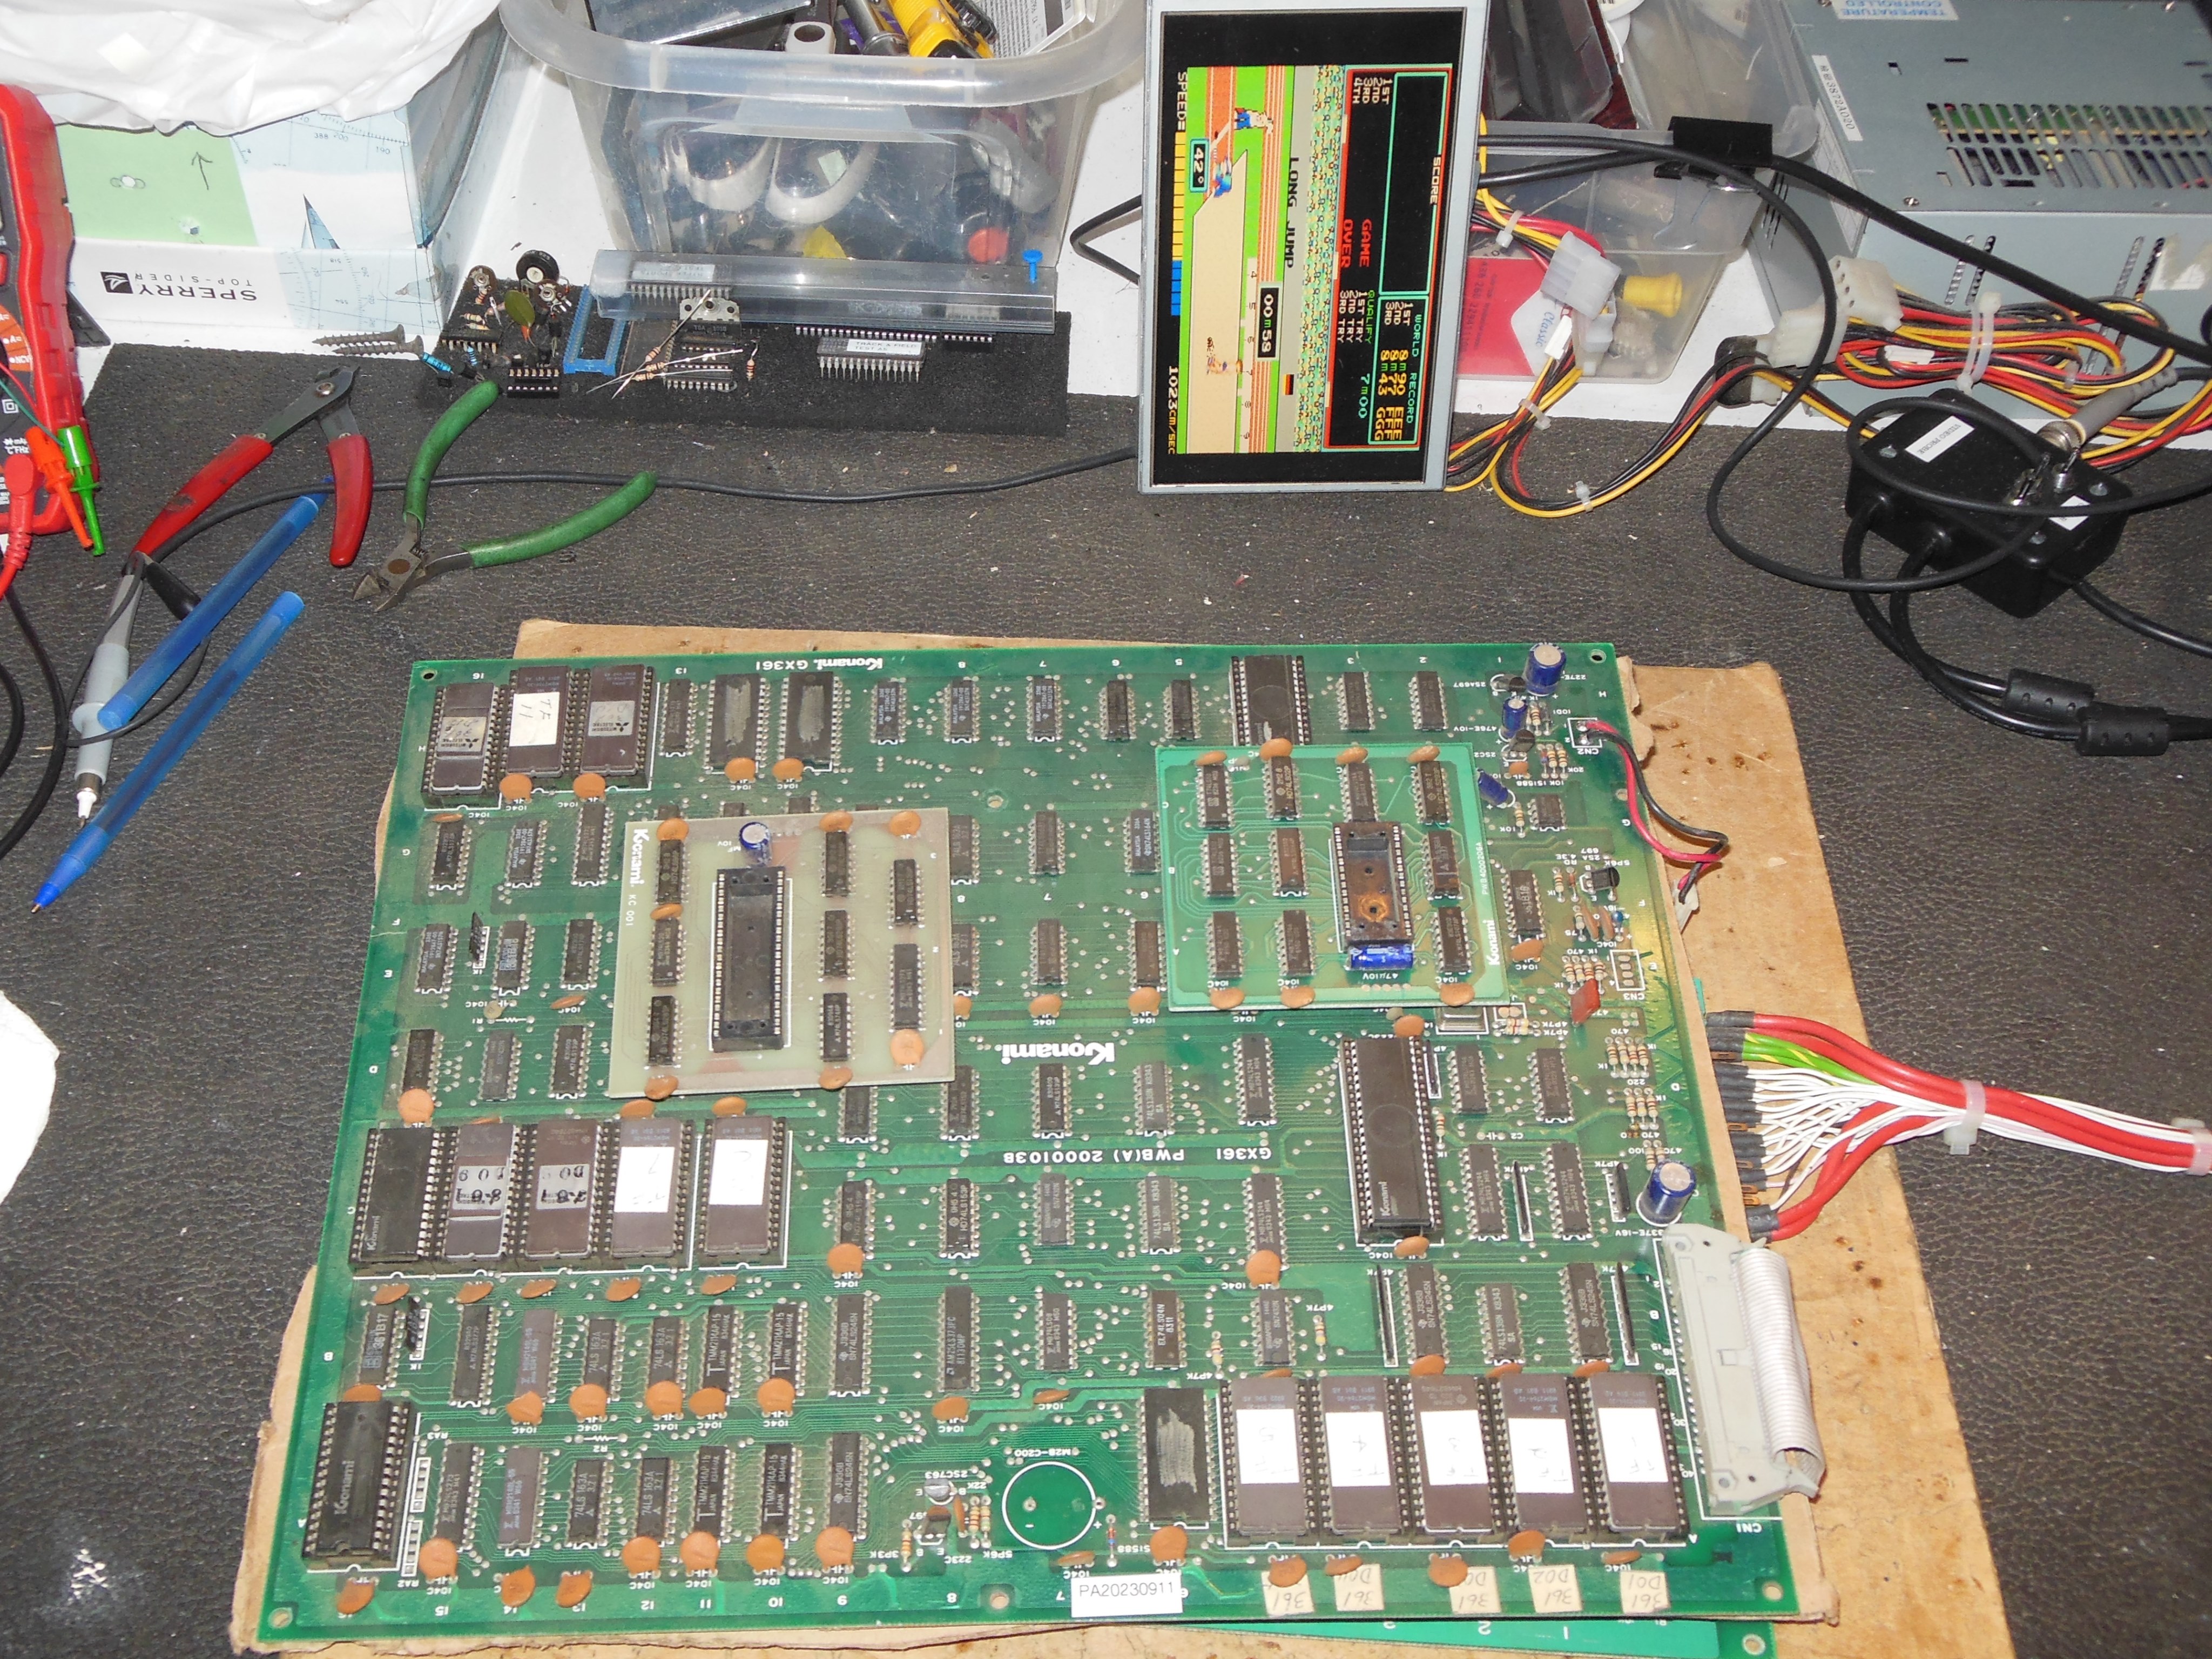
Trying the Track'n'Field test ROM in the cabinet game PCB didn't identify any bad RAM as
a cause for the bad background graphics. ROM A3 was flagged as 'unknown' and labeled in
Japanese as "Hyper Red". The ROM dump of that ROM compared with the existing Hyper Olympic
sets found a typo correction - the existing D03 has "HIGHT”, and this ROM has "HEIGHT" in
the text data. There were also other changes in some of the game data, the purpose of which
was unknown. A dump was submitted to the MAME team.
Konami Hyper Olympic (Red) ROM Set
Using the video probe to inspect the outputs from EPROM H16 found that the data outputs
were also lined suggesting an address fault. Mapping out IC H16 found:
| blank | 1 | 28 | blank |
| lined | 2 | 27 | blank |
| lined | 3 | 26 | blank |
| lined | 4 | 25 | lined |
| lined | 5 | 24 | blank |
| full alt H bars / 1 | 6 | 23 | lined |
| full alt H bars / 2 | 7 | 22 | blank |
| full alt H bars / 4 | 8 | 21 | lined |
| full alt V bars | 9 | 20 | blank |
| blank | 10 | 19 | lined |
| data | 11 | 18 | lined |
| data | 12 | 17 | lined |
| data | 13 | 16 | lined |
| gnd | 14 | 15 | lined |
|
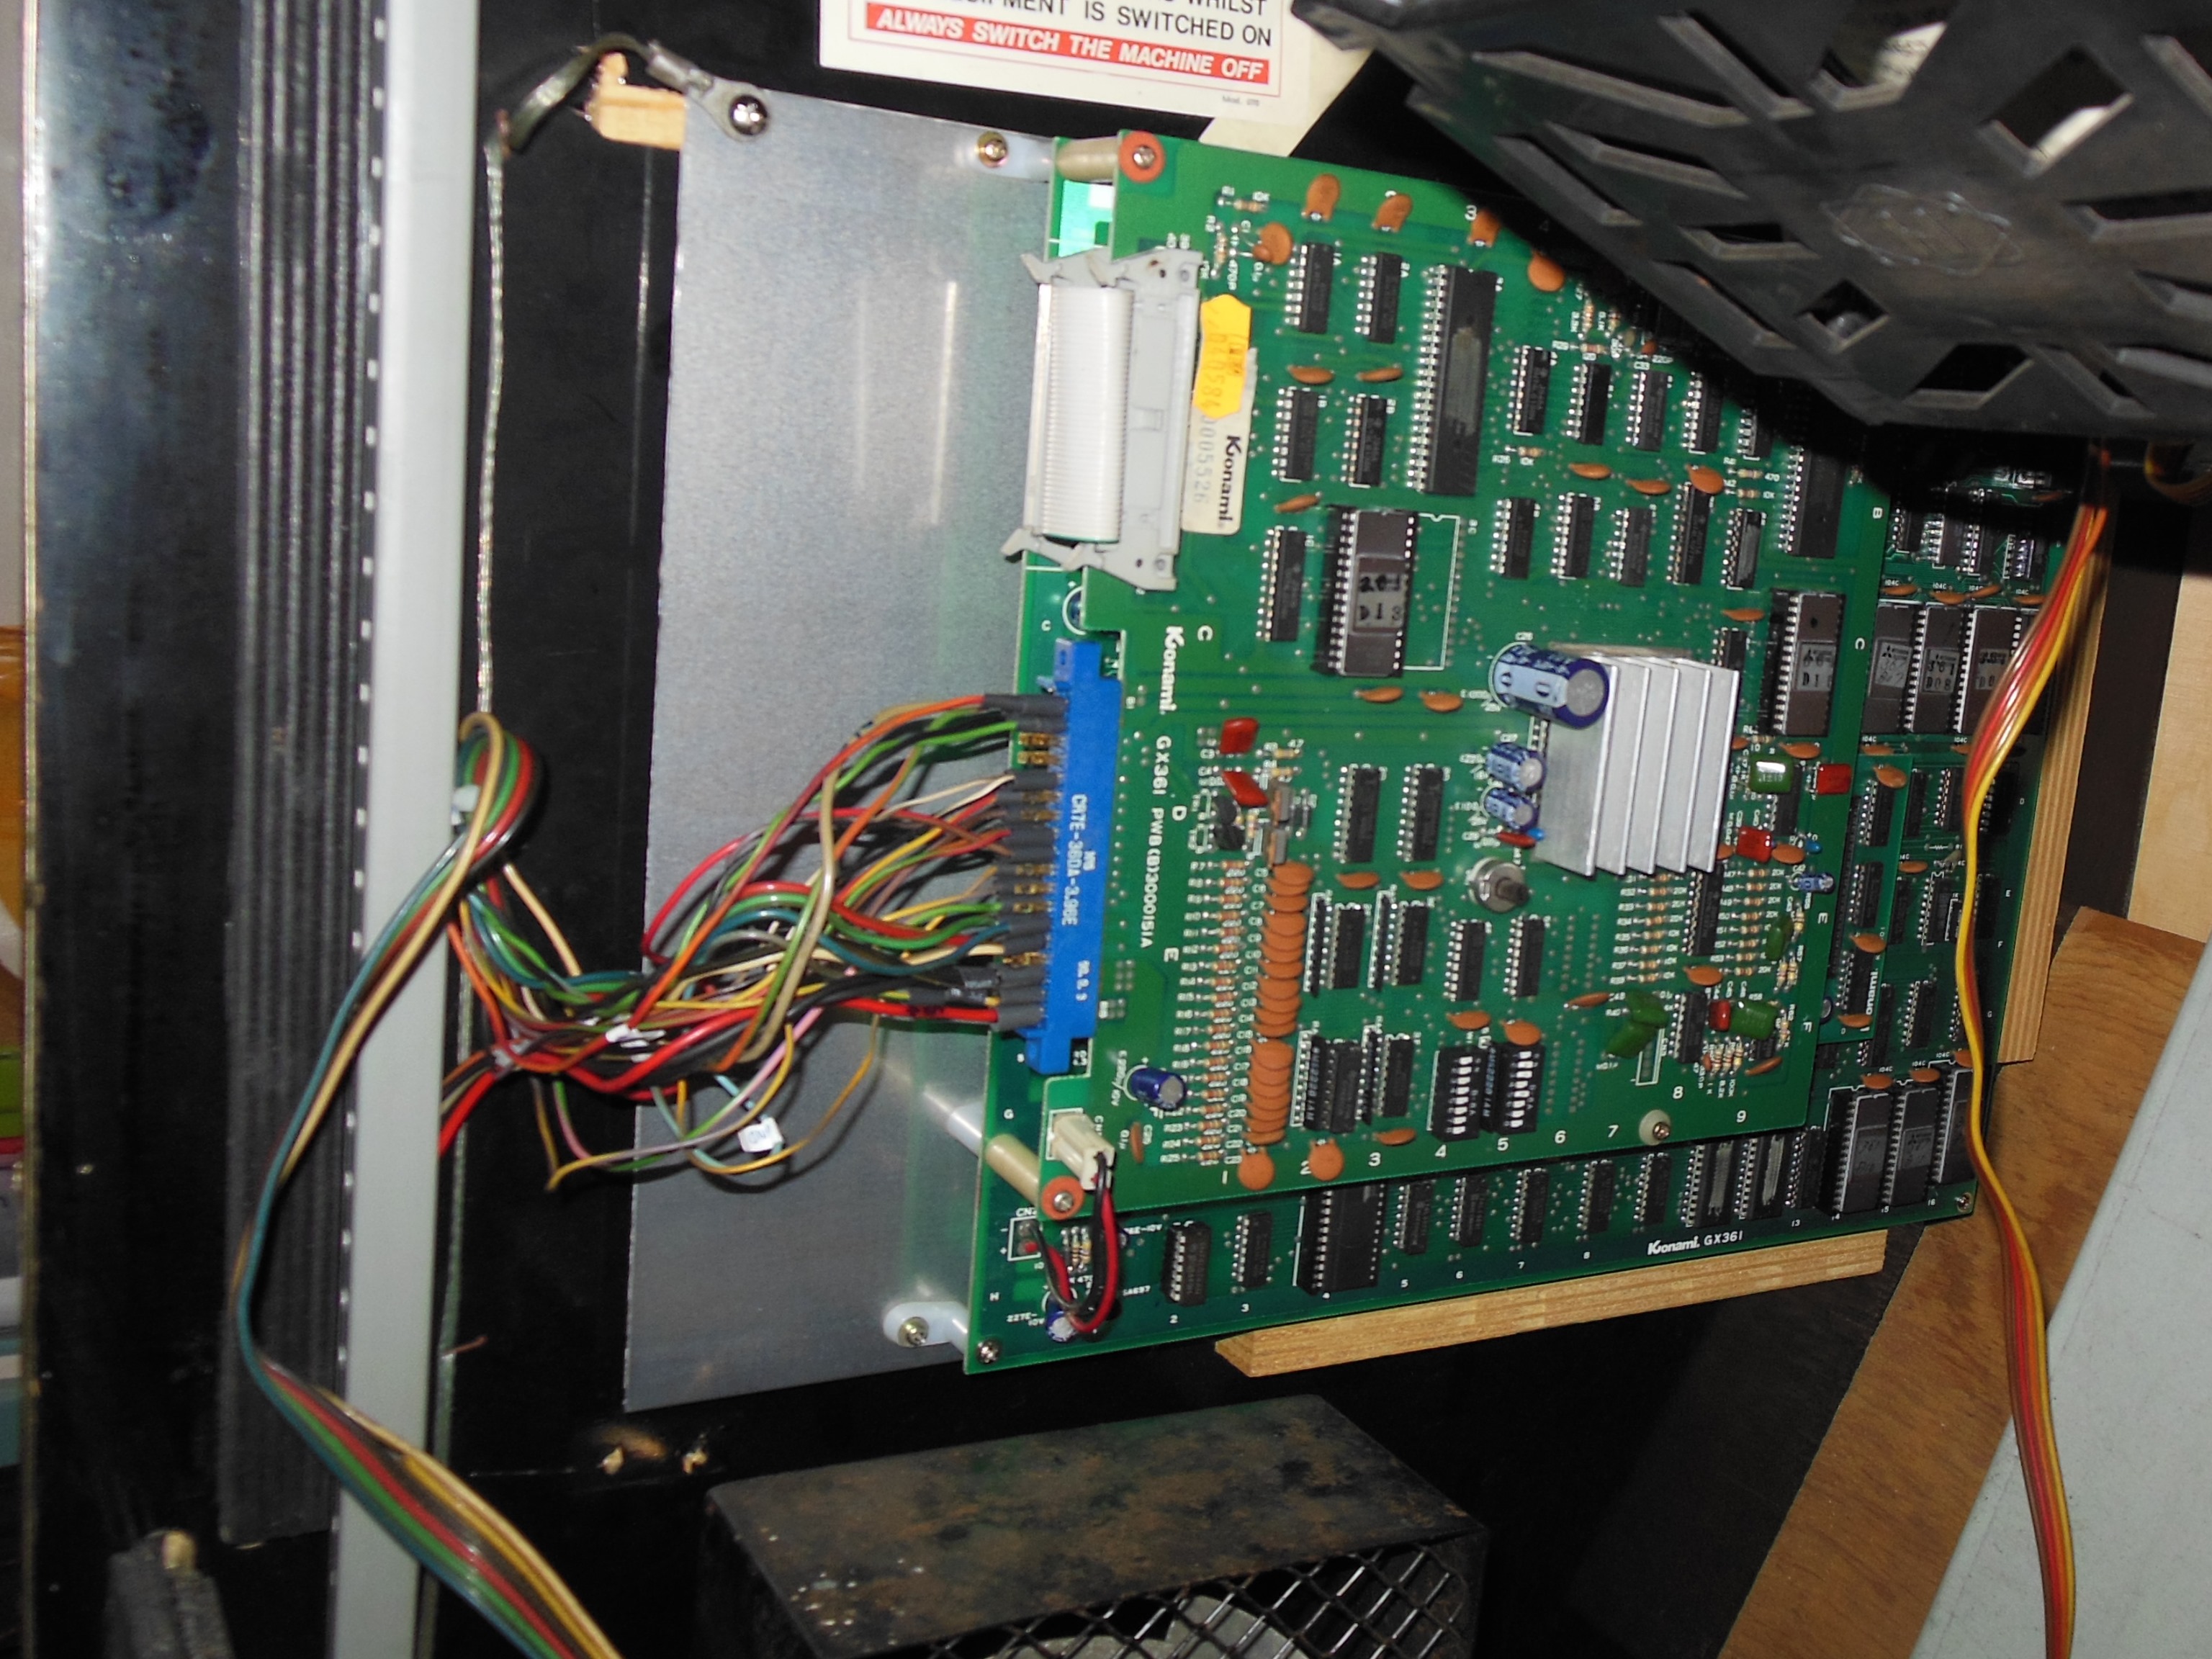
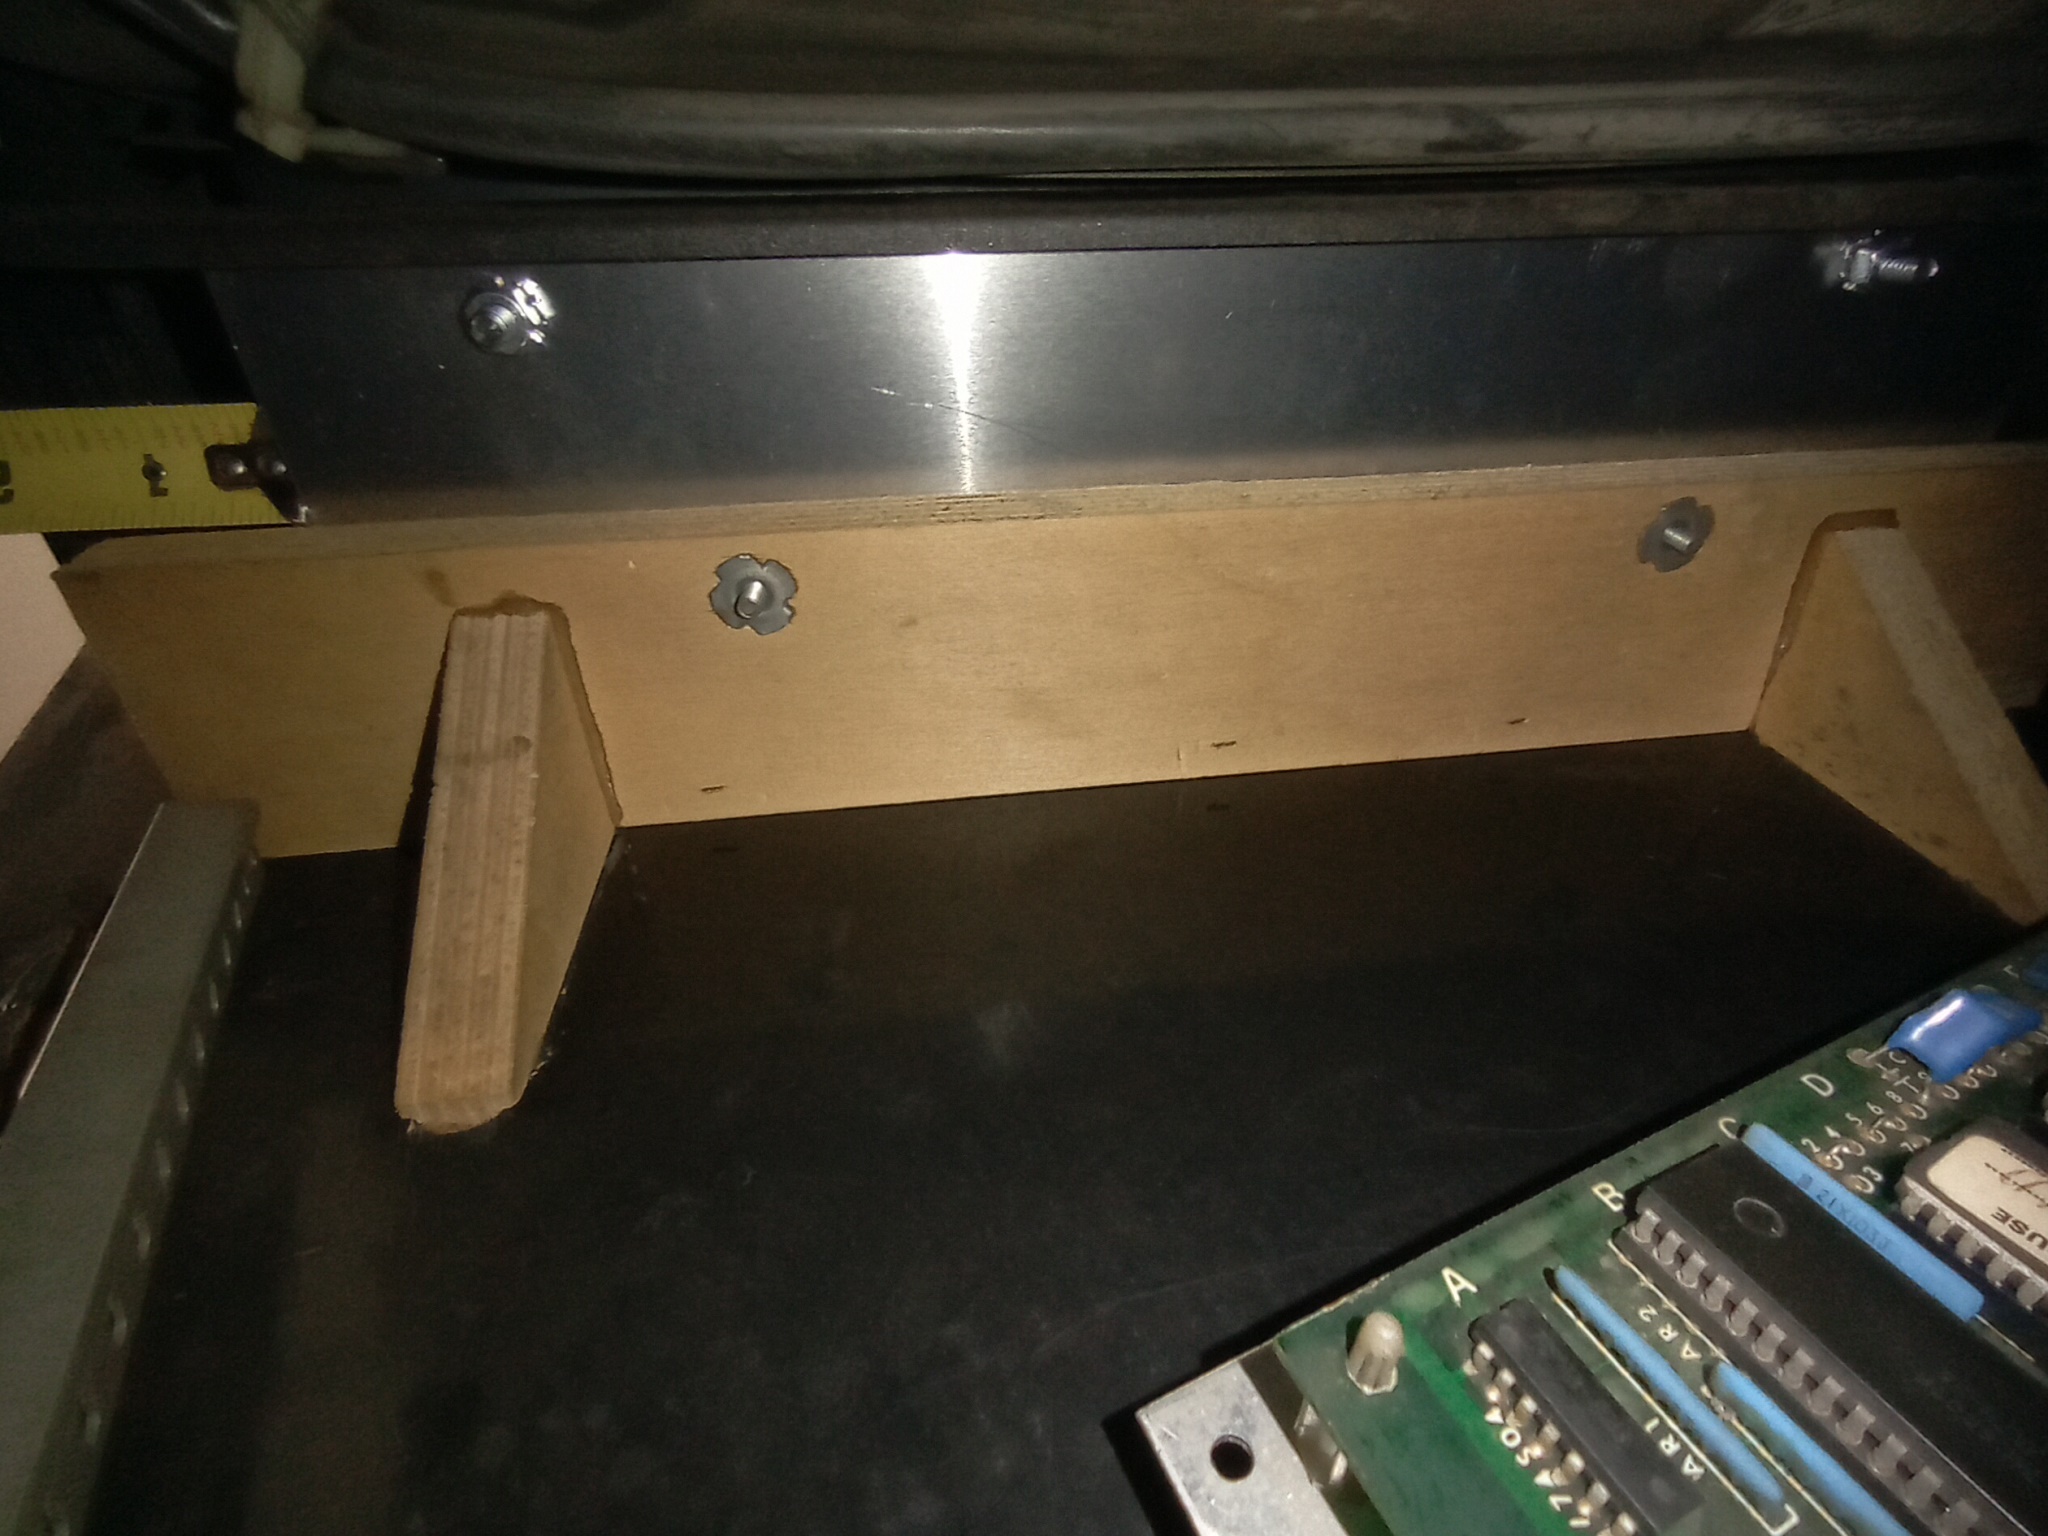
The cabinet guides fitted an 17" x 11.5" mounting plate (a previous reproduction run from OnlineMetals) that was drilled to accommodate the Hyper Olympic game PCB, assembled and installed into the cabinet.
|
Whilst the game itself booted and ran OK in the cabinet, the picture was a little out of focus that was left as is until a full burn in and adjustment after a cap kit was fitted.
|
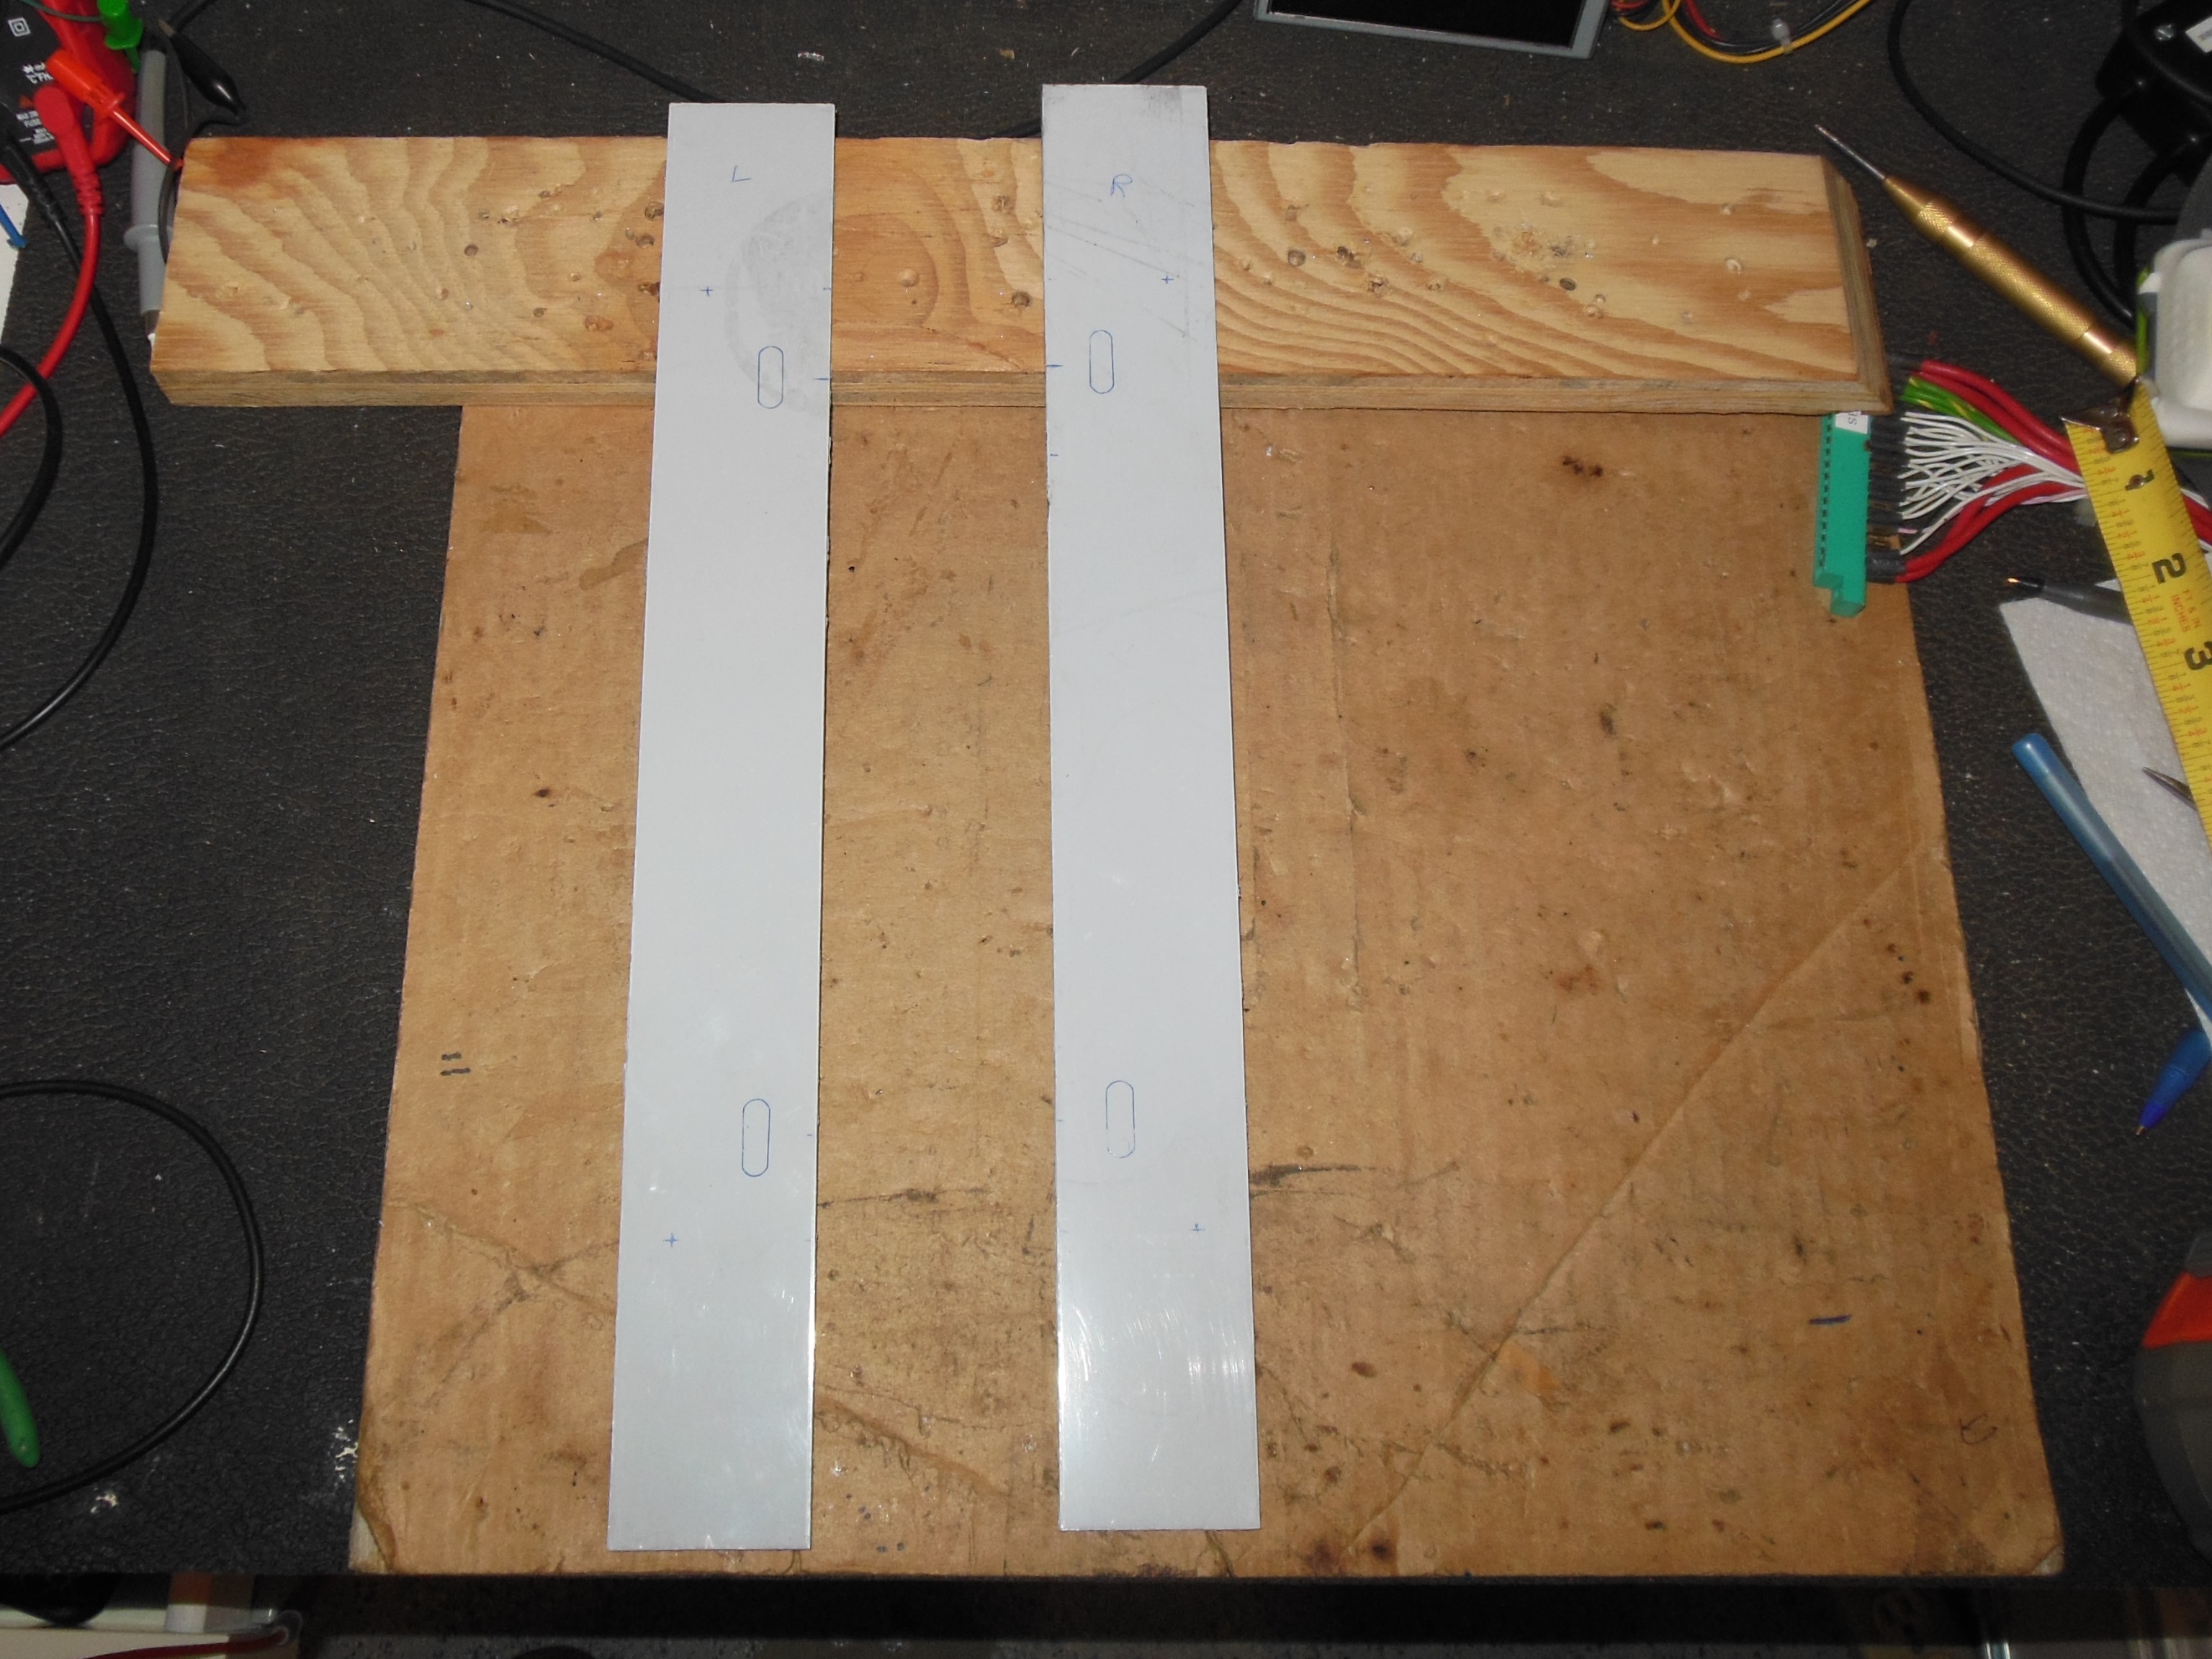
Almost all of the Zaccaria cabinets I had were native vertical. The later Universal
design used for Cat'n'Mouse was native horizontal with additional side plates for use
with a vertical monitor. These were used as a reference to design a specific set of side
plates to correct for the hacked monitor shelf on this cabinet, ordered from OnlineMetals:
0.1" Aluminum Sheet 3003-H14 #8093 14.875" x 1.75"
|
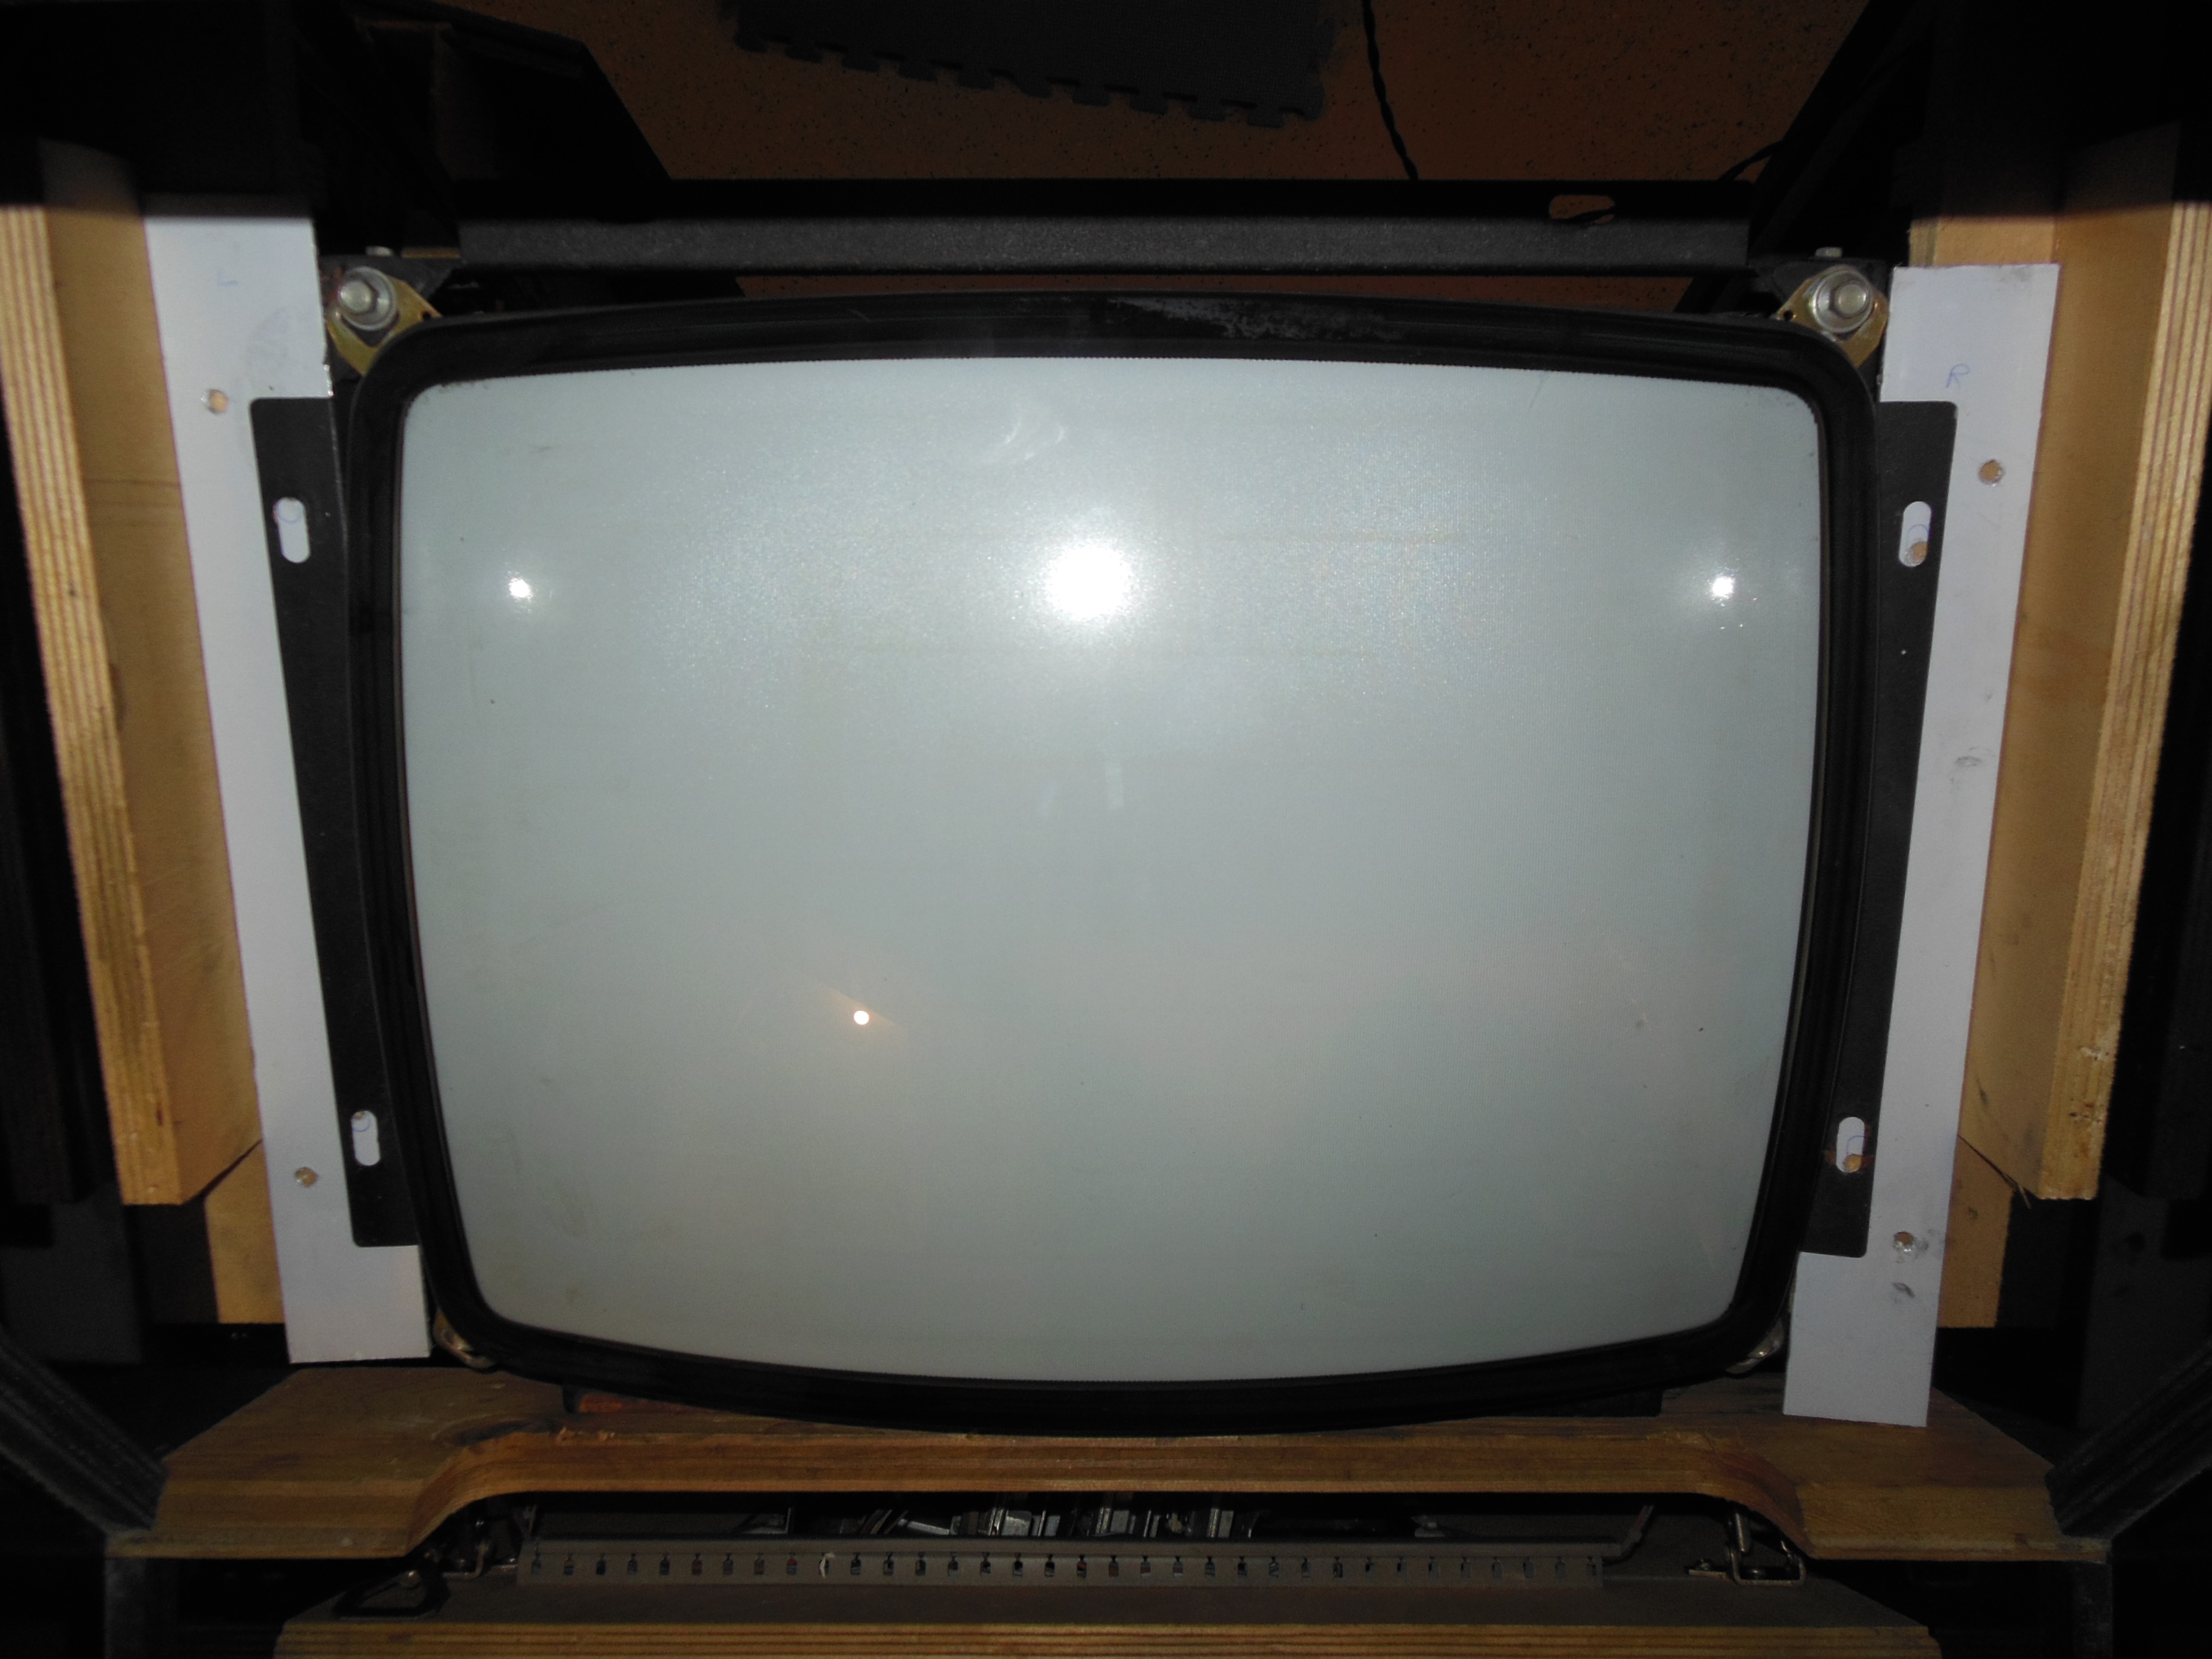
The monitor was removed, and the side plates staged with the monitor to determine both the monitor frame lug hole locations and the bolt holes for mounting through the side wall shelves.
|
After drilling the holes in the side plates, corresponding 'U' cut-outs were trimmed from the side wall shelves to accommodate the nuts. It was a tight fit getting everything lined up but the finished assembly was solid and level.
|
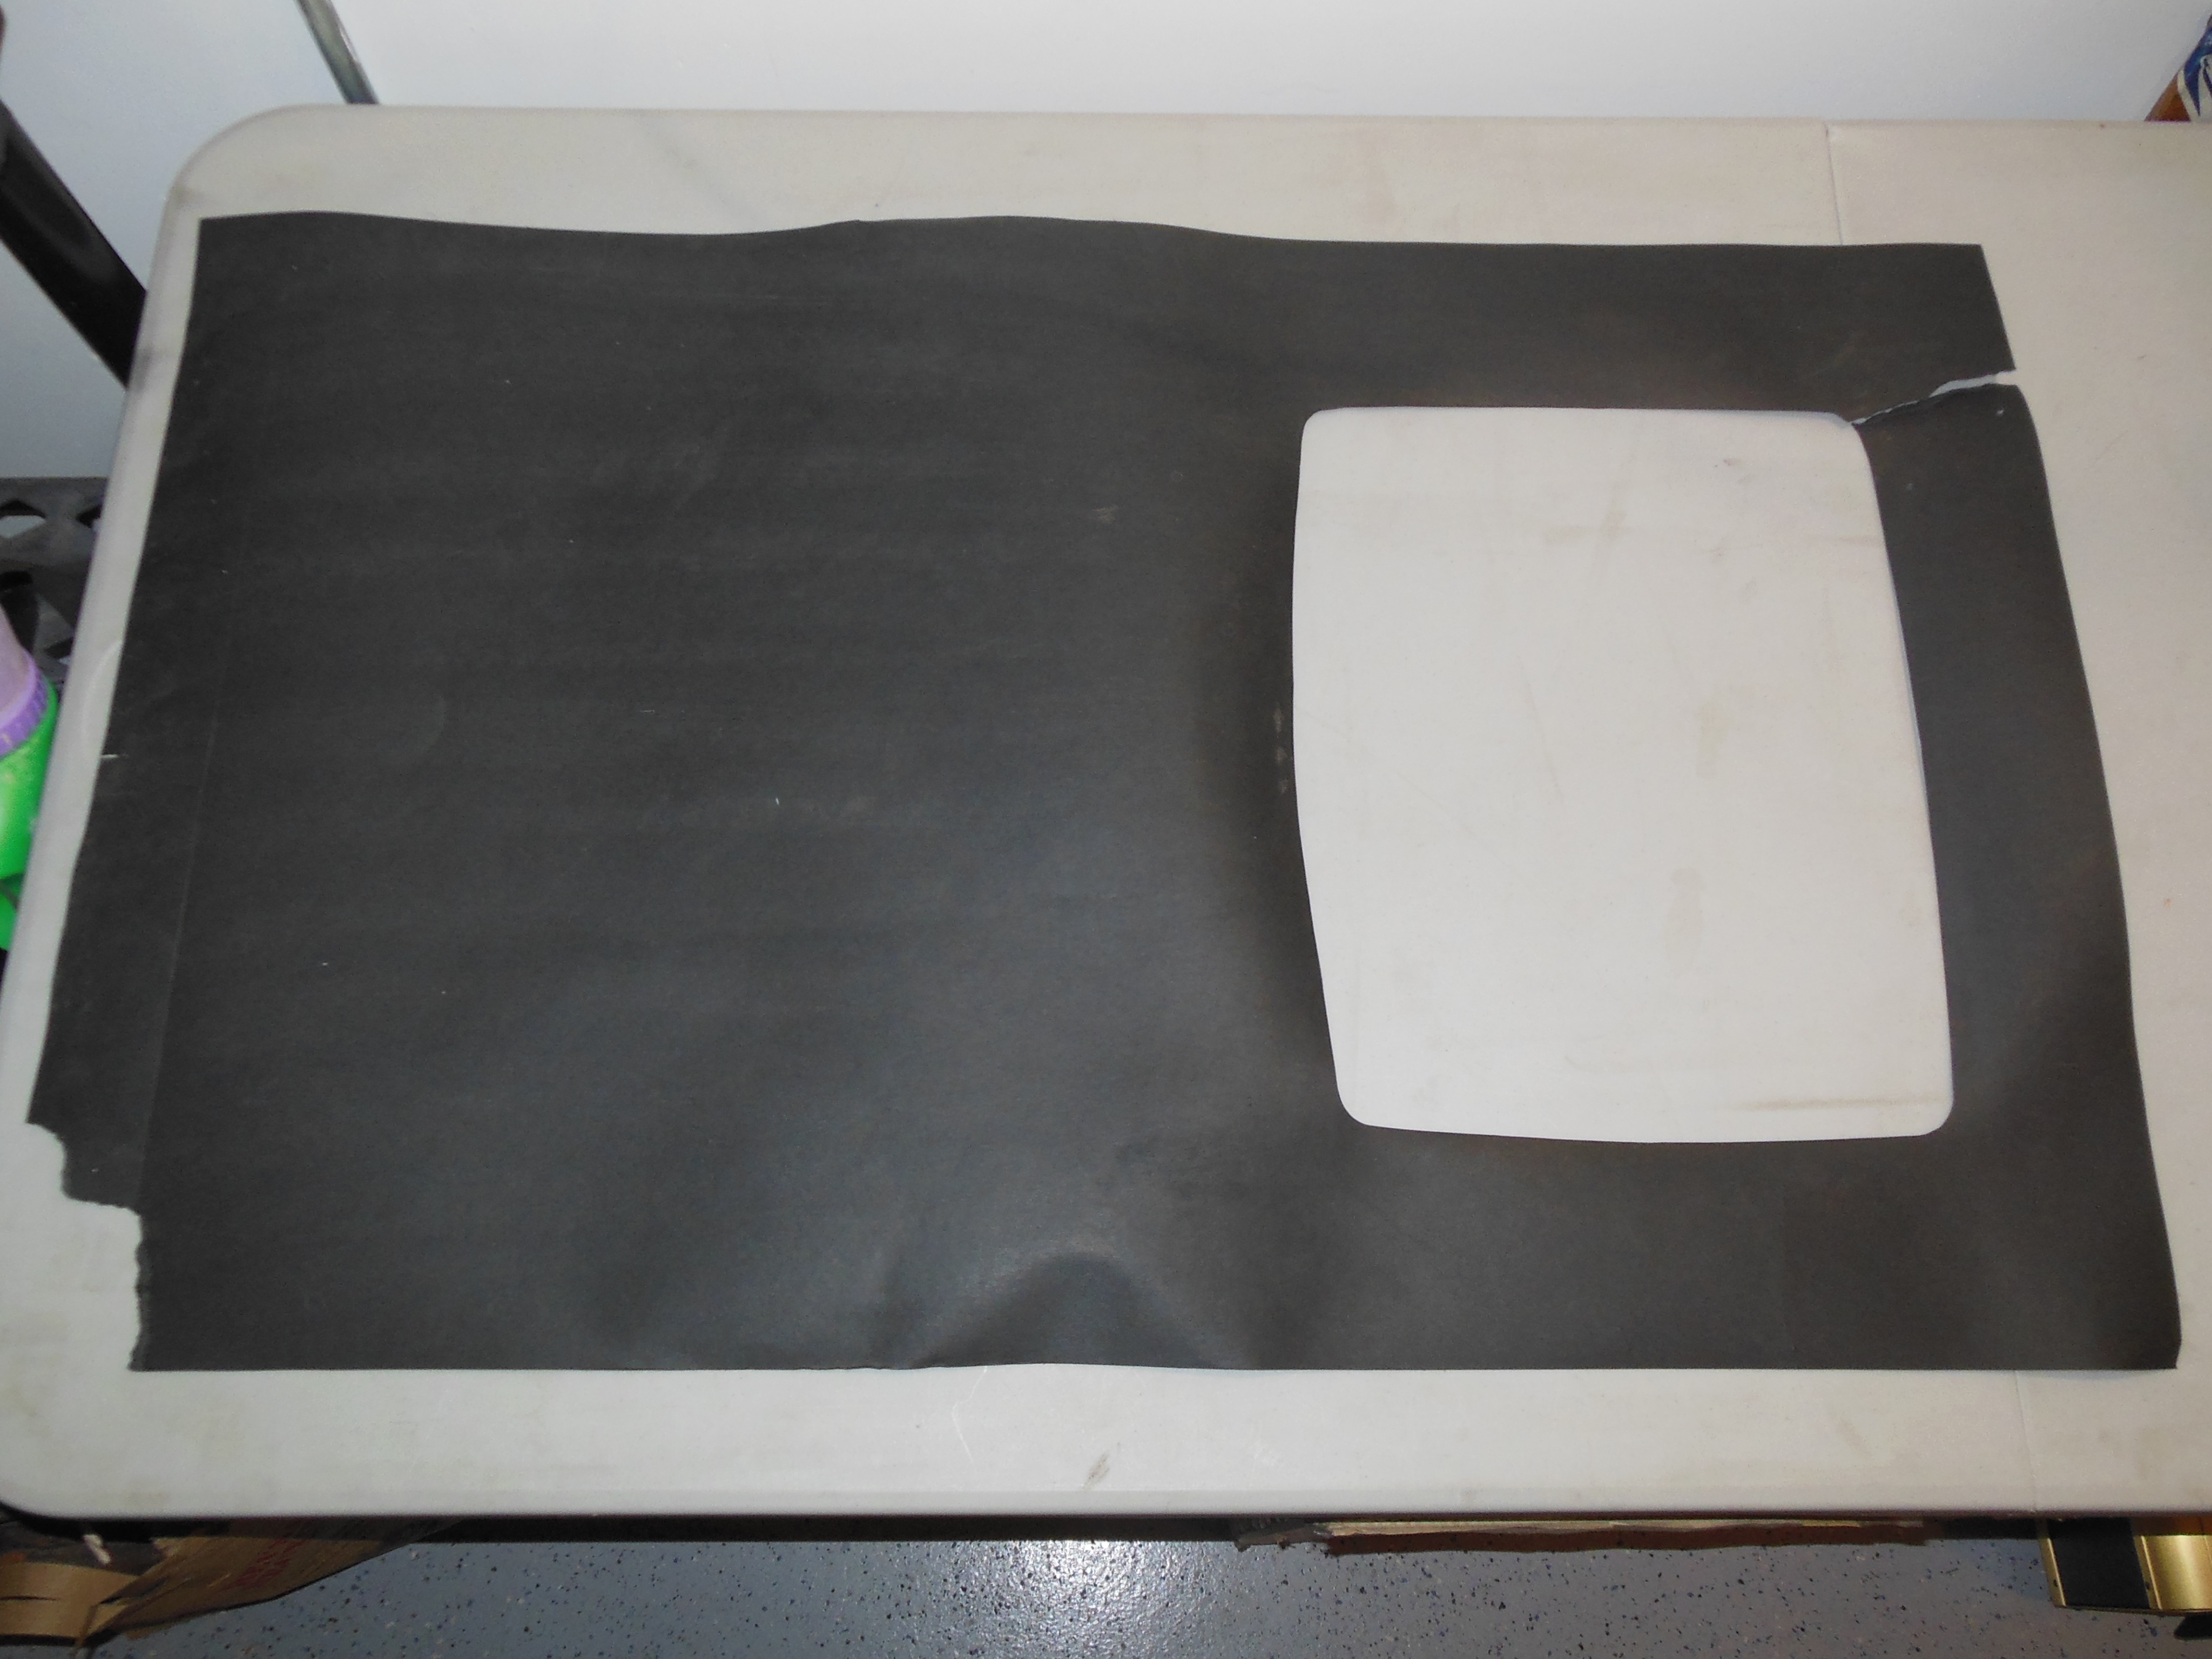
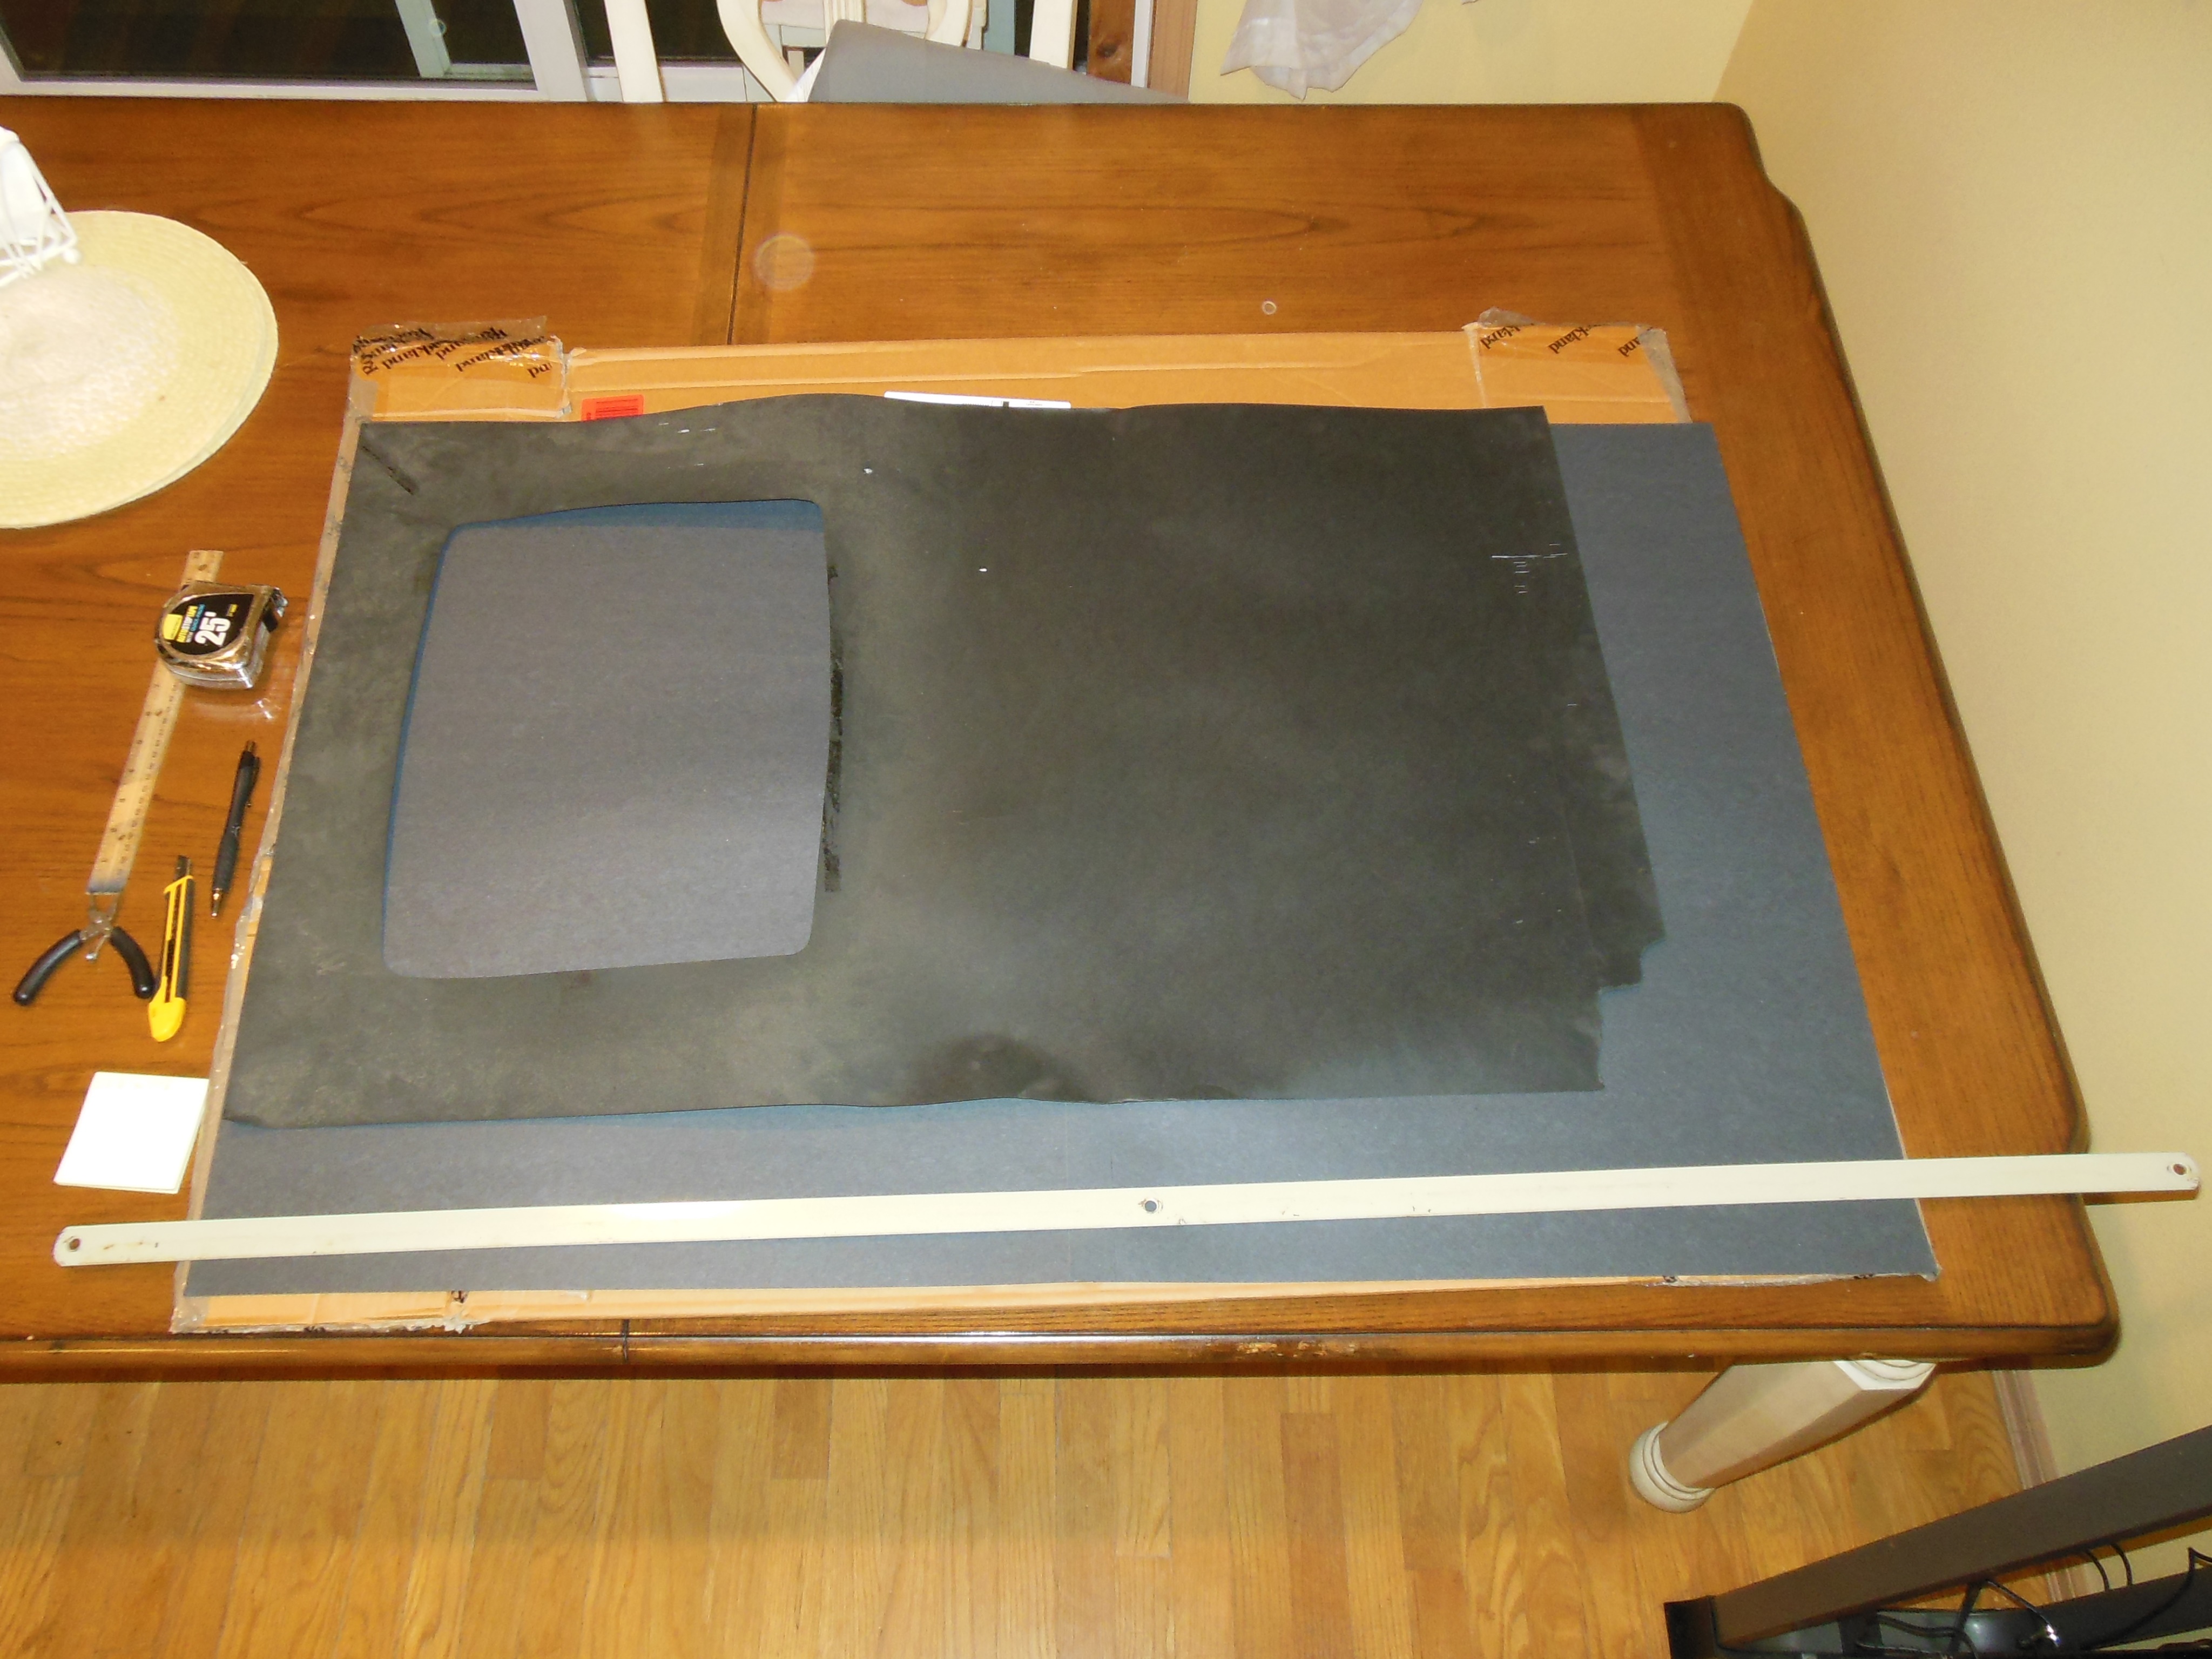
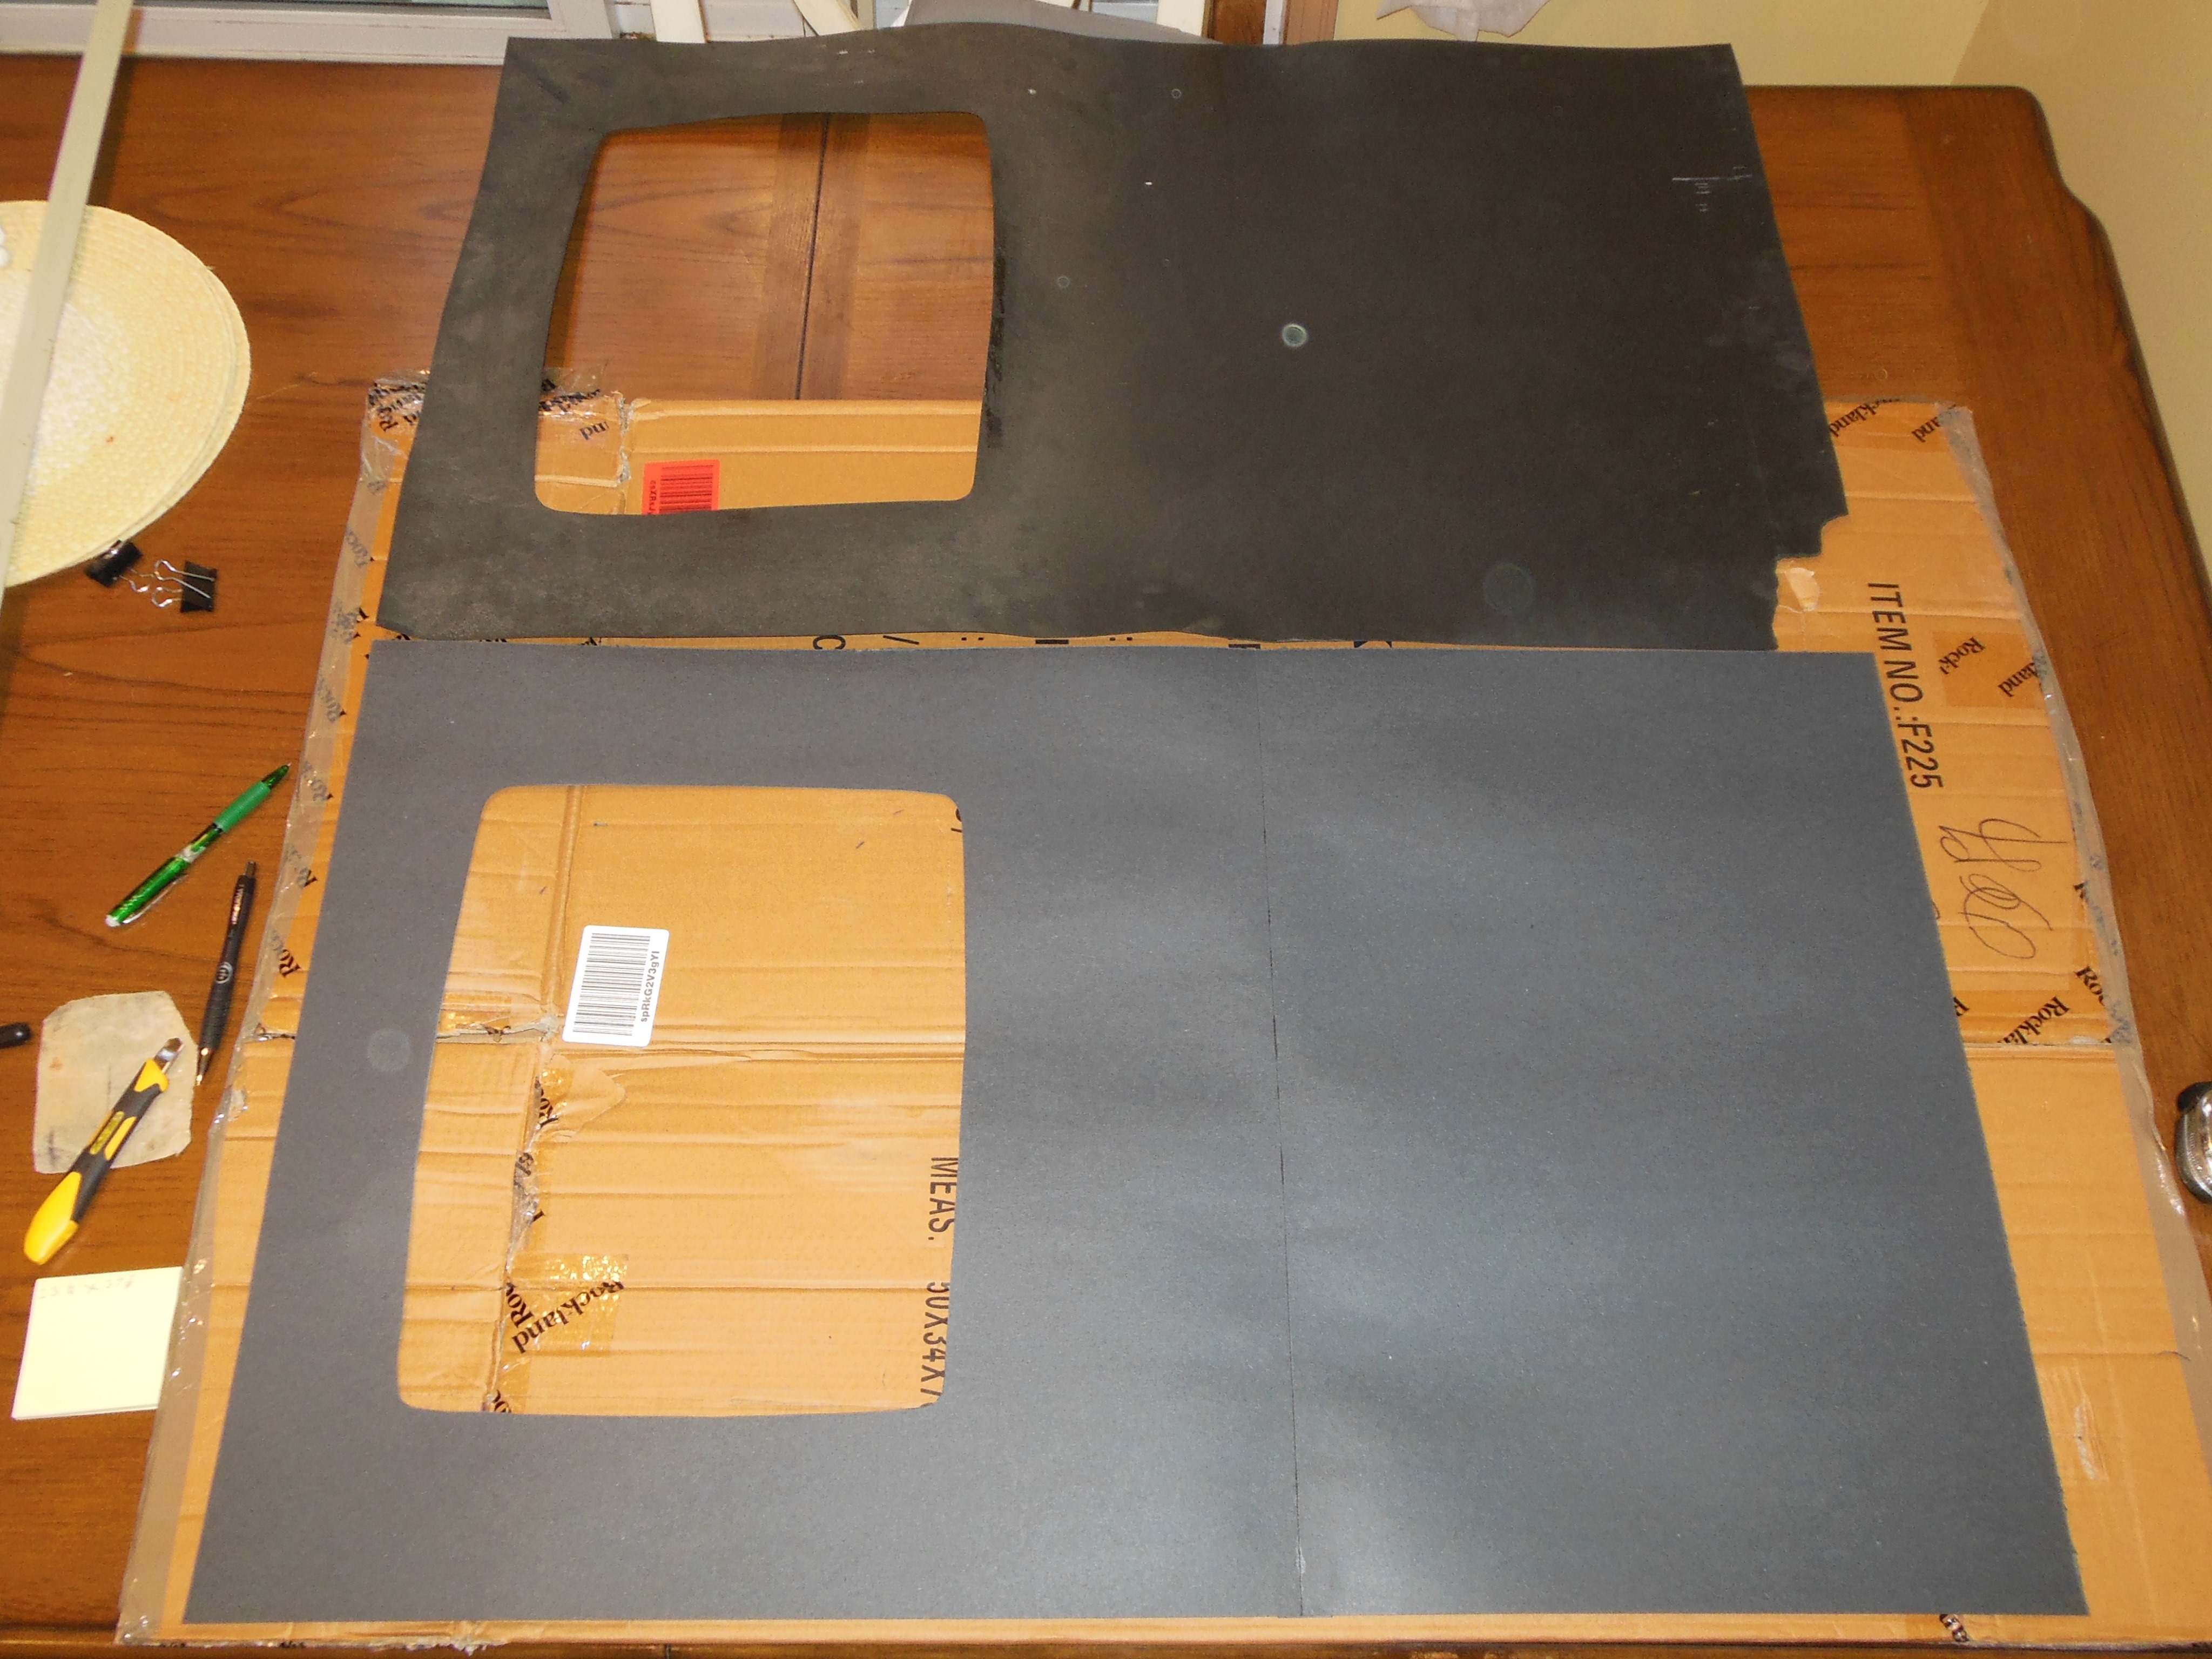
I had one spare but ripped original native horizontal monitor surround left over from the Universal B0 restoration (that became the vertical Cat'n'Mouse cabinet). The plan was to repair this surround and use it as a template to make a reproduction horizontal surround fitting this flat marque style cabinet.

|
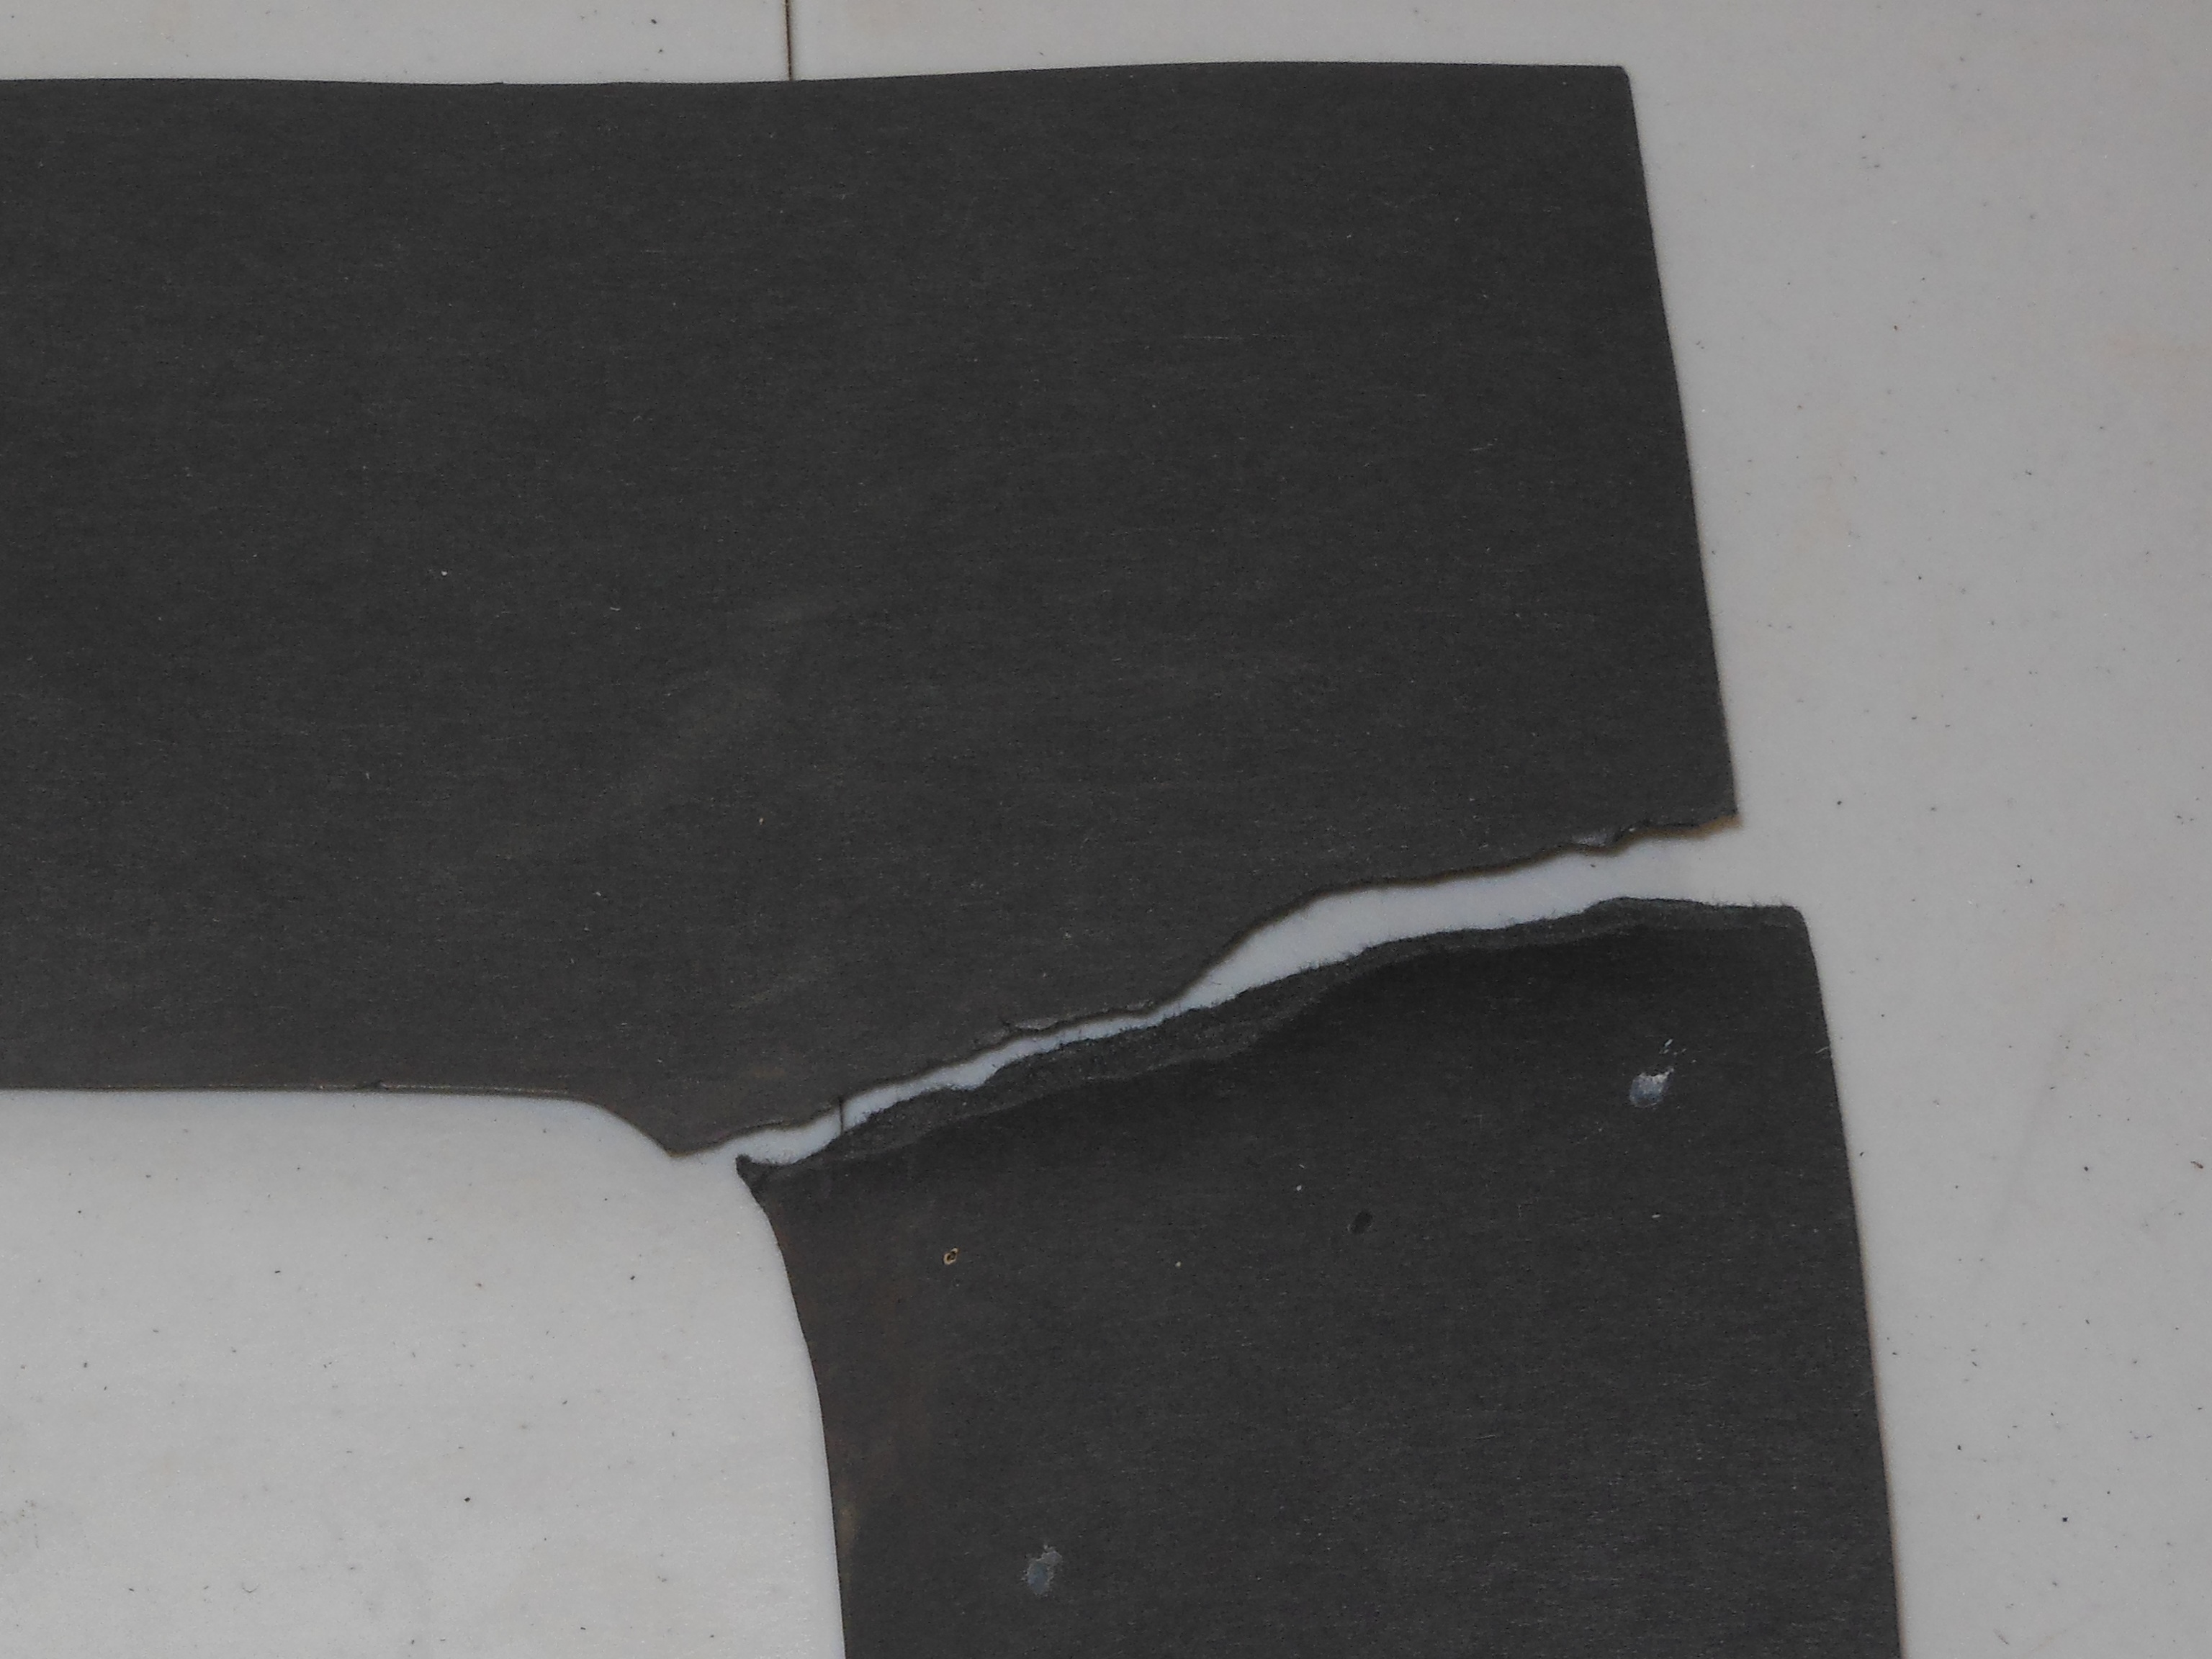
The repair was a simple rejoin at the tear and apply a straight patch using paper glue.
|
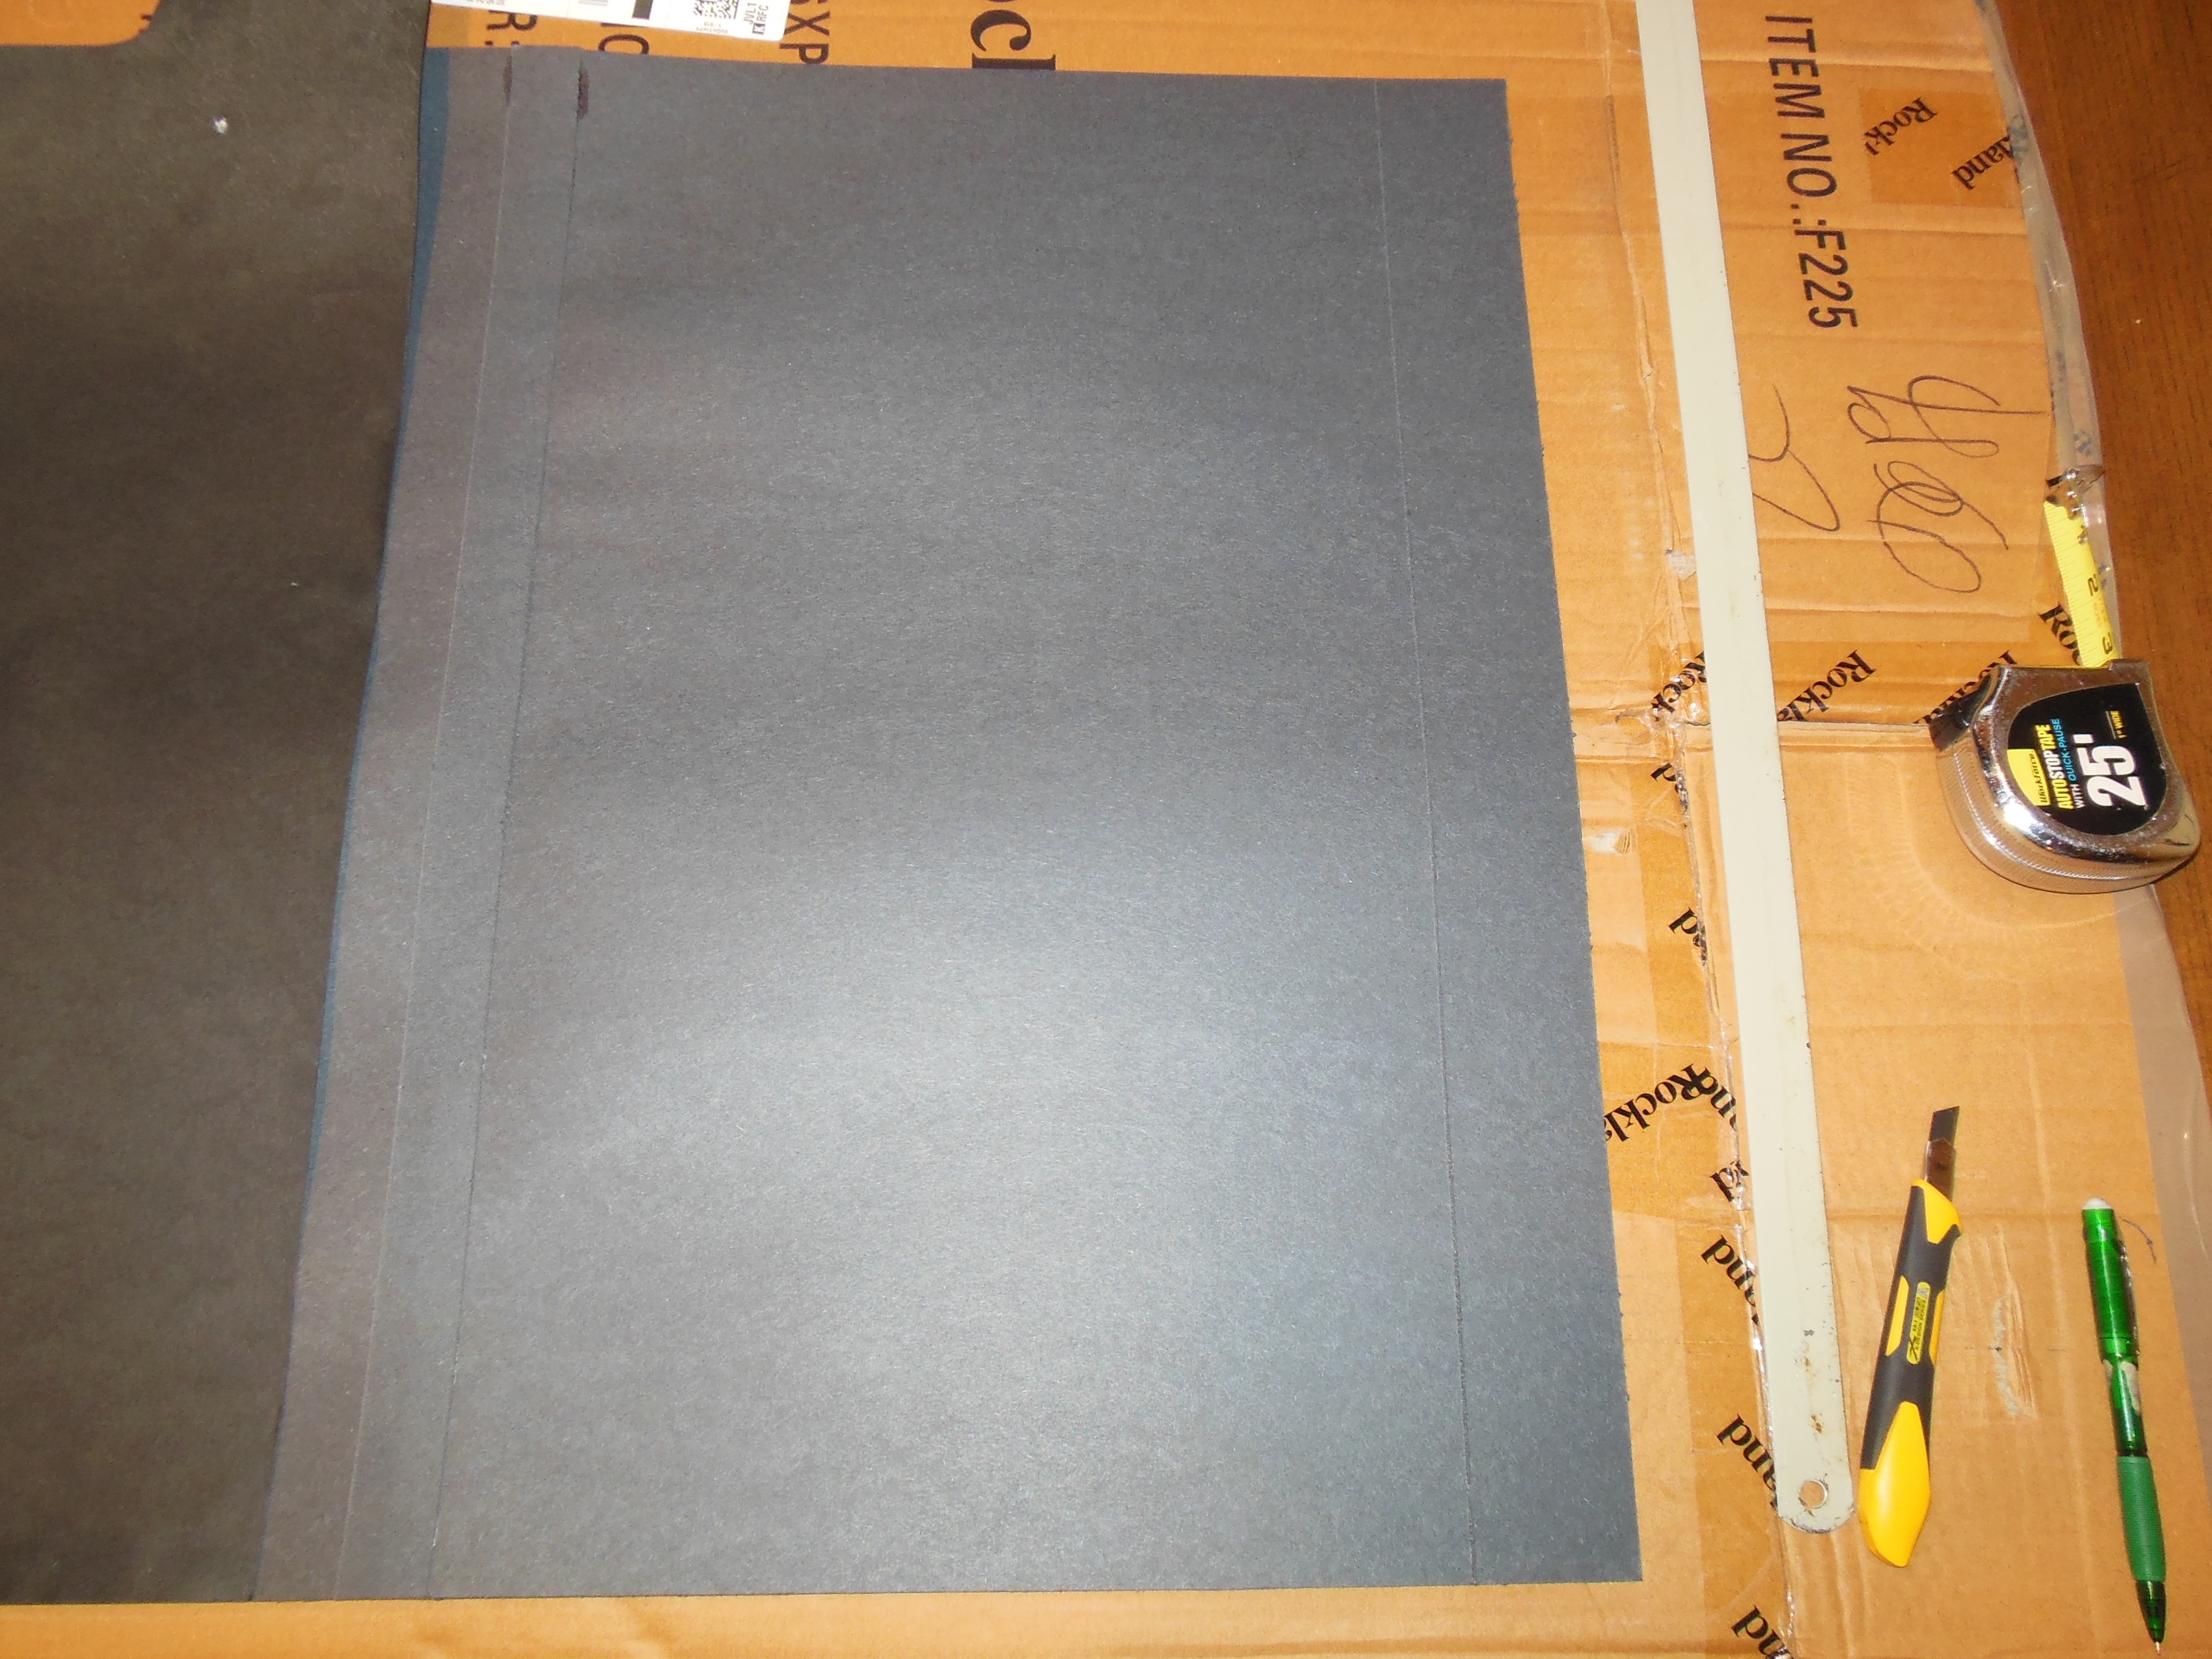
I couldn’t locate a single sheet of similar black card large enough to reproduce a surround as one, so two sheets of railway card were patched together. Whilst the join is visible under light, in the cabinet cavity it's not as noticeable.
|
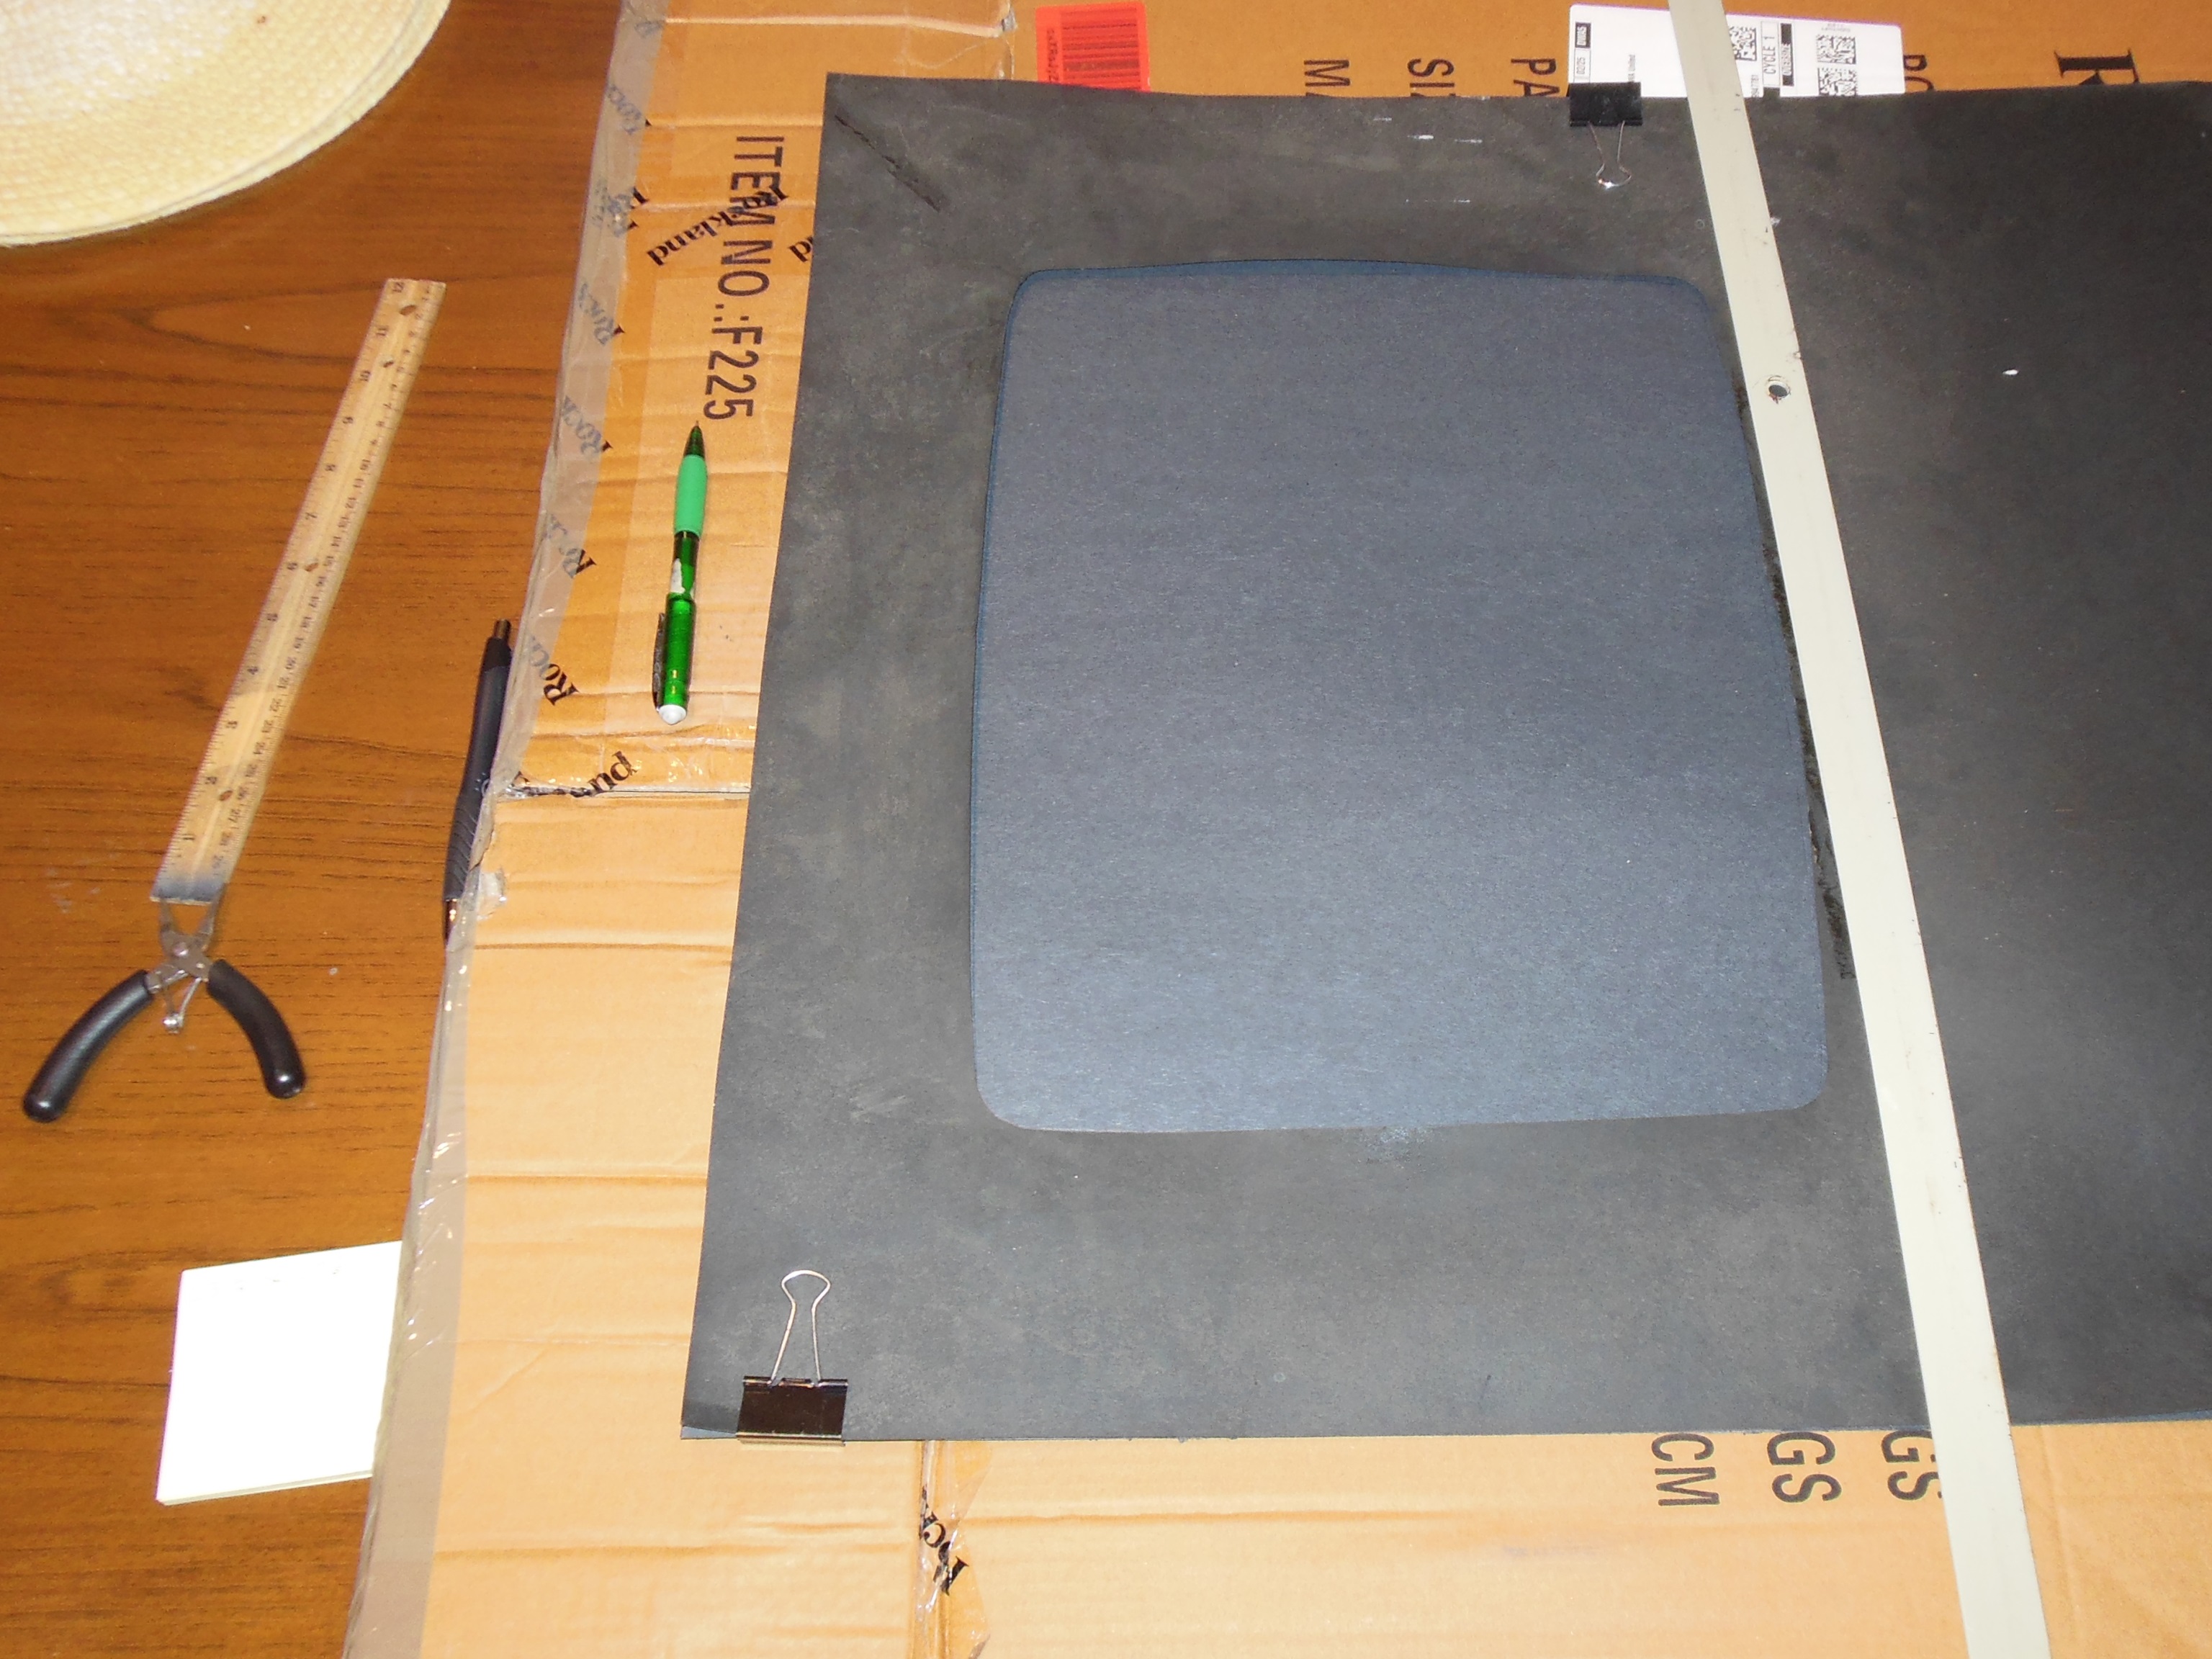
Whist comparing the original cabinet surround with the B0 surround I discovered that it appeared that the B0 surround had a crease score that allowed it to be folder over to shorten it to fit the flat marque cabinet. Therefore, I could use the B0 as an identical template with a similar scoring and fold it over to fit.
|
Removing the CRT cut out finished the reproduction surround.

|
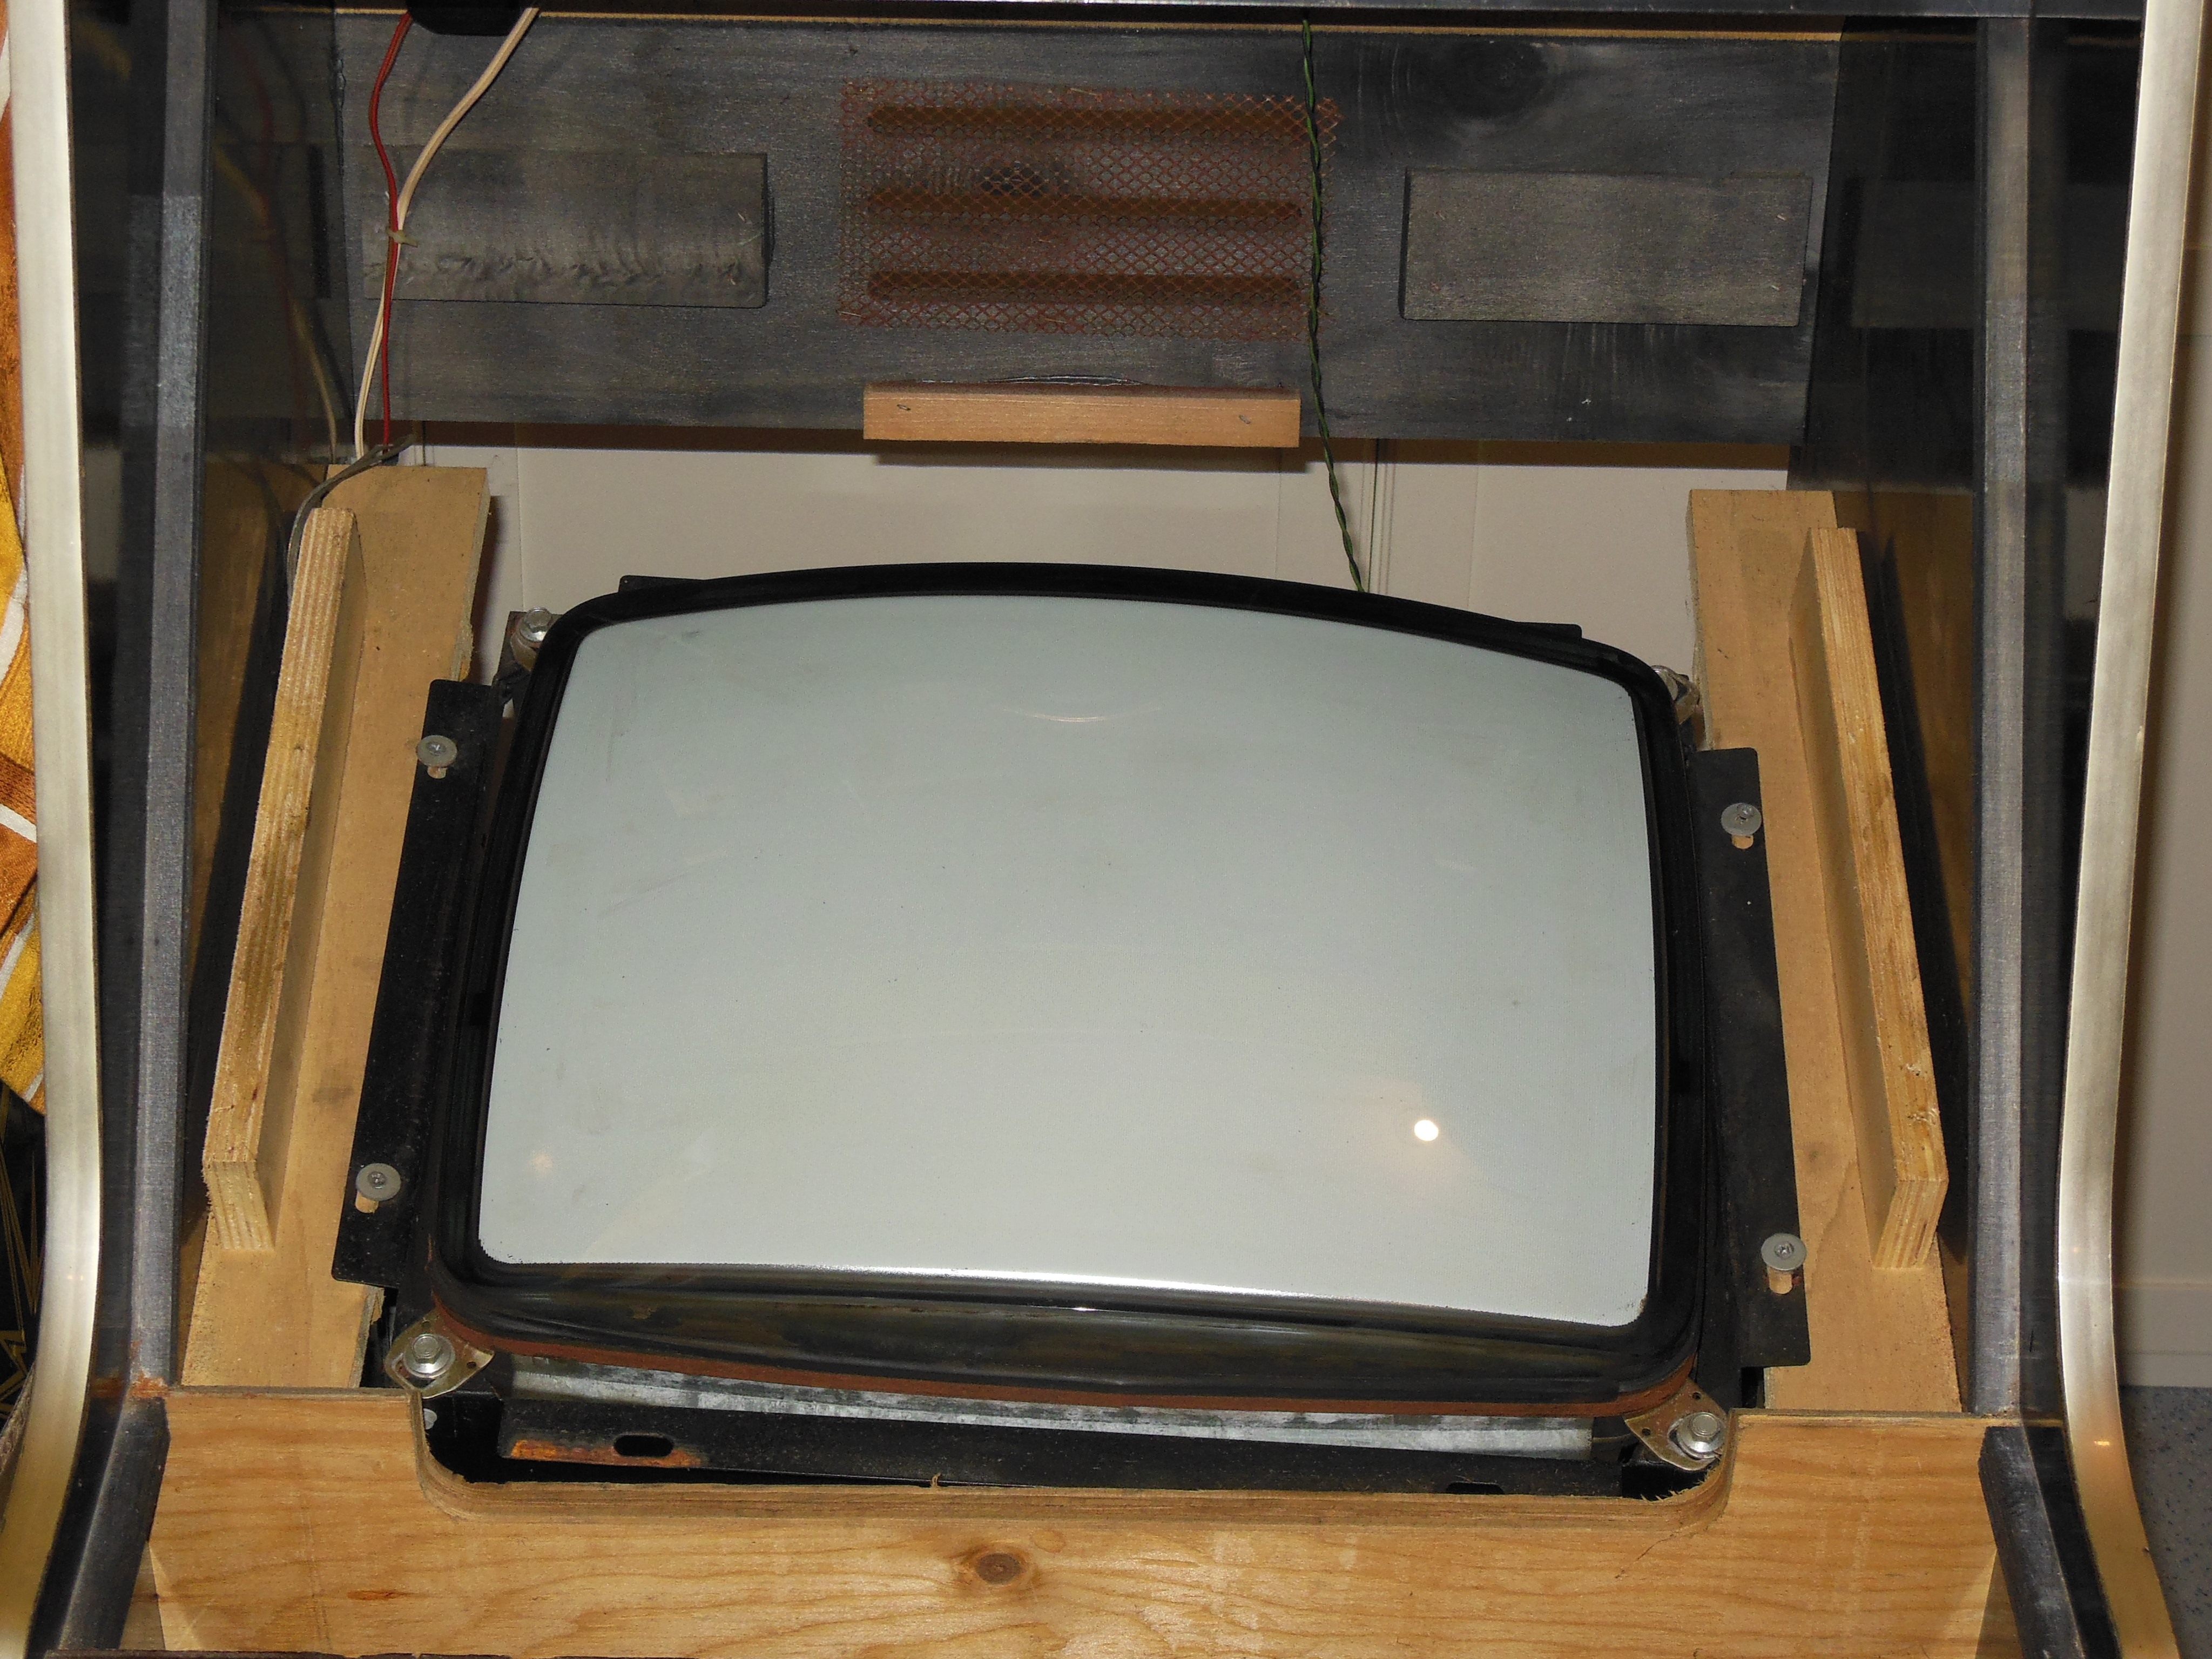
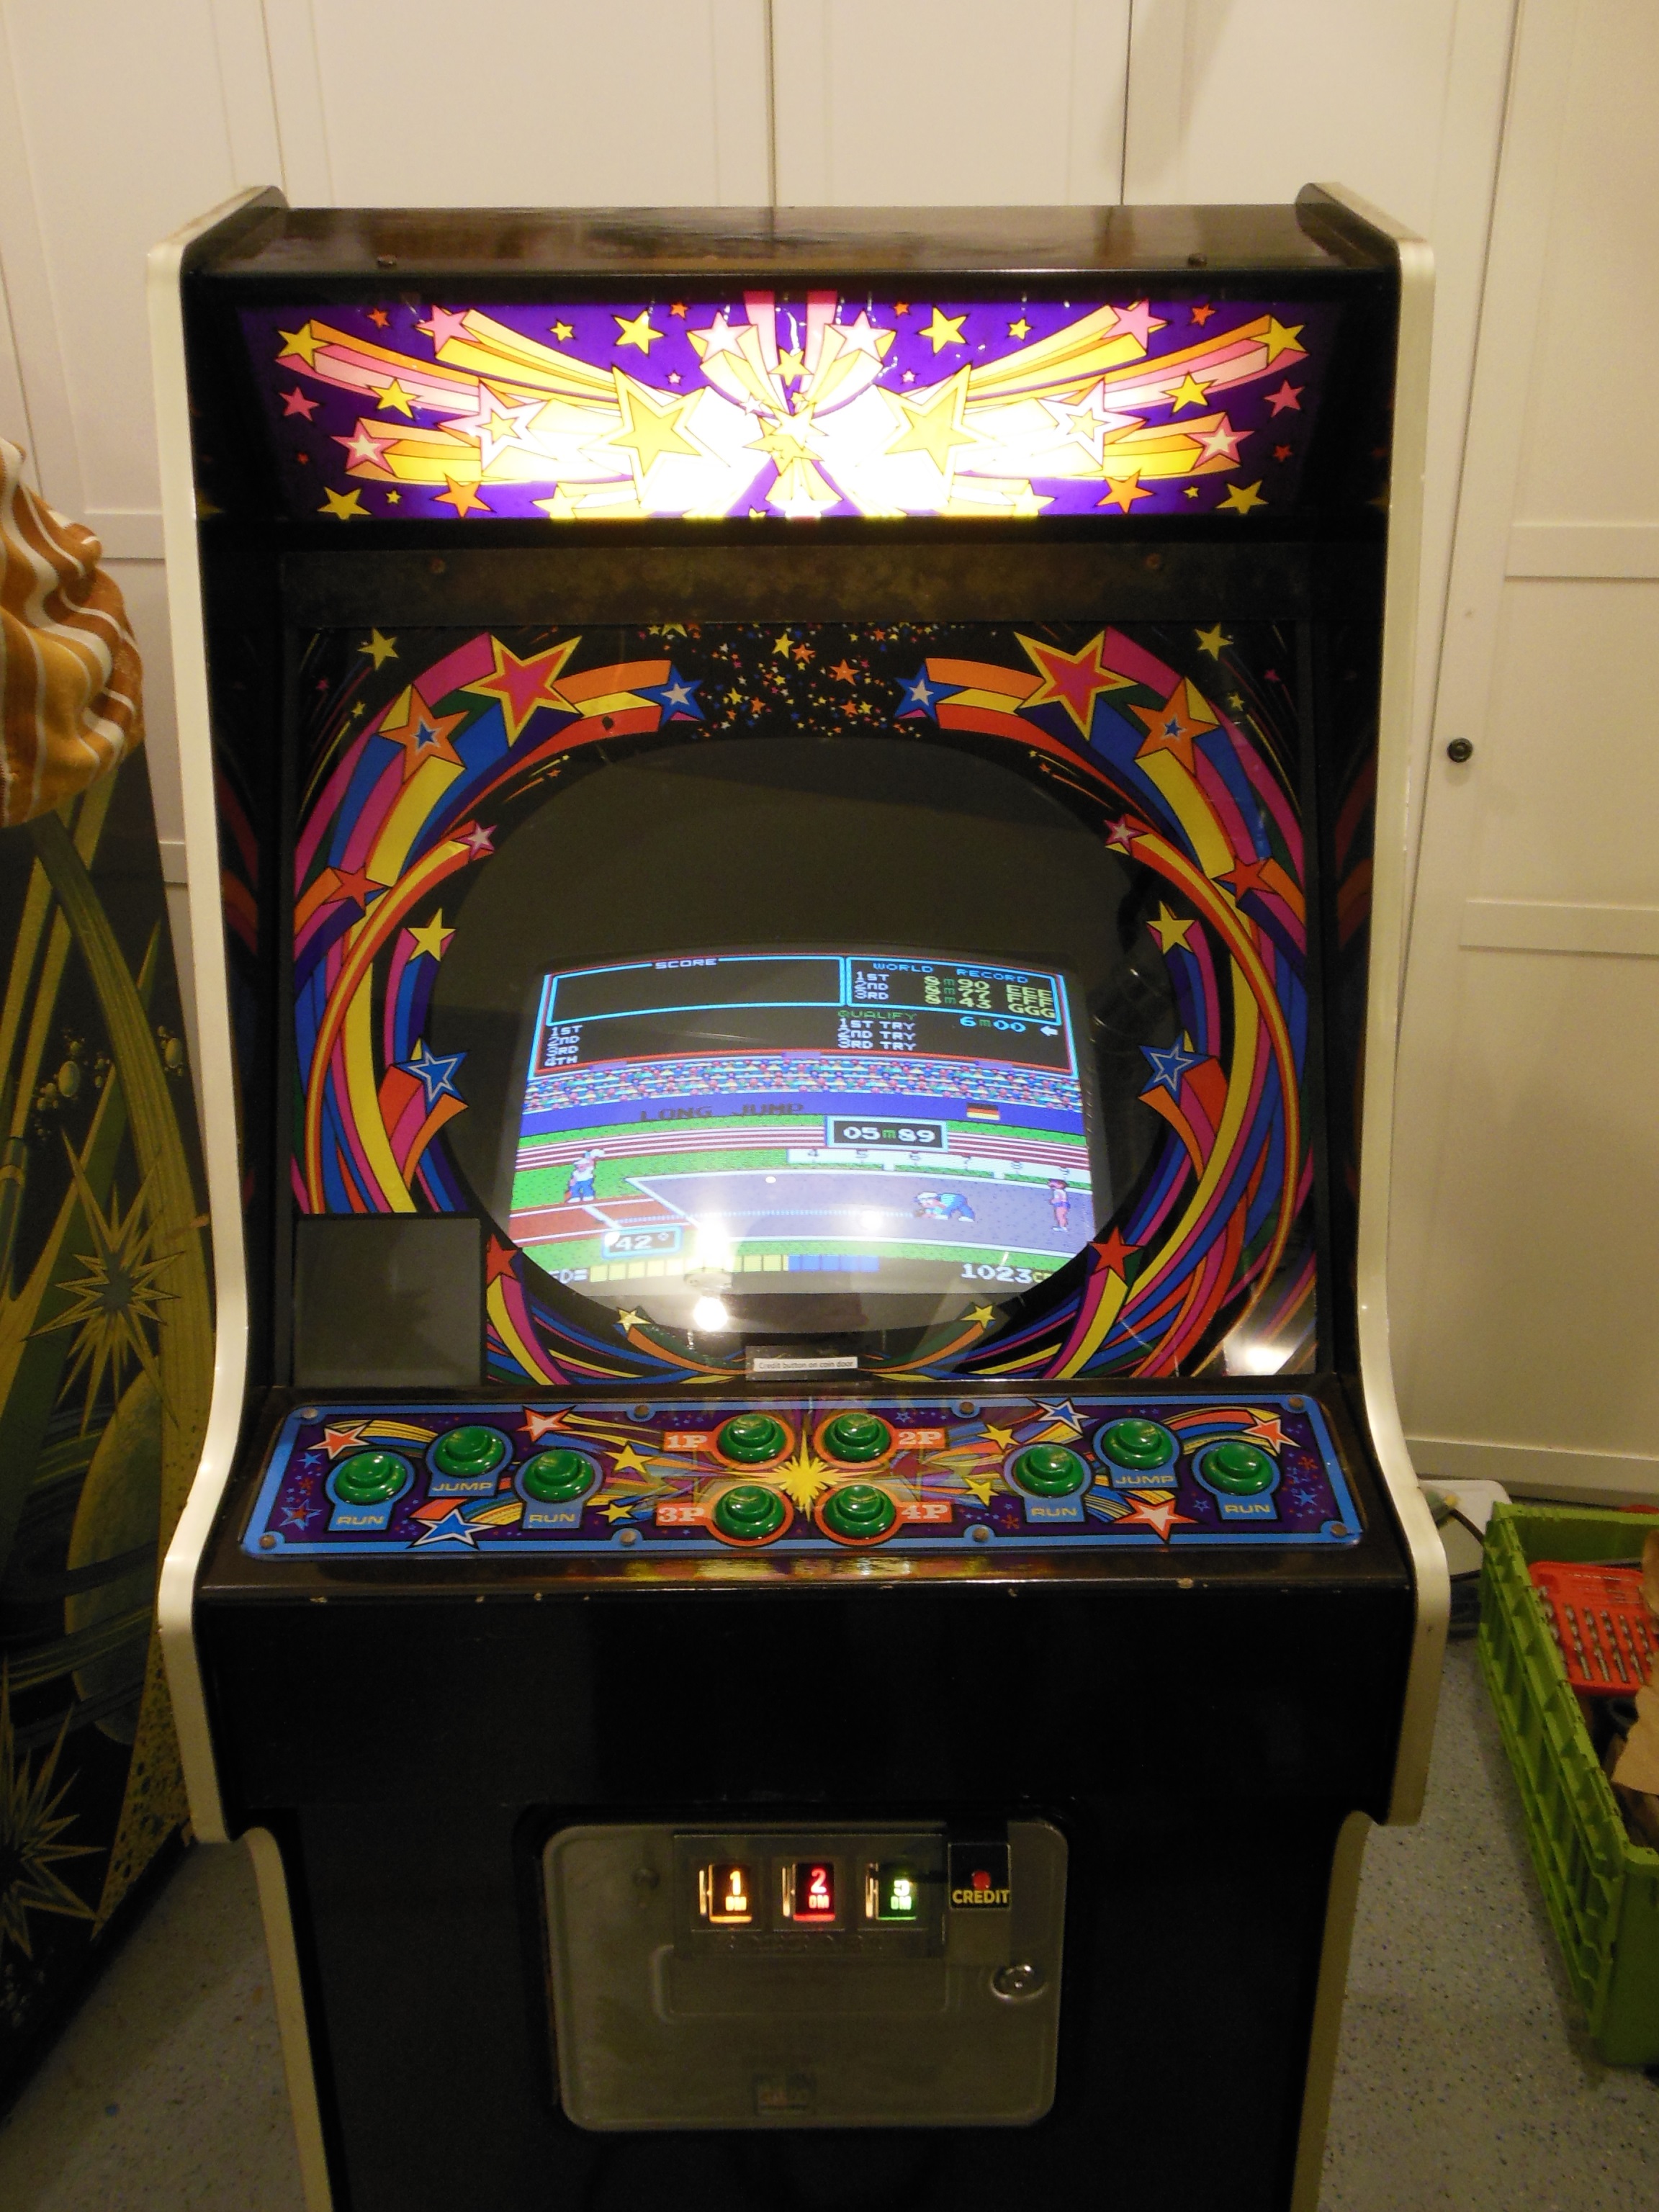
The surround and monitor glass were fitted back into the cabinet.
|
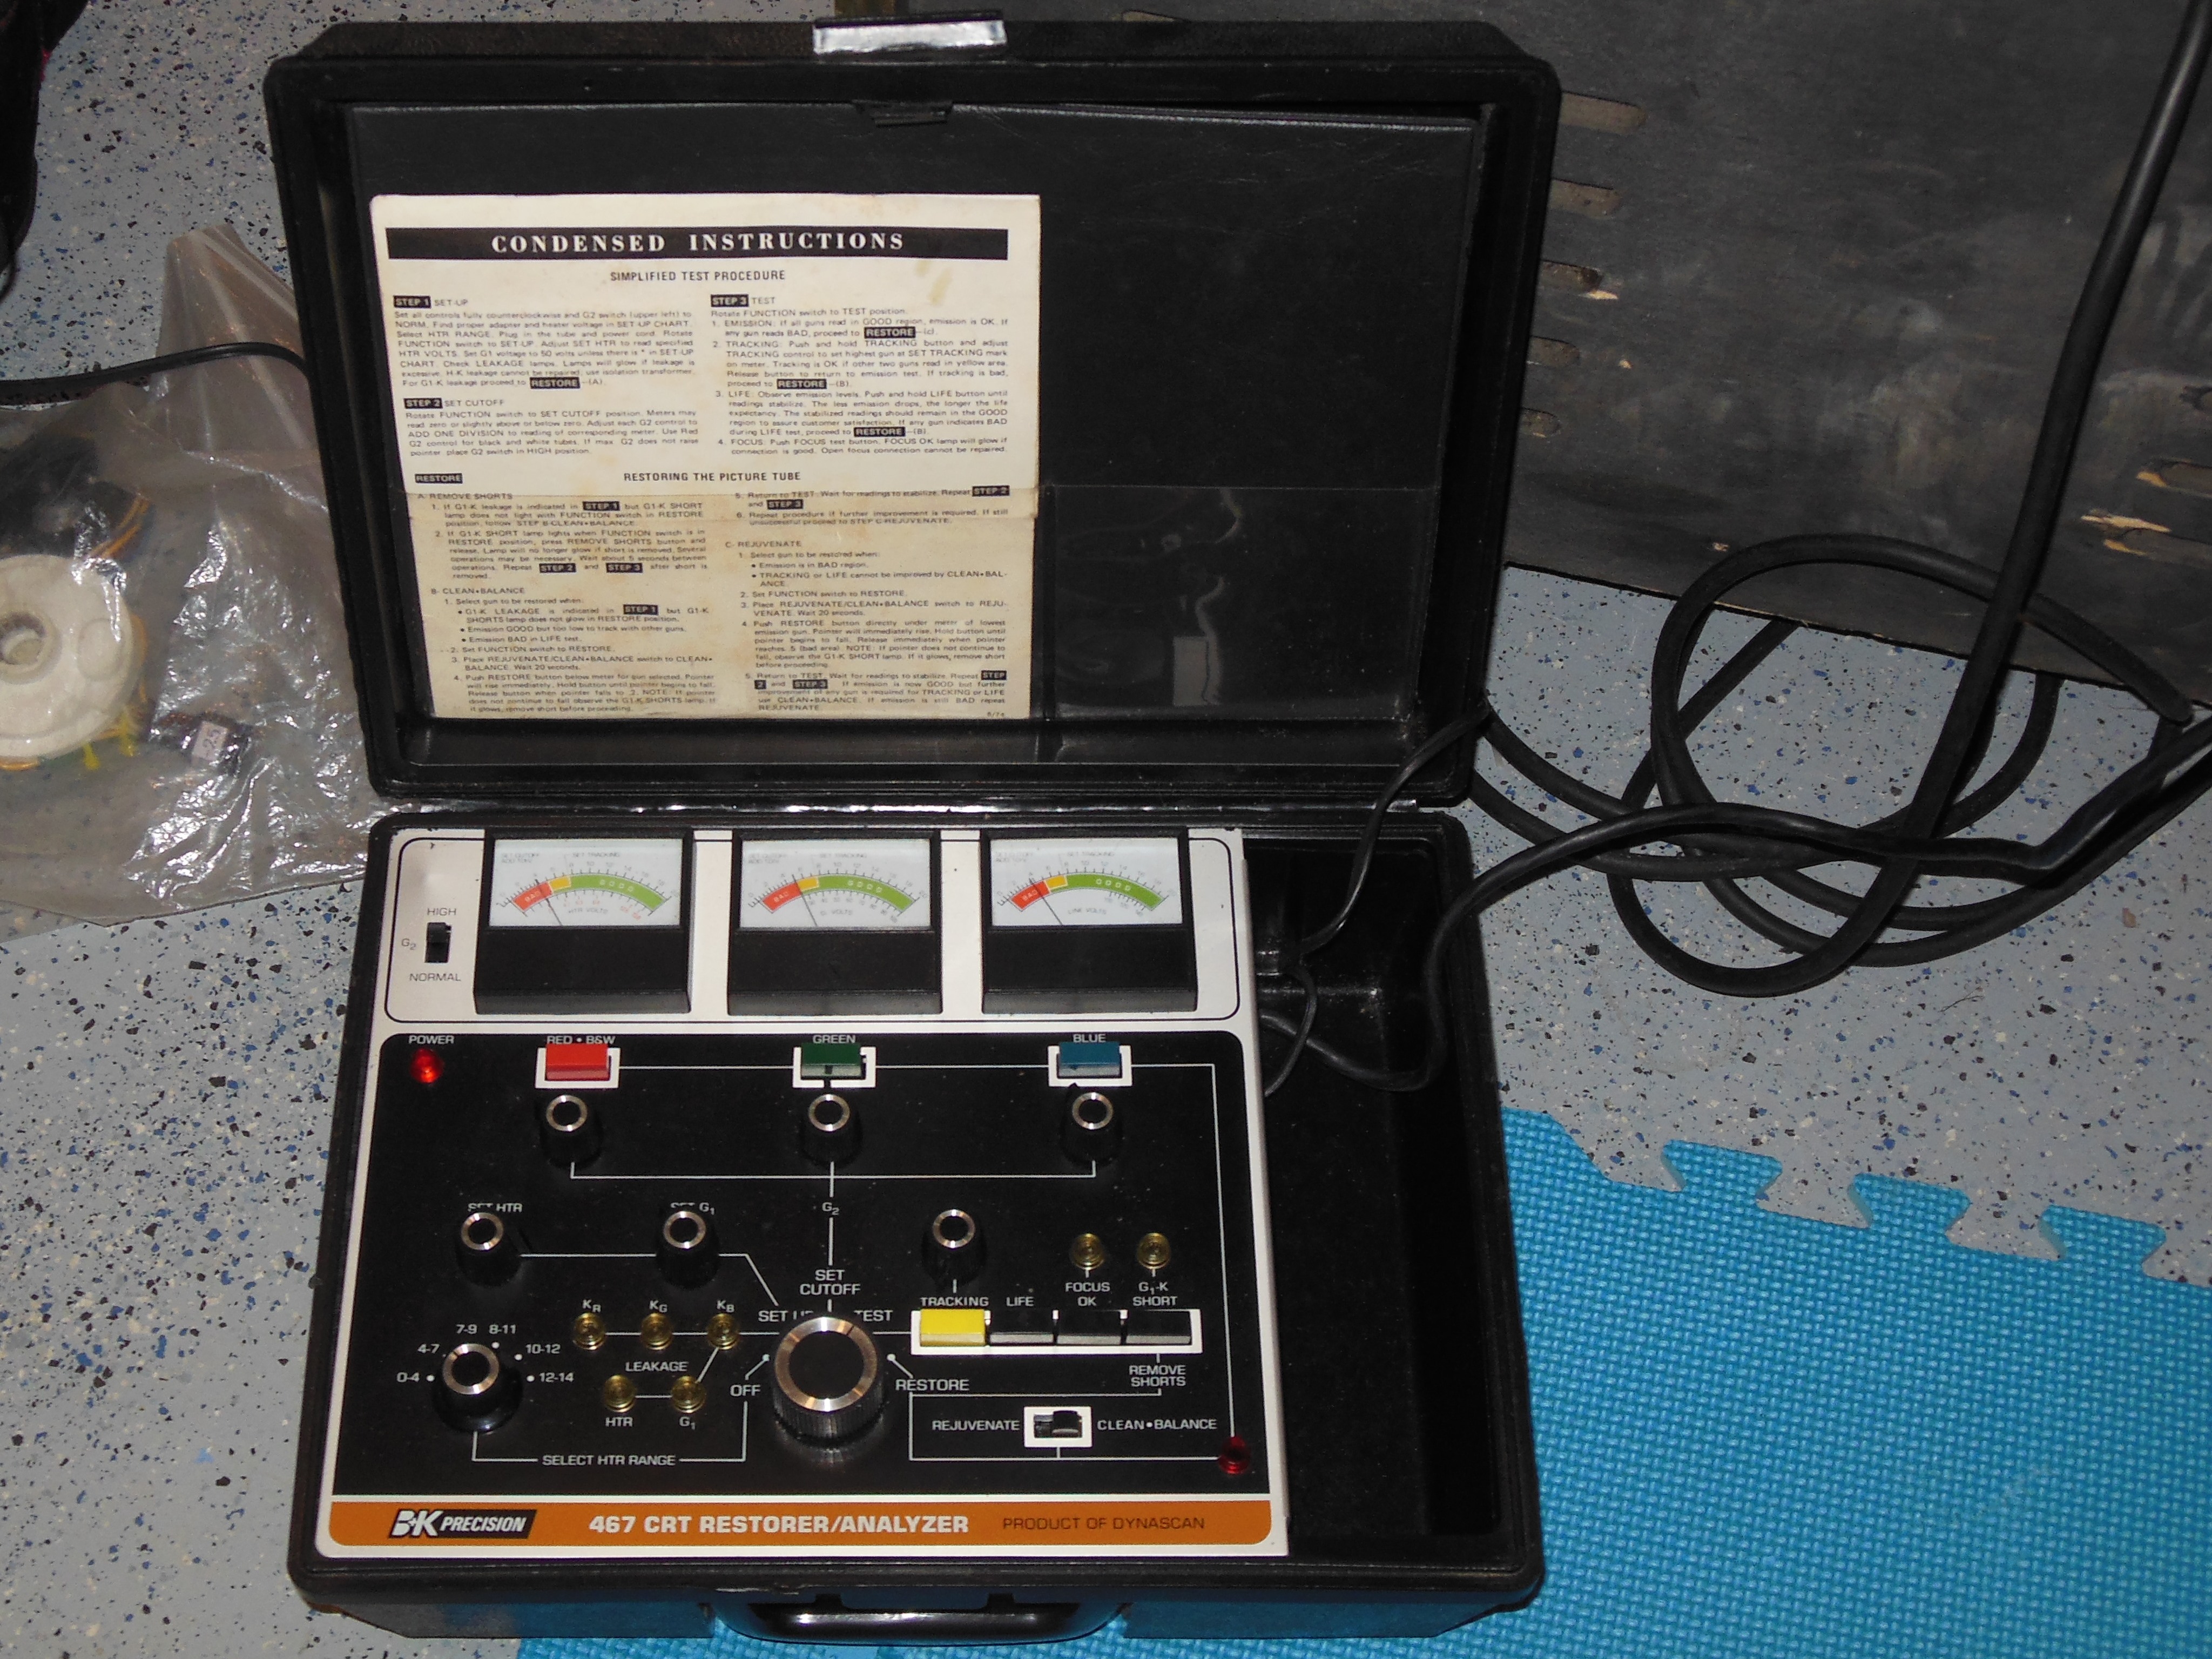
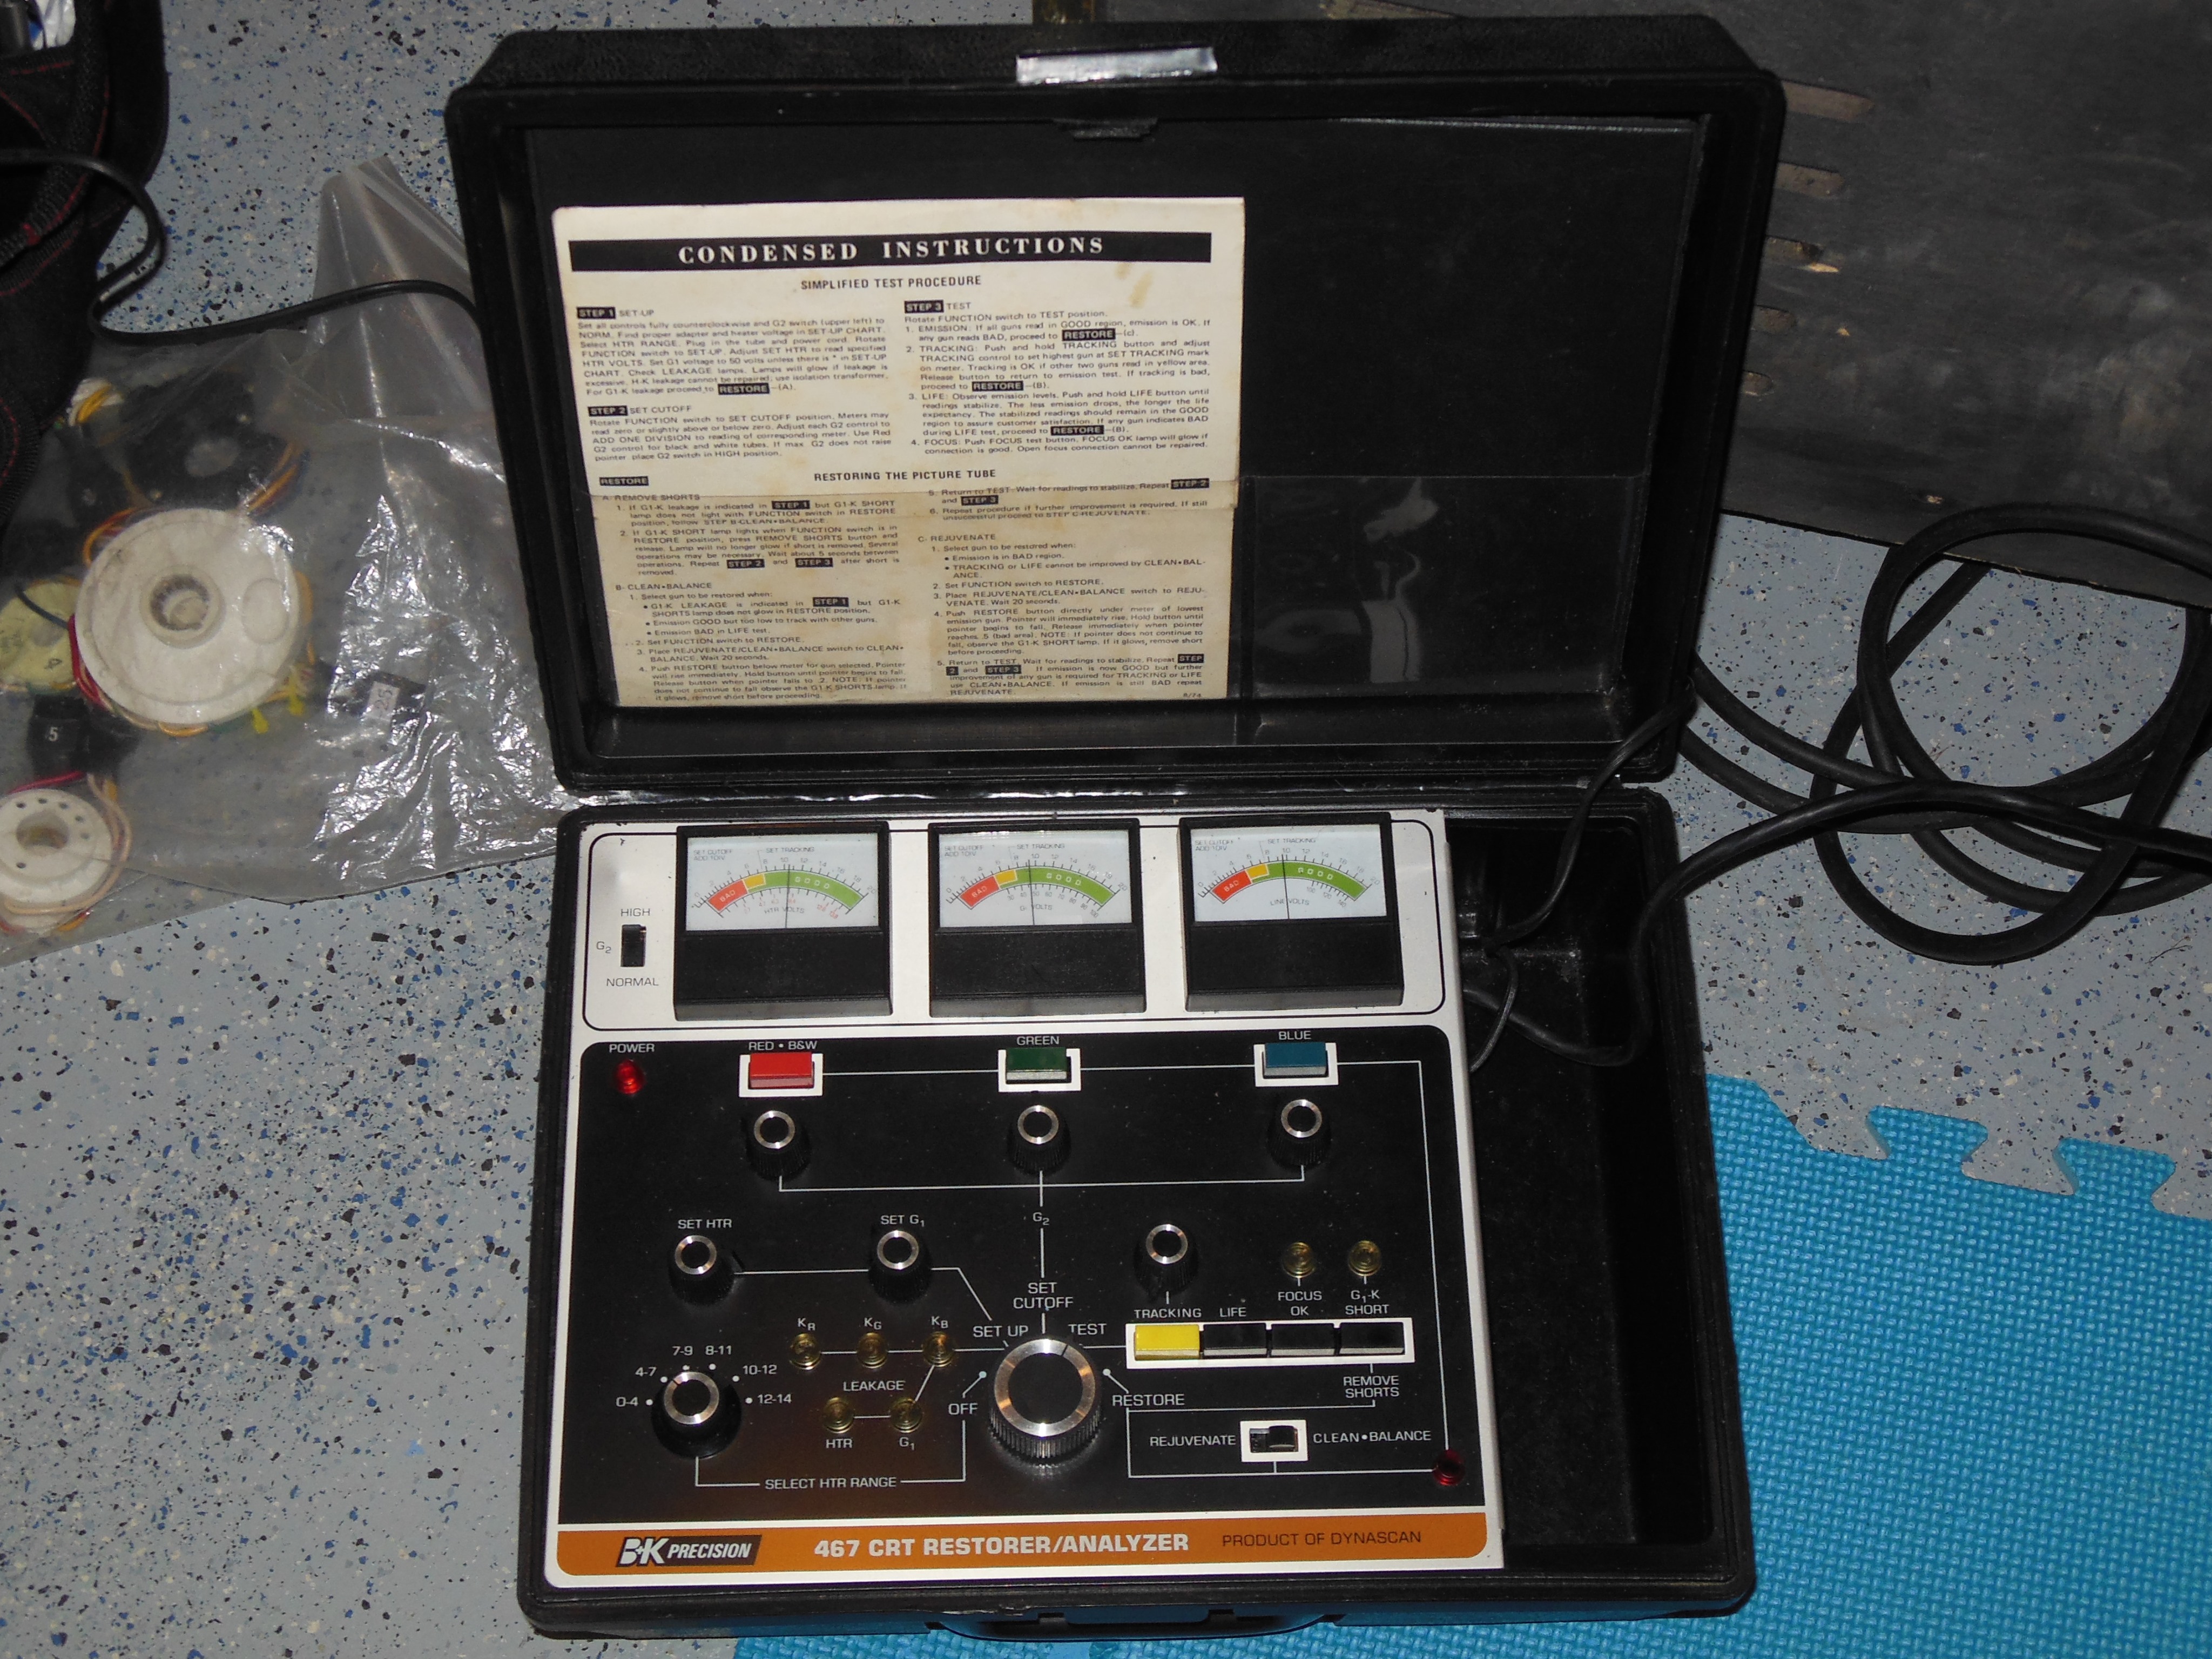
Previously I'd discovered that one contributing factor to soft focus was high brightness & contrast because the CRT gun drive was weak. Testing with the BK 467 CRT restorer/analyzer confirmed that the gun drive was a little weak and a rejuvenation improved the gun drive measurements.
|
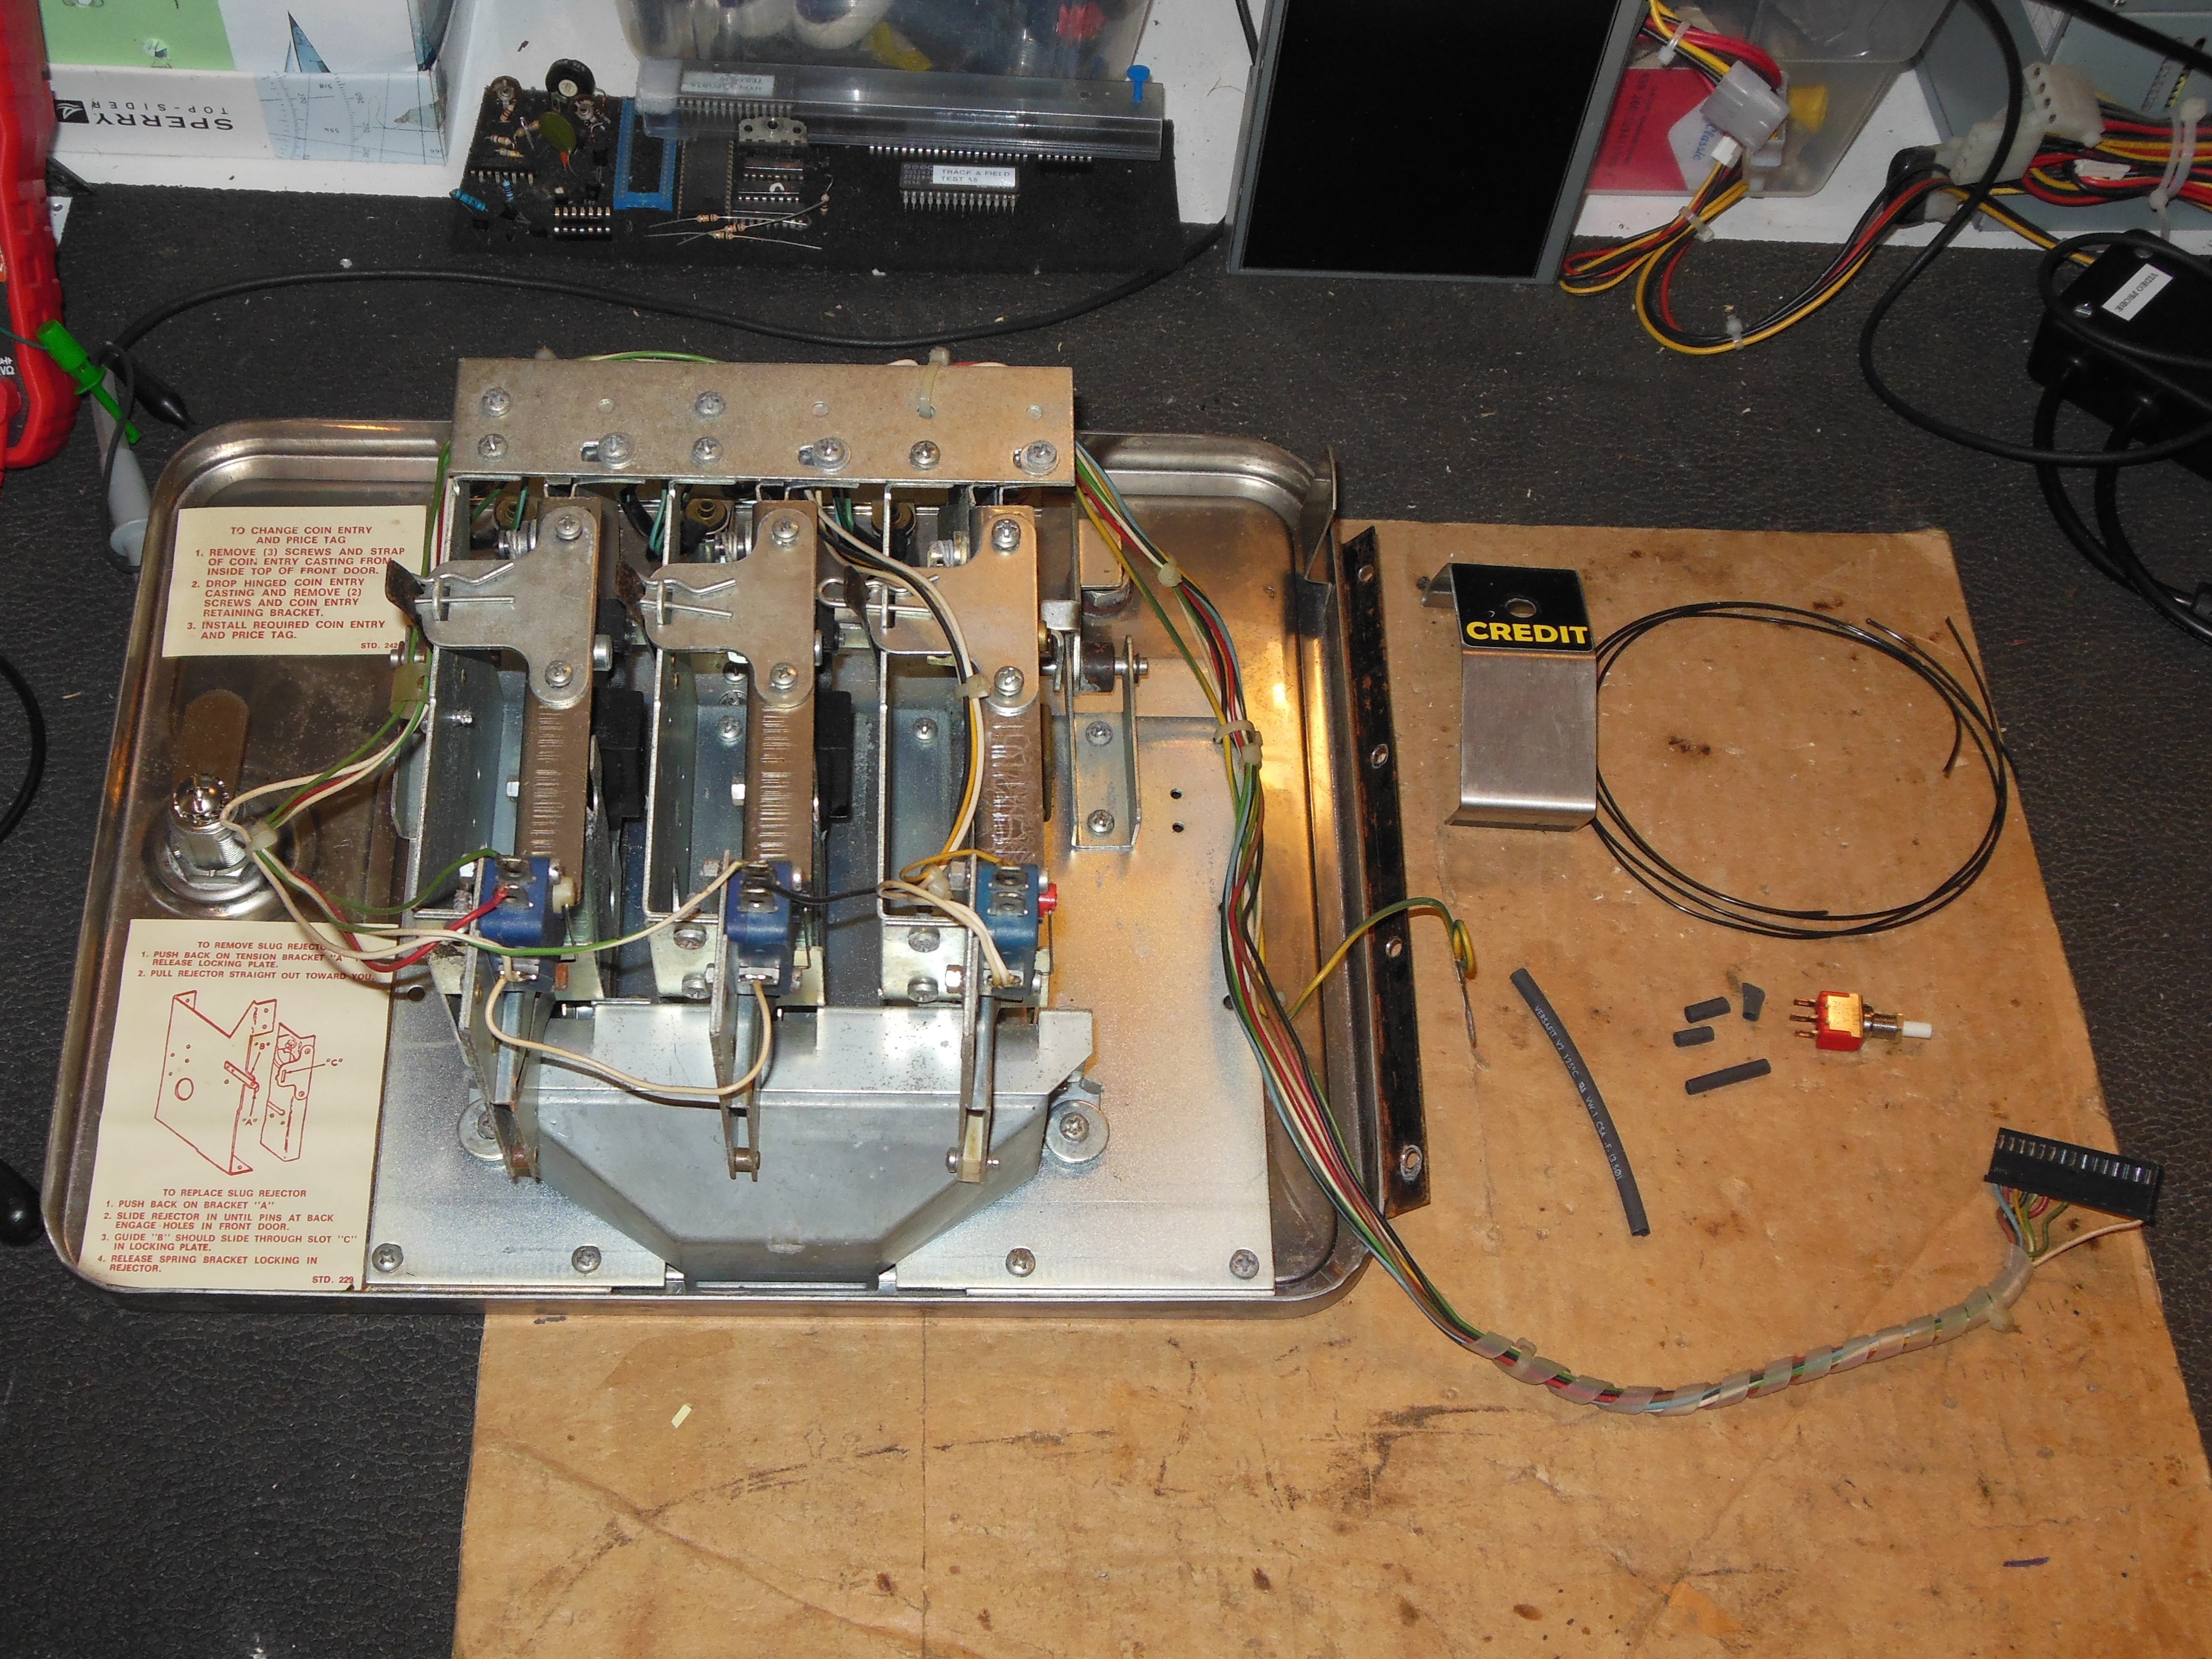
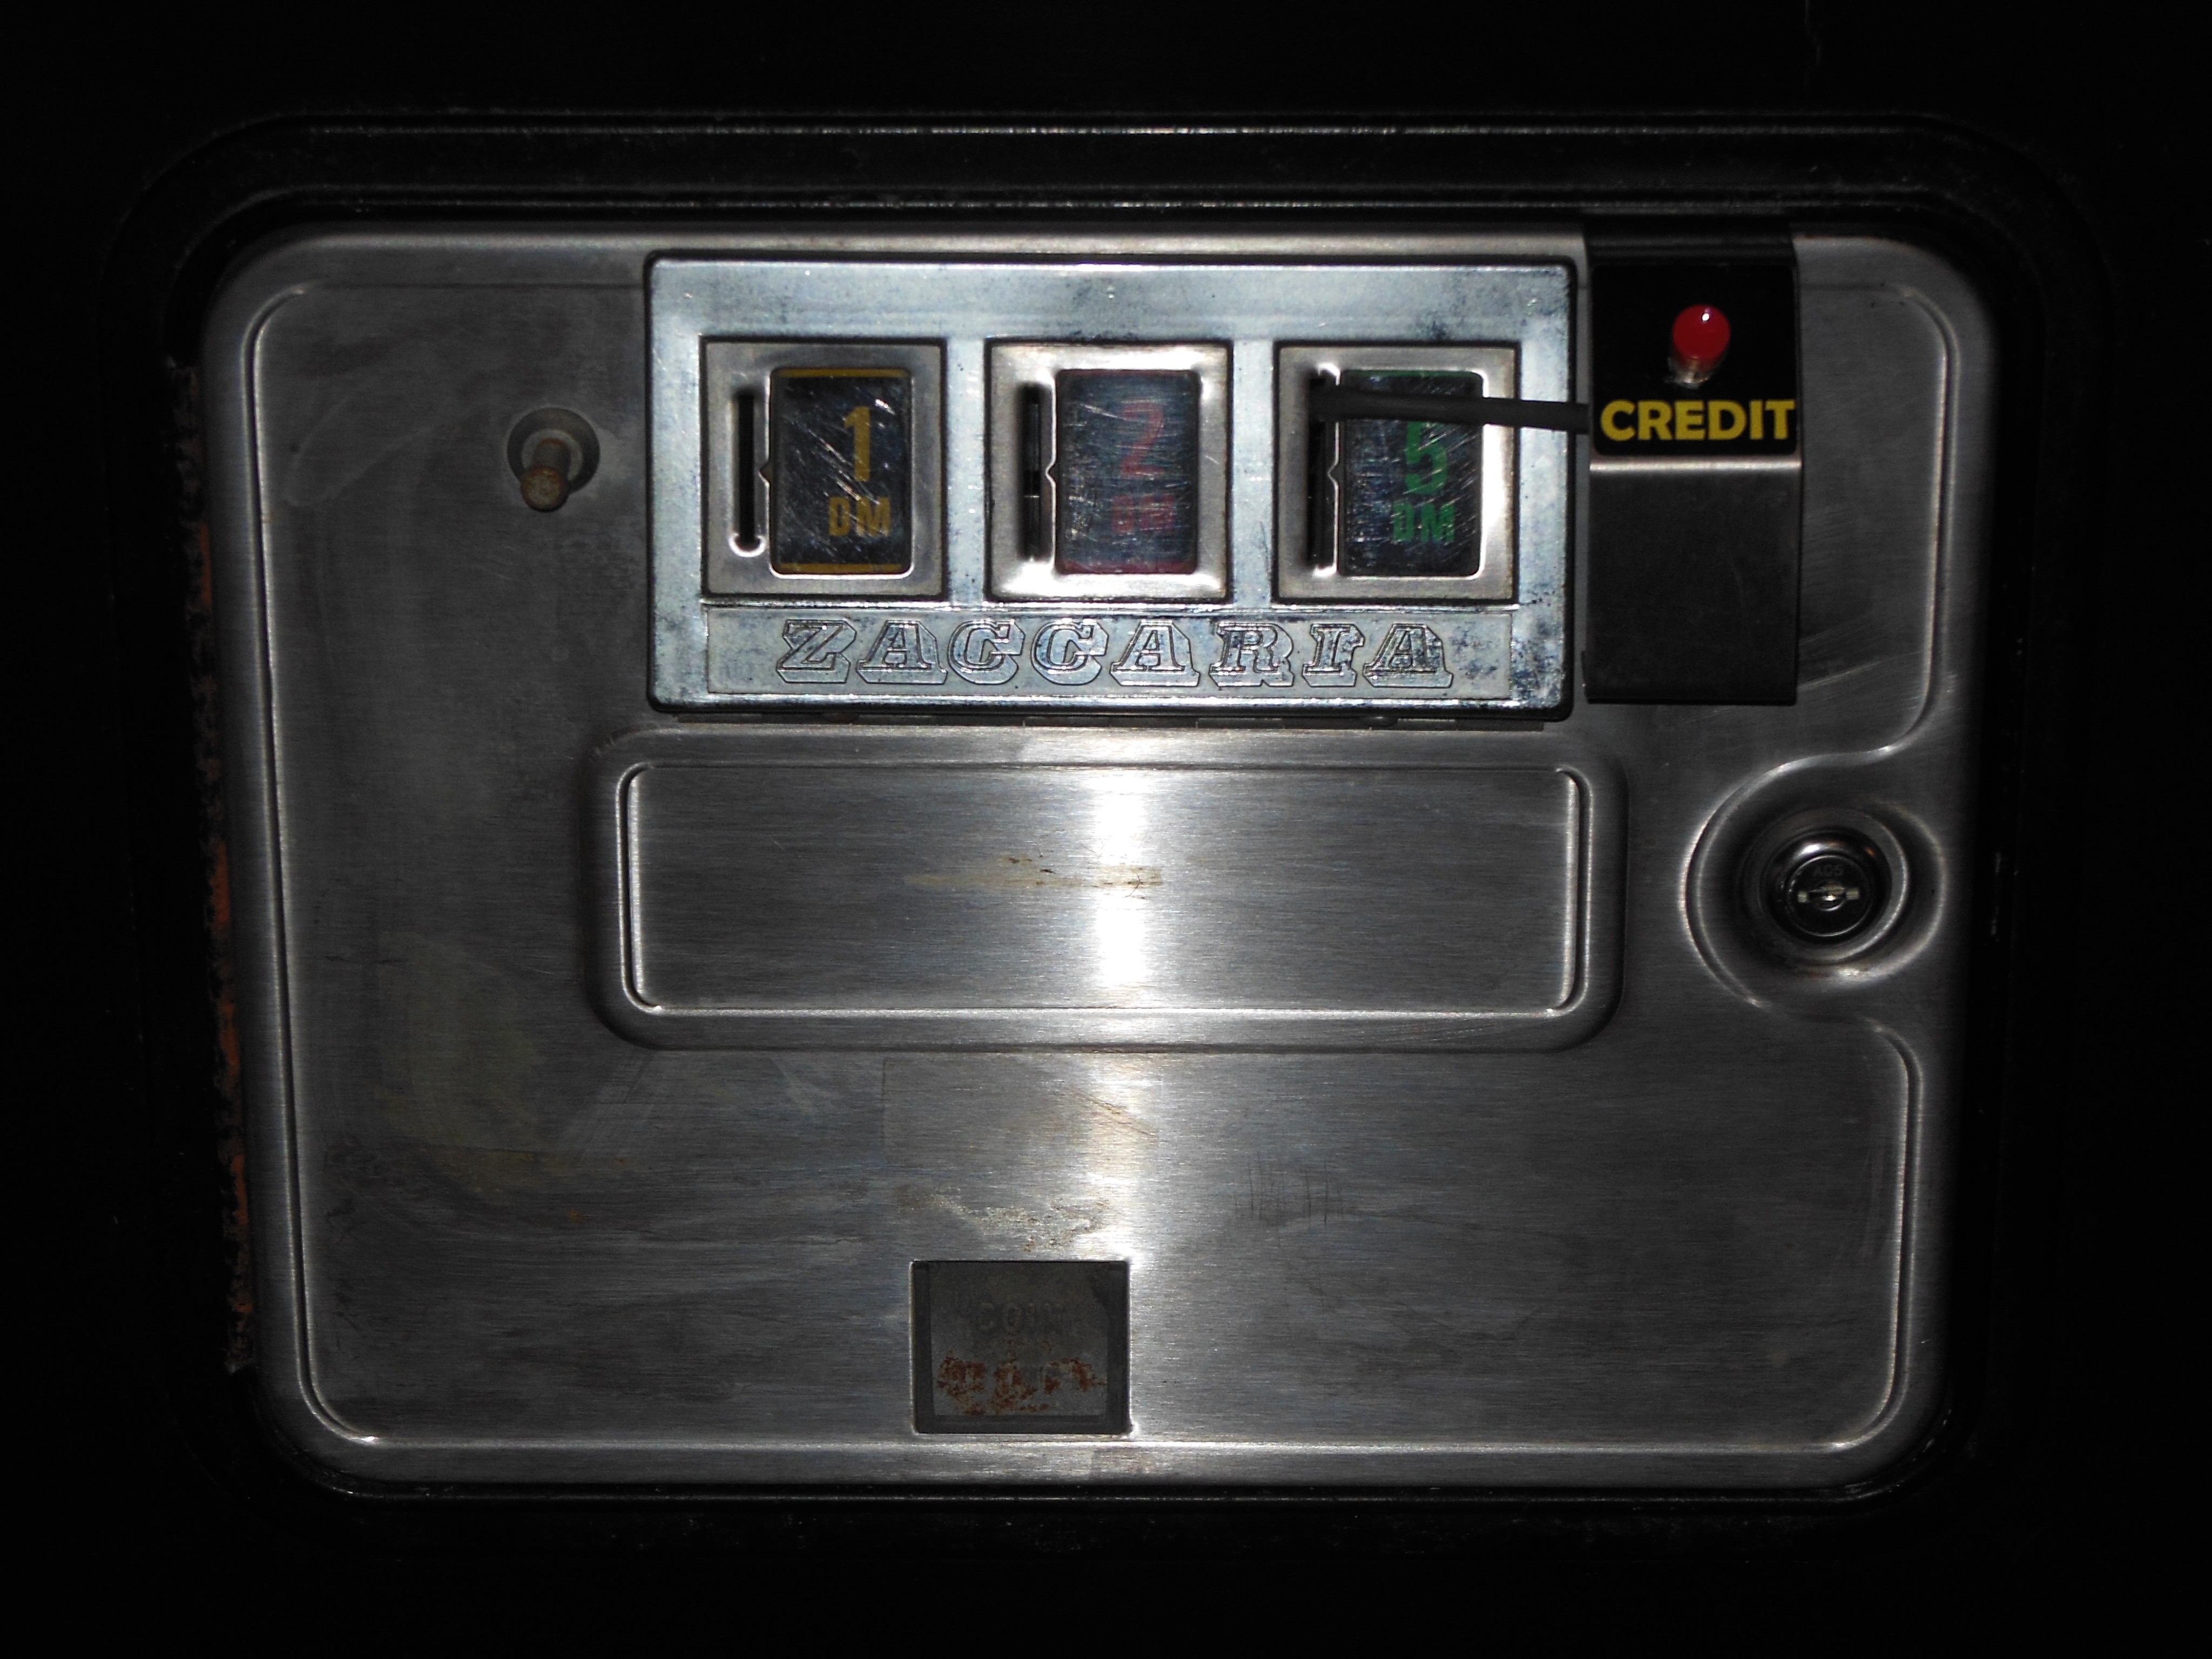
The coin door was removed, a credit button installed and refitted back into the cabinet.
|
Since the game was running and playing with no issues the edge connector was heat shrunk and tidied with cable ties.
|
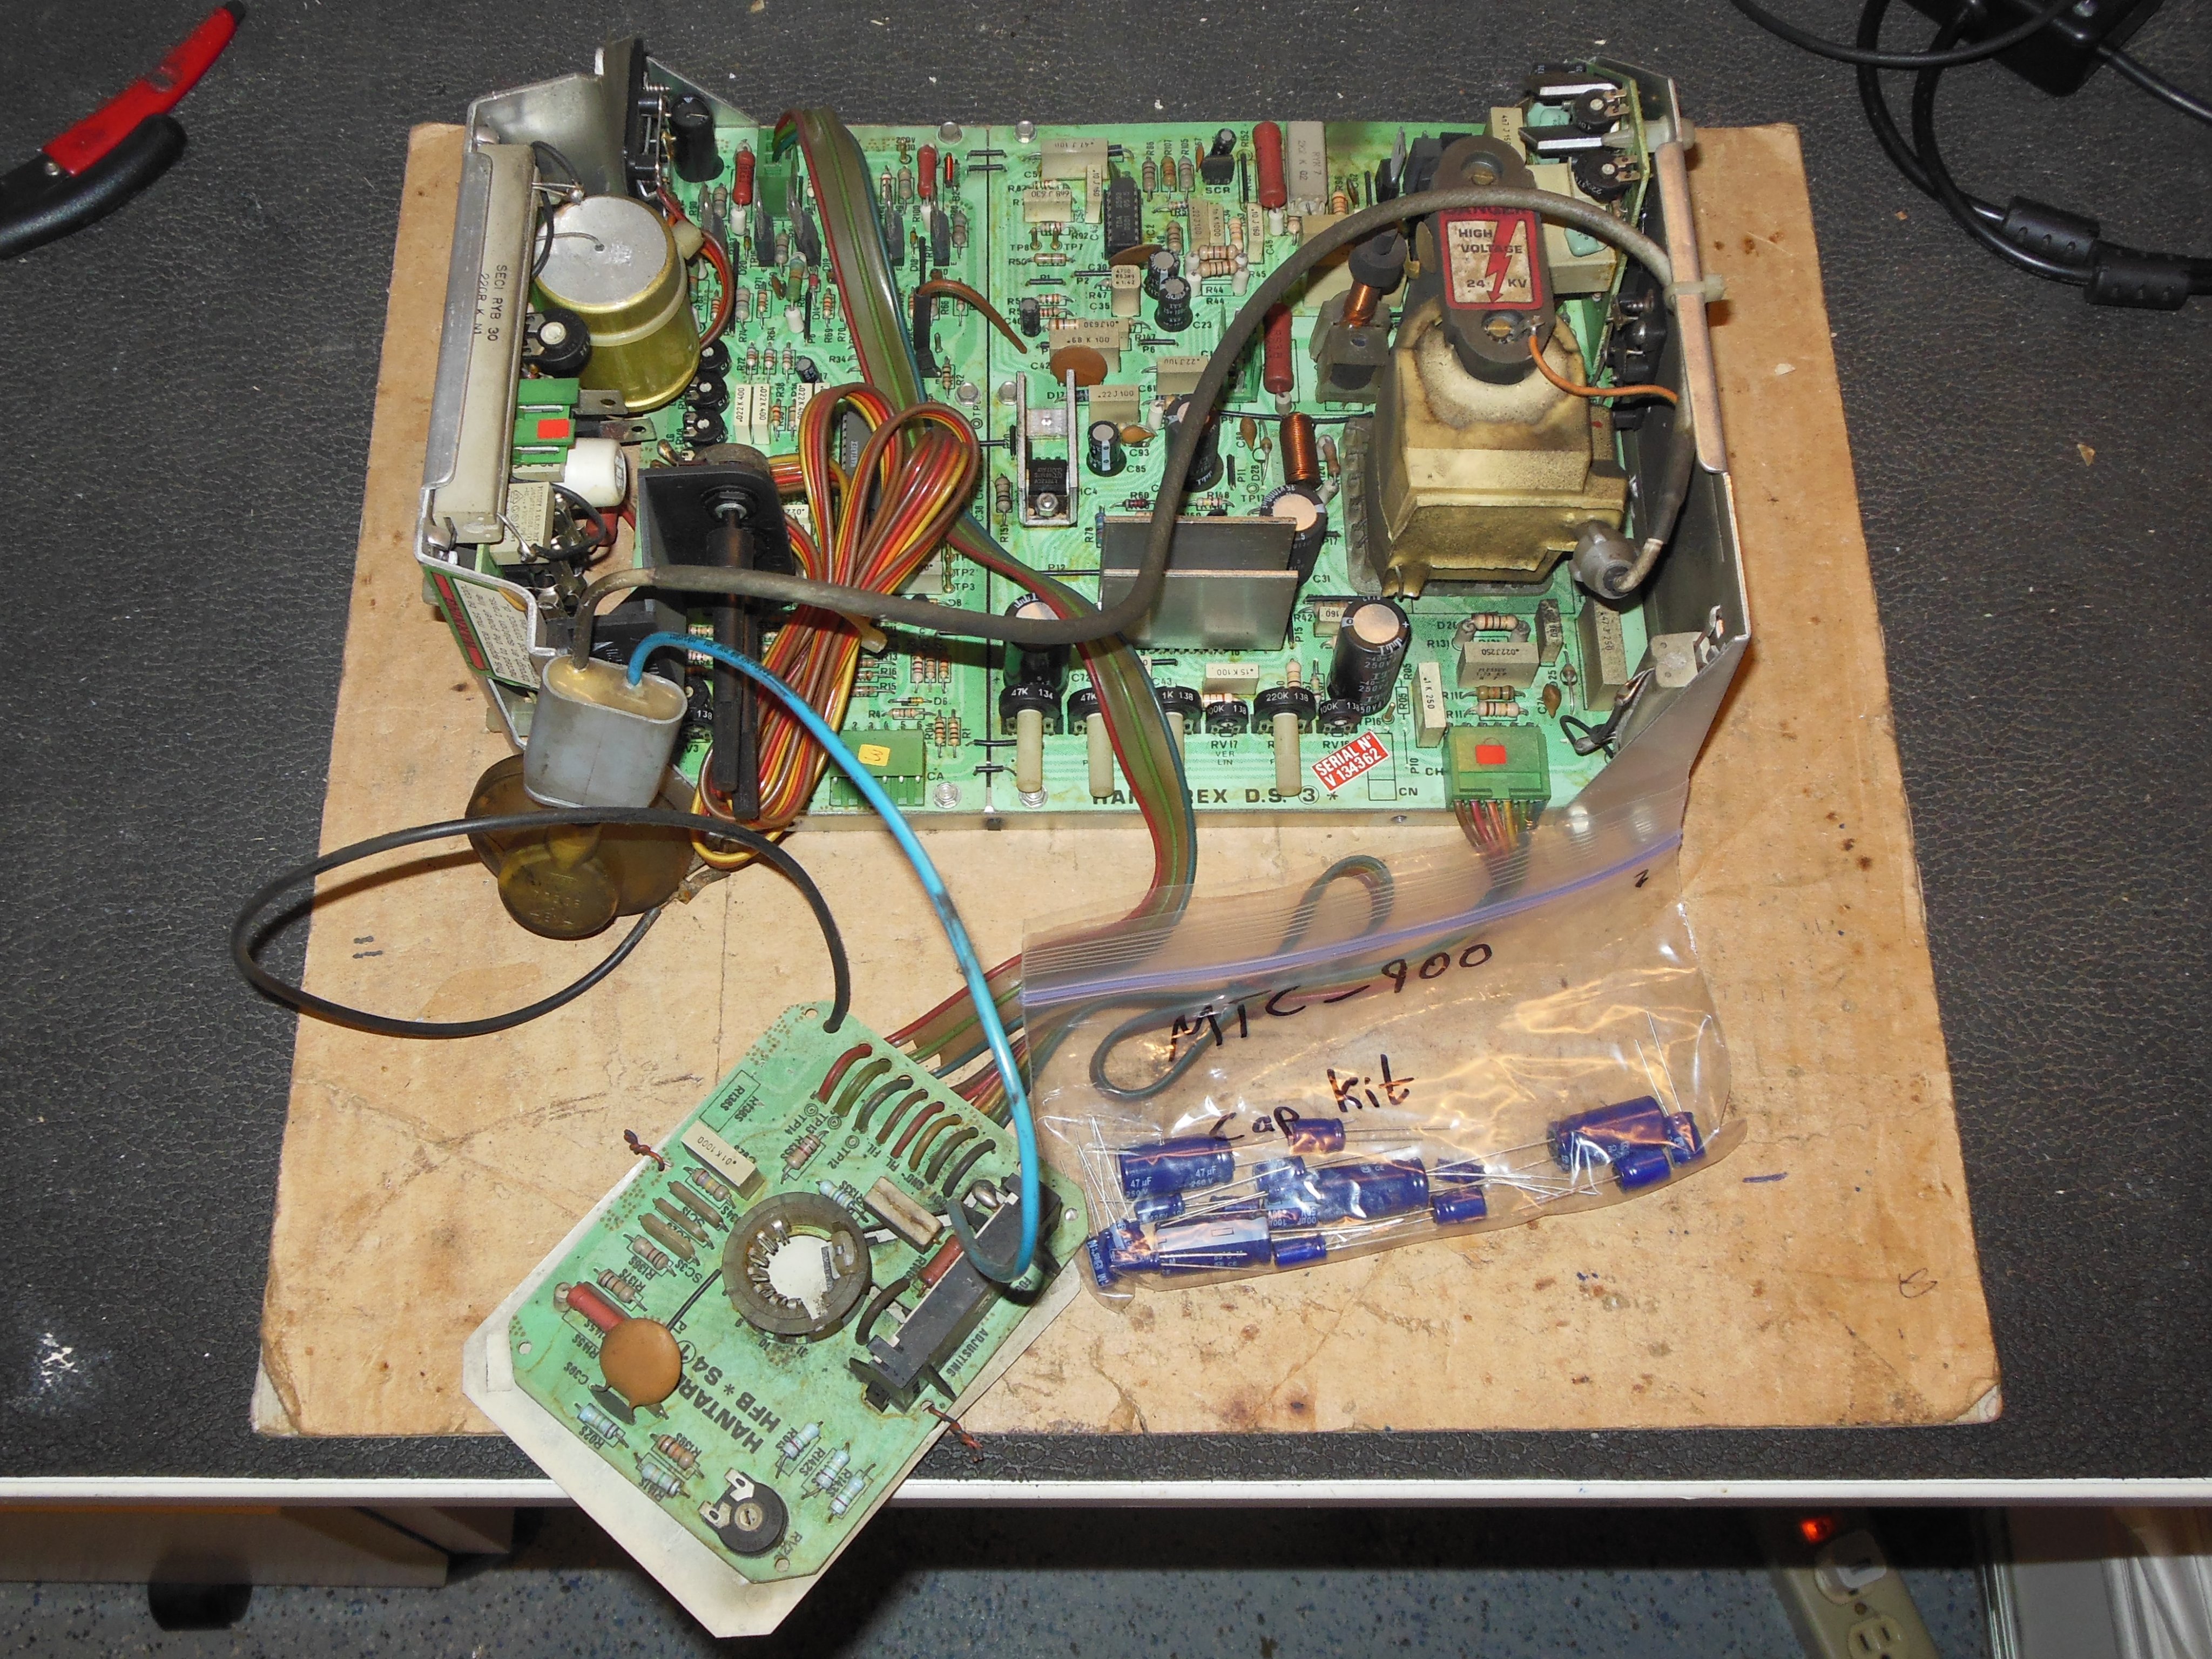
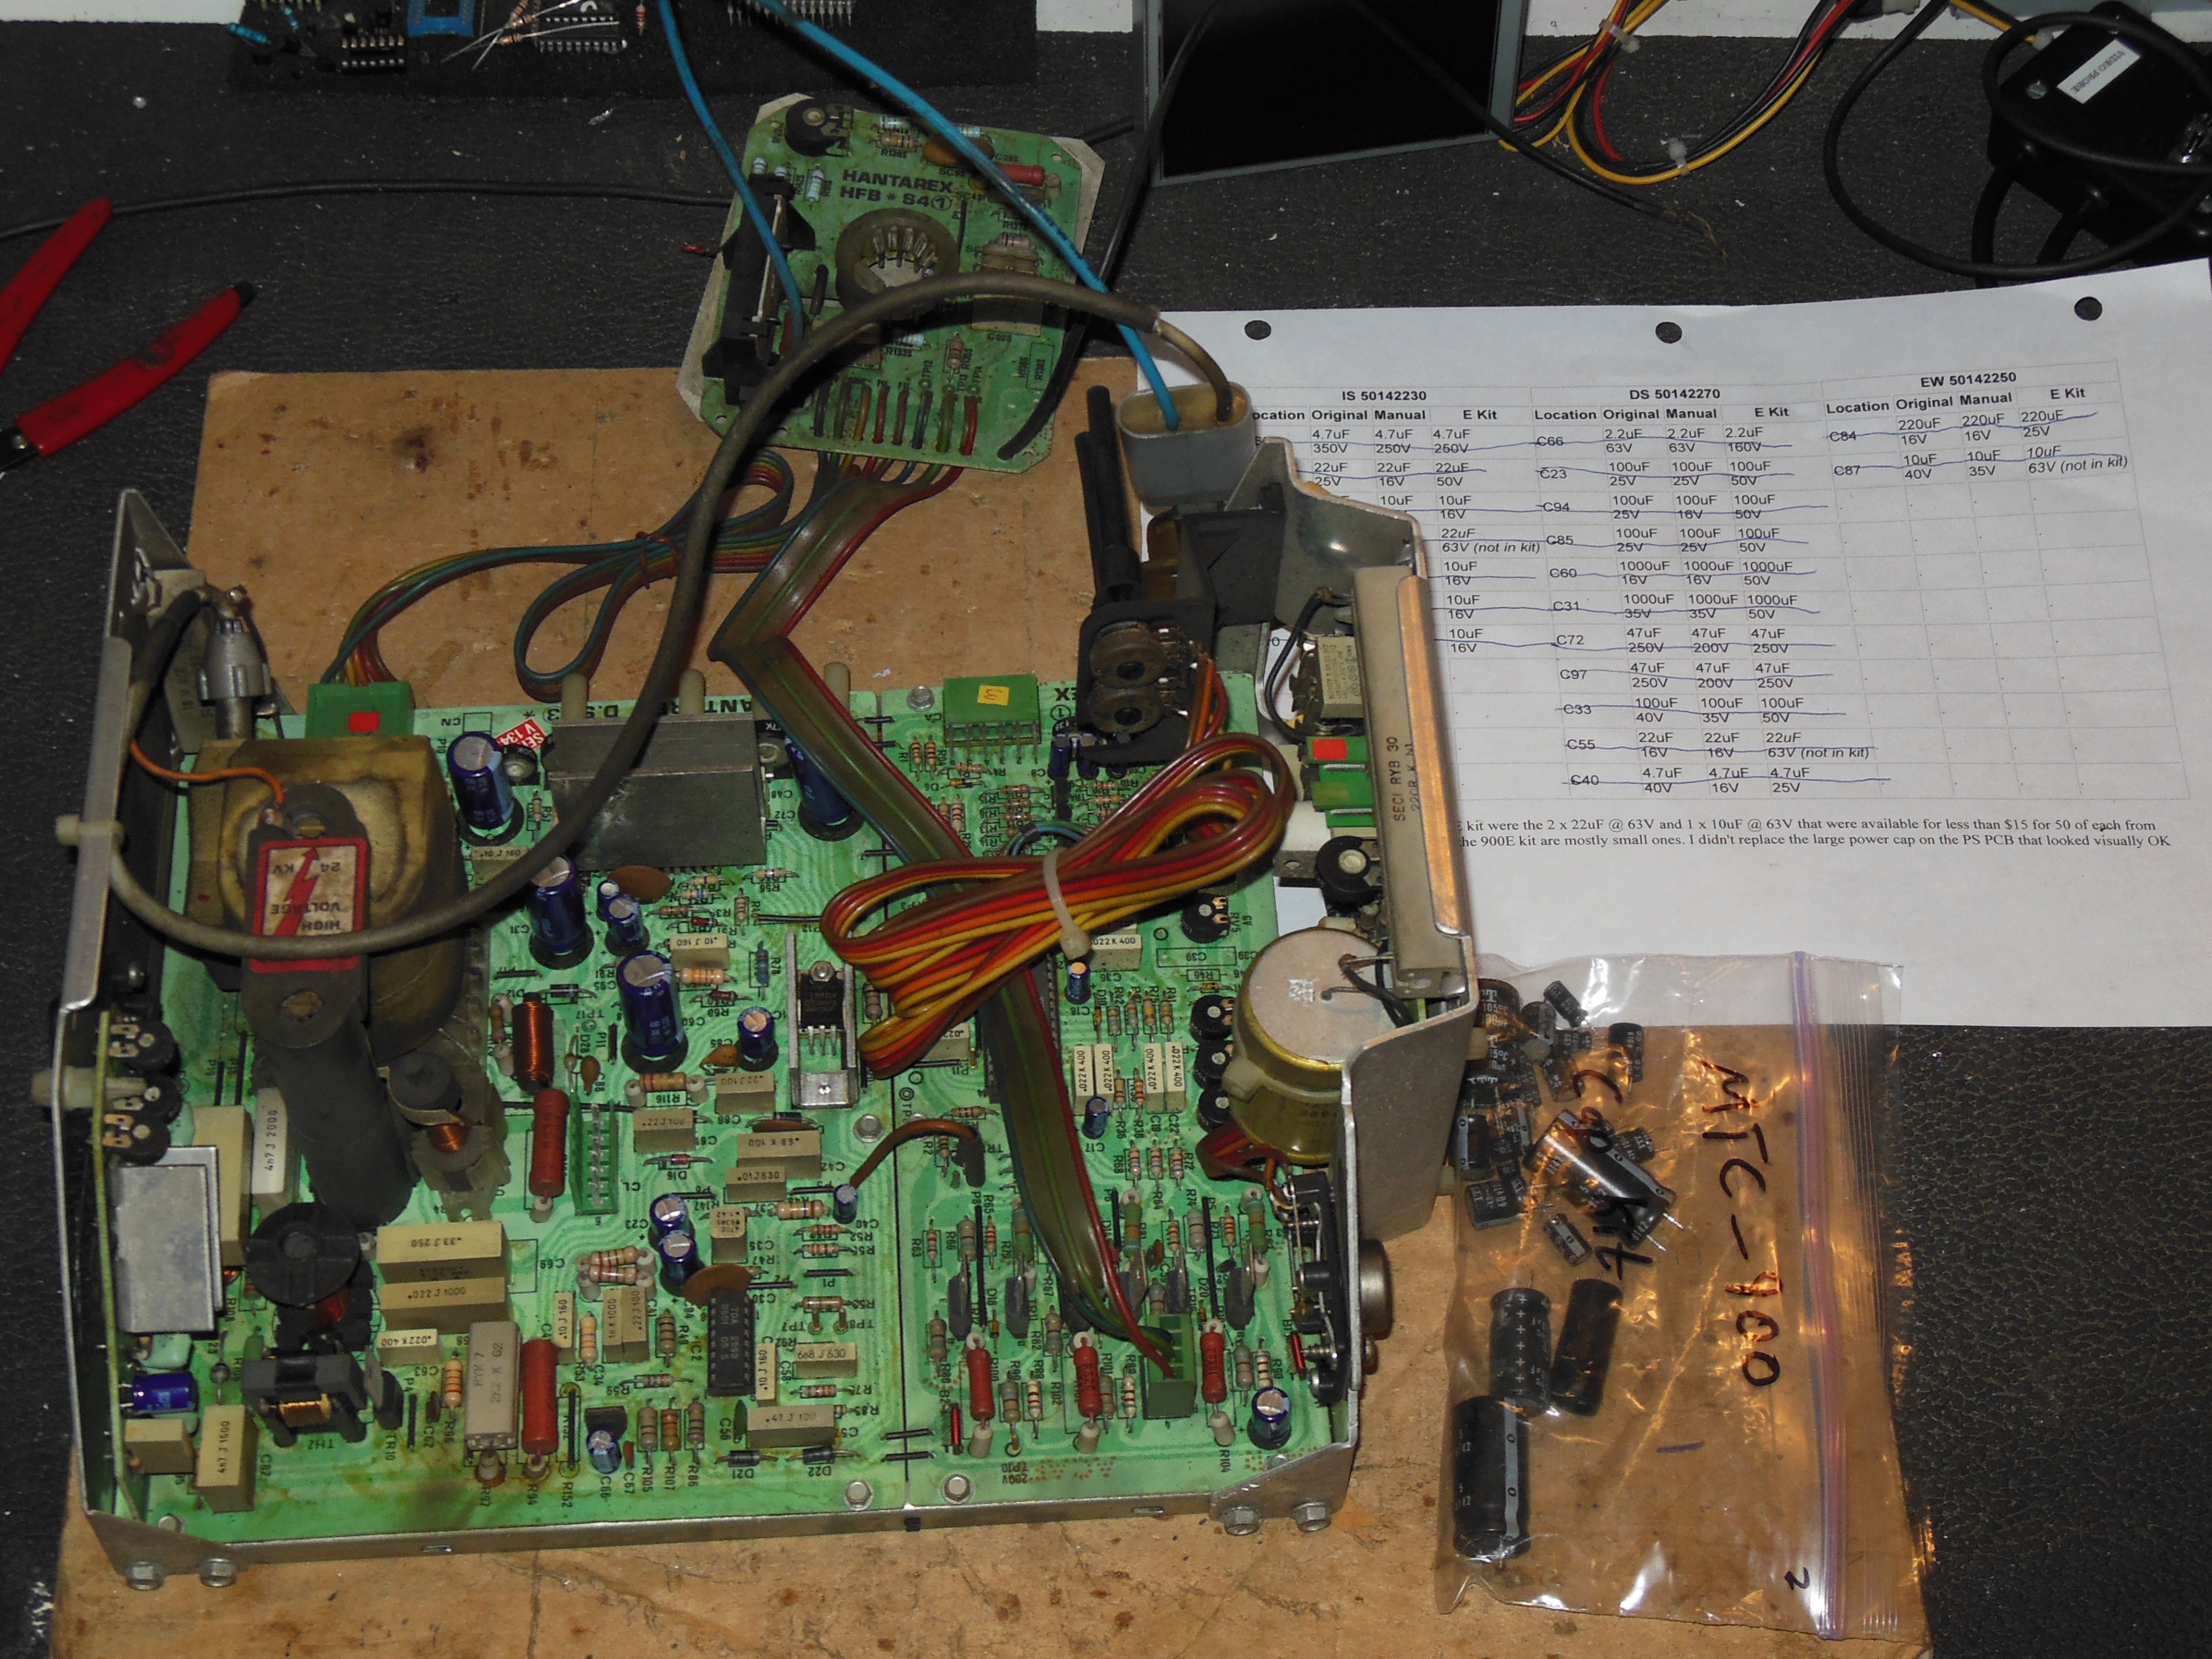
A cap kit was fitted to the Hantarex MTC-900 monitor chassis.
|
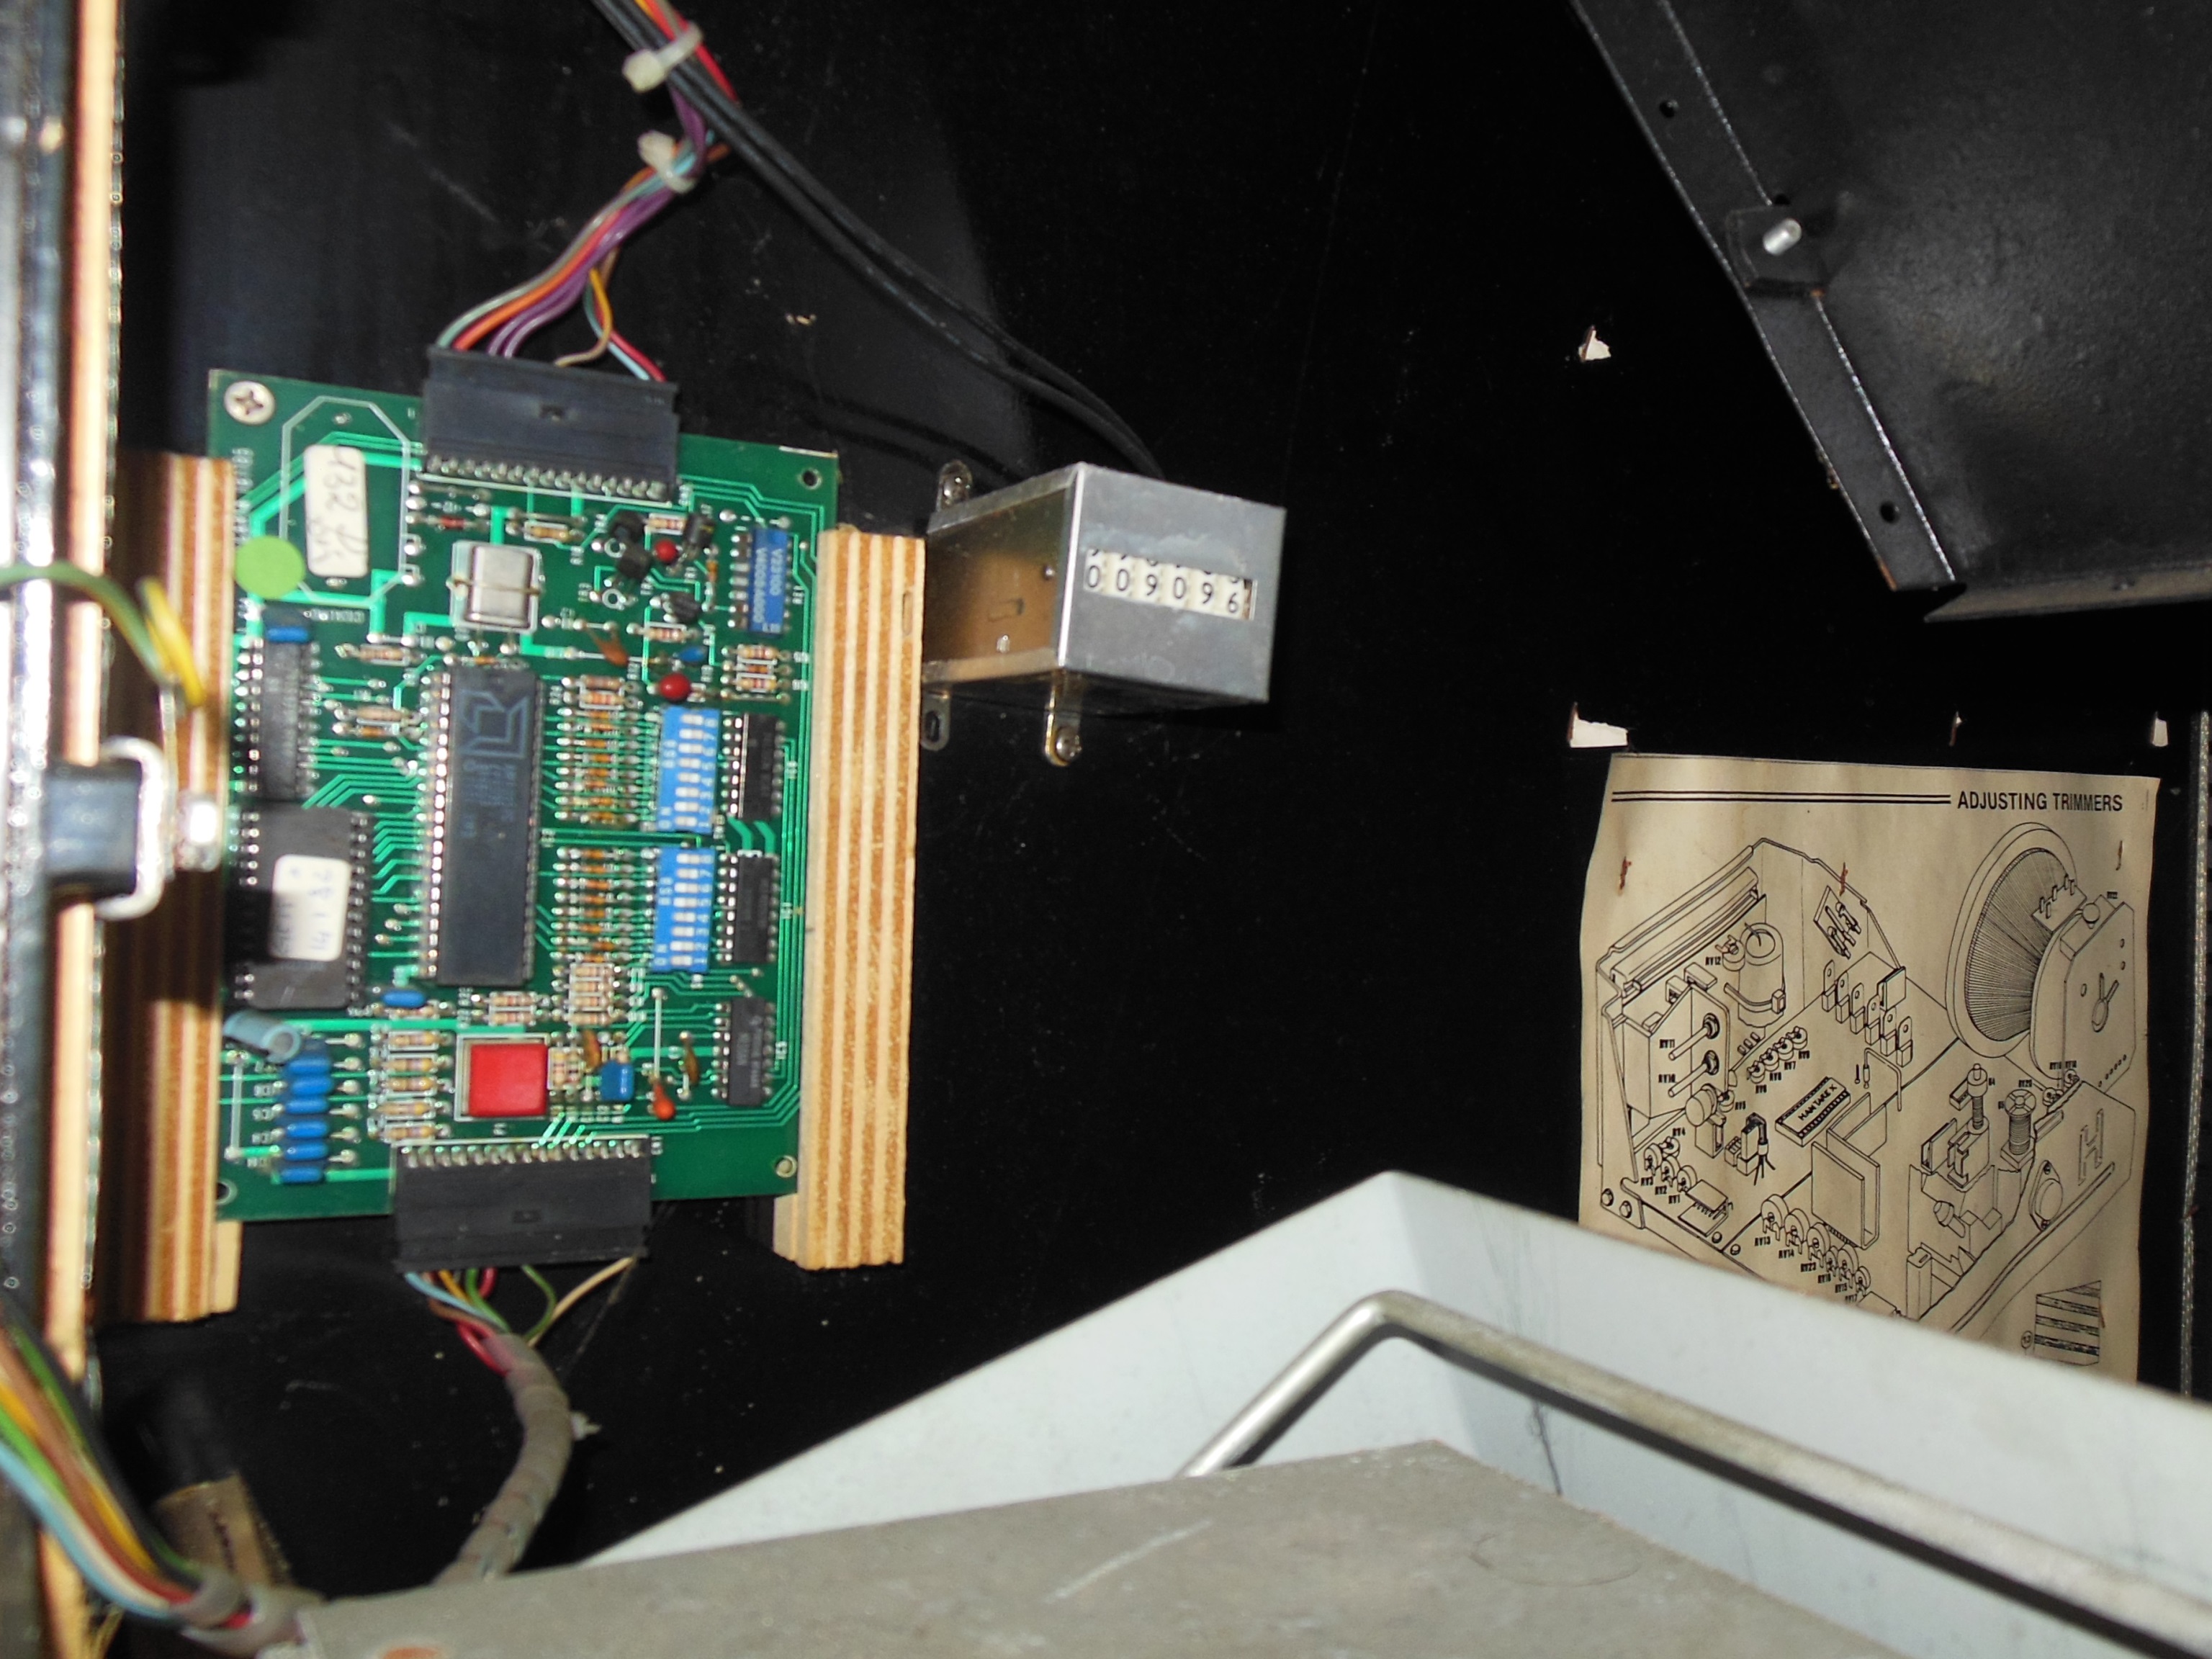
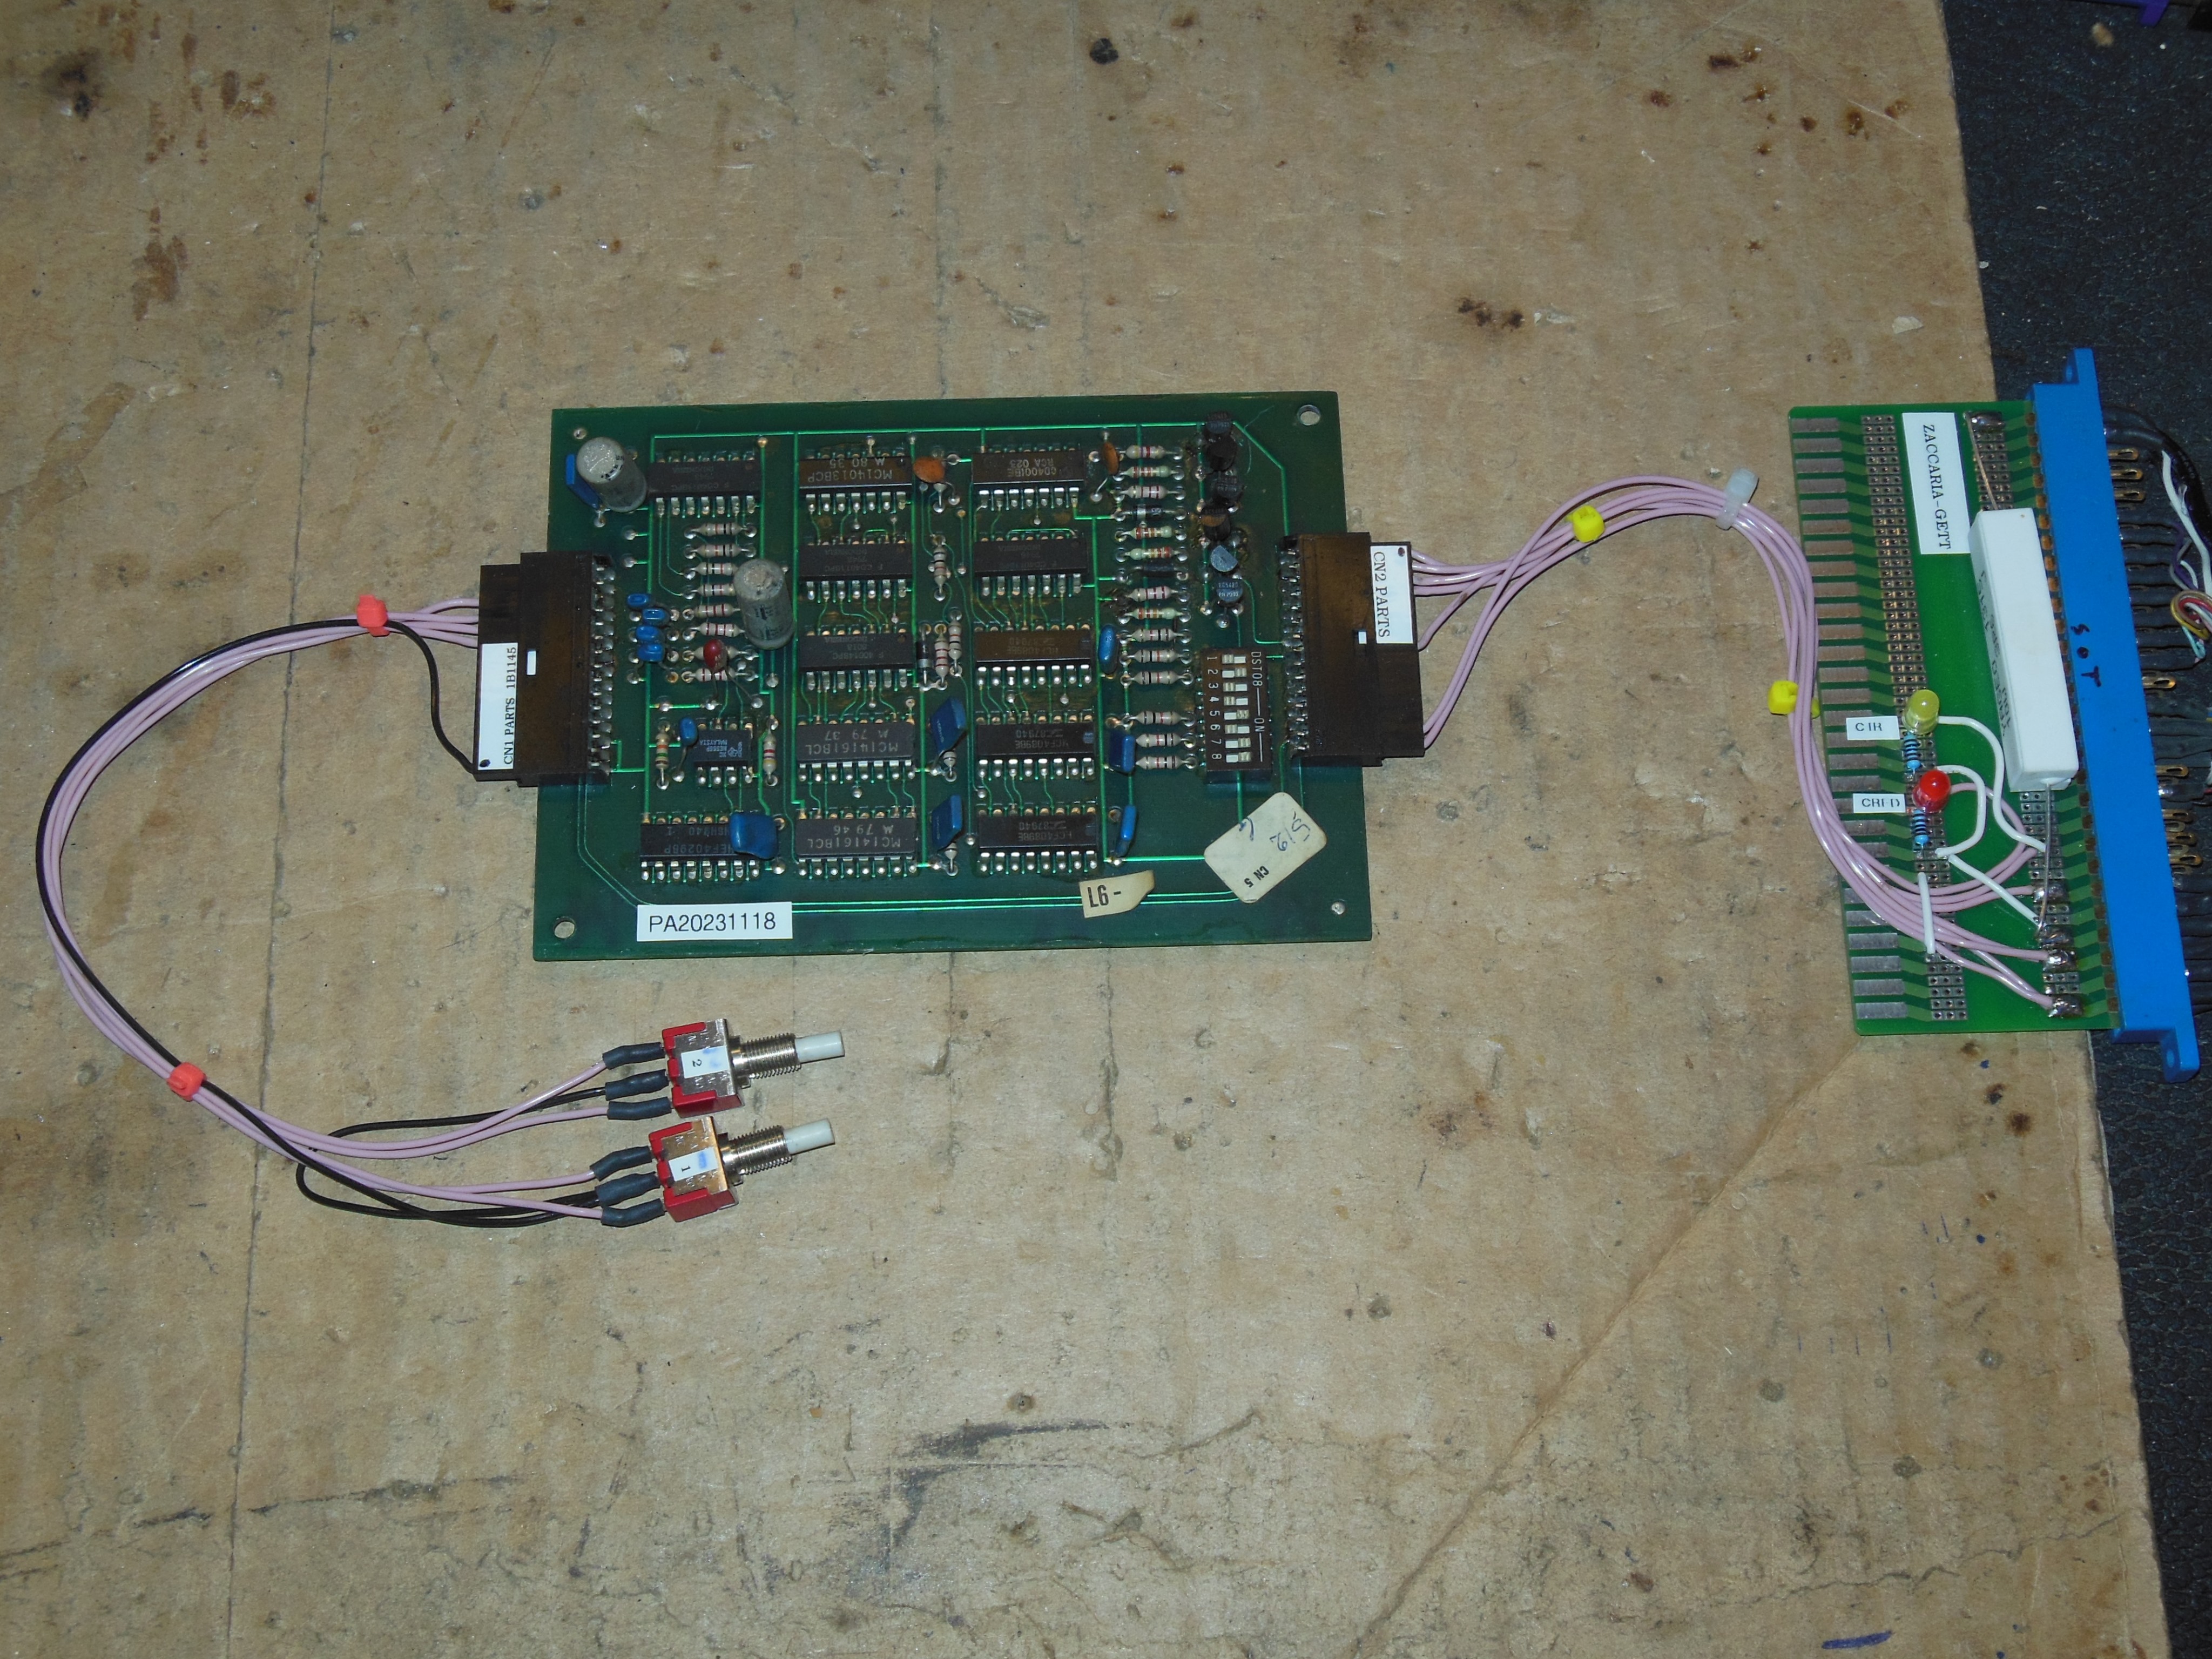
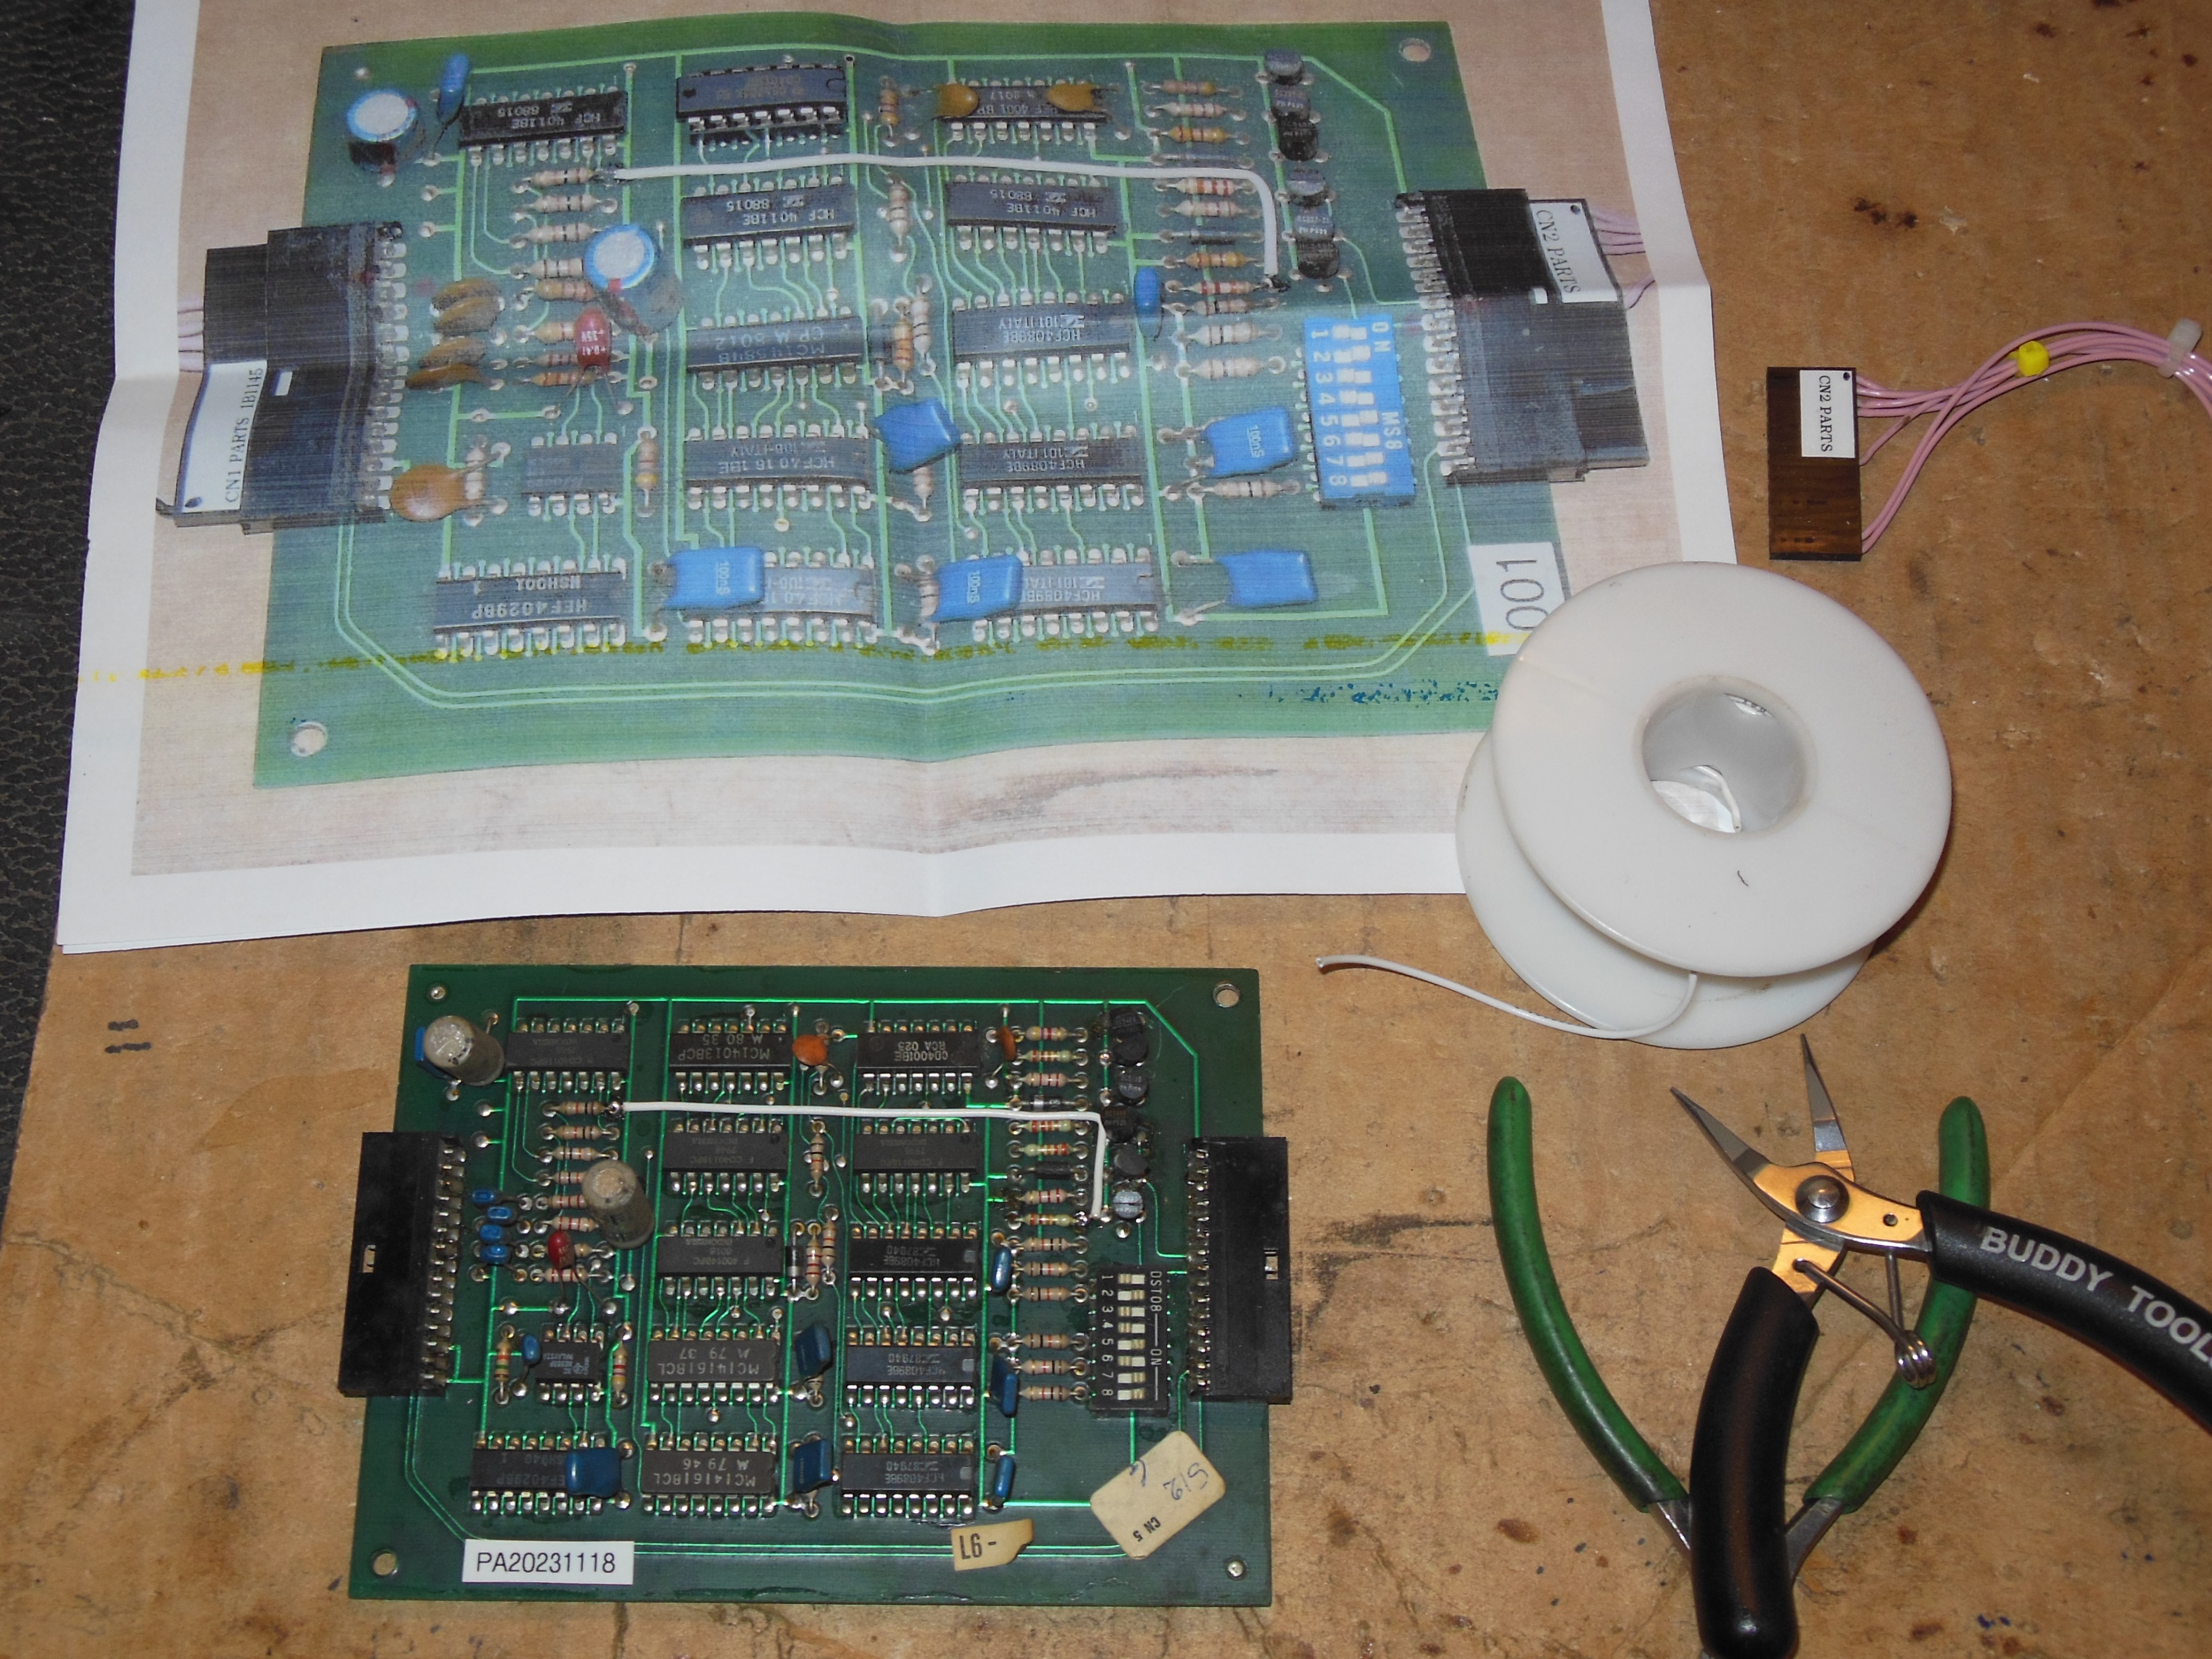
Facebooks "Ivan Arcade" was able to provide a 1B1145 credit PCB. It was faulty and the bypass hack was applied to pass through for 1 coin 1 credit.

|
Installation of the credit PCB completed the game.
|
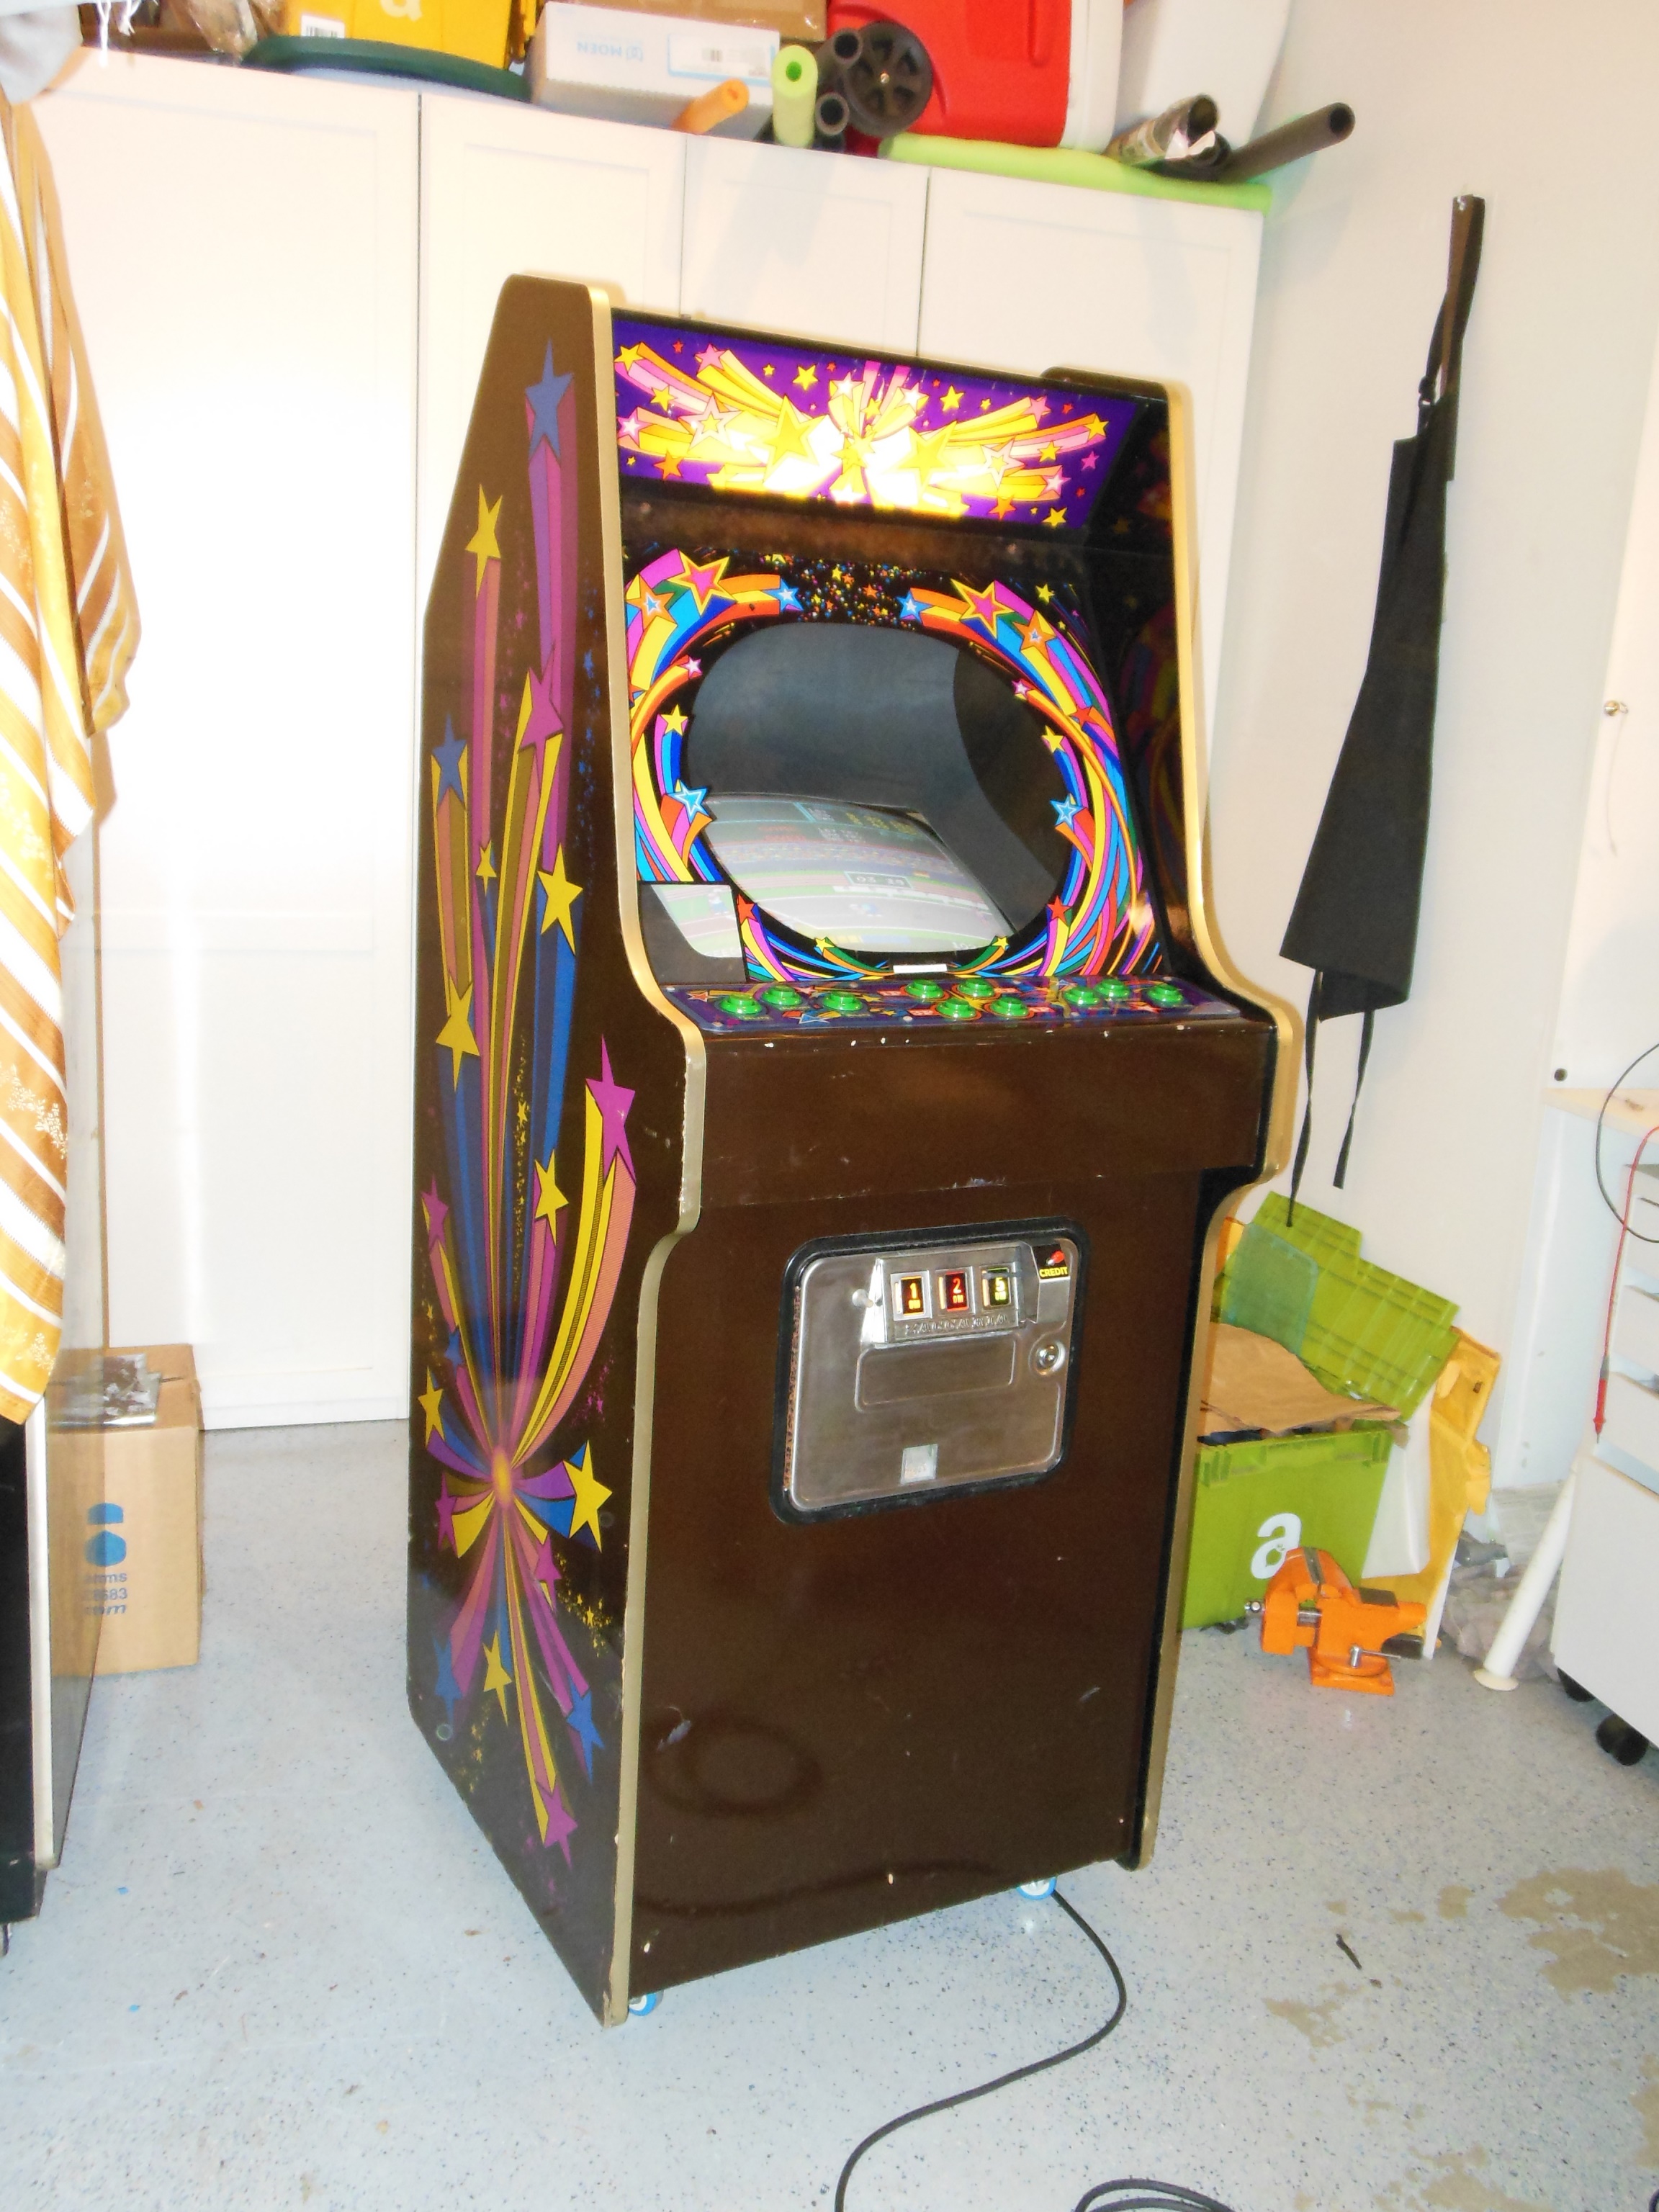
So. Many. Stars.
|
After a few hours of burn in test there were no issues, and the picture was adjusted. Focus was sharp enough for a good picture.
|
This Track'n'Field PCB would only boot when the PCB was flexed. Power connector CN2 was very loose, both the plug and the socket. The plug pins were reflowed and the connector sockets tightened that fixed the boot issue.
The background graphics corruption also responded to flexing that was traced to ROM IC 16H. Cleaning & reseating the IC fixed the corruption. The relevant EPROMS from Hyper Olympic PCB PA20230912 were swapped over to convert the game to Hyper Olympic for use as a spare game PCB.
|
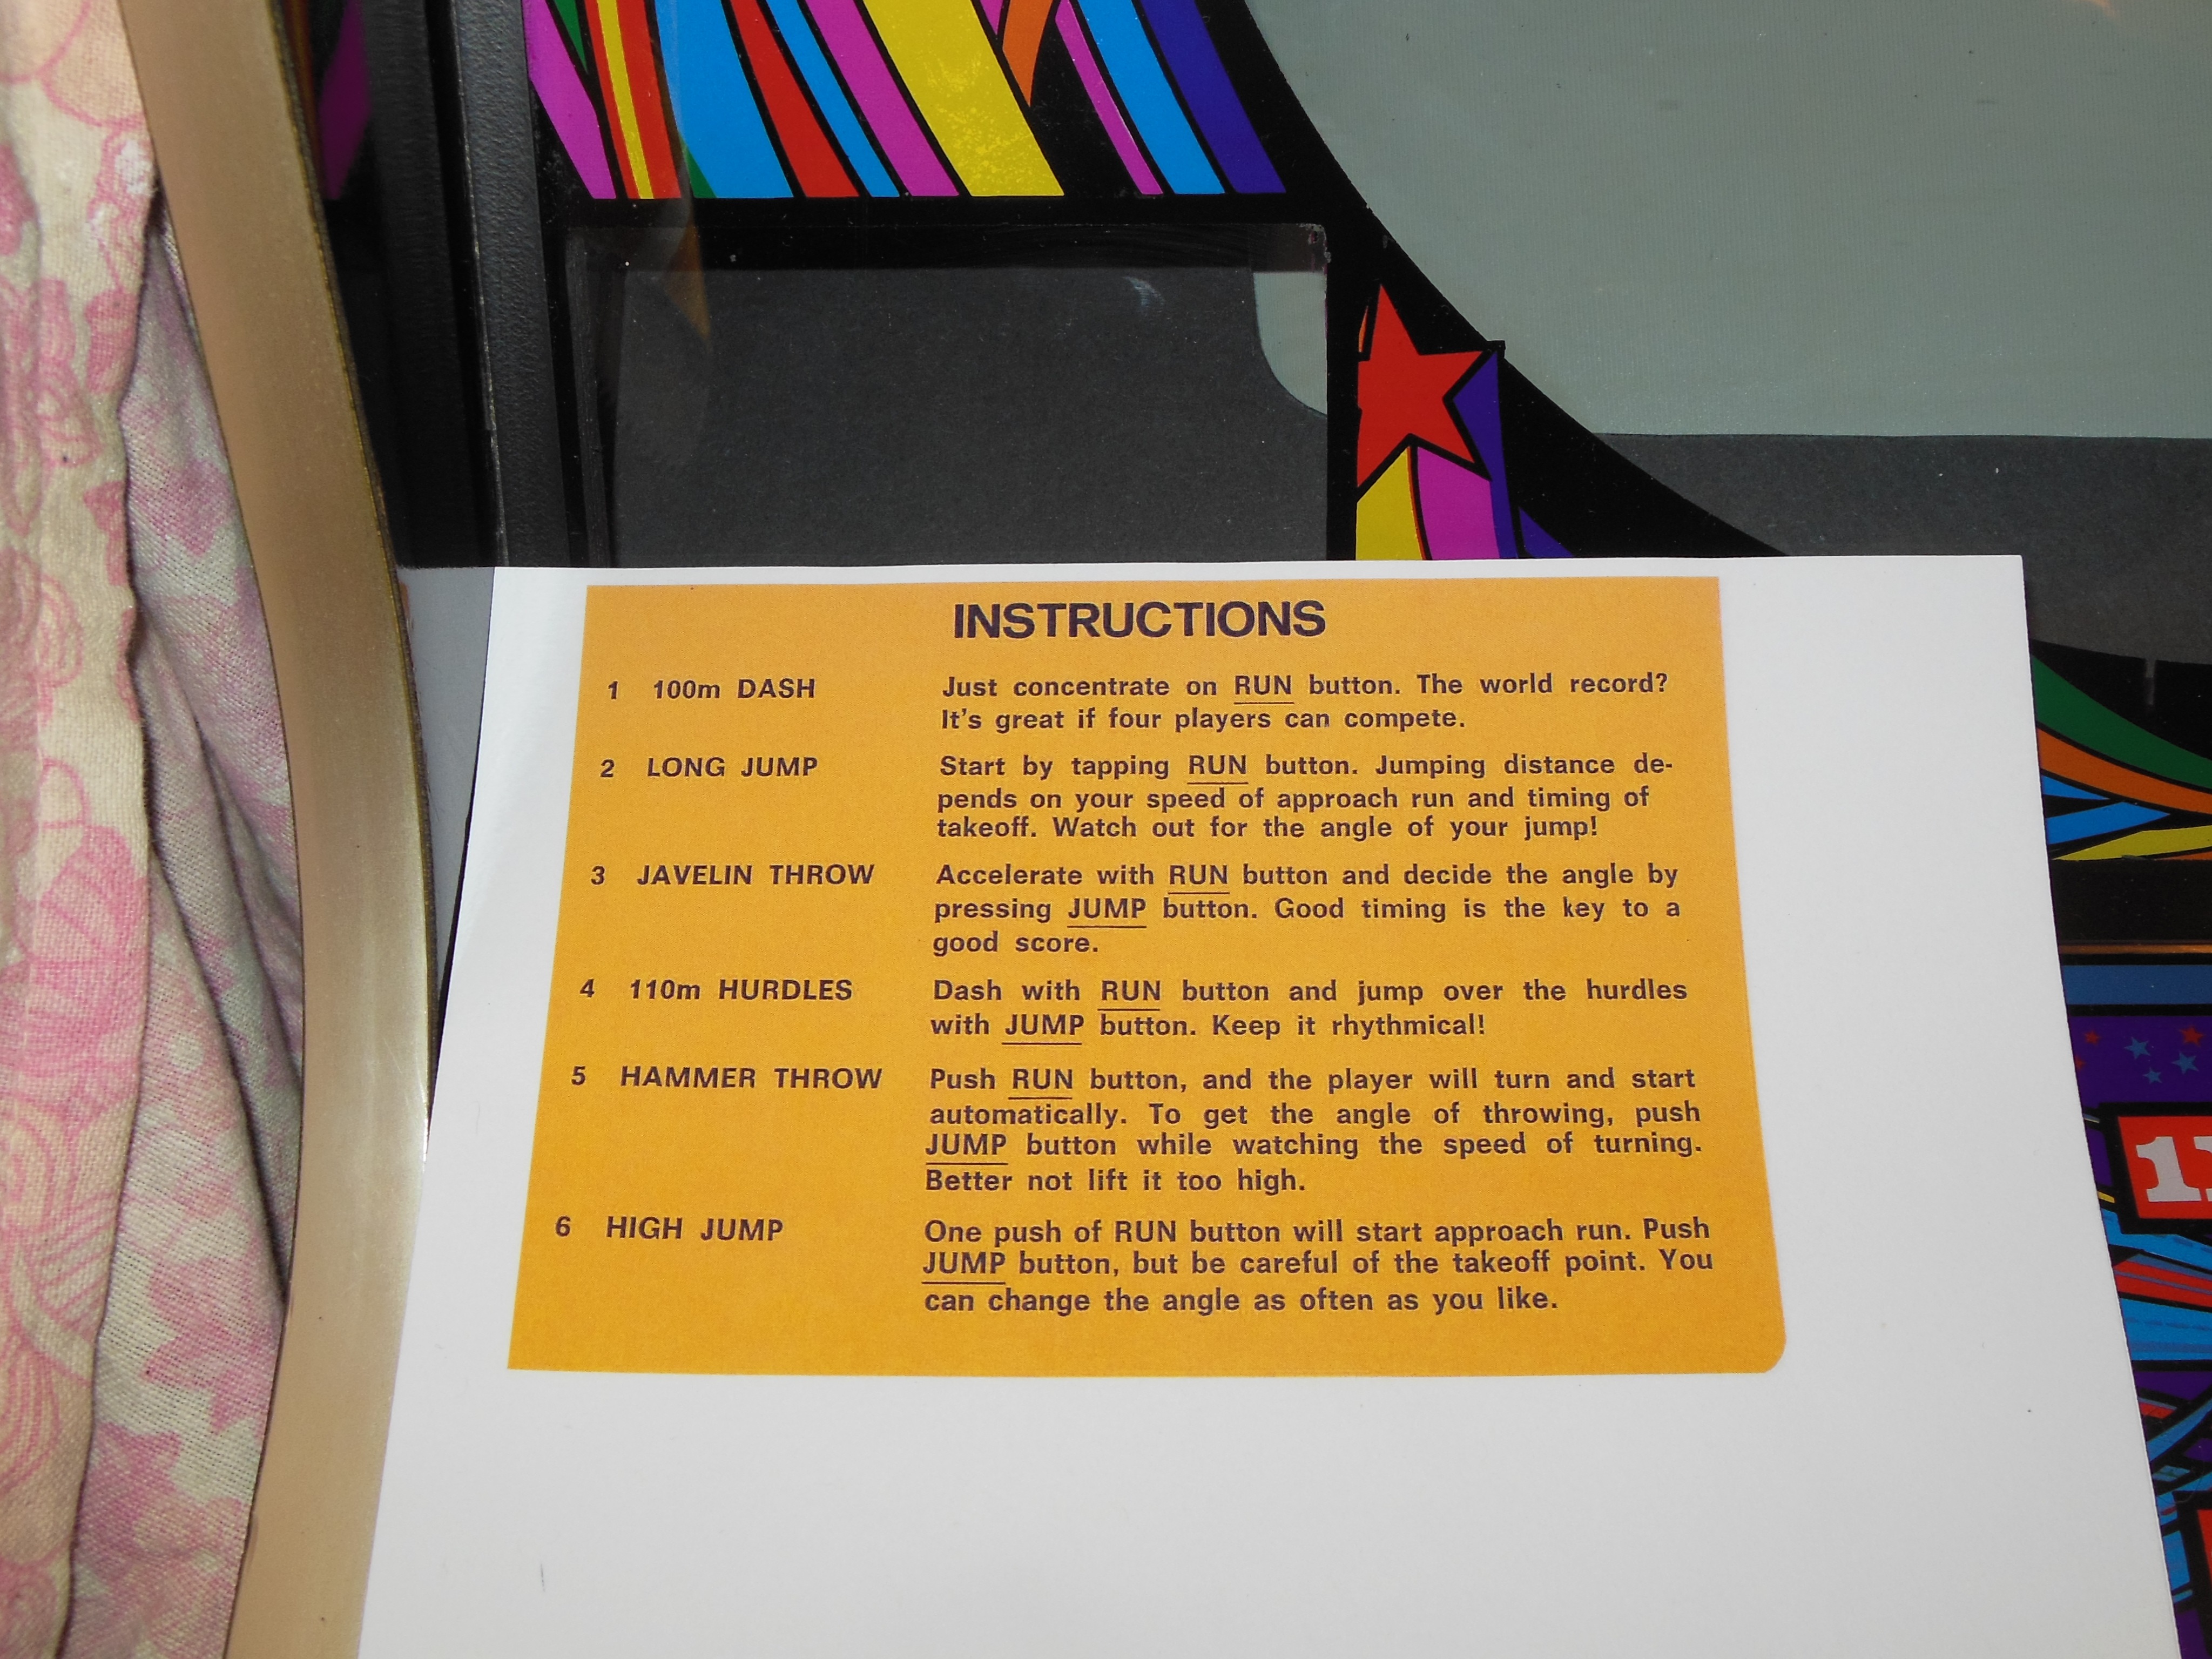
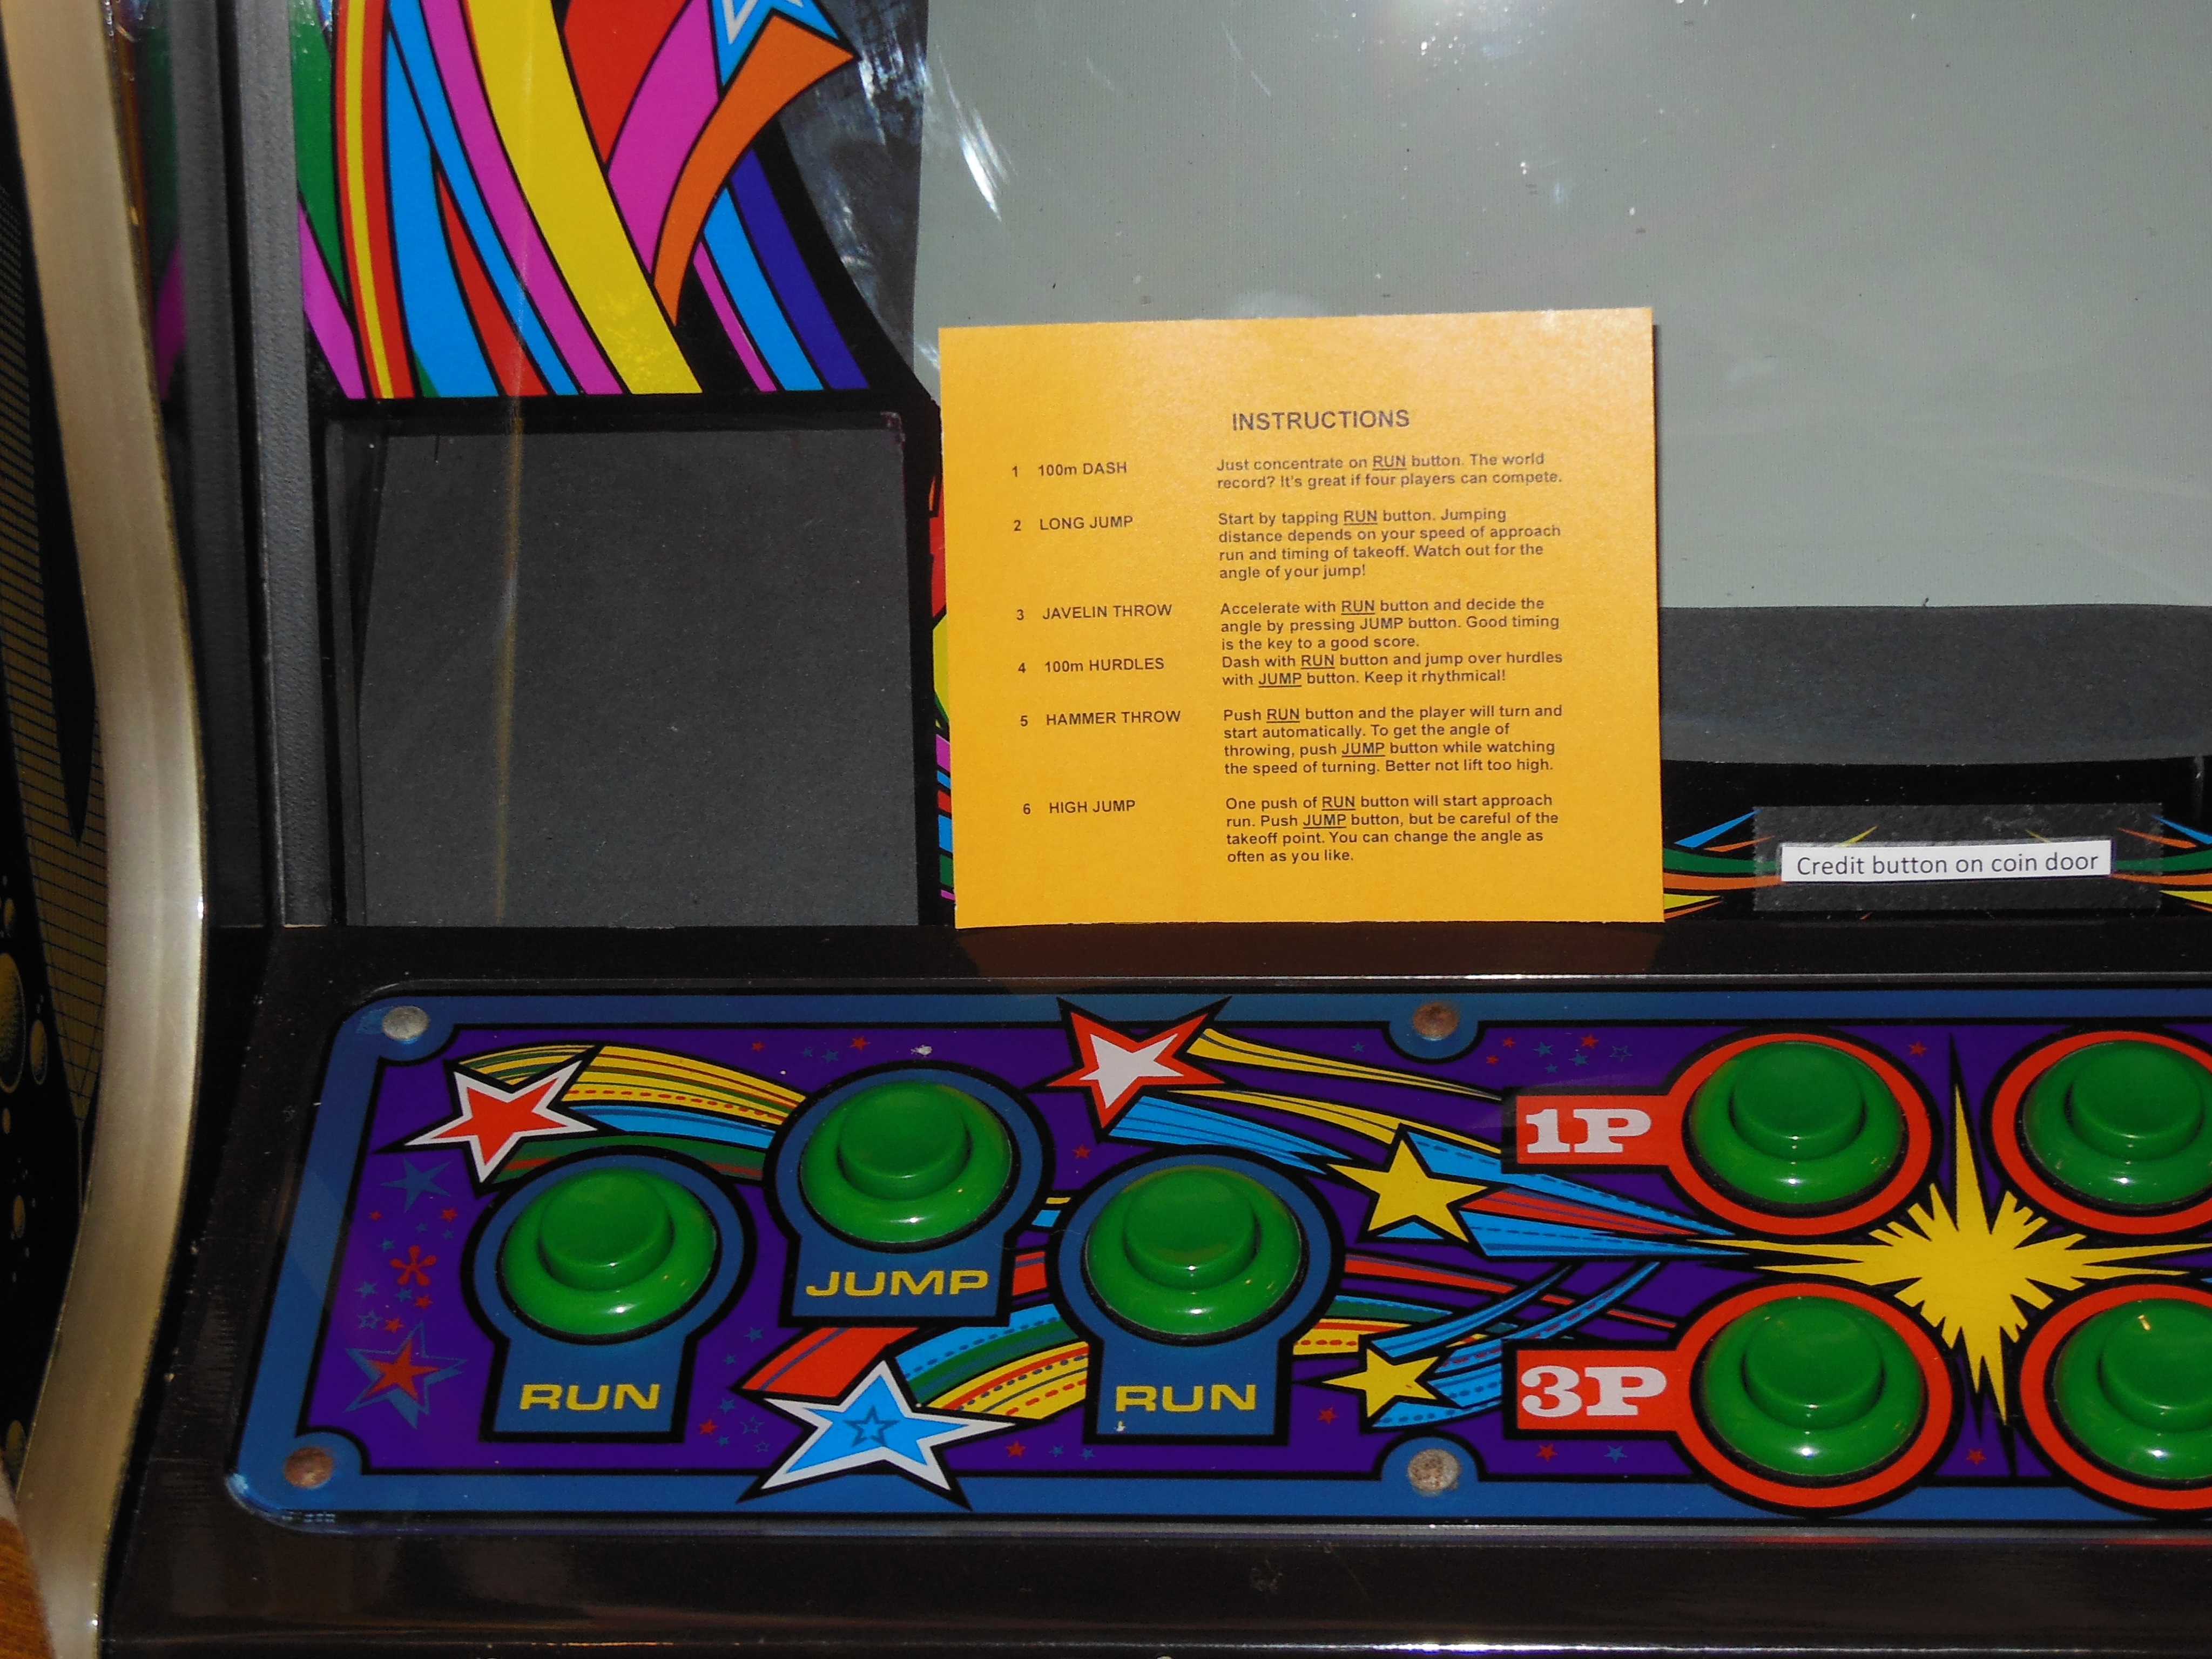
There was no instruction card for the window in the monitor glass and all the available scans I could find online were for Track'n'Field. I had a scan from a Zaccaria monitor cavity instruction card found in the Z040 cabinet style, however.
|
Using the text from the Z040 scan to approximate a version of it was used to make
an instruction card that would fit the monitor glass window:
Zaccaria style Hyper Olympic monitor cavity instruction card.
Zaccaria style Hyper Olympic monitor glass window instruction card.