
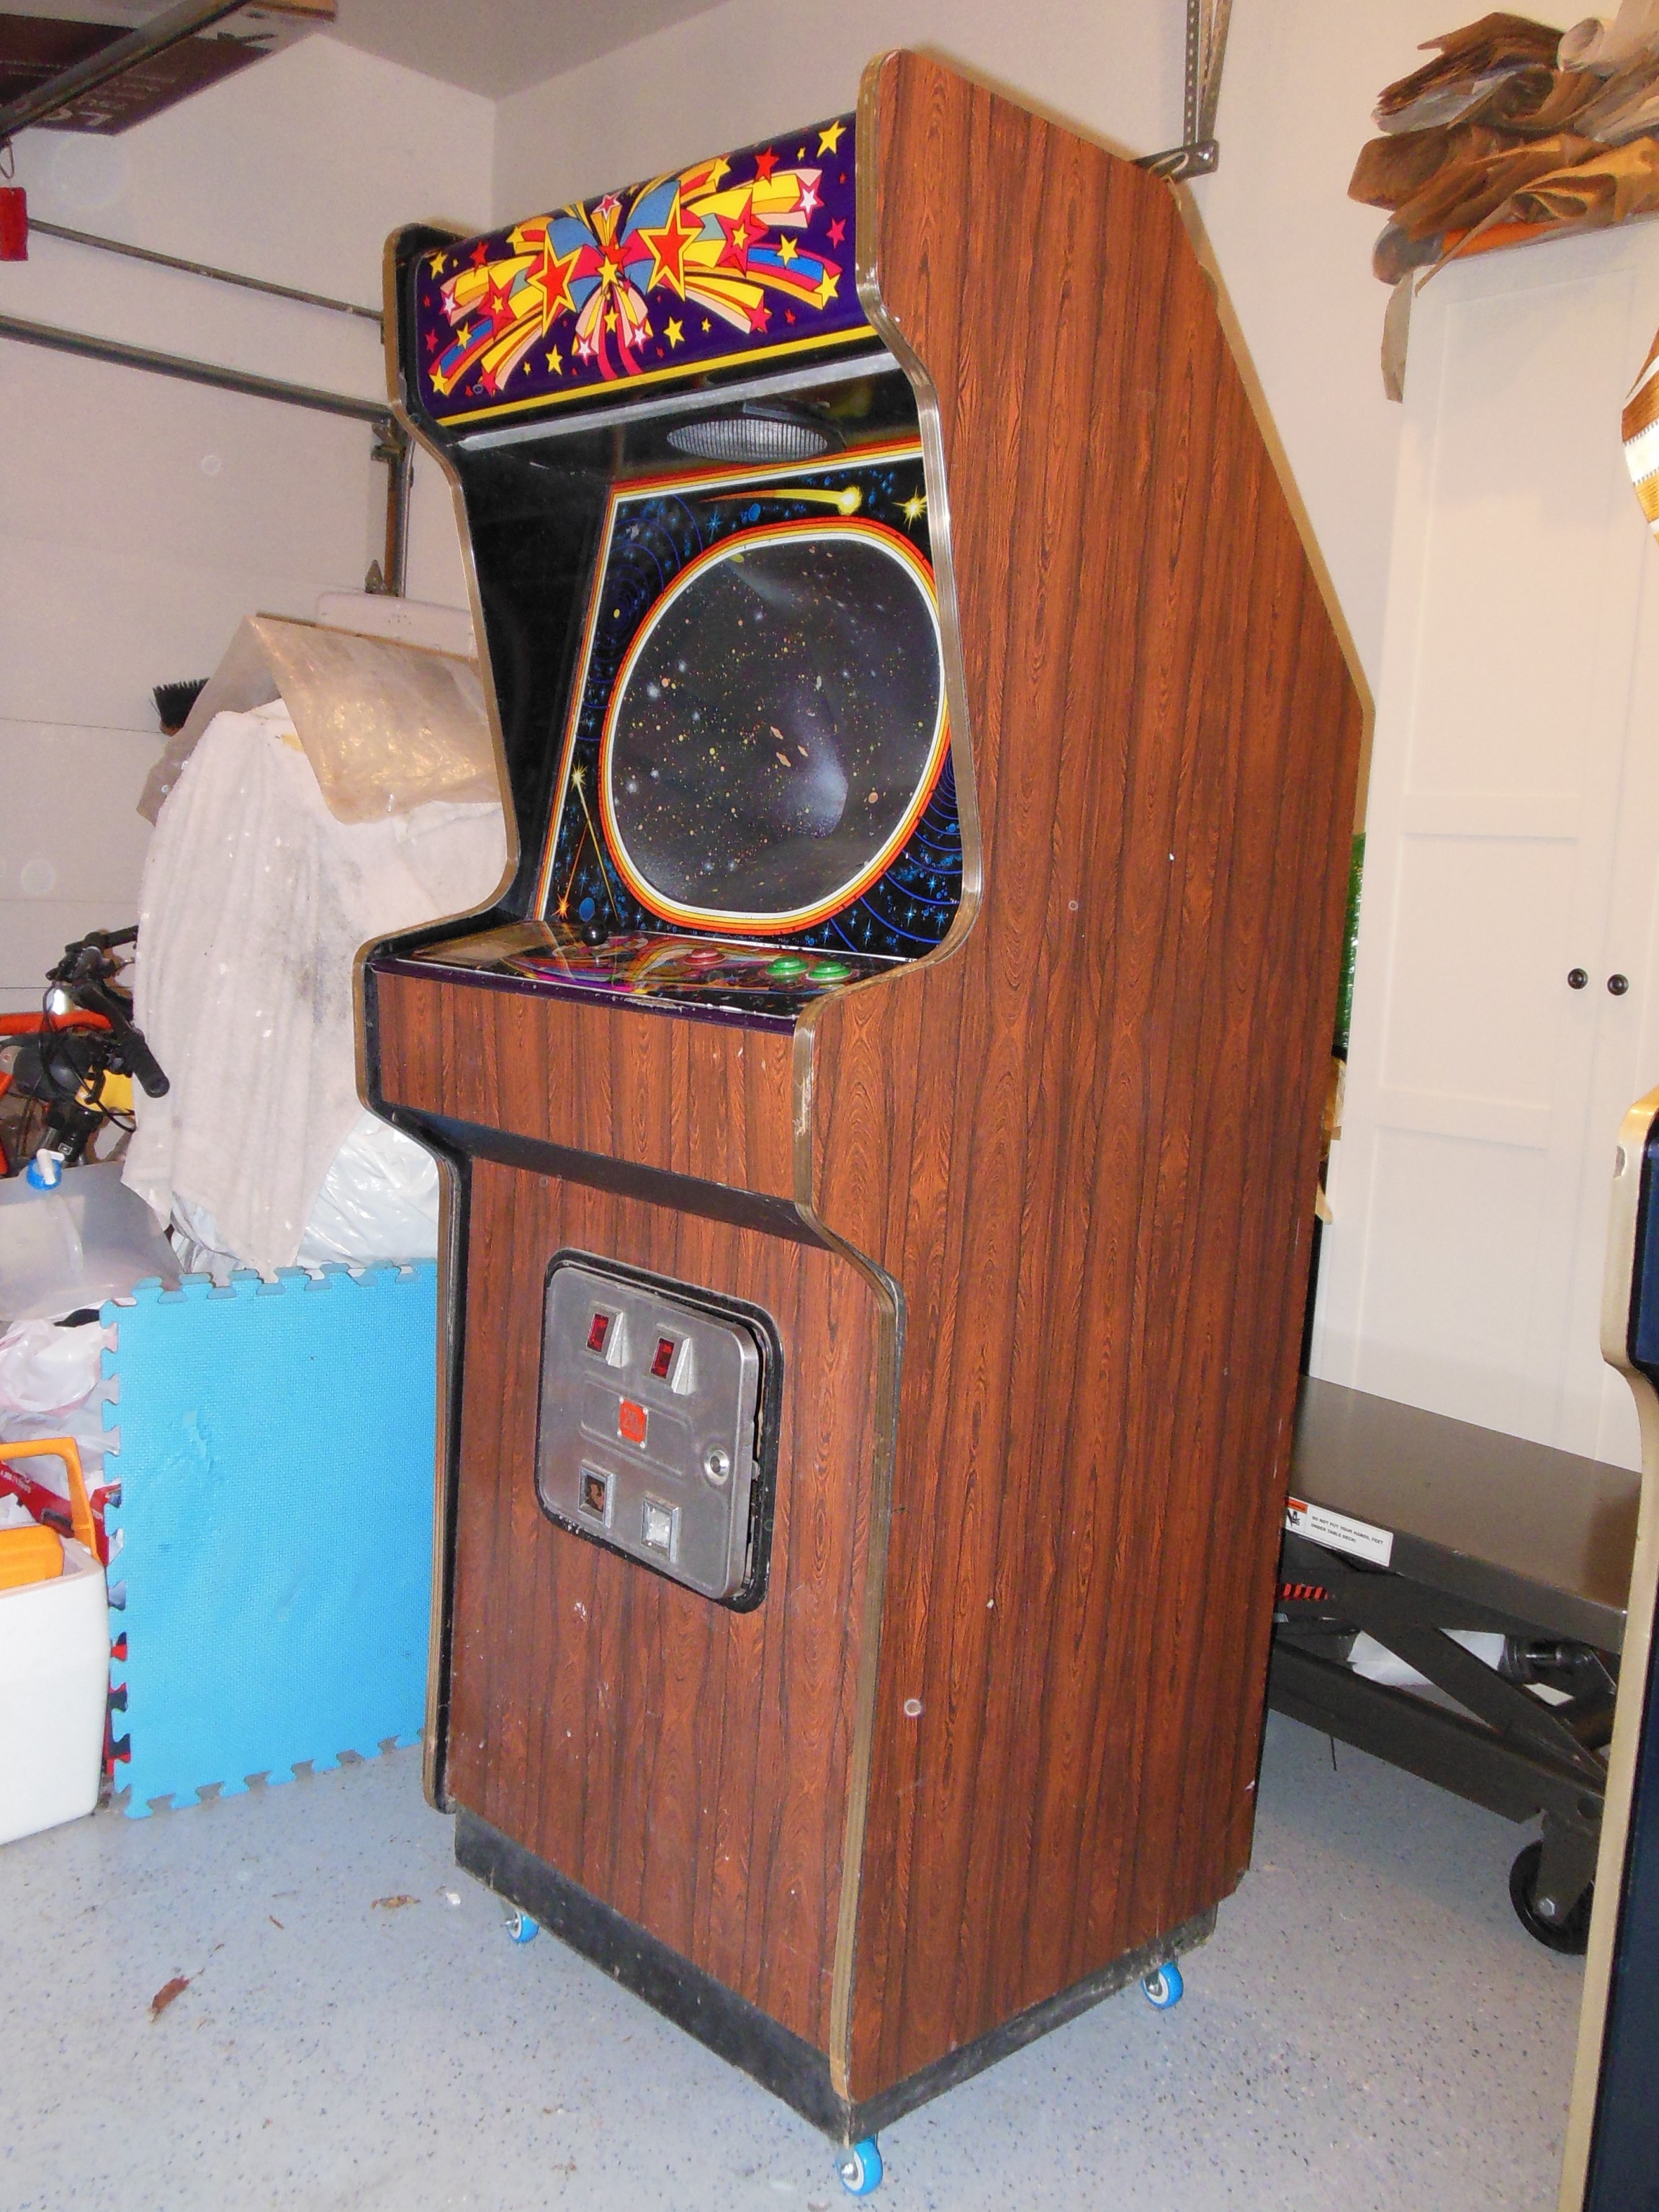
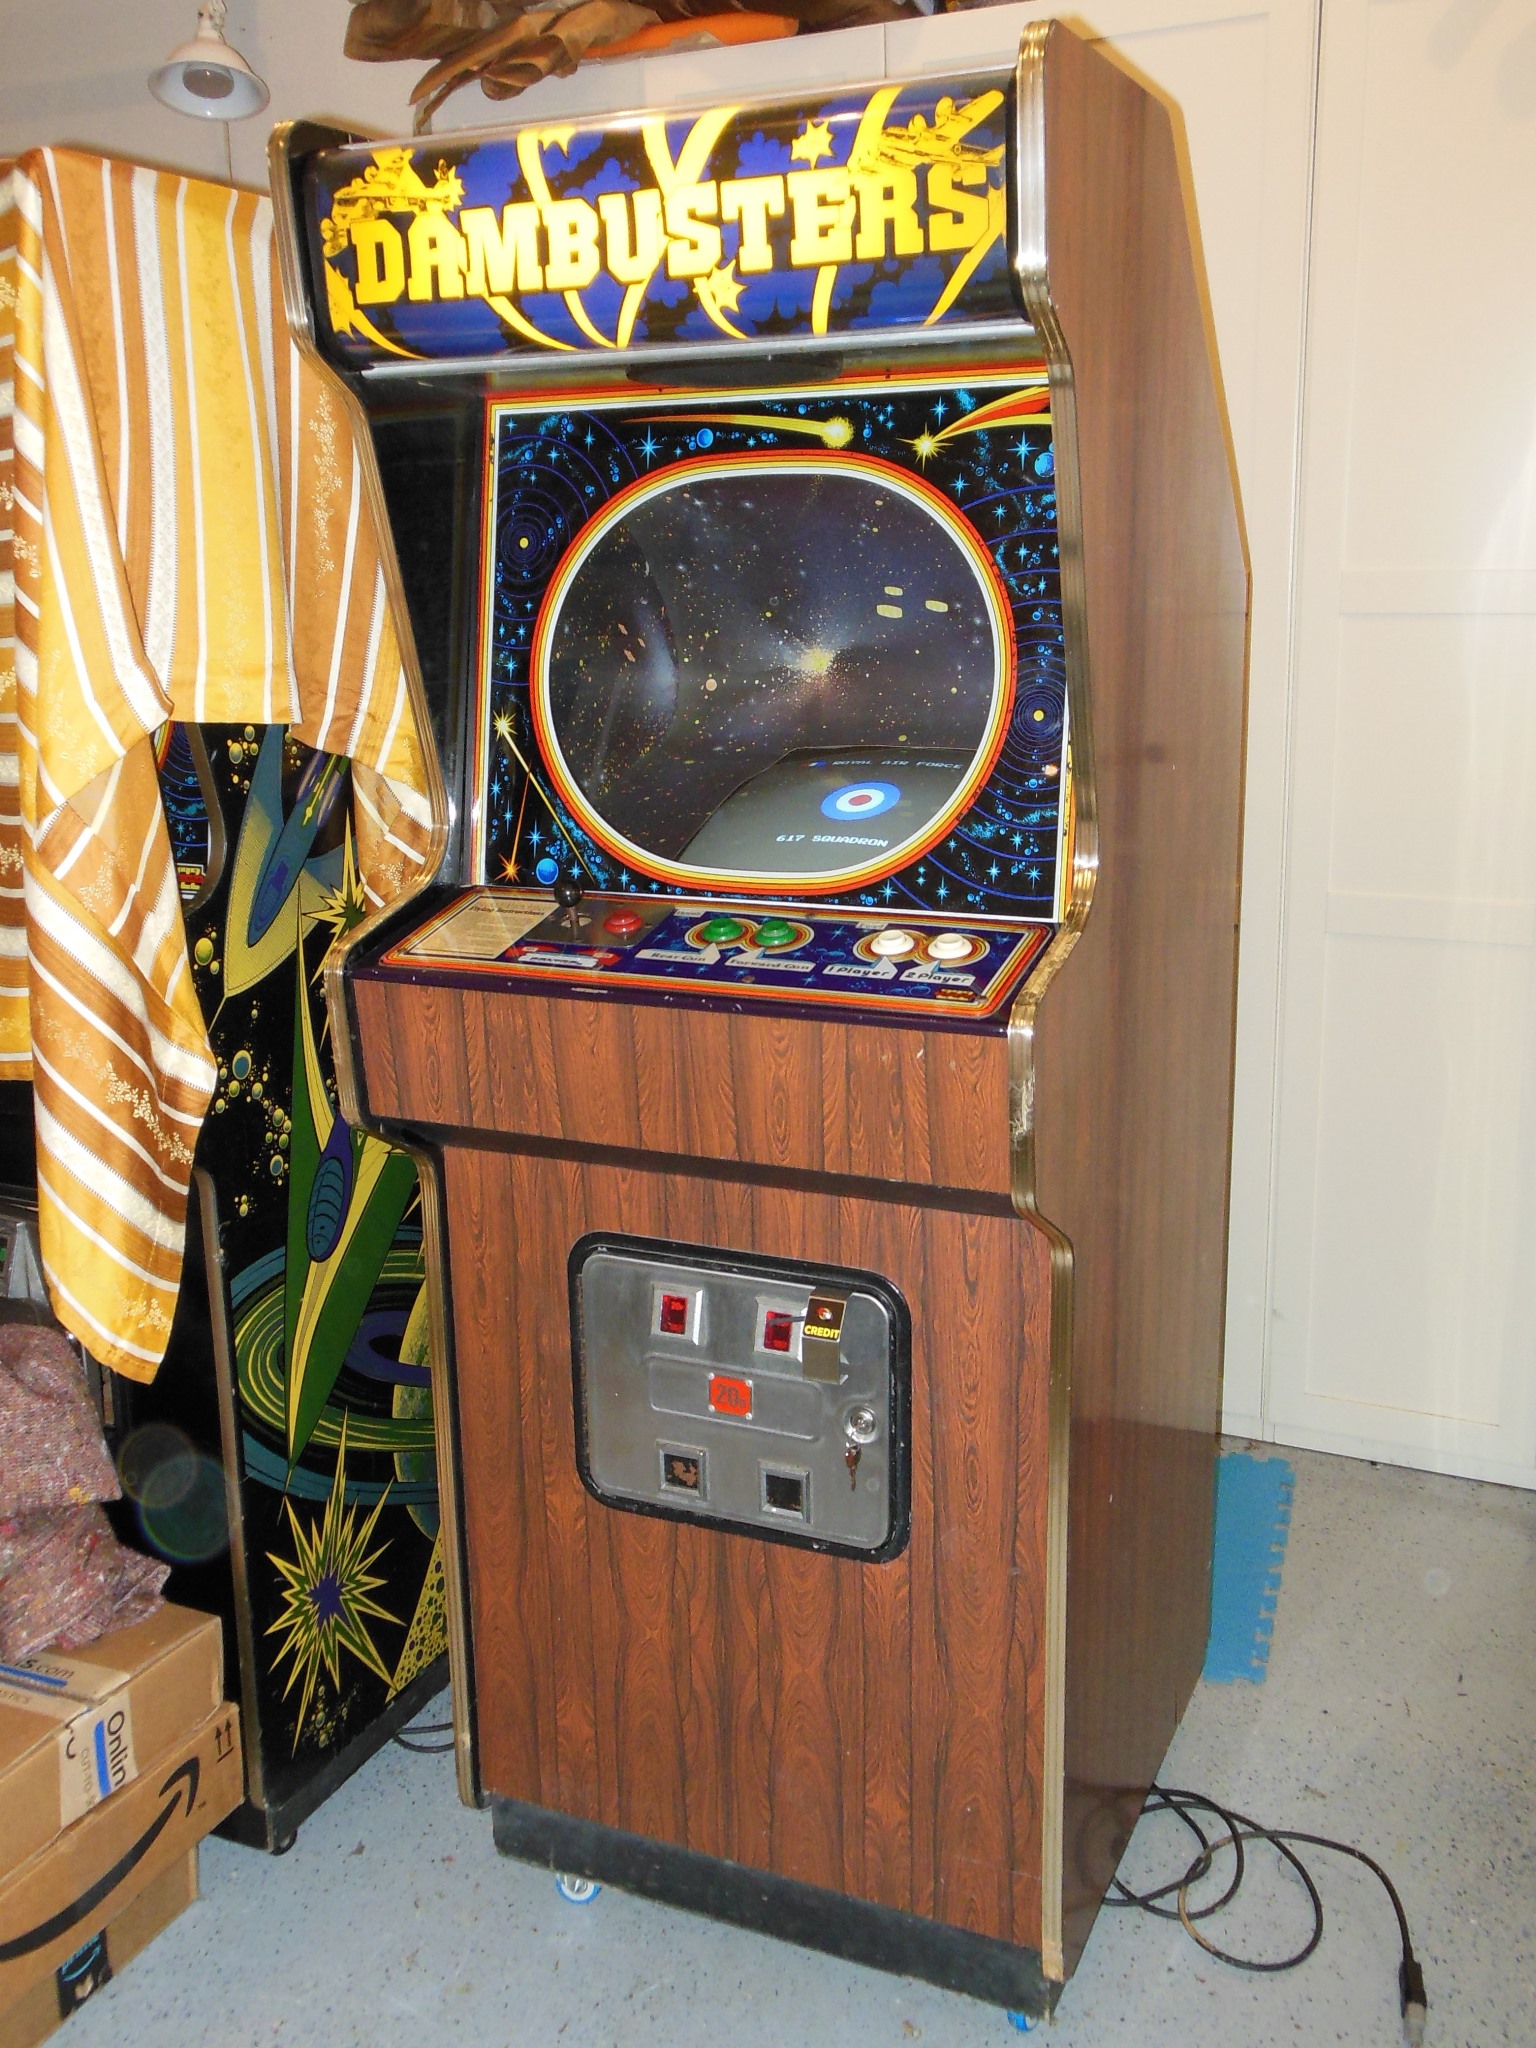
I had planned to restore a rough wood grain laminated Quasar cabinet as the base for a Zaccaria Space Fortress restoration but it would have been very difficult to replace the chrome T-molding, remove the lamination and repair the sander damage to the underlying artwork. Instead, this Dambusters conversion in the same Quasar cabinet was a better choice for the Fortress build. Aside from the Dambusters conversion, the cabinet itself was in very good condition. The plan was to "move" Dambusters into the woodgrain cabinet to become a British game in a typical British pub/chip shop woodgrain cabinet.
|
|
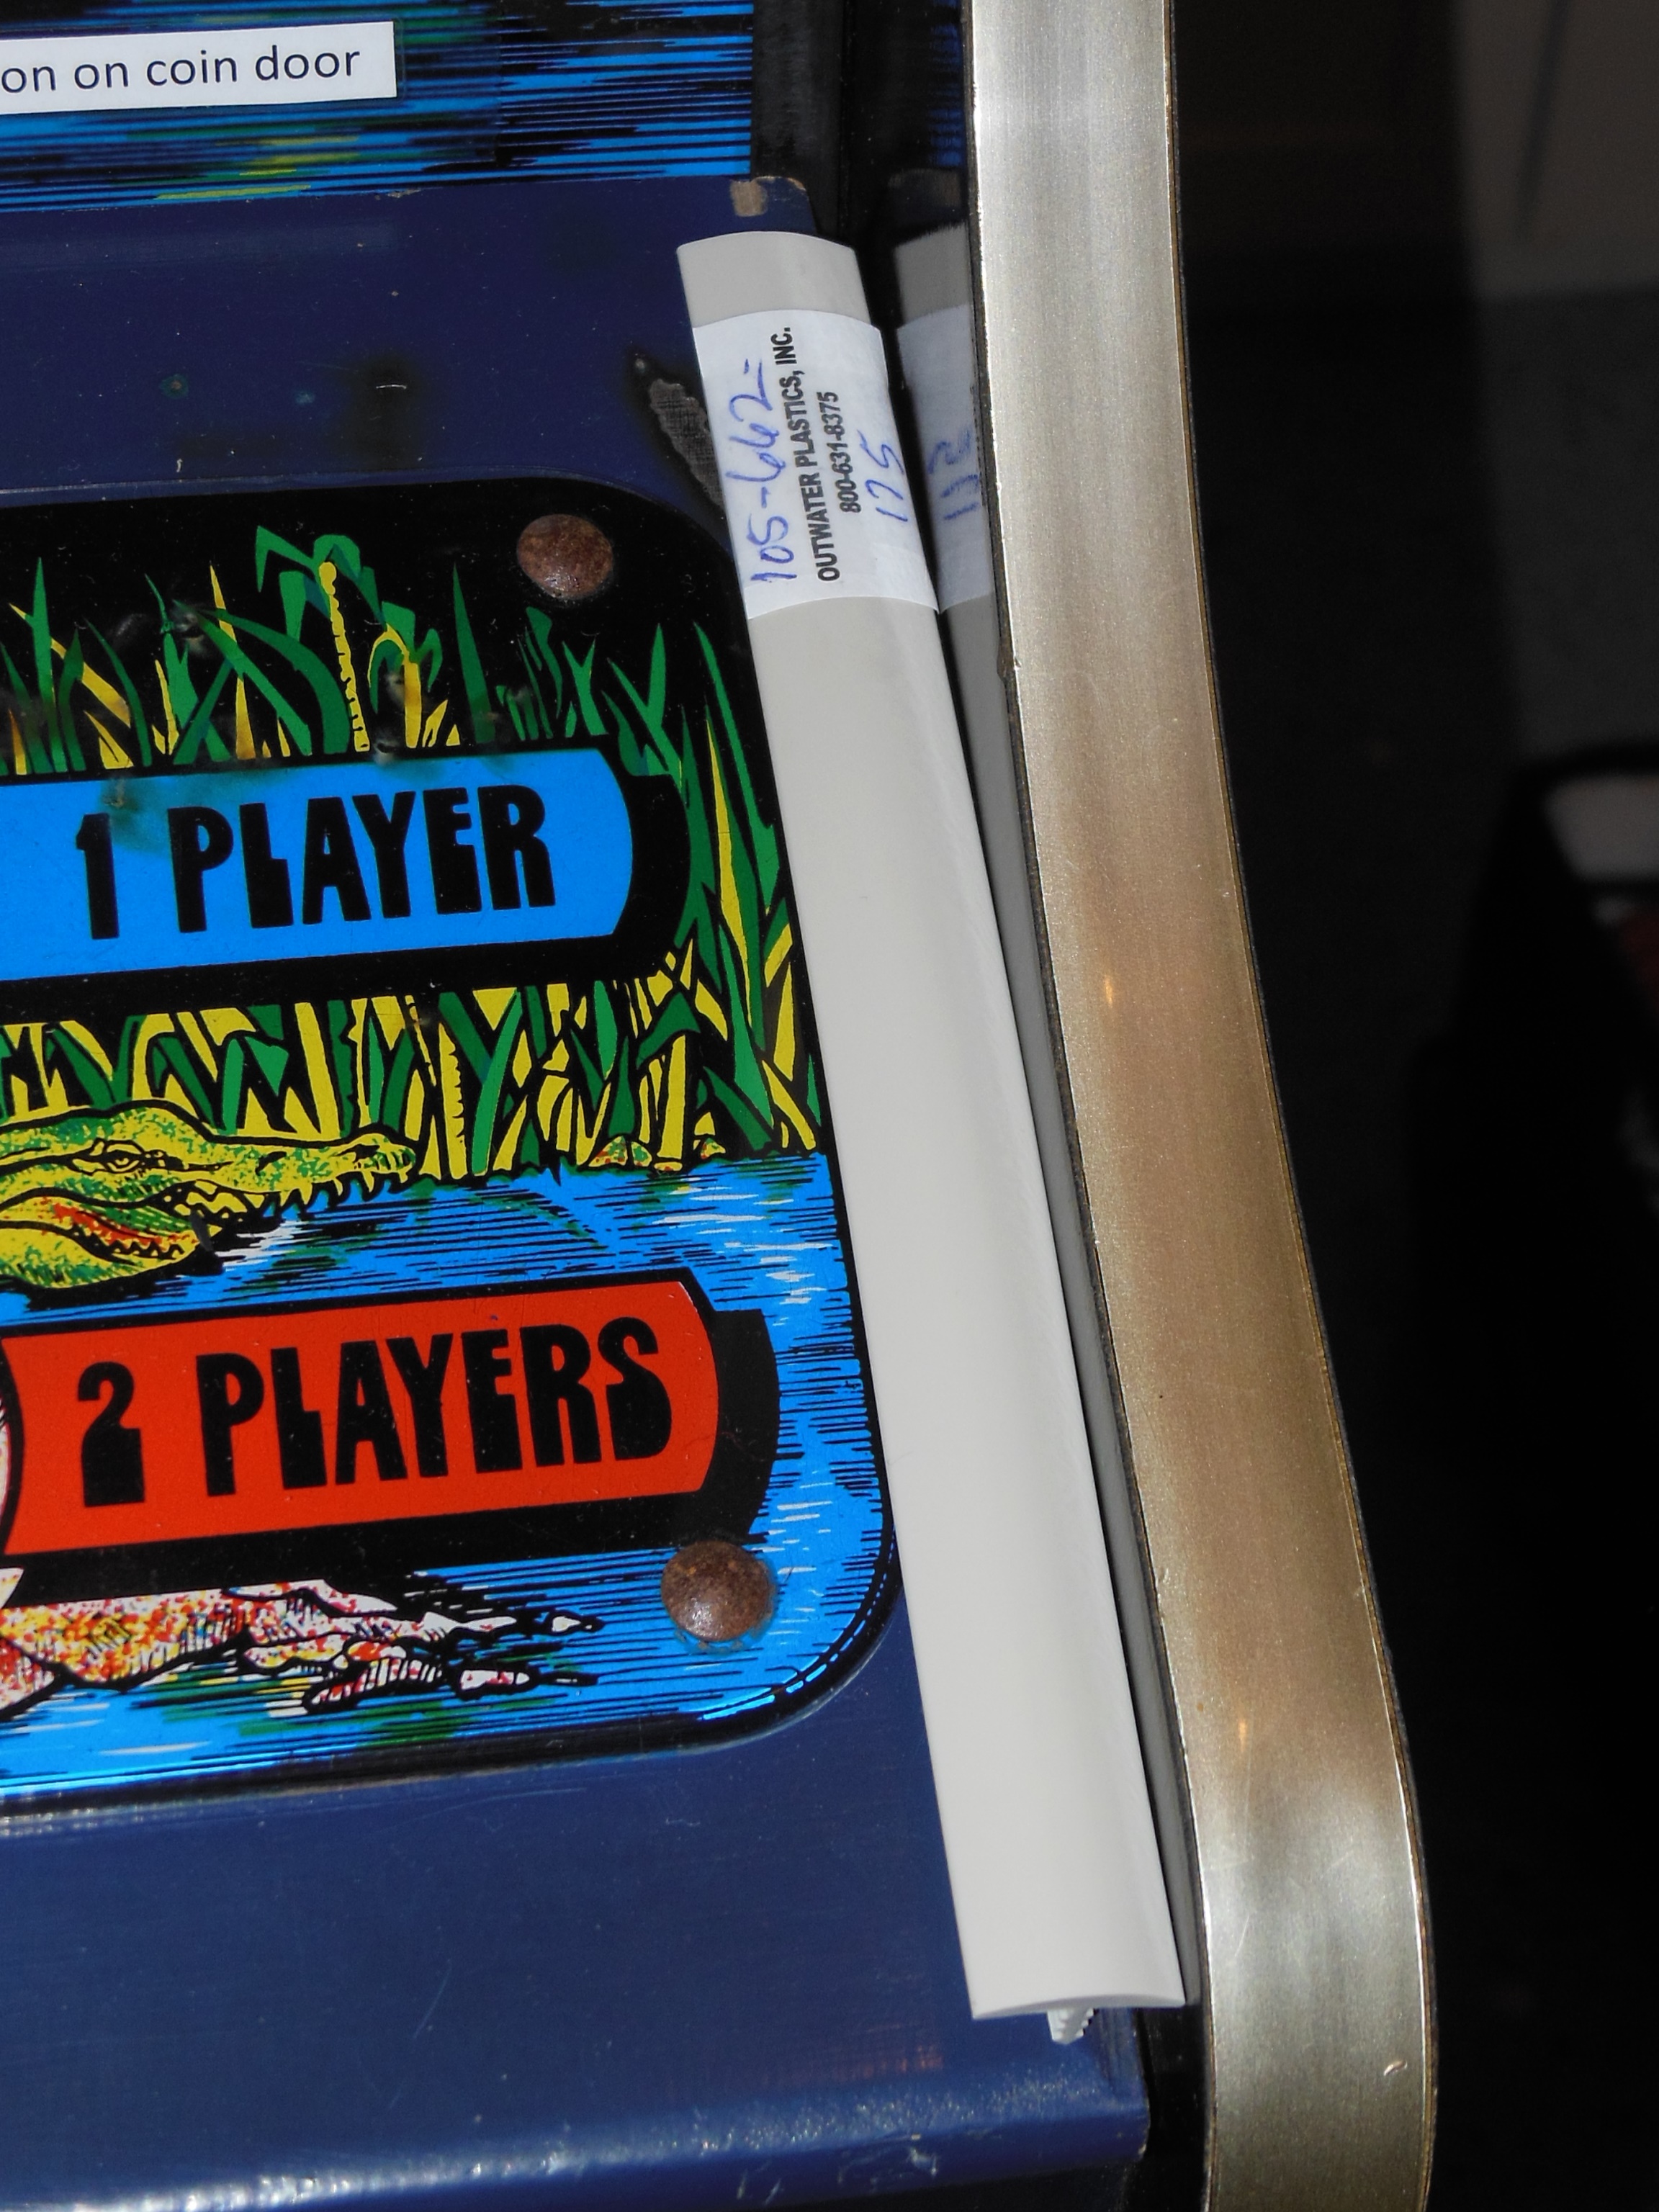
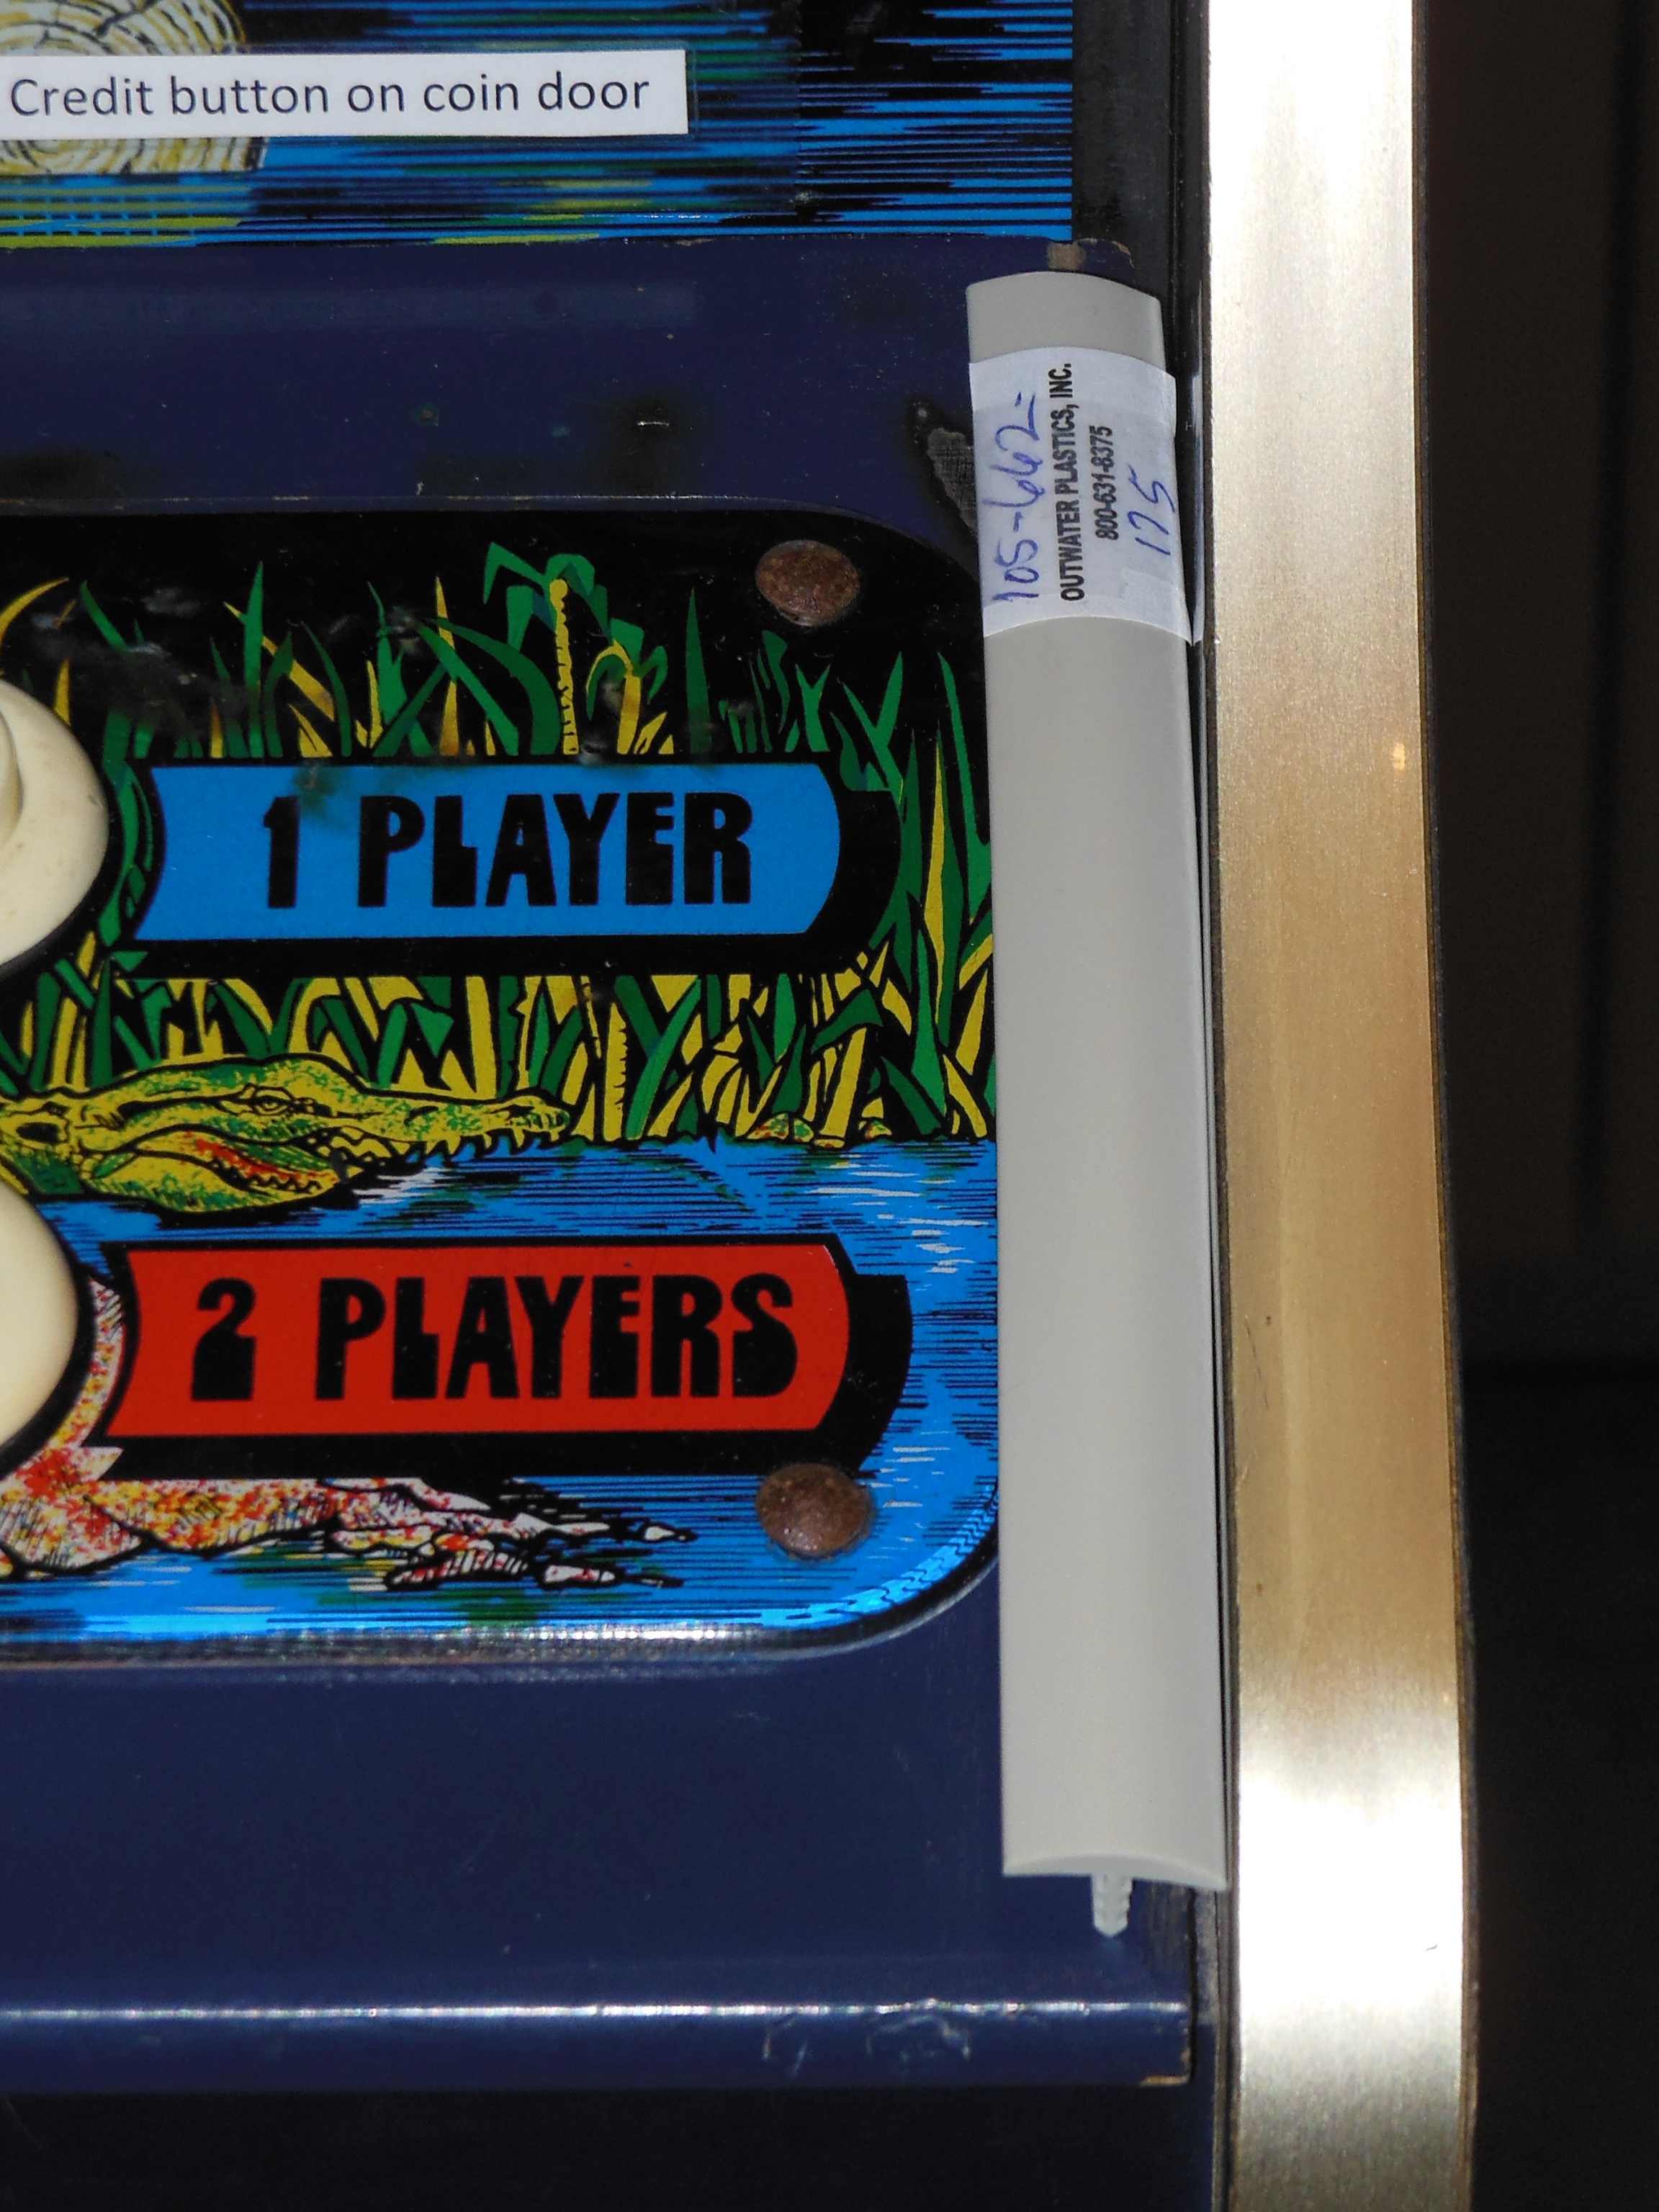
A little bit of research found a couple of companies that had 5/8" T-molding:
|
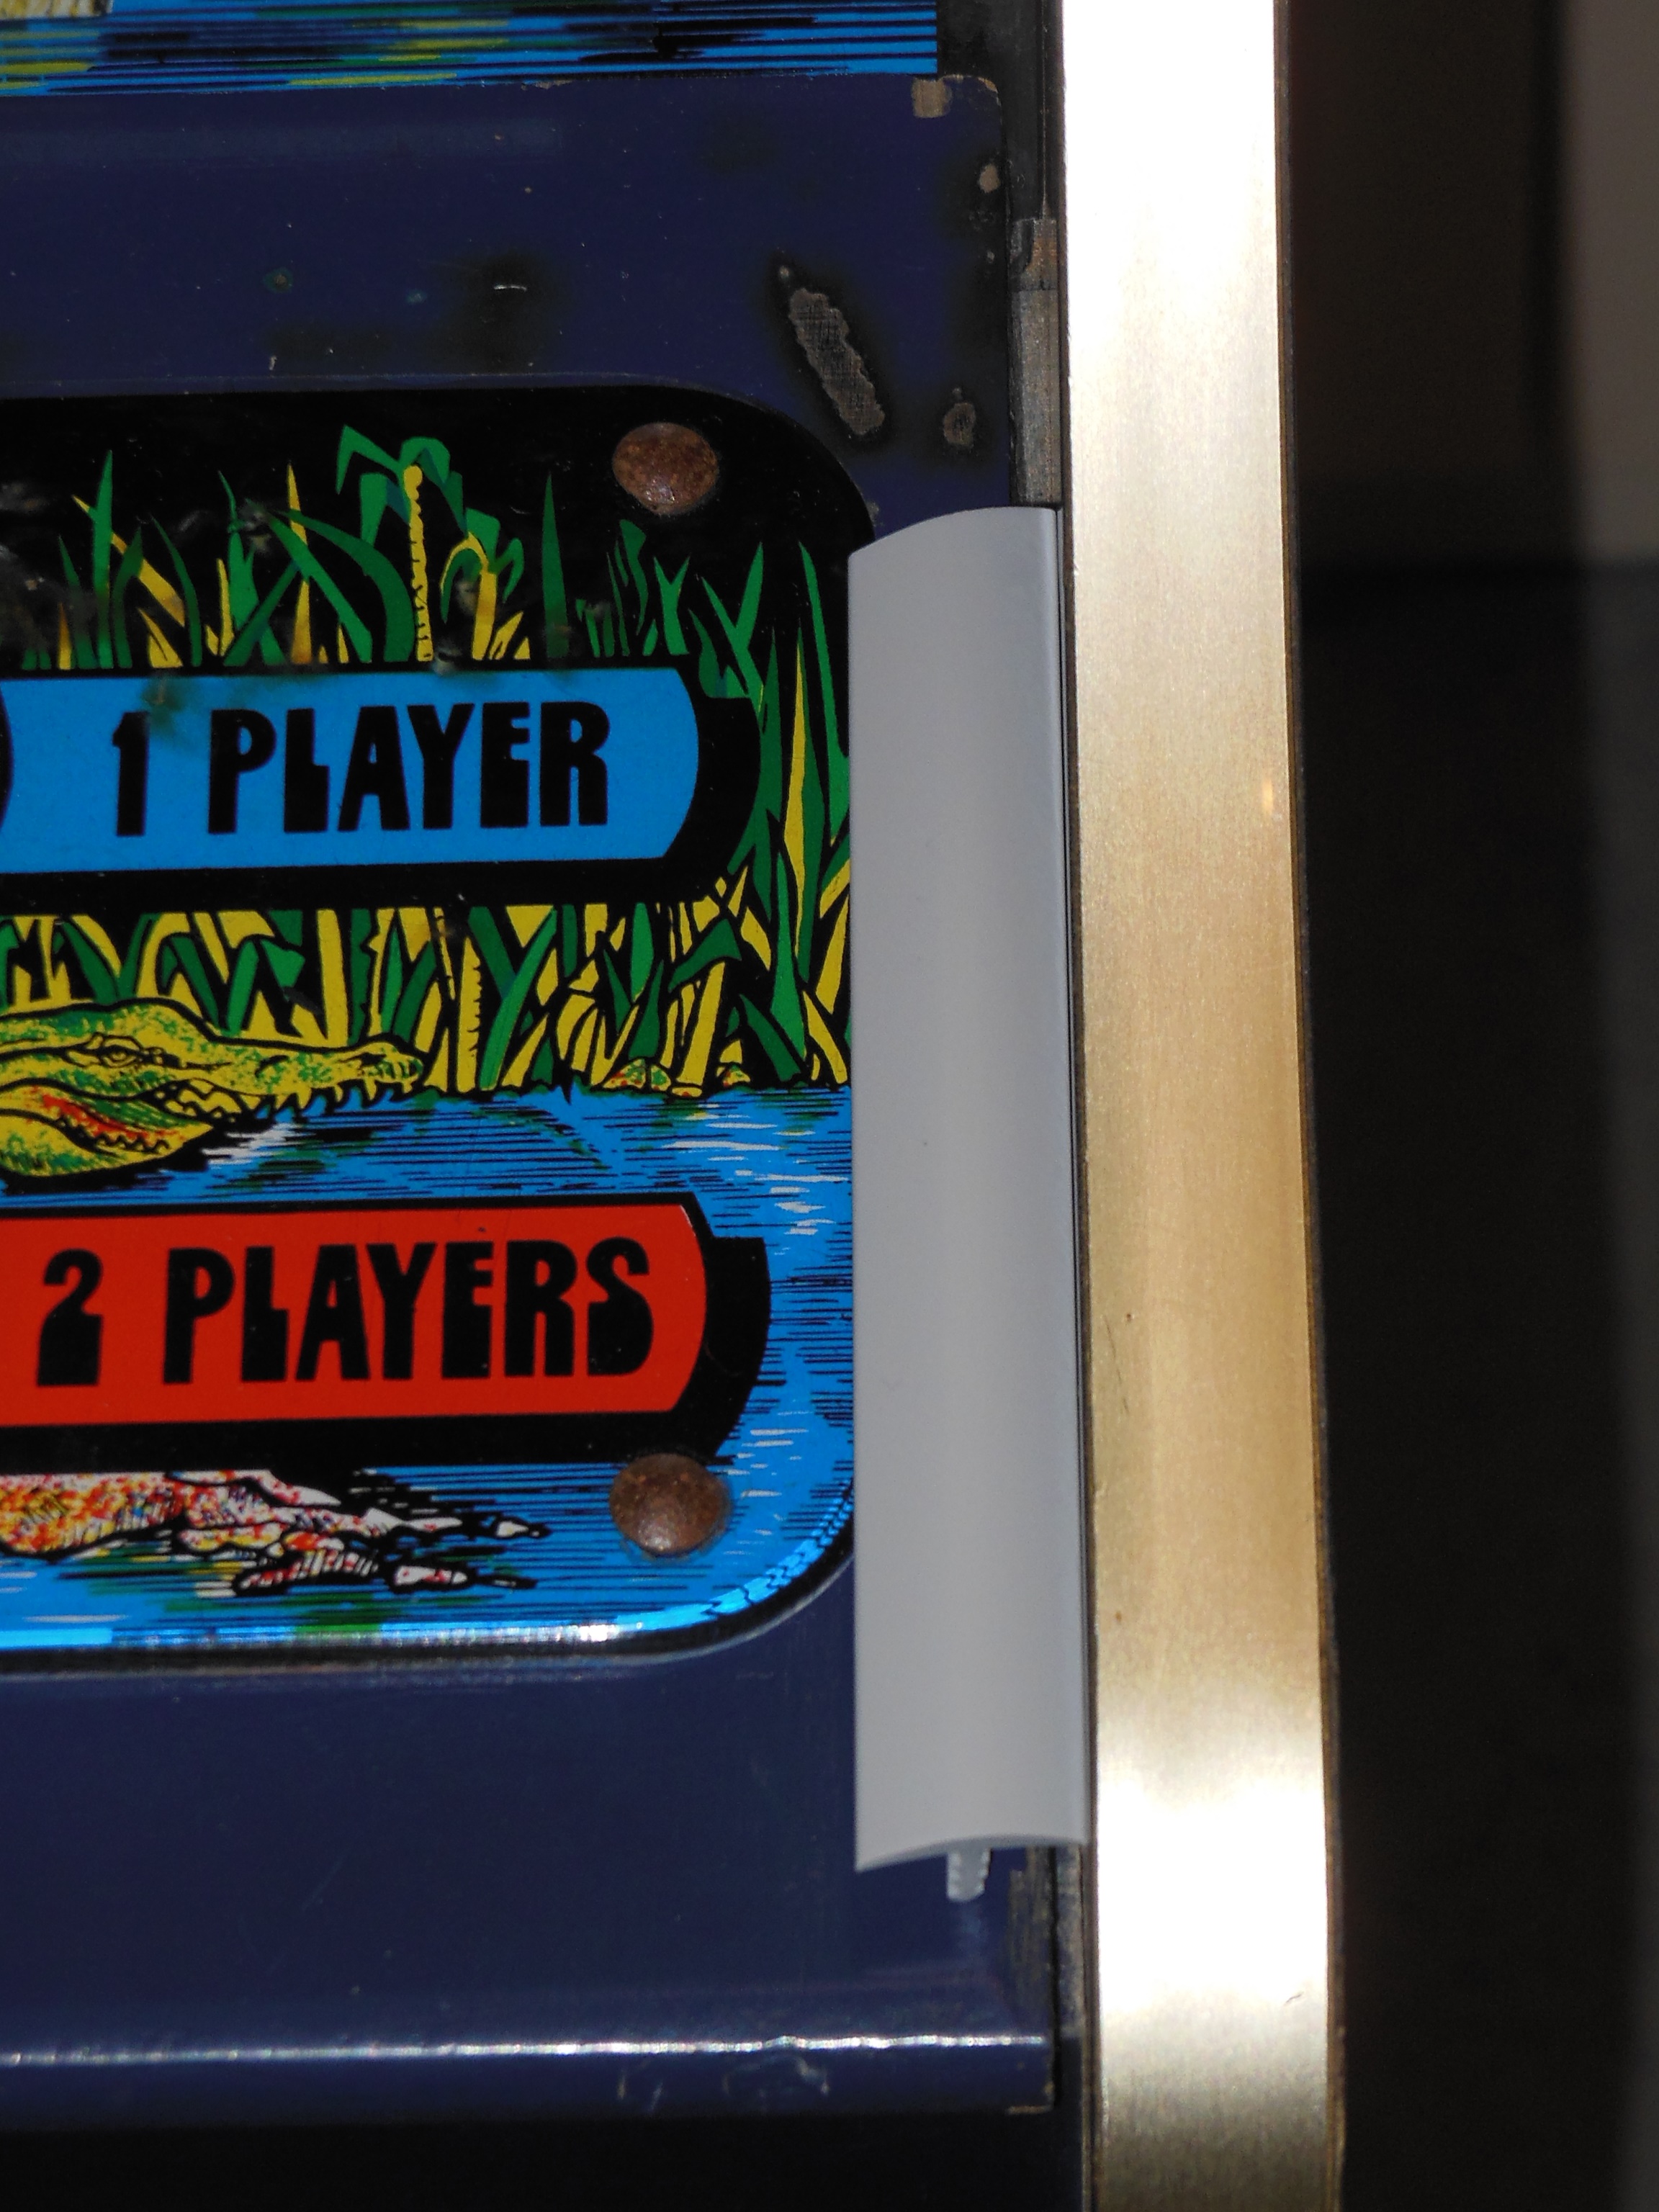
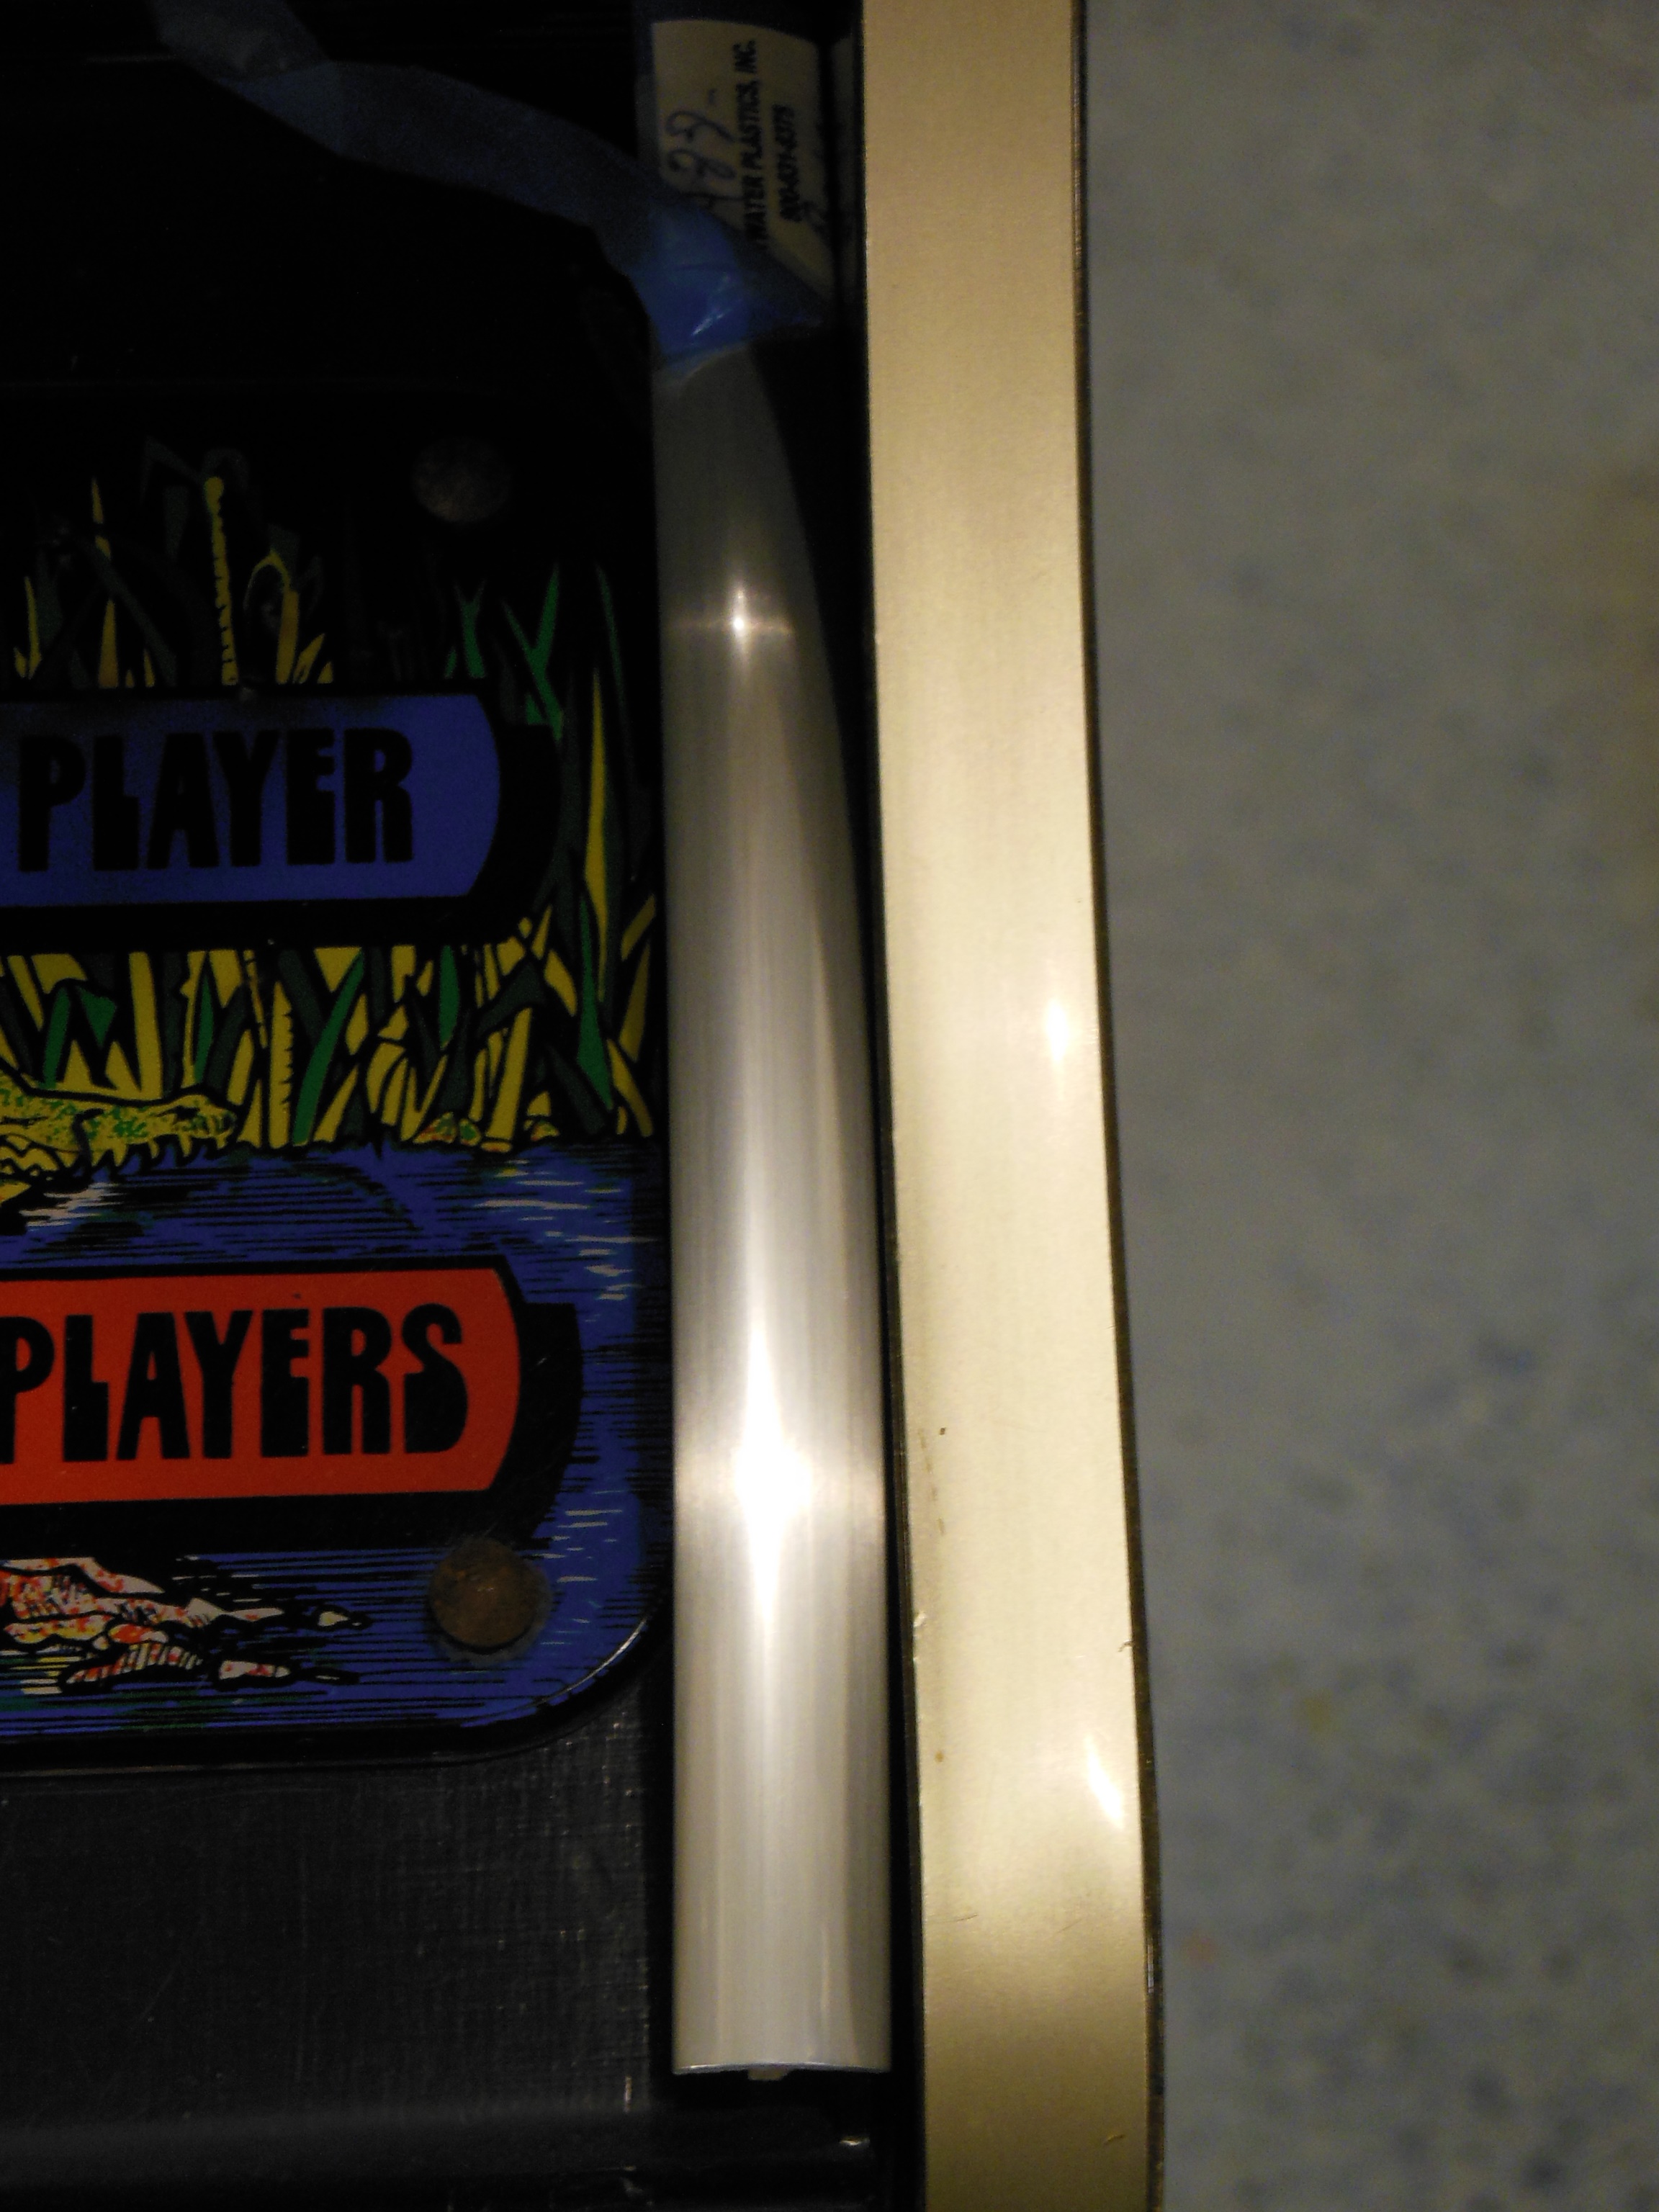
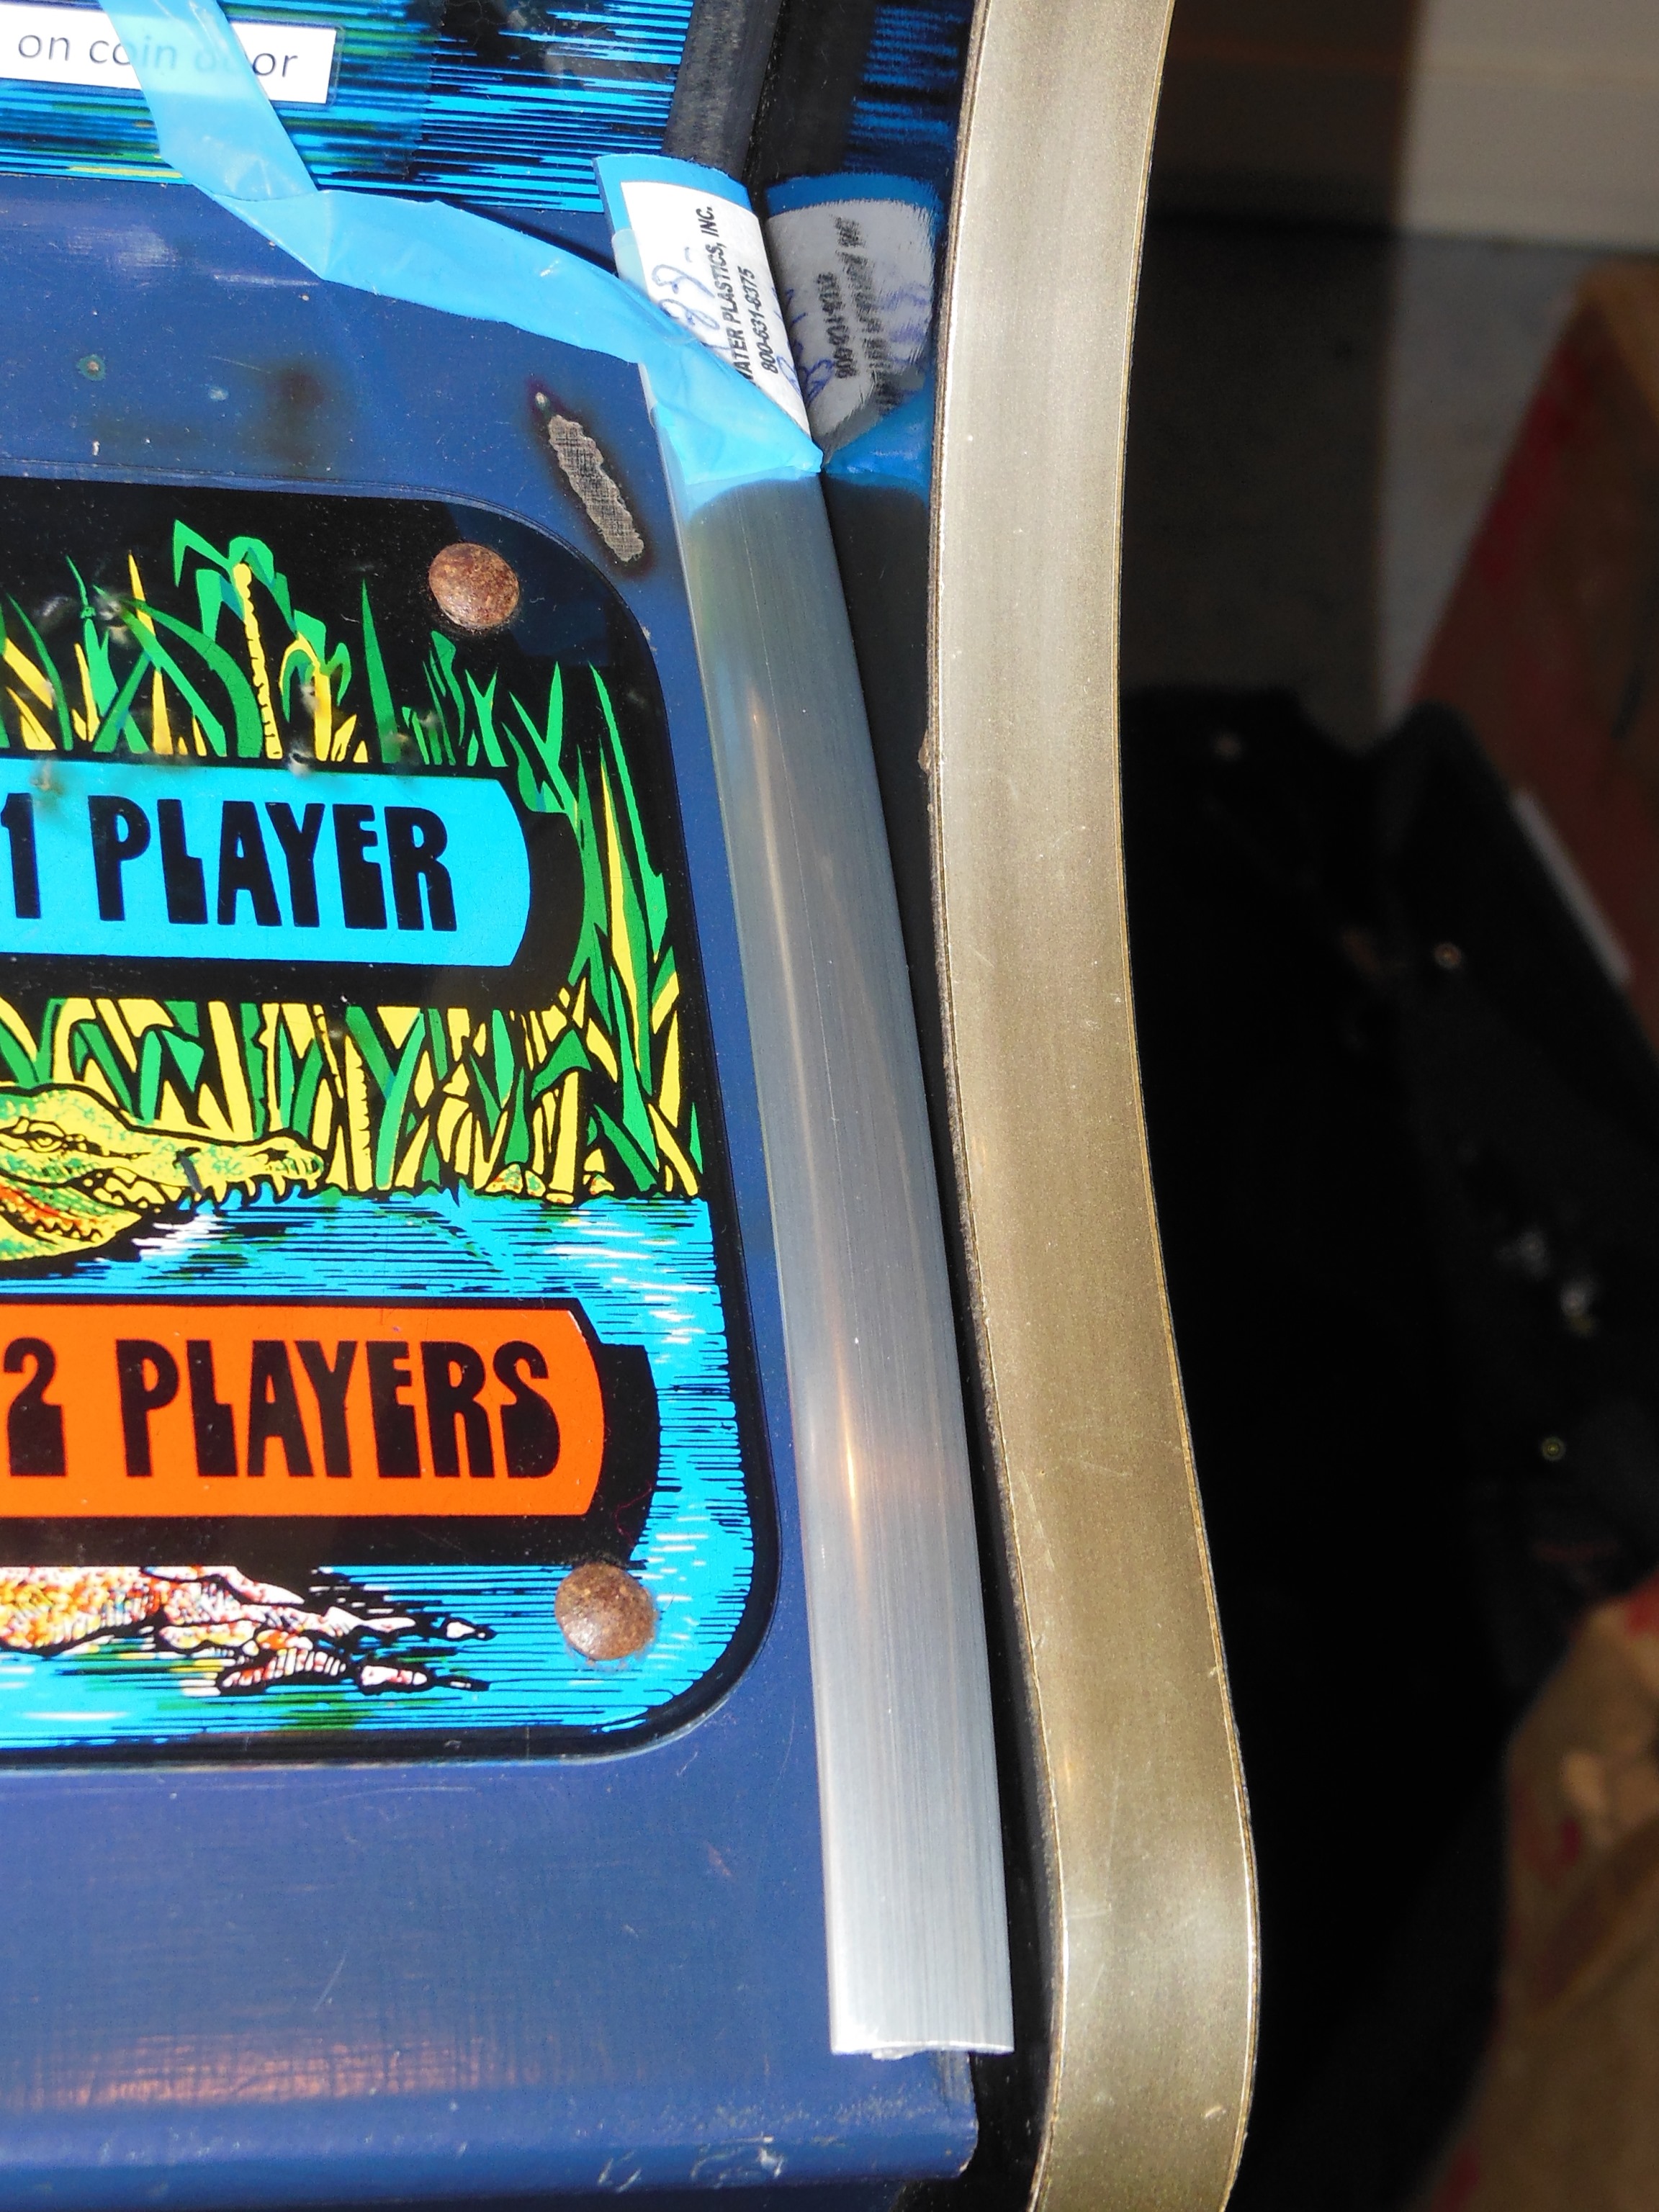
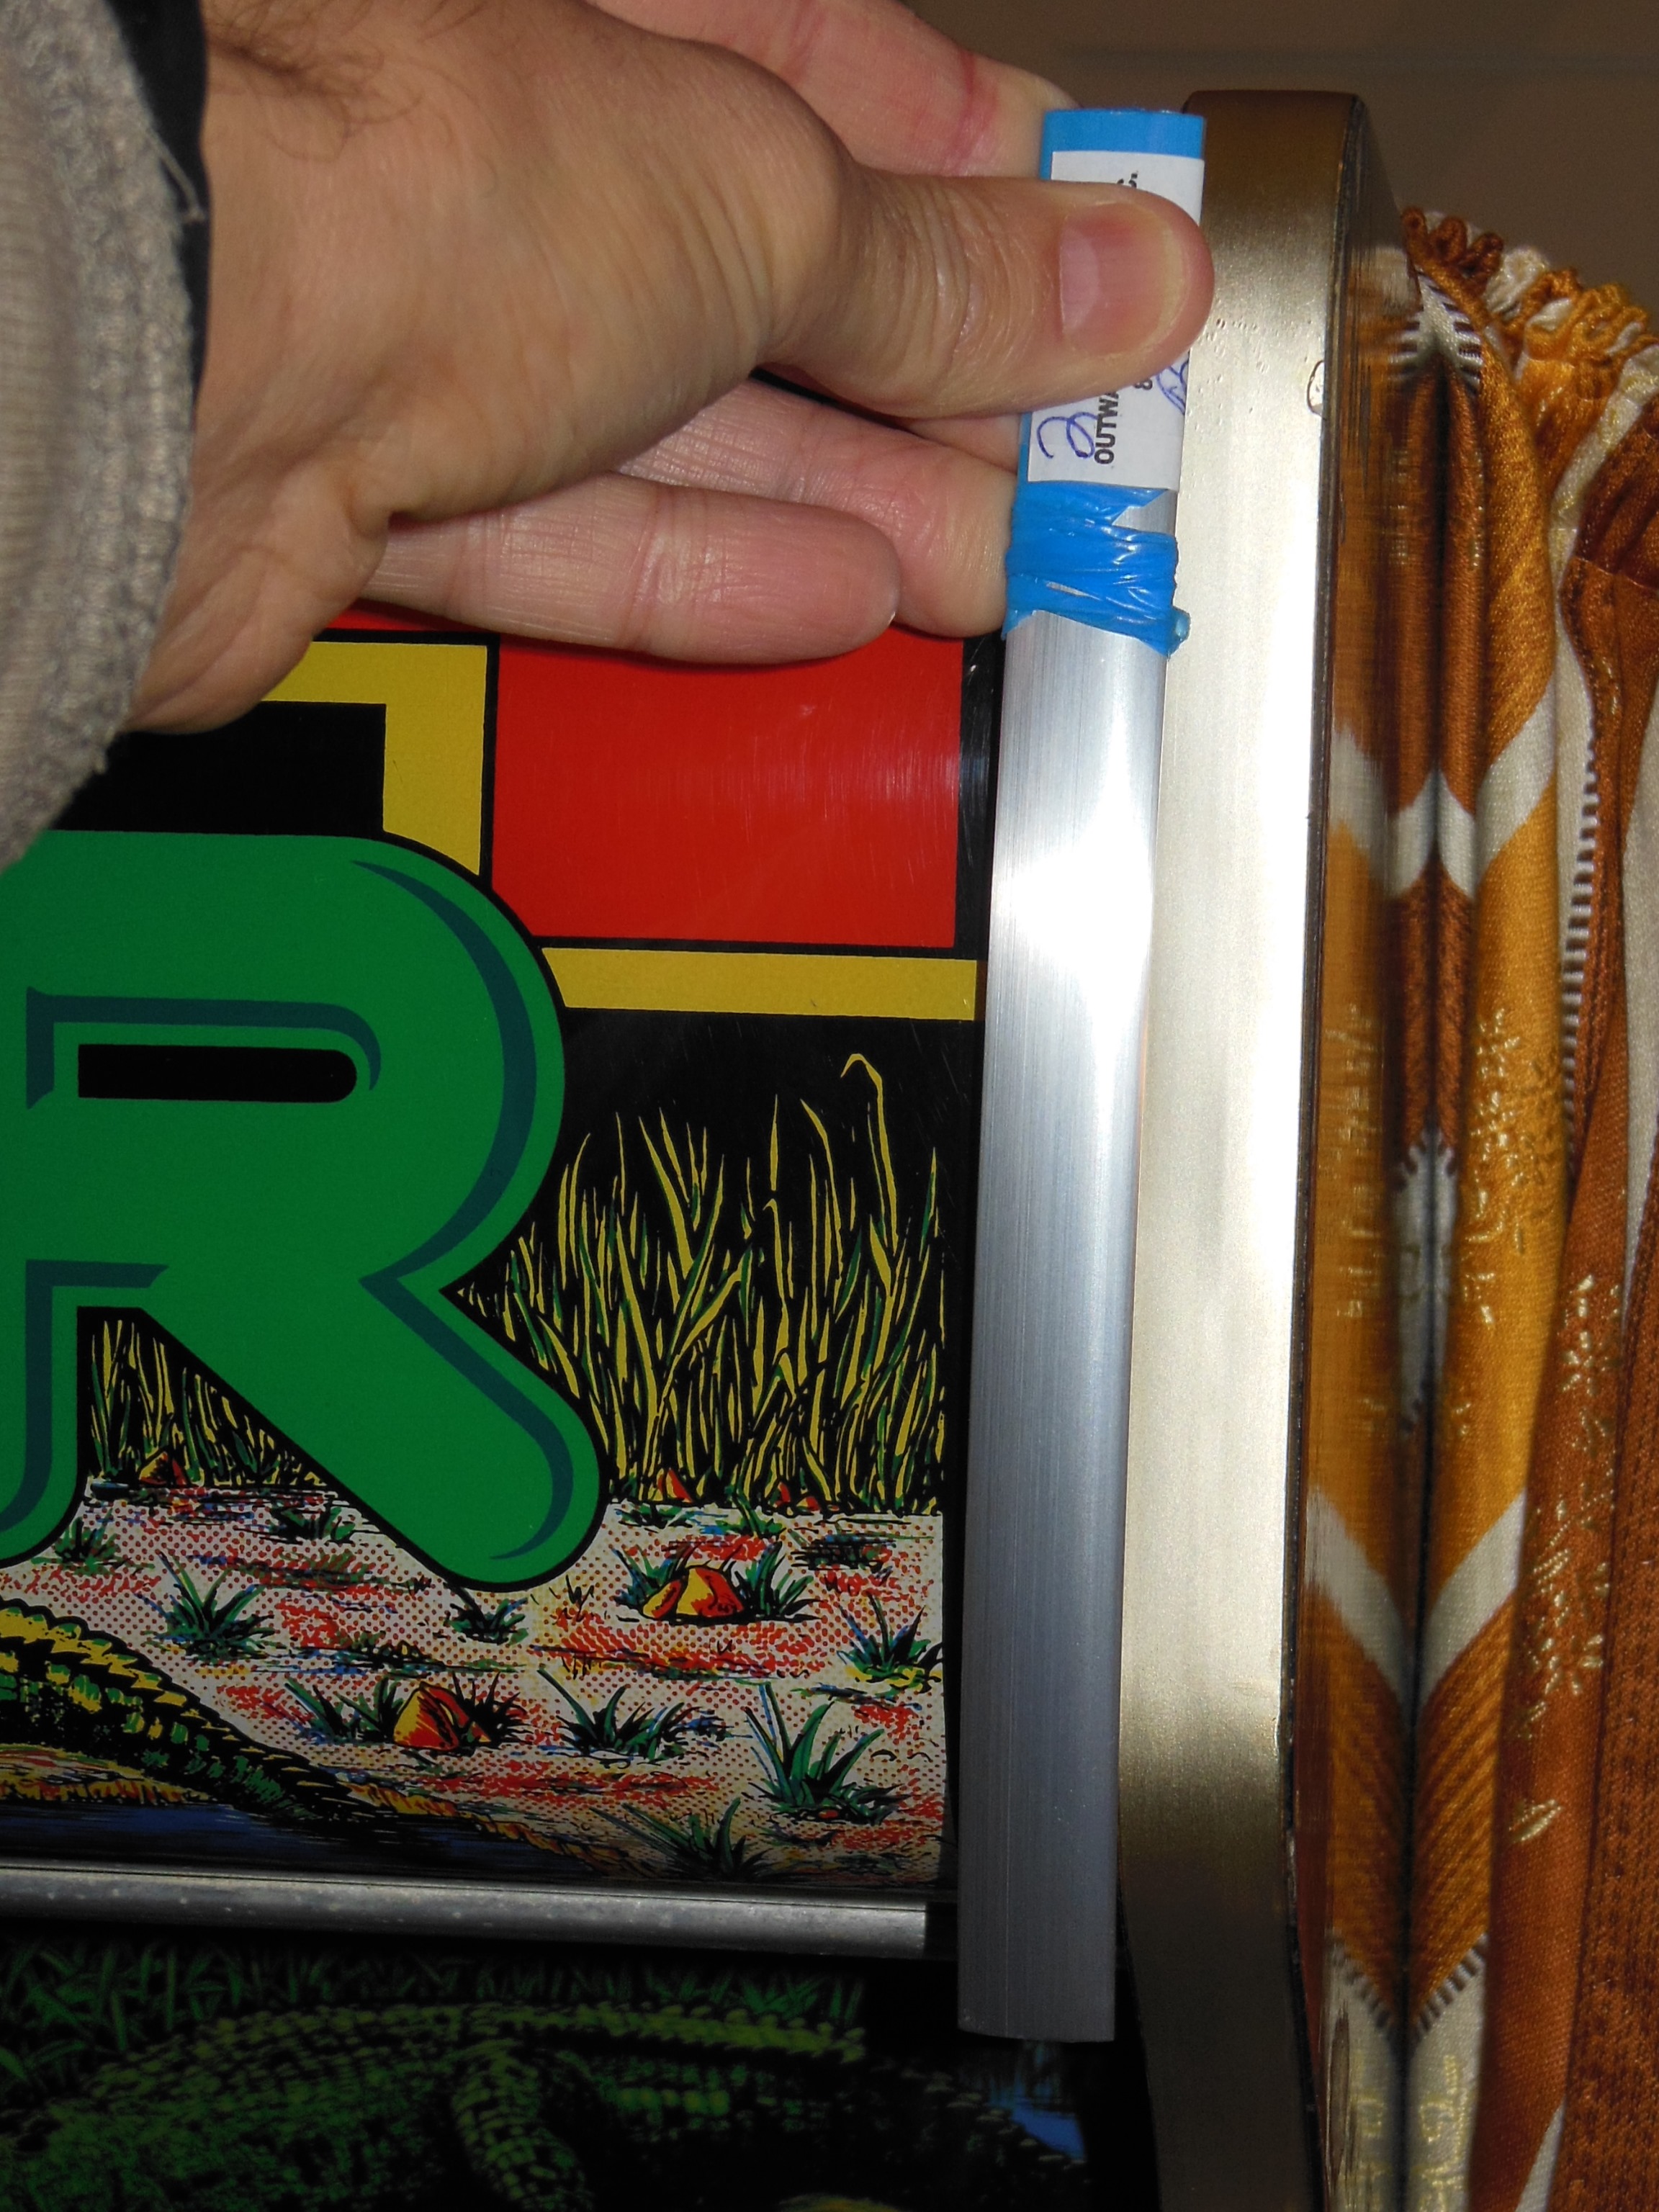
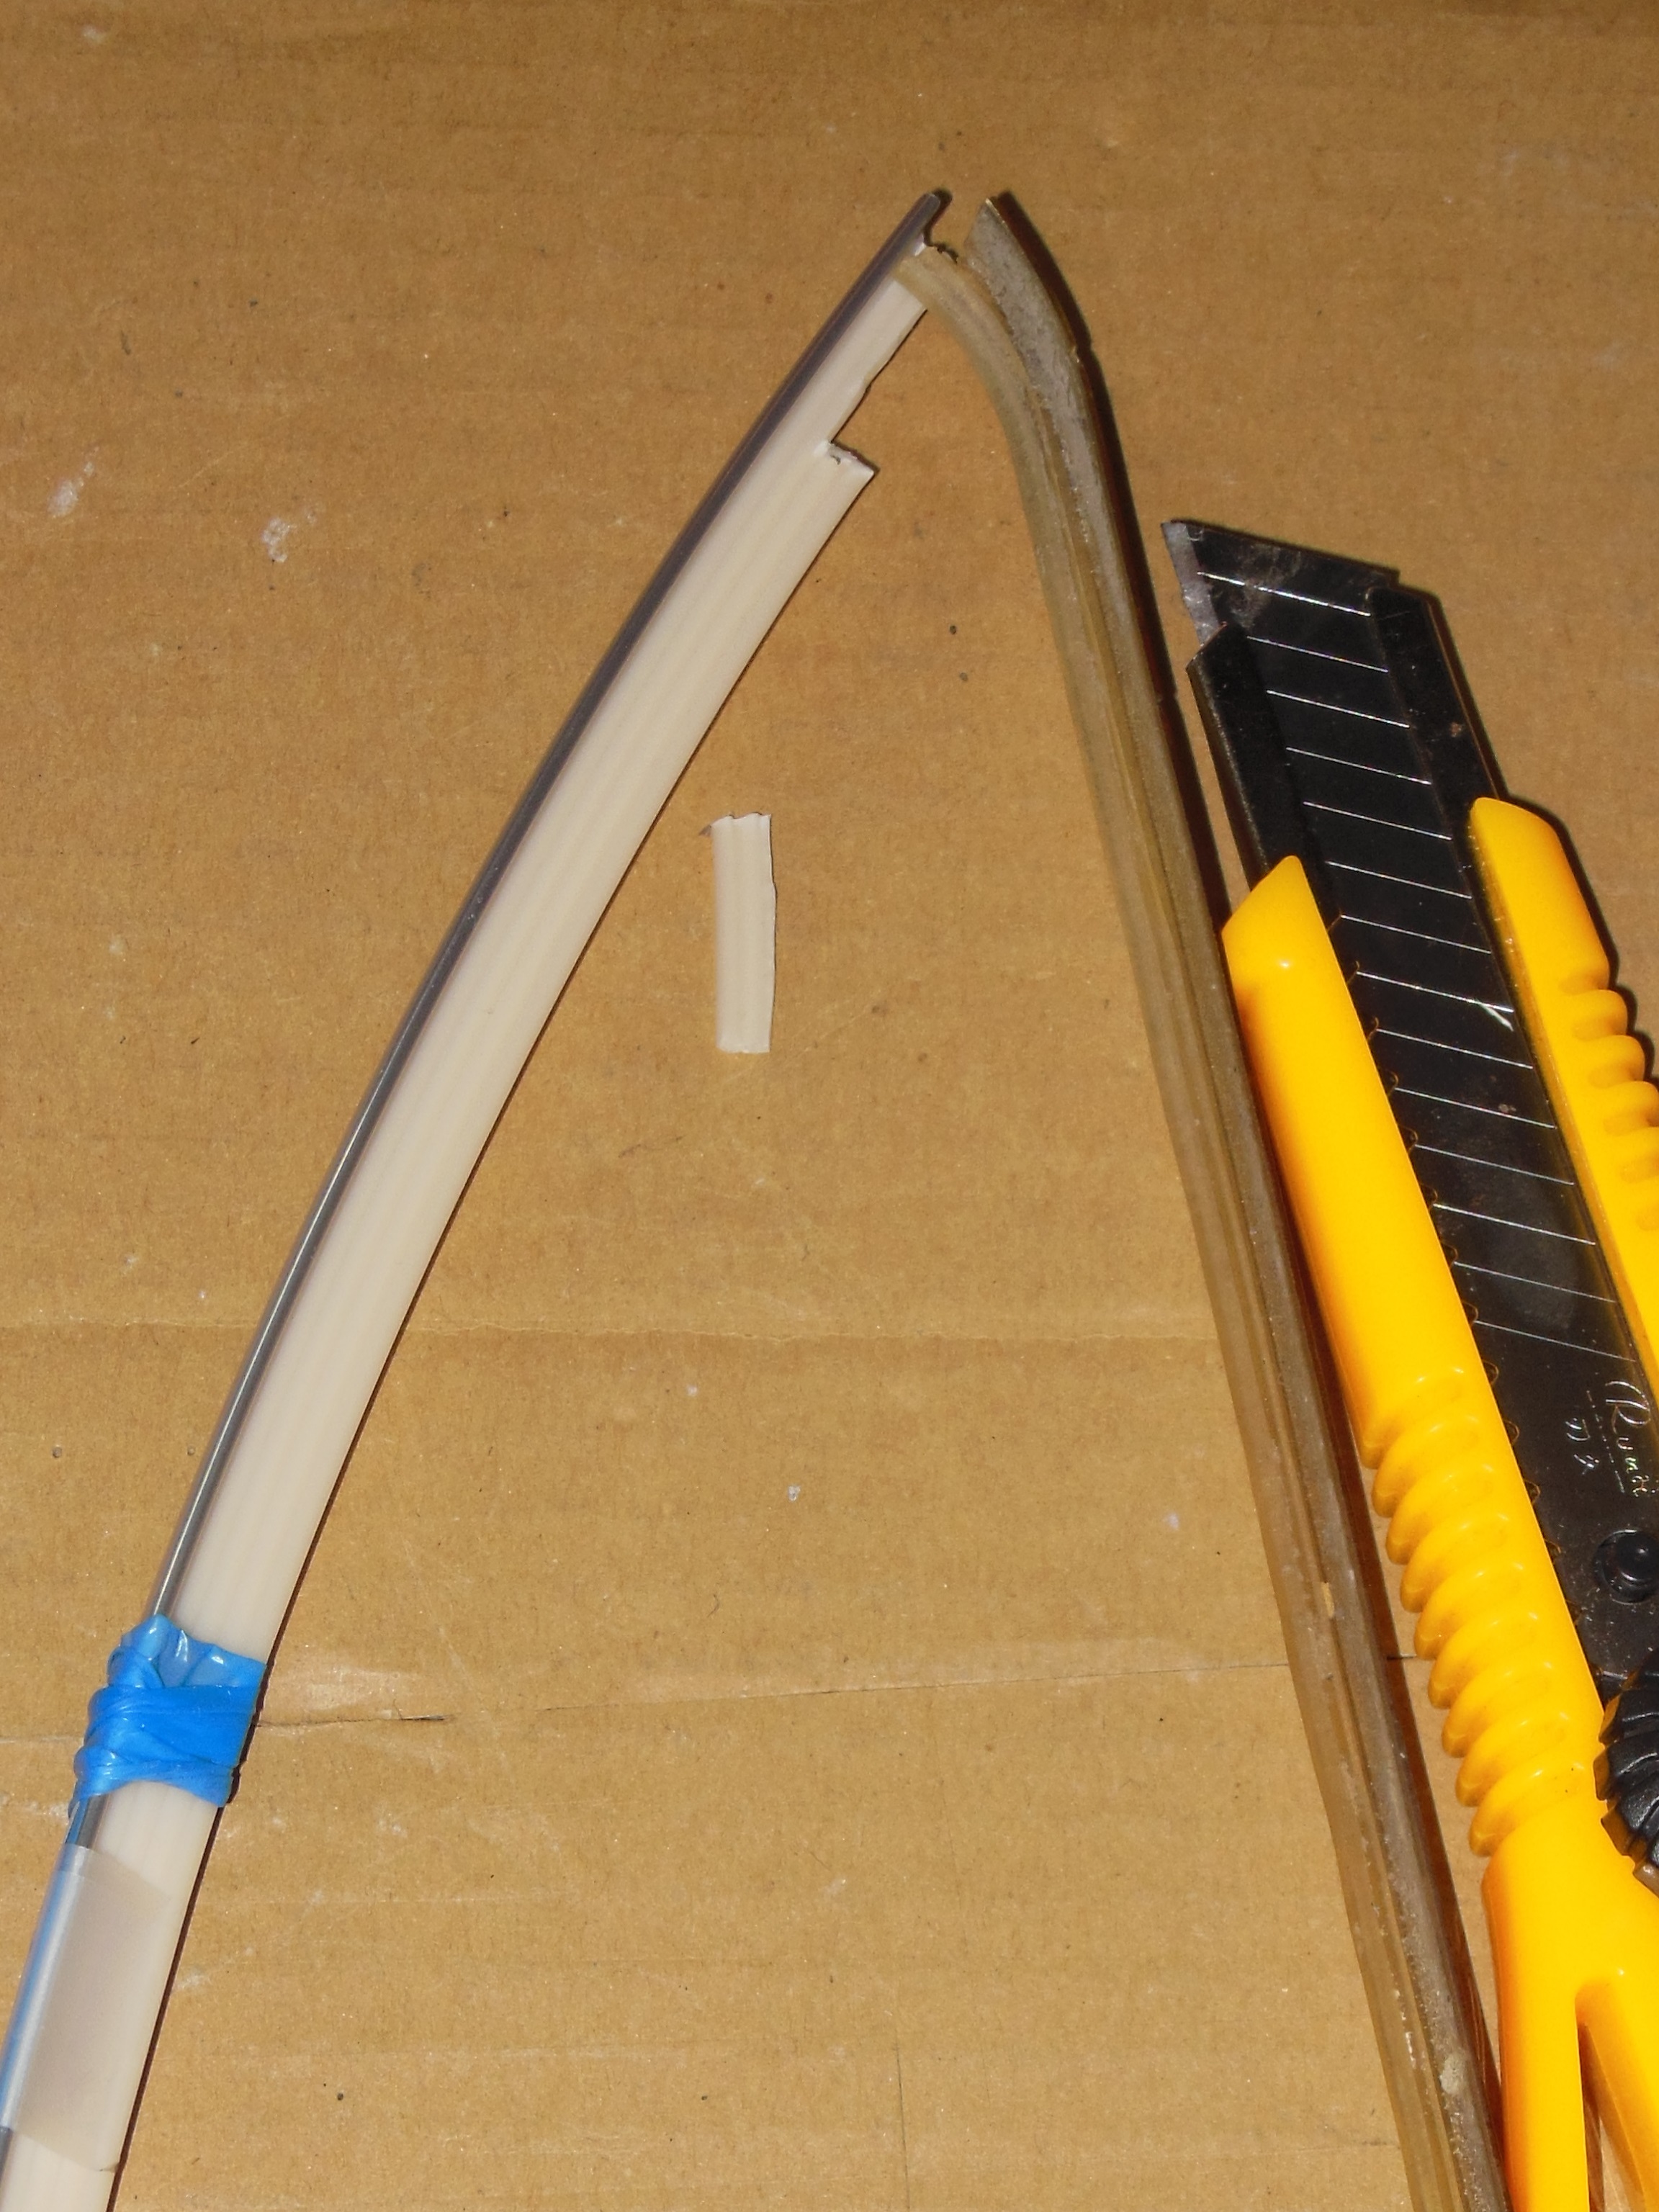
The spine on the Outwater T-molding was longer than the original such that it wouldn't fit flush into the cabinet. After trimming the sample spine, the T-molding fitted flush to the cabinet and whilst not full flat like the original the slight curve wasn't too noticeable.
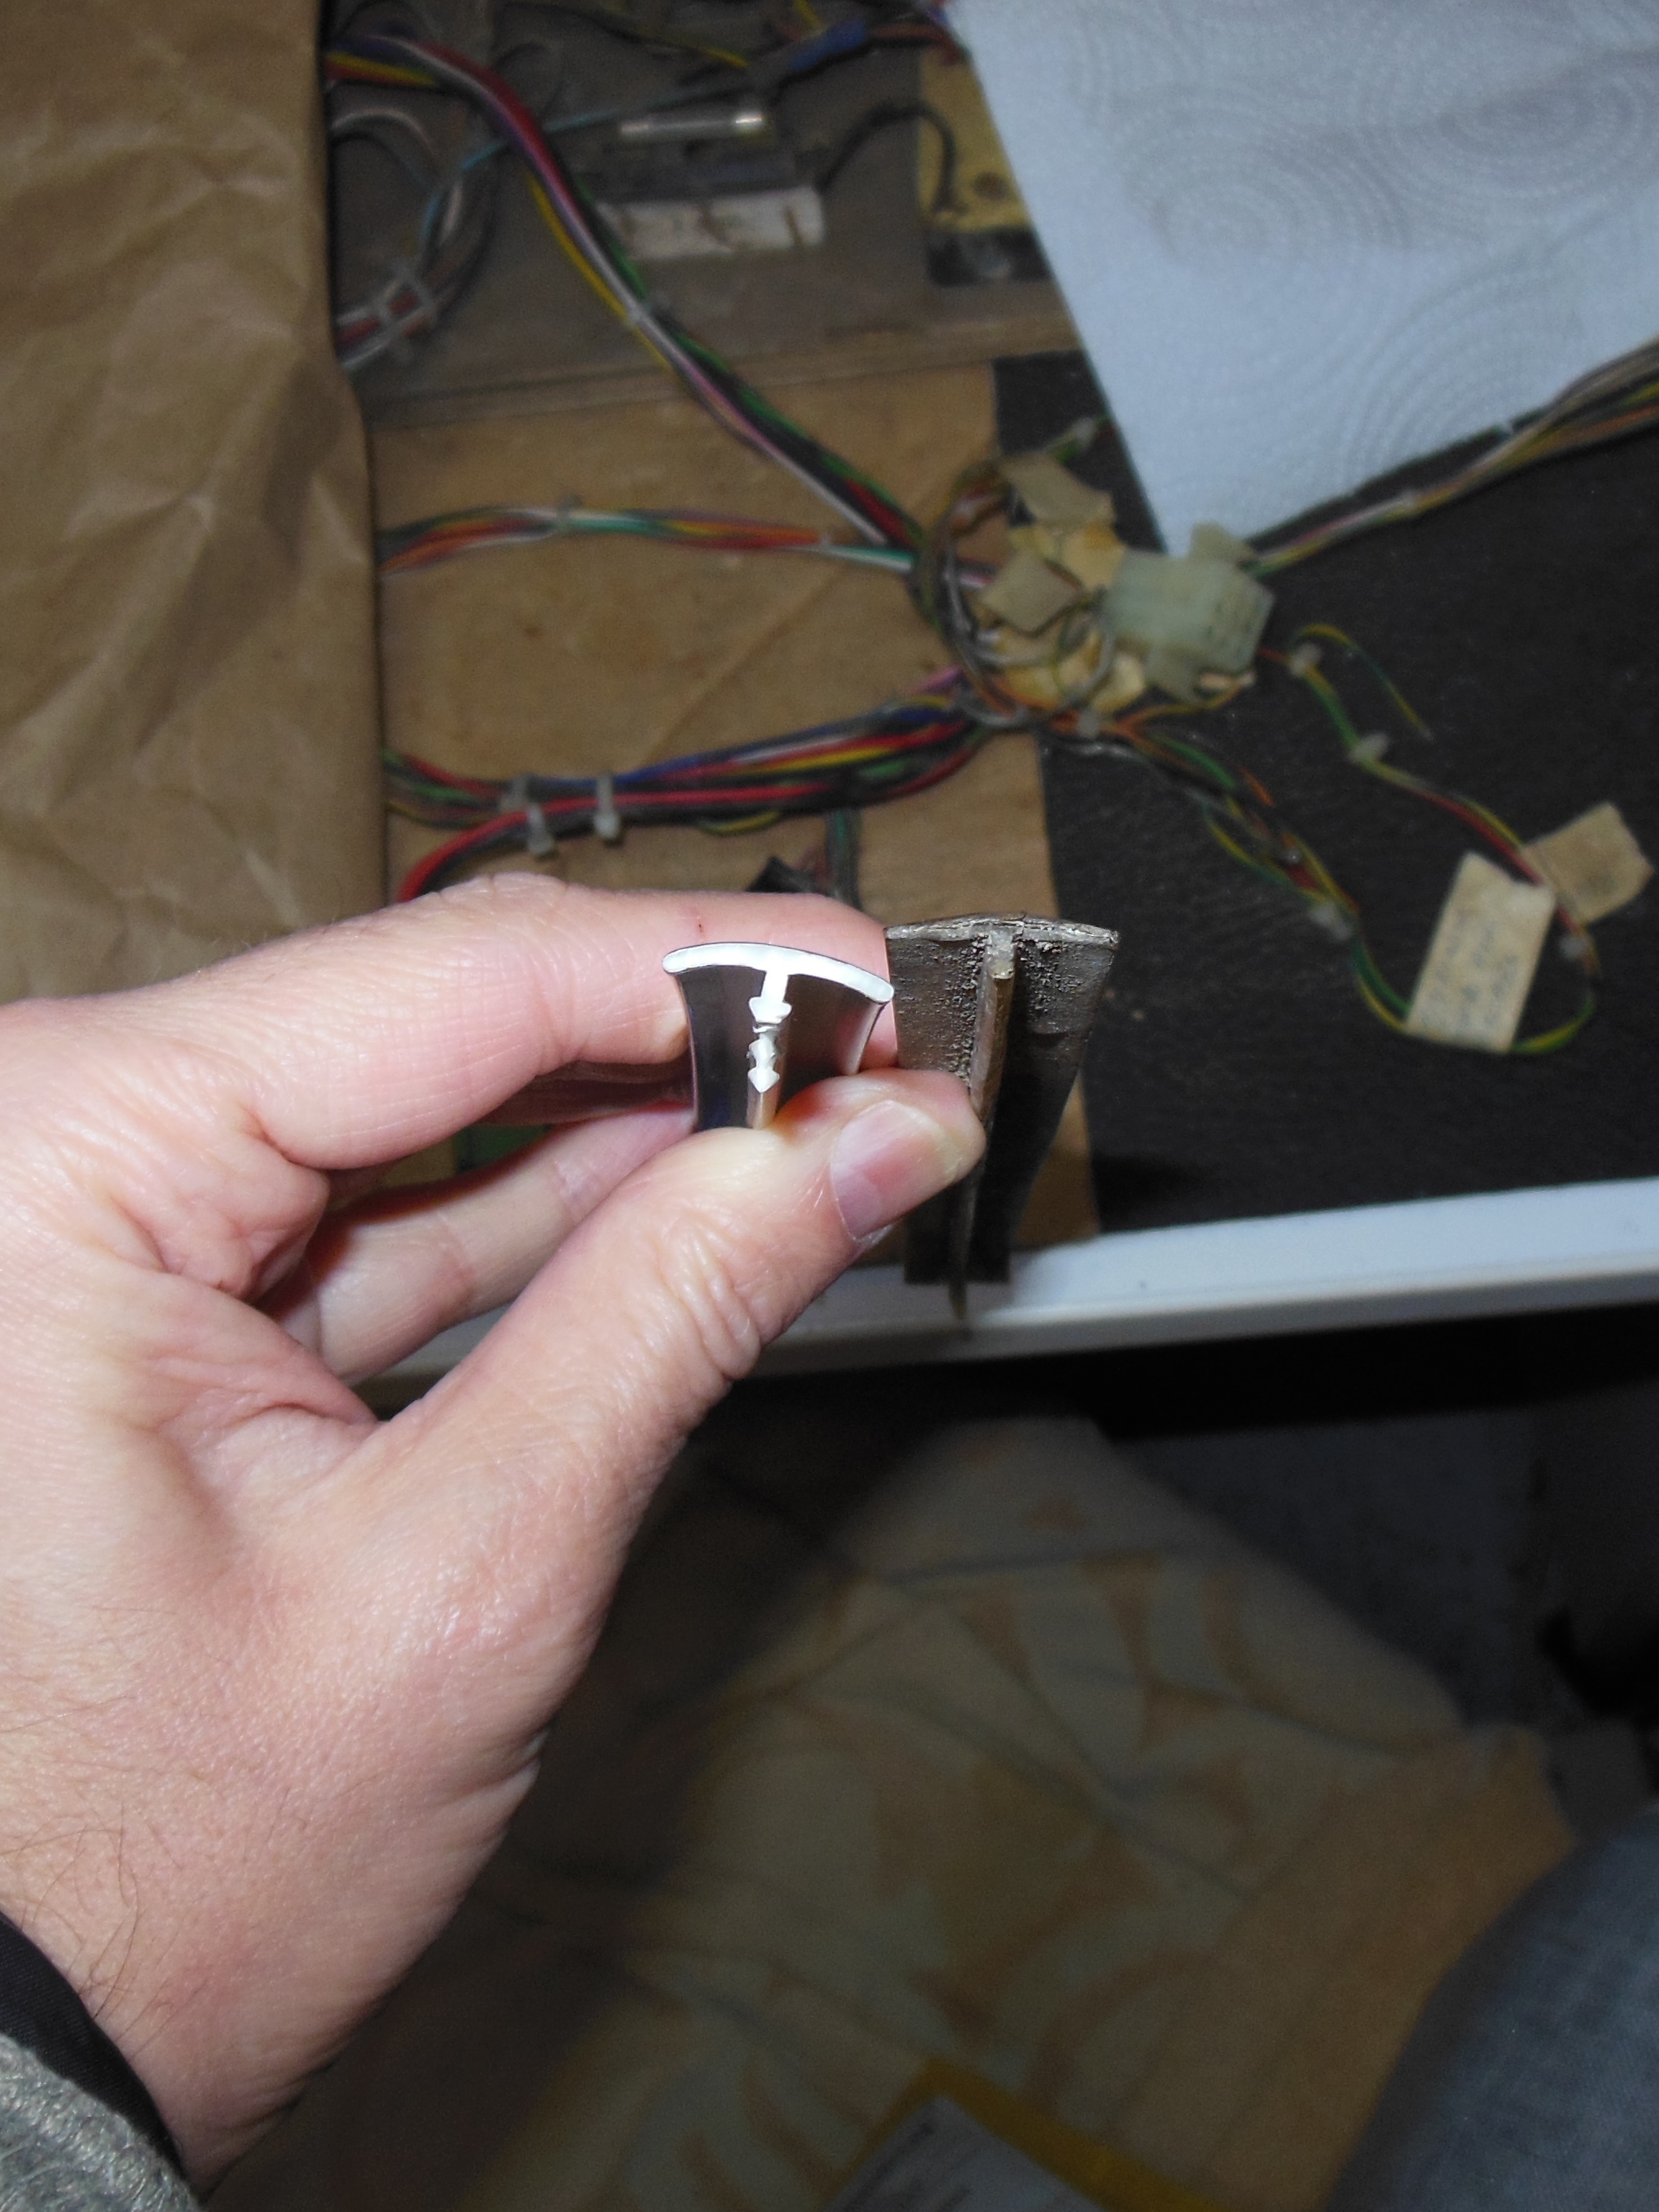
Given the lack of a good match and the spine trimming that would be needed I abandoned replacing the T-molding and decided to keep the existing chrome and repair it. A little later there was a post on the UKVAC Facebook group about someone looking for the same 5/8" dual bead chrome T-molding and thought it to be UK made.
|
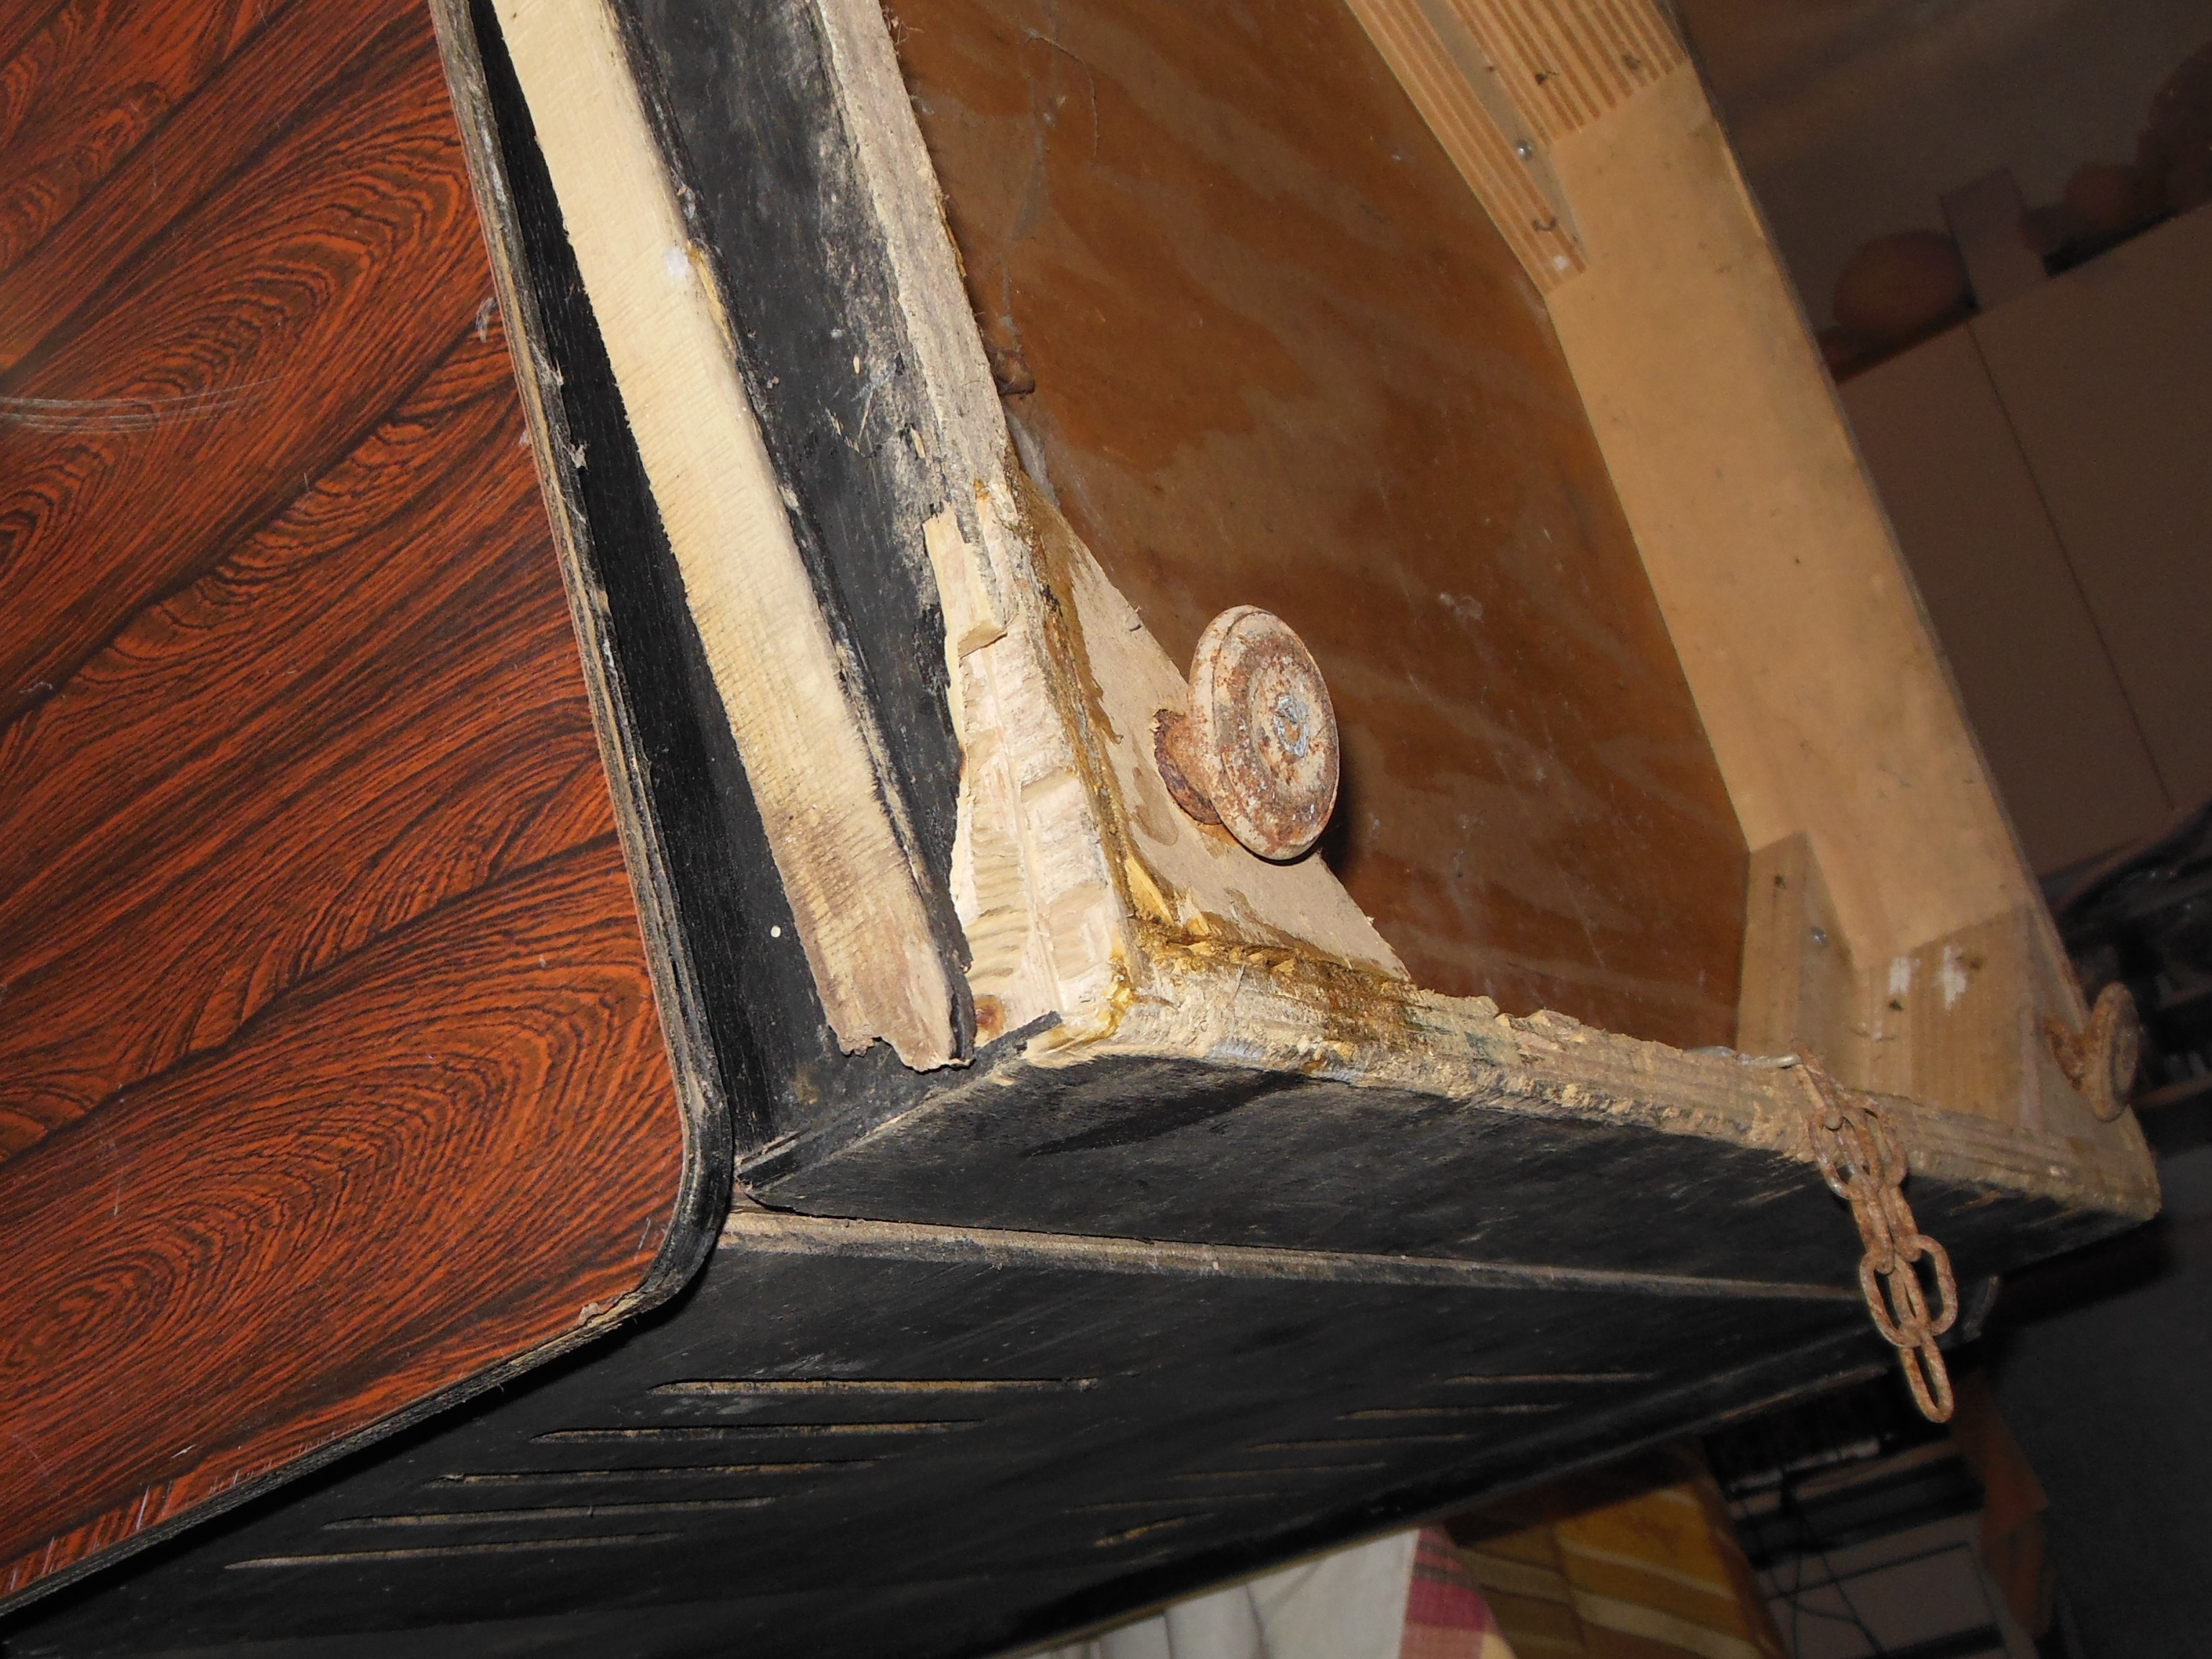
The cabinet base was very loose where the side wall had split through the T-molding groove that needed to be repaired. There was also a section of laminate missing towards the back of the cabinet that would be left as is.
|
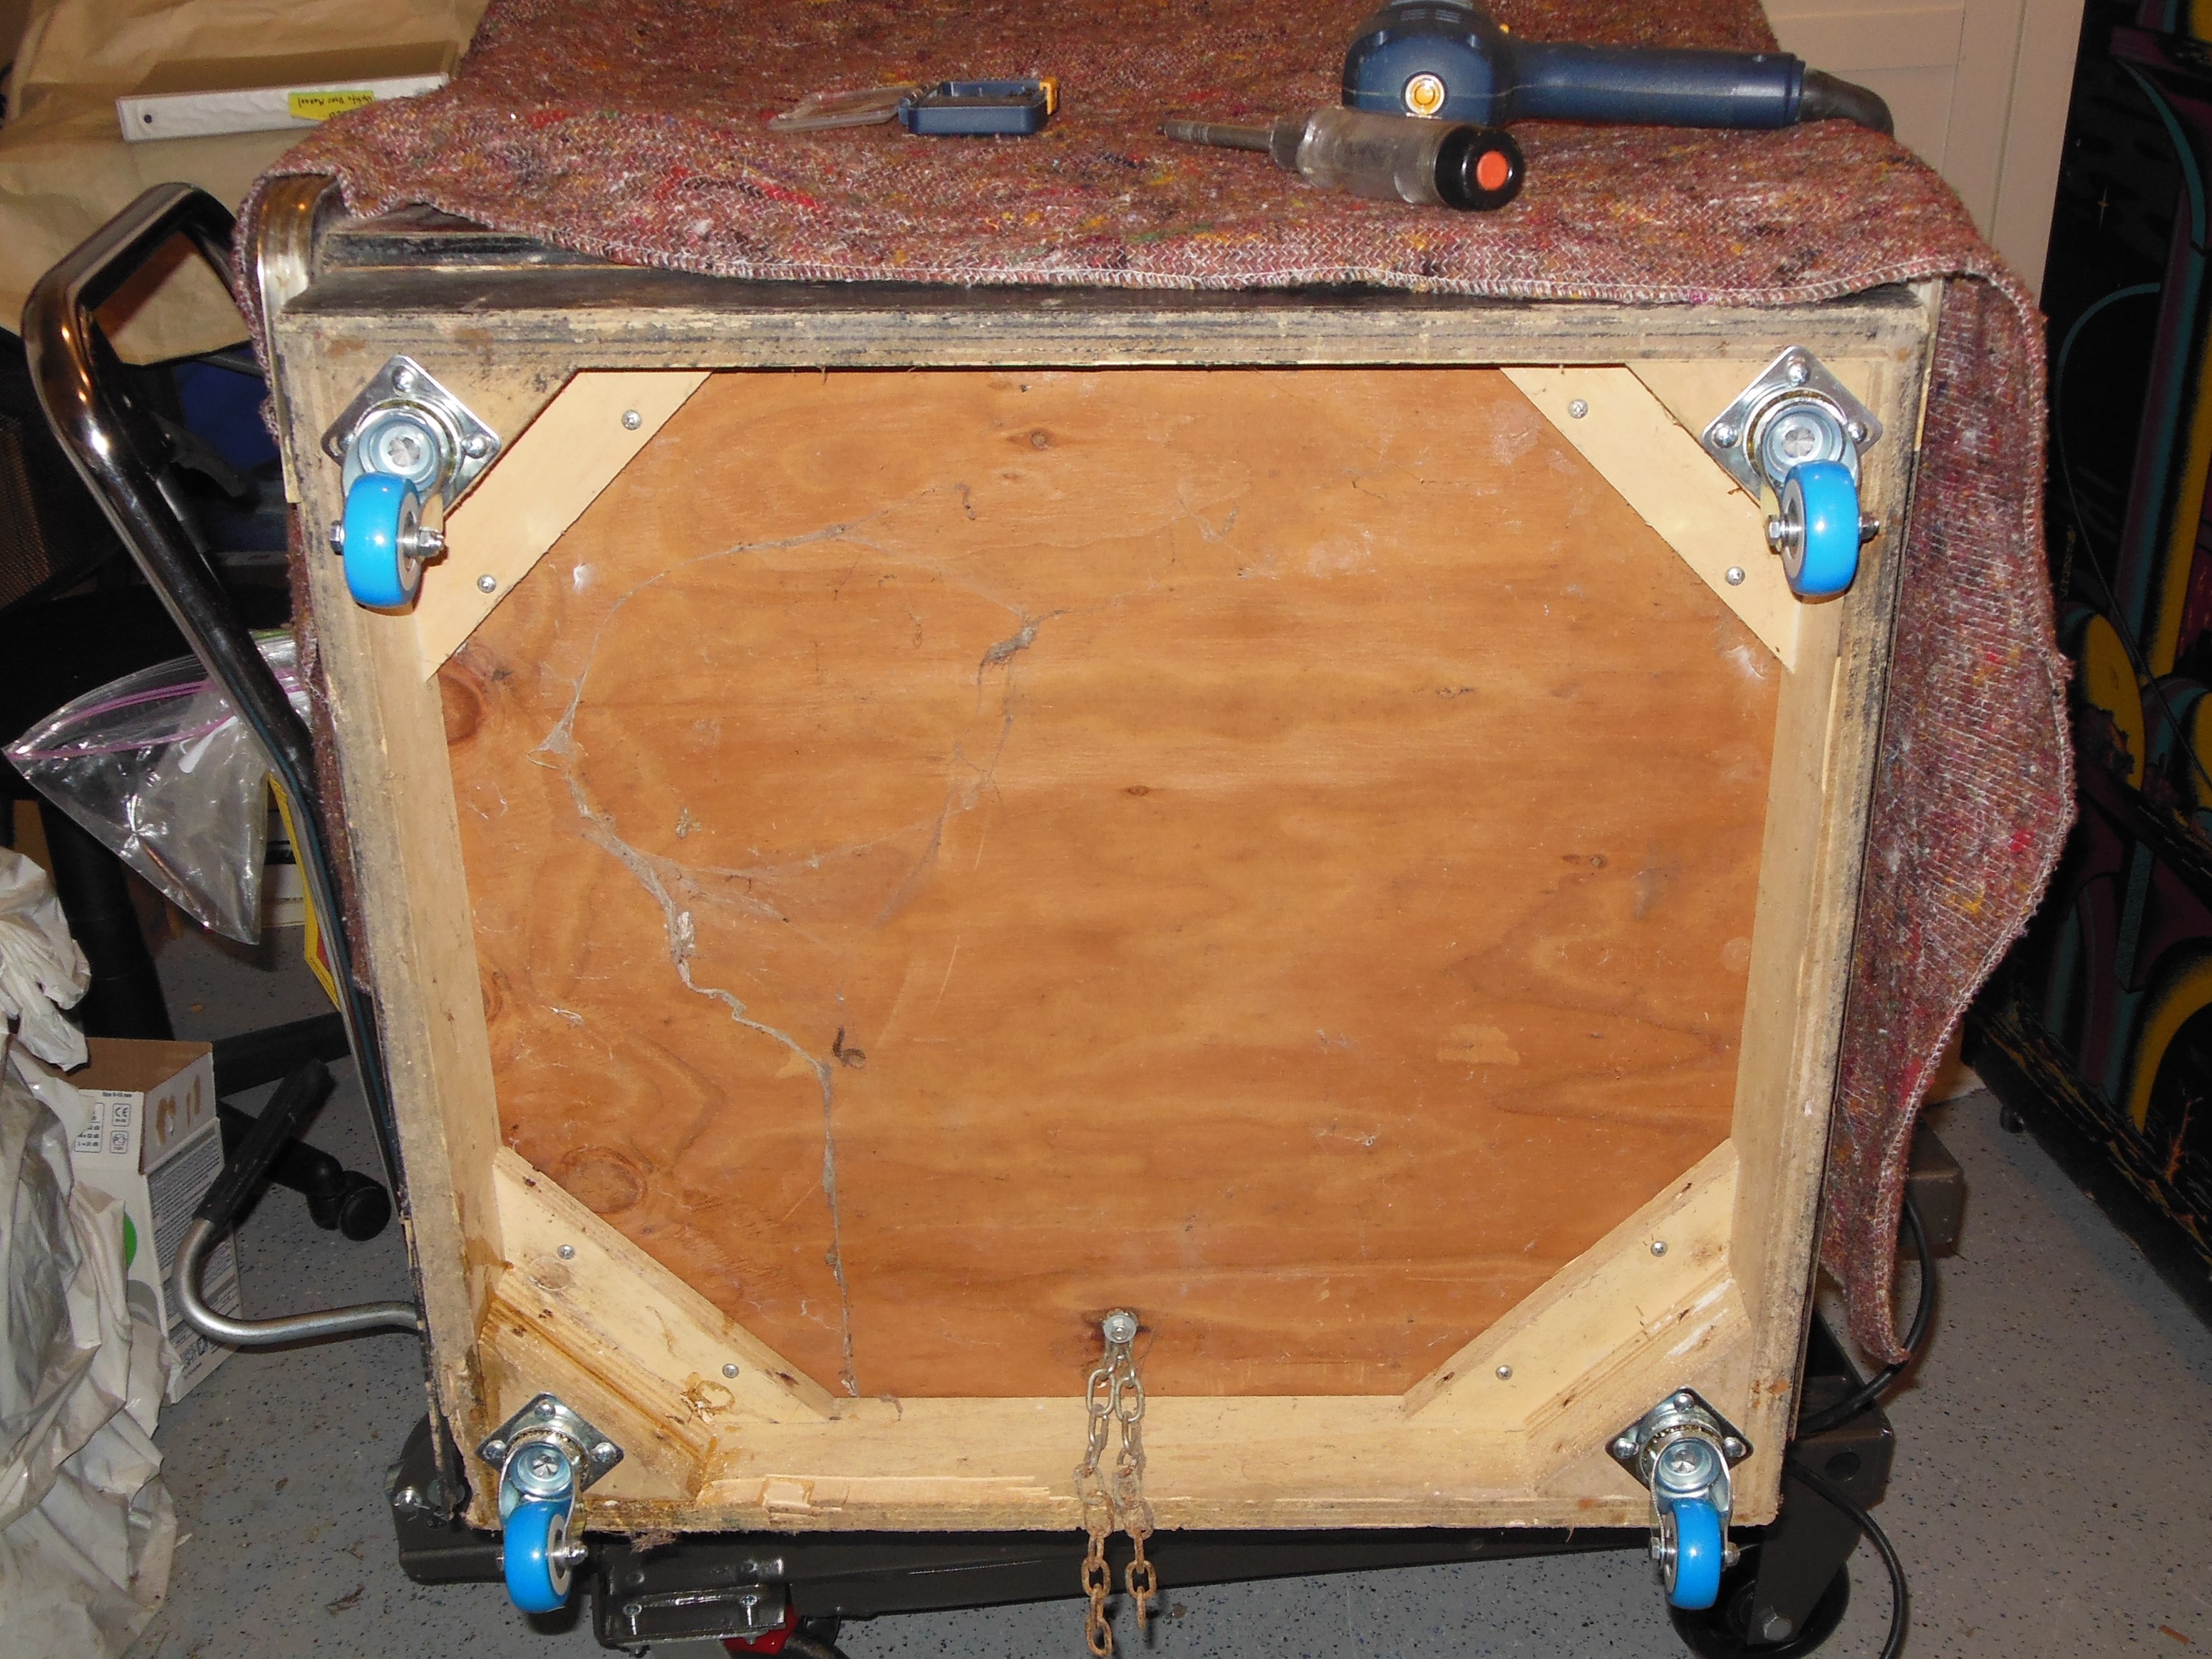
Whilst it was on the trolly for transport, castors were fitted on the base.

|
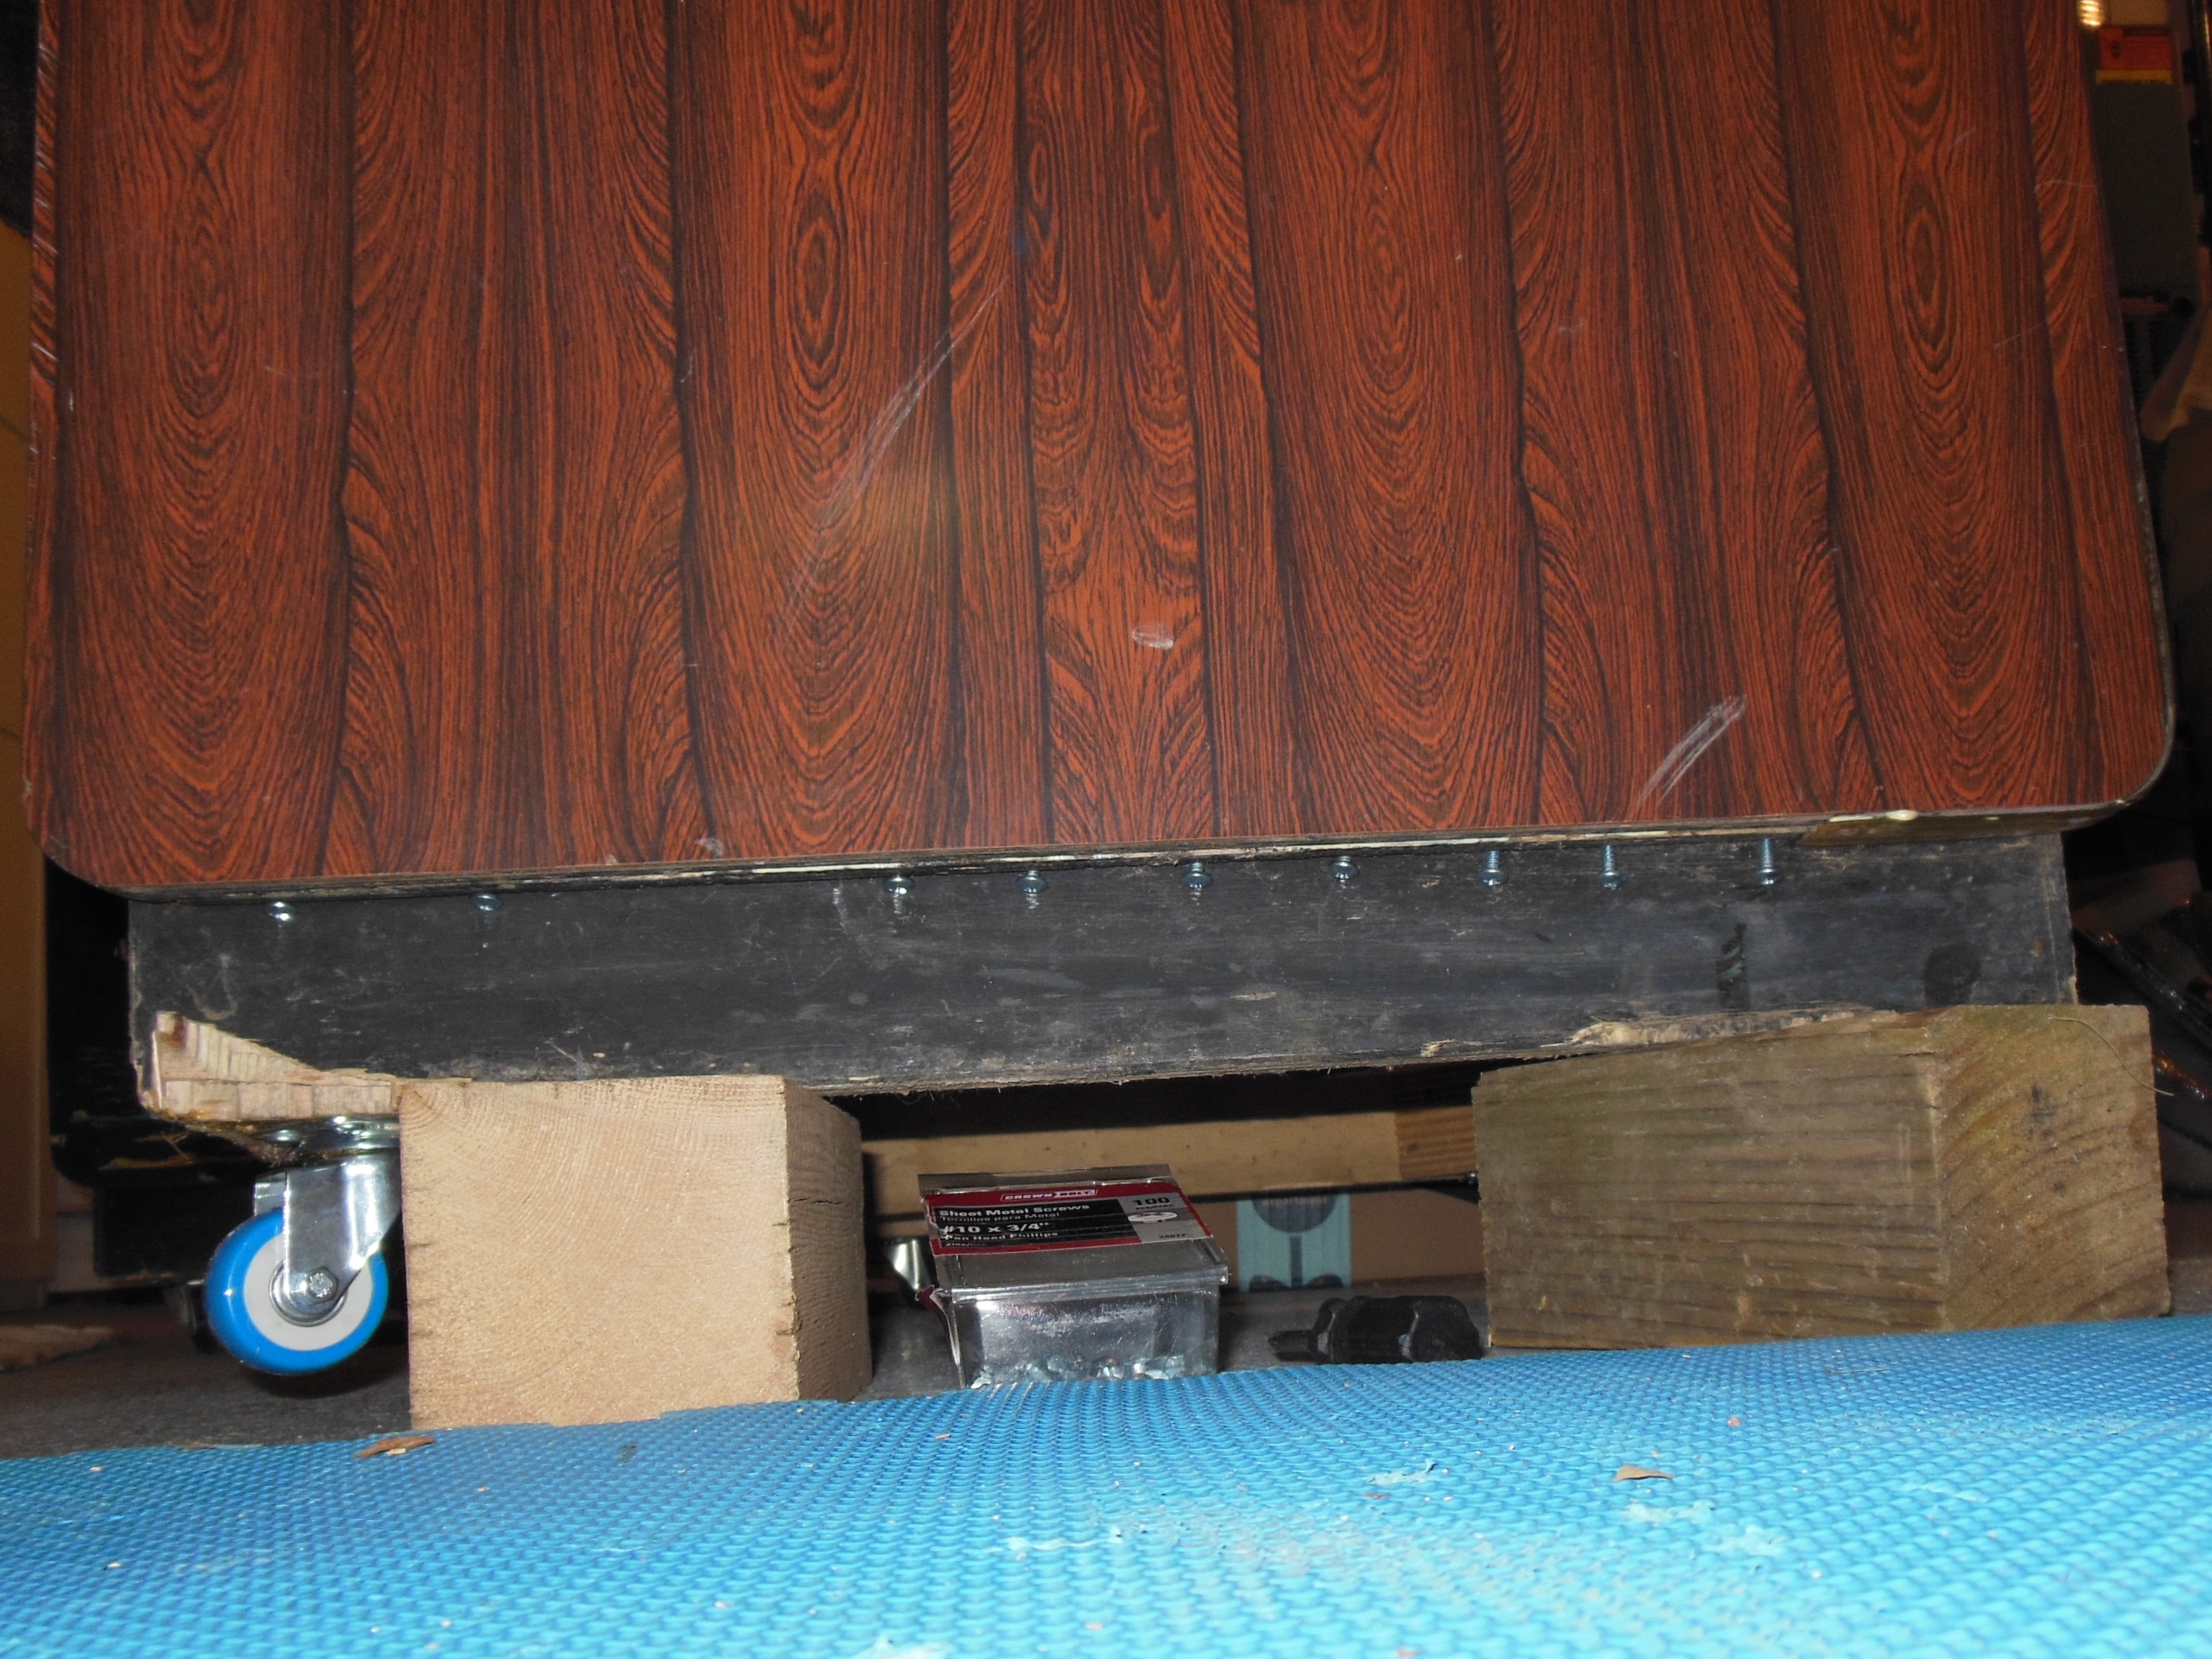
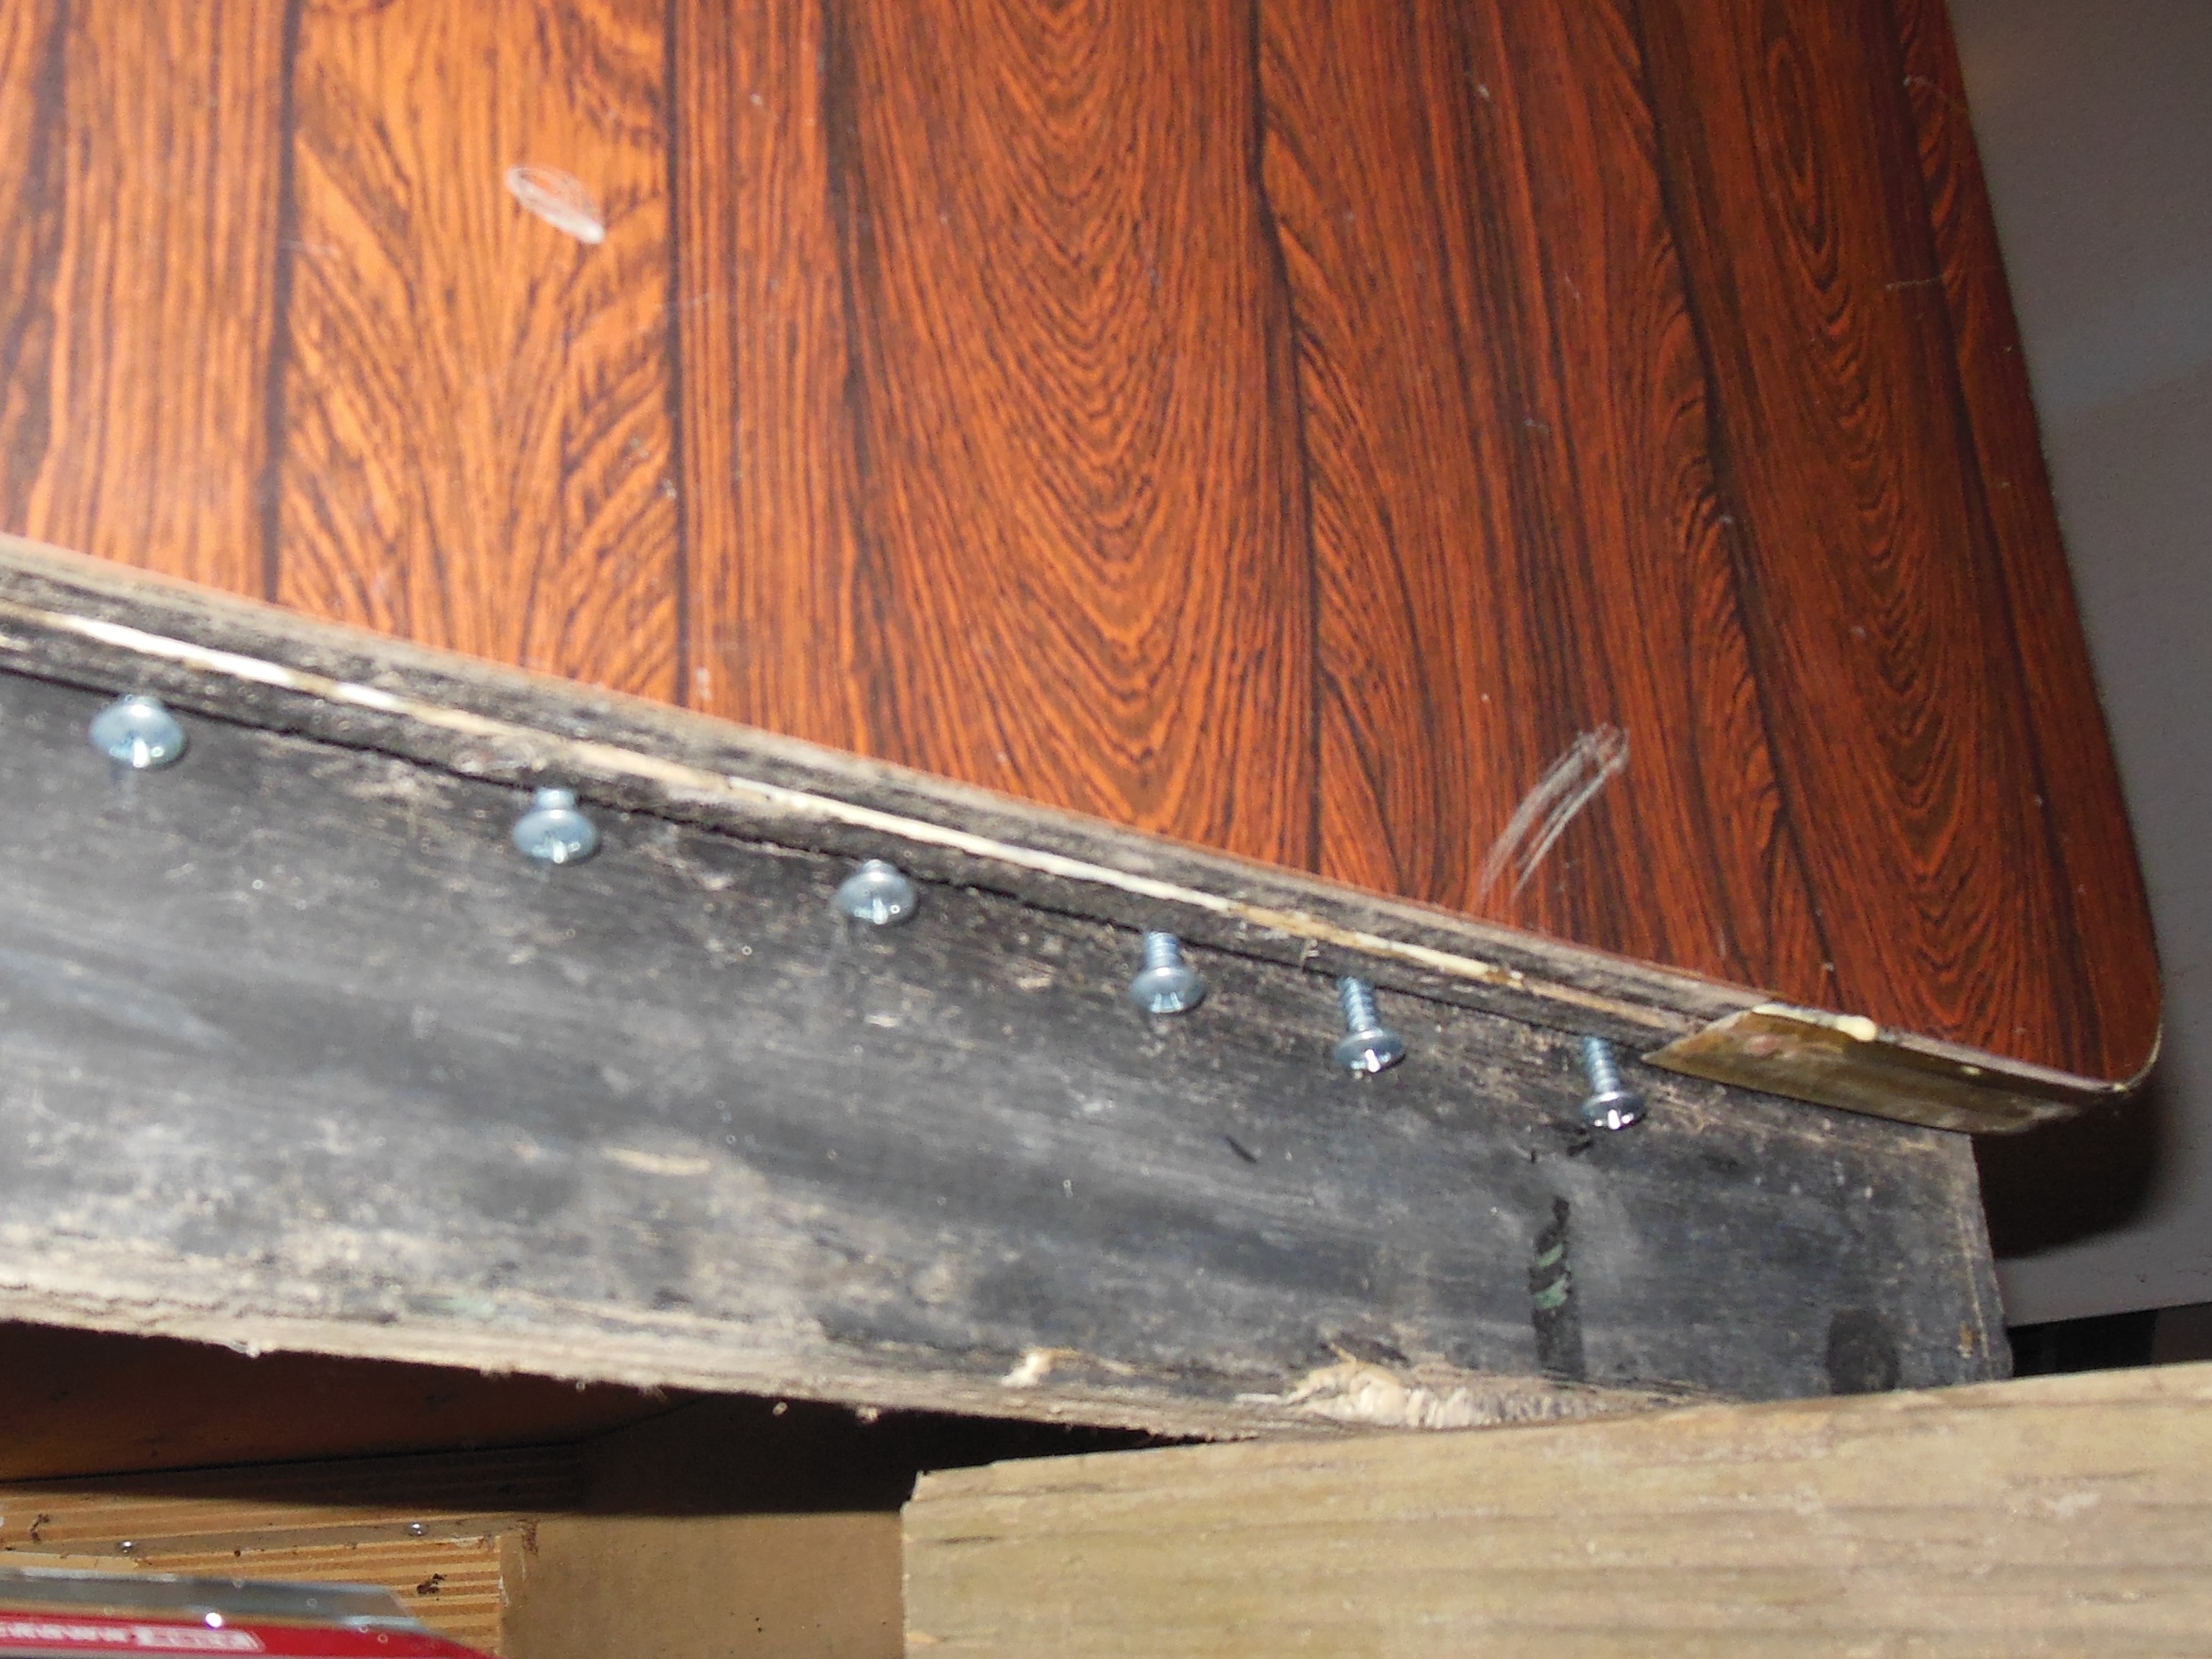
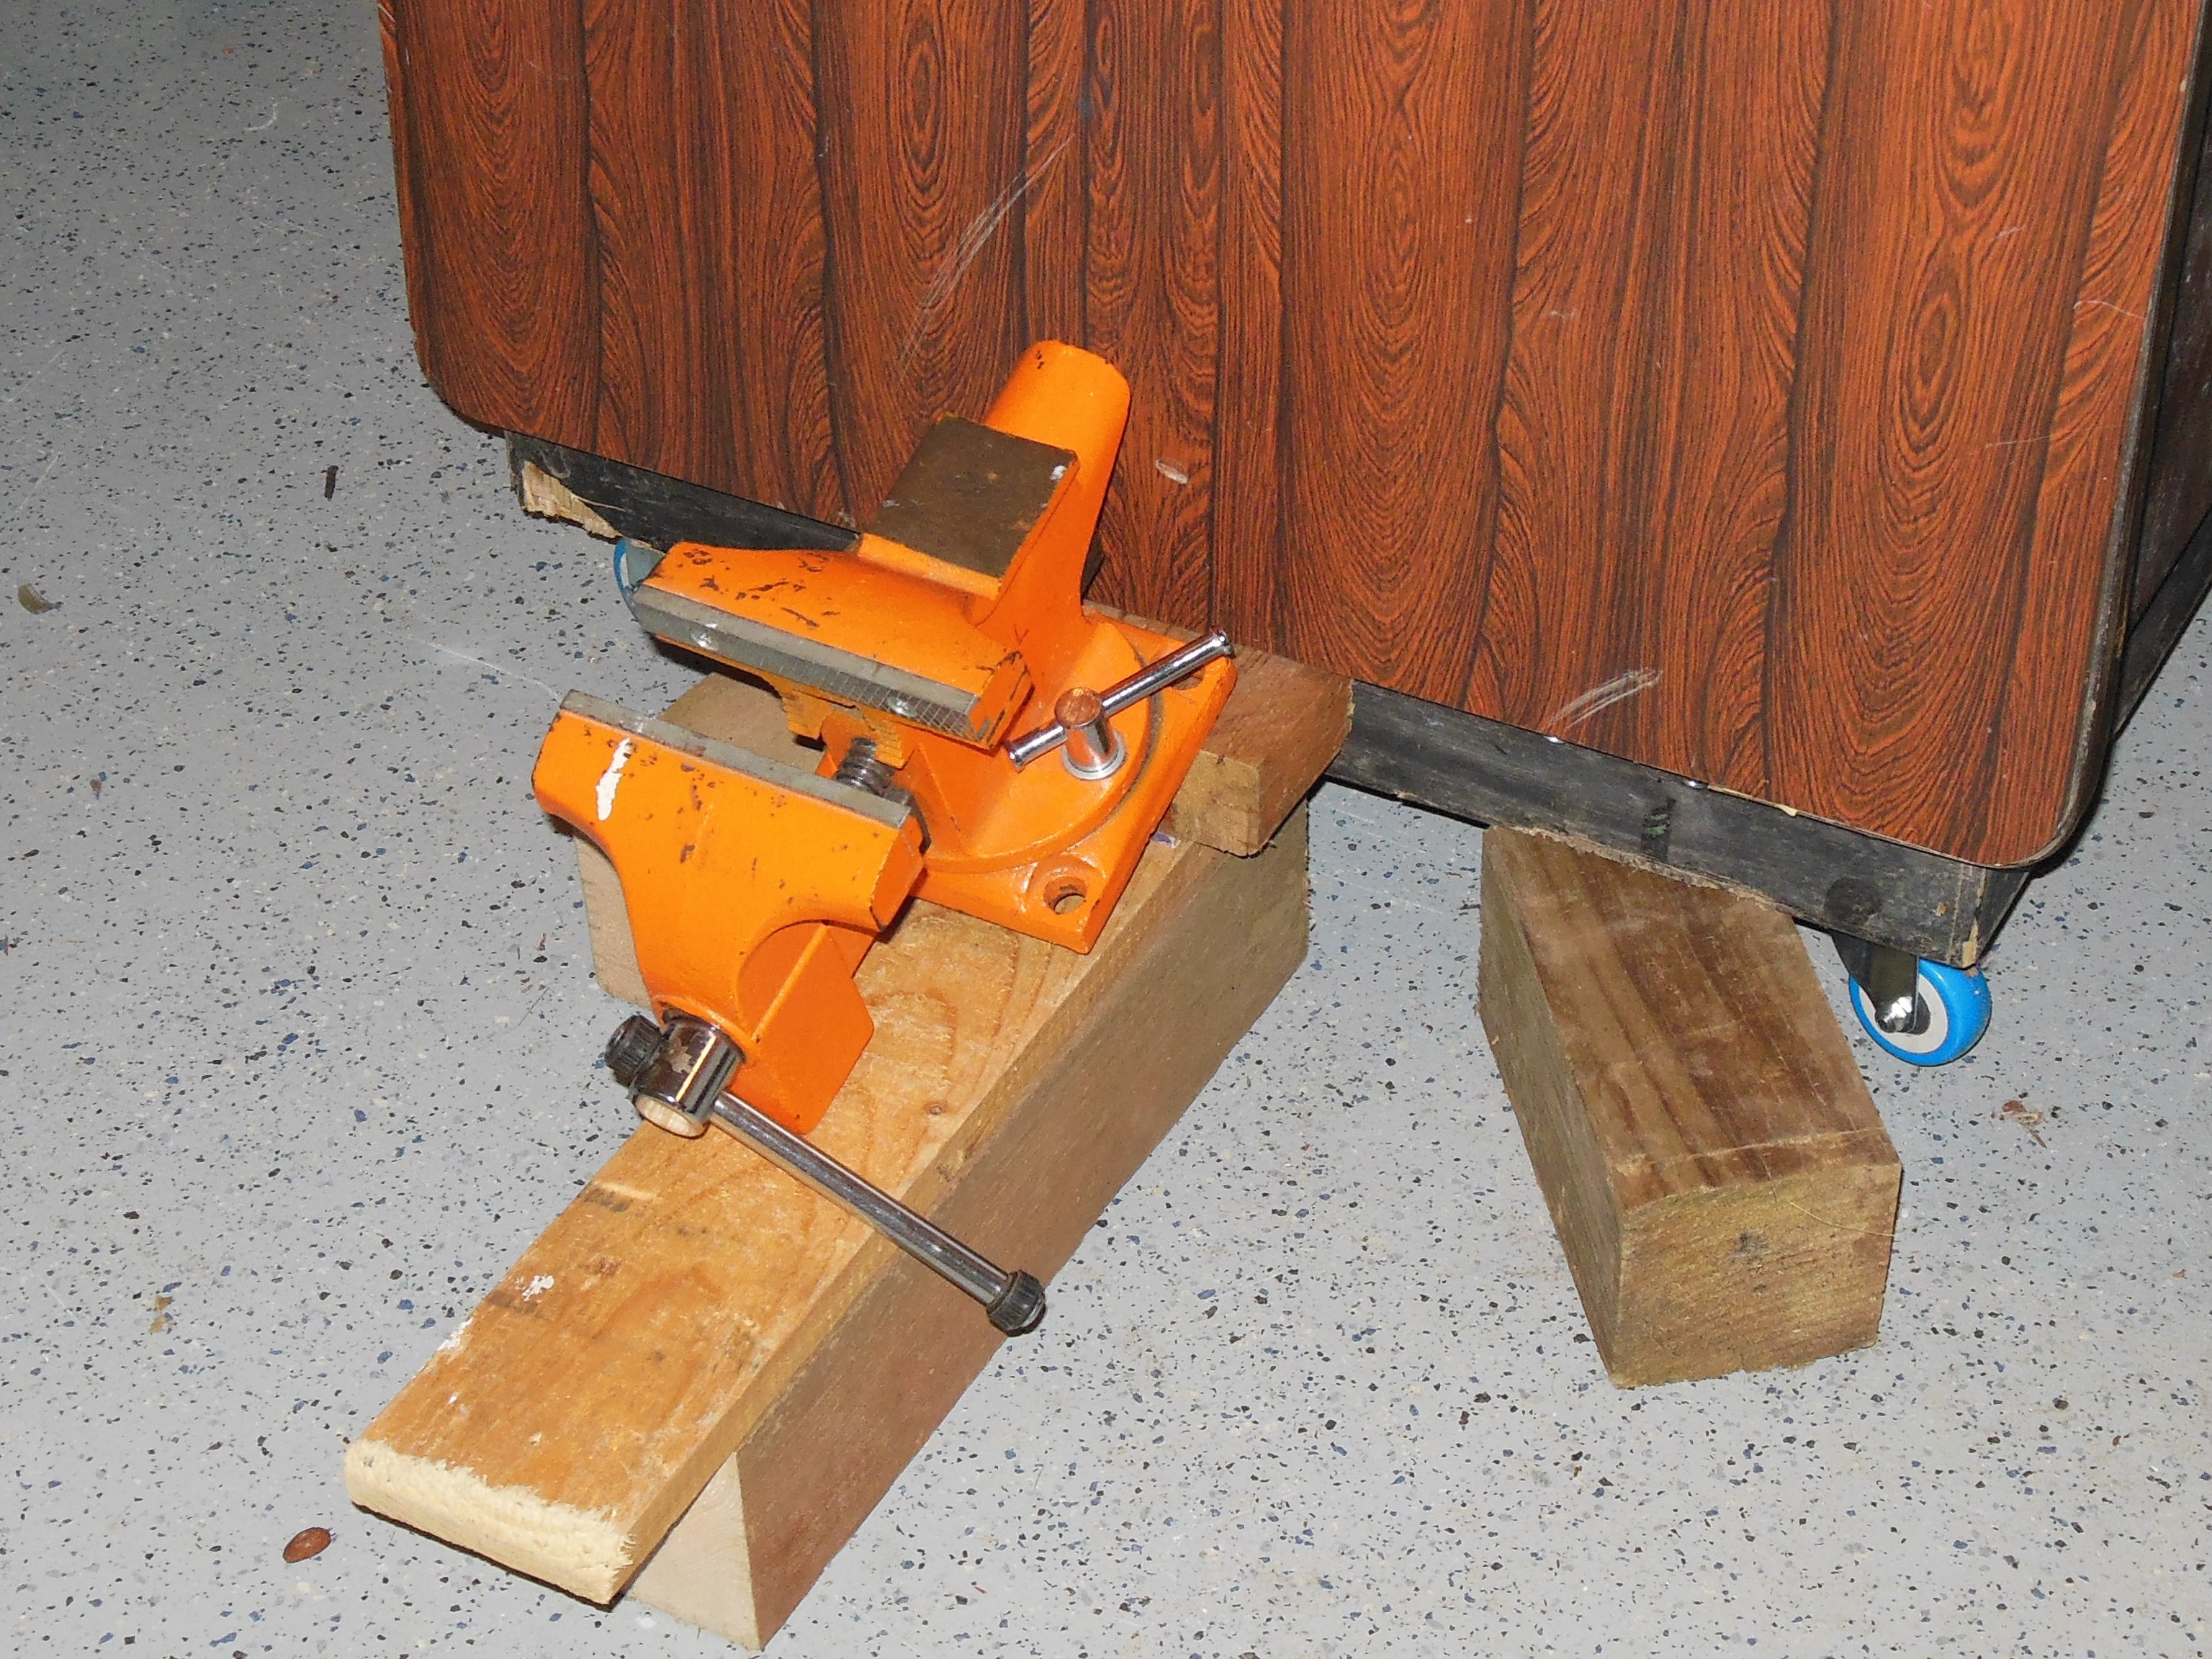
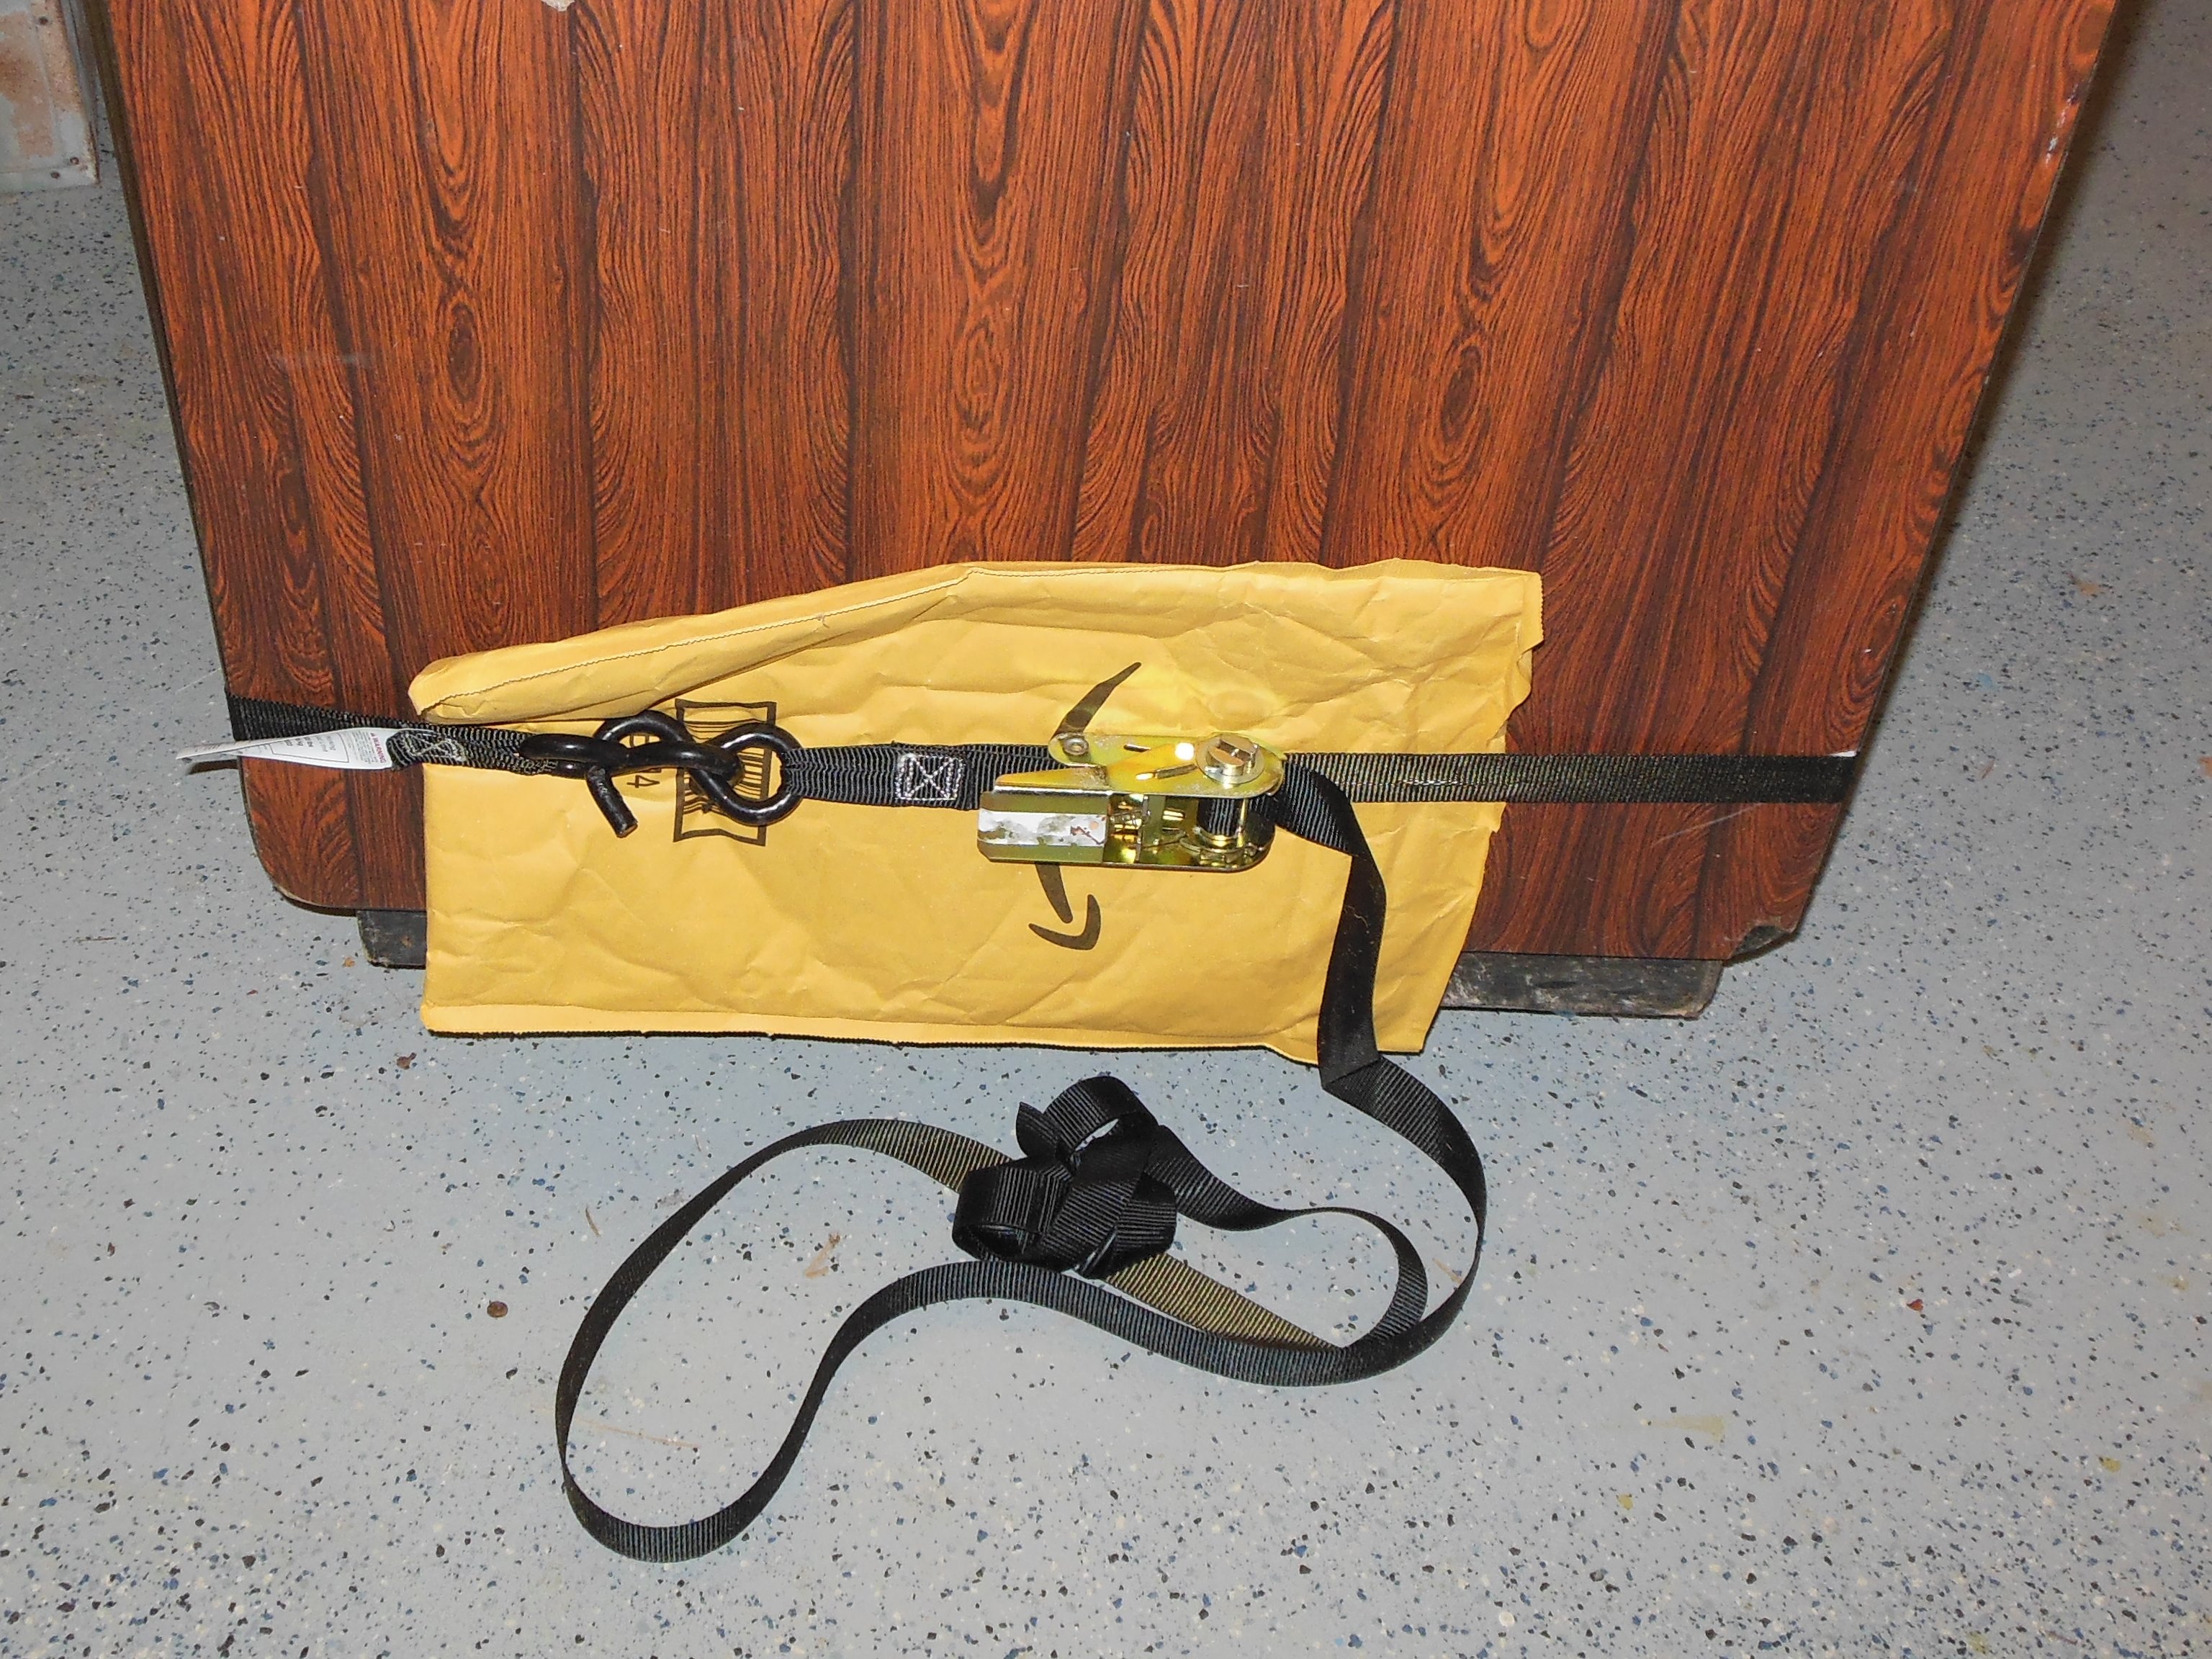
The broken base strip was coated with wood glue and secured in place with a row of screws wedged between the side wall and the base. With the cabinet upright, wood blocks were used to keep pressure on the side wall whilst the glue dried.
|
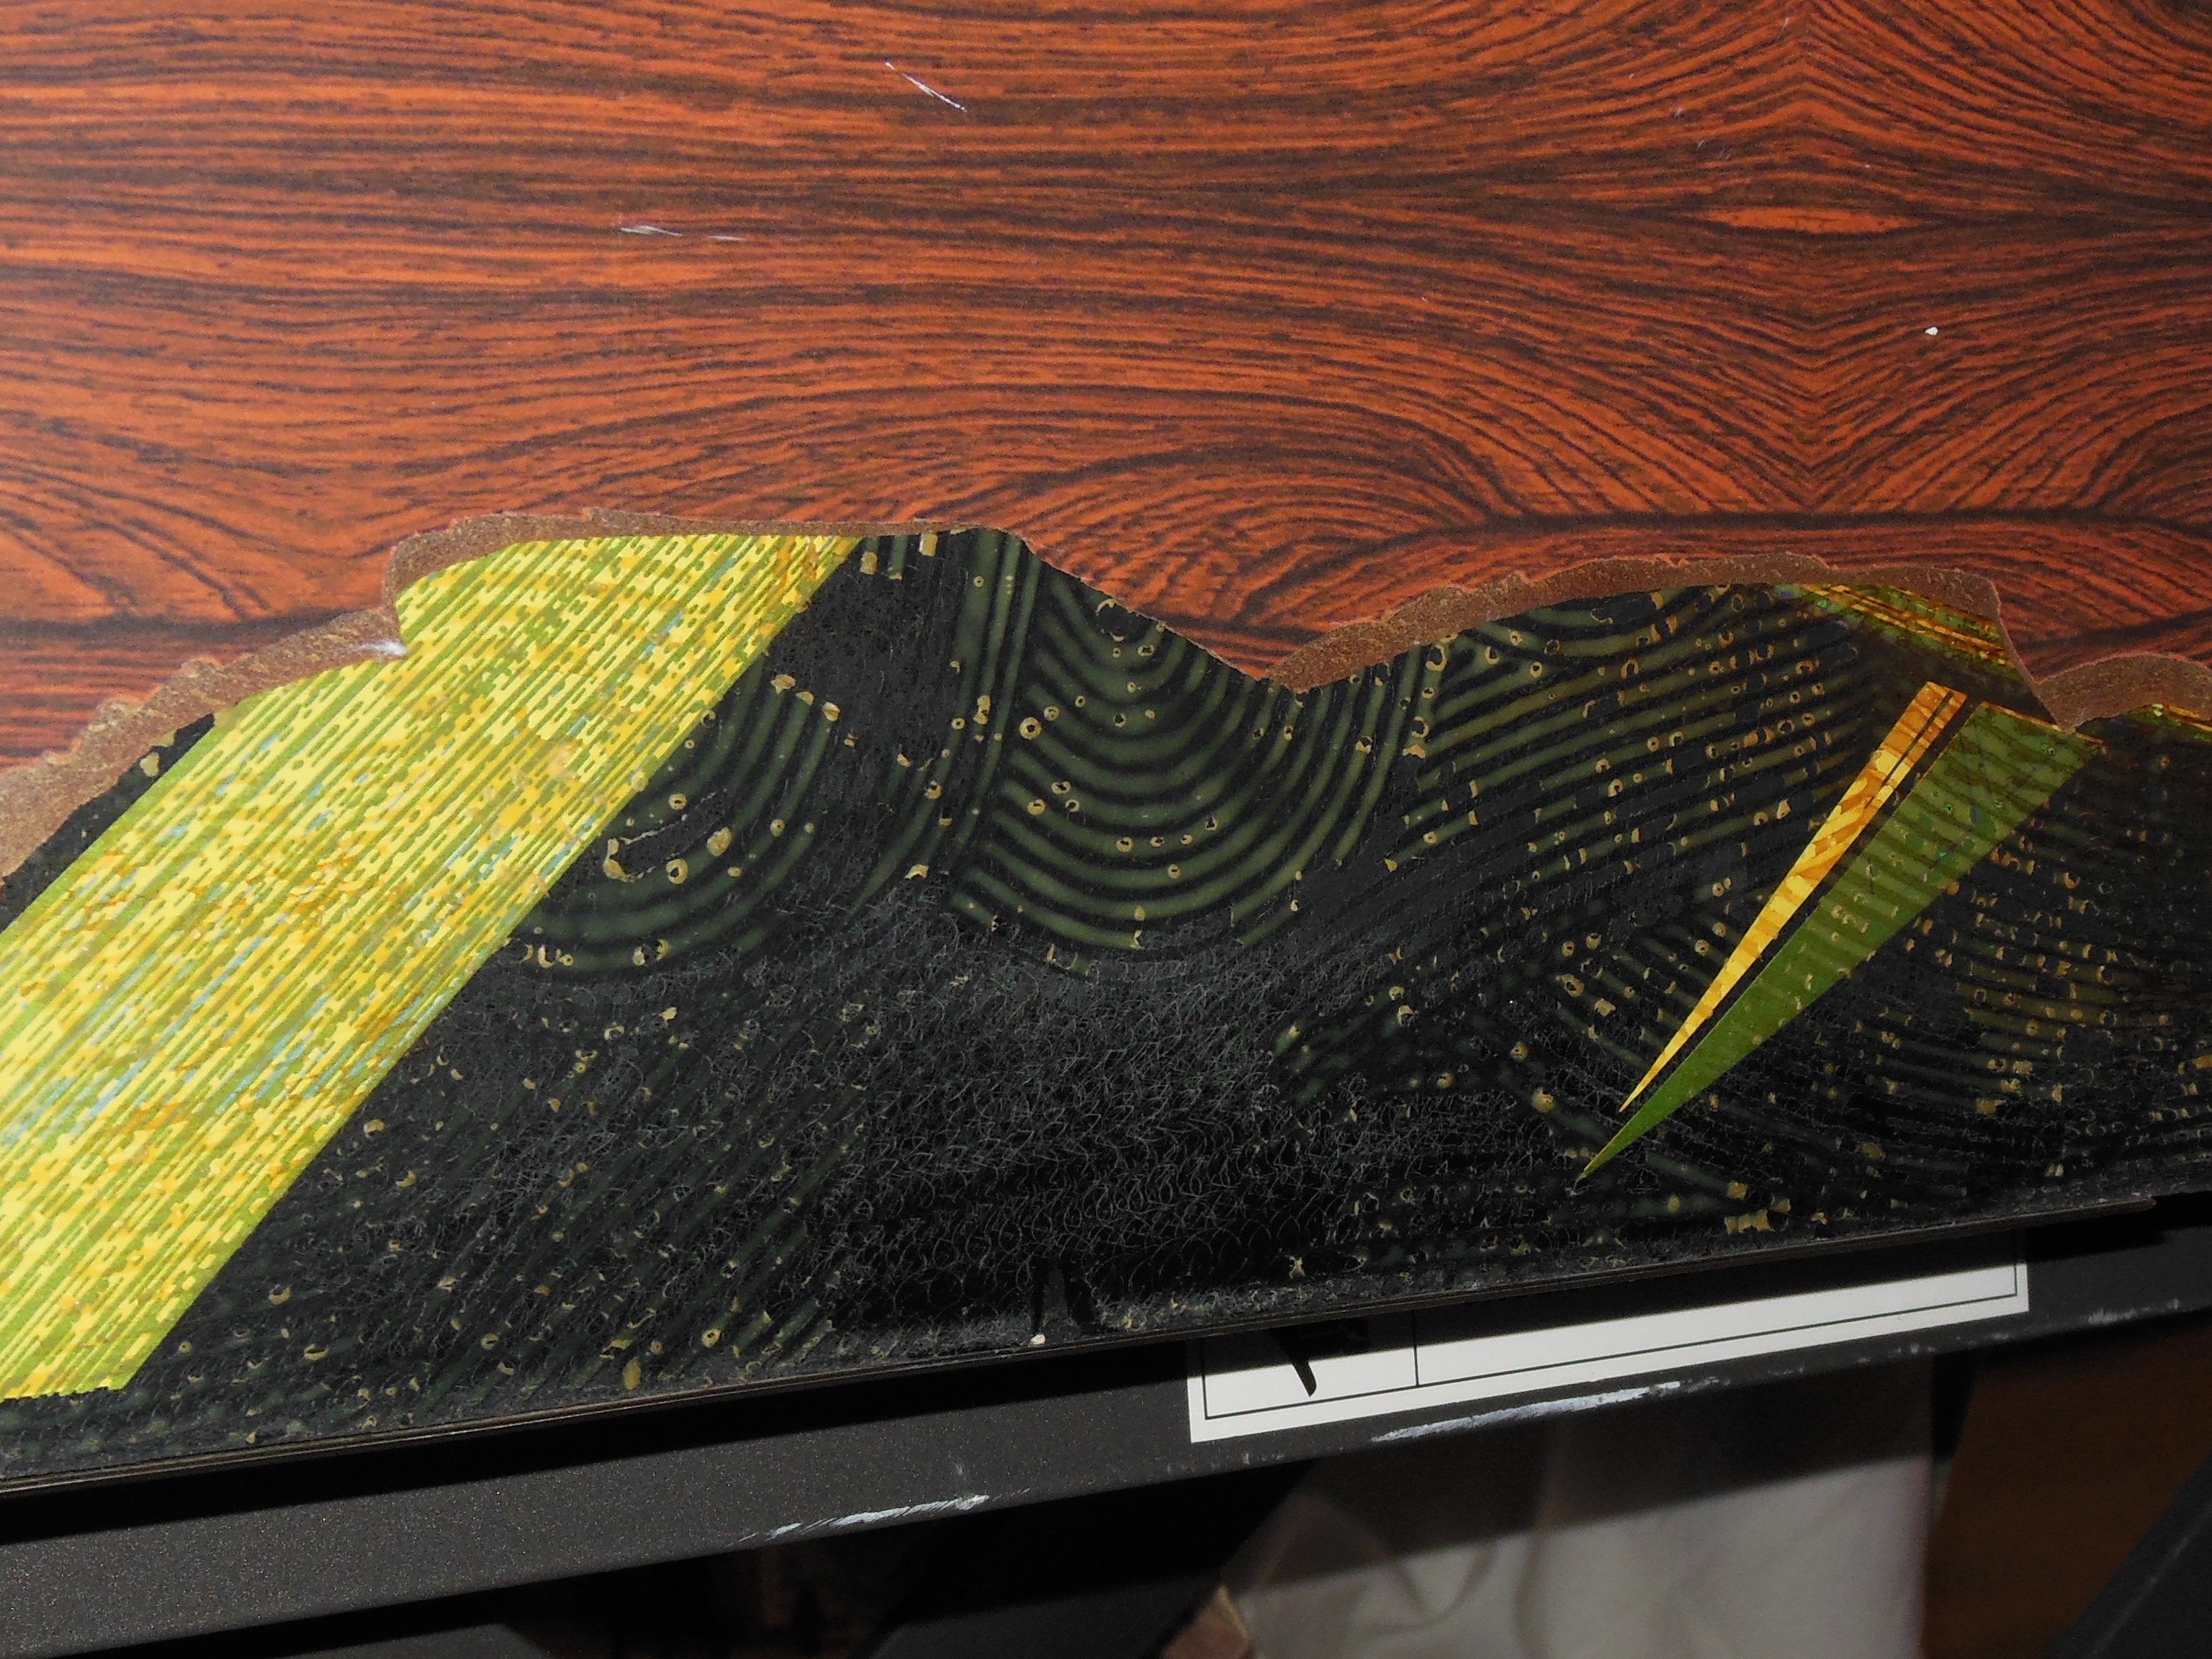
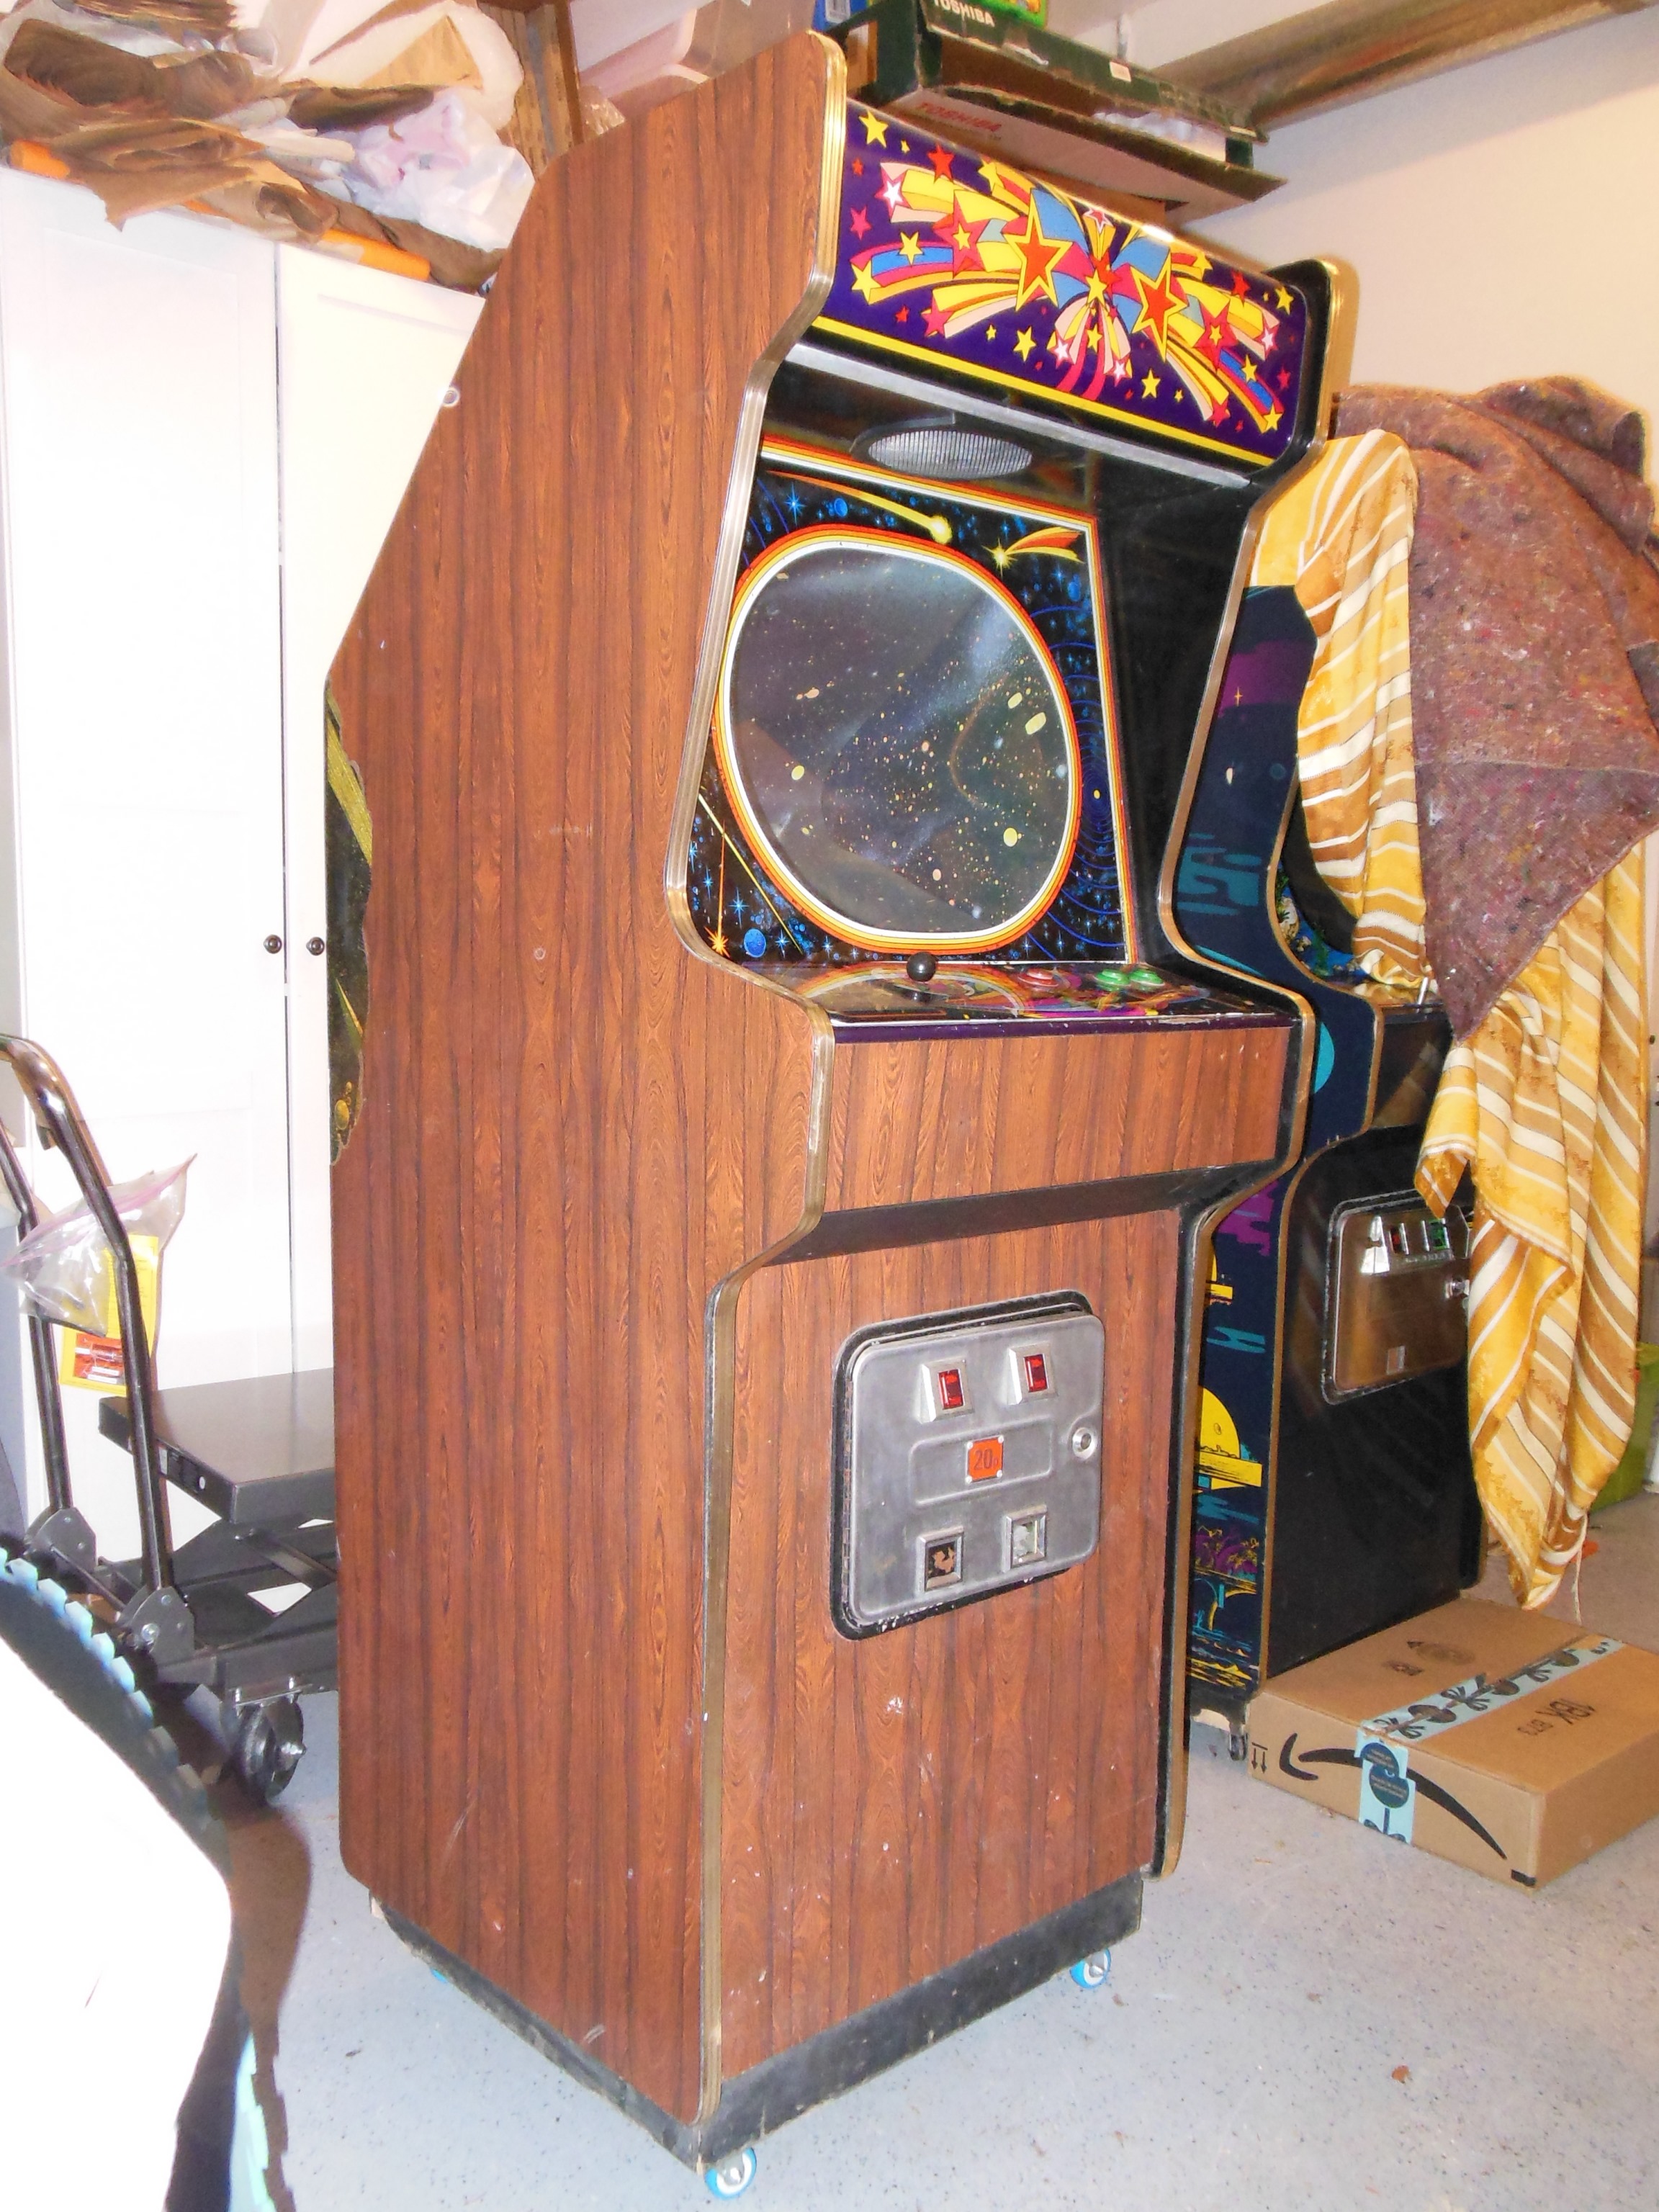
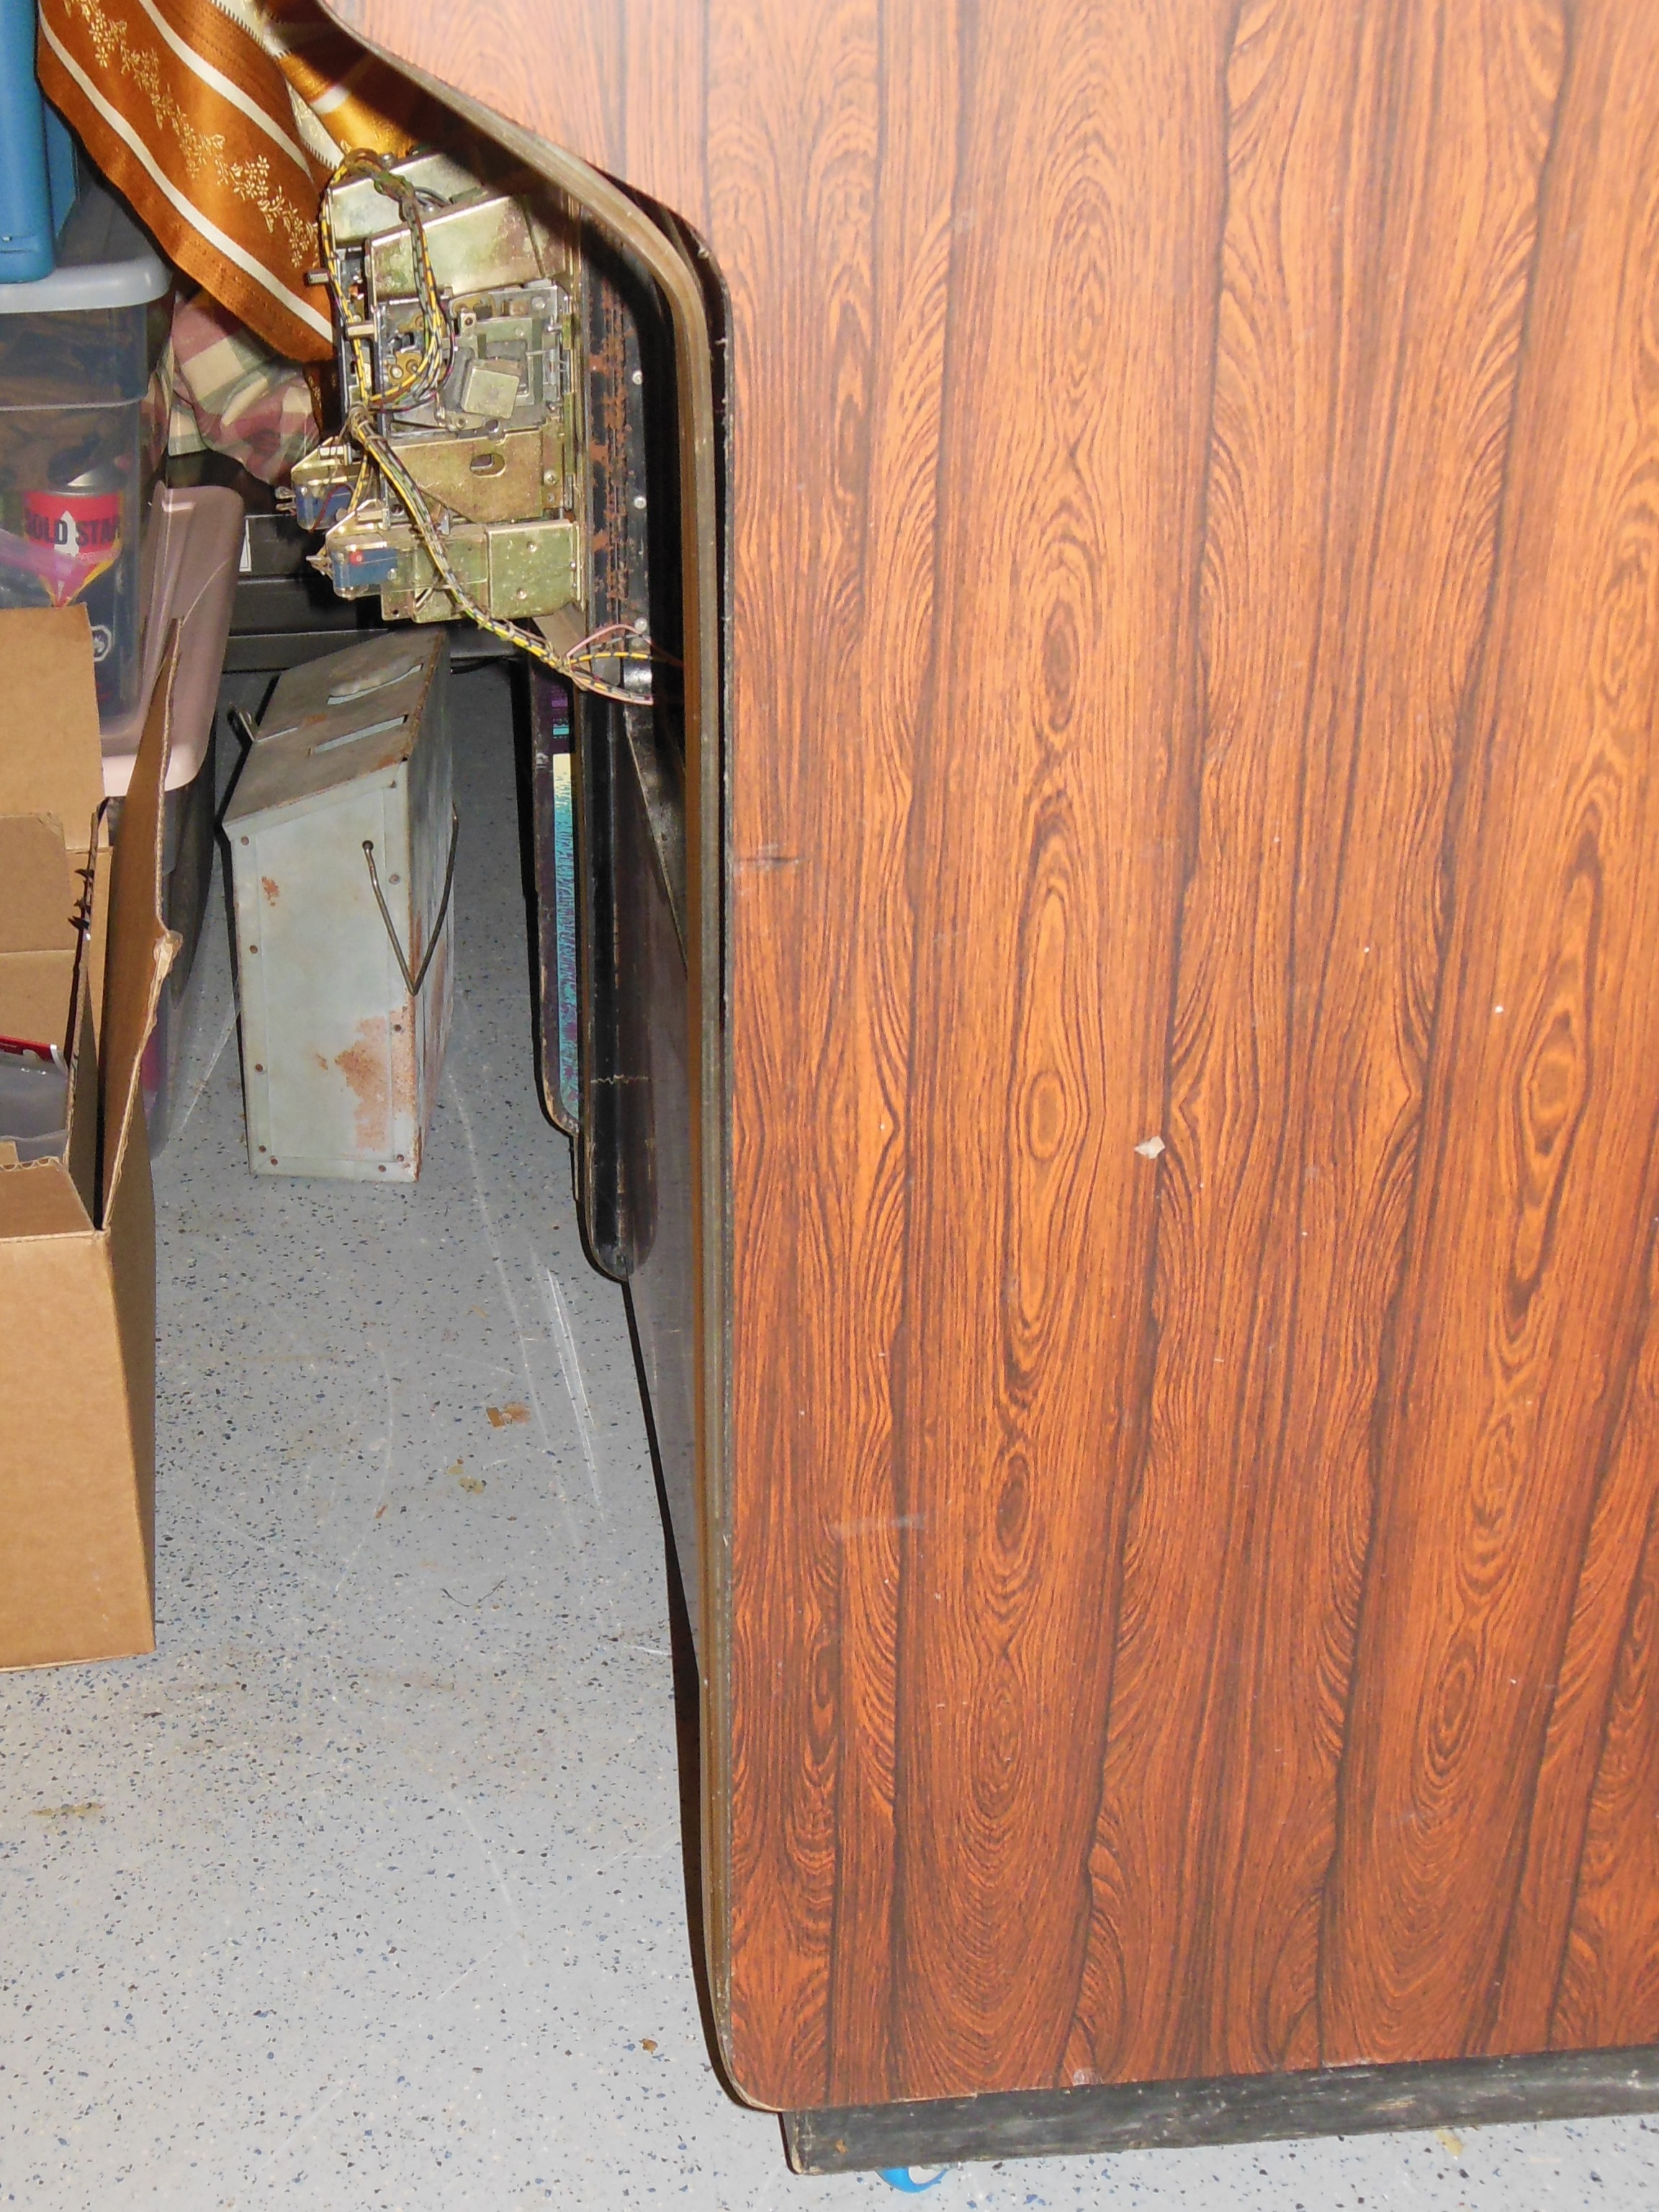
Laminate covered all the original artwork along with chrome dual bead T-molding. As was previously noted, some of the laminate was broken off towards the rear on the left side. Overall, the cabinet was in rough shape with long term moisture damage to both wood and the metal. The coin door had also been replaced with a different non-Zaccaria coin door.

|
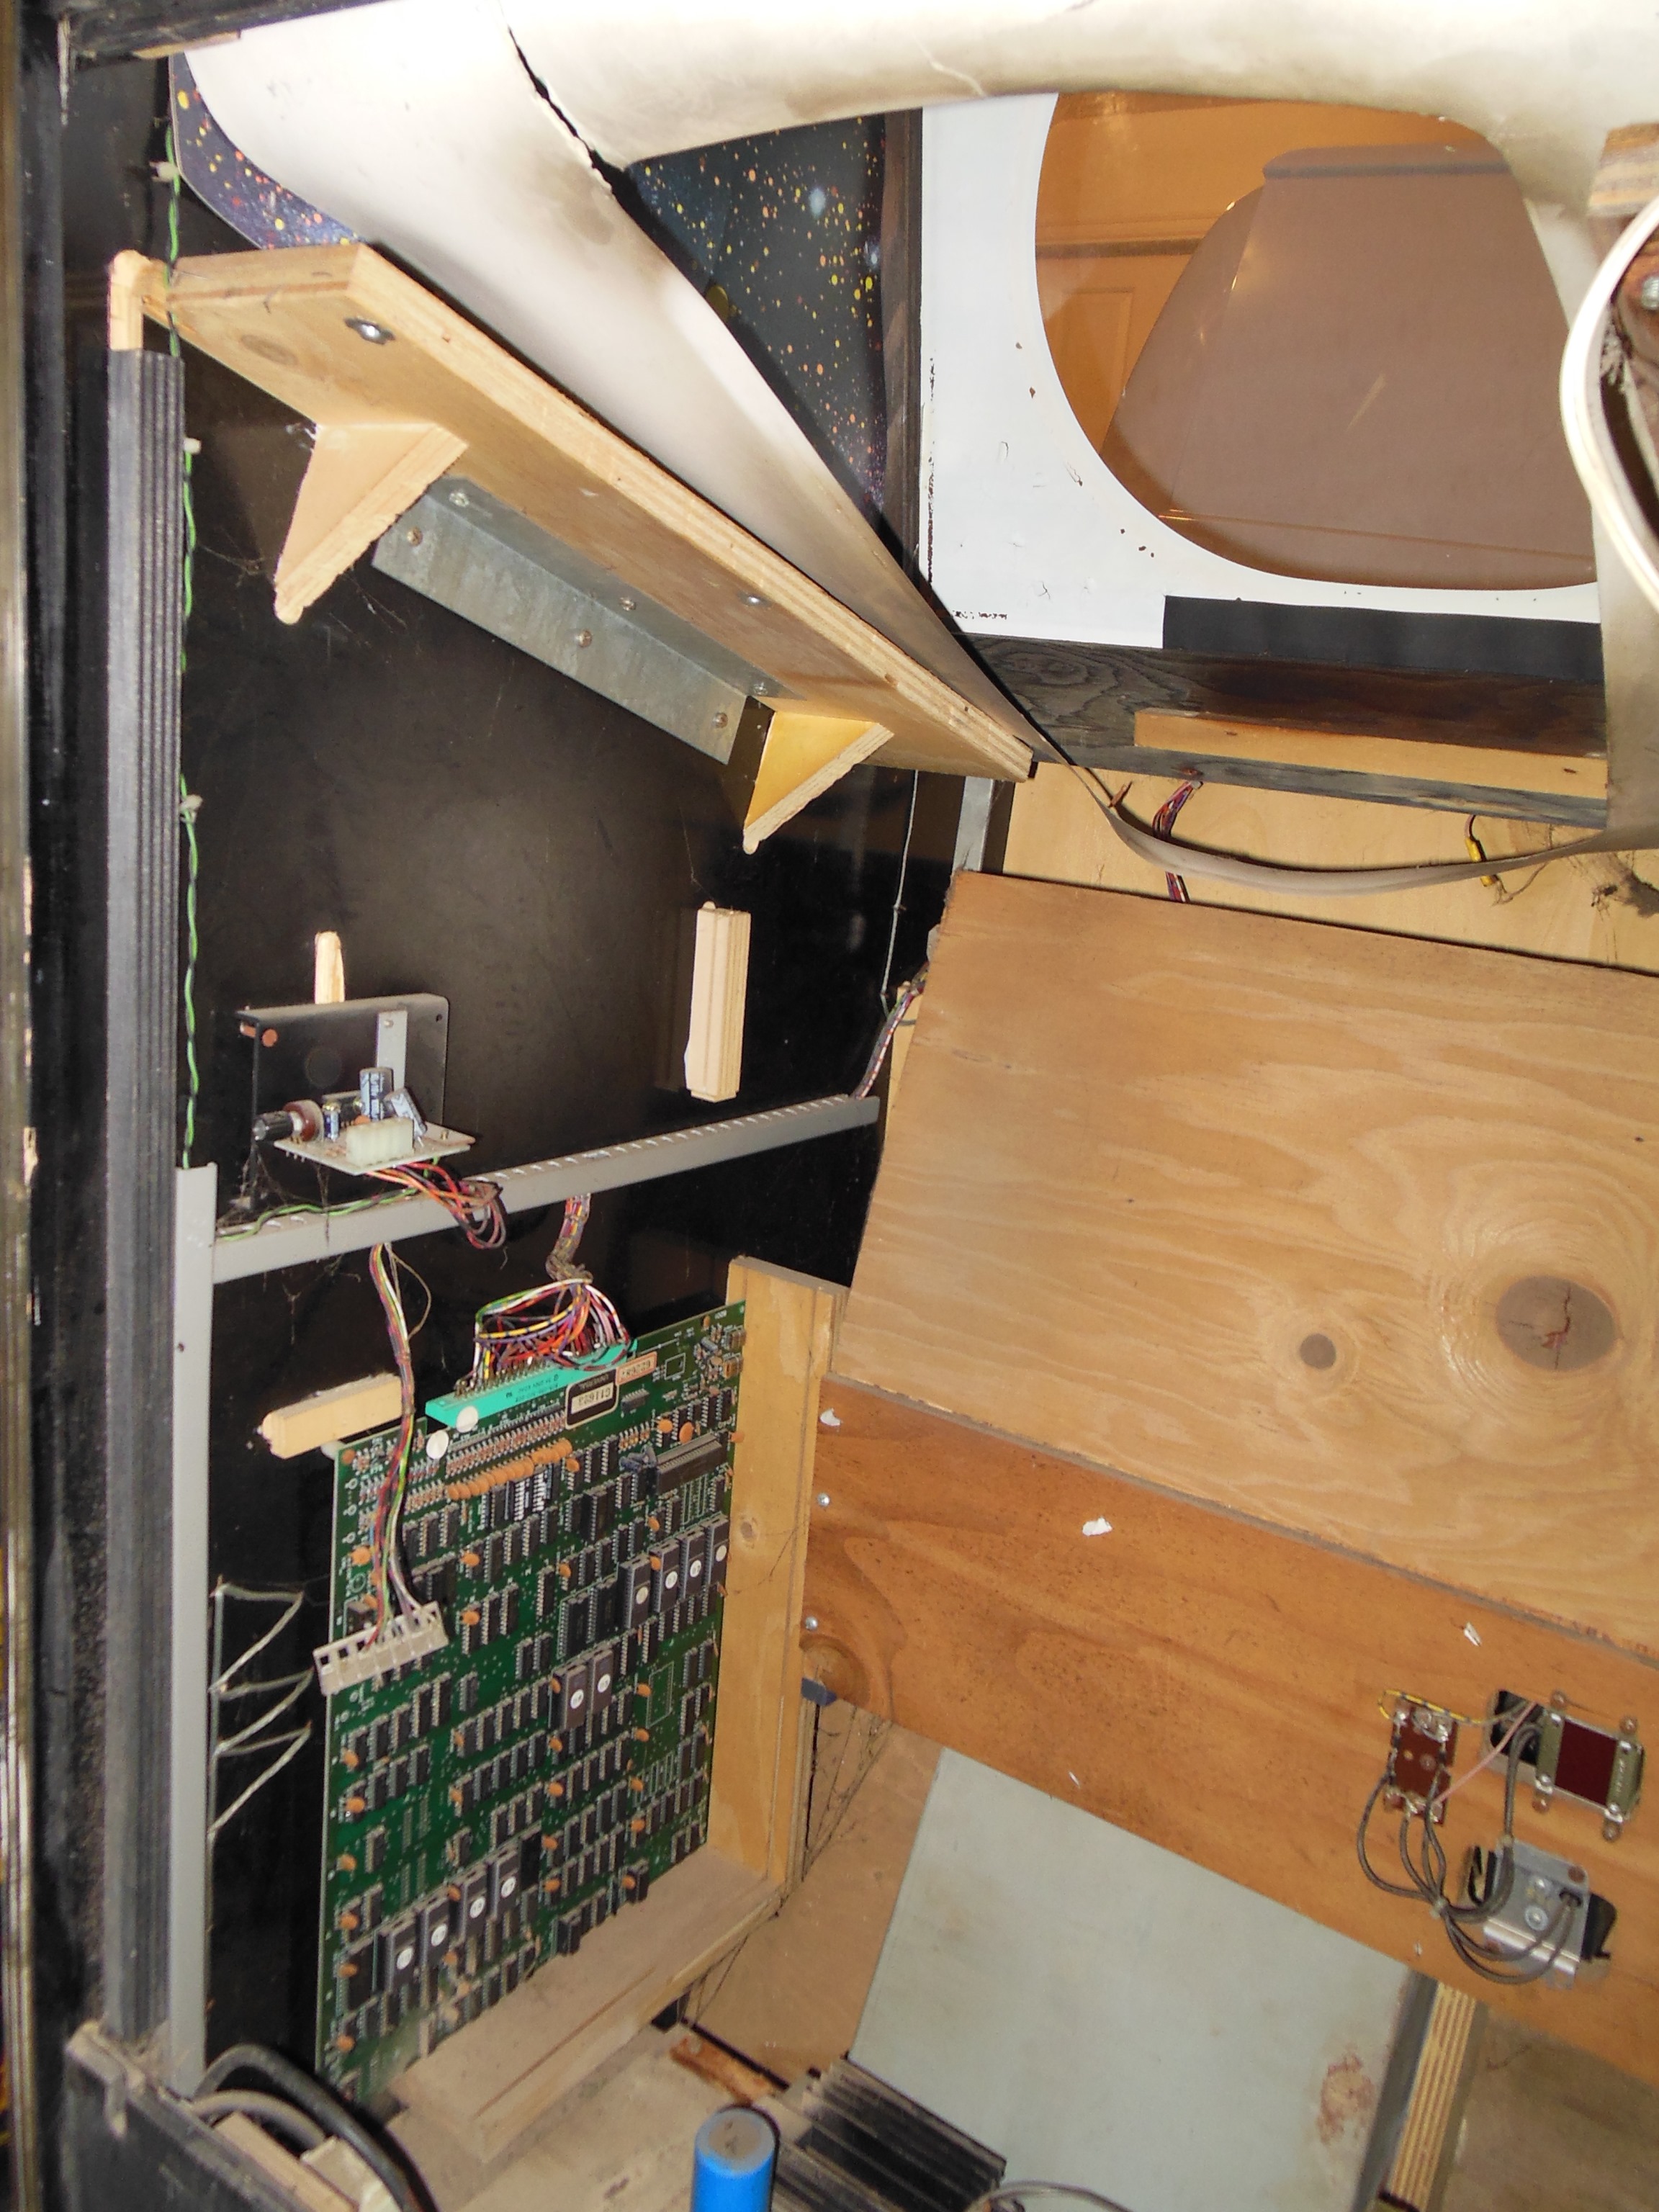
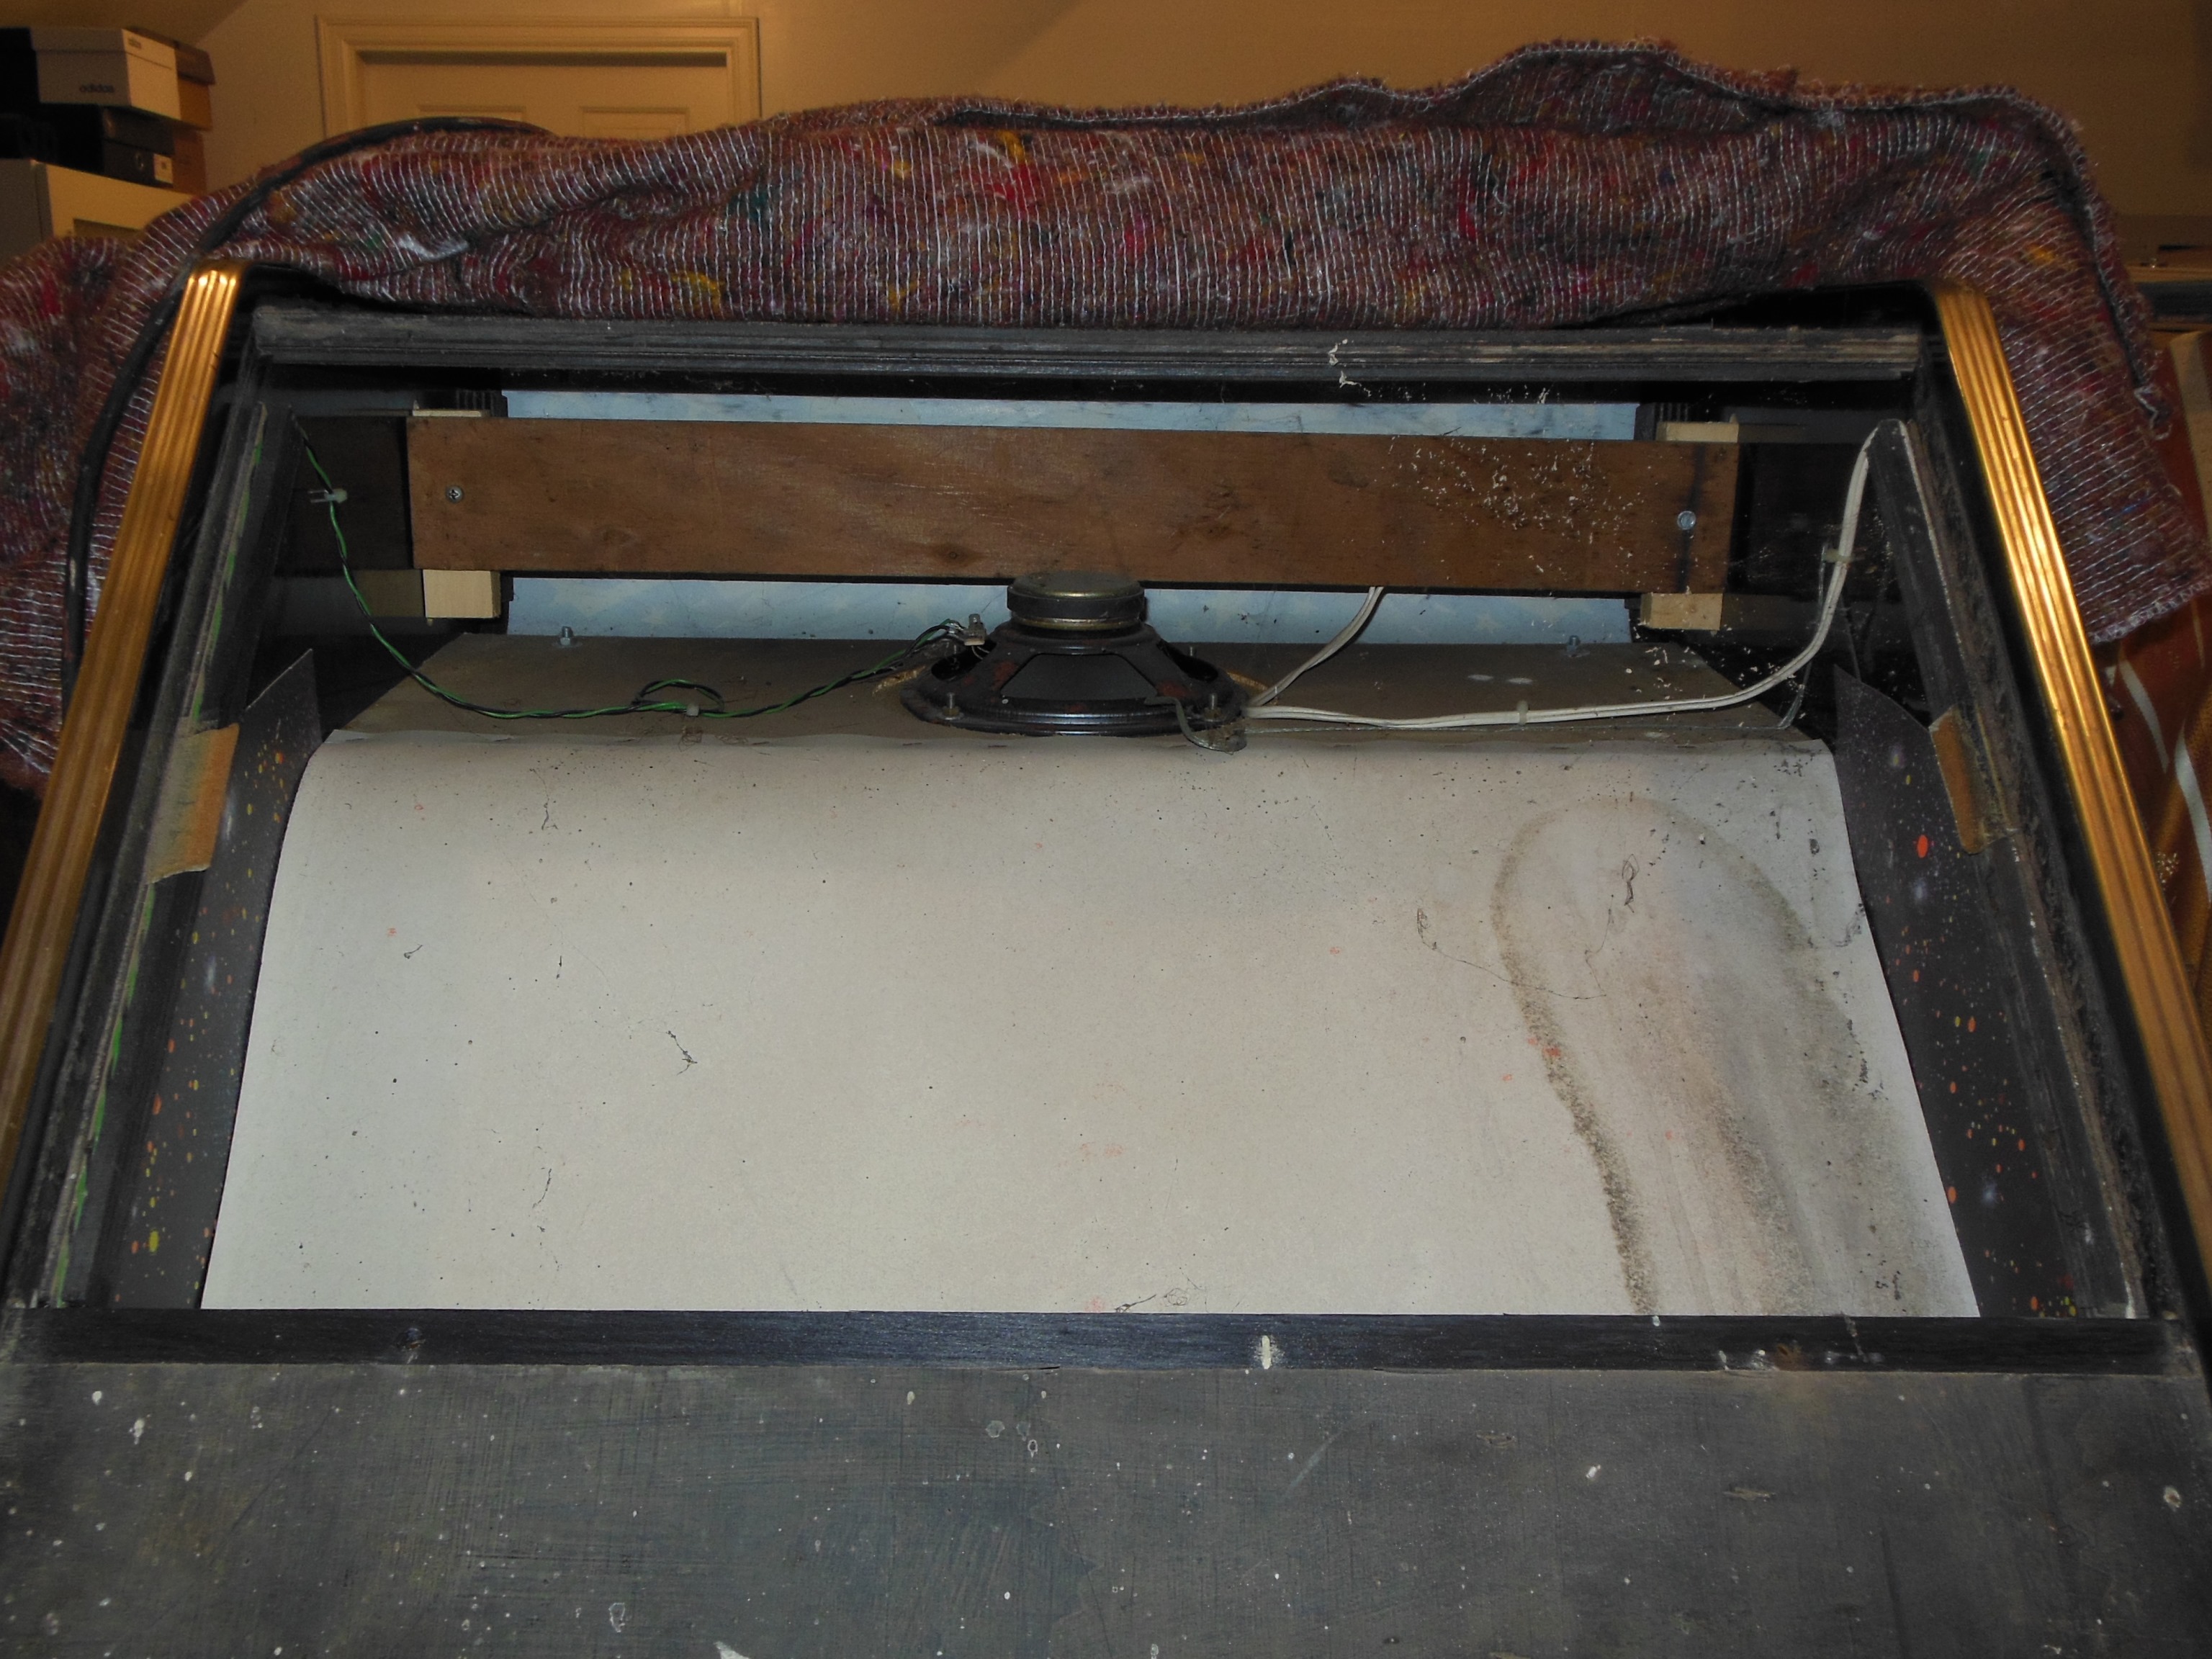
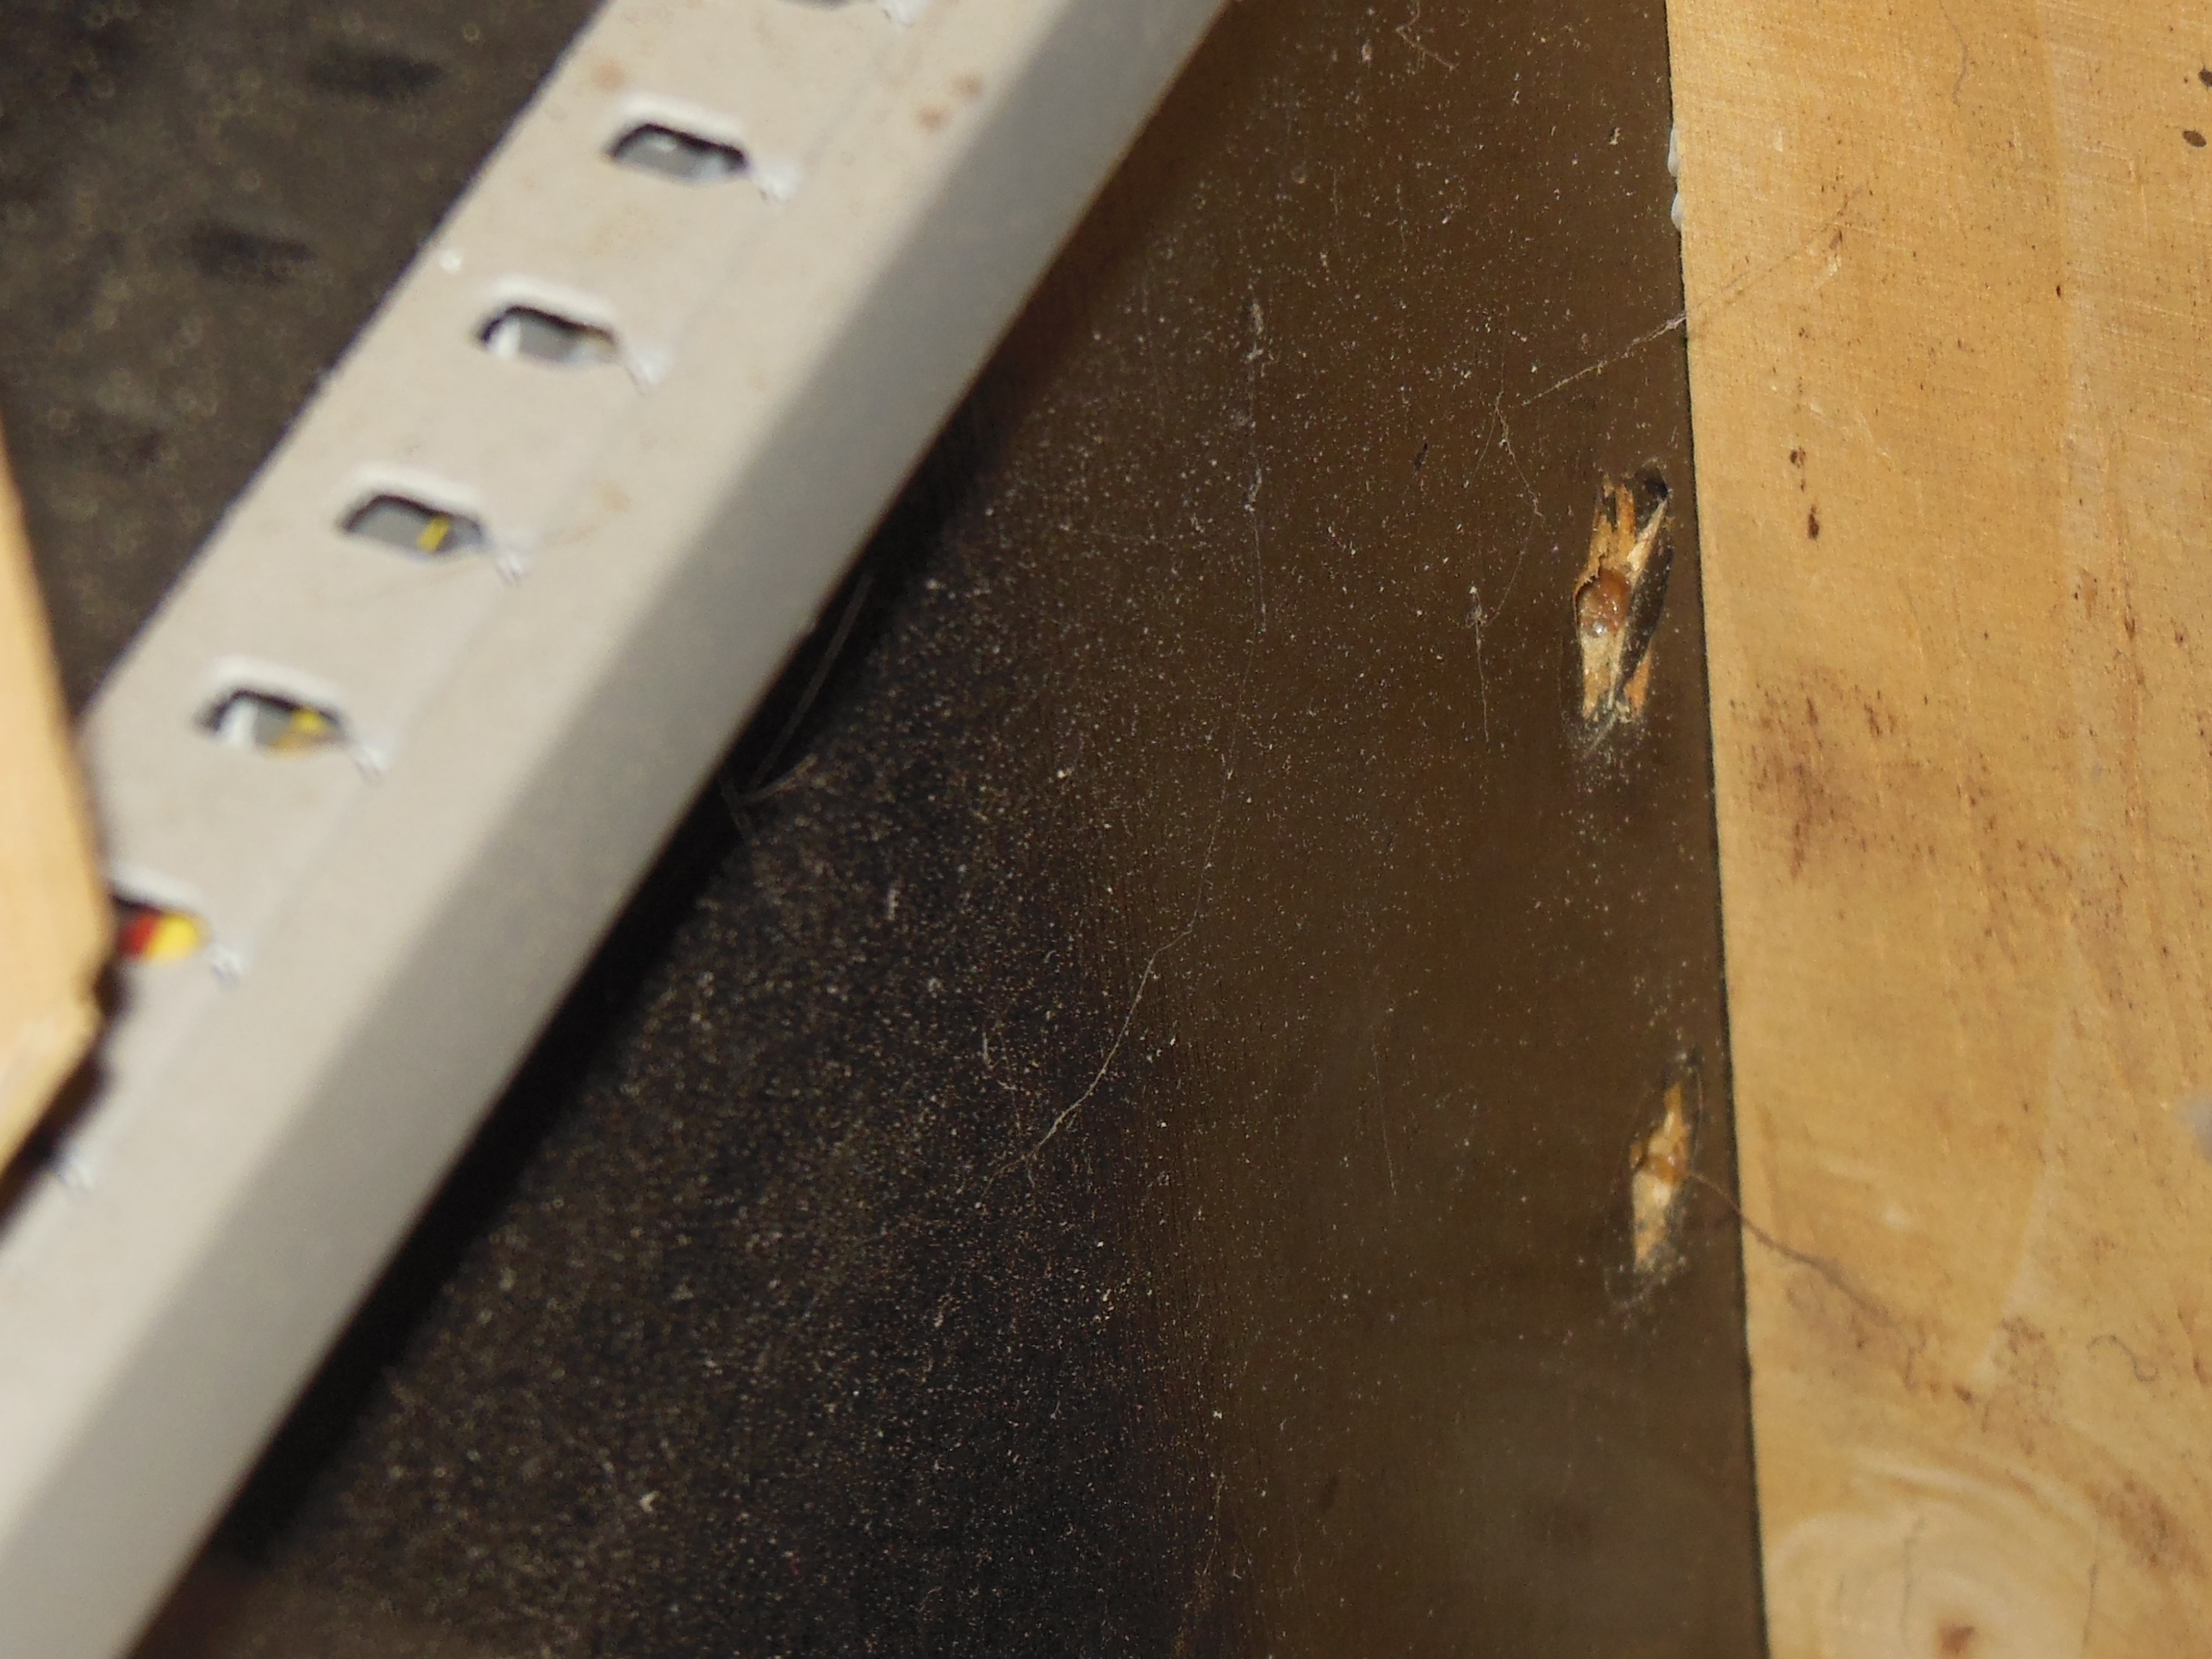
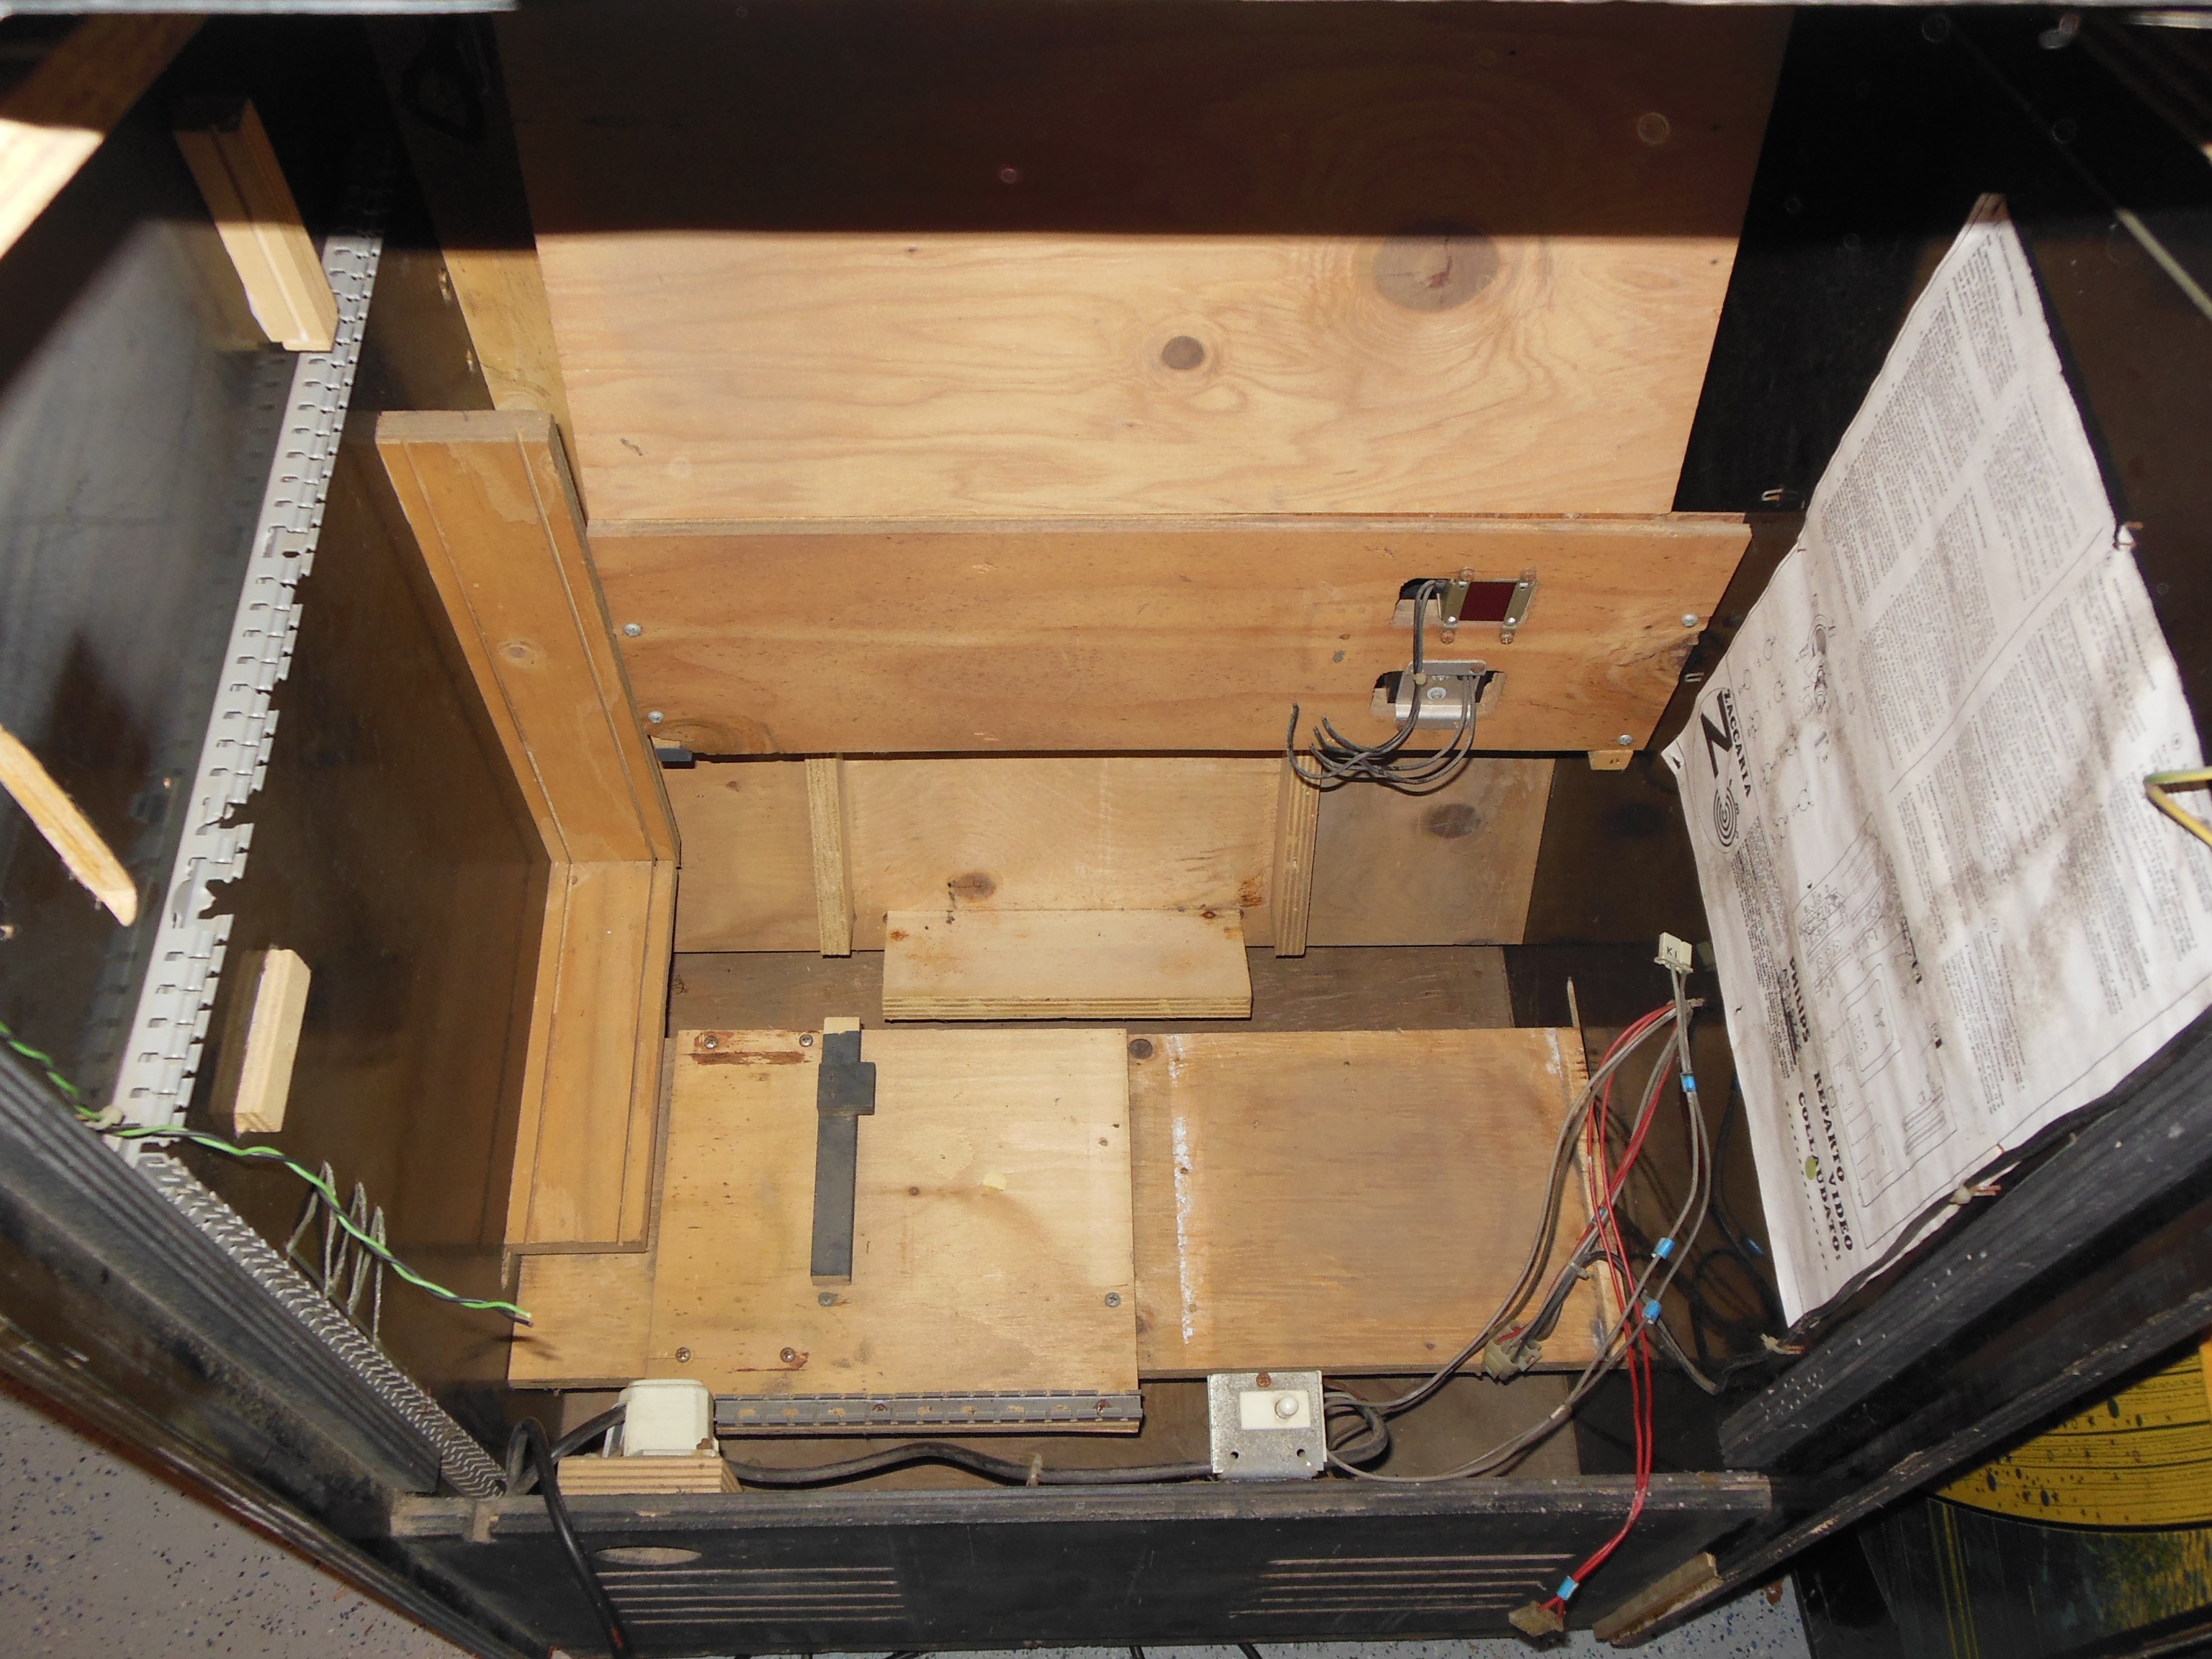
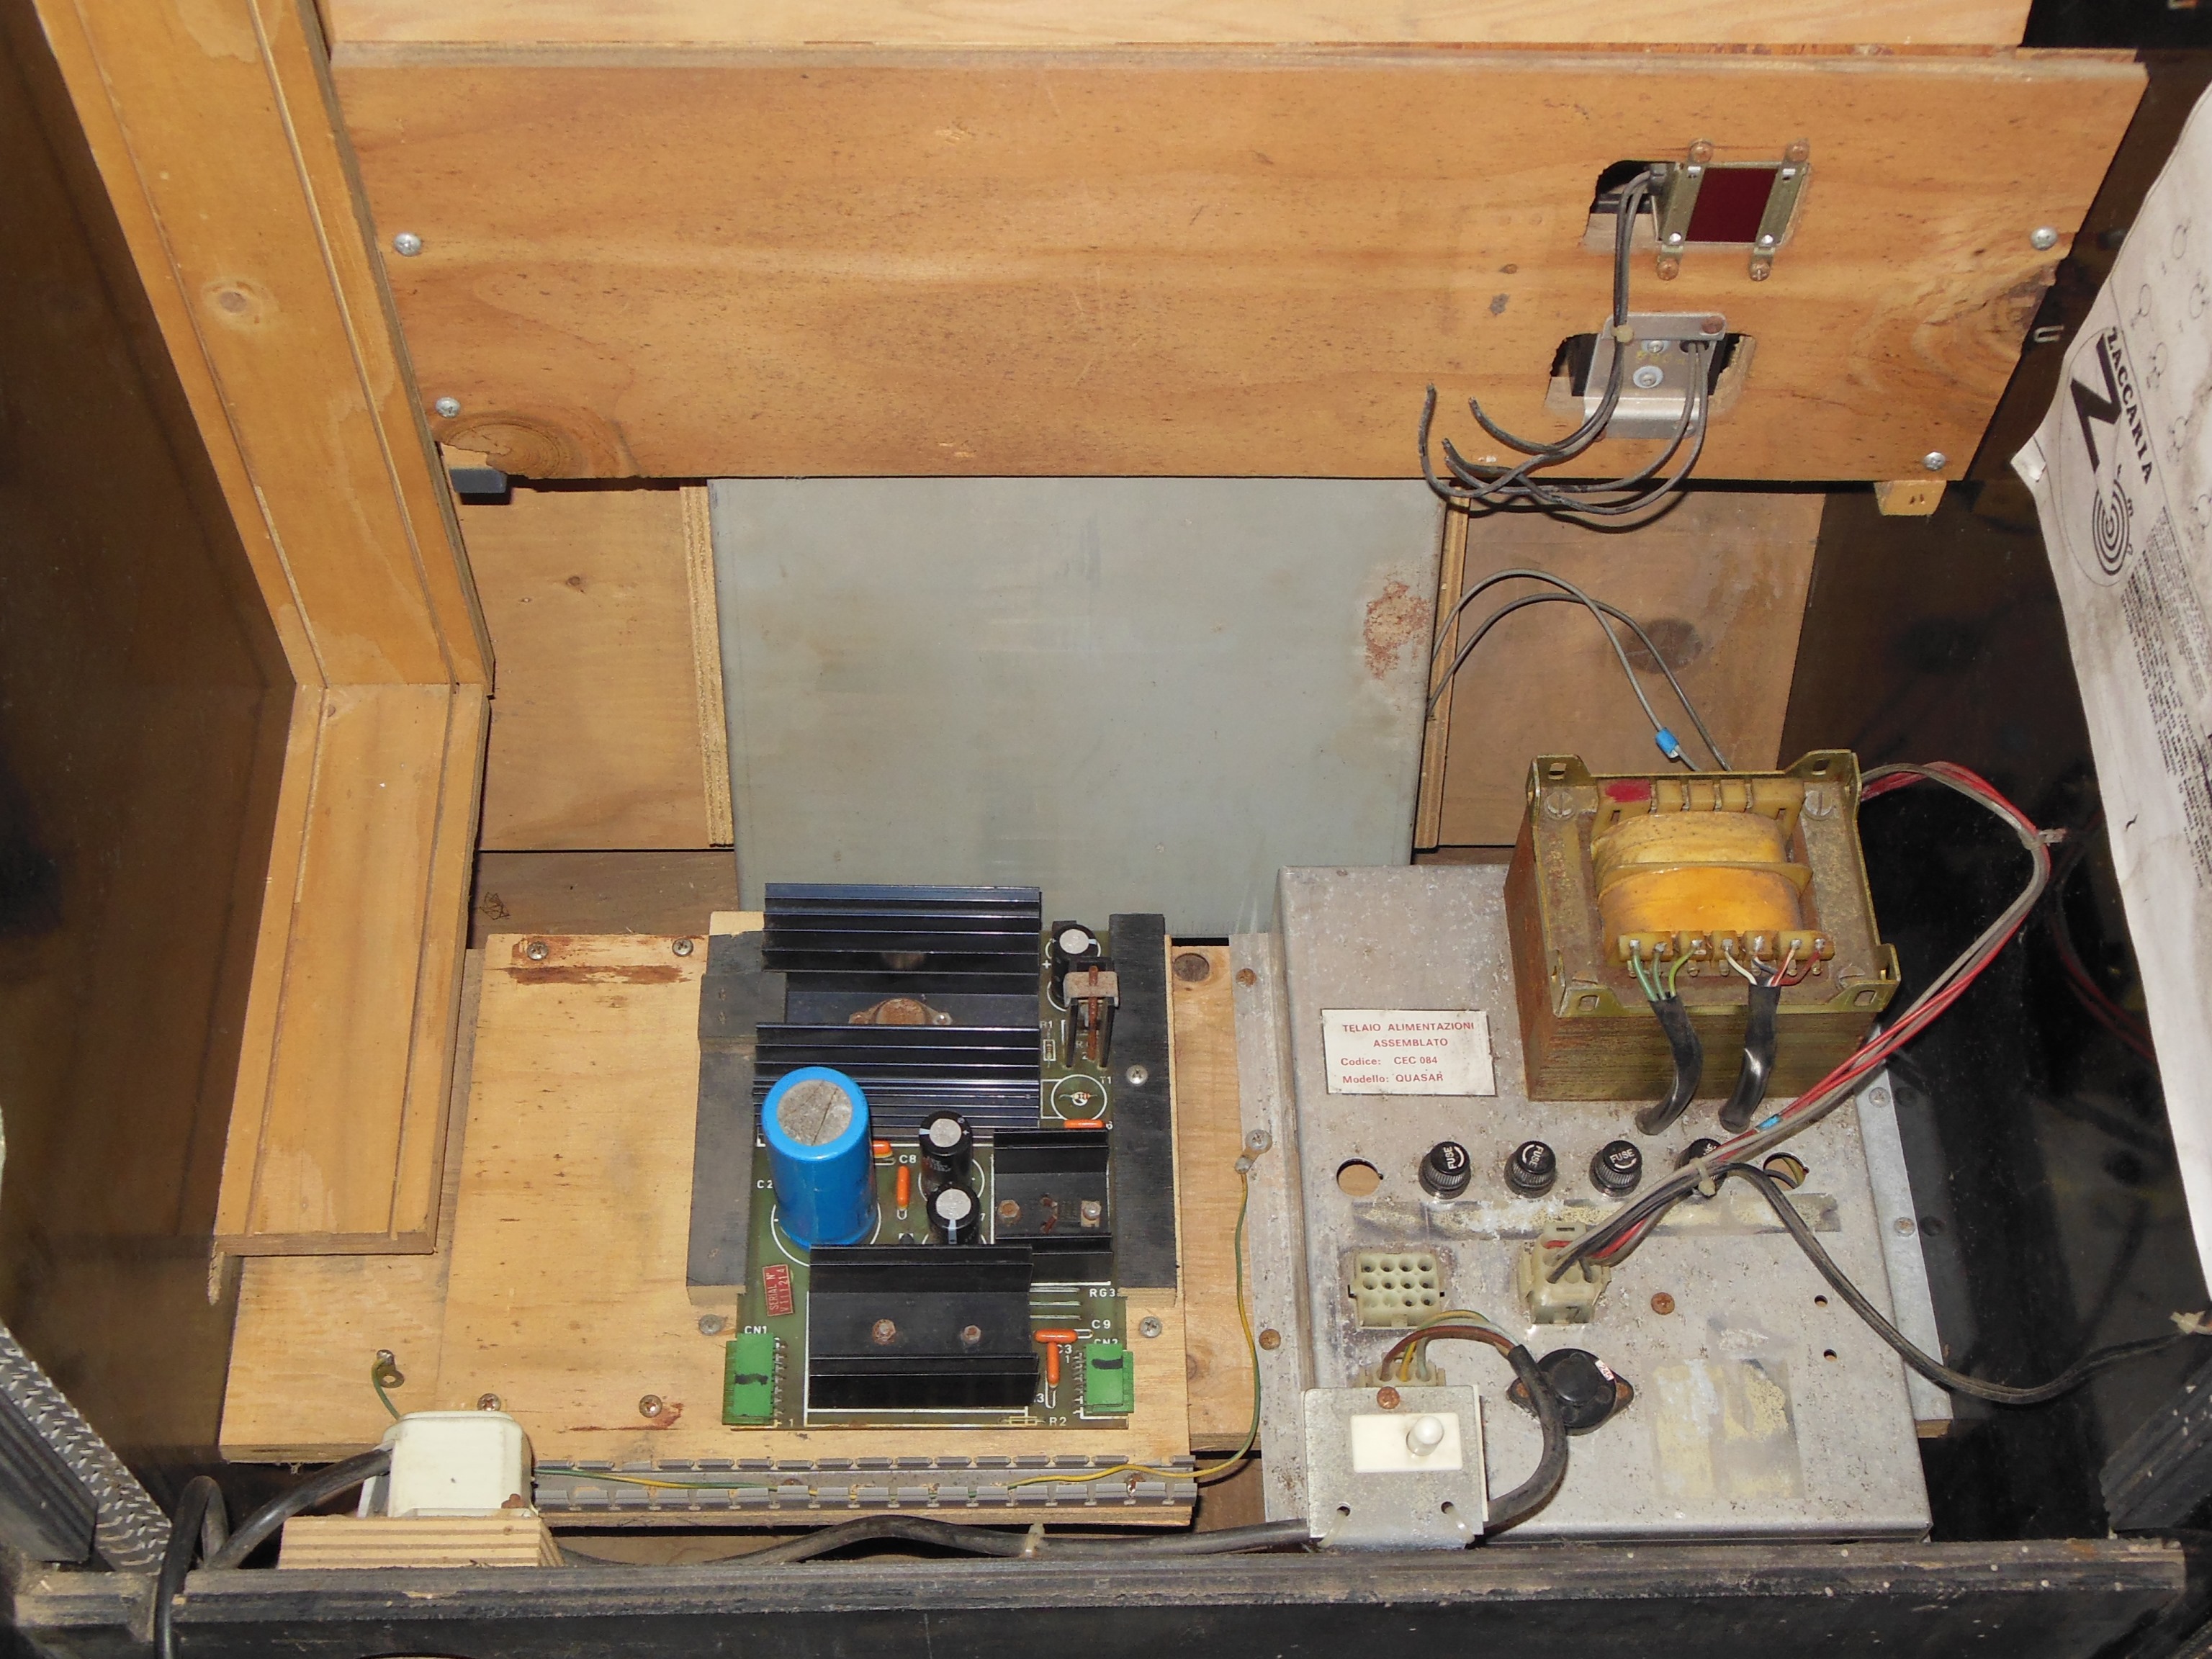
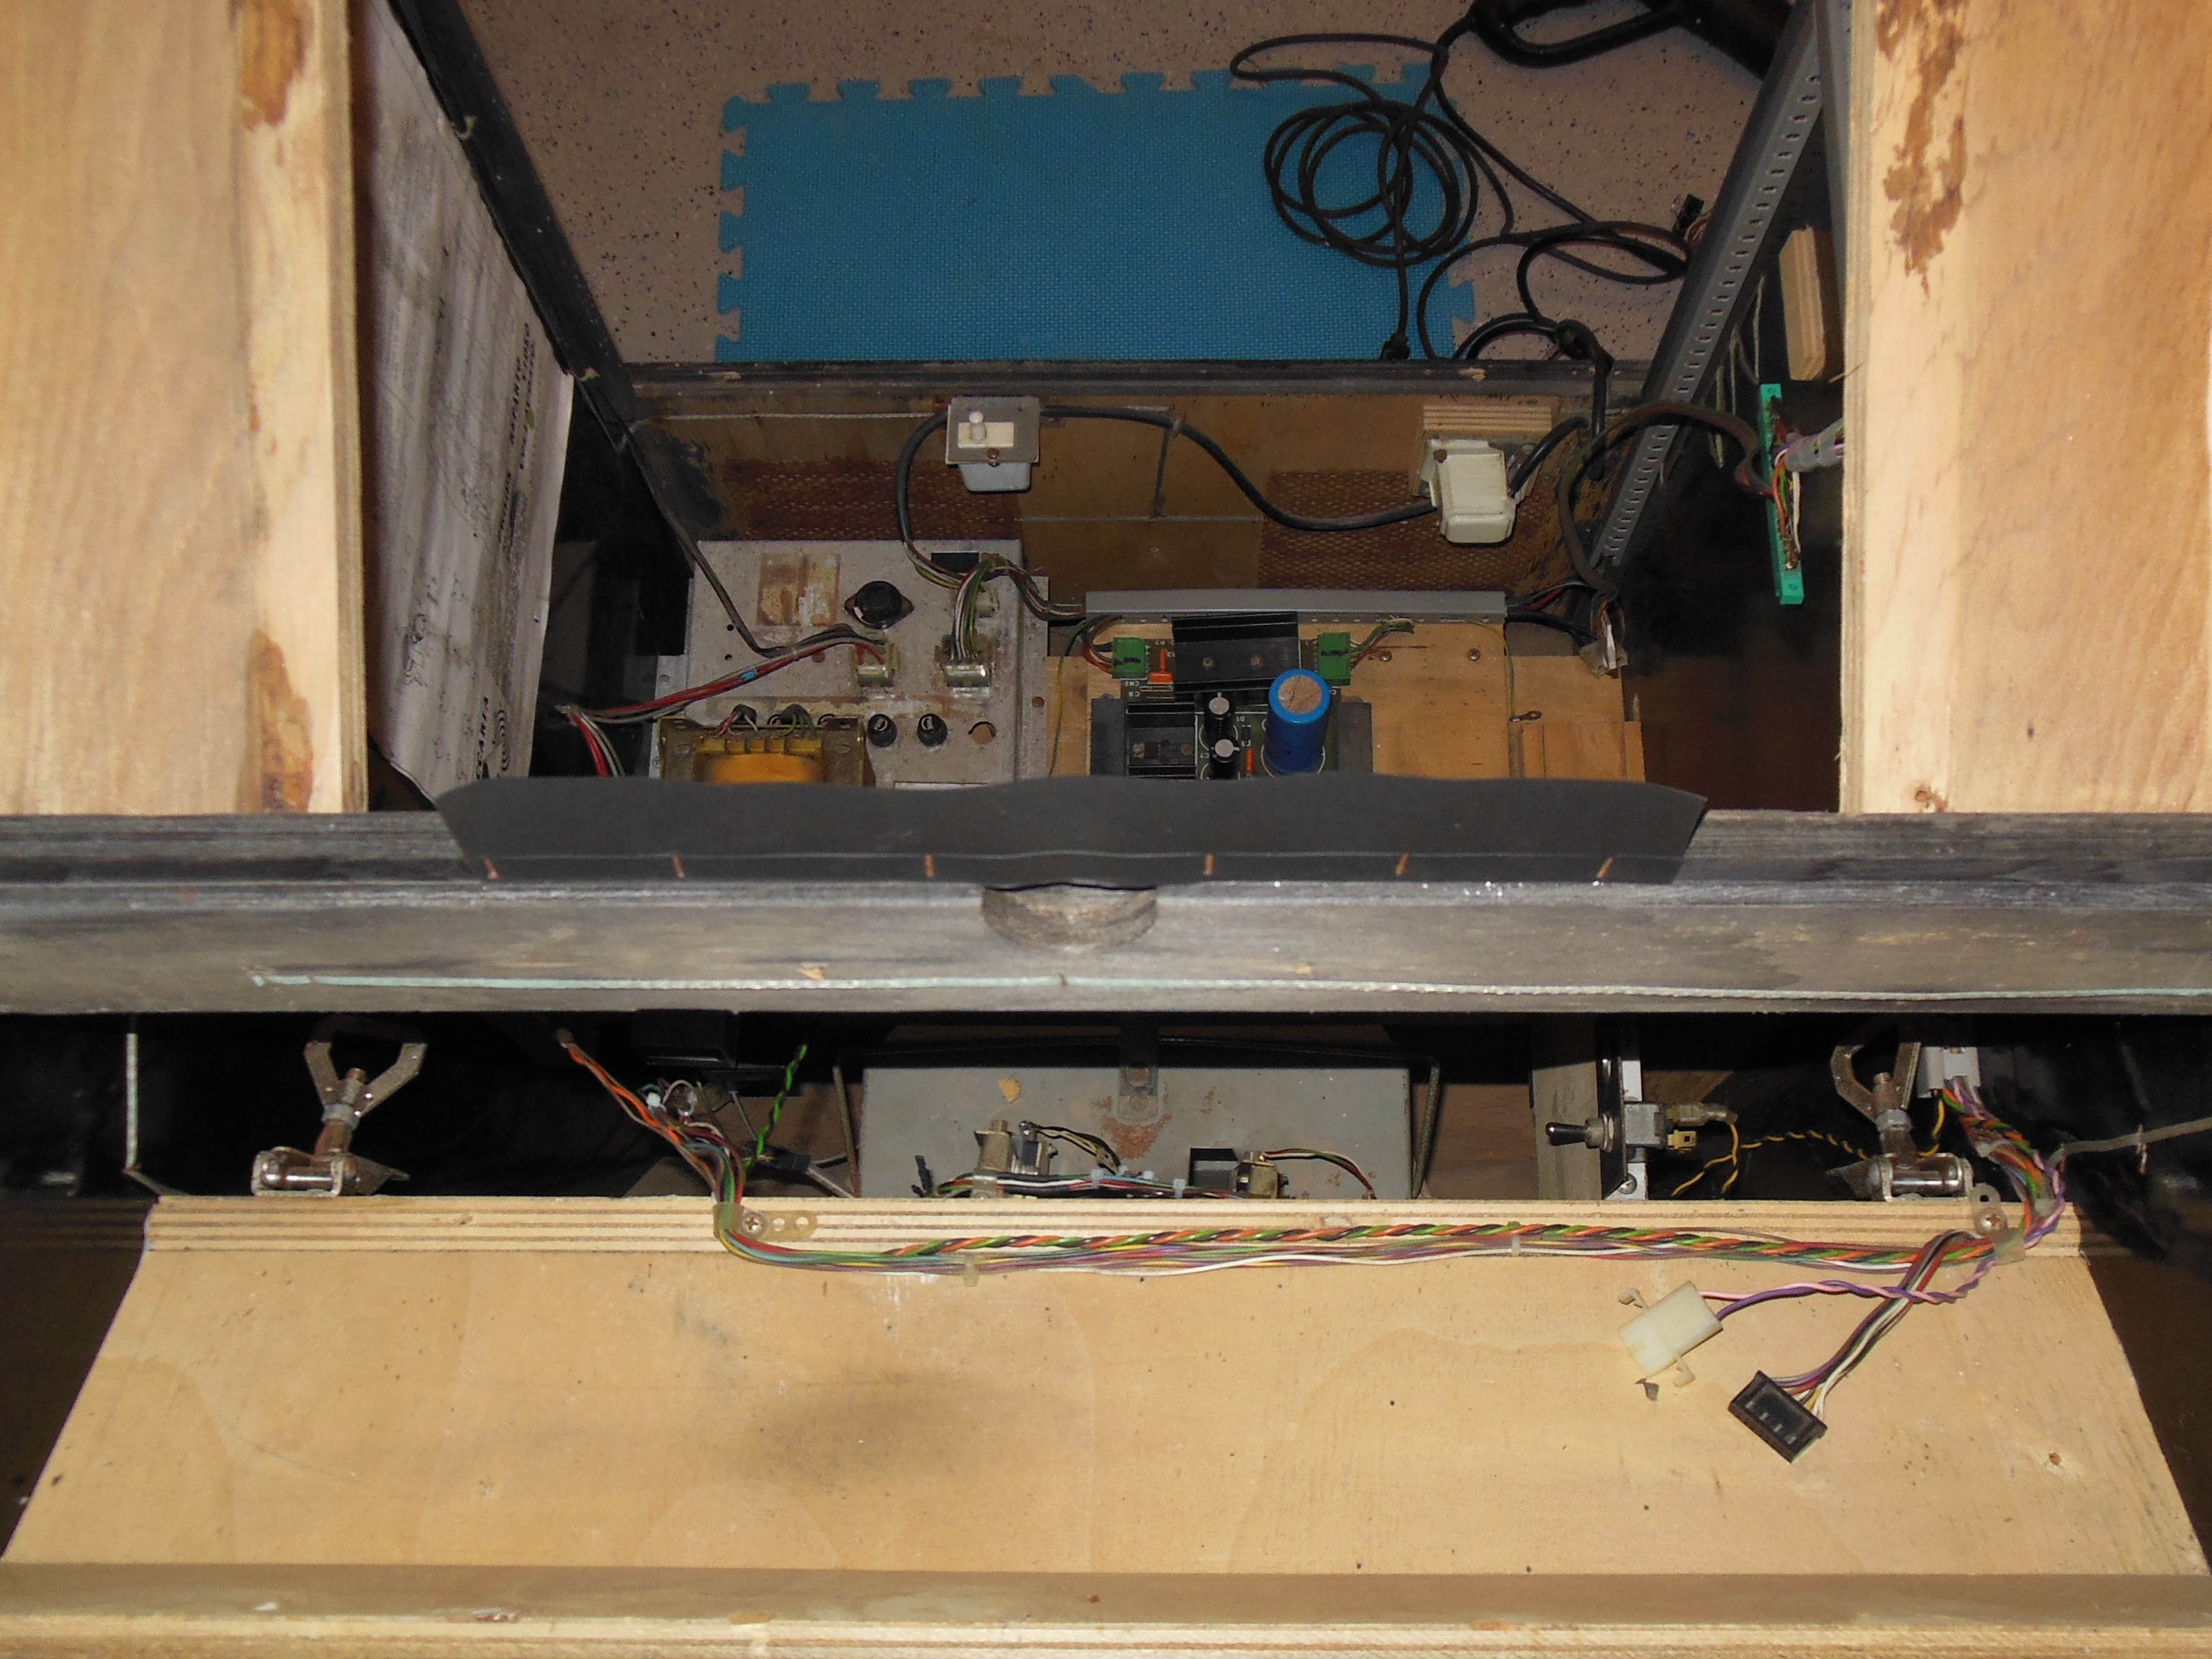
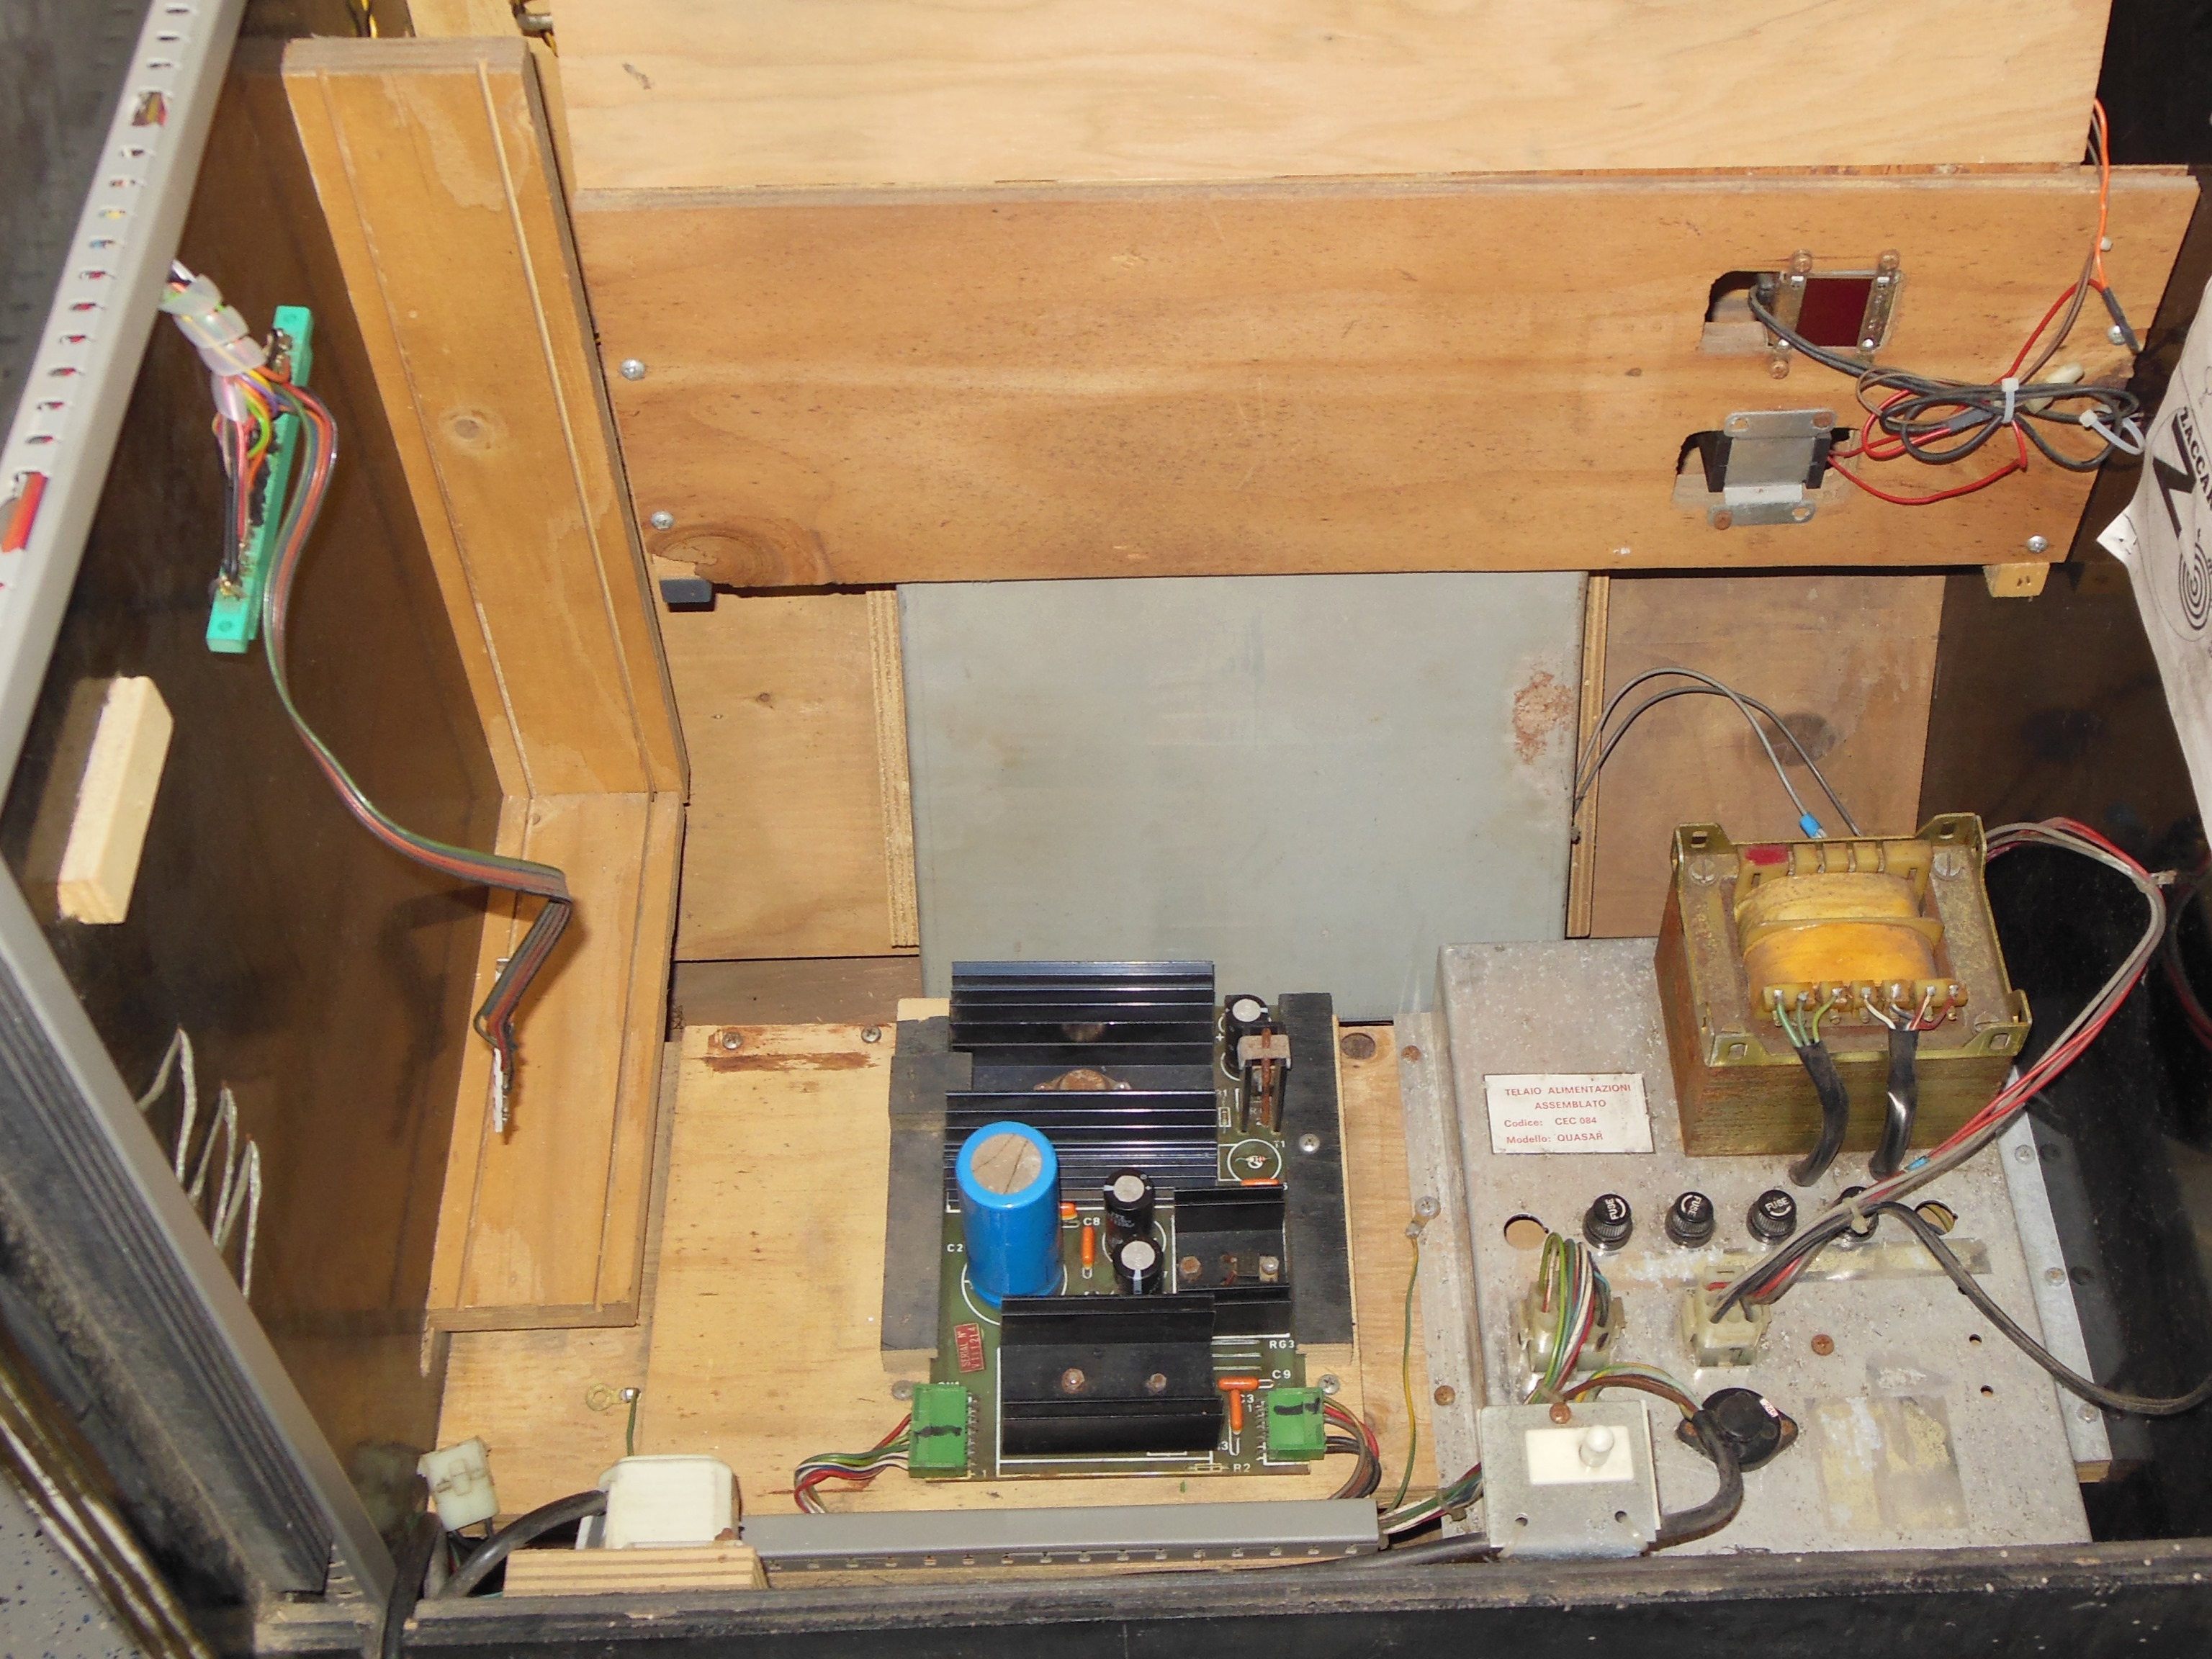
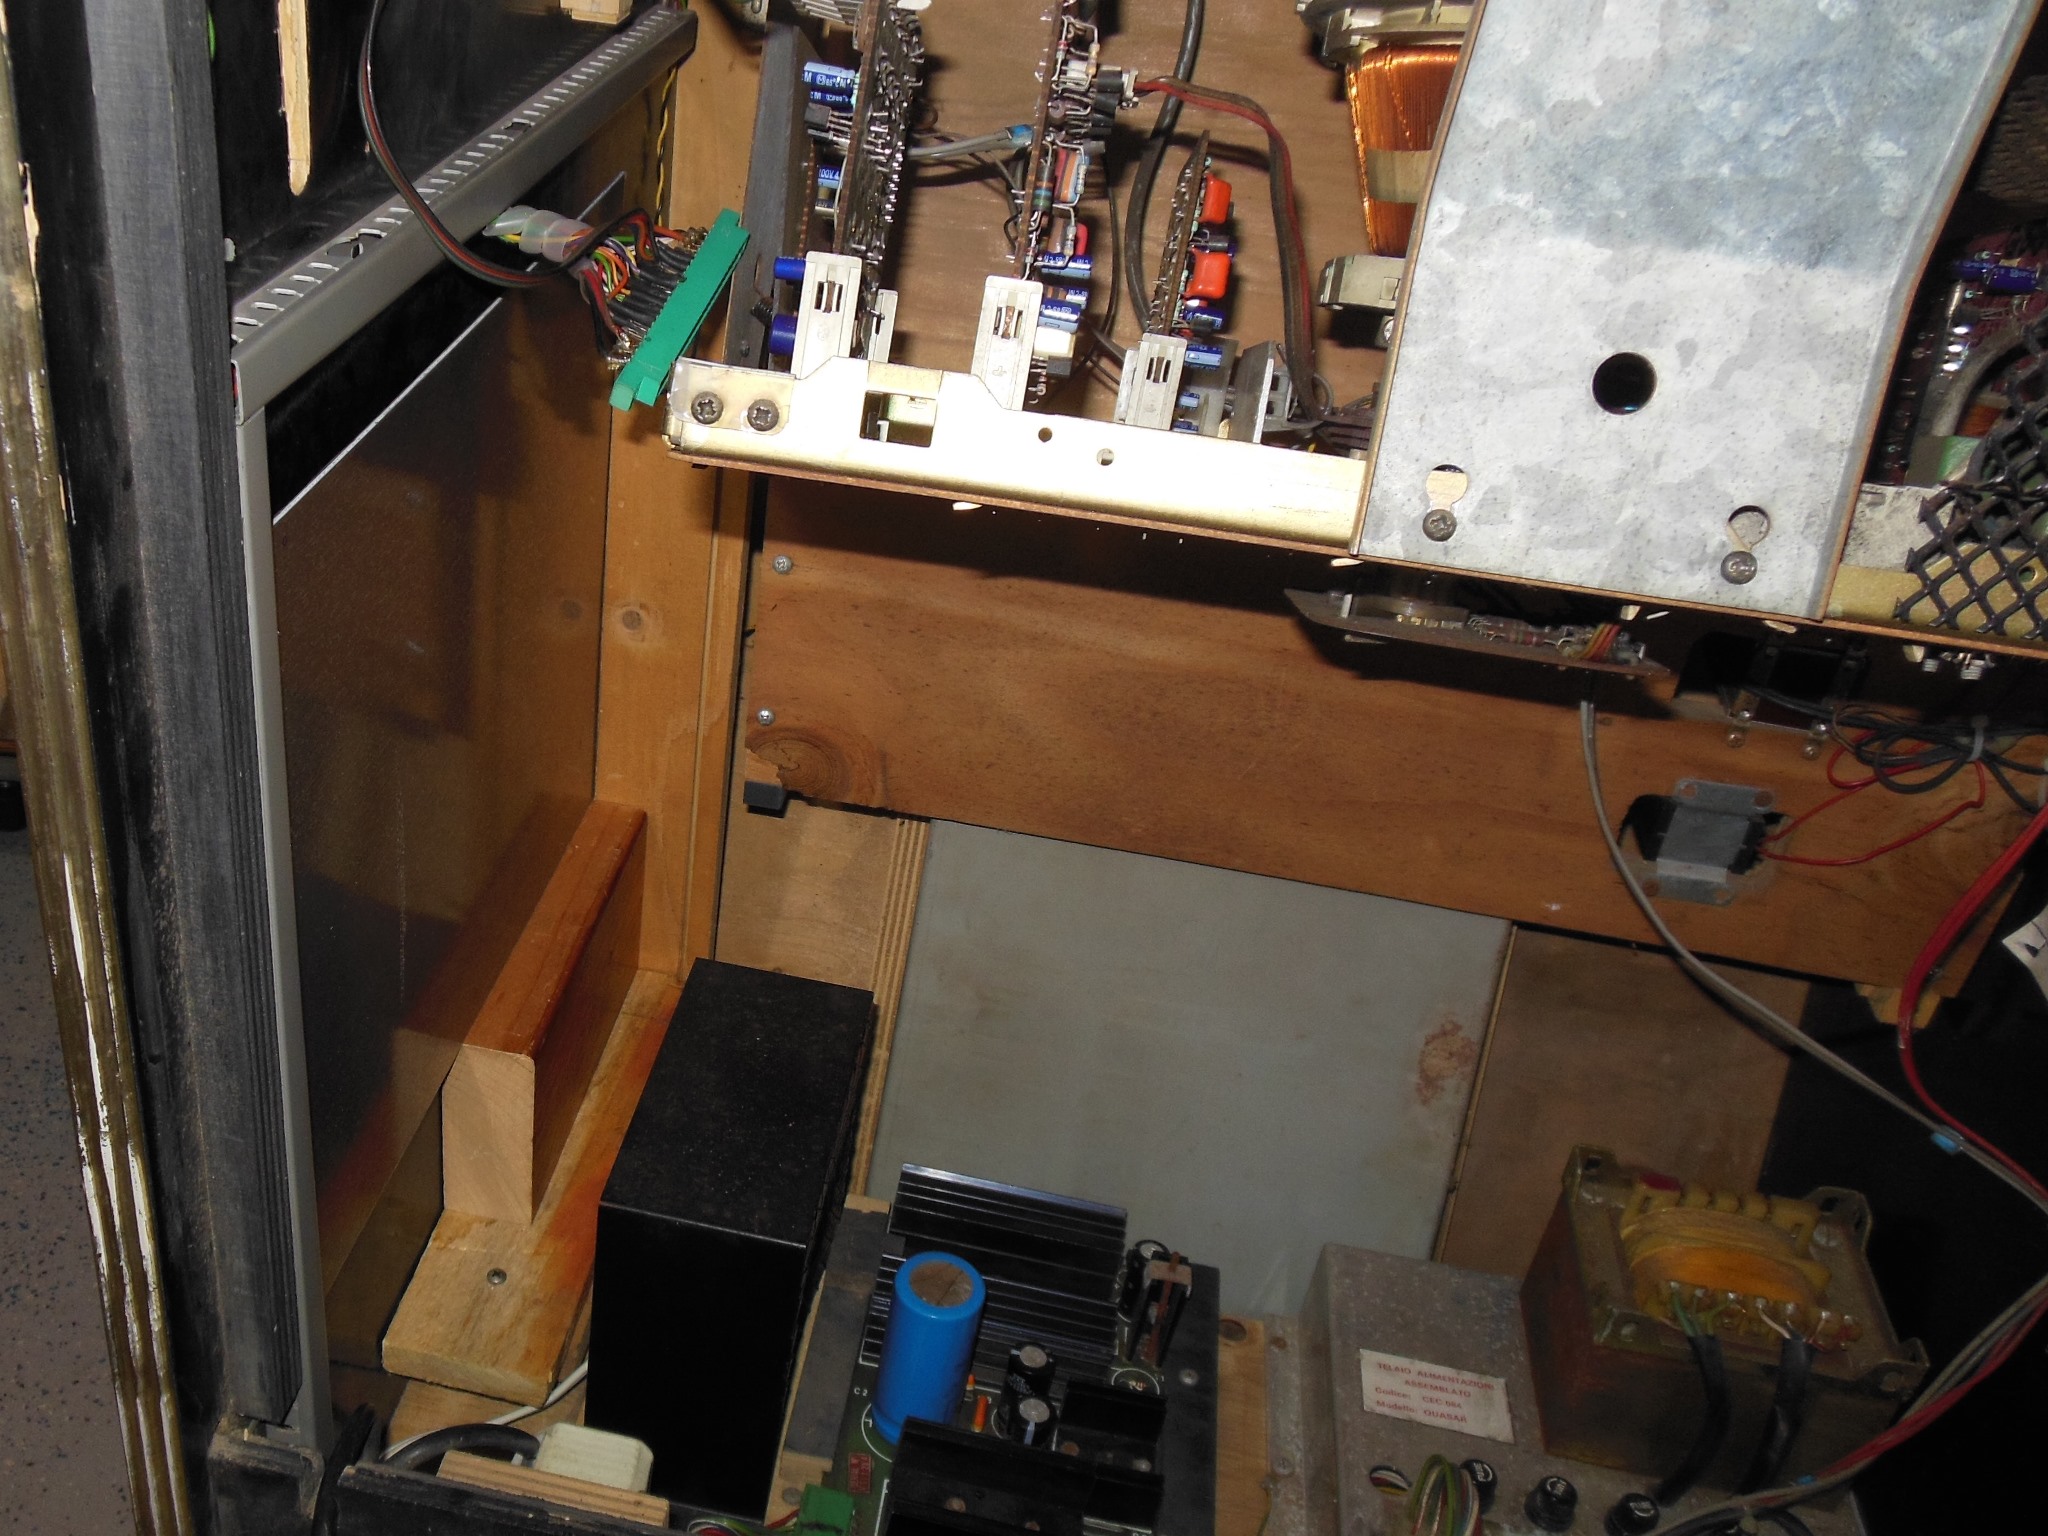
I'd already removed the monitor to re-use in another game but aside from that the interior was complete. The whole of the wiring loom from the DC power supply output forwards had been completely replaced for the Mr. Do! conversion - only the AC side Zaccaria wiring remained original. The lower back panel was loose on the right side where again the side wall had split down the T-molding groove.

|
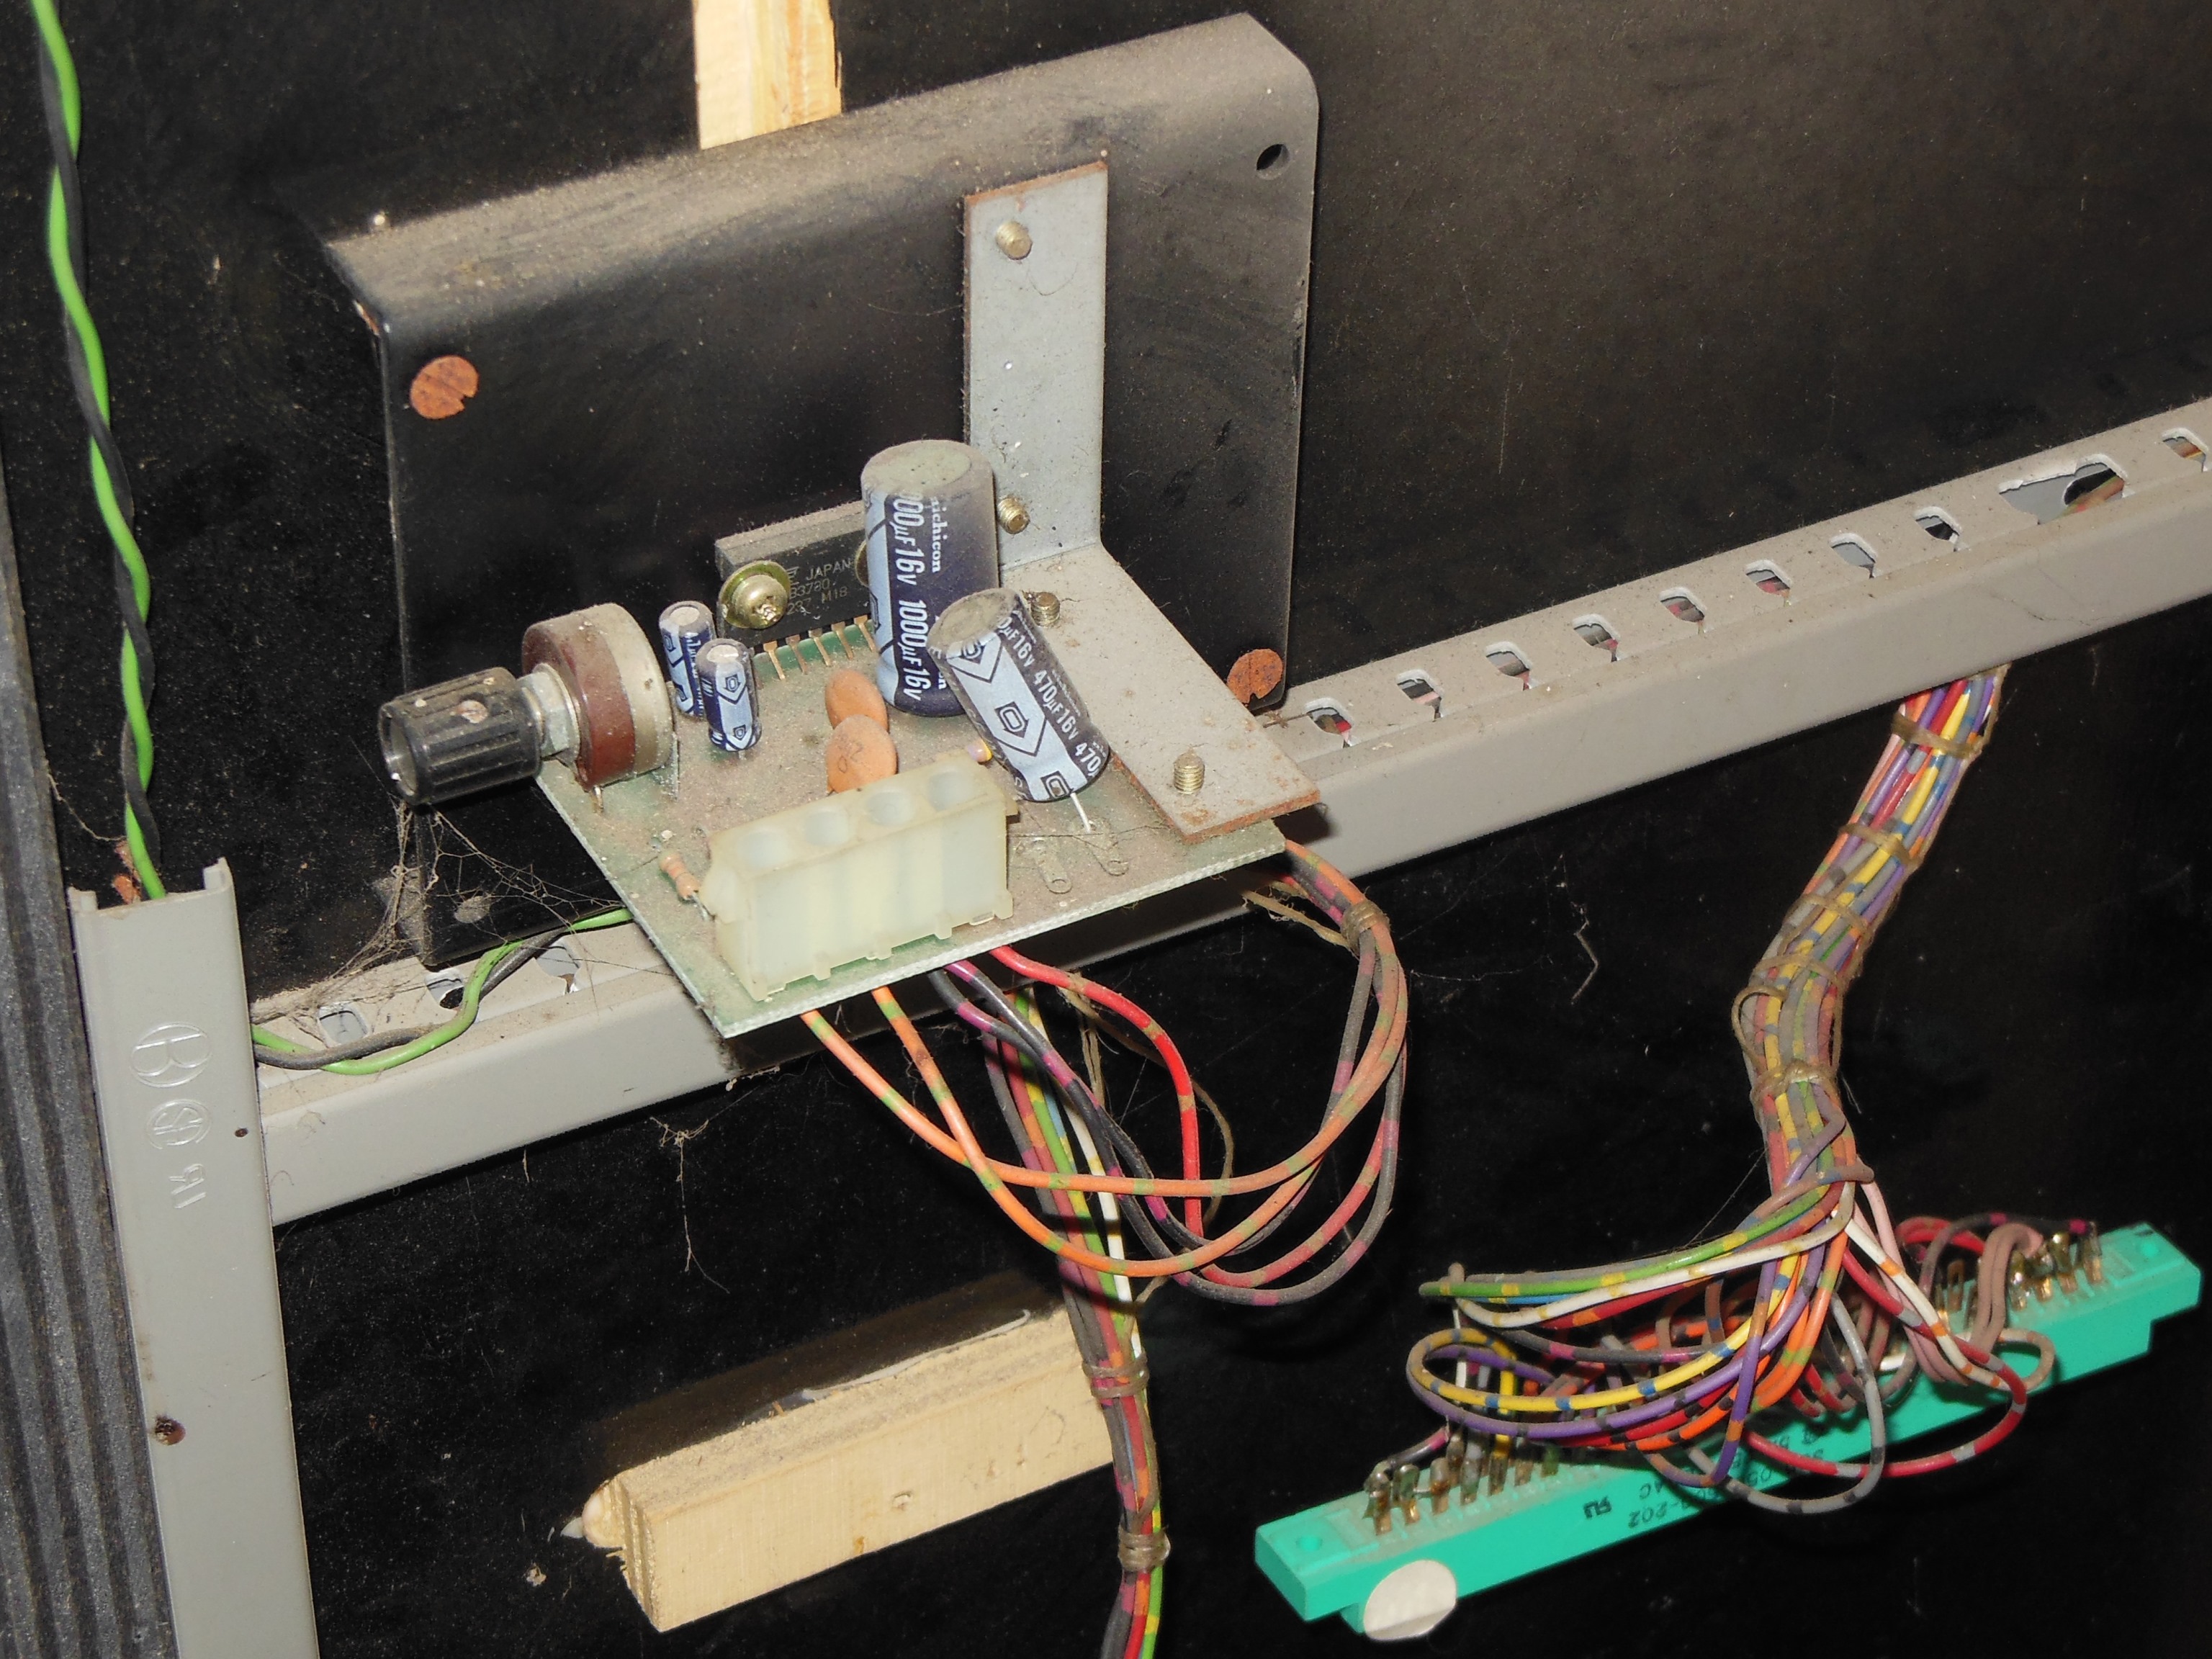
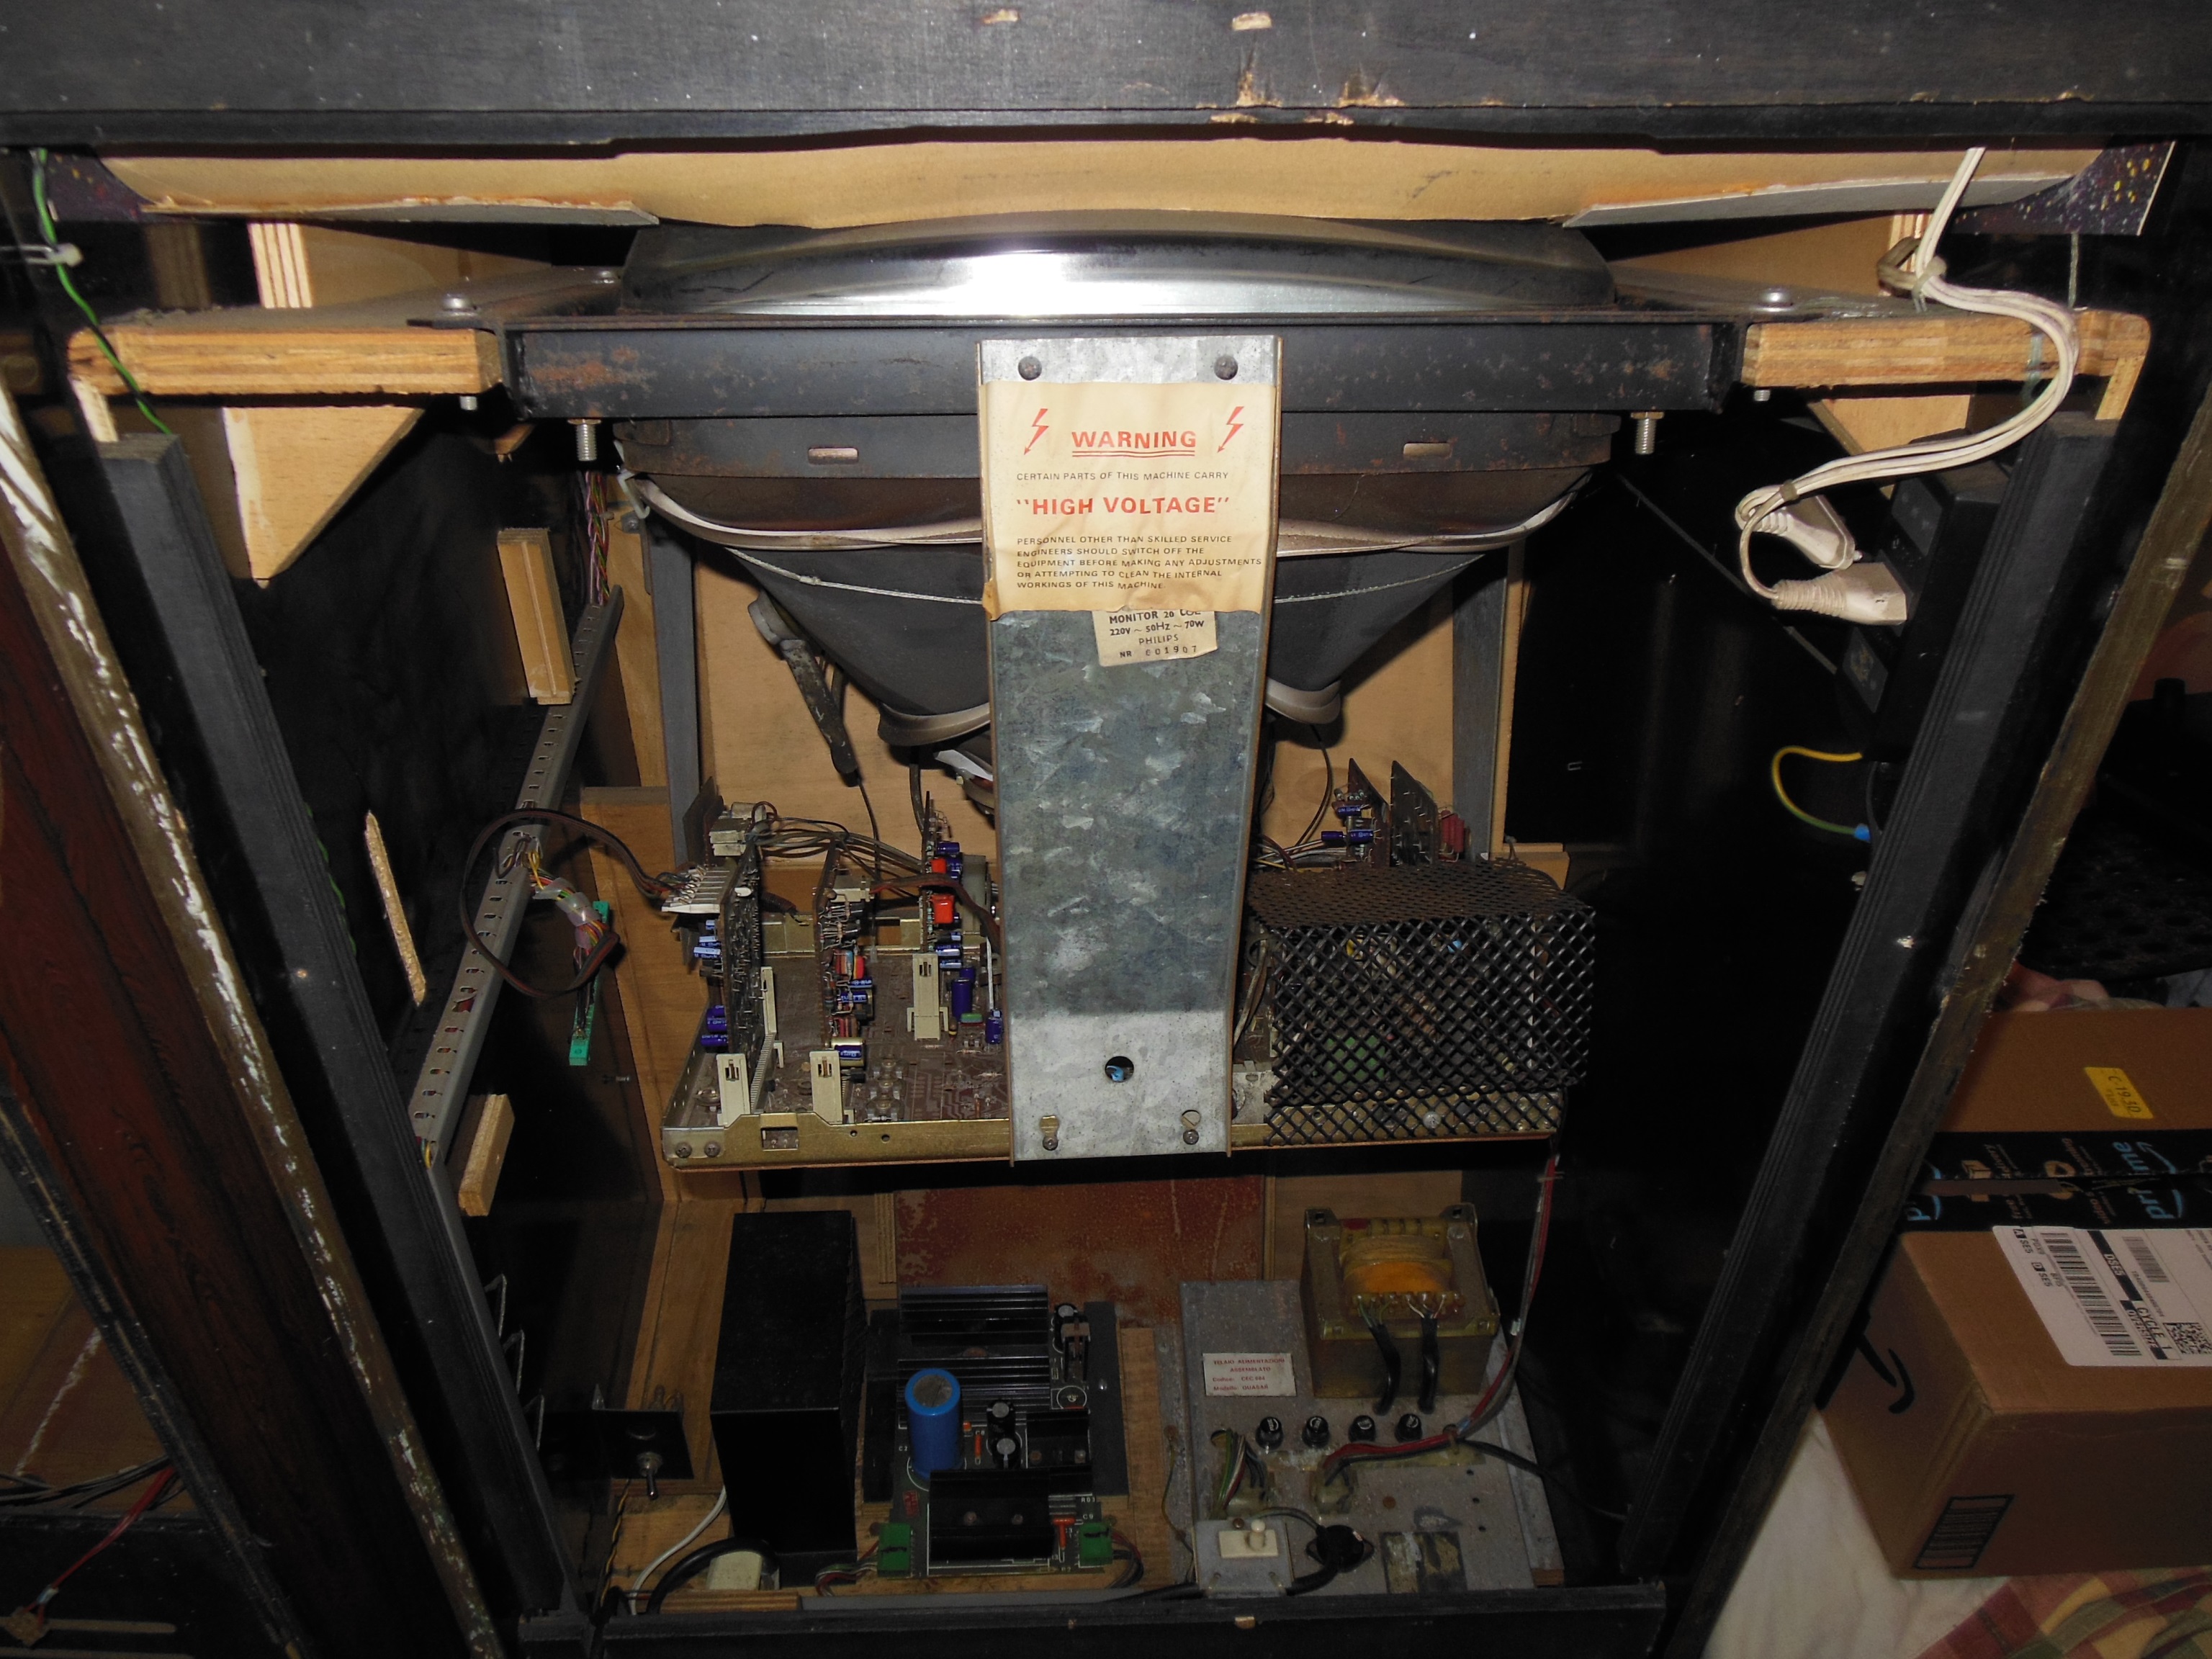
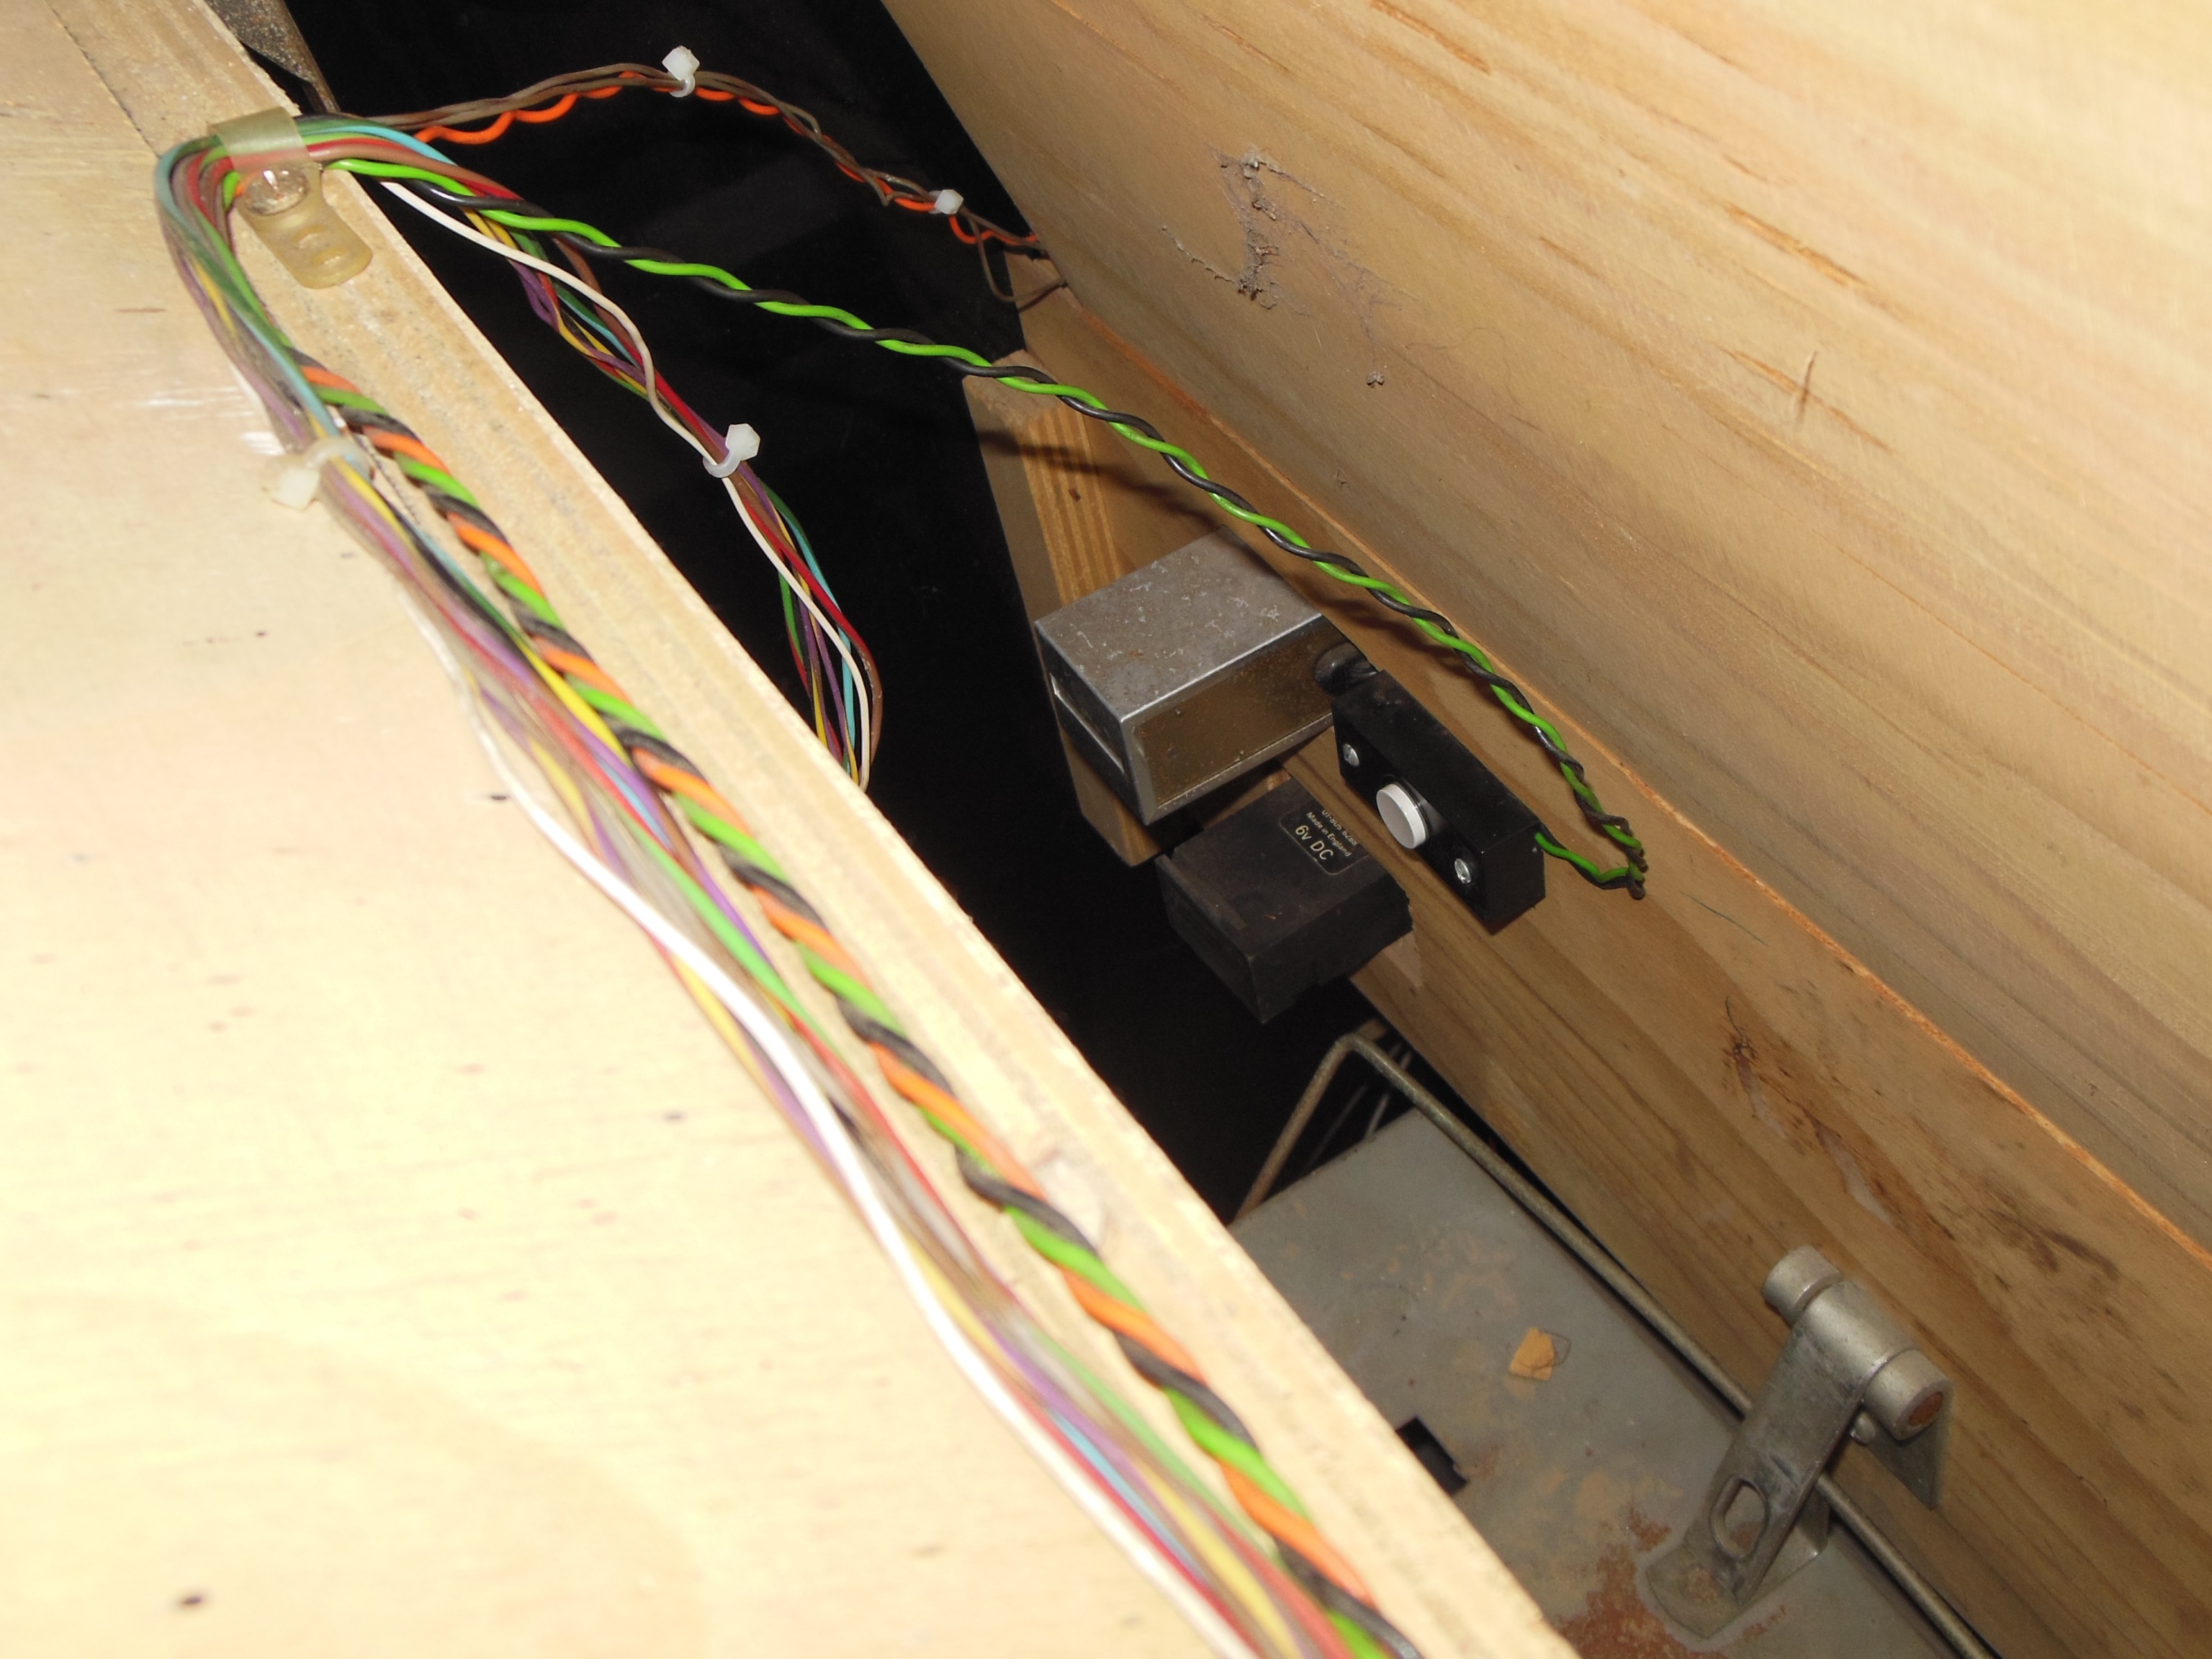
Both the 1B1126 regulation PCB & AC power brick were still present and connected. I'd removed the fan previously but still had it in a box.
|
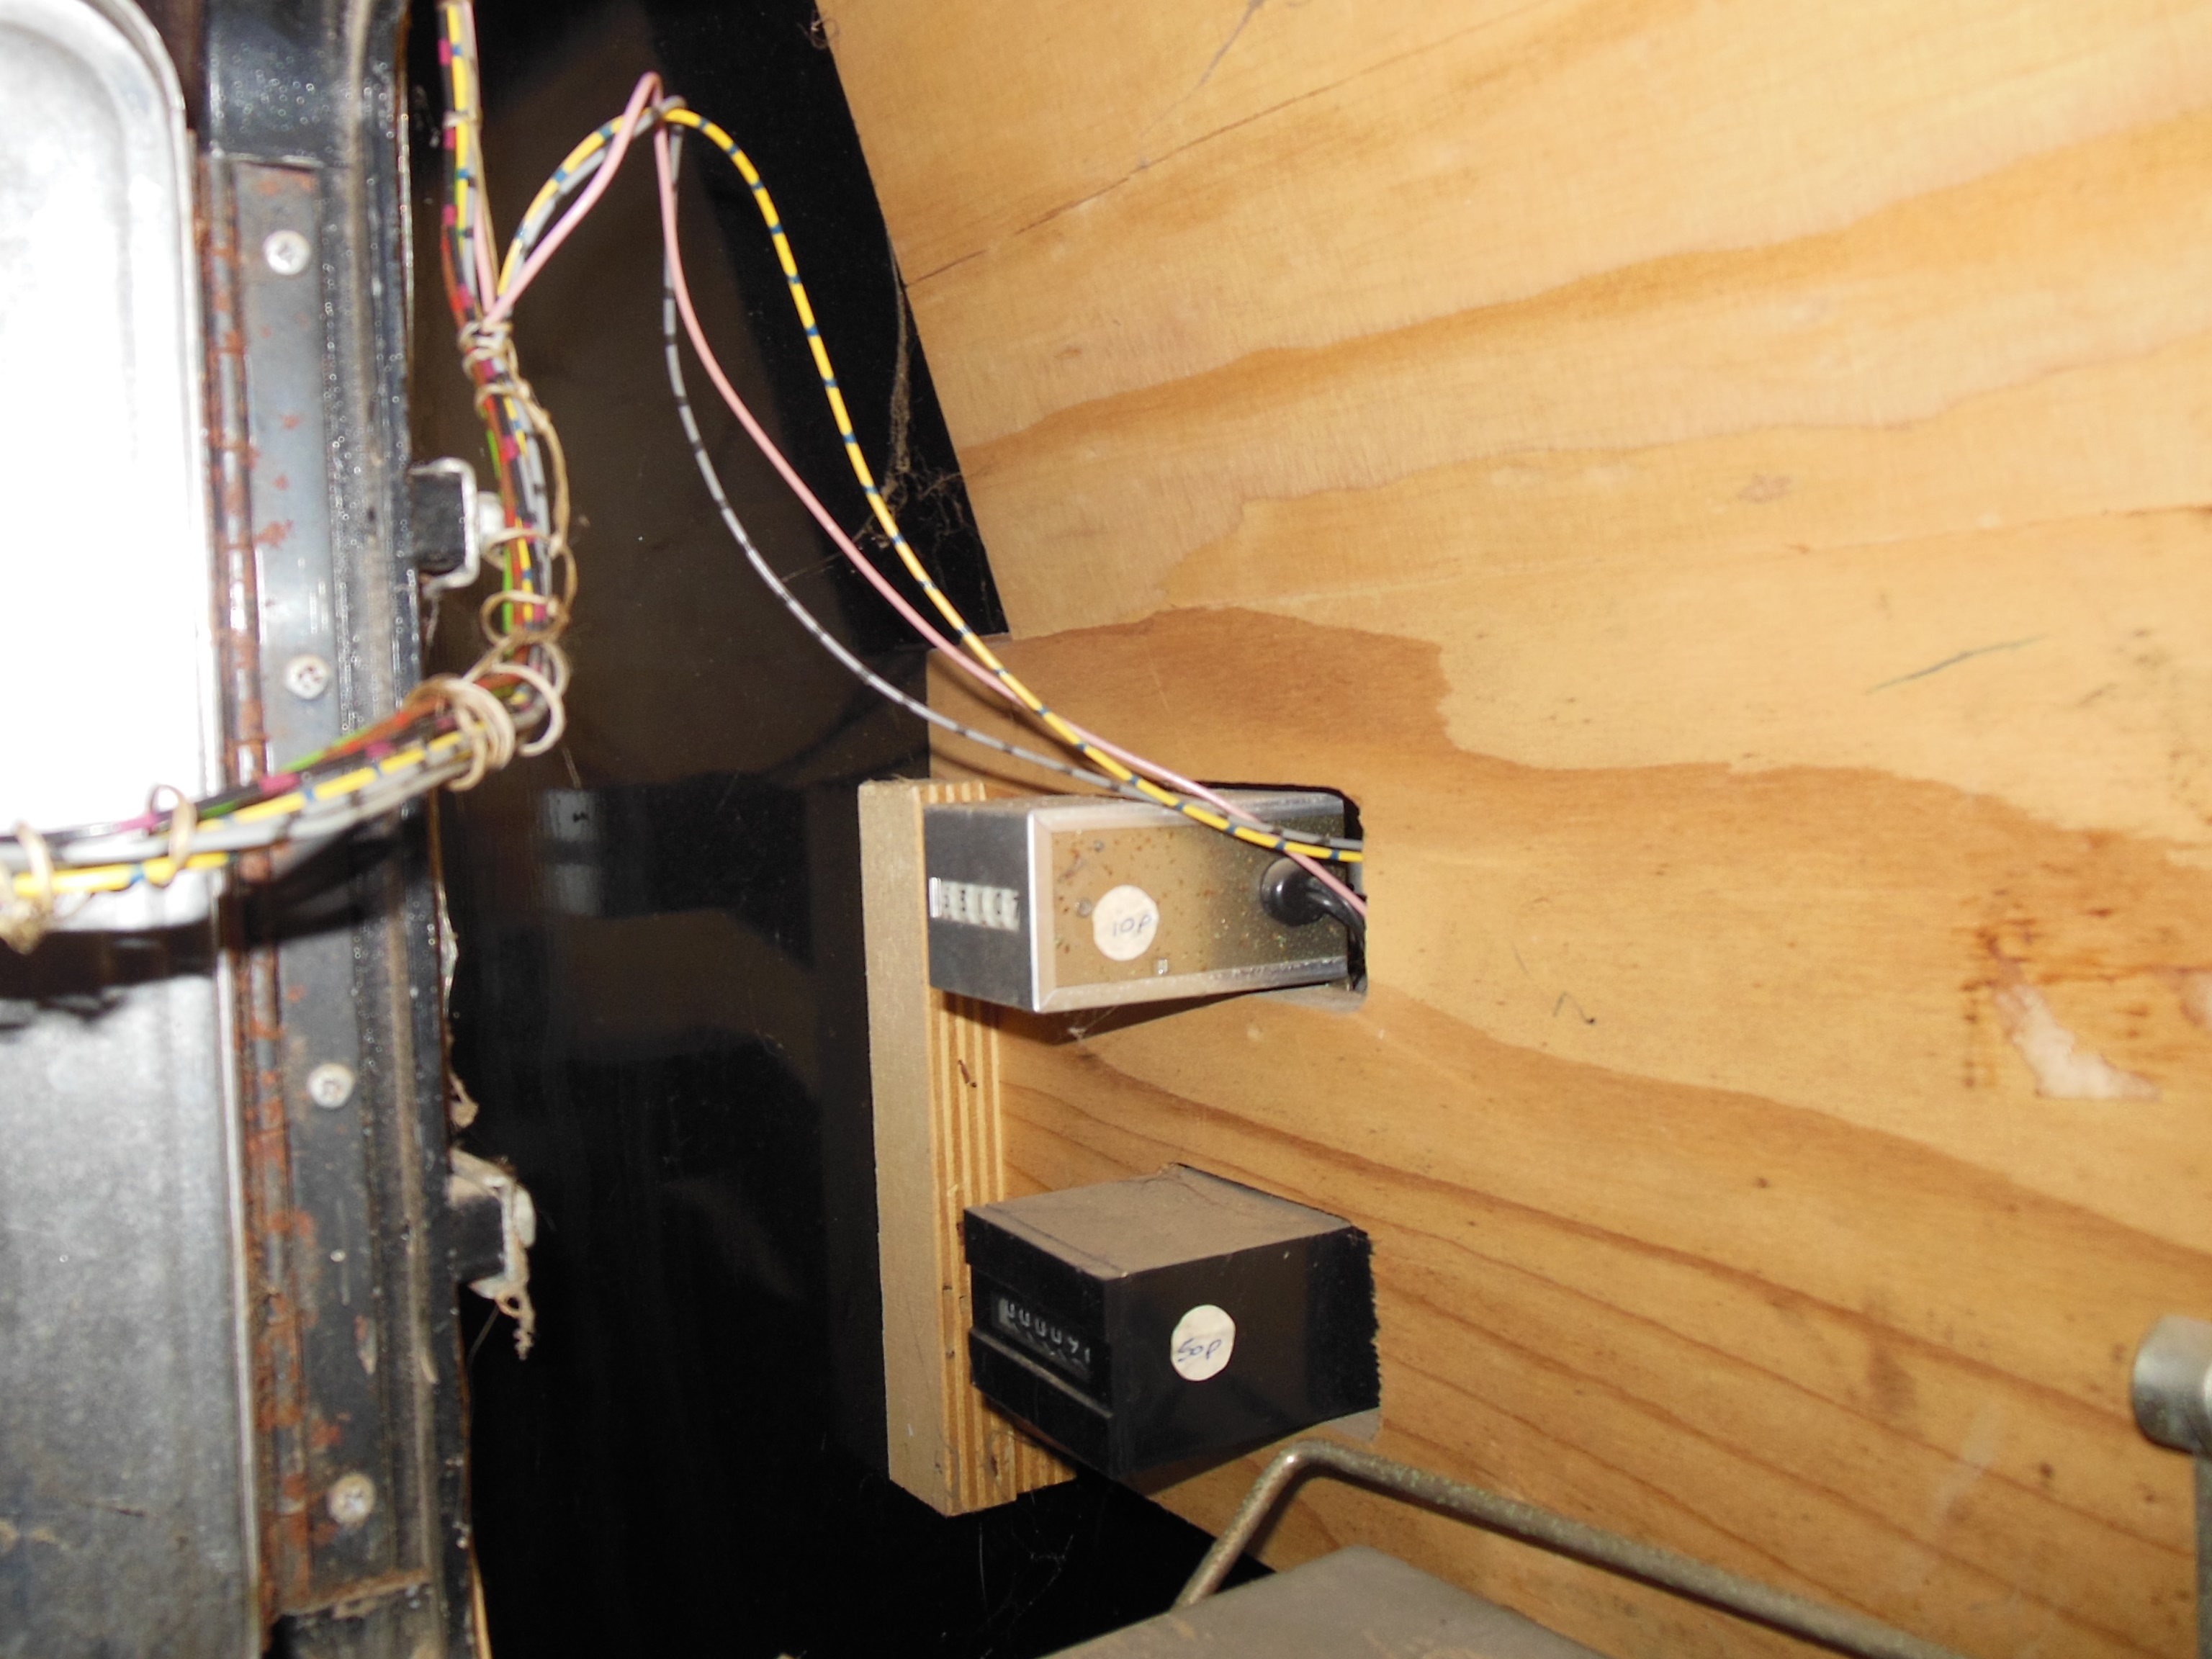
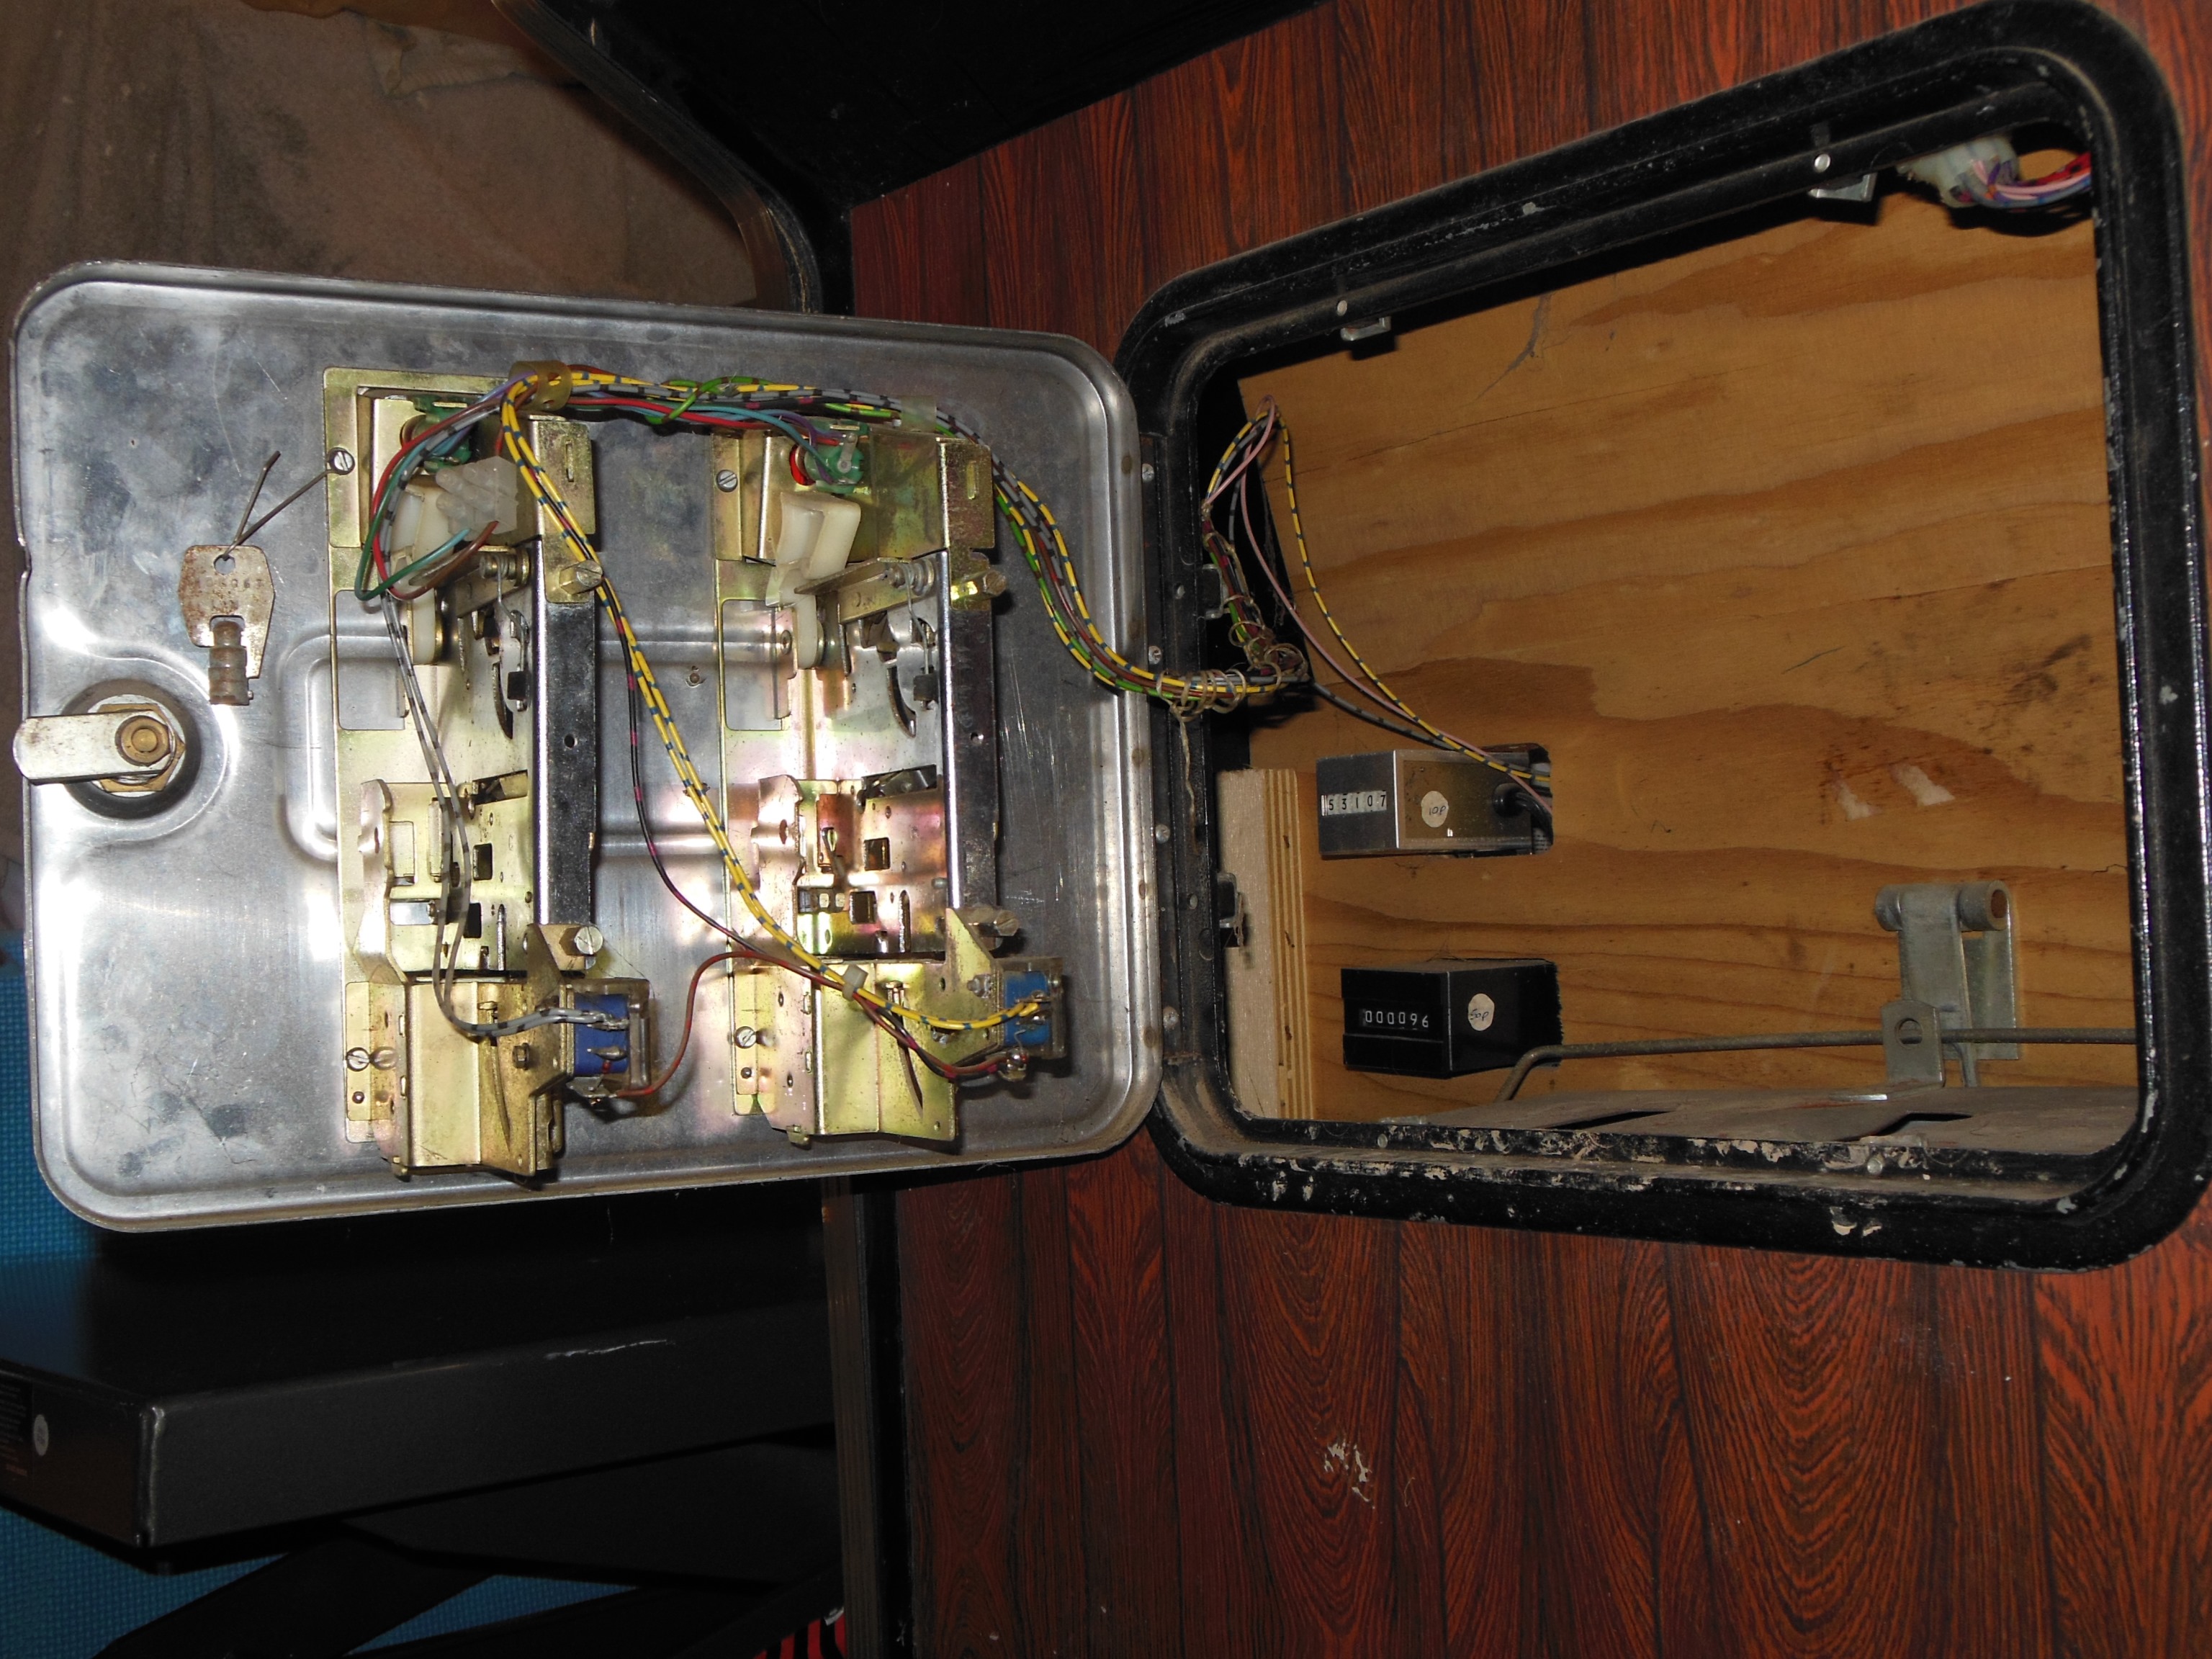
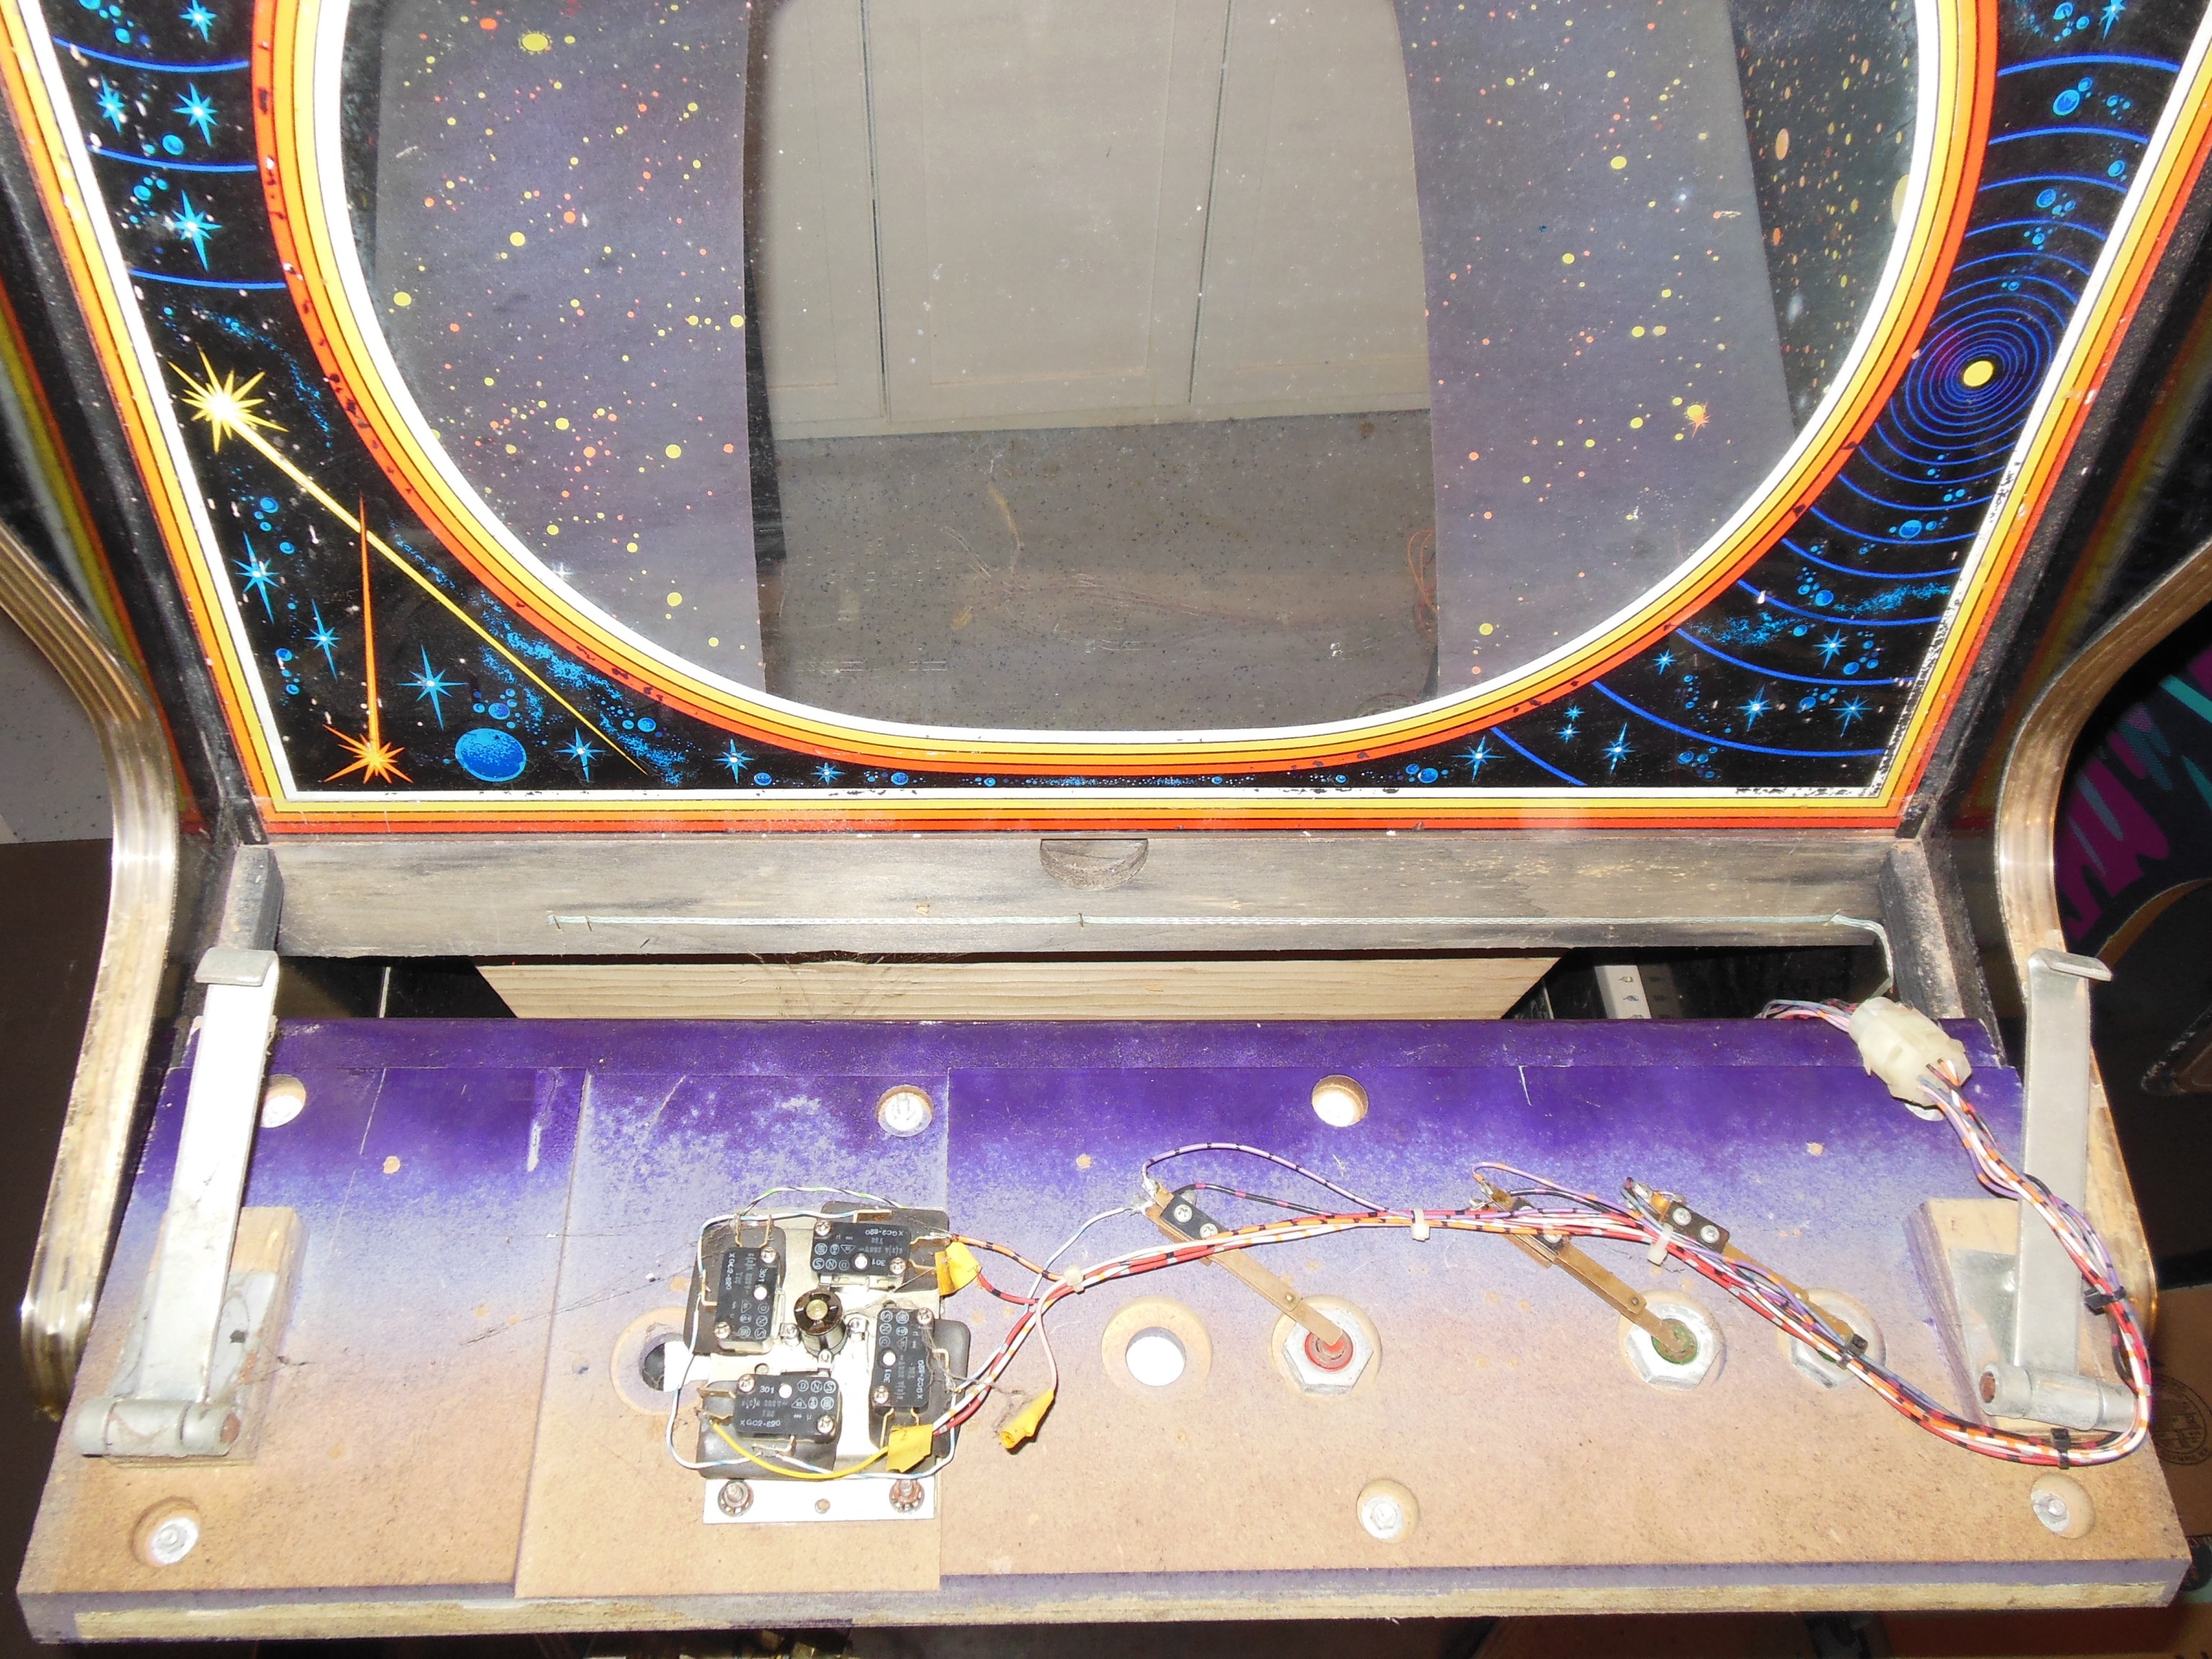
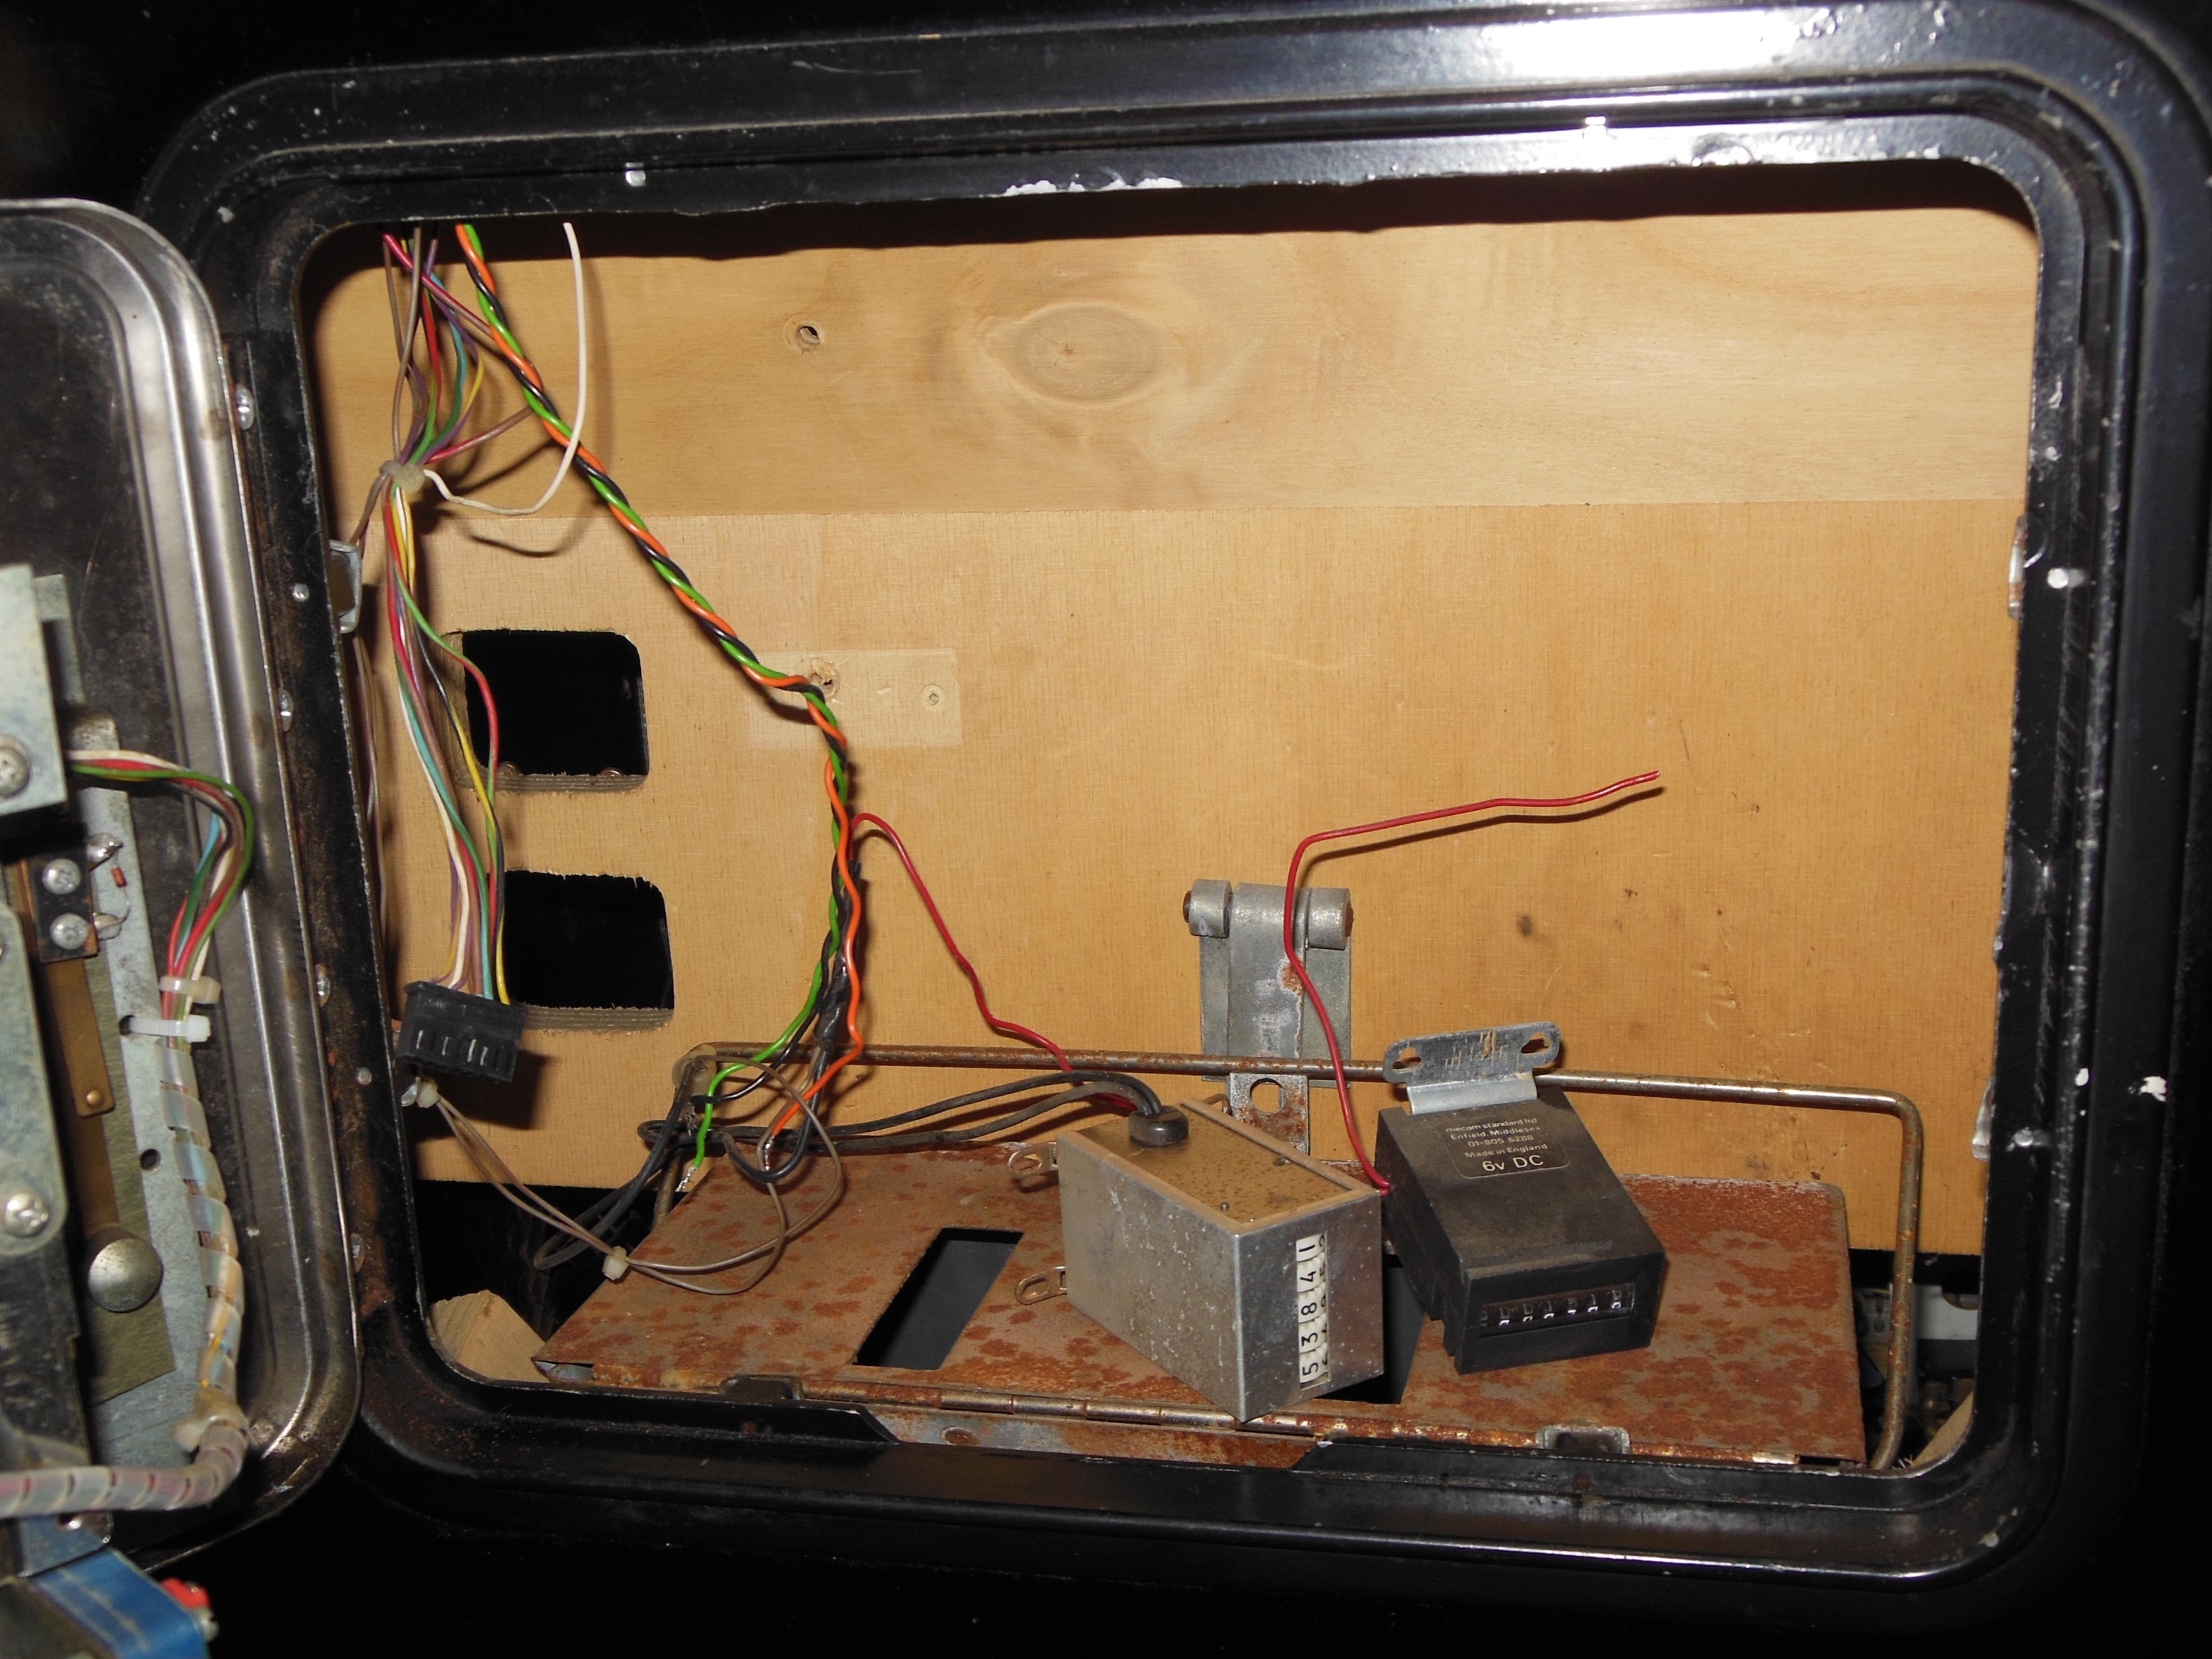
The coin counters were still present, and a generic coin door was fitted that were all connected by the replacement wiring loom. Similarly, the control panel had been completely re-wired and drilled out to accept a joystick, the original Quasar holes covered by the Mr. Do! control panel overlay.

|
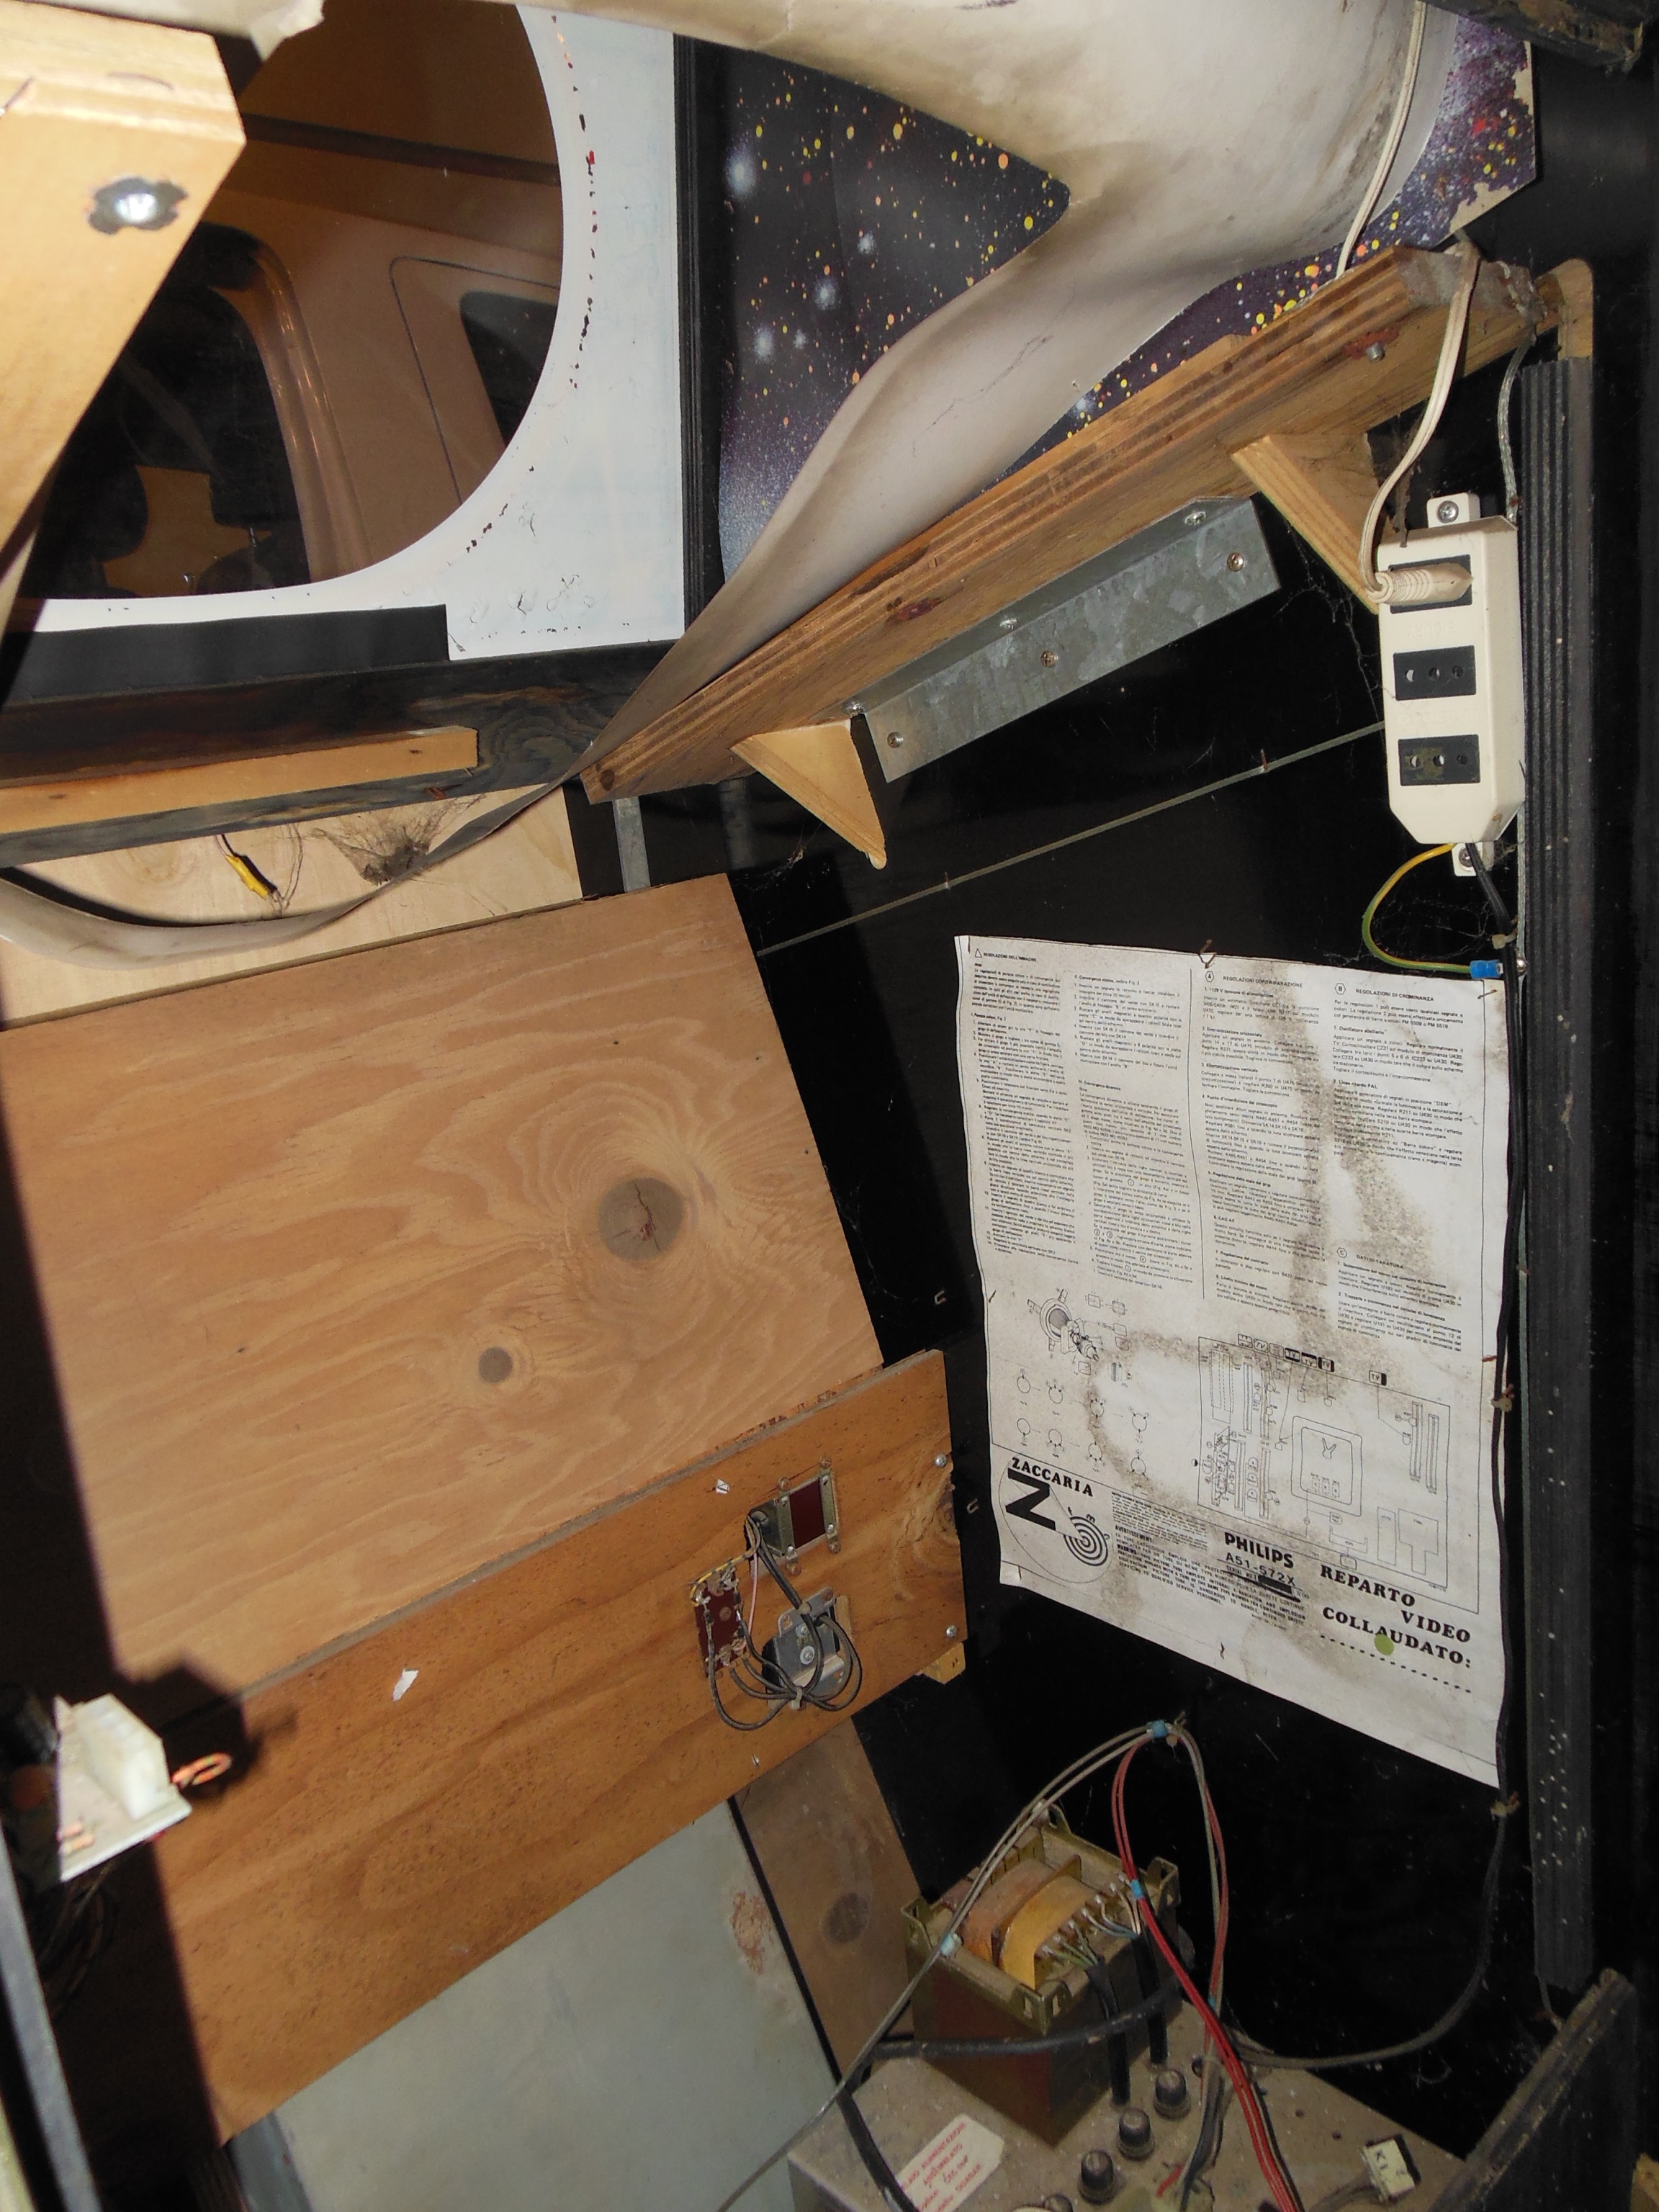
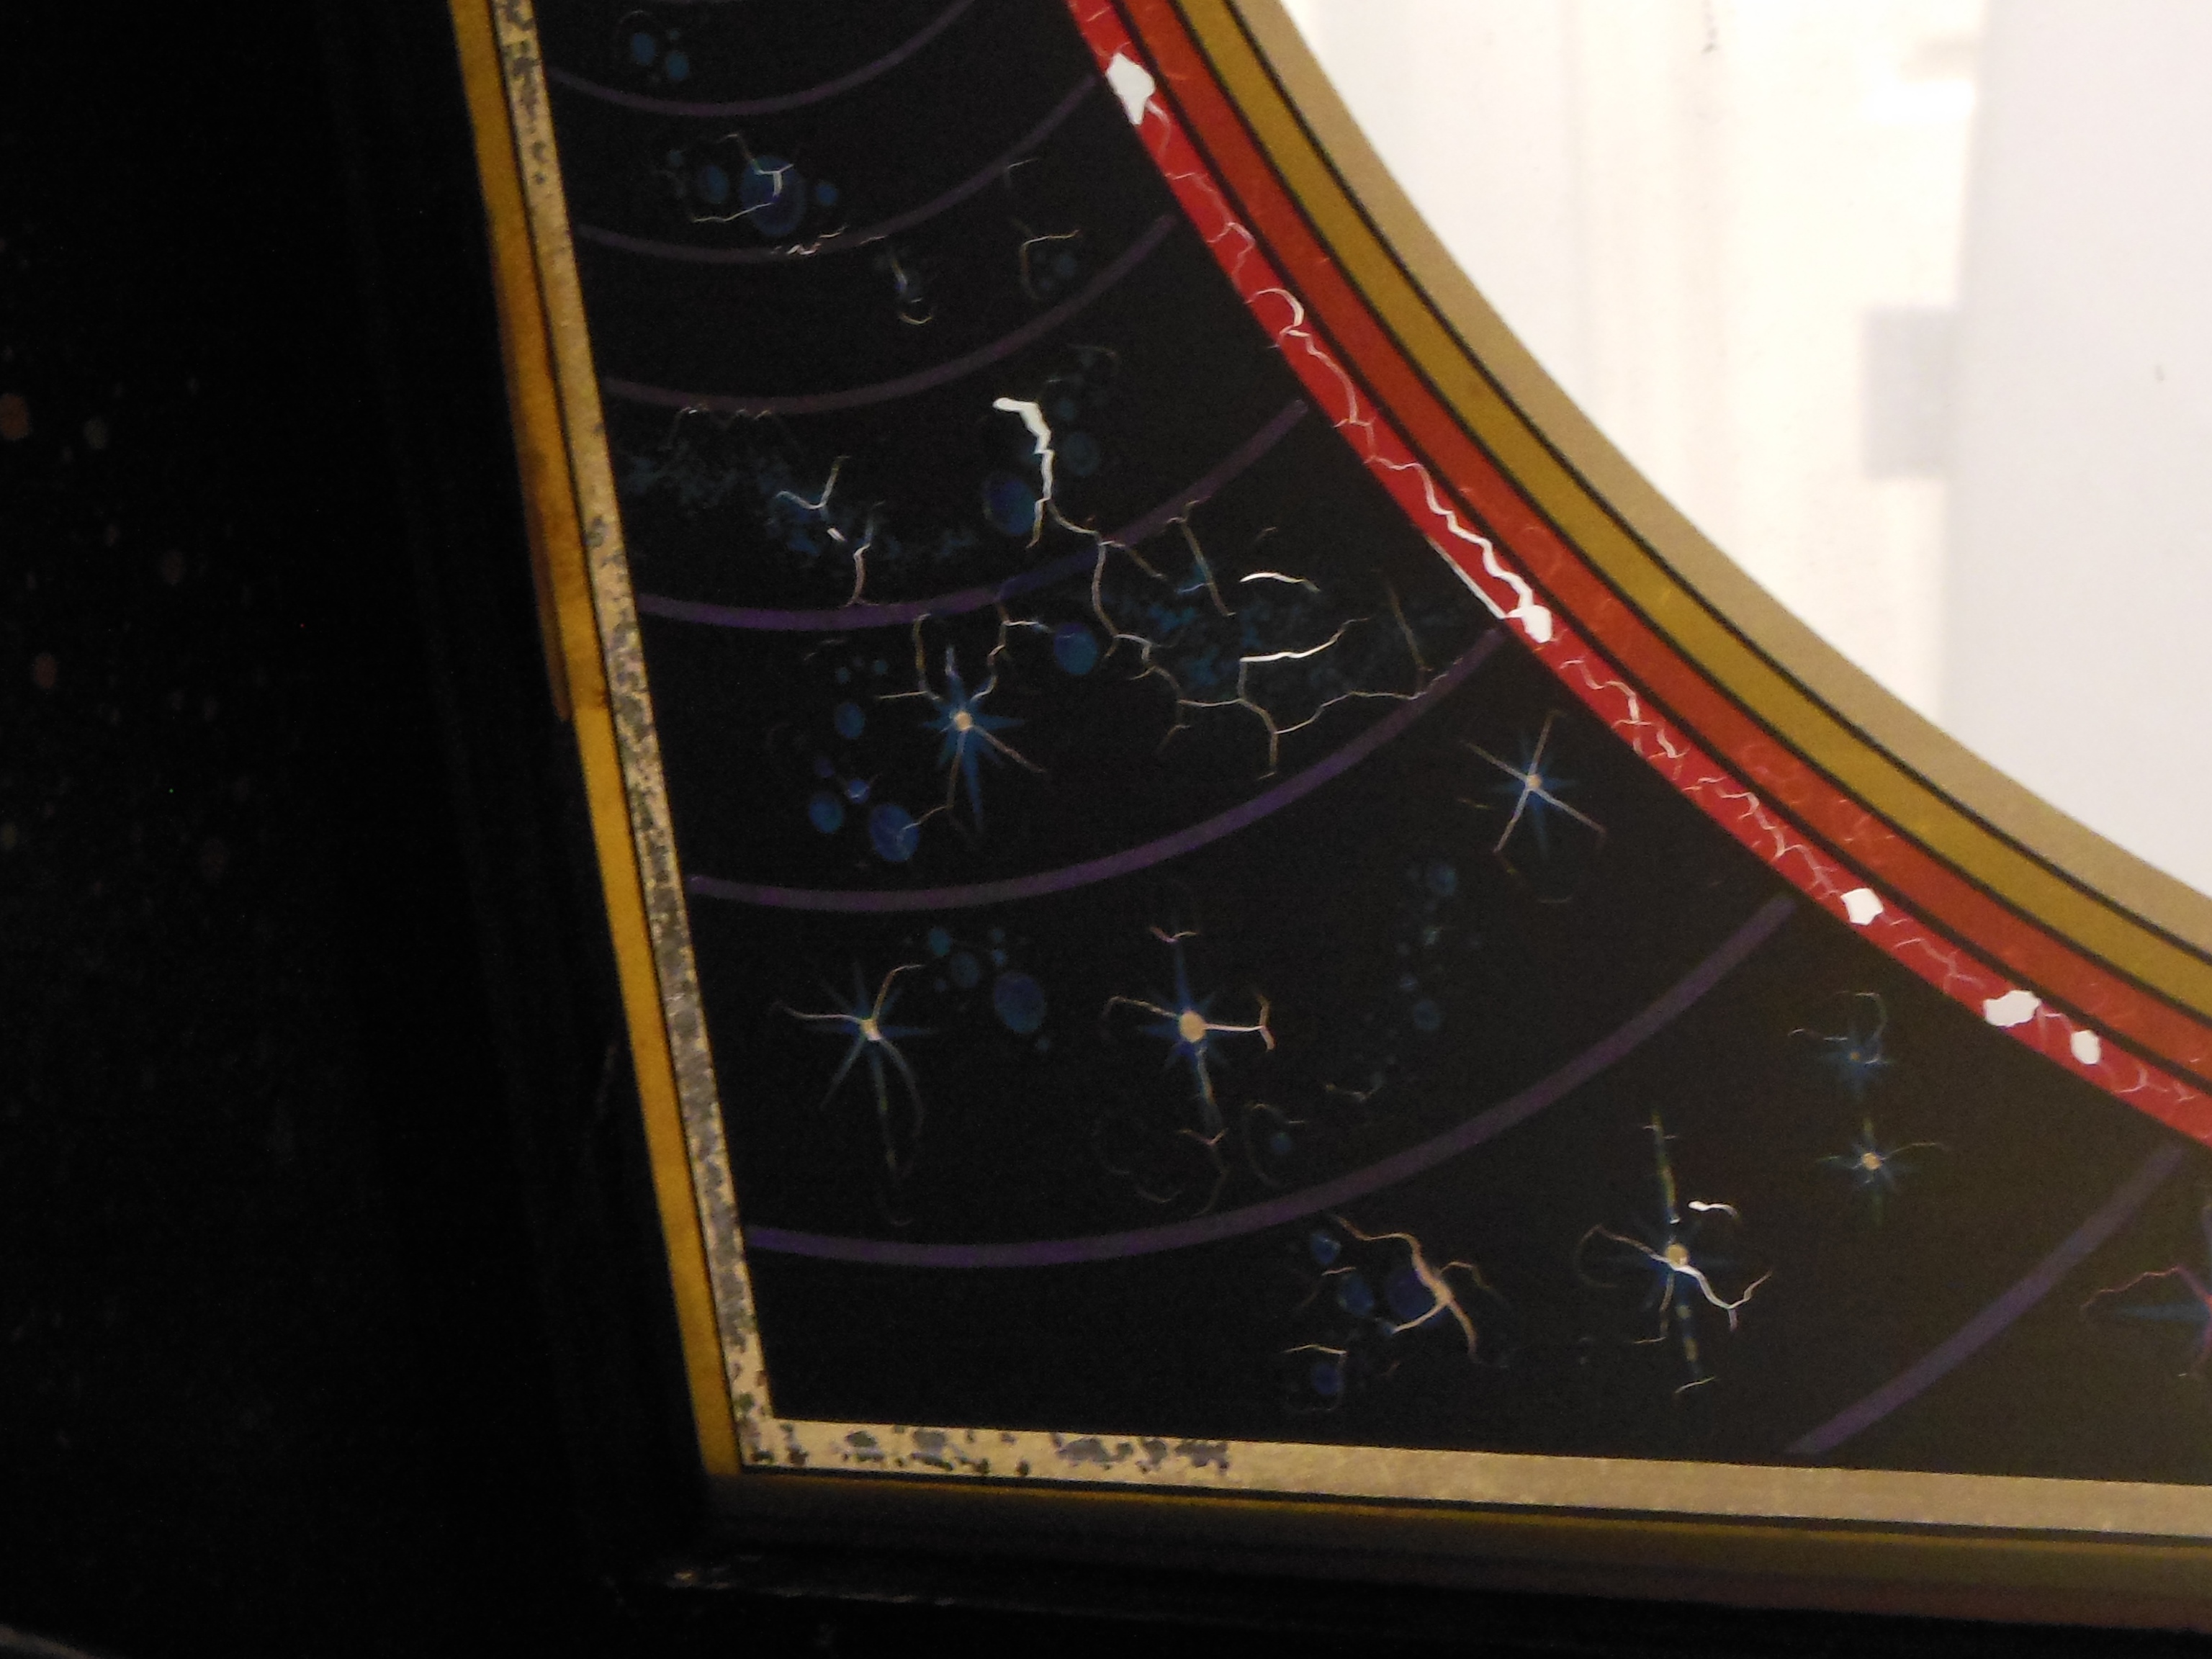
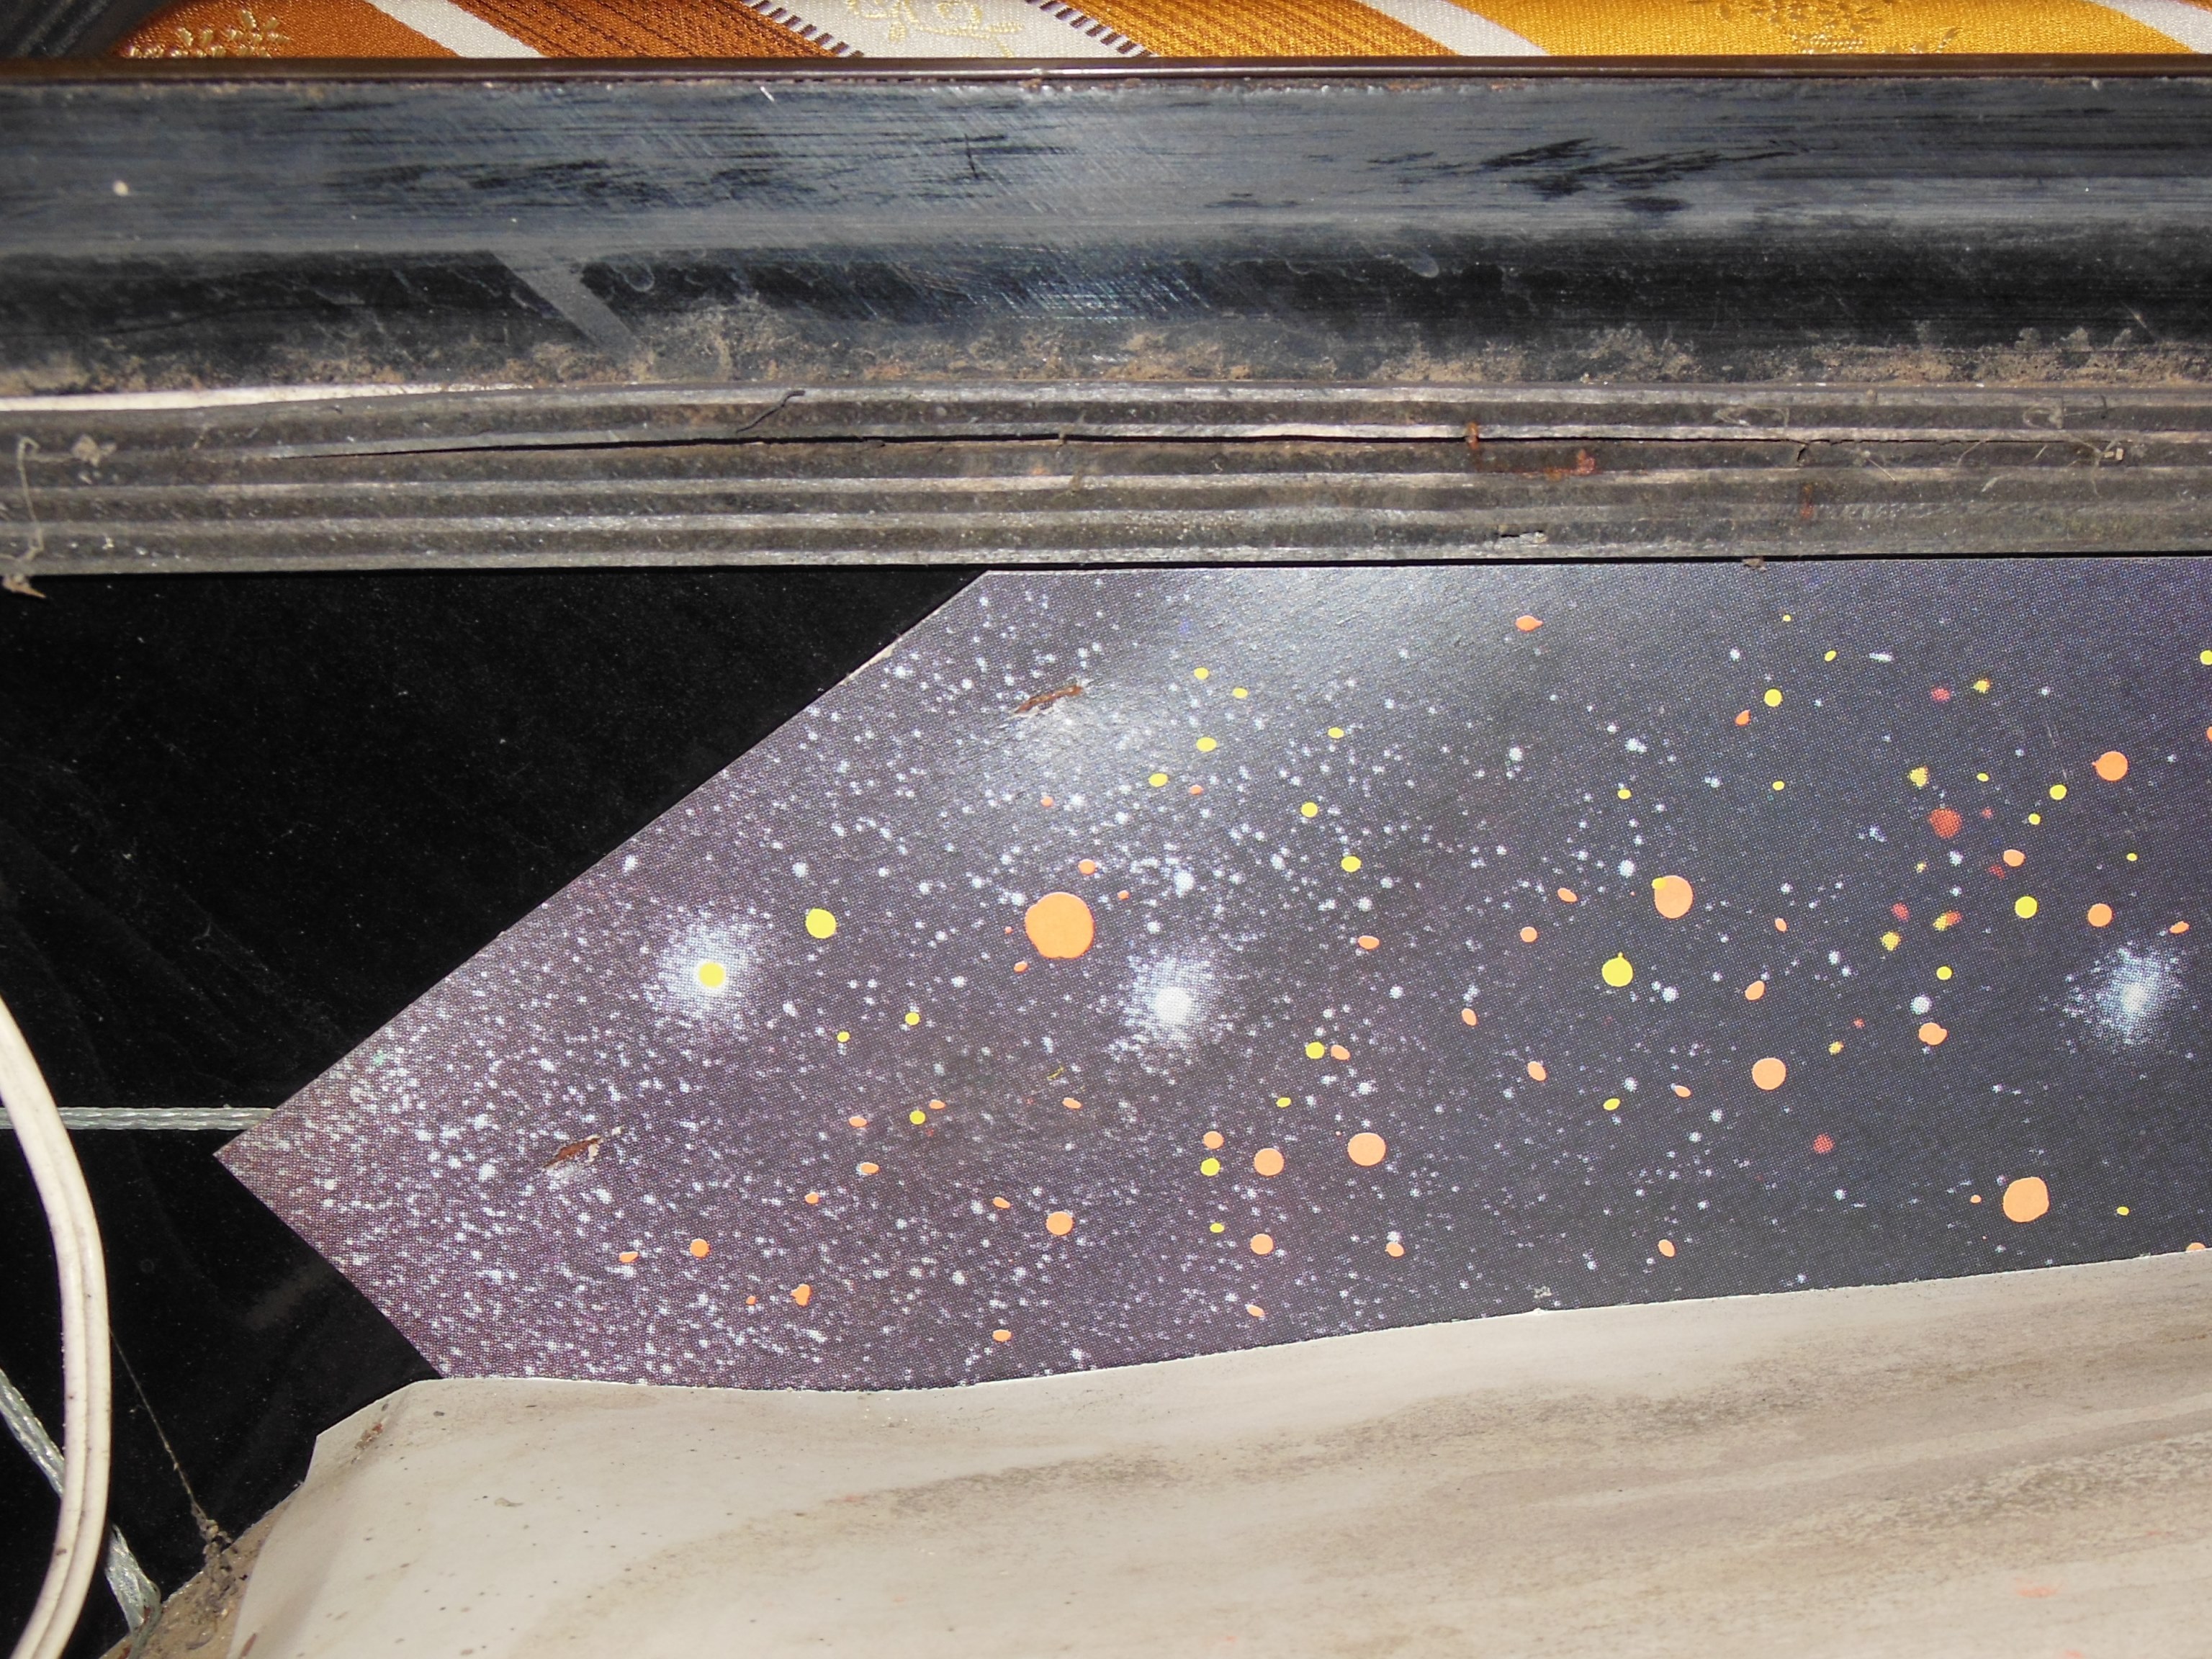
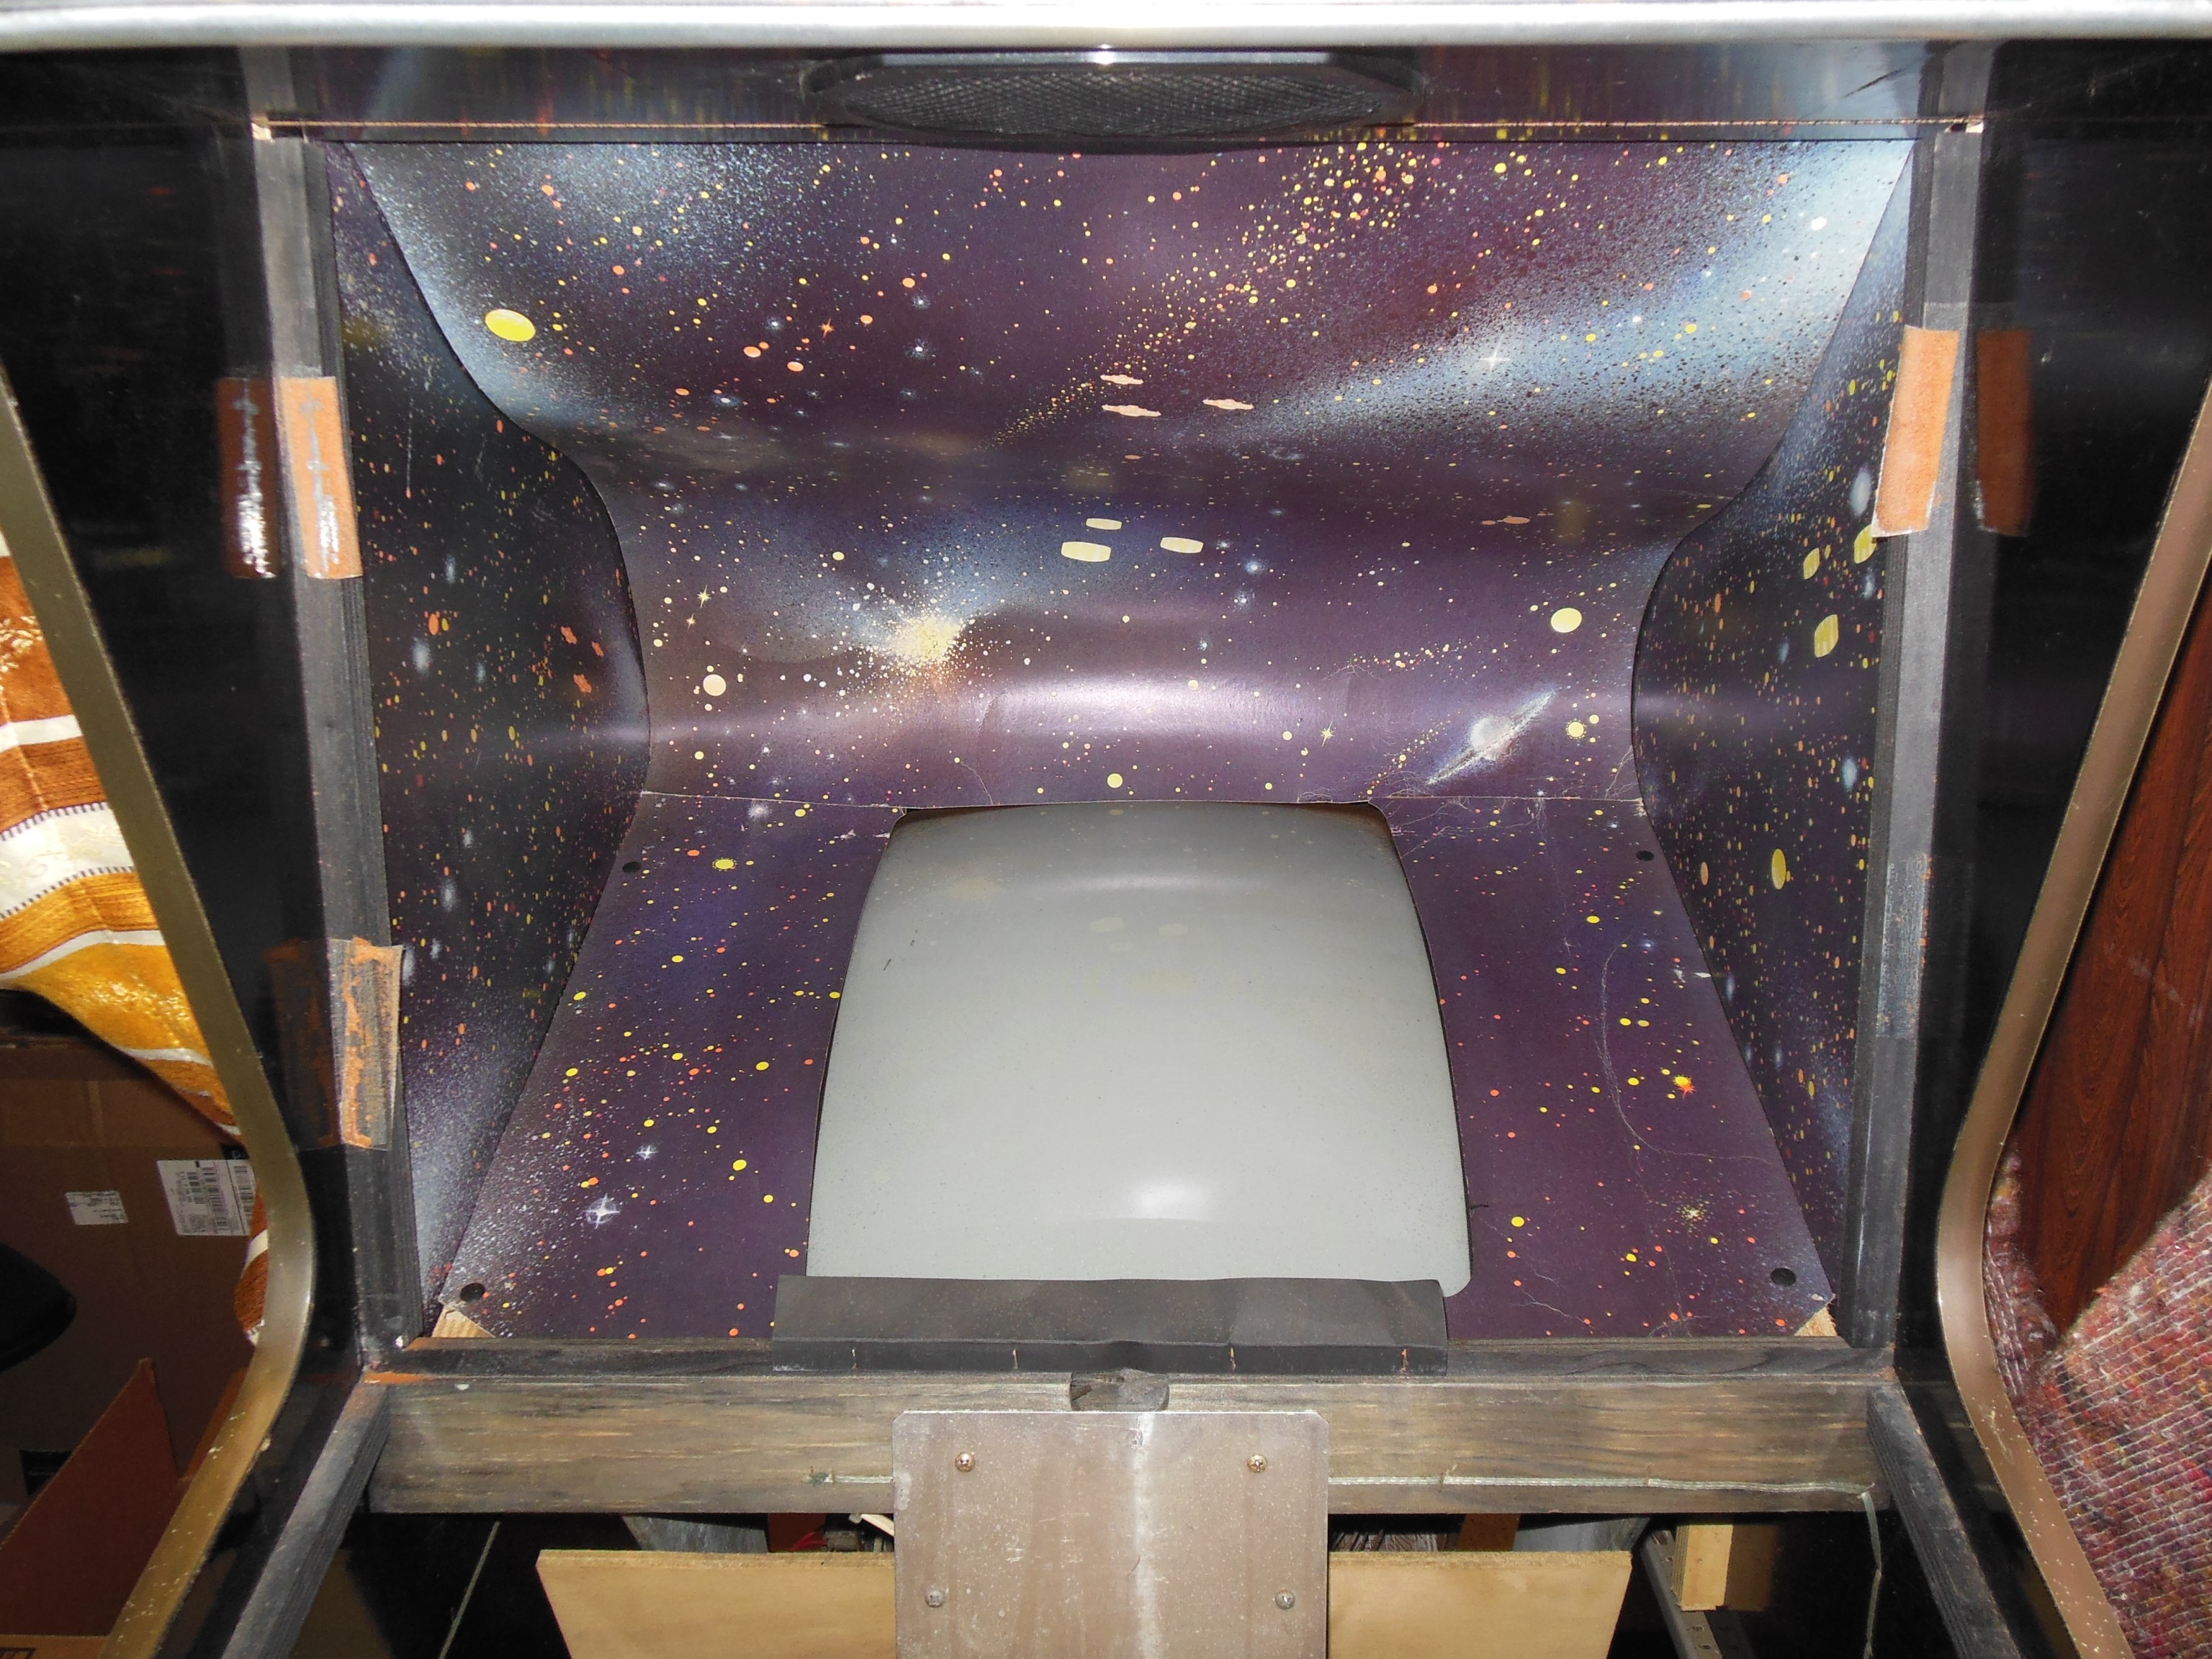
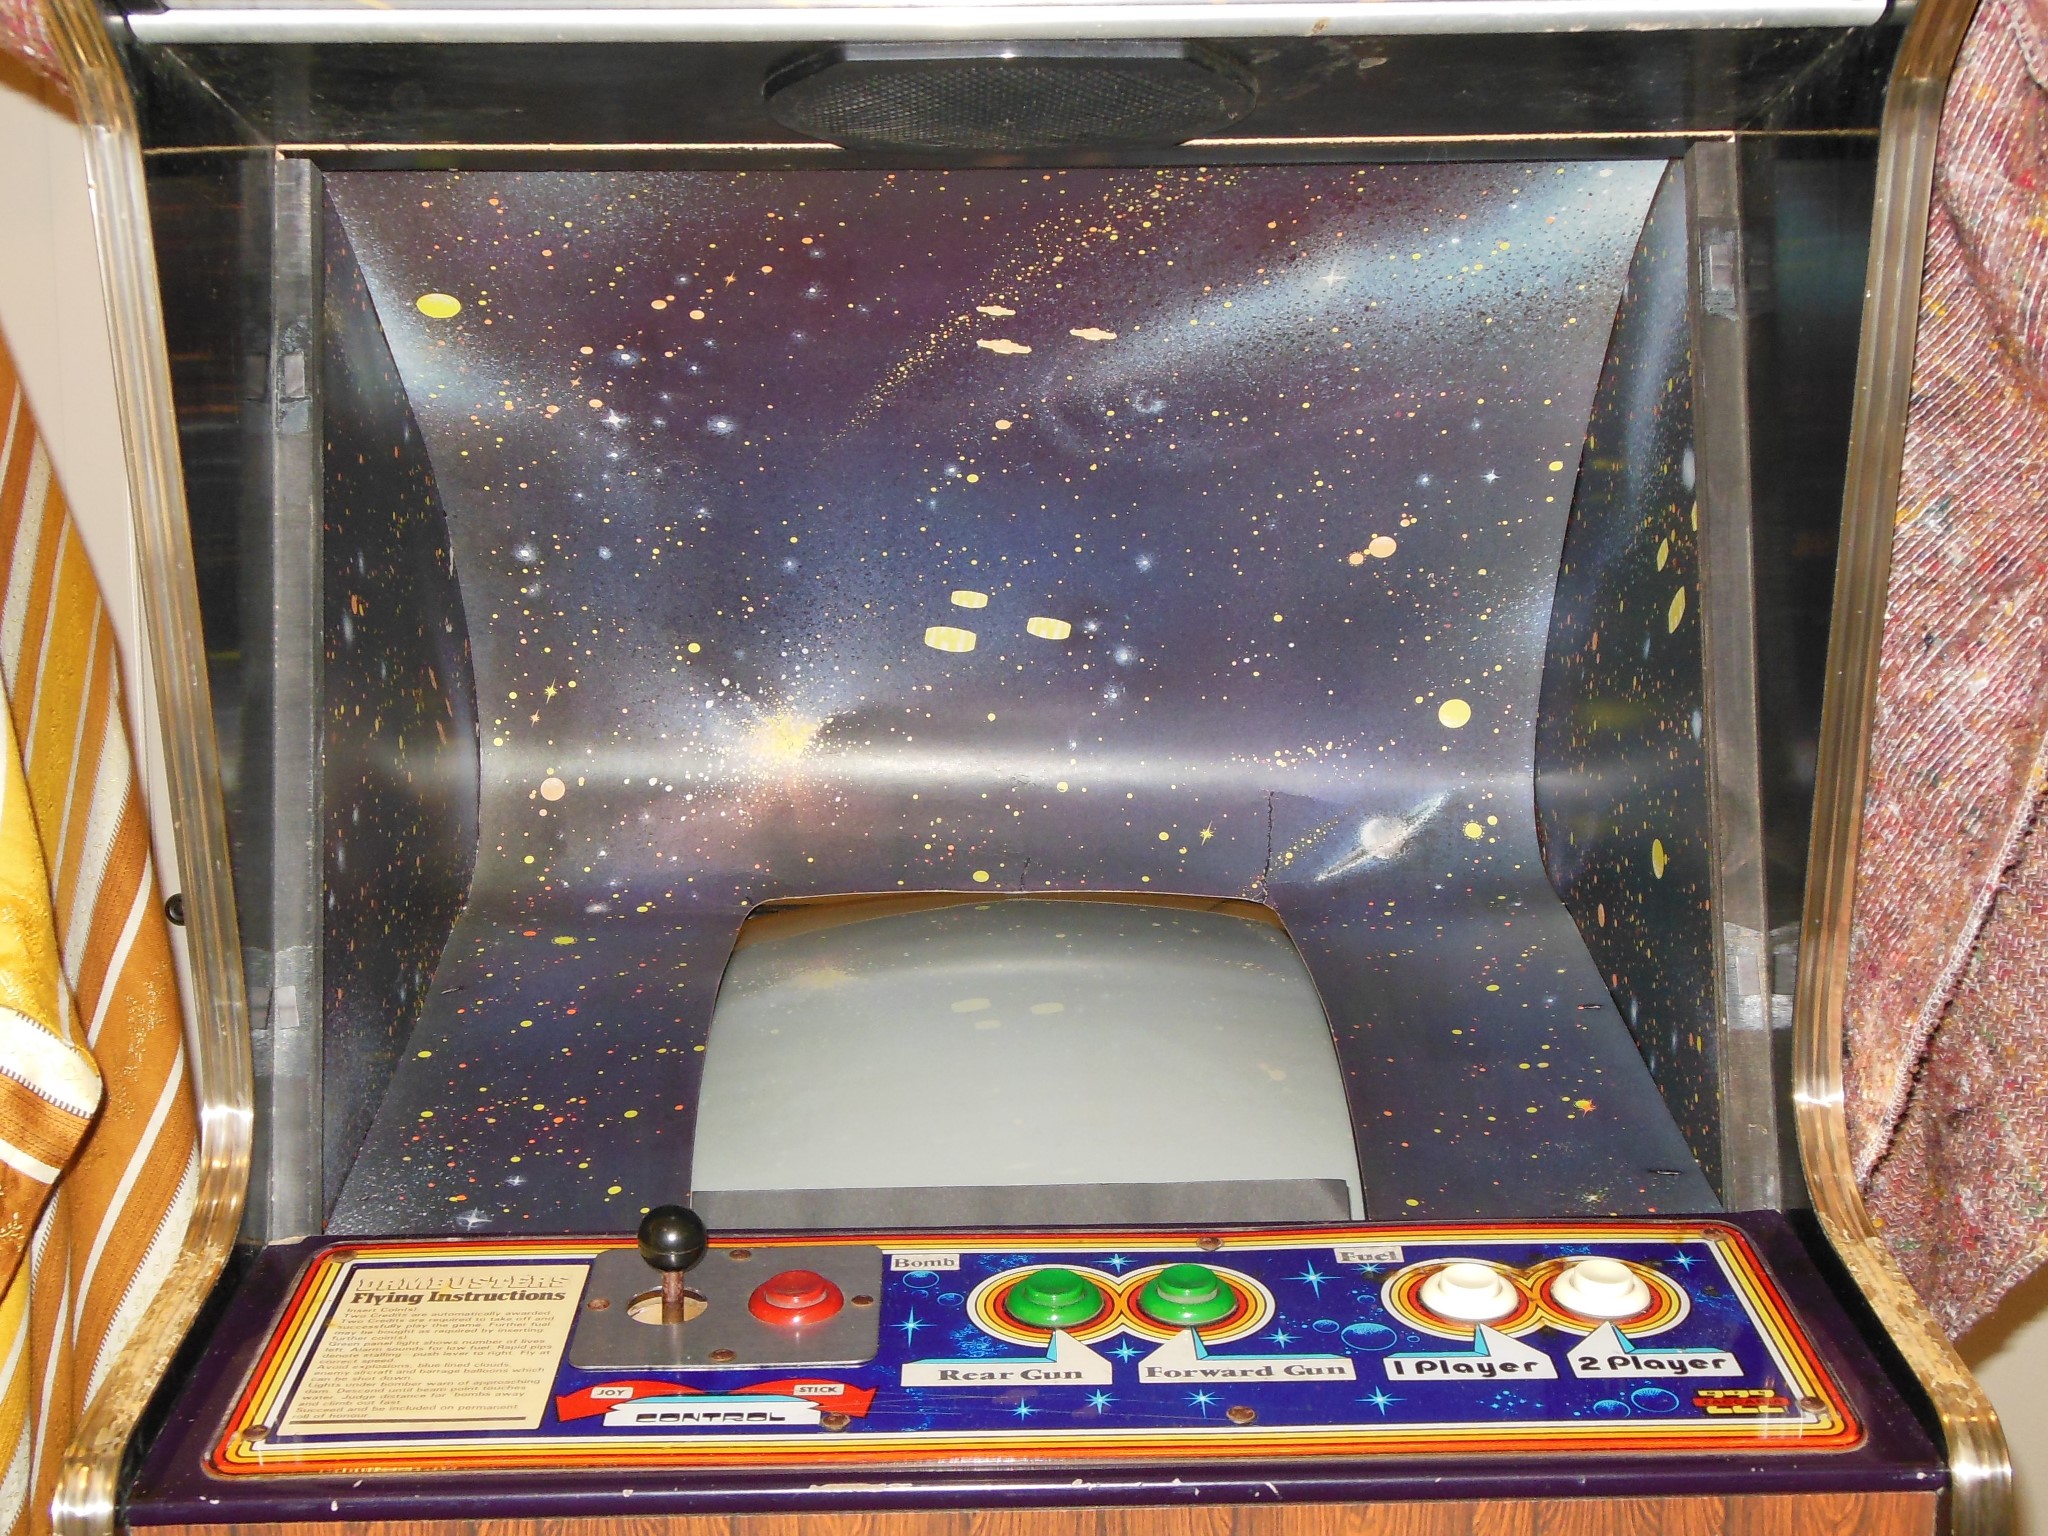
Long term moisture exposure had severely damaged the monitor glass artwork causing the paint to flake off :(
|
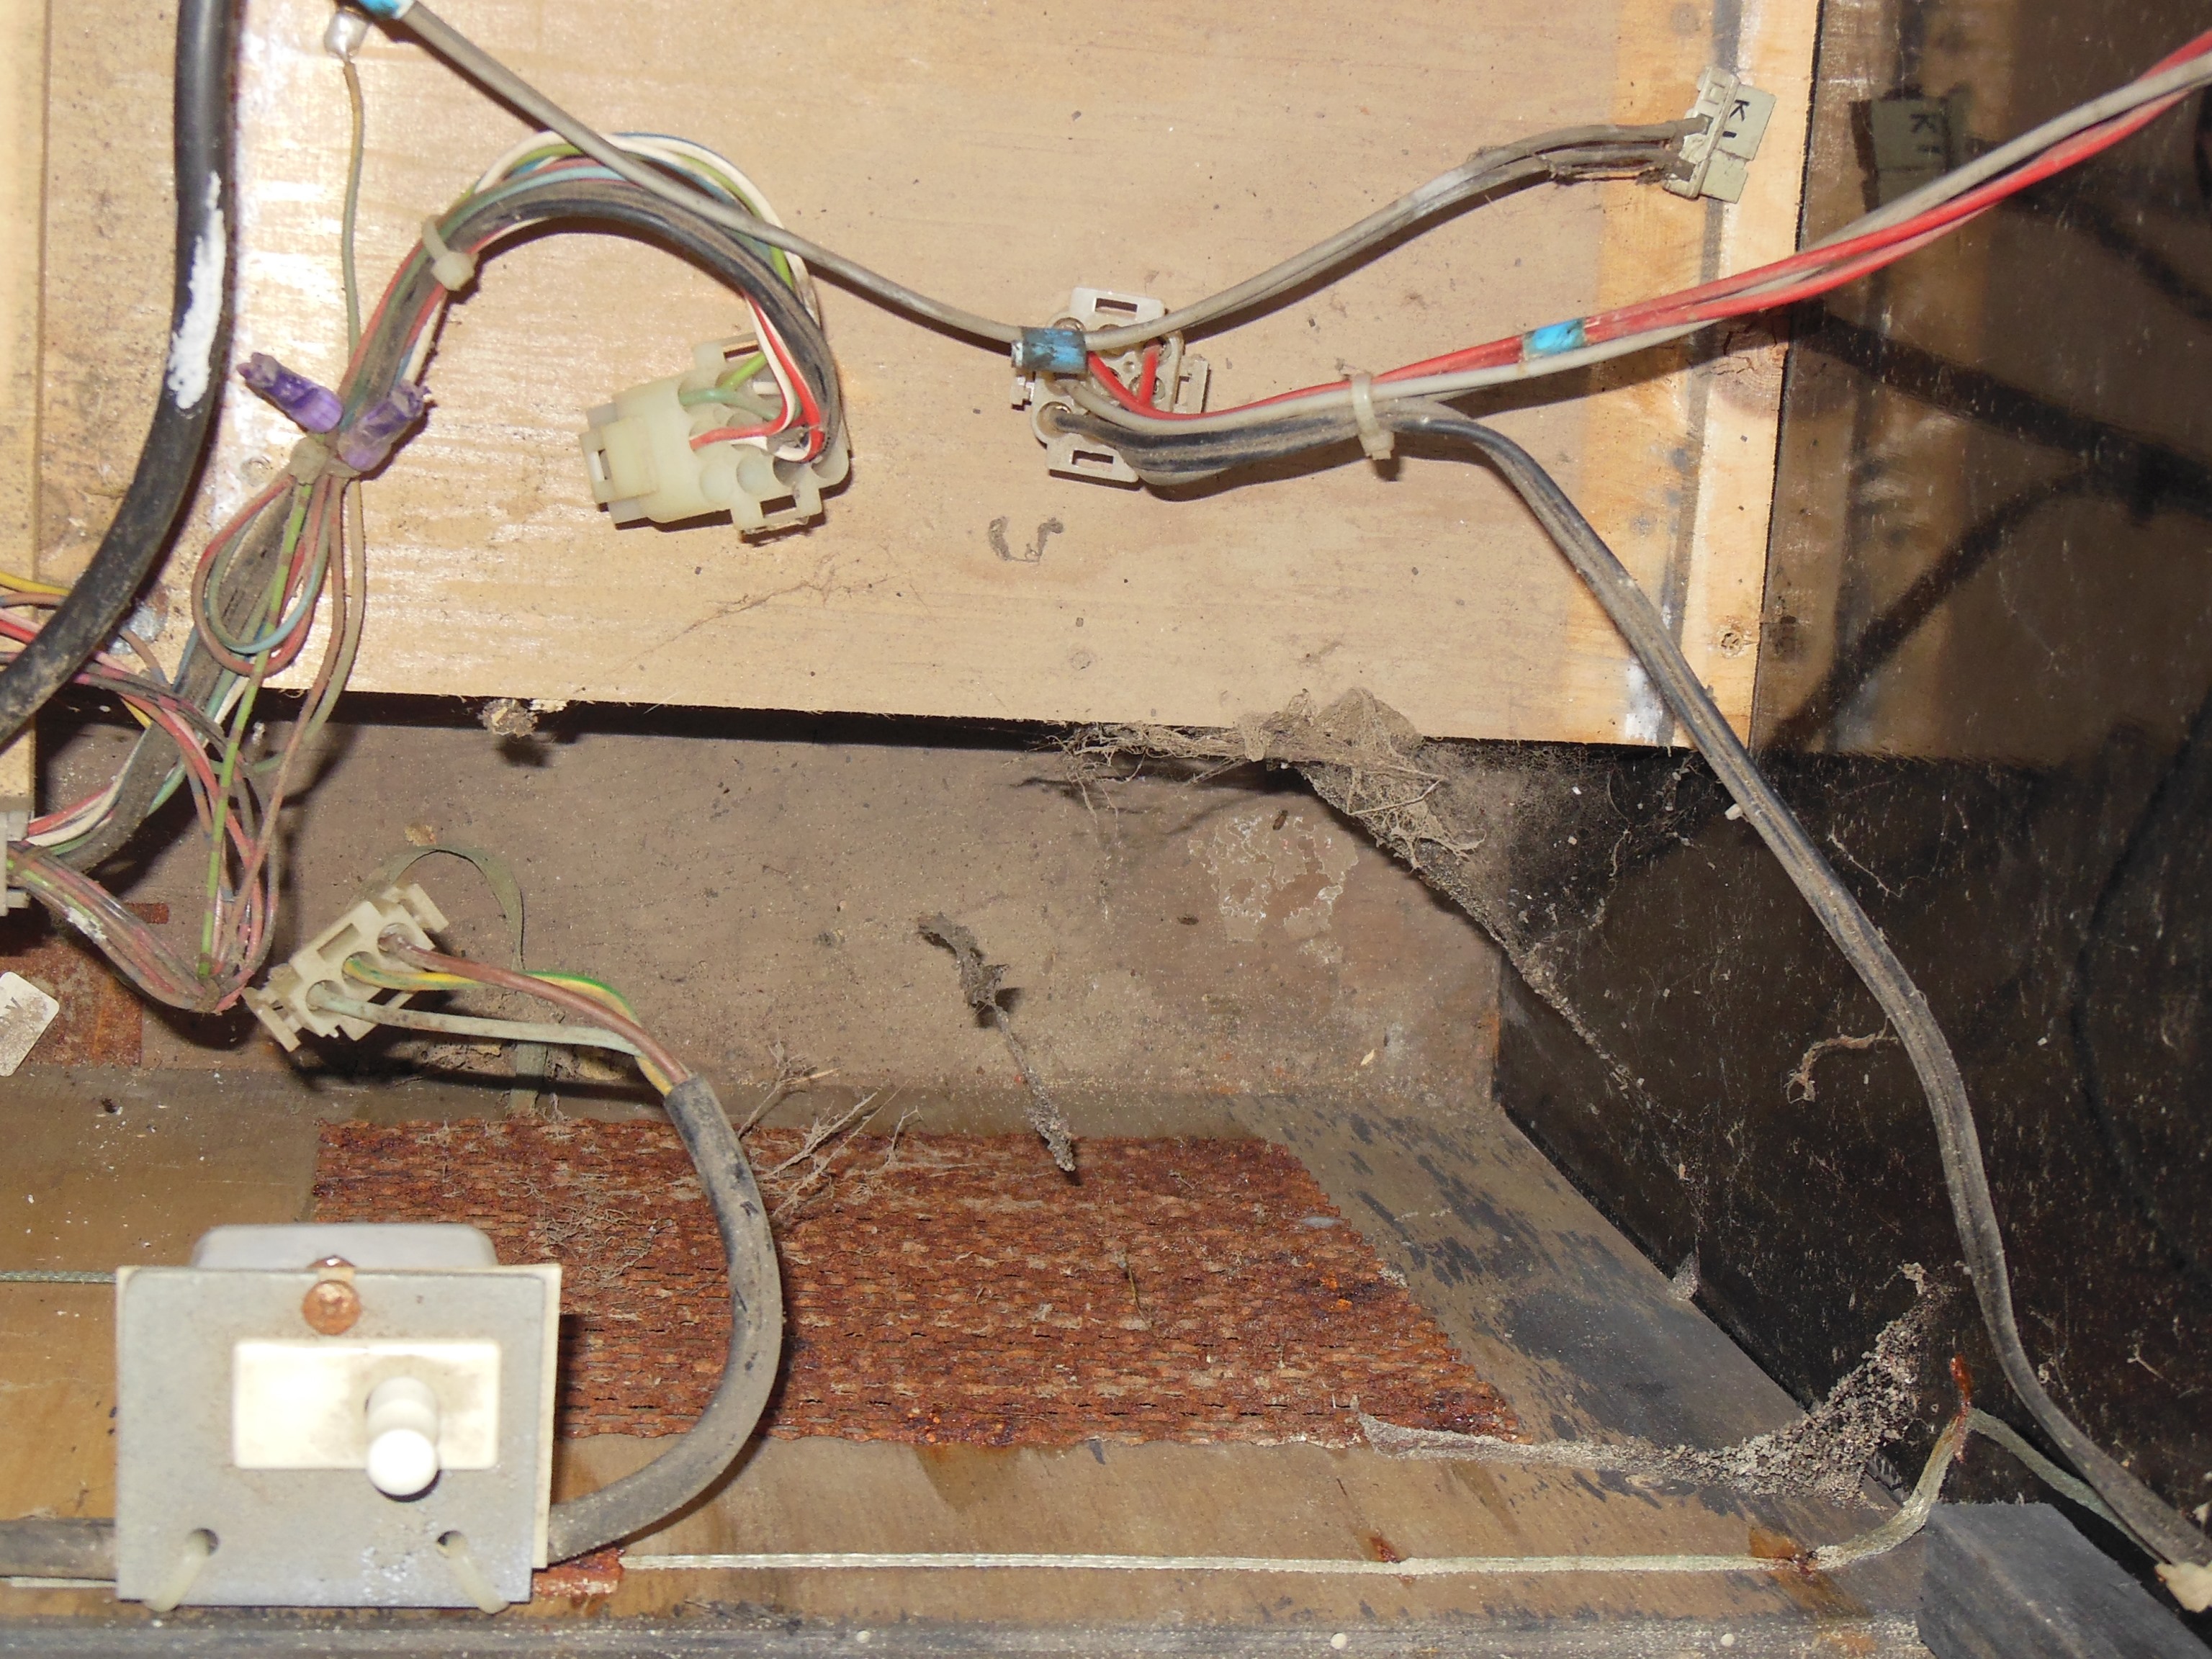
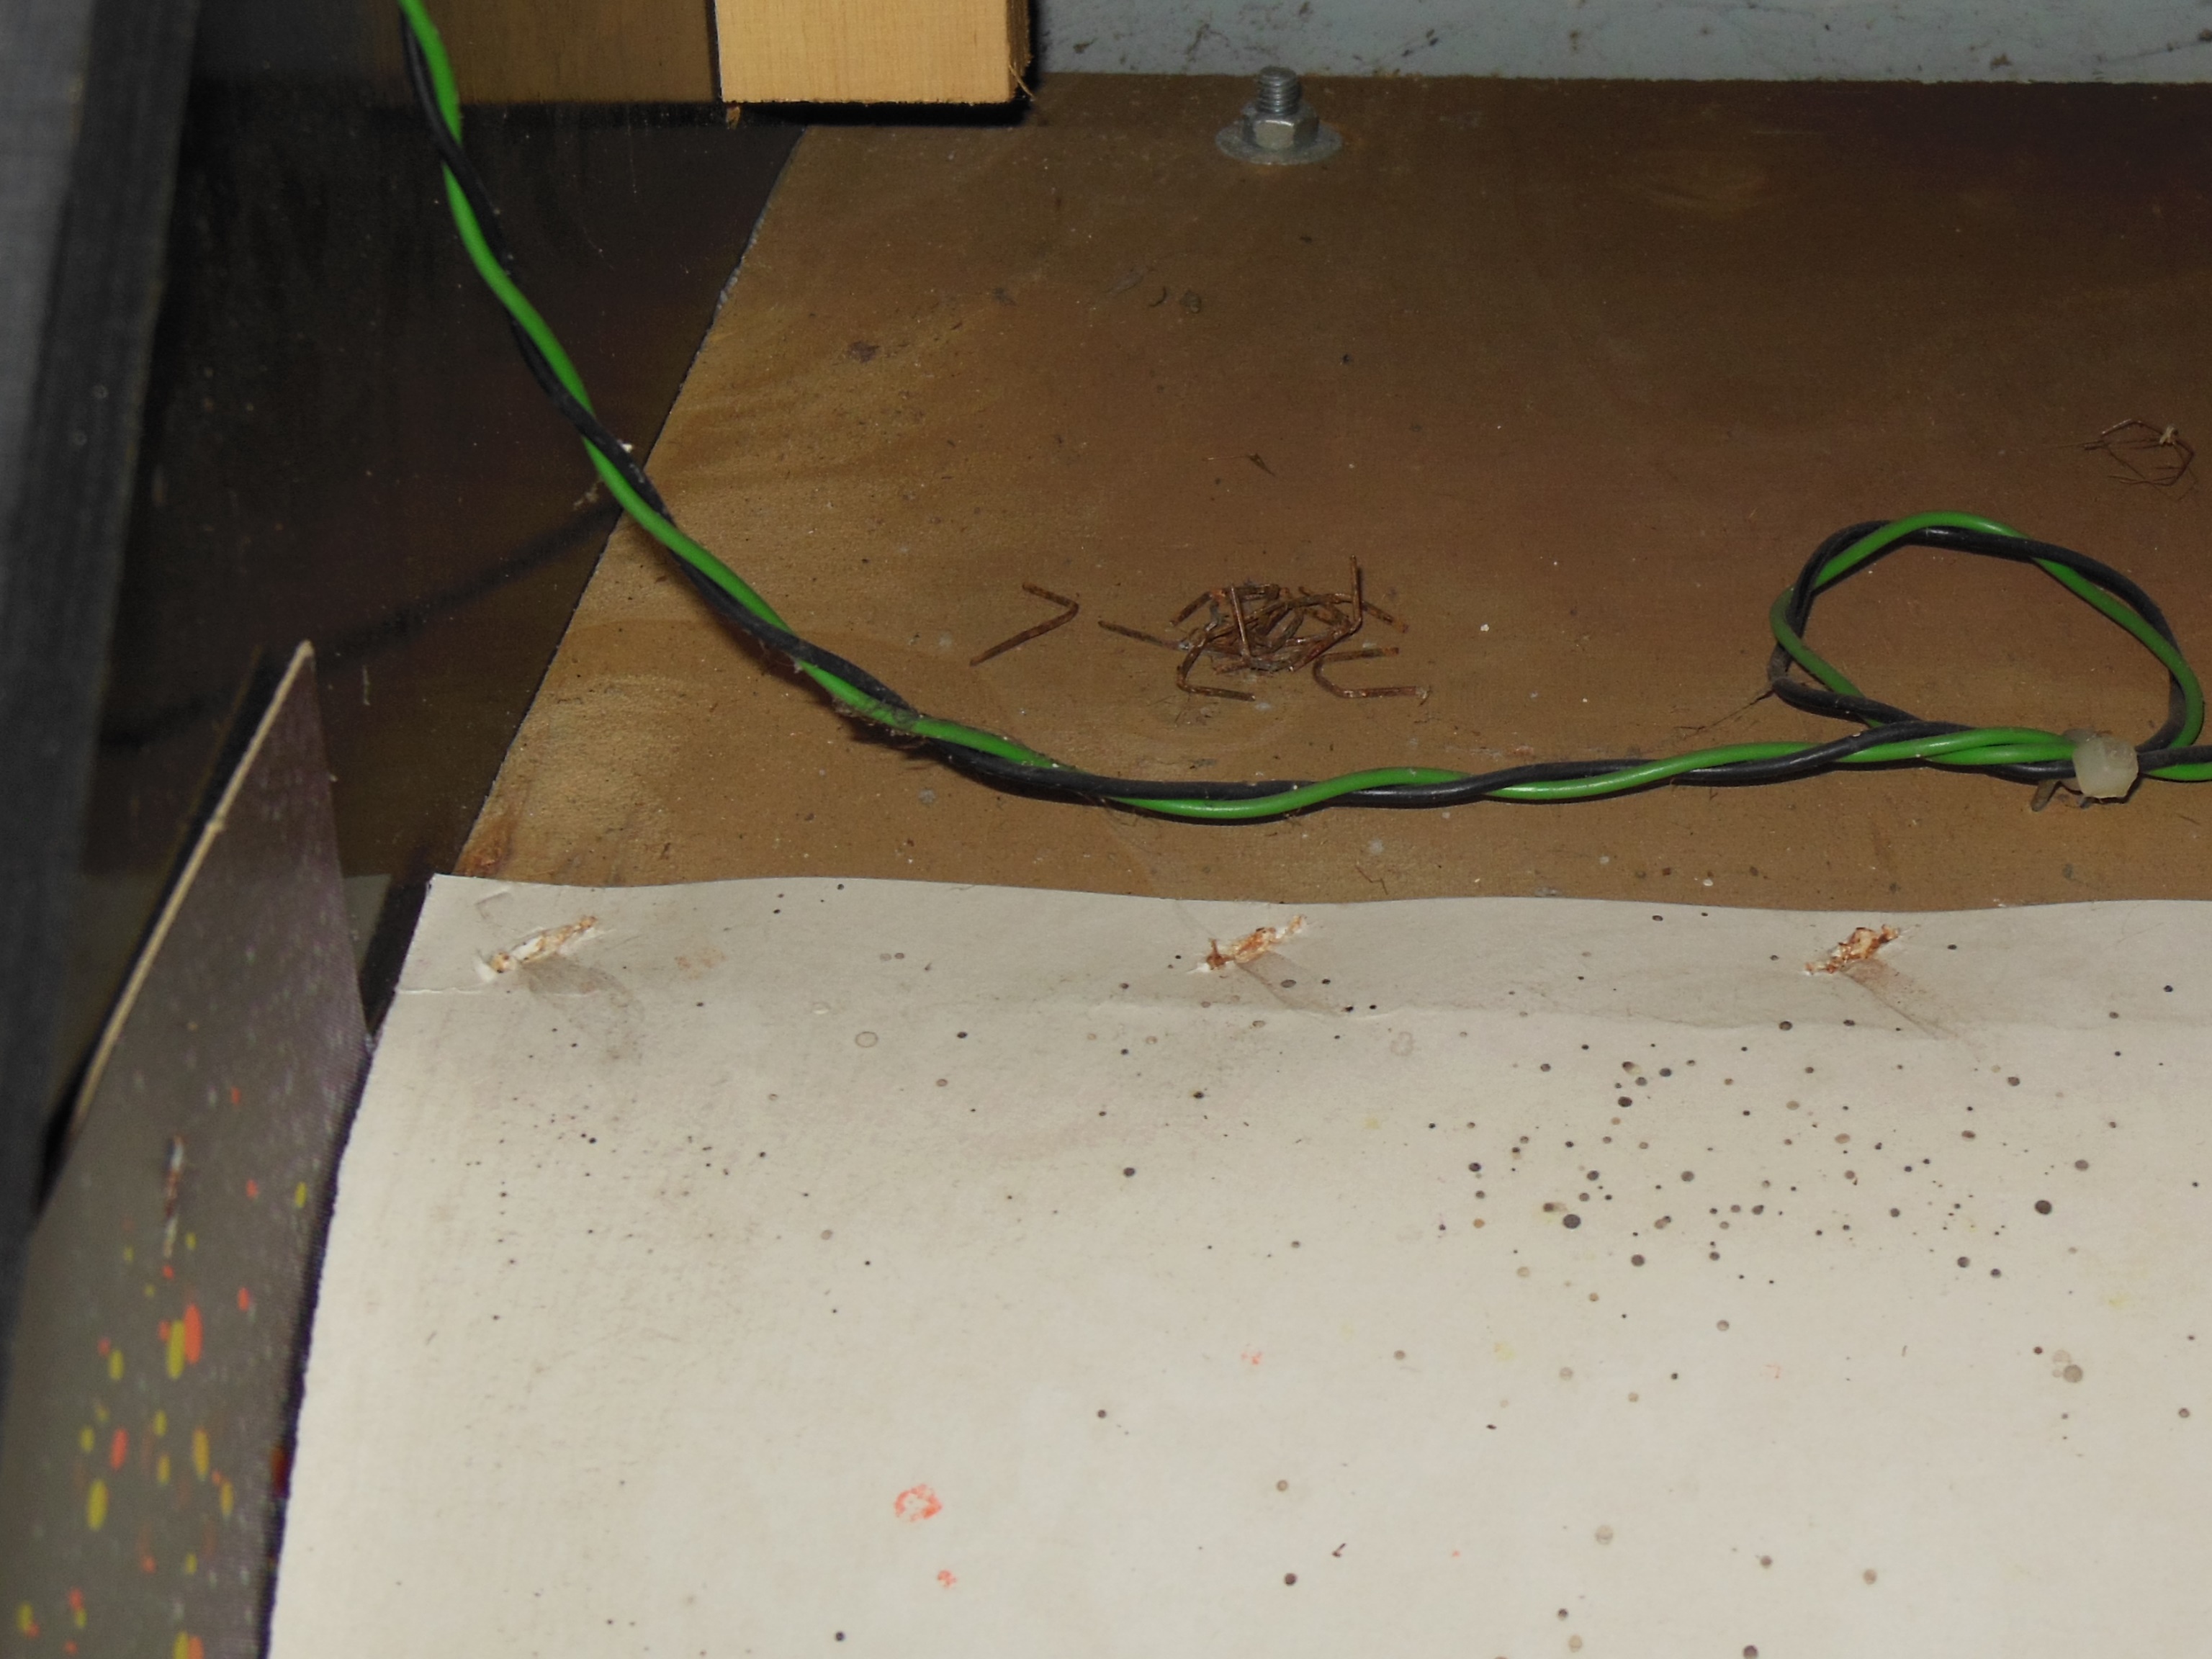
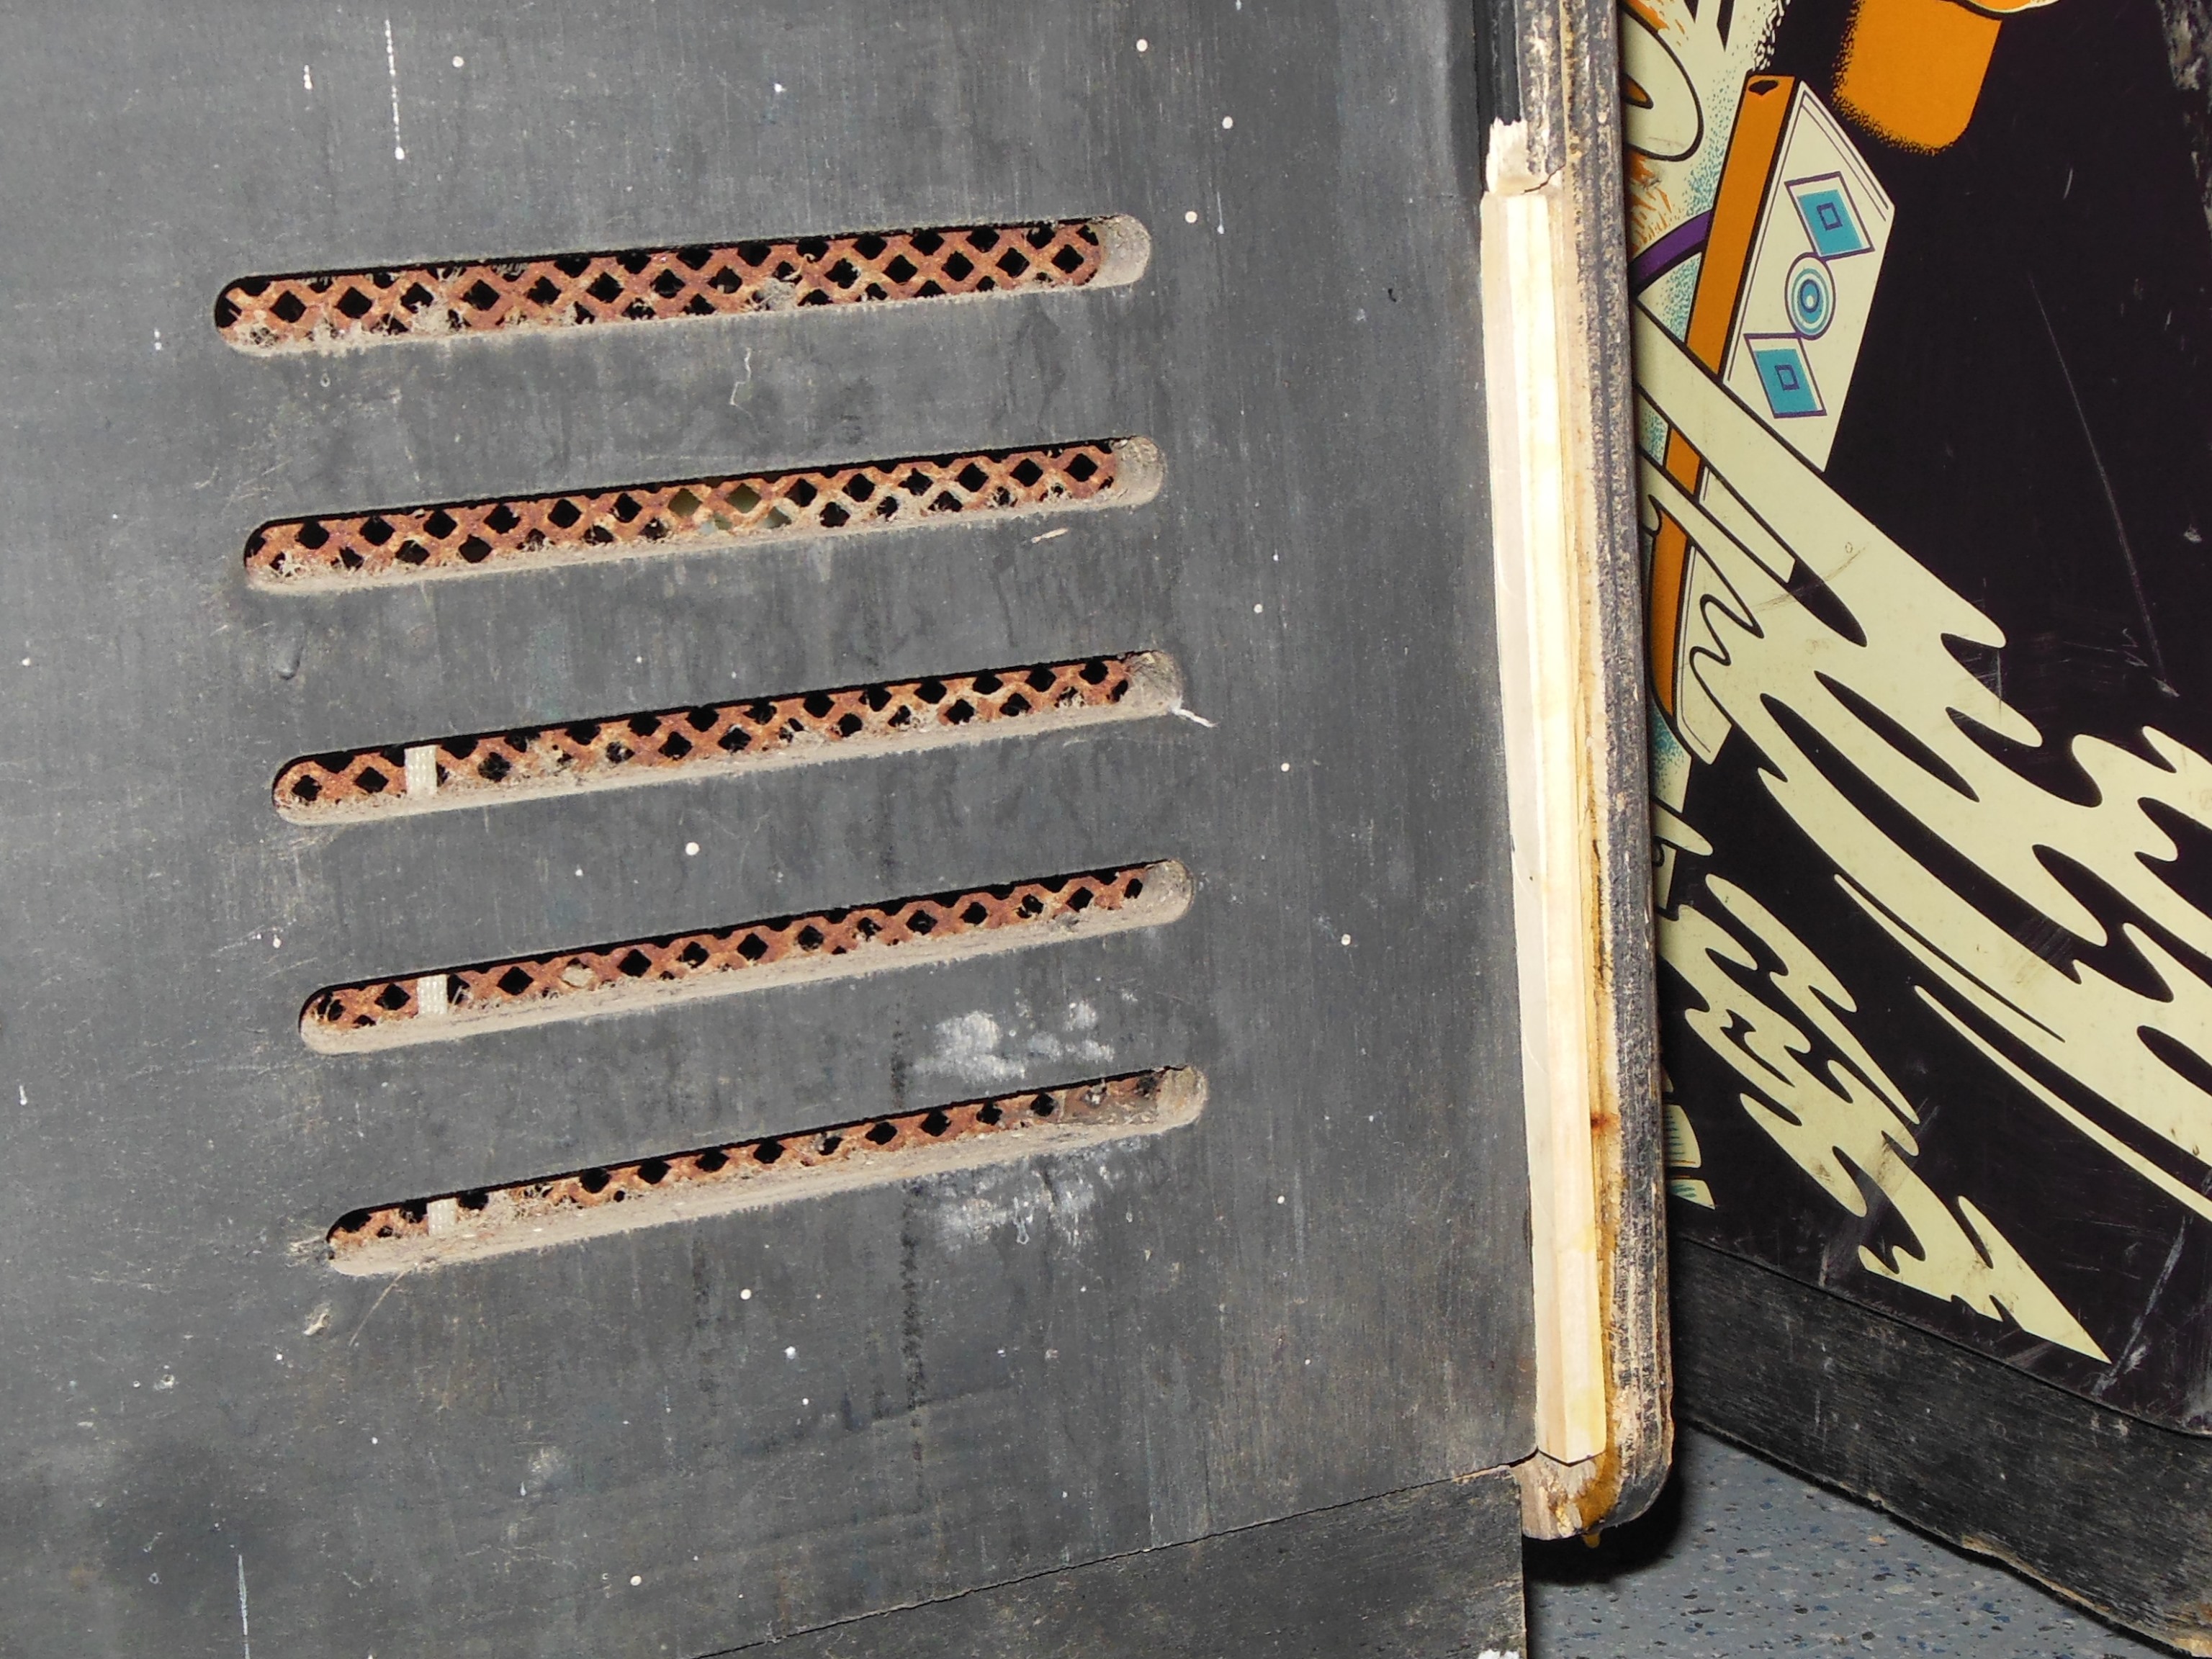
More long-term moisture corrosion of the bottom rear fan grill.
|
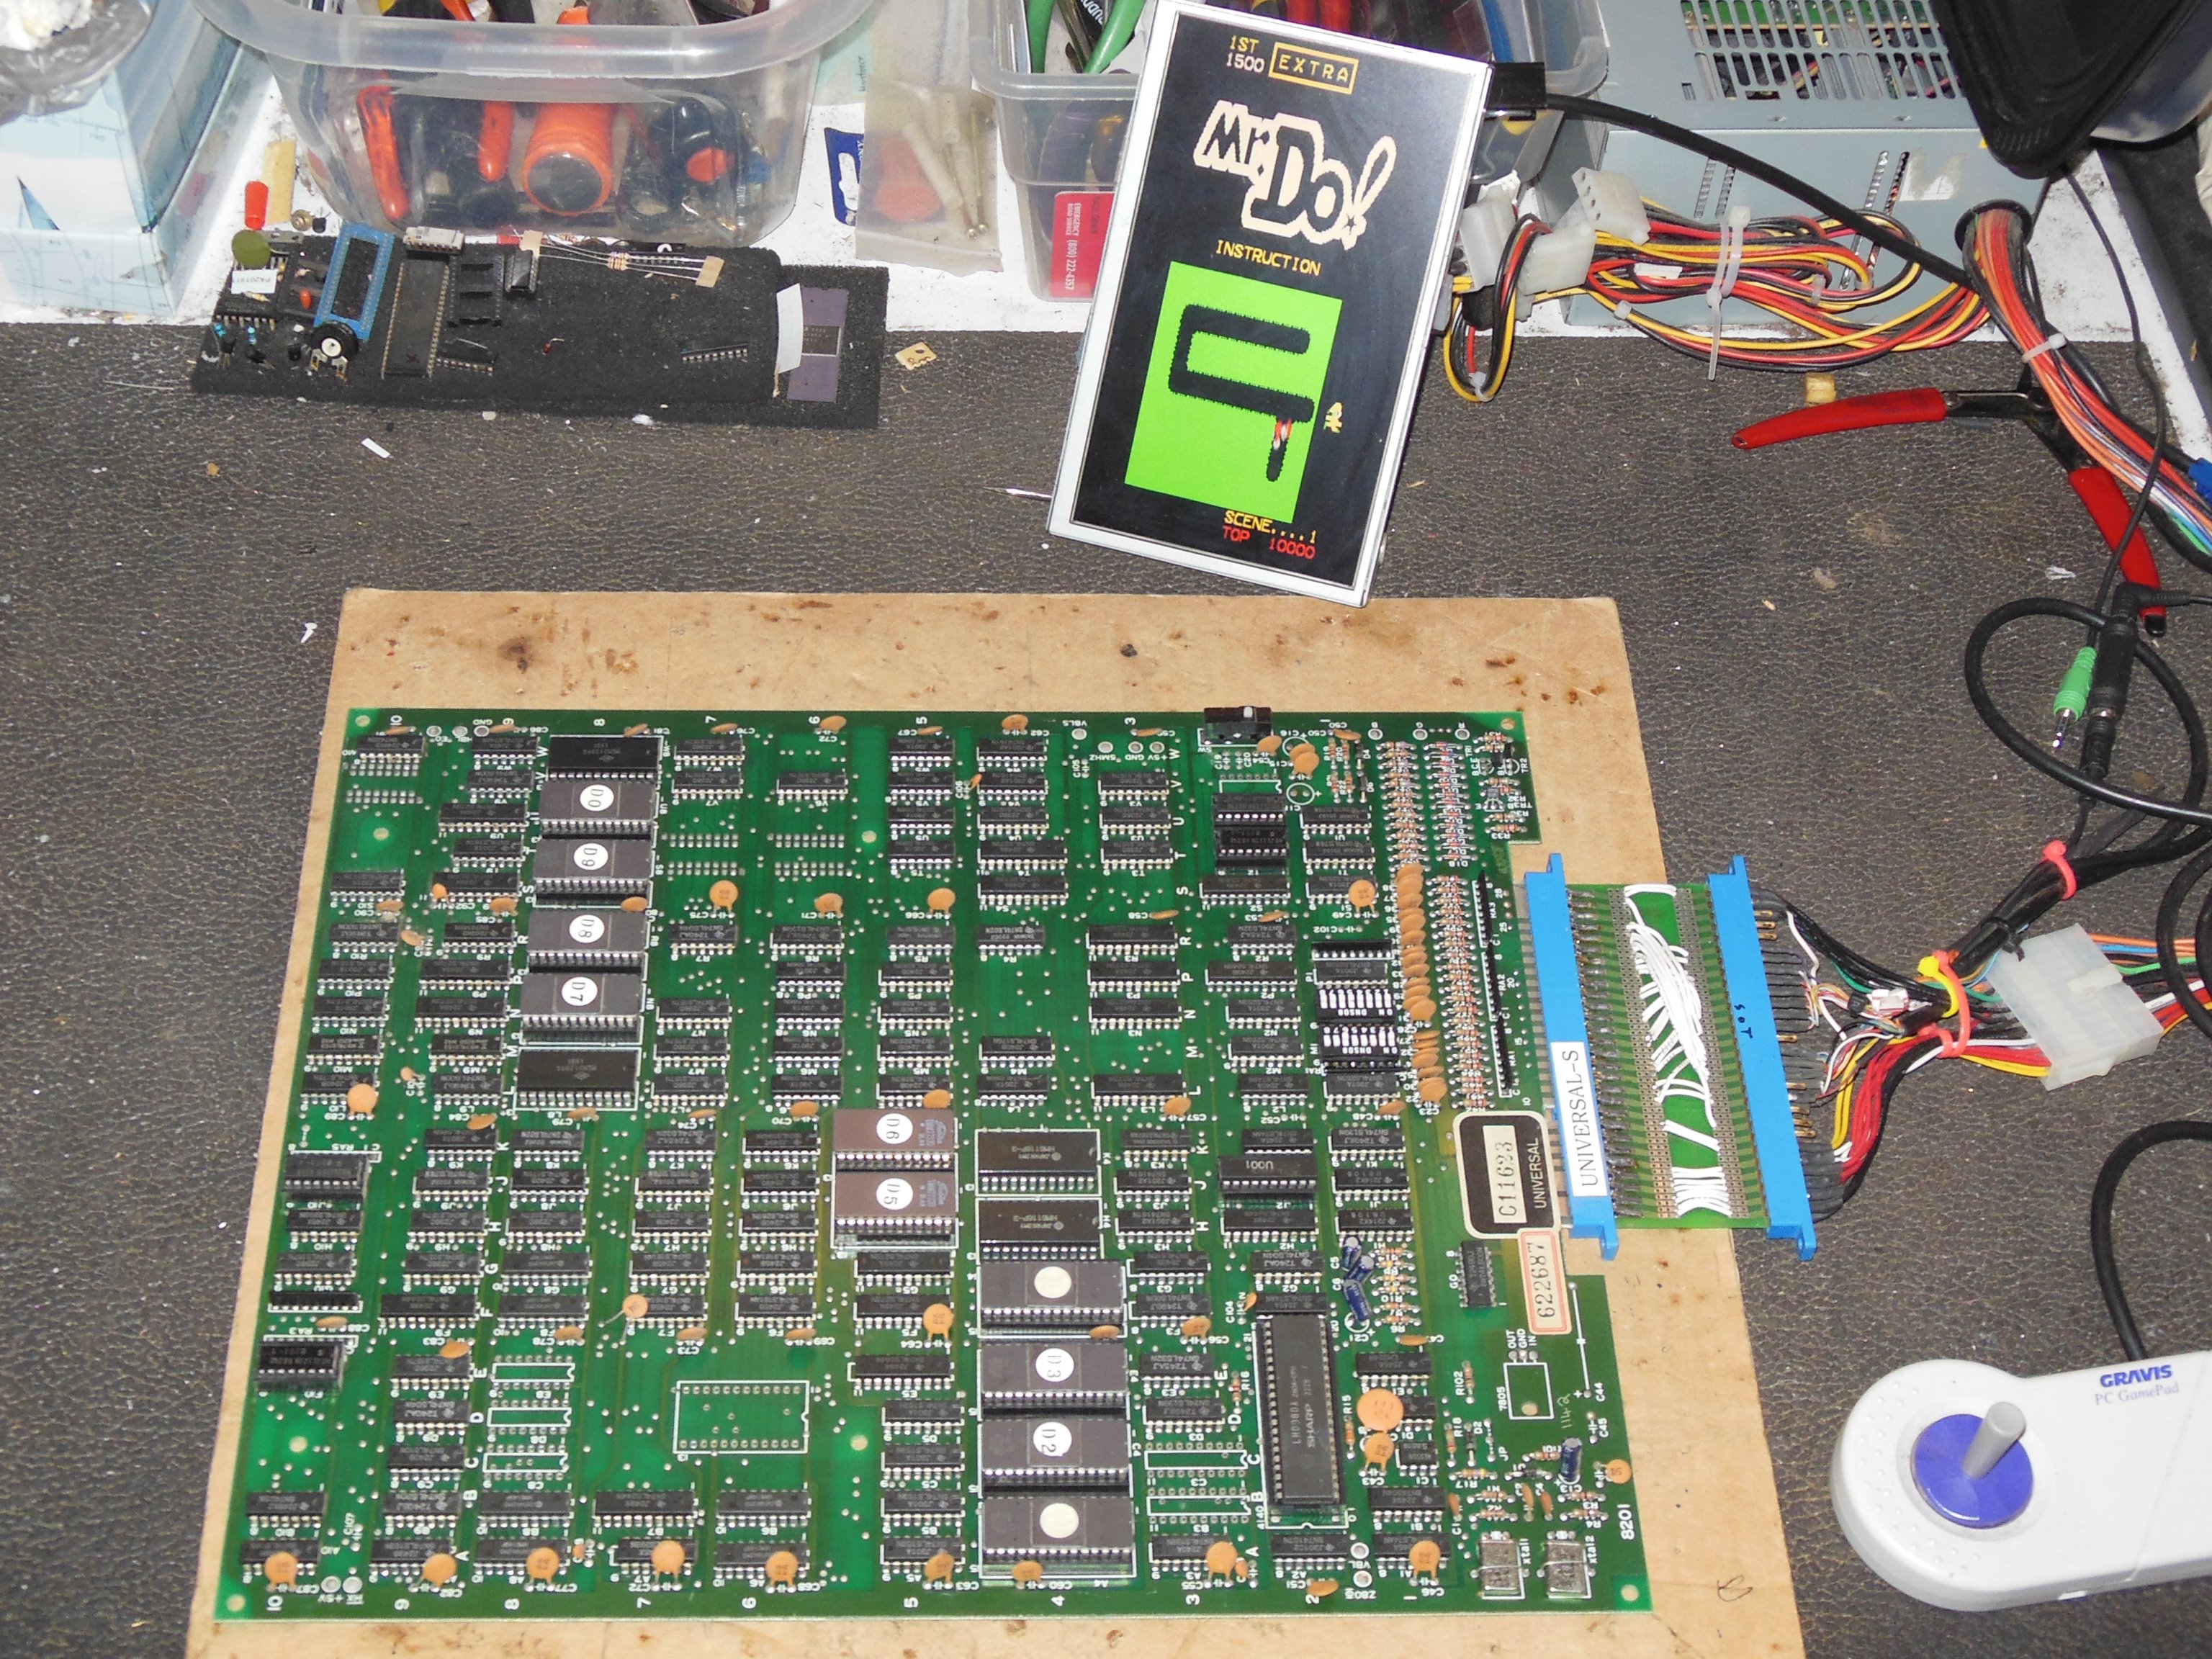
Both the Mr. Do! game PCB and its external audio amplifier were removed from the cabinet. Testing on the bench found the game PCB working without issue and it could be reused as spare game PCB for the Associated Leisure Mr. Do! cabinet.
|
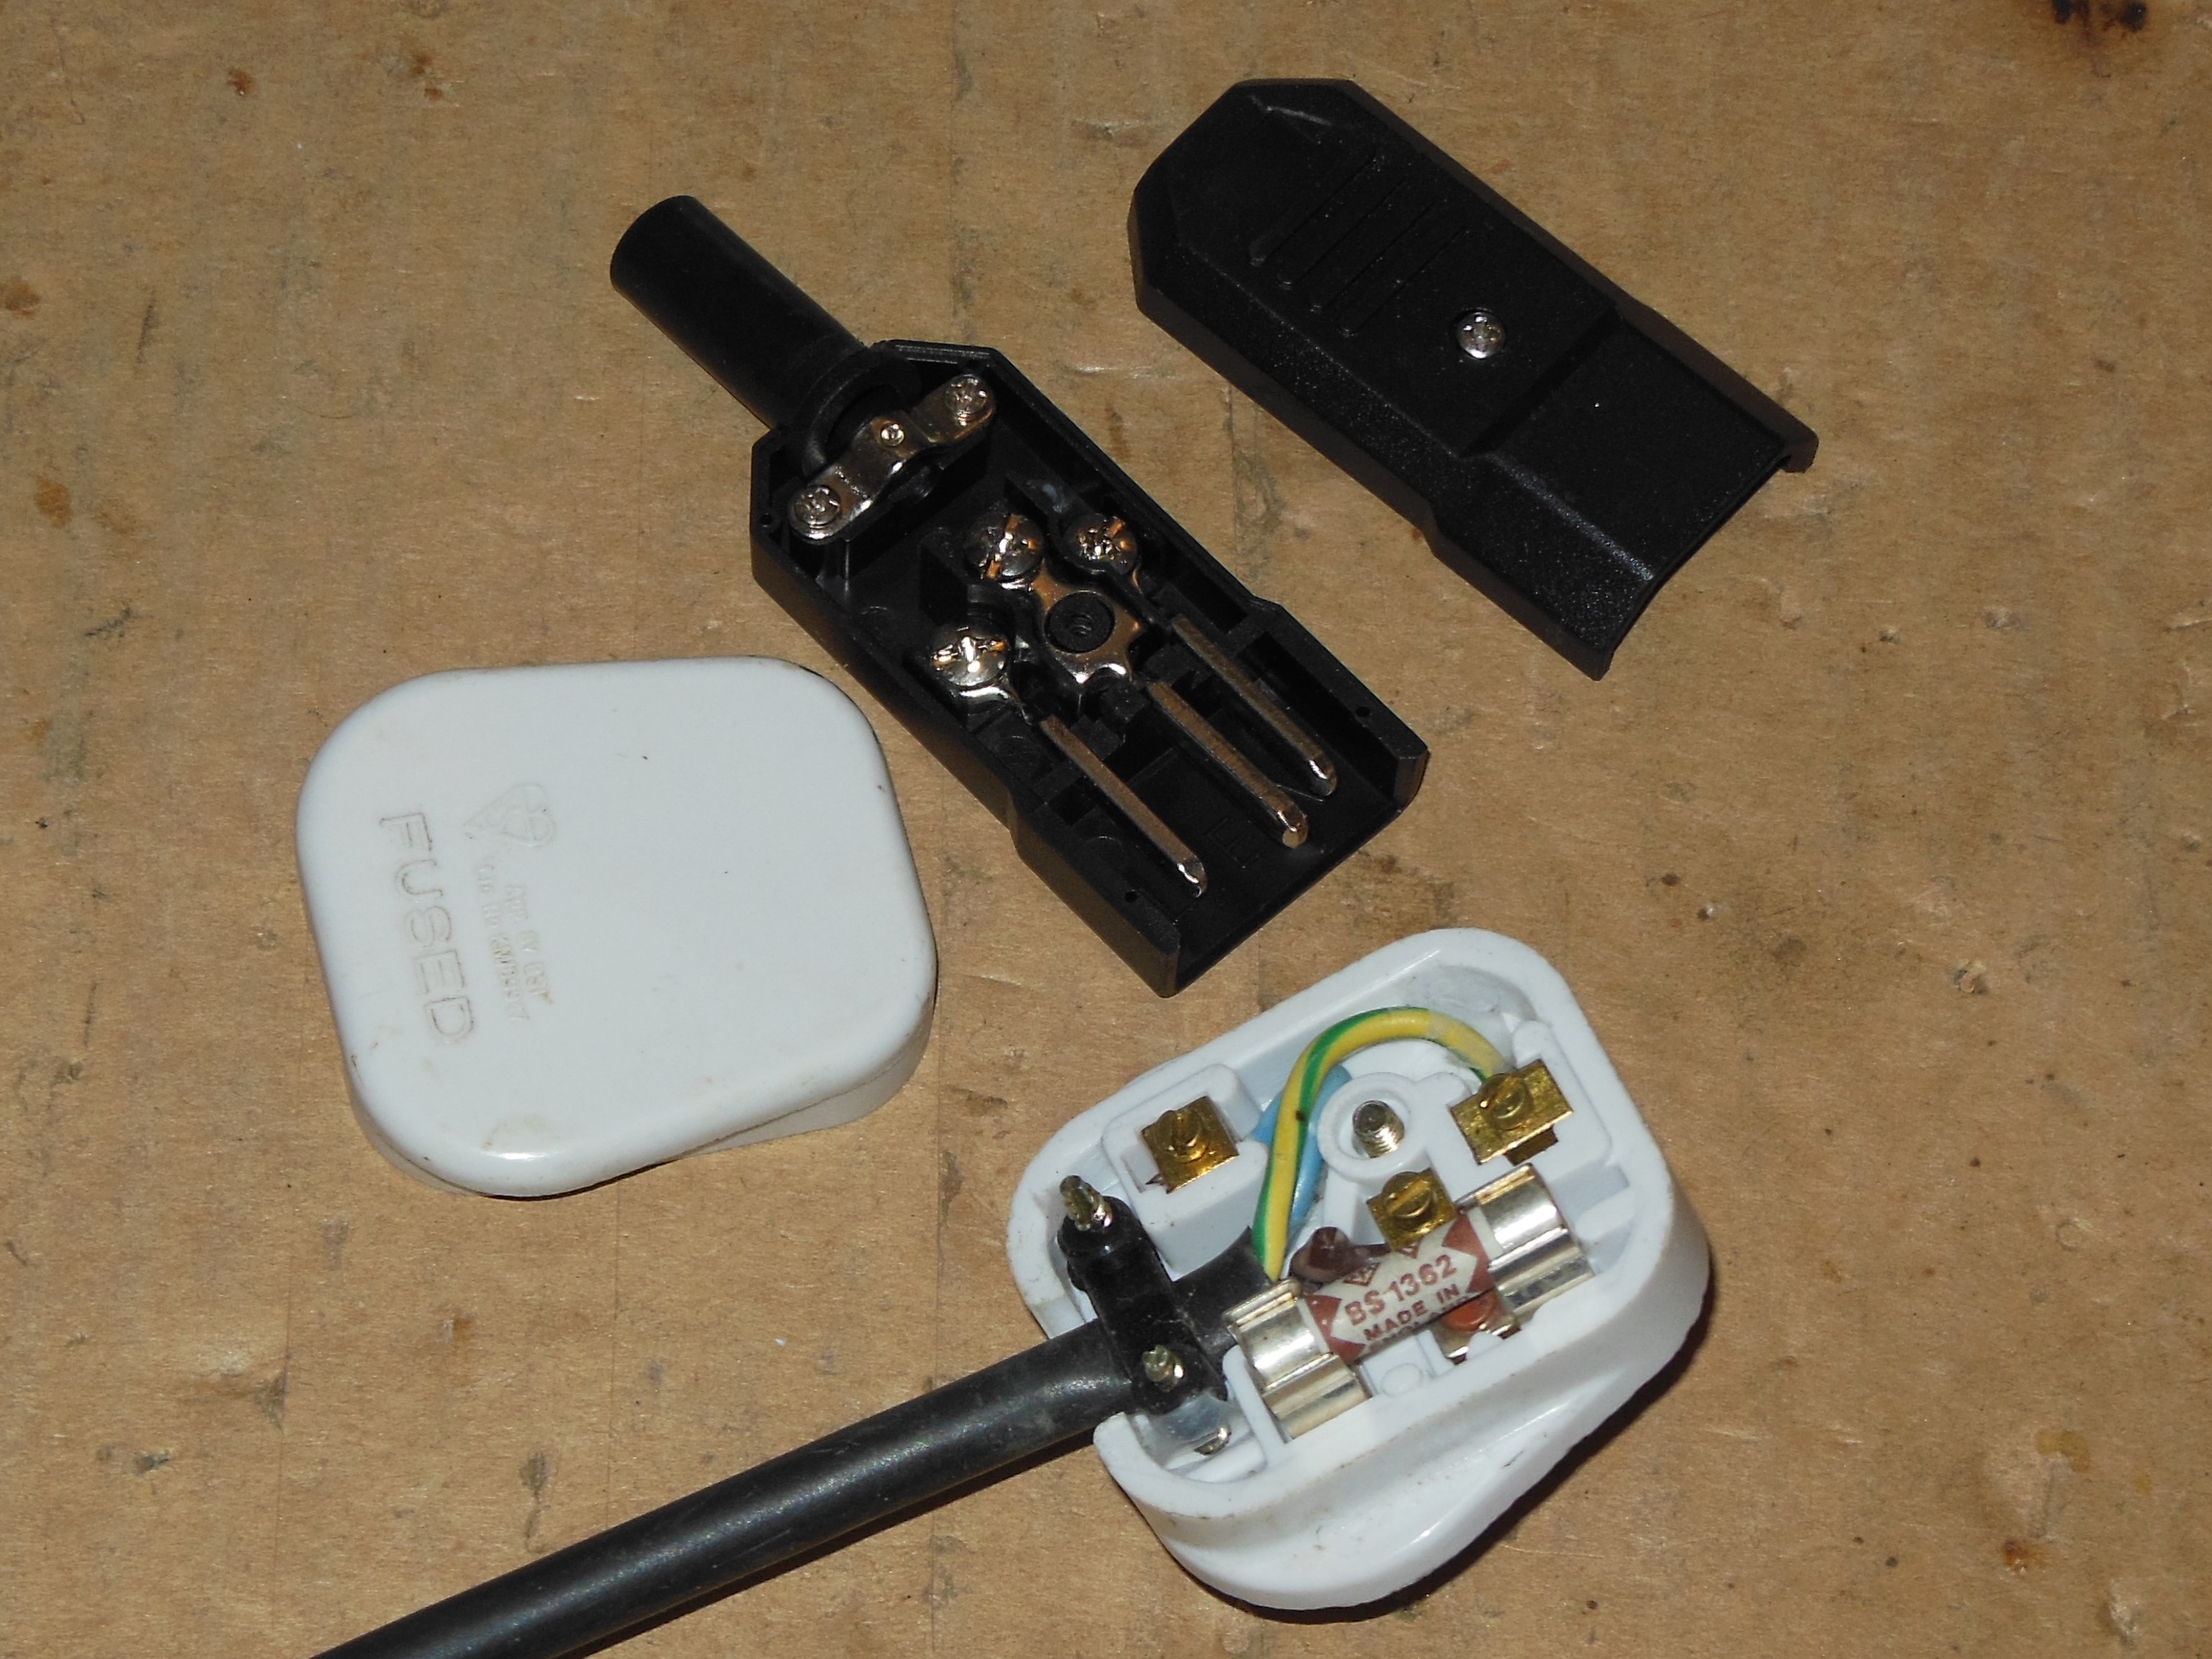
The UK power plug was replaced with an IE C14 plug.
|
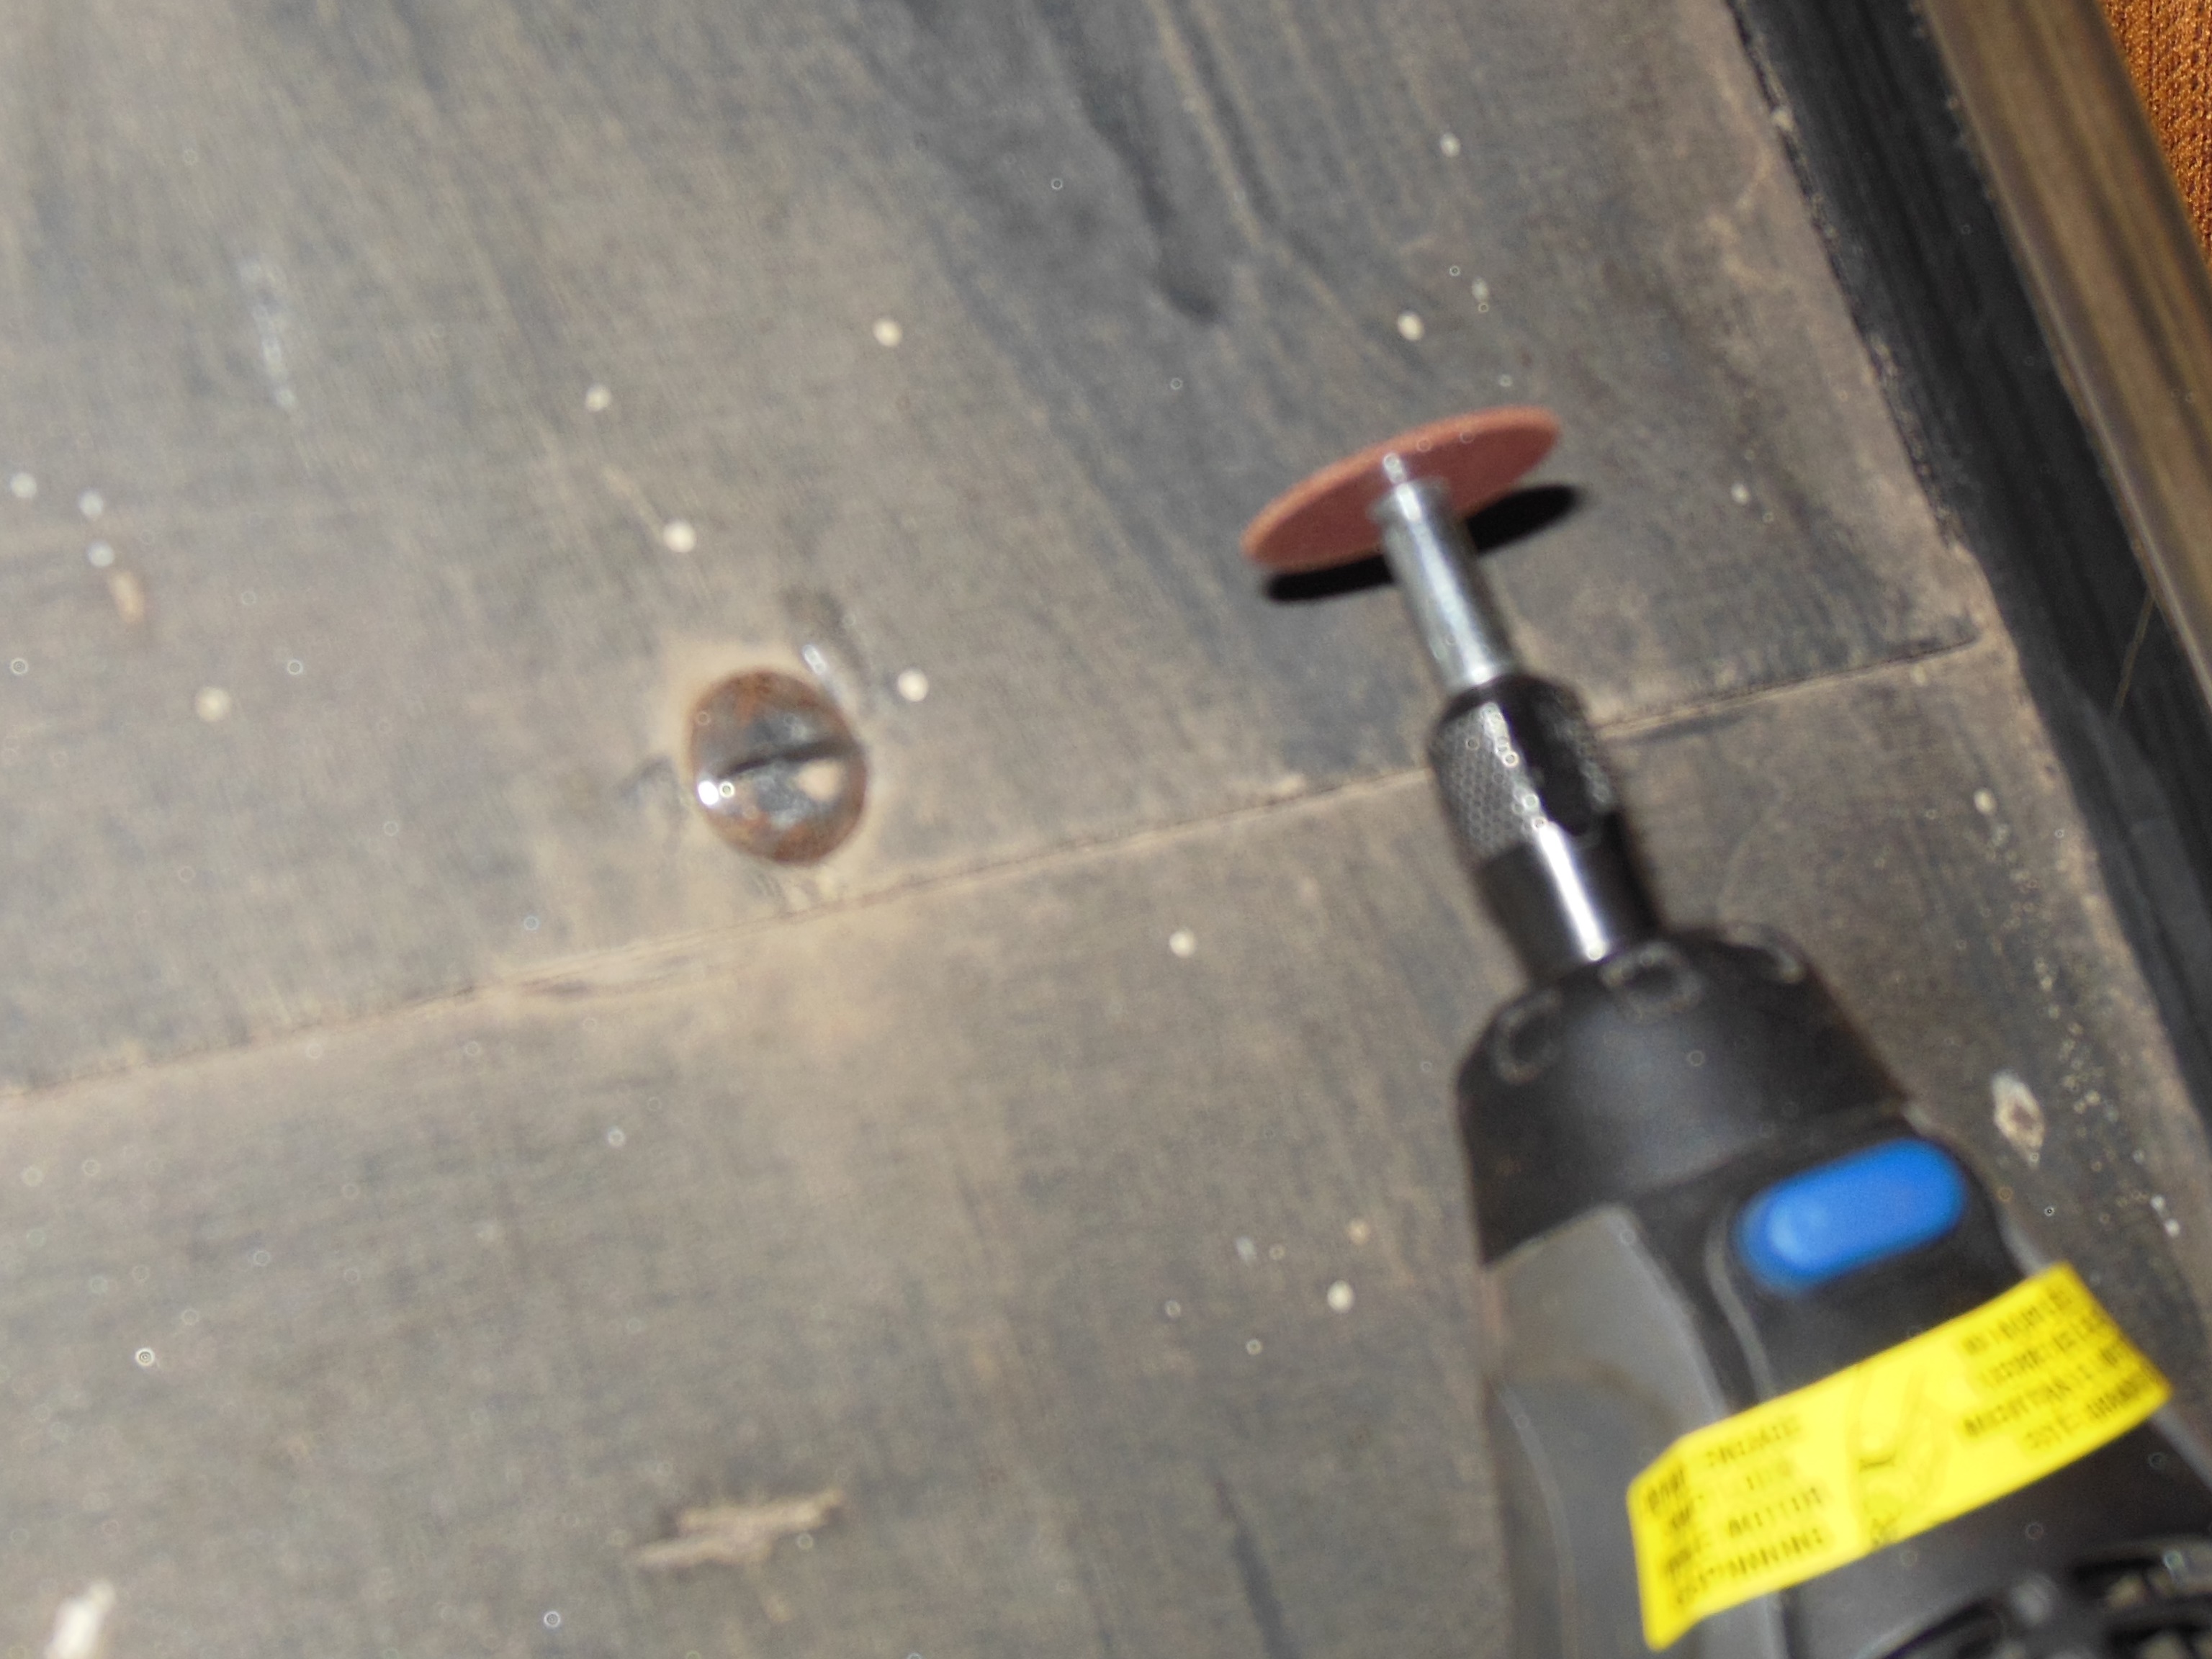
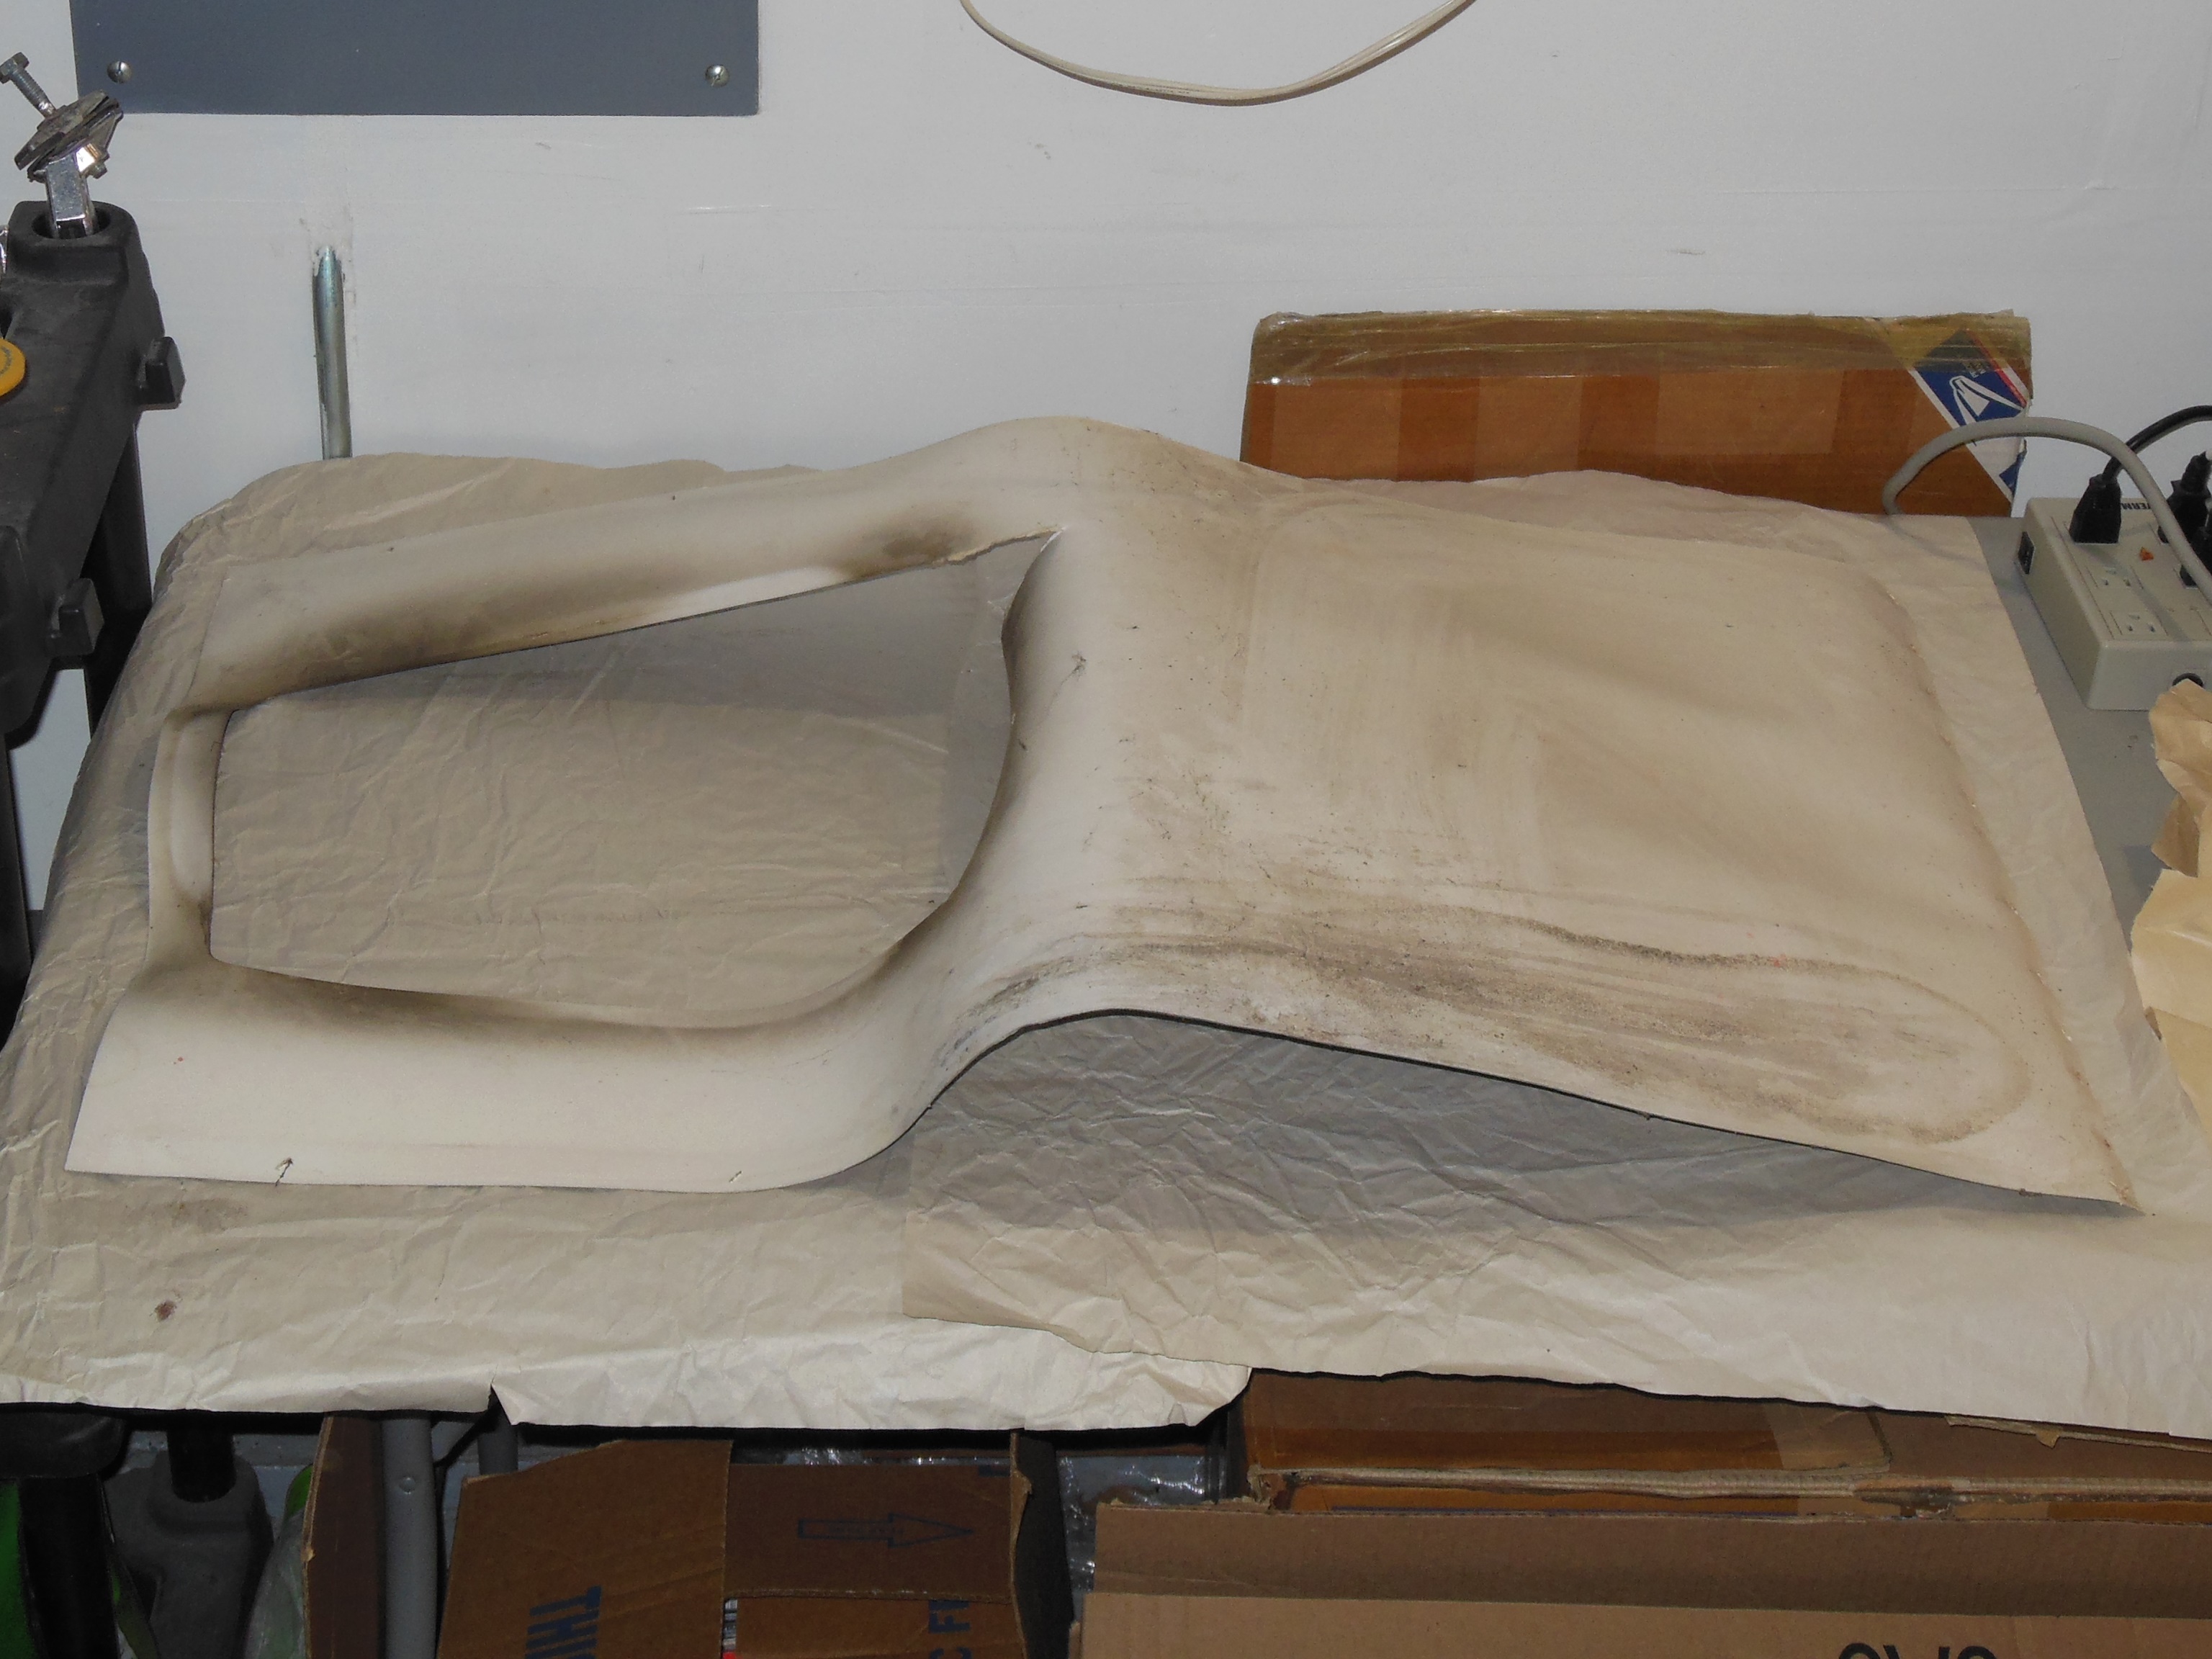
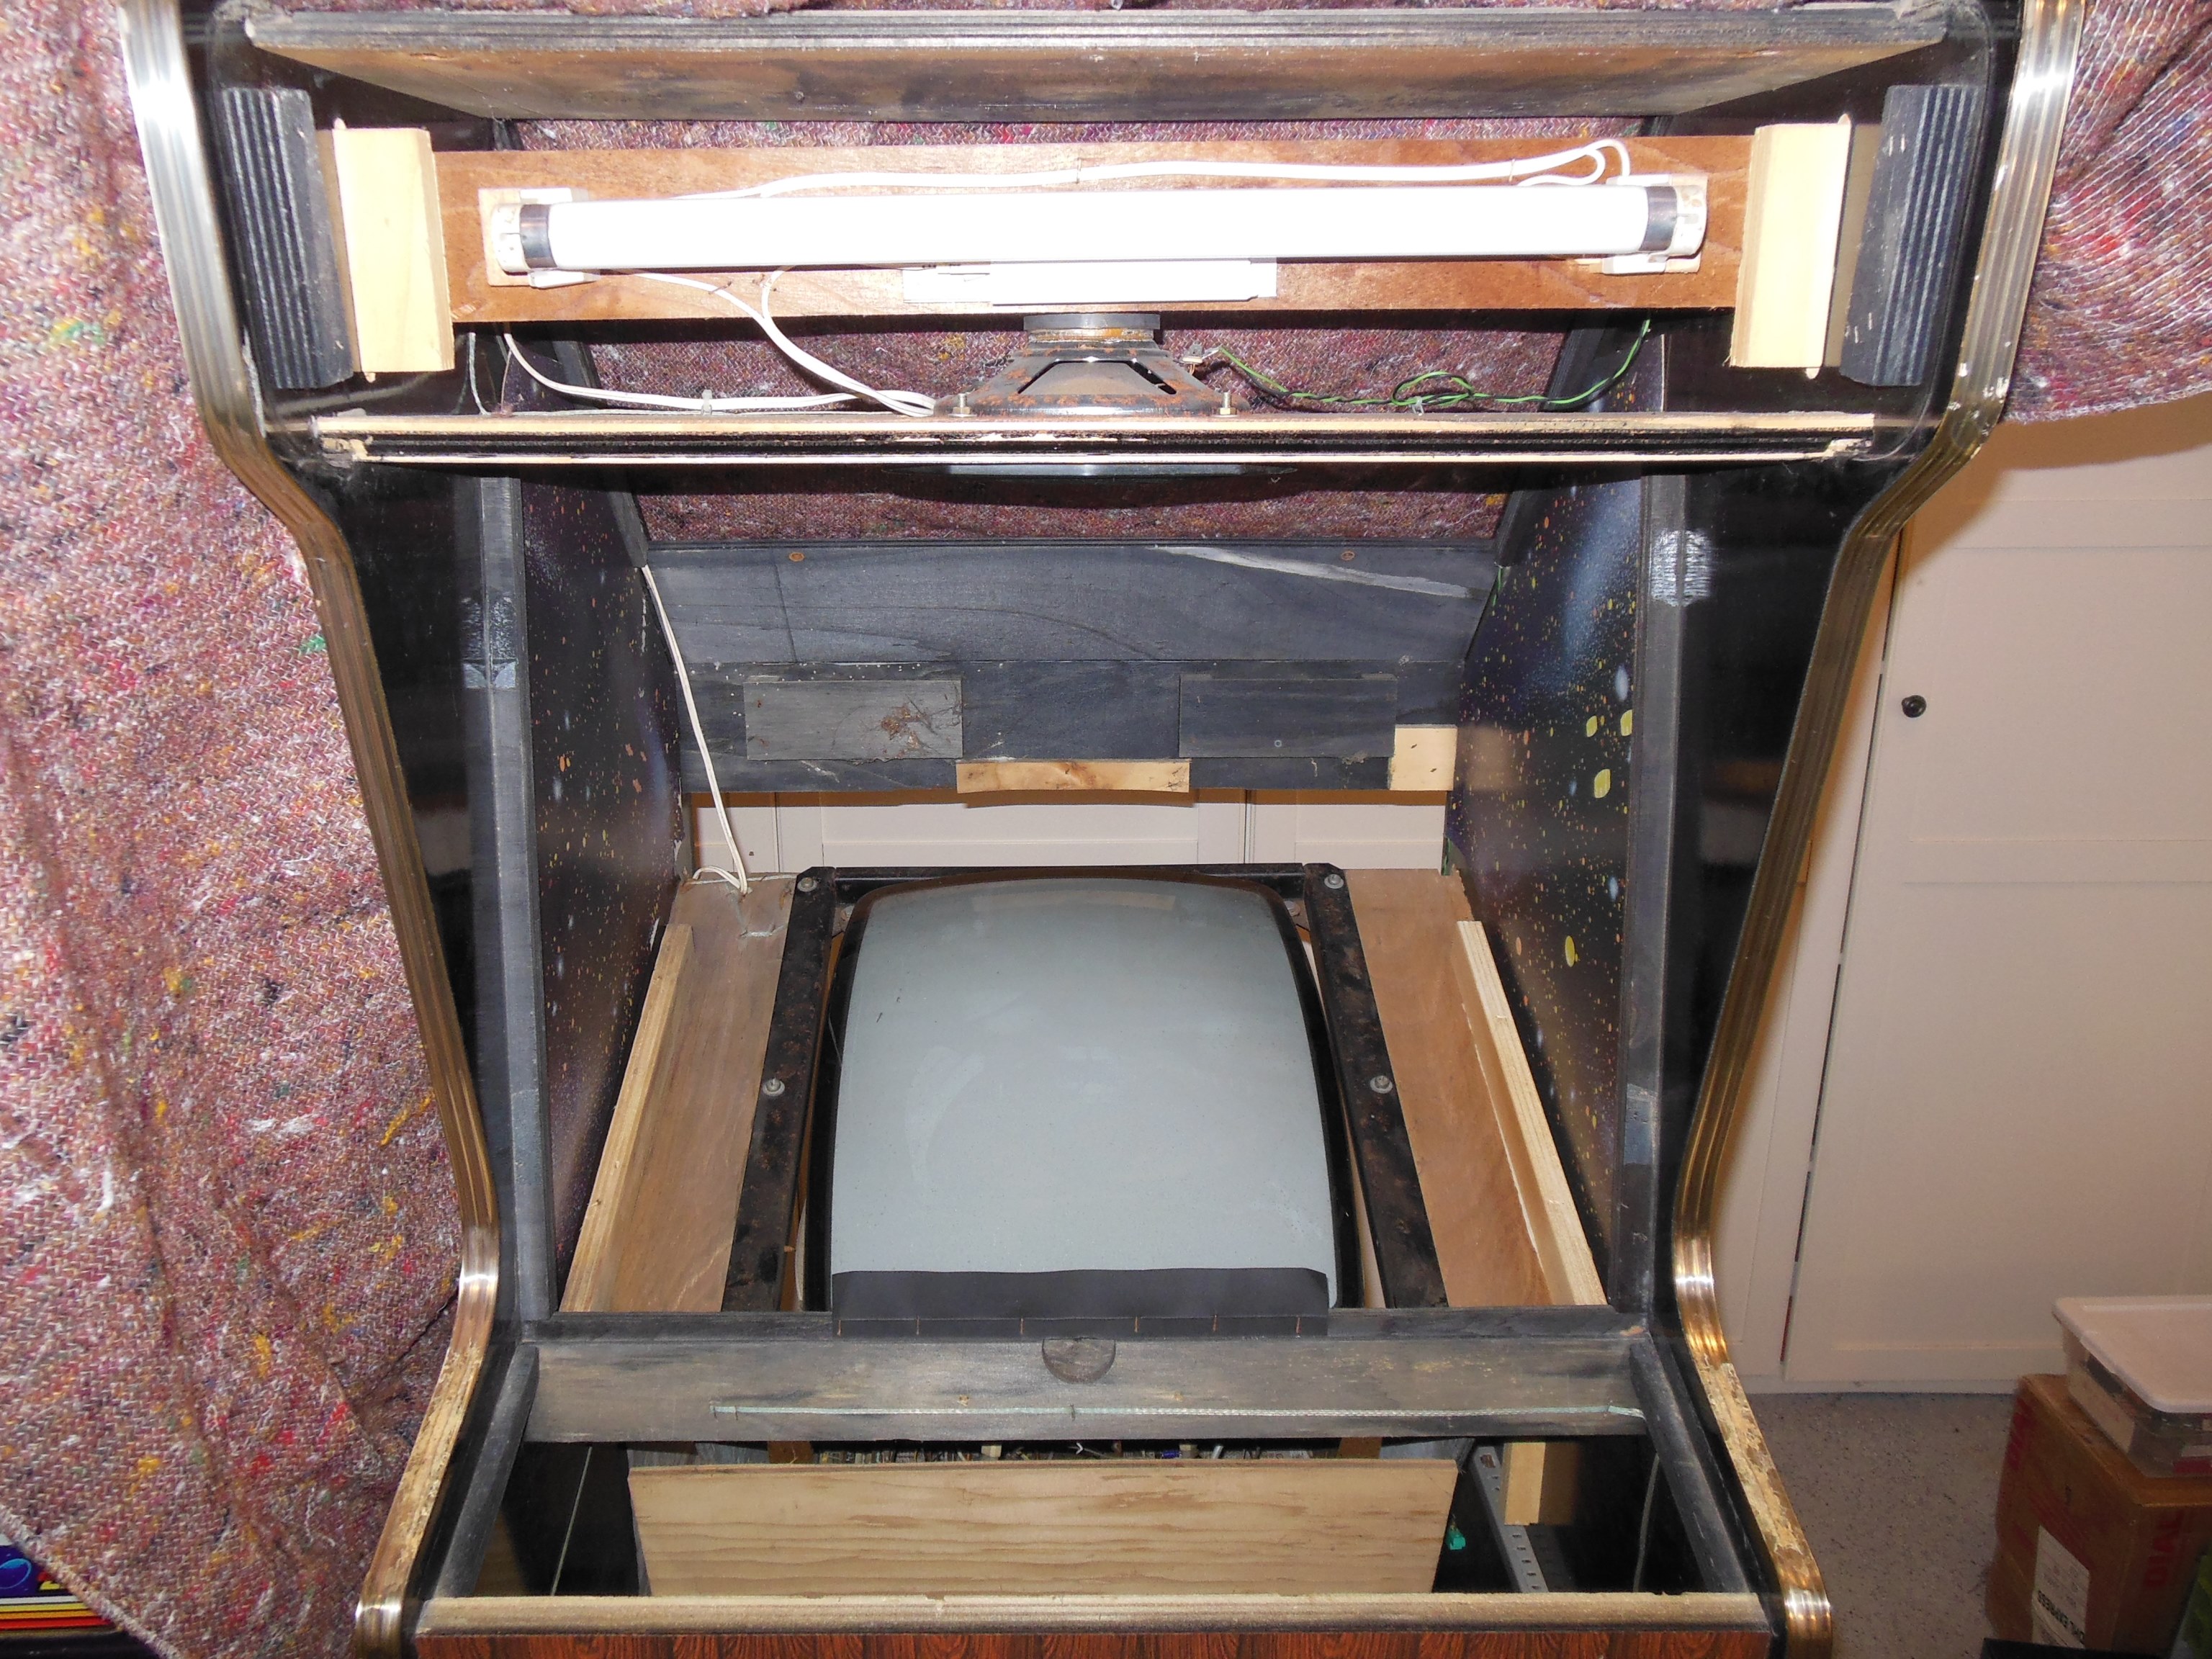
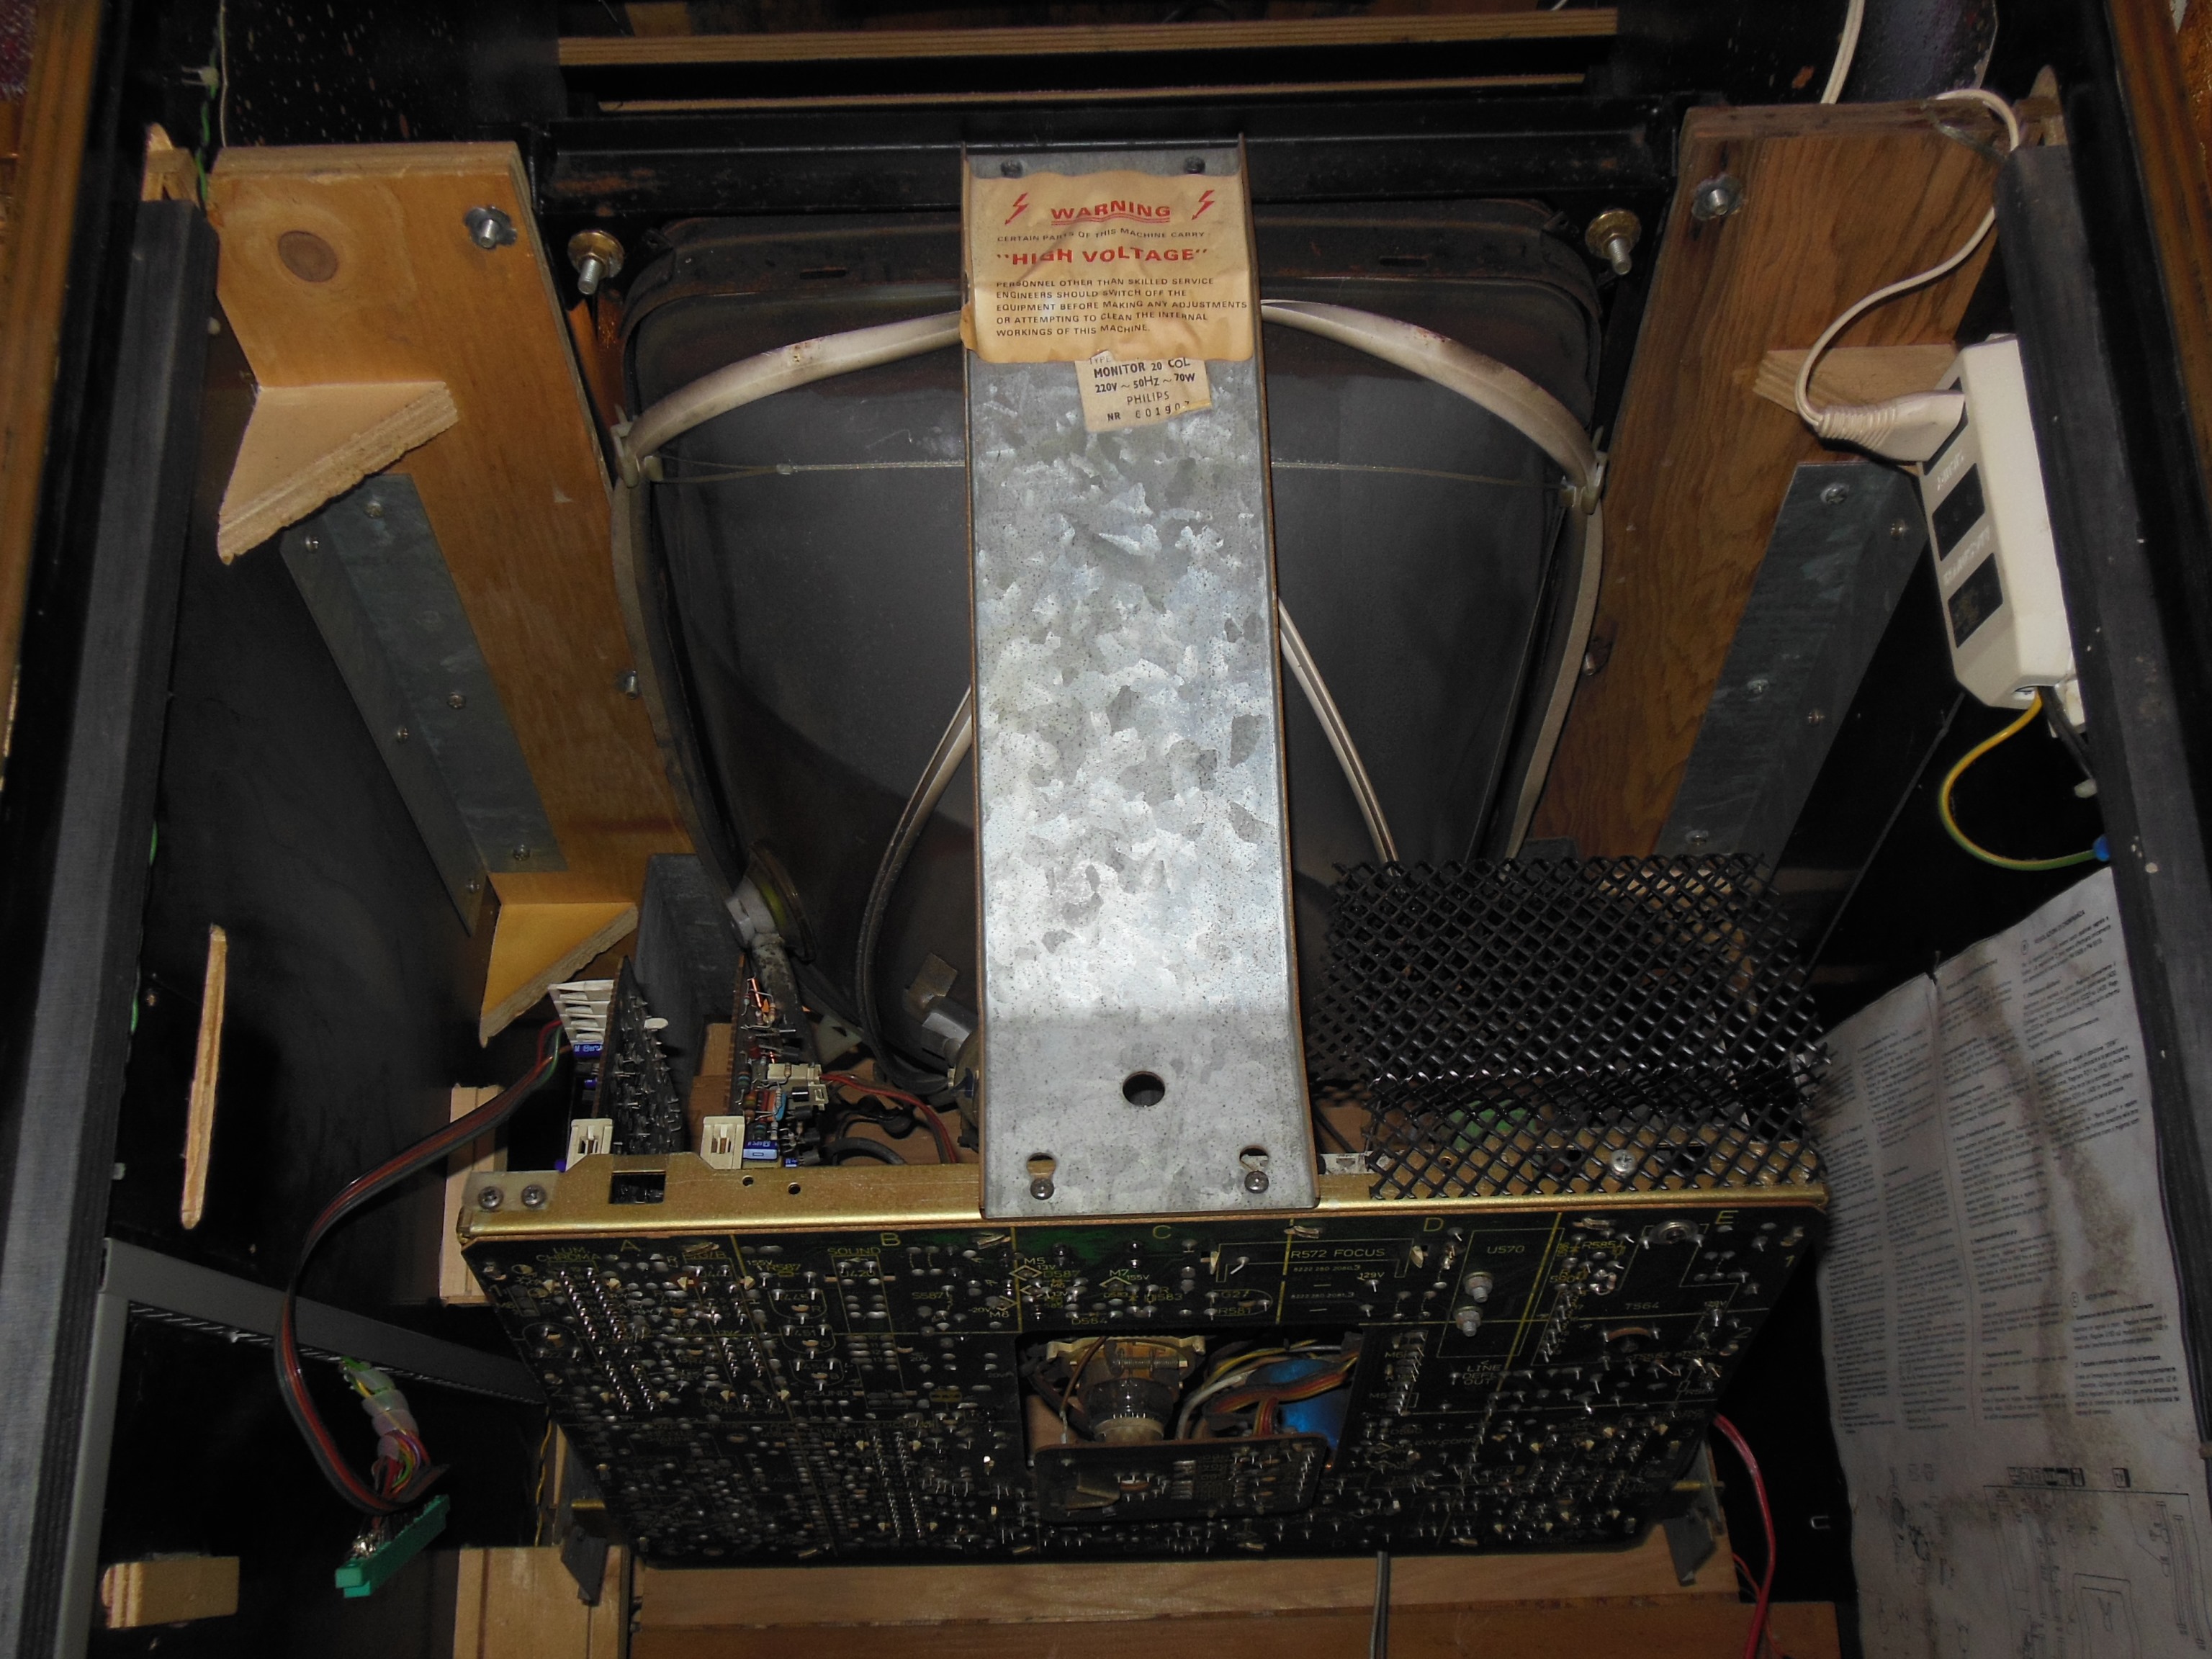
A Dremel was used to make a slot in one of the rusted rear hatch carriage bolts to undo it. The monitor surround was sagging and had liquid damage on one side. Thankfully, this was an early cabinet with the thick white plastic-coated surround that had stained but not disintegrated.

|
All the rusty staples were removed, and the surround removed, cleaned, and set to flatten for a few days.
|
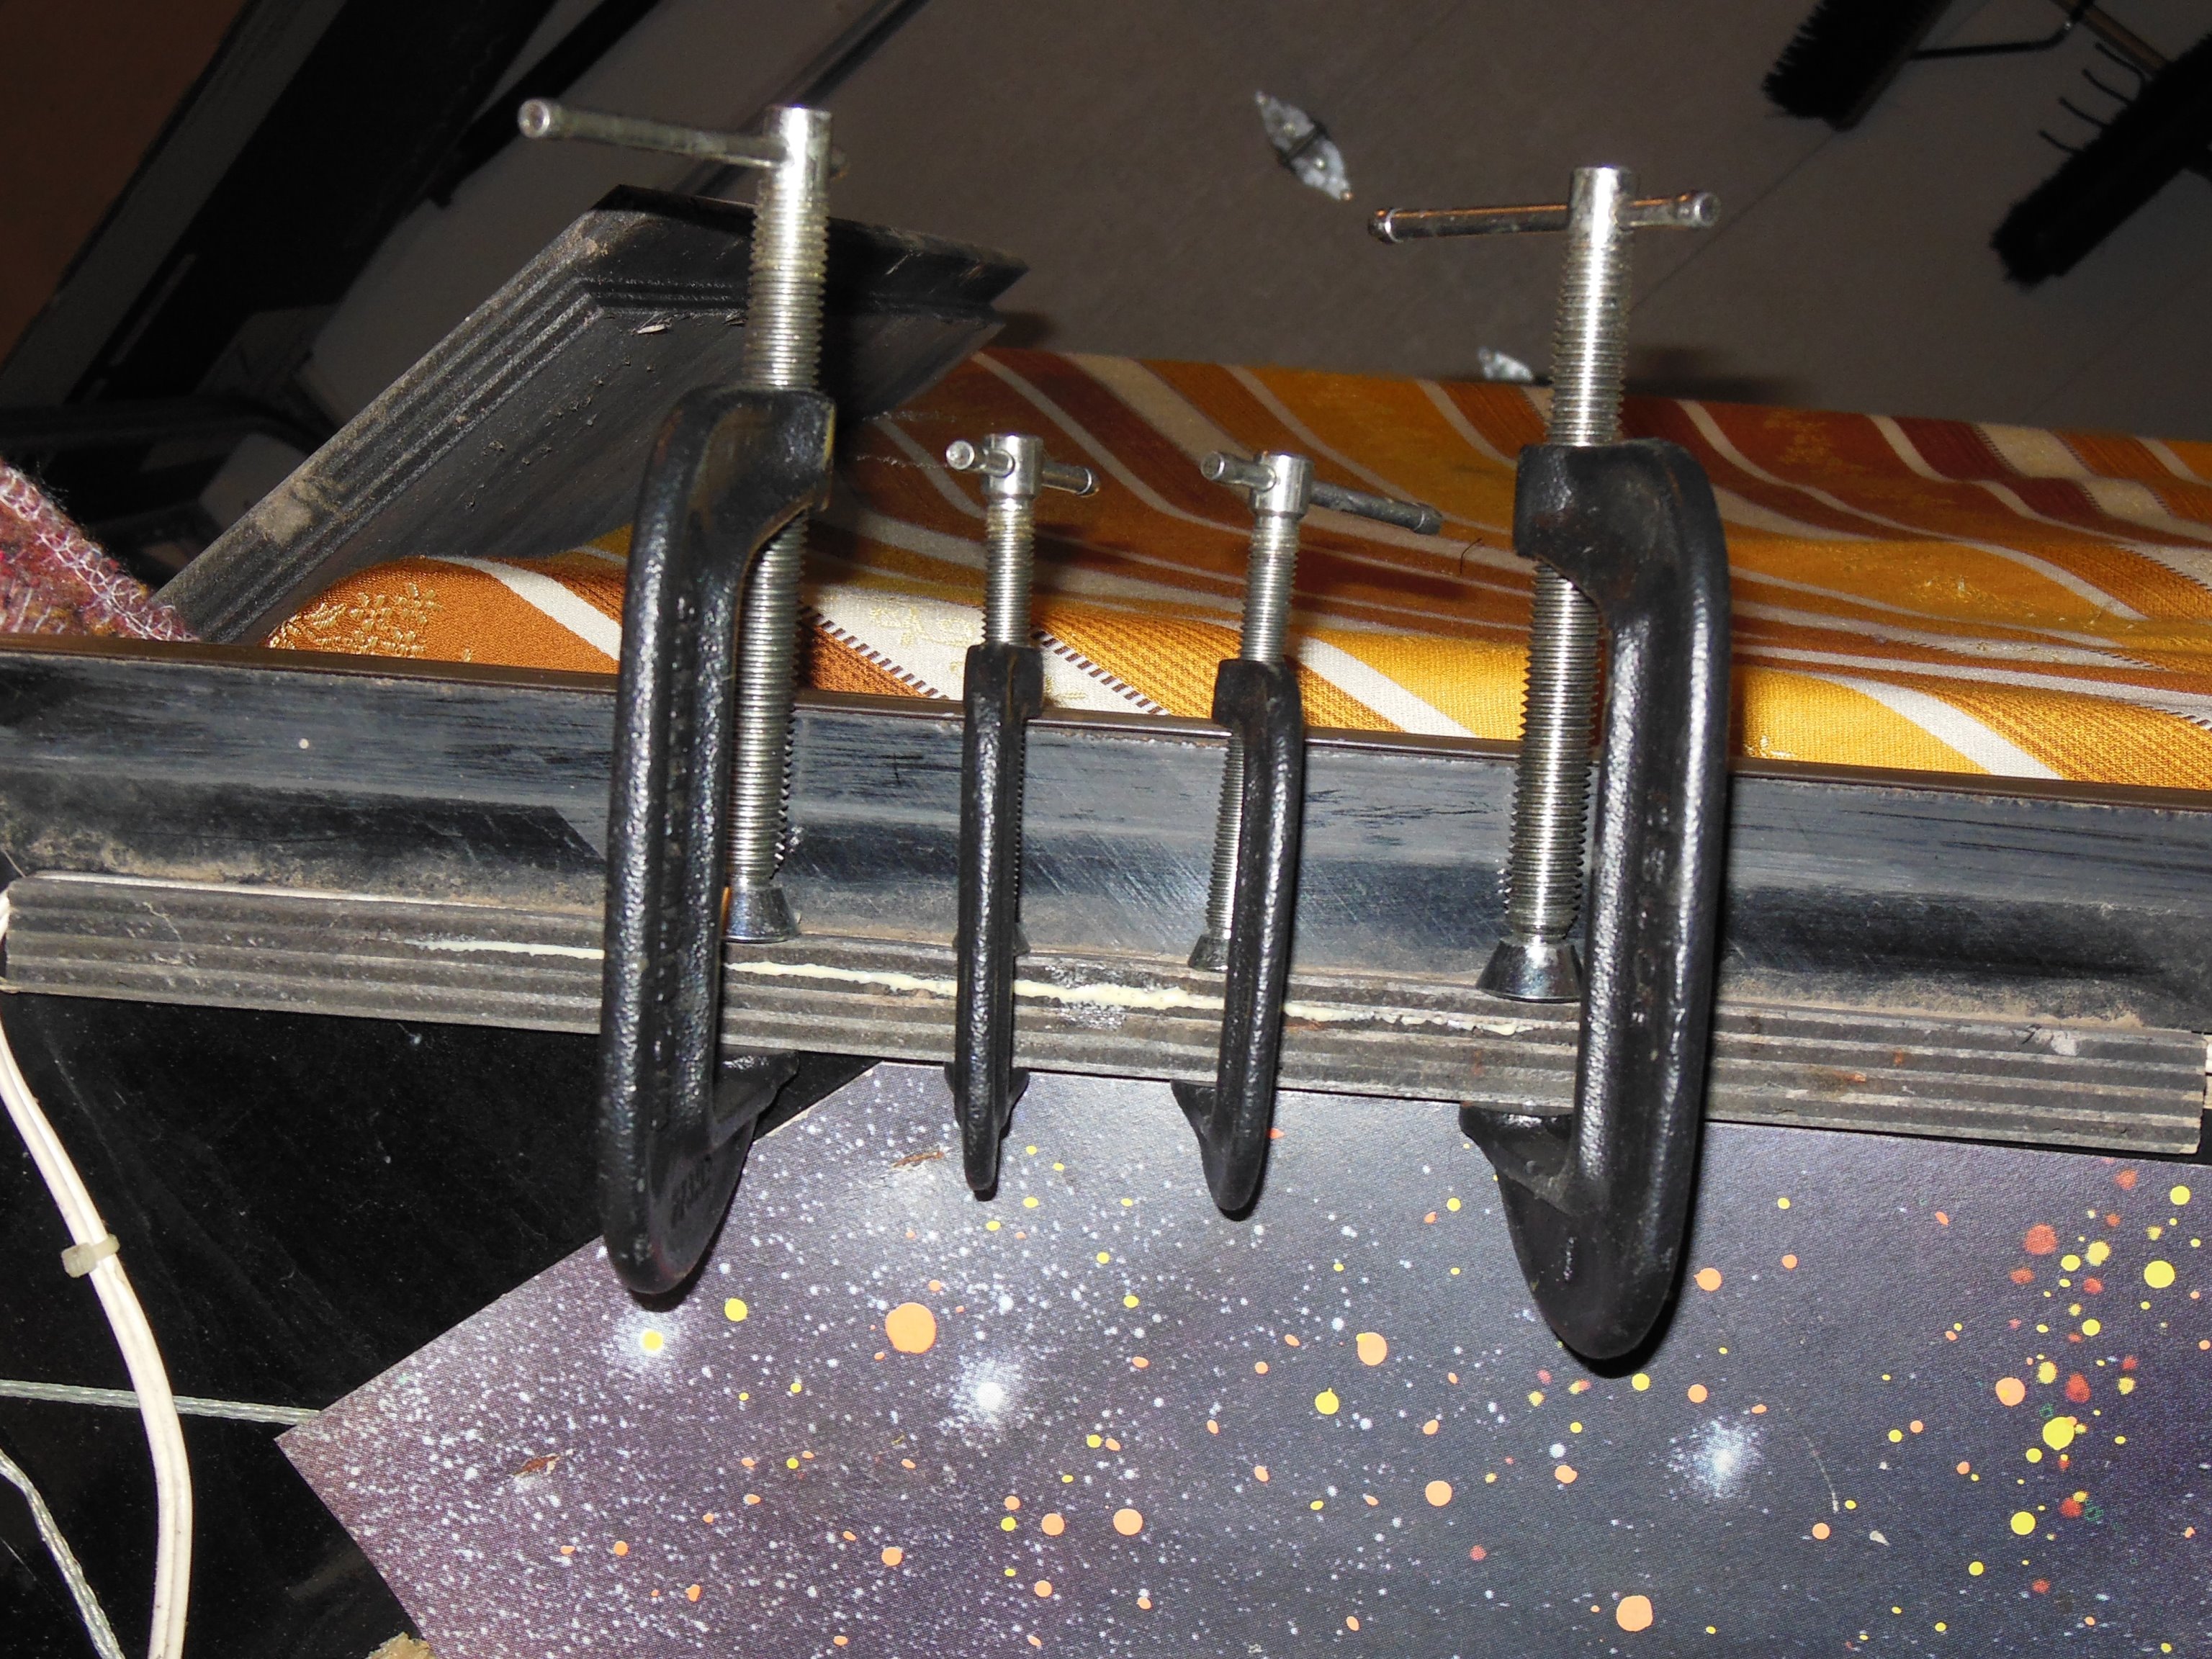
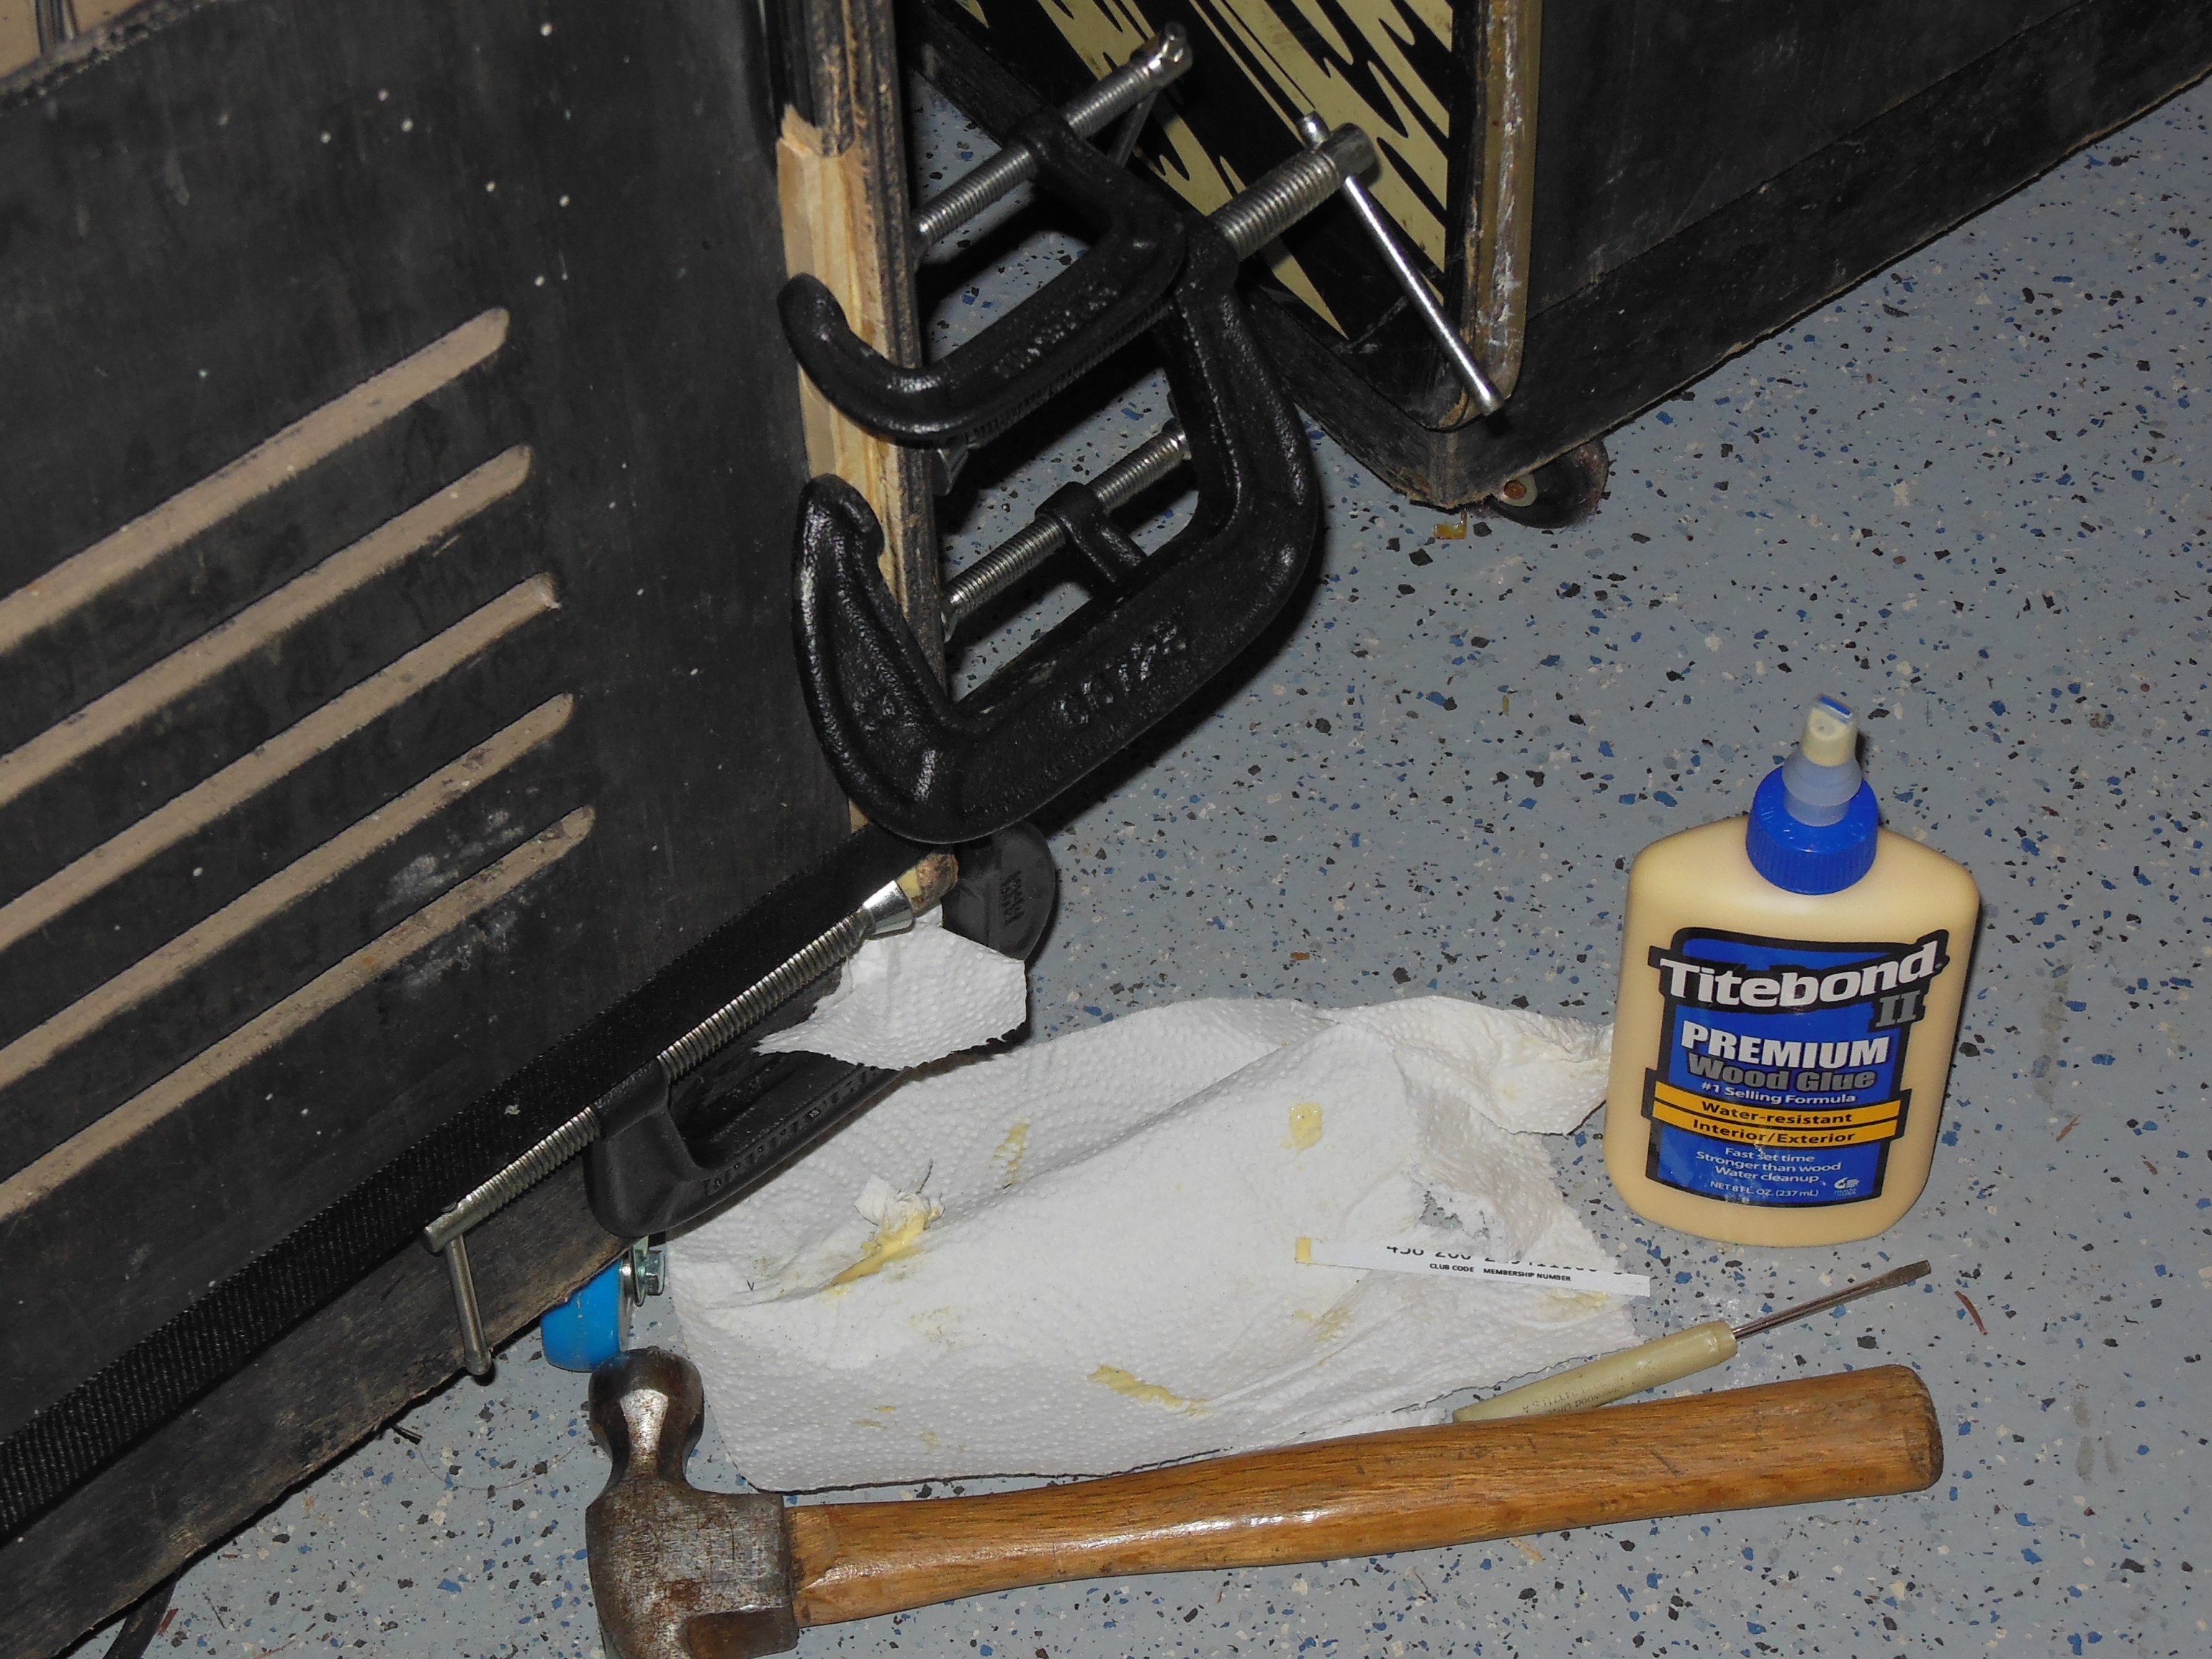
Moisture had also caused the plywood to delaminate on the right side of the hatch bracket. Wood glue was spread into the gap and held in place with a few G-clamps.
|
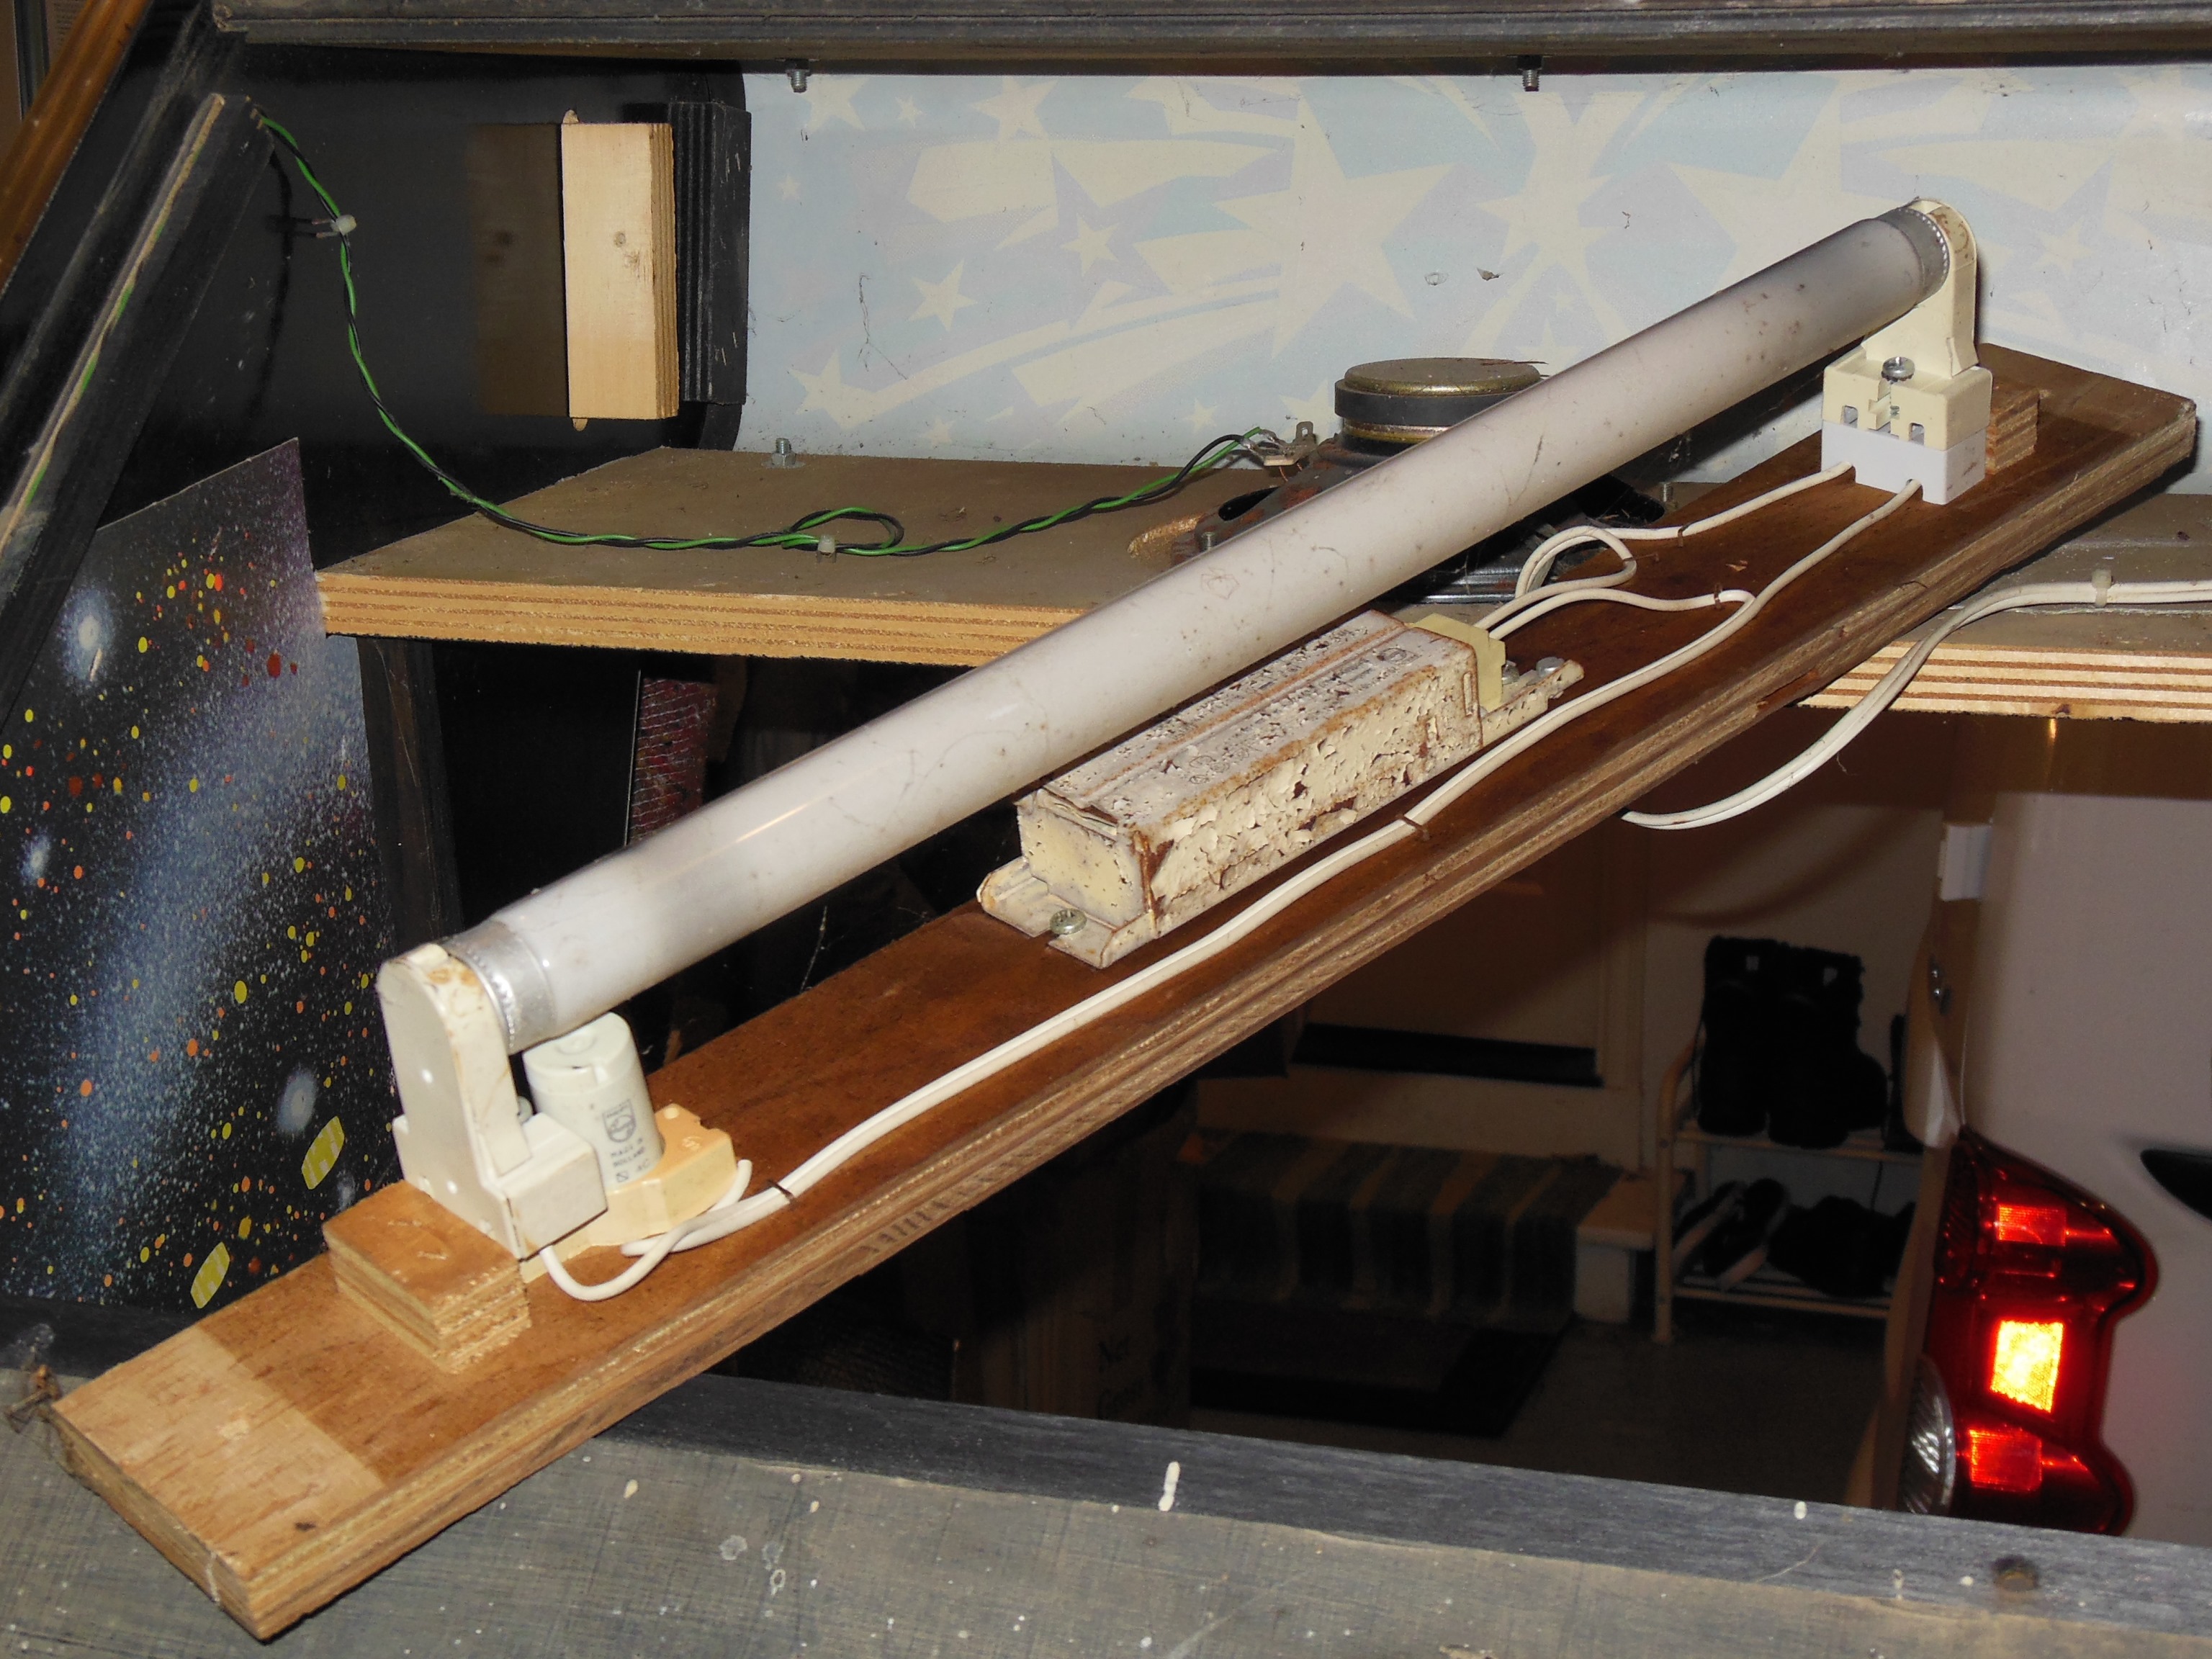
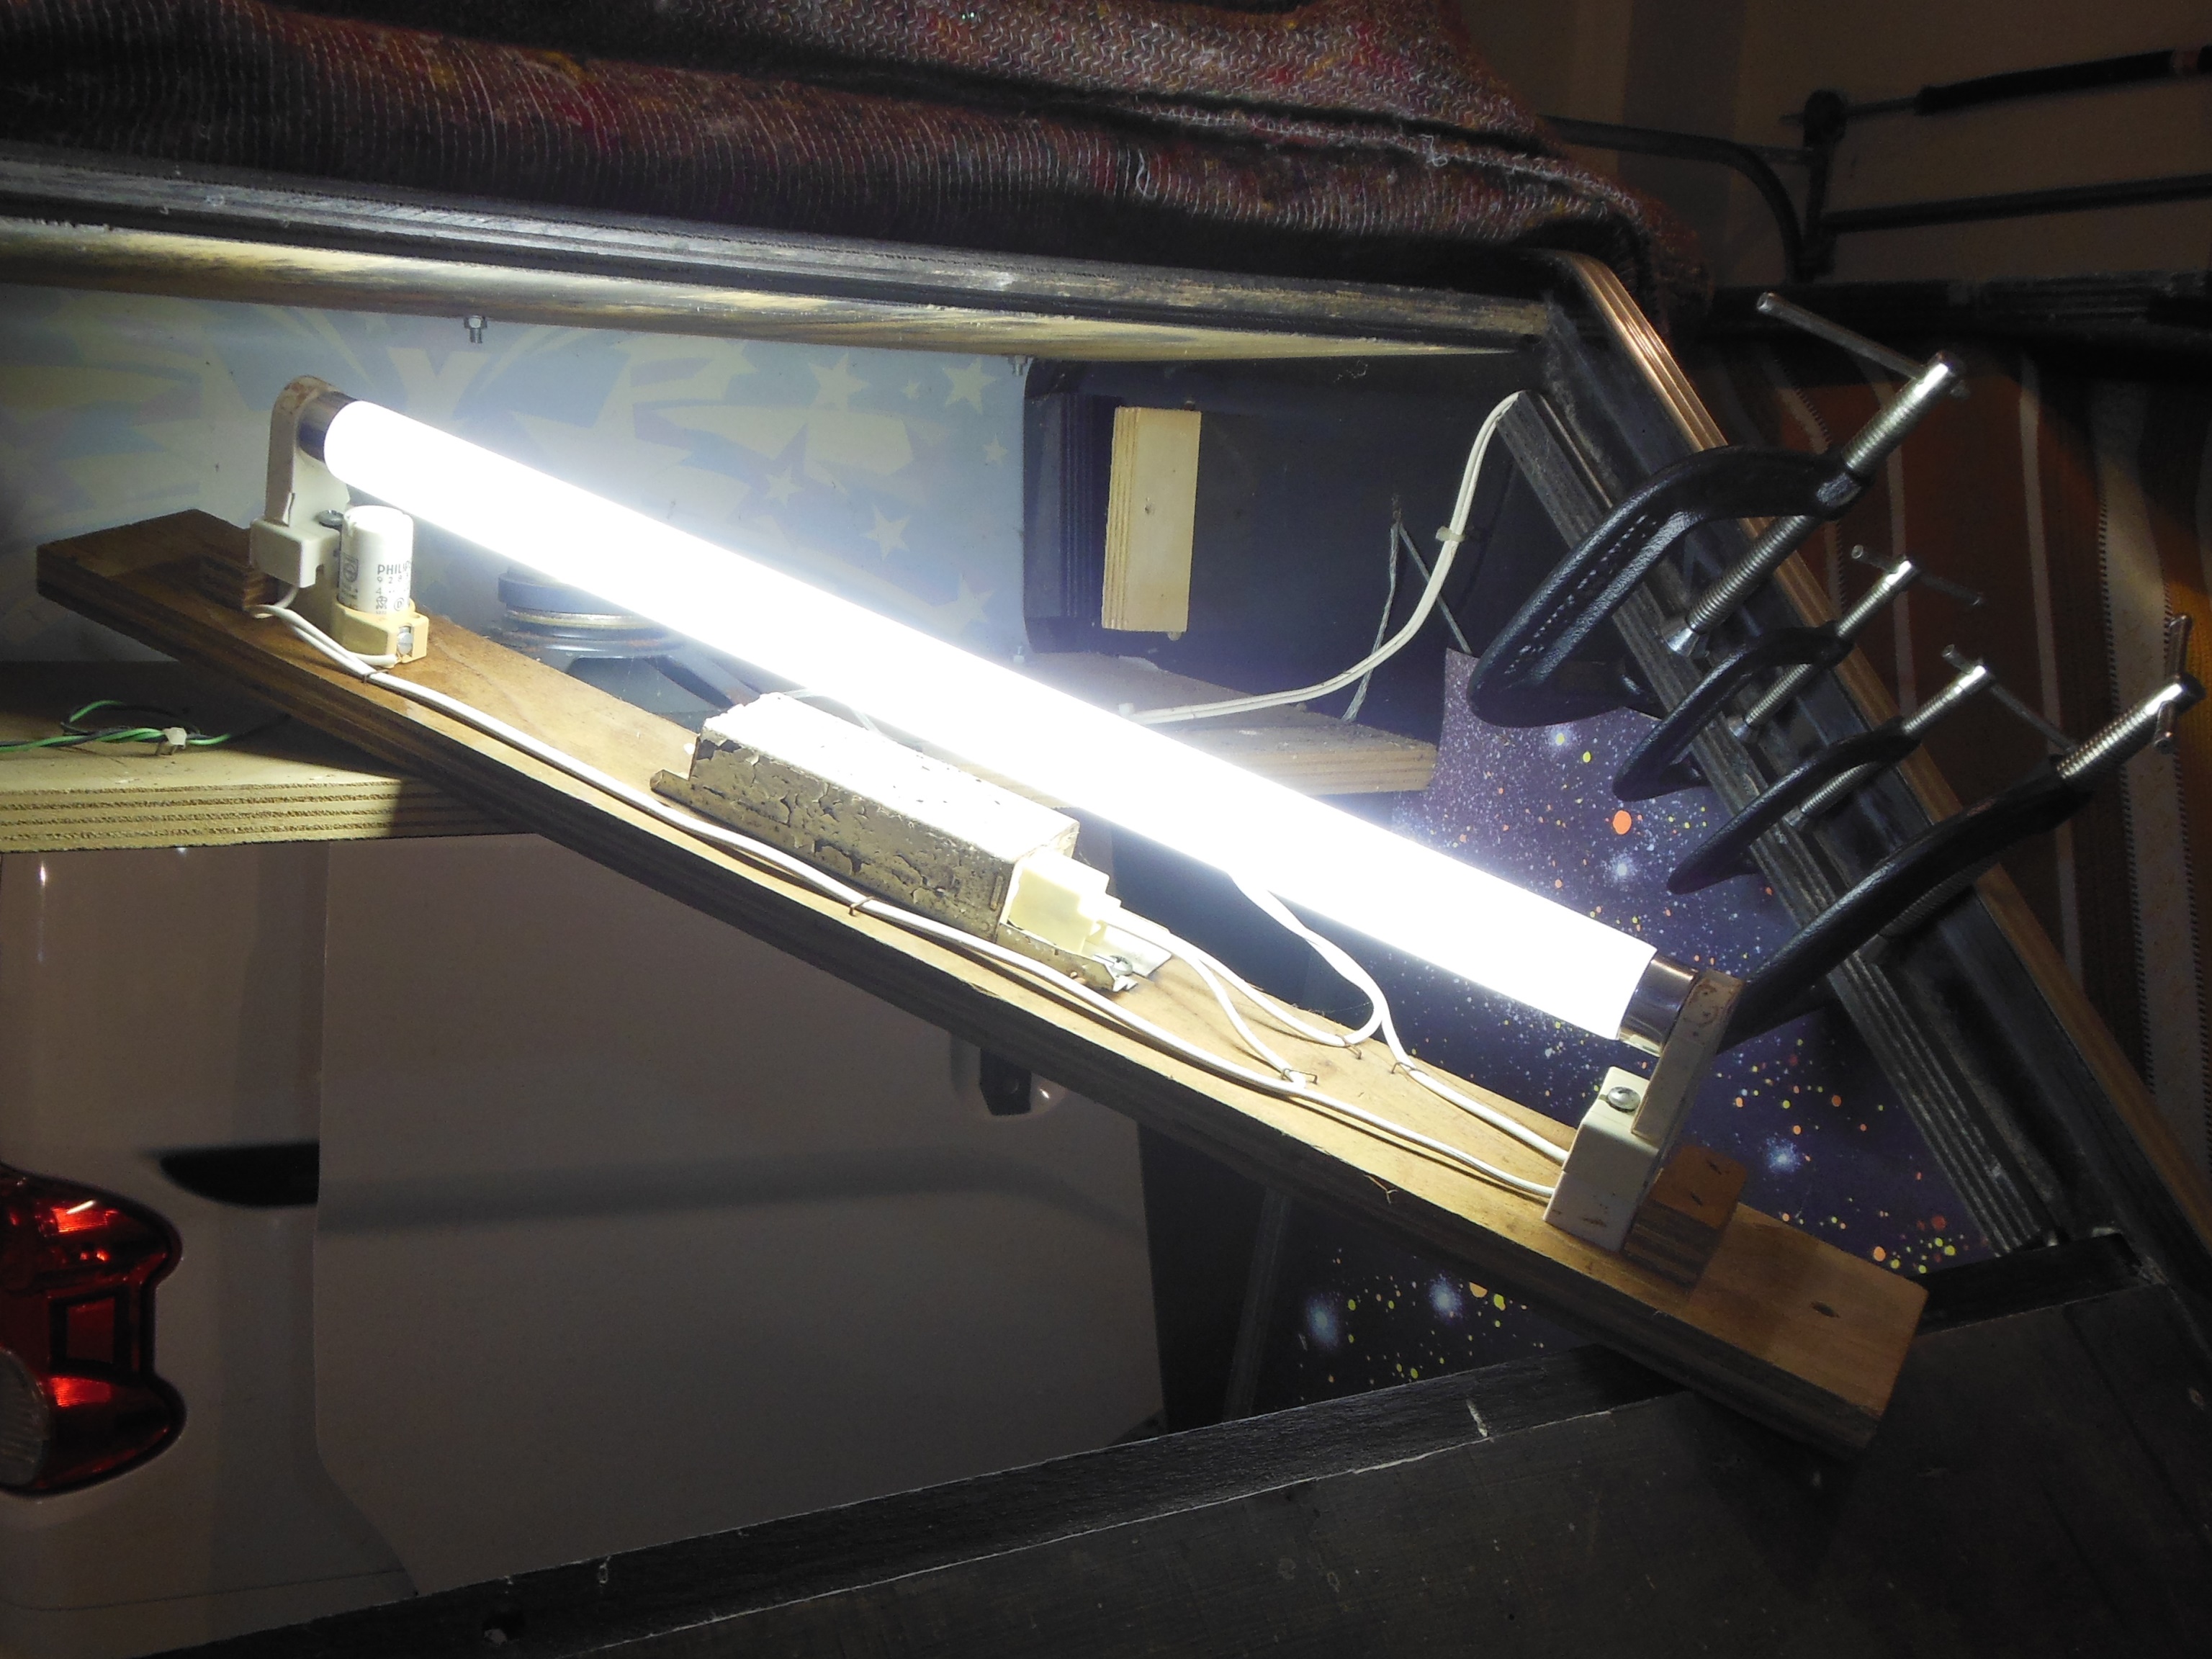
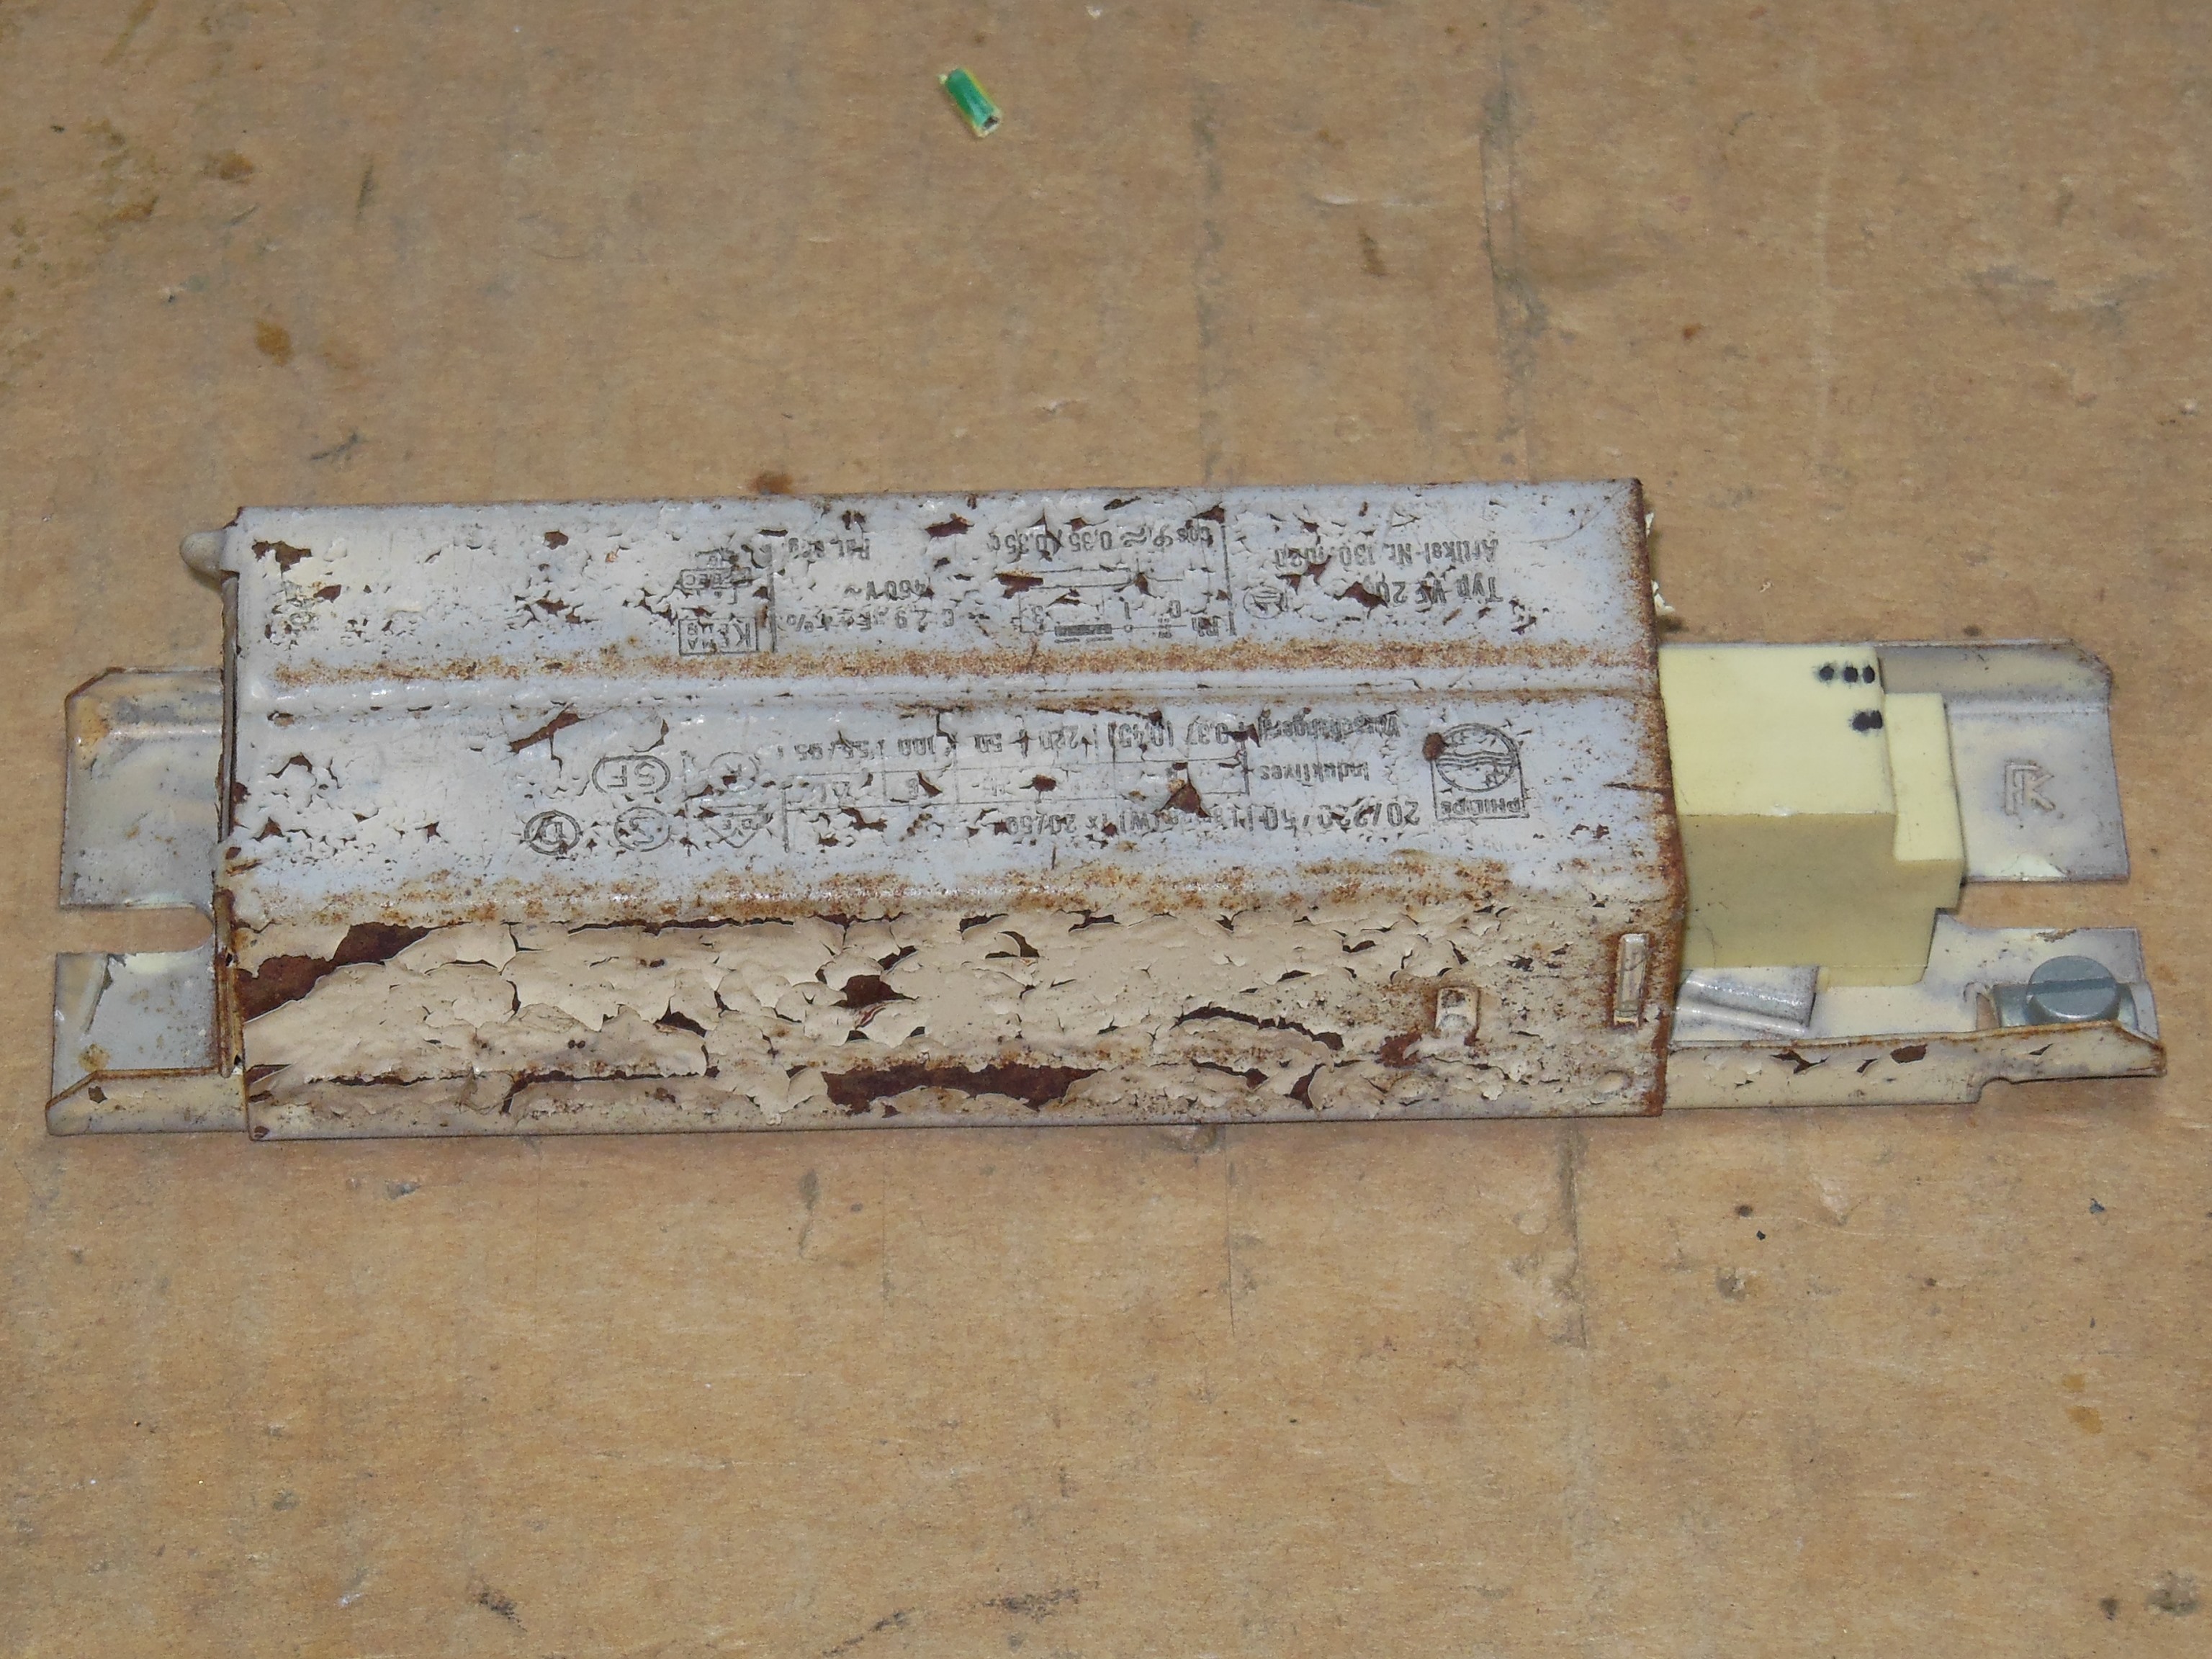
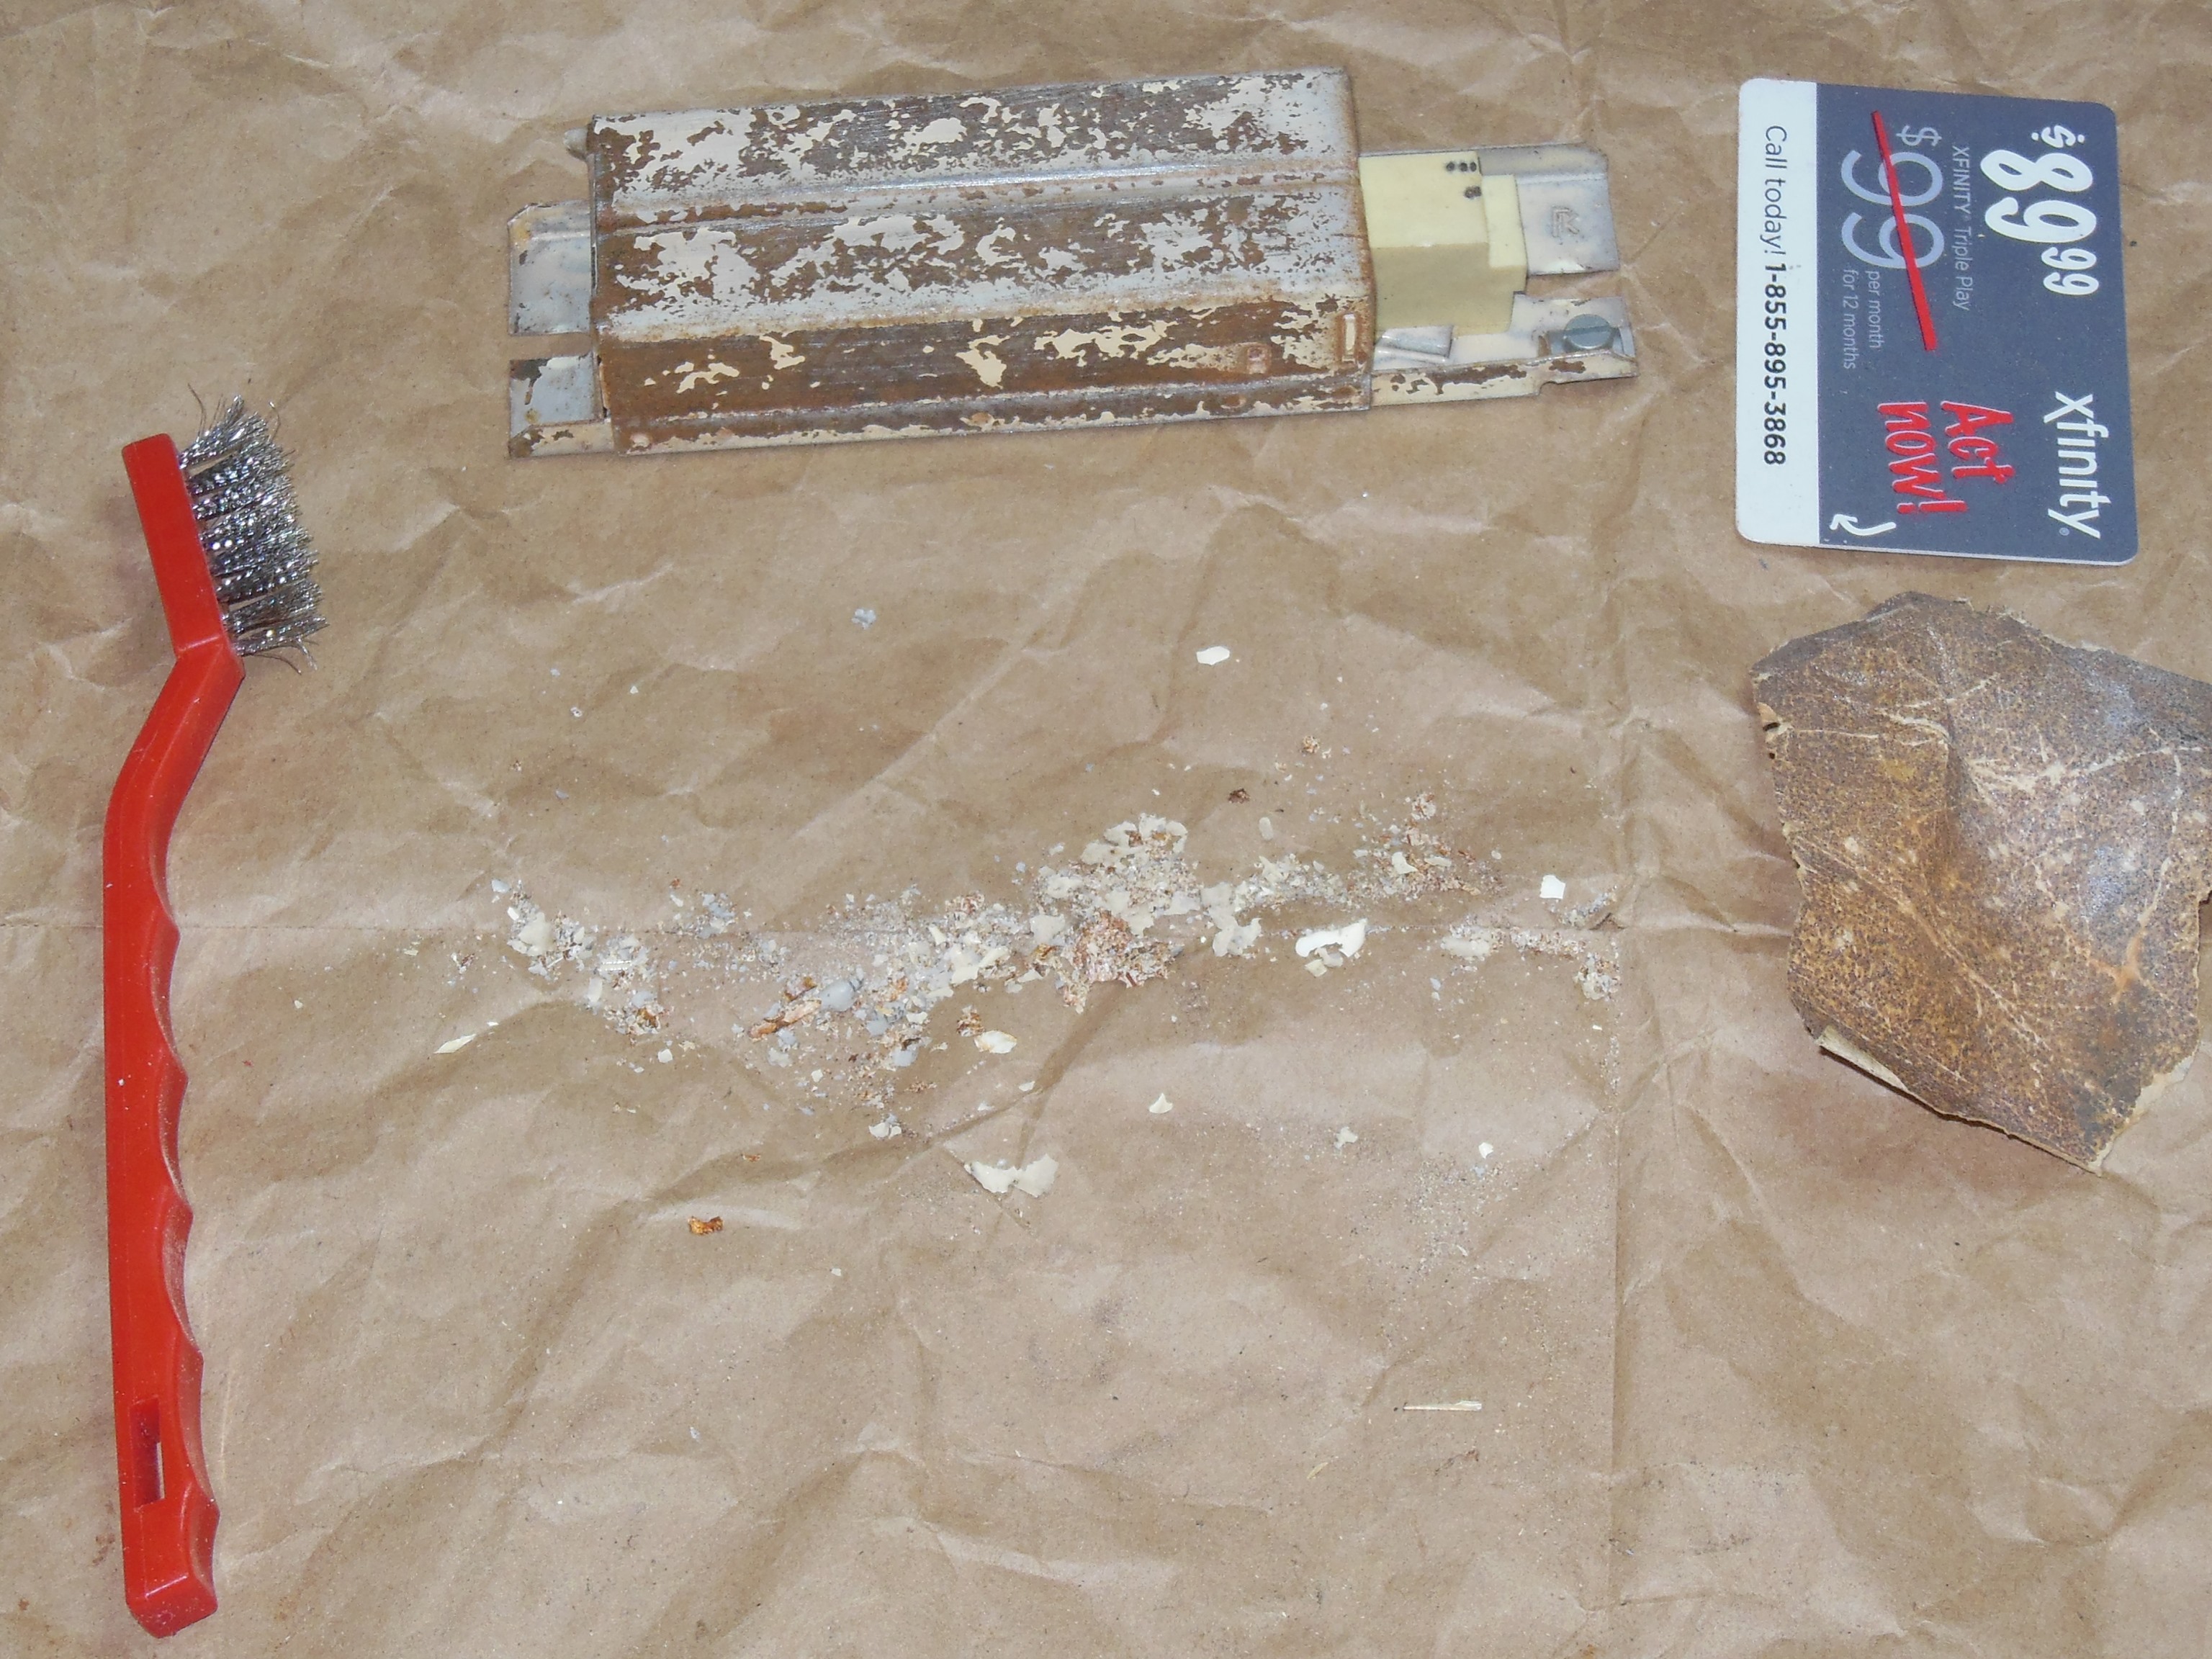
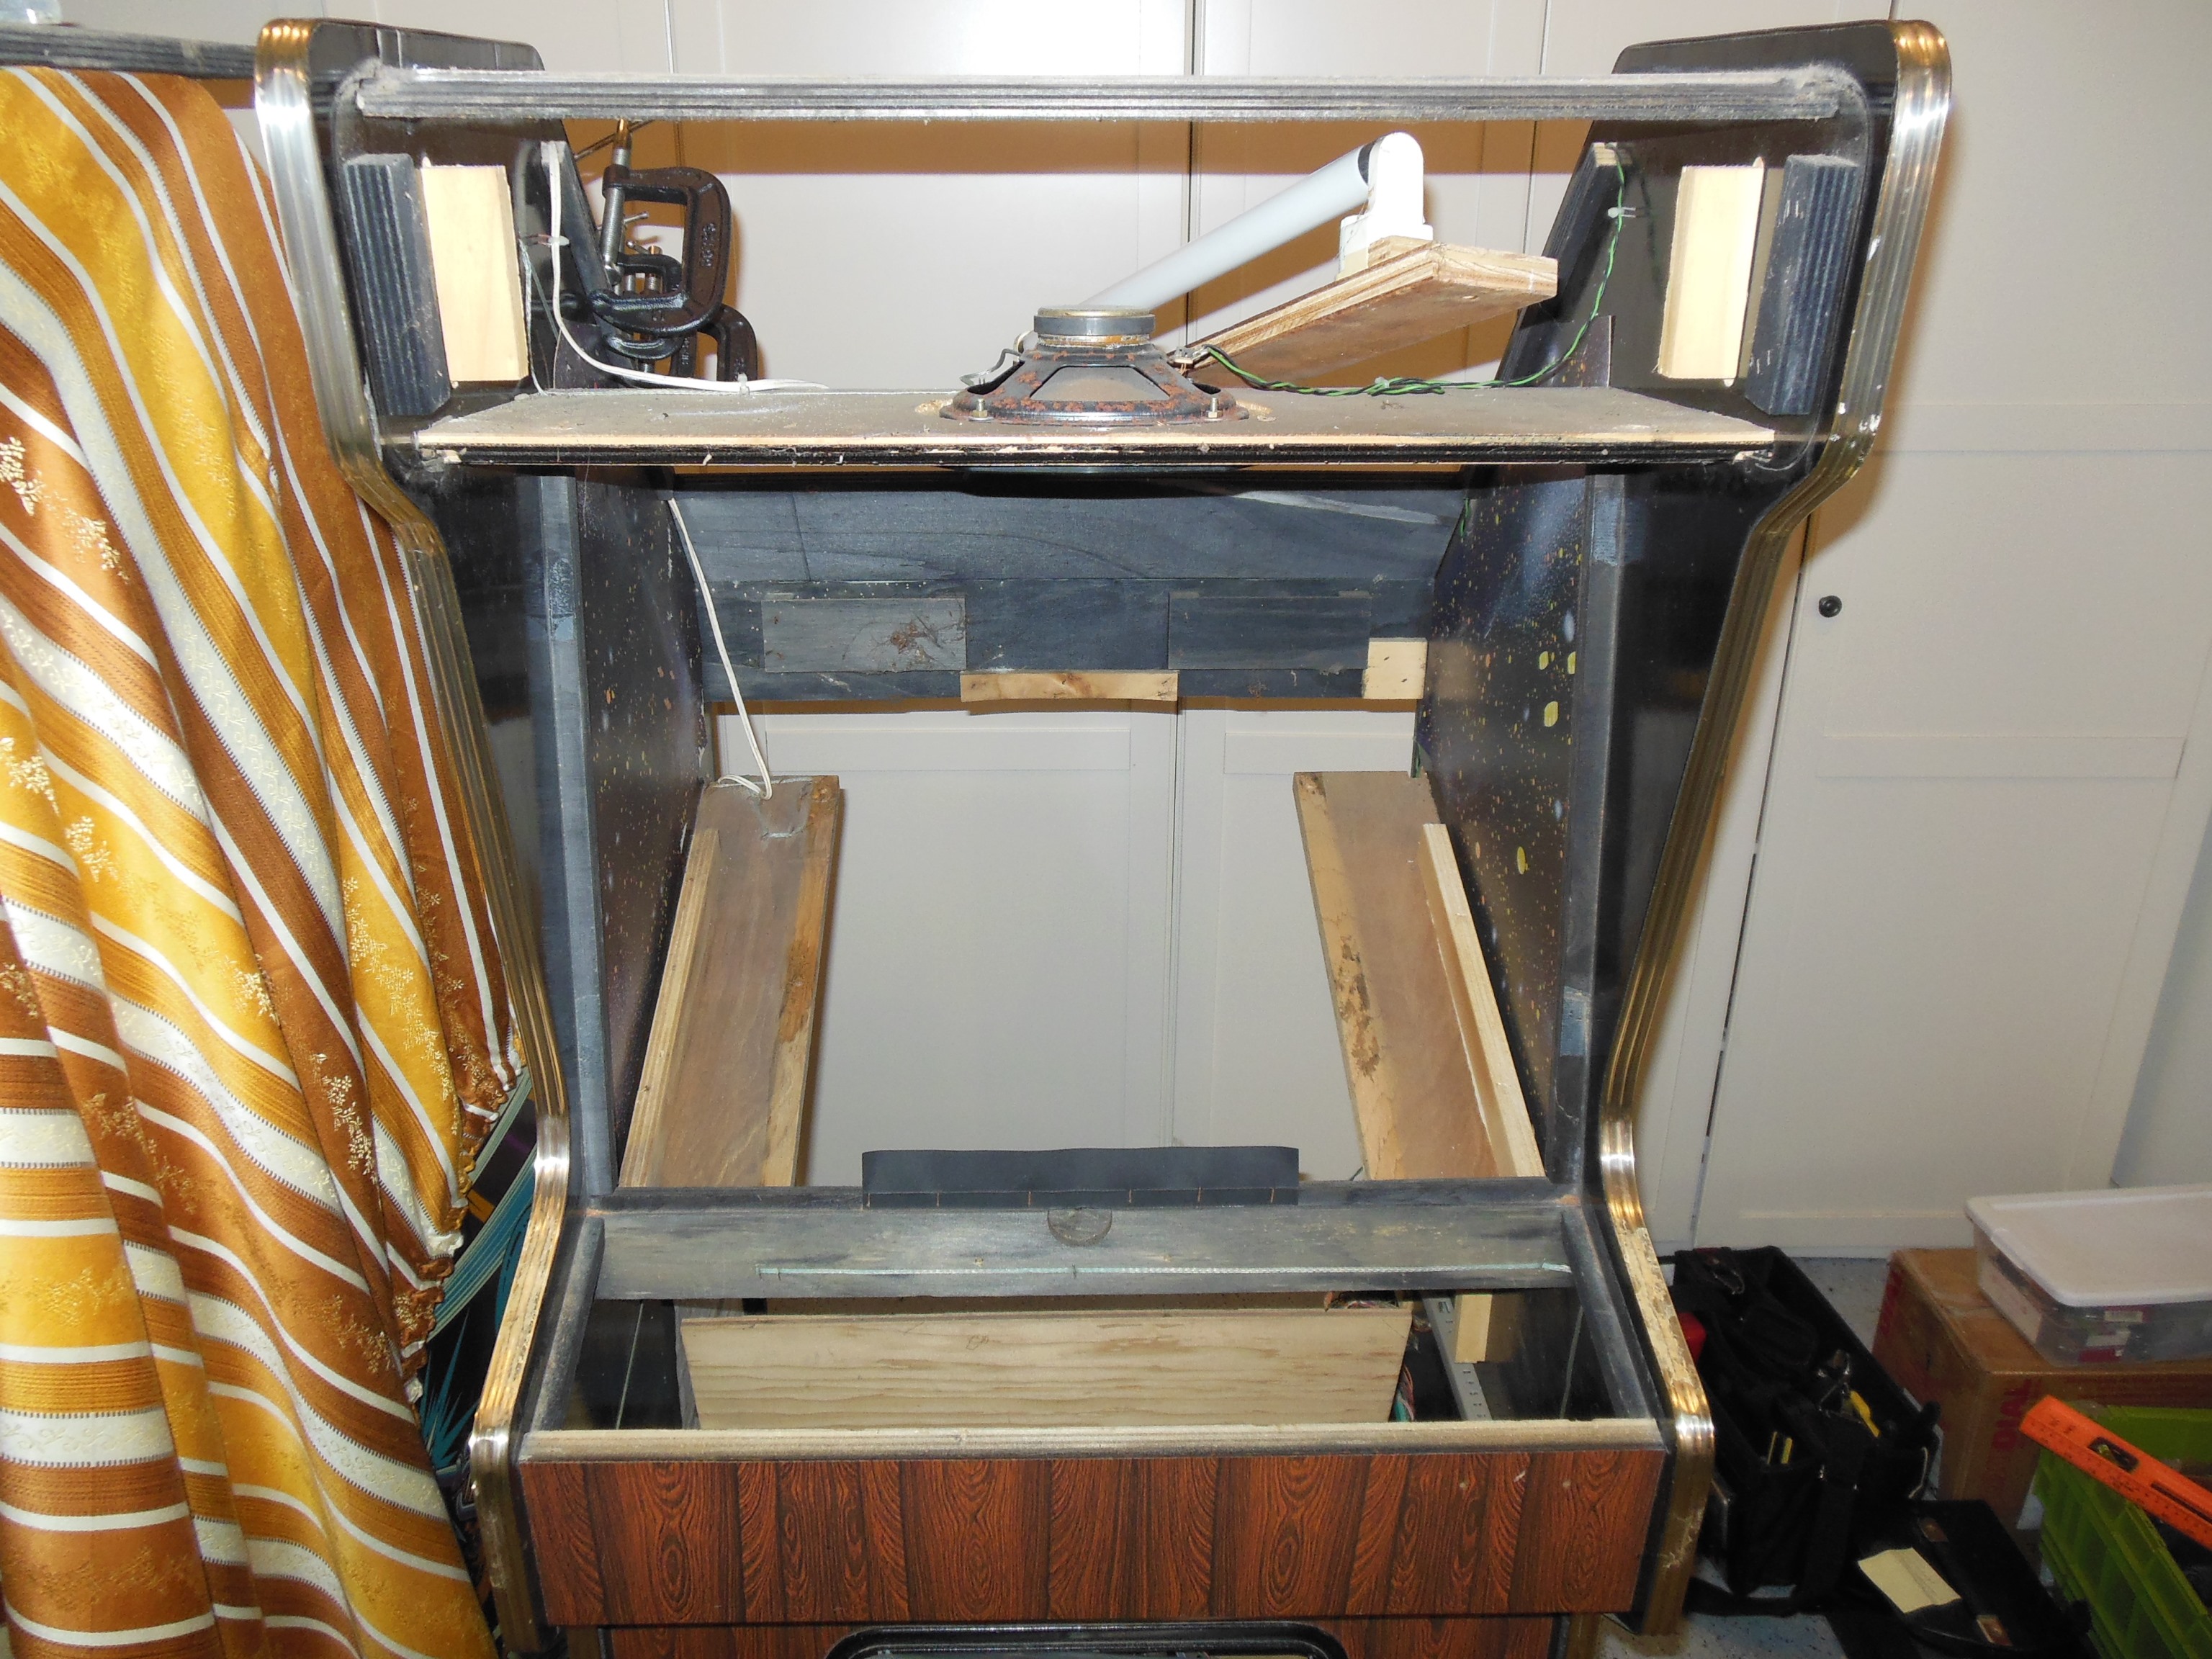
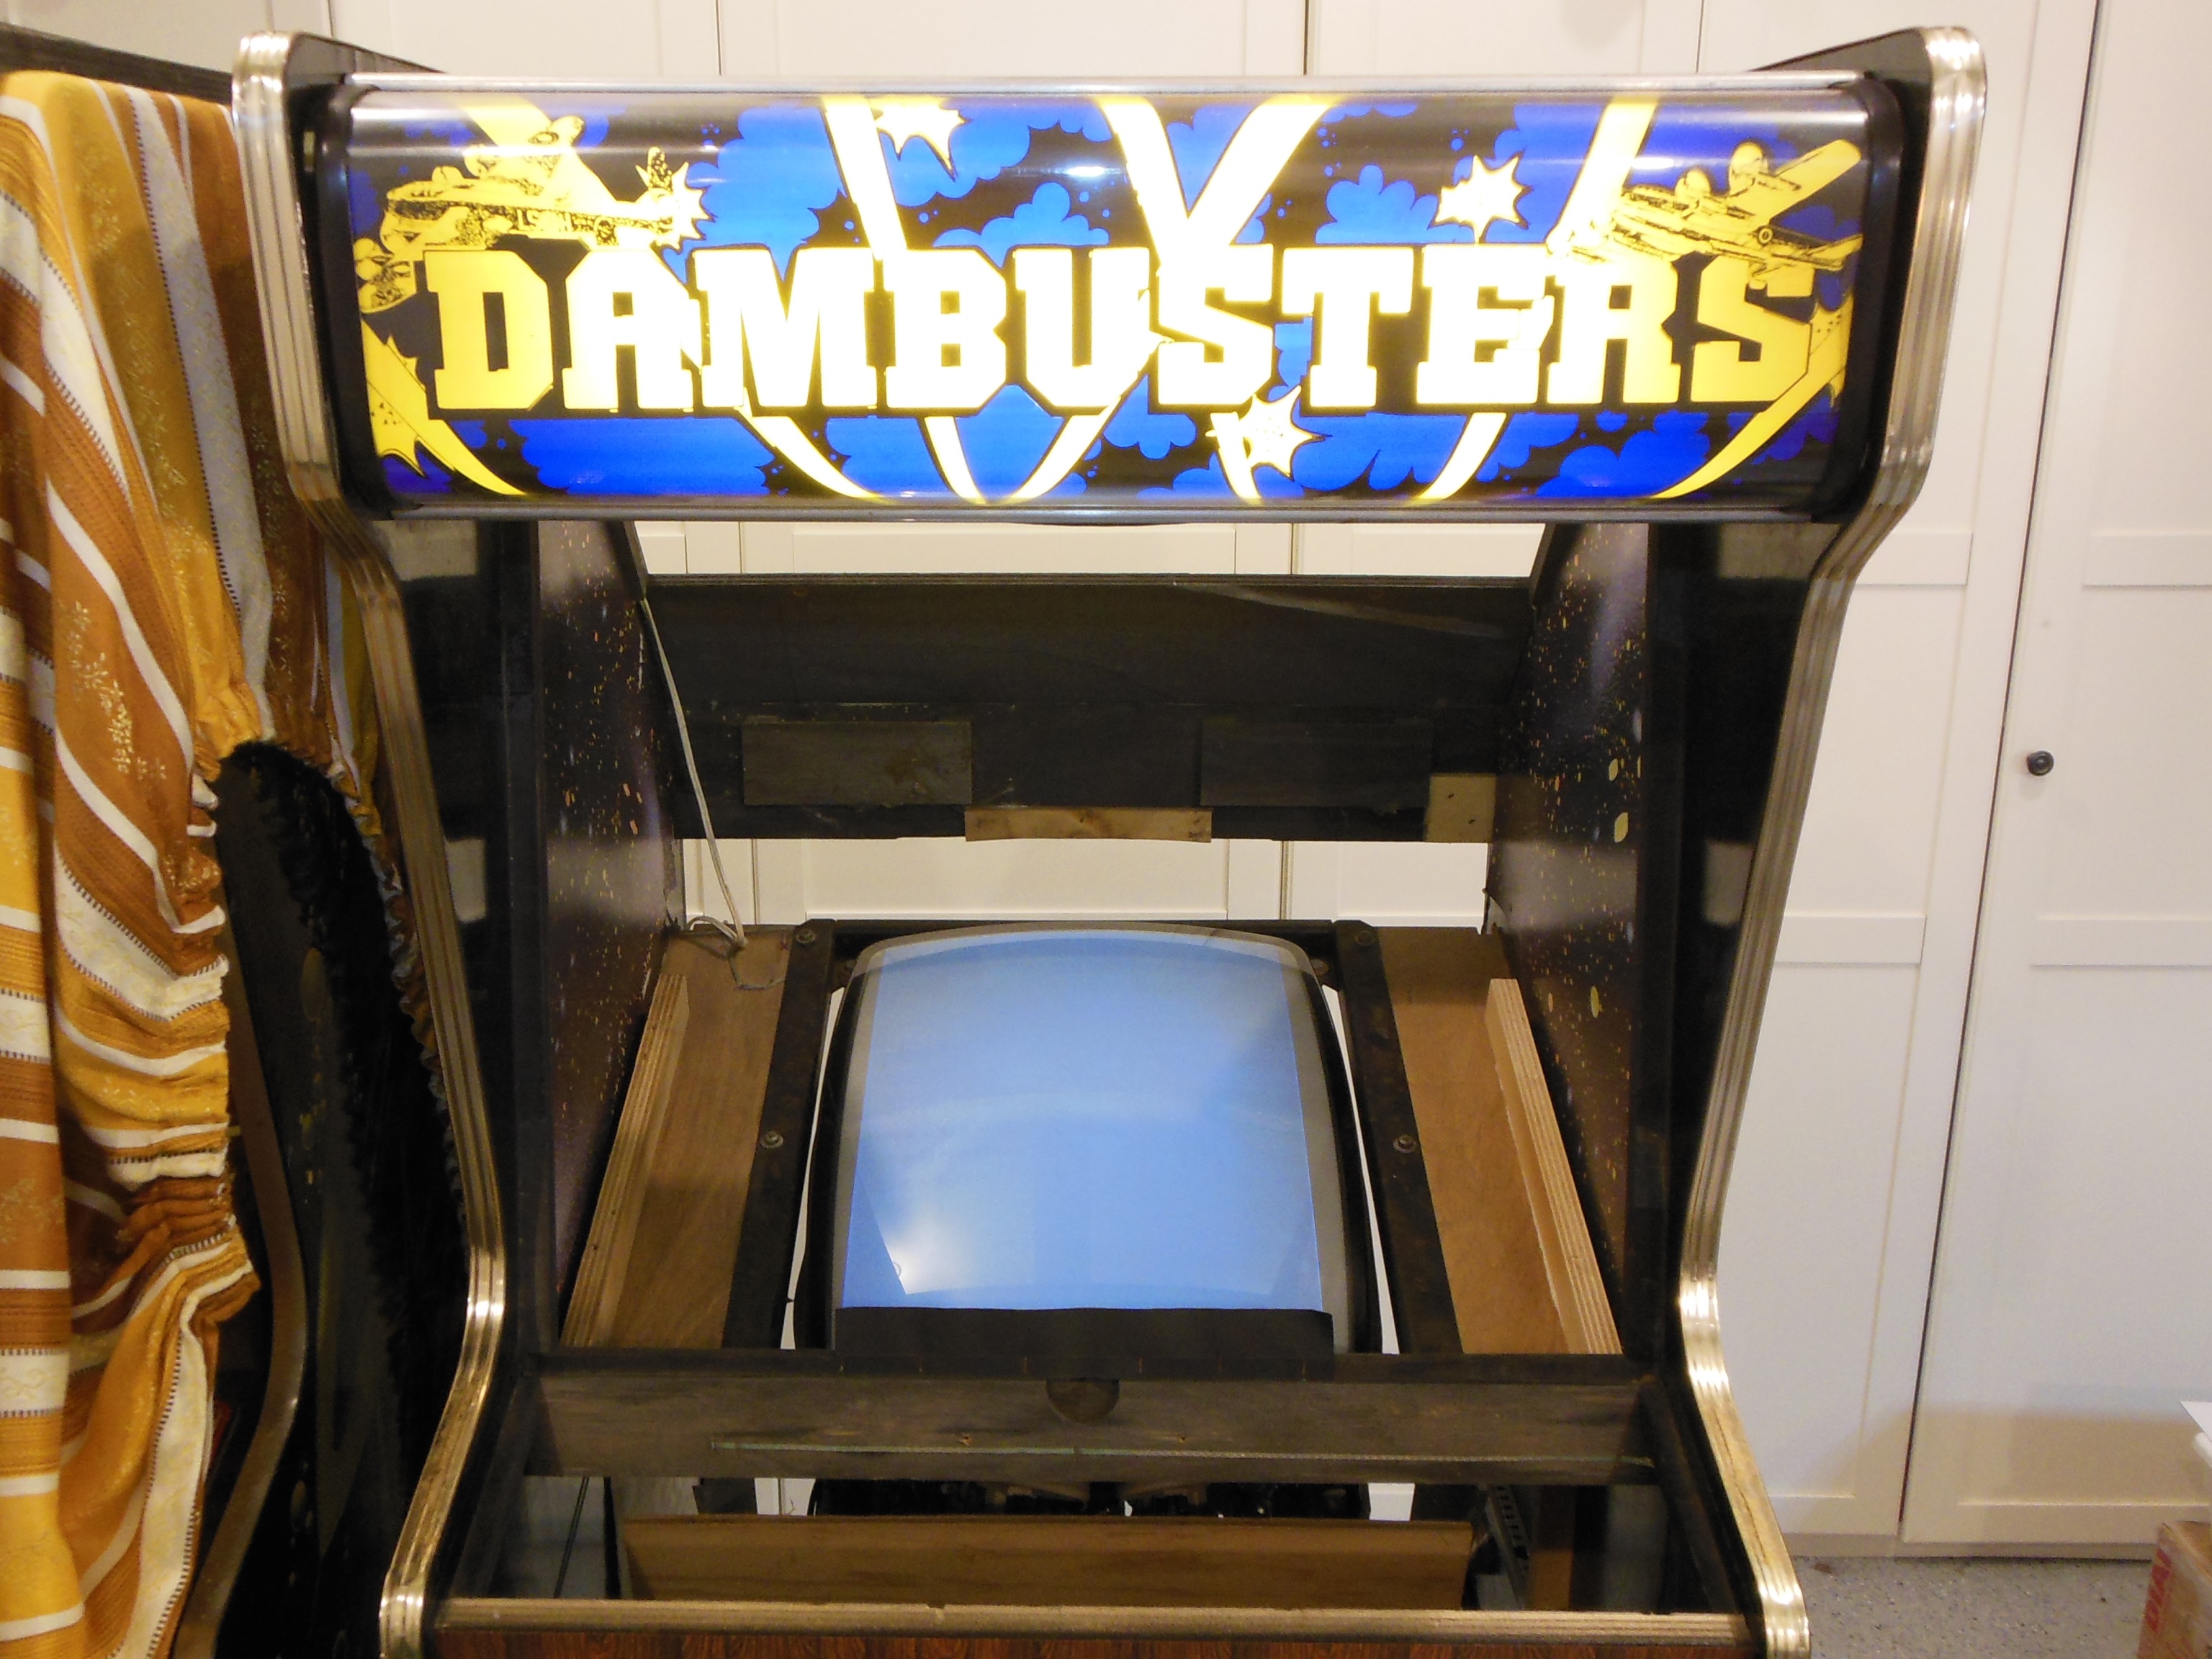
Despite the terrible look of the ballast, a new tube was all it took to get the marque light working. The ballast was removed for physical restoration to prevent flake debris.

|
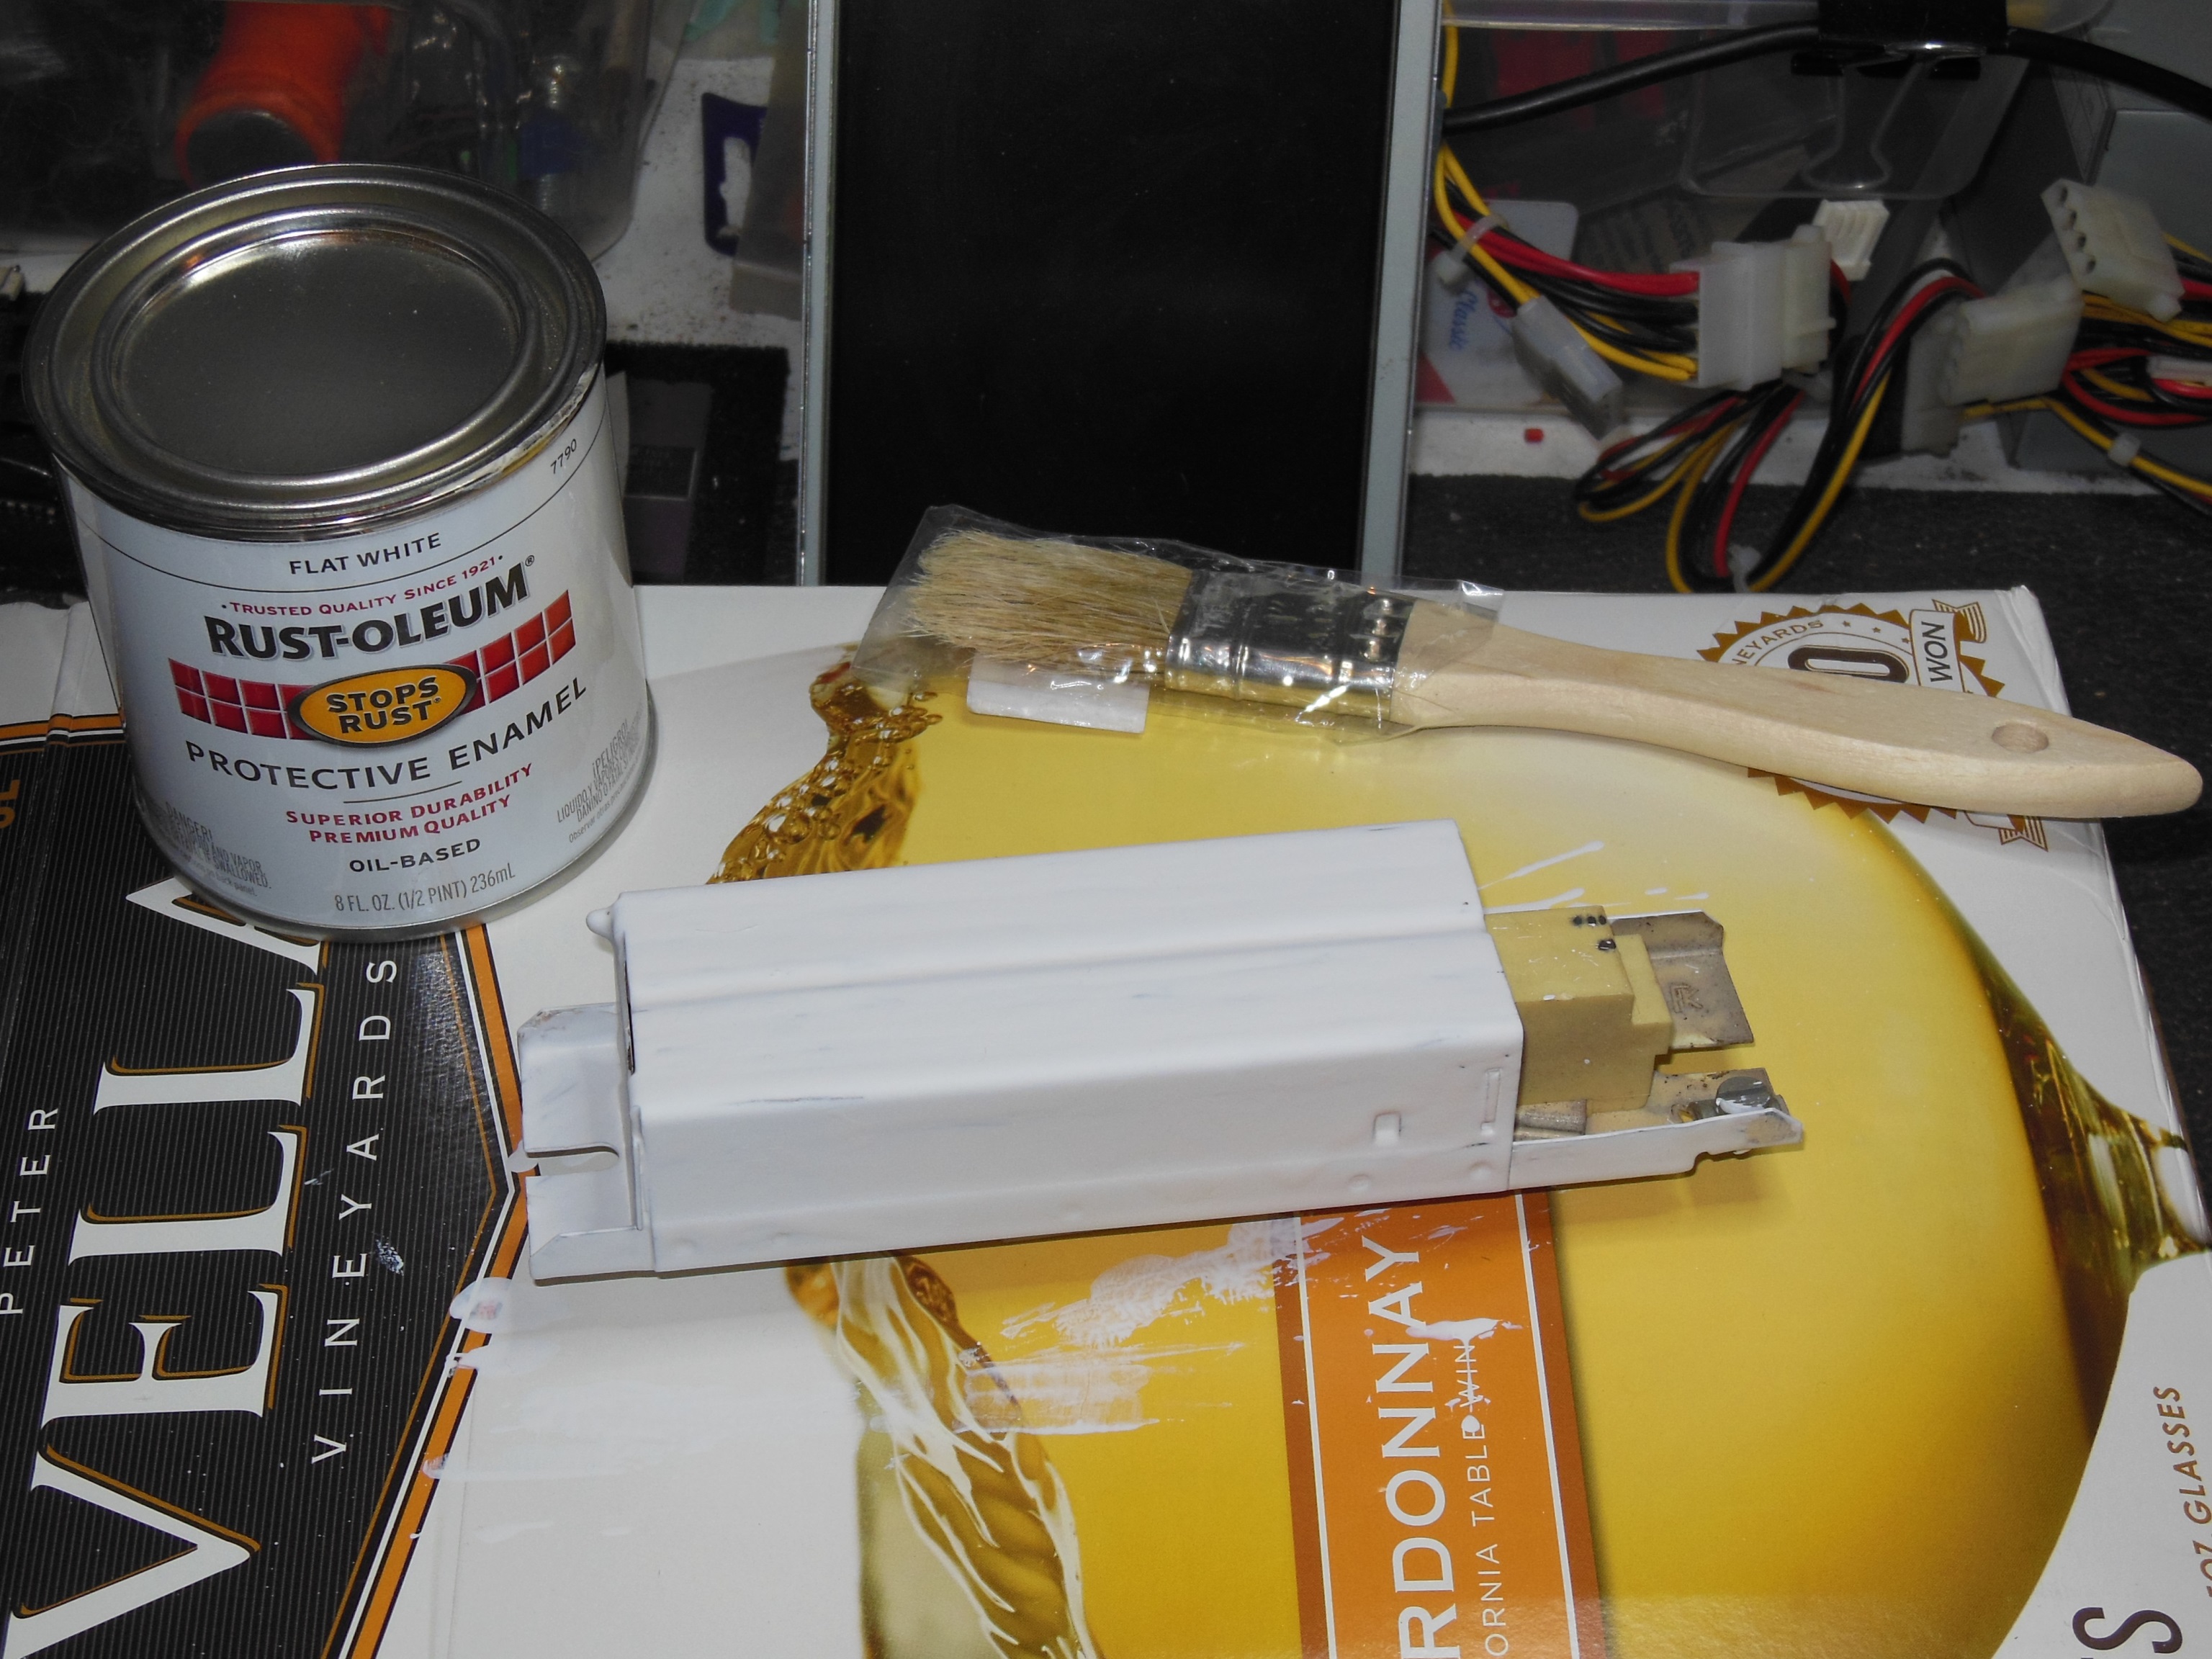
After scraping off the flaking paint and sanding, the ballast was painted. Once dry, it was reinstalled into the marque light fixture.
|
The universal star marque was removed and set aside.
|
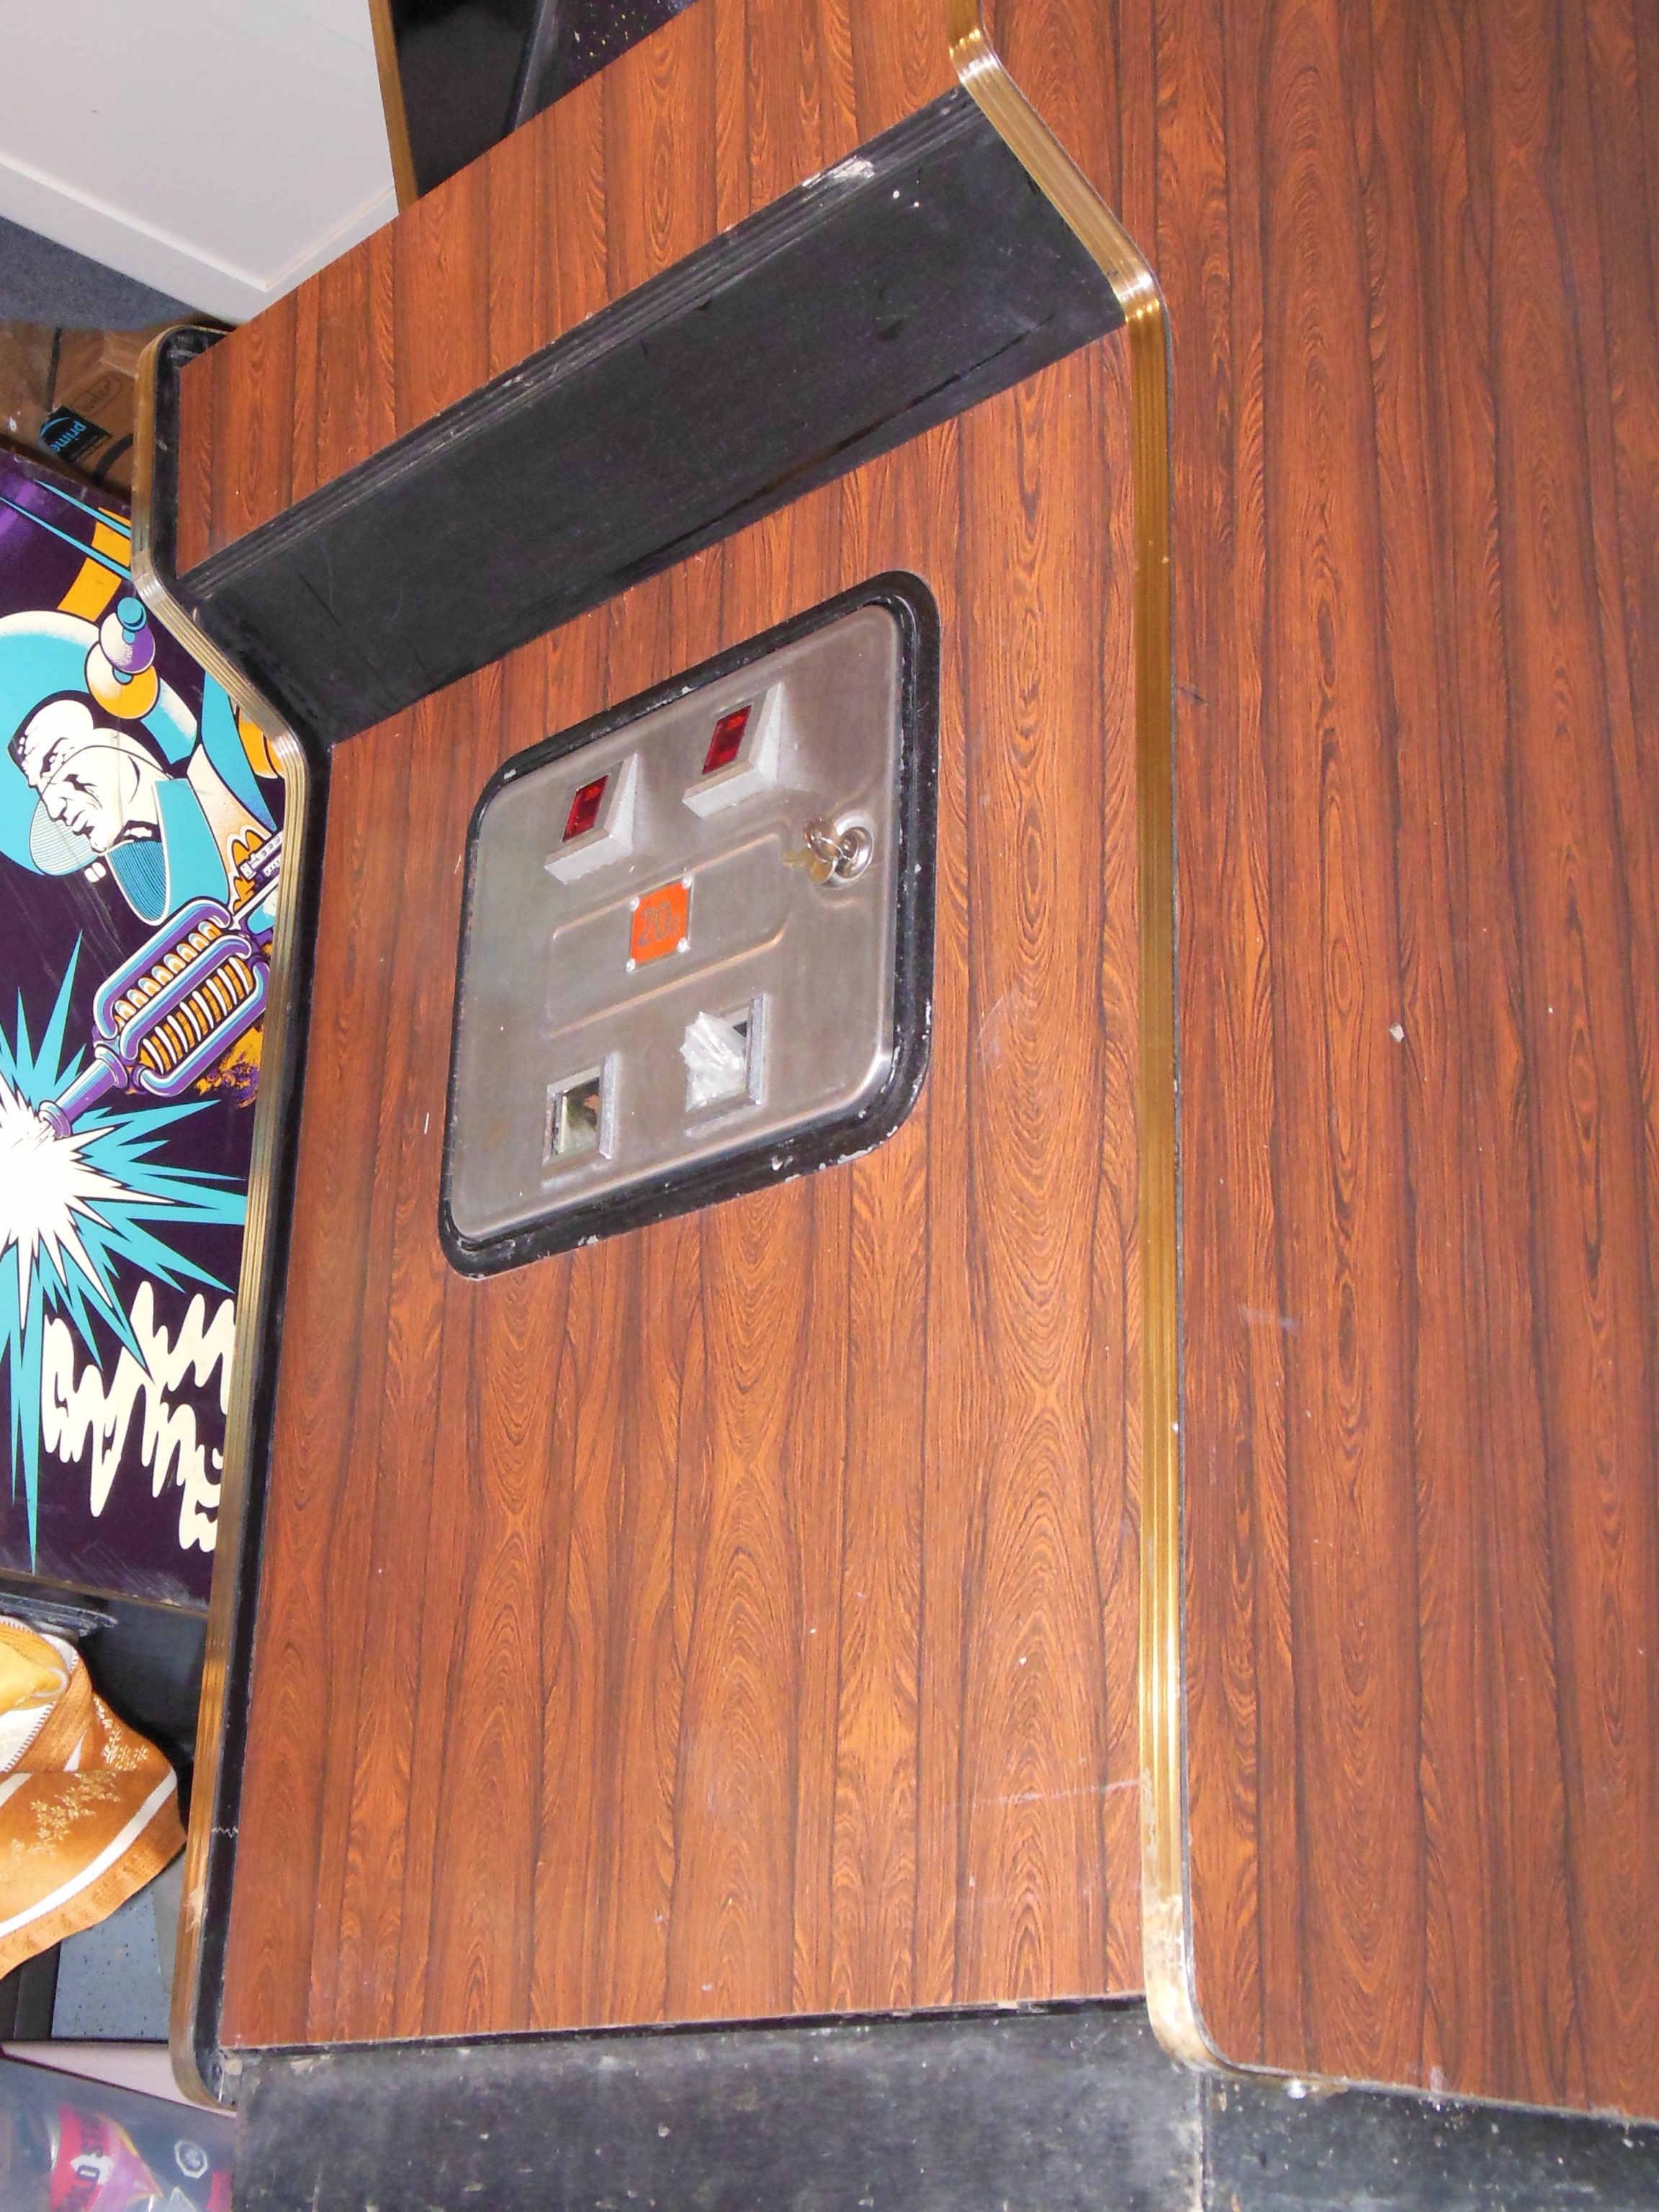
One example of a woodgrain version of the earlier Astro Wars style cabinet had previously been seen. Did Zaccaria make a woodgrain version of Quasar more fitting for pubs? The laminate on this cabinet appeared to have been very well installed and a complete cover. The clue to the answer was on the inside - there were a pair of lock bar holes now covered by the laminate that proved the laminate was after market and this example wasn't Zaccaria factory.
|
The back panel was loose on the right side because of a missing section of side wall. Home Depot had several different square dowel sizes and one of them was a very close fit to be able to replace the missing section. A small amount of sanding produced something that fit snuggly. The dowel was glued and set with G-clamps.
|
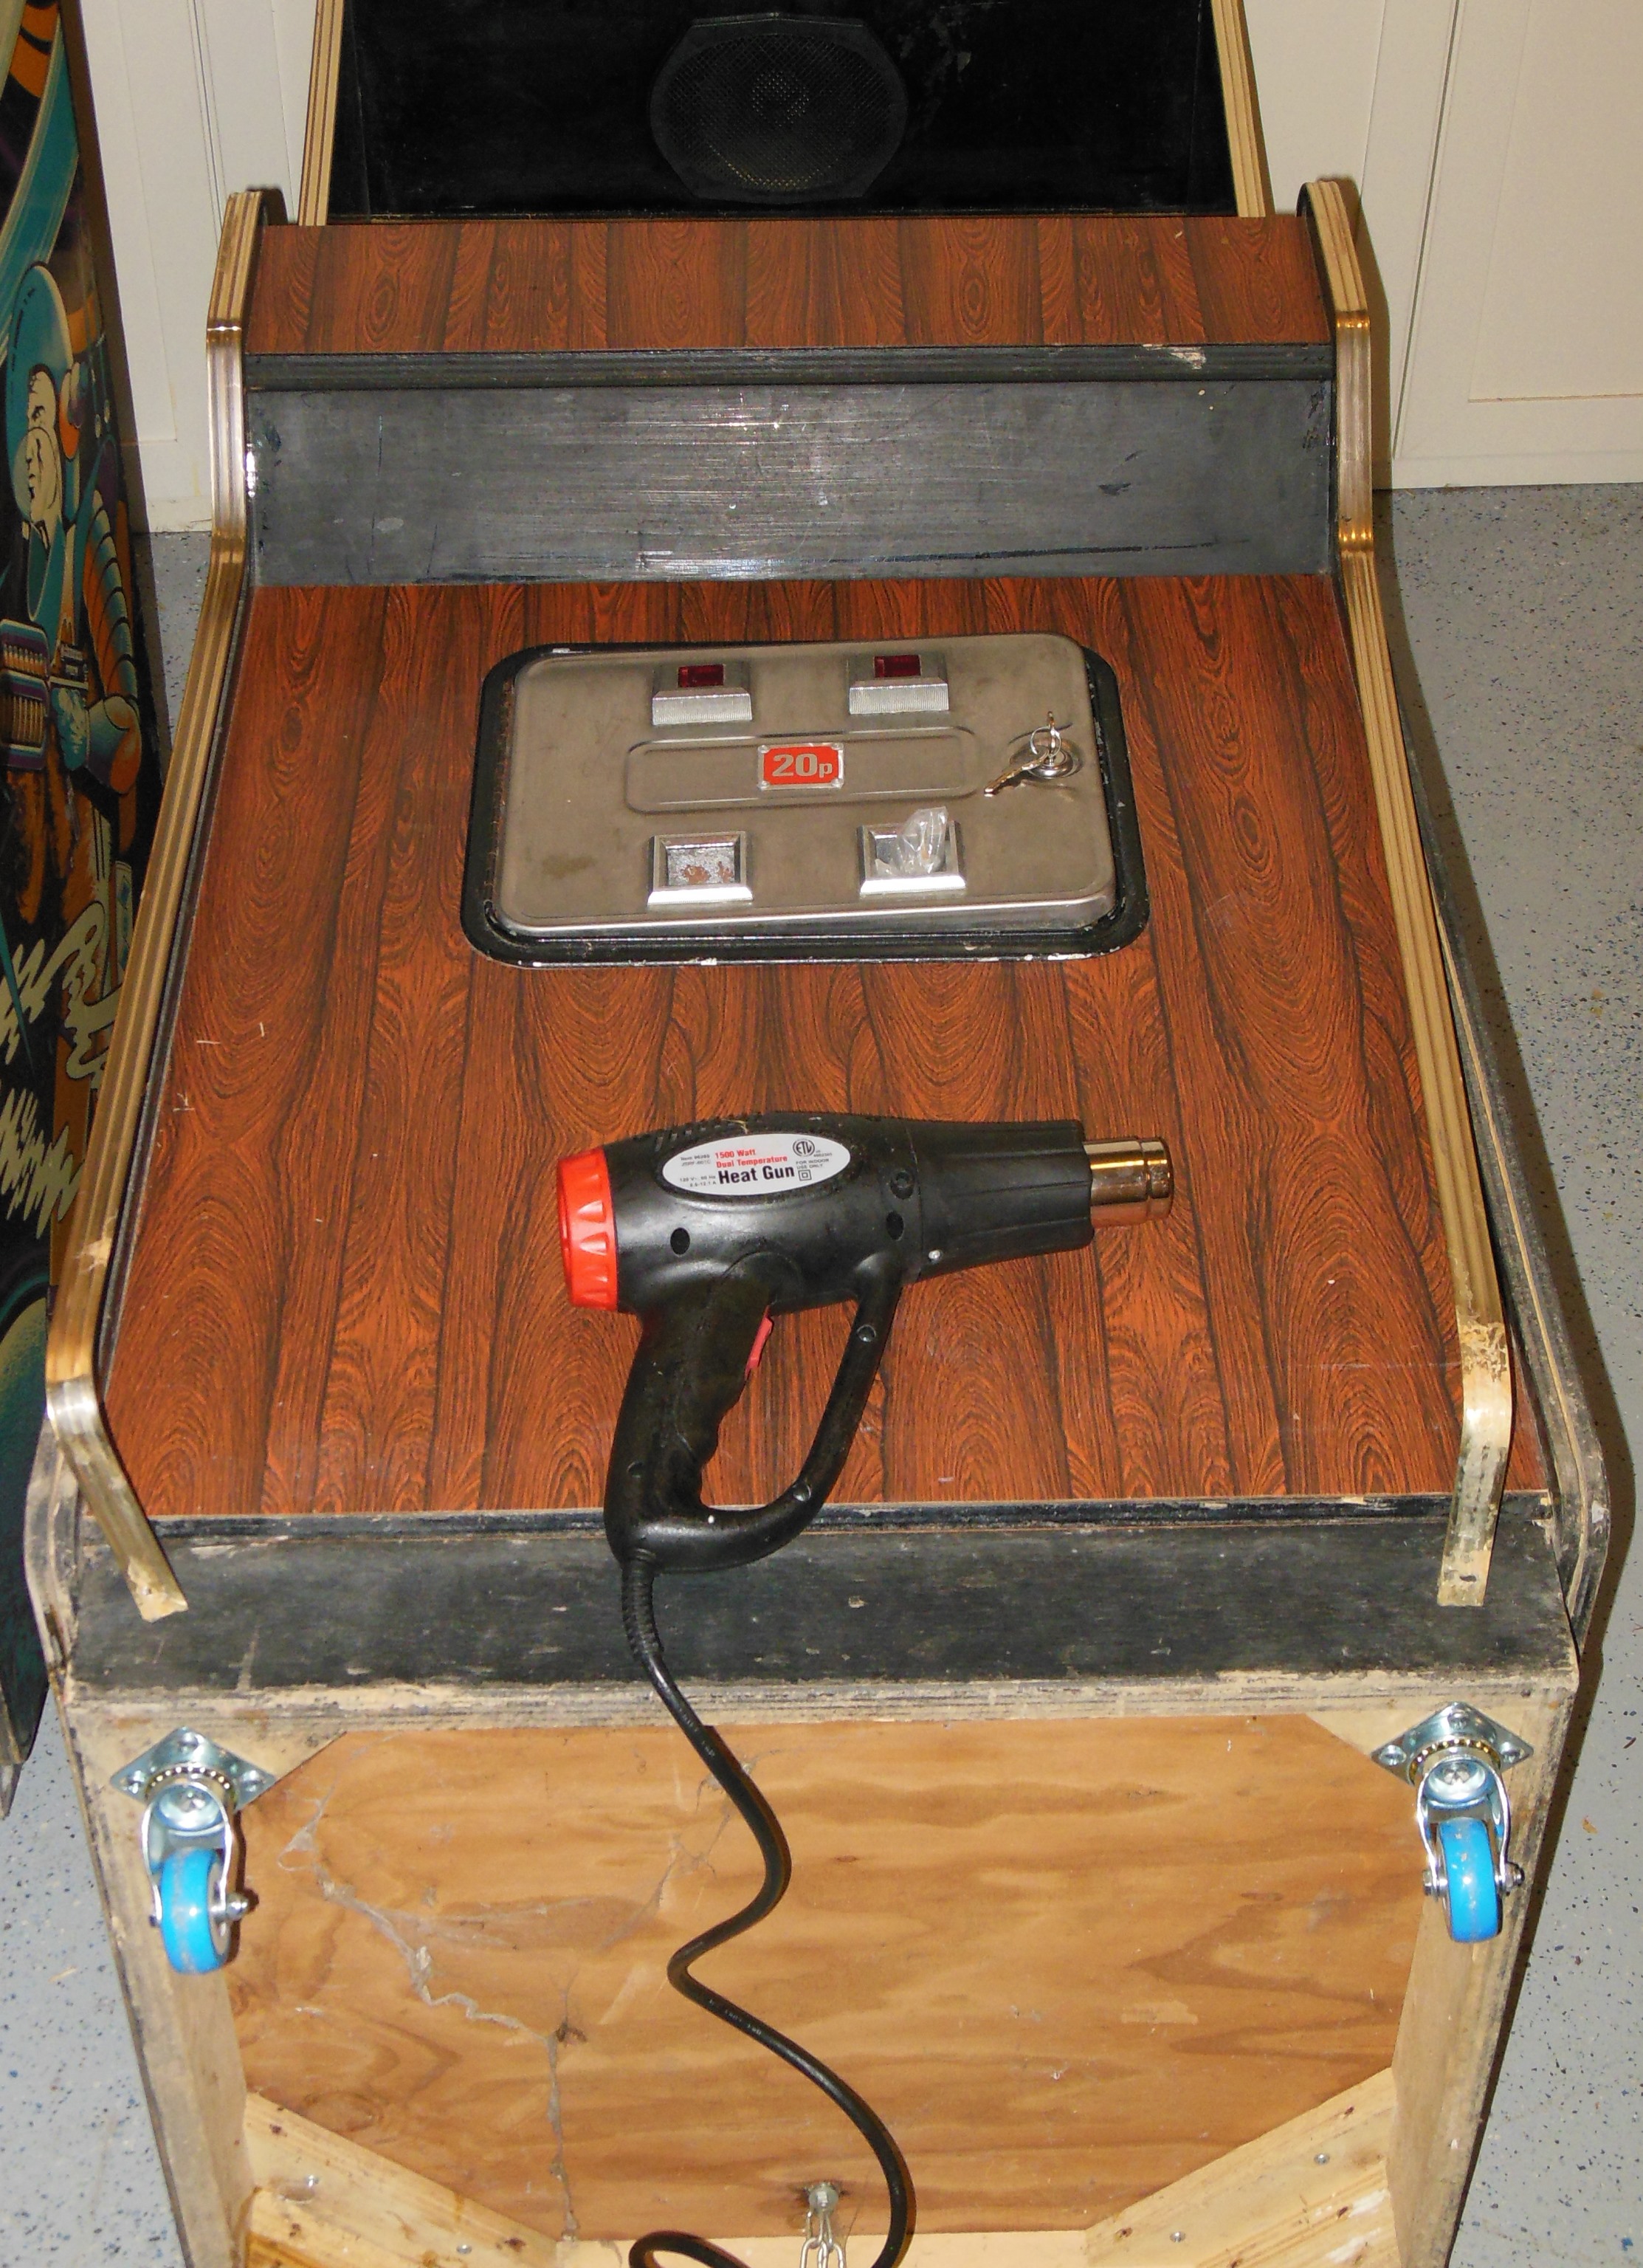
A gap had developed below the control panel where the T-molding had separated. I'm not sure what may have caused this, but possibly some slight expansion due to moisture. The lower section of the T-molding was separated and softened with a heat gun on low setting to reform it back into the slot. A couple of screws were used to secure the bottom.
|
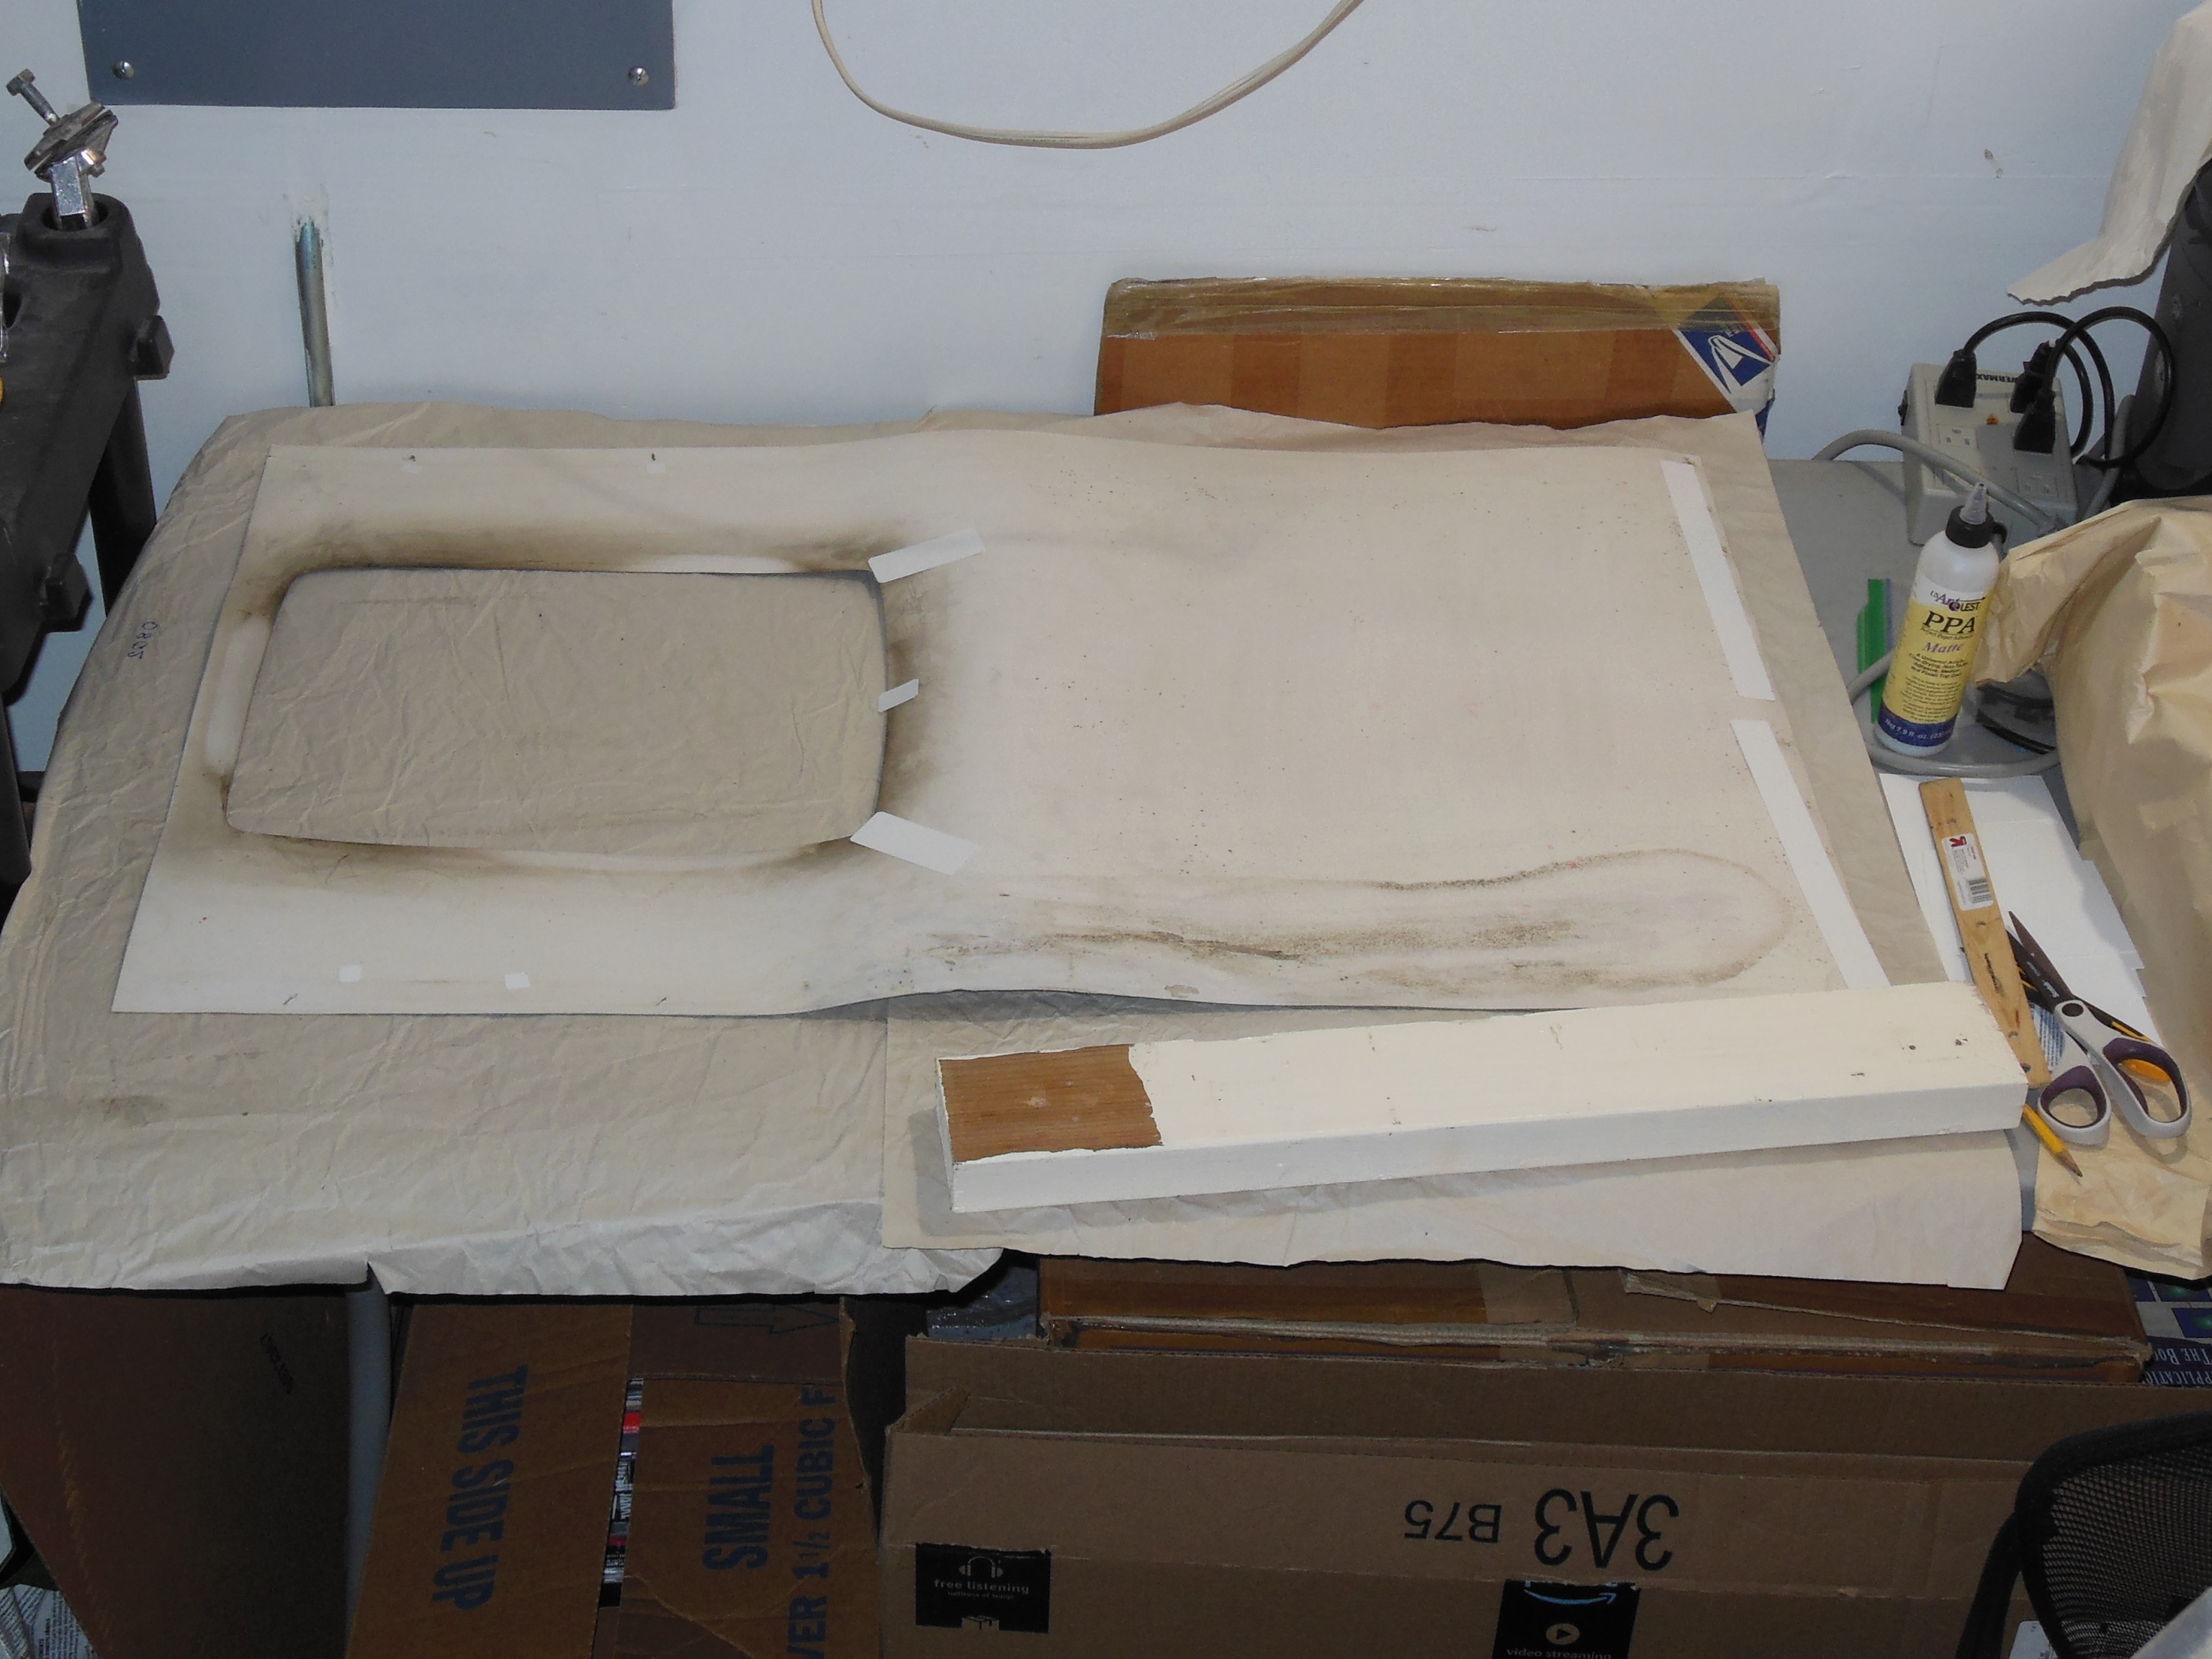
There were a couple of tears and holes to patch over on the monitor surround. It was then left to set flat for a few days.

|
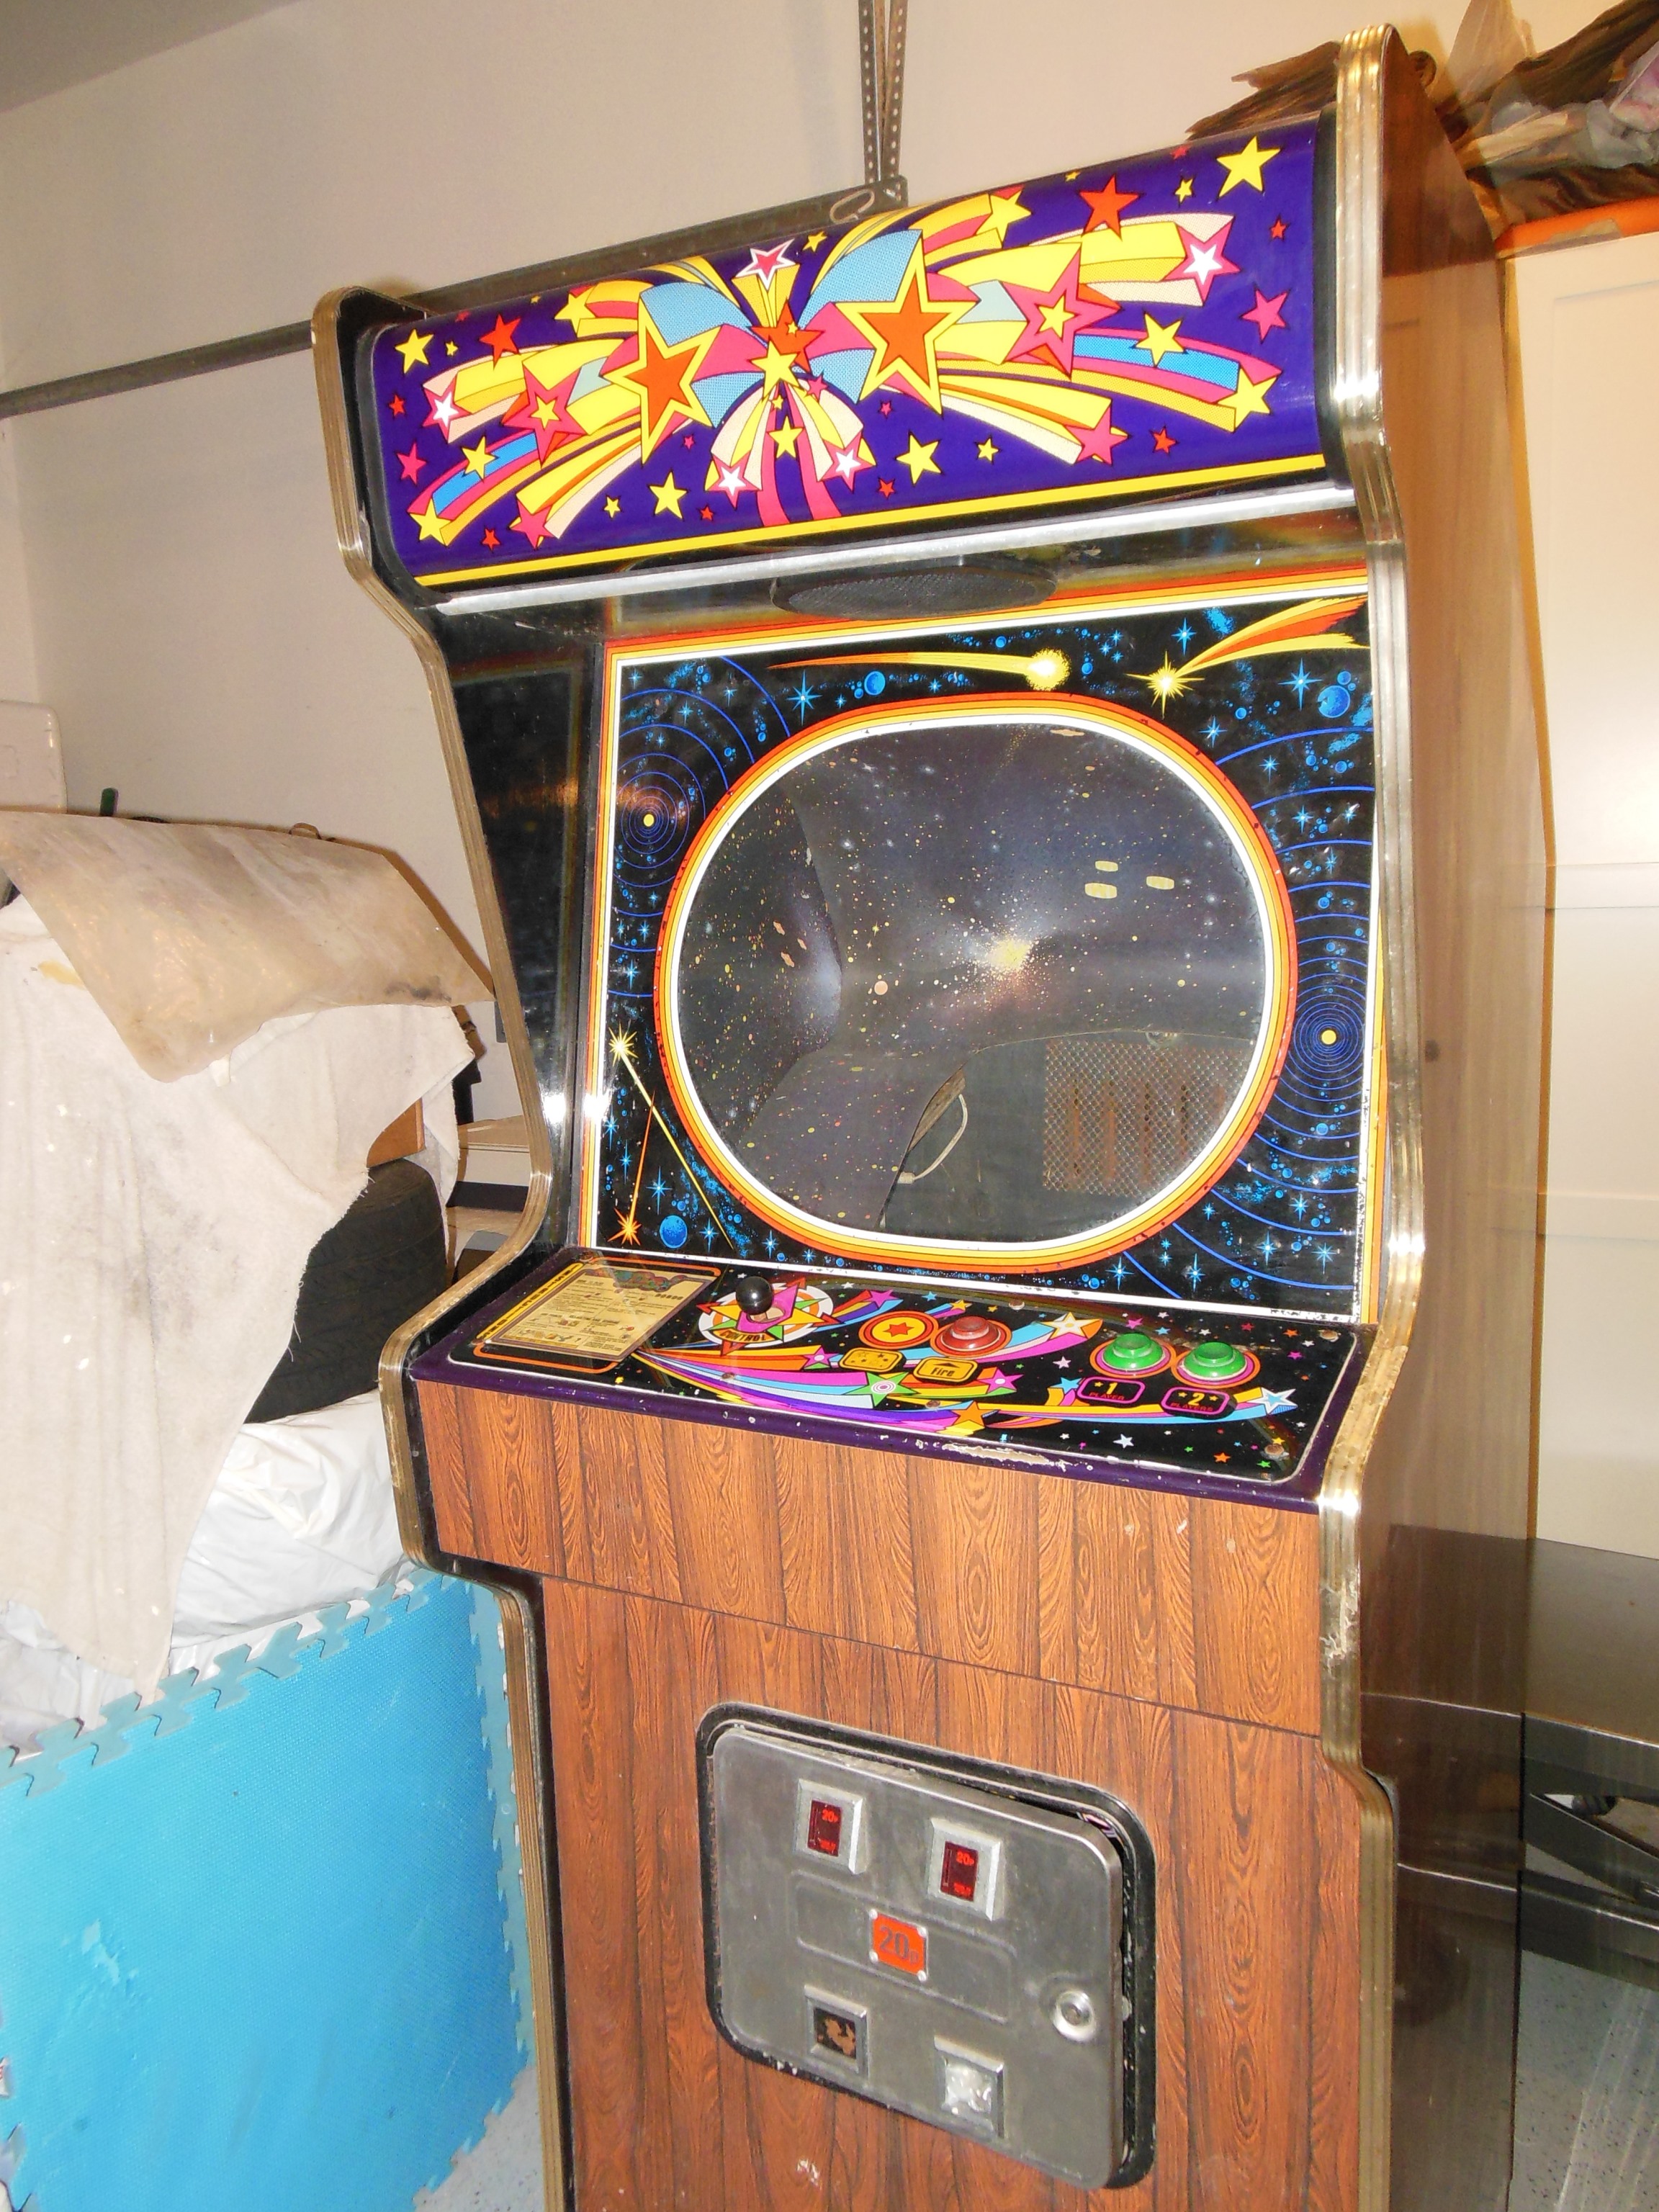
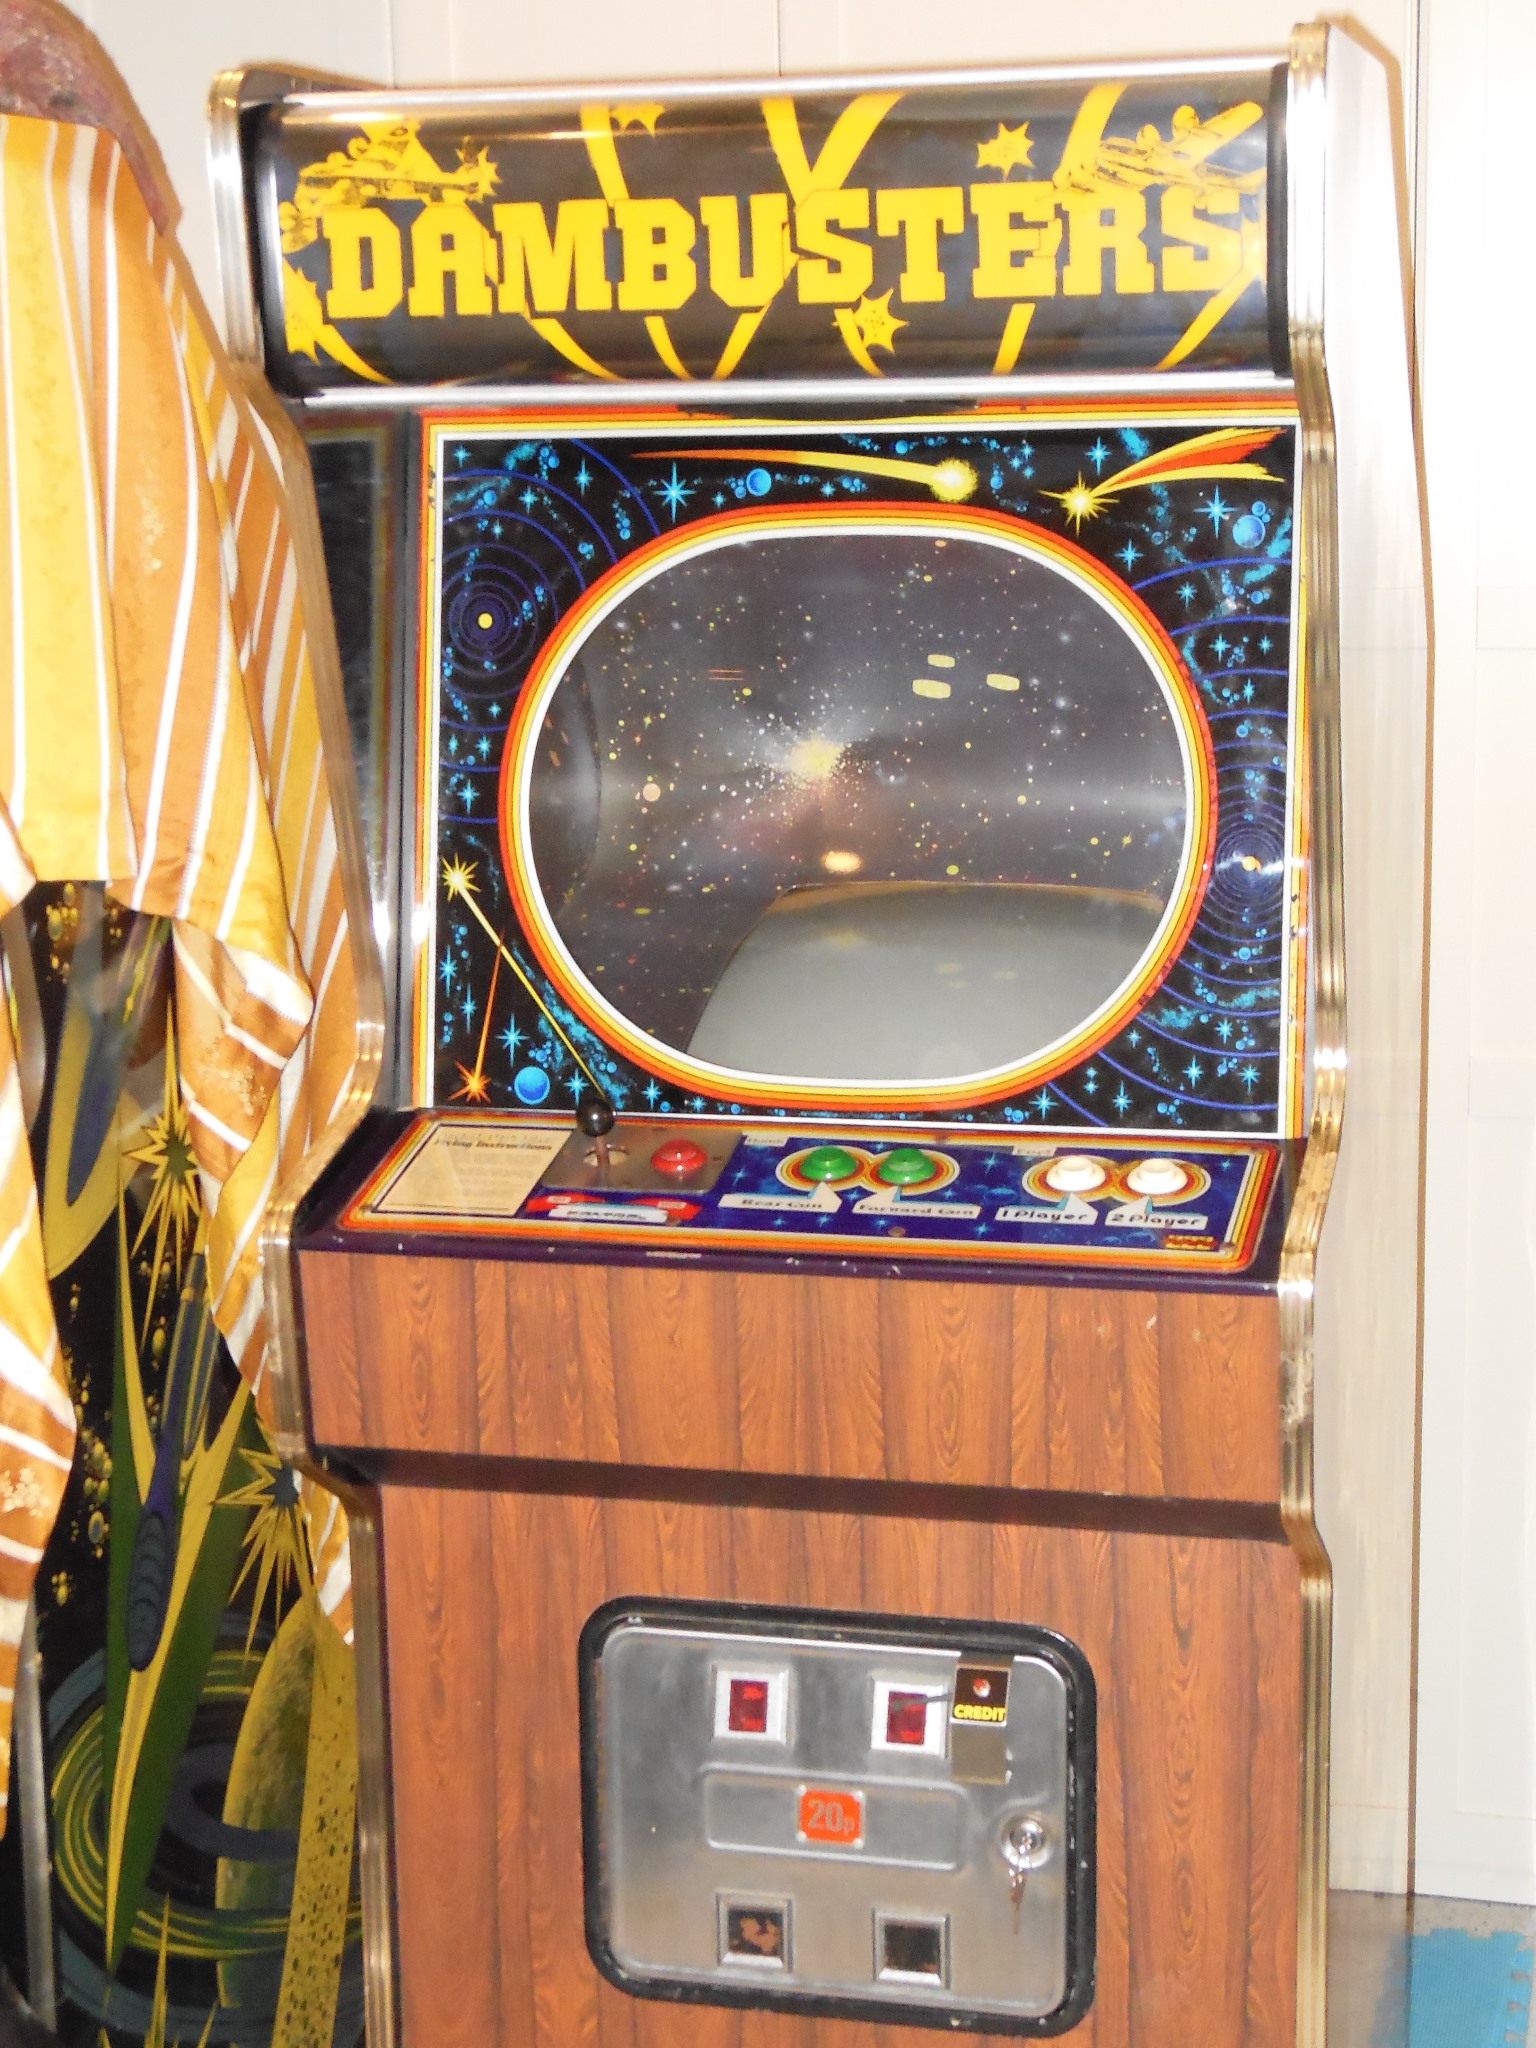
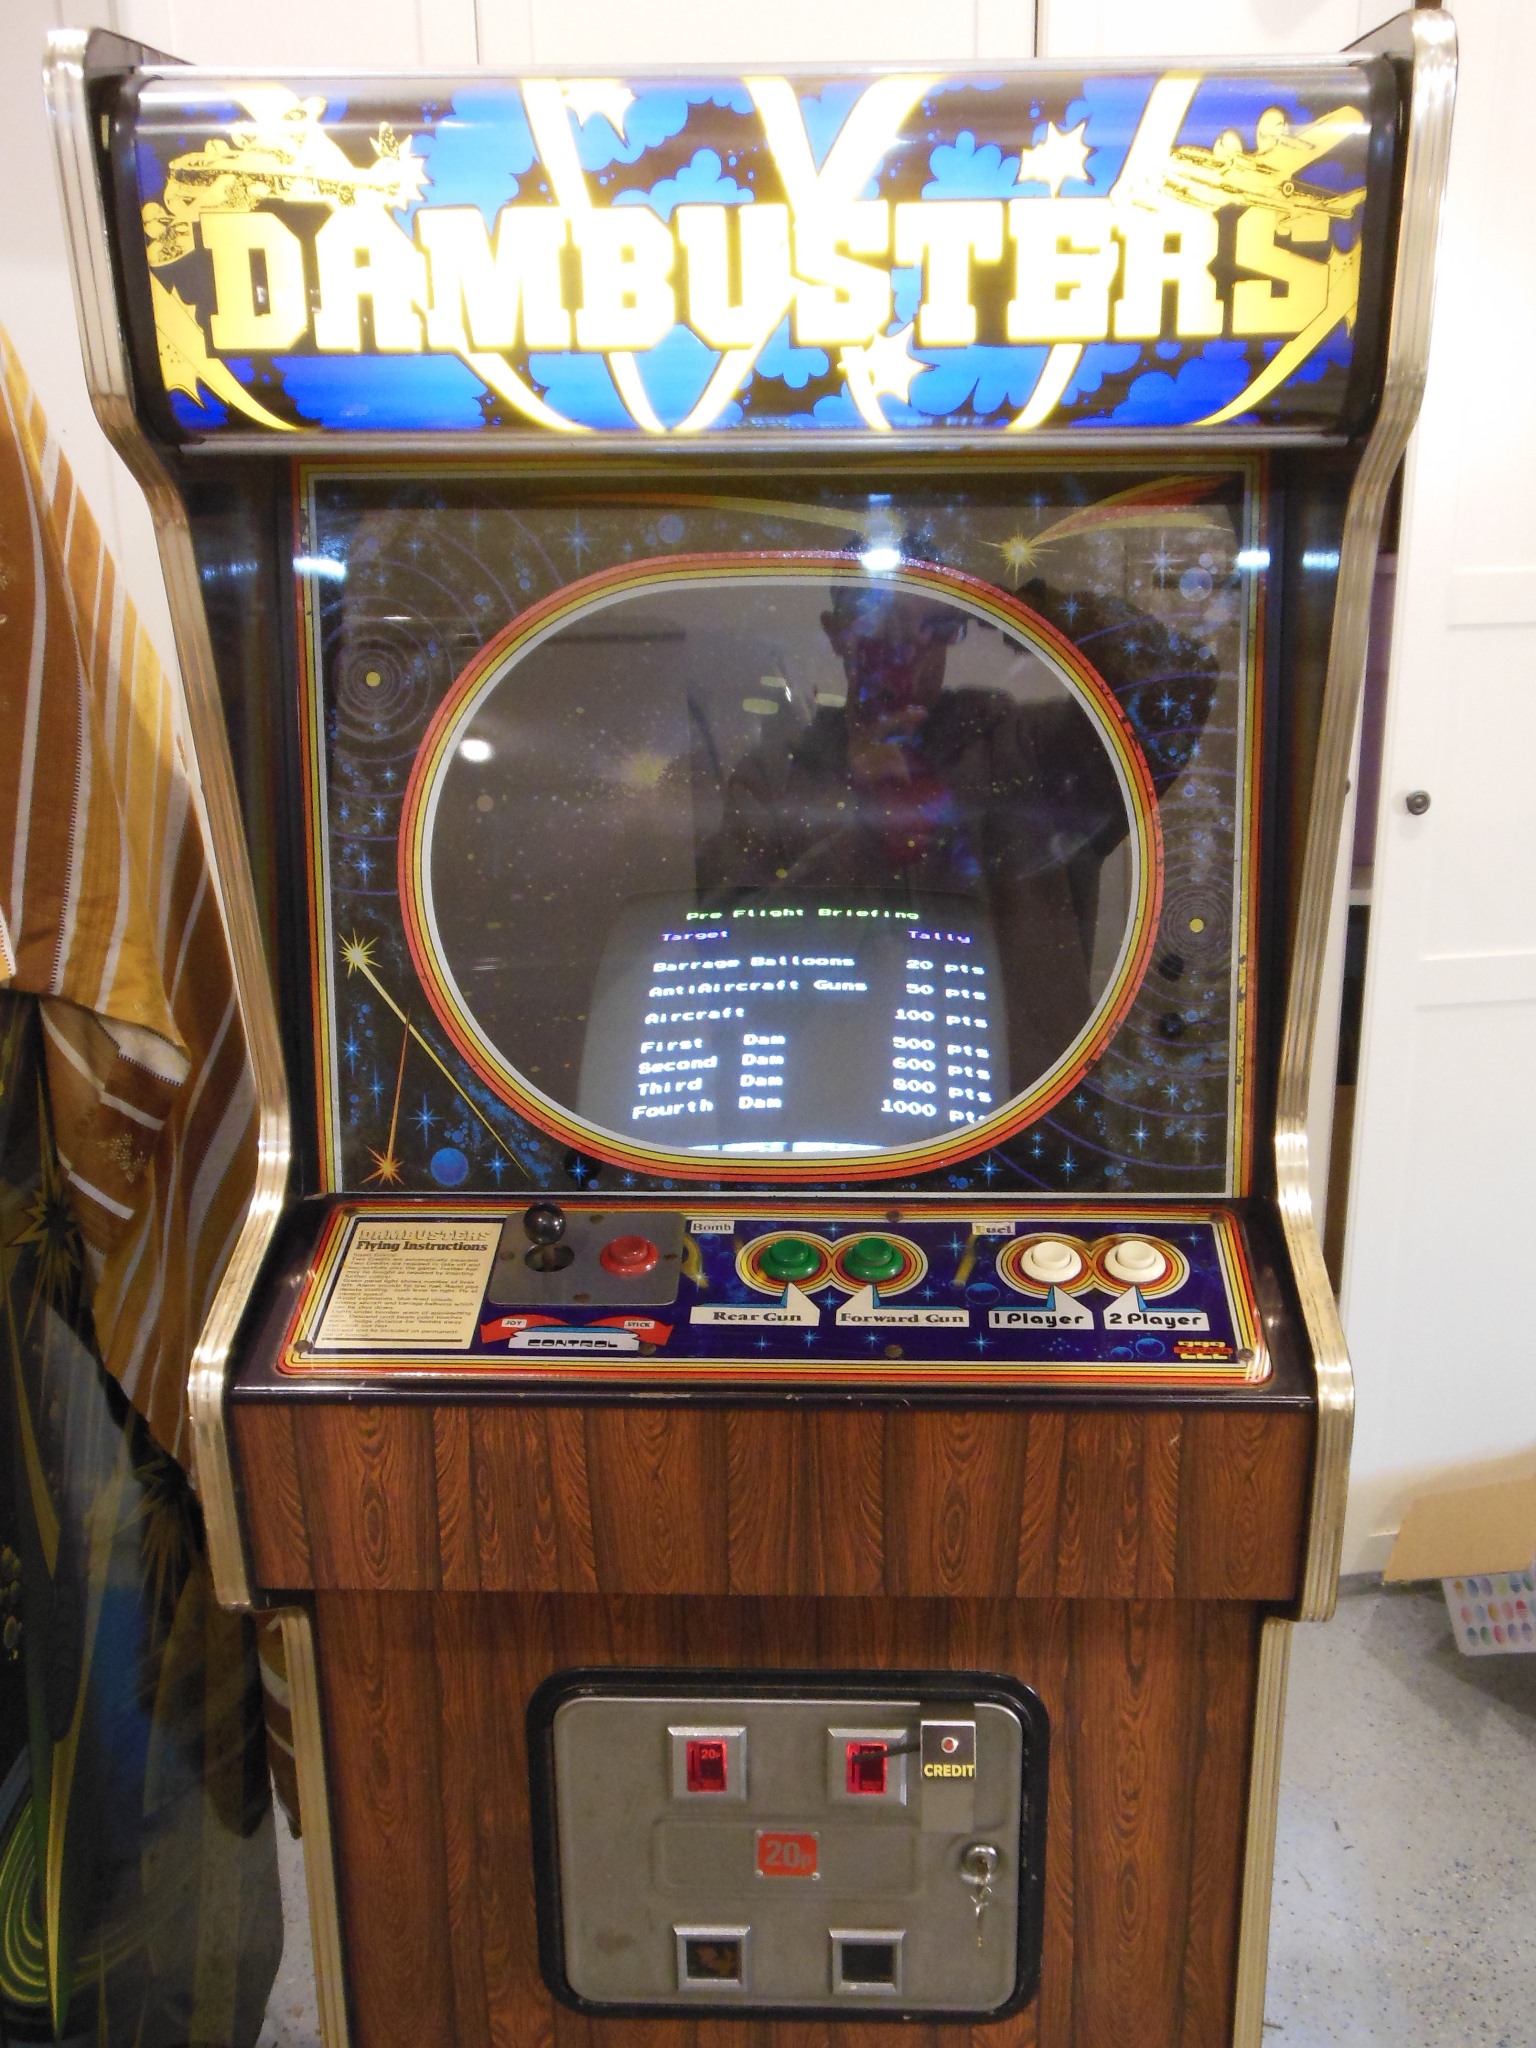
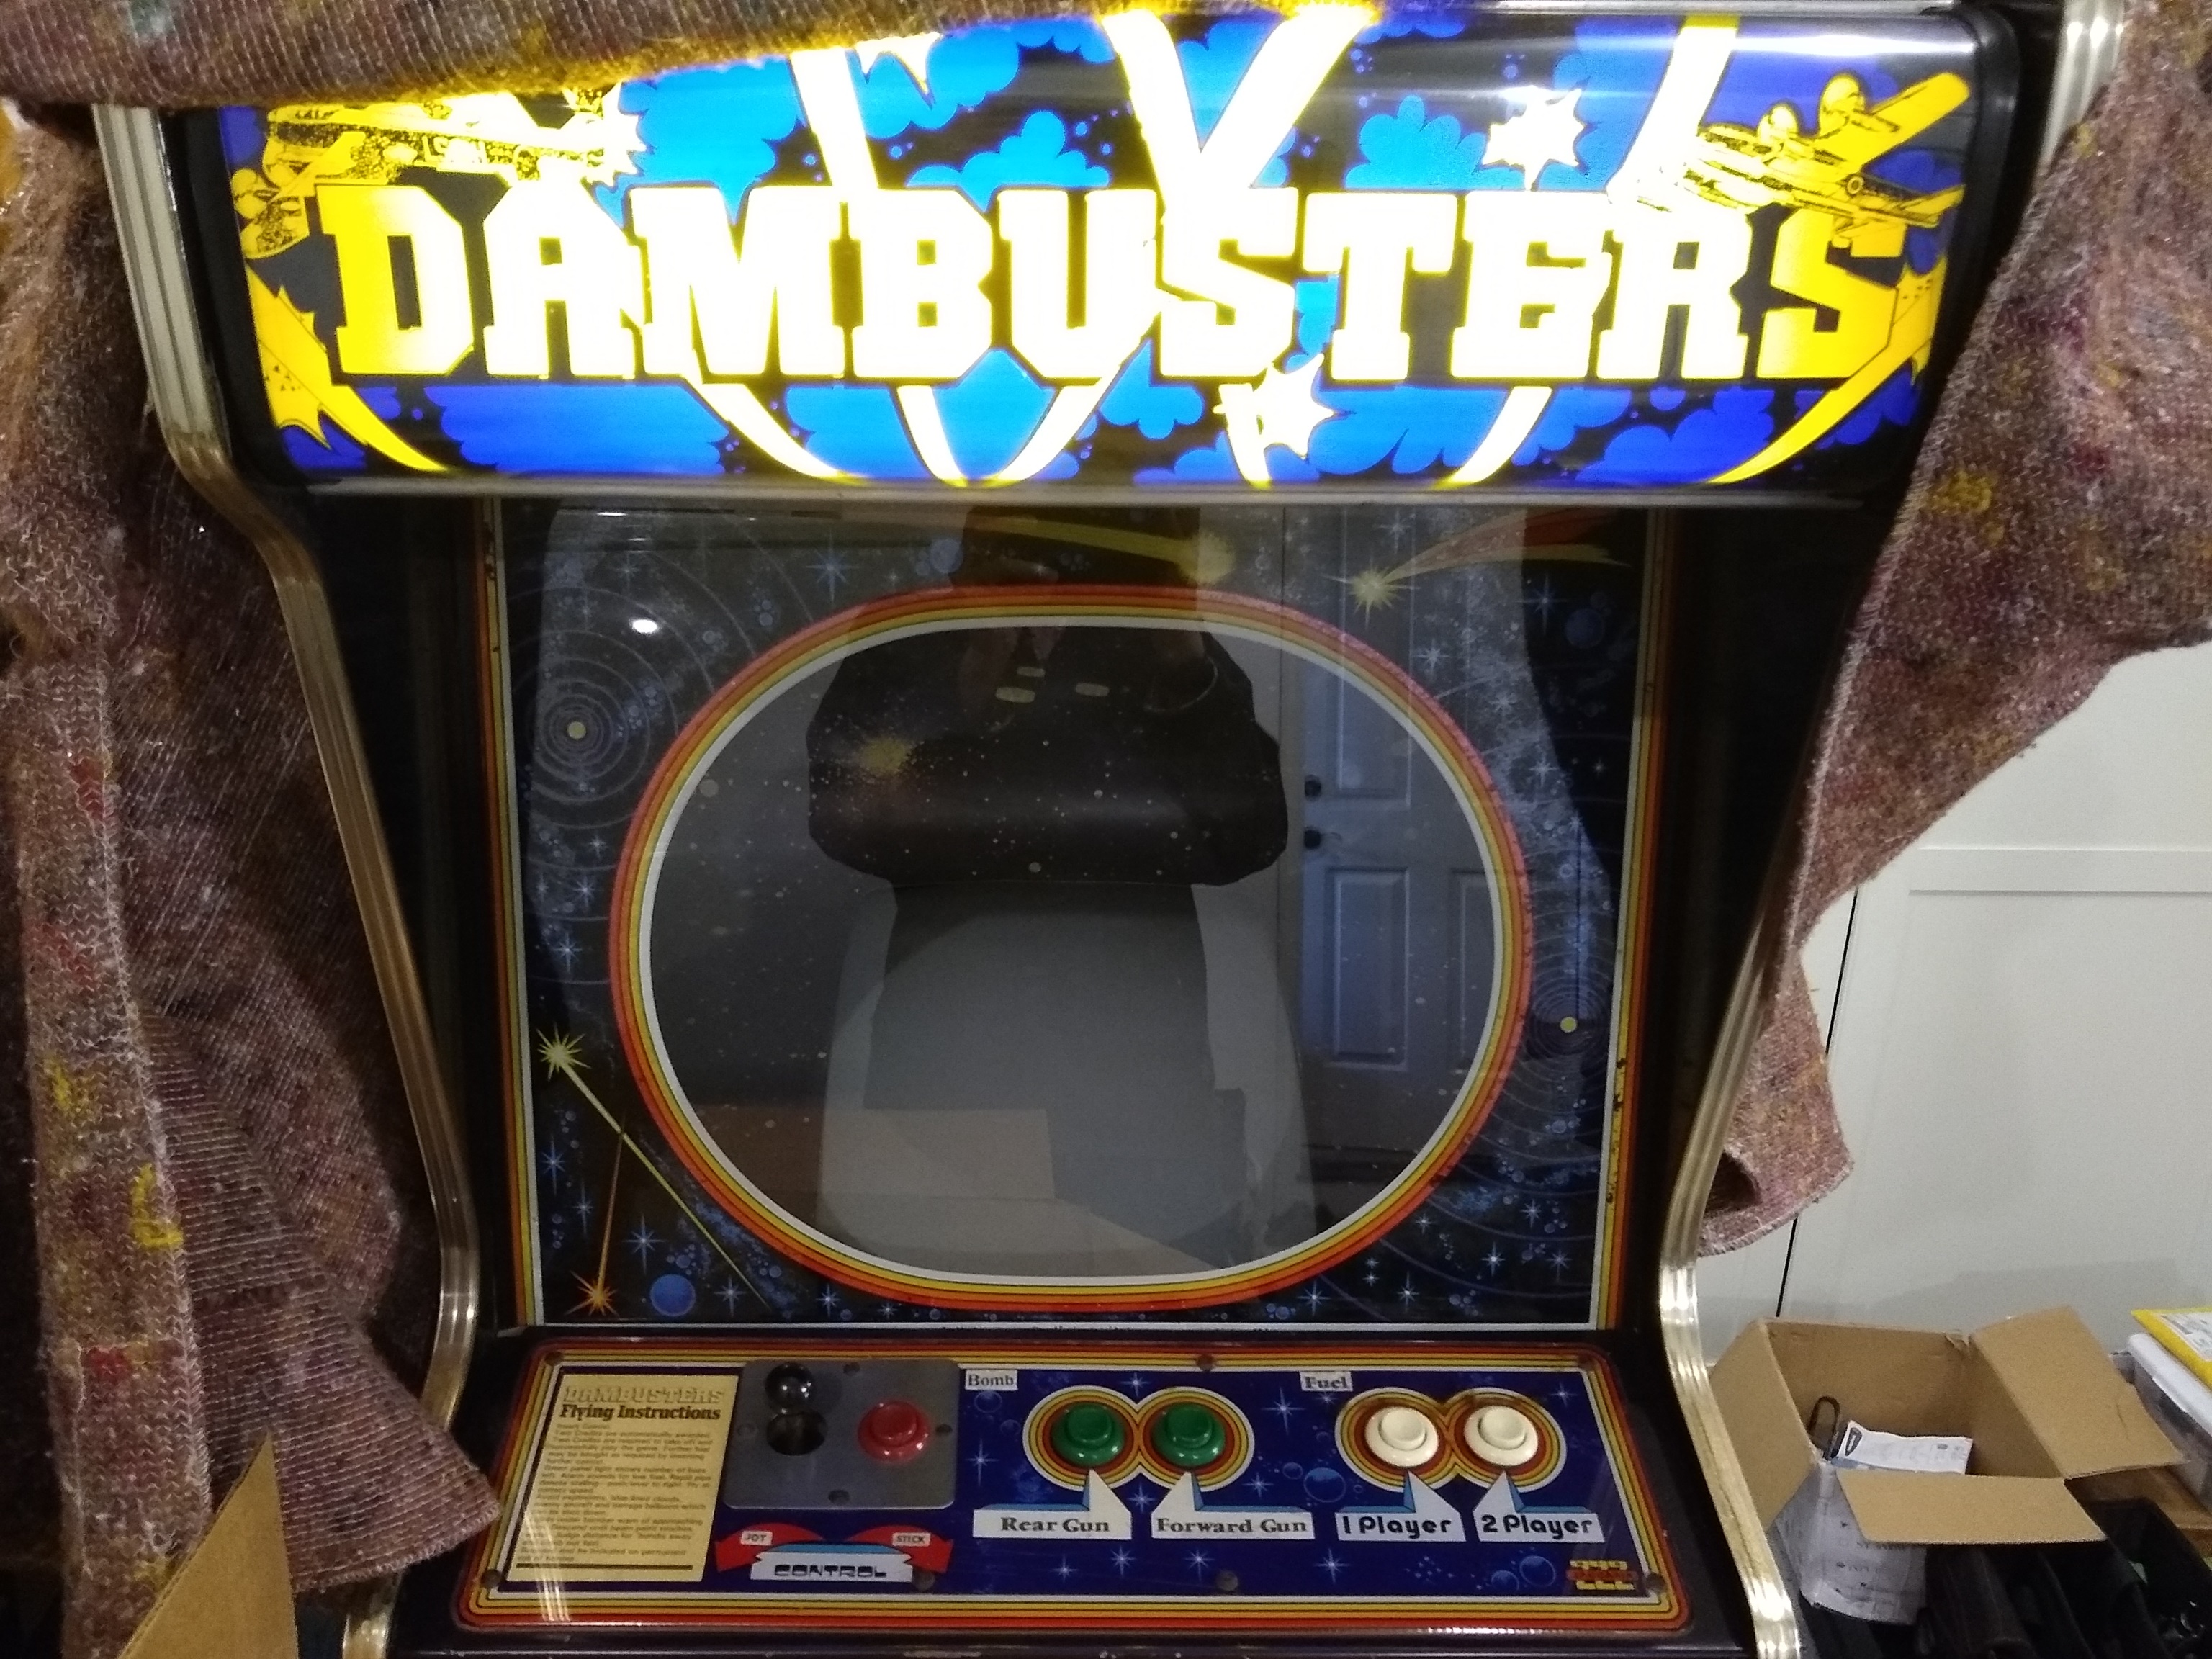
The original Quasar Dambusters cabinet prior to starting the migration.
|
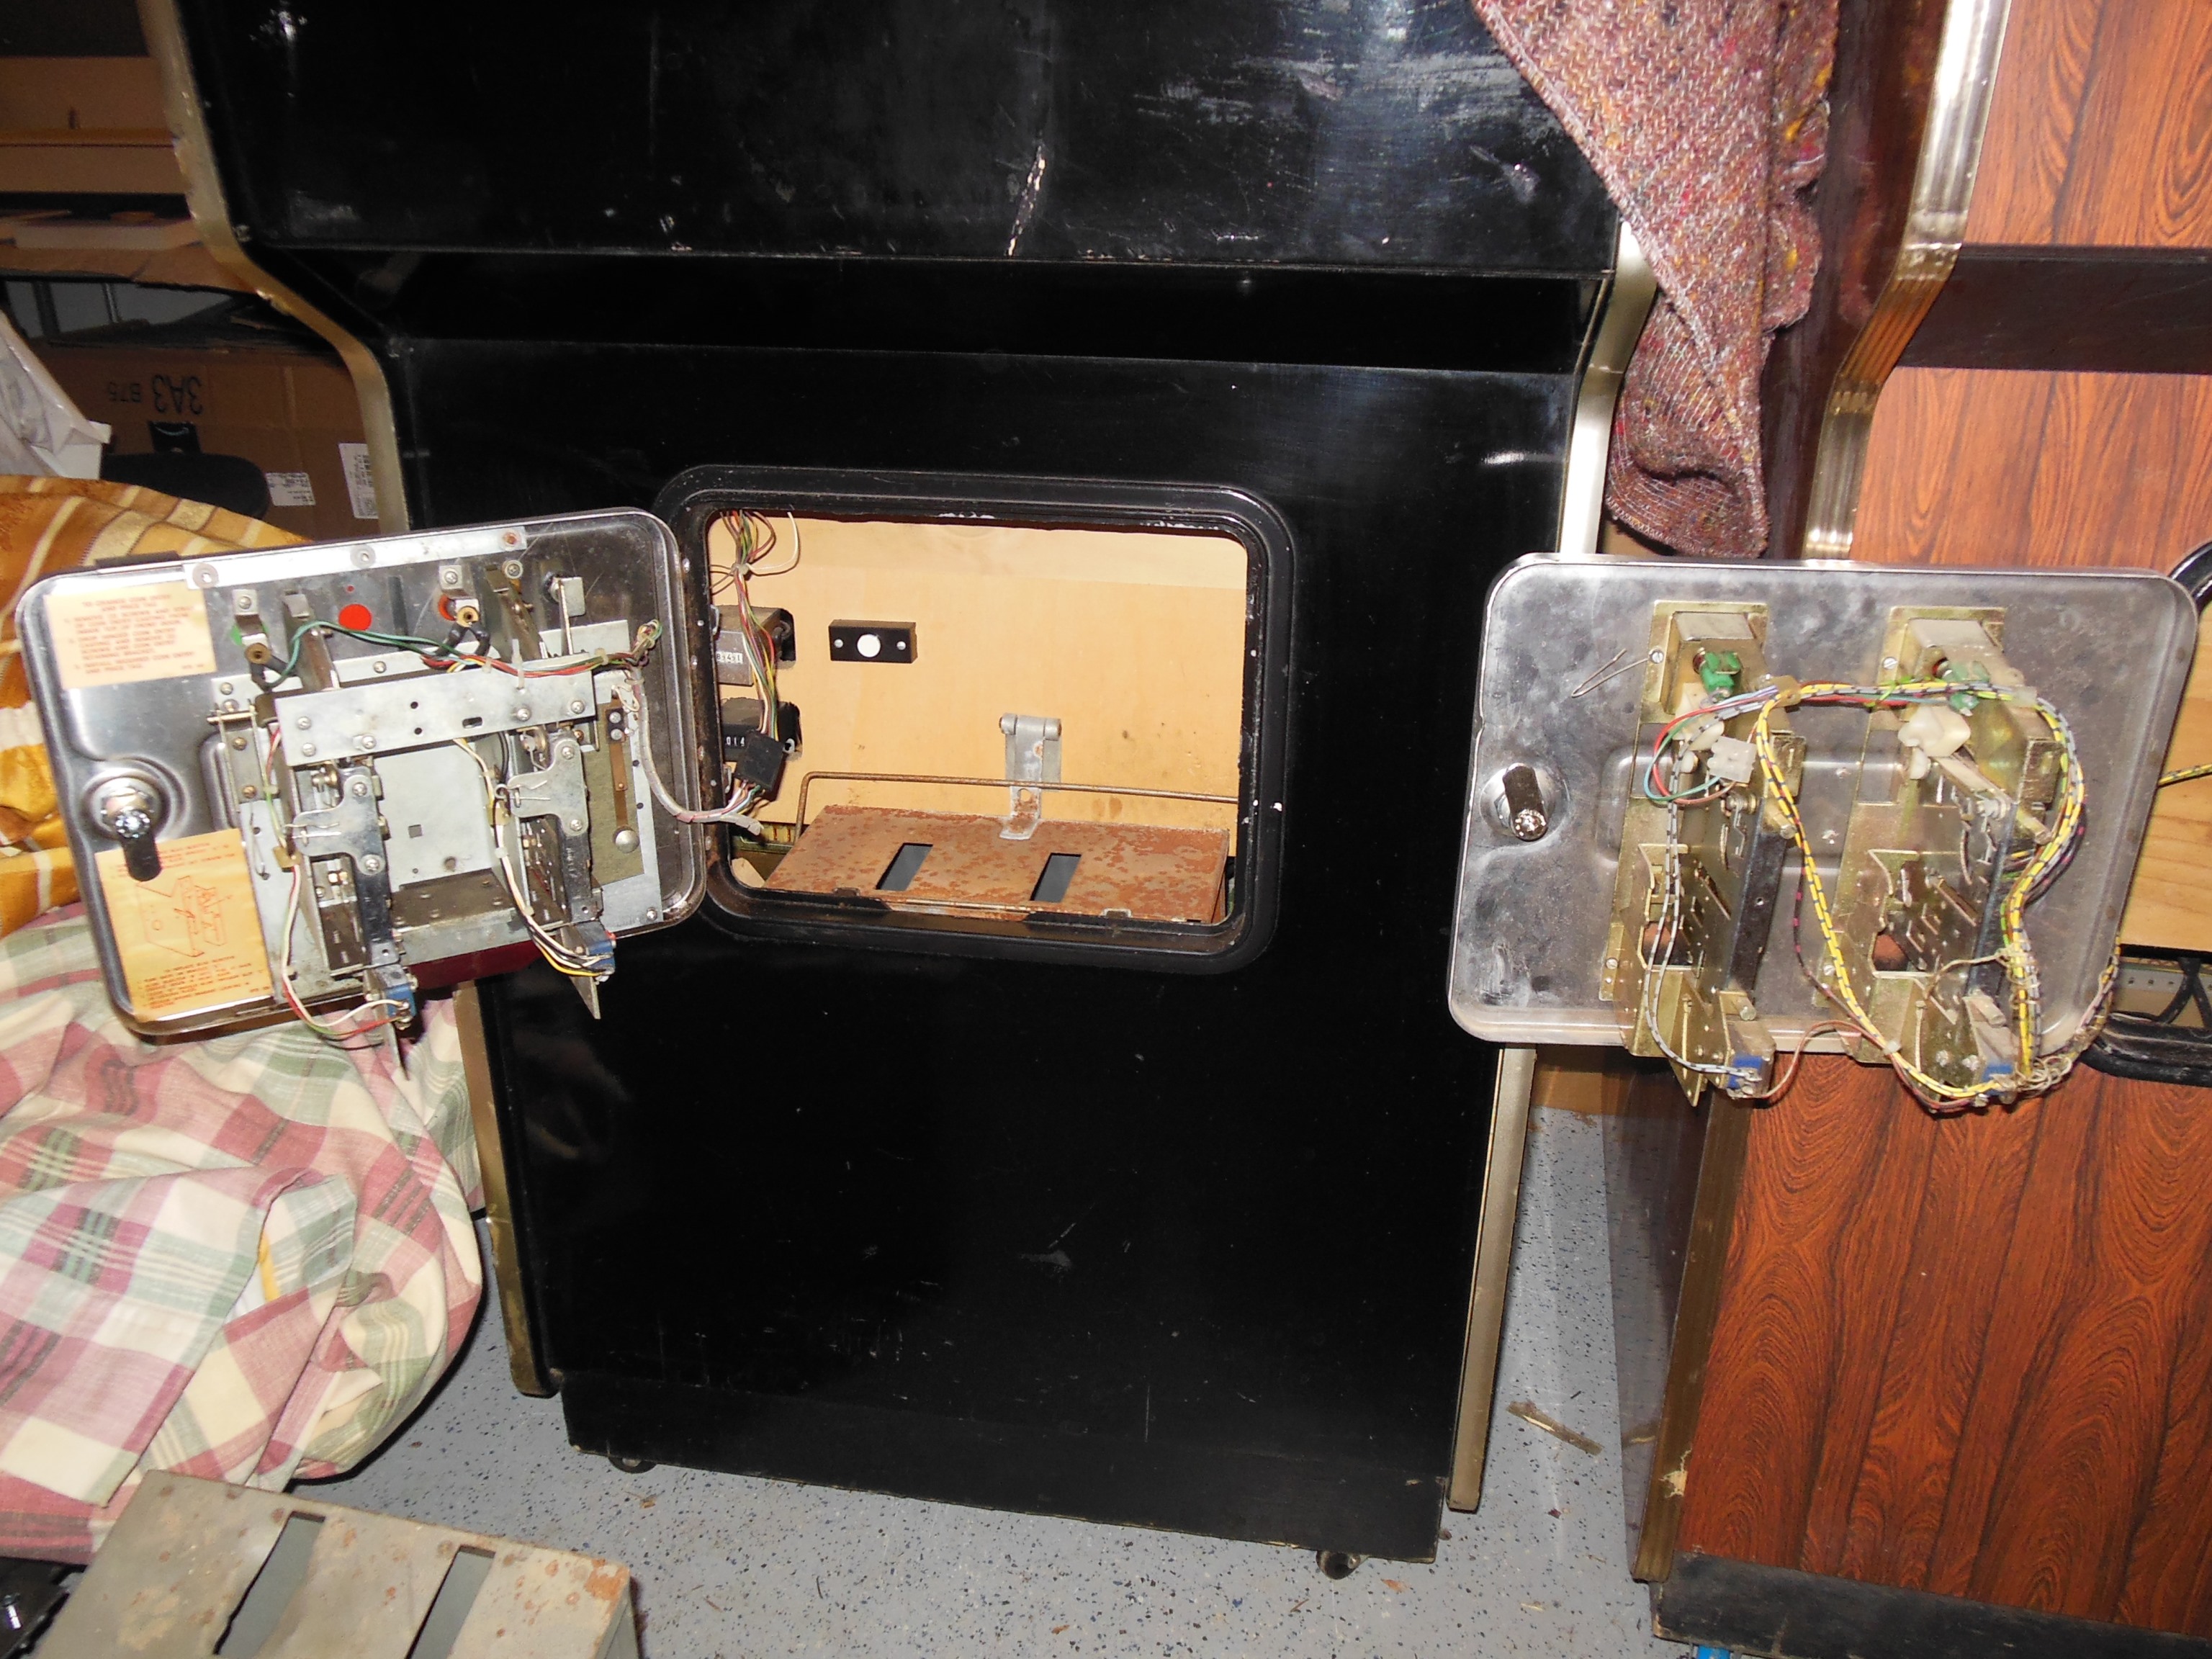
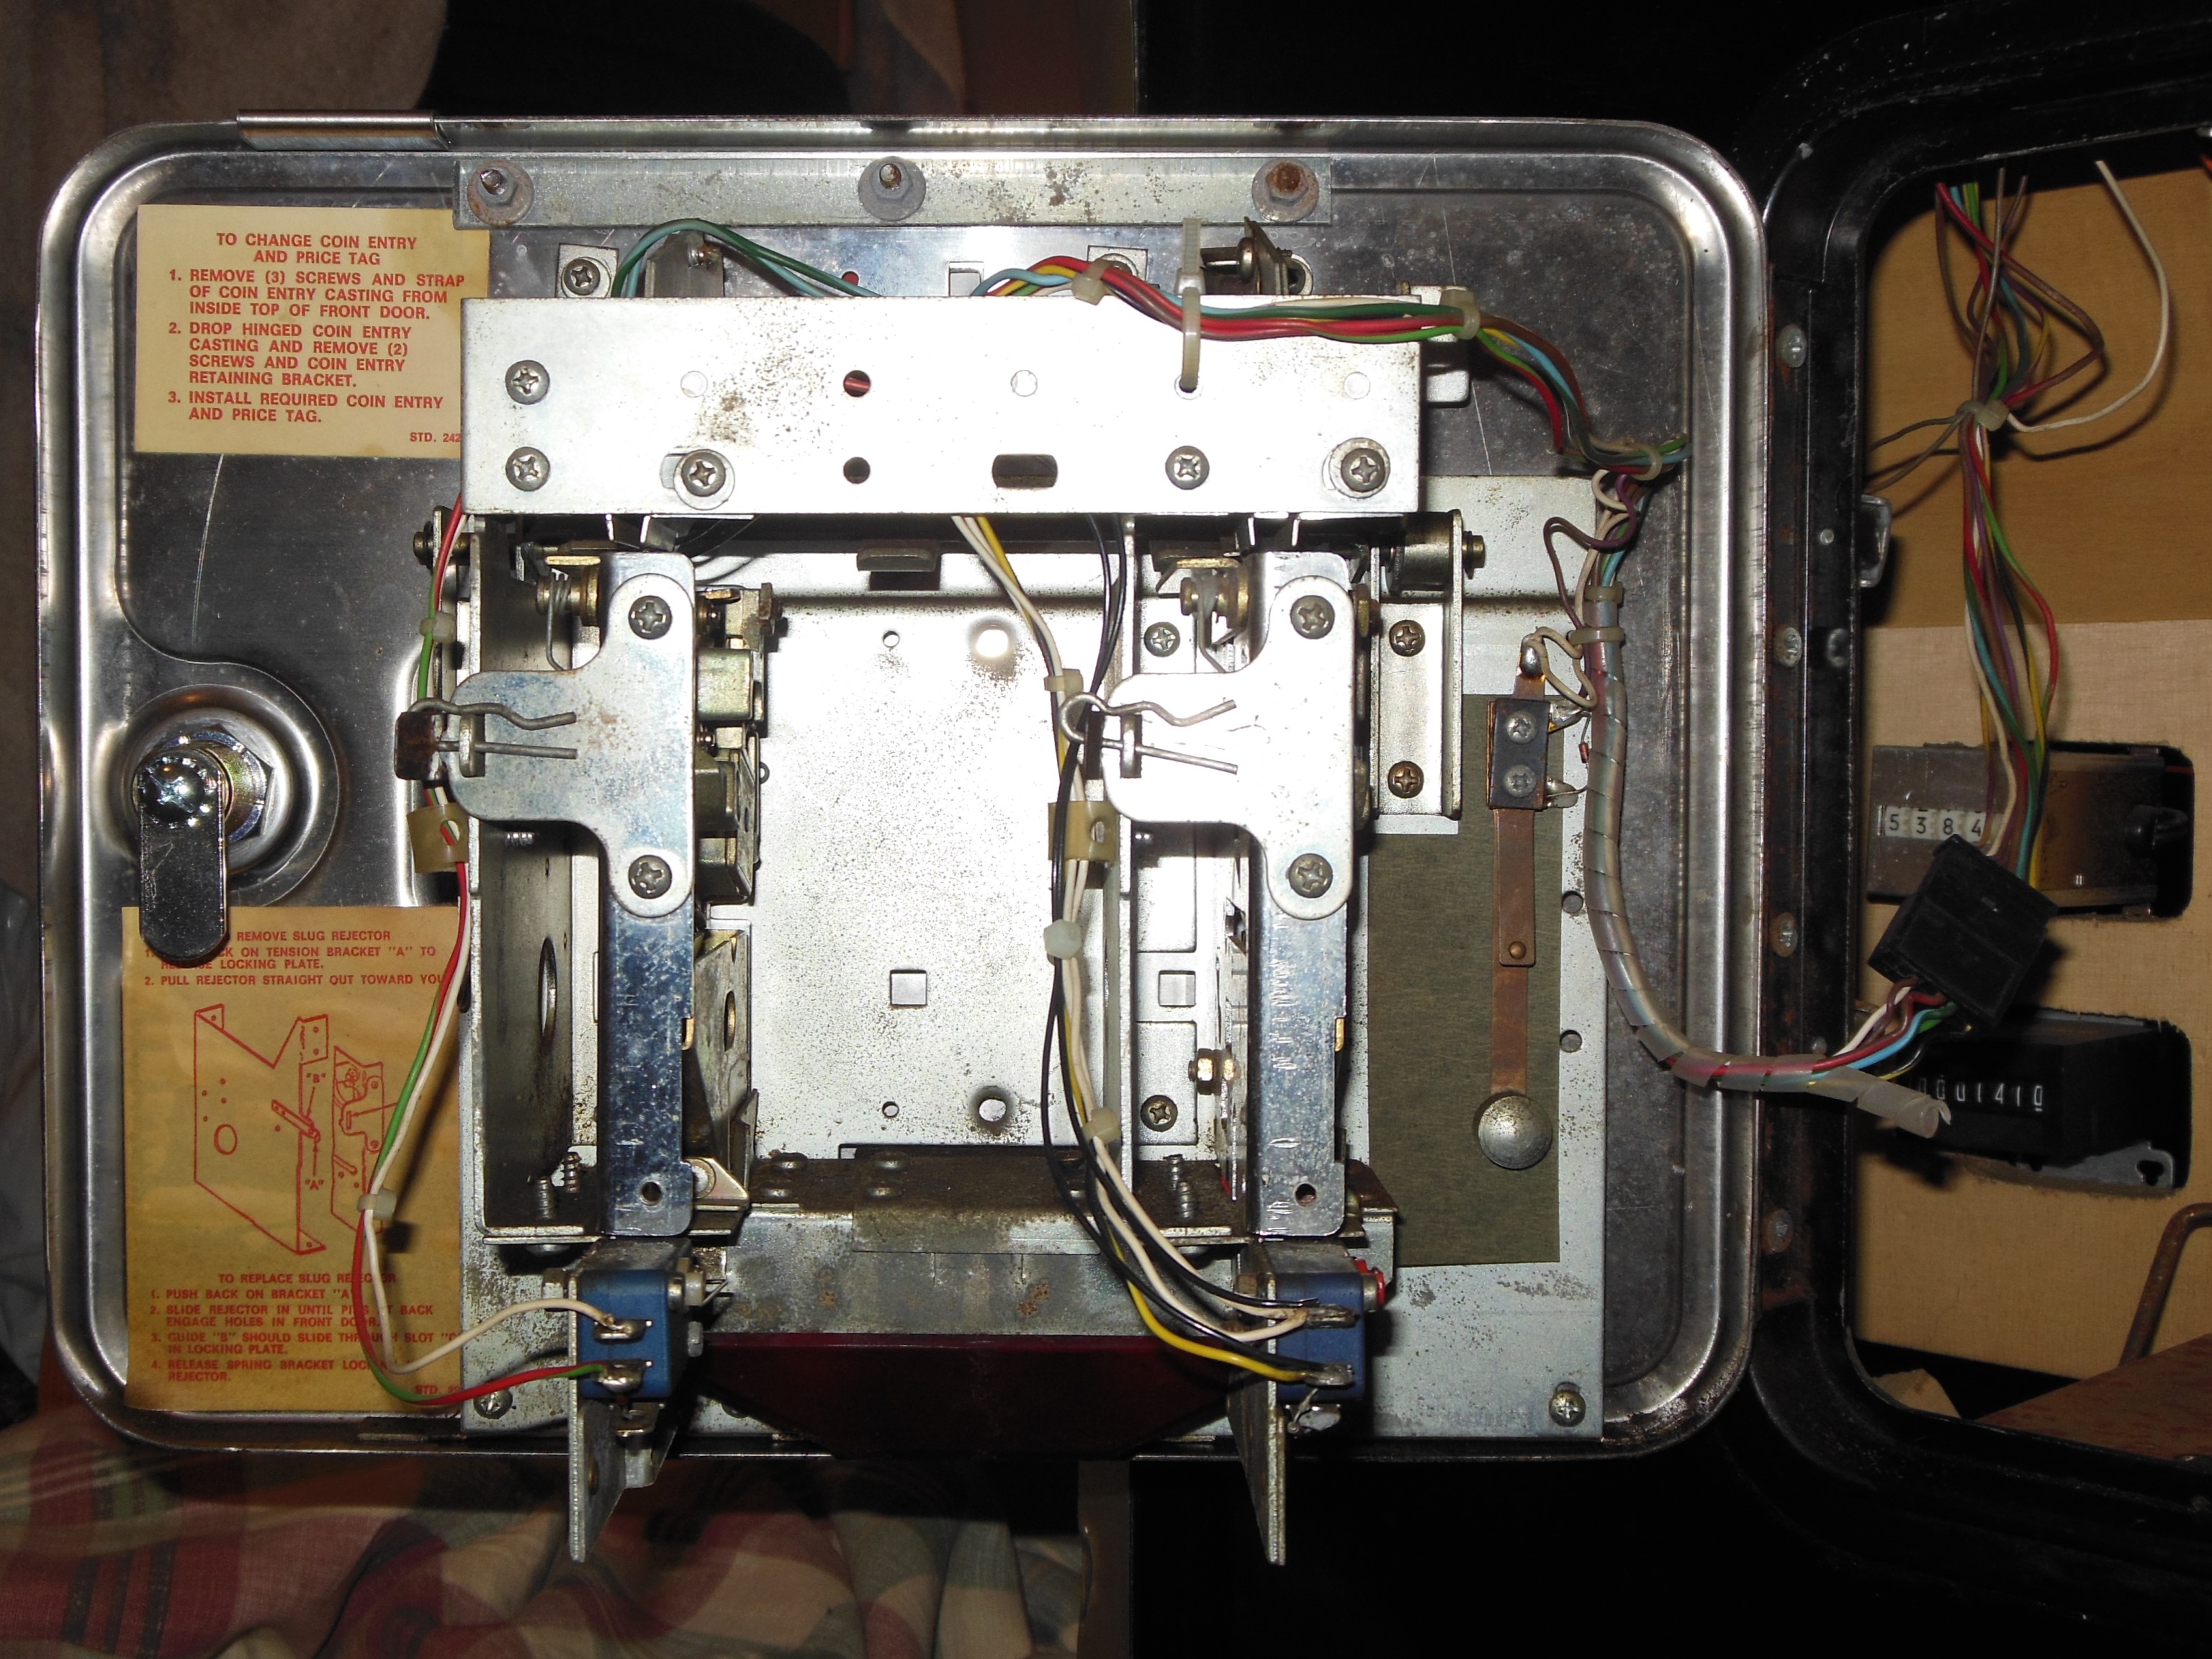
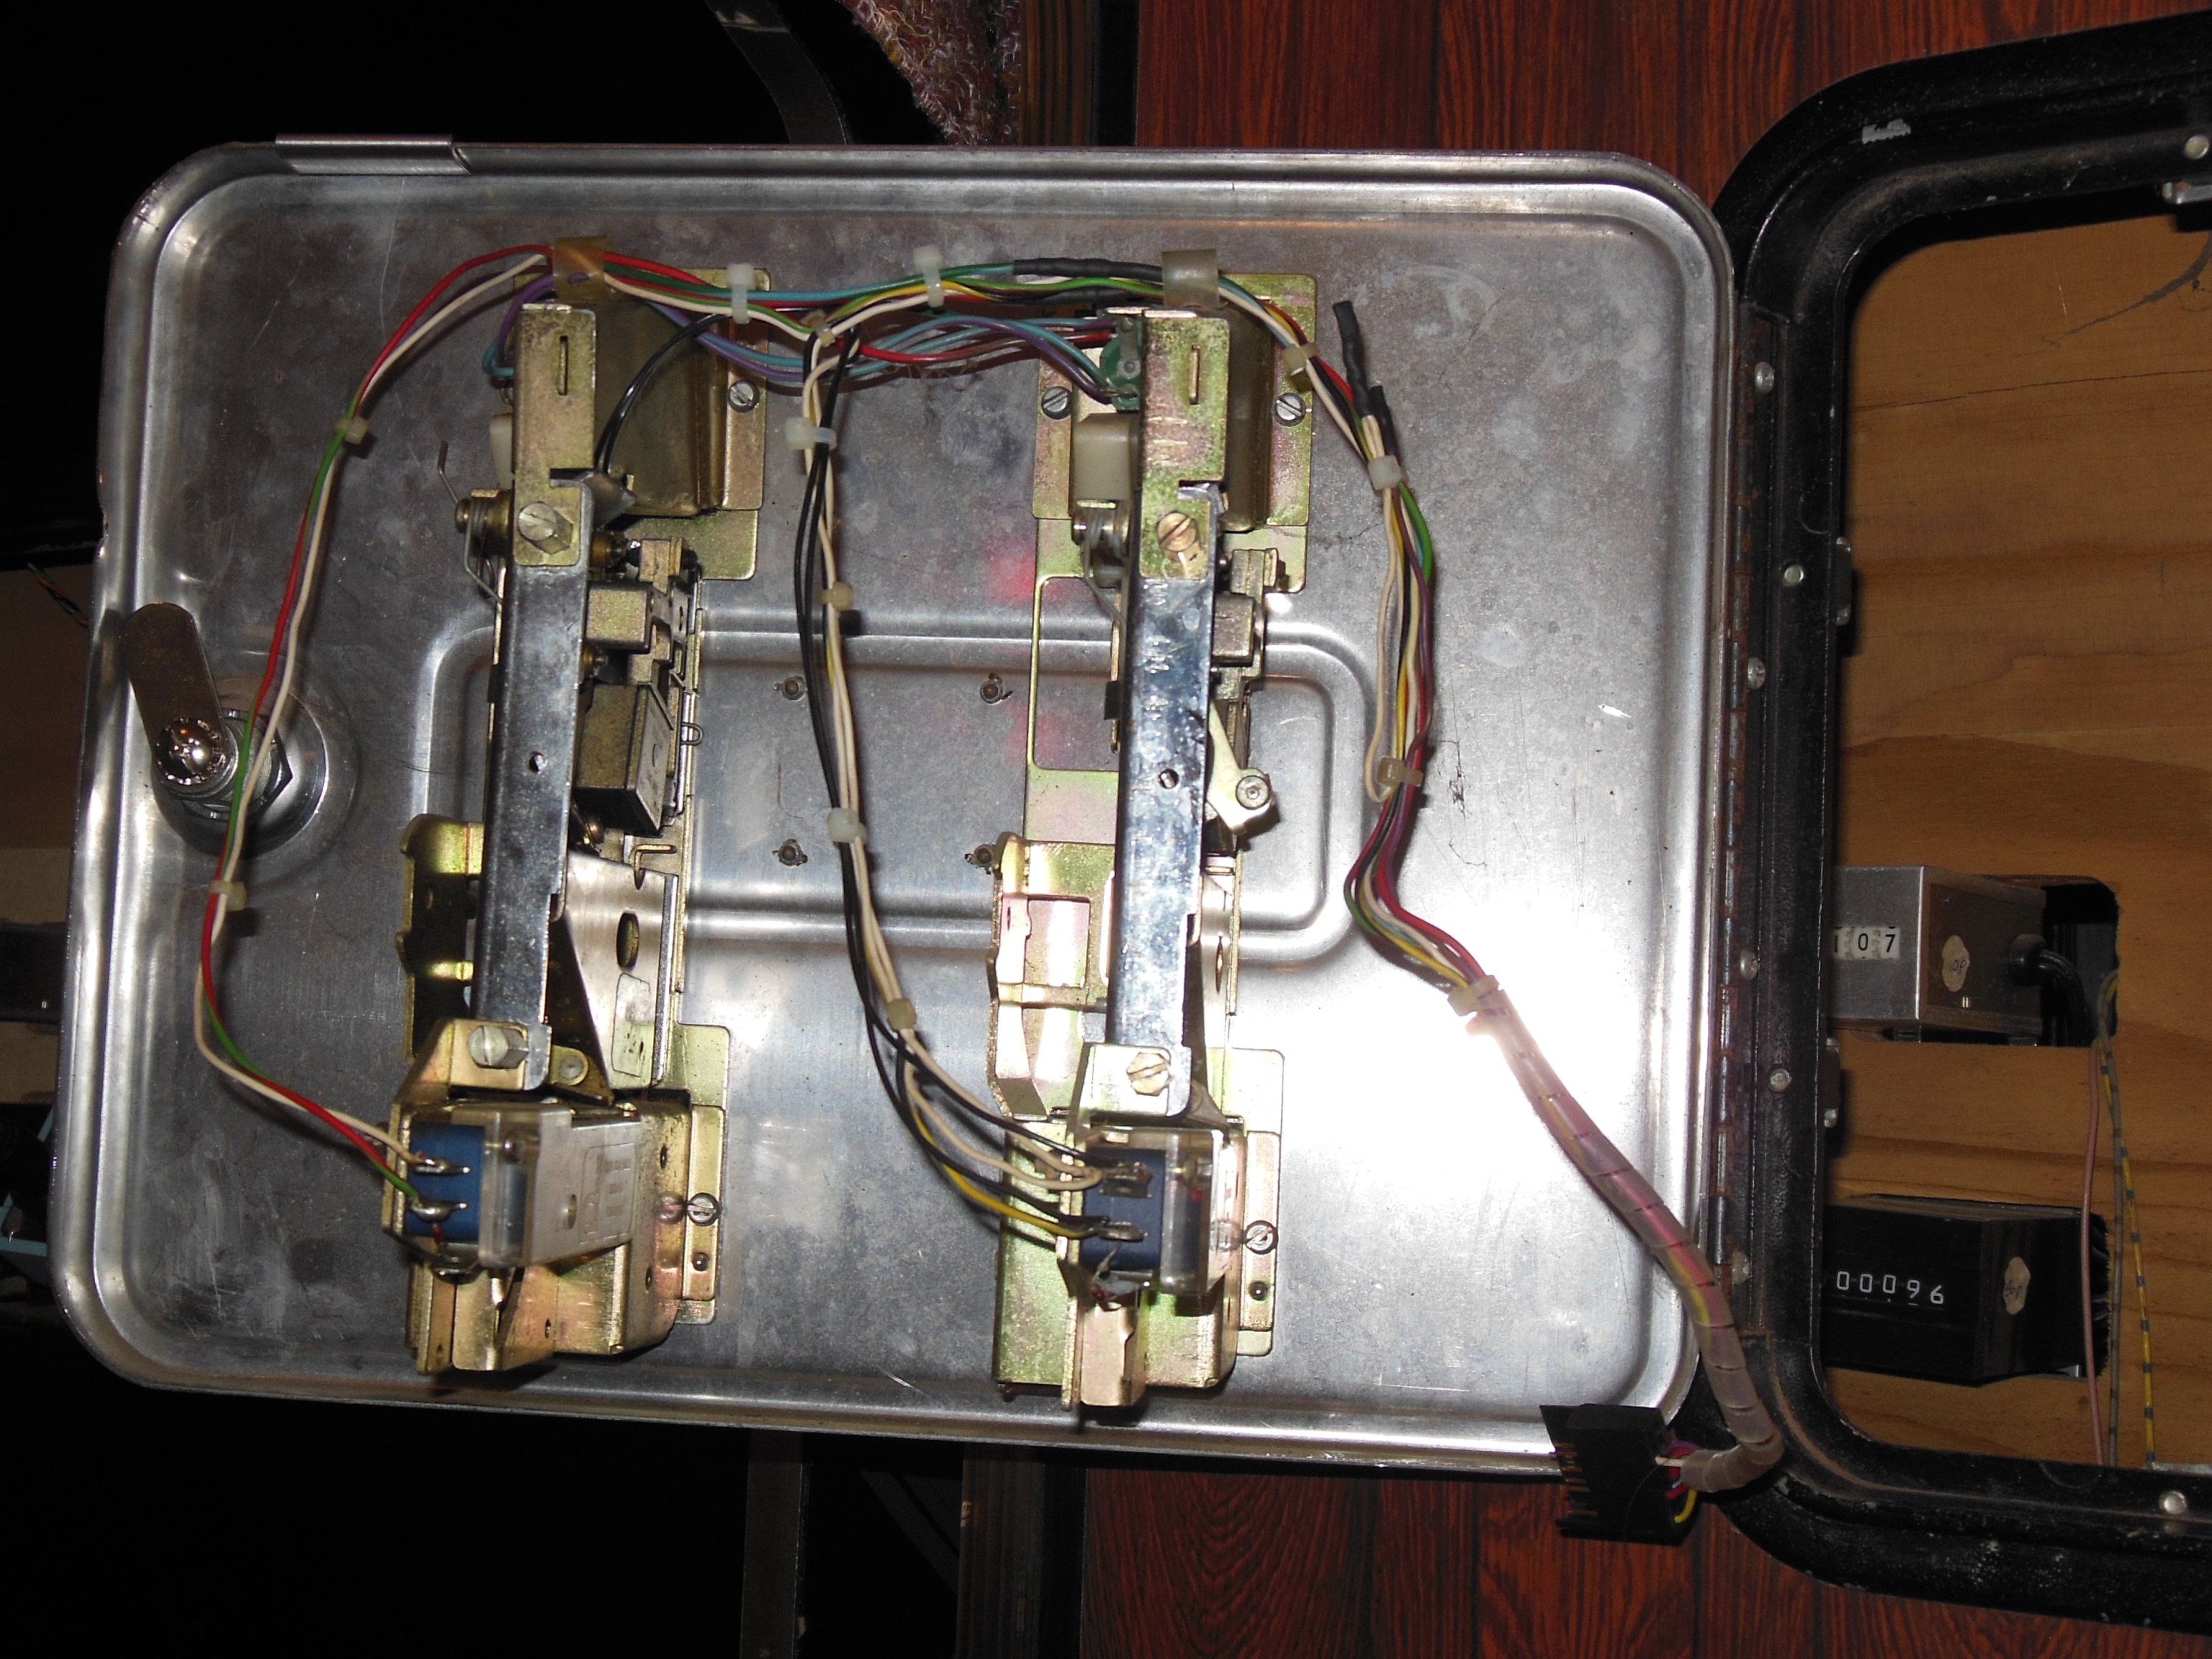
The existing wiring in the woodgrain none-Zaccaria coin door was removed and the coin door loom from the Quasar moved over. The only splice needed was for the coin door lights.
|
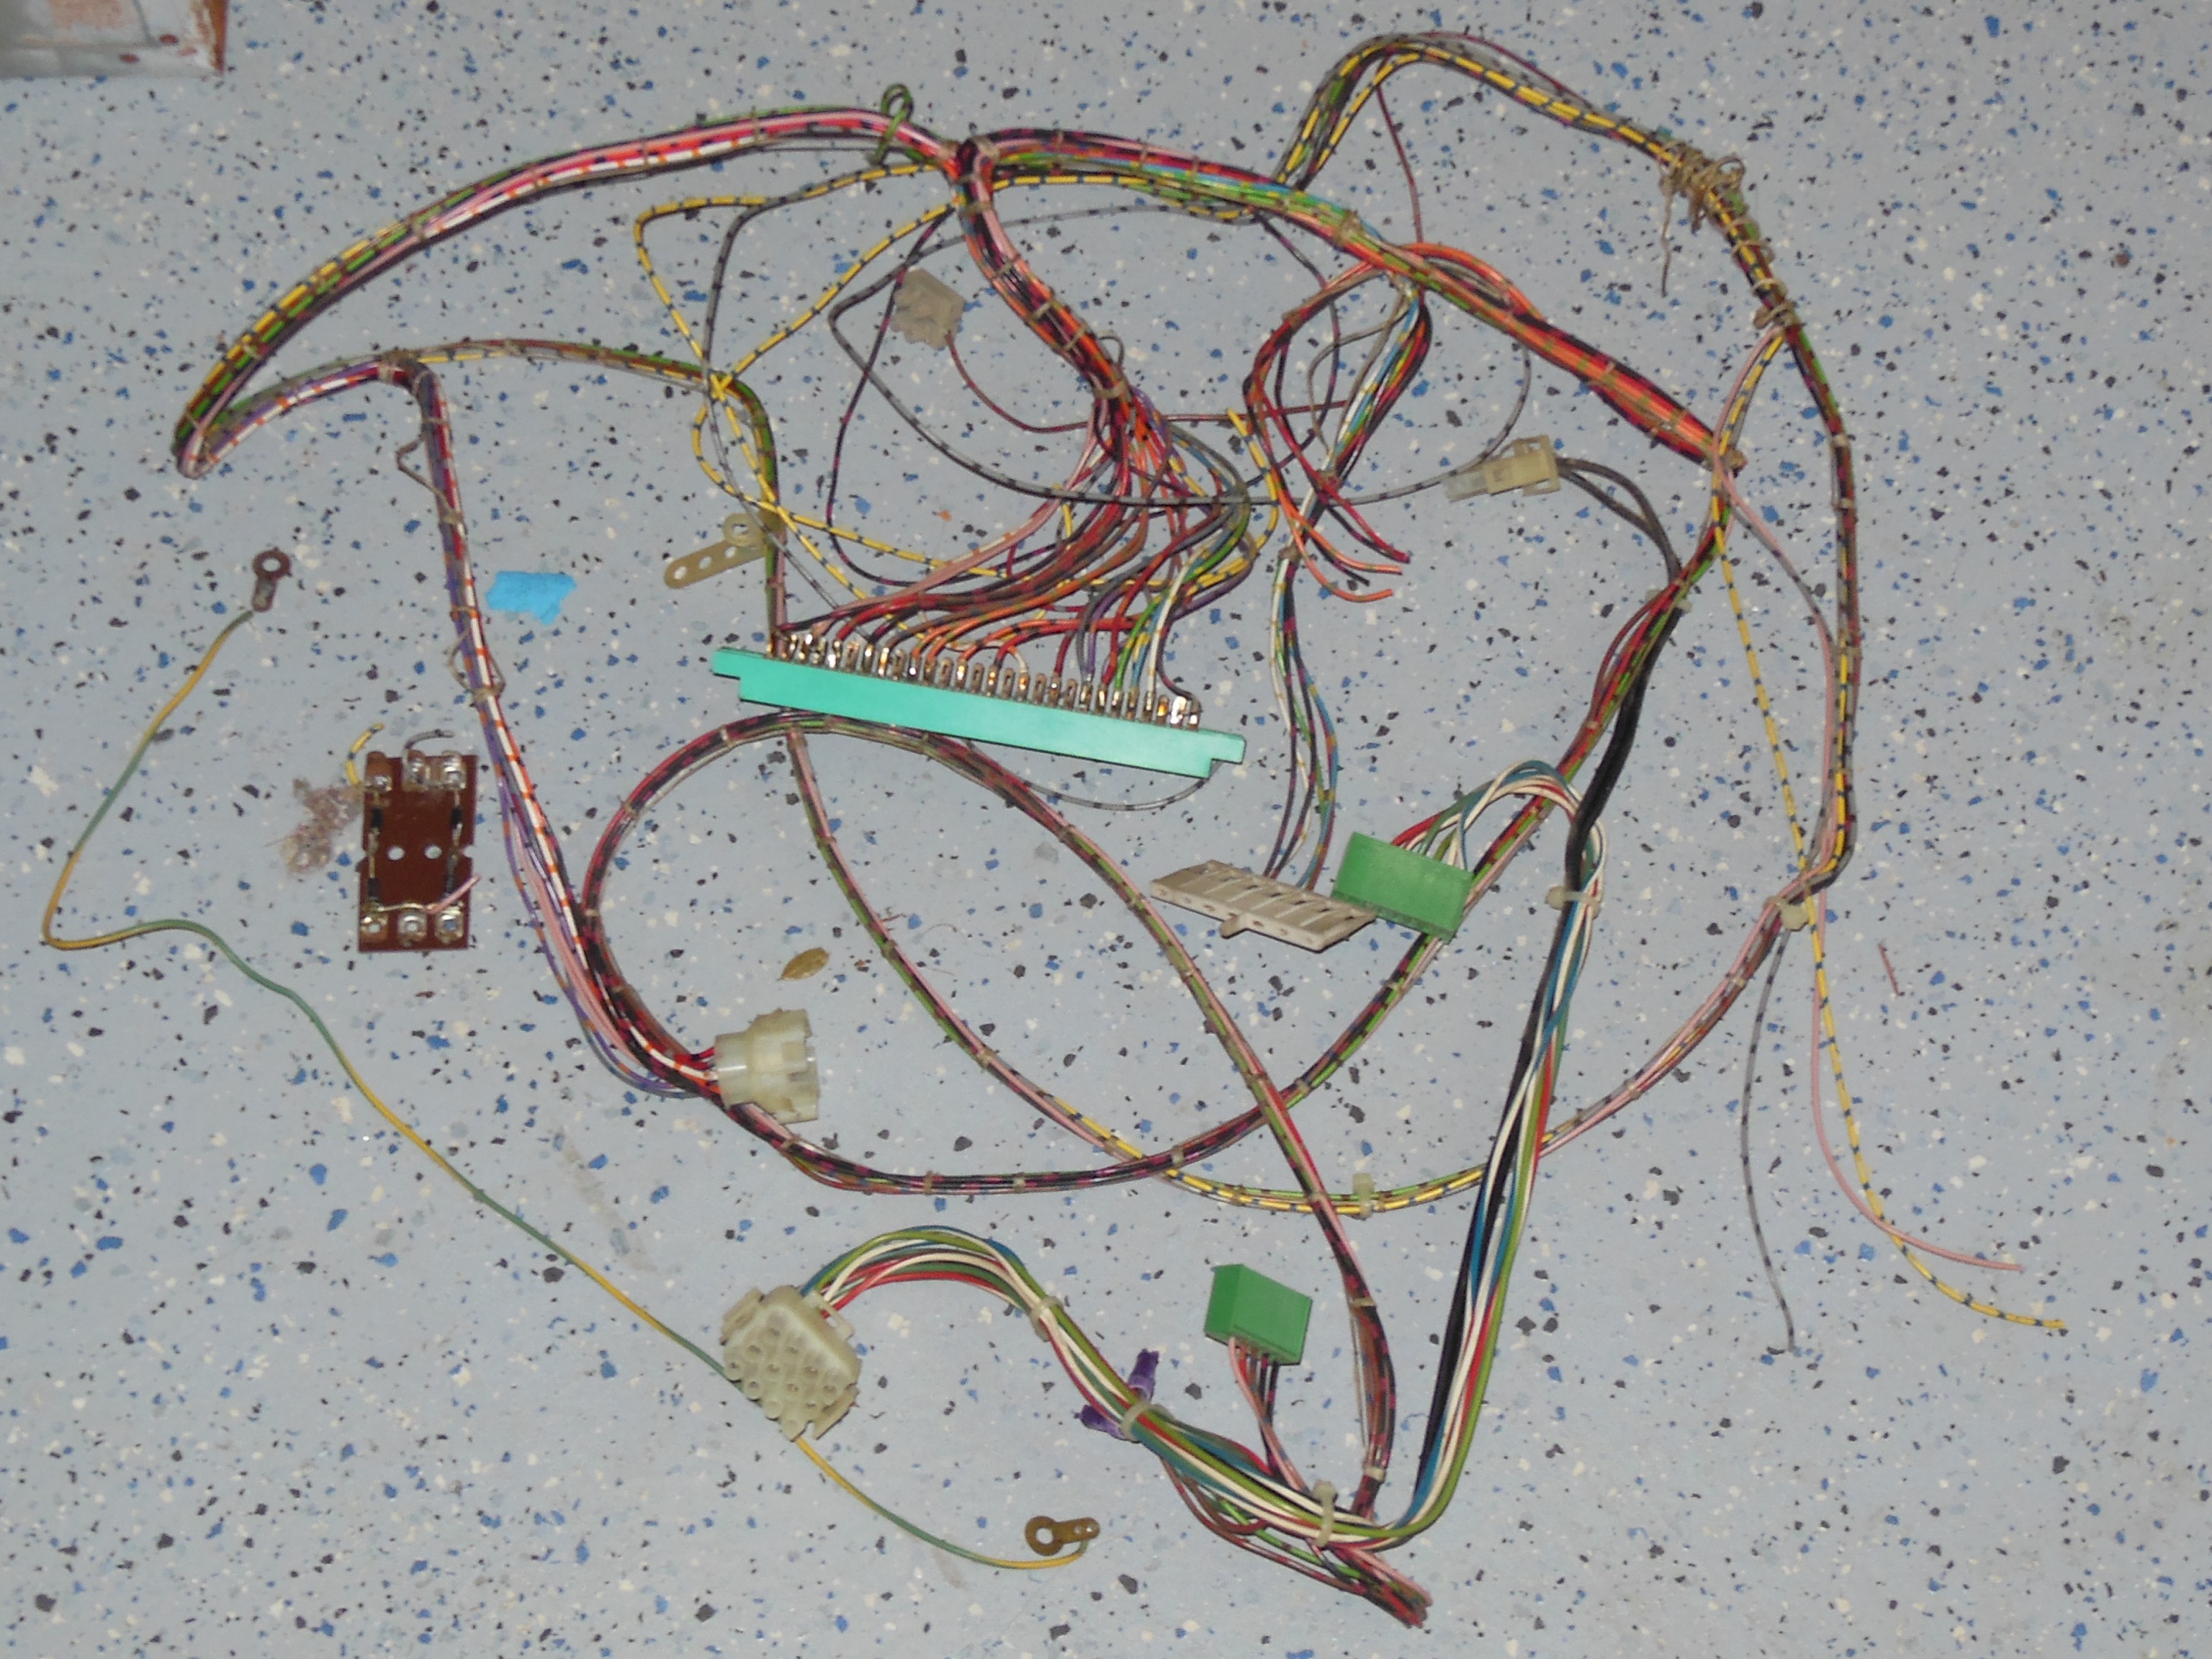
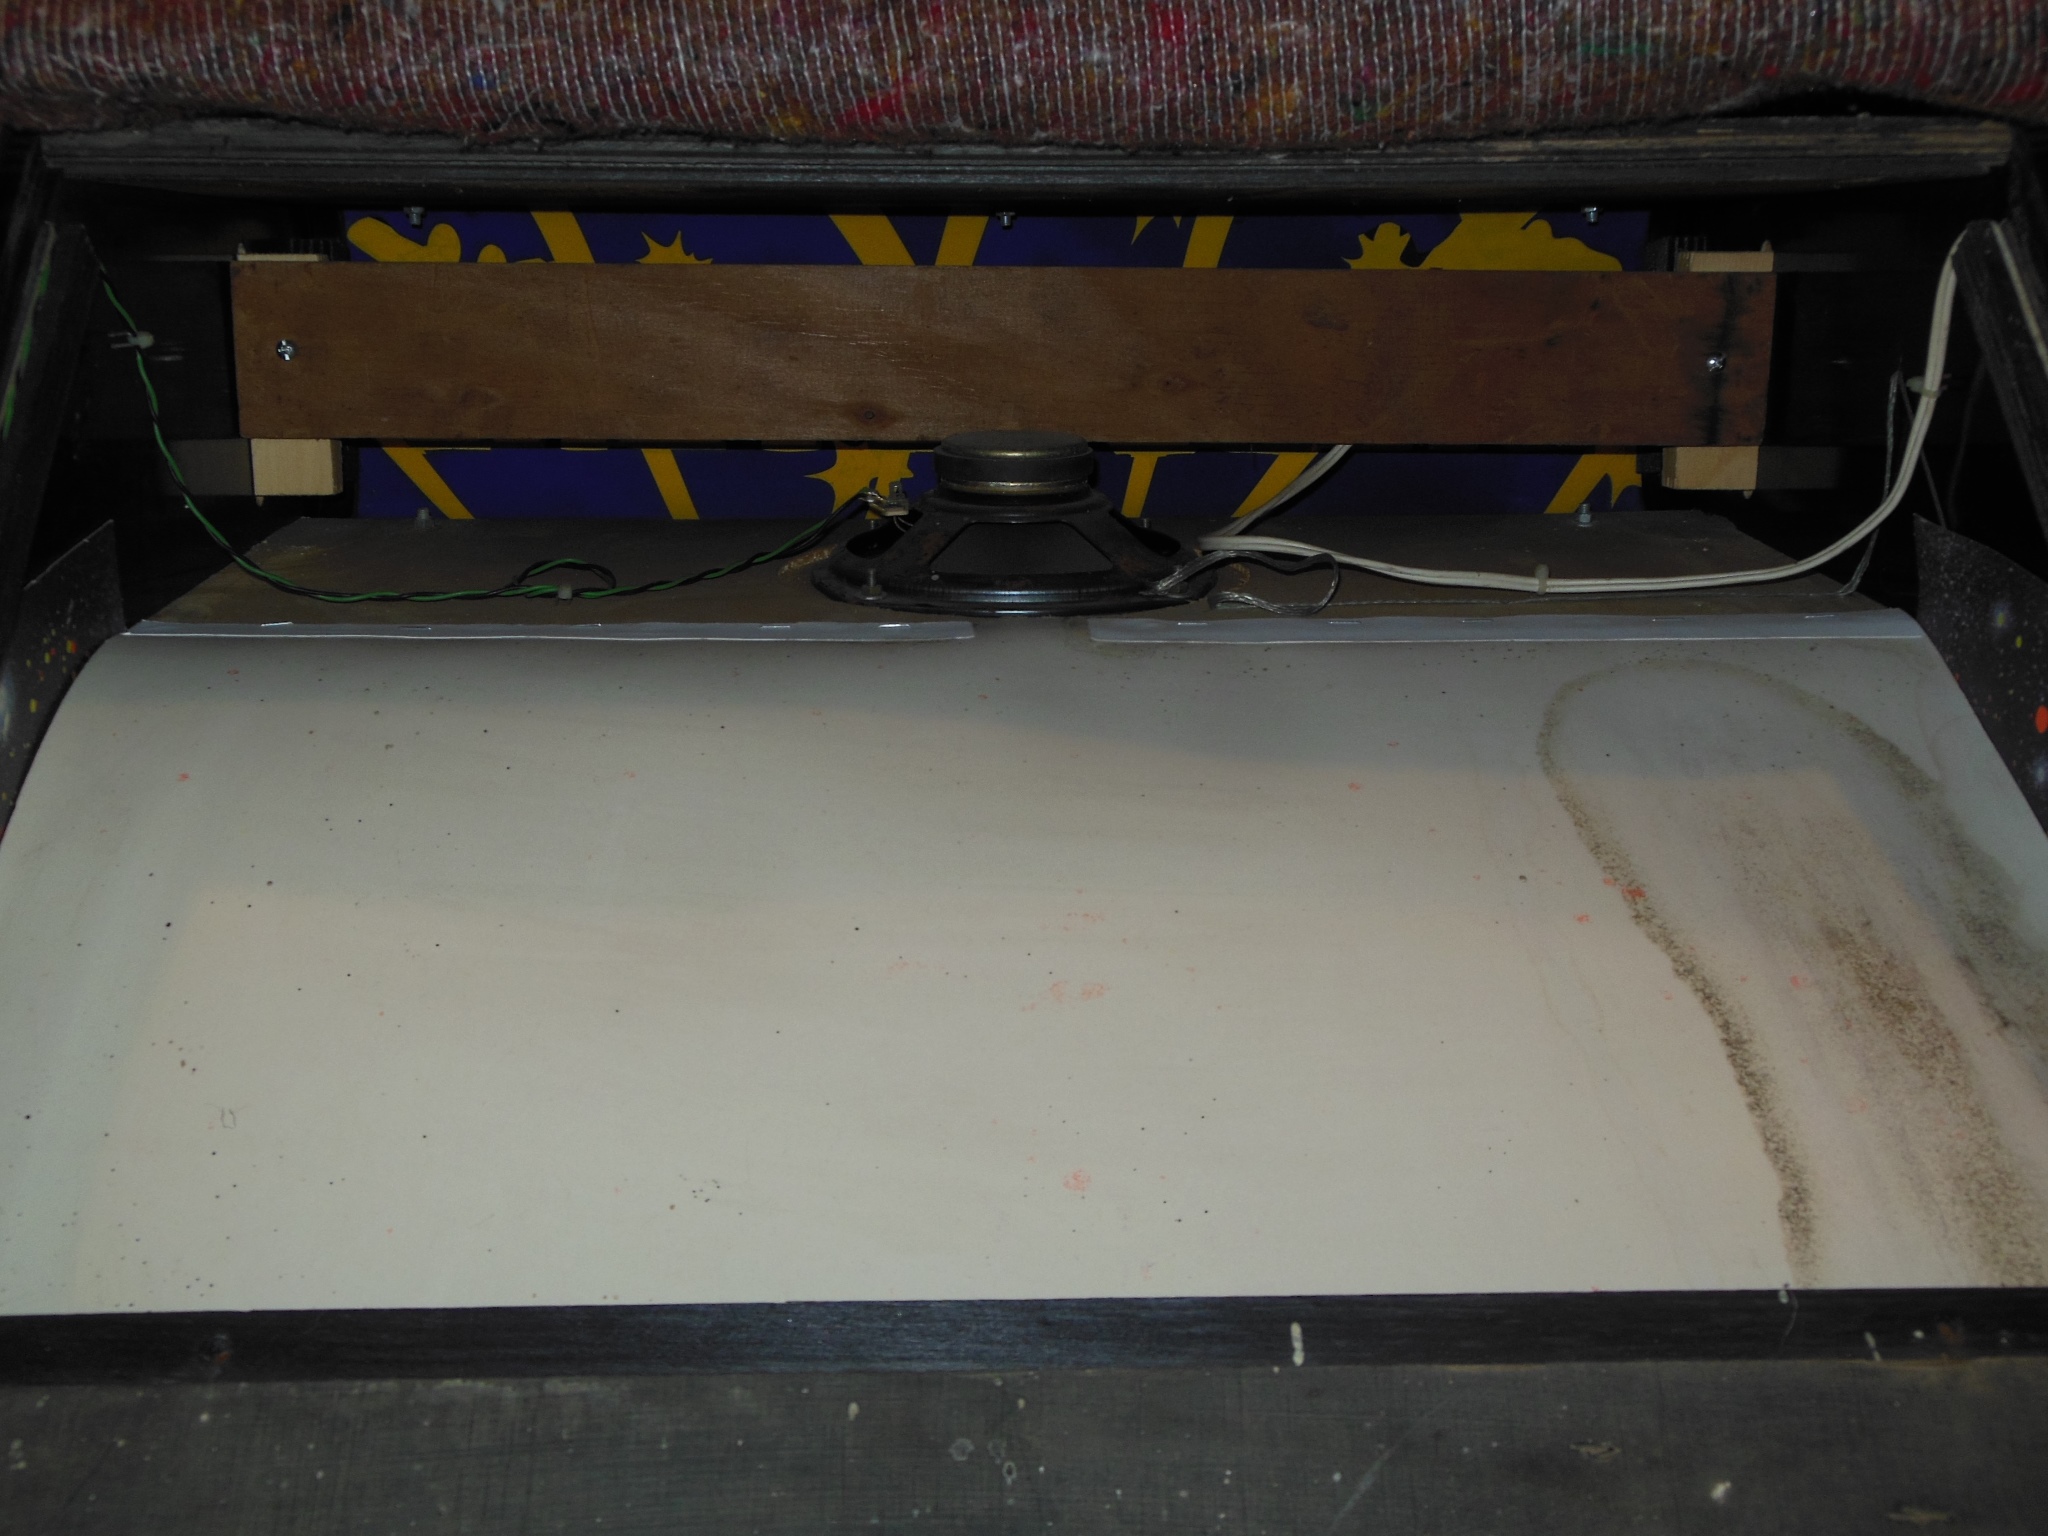
All the remaining wiring & power supply was removed from the woodgrain cabinet. The only cuts were for the coin counters and speaker.

|
The monitor in the Quasar cabinet would move over as is. The Quasar monitor surround had been cut across previously and was in worse condition than the surround in the woodgrain cabinet. Space Fortress would need a different surround to match the smaller horizontal B & W monitor so the Quasar surround was removed to be kept as a spare.
|
The power transformer & regulation PCB were moved over. Since the Quasar had the coin counter wiring threaded around the woodwork the coin counters had to be disconnected to move them over to the woodgrain cabinet.
|
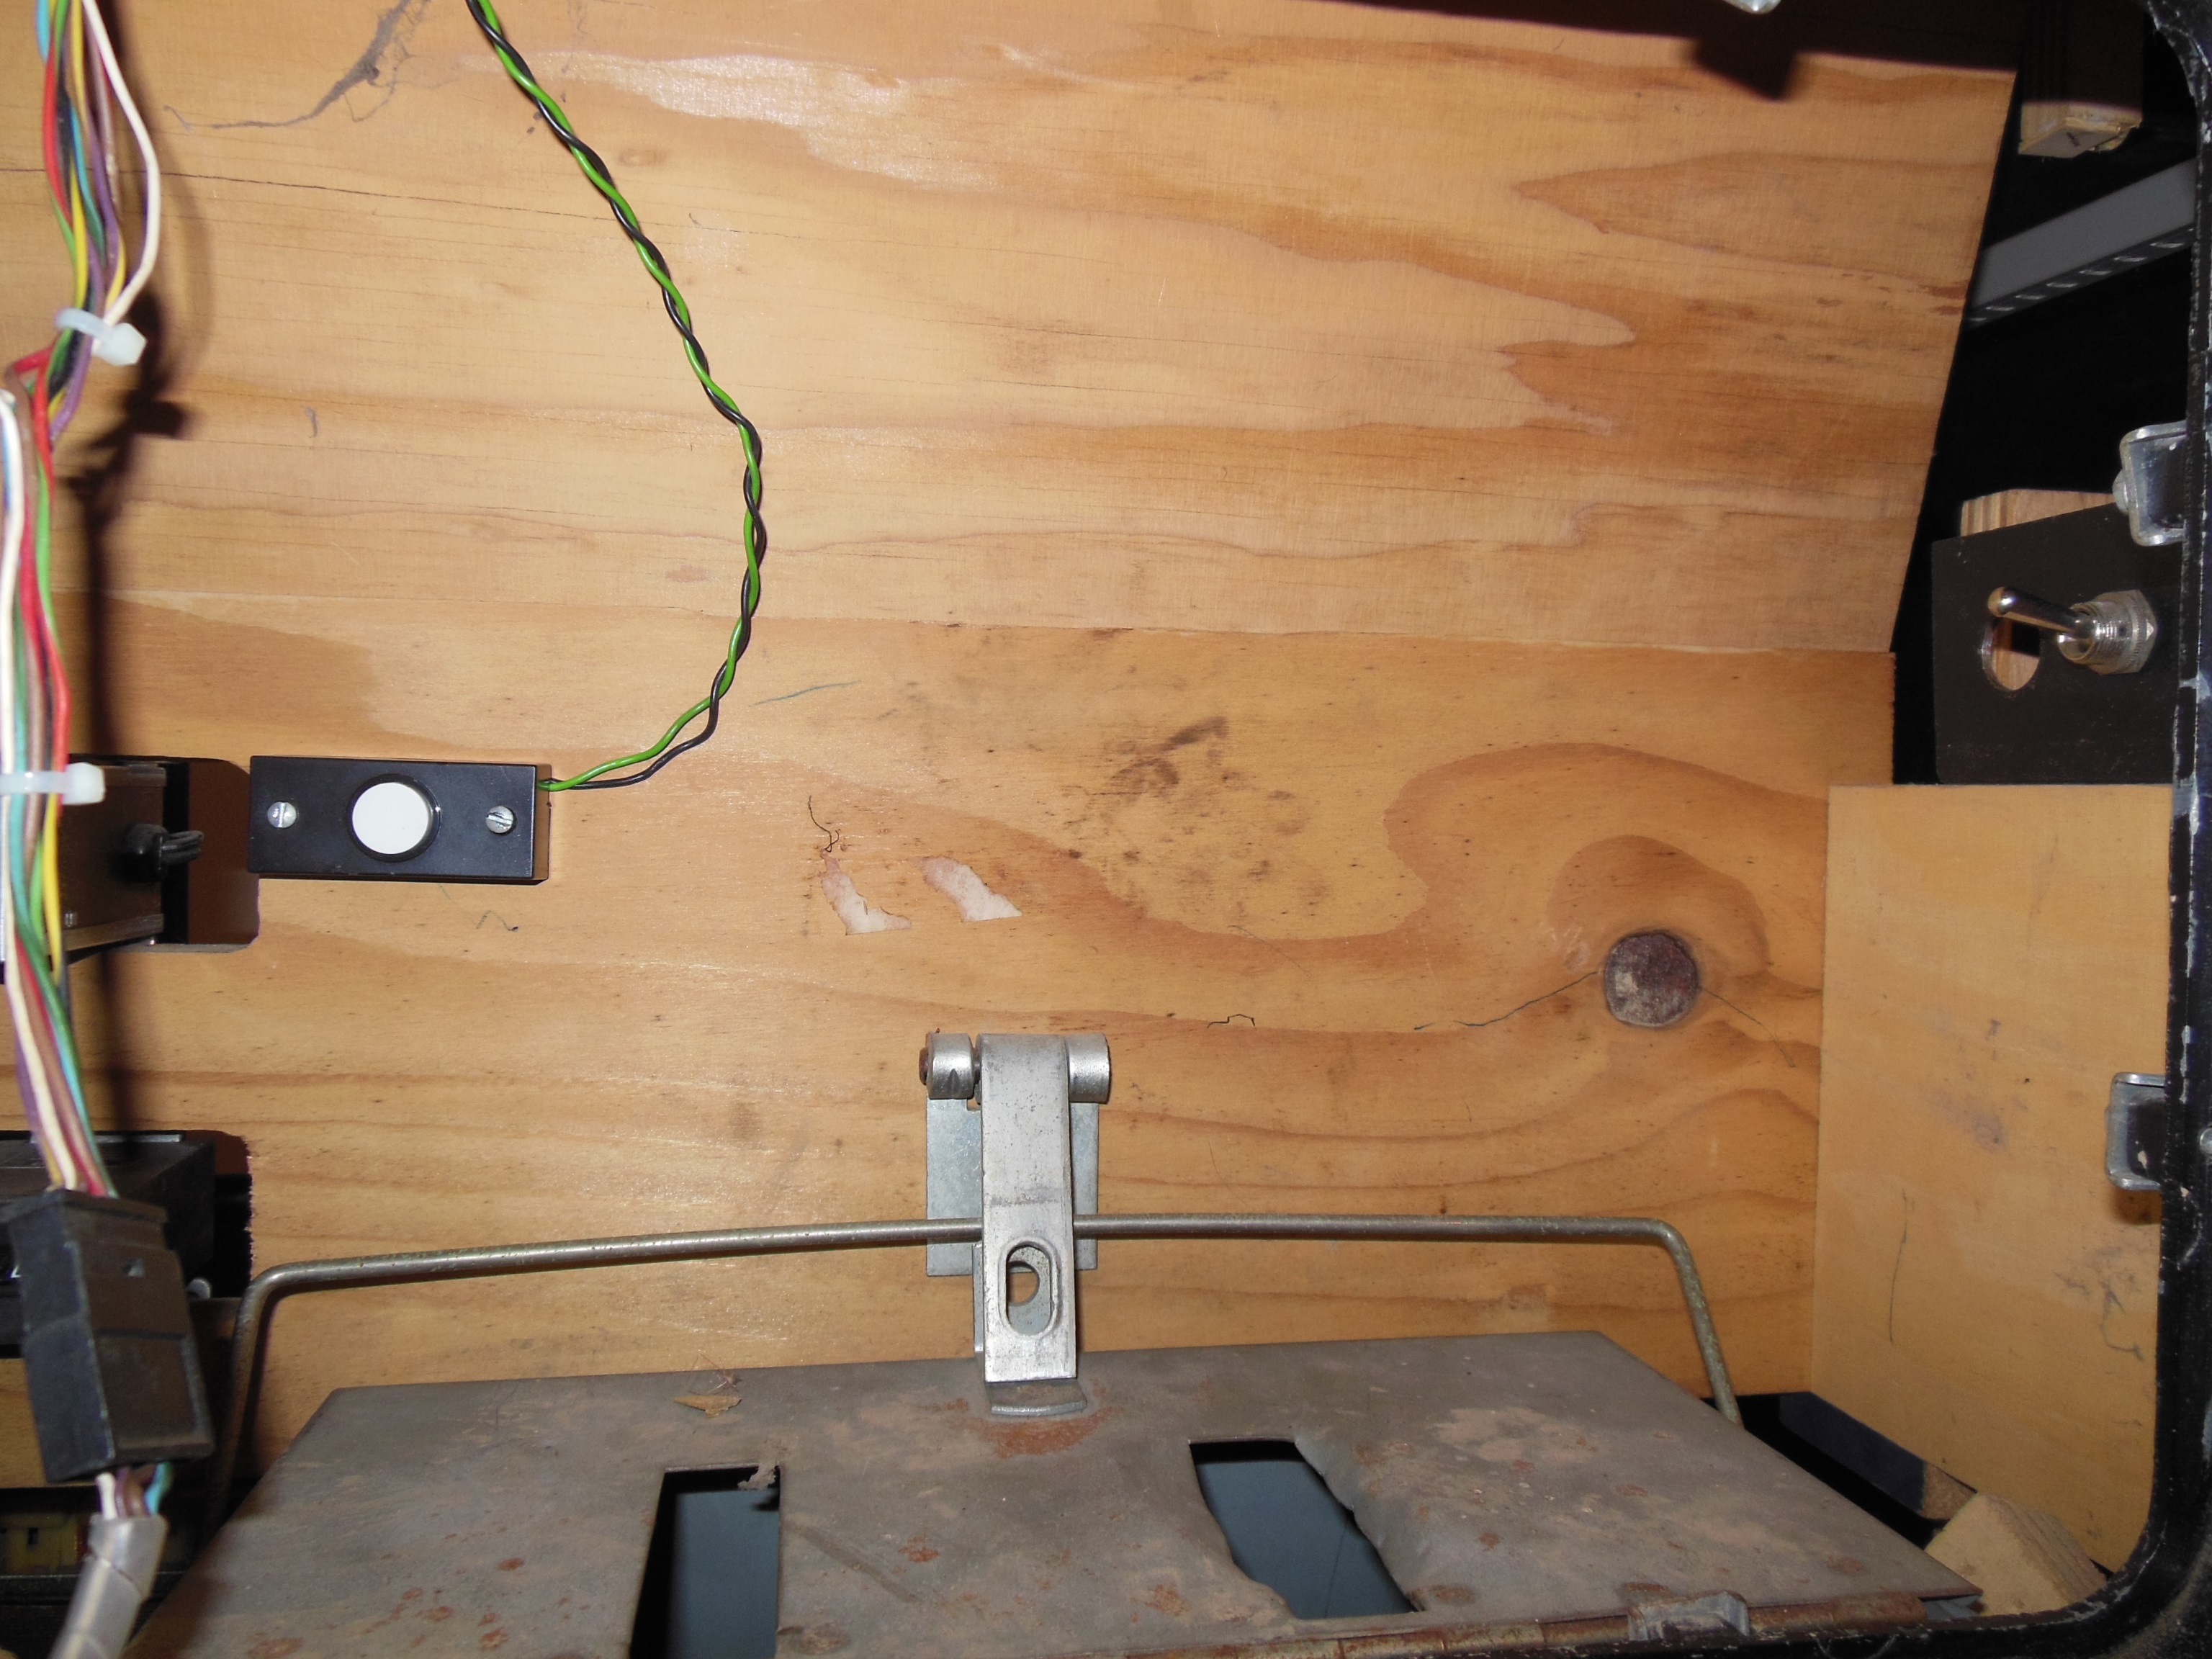
All the signal-side wiring loom was transferred over with two small changes. The doorbell was wired in from the surface to avoid drilling a wiring hole through the cabinet and the test mode toggle switch moved from next to the game PCB to on the right of the coin door for easier access. The coin counters were also reinstalled and wired in.
|
After all the wiring had been installed and fixed in place the monitor was fitted.
|
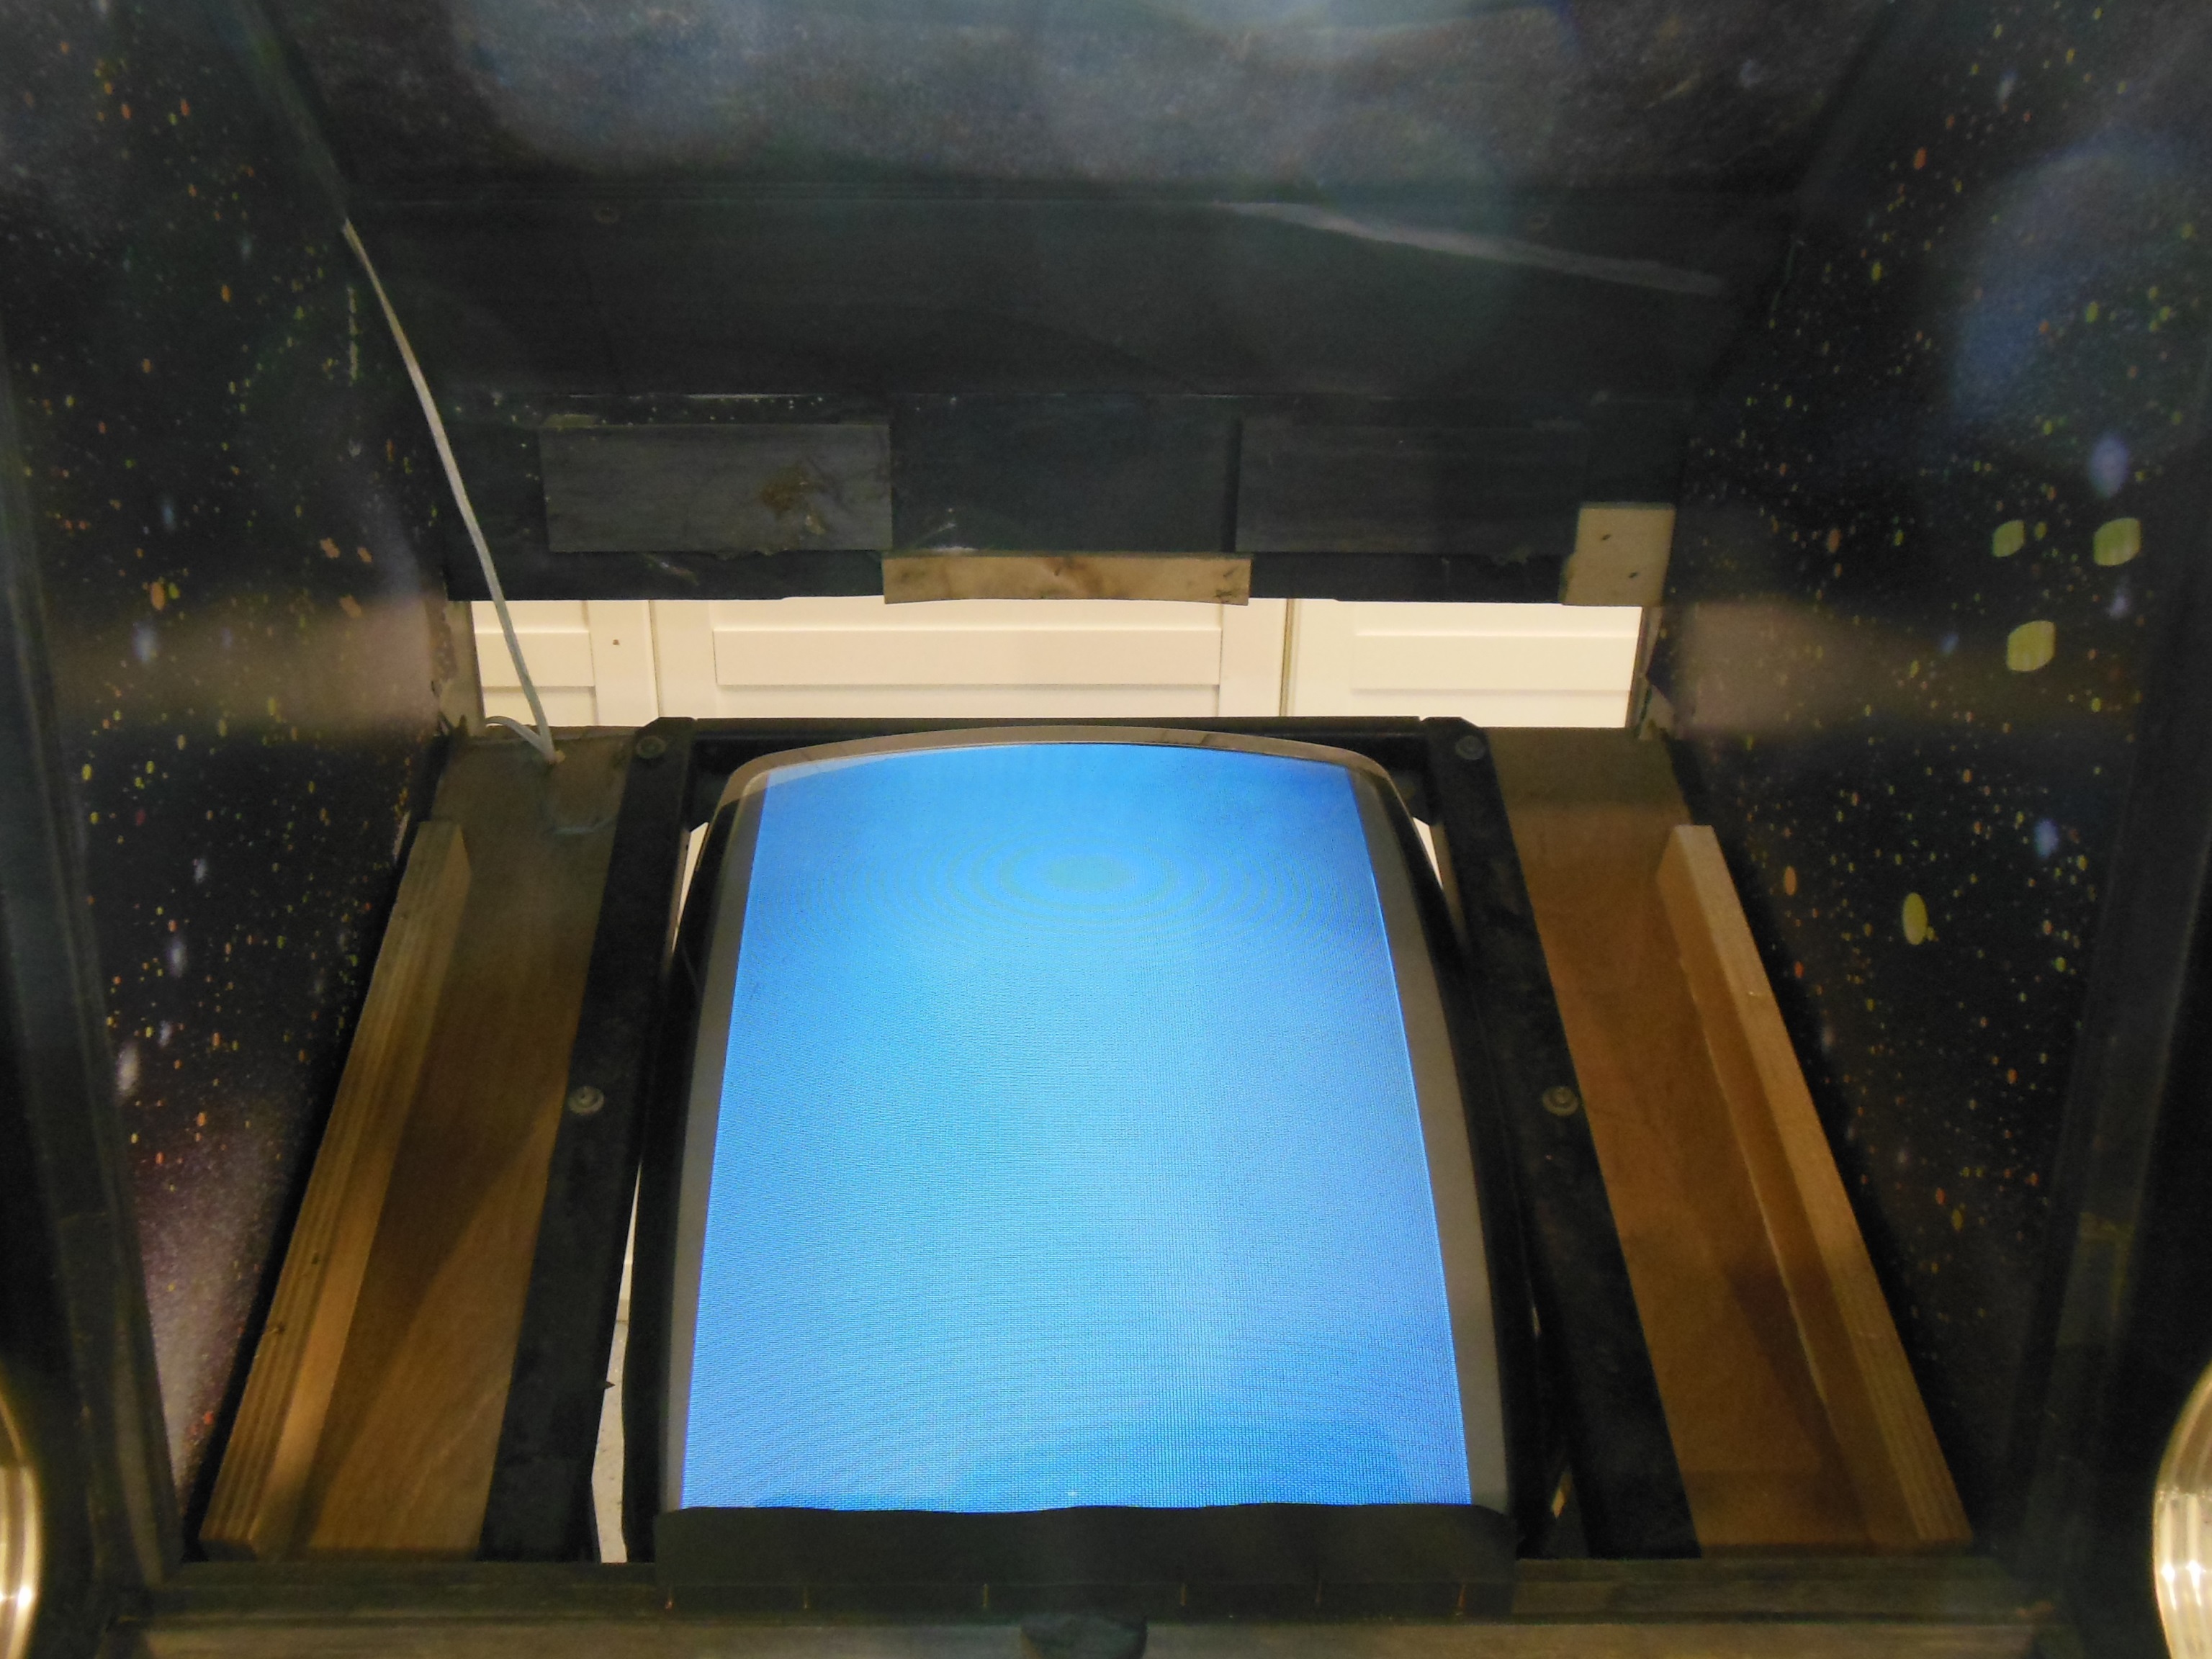
First power on without the game PCB yielded a full grey picture on the monitor. All the power rails for the game PCB also checked out OK.
|
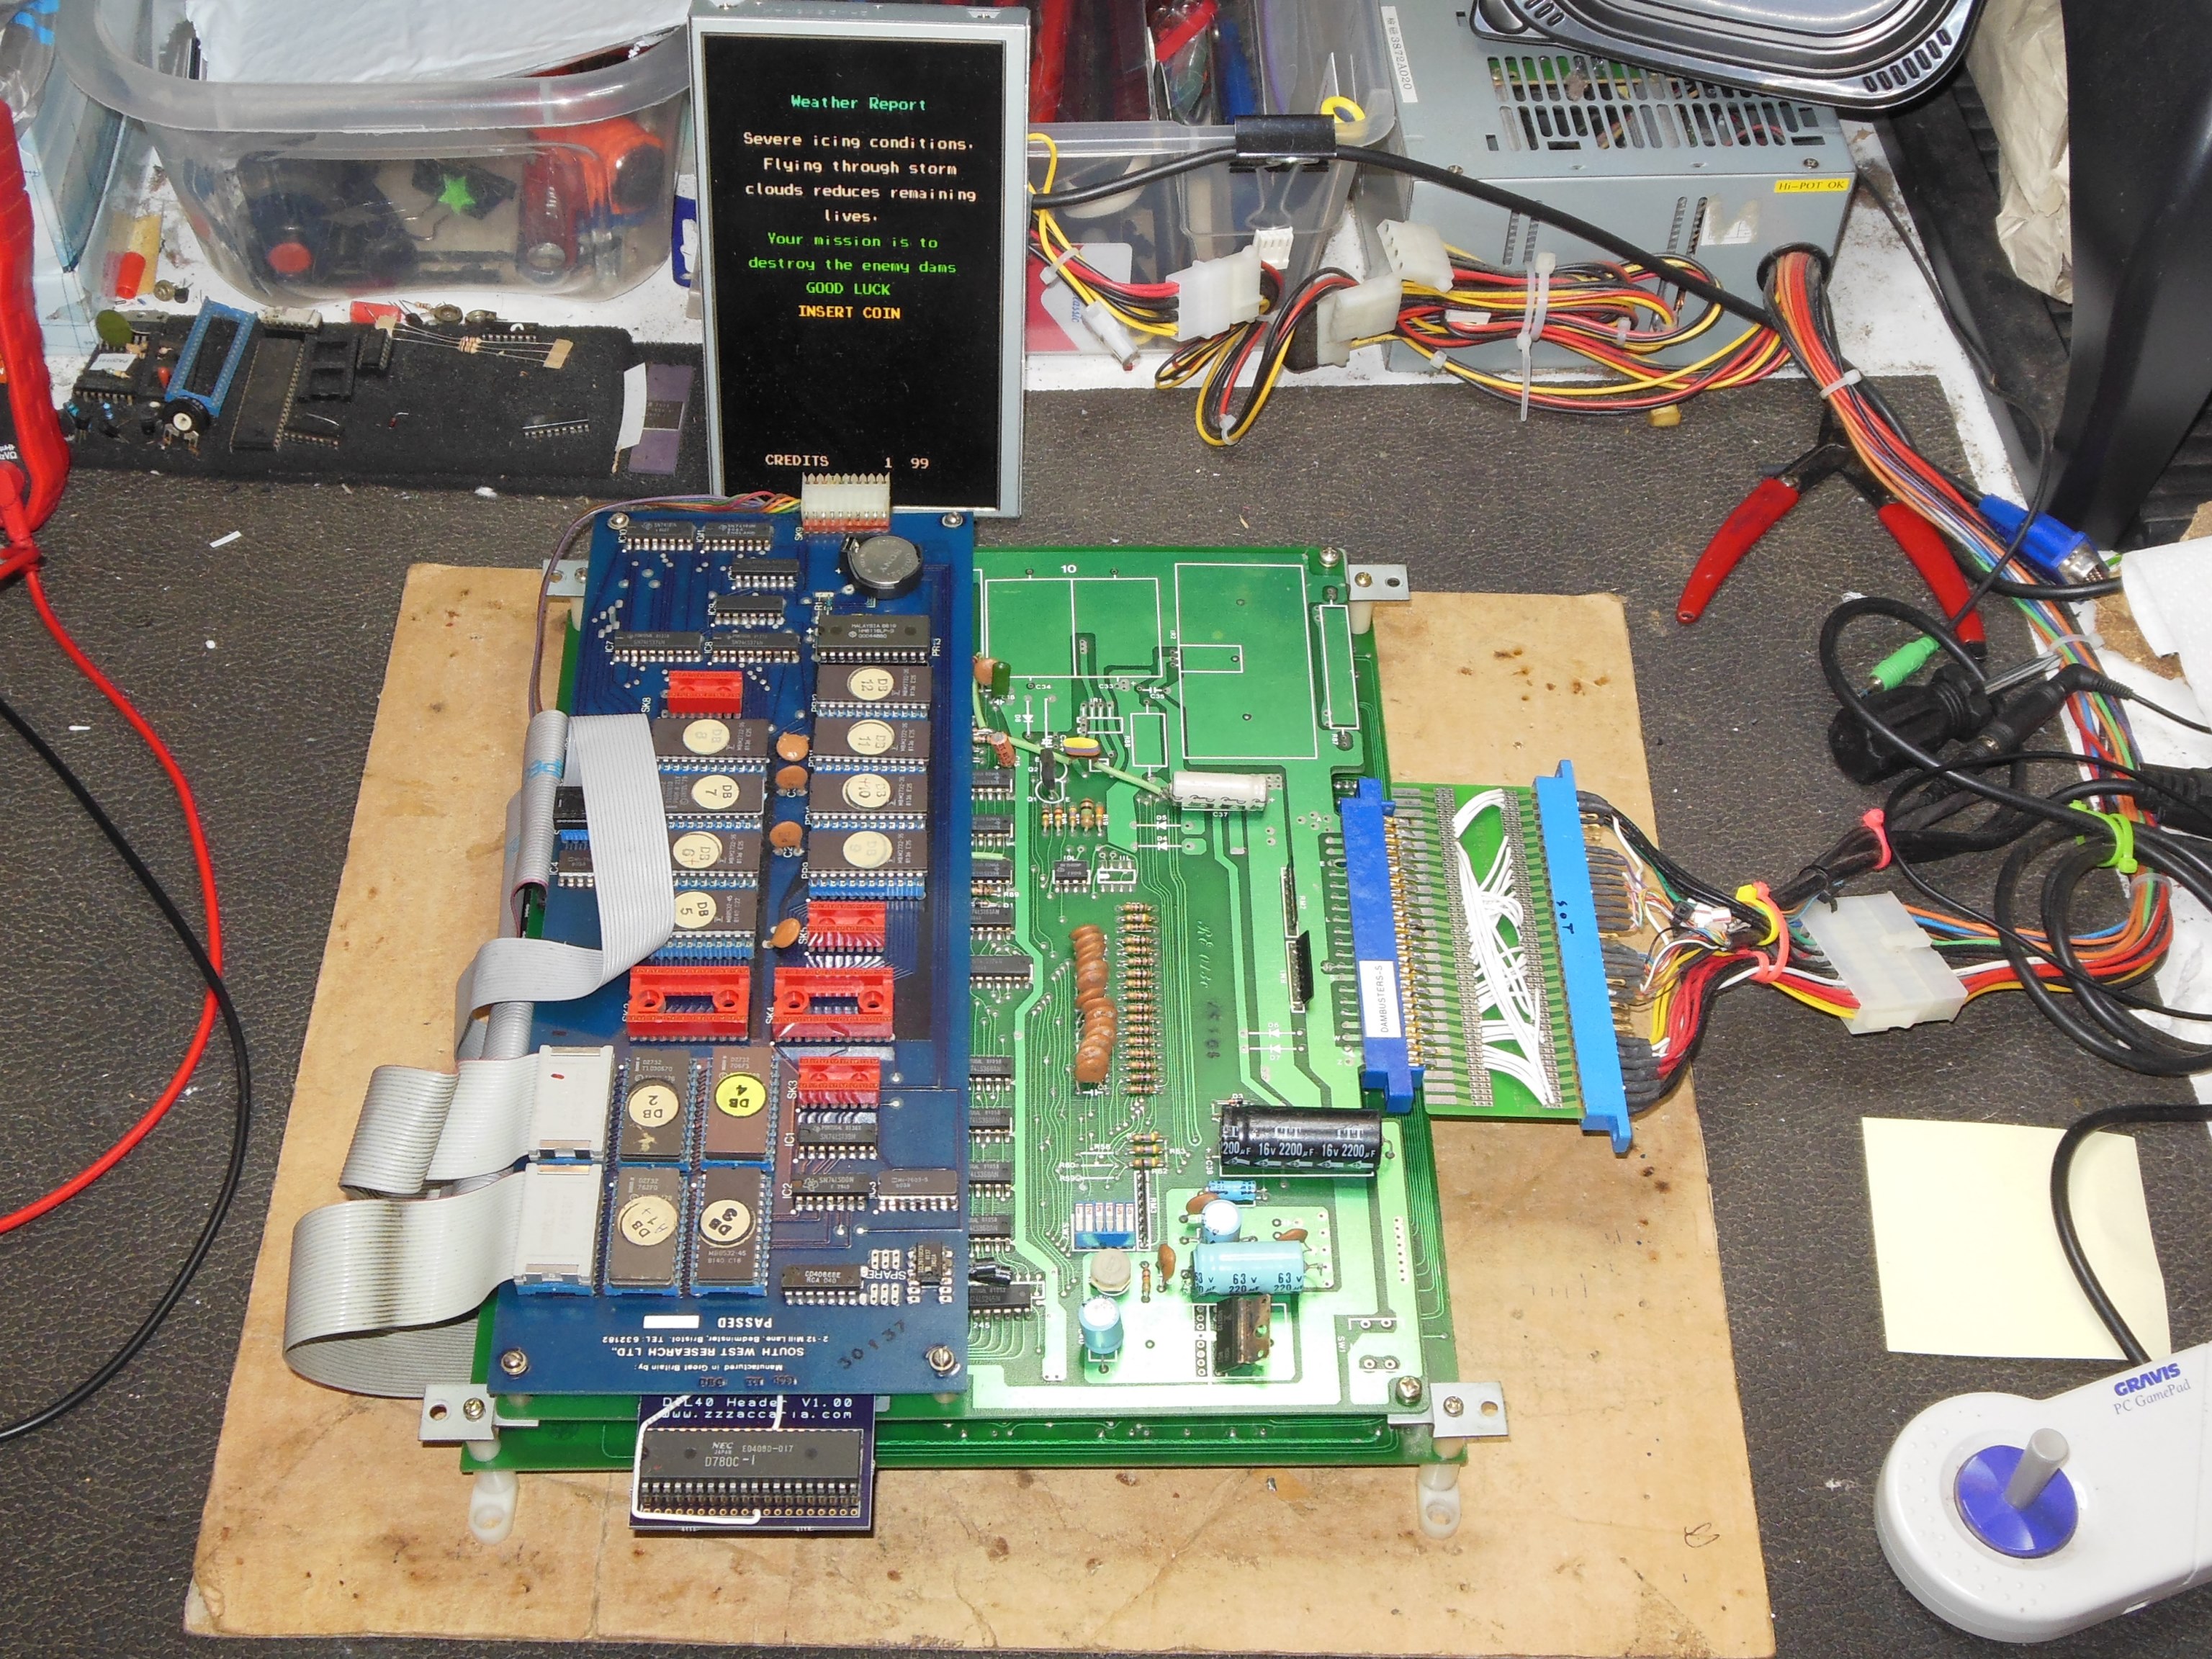
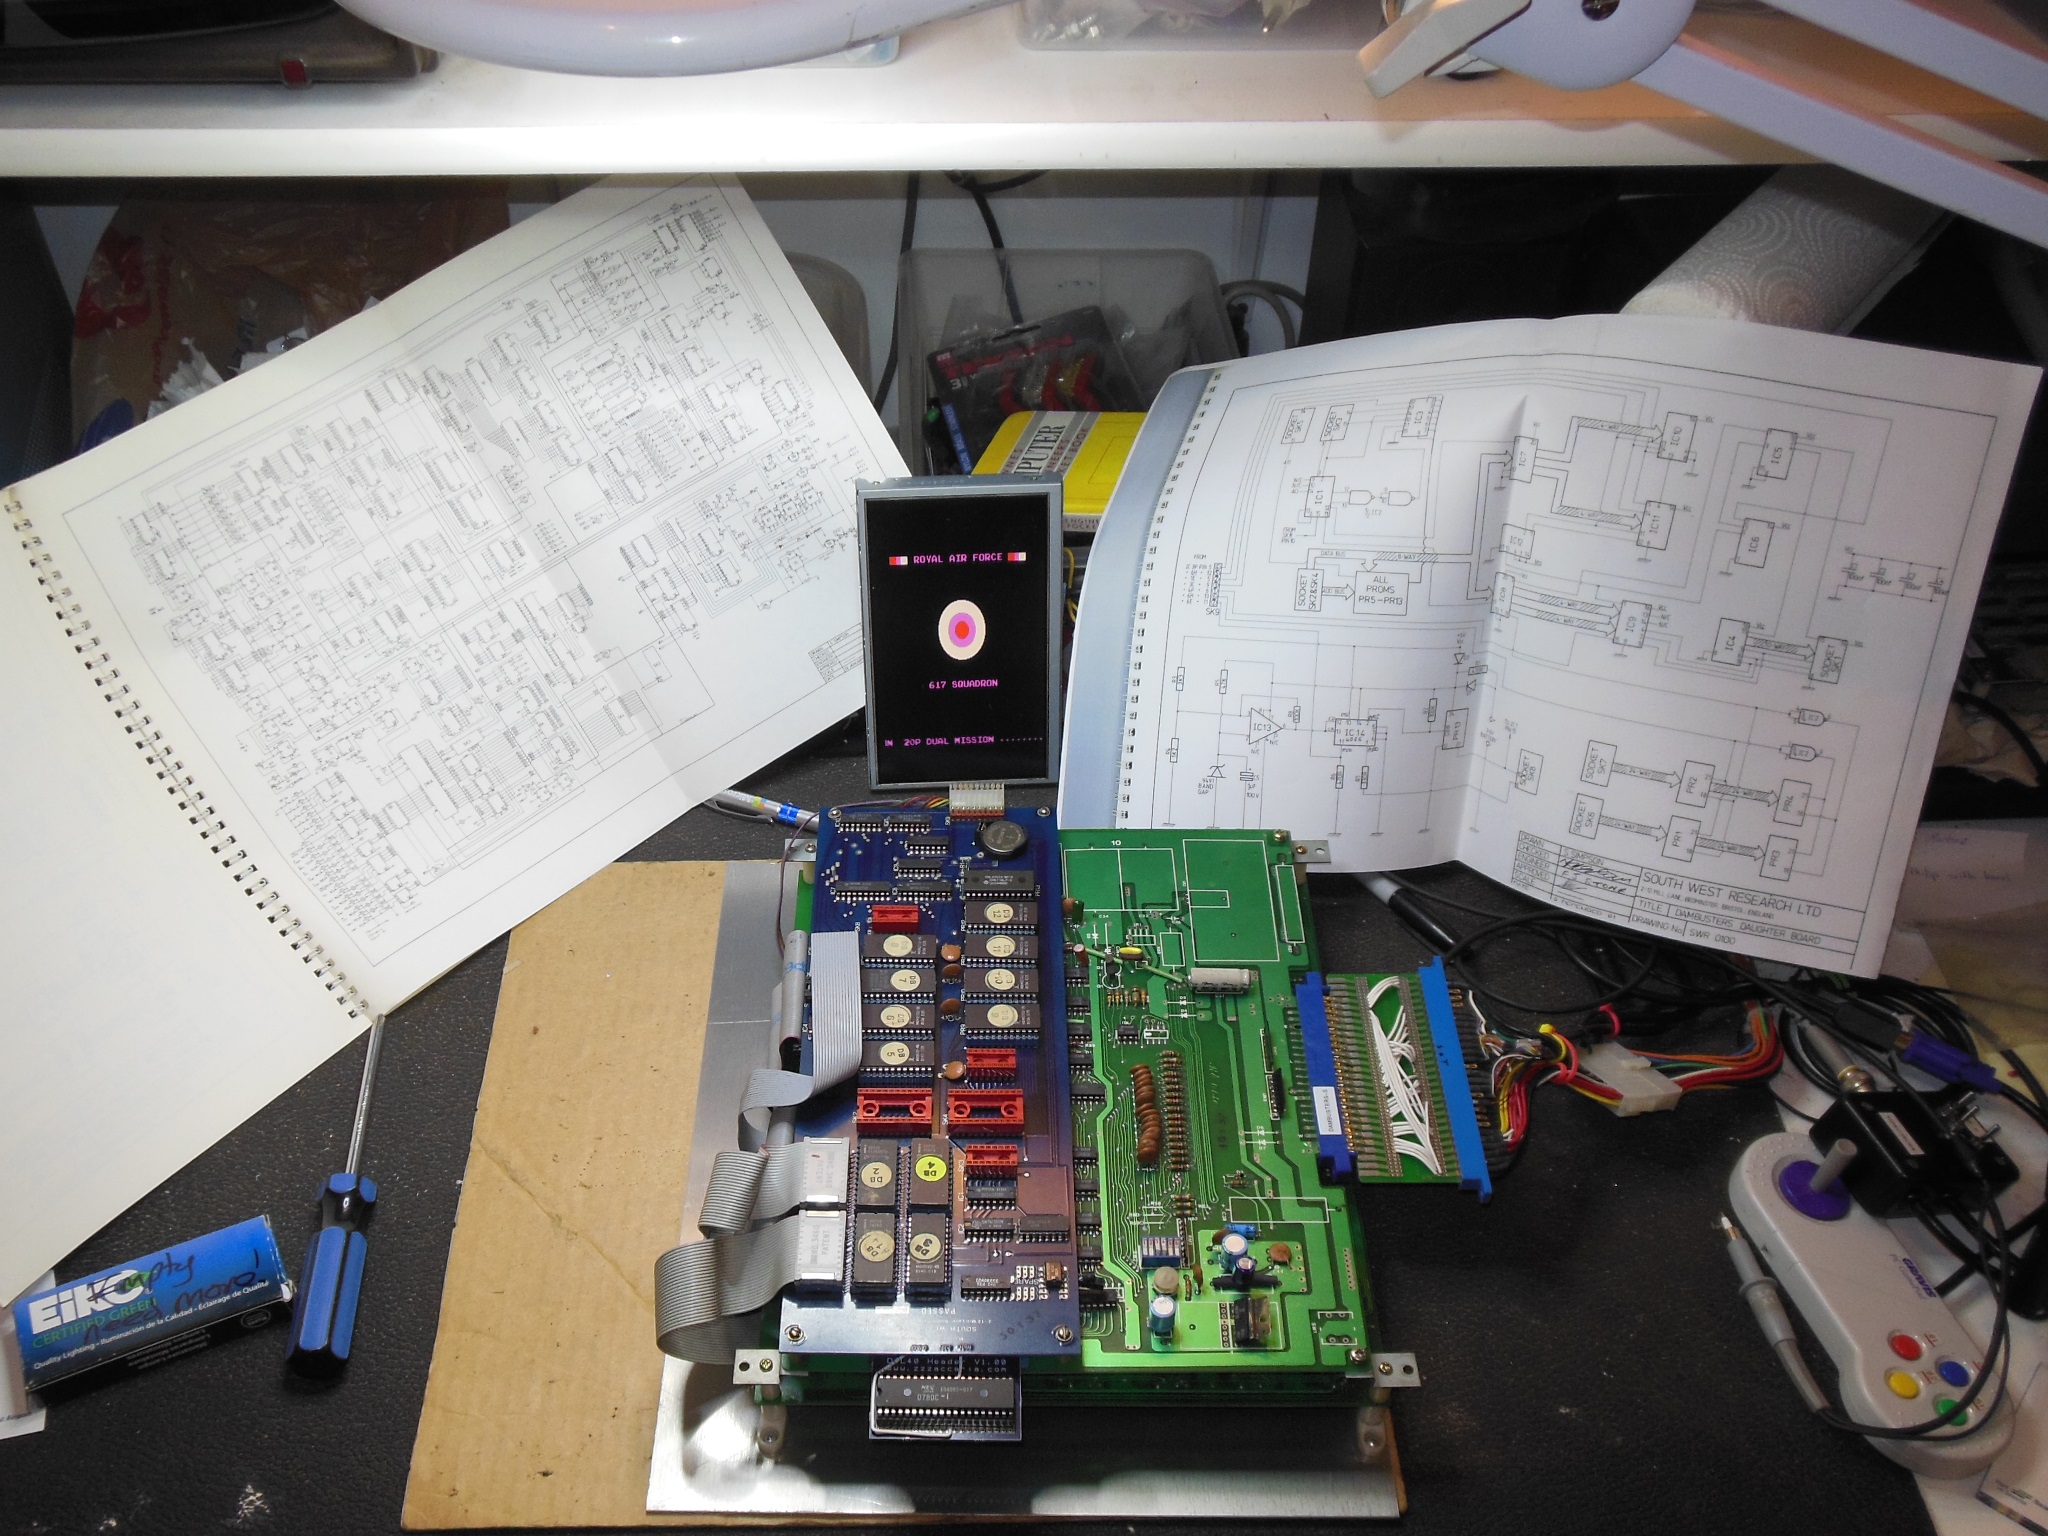
Dambusters has battery backed memory that had now run flat again. On the bench the game booted OK and the game ran but was unplayable due to corrupted game settings. The game PCB was set aside for now.

|
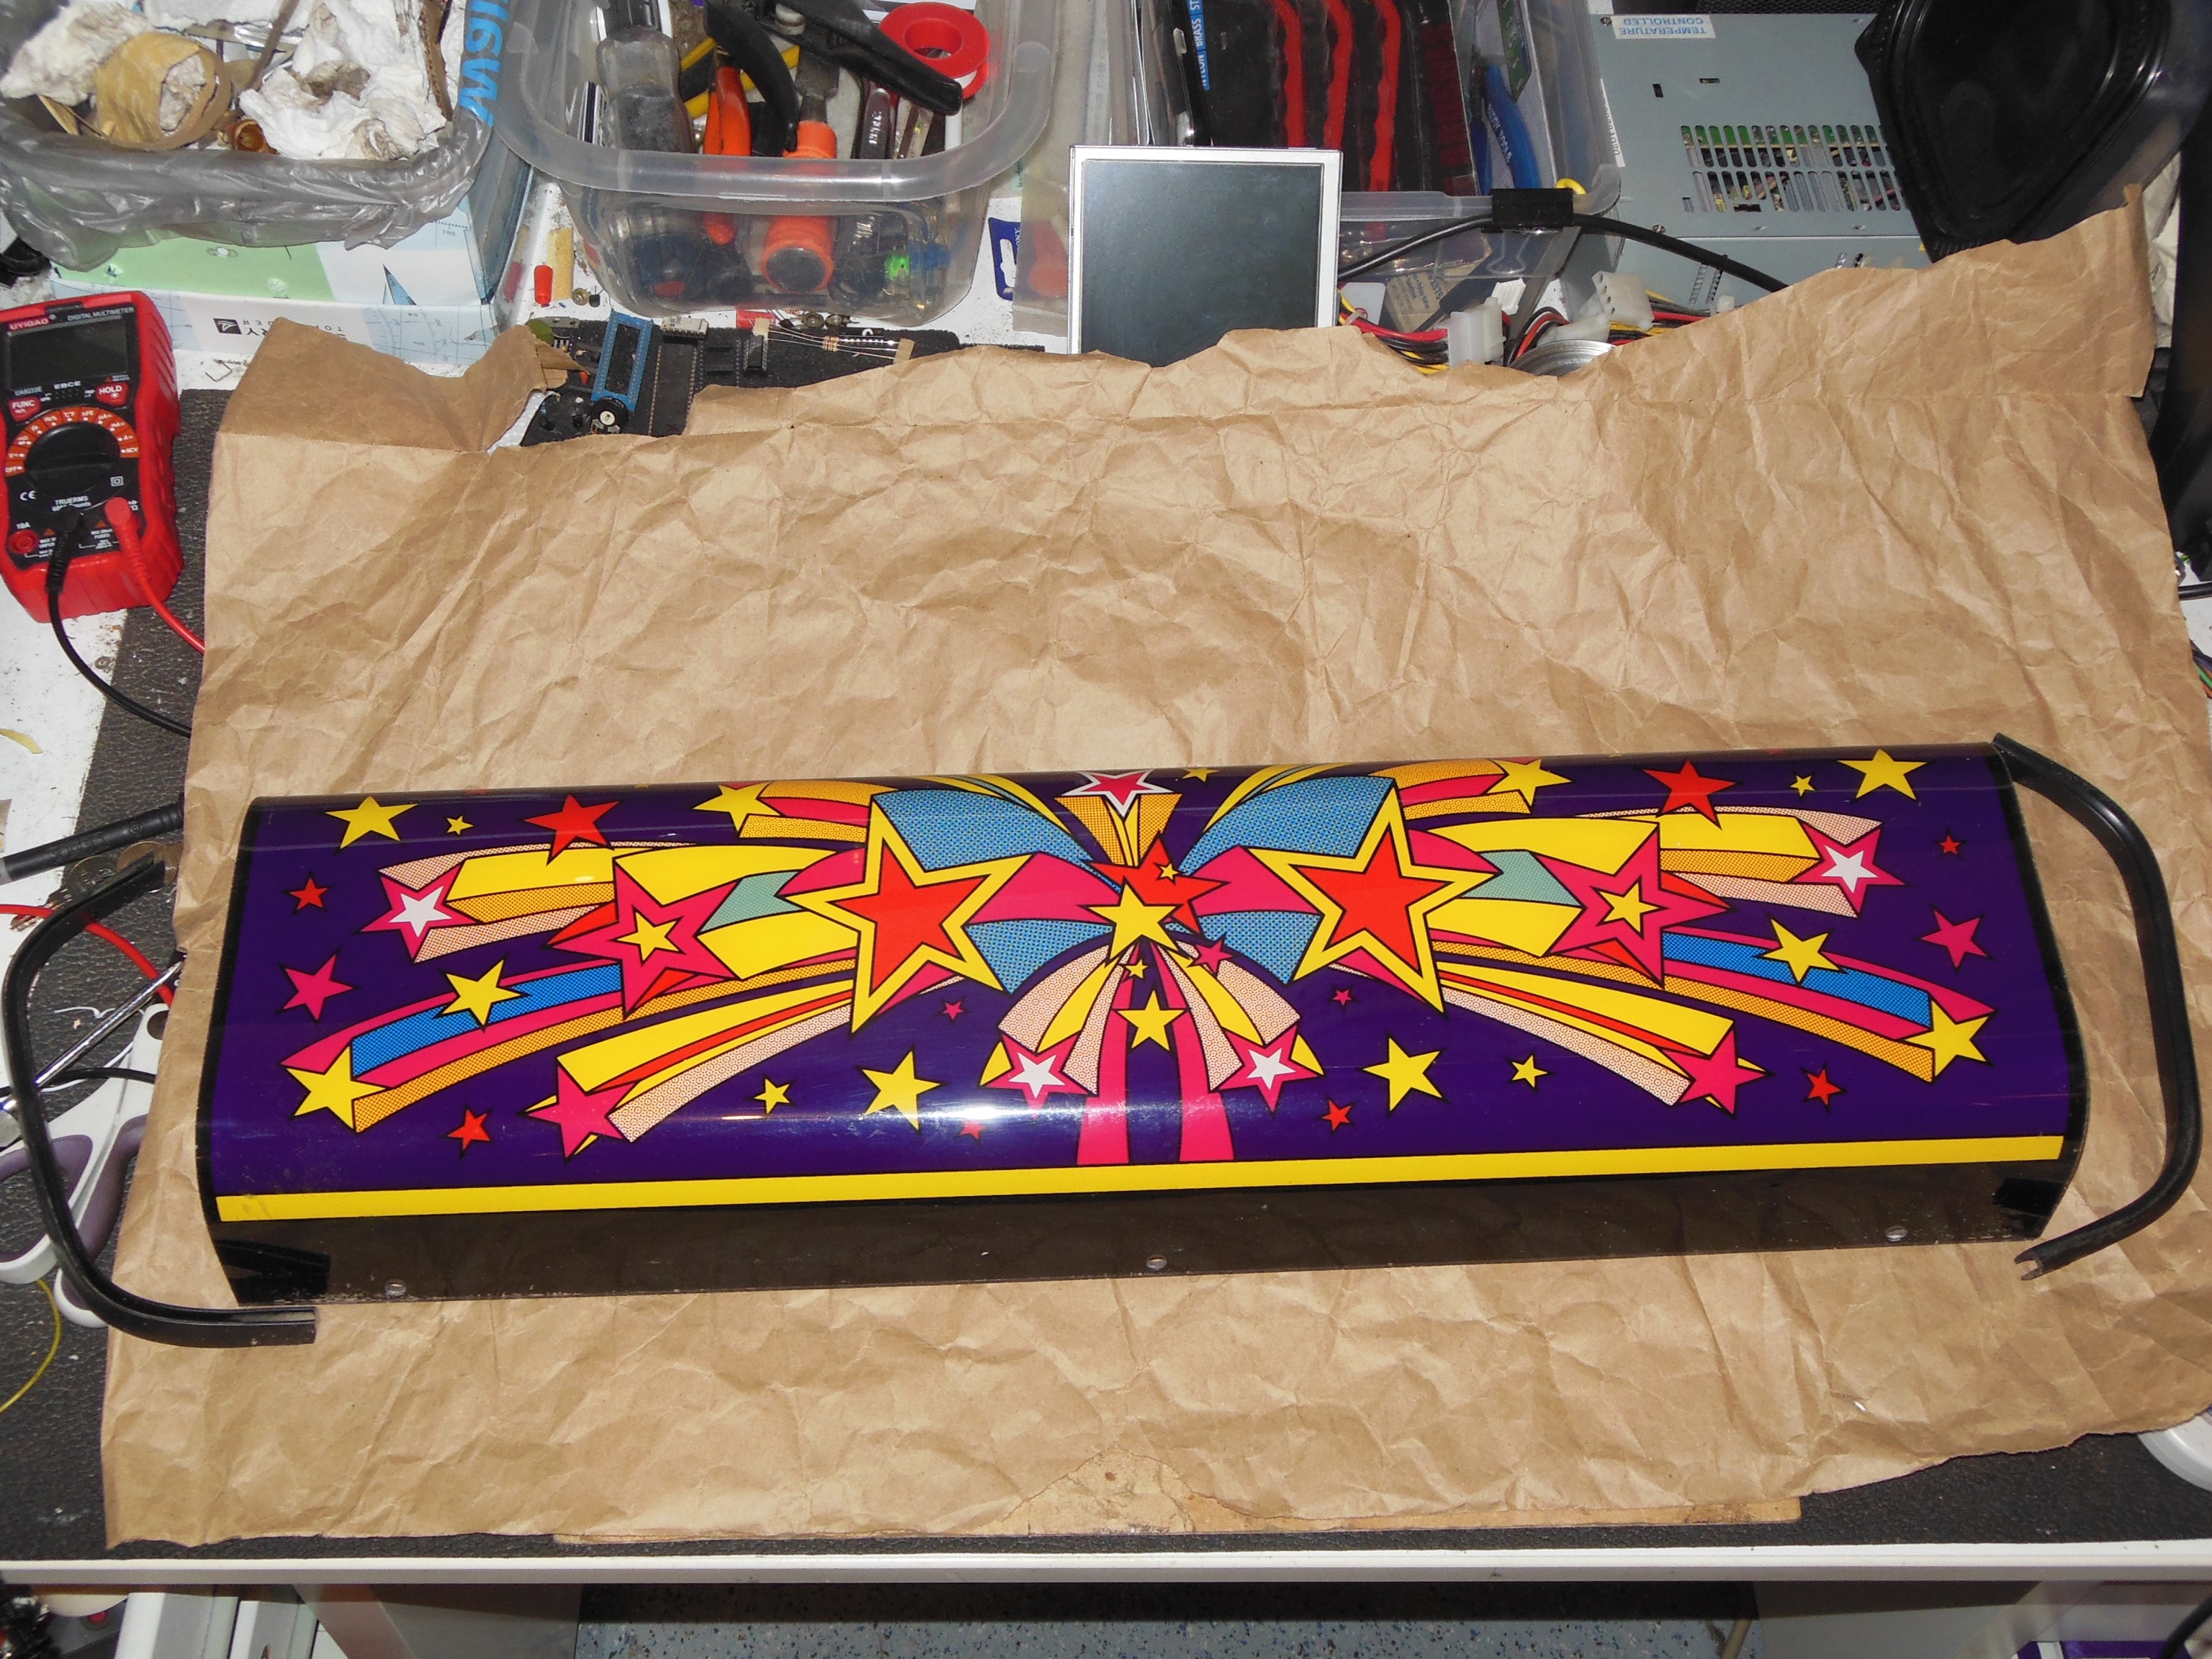
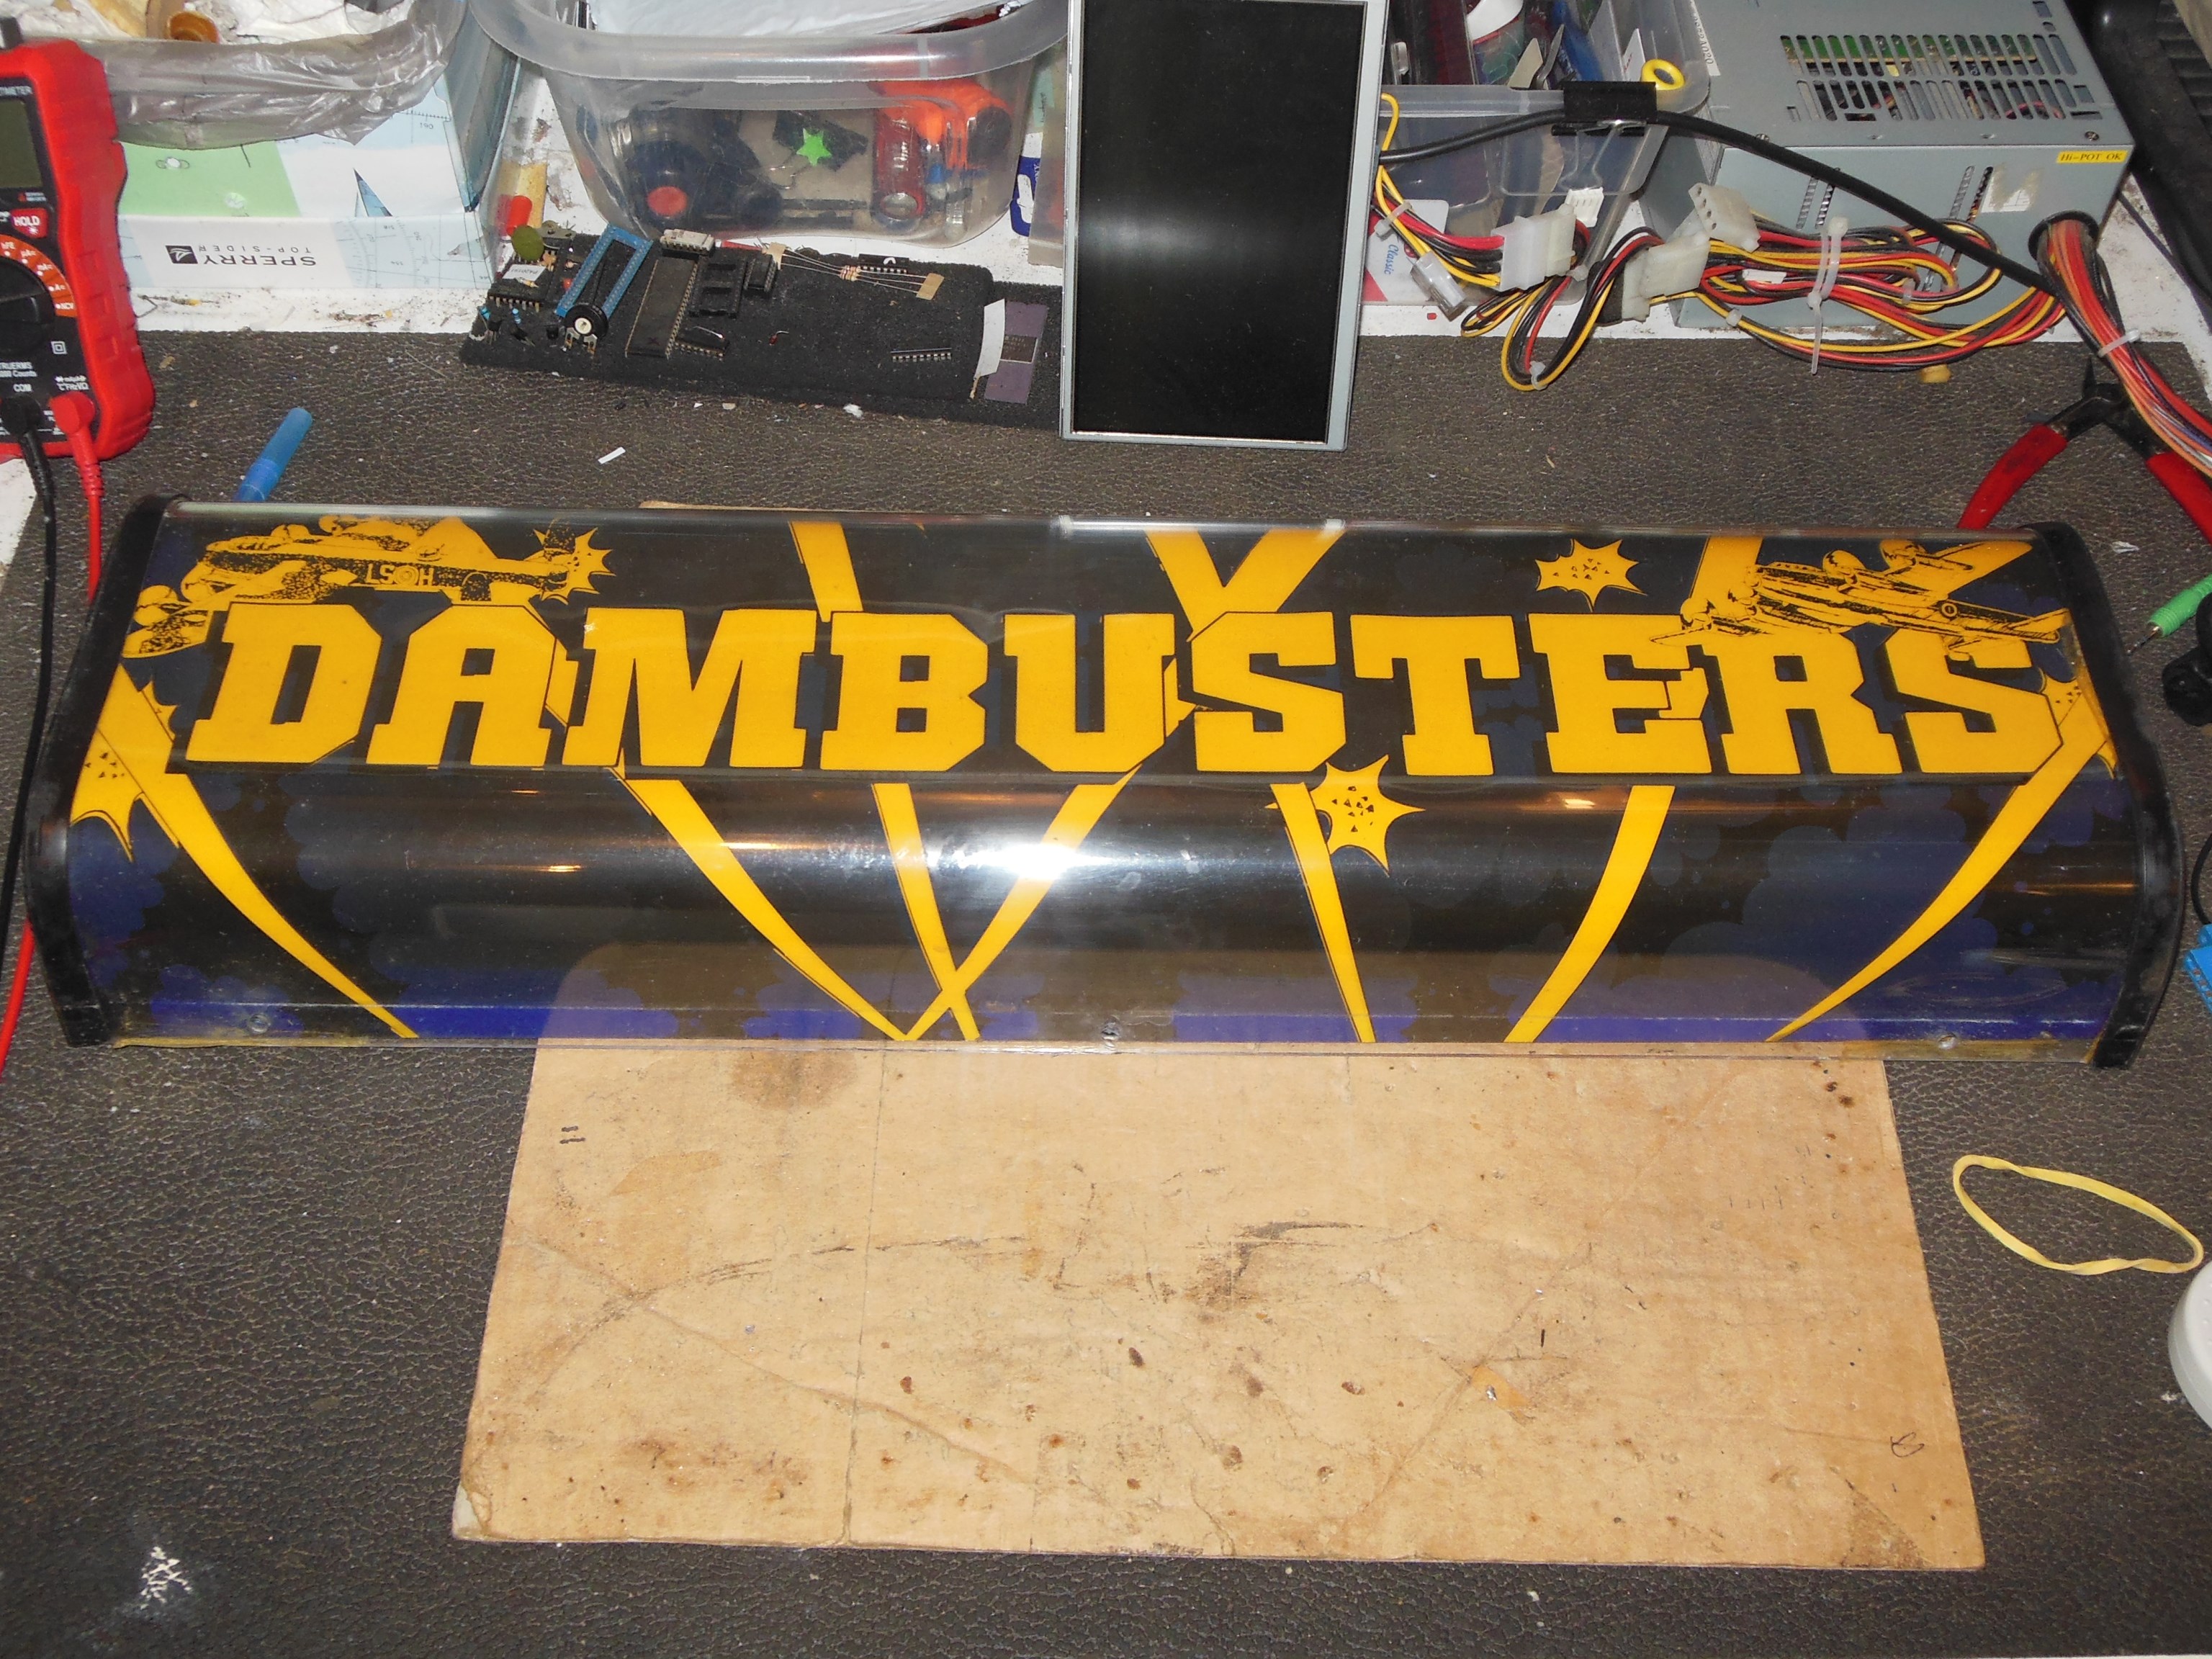
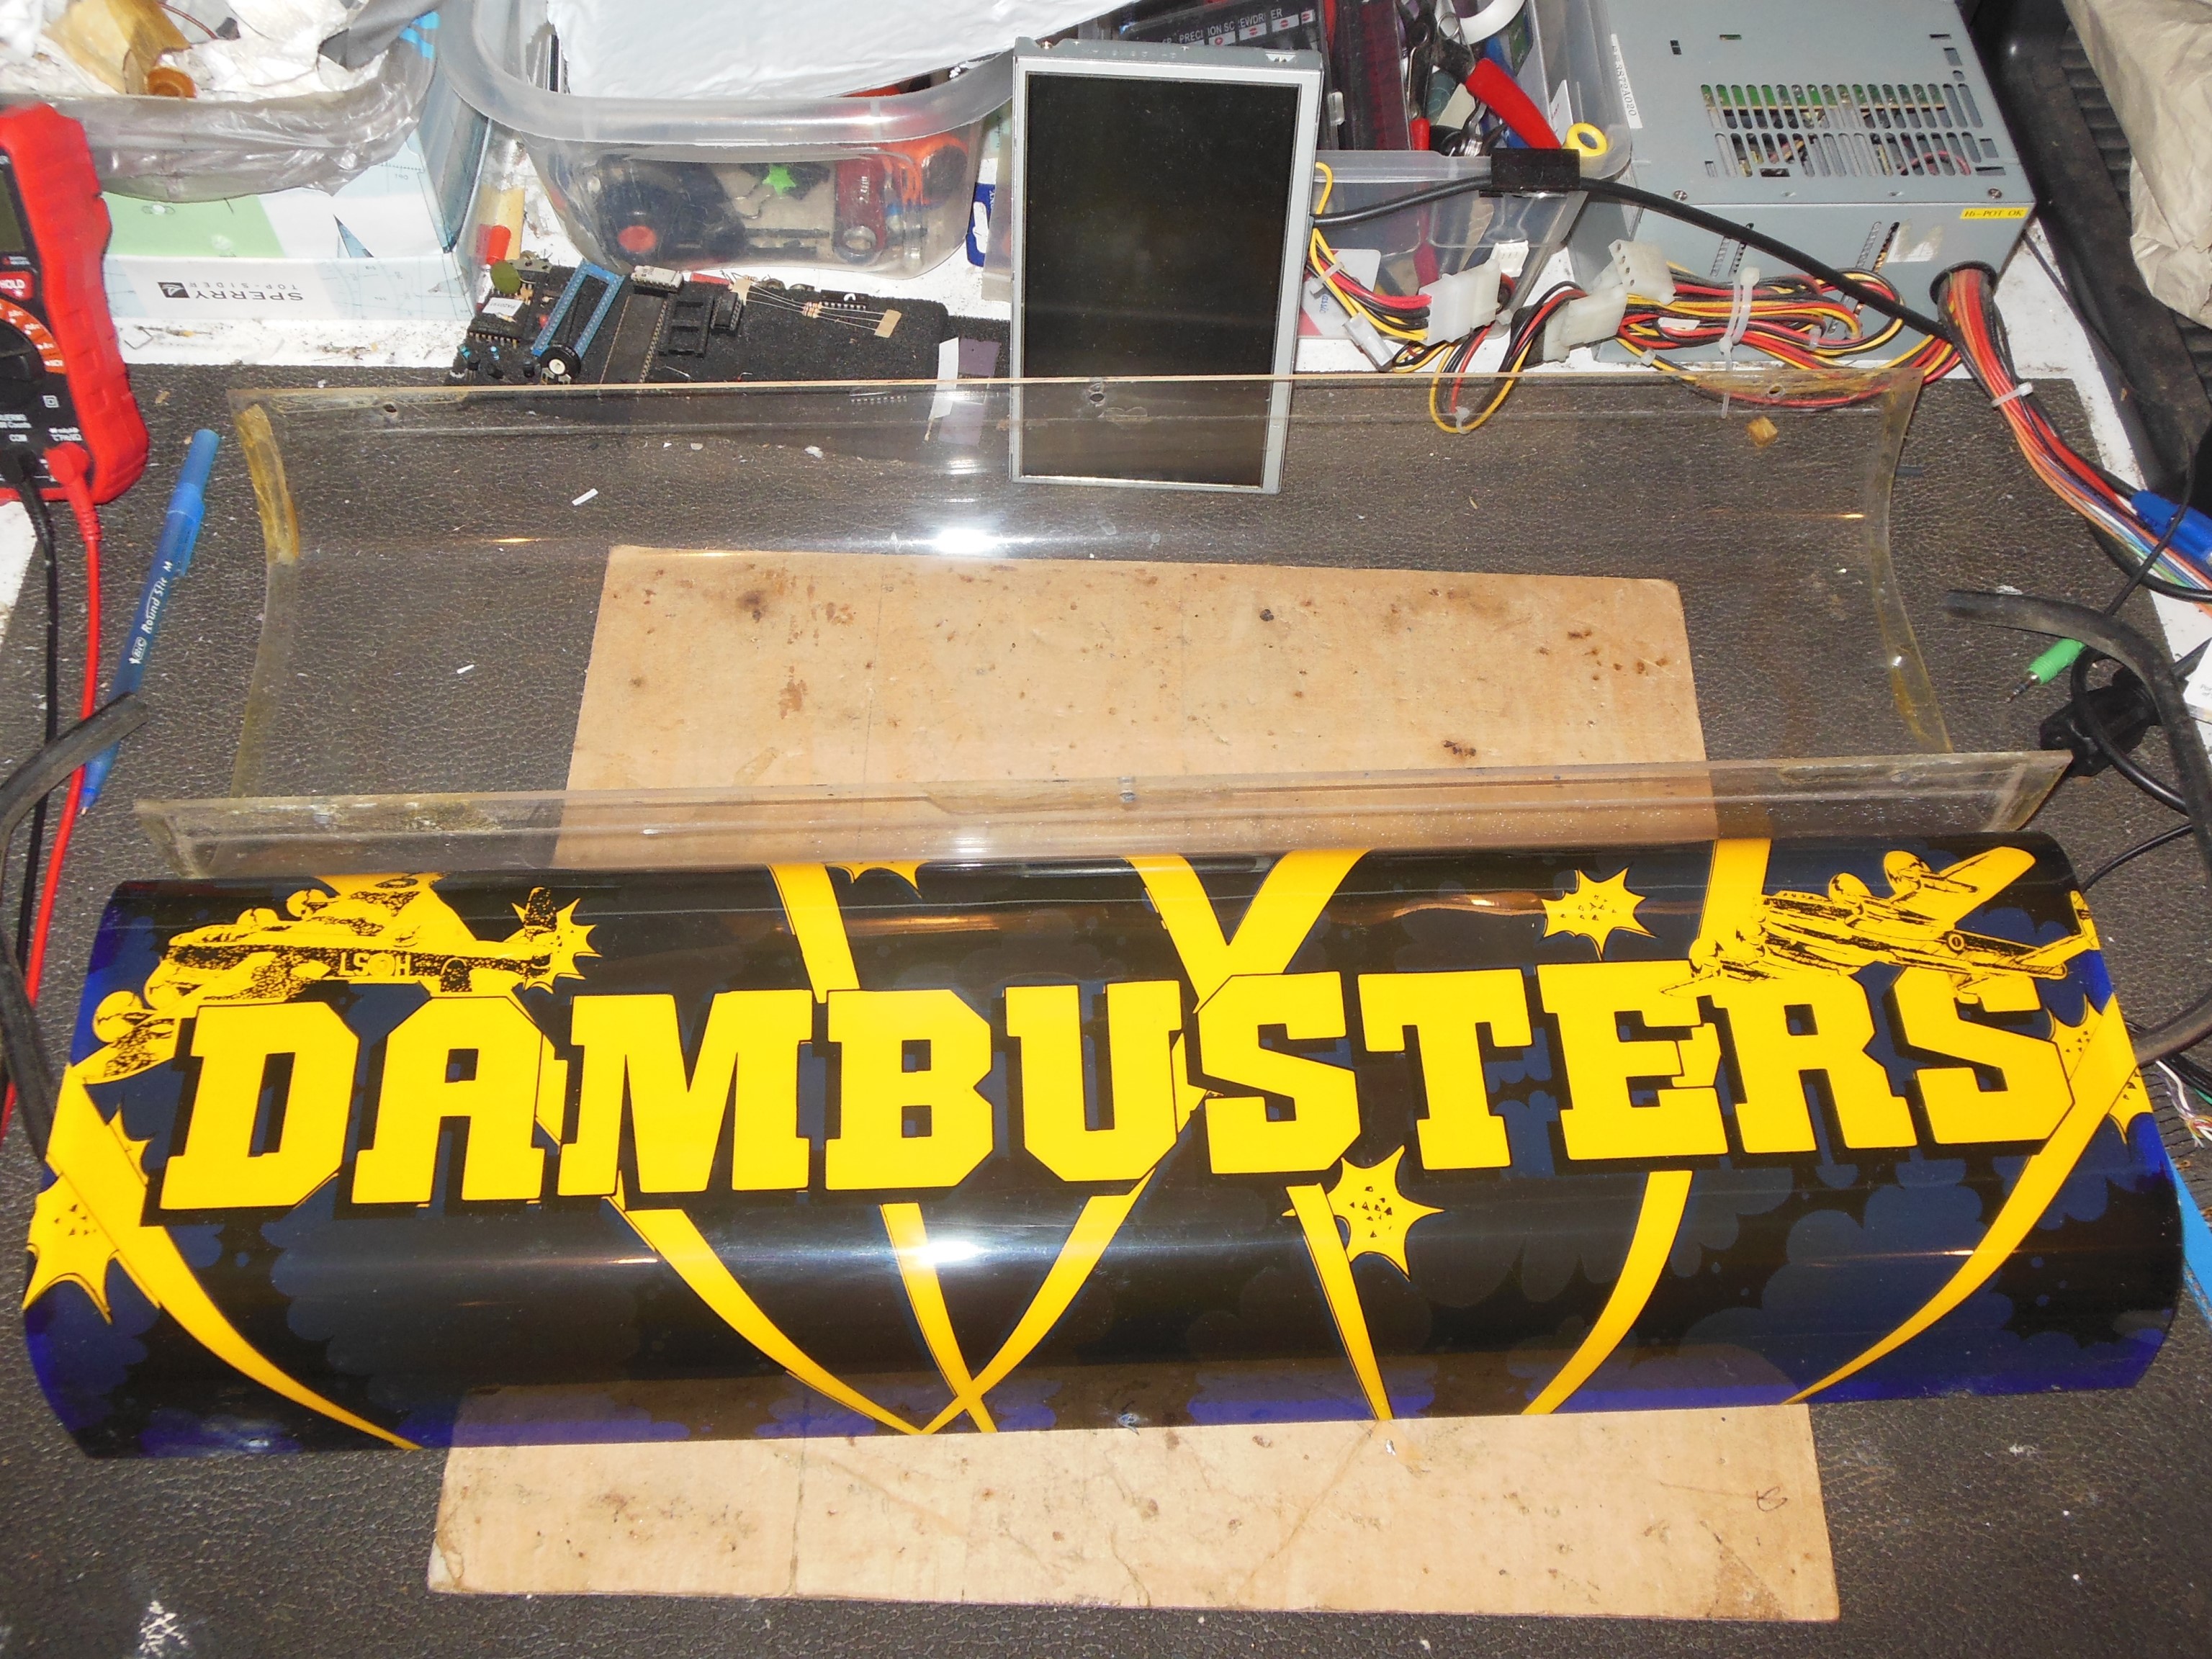
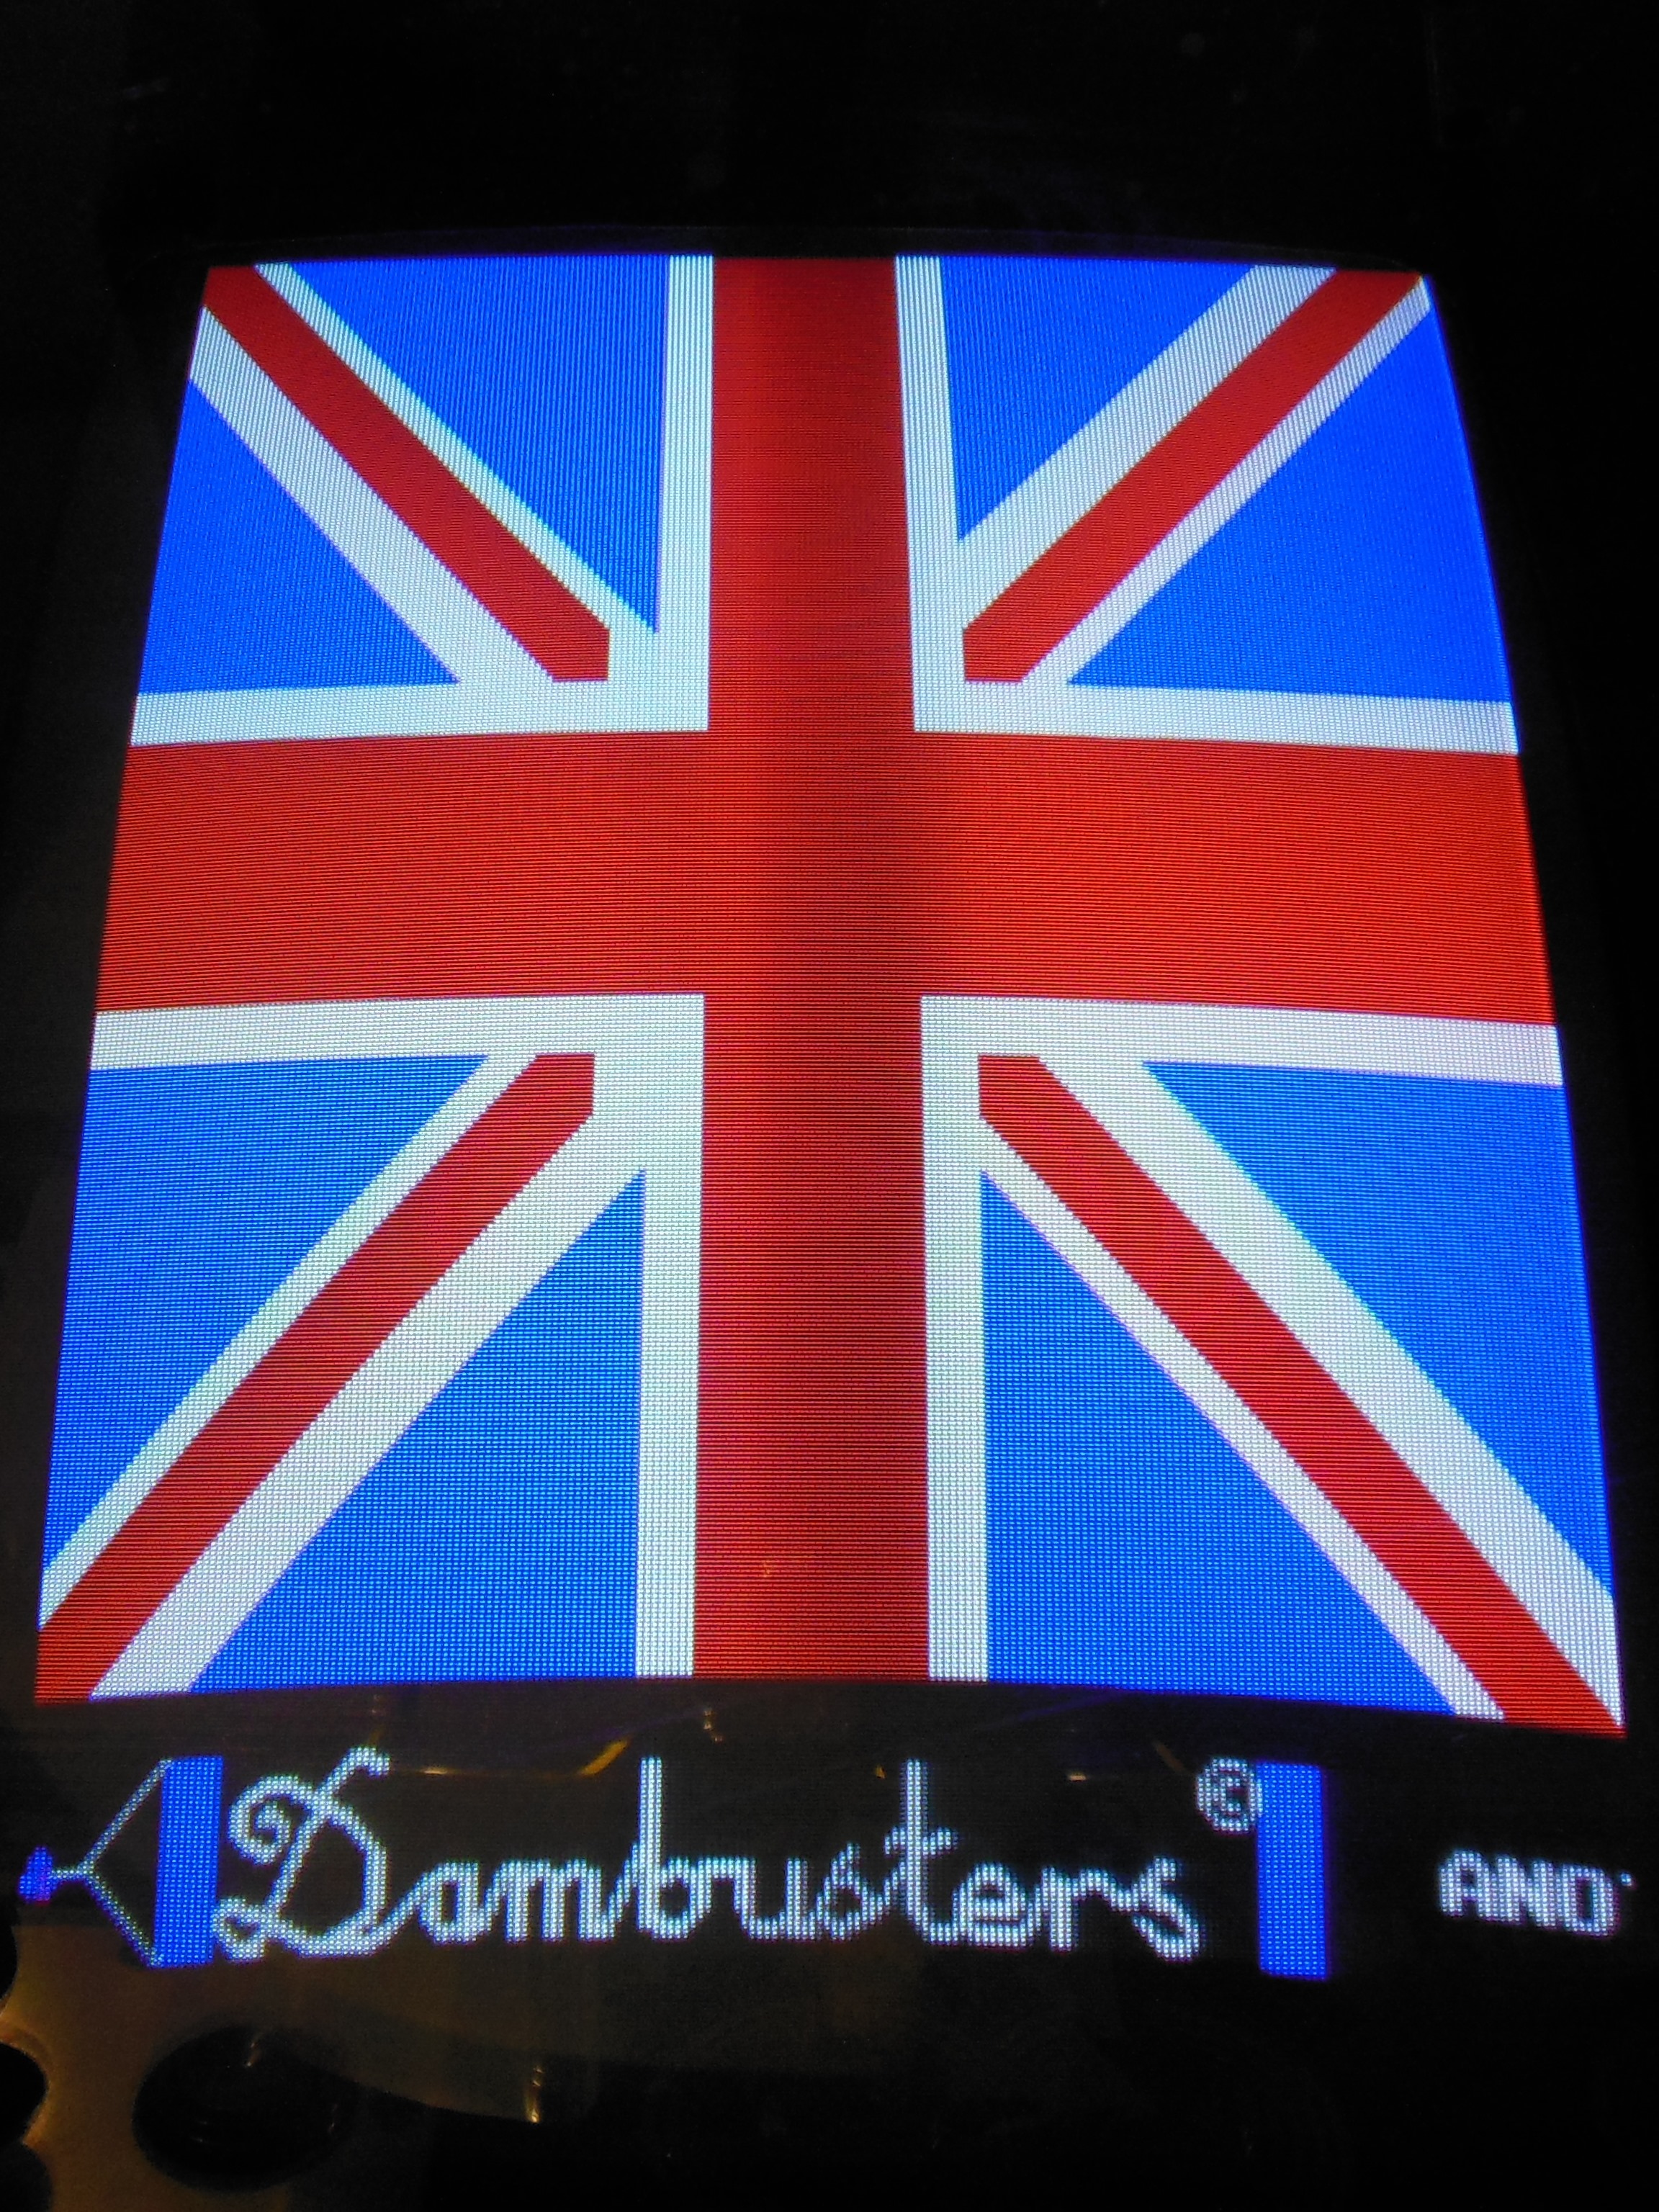
The Dambusters marque was a Plexiroll formed into a plane curved marque holder. It was removed for scanning.

|
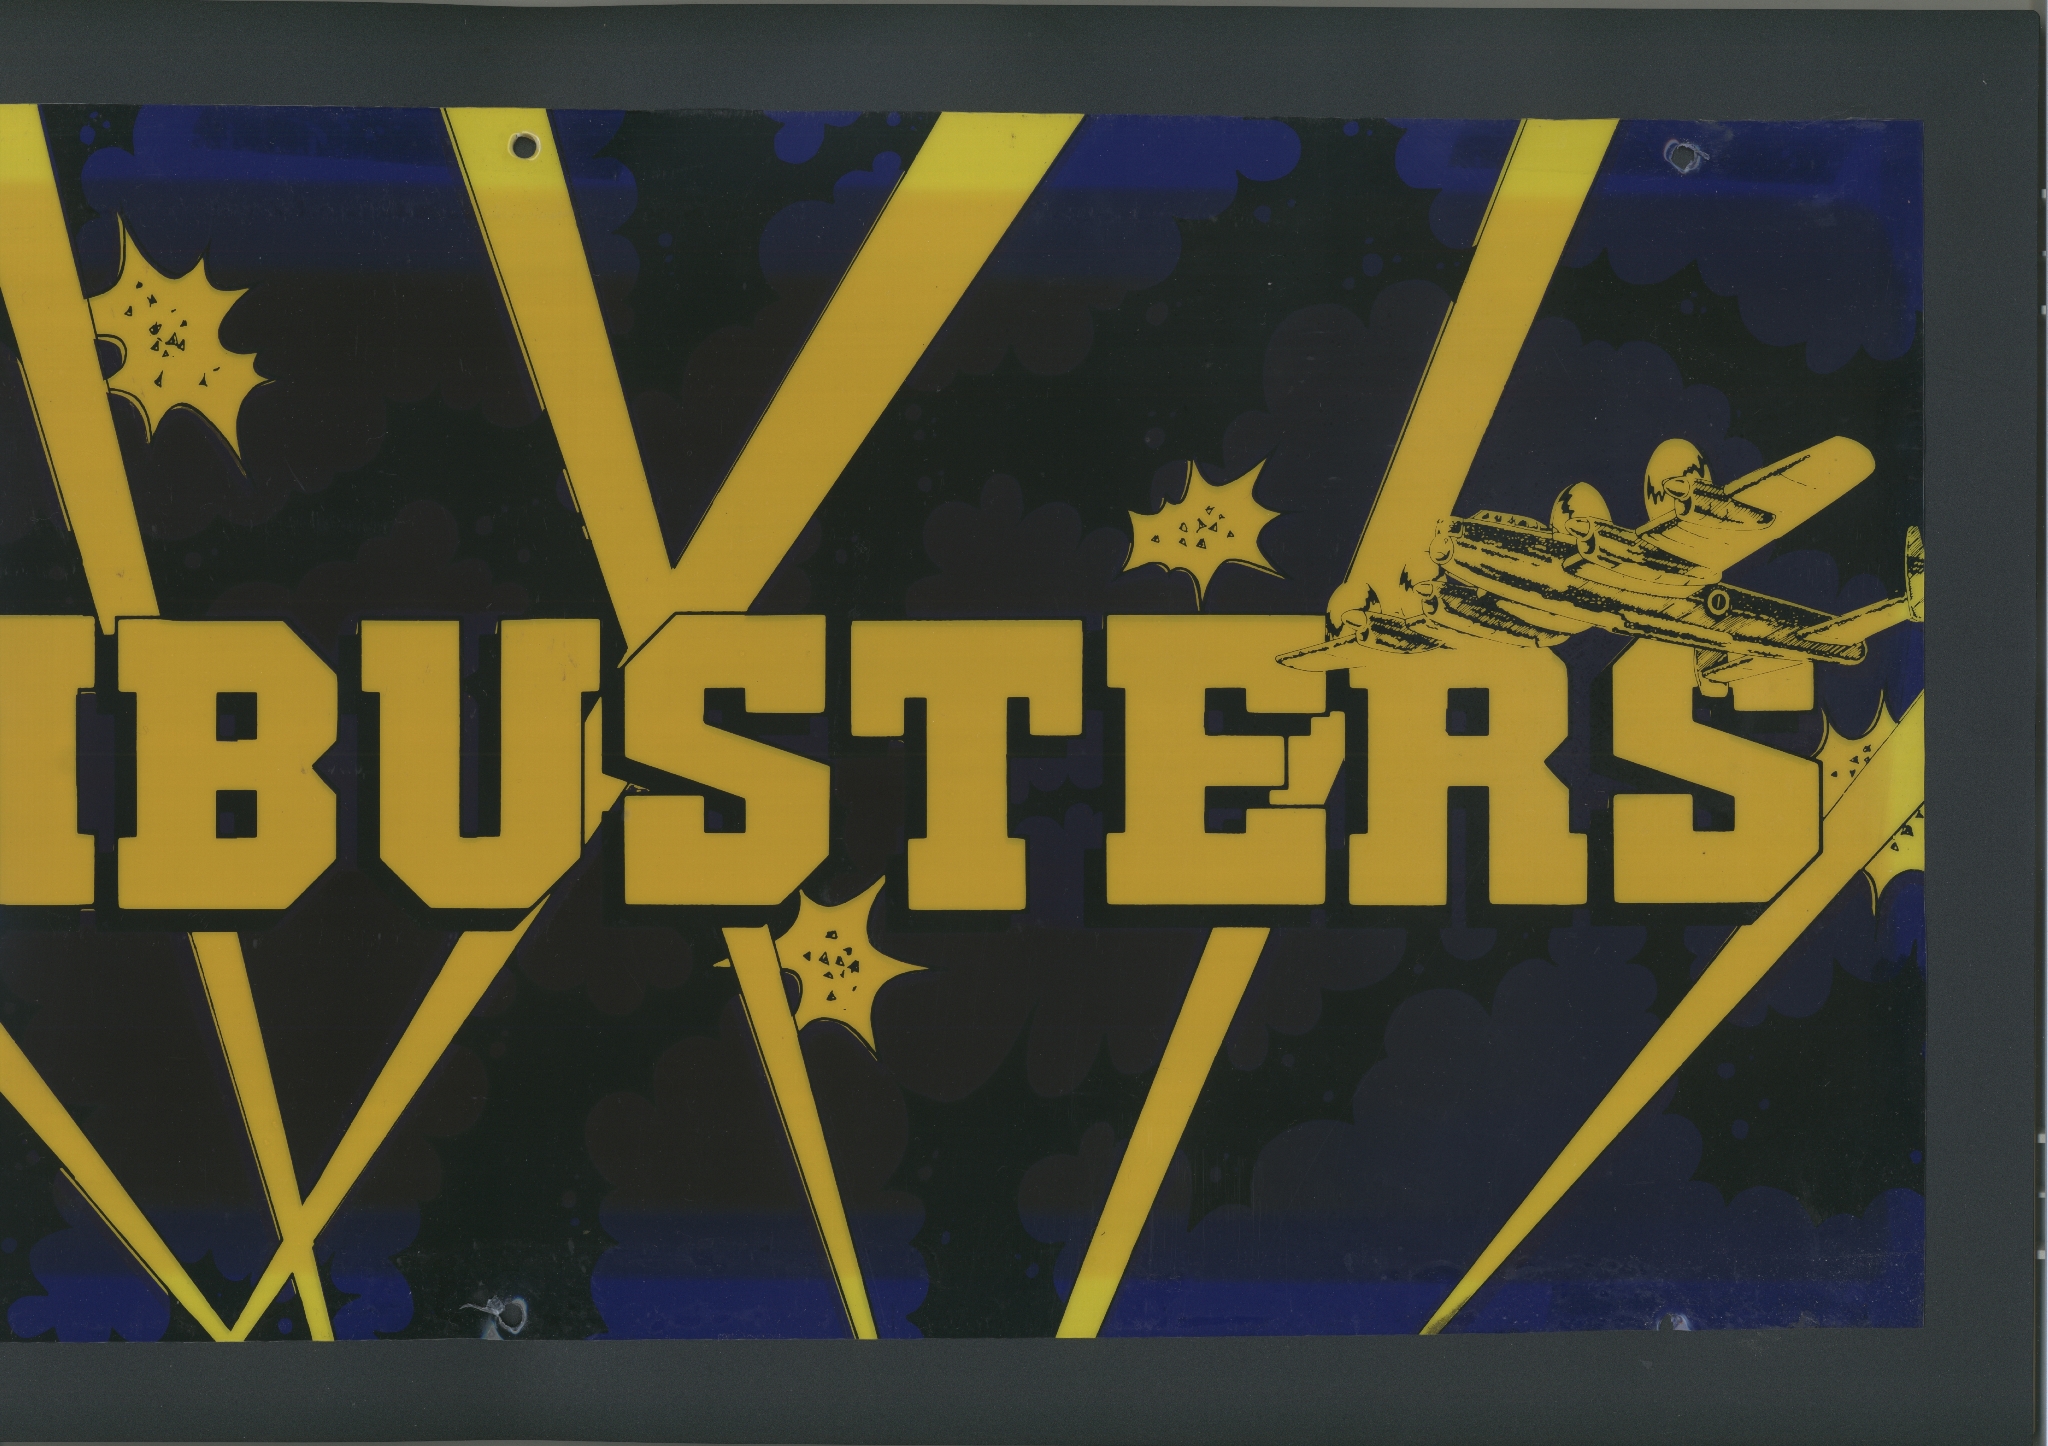
Scanned in the Dambusters marque. Note that the marque light has significantly
discoloured the artwork - the original colour palette can be seen at the edges.
300 DPI Dambusters marque scan (23.2MB).
|
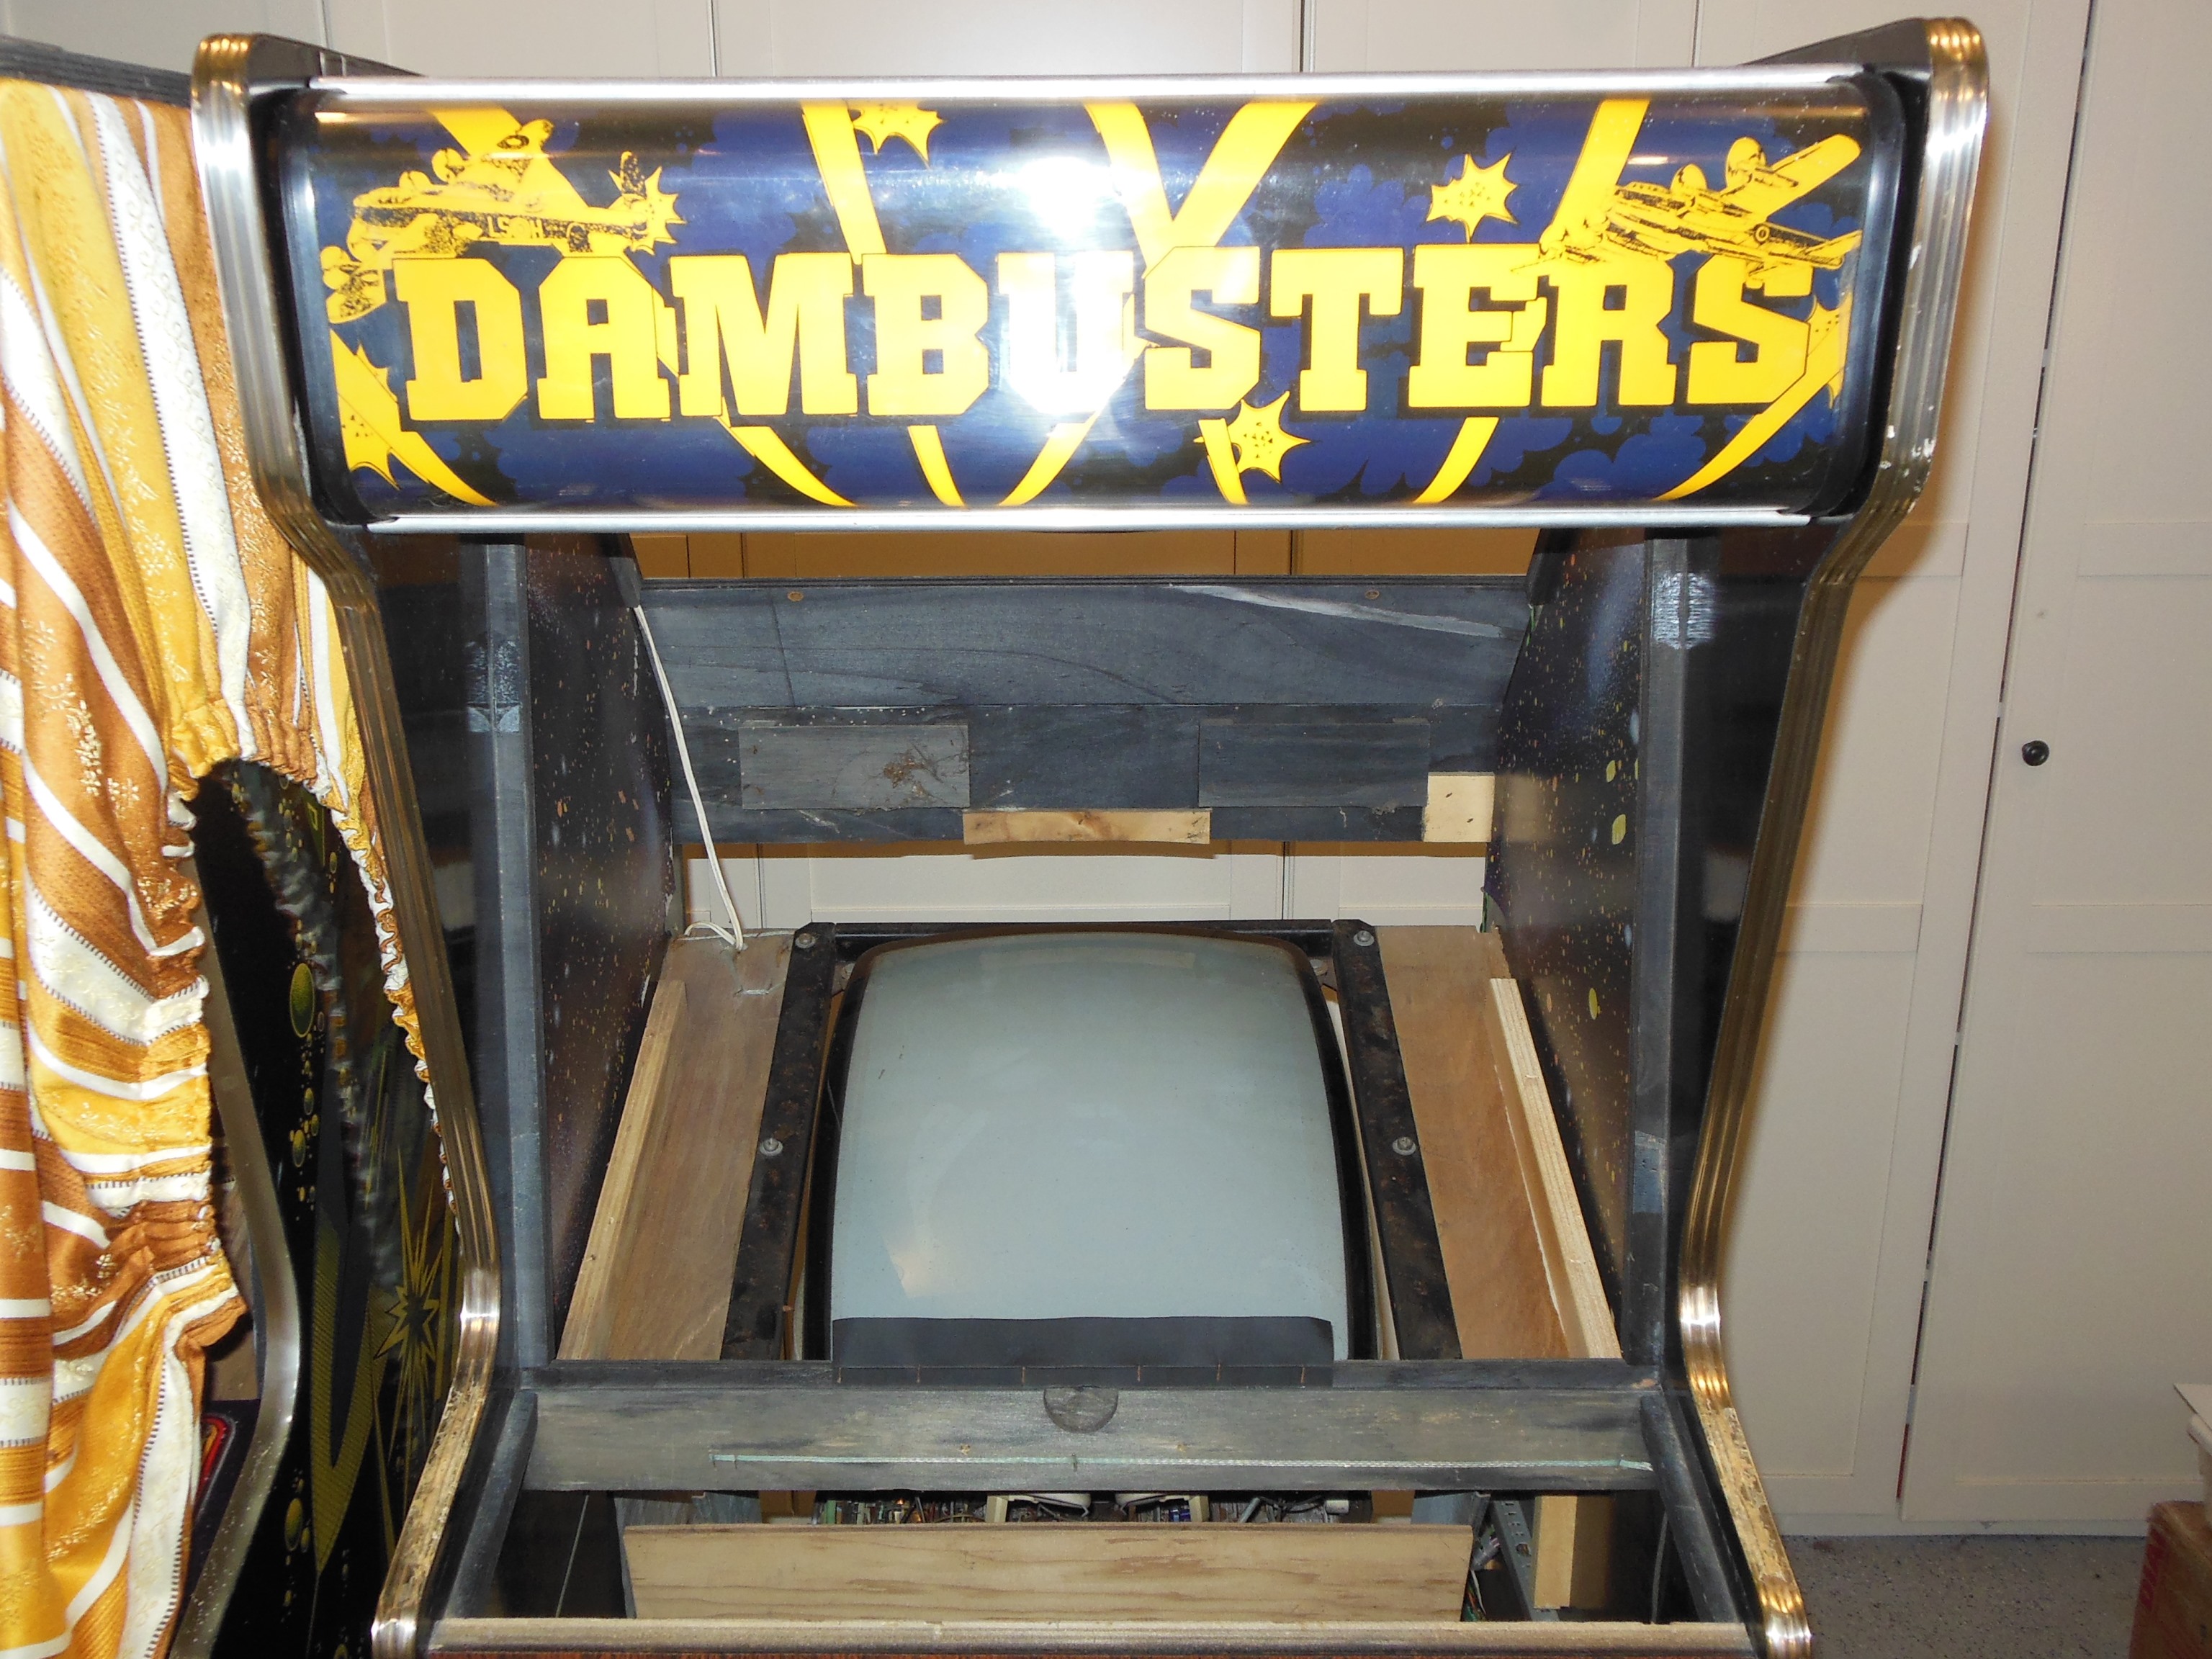
The Dambusters marque was fitted into the destination cabinet.
|
The monitor surround was fitted along with four foam spaces for the monitor glass.
|
Installation of the monitor glass & control panel in the destination cabinet completed the cabinet parts transfer.
|
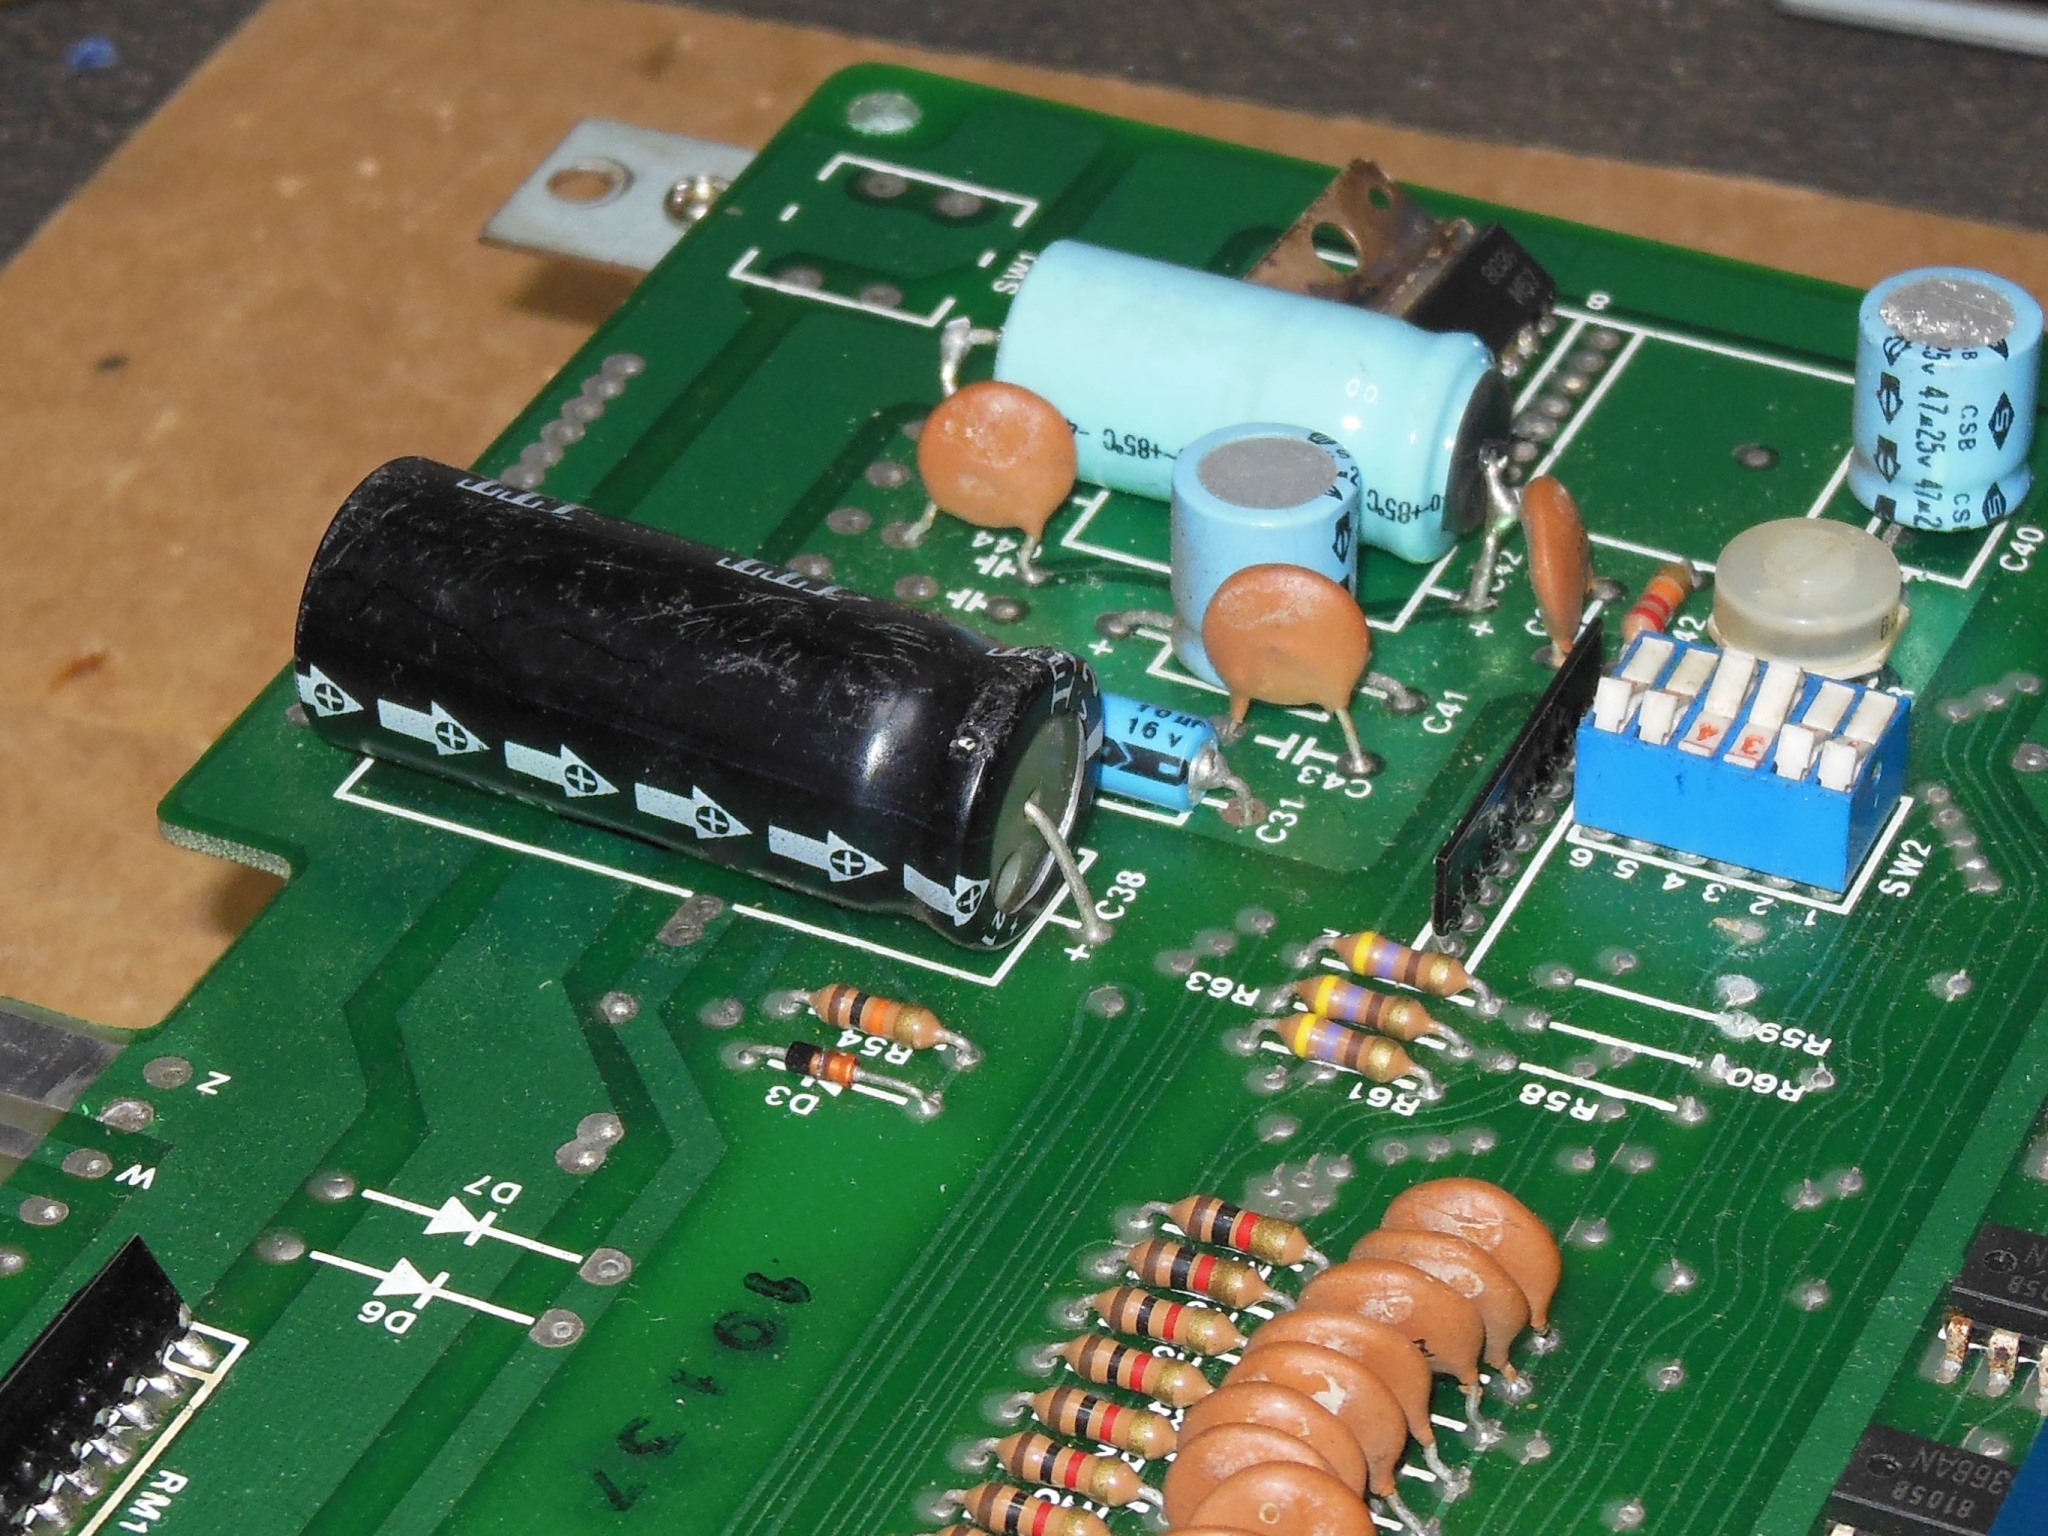
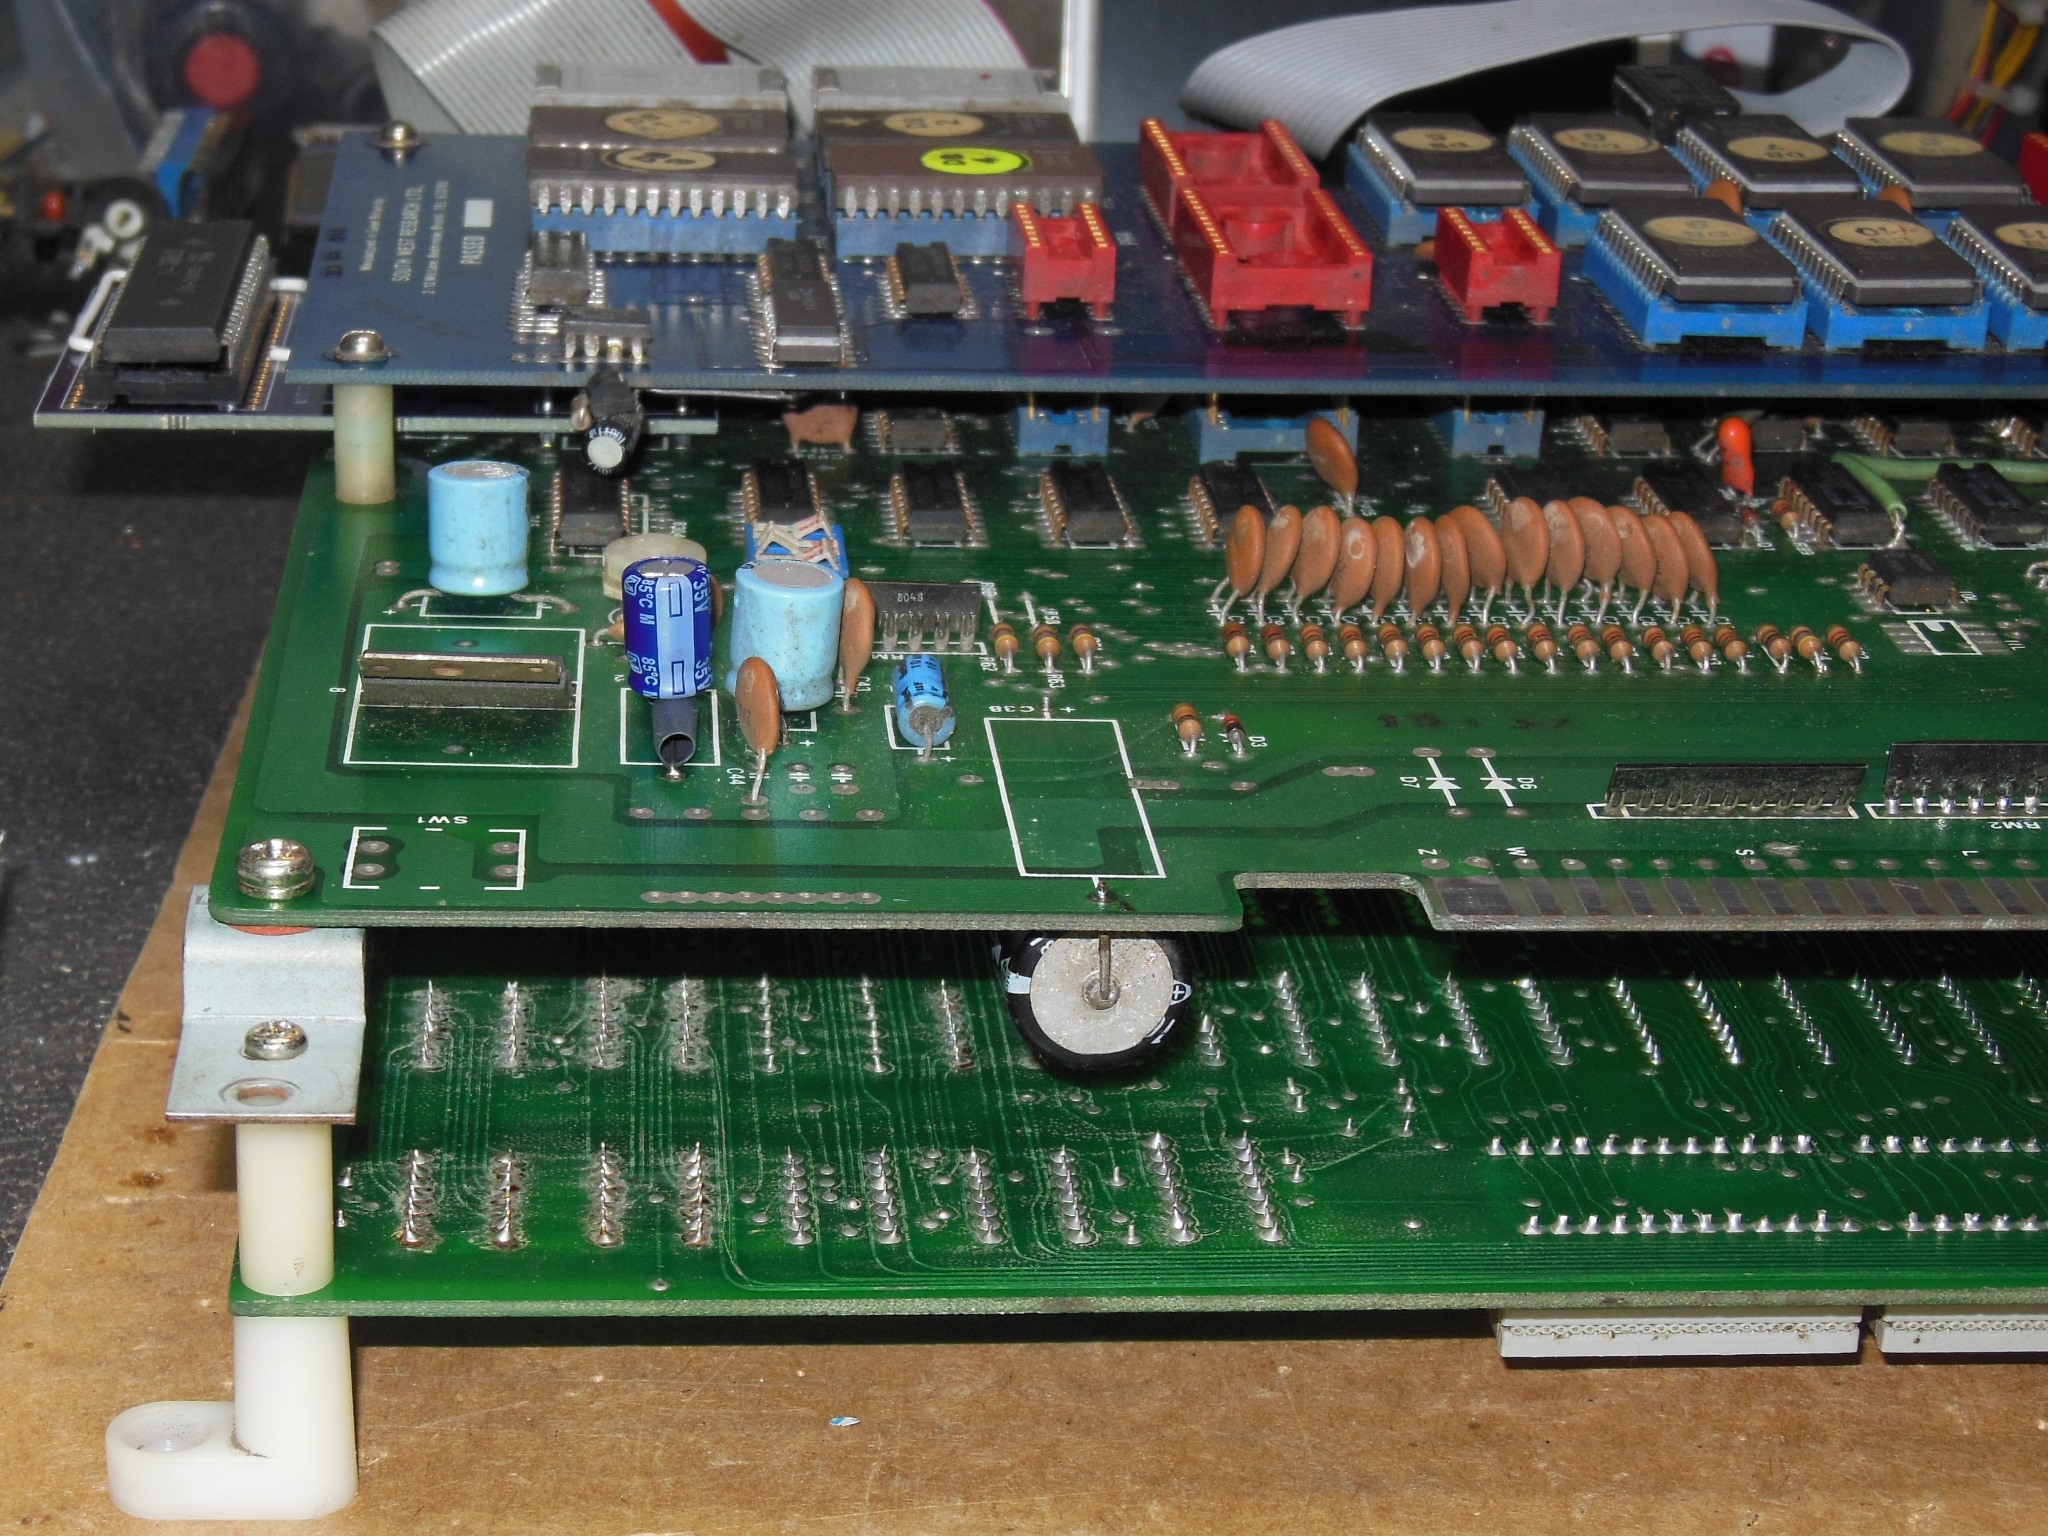
The source cabinet had the game PCB screwed directly into the side wall making it difficult to remove. In the destination cabinet the plan was to use a mounting plate to match the rest of the Zaccaria cabinets. Staging the PCB on the plate in the cabinet revealed that a large axial capacitor caught on the side of the monitor frame, and it was remounted to the underside of the PCB.
|
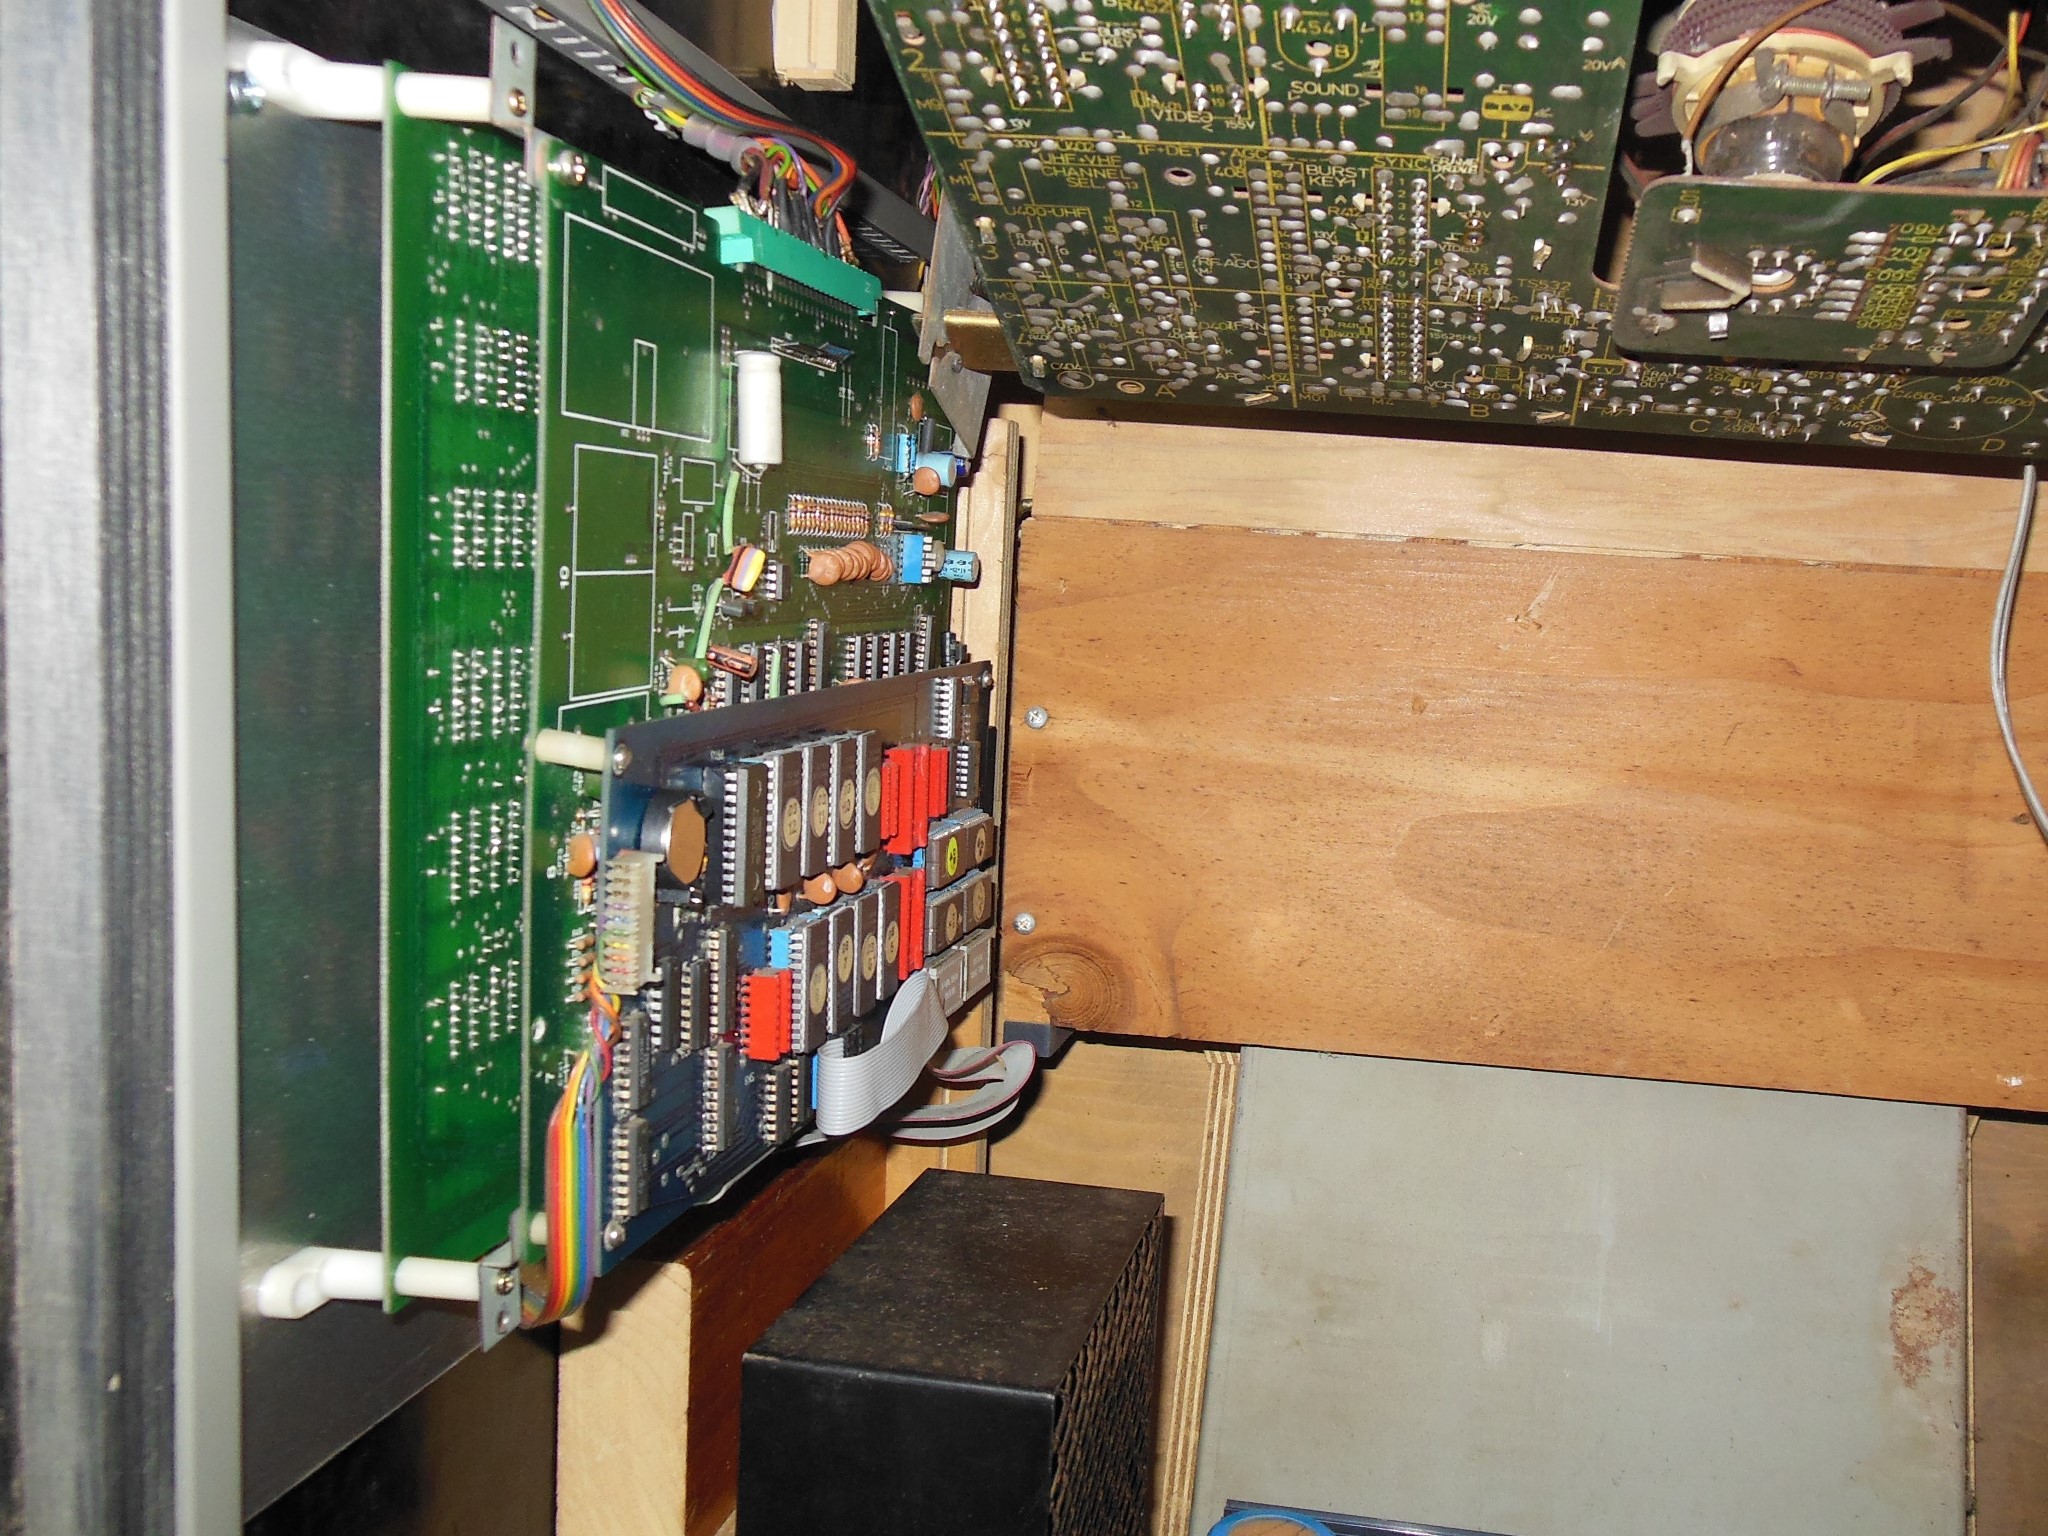
A small wood block was secured to the bottom of the old Quasar PCB shelf to move the PCB plate up to the top to meet the connector. After drilling the holes, the PCB was mounted to the plate and fitted into the cabinet. It is still quite a tight fit but still can be easily removed.
|
After putting it all back together the cabinet was tested.
|
It didn't take long to get to the first issue - red became stuck full on with no blanking. Suspecting a problem with the Philips KT-3 monitor RGB output PCB, a spare was swapped in that fixed this issue and confirmed the RGB output PCB was faulty. A back-to-back diode check on all the transistors on the faulty RGB output PCB didn't detect any differences between R, G and B. Moving on to remove the red side transistors to test out of circuit found a bad BF 422 (note that the RGB output PCB designation is misleading - check the output cable for the correct colour sequence). Replacing the transistor and swapping the RGB output PCB back into the monitor confirmed the monitor was fixed.
|
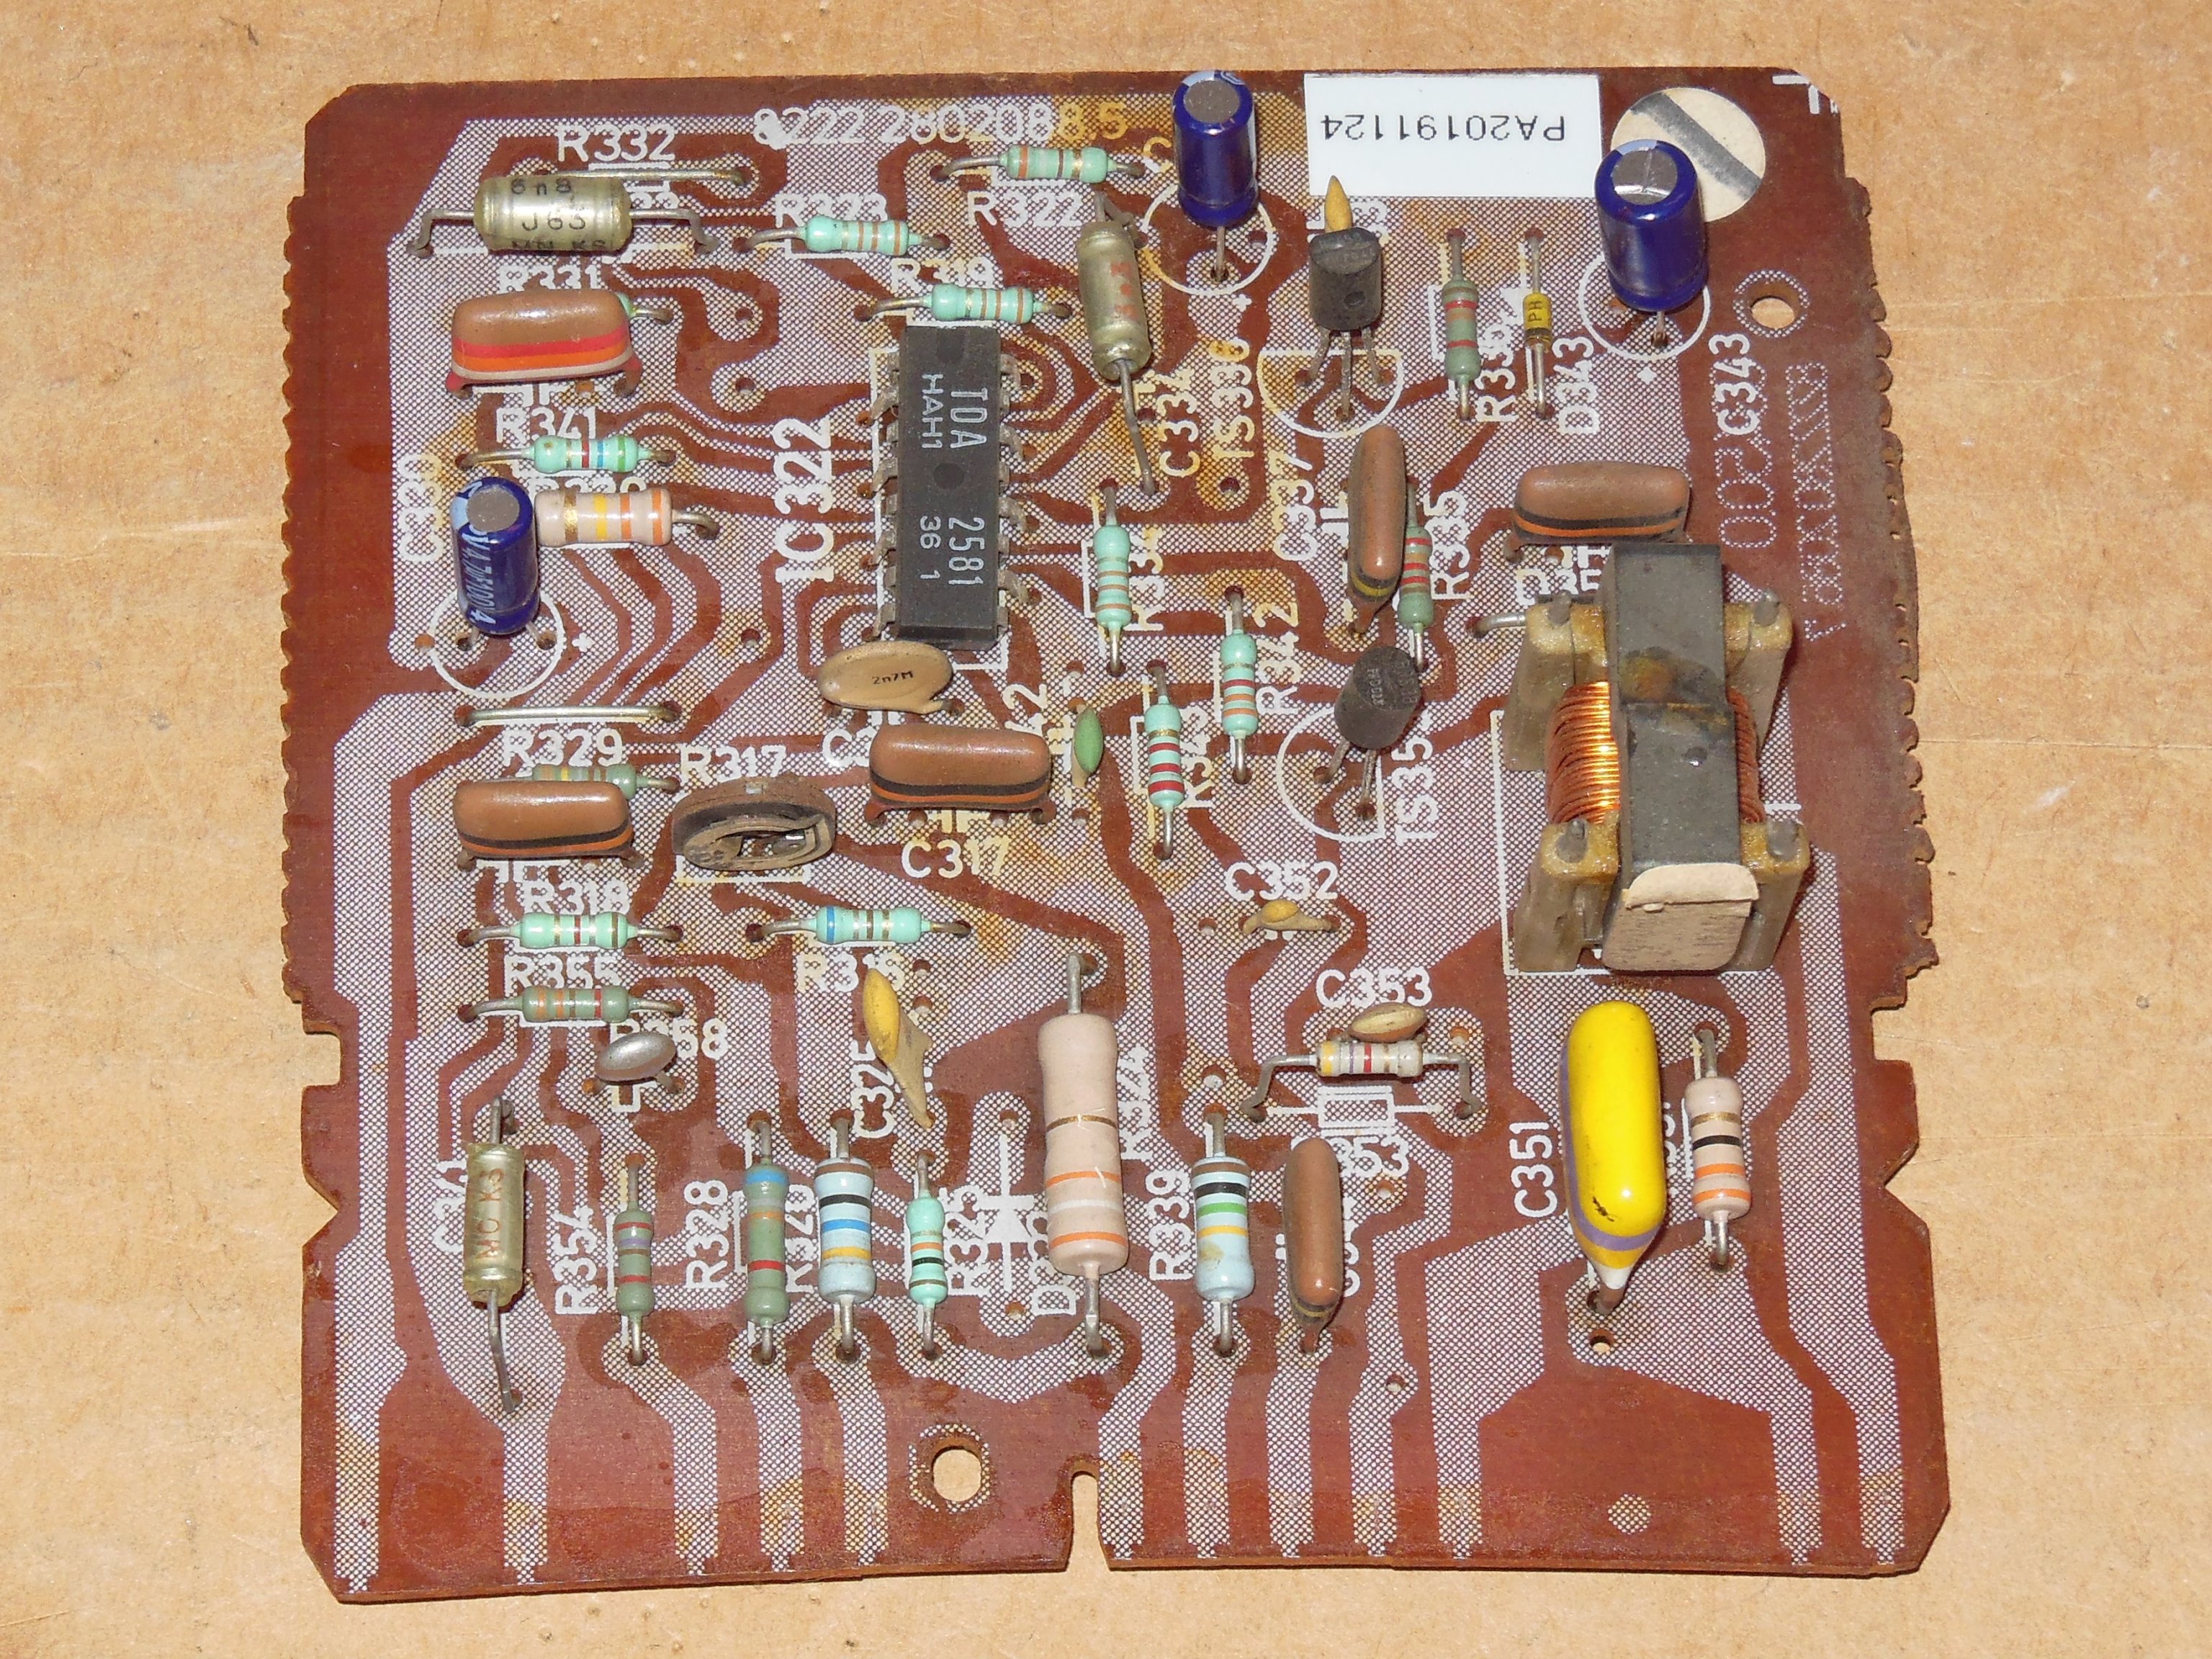
After another few hours the game PCB developed a colour fault and was removed for repair.
|
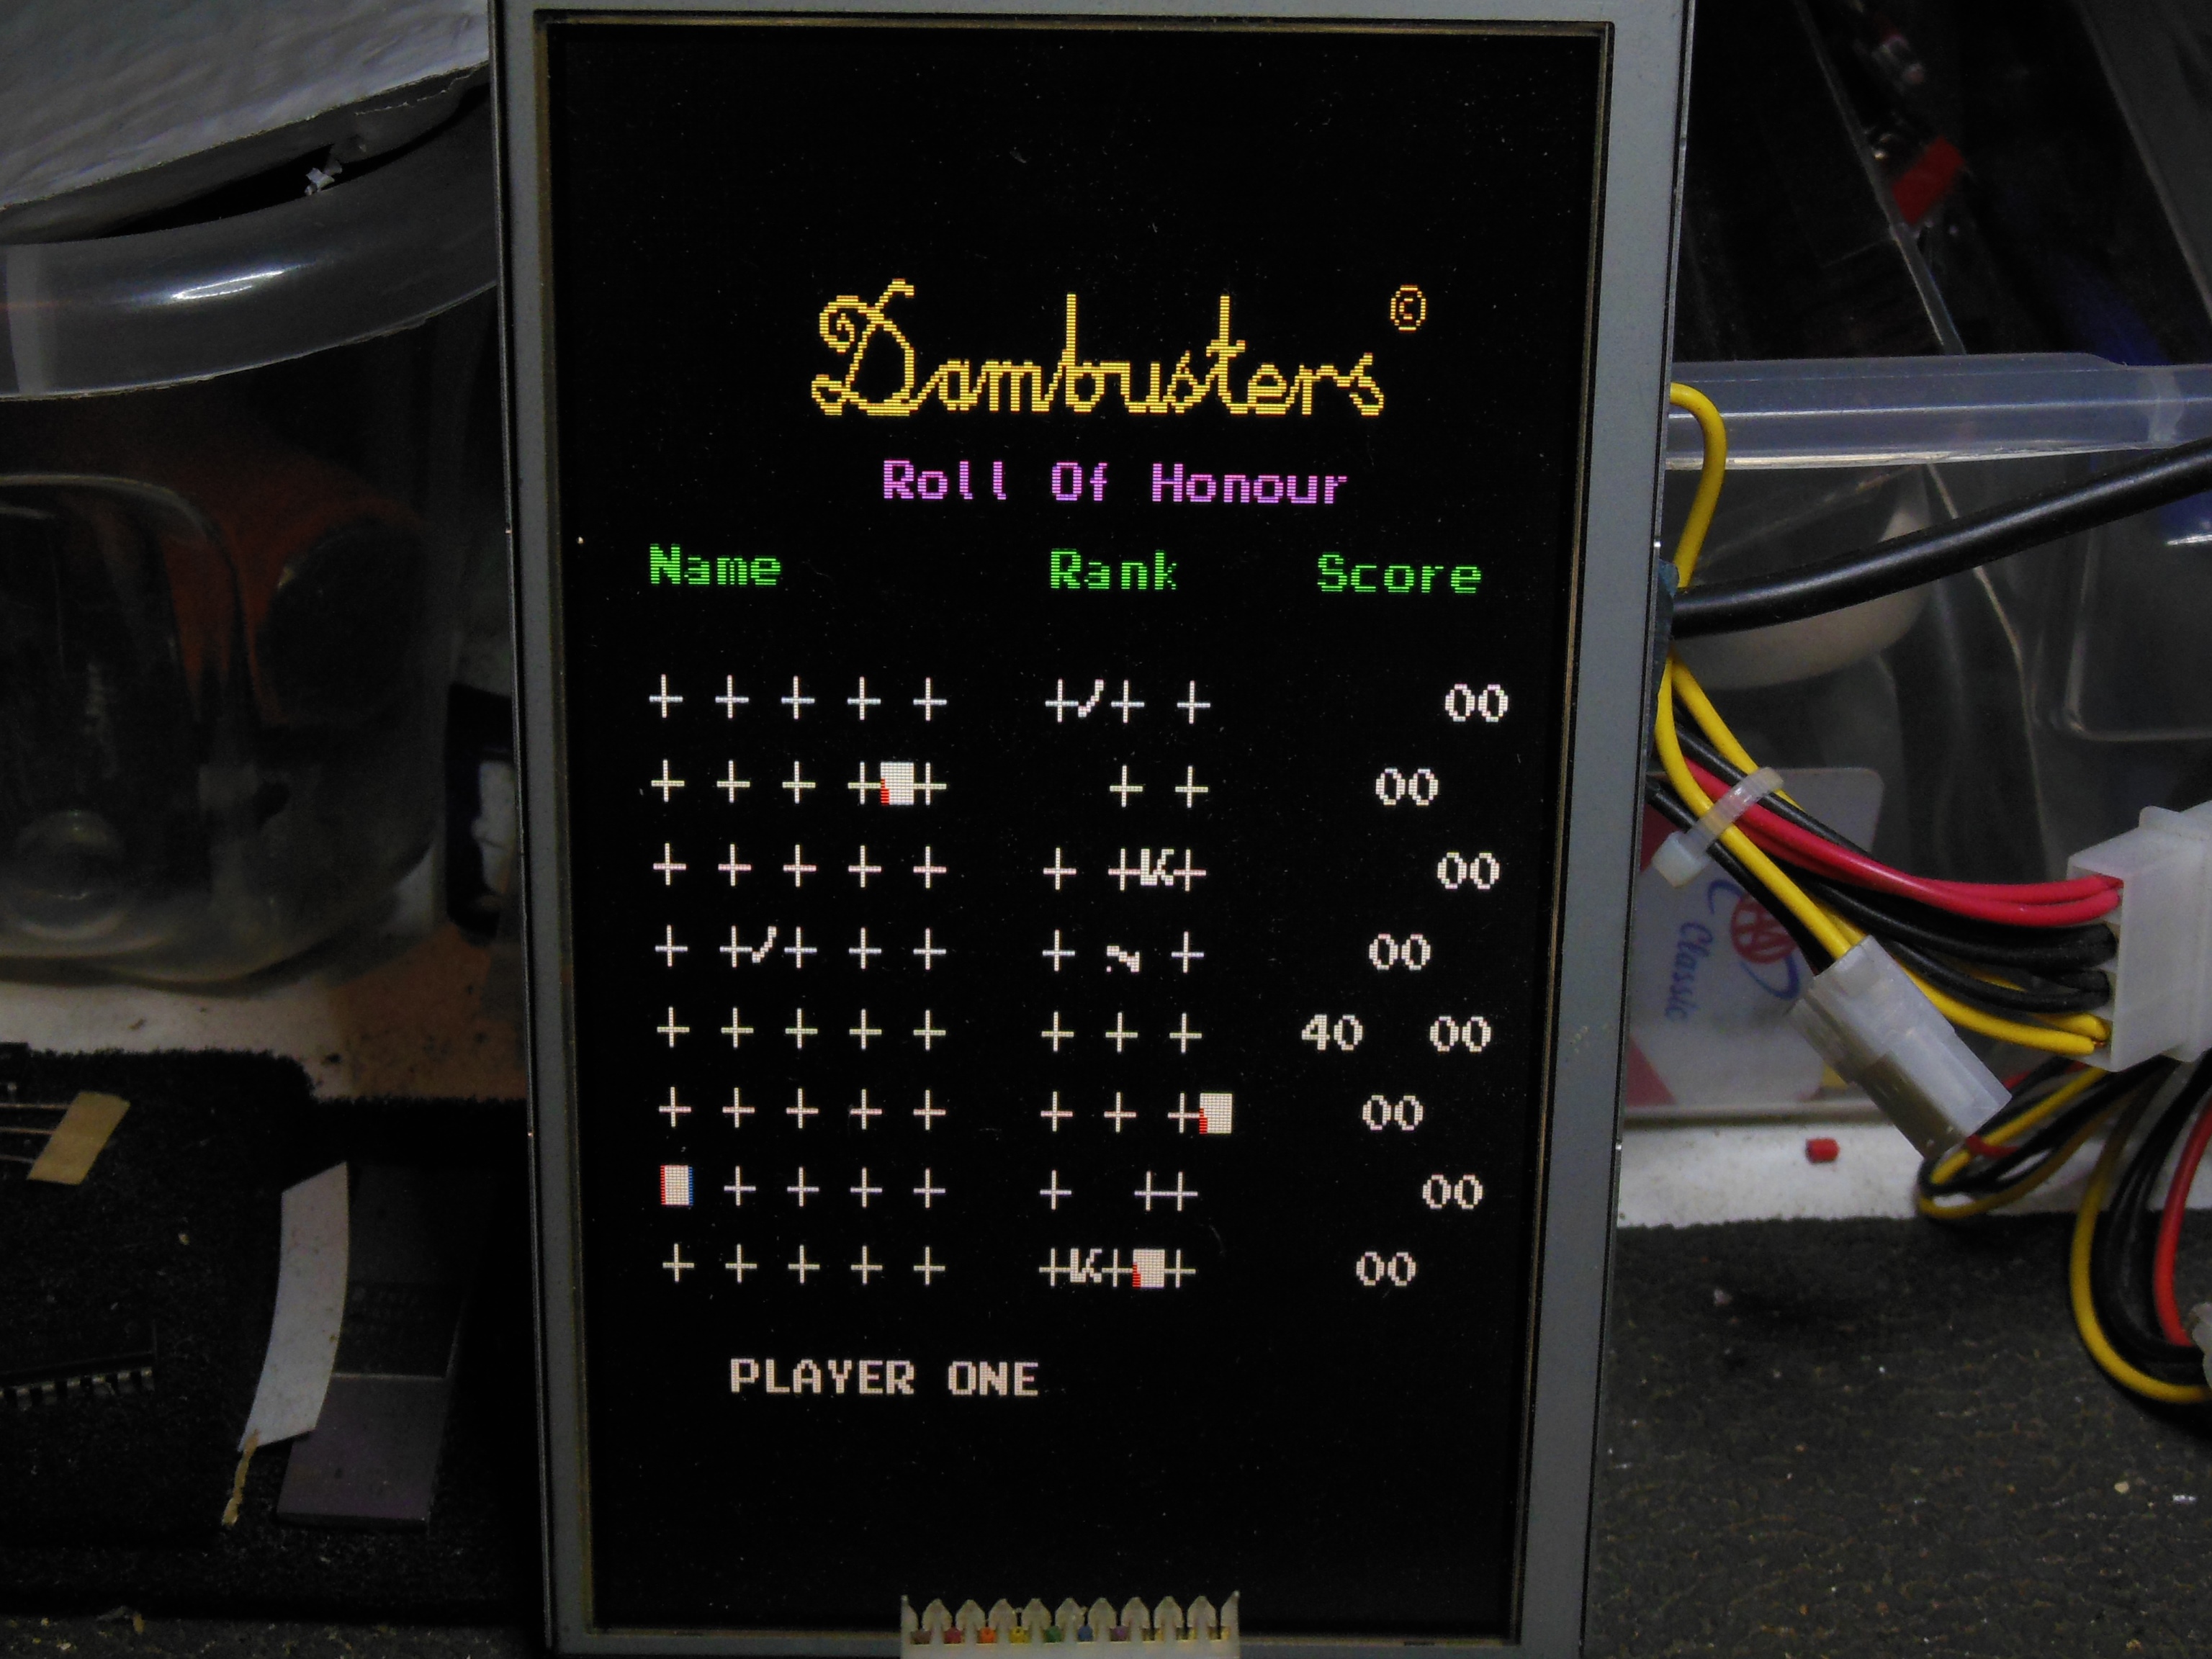
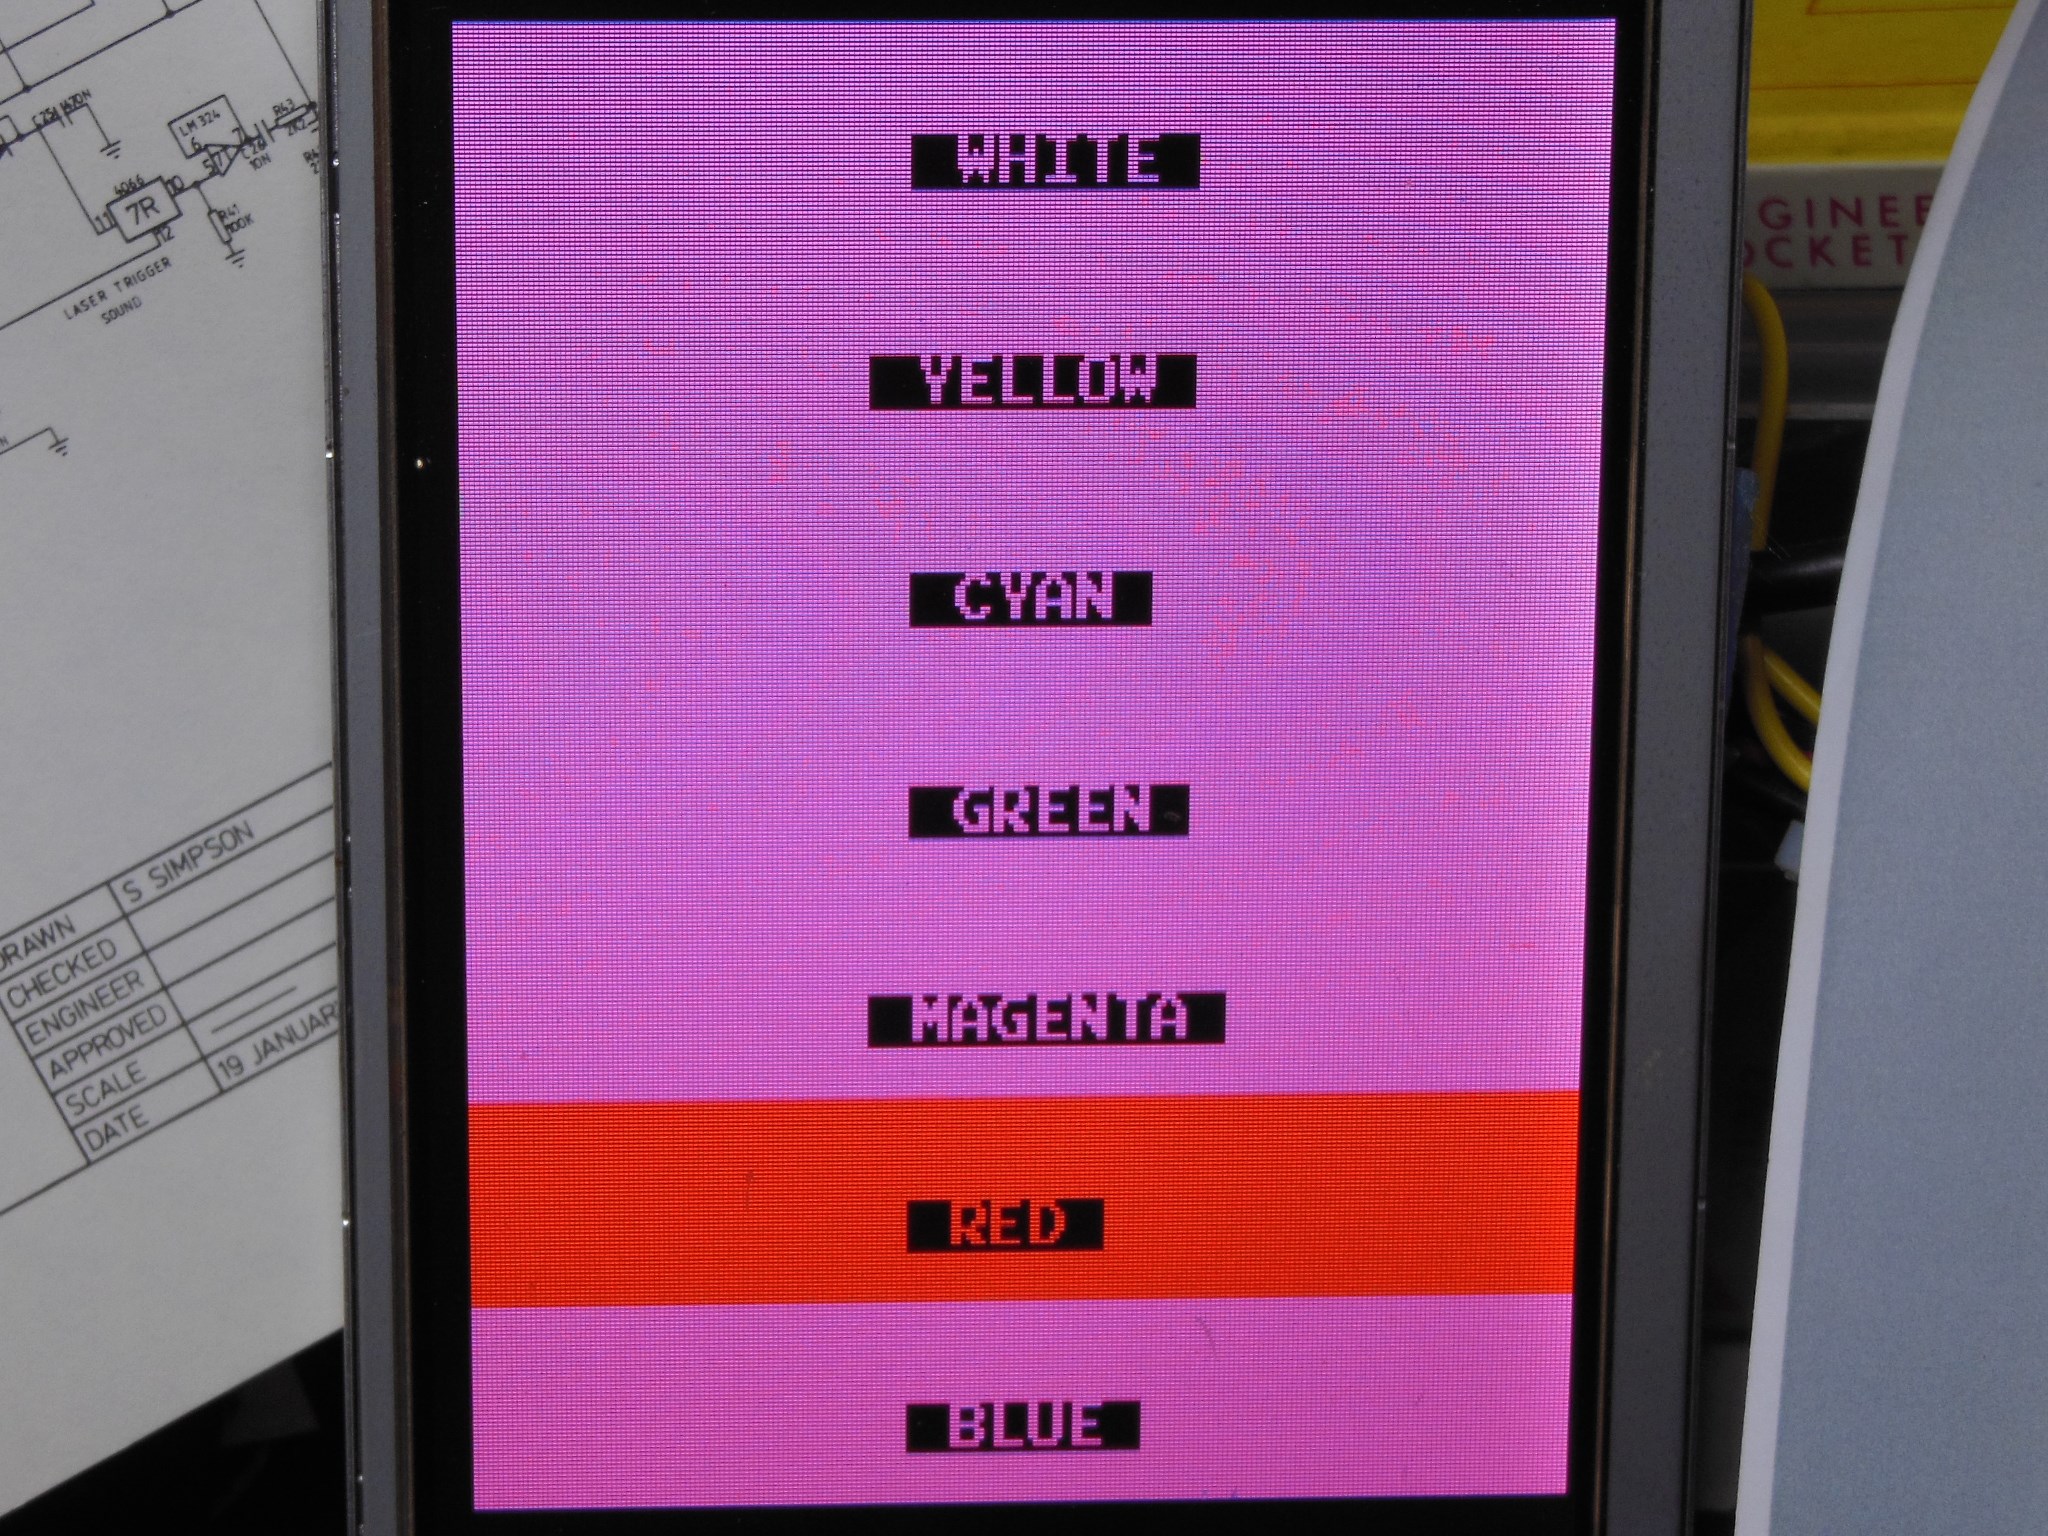
Dambusters has a test mode including a colour test that clearly demonstrated the colour
fault. Using a video probe on IC 6L (6331 colour PROM) and 6M (LS273) showed the same lack
of colour depth. Moving back to map out IC 6P (LS377) found:
|
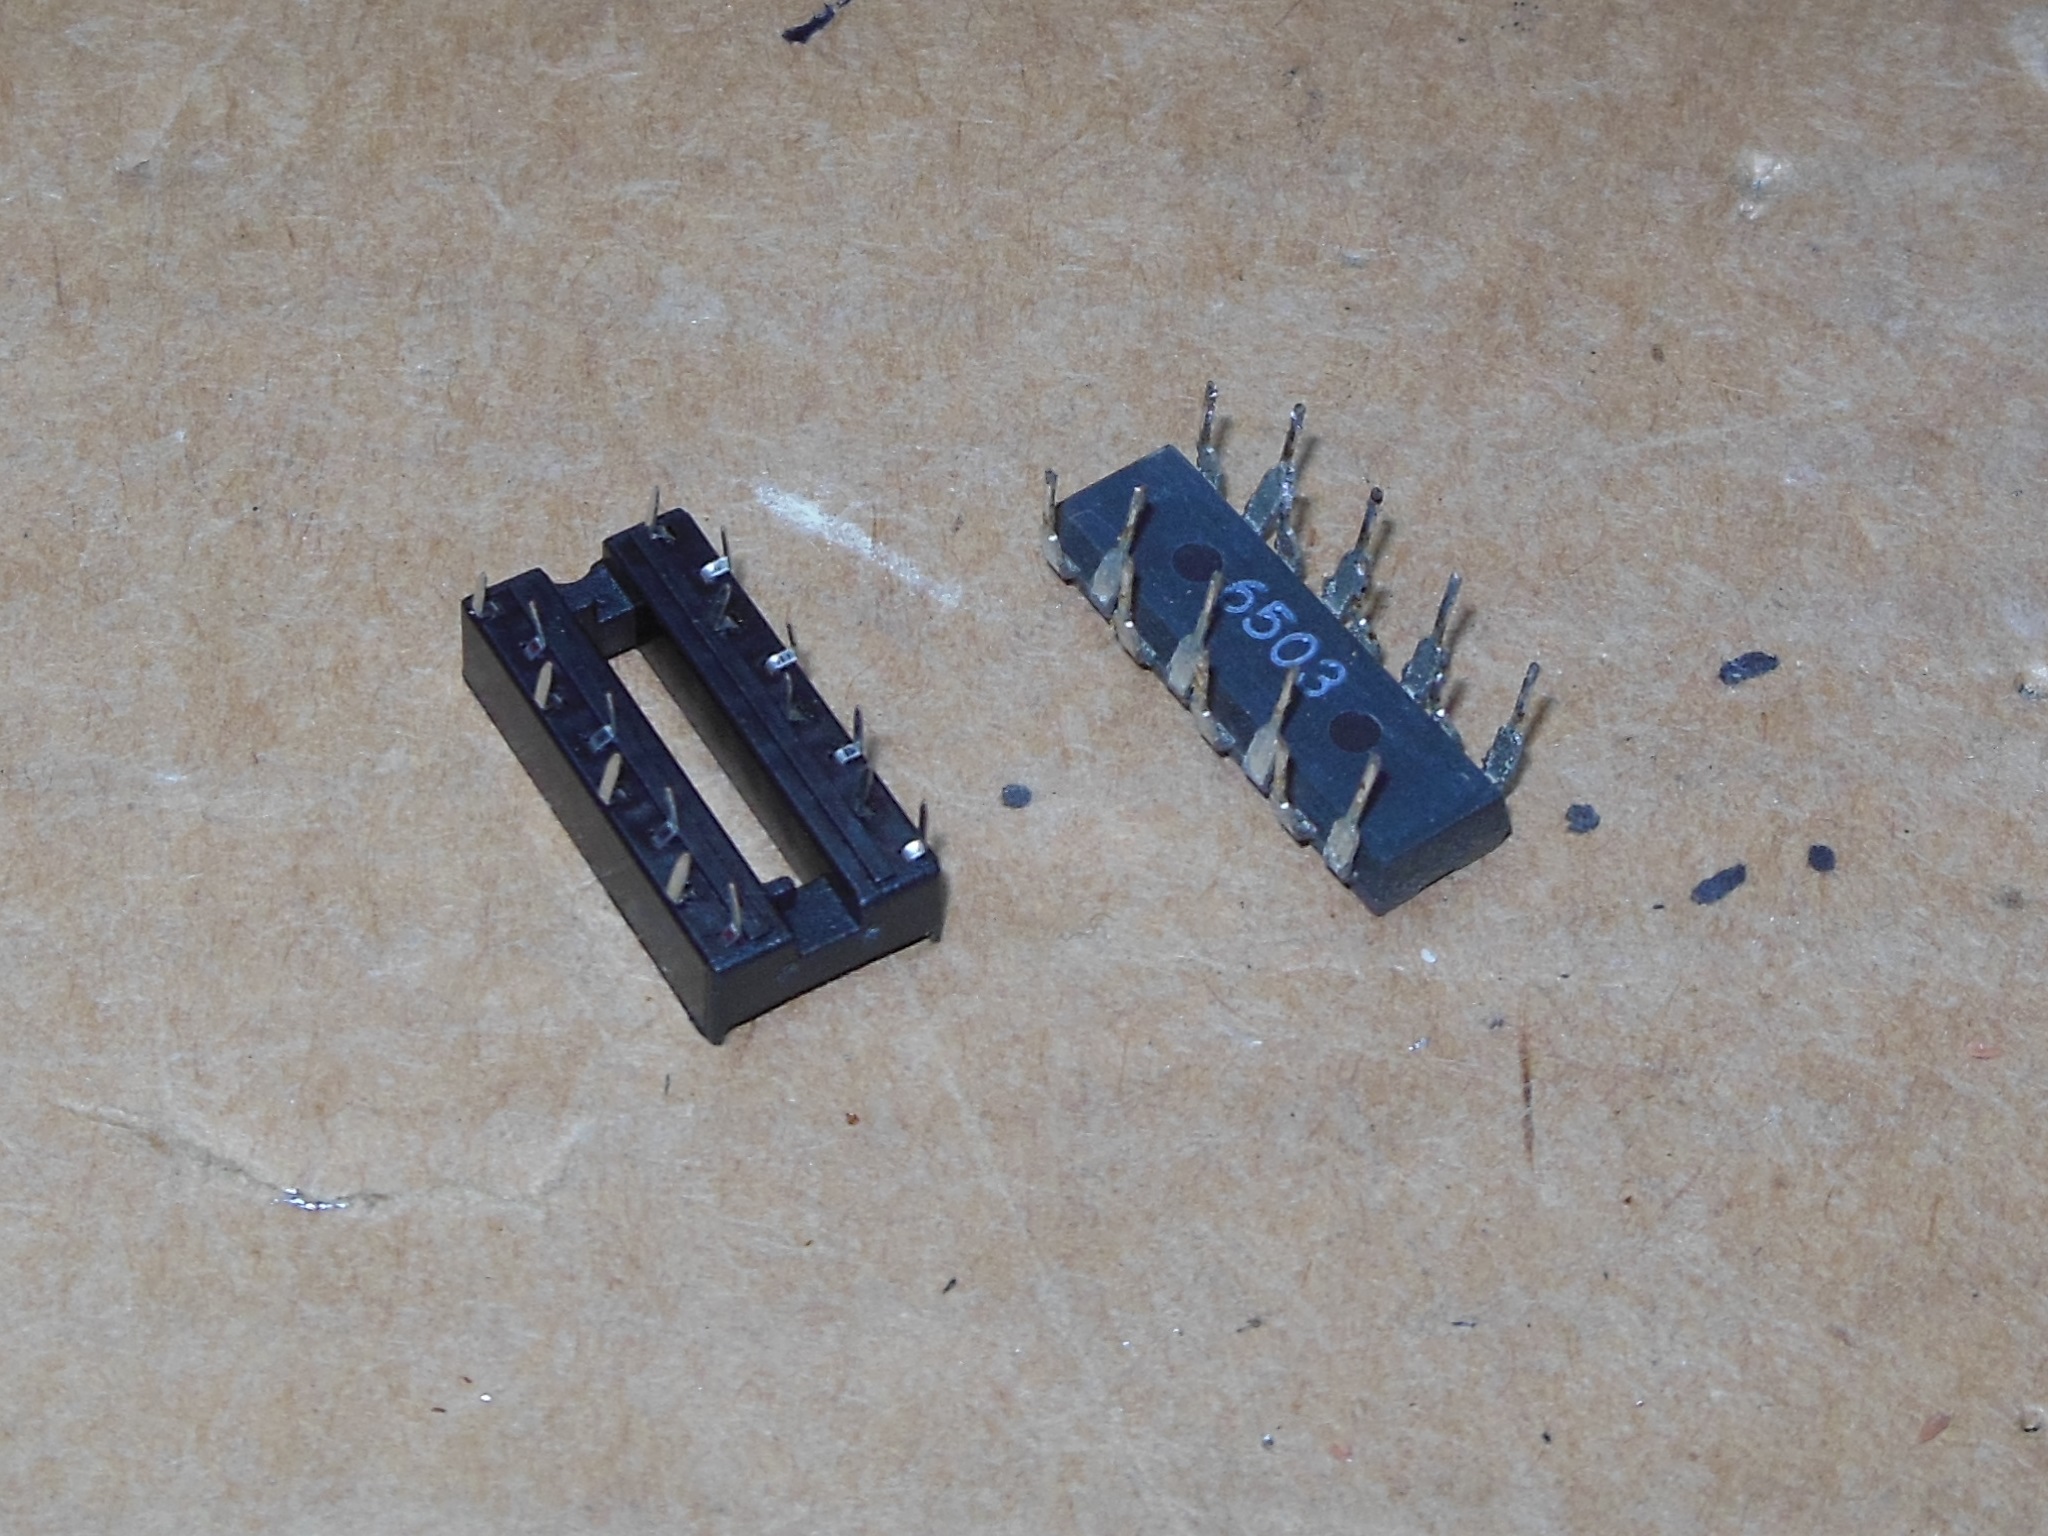
Since IC 2S was already in a socket, testing by lifting its input pin didn't change the signal quality. This type of marginal signal load issue often responds to temperature. Using freezer spray on IC 3P caused all the colours to disappear and heating caused them to come back. A similar effect occurred on IC 3N but not as significantly. Cutting IC 3P pin 12 didn't fix the signal, however cutting IC 3N pin 13 did fix the signal and the colours looked good & stable. IC 3P & 3N (LS20) were replaced that fixed the game.

|
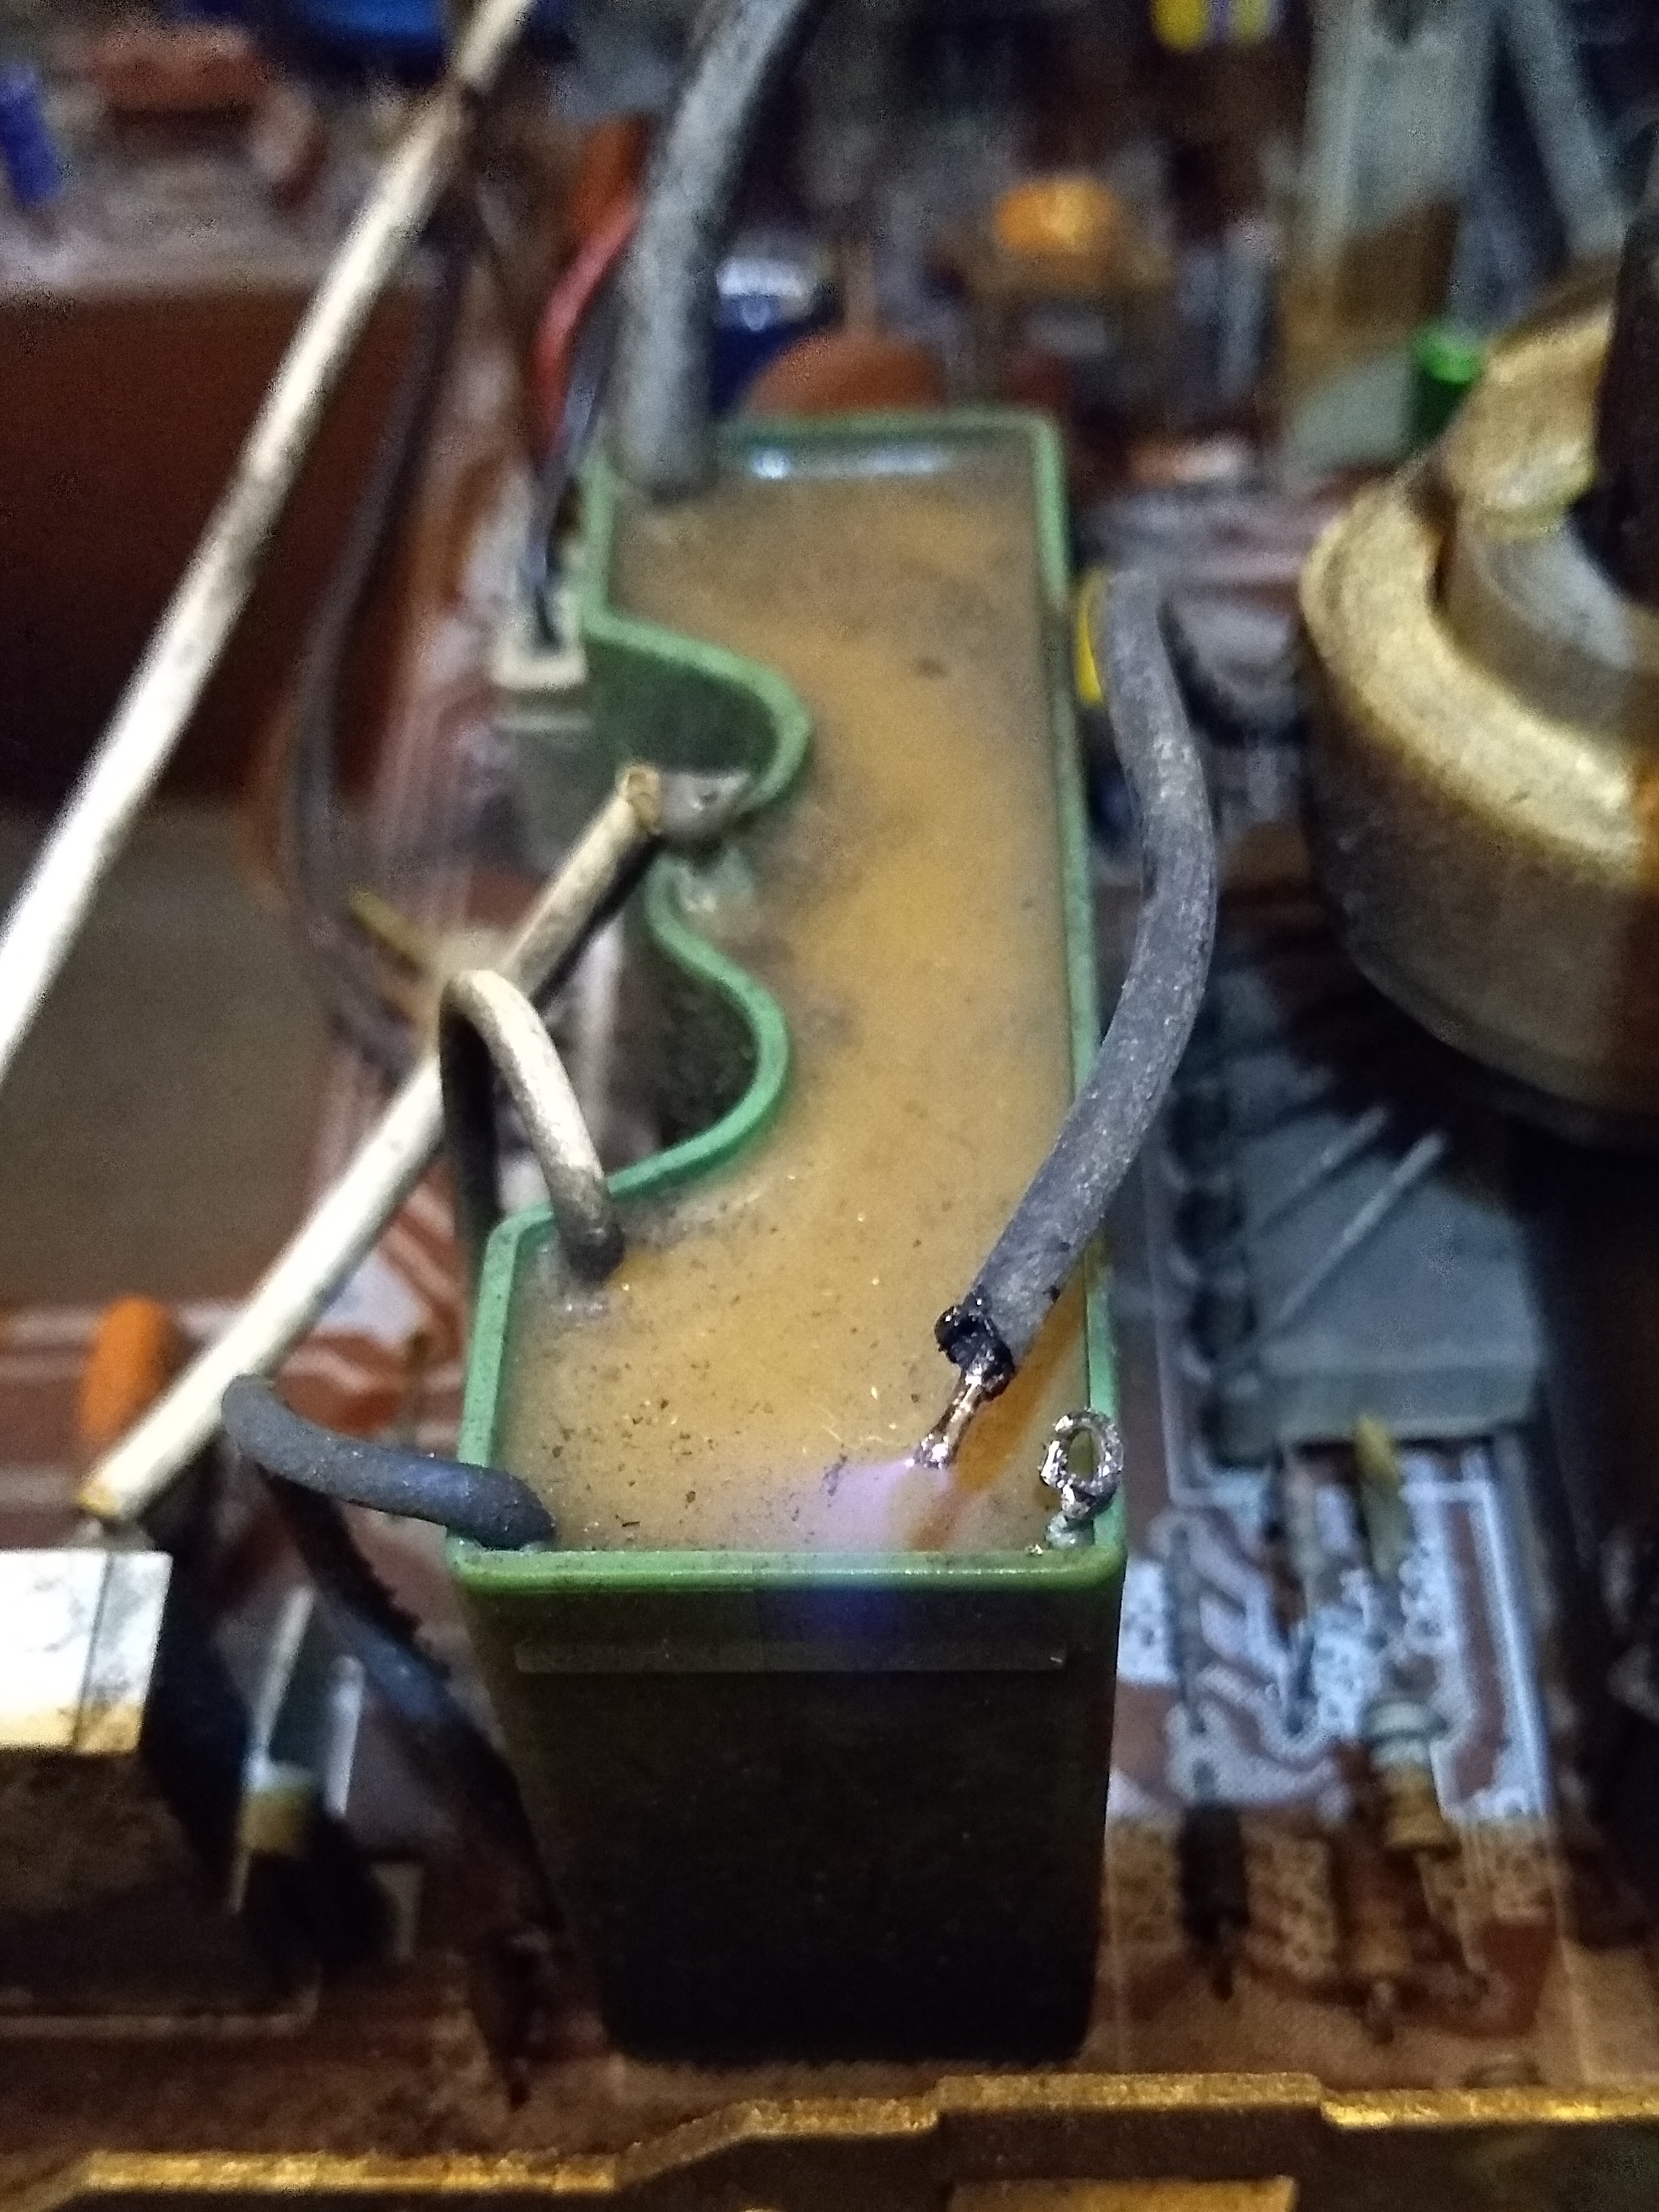
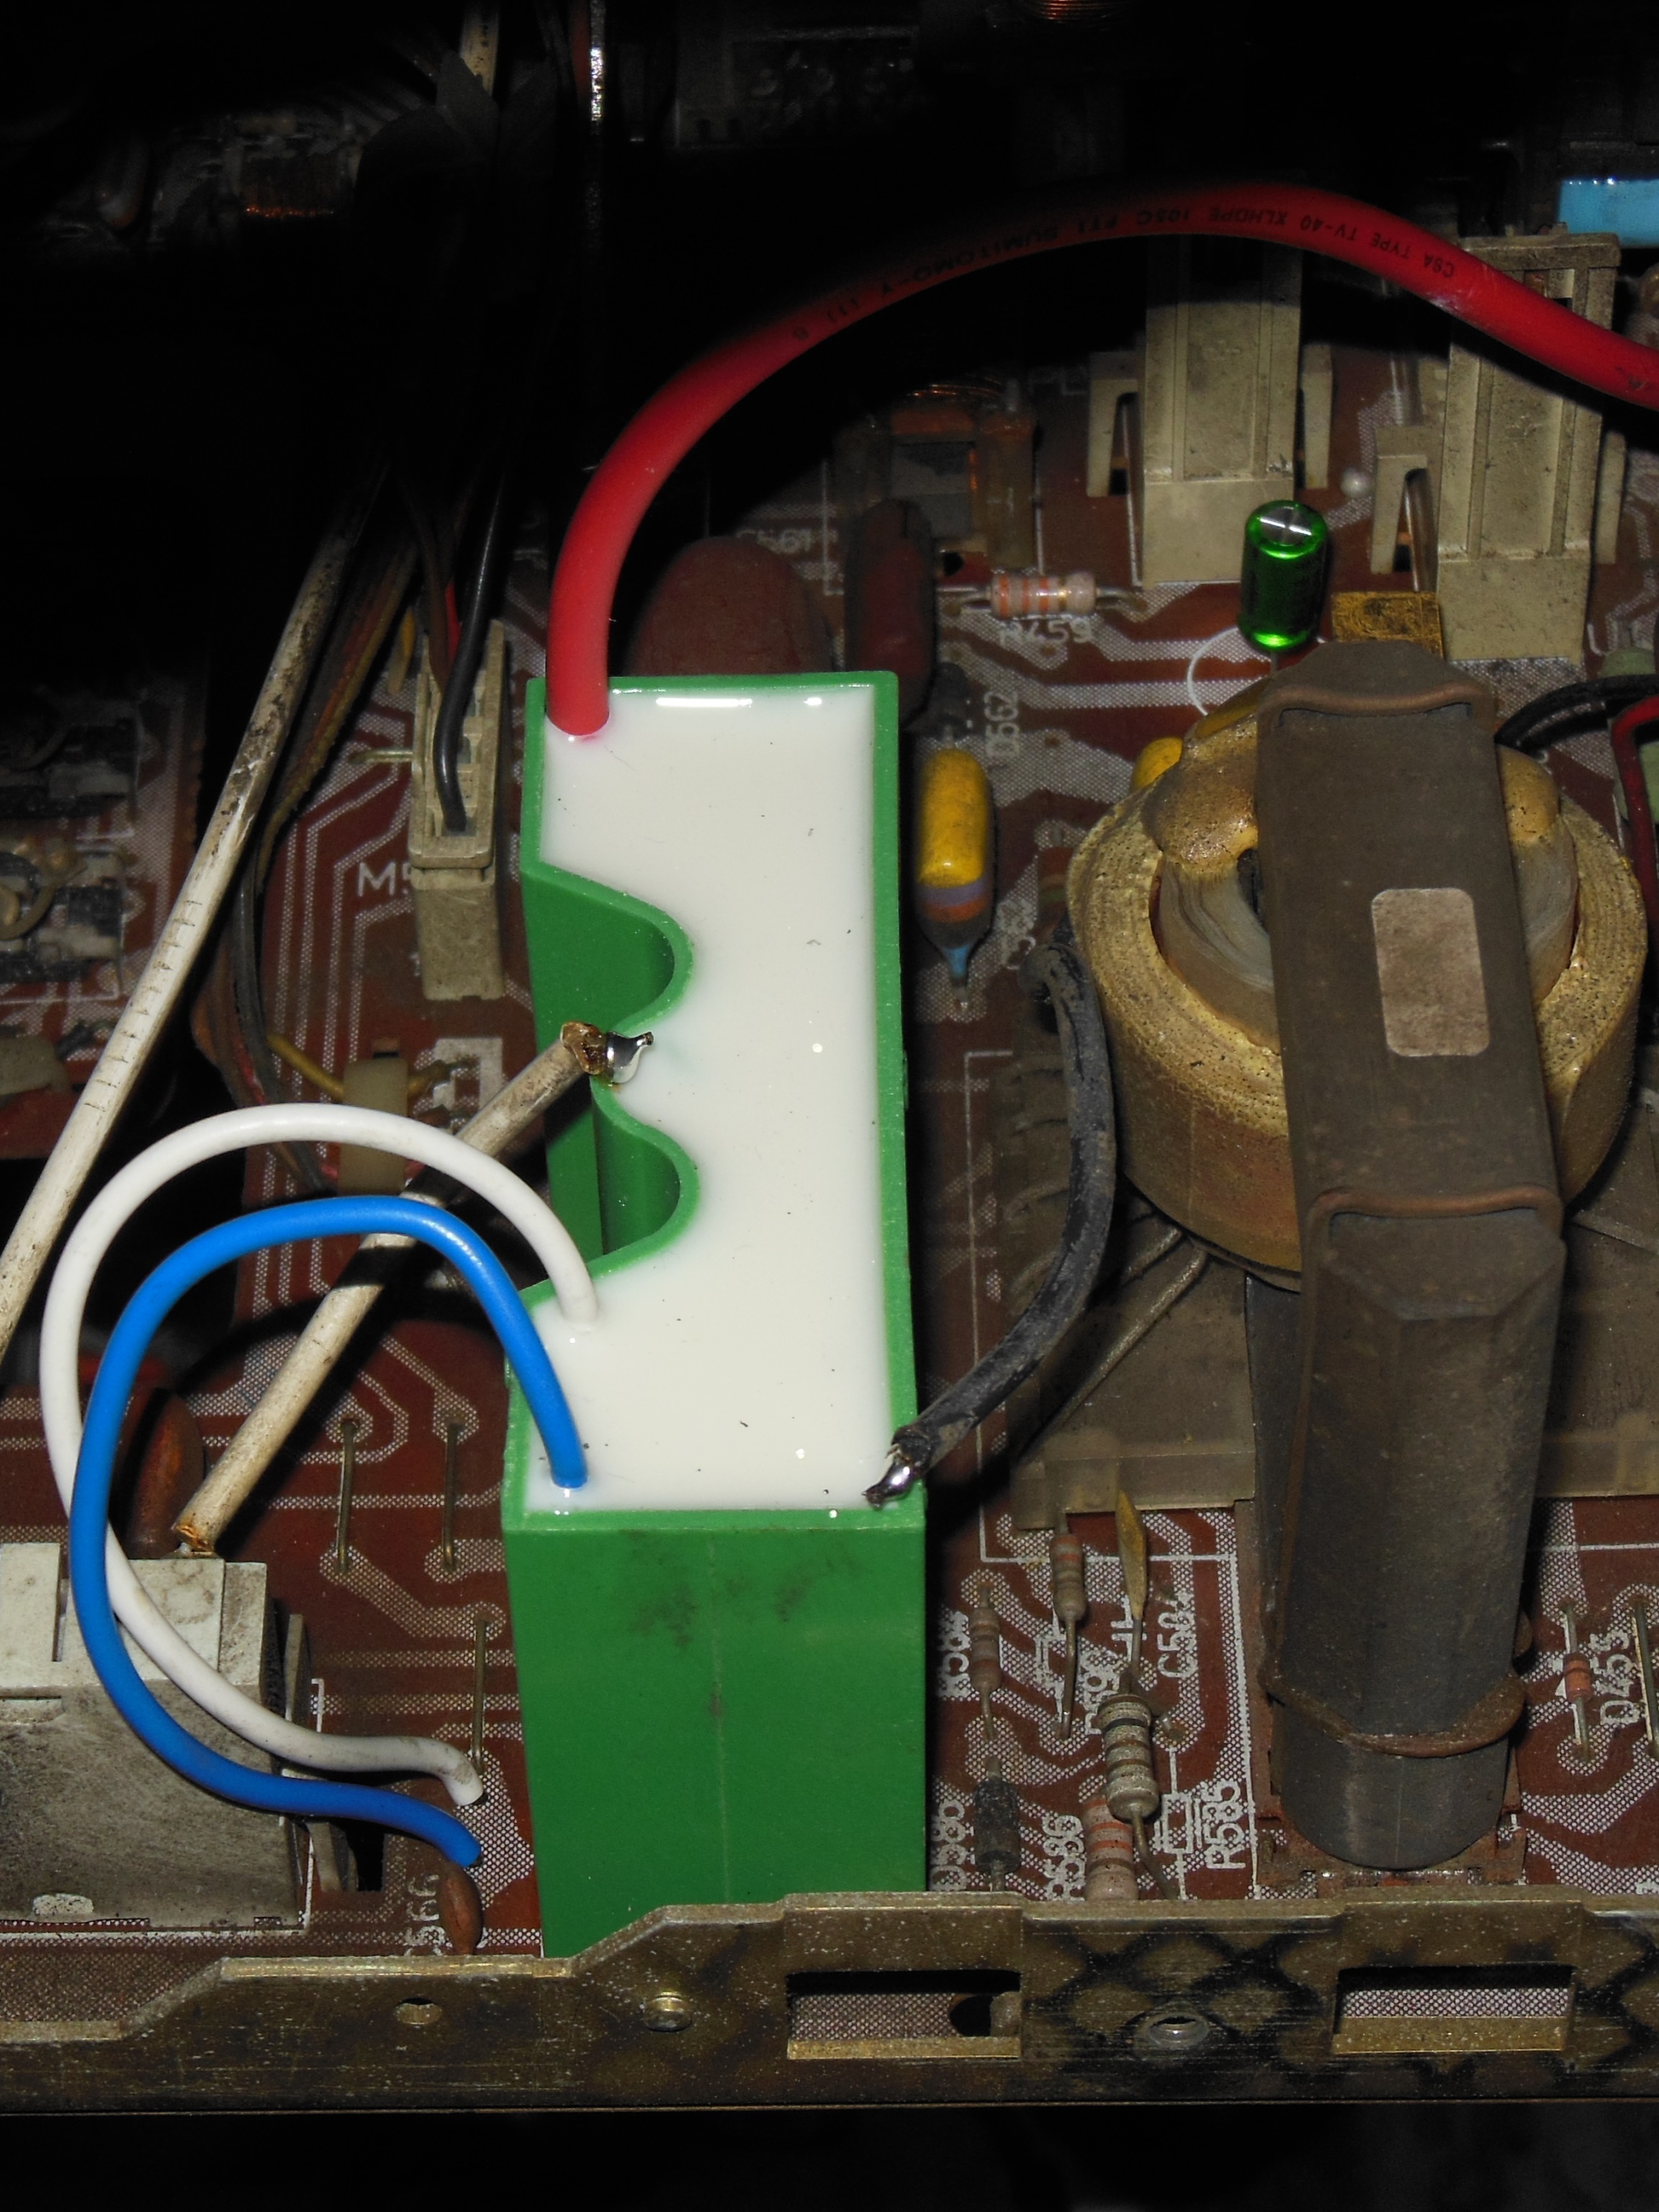
During testing the monitor failed with a blank picture and no HV. On power on there was a click but nothing else. Swapping in replacement Supply Control & Bridge Rectifier PCBs had no effect. Suspecting the tripler may have failed, I opened the connection between the first stage transformer and the tripler that yielded an arc to the tripler. I managed to find a reproduction DAICHI tripler for the BG1895-641-444/LK, TVK76, 13-2057 series and replacing the tripler fixed the monitor.
|
Less than two hours after the tripler was replaced the monitor was dead again. Checking the horizontal output transistor (HOT) T1562 (BU205) found no significant voltages. Unregulated 295VDC was present on the Bridge Rectifier PCB. Swapping in a replacement Supply Control PCB fixed the monitor and 130VDC was present on the HOT can. Replacing the TDA 2581 (and fitting a socket) on the original Supply Control PCB fixed it.