Zaccaria/SeeVend Hustler Restoration
Background
This game was aquired out of a bulk raid purchase from a German warehouse.
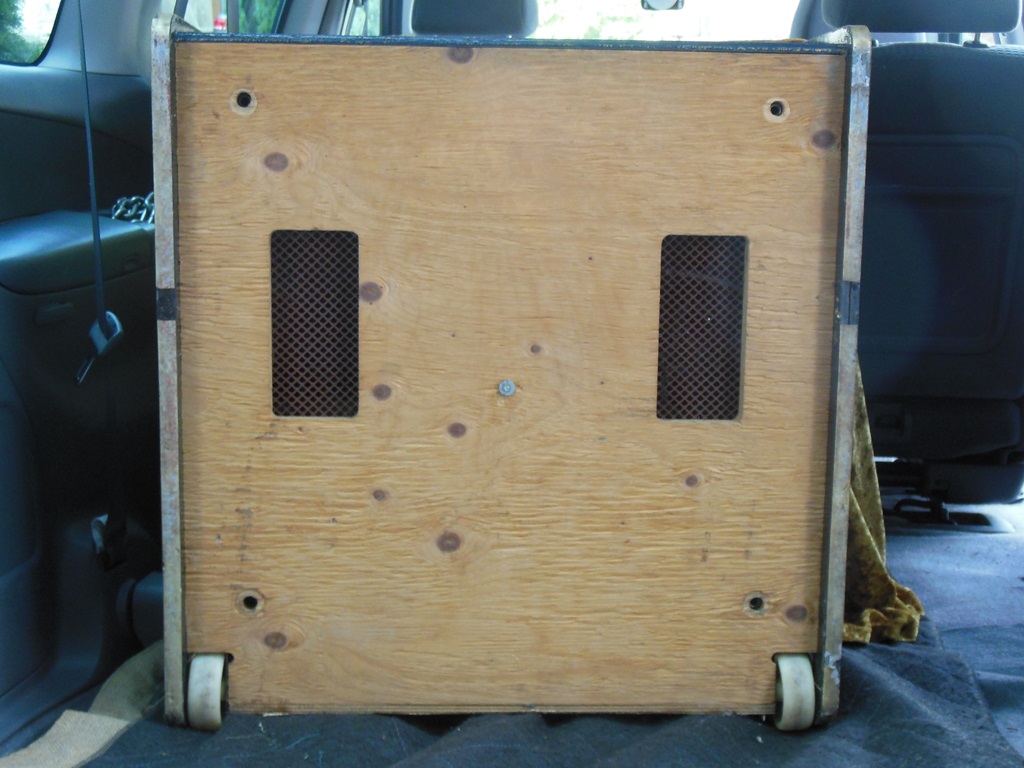
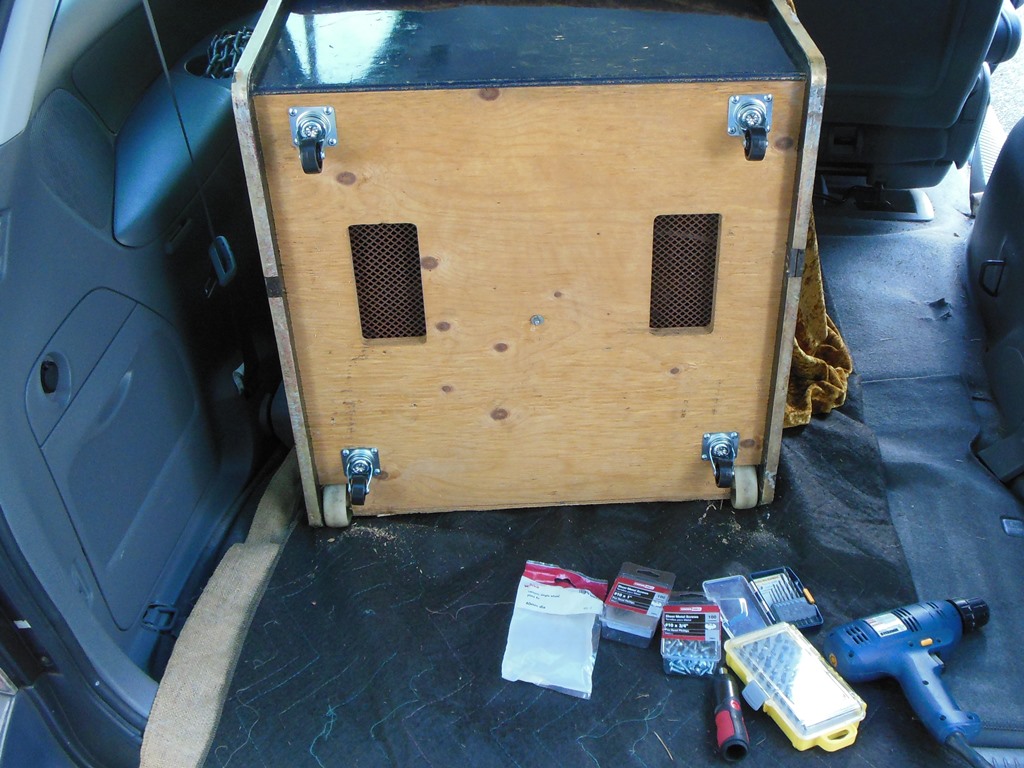
24/10/2015 - Castors
Whilst not originally high on my list of games to restore given it's limited appeal
it was the last game in the 2nd row and missing it's feet putting it at risk of damage
each time it was moved. Since I needed to put castors on it I decided to fetch it home
to fully restore it.
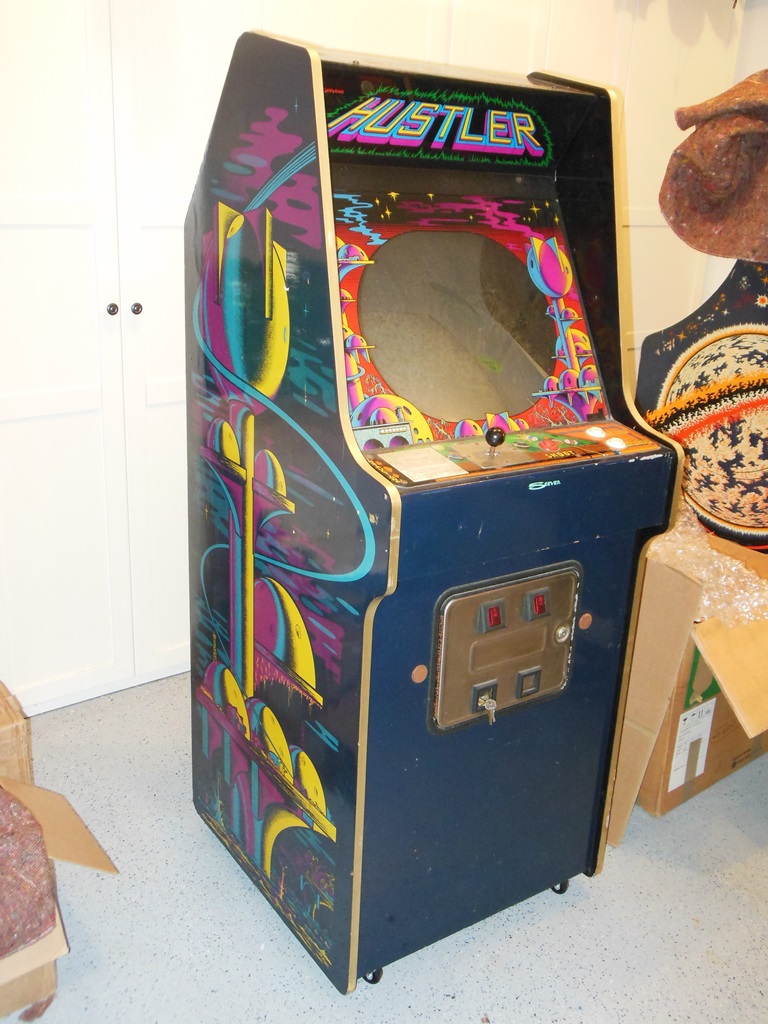
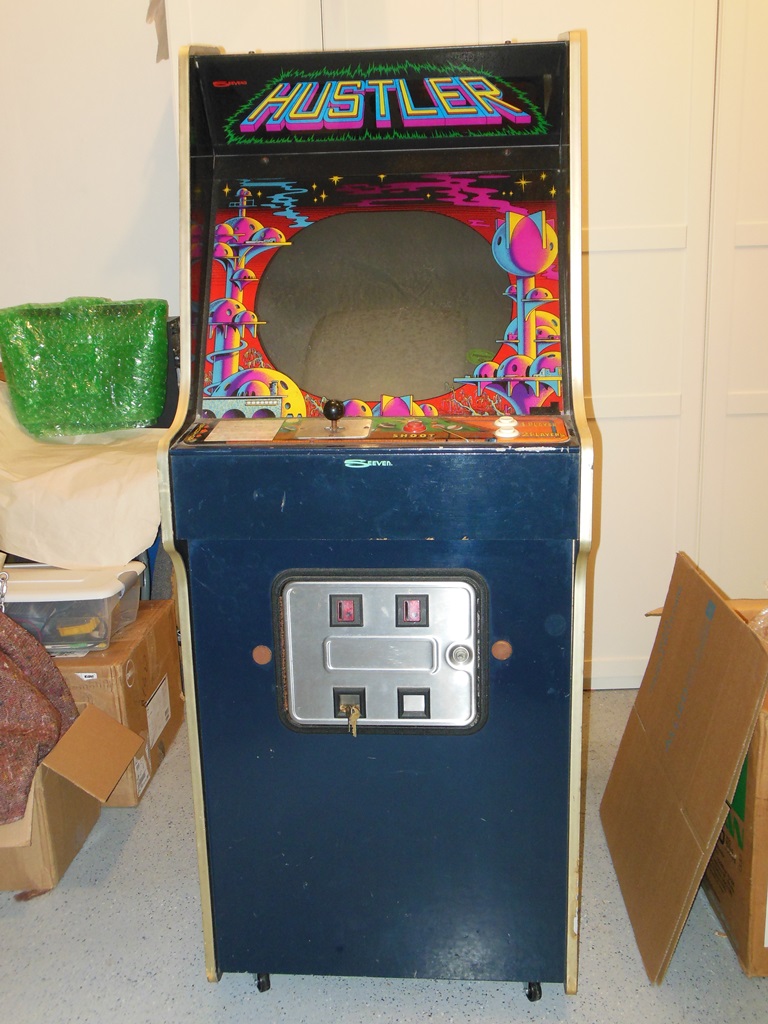
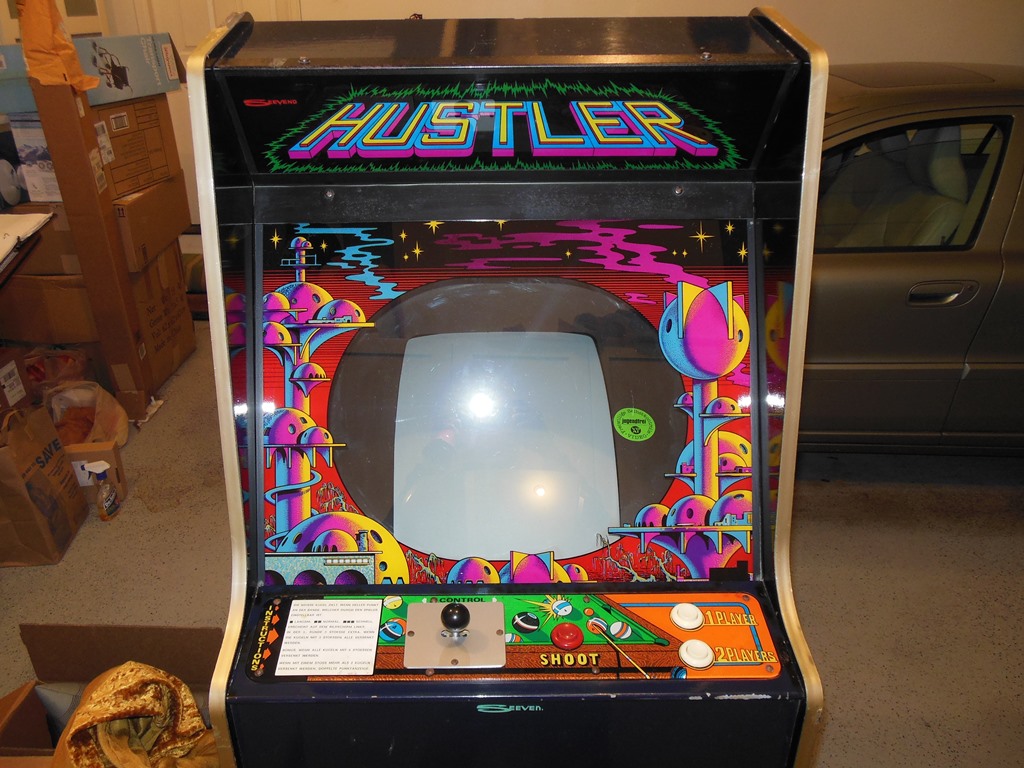
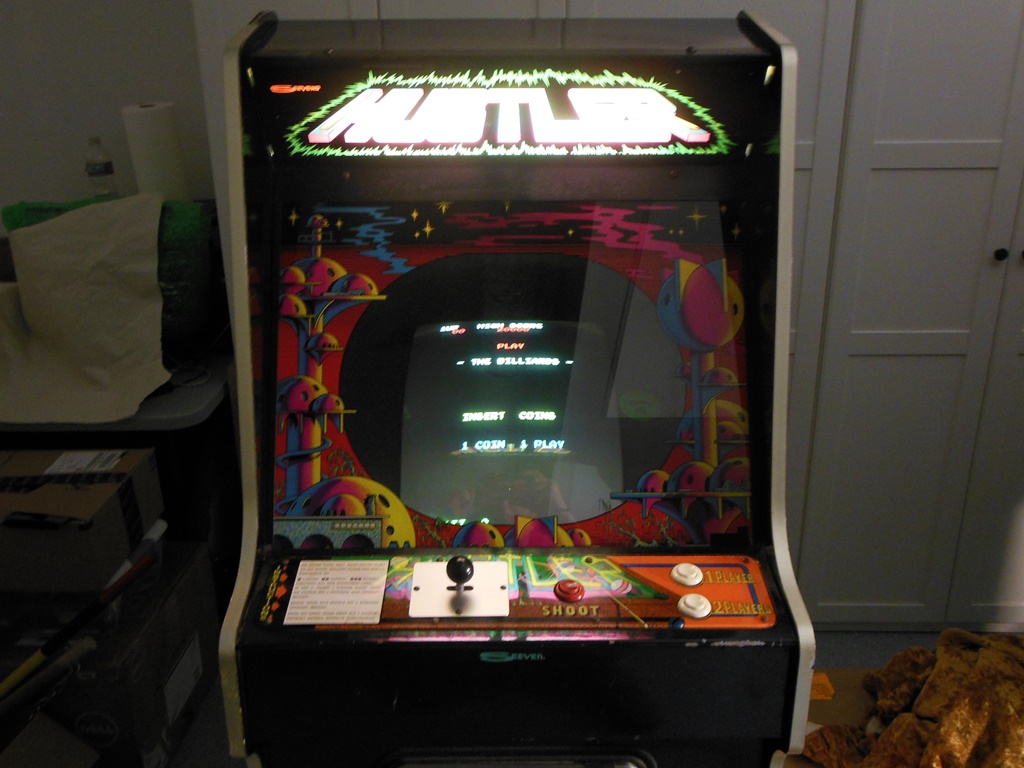
31/10/2015 - Initial assessment
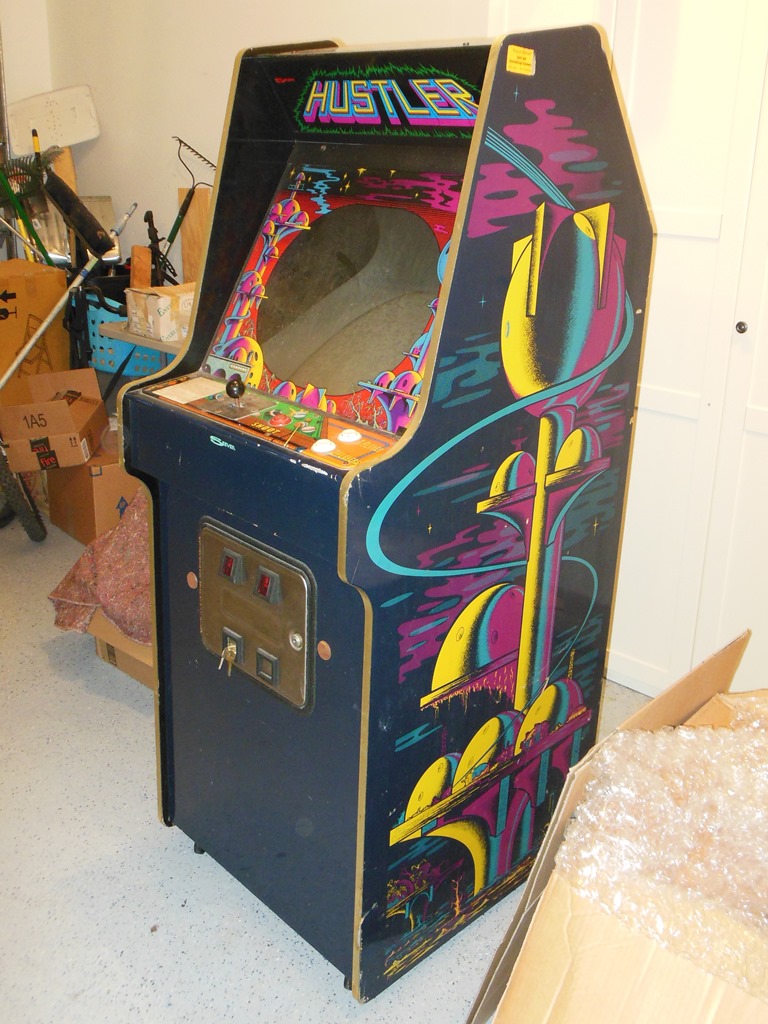
The exterior of the cabinet was in good condition and complete with original marque
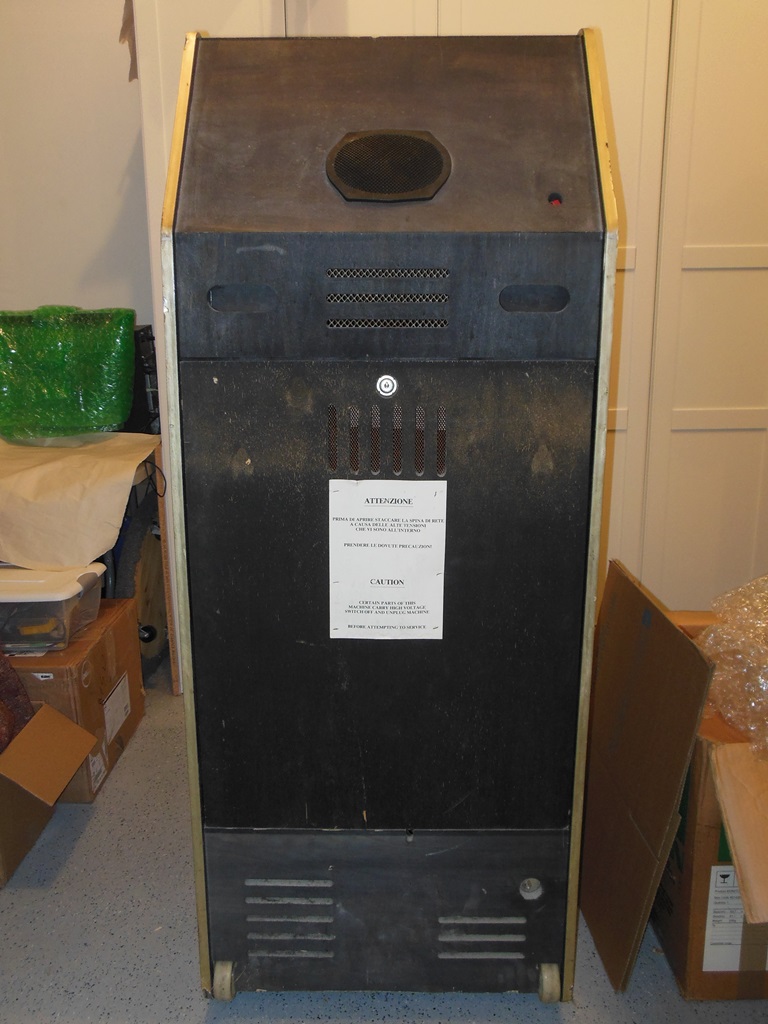
and control panel overlay. The back door was present with it's label in tact. This
cabinet didn't have the usual black trim base on the bottom - it didn't look as if it
was ever present and thus likely left the factory this way.
The cabinet also didn't have a Zaccaria labelled coin door that I suspect was
intentional for SeeVend destined cabinets.
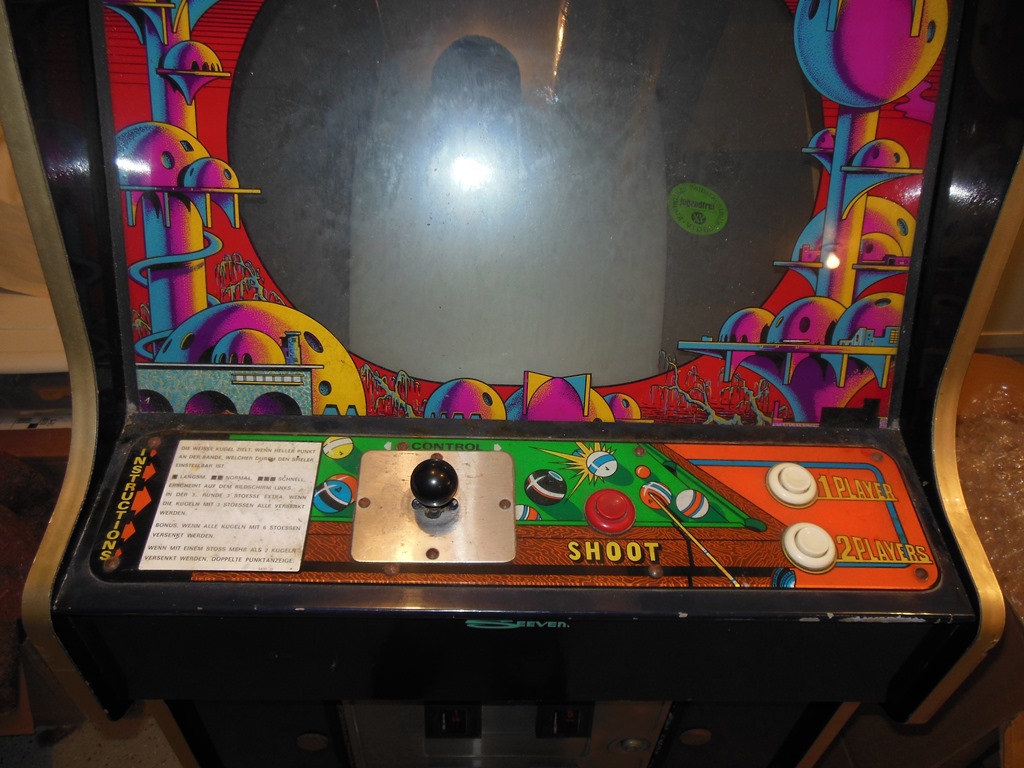
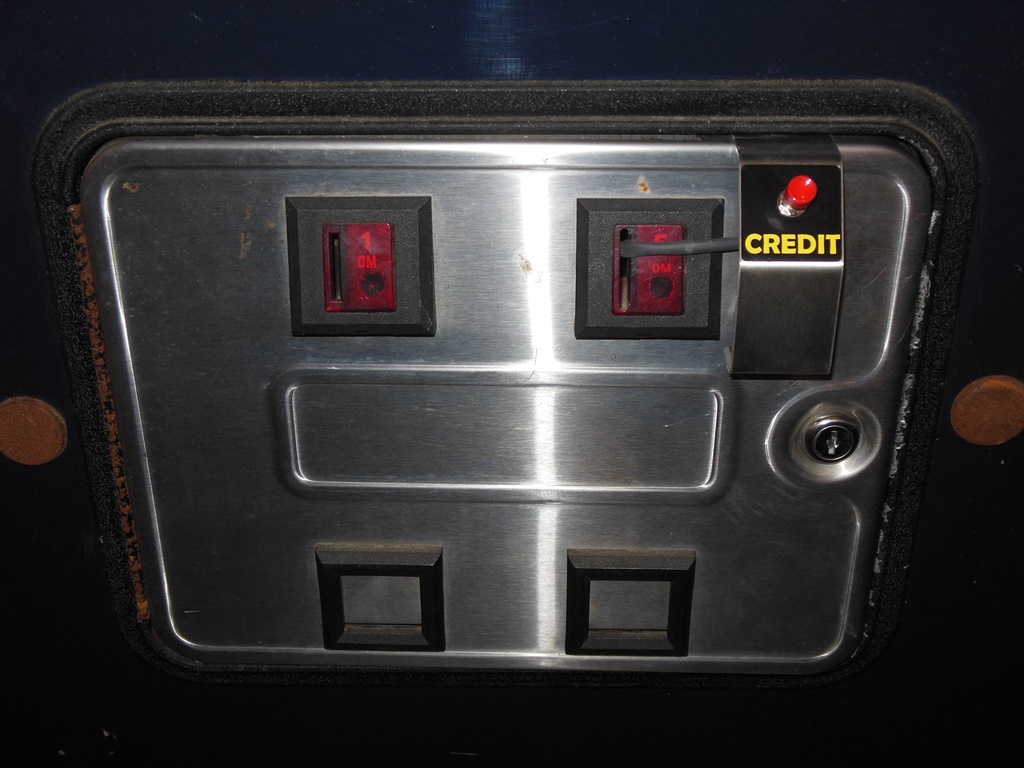
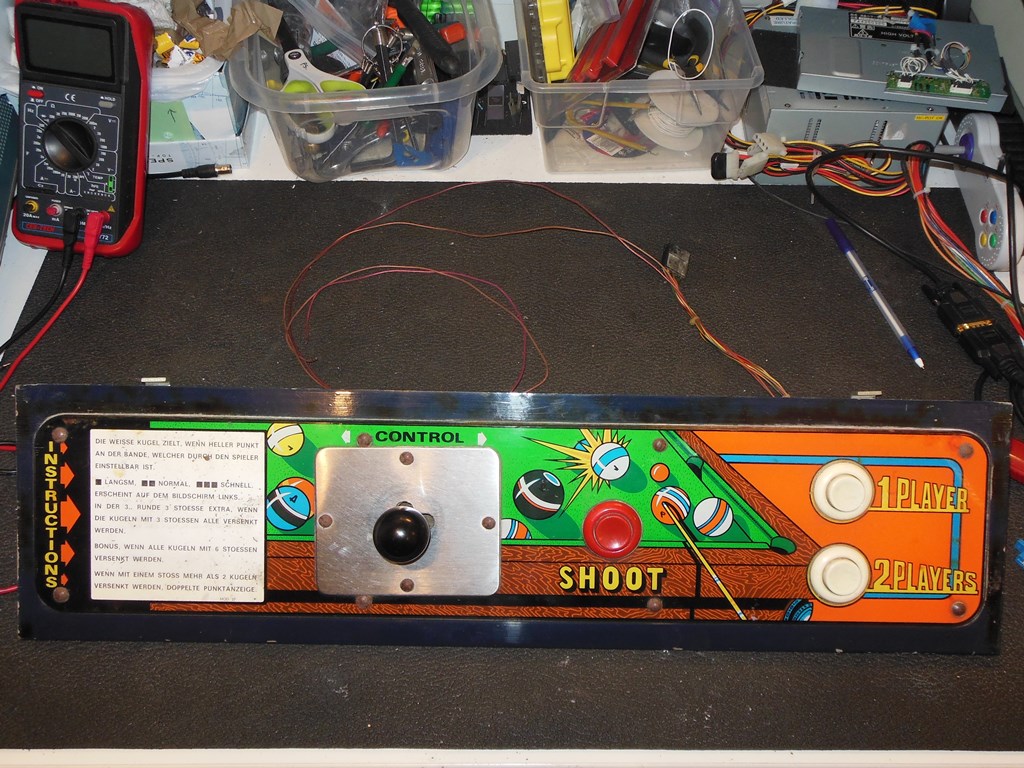
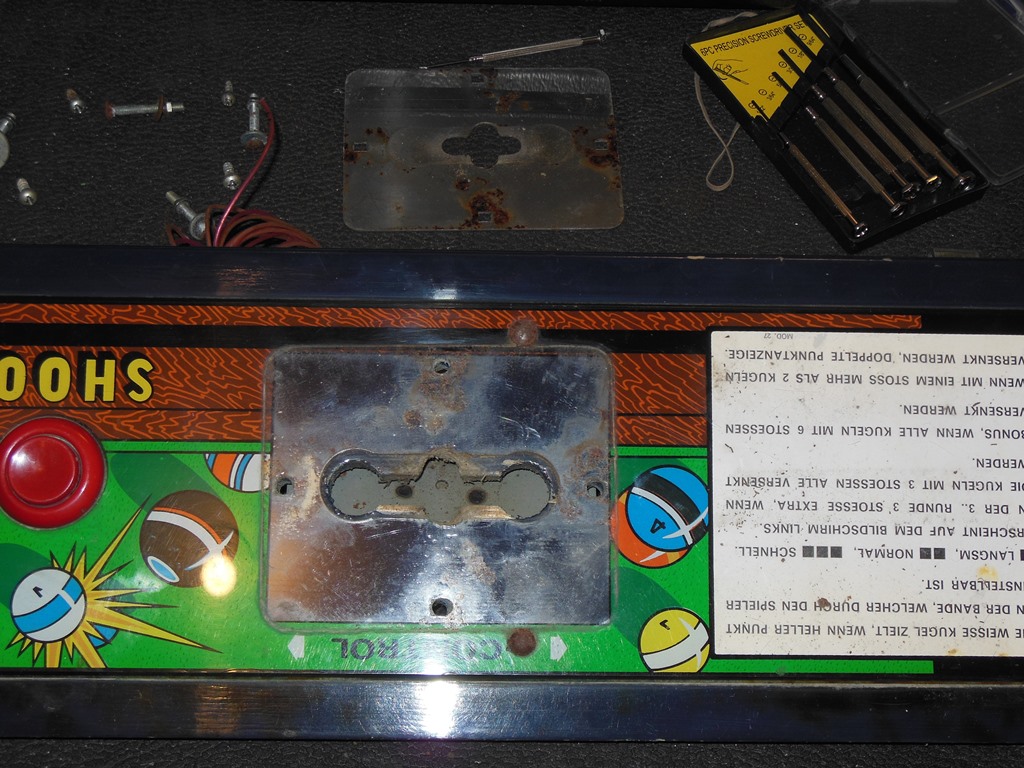
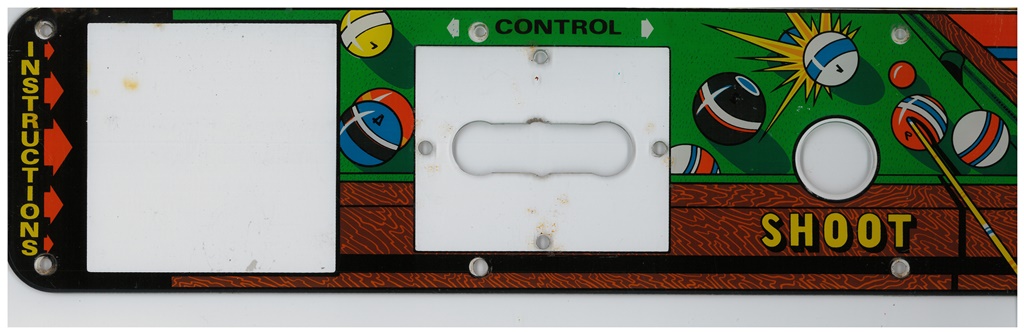
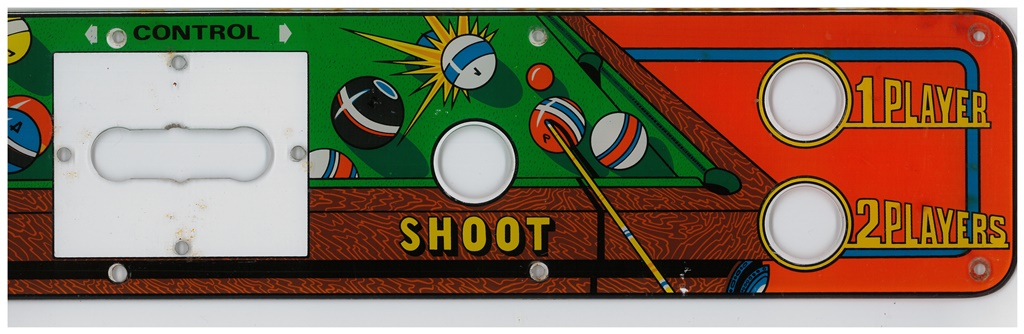
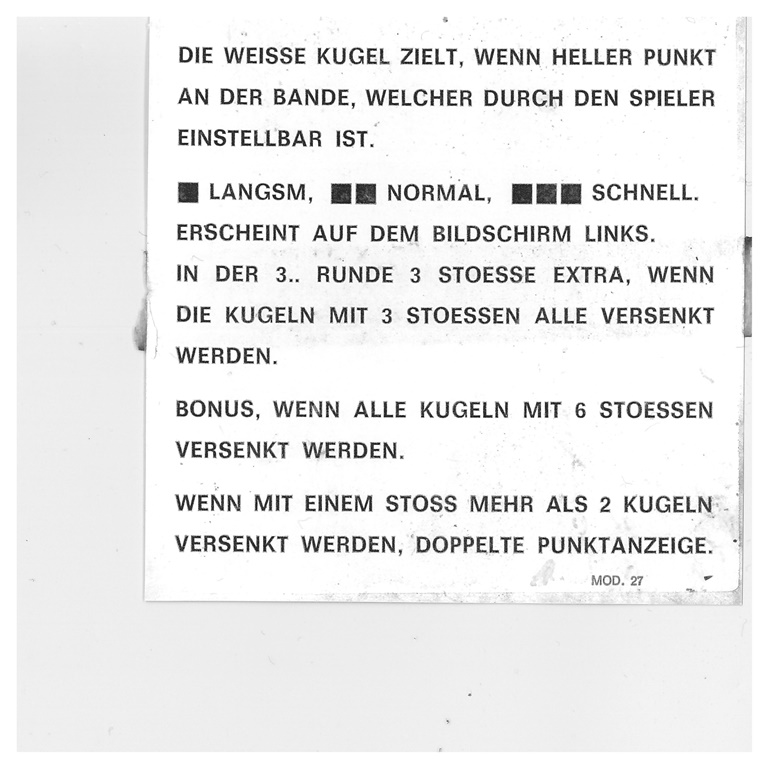
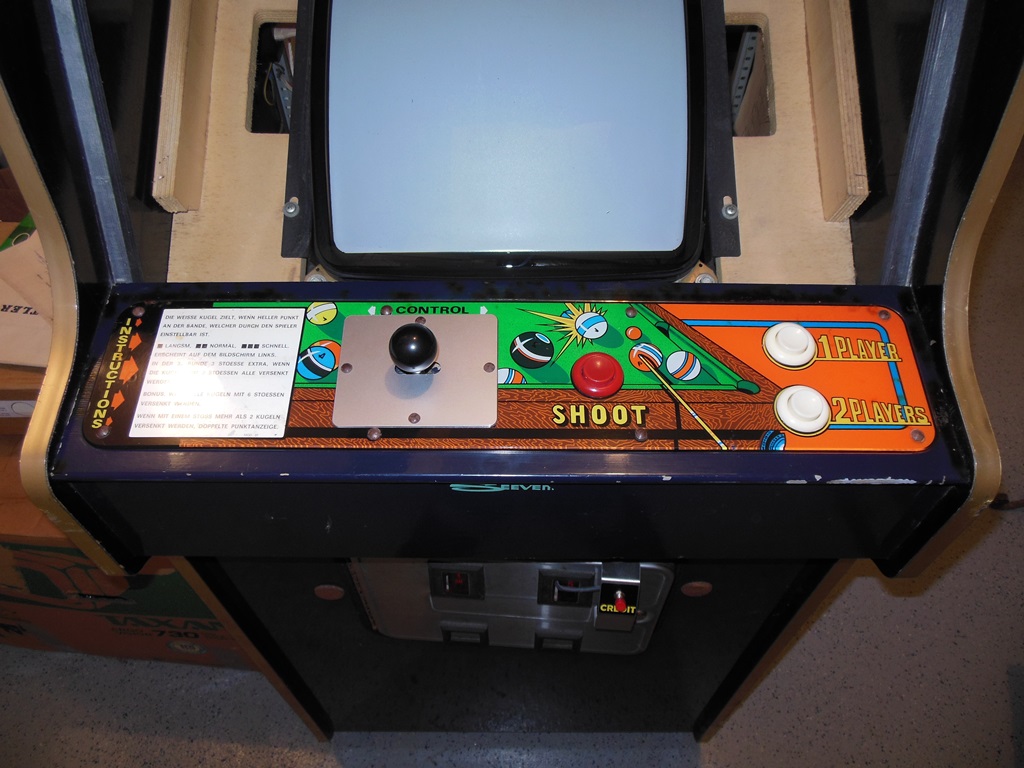
The control panel & German instruction label looked in good condition. I wasn't sure if the
joystick restrictor plate was original or not but it did look like it was originally 2-way
but hacked to be 4-way. The marque looked in good condition as did the front glass. Of course
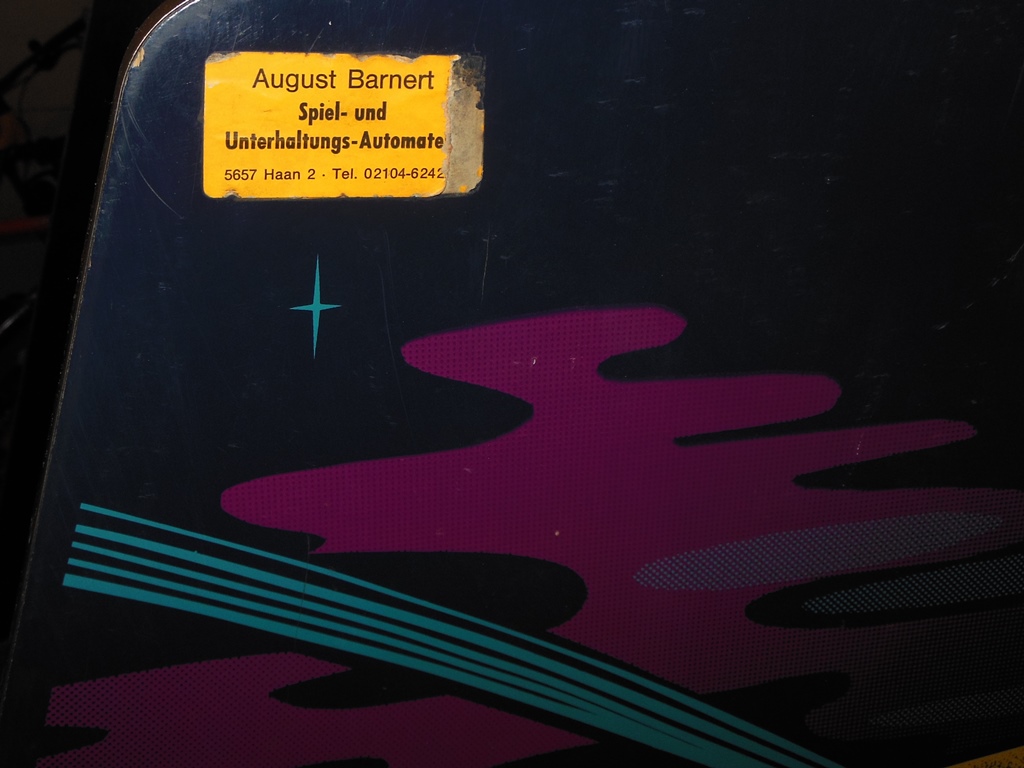
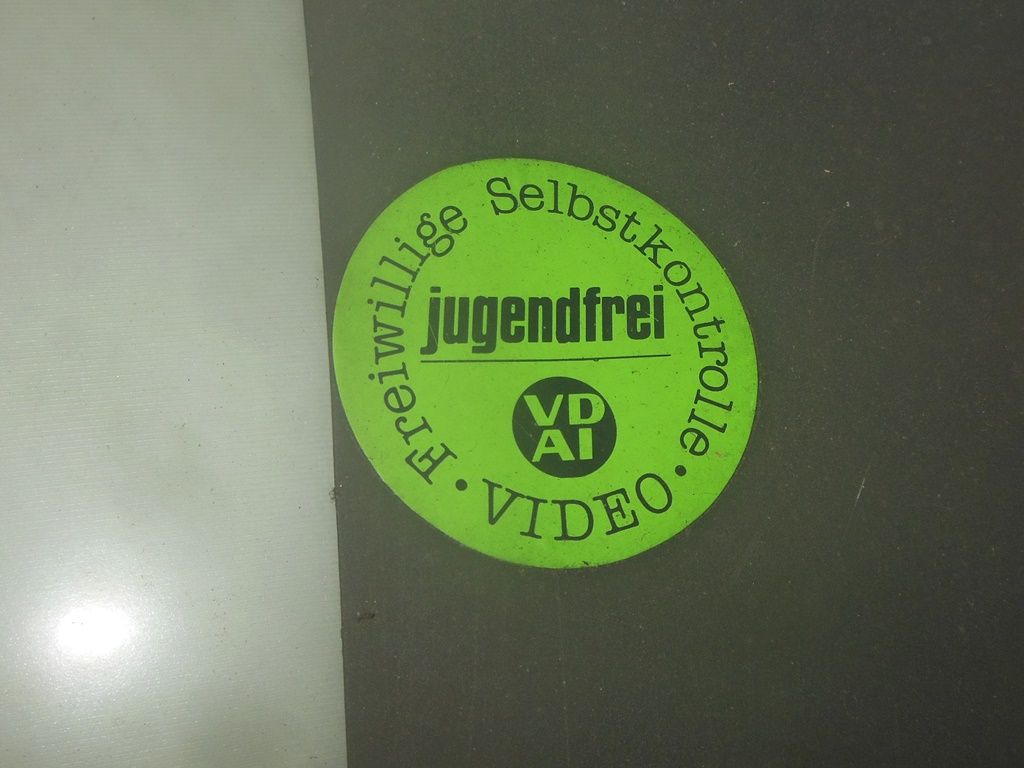
everything was dirty. The game also had a couple of labels attached - one on the side for
"August Barnert - Spiel- und Unterhaltungs- Automate" that appears to be the operator
and one on the monitor surround "Freiwillige Selbstkontrolle - jugendfrei - VDAI VIDEO"
that appears to be a game rating.
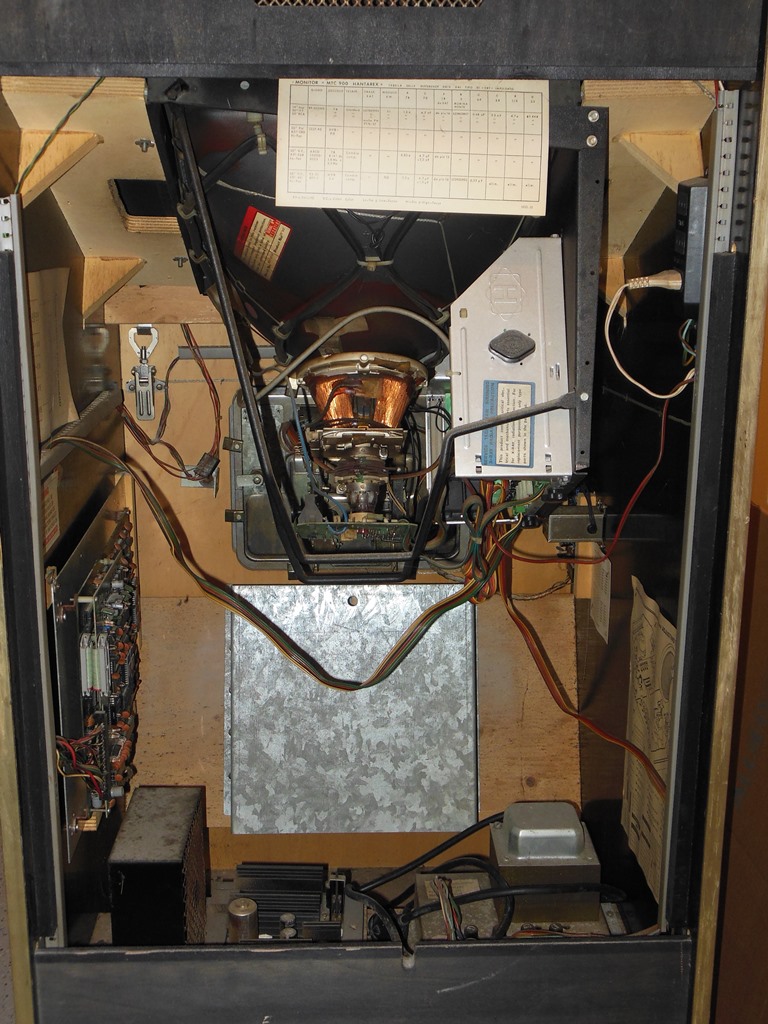
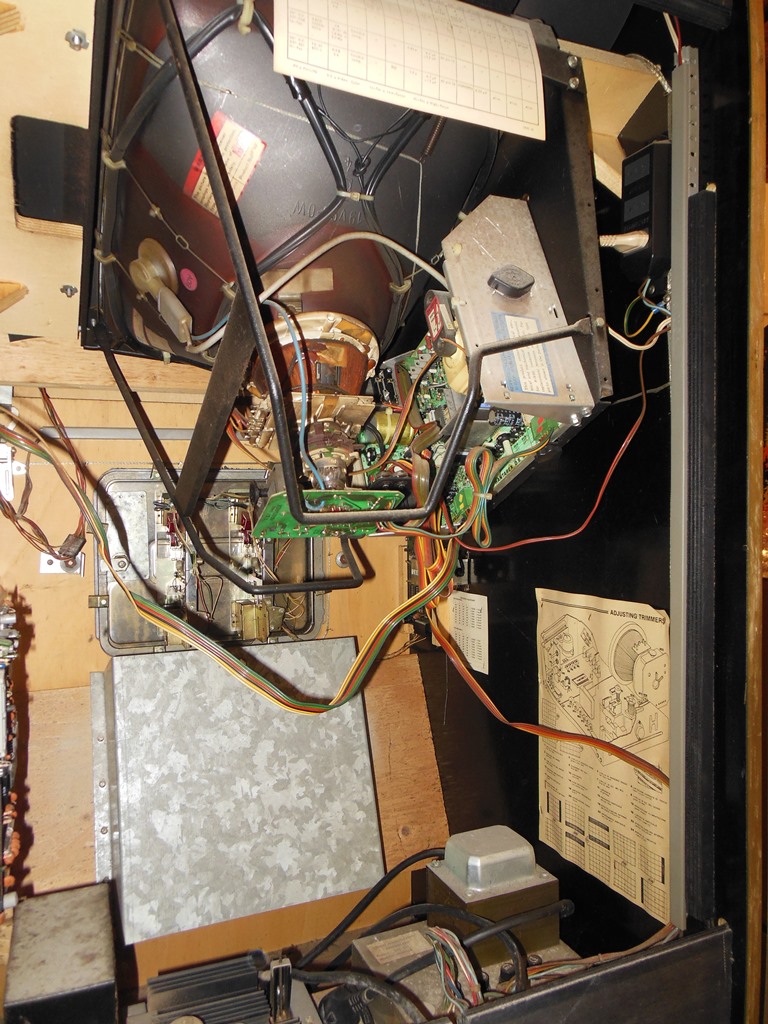
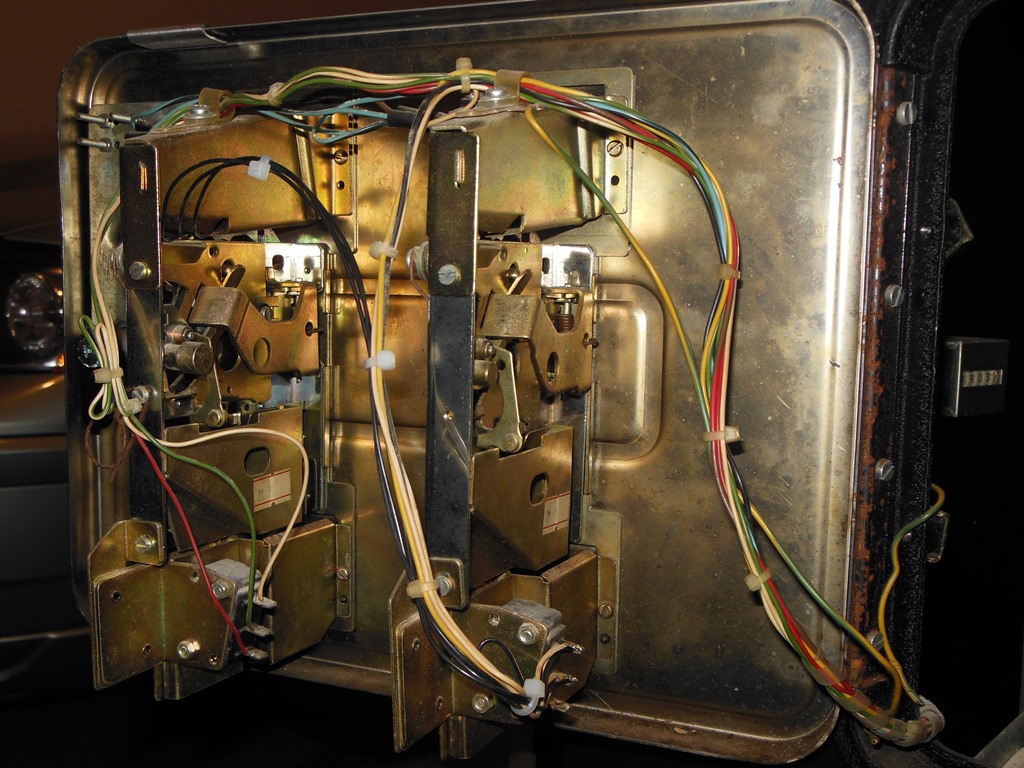
Inside looked mostly original, complete and intact. All the factory labels
looked present. The serial numbers on everything all matched.
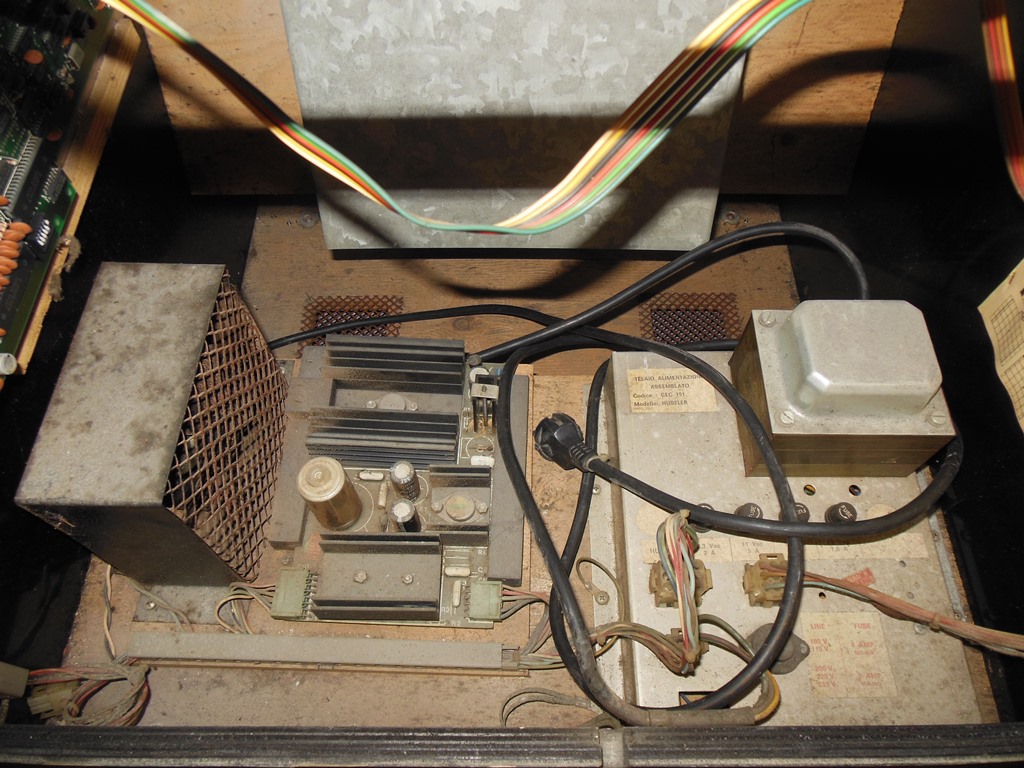
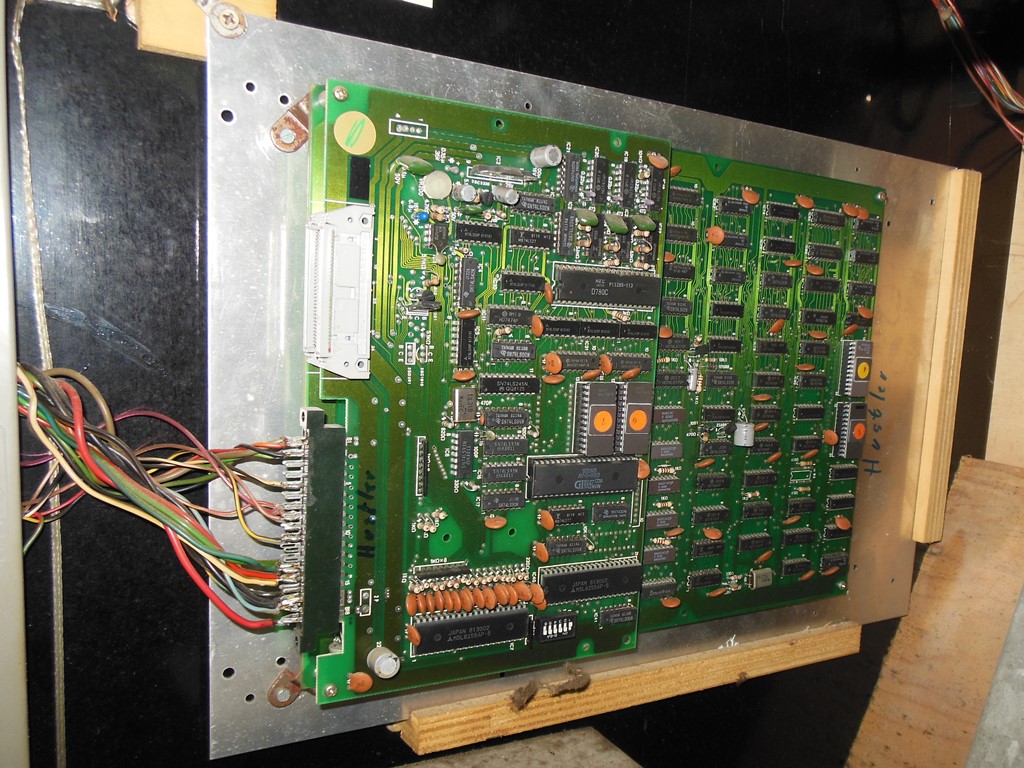
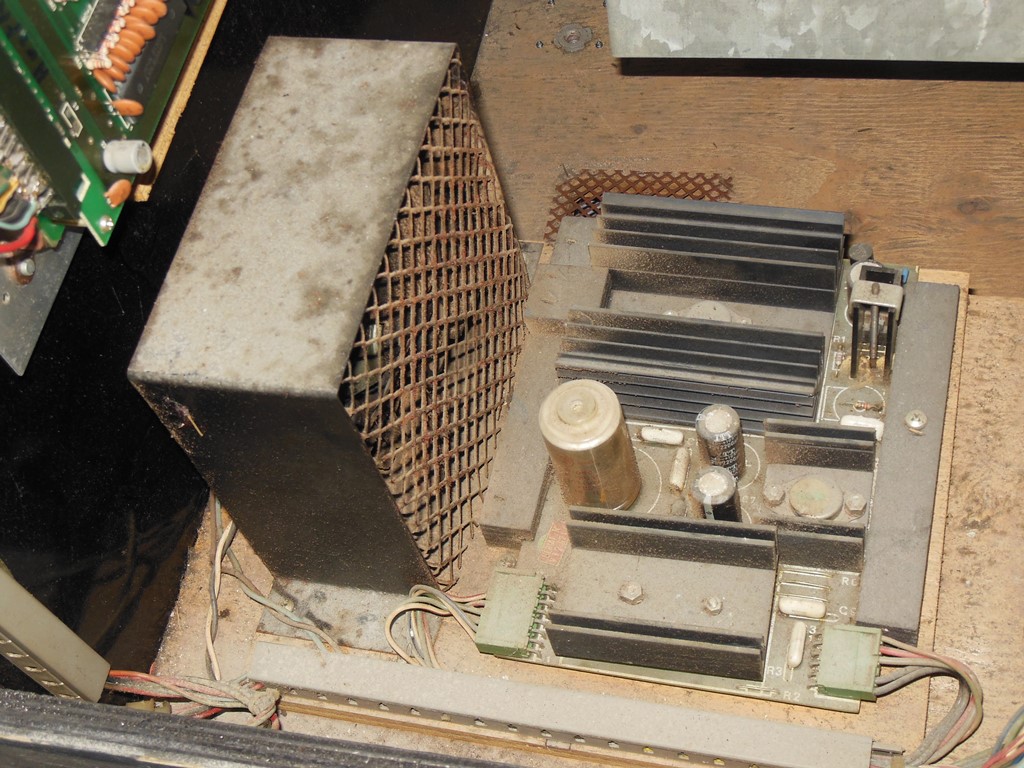
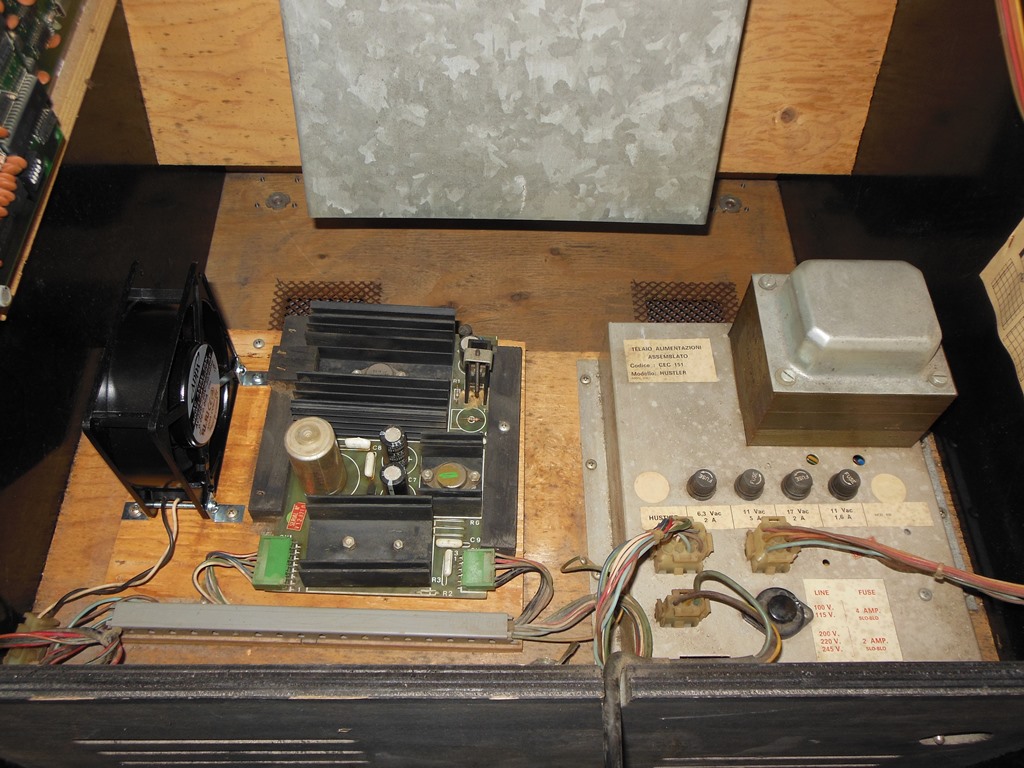
The power supply looked in reasonable shape (the fan had been disconnected)
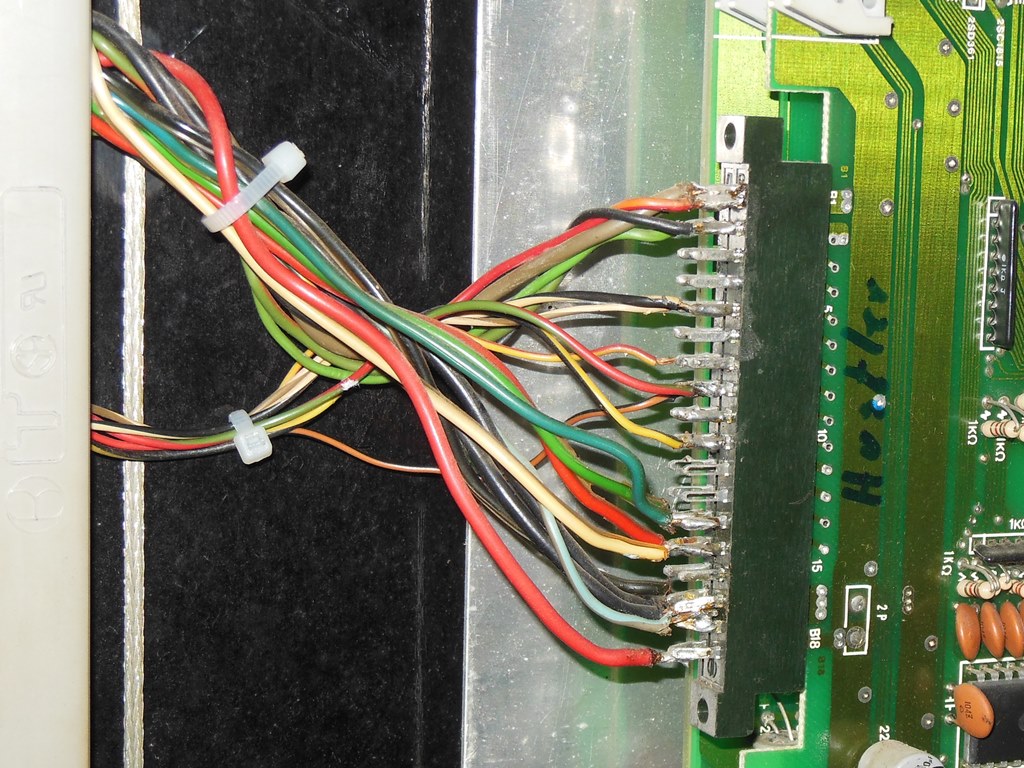
and the game PCB looked like a bootleg but has the SeeVend "S" label on it
and thus is presumably original in this cabinet. The soldering on the edge
connector was pretty poor so I suspected this had been redone at some point.
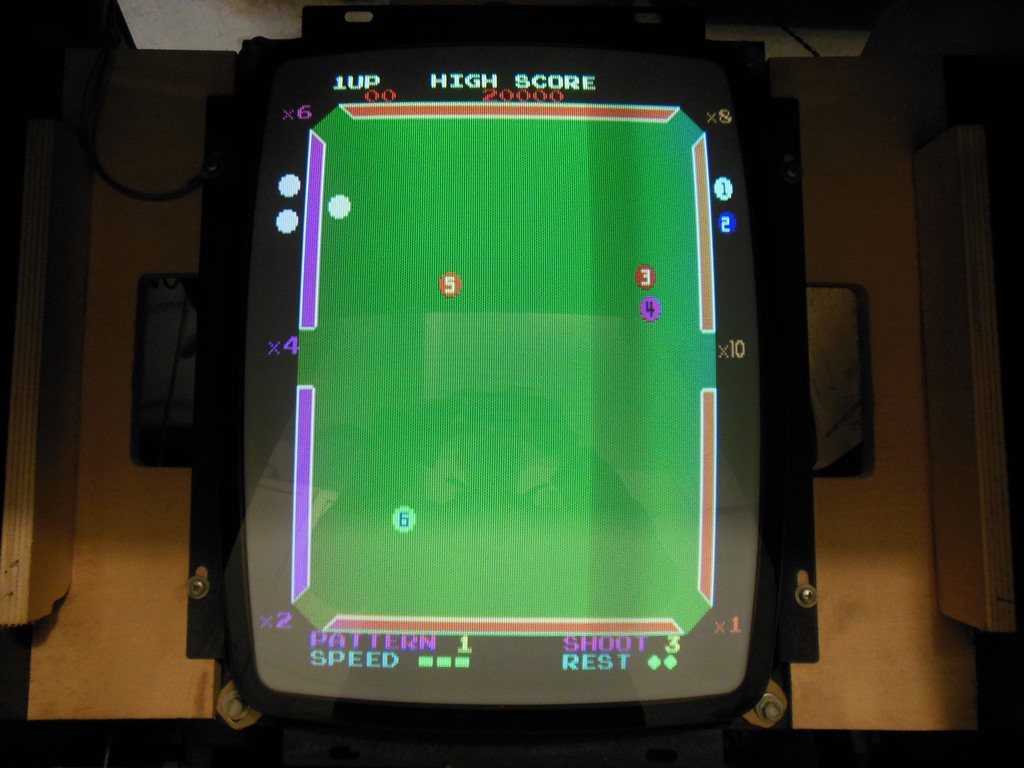
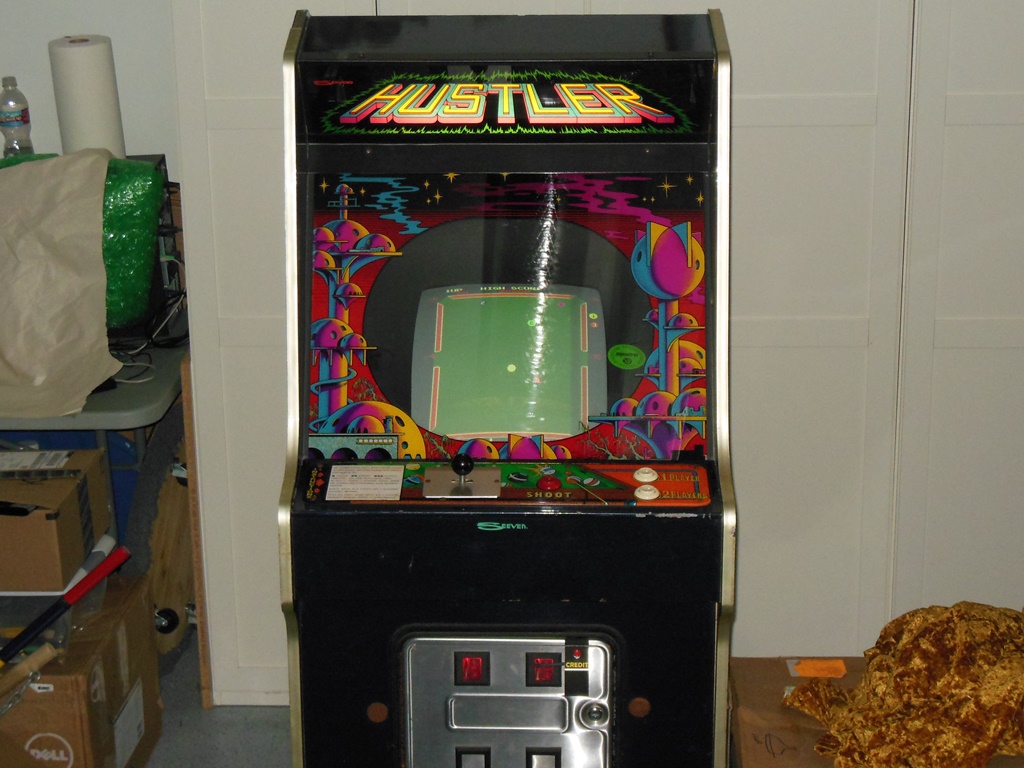
01/11/2015 - First power-on
The cabinet had a European power plug that I changed for my standard IEC-C14 style
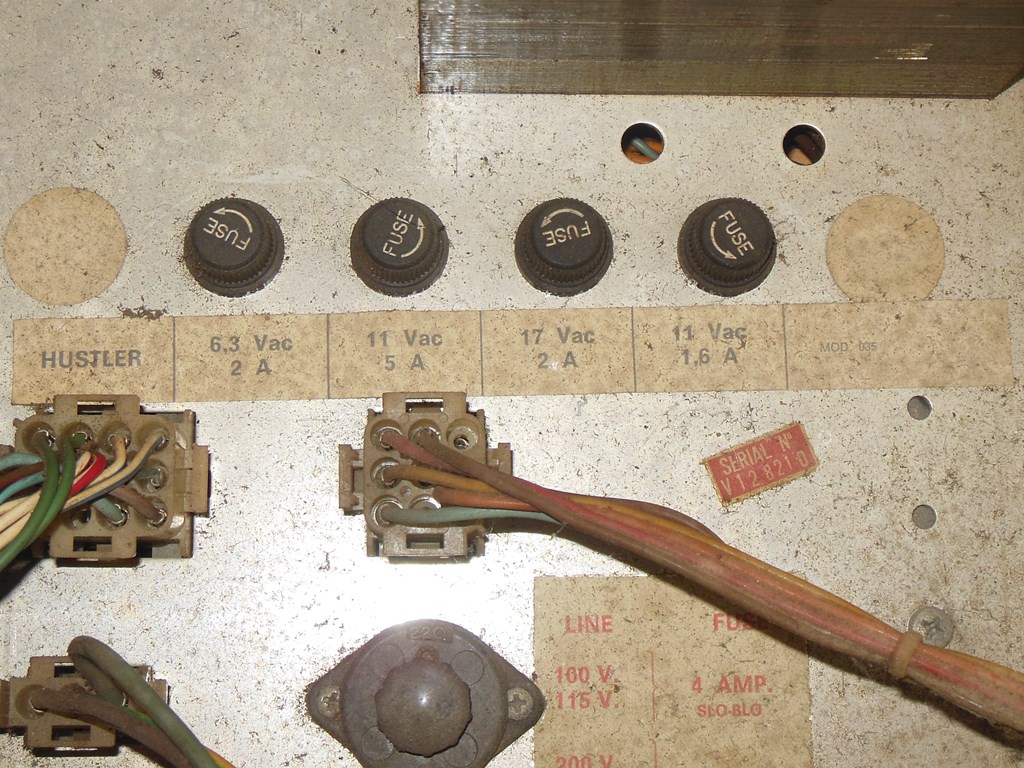
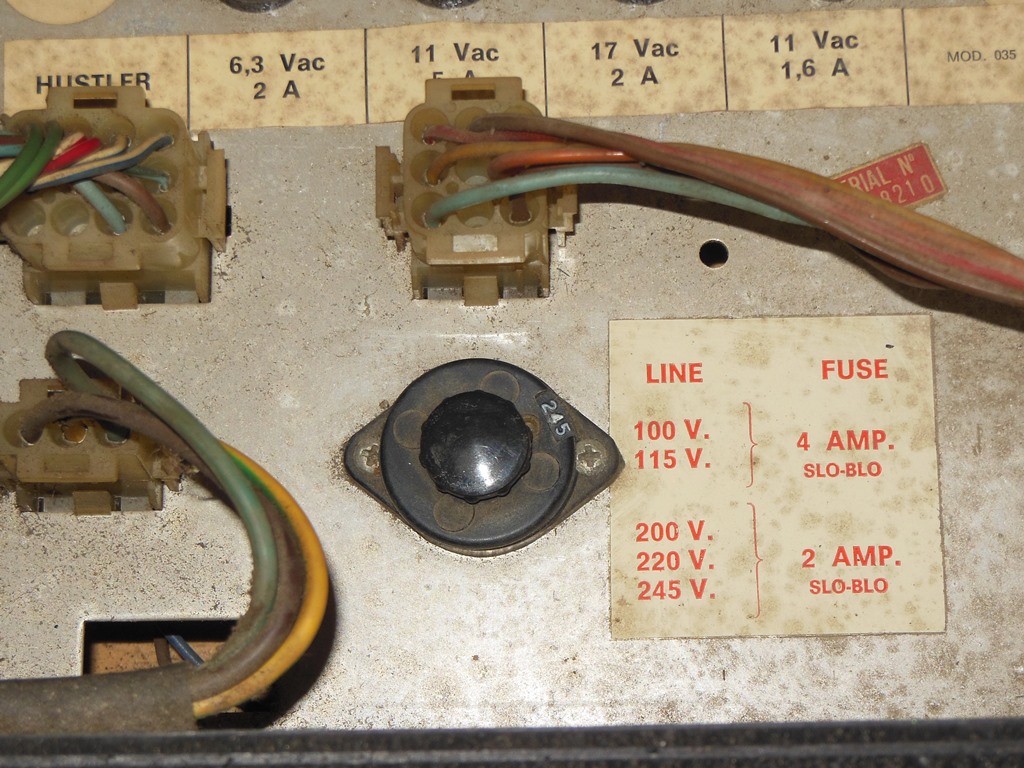
that I'm using for 240V based games. Internally, the game was set for 220V that I
changed over to the 240V (labelled as 245) for use with my 240V step up transformers.
First power yielded excellent results with monitor, game board, marque lights and
coin door lights all operational. The game itself also played fine with working
sound. One obvious problem was that the monitor needed degaussing - the degaussing
circuit was working but it didn't clear the discoloration. Having never encounterred
none-self correcting magnetization before I'd not yet needed and thus didn't own an
external degaussing tool so I ordered one off Ebay.
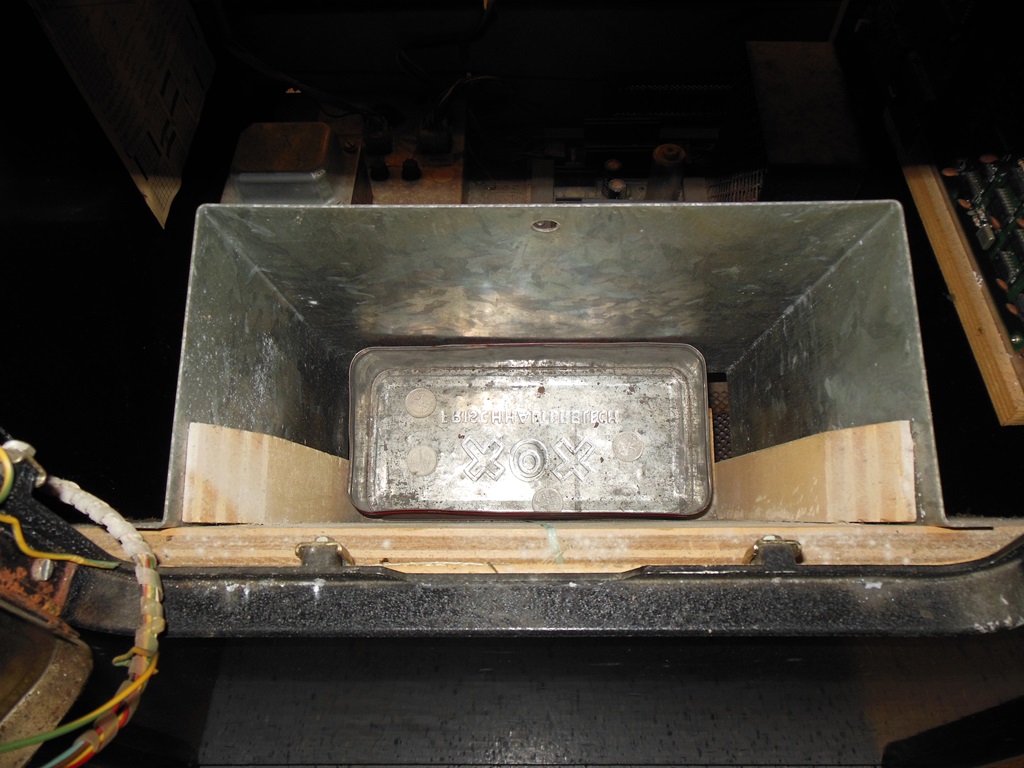
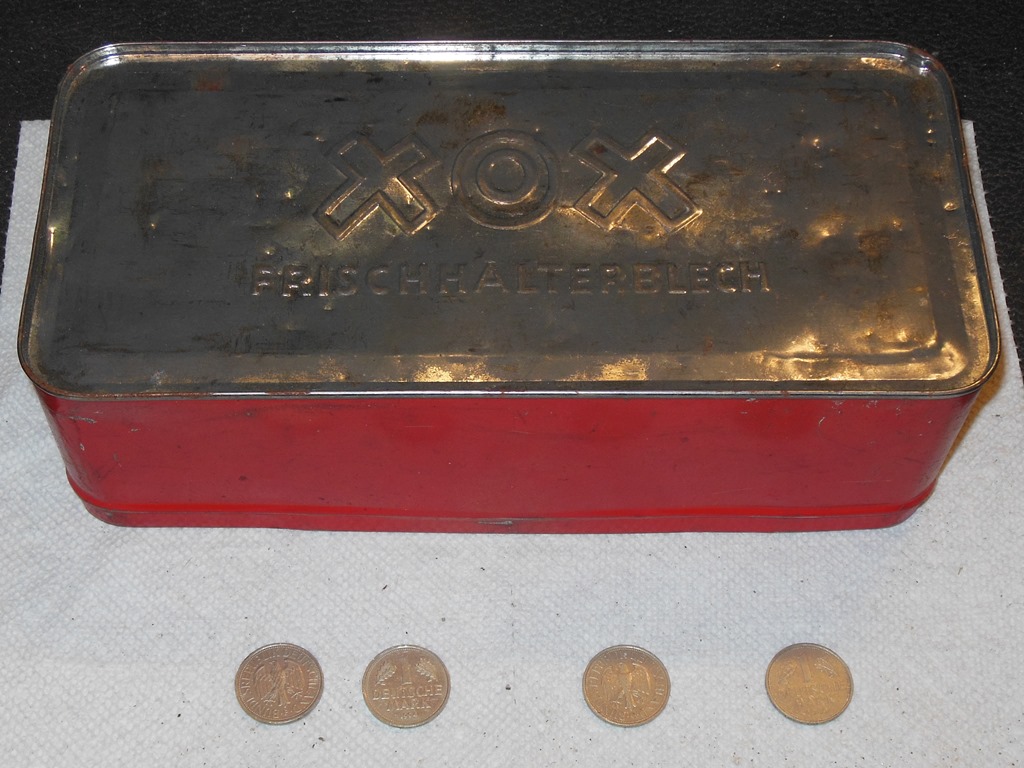
01/11/2015 - Oxo Deutsche Marks
Inside the front the cash box was missing and in its place was an old German
Oxo time with a few old Deutsche marks inside.
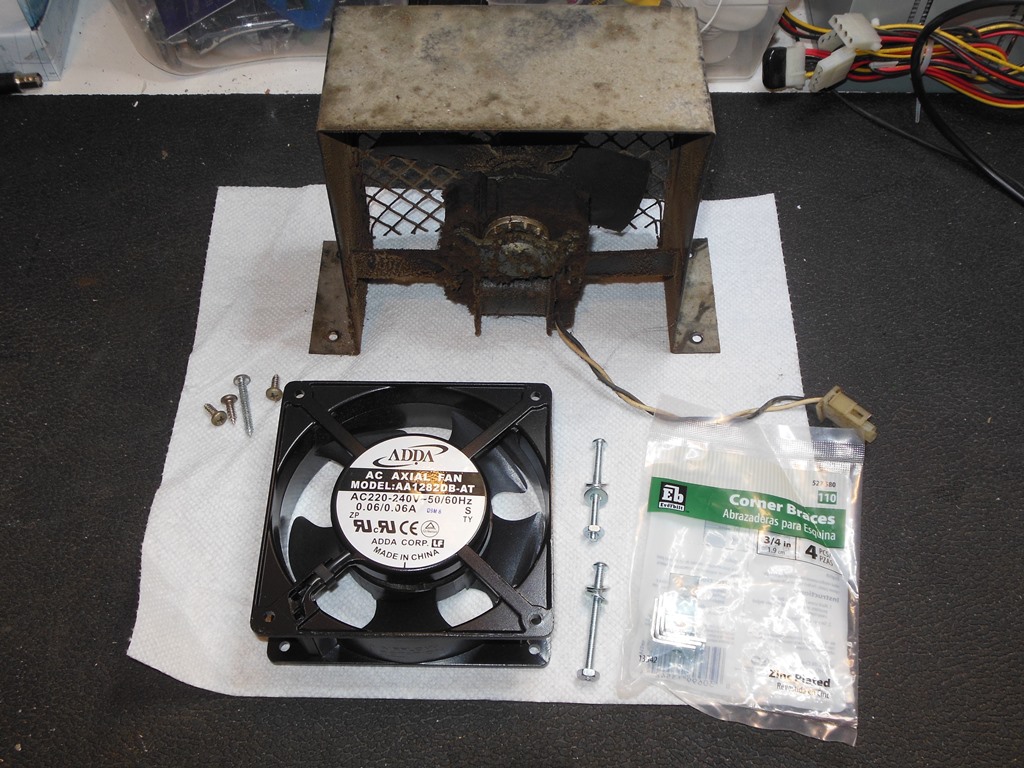
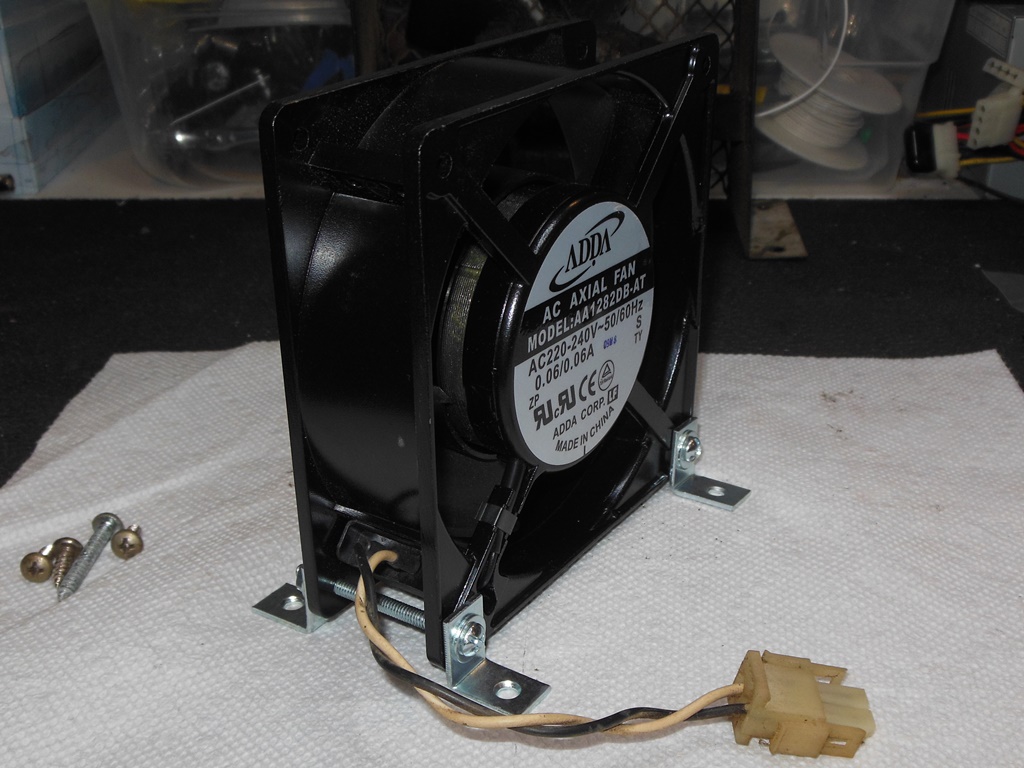
03/11/2015 - Fan replacement
A previous owner had already unplugged the original factory fan (no suprise
there) so I built a replacement fan assembly and fitted that into the cabinet.
The replacement is a 240V ADDA AA1282DB-AT with four 3/4" L brackets and the
power connector cable reused from the removed original factory fan.
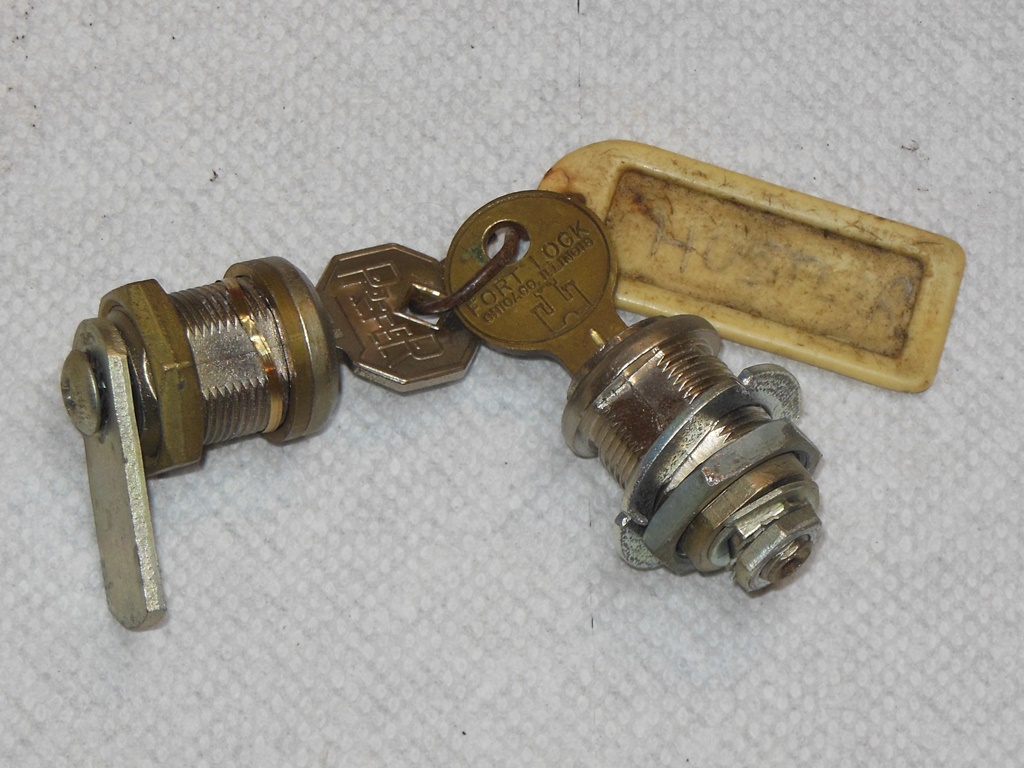
04/11/2015 - Lock replacement
The cabinet locks were not Zaccaria ones and I replaced them with my own
"standard" HAPP A05 series locks.
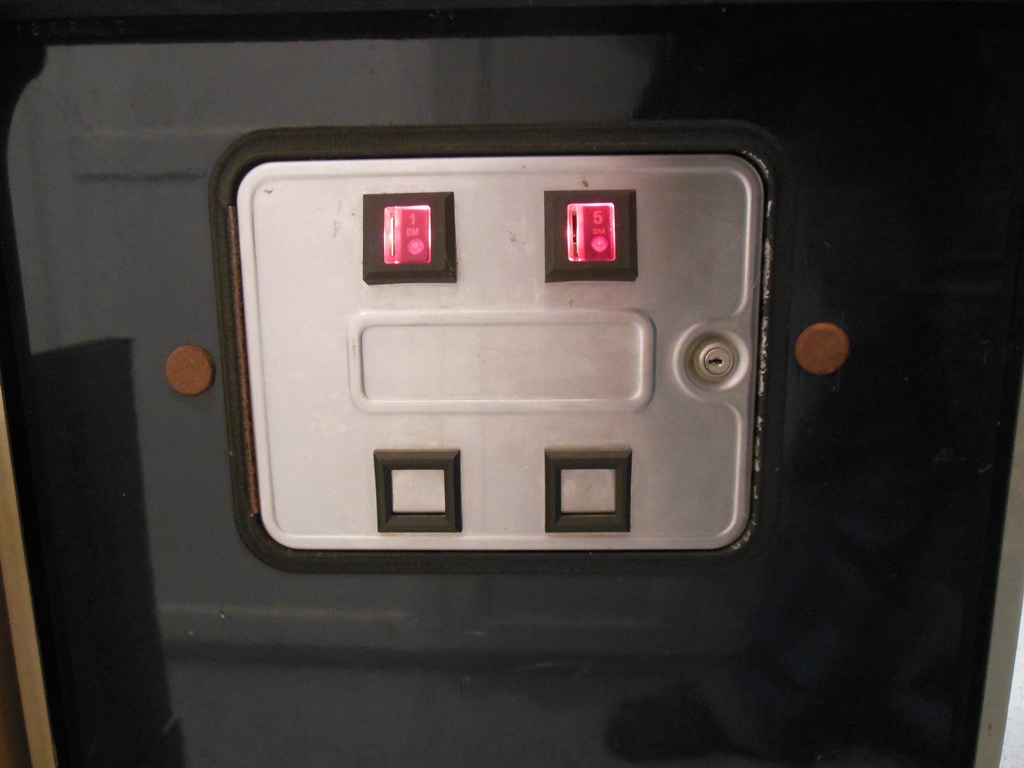
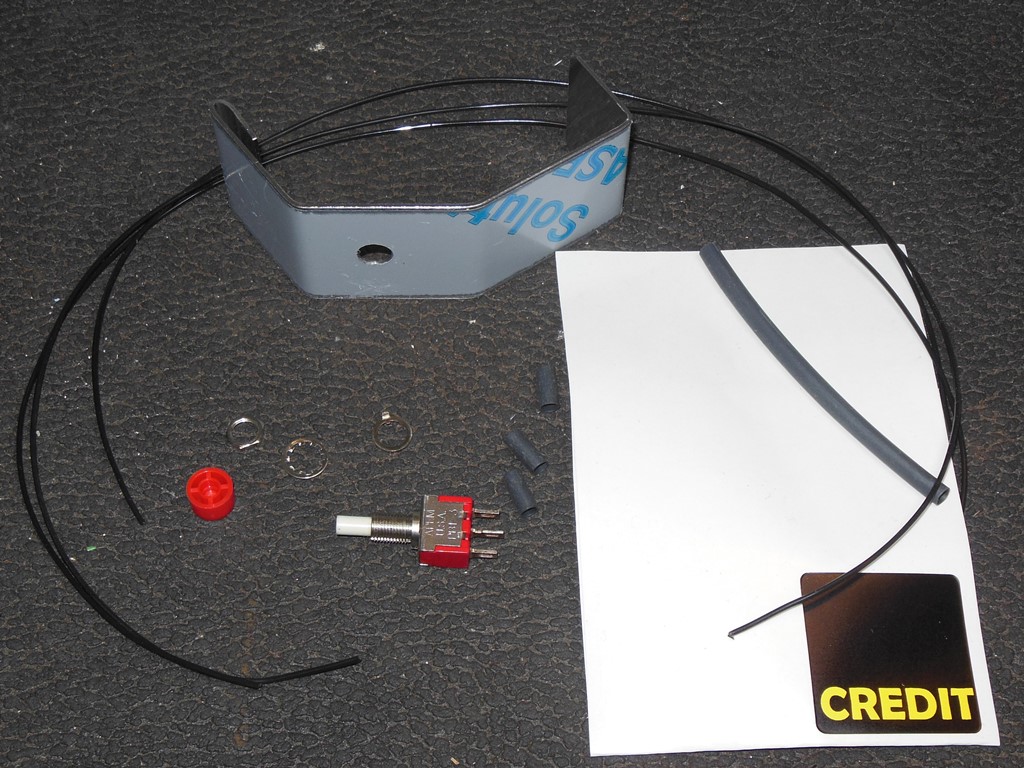
05/11/2015 - Credit button
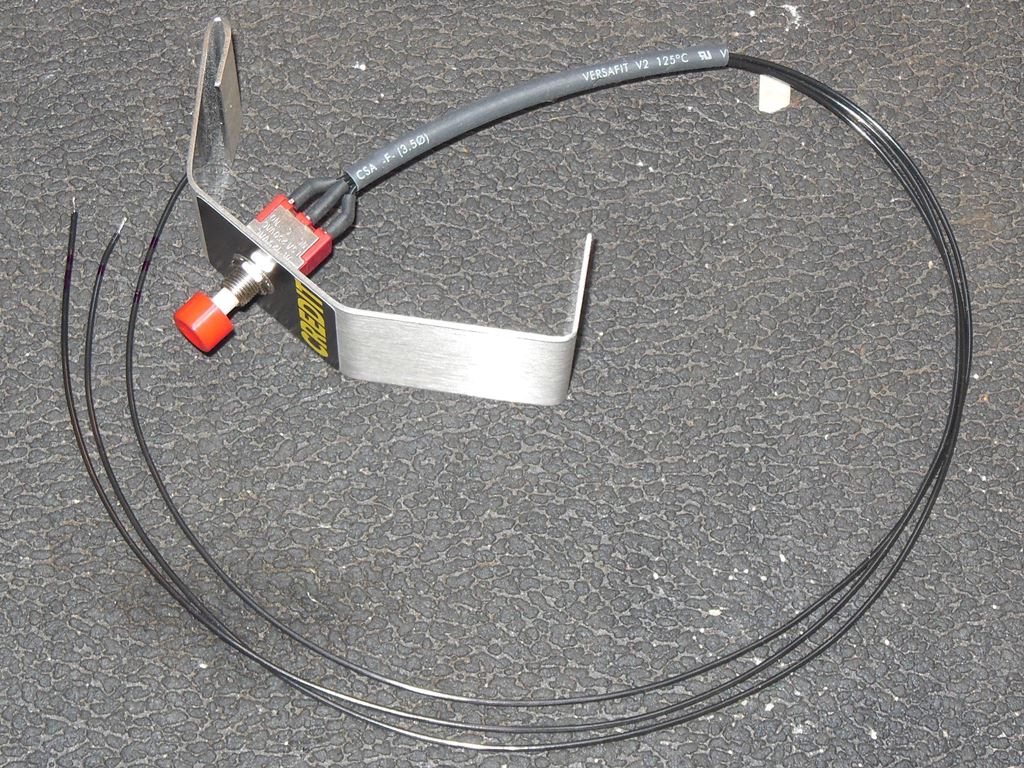
For ease of use by the public at the show I made up a credit button assembly
based on a 3-way button to match the NC/NO inputs that the the early Zaccaria
credit board uses.
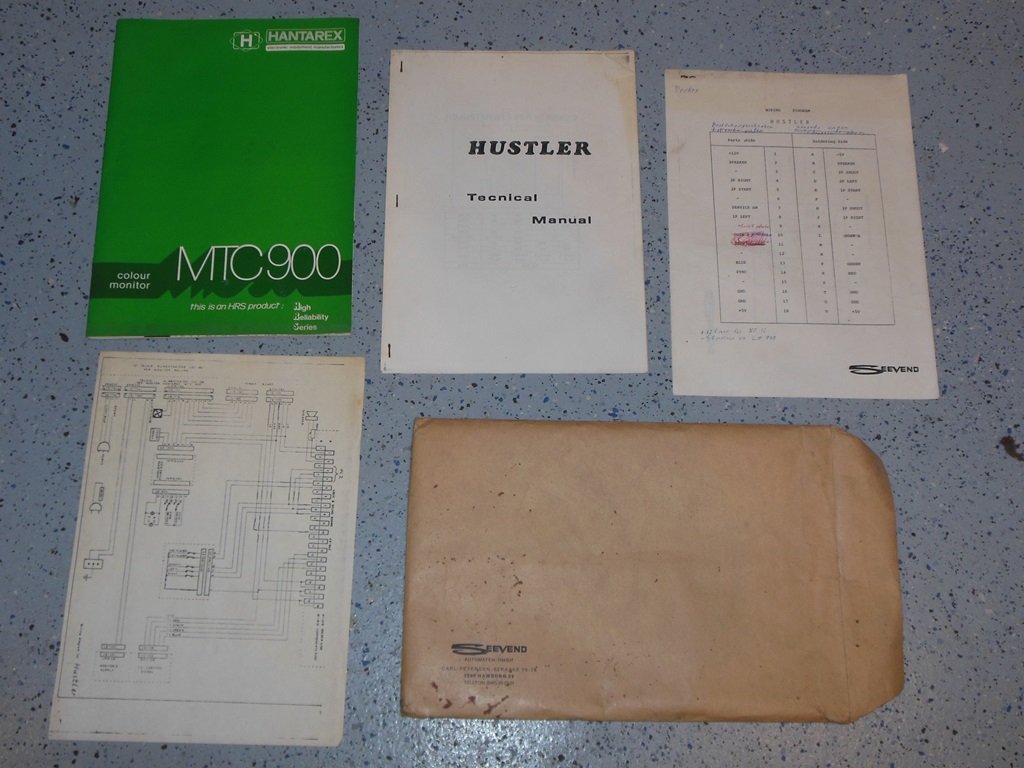
06/11/2015 - Manual scan
Scanned in the technical manual and supporting paperwork.
300 DPI Hustler Technical Manual scan (25.7MB).
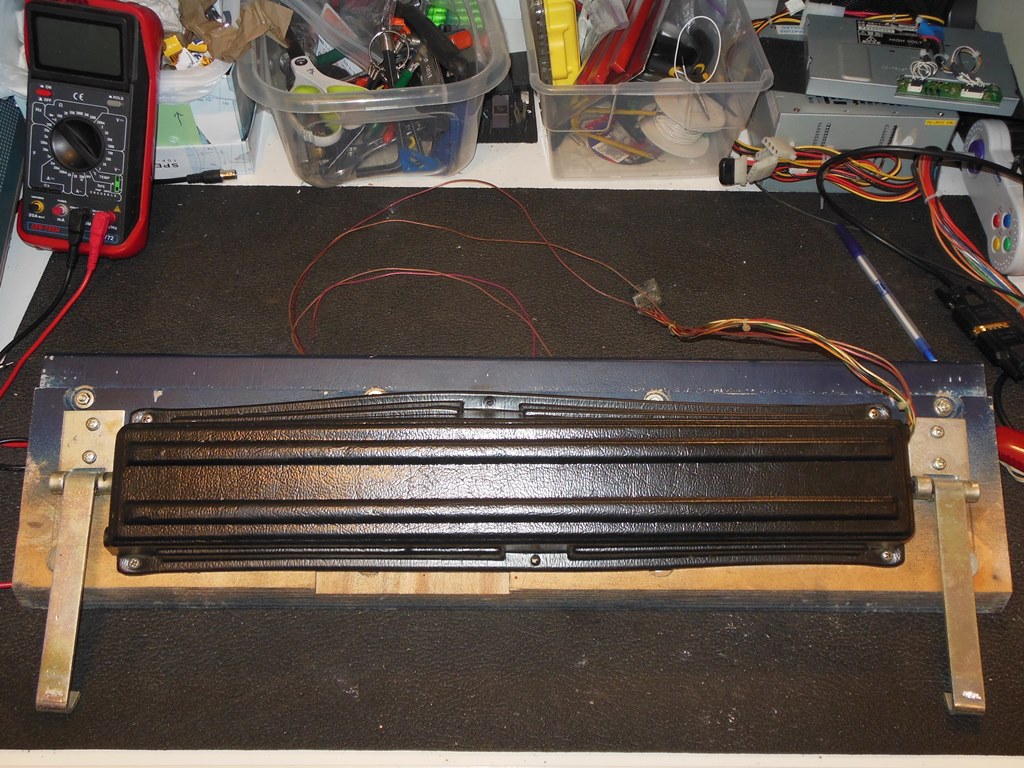
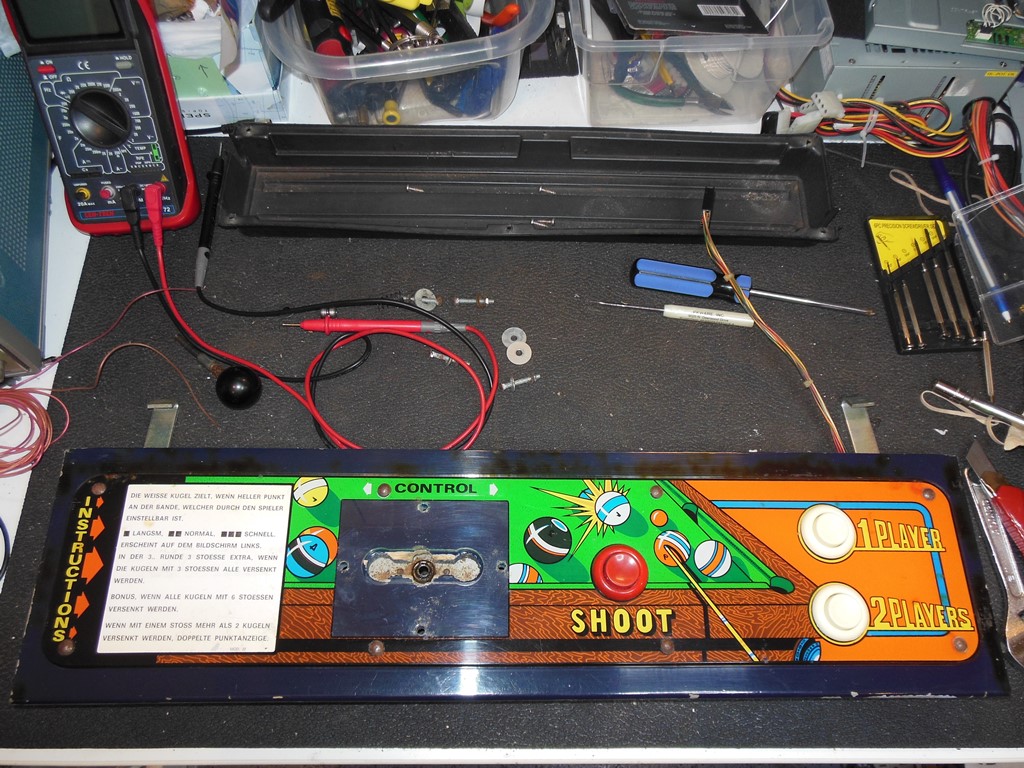
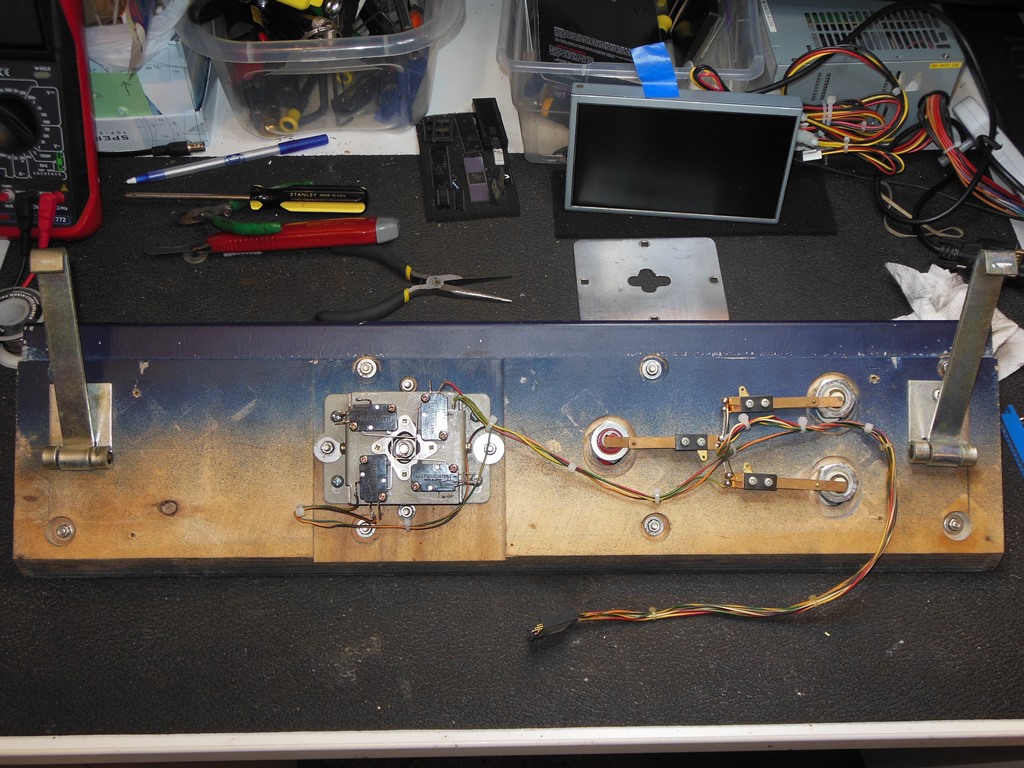
06/11/2015 - Control panel dissassembly & cleaning
Removing the control panel revealed a pair of additional wires that ran from
the joystick to the game board edge connector. Aside from that the original wiring
looked complete and intact.
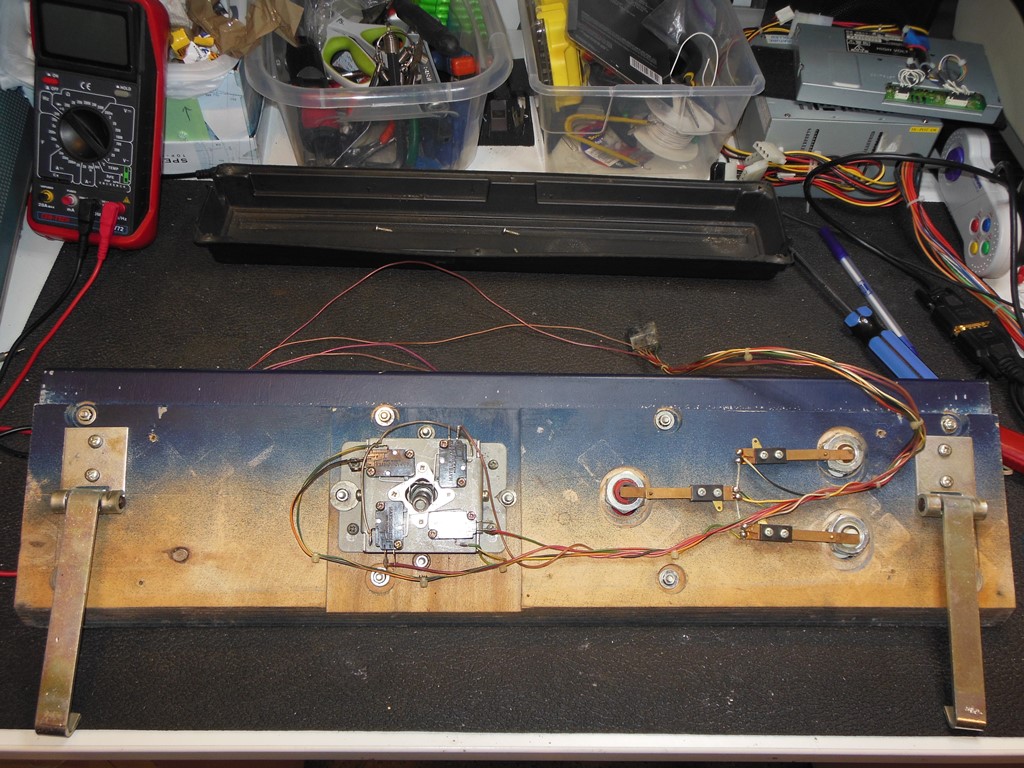
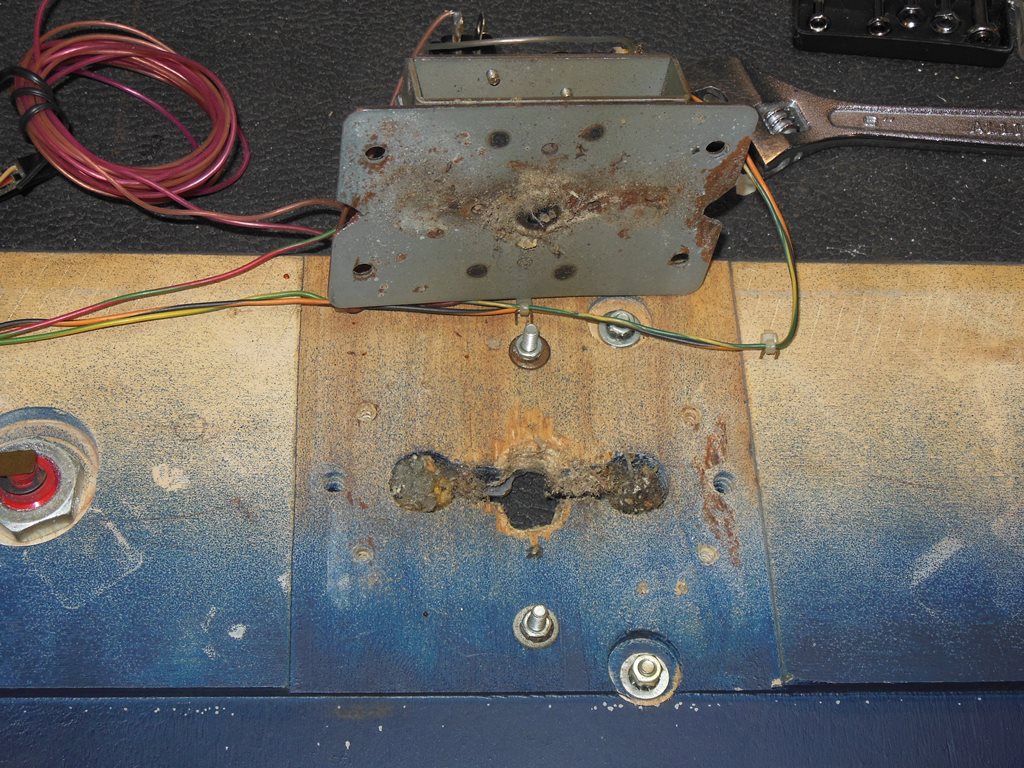
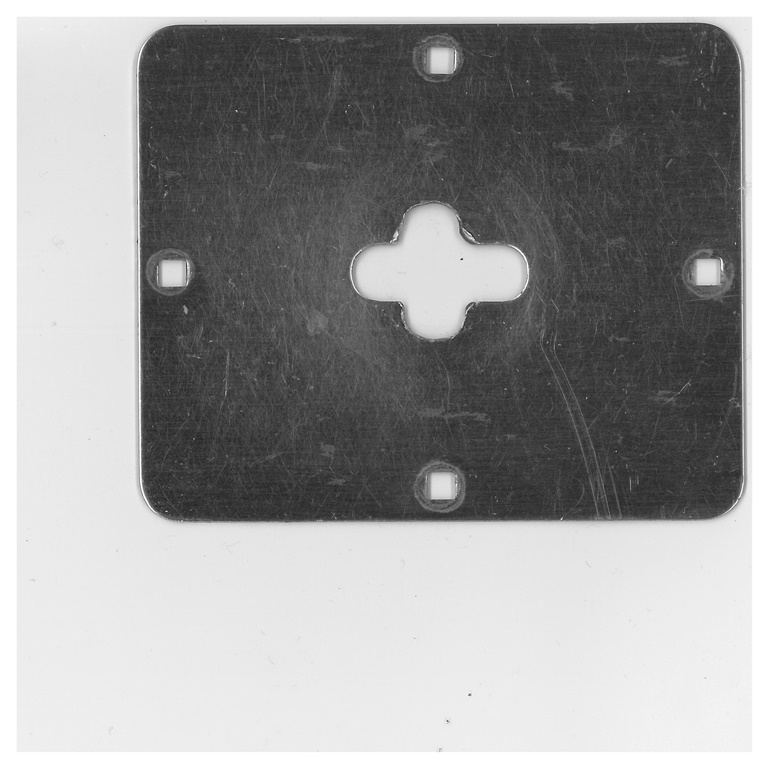
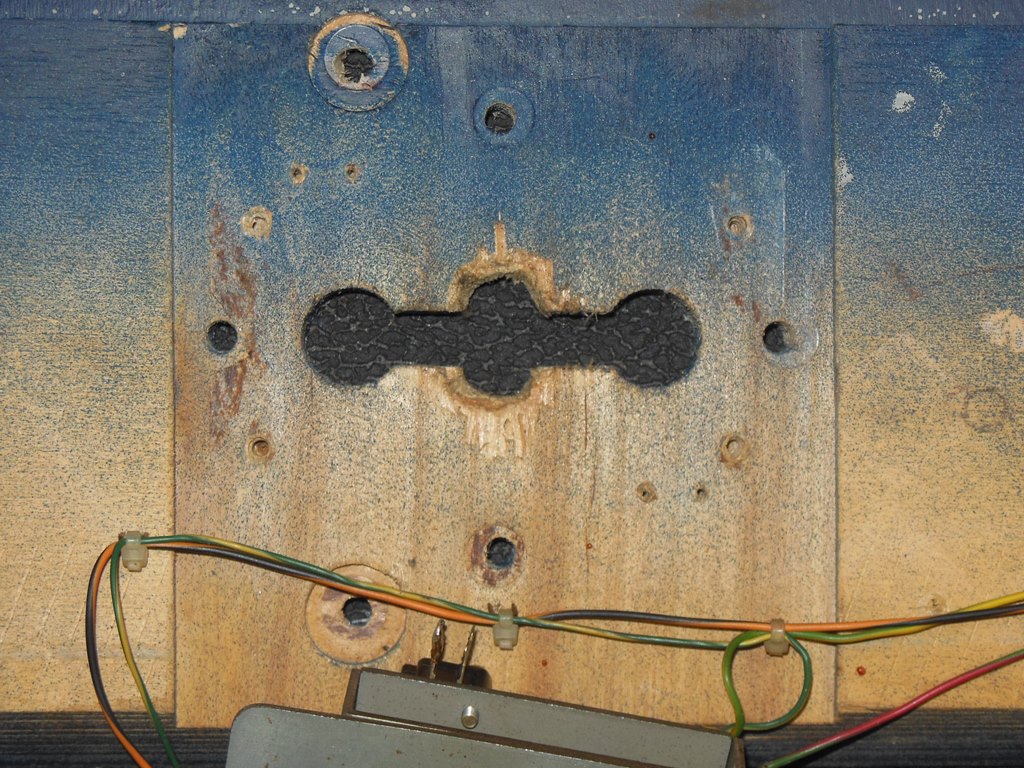
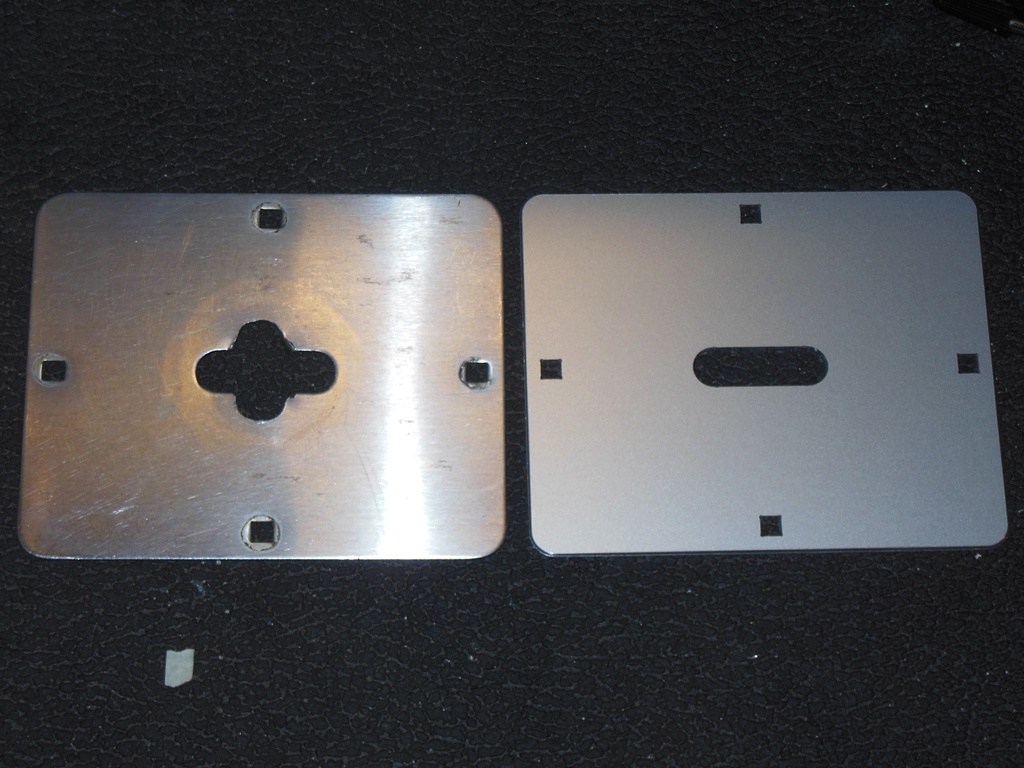
After dissassembling and removing the joystick it became clear that the cabinet
originally had only a 2-way joystick that had been replaced with a 4-way at some
point. That replacement had also involved gouging out the up/down hole in the wood,
overlay and top restrictor plate. The manual doesn't state the type of joystick
that was fitted originally so I decided to clean it all up and reproduce a new
2-way to restrictor plate to restore the 2-way look and feel.
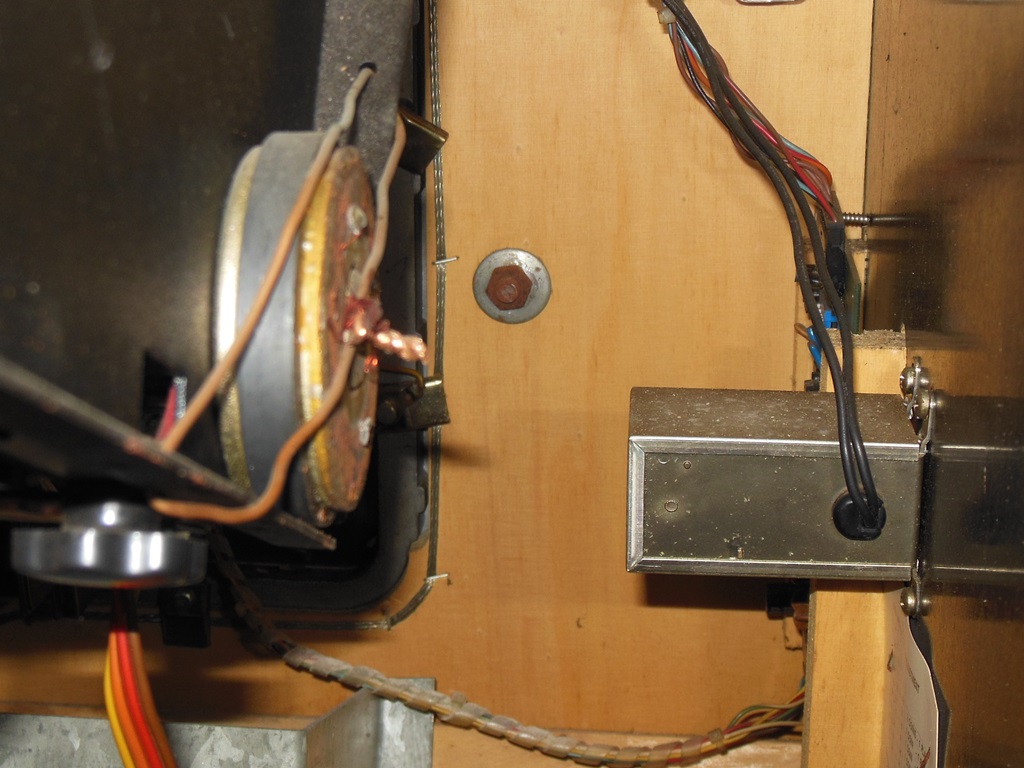
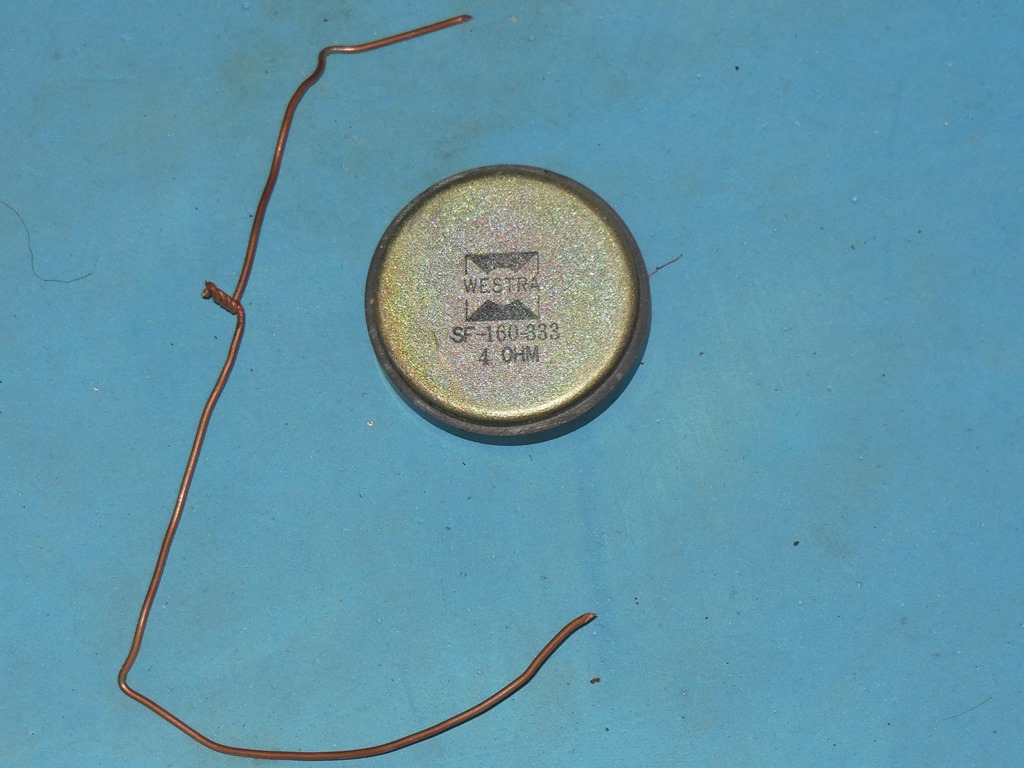
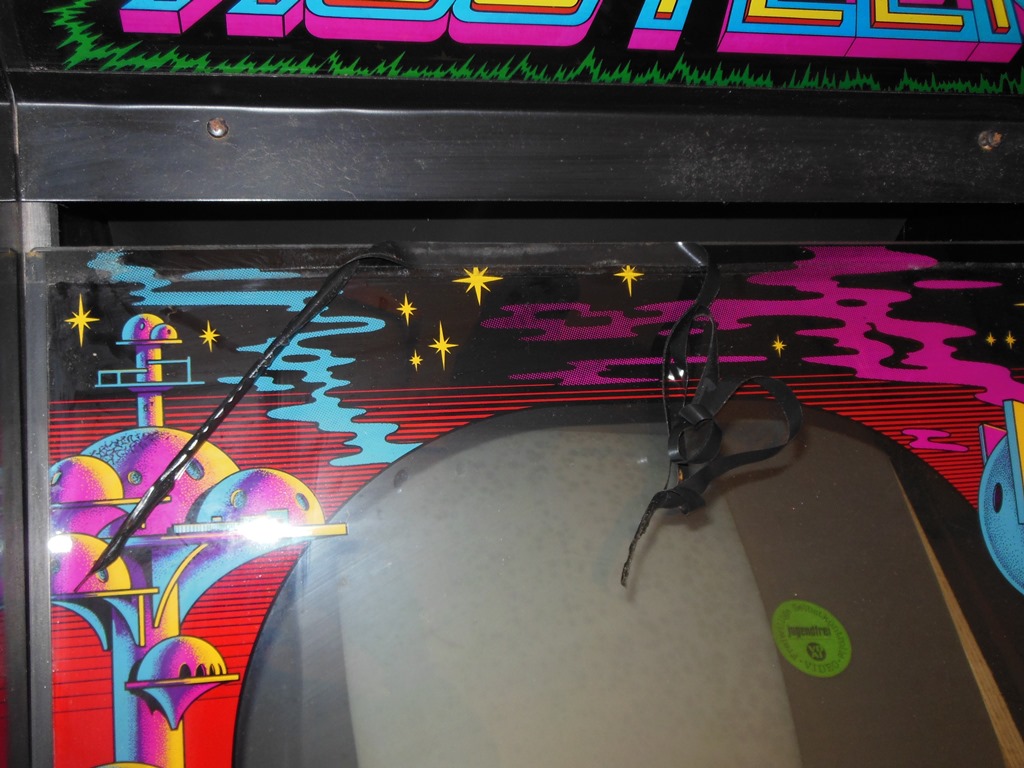
06/11/2015 - Odd magnet
An odd old speaker magnet had been tied to the frame of the monitor. I don't
know for sure what someone was trying to accomplish but my bet would be something
to do with the none-self corrected magnetization artifacts on the monitor. I removed it.
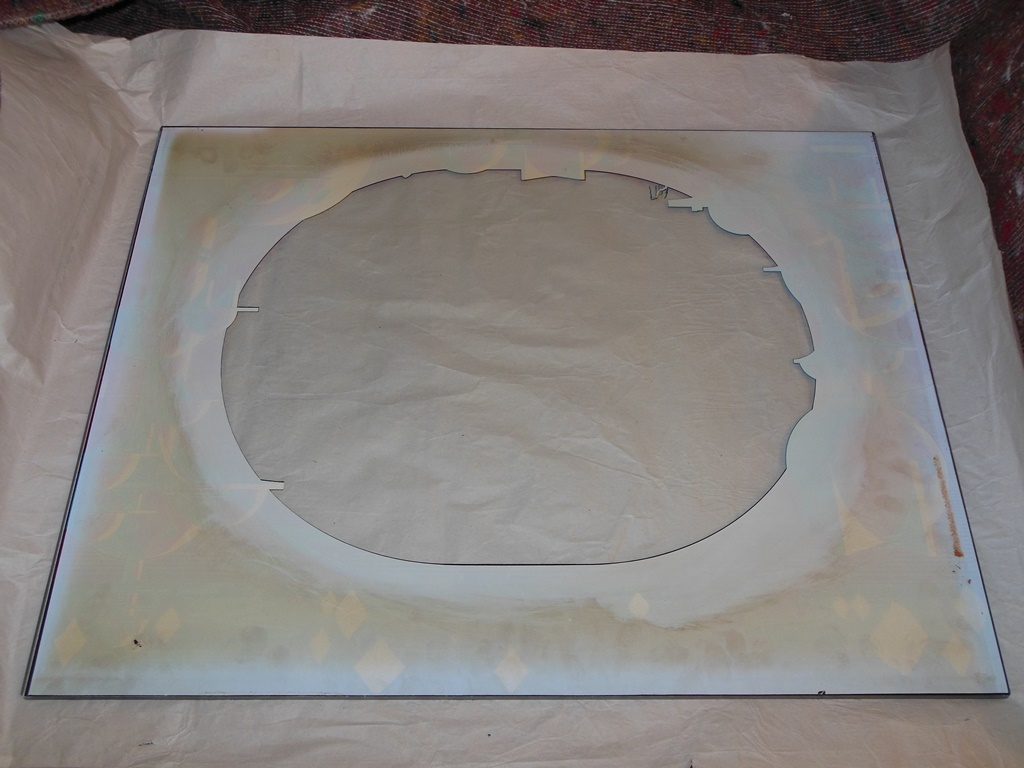
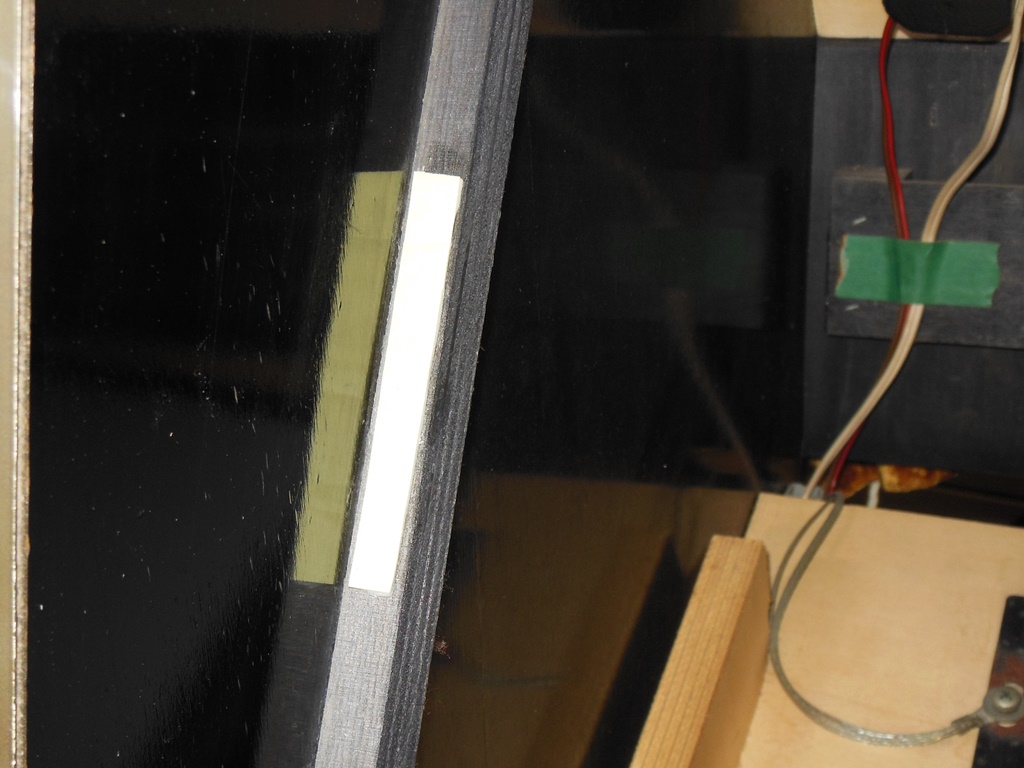
06/11/2015 - Monitor glass removal
No problems removing the monitor glass. There was some old tape along the top
that I removed from the glass. Someone had cleaned it before but thankfully hadn't
damaged the artwork (I never touch the artwork).
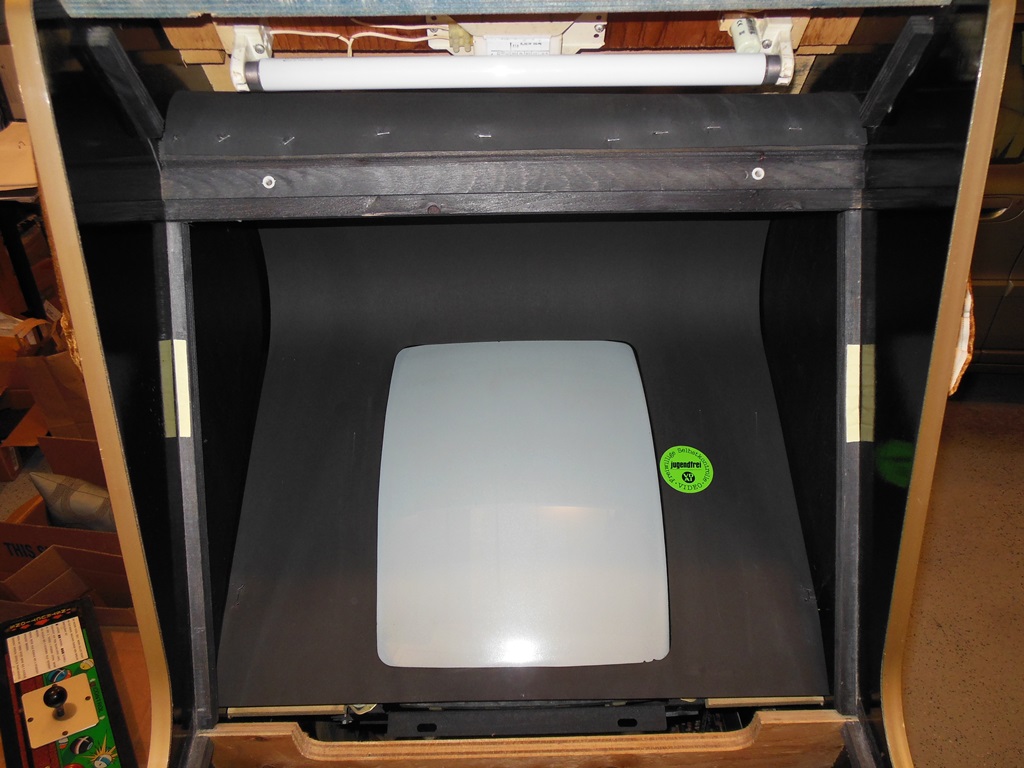
06/11/2015 - Monitor surround removal
The monitor surround looked like it had never been removed before though some
of the lower staples had rusted away to nothing. It was very dirty, however.
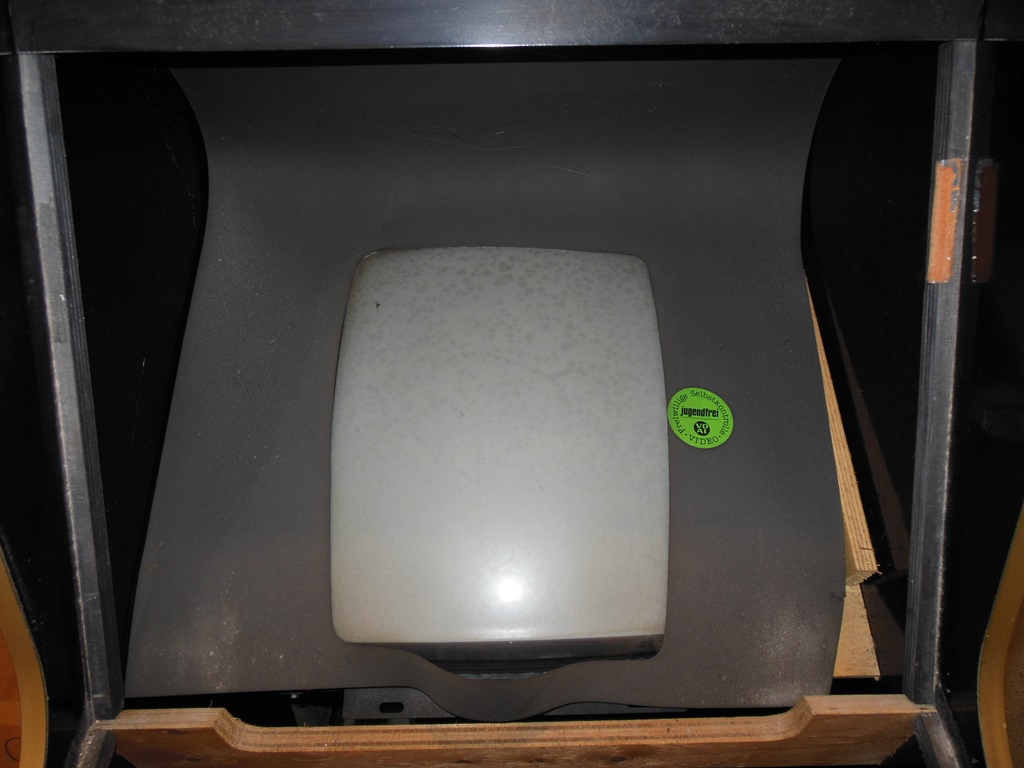
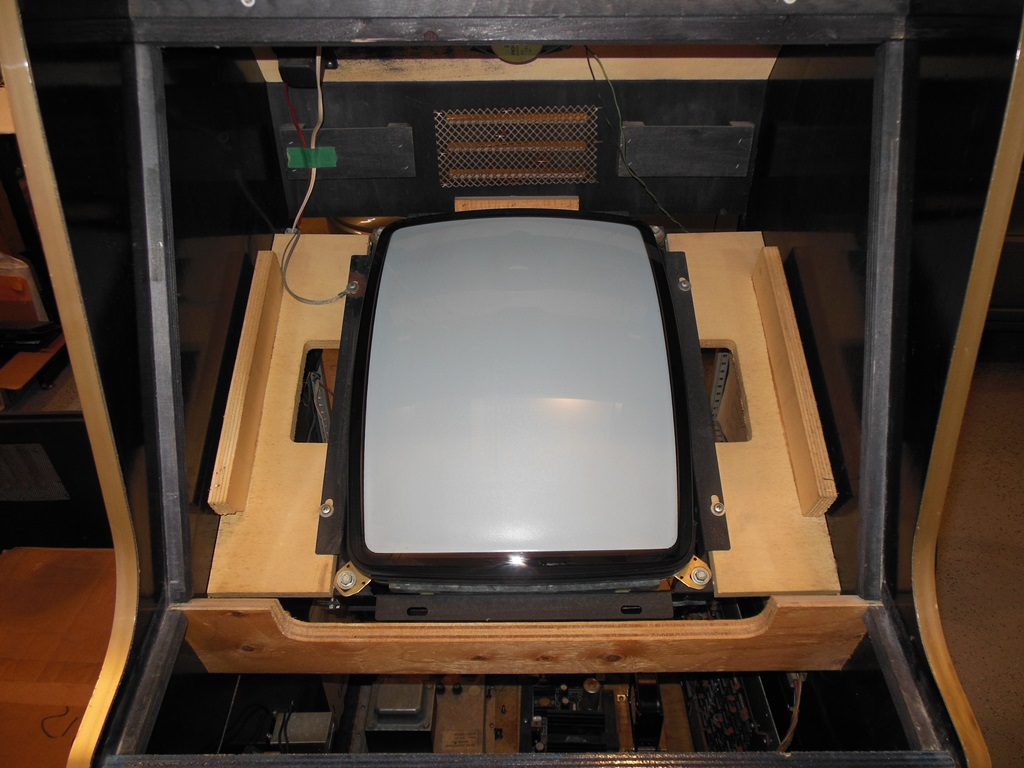
06/11/2015 - CRT cleaning
The CRT was also dirty with some nicotene staining that needed a little bit of
effort to remove (but I've seen much worse).
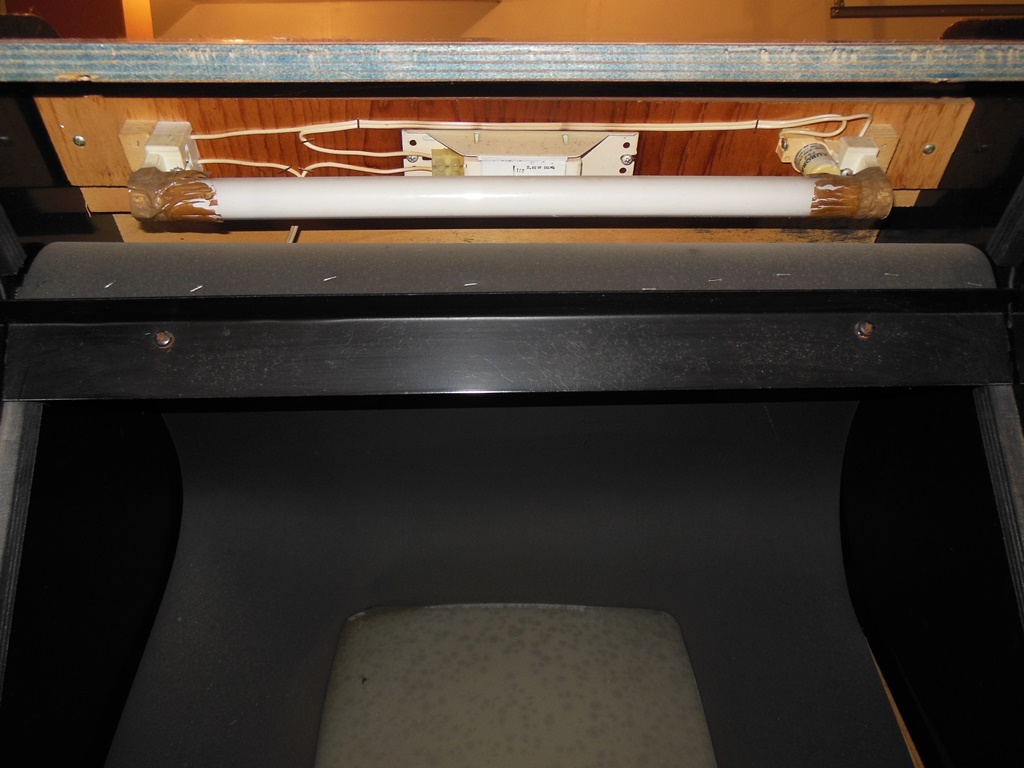
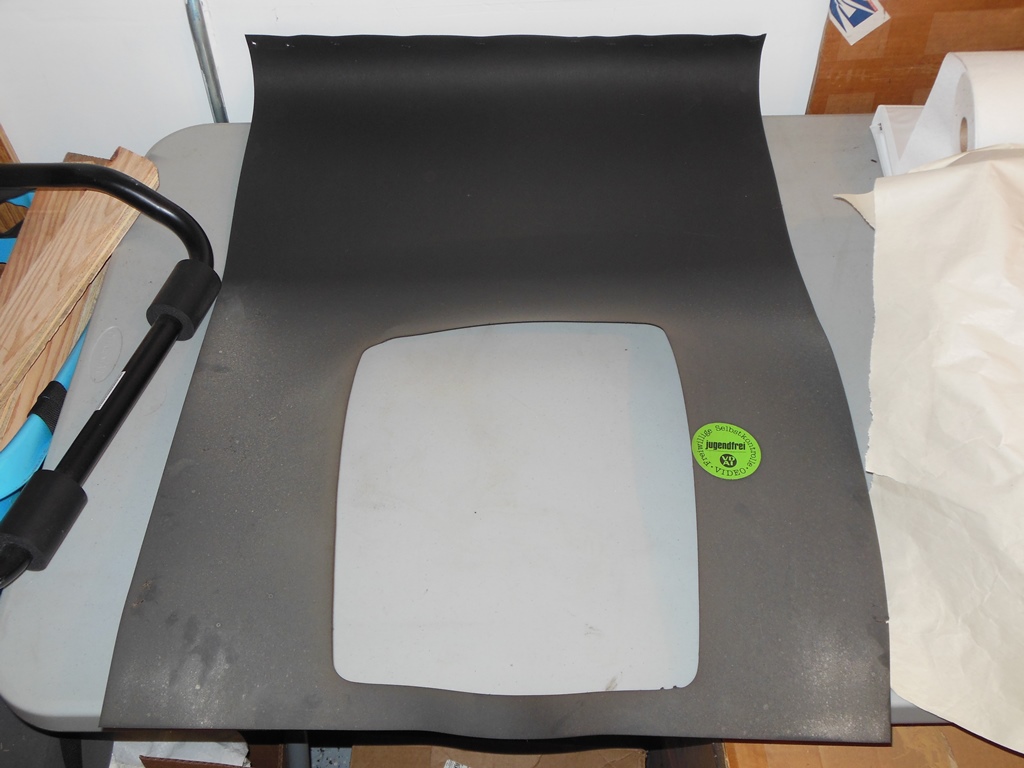
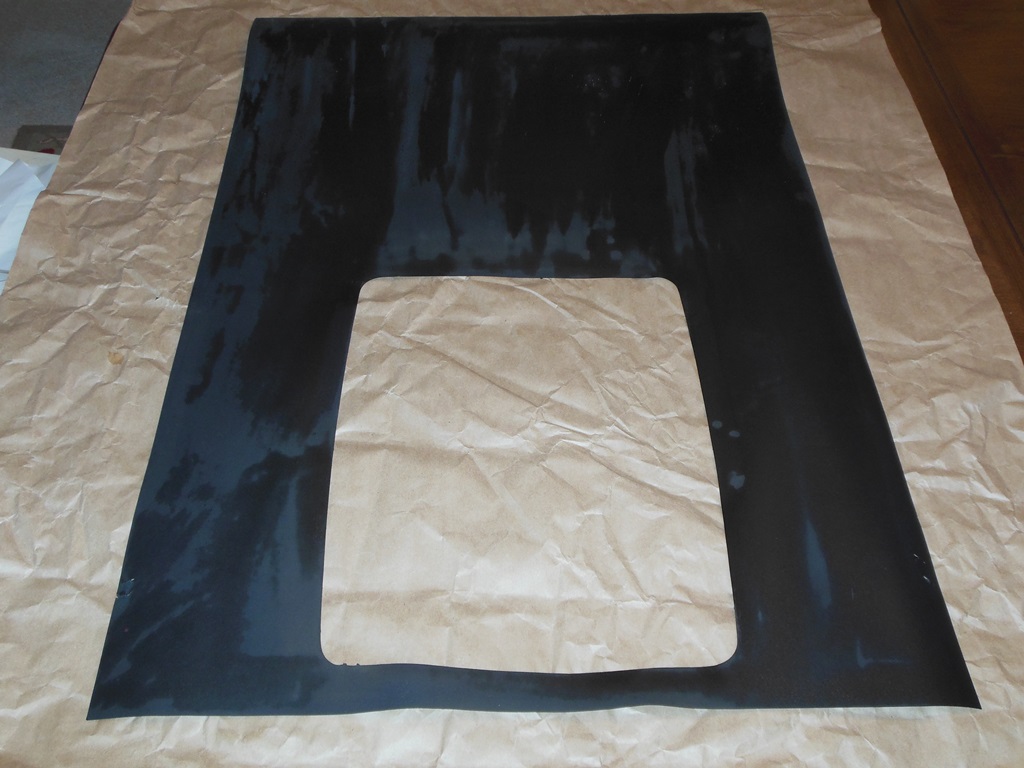
06/11/2015 - Surround cleaning
The monitor surround was cleaned with a wipe of a damp cloth. and then set to
flatten out. I didn't remove the rating sticker, leaving it as-is.
The only patches needed were around the lower staple holes and some reinforcement
of the thin strip at the bottom of the CRT that had become deformed due to the
disintegration of the lower staples.
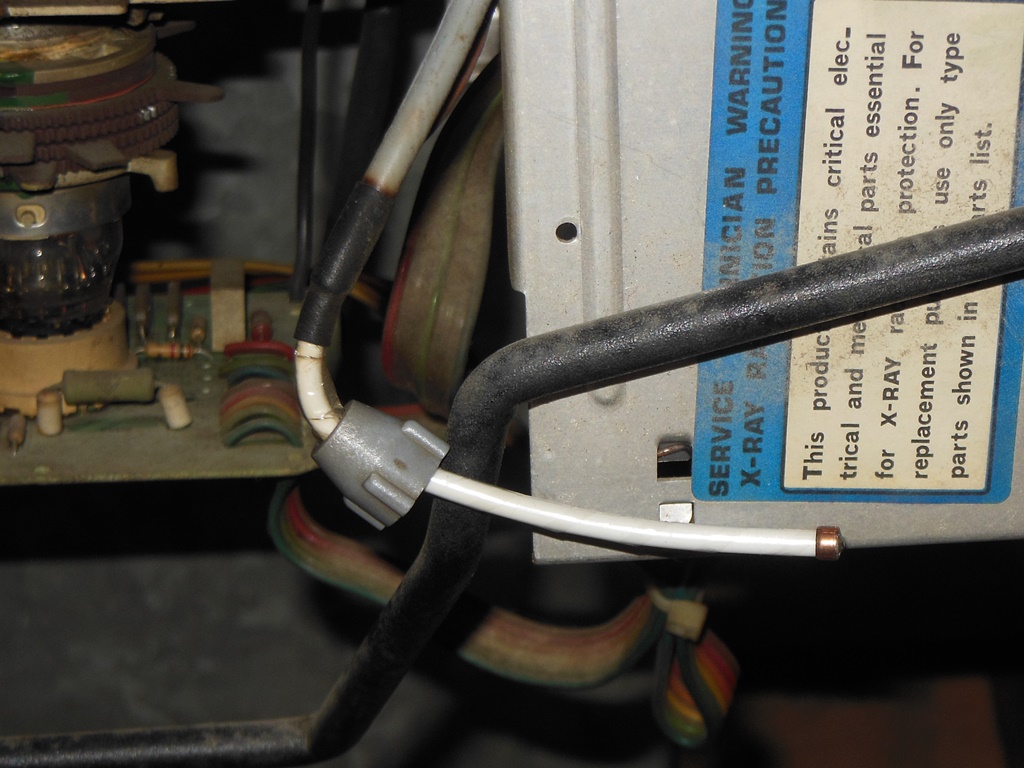
08/11/2015 - Chassis HV repair
Whilst the monitor chassis was working there was some arcing noise from the LOPT
that decreased when the HV wire was pushed inside - the HV cable was loose. Taking
the cable out revealed that a couple of the jaws had become brittle and snapped
off. Since the LOPT on this chassis is rare and working I used a small amount of tape
around the HV lead to increase it's diameter and adjusted the end to make a longer
'point' at the end of the cable. With those two changes and a cable tie to further
hold the HV cable down in the LOPT socket the HV connection was much improved.
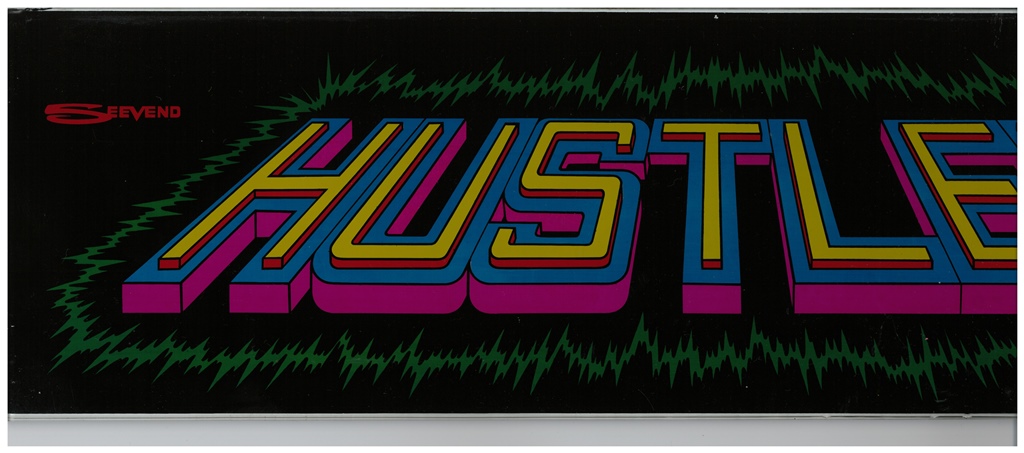
09/11/2015 - Artwork scanning
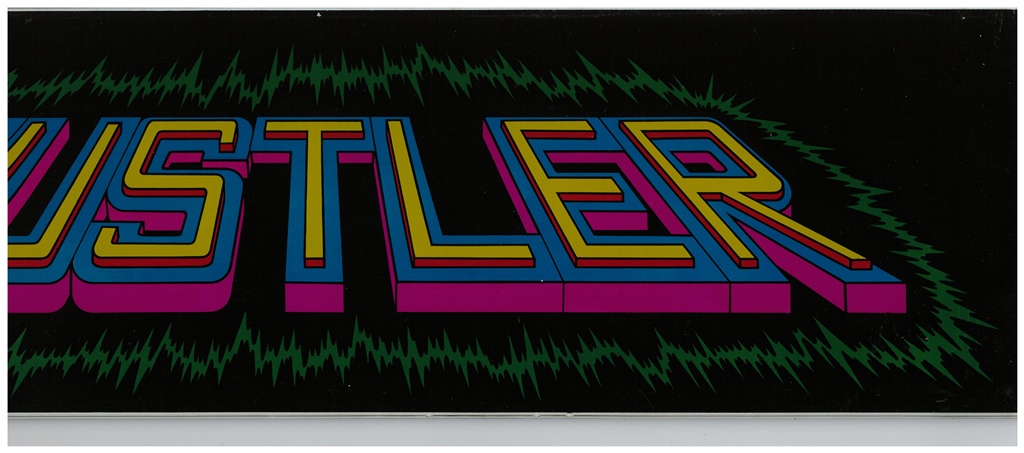
Scanned in the Hustler marque.
600 DPI Hustler marque scan (8.2MB).
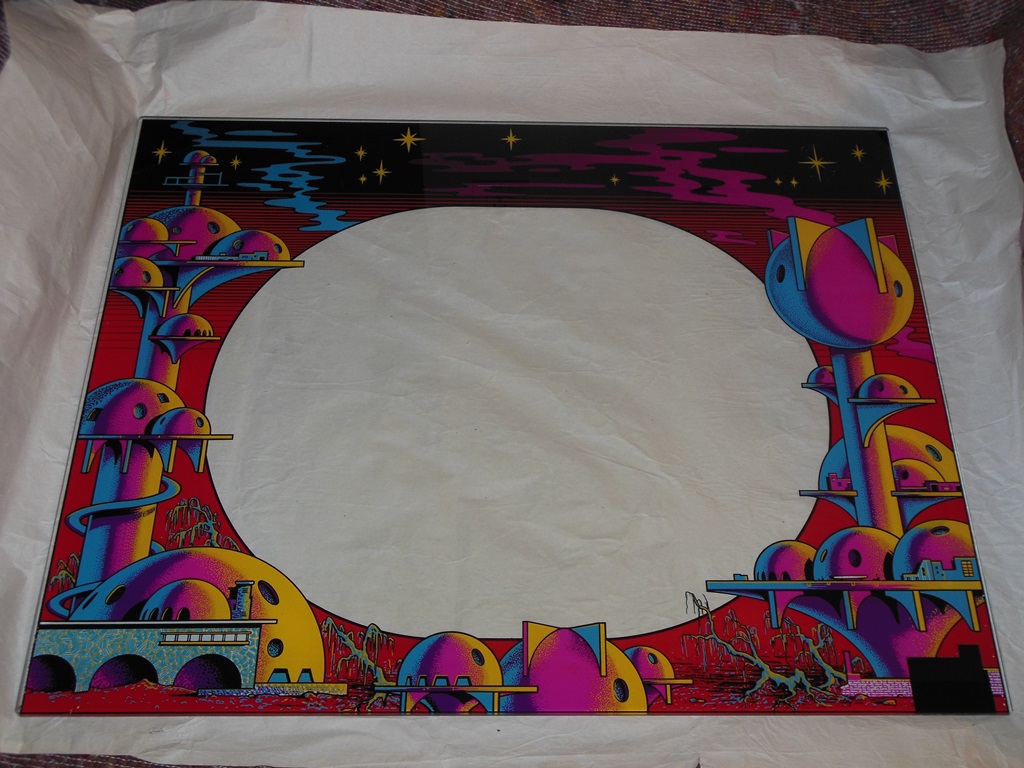
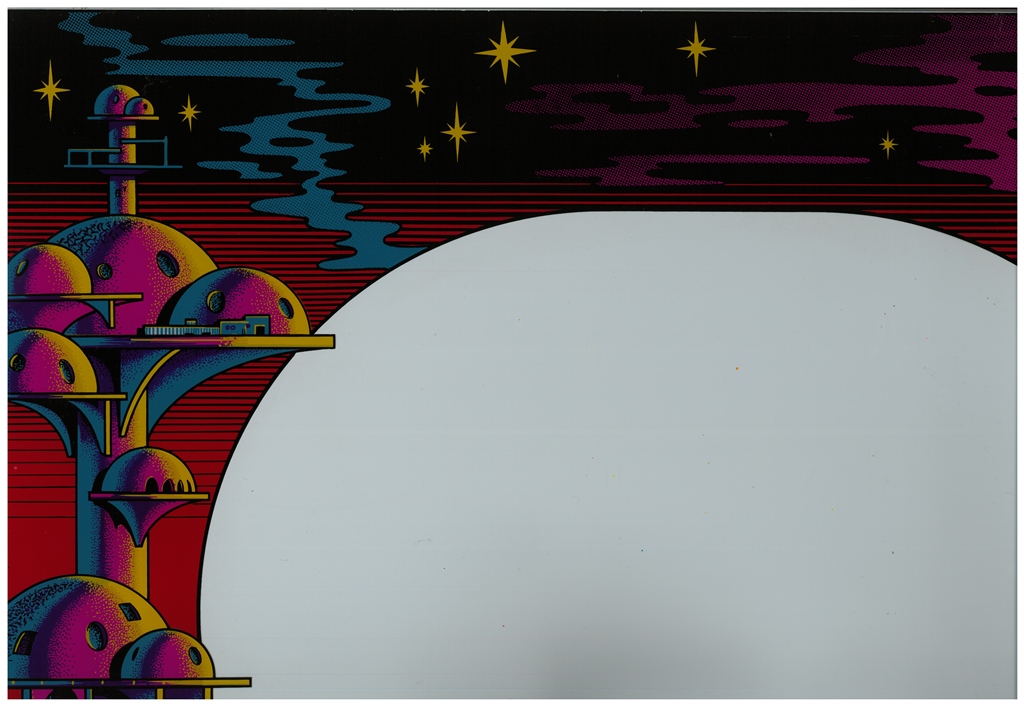
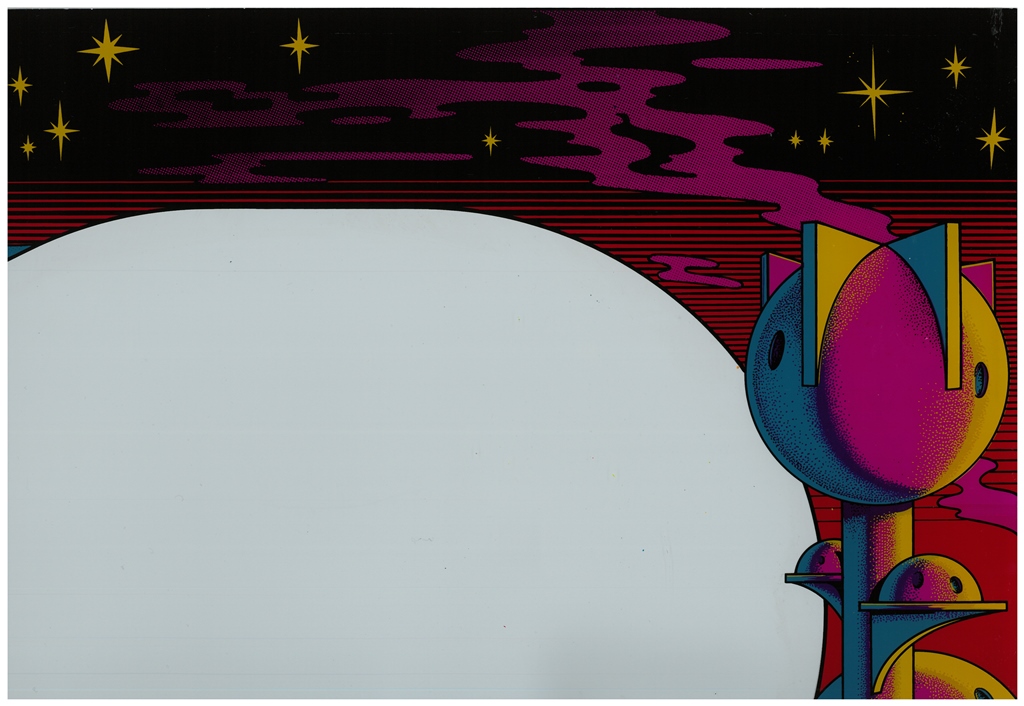
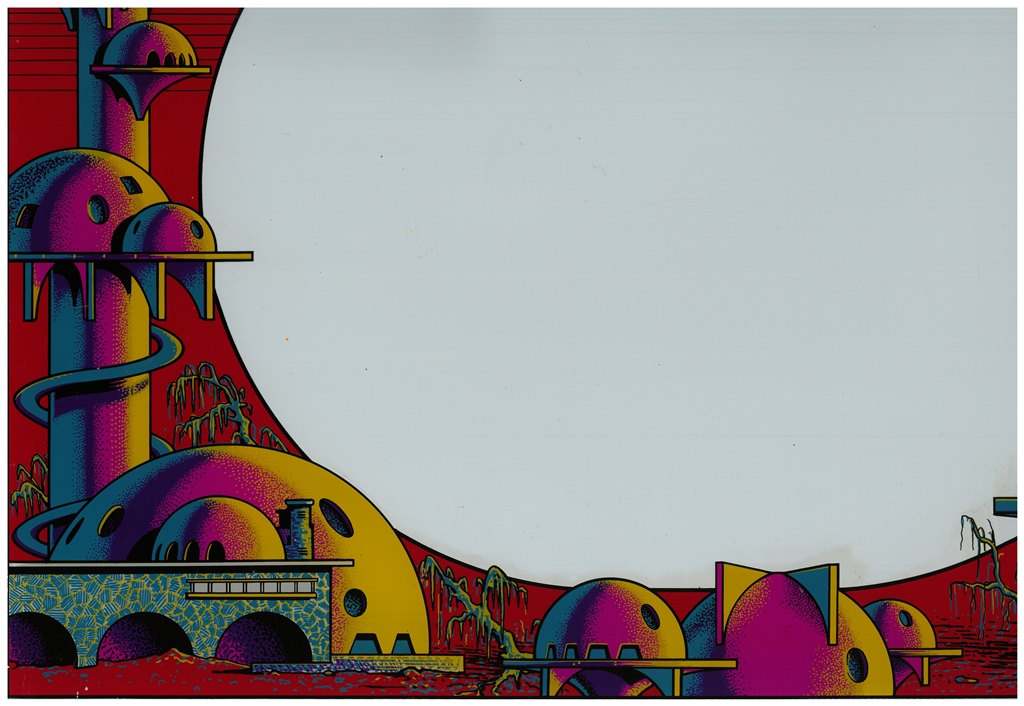
Scanned in the Hustler monitor glass.
600 DPI Hustler monitor glass scan (20.1MB).
Scanned in the Hustler control panel overlay.
600 DPI Hustler control panel overlay scan (7.1MB).
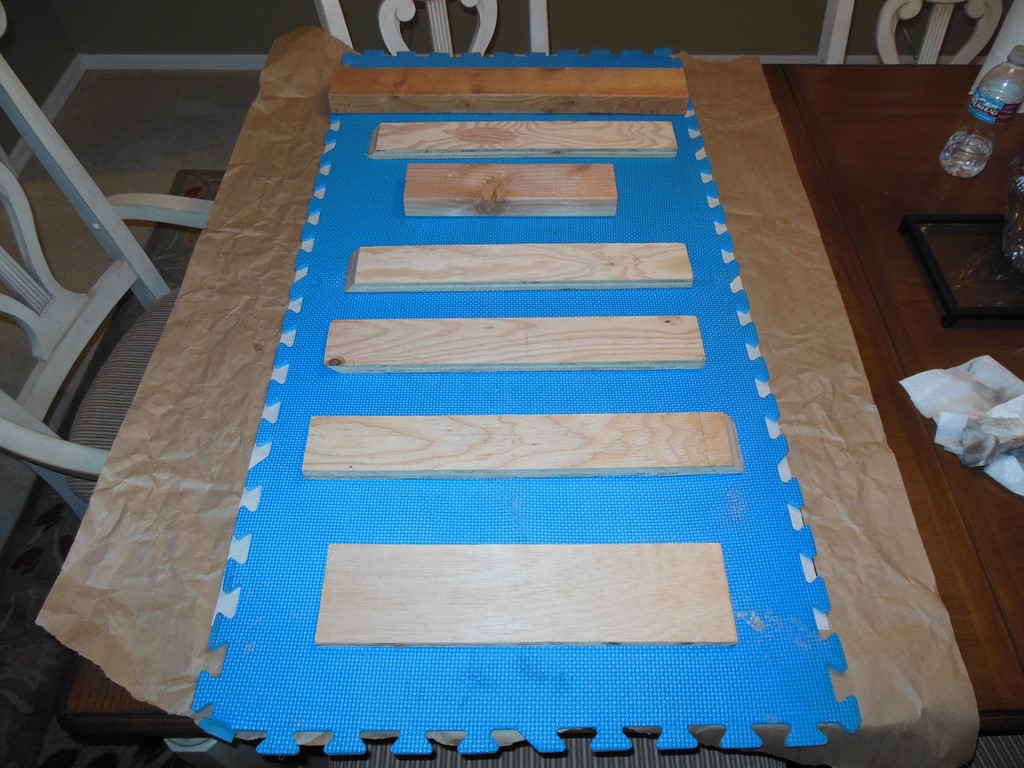
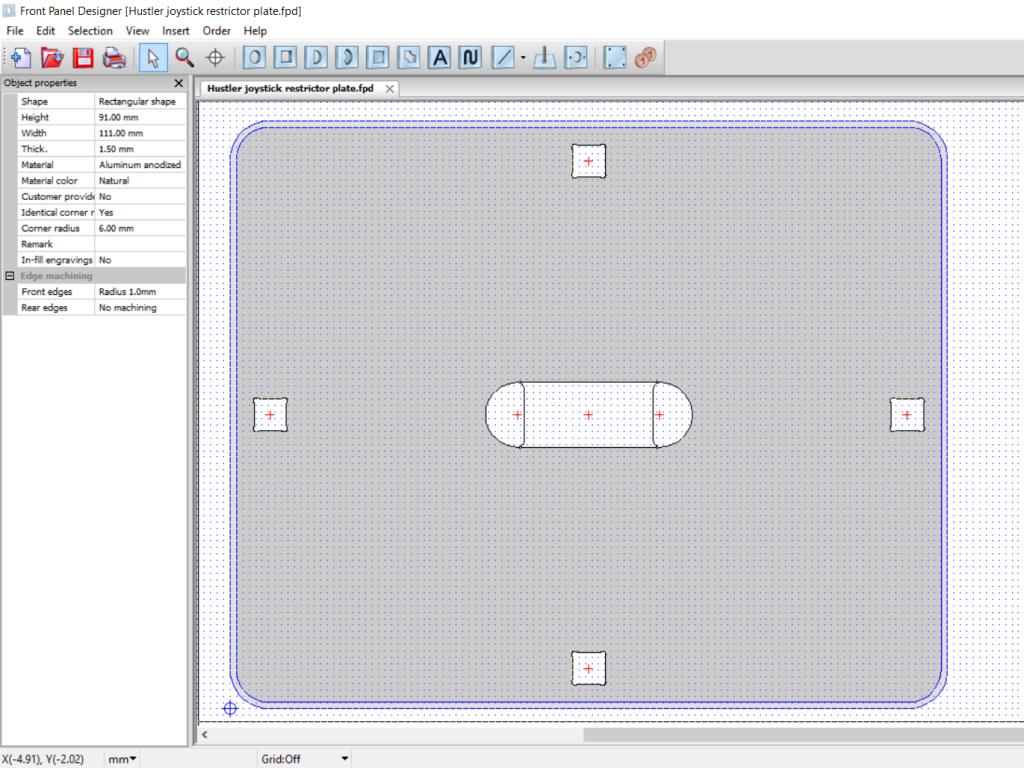
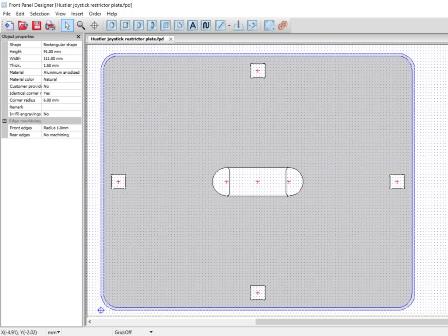
10/11/2015 - Reproduction joystick restrictor plate
|
I sent out a request to my local Seattle Metro Arcade Collectors (SMAC) group for
ideas on reproducing a new joystick restrictor plate that yielded a recommendation
for
Front Panel Express
as an option for making the plate. The company offers free software for designing
front panels (Front Panel Designer) that can be used to design anything a
CNC can mill out. This application turned out to be more than enough for
the restrictor plate being able to not only express basic cut outs but
also features such as curved corners and bevelled edges just like the original
plate.
It took less than an hour to enter in all the measurements, perform a paper check
print and generate a price quote of $39 plue $6 shipping. It really was a
great experience and I'm considering this in future as a way to make complete
reproduction Zaccaria control panel overlays.
Reproduction joystick restrictor plate artwork (Front Panel Designer format)
Reproduction Hustler joystick restrictor plate.
11/11/2015 - Control panel cleaning
After cleaning the joystick, buttons and overlay the control panel could be
reassembled ready for the arrival of the reproduction joystick restrictor plate.
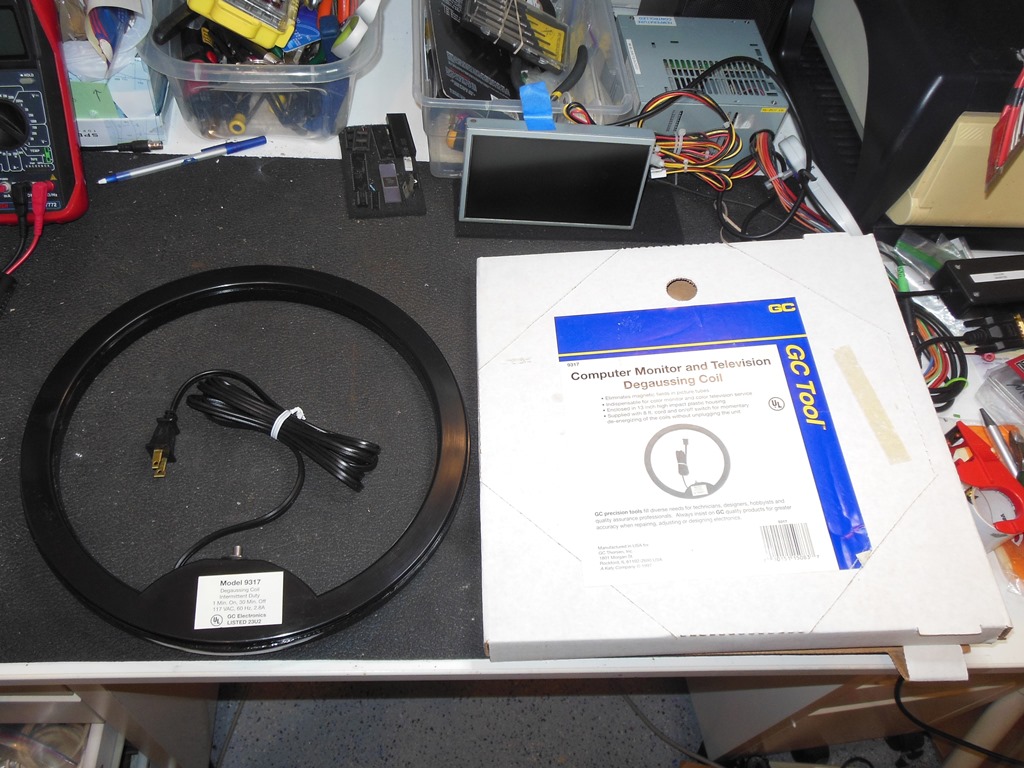
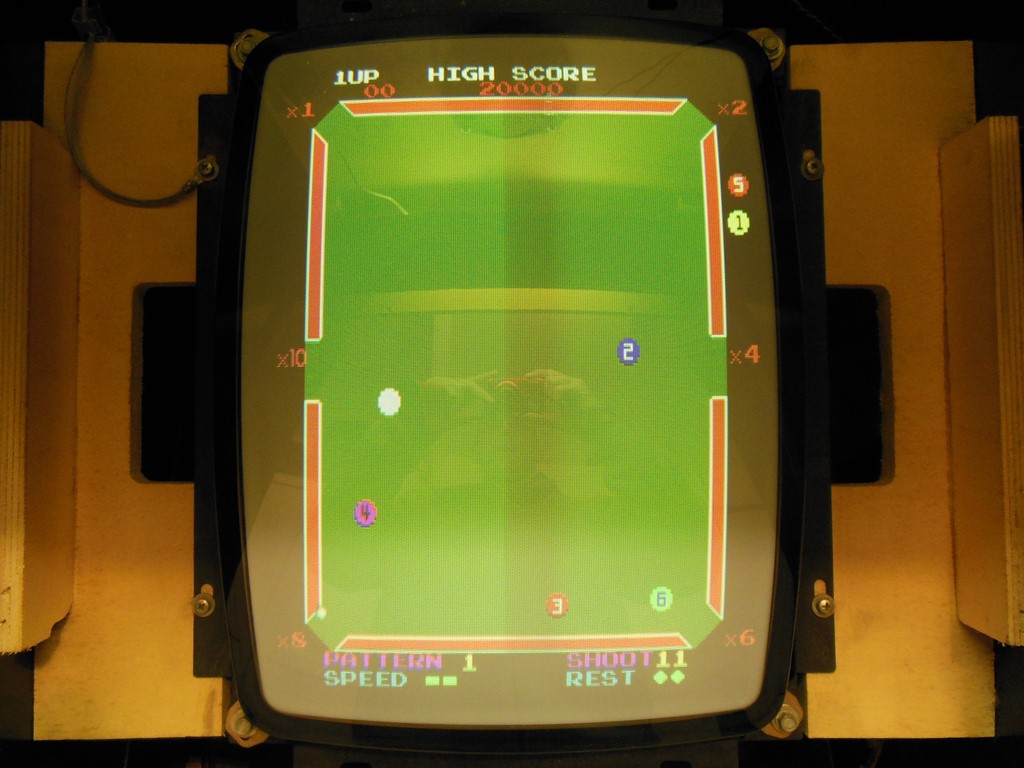
20/11/2015 - Degaussing
The degauss coil arrived and was much bigger than I expected - I was expecting a small hand
sized ring but what I got was a large heavy one foot diameter ring. However, it worked
perfectly to remove virtually all the discoloration.
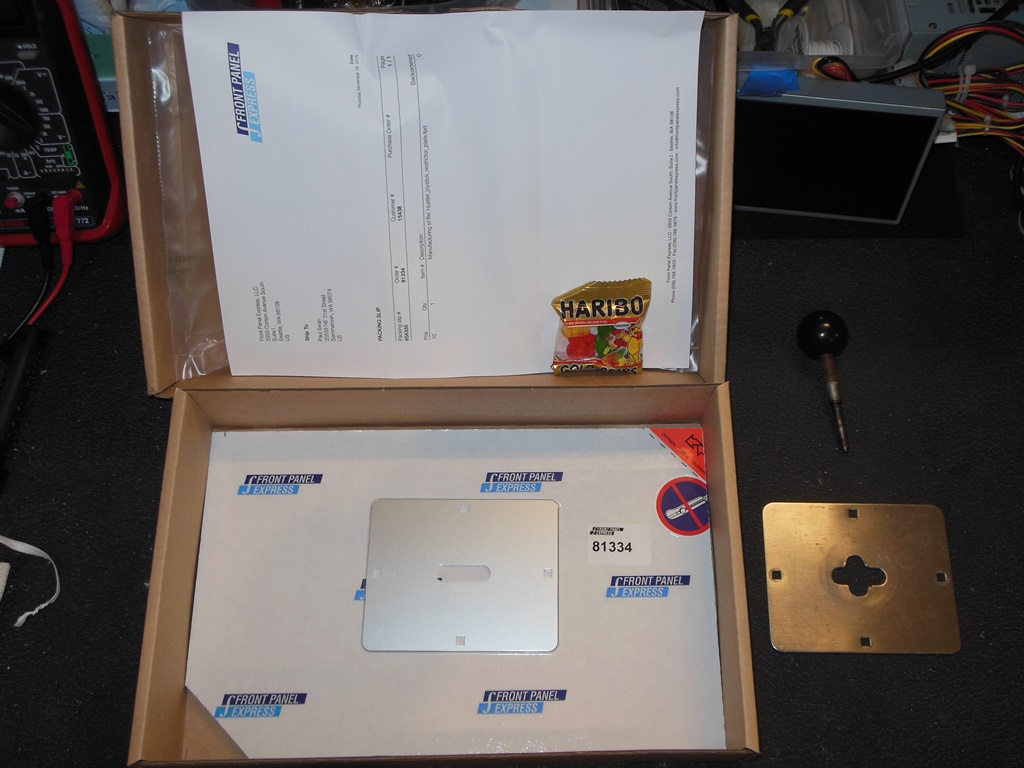
21/11/2015 - Repro joystick restrictor plate arrives
The repro joystick restrictor plate arrived from Front Panel Express and it was beautiful!
The fit was perfect.
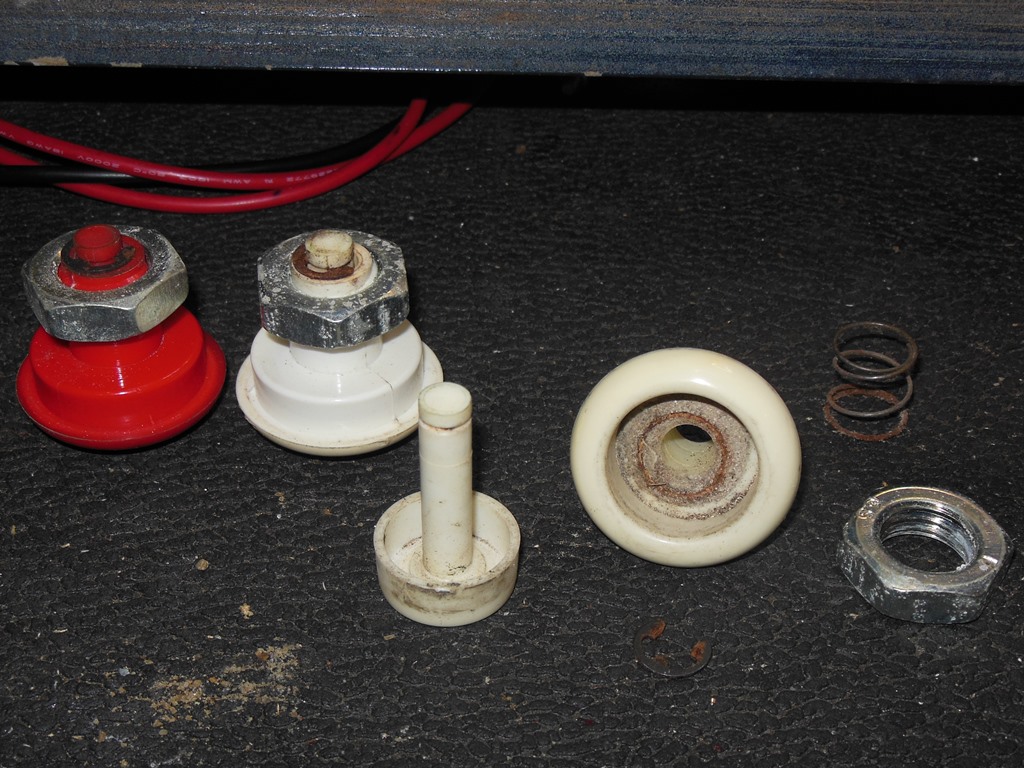
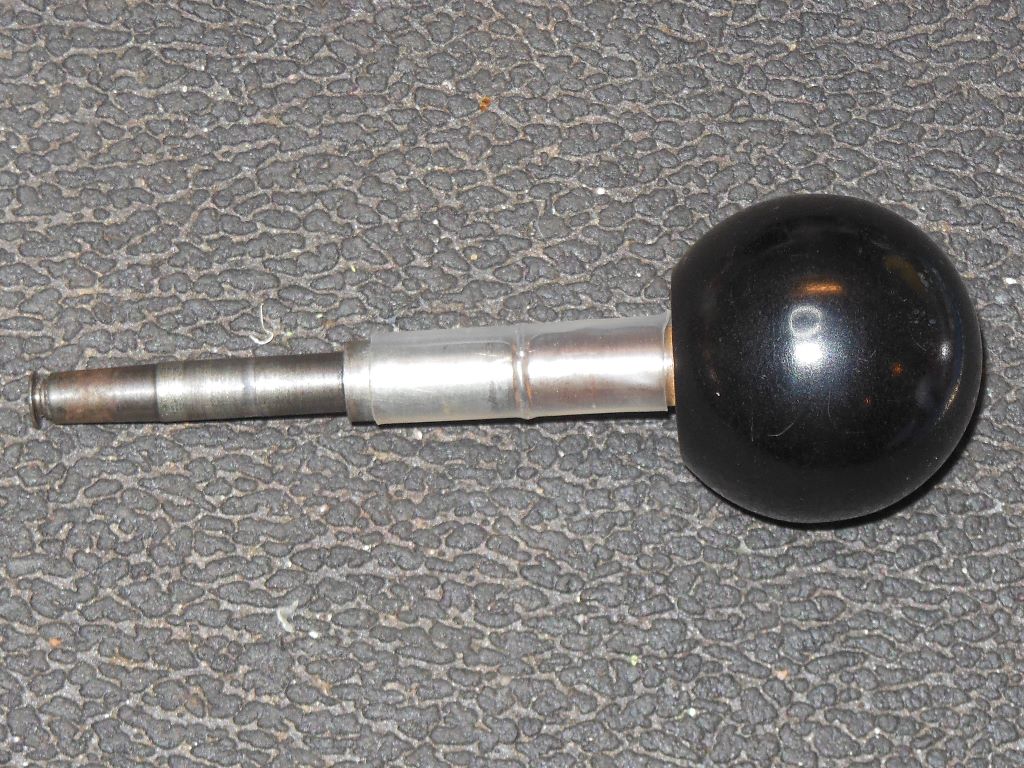
21/11/2015 - Joystick shaft repair
The joystick shaft had a groove worn into it due to the sharp rough corners of the gouged
out original restrictor plate. This left a noticable "catch" on the right/left motion with
the new reproduction restrictor plate fitted and I didn't want that groove to wear down
the new plate. The MacGyver fix was to cut a small length of solder to fit into the groove
and then secure it in place with heat shrink tubing. This arrangement reduces the groove and
removes to the metal to metal contact making the tubing sacreficial to protect both the shaft
and restrictor plate from wearing against each other directly. It's an experimental fix.
The fully completed control panel with the new reproduction restrictor plate looked great :)
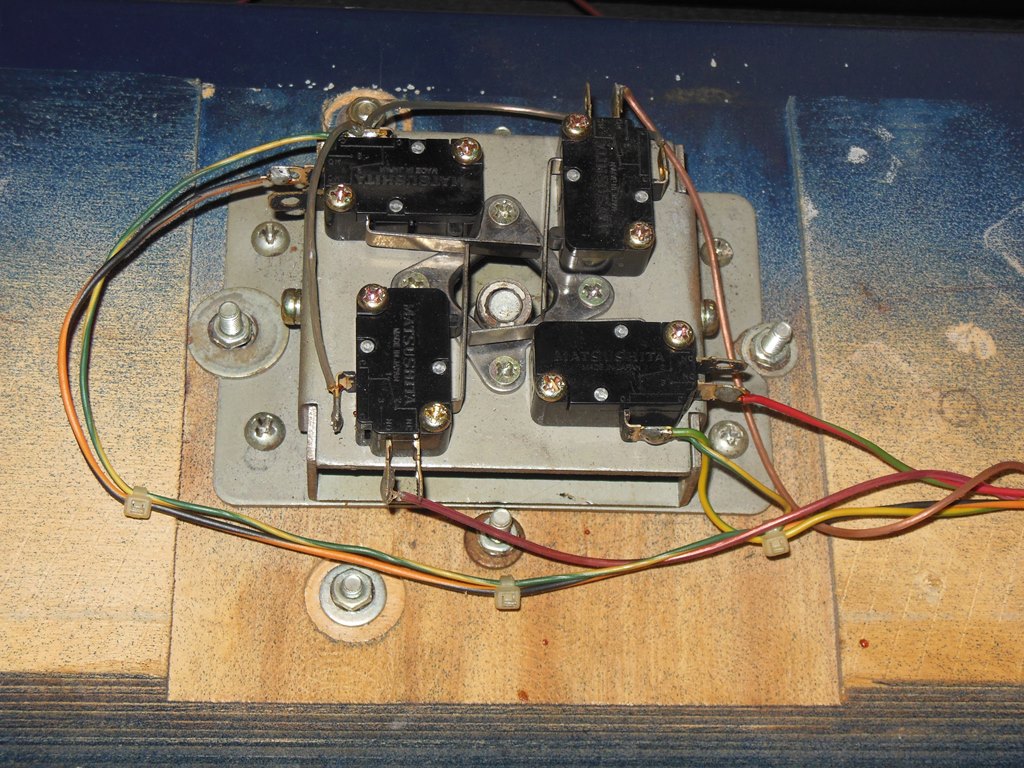
22/11/2015 - Joystick wiring restoration
It took a double take to realize that the extra pair of fly wires were not for adding
up/down but for adding right/left. Given the poor soldering of the edge connector I suspected
that the game was converted at some point and then converted back such that when it was
converted back the original left/right pair became wired to up/down.
Since up/down were not used, the original cabinet pair were tucked down into the cable guide.
I removed the fly wires and restored the original factory left/right wiring.
24/11/2015 - Front reassembly
After 30+ years the foam pads on the monitor glass side walls had rotted away so I fitted
a new pair. I refitted the cleaned monitor surround and reinstalled the cleaned front glass.
Lastly the control panel was refitted to finish off the restoration.
26/11/2015 - Burn-in testing
A few full days of burn-in testing didn't encounter any break downs and thus the game was
ready for show time :)
Hustler Maintenance 2017
Hustler Maintenance 2021
prswan@gmail.com