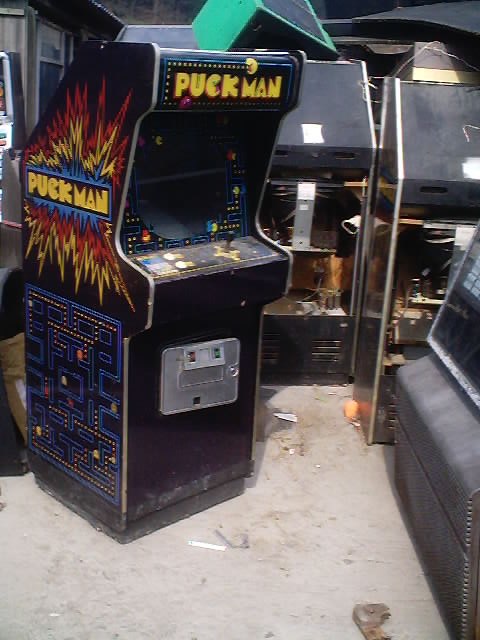
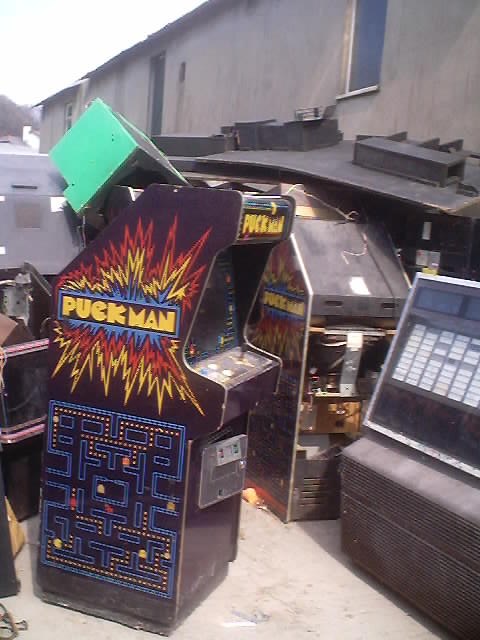
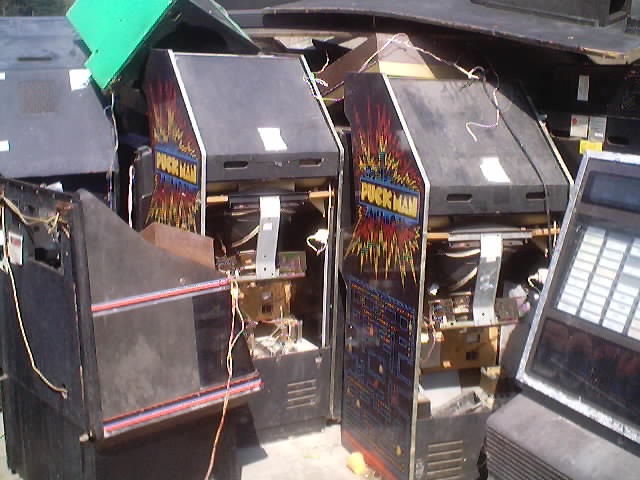
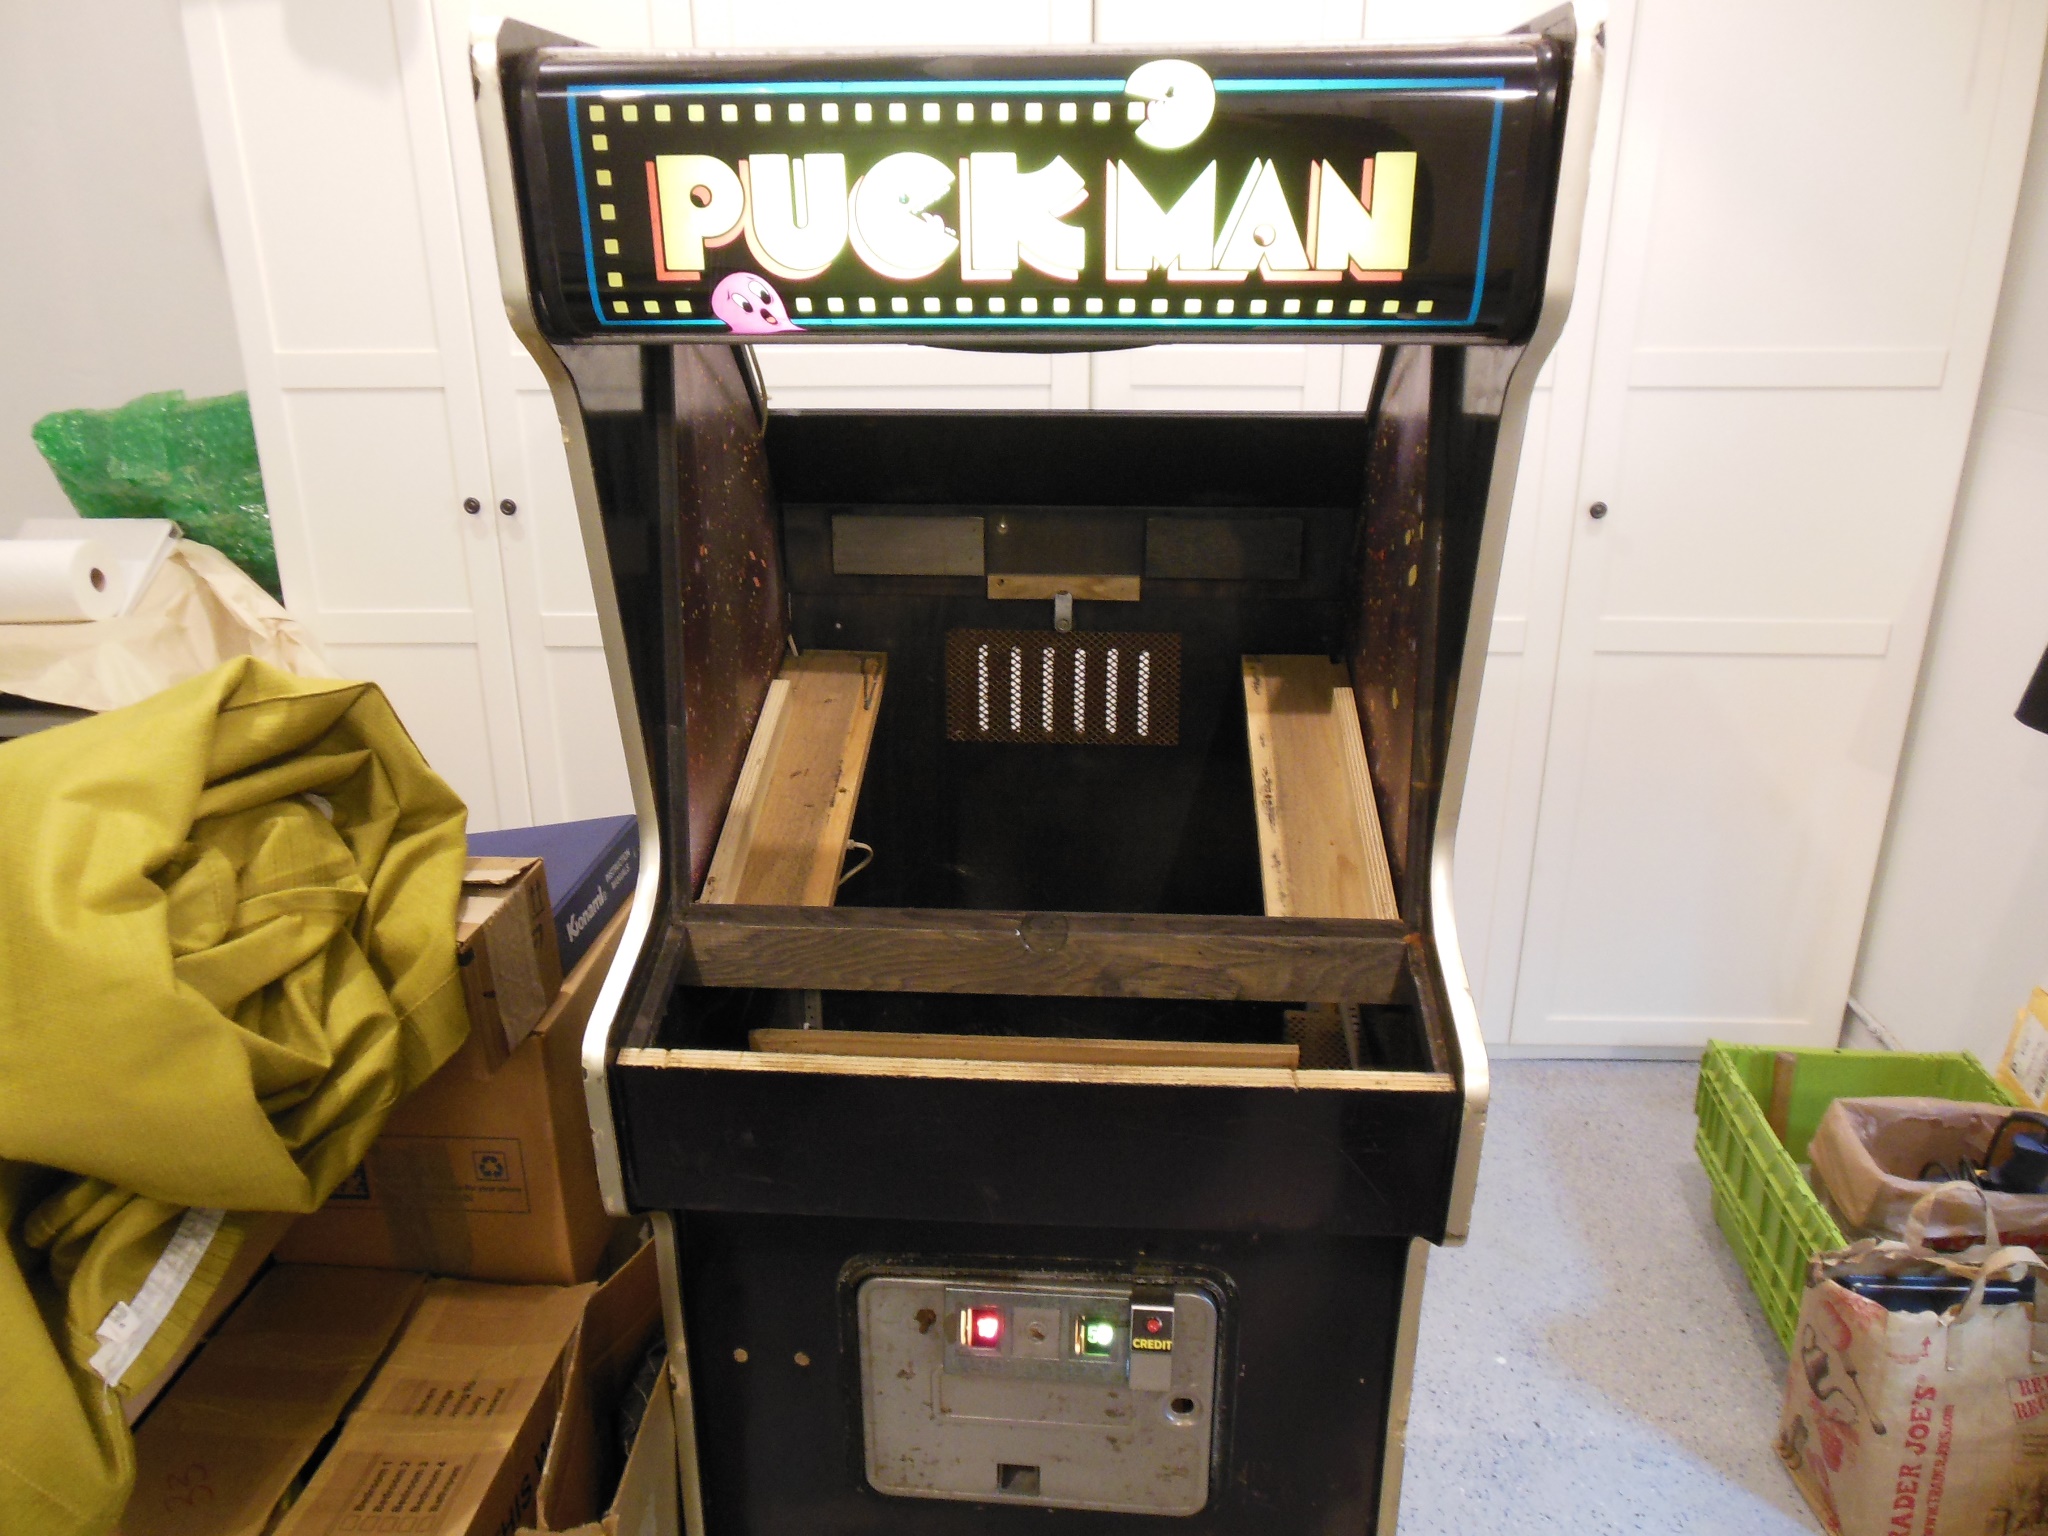
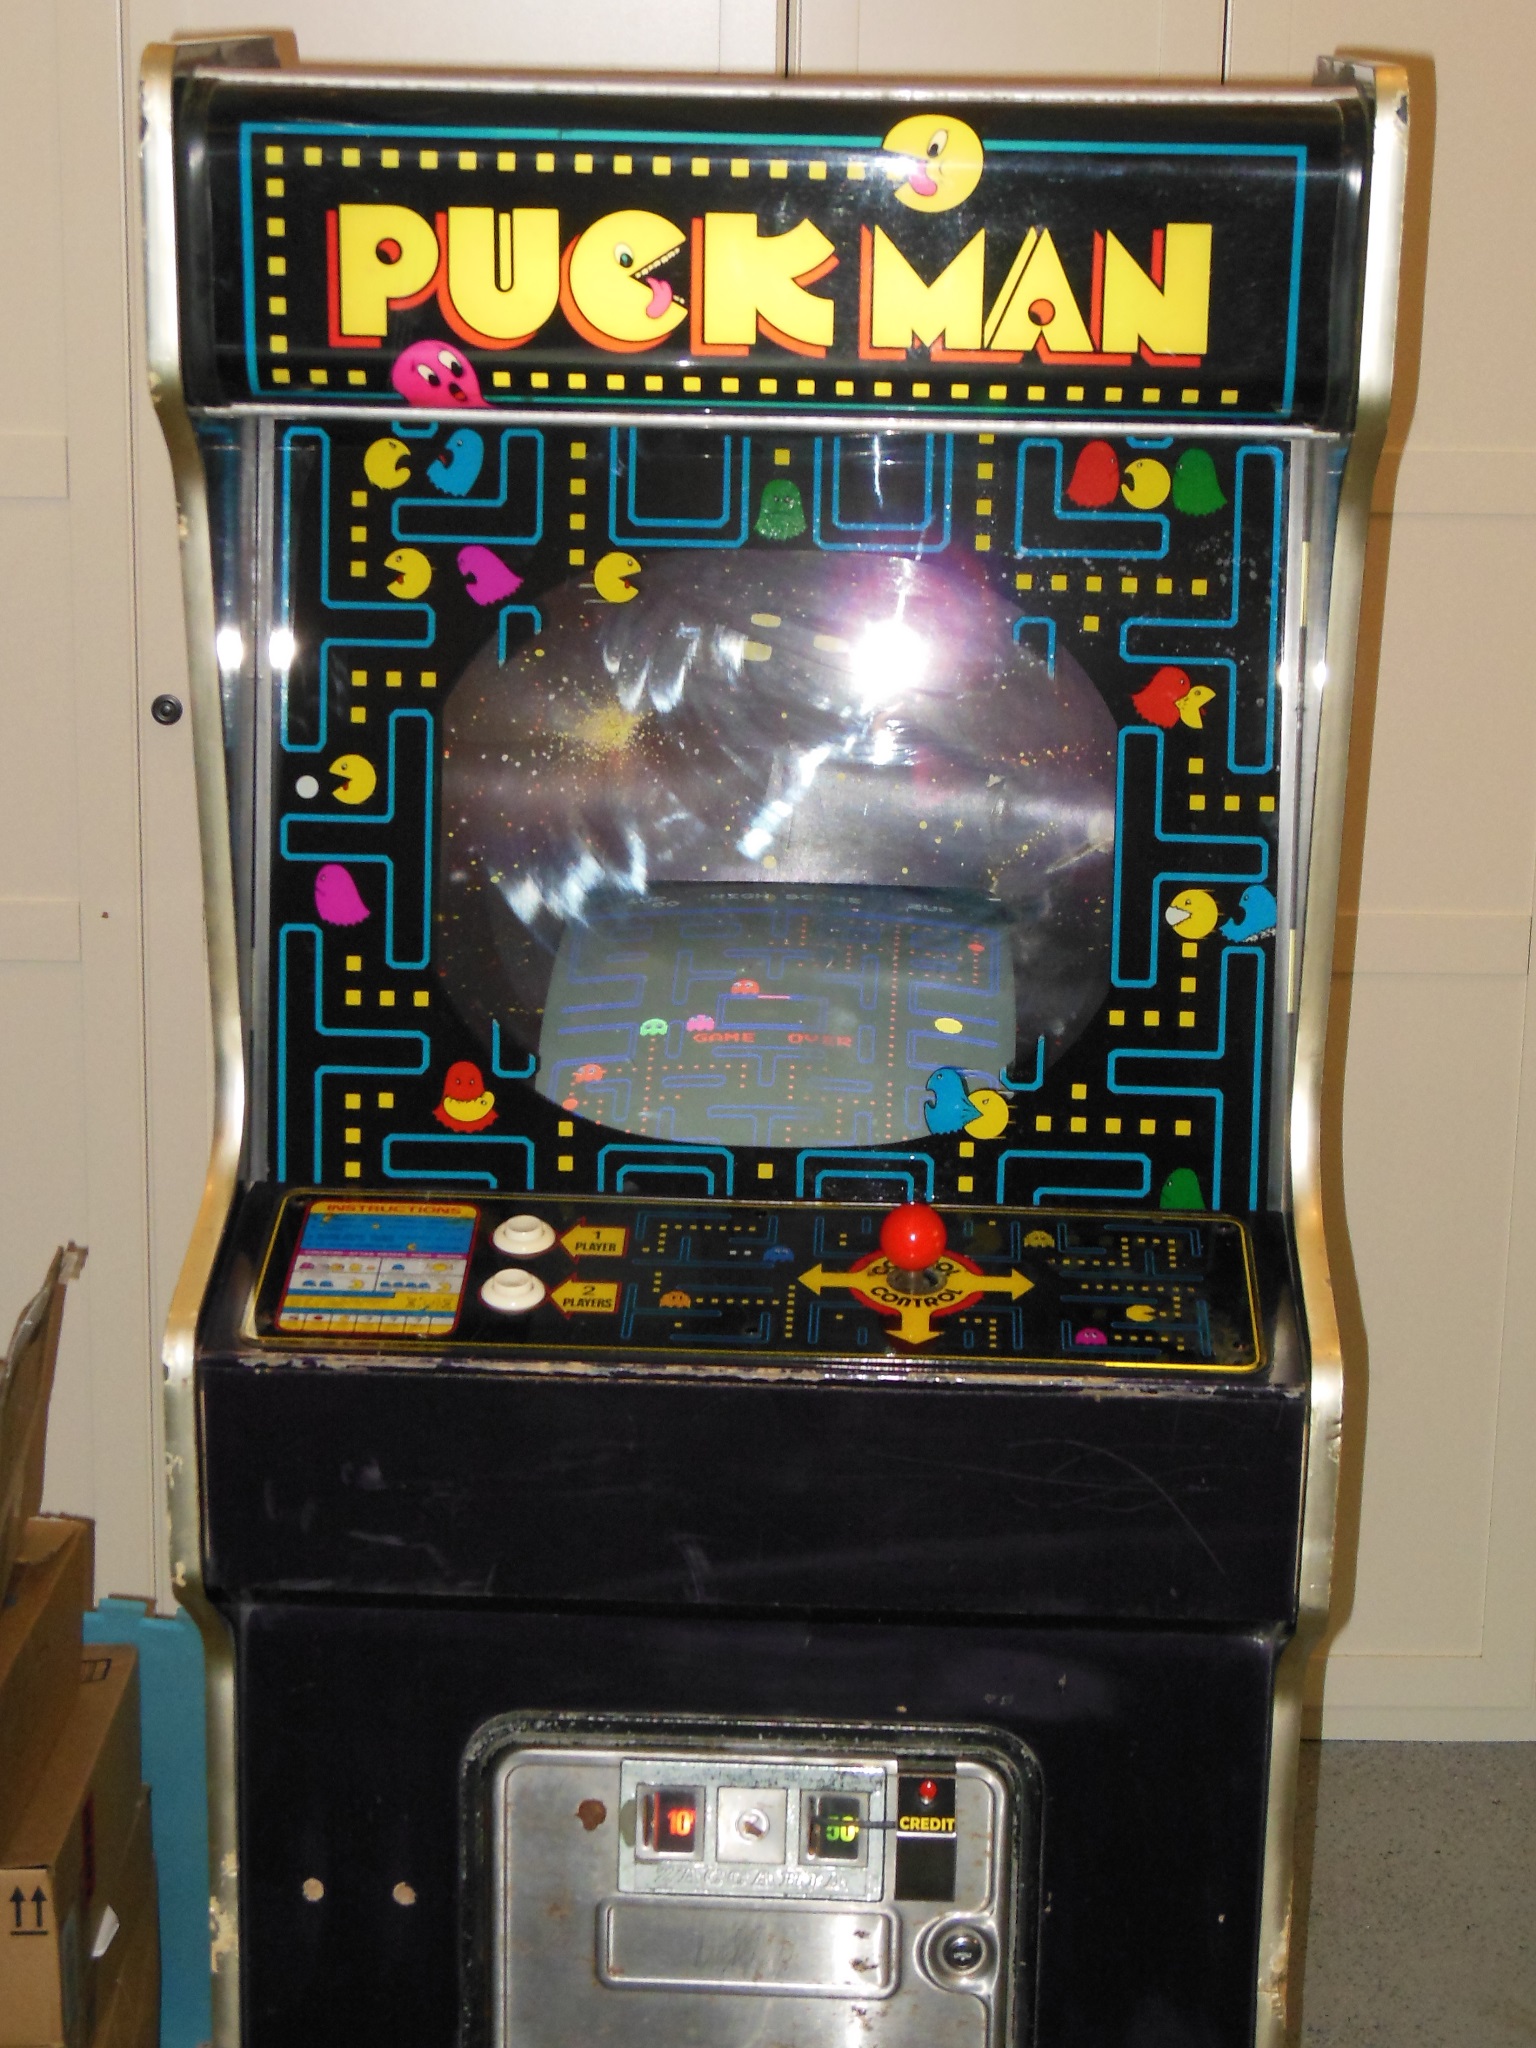
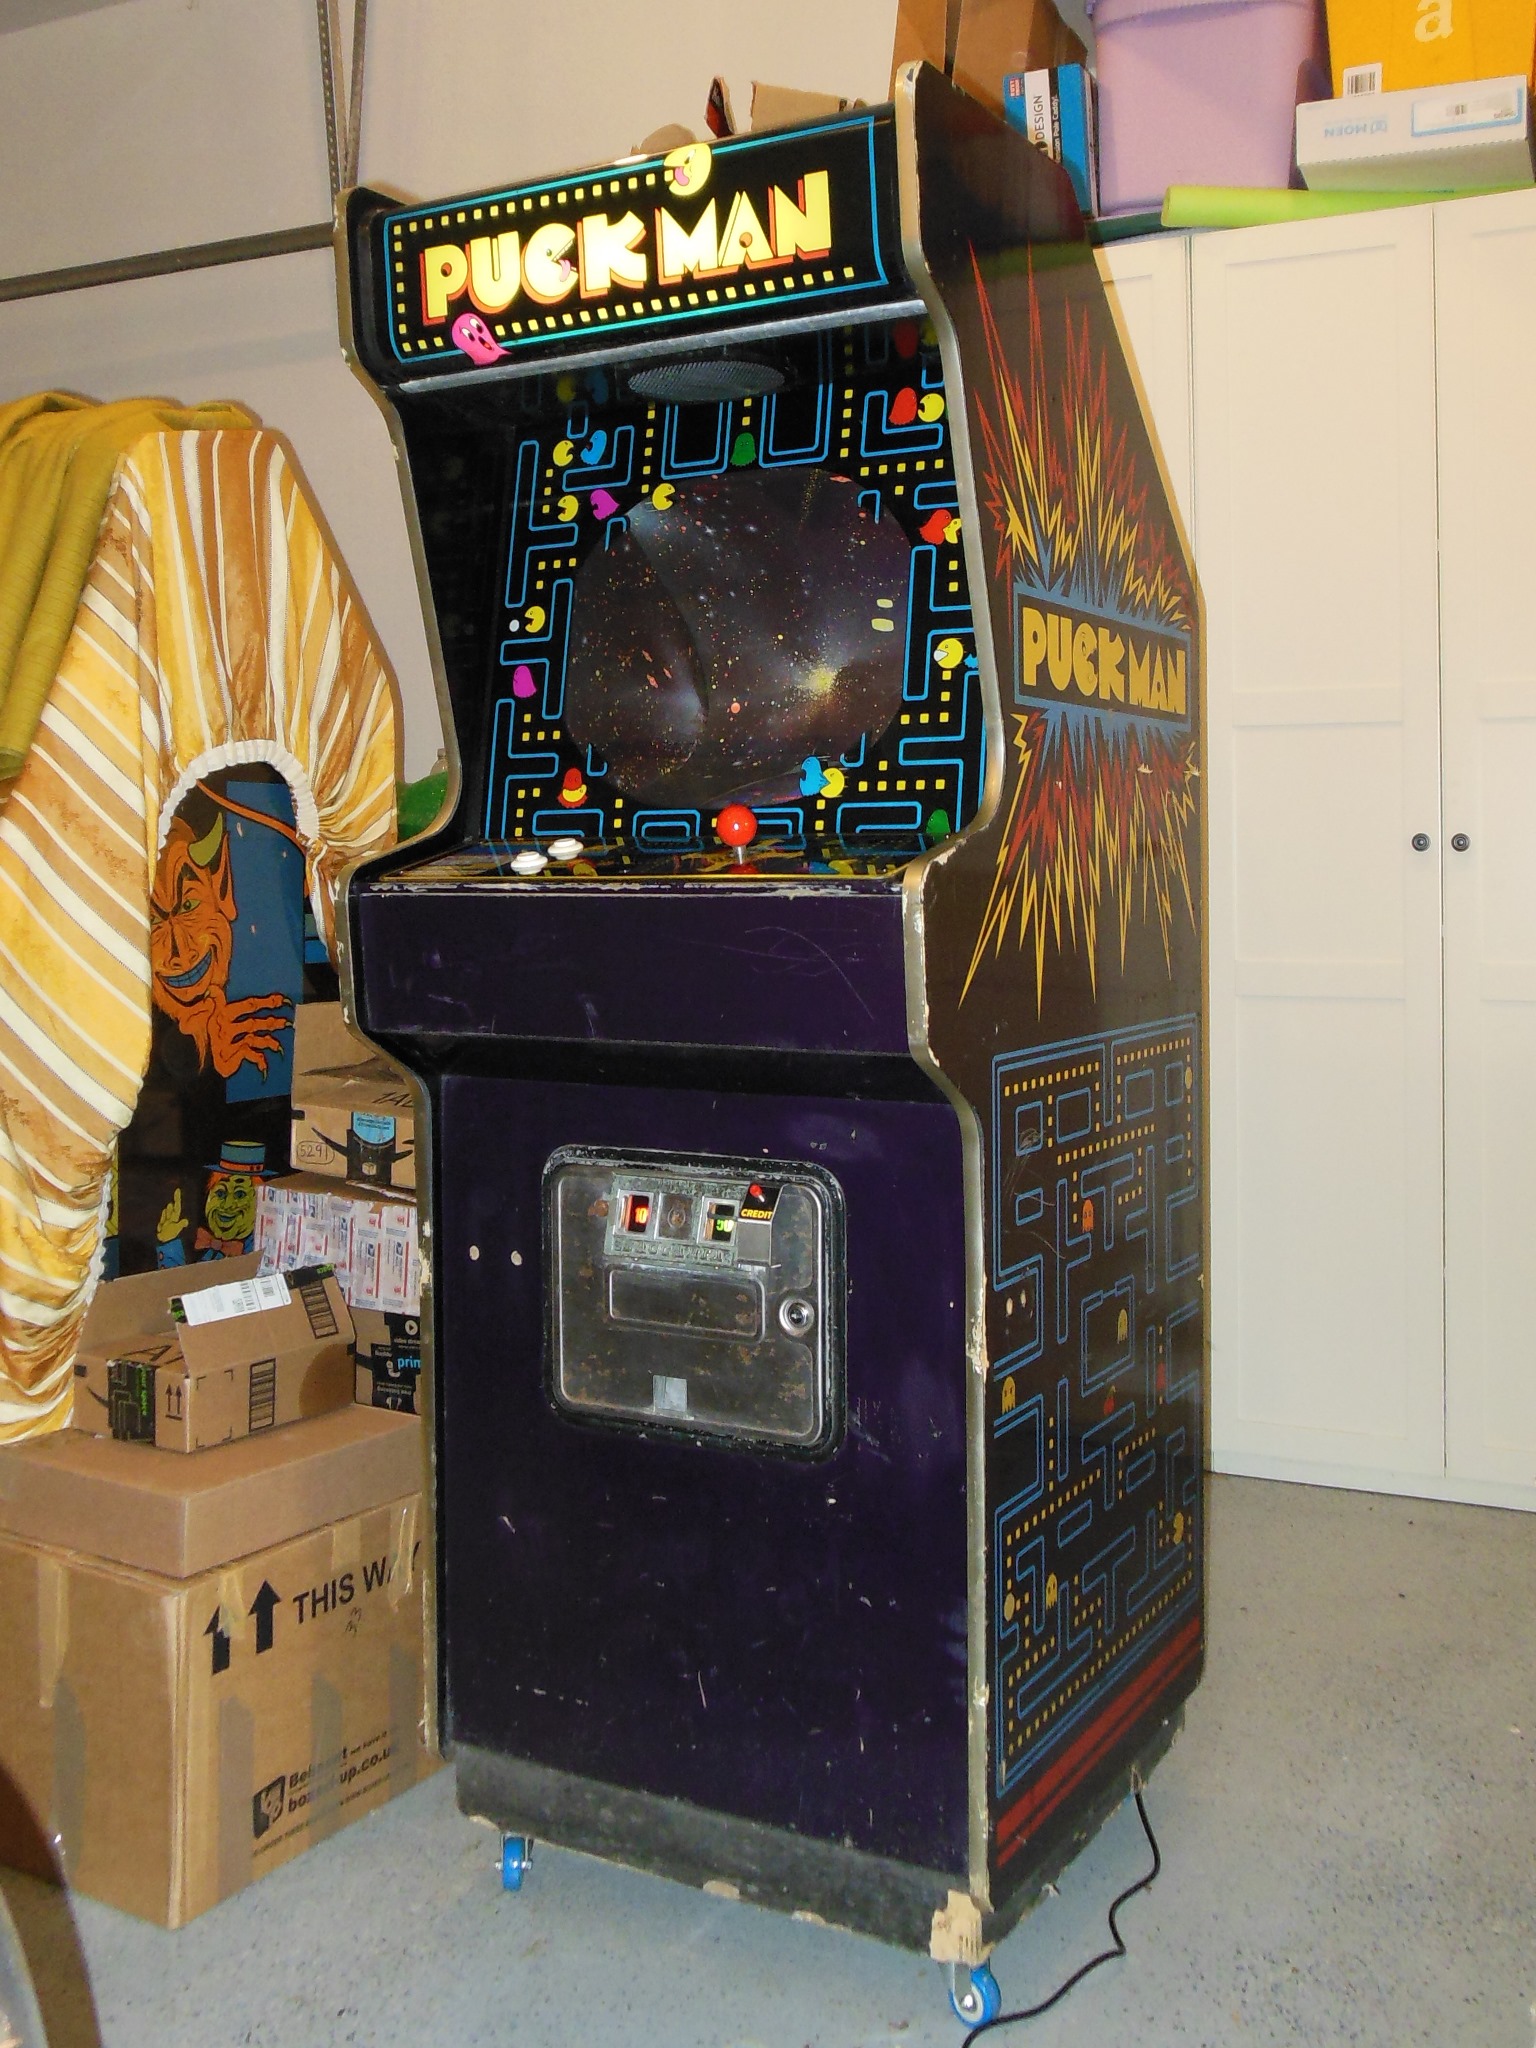
A group of four Zaccaria Puck Man cabinets were found in 2002 by a UKVAC member
cleared out of an operator warehouse.
|
|


|
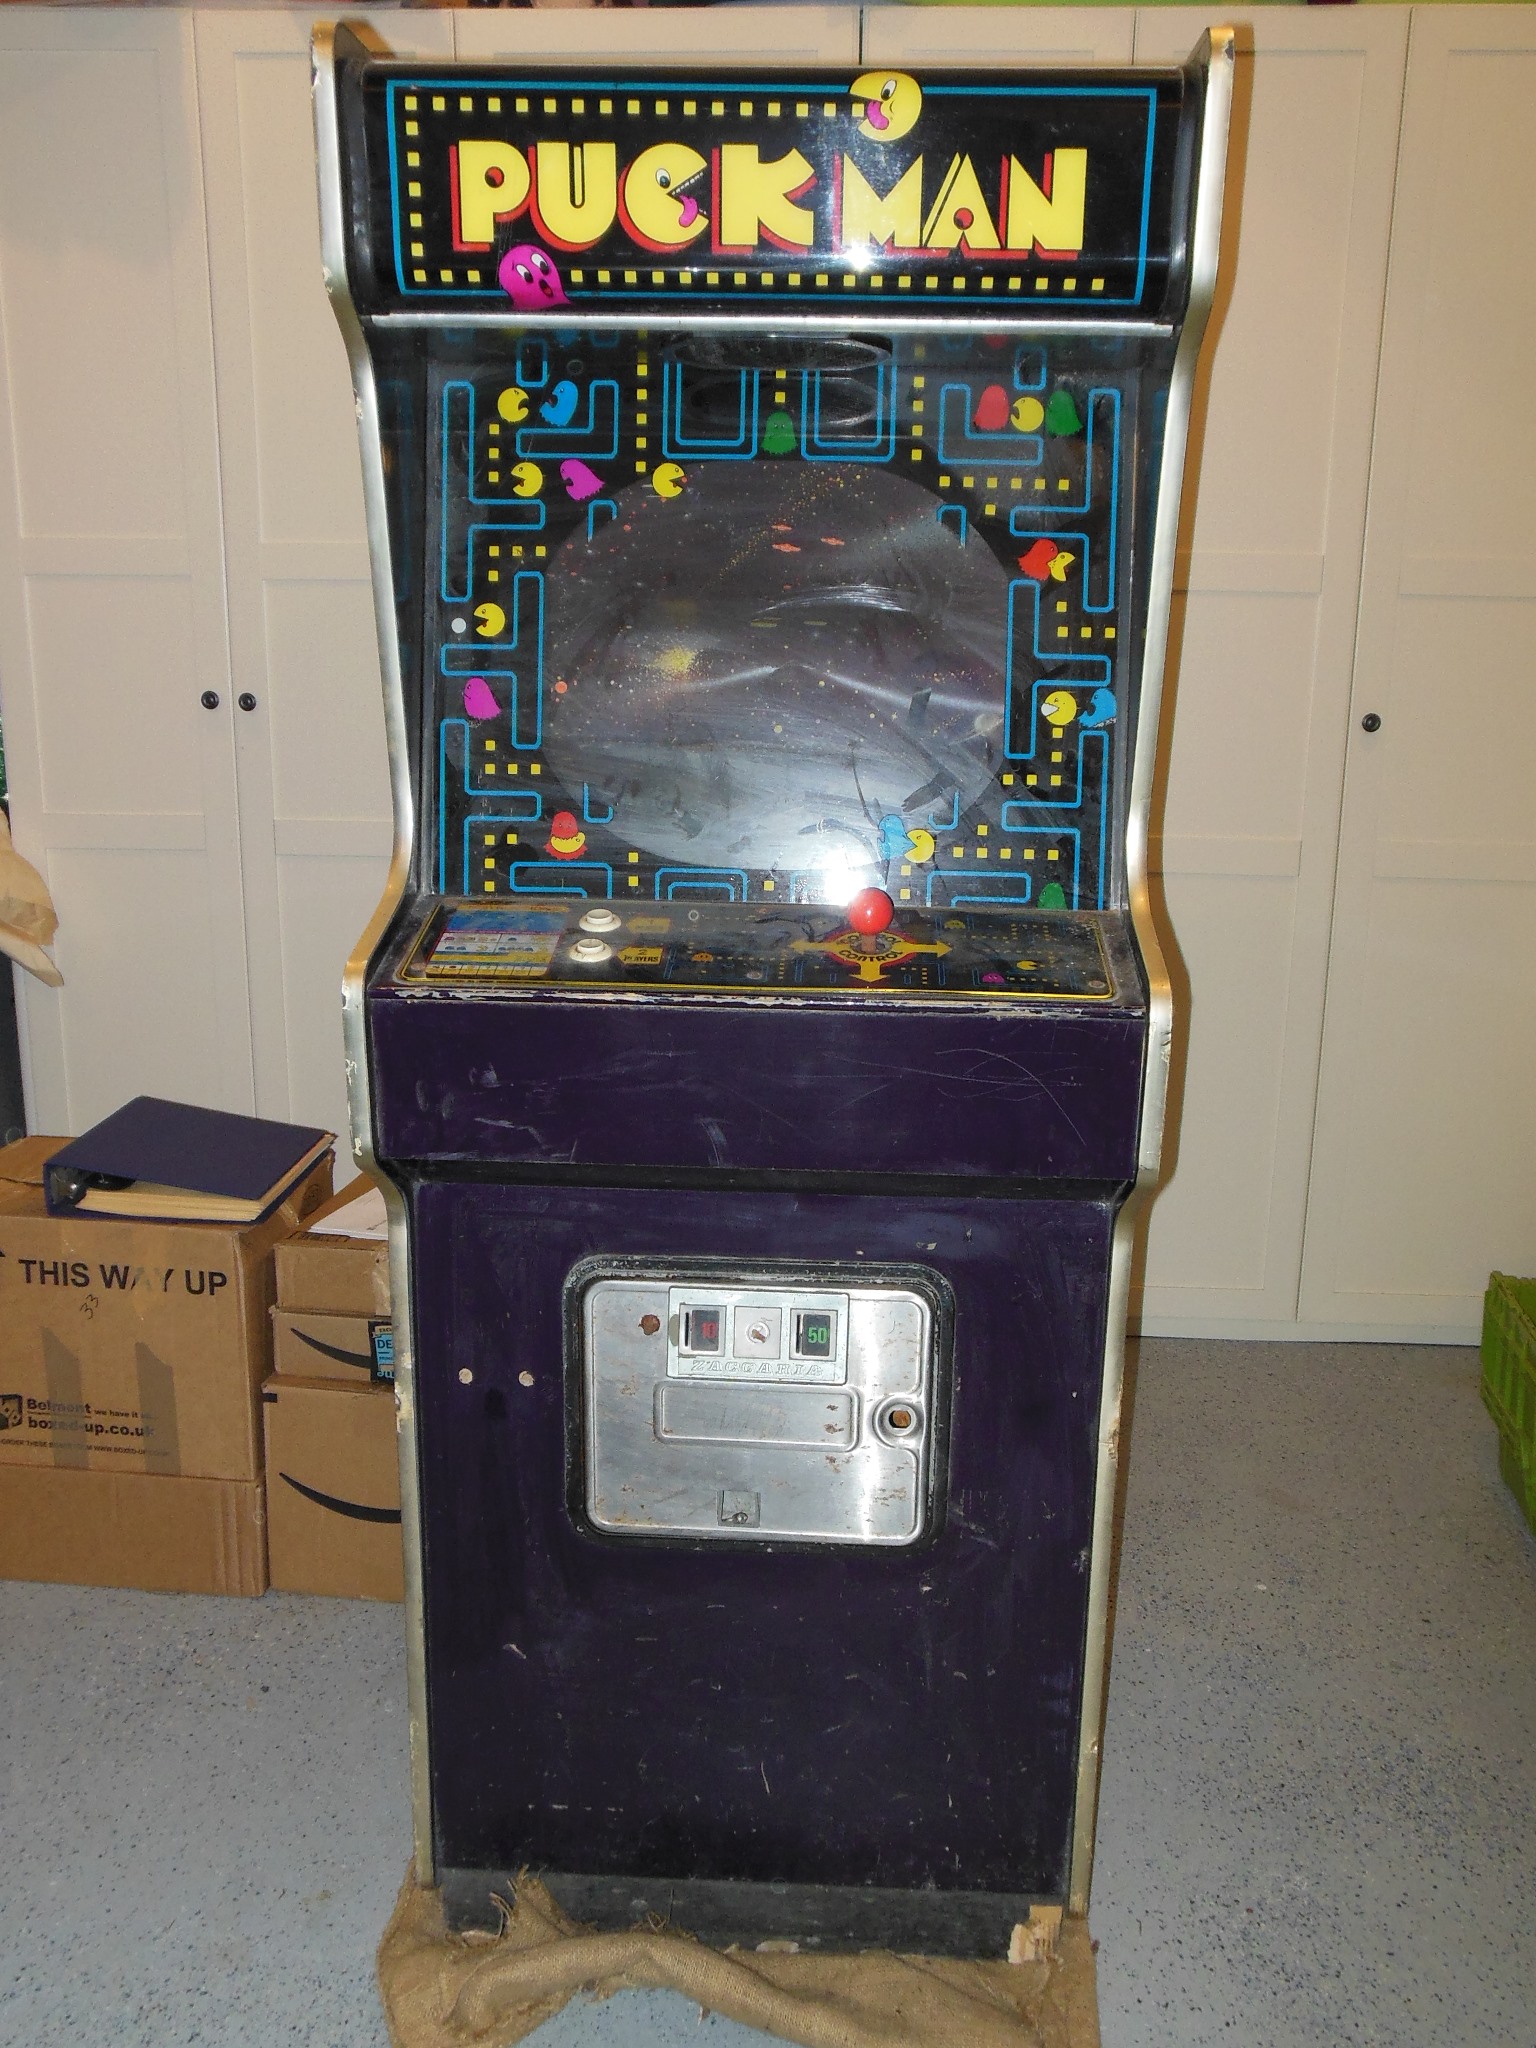
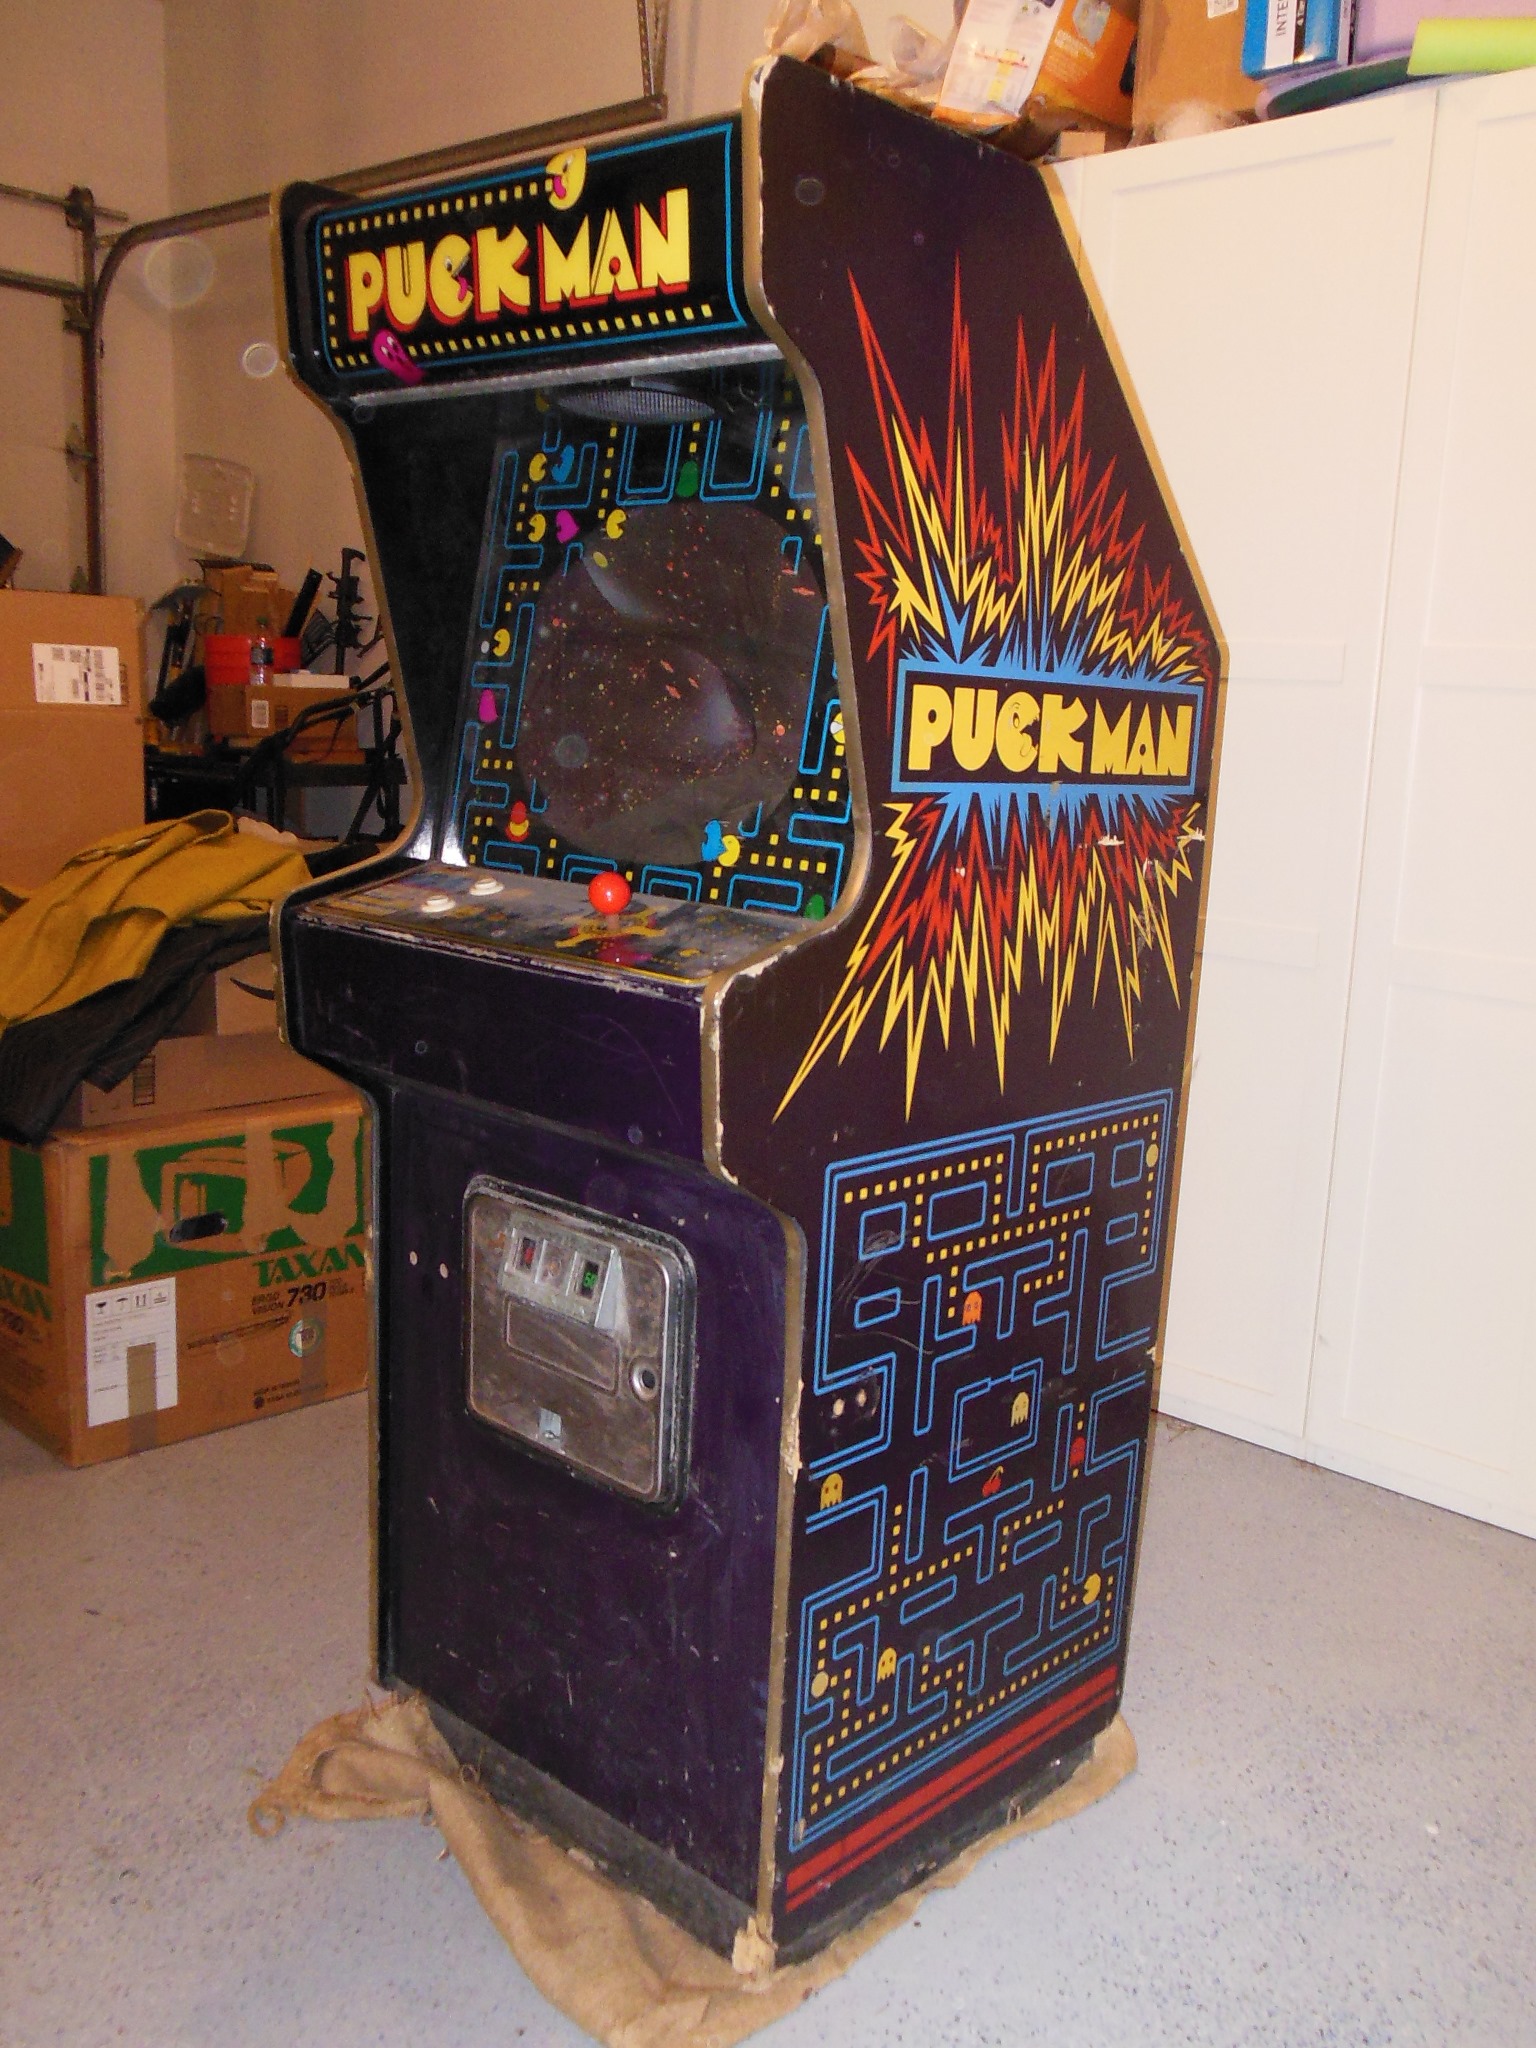
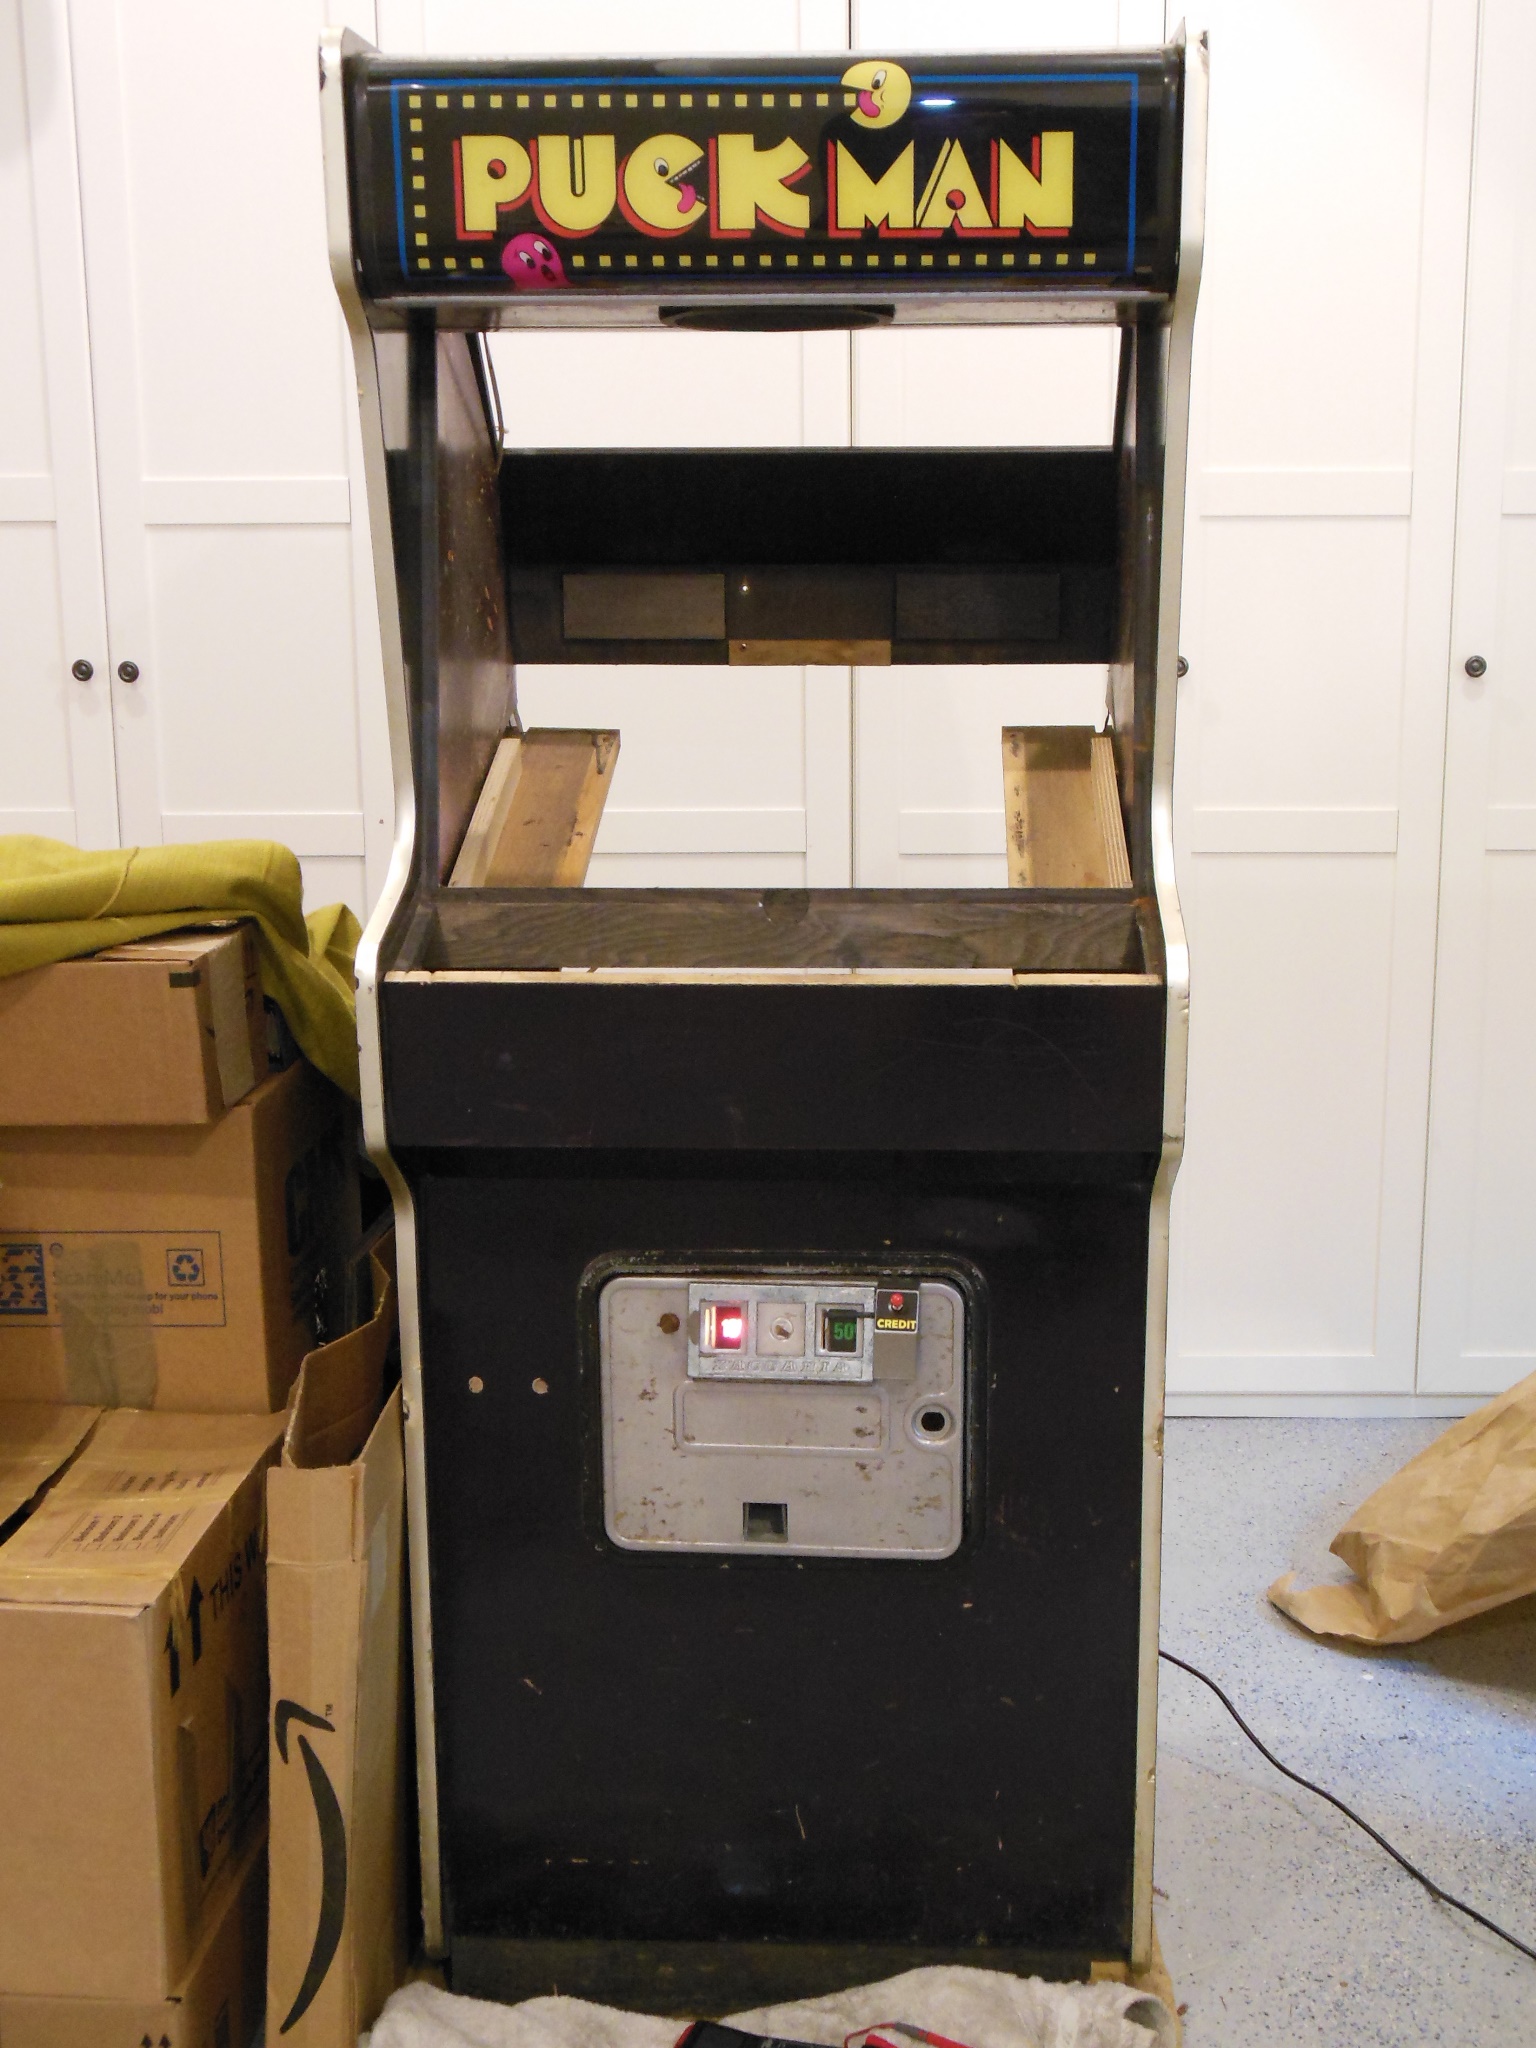
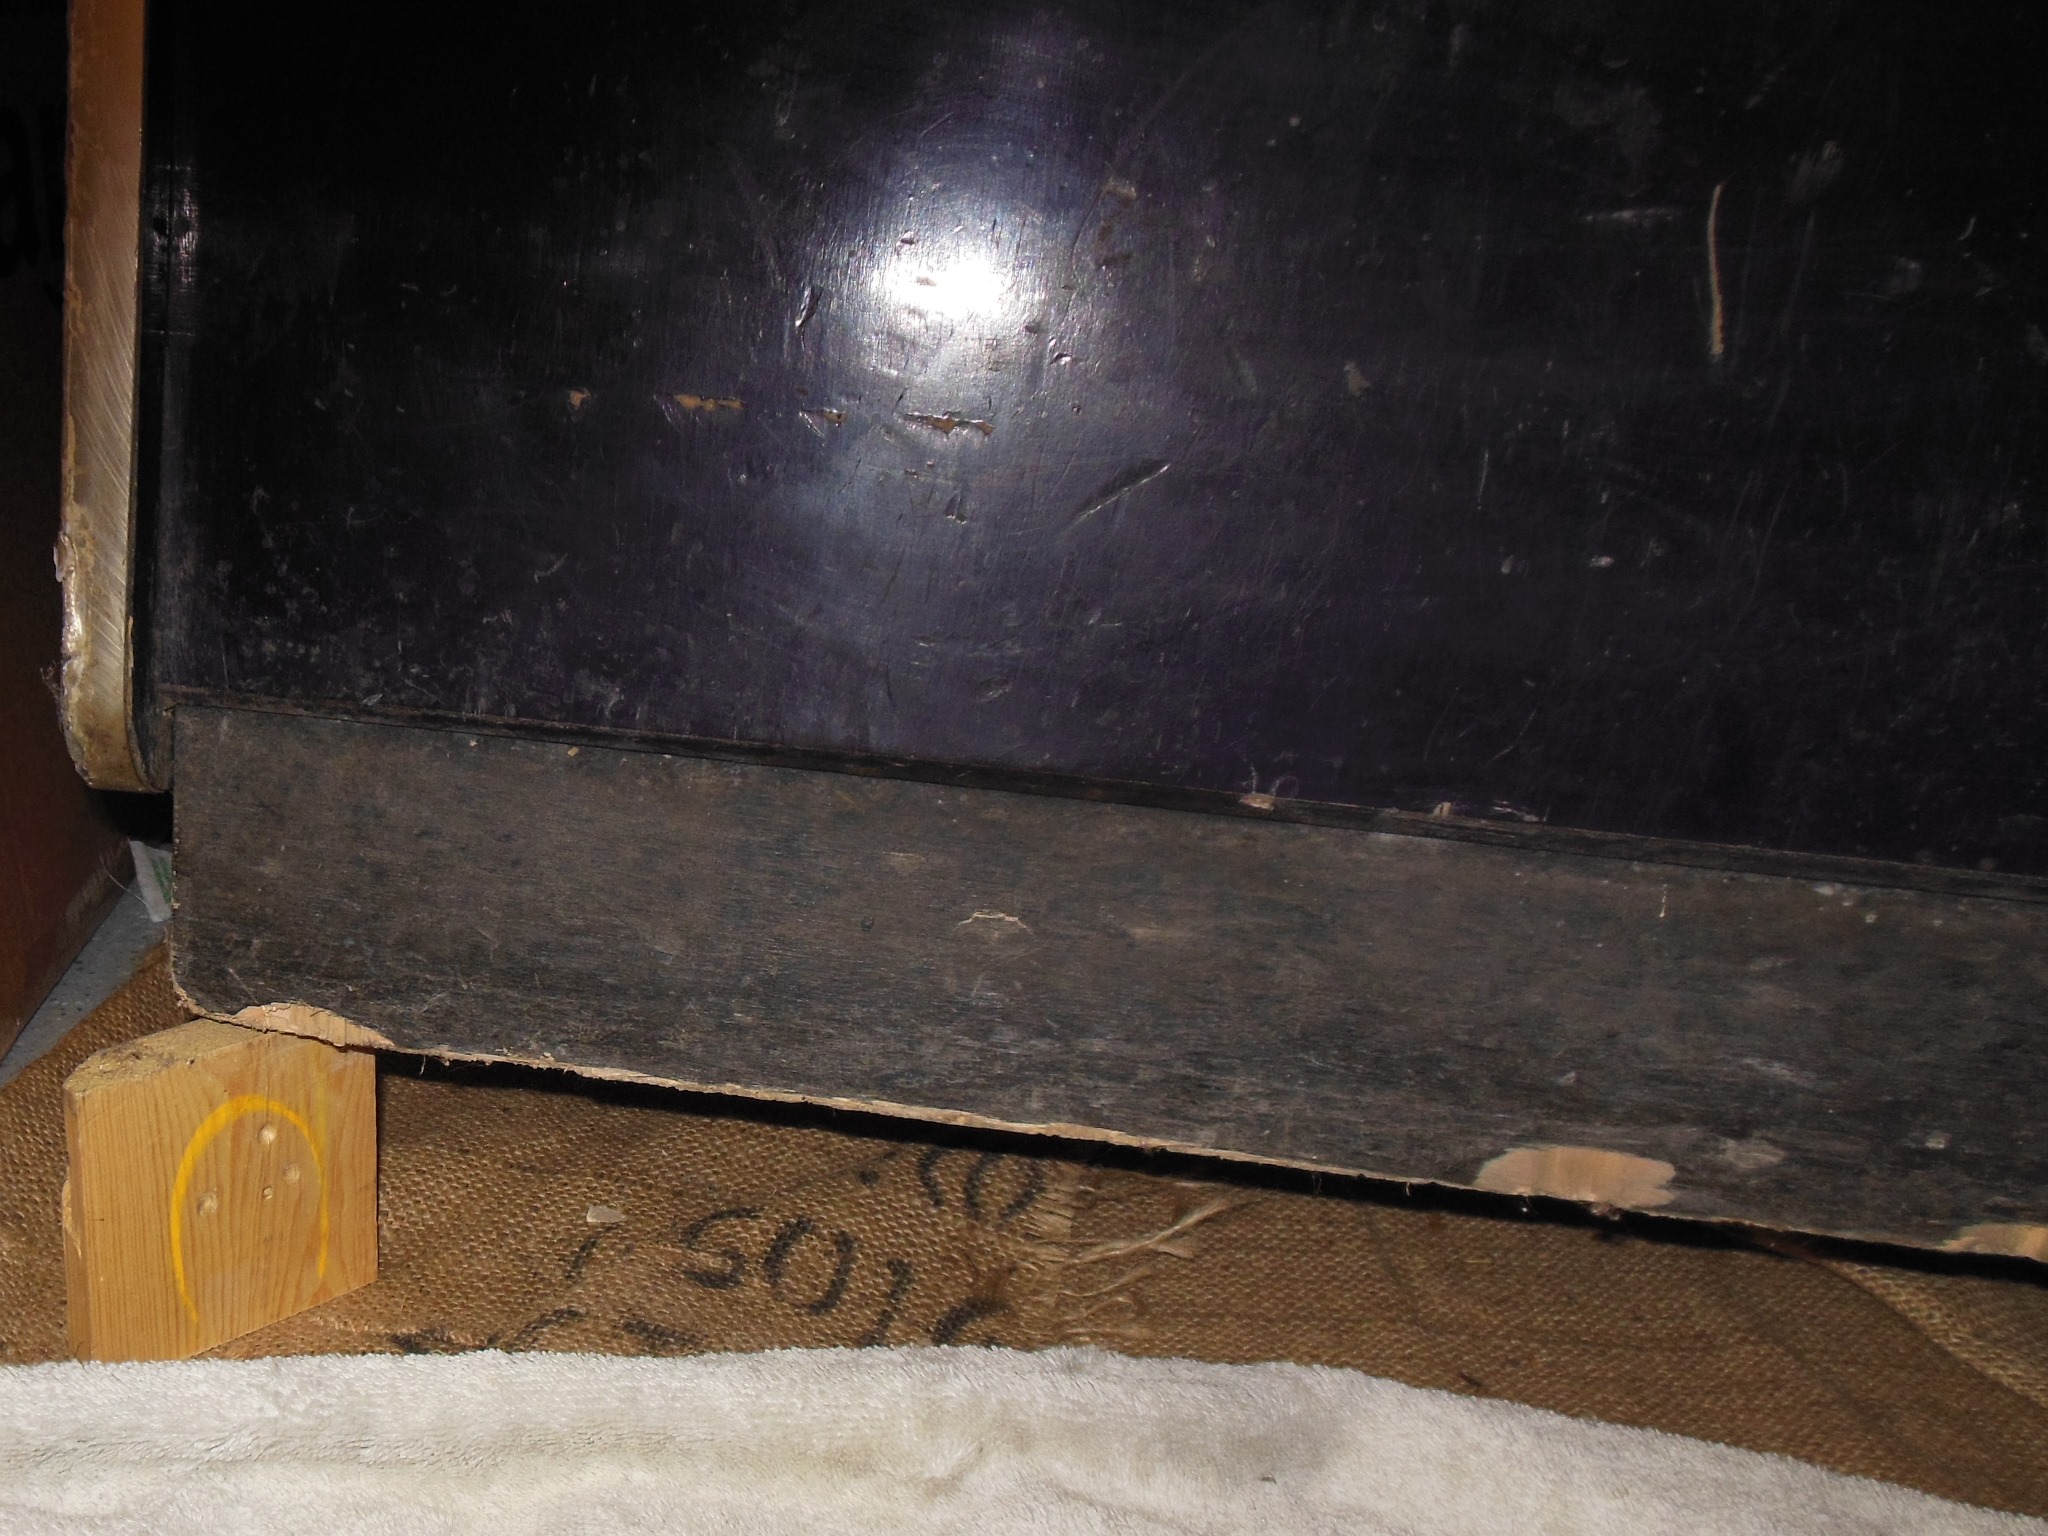
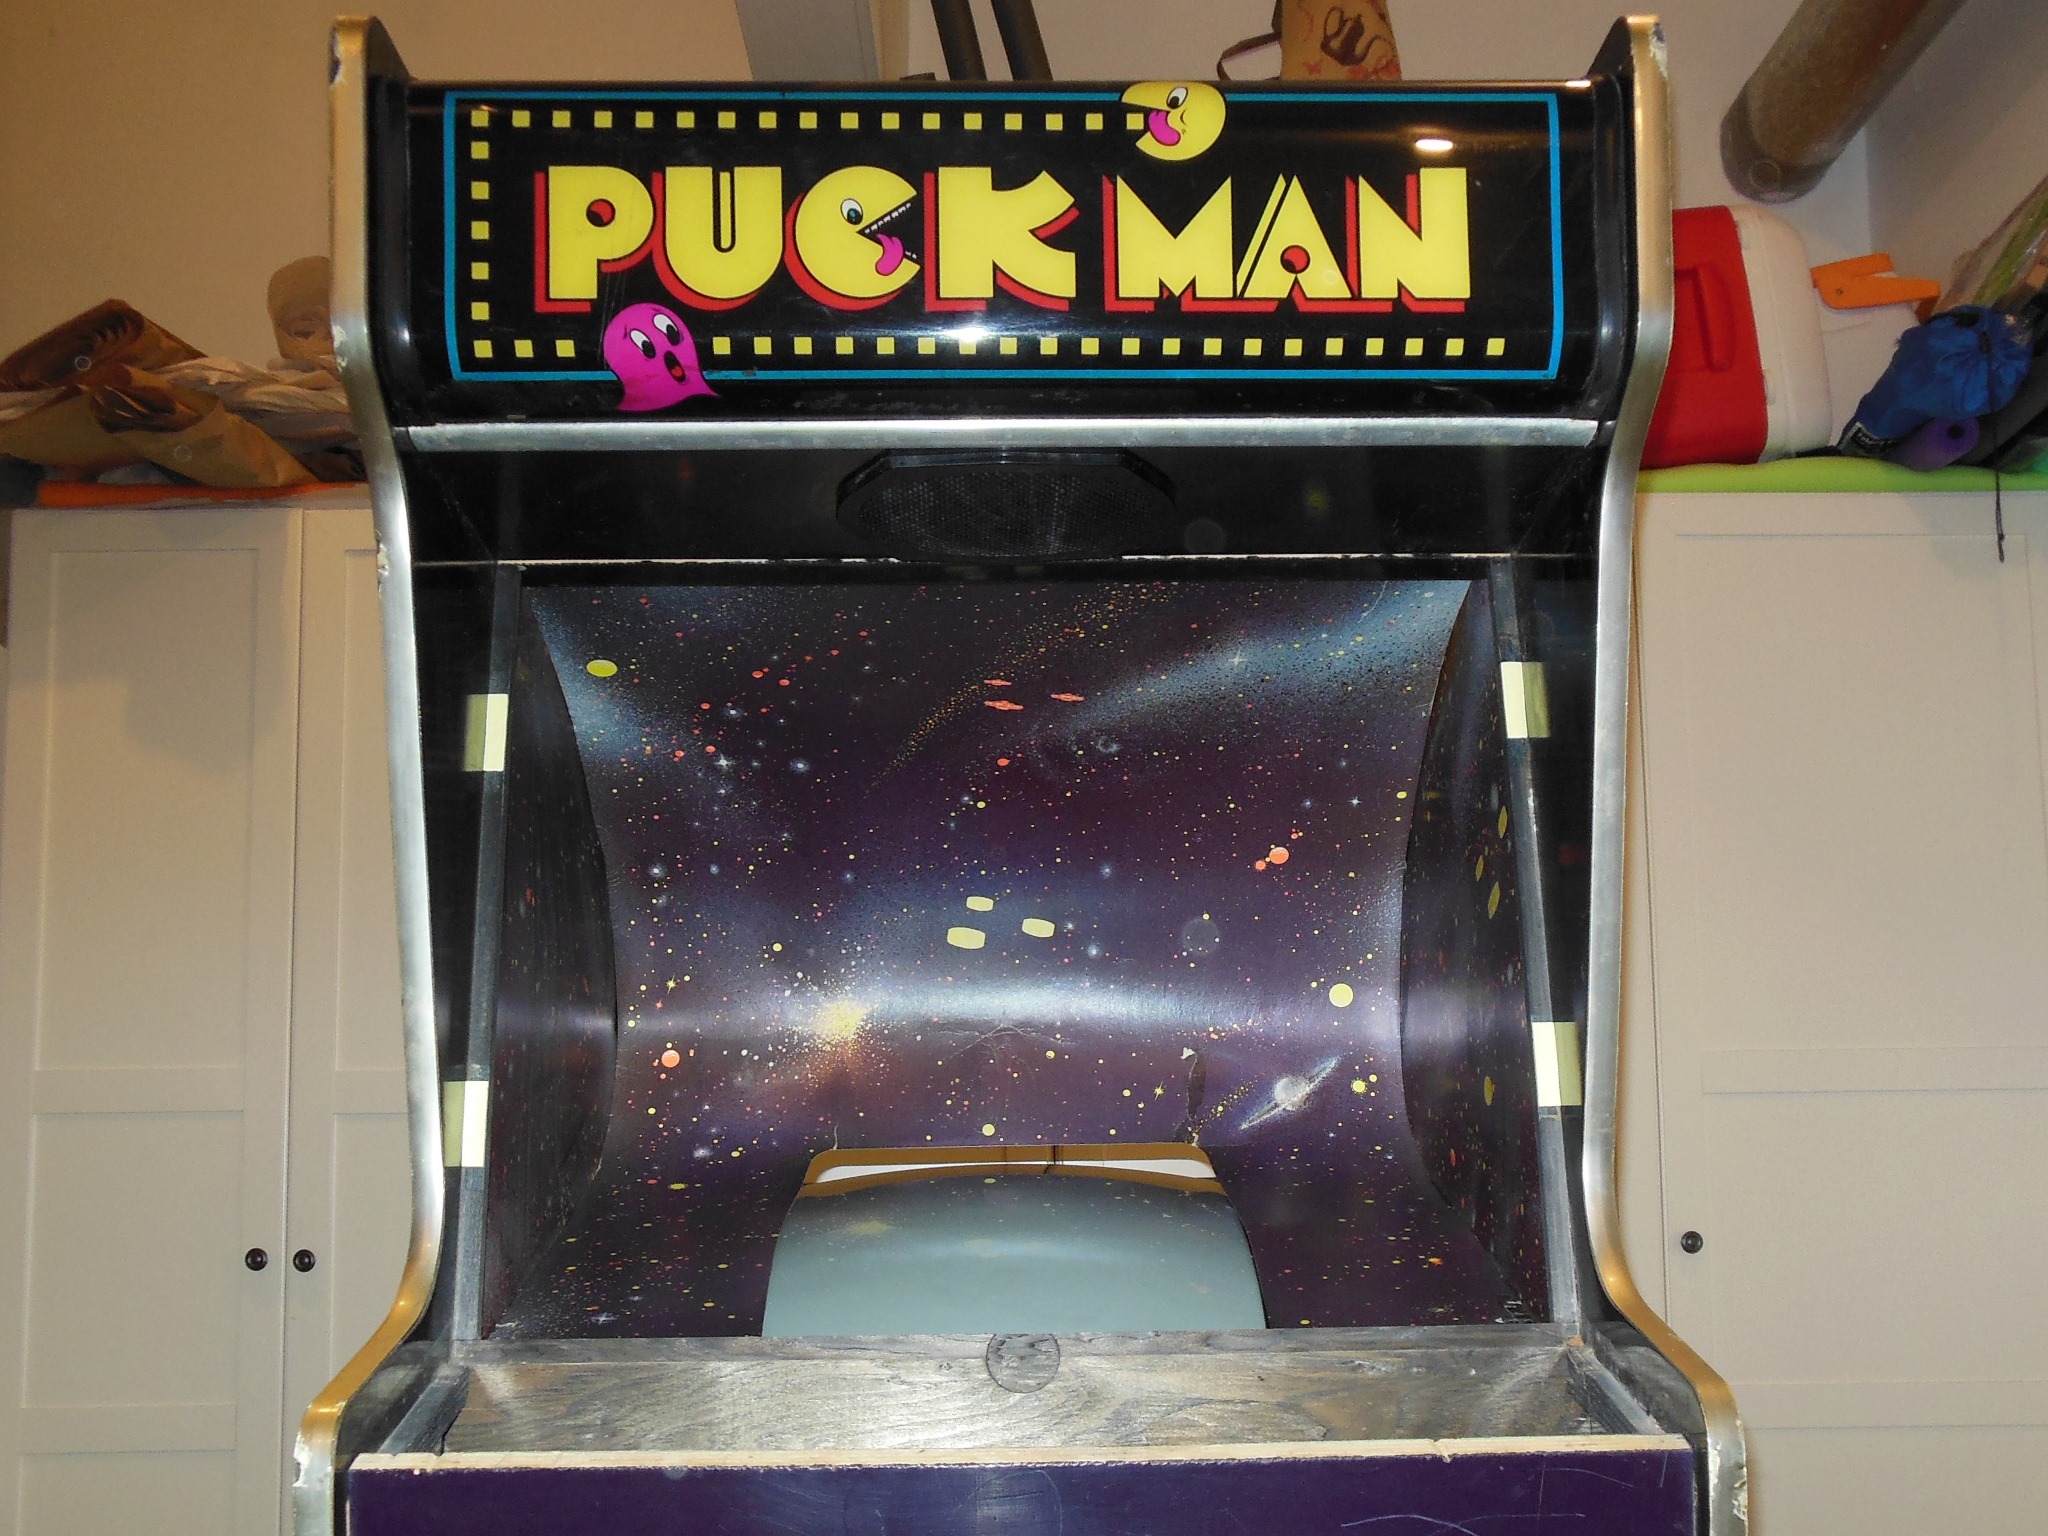
Externally the cabinet looked complete and original except for missing all its feet and one corner has the foot block broken off. The back door was originally missing from all four of the cabinets as found and I borrowed a back door from another cabinet for it for now.
|
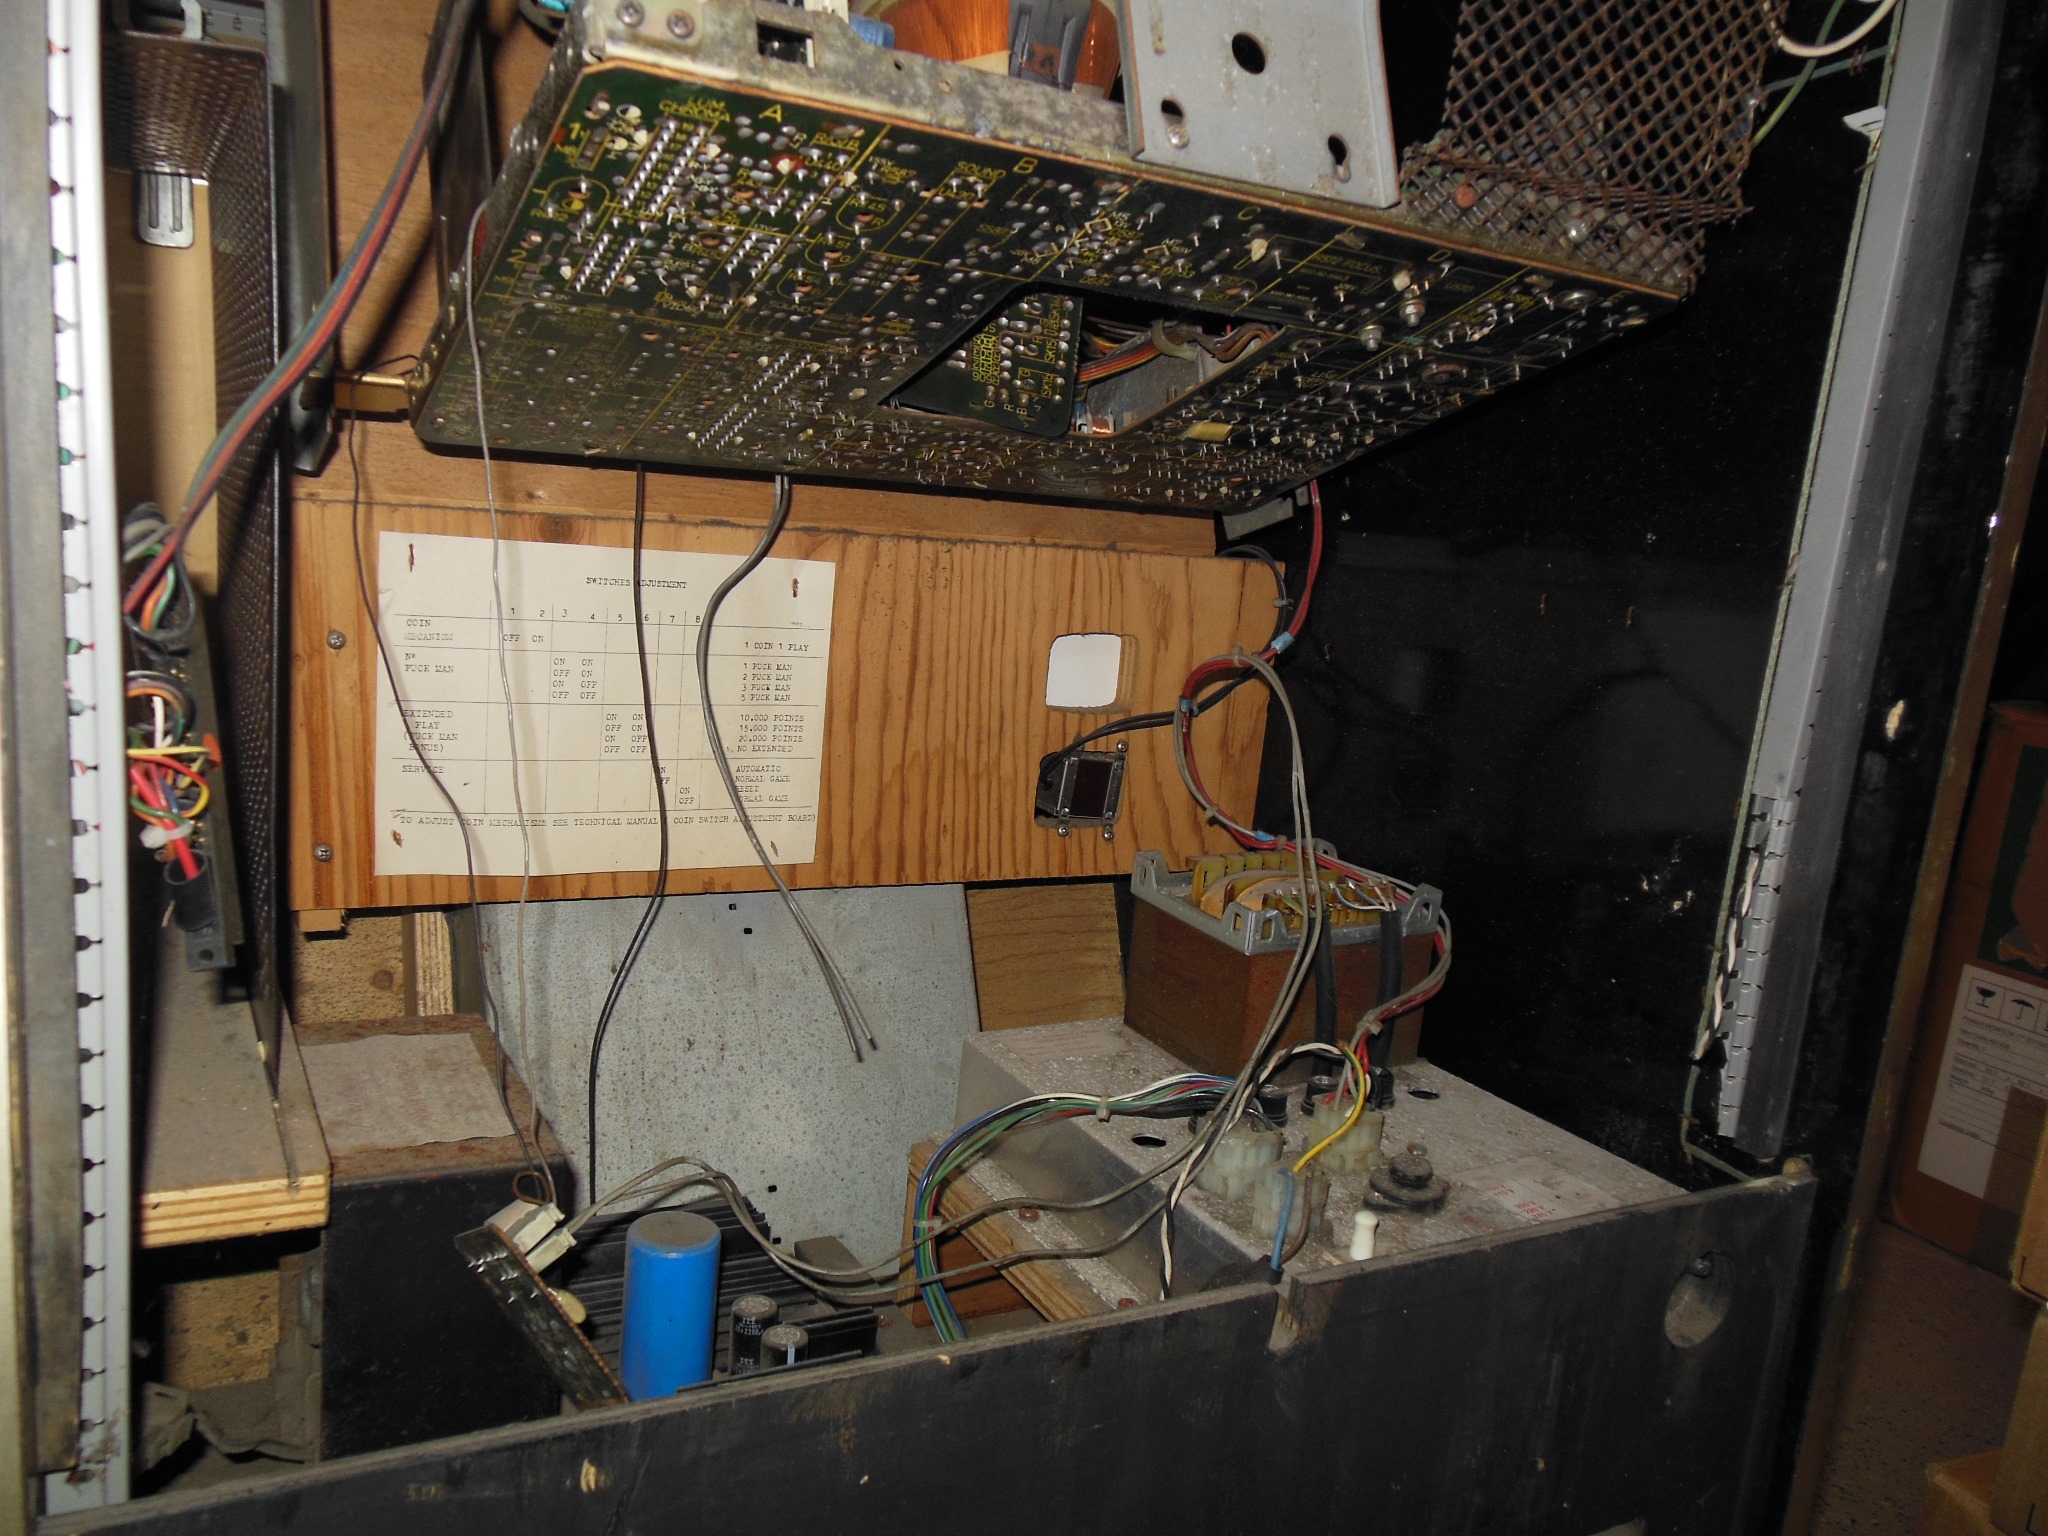
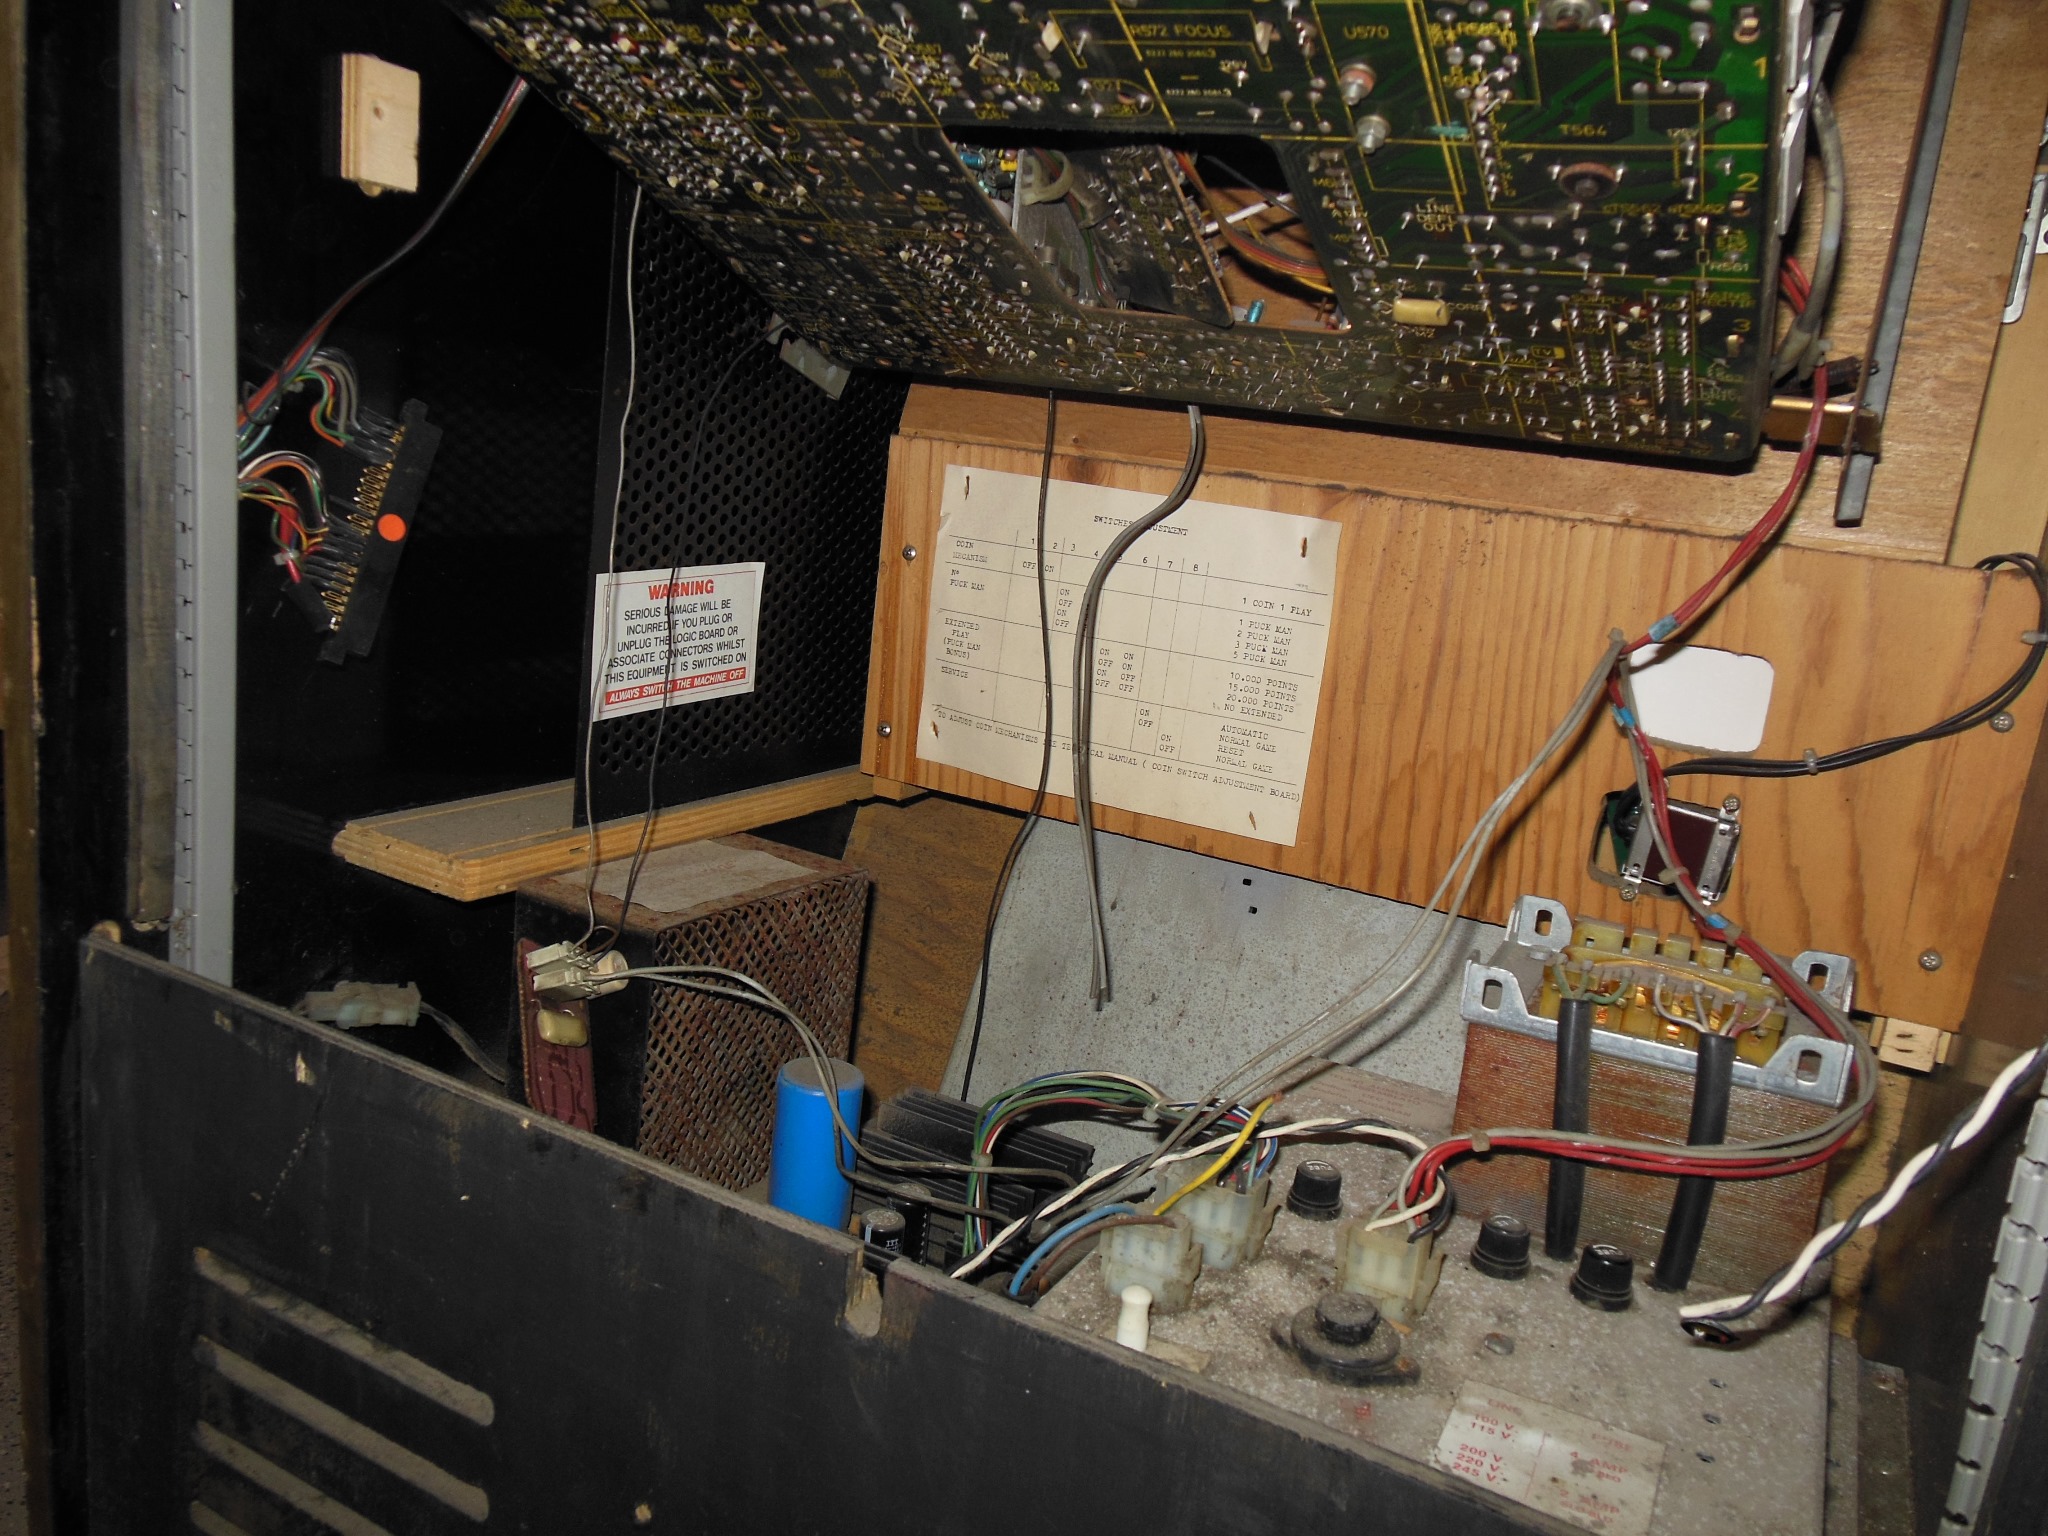
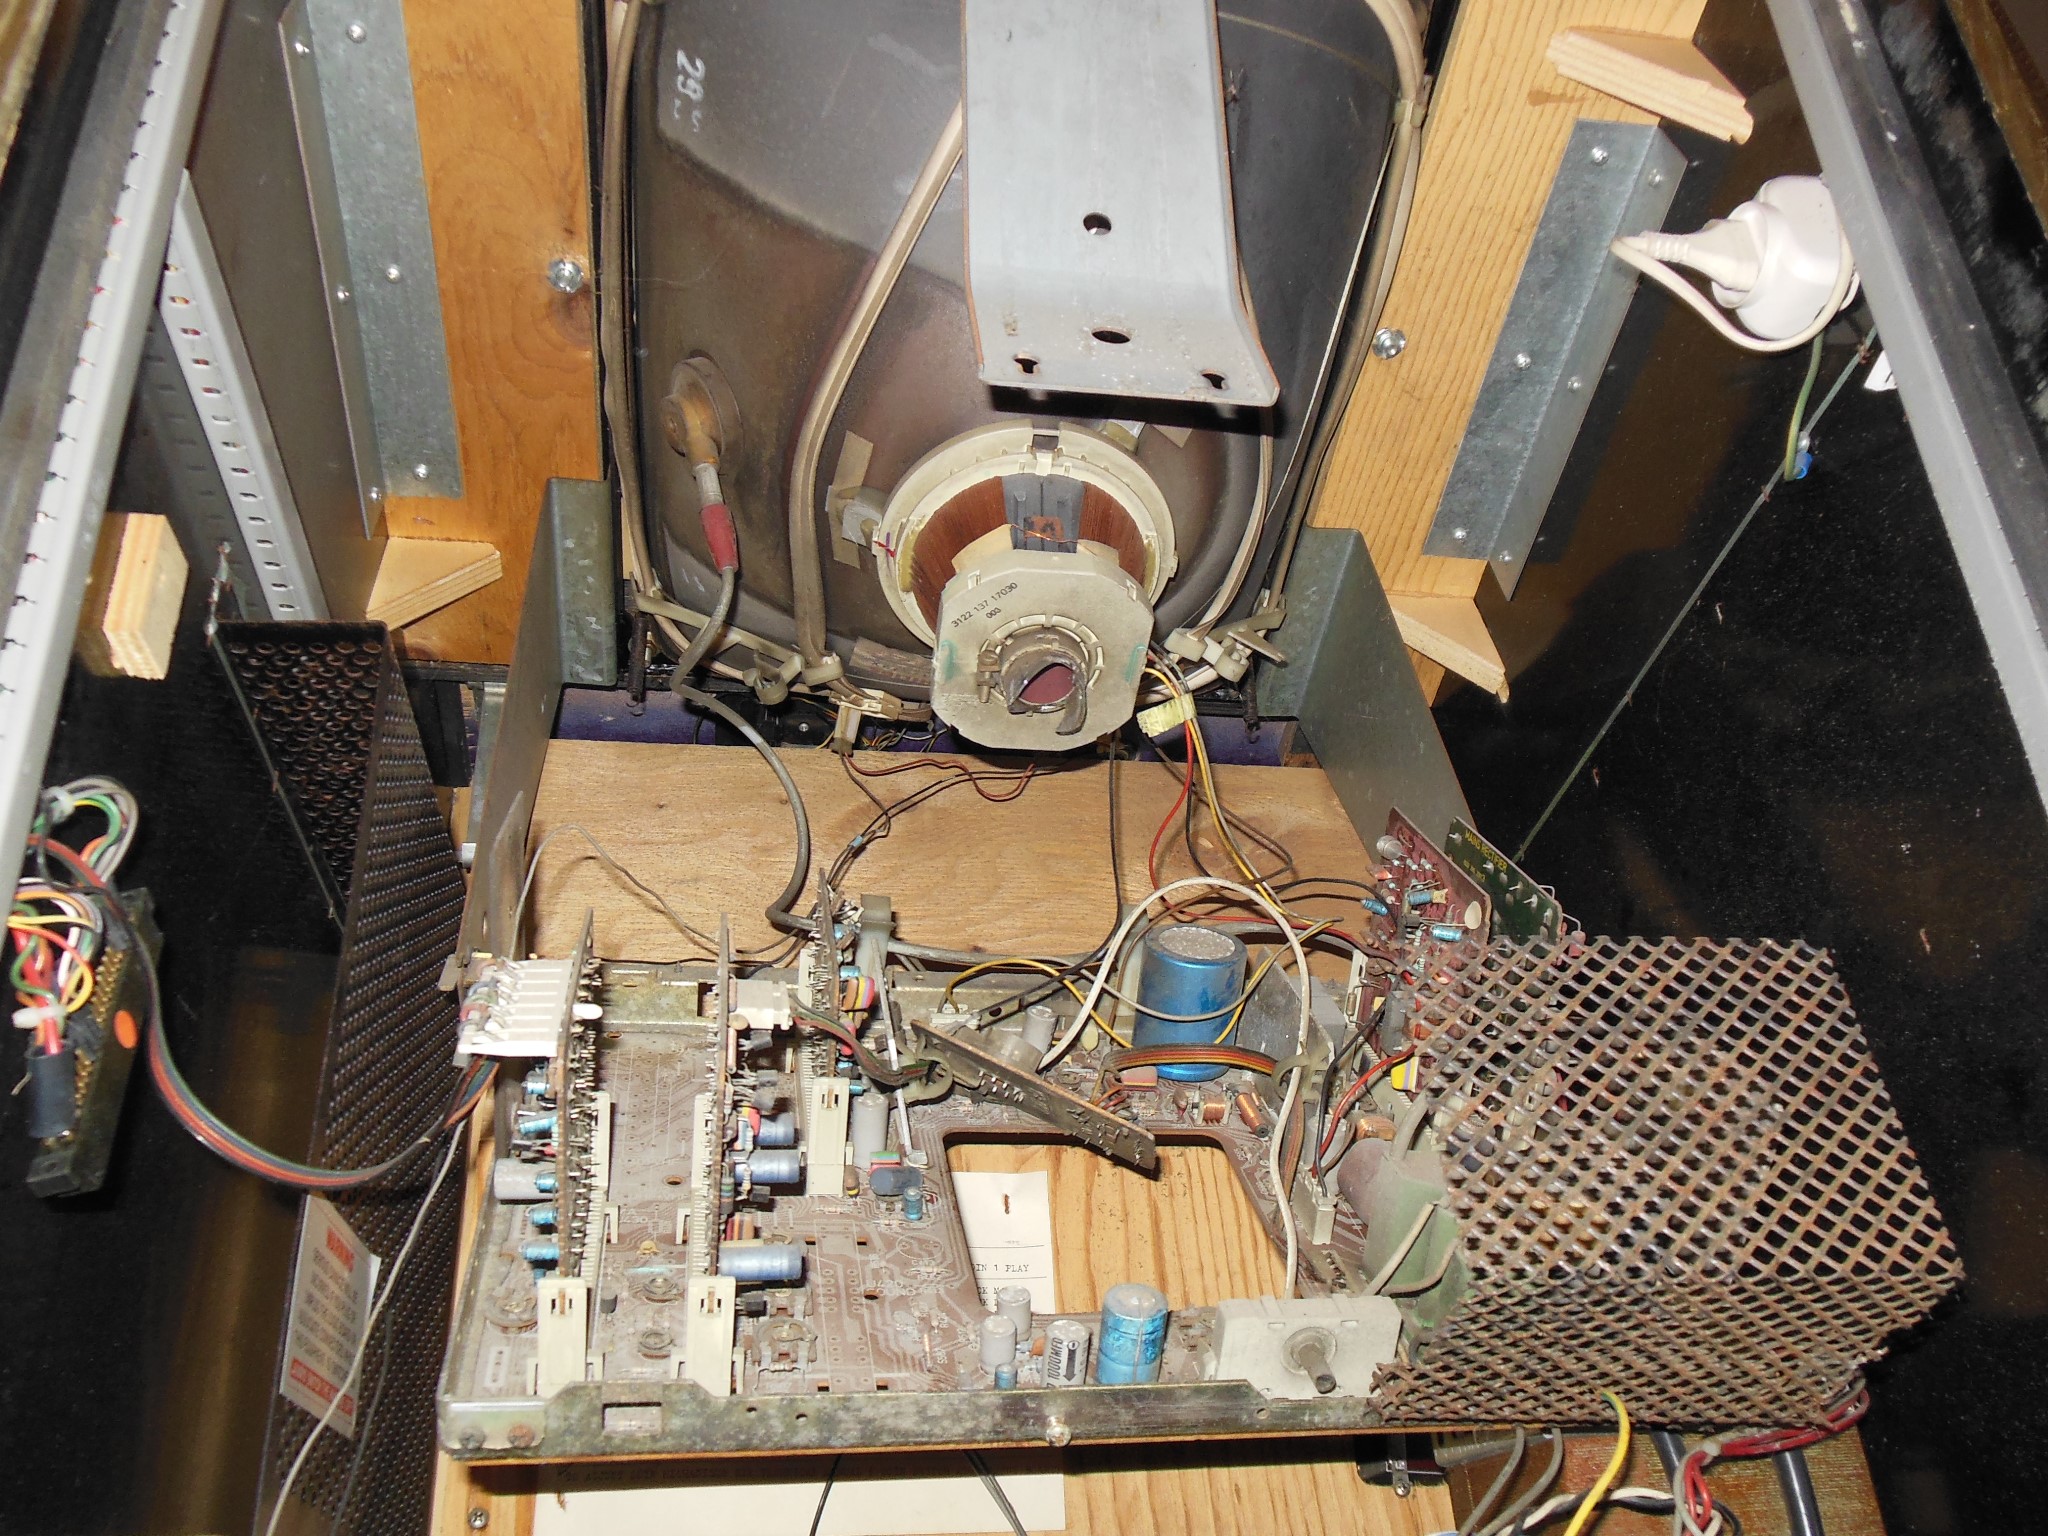
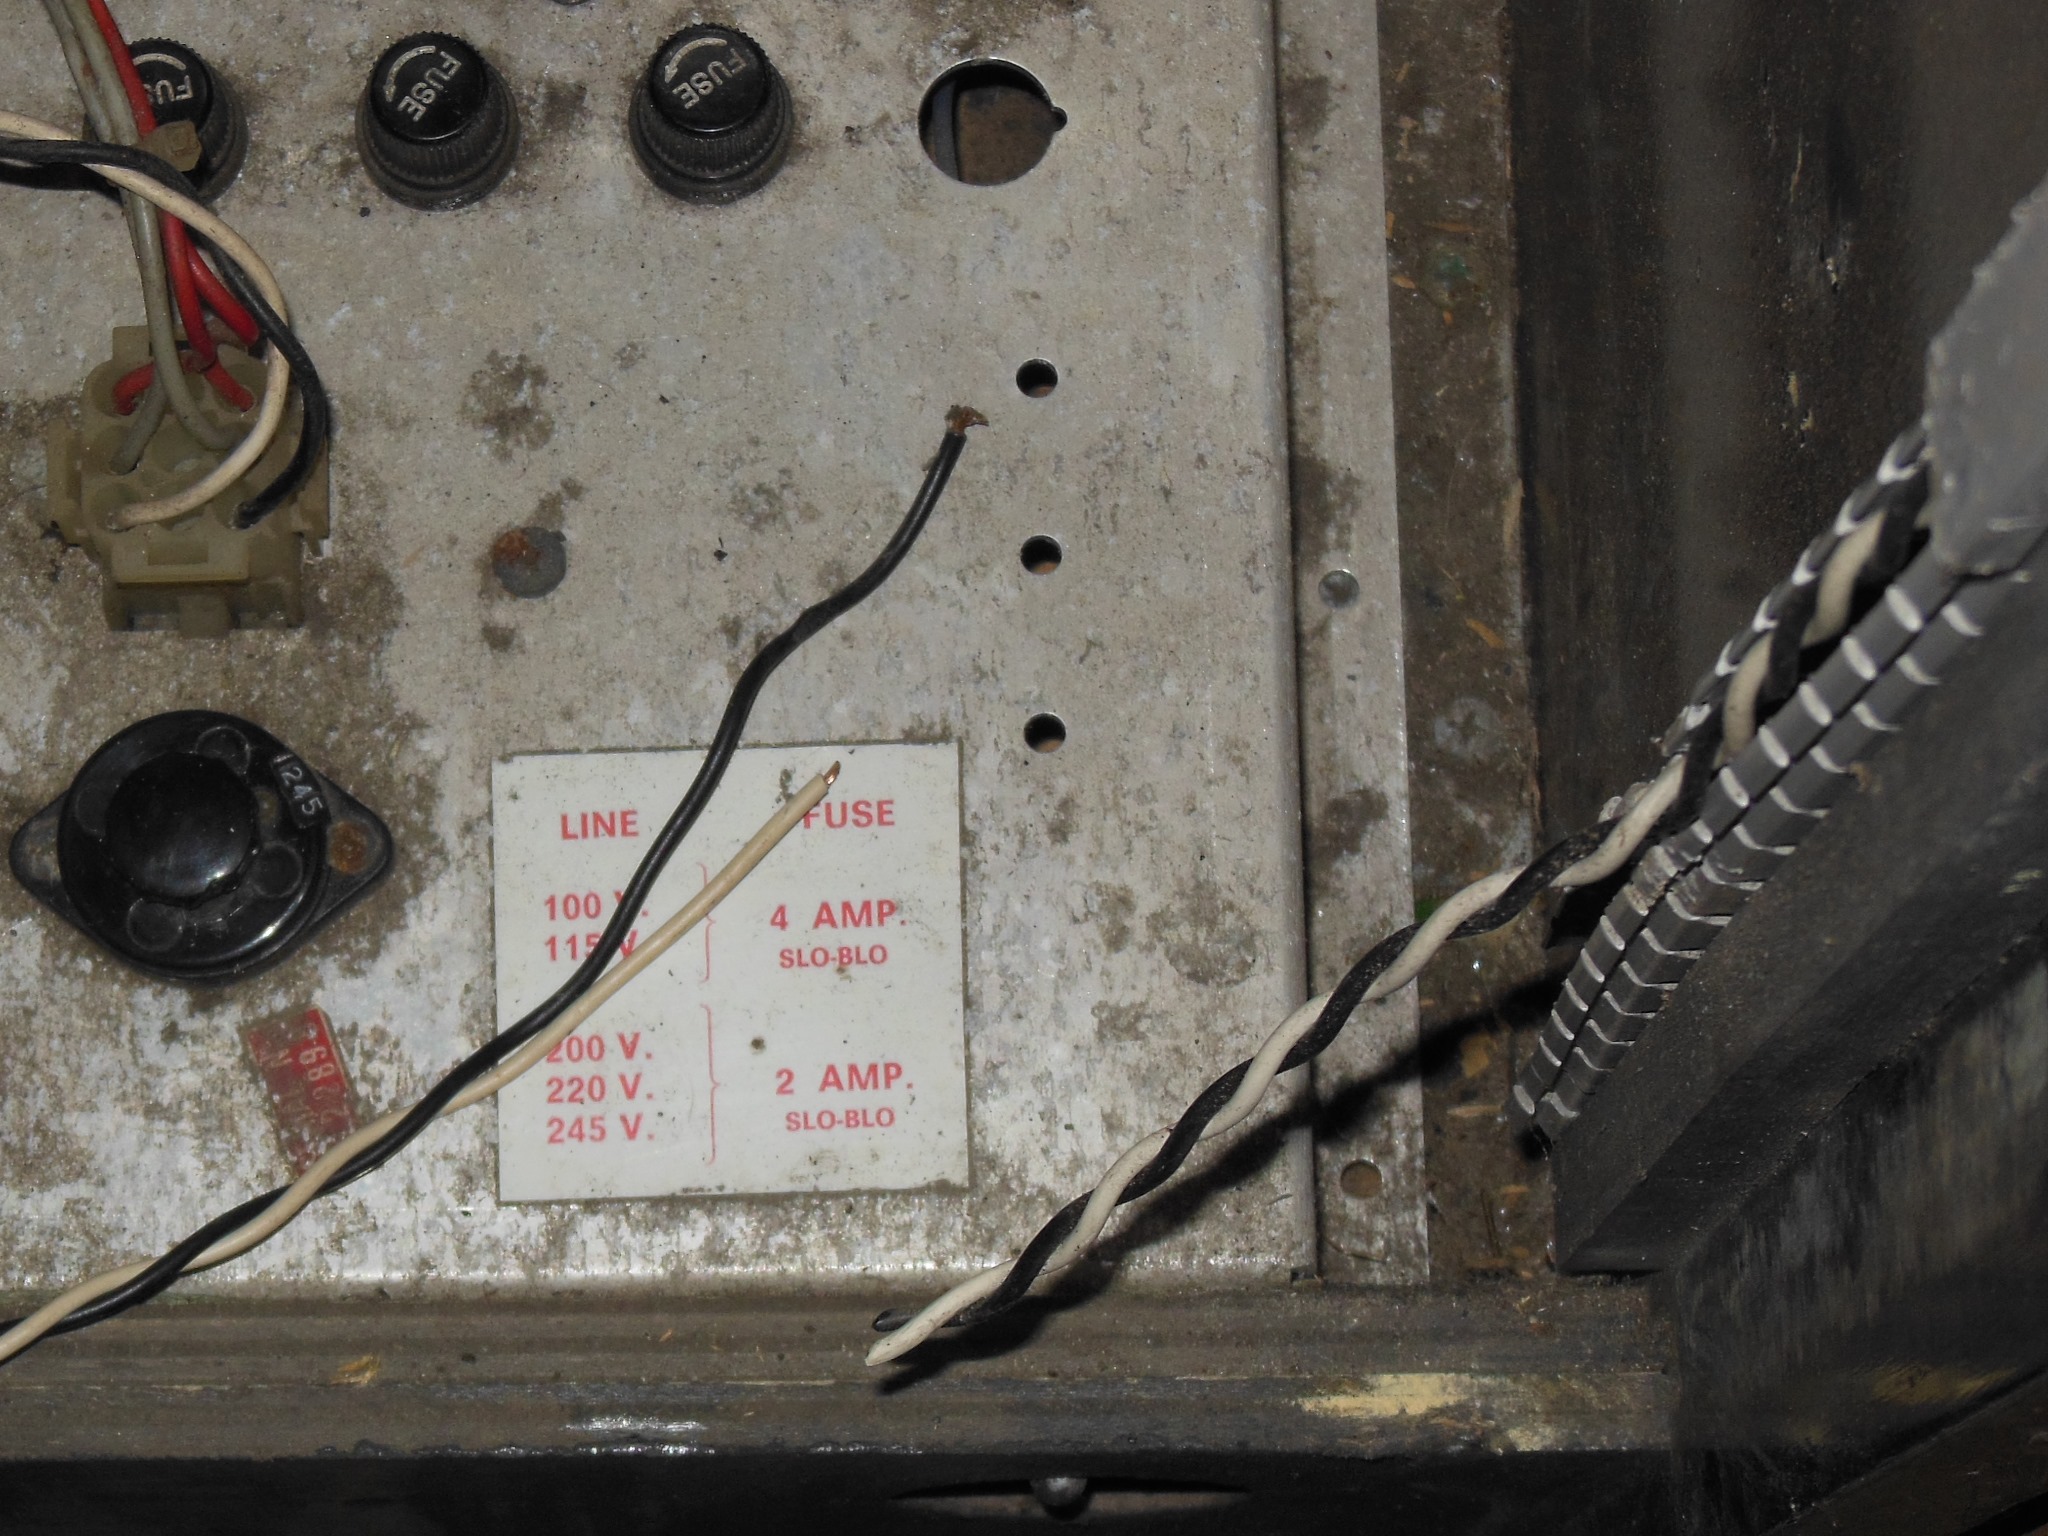
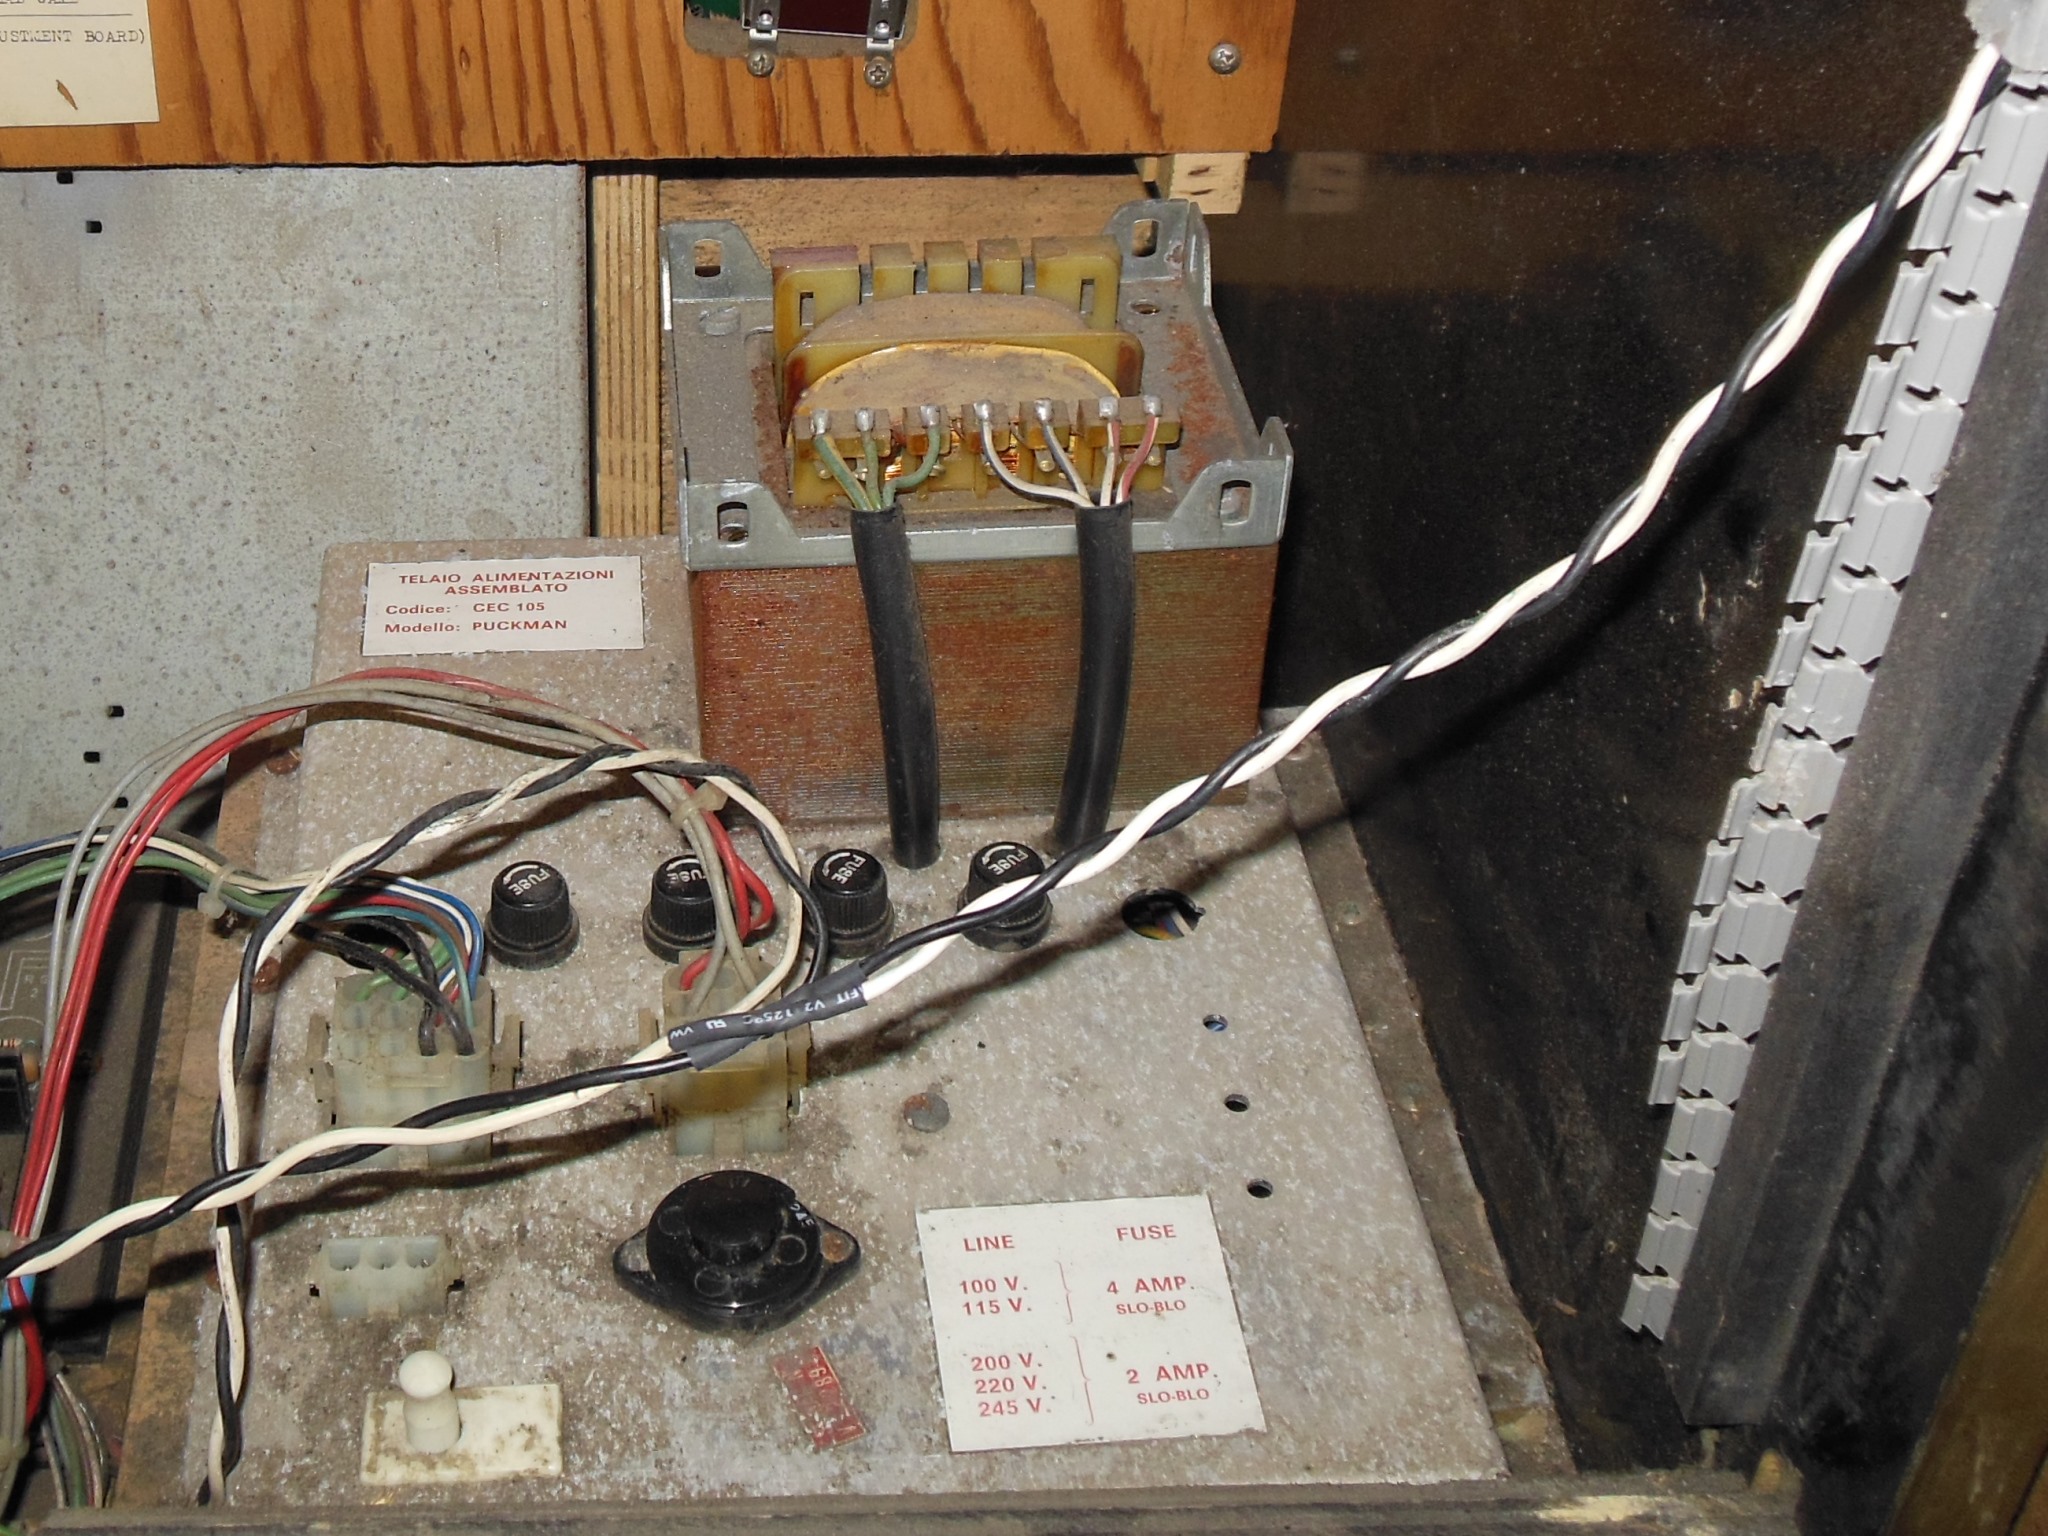
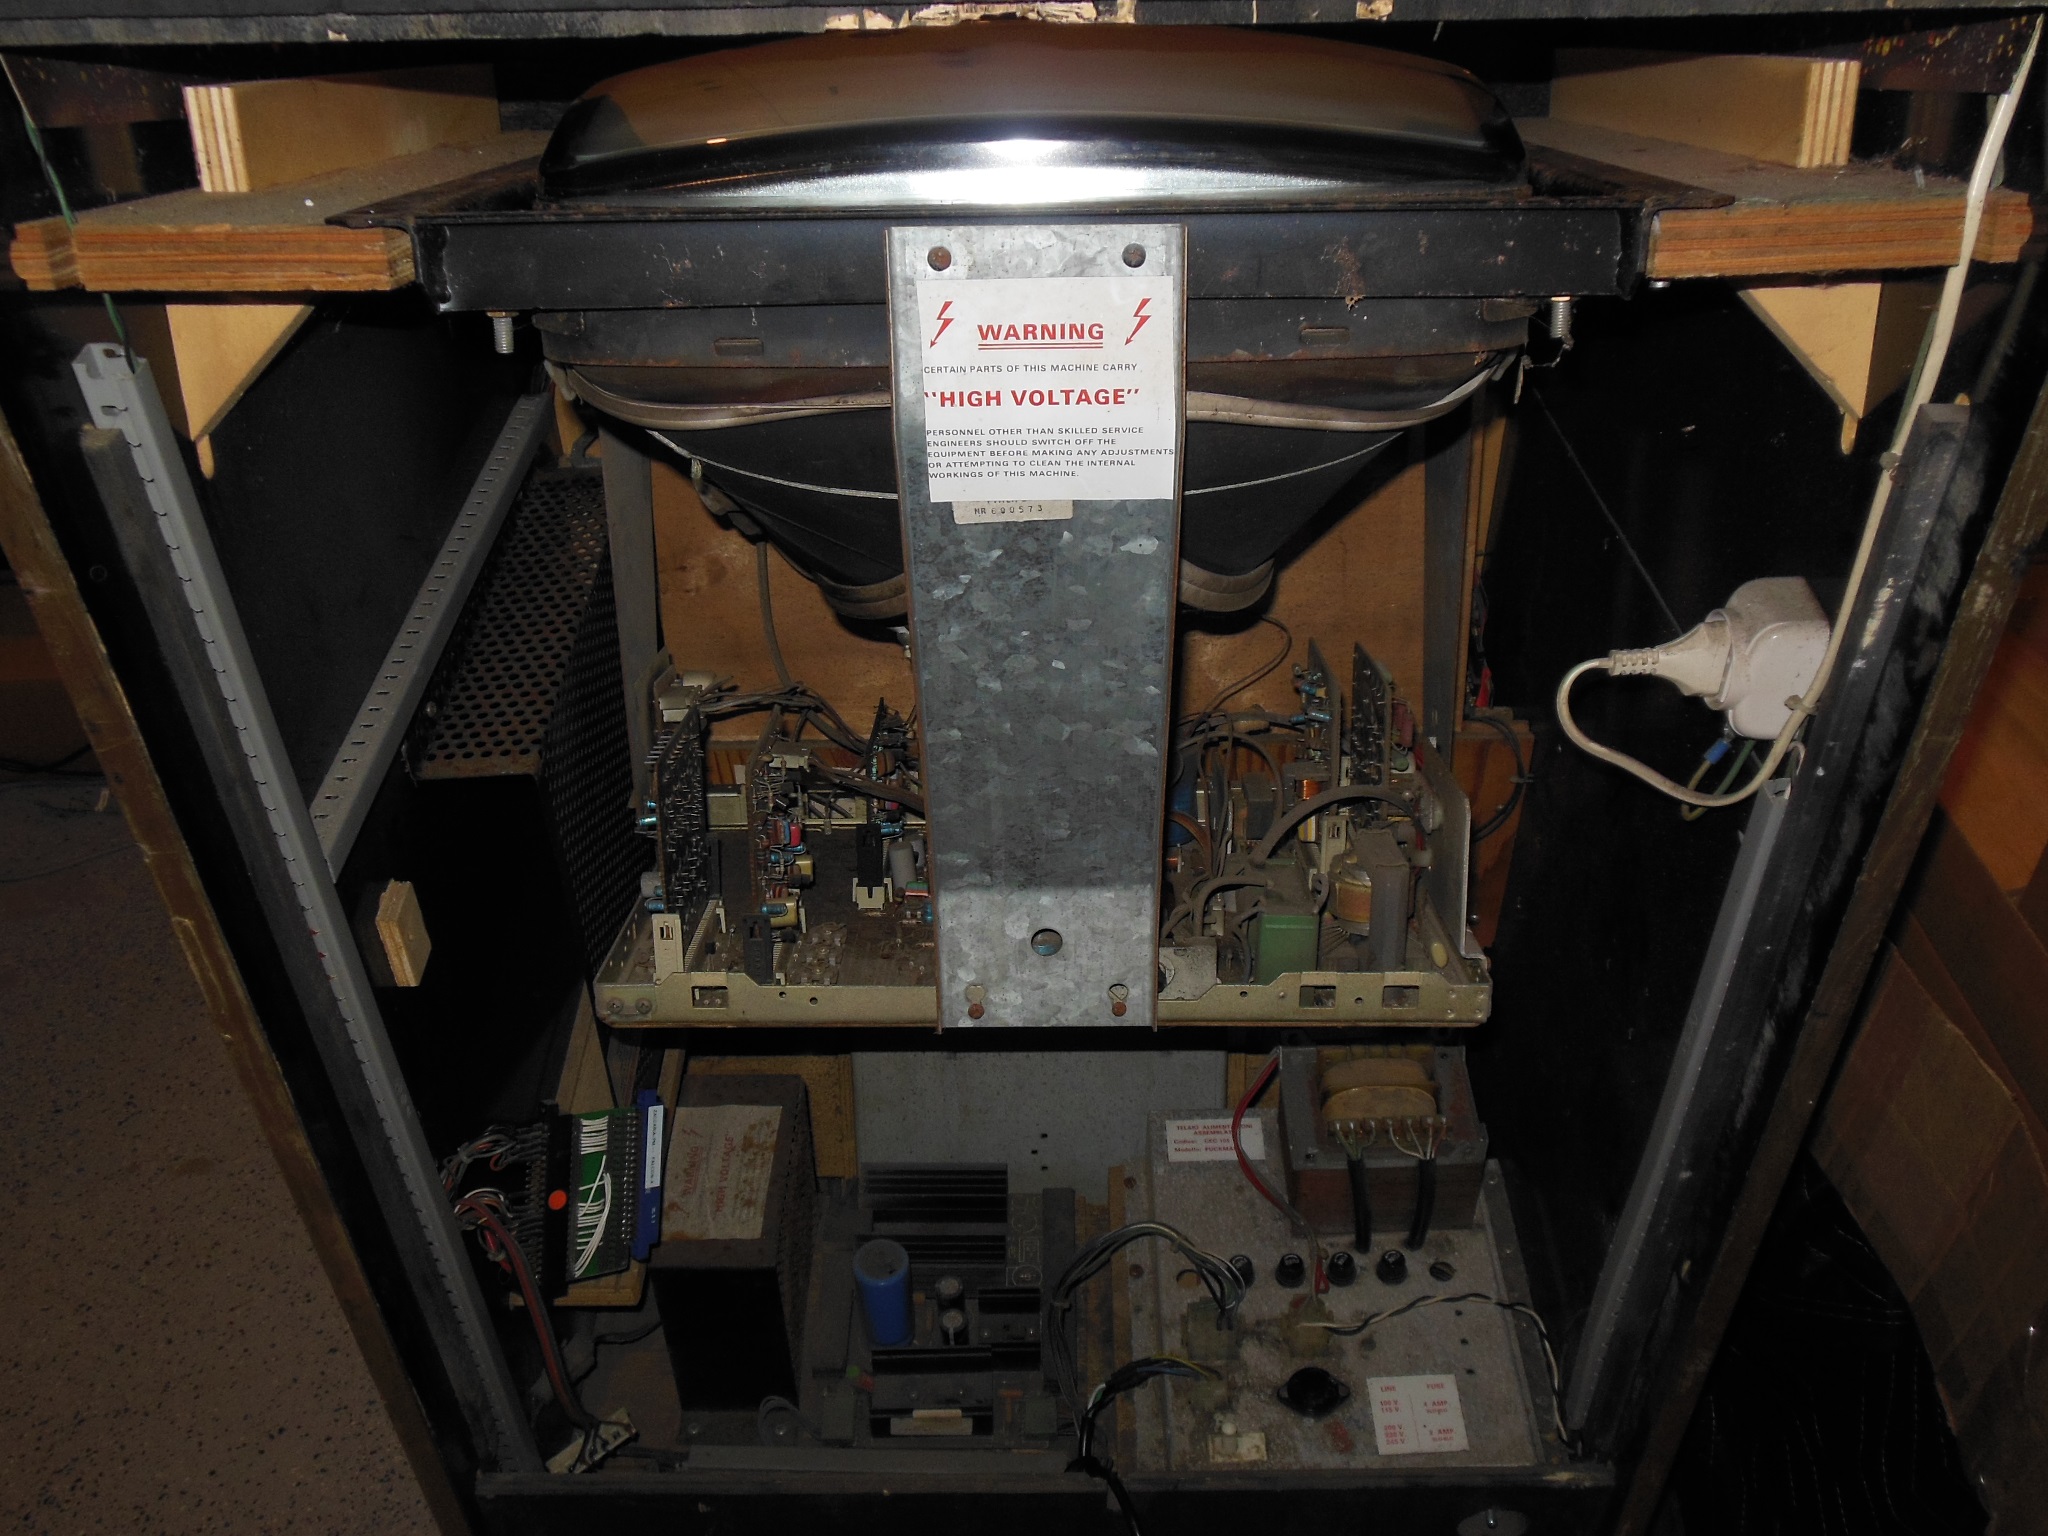
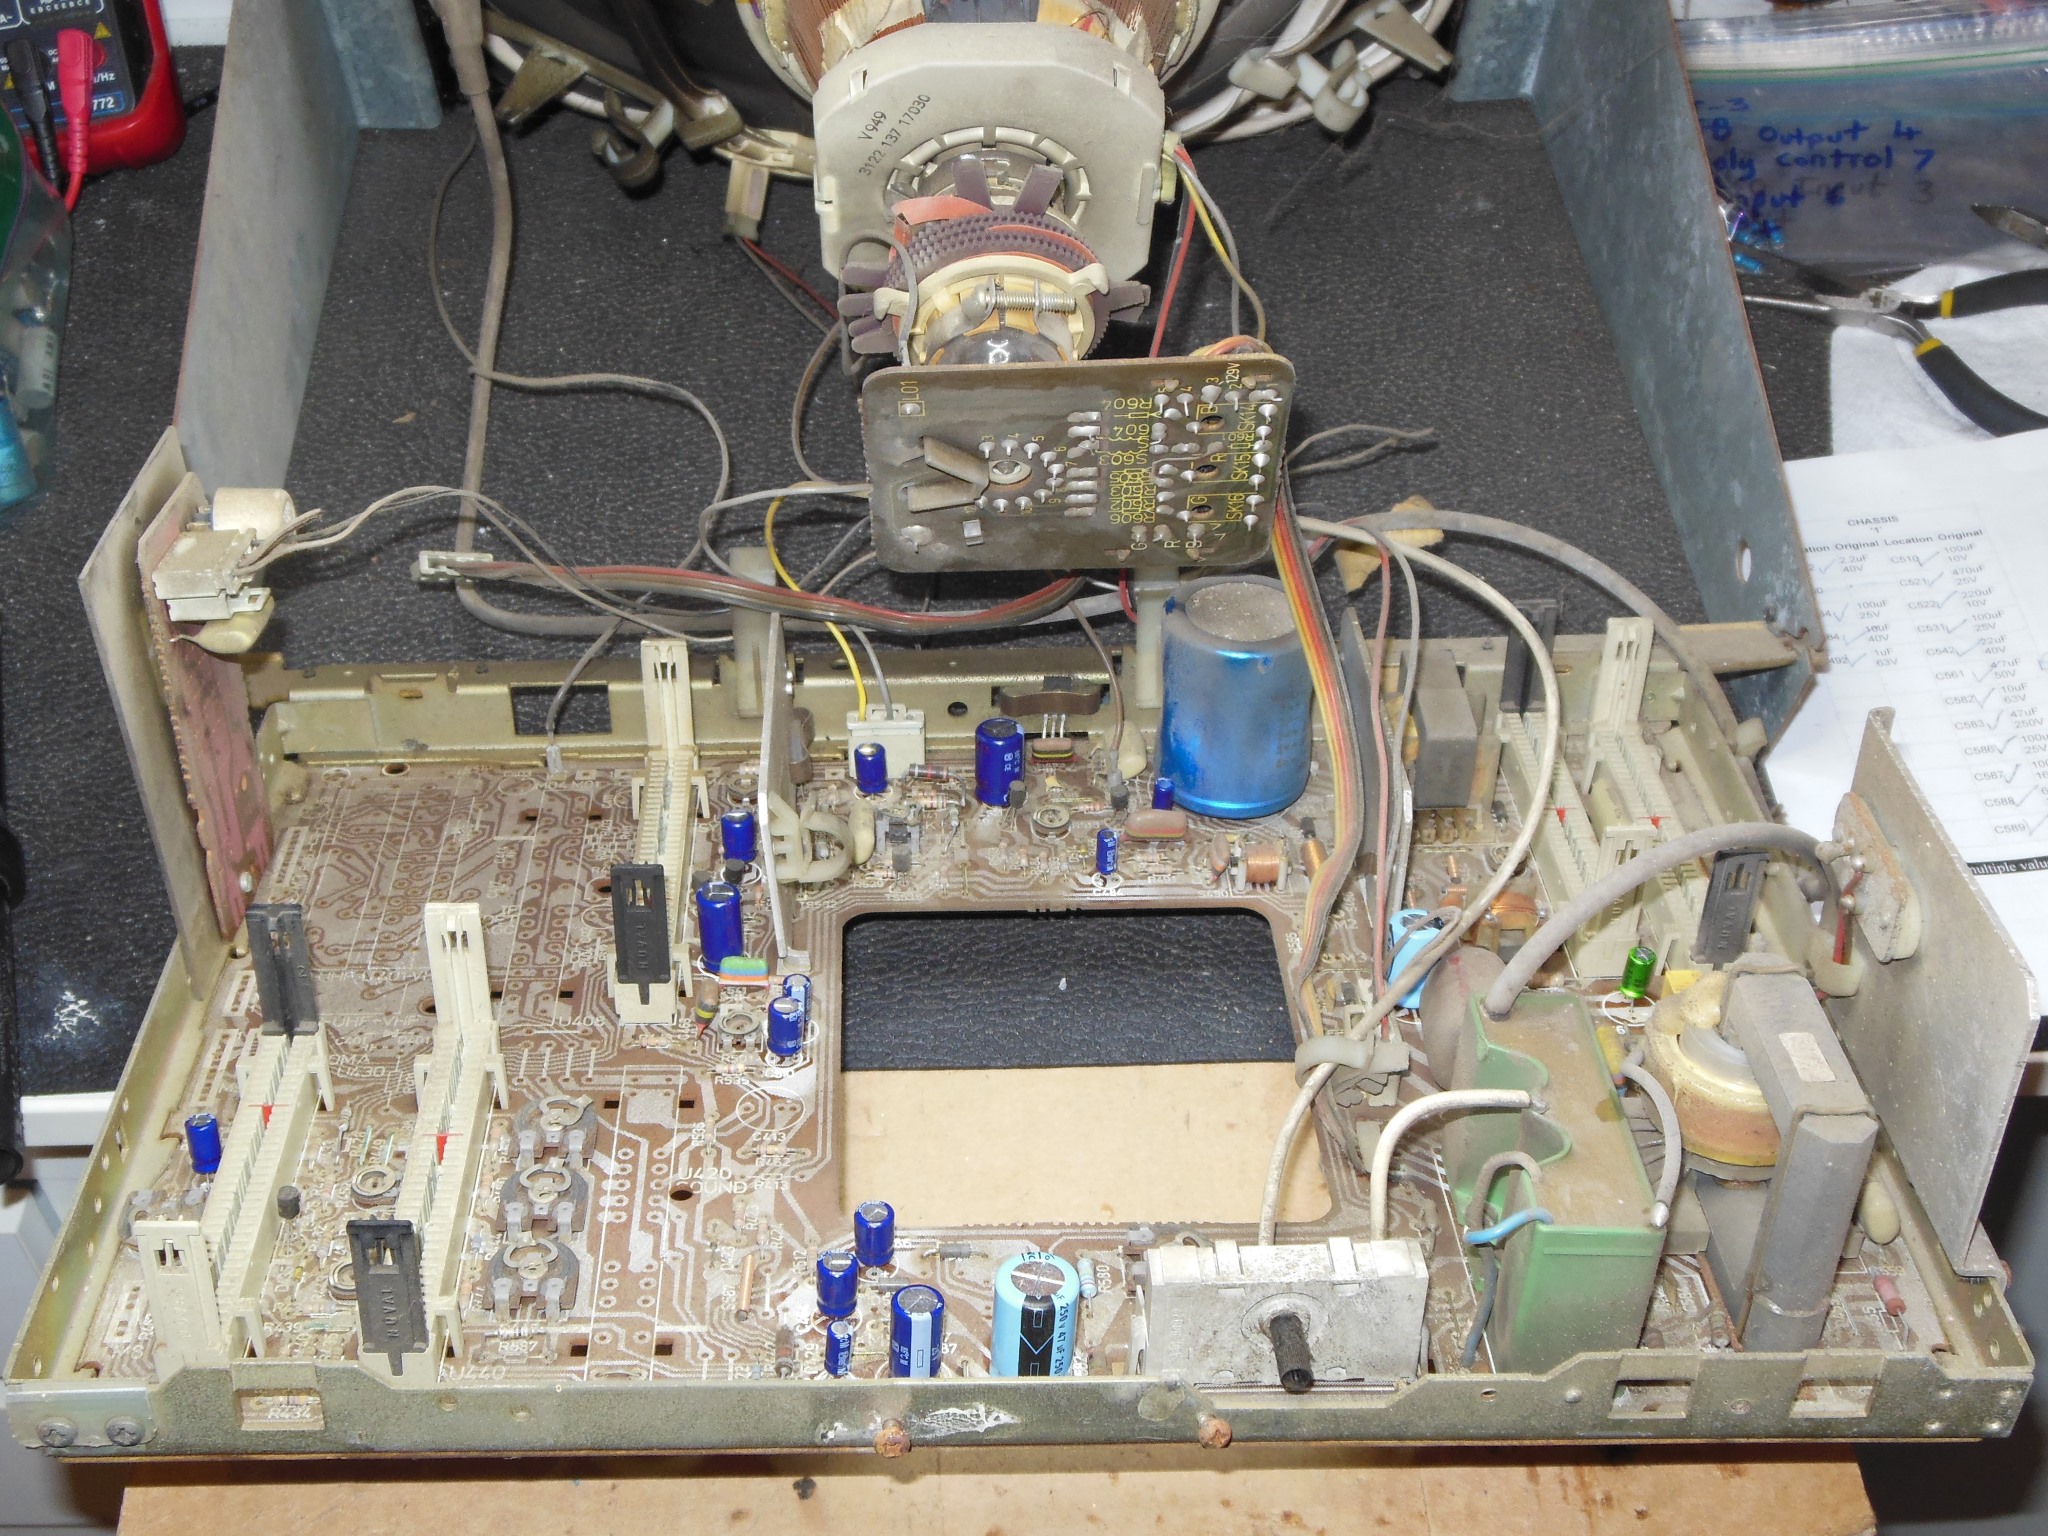
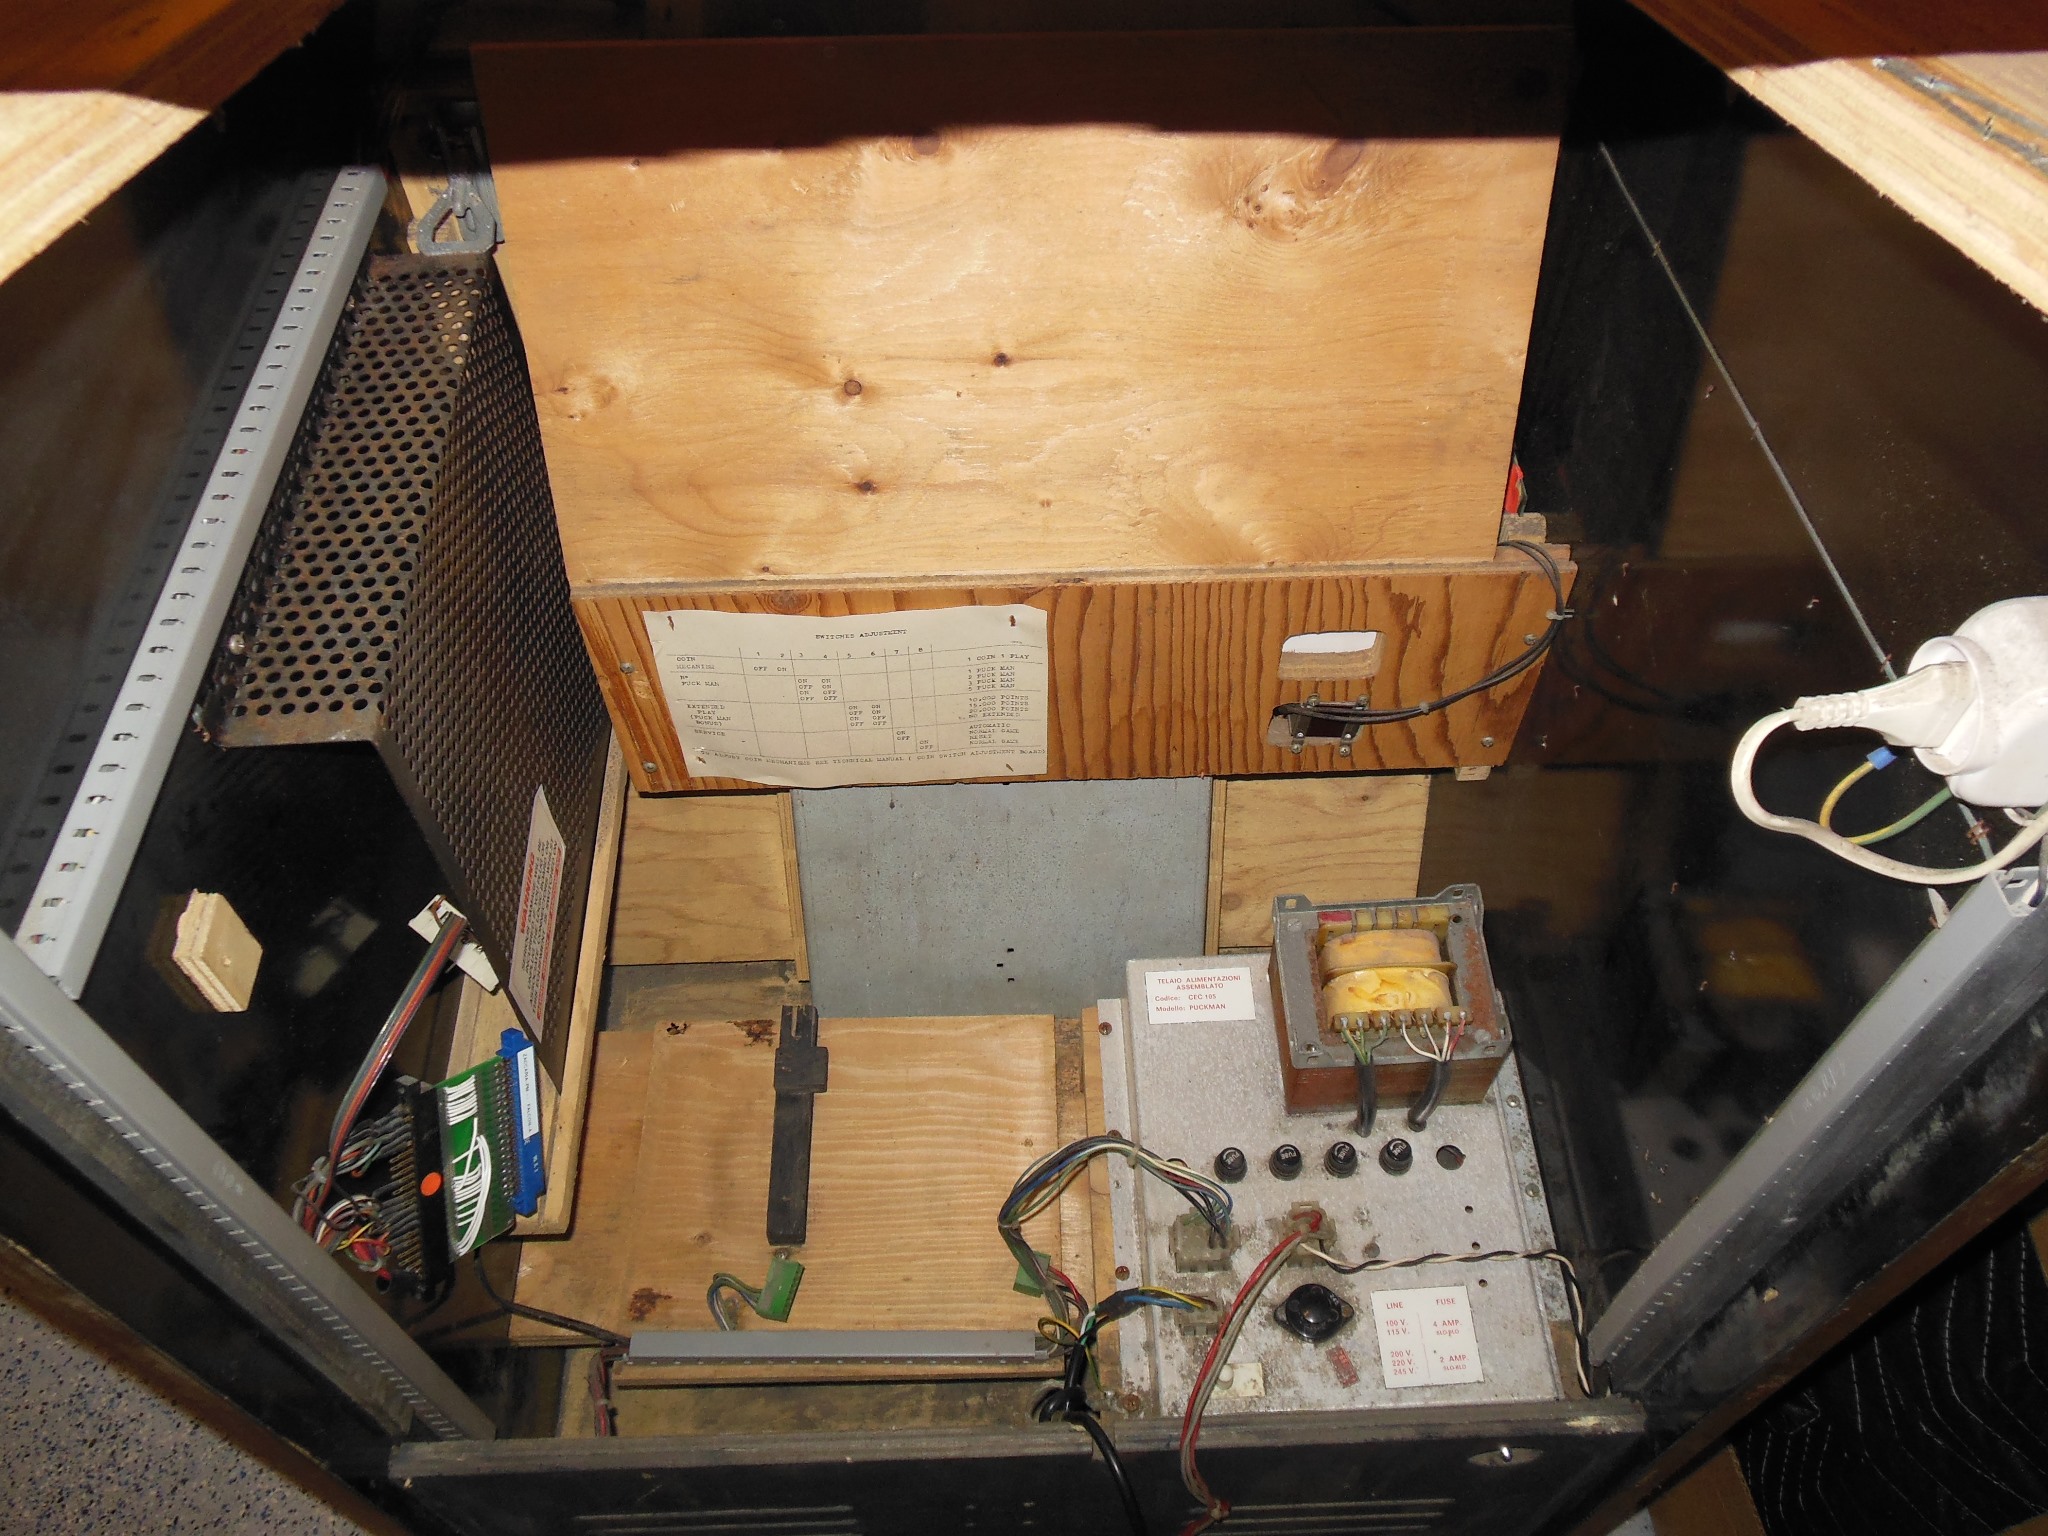
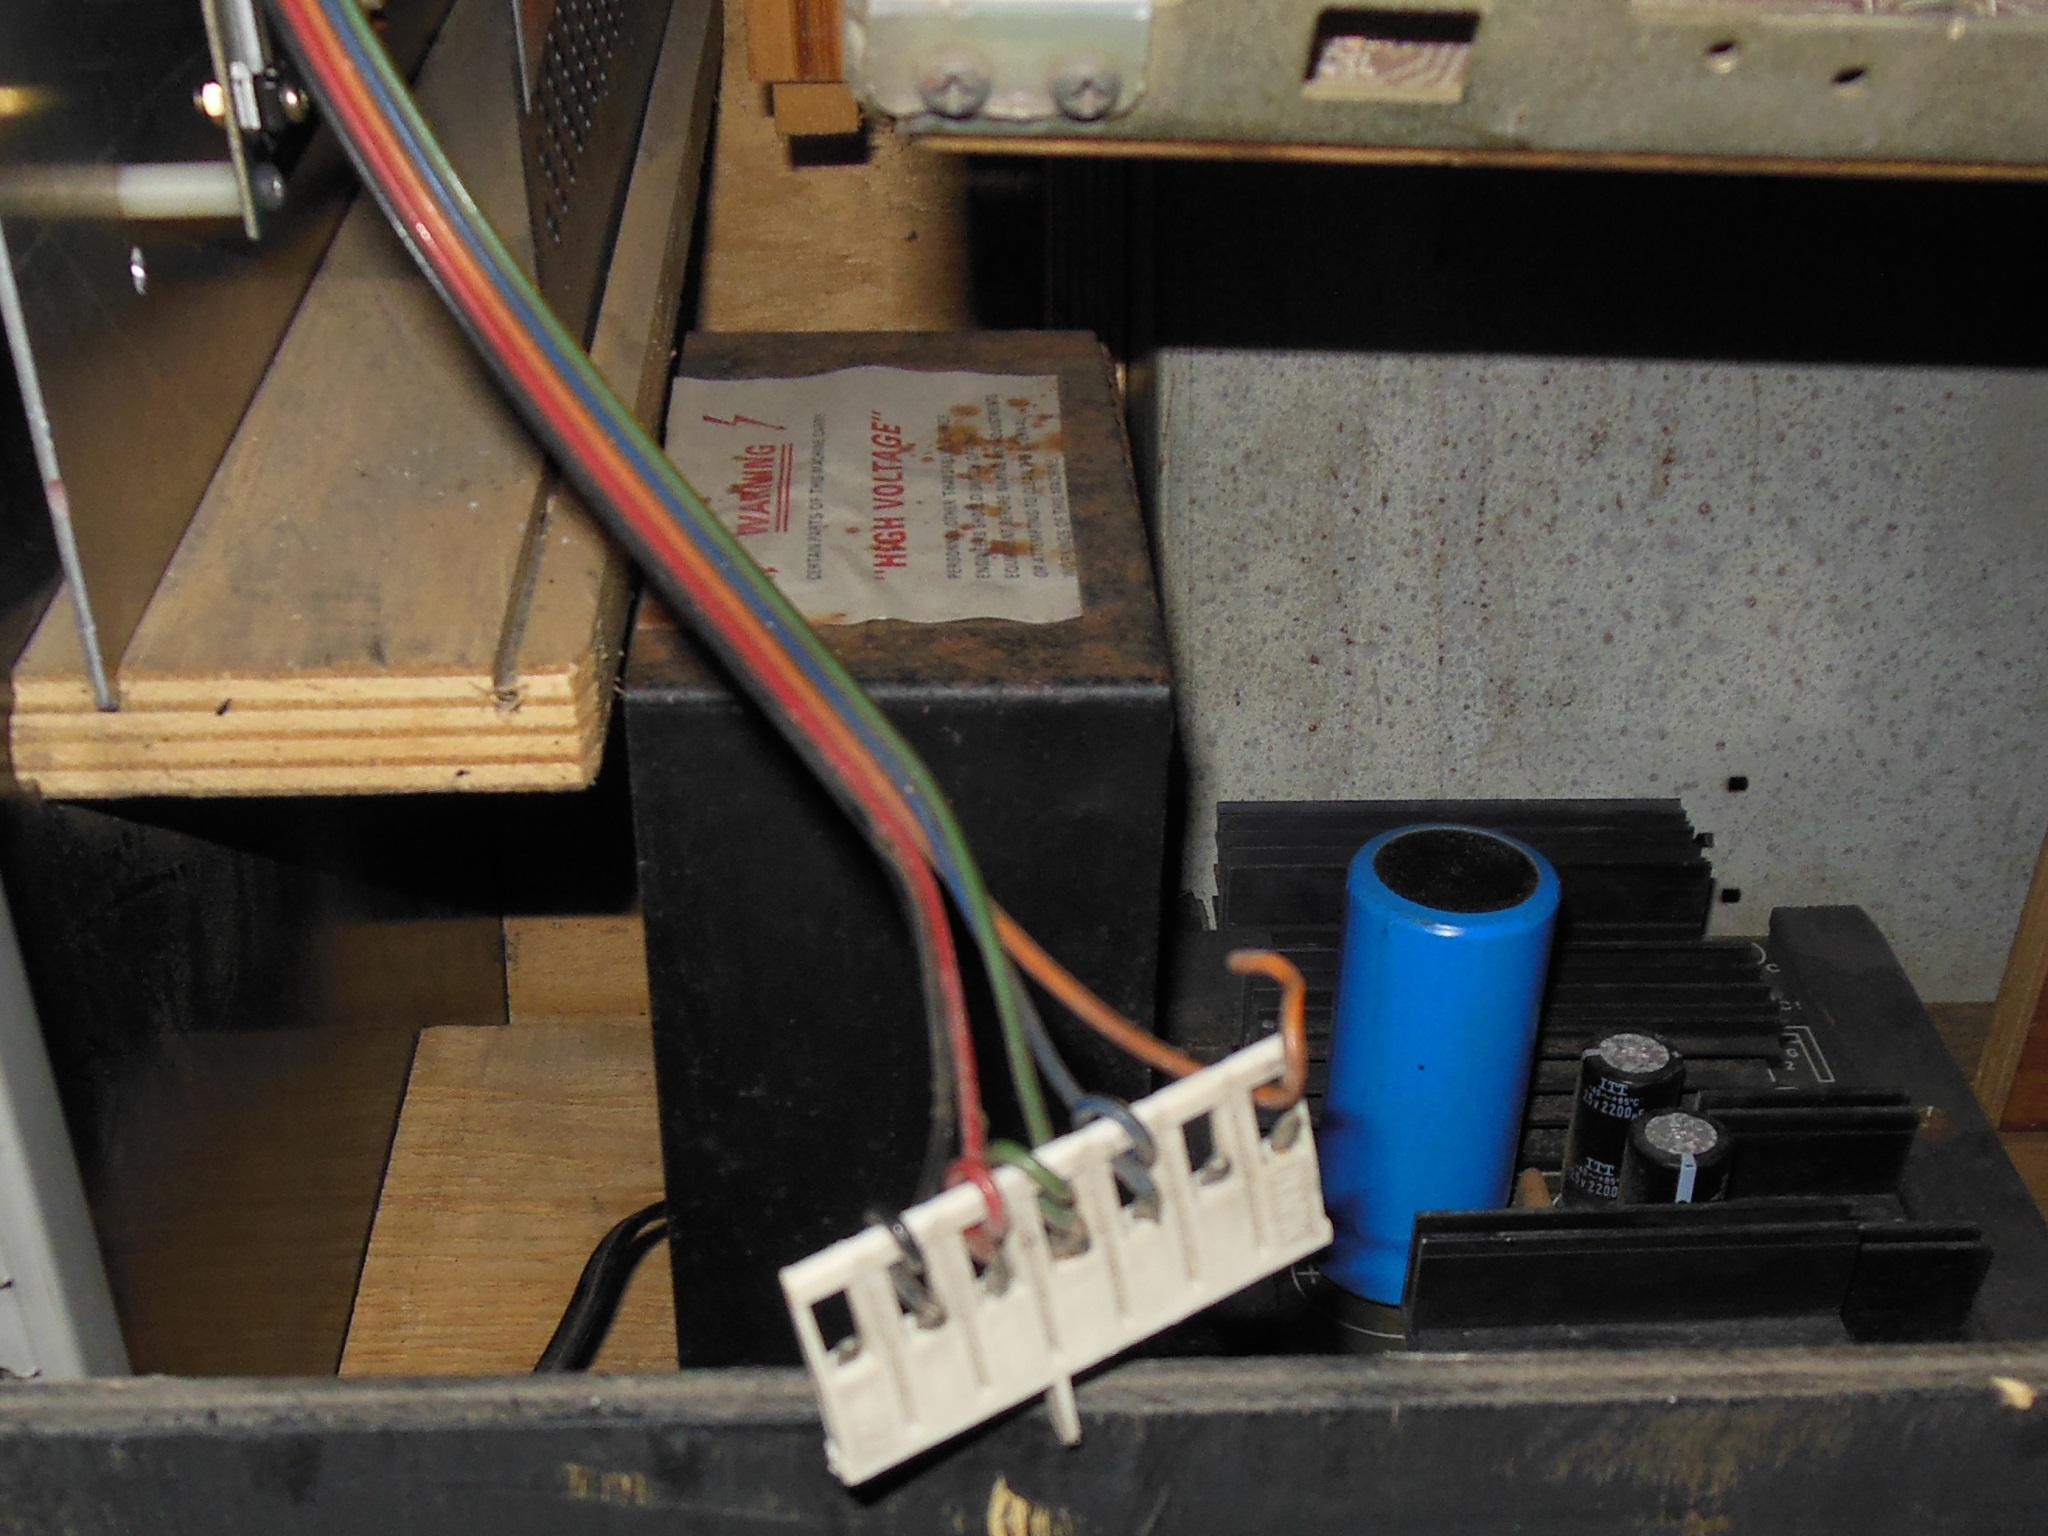
Internally the monitor appeared complete as did all the power supply but the game PCB itself was missing. There were a number of cut wires - the line to the socket for the marque light, one of the monitor ground wires and another pair from the monitor. The power cord itself was missing, replaced by an IEC-14 socket.

|
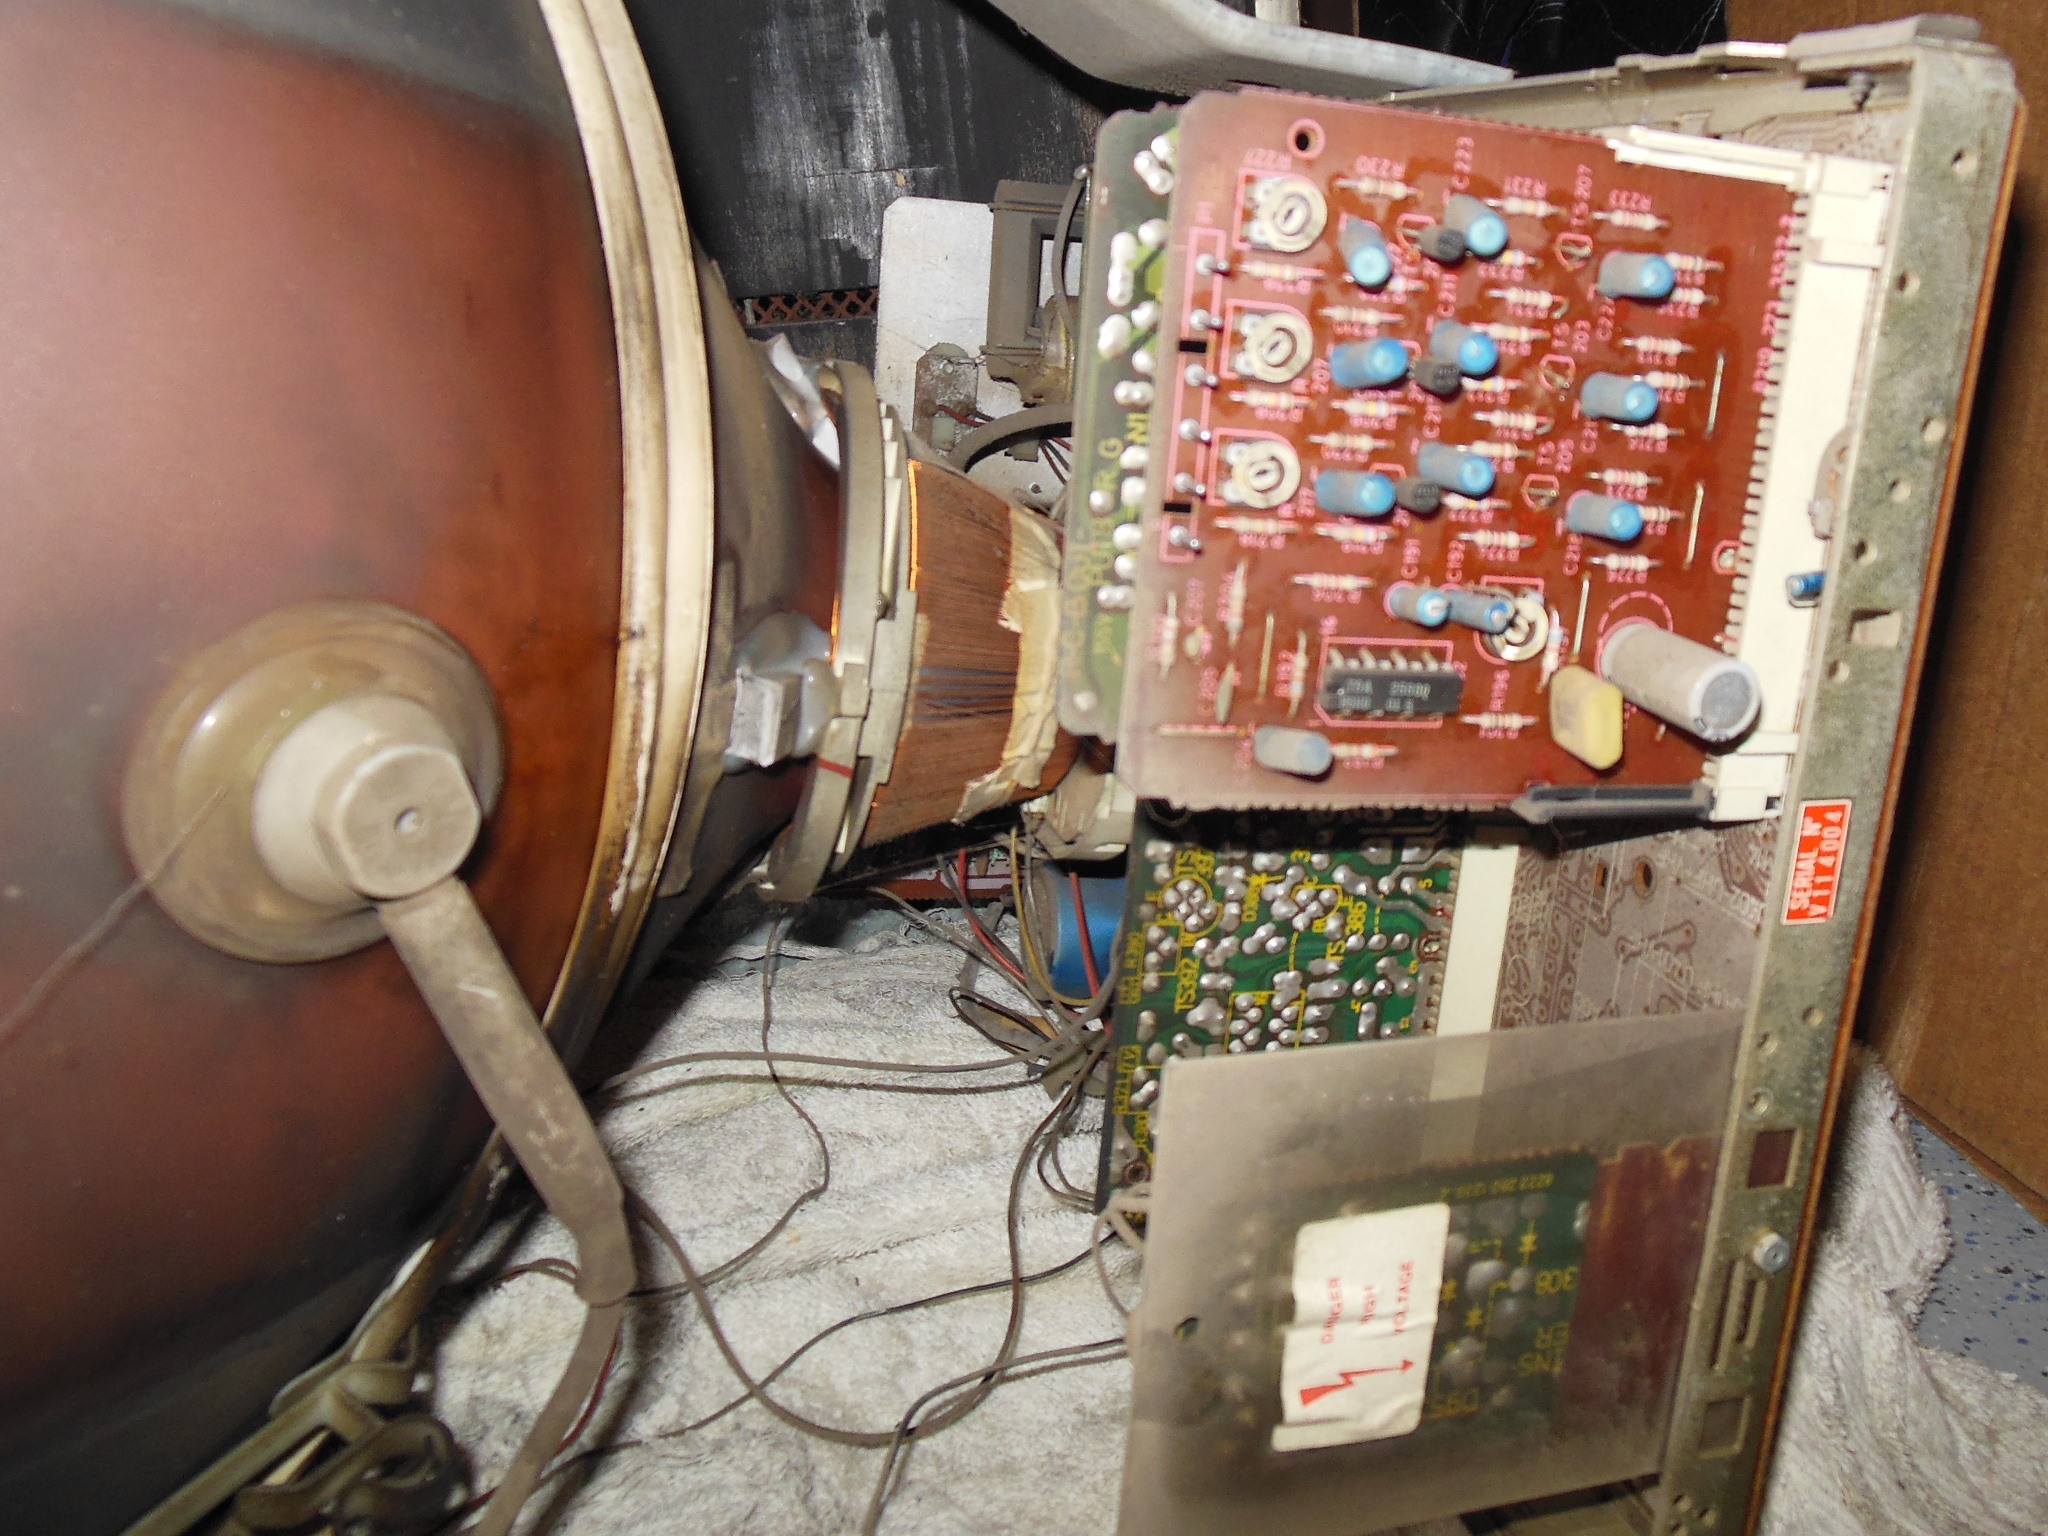
The Philips KT-3 monitor chassis was complete but alas the CRT had a shattered neck :(
|
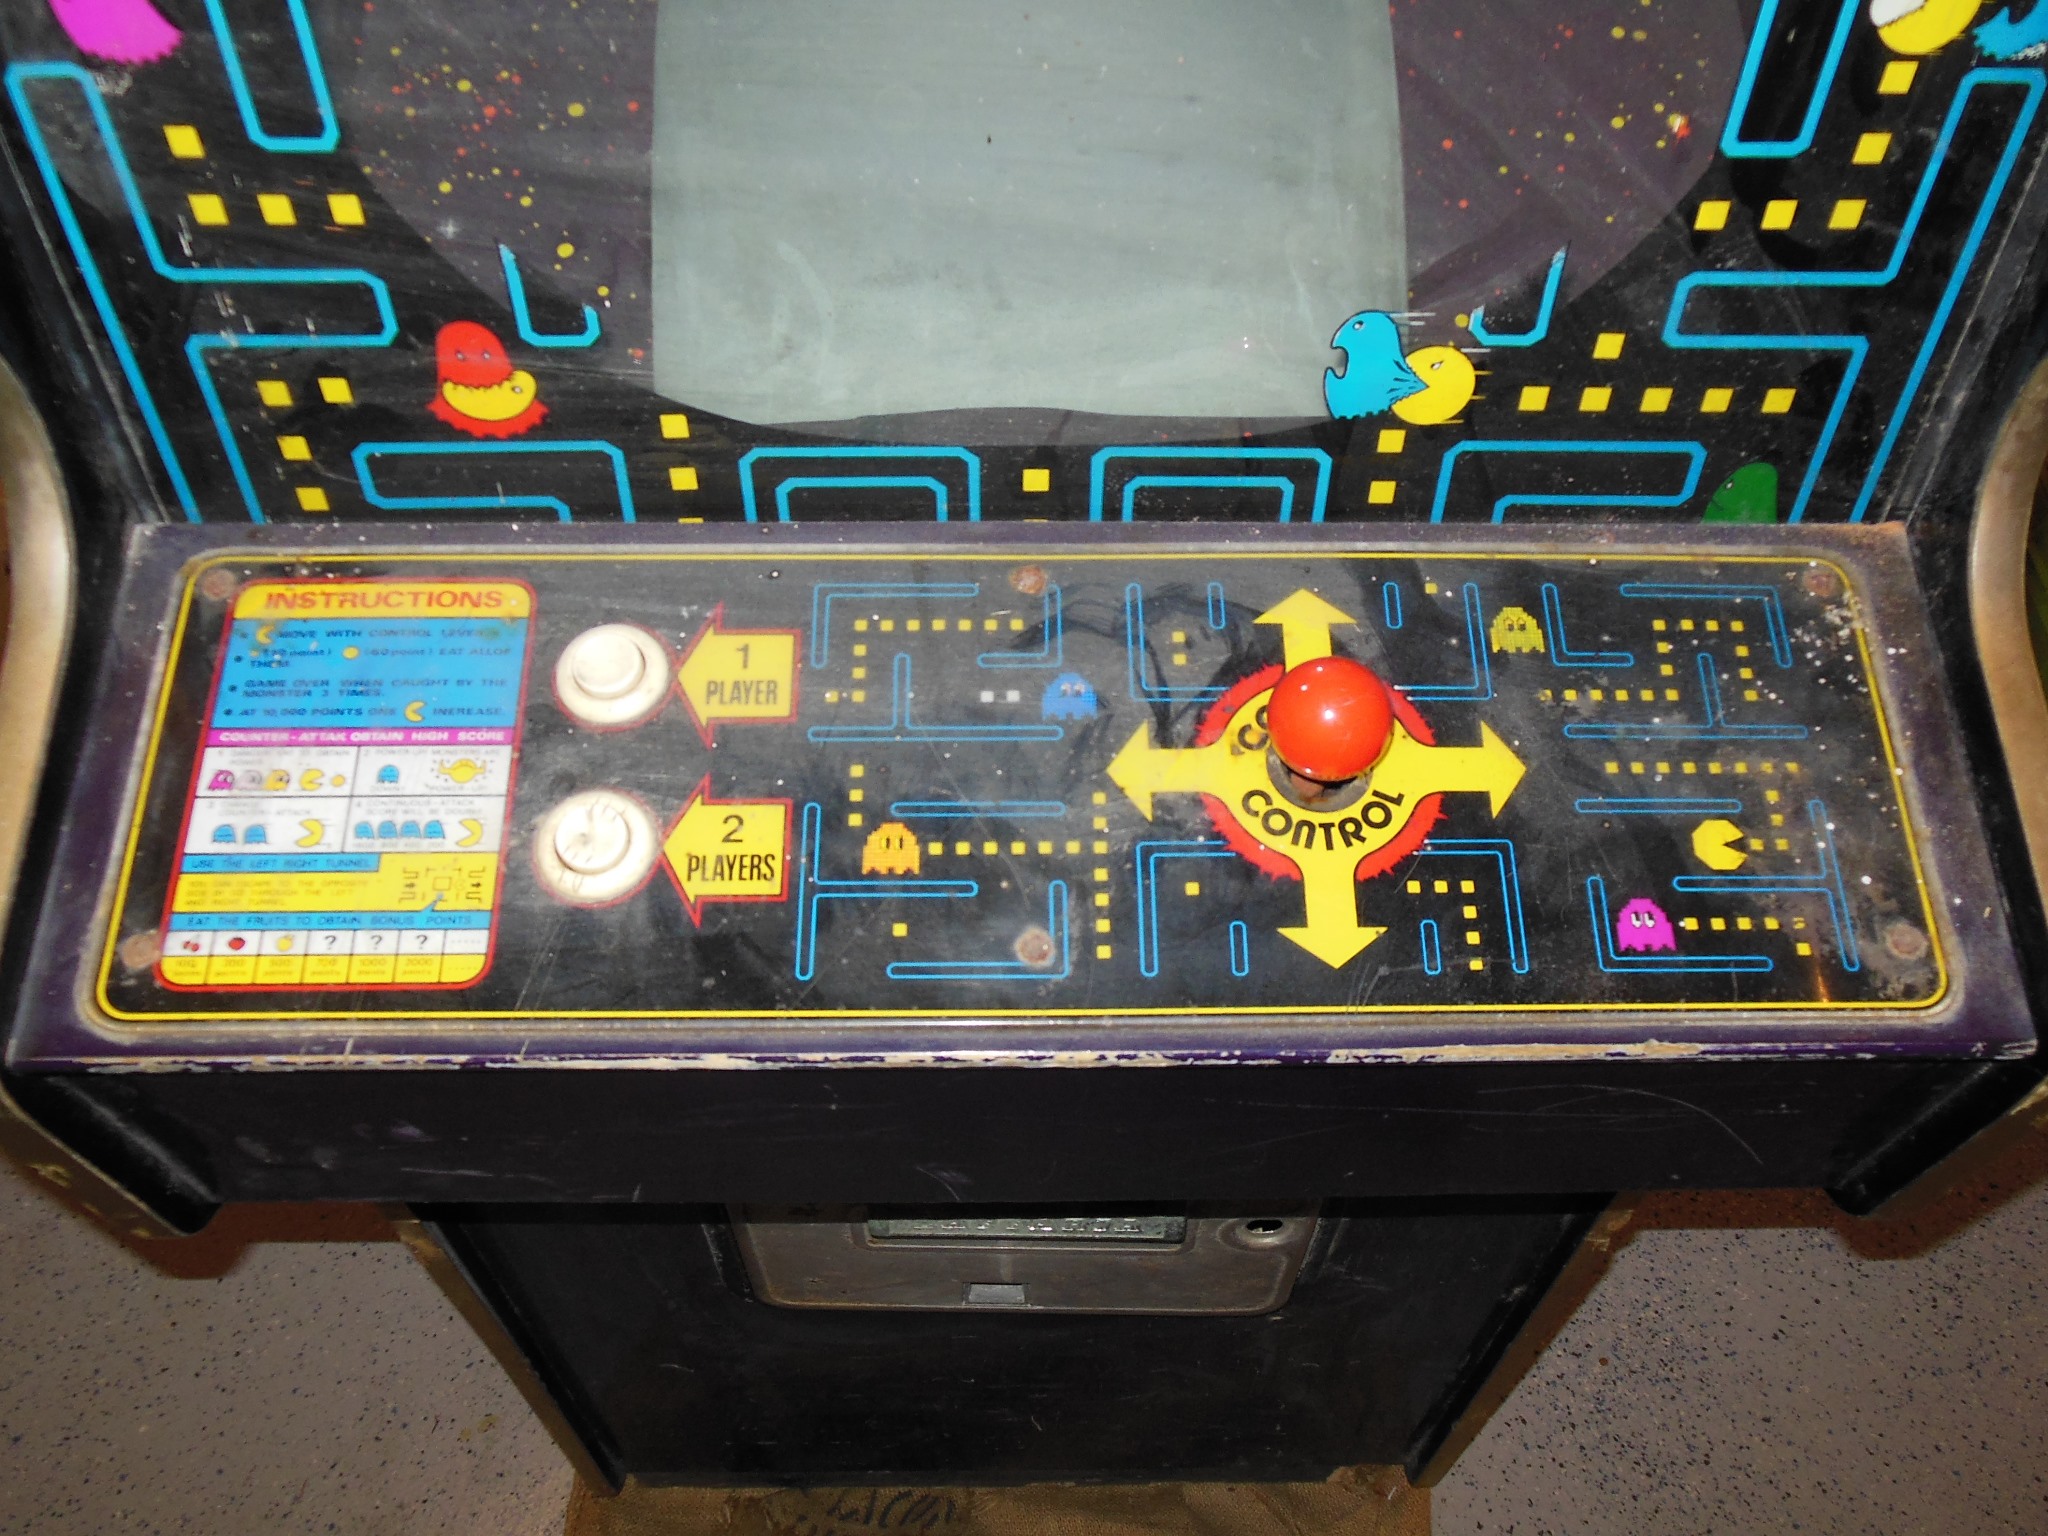
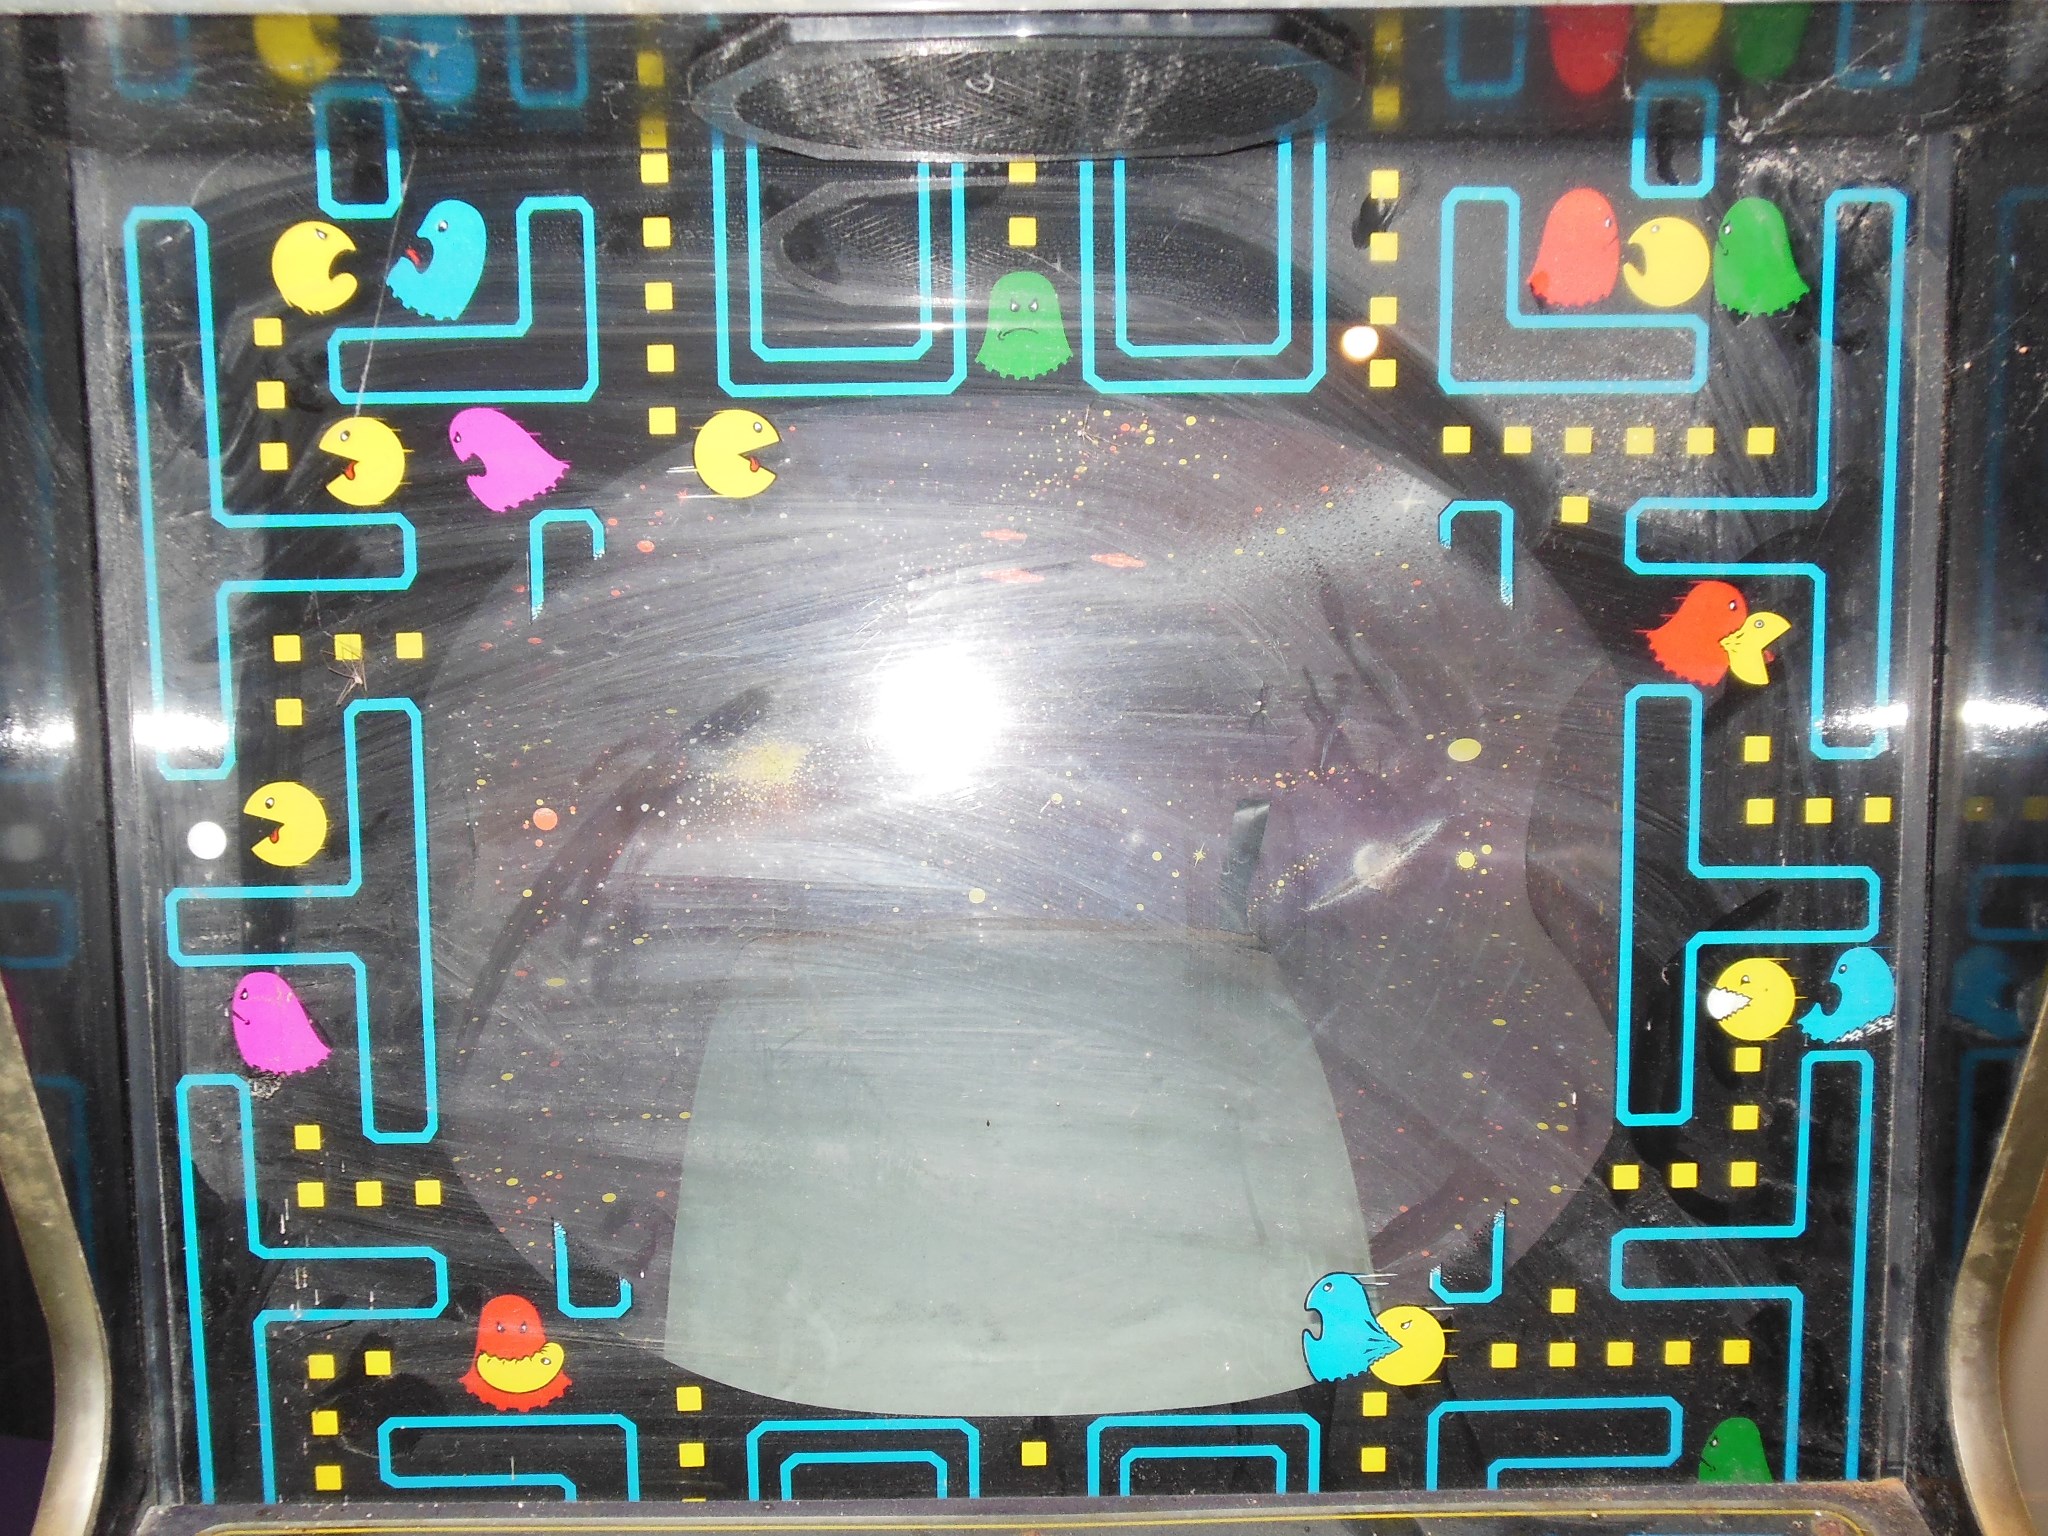
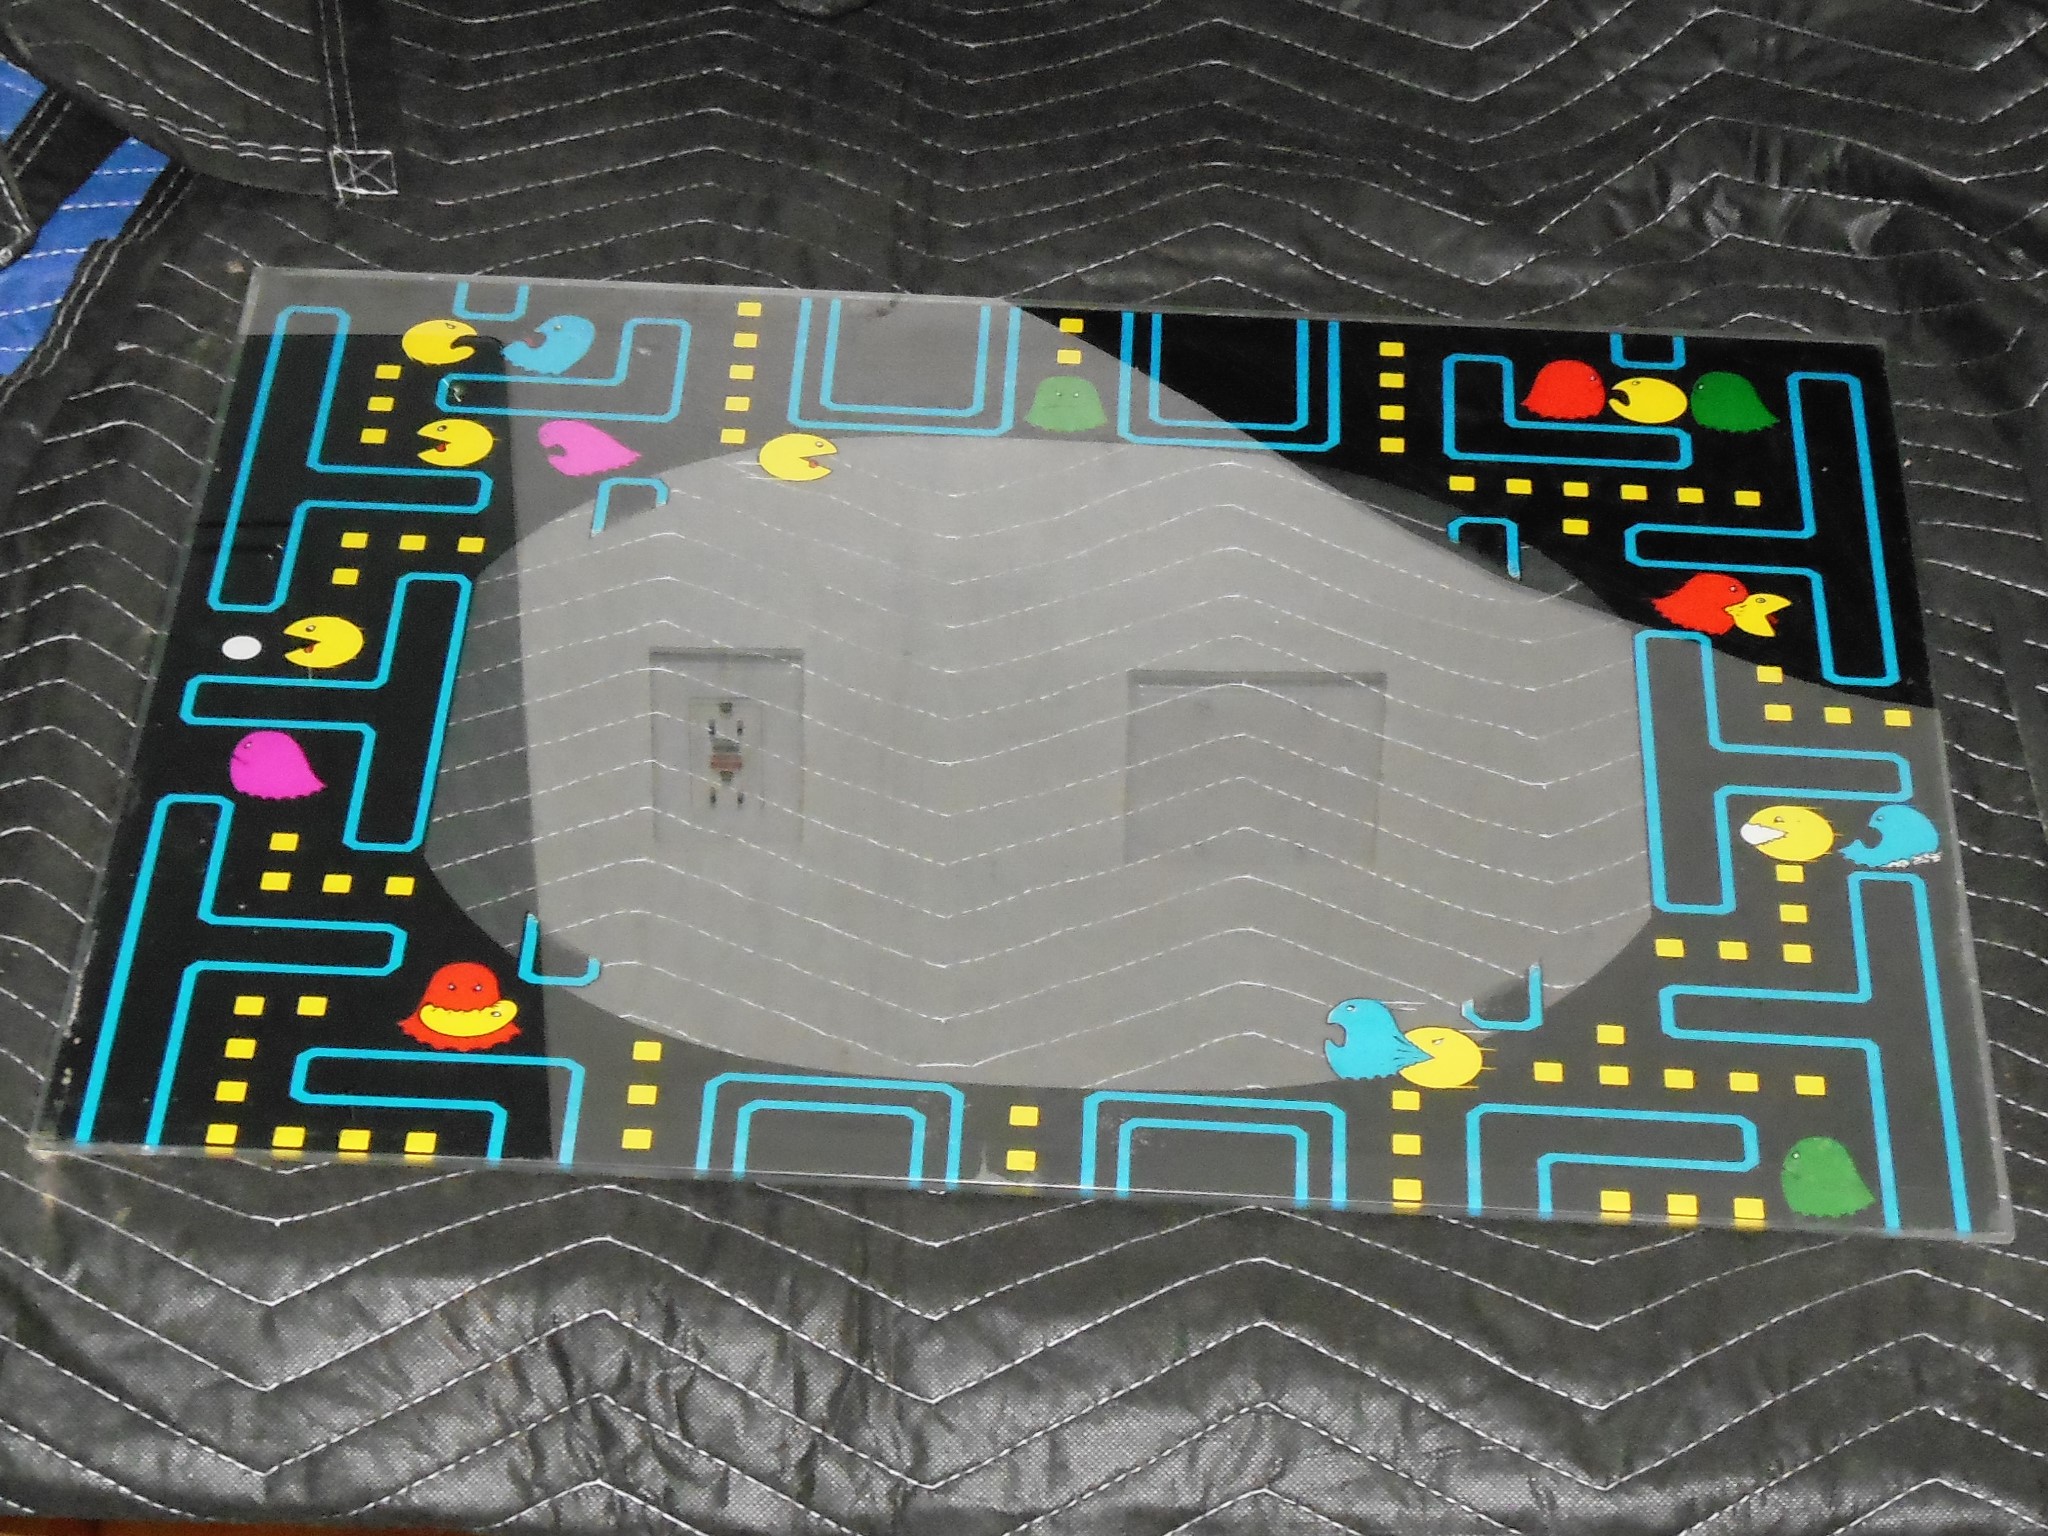
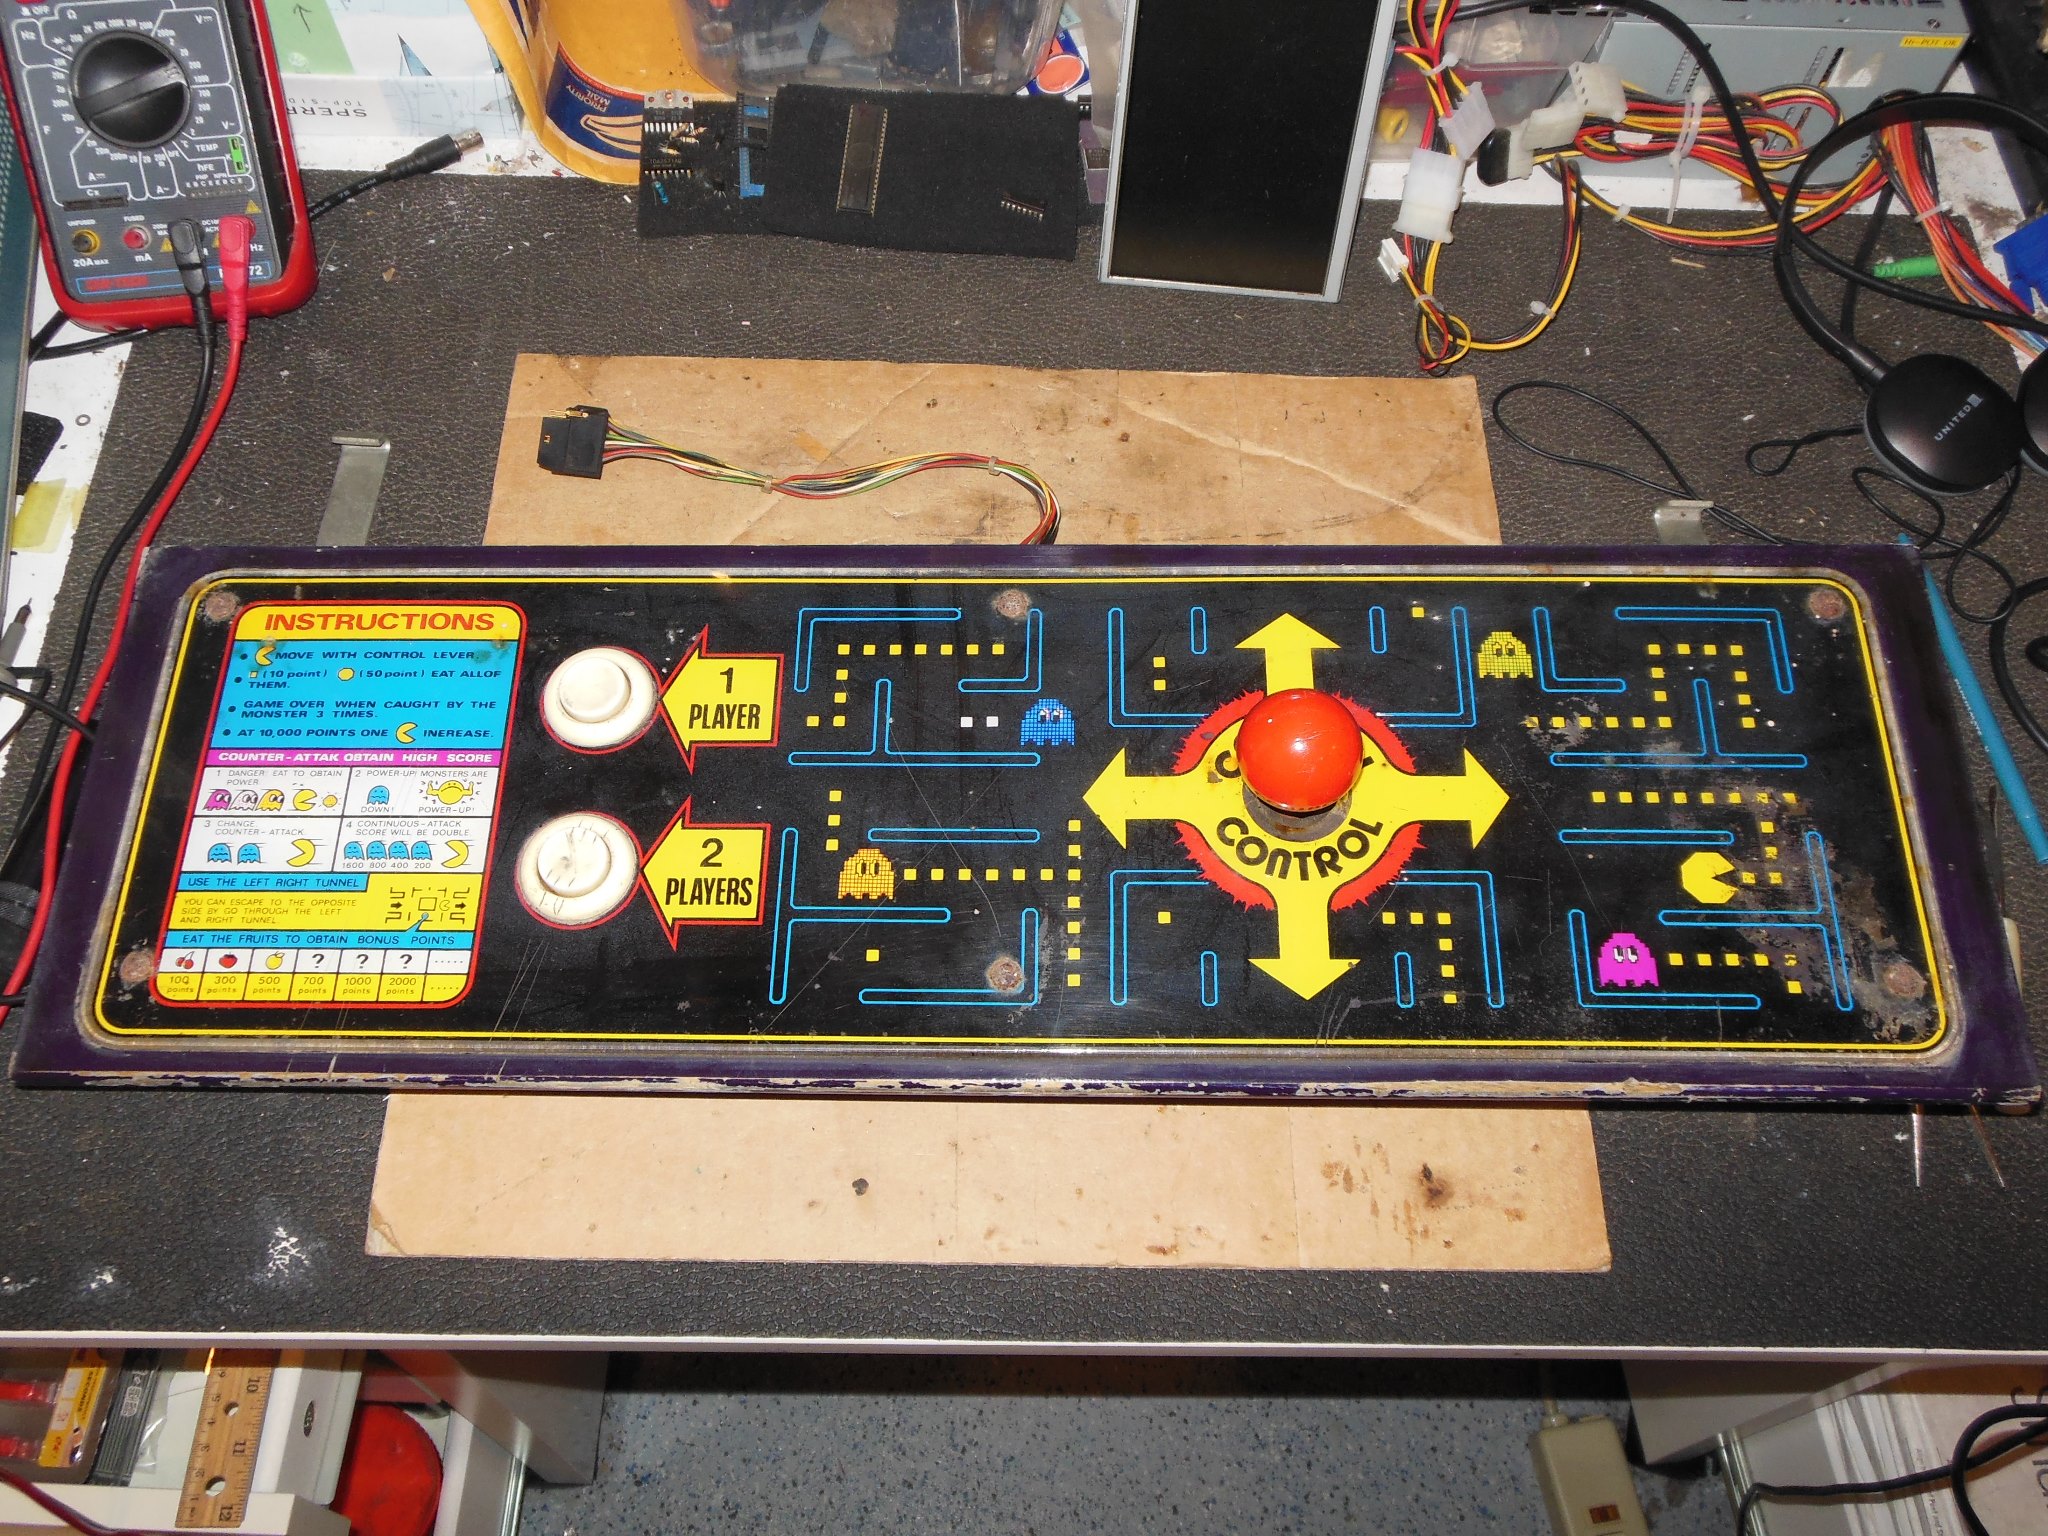
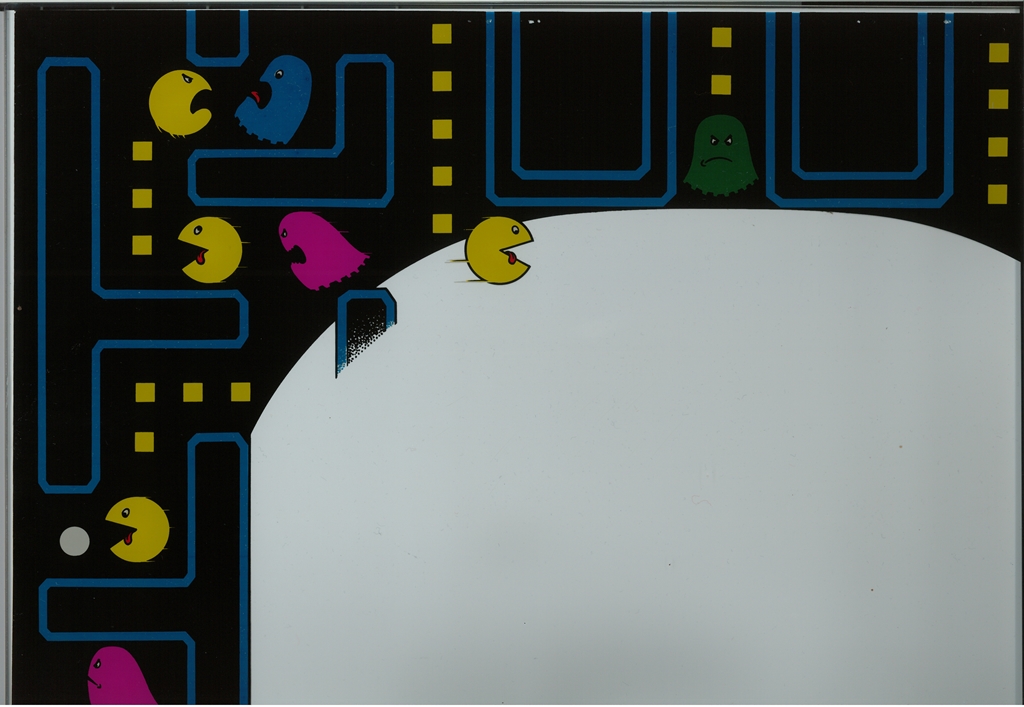
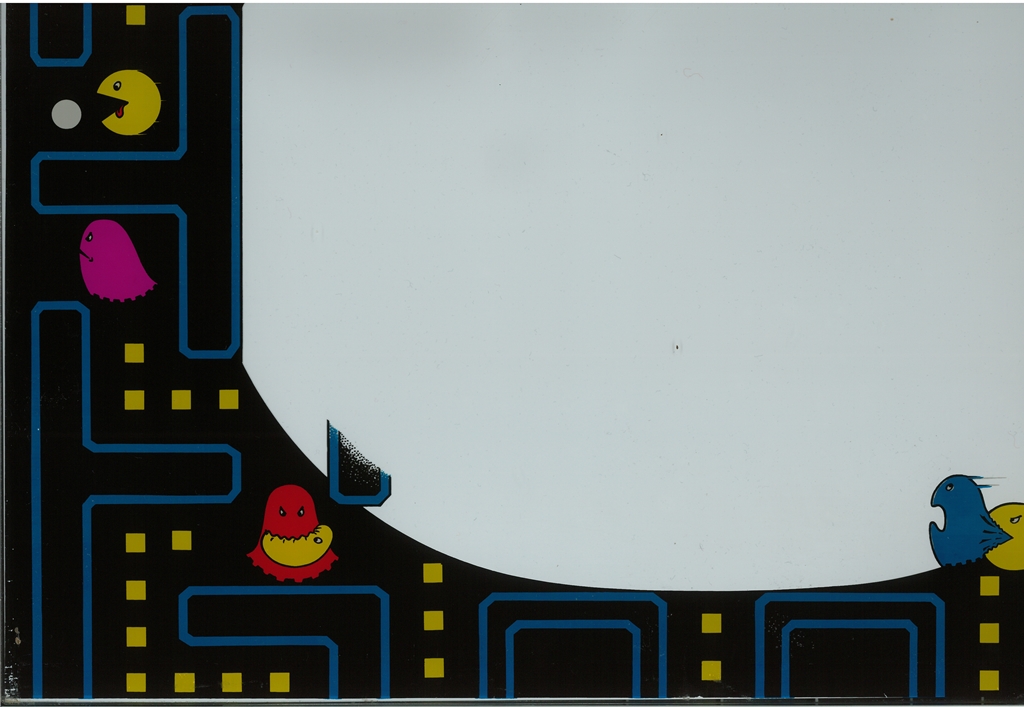
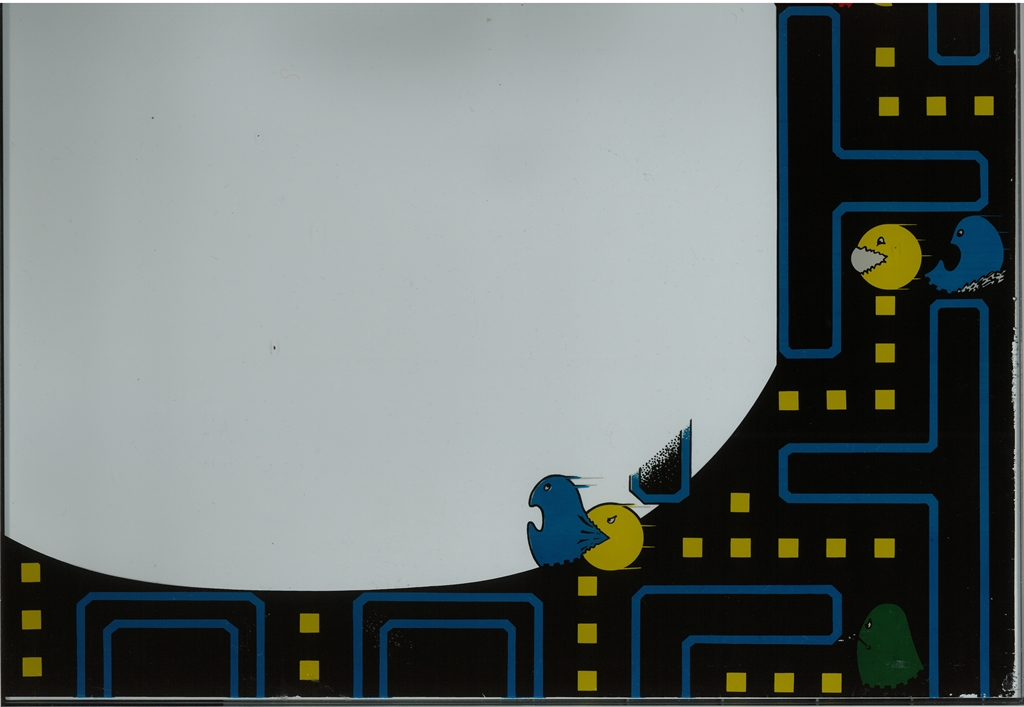
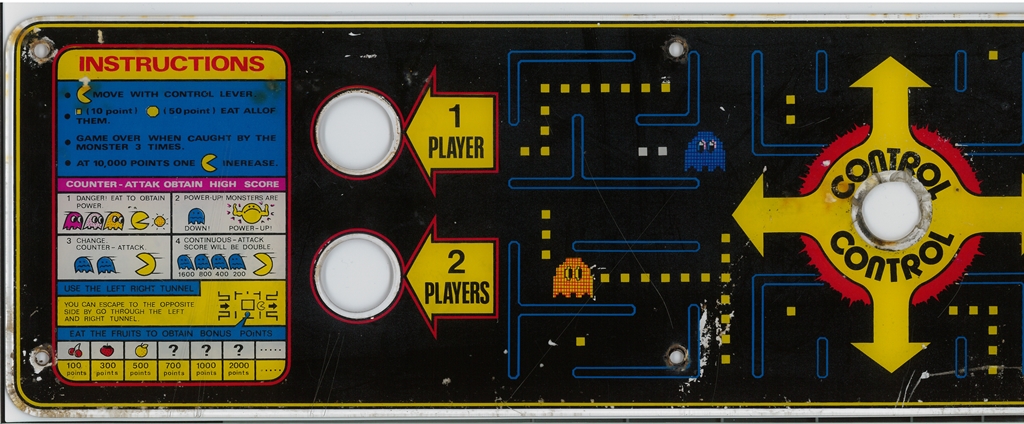
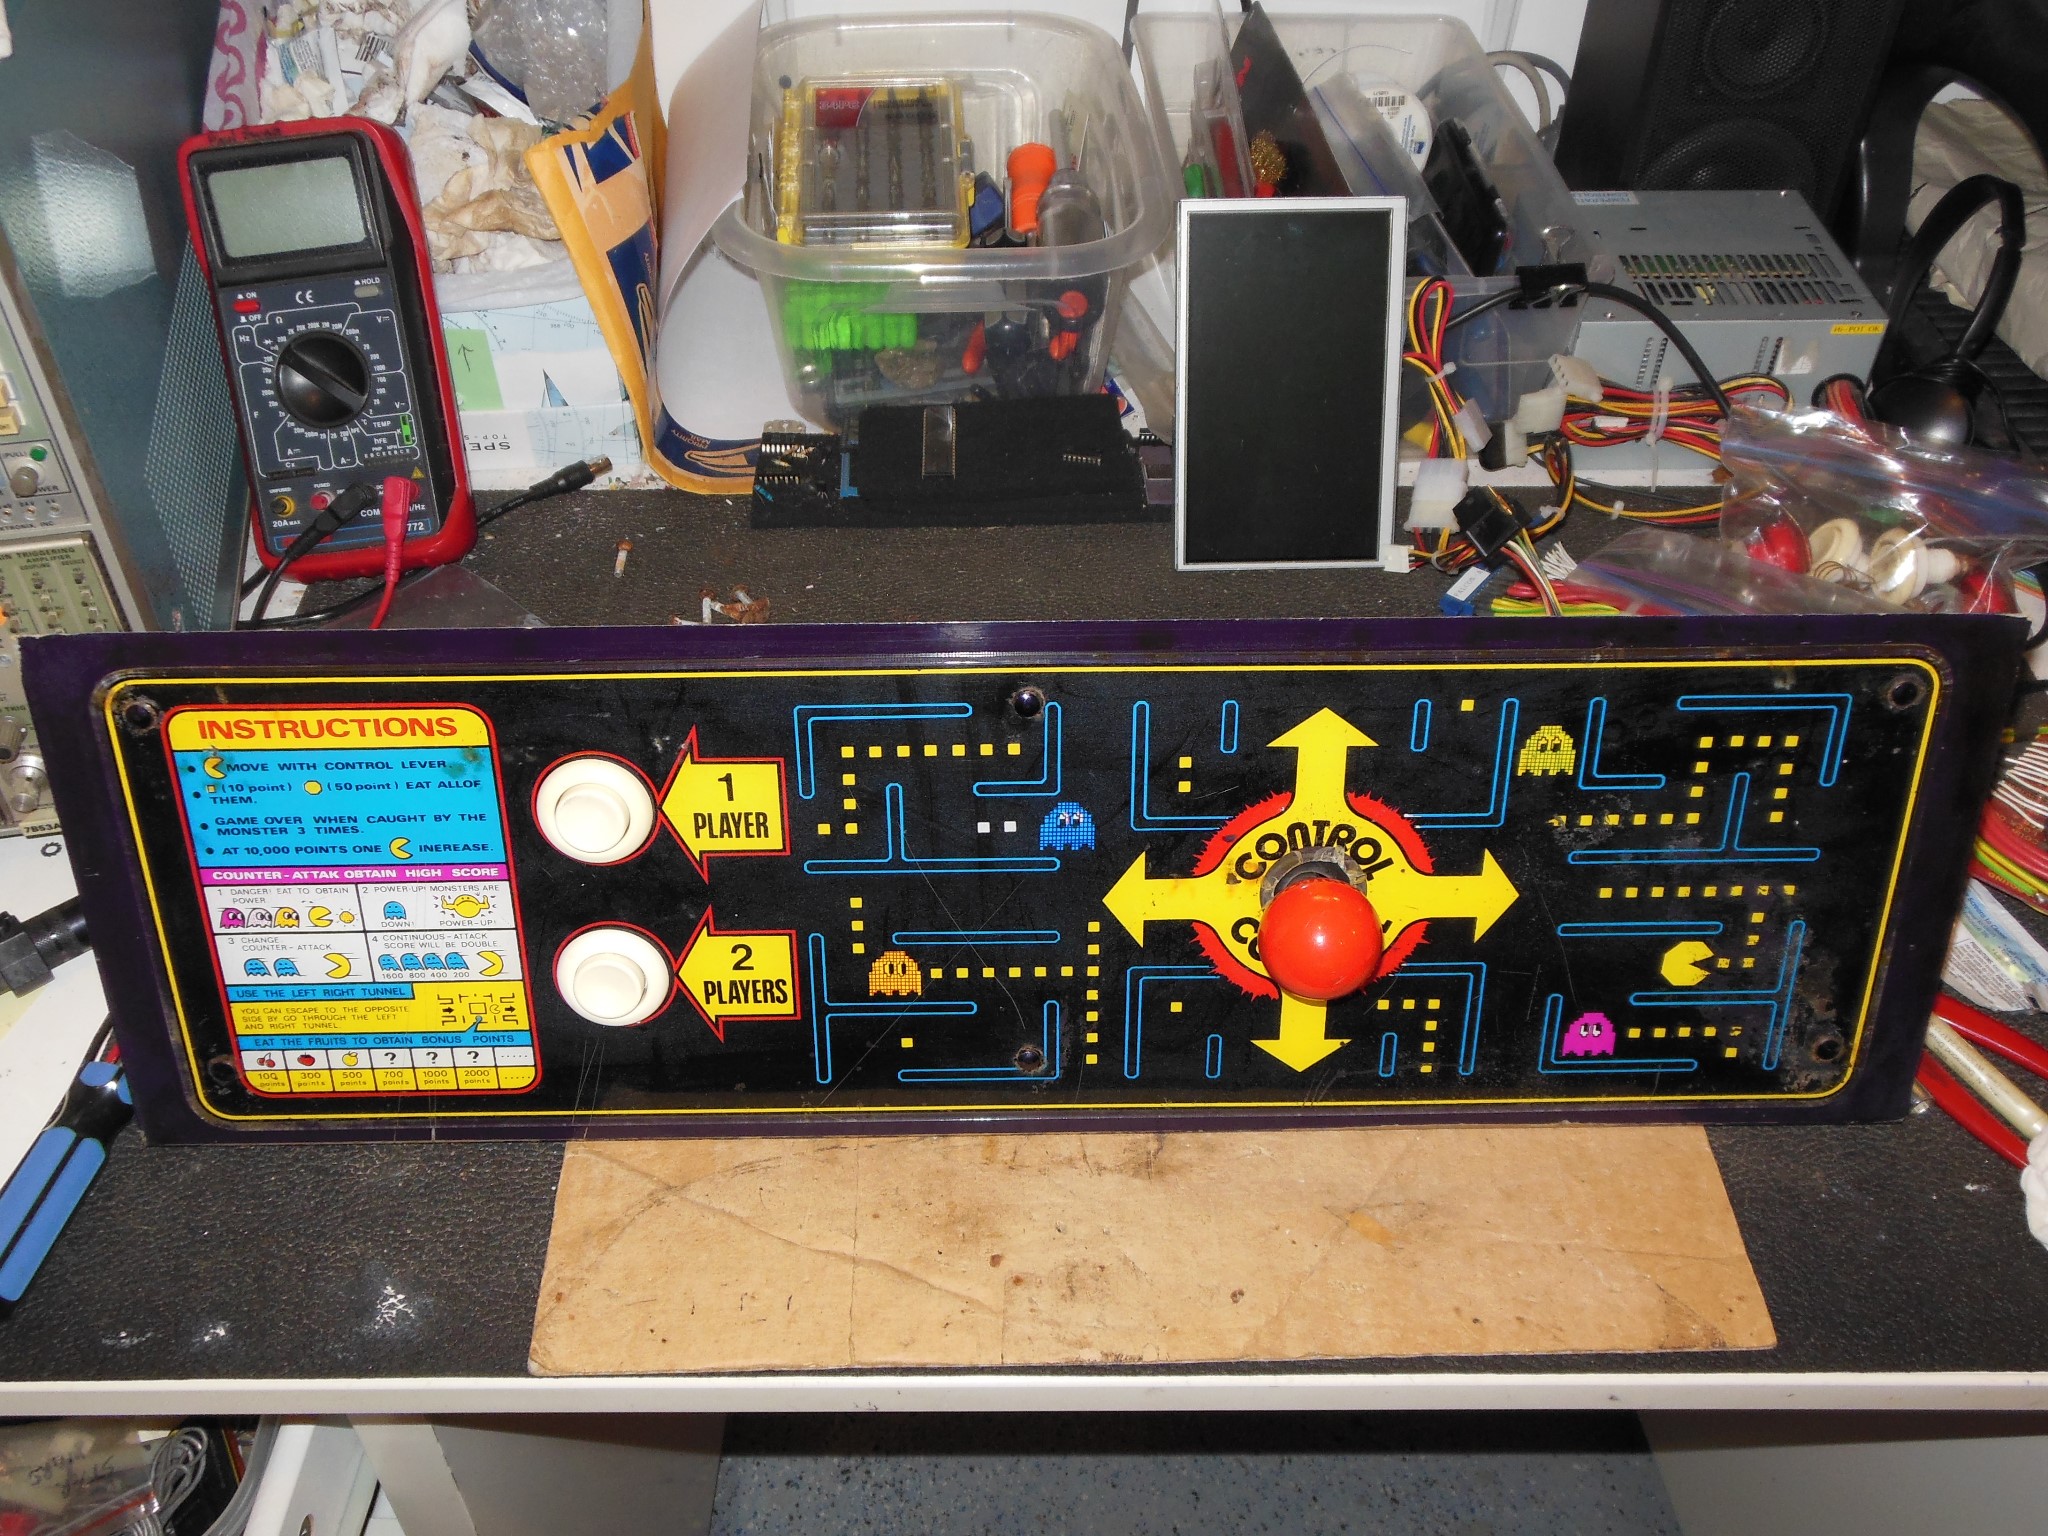
The control panel was complete and in good condition though the player two start button had seen some vandalism. The monitor glass was also in good condition. I noticed that the monitor glass artwork theme was different from the control panel and cabinet in that the latter was based on the game itself and the glass featured more stylized aggression in the characters. One other thing I noticed when the cabinets were together originally was that the control panel overlays were not all the same.
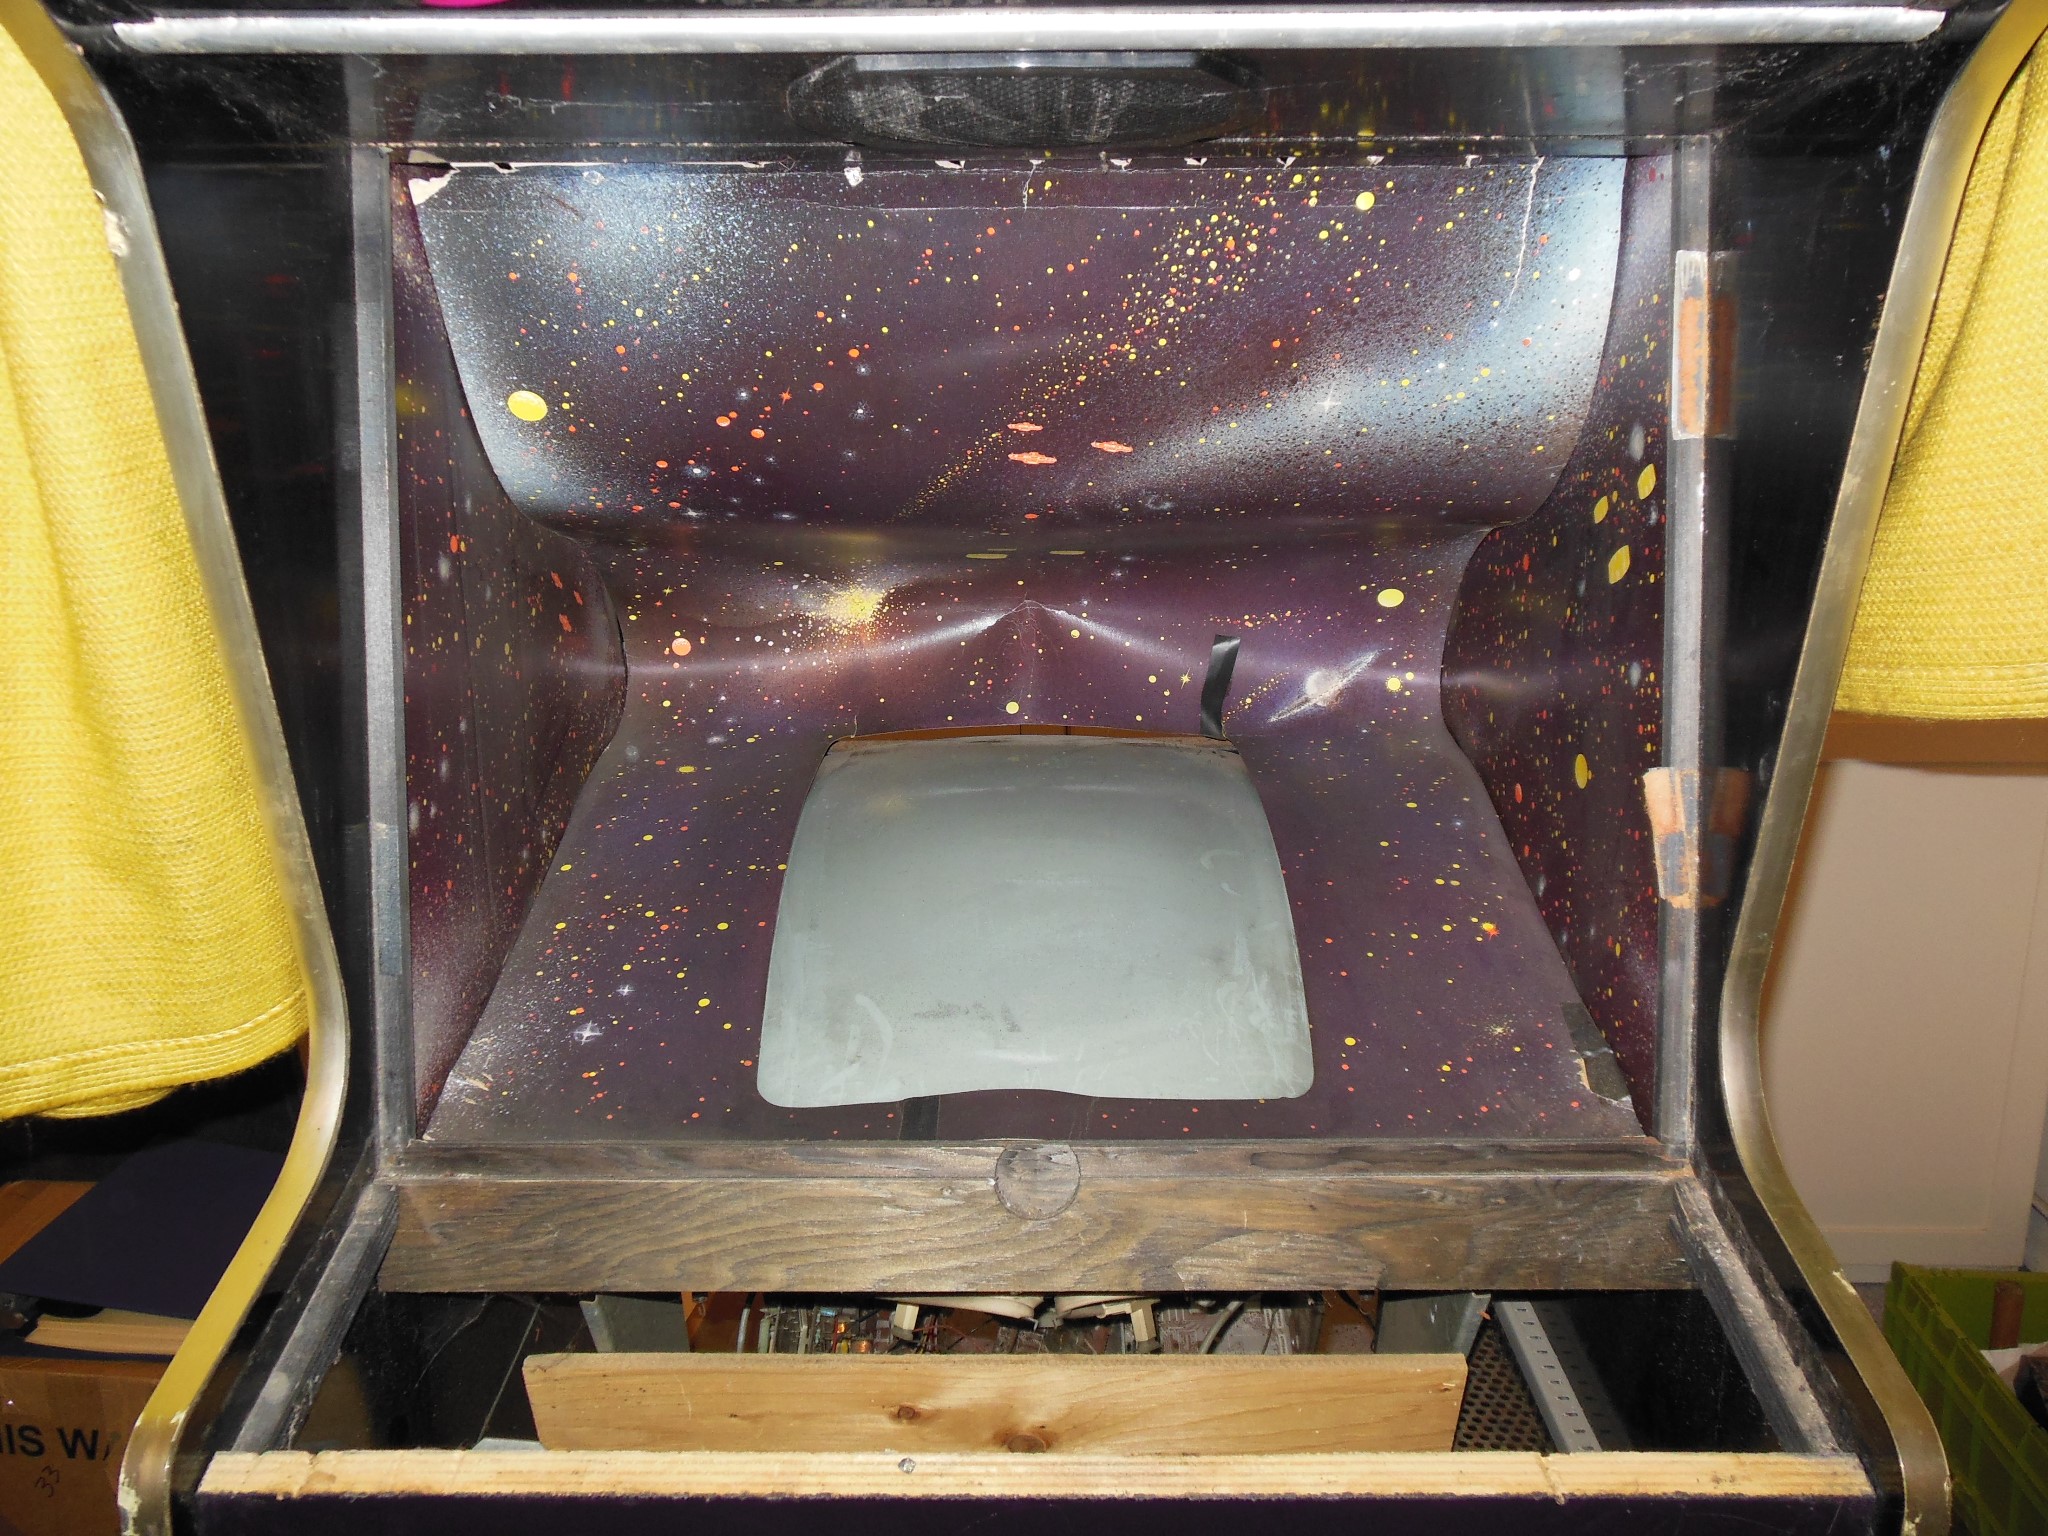
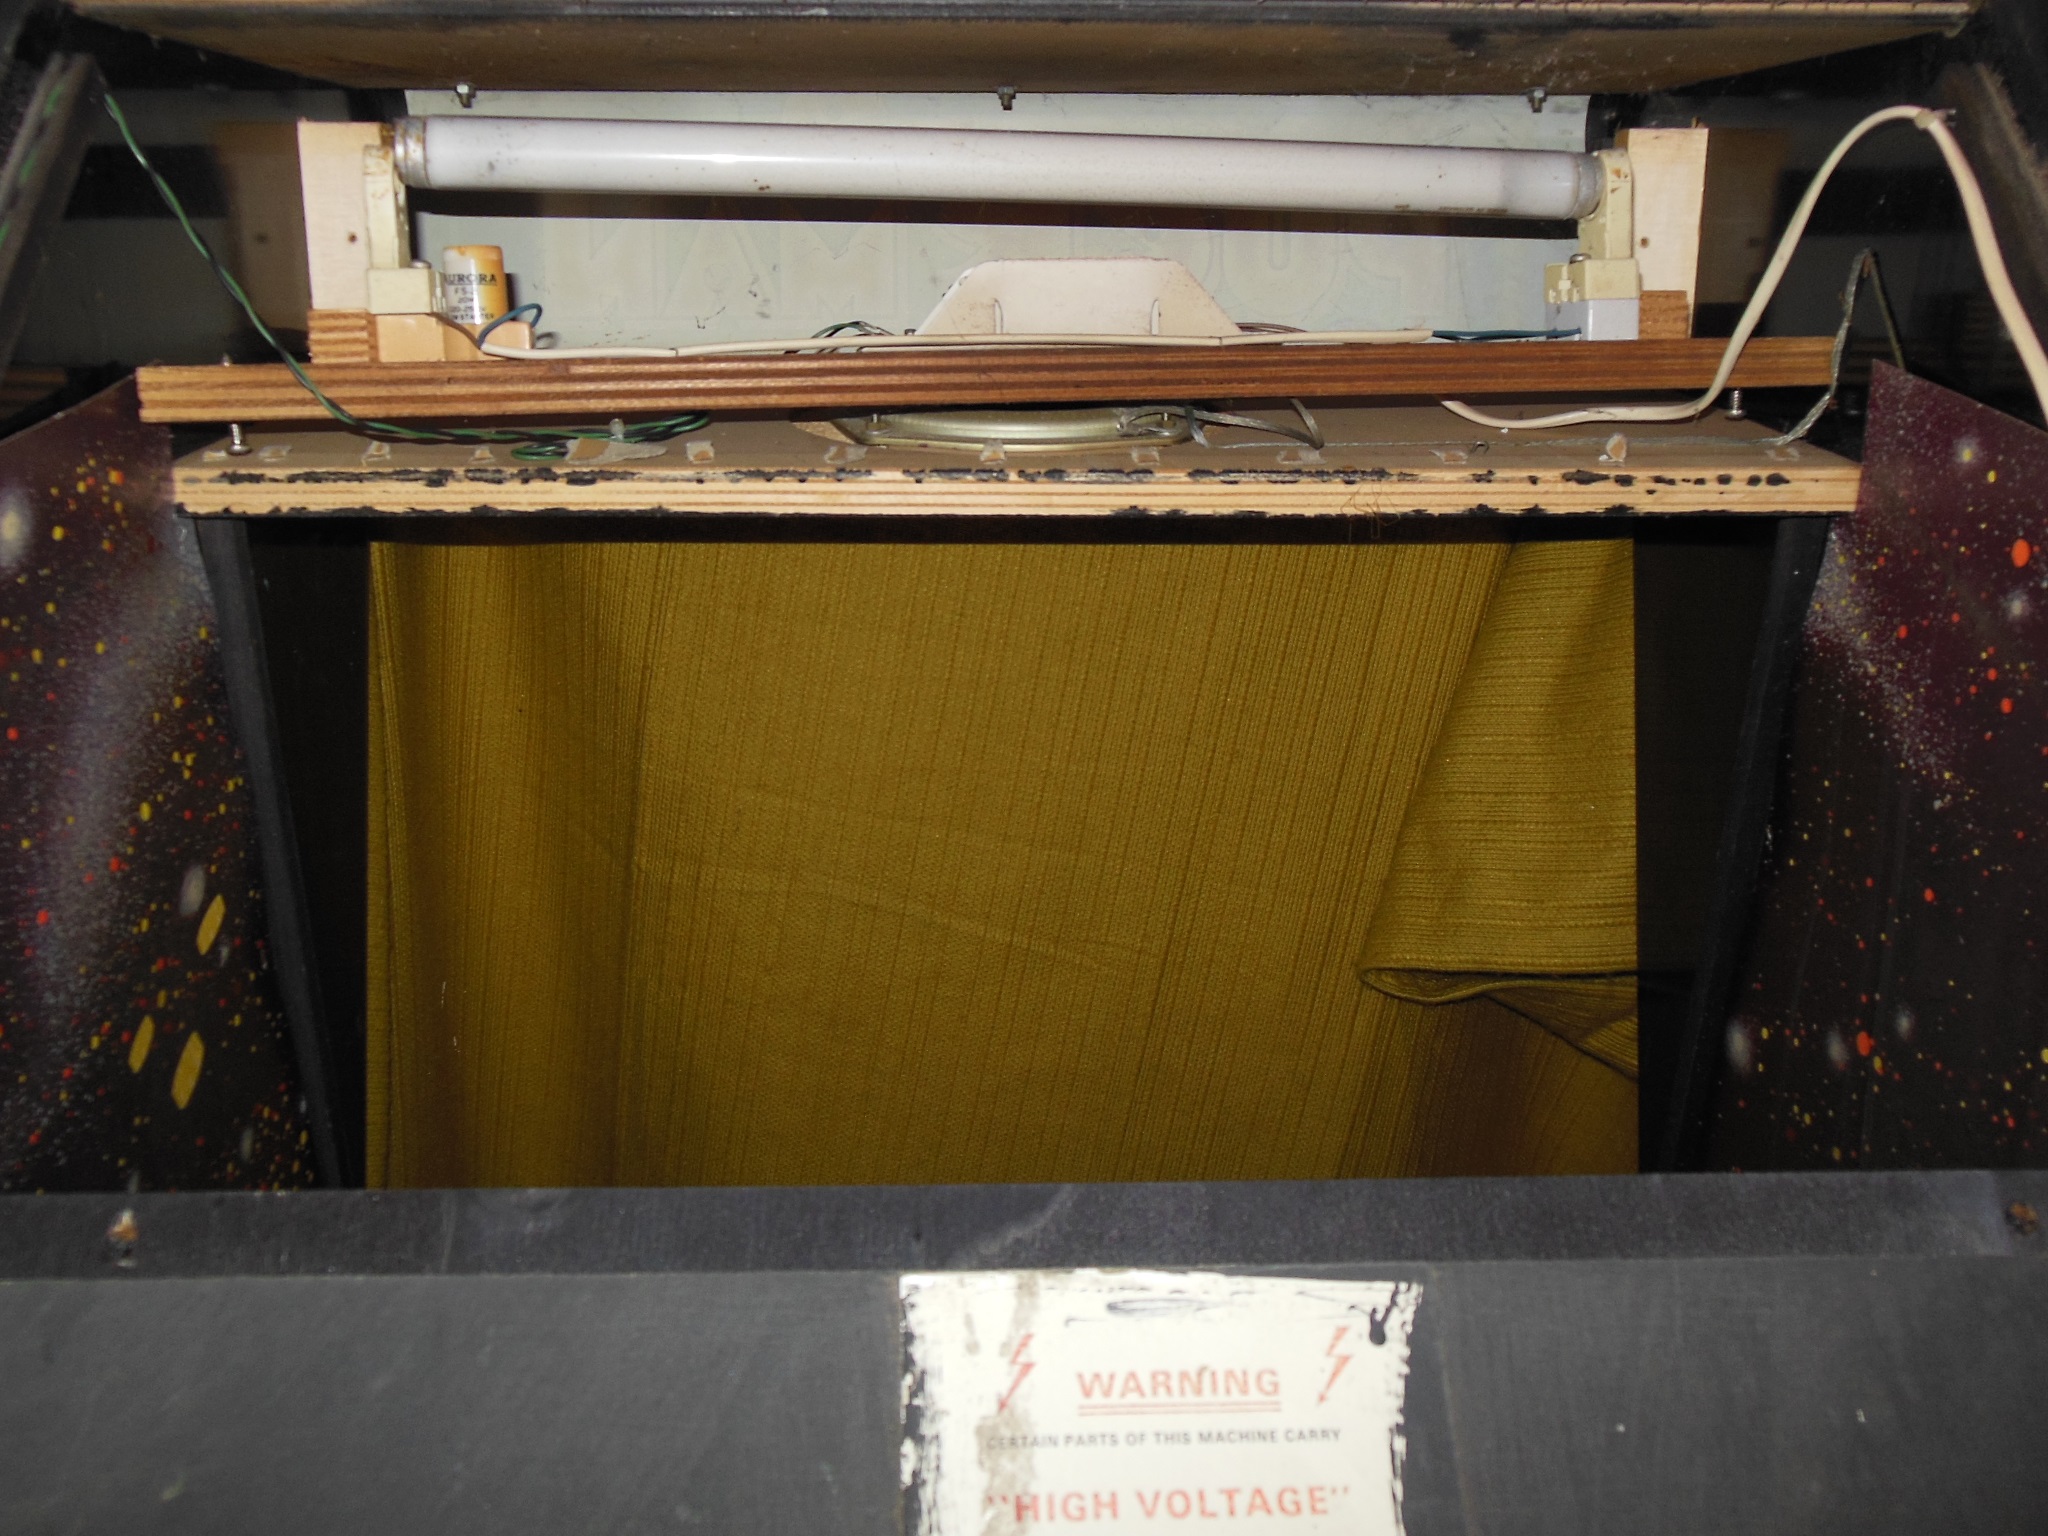
Inside the monitor cavity the cardboard surround had the space themed artwork and was creased, torn and stuck together with electrical tape :(

|
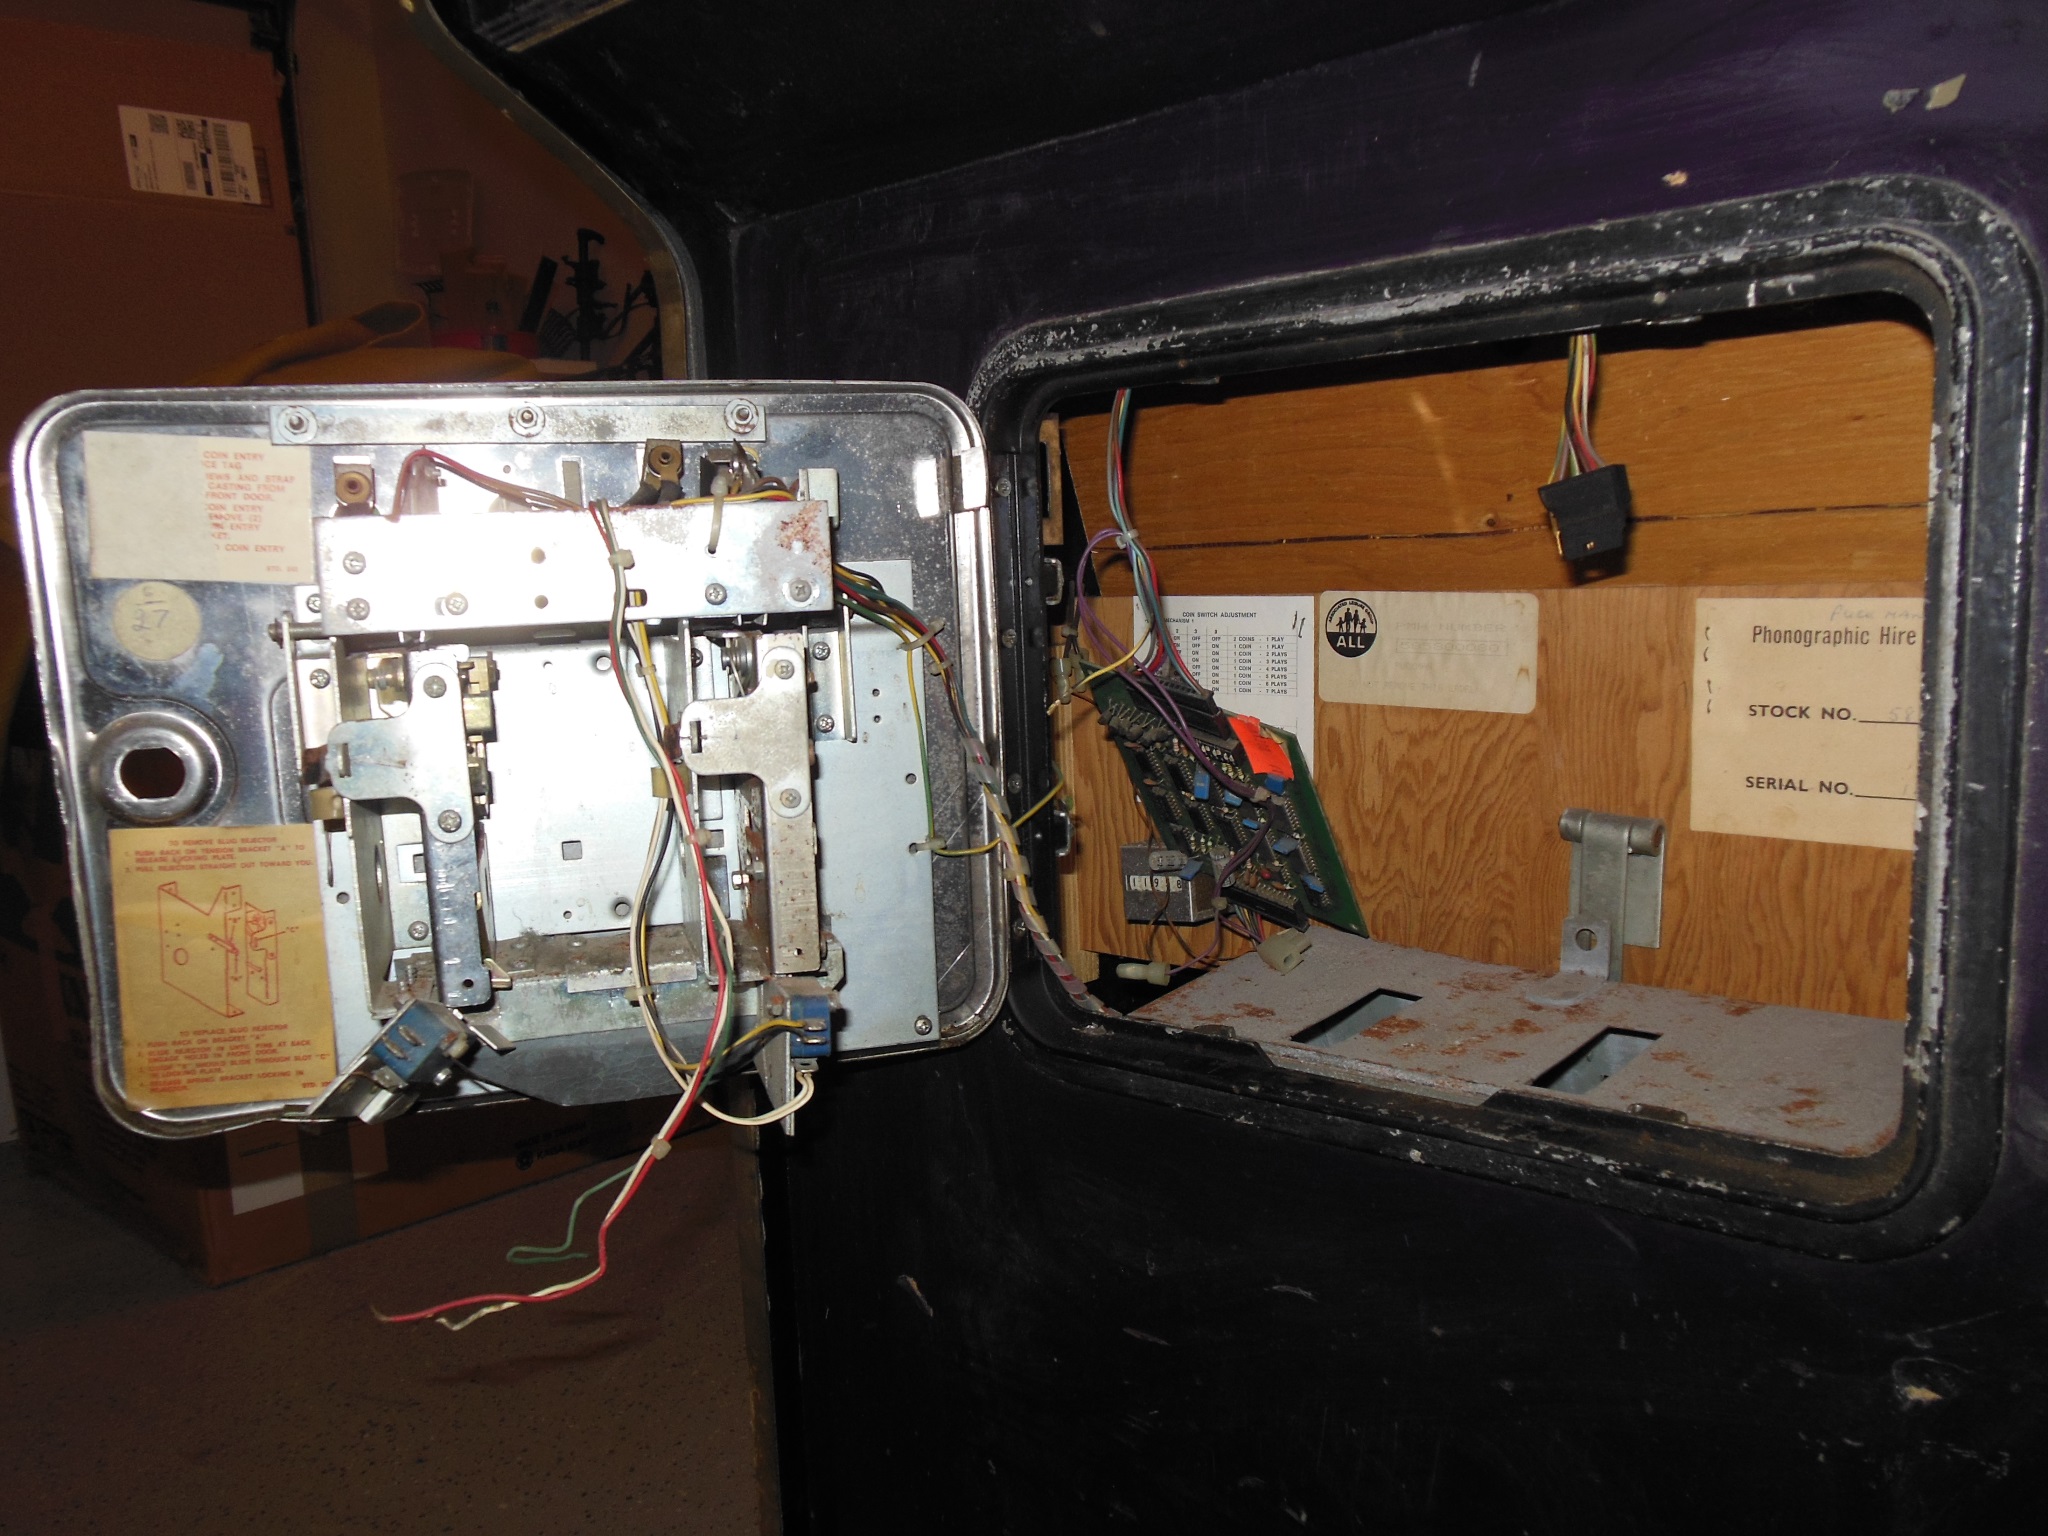
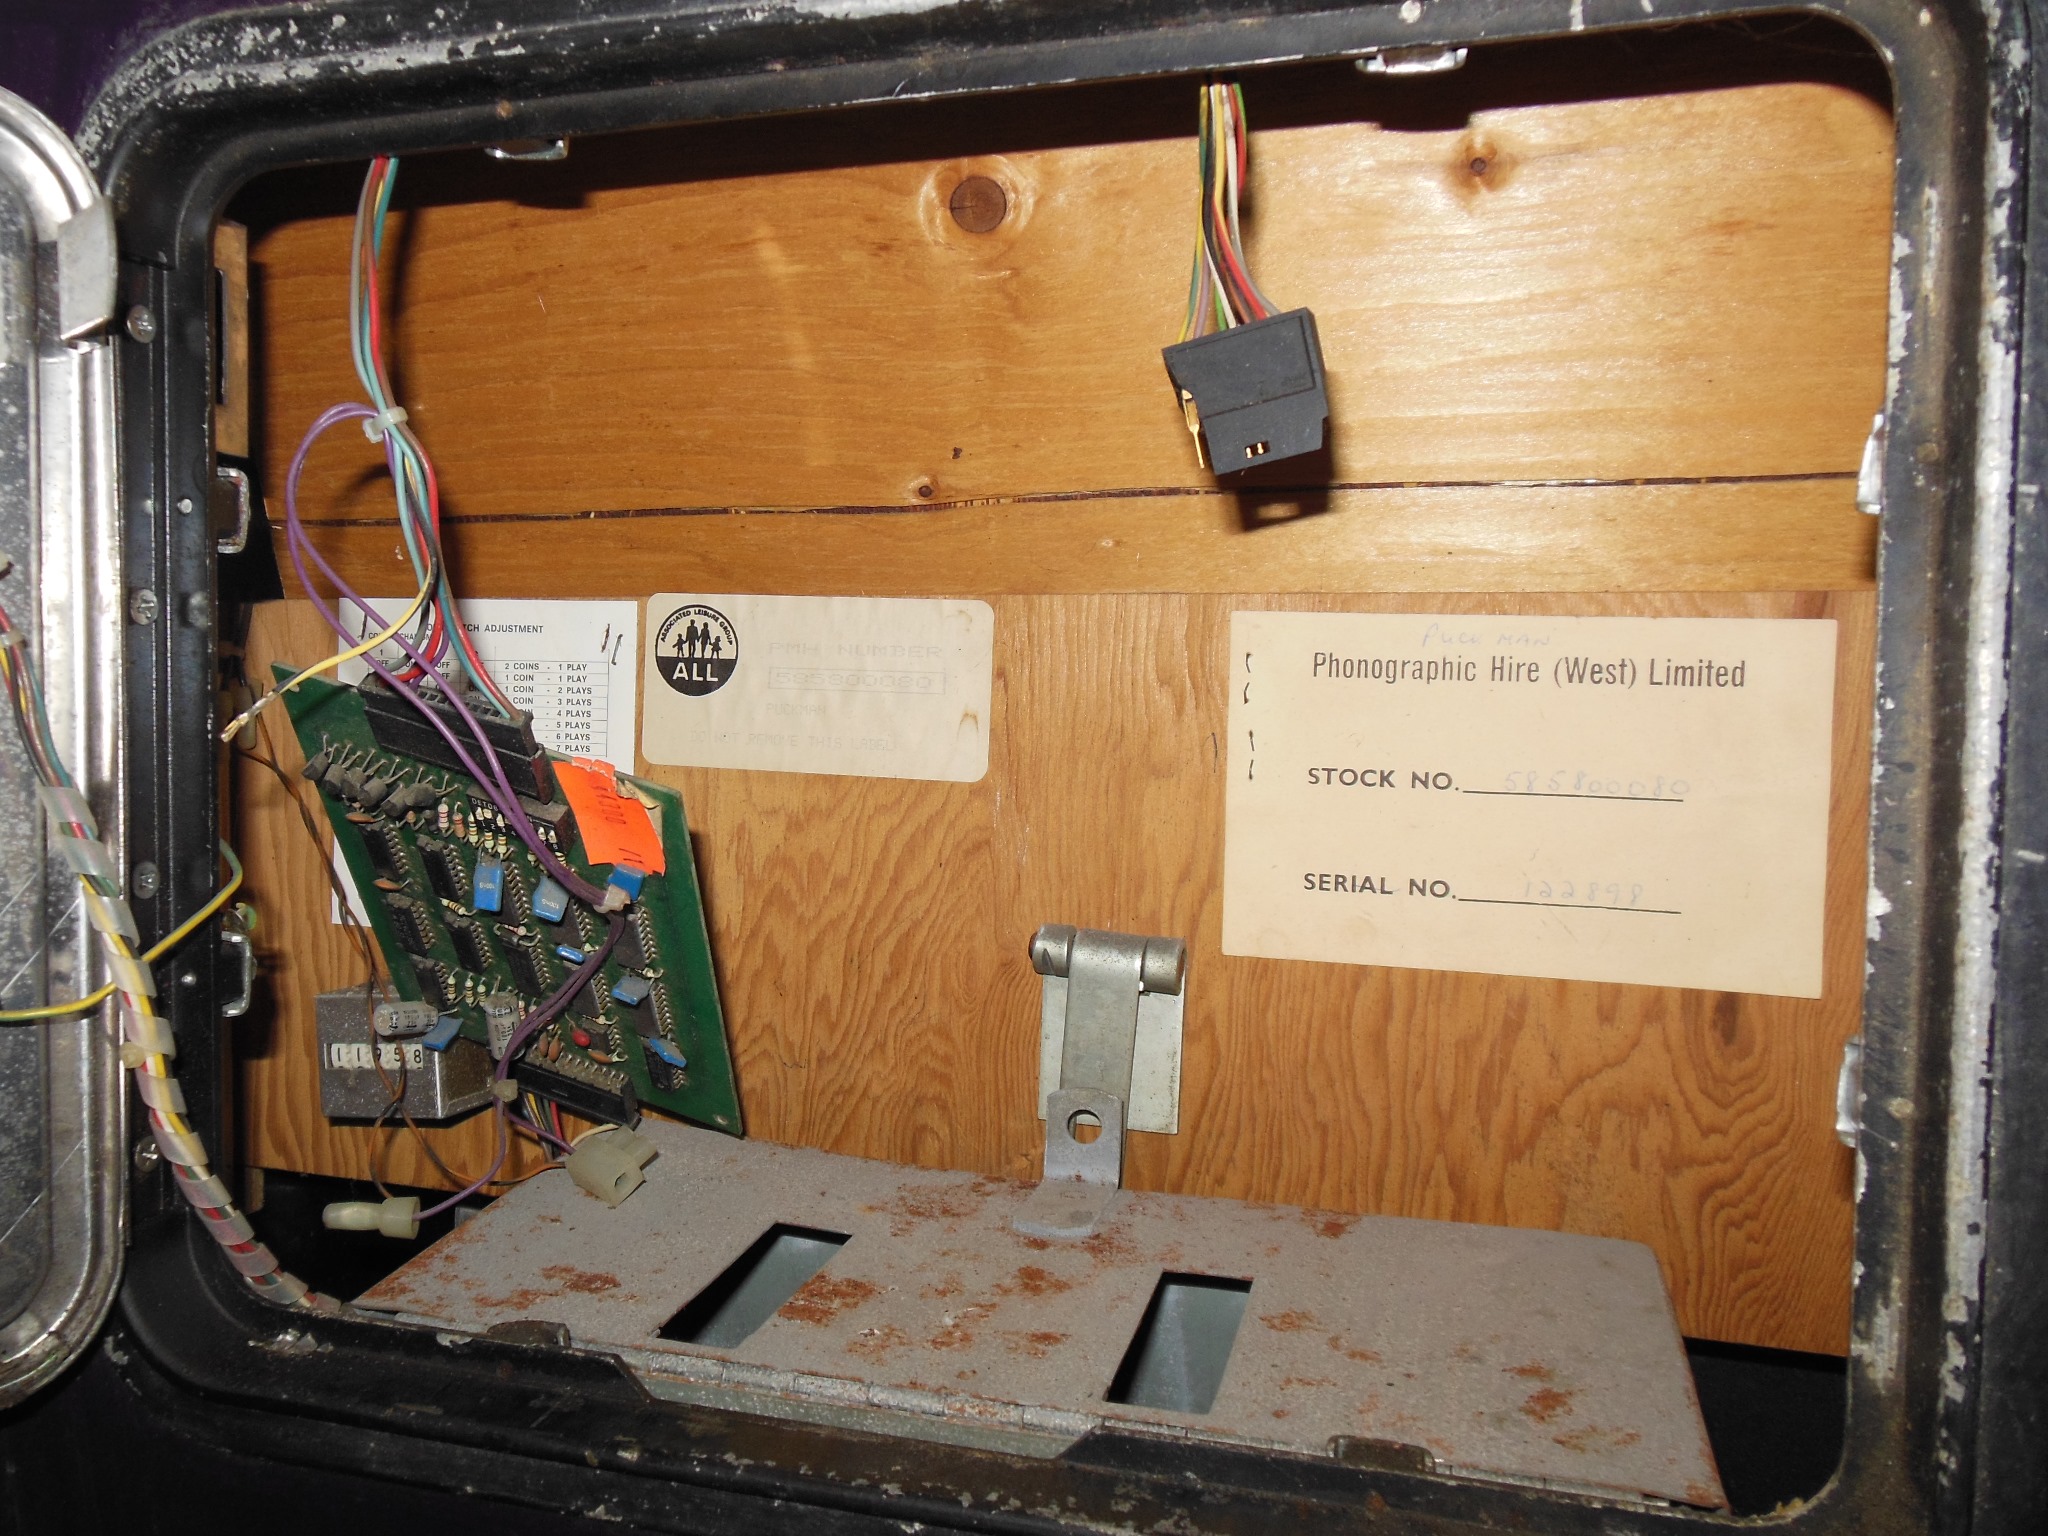
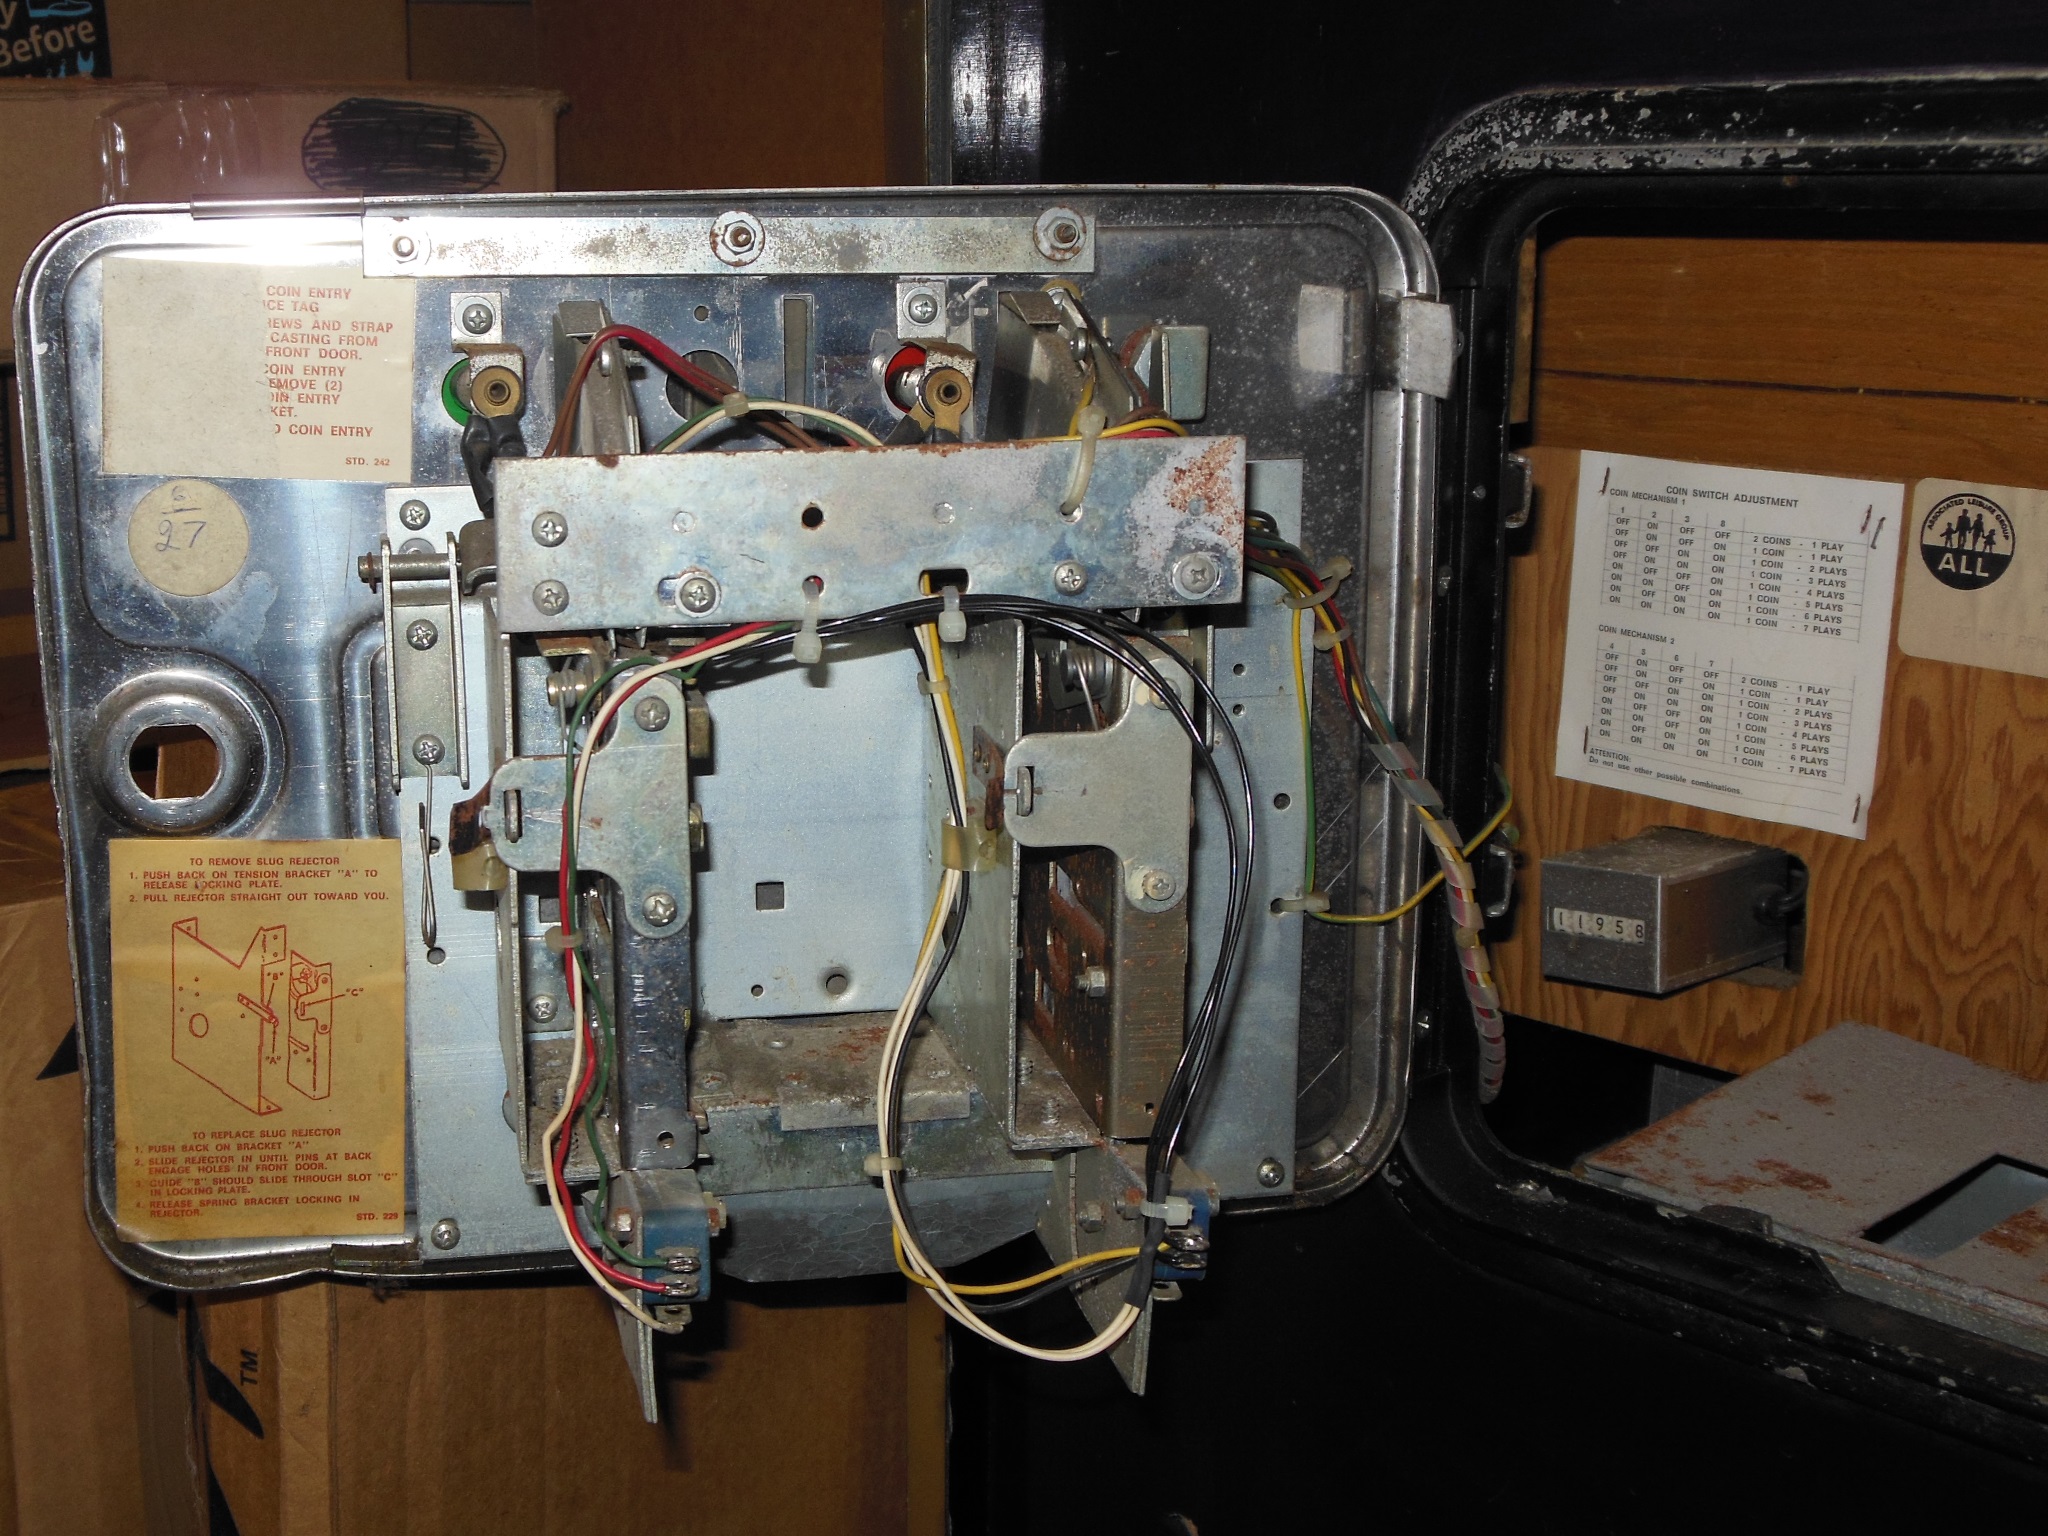
One of the switches on the coin door was damaged with wires pulled off though the cabling to the credit PCB appeared complete. The credit PCB itself was loose inside but still connected. Two labels identified Associated Leisure as the distributor and Phonographic Hire West as the operator.
|
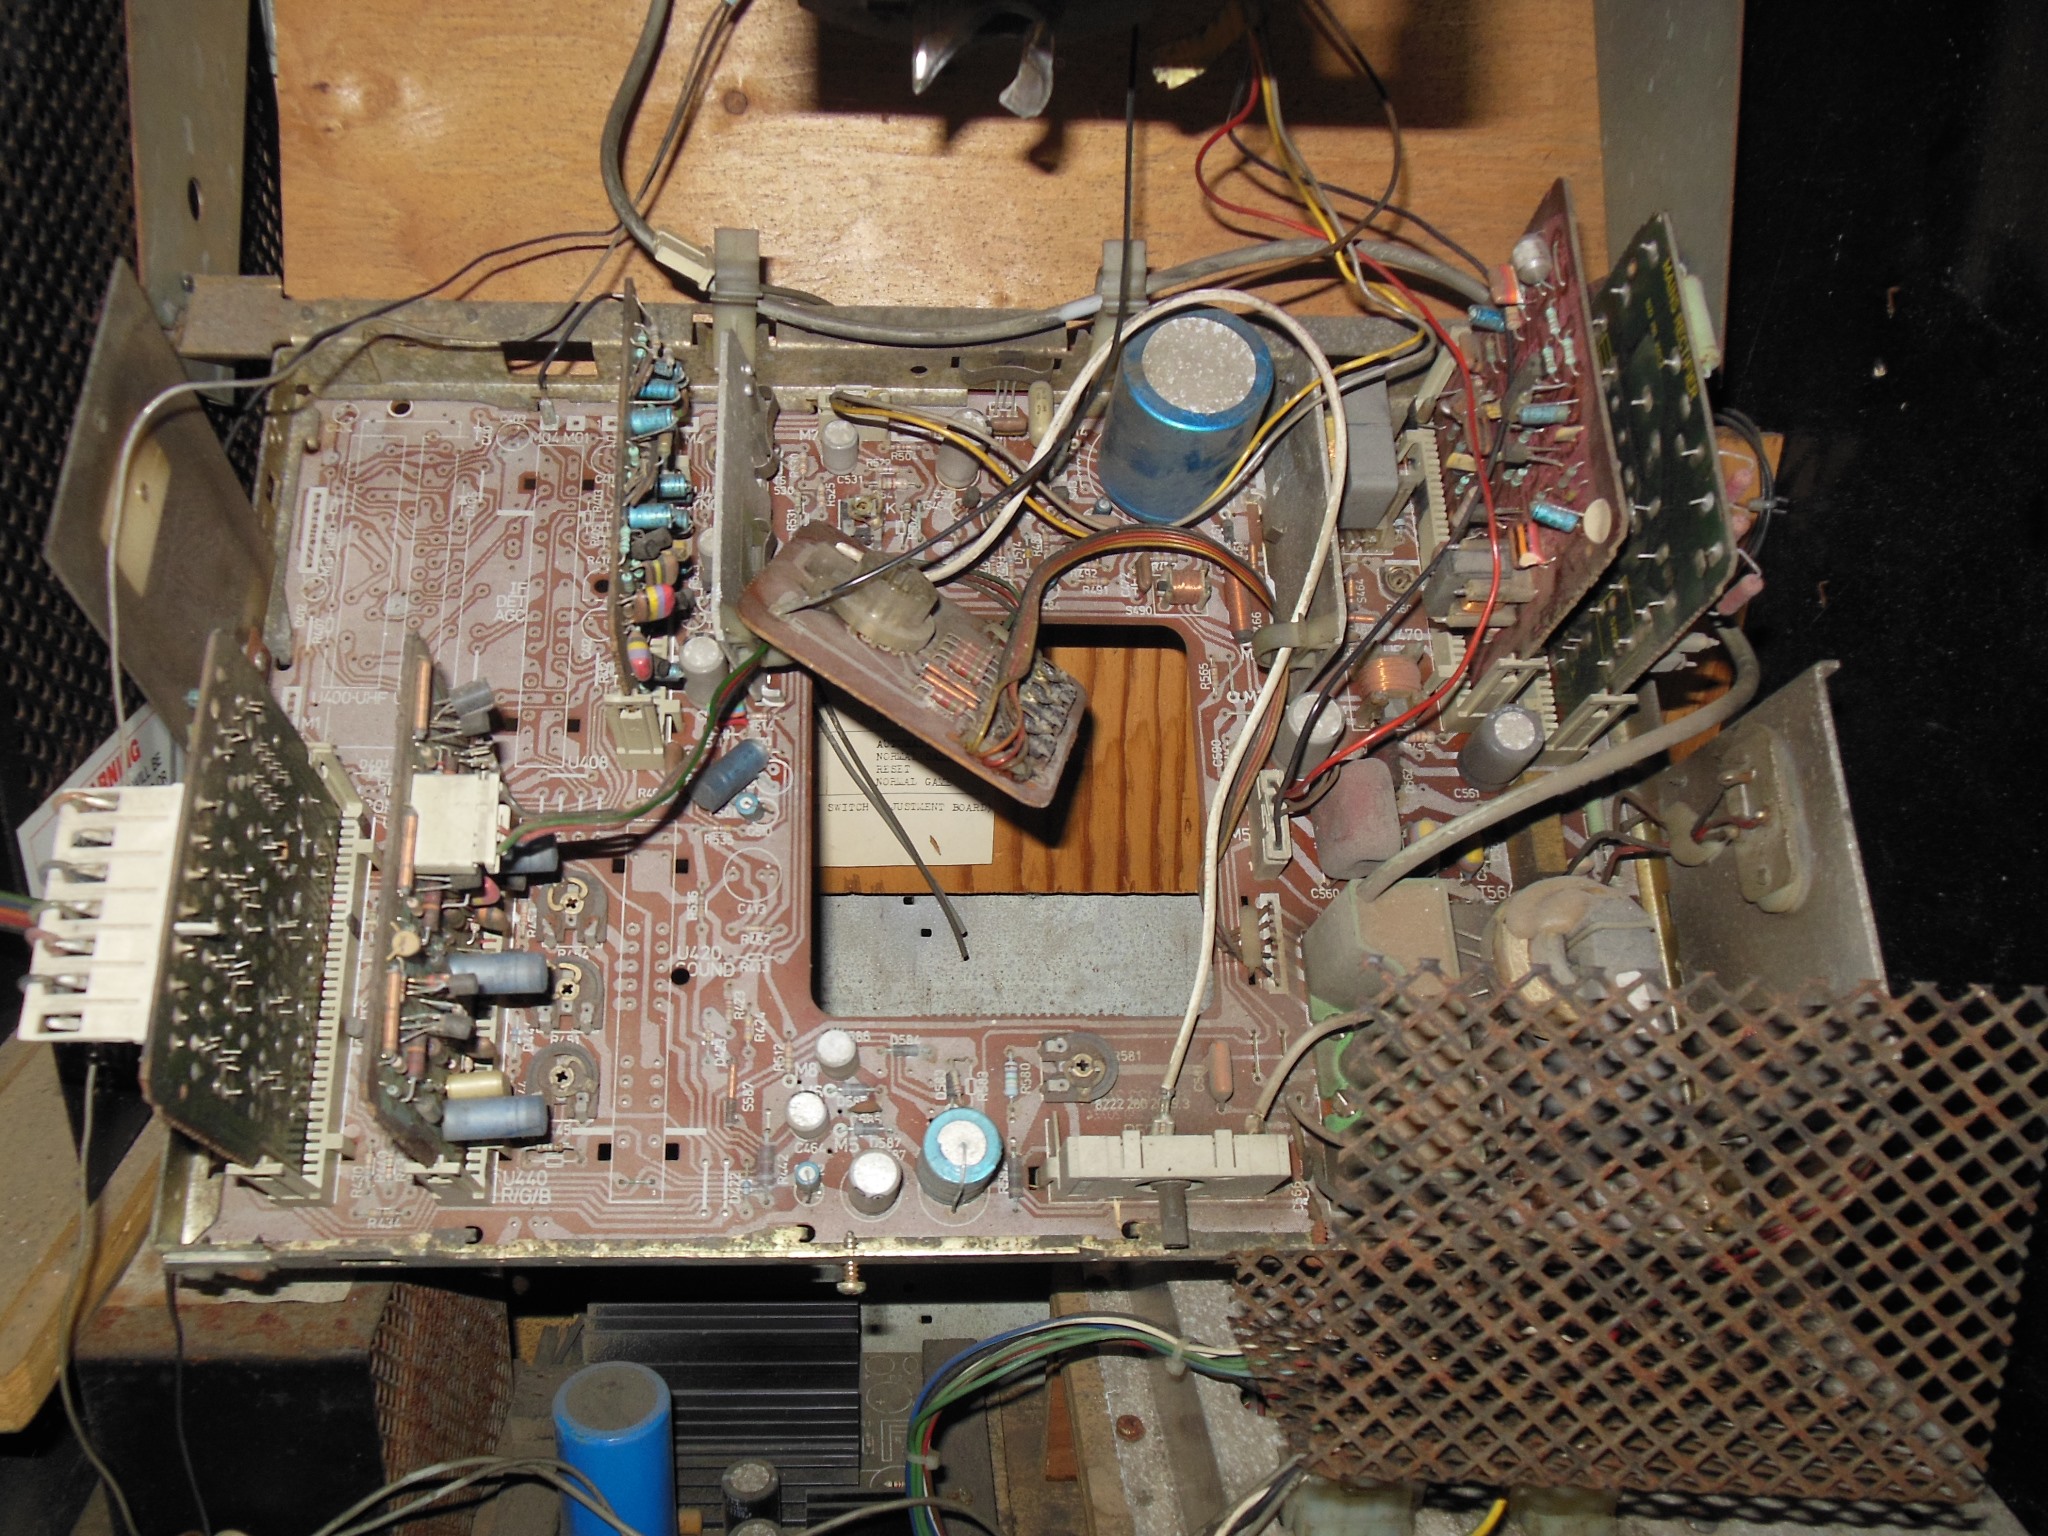
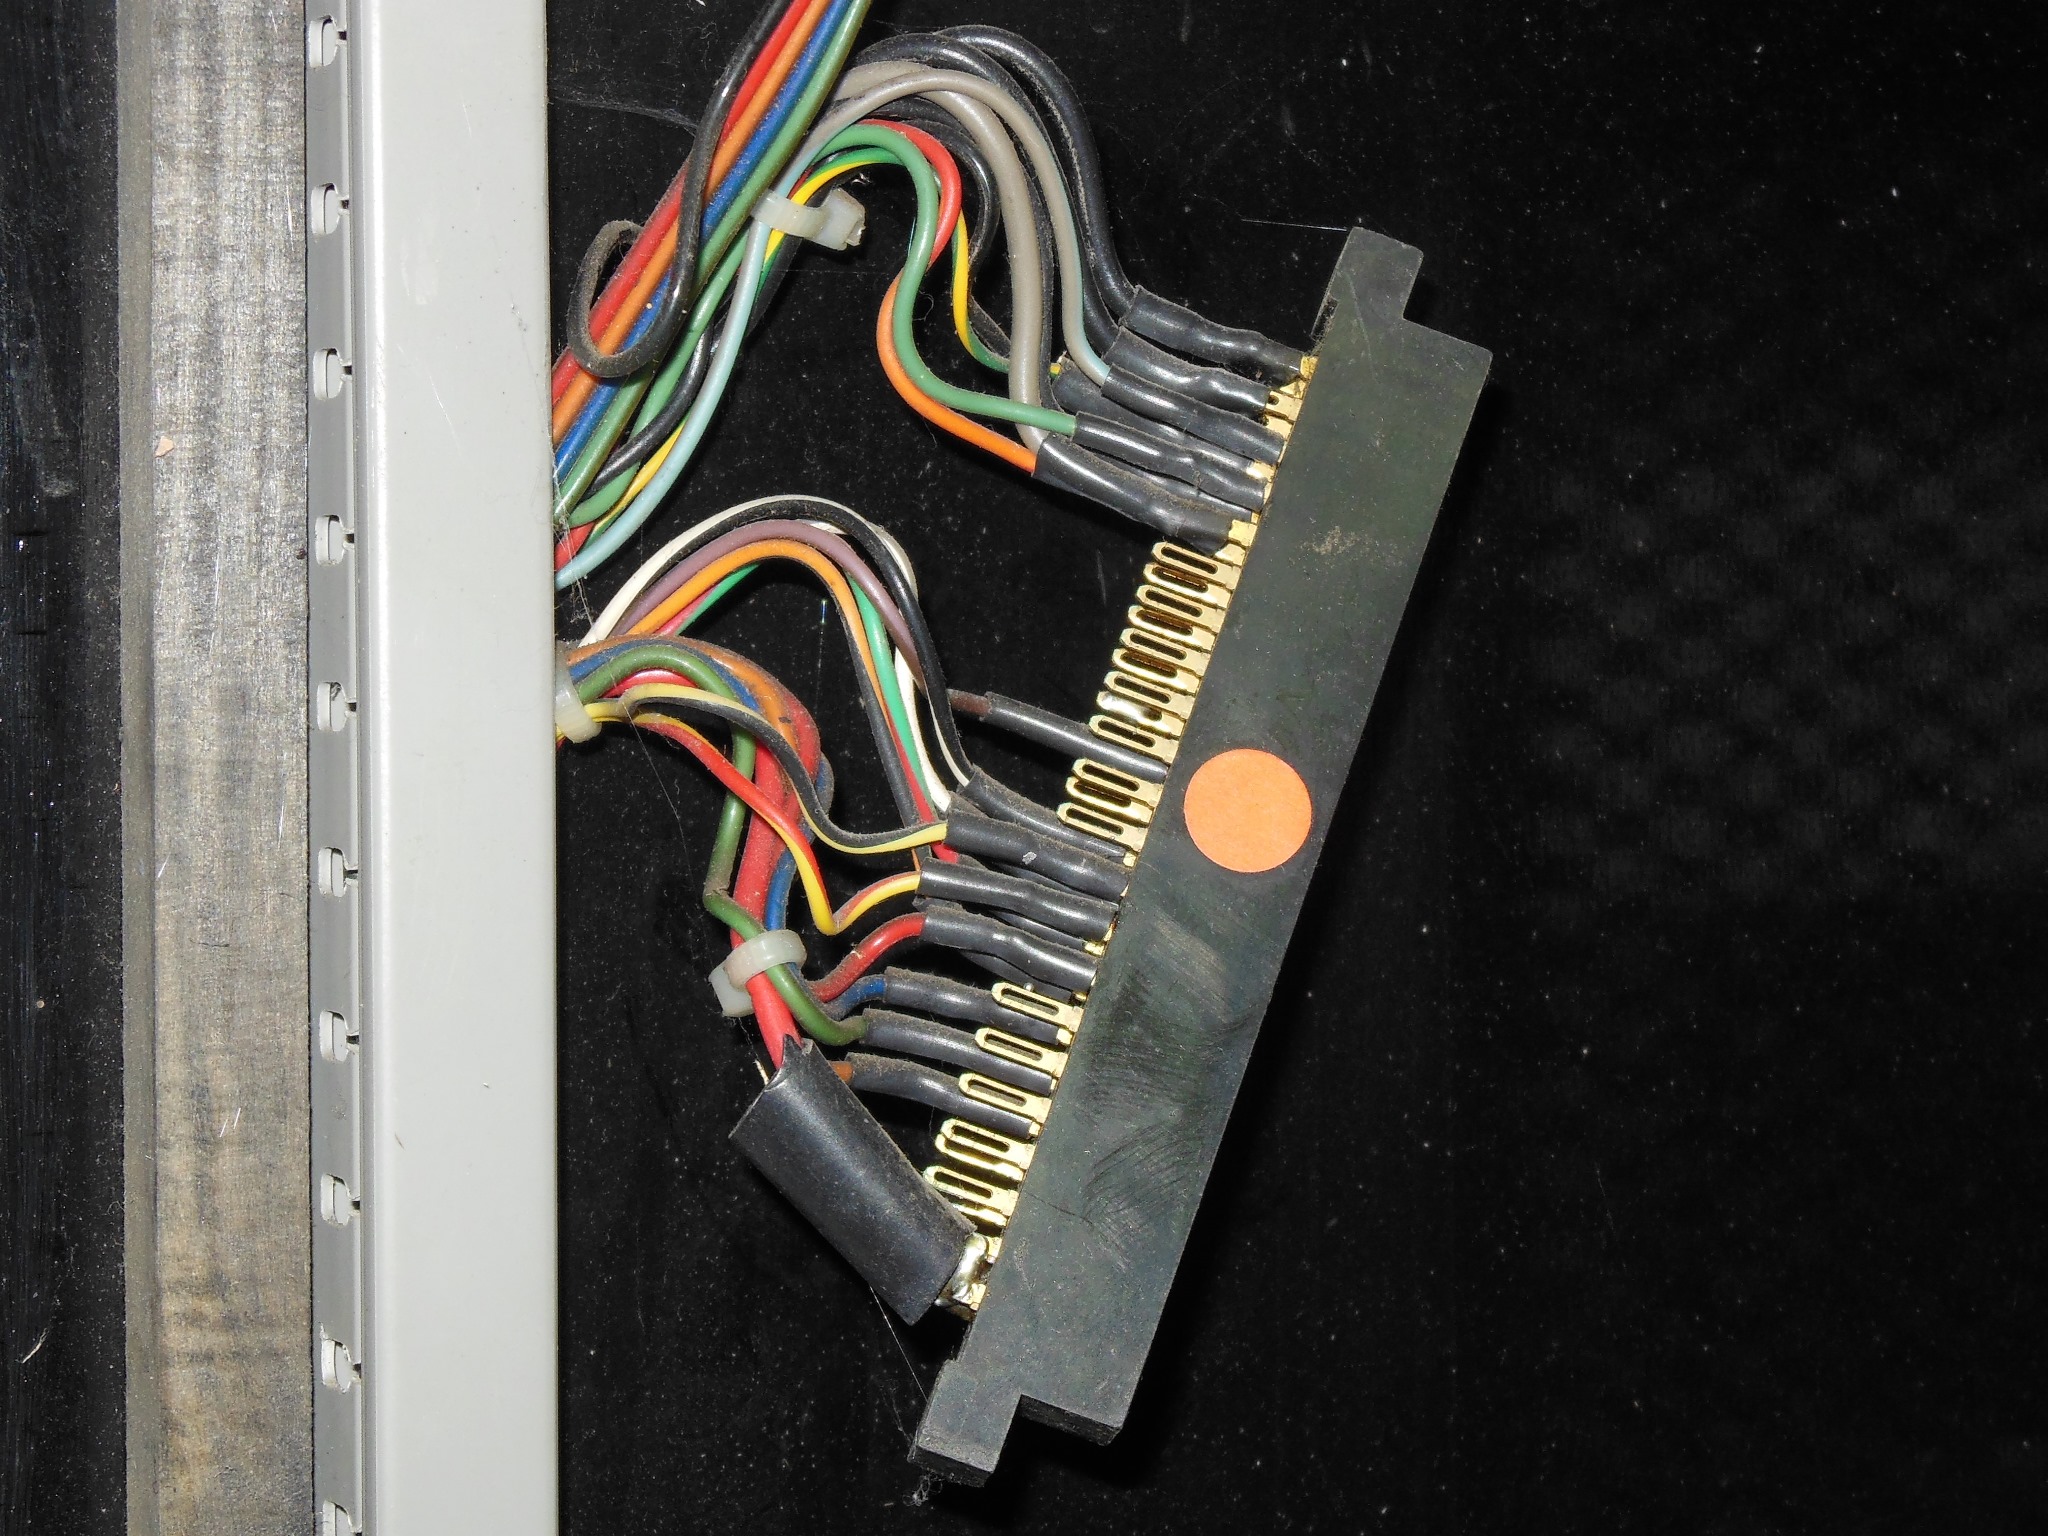
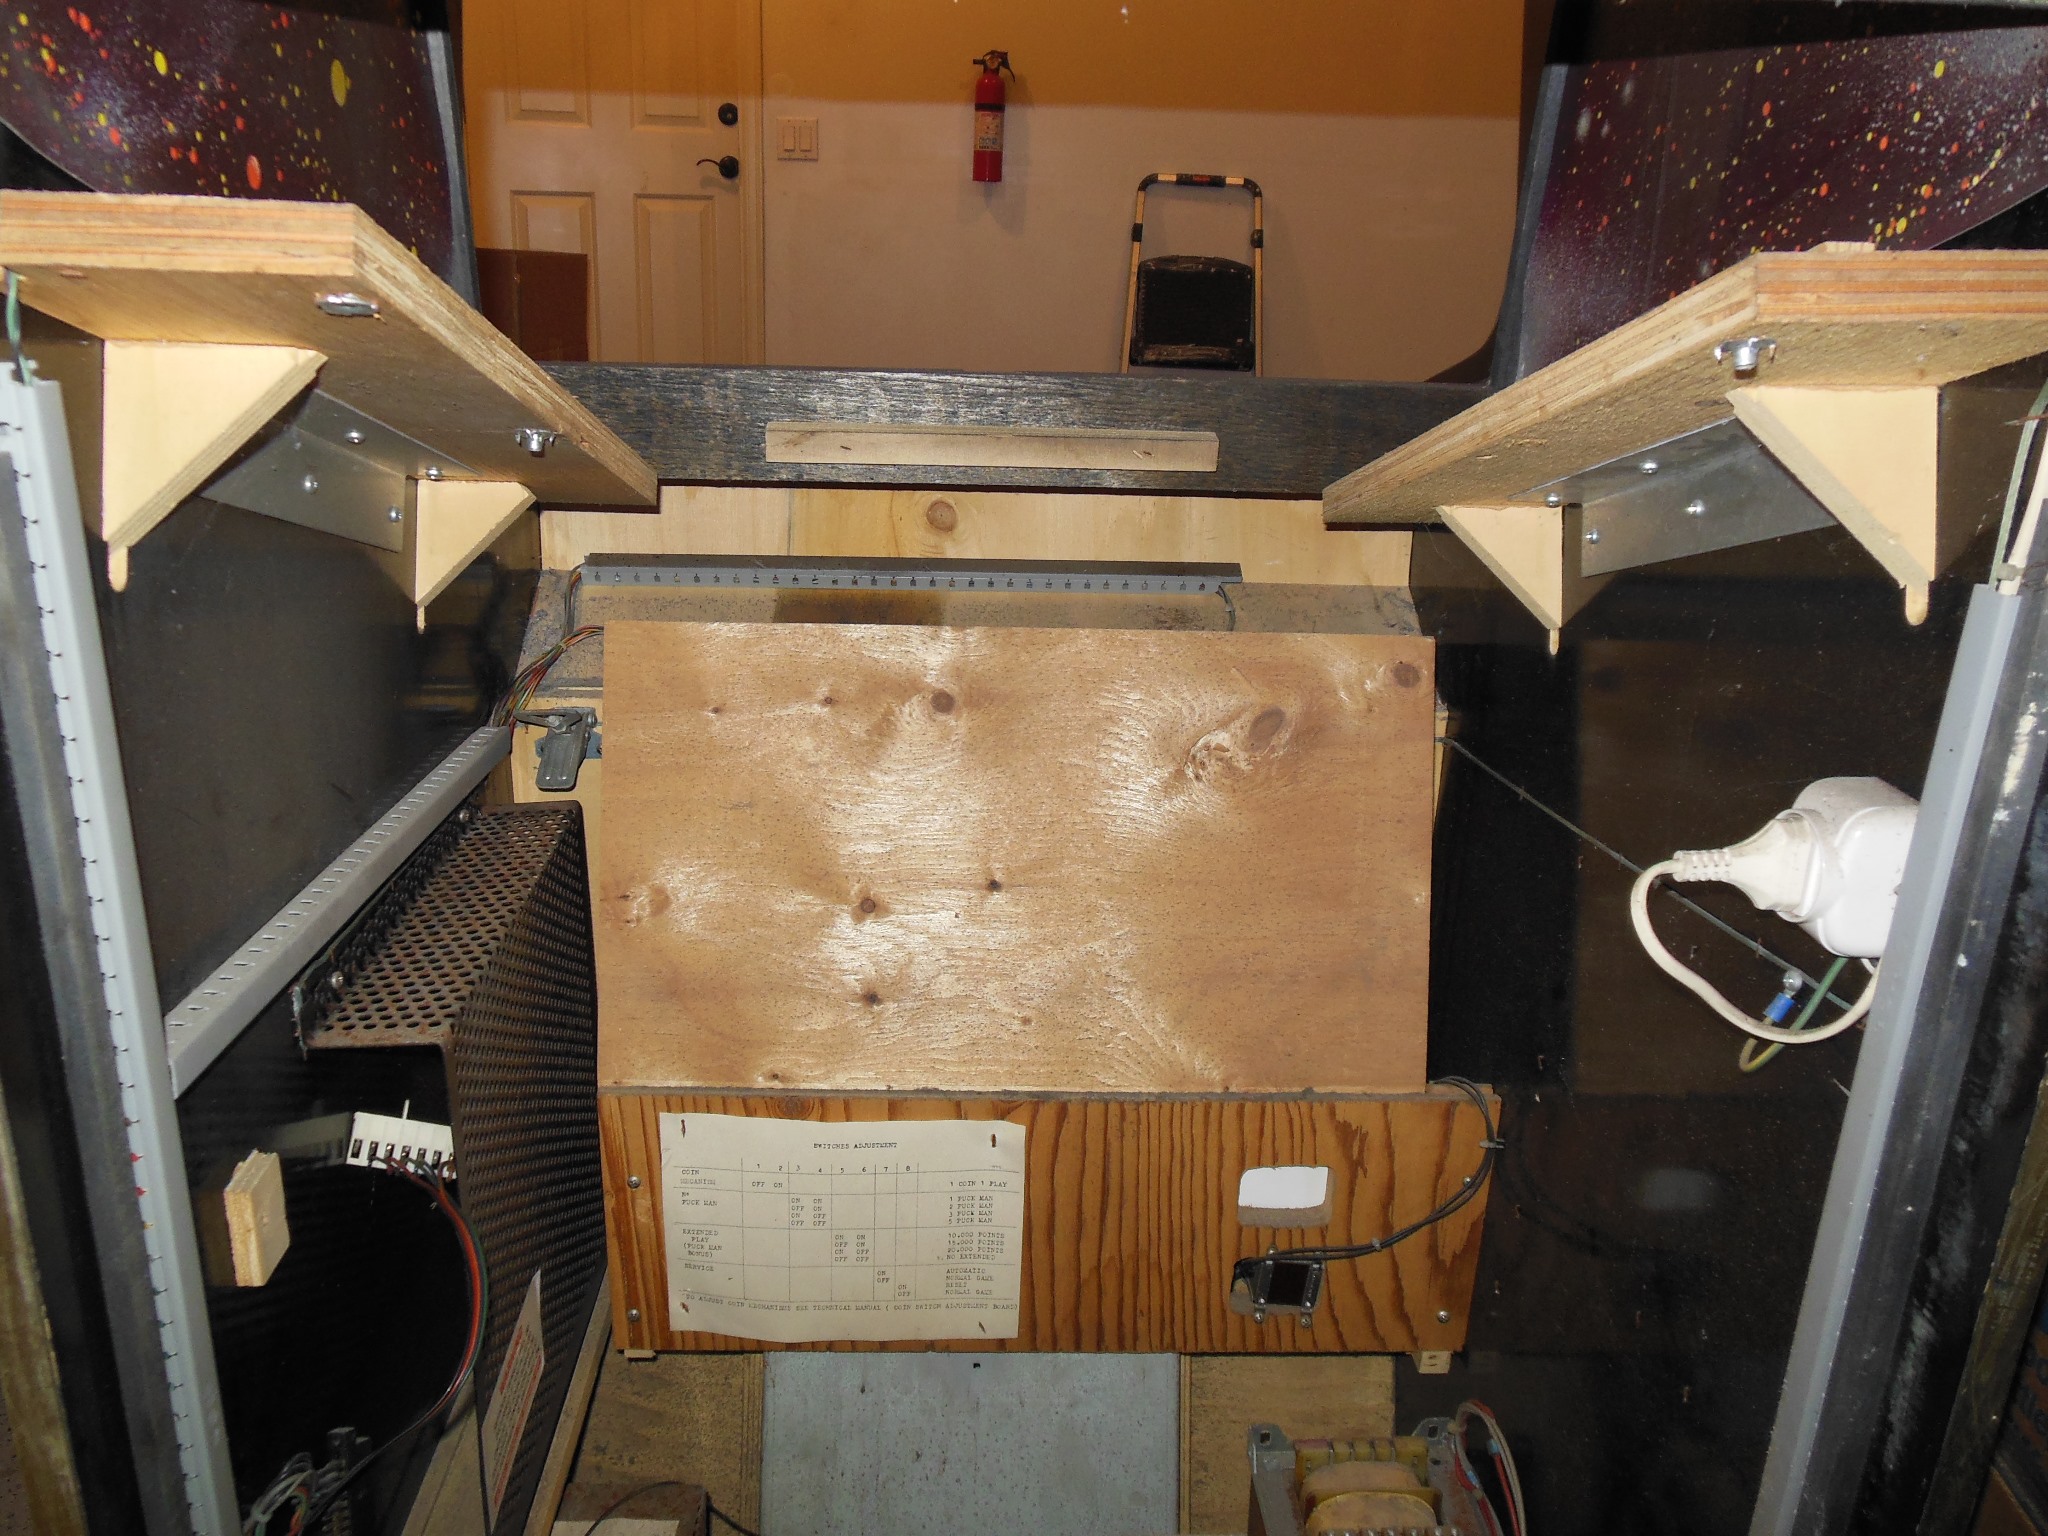
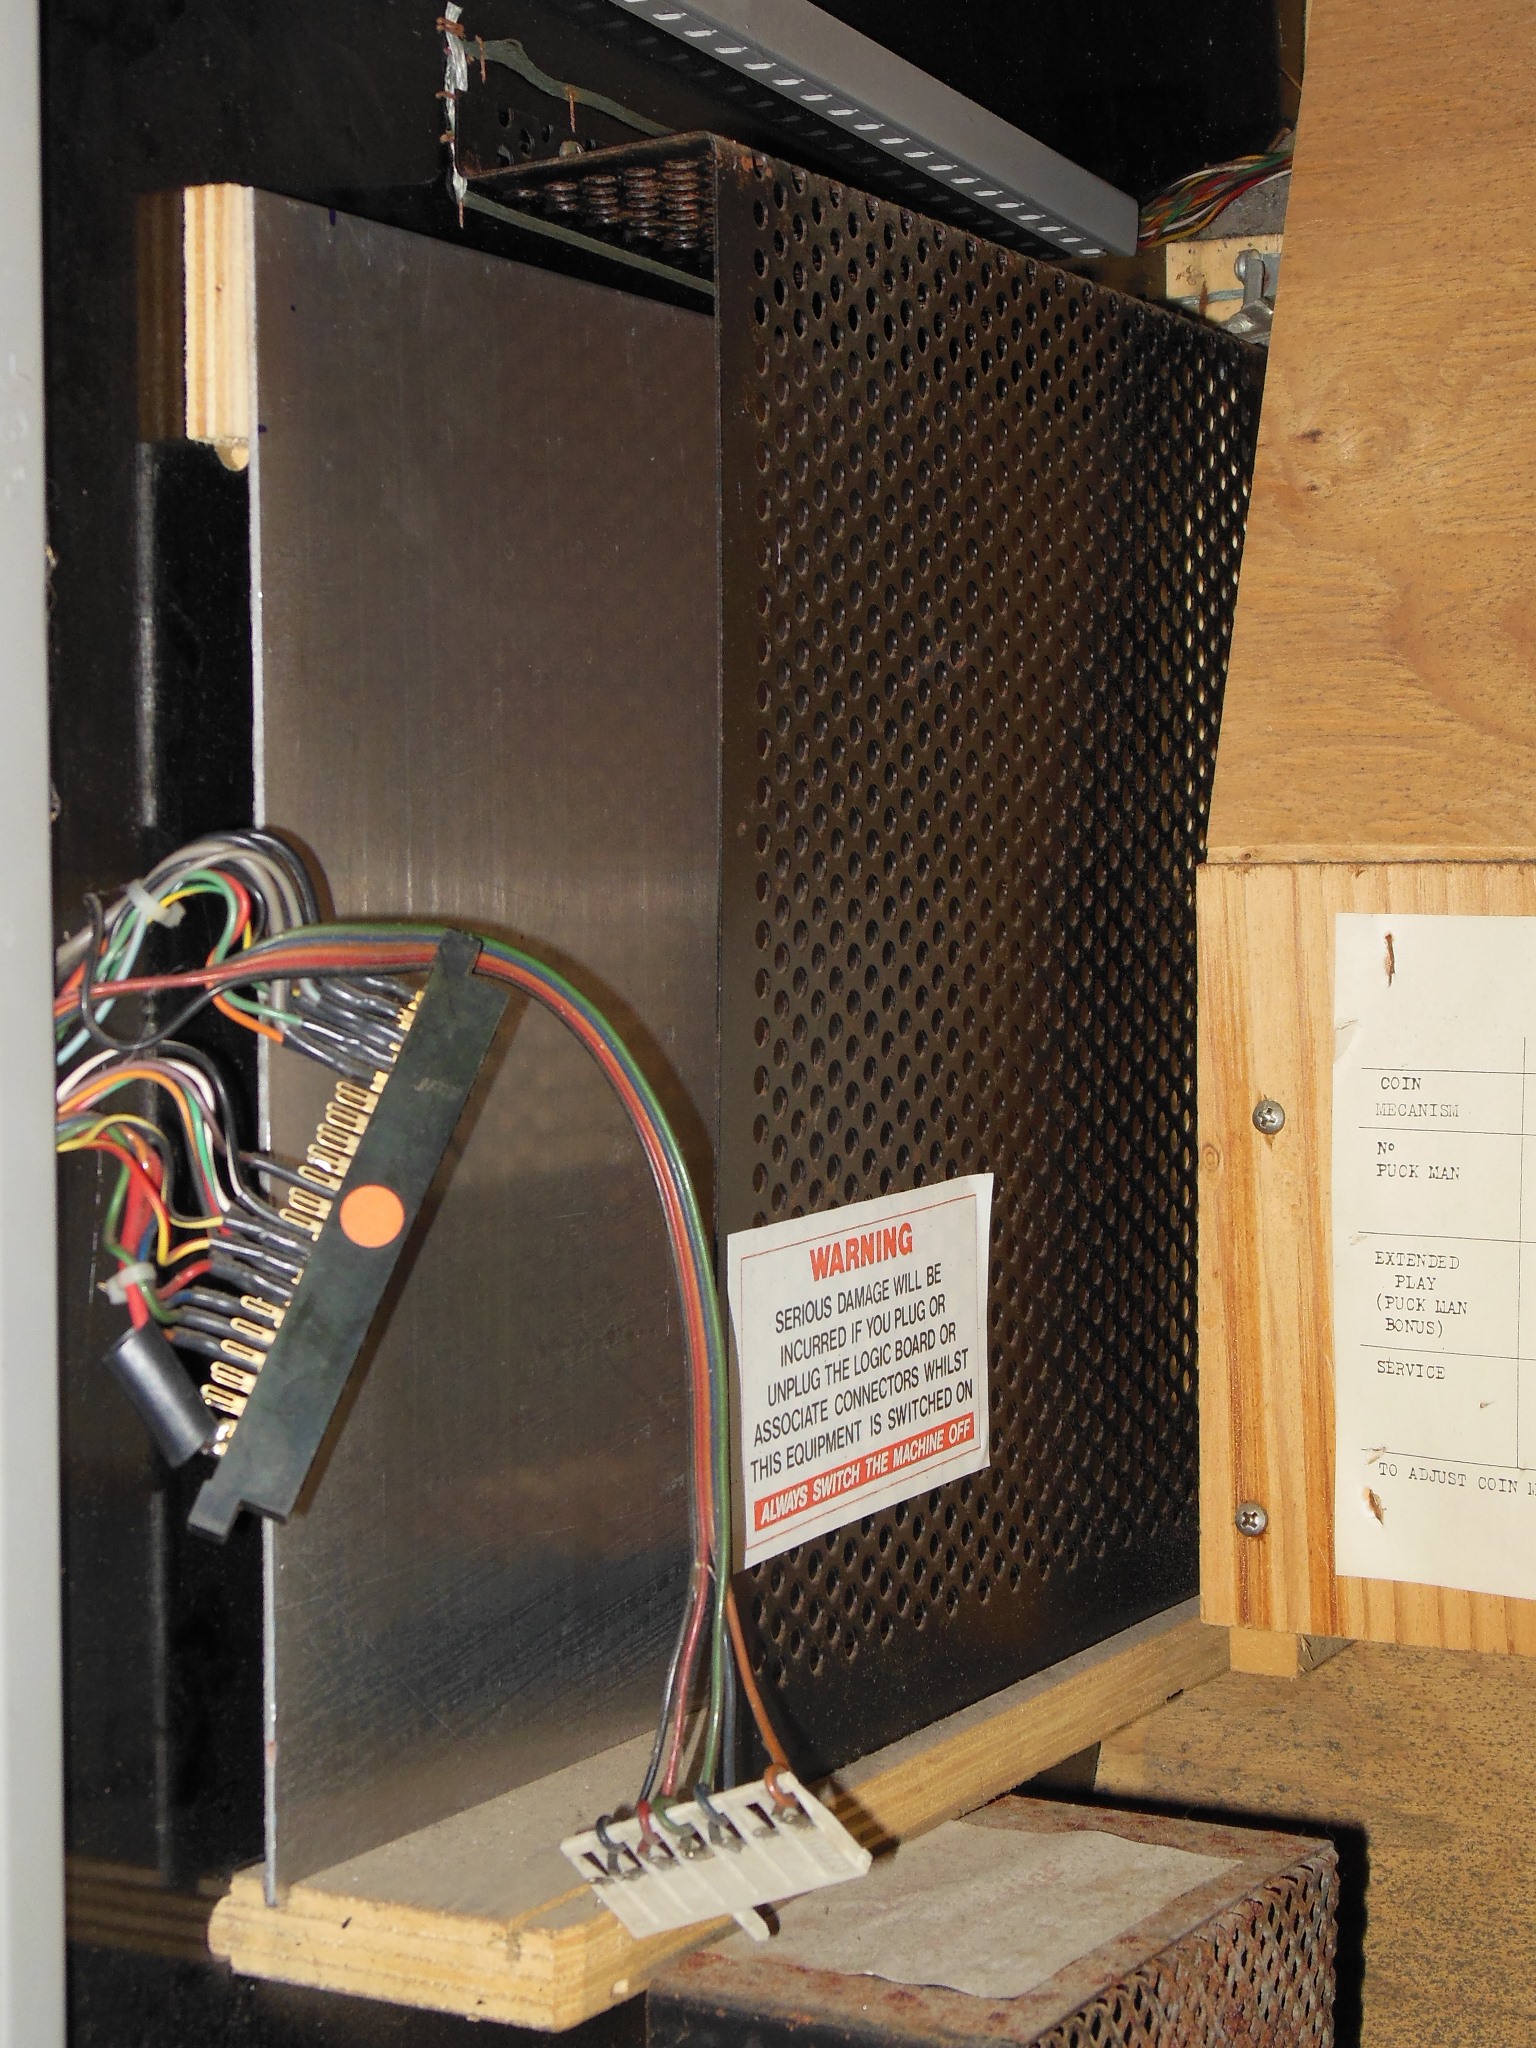
None of the original four cabinets contained the game PCB but the edge connector looked original and unmodified on this one. From Puck Man PCBs that have cropped up on eBay with Zaccaria serial number labels I suspect it would have had an anonymous full size DC version of the Namco PCB.
|
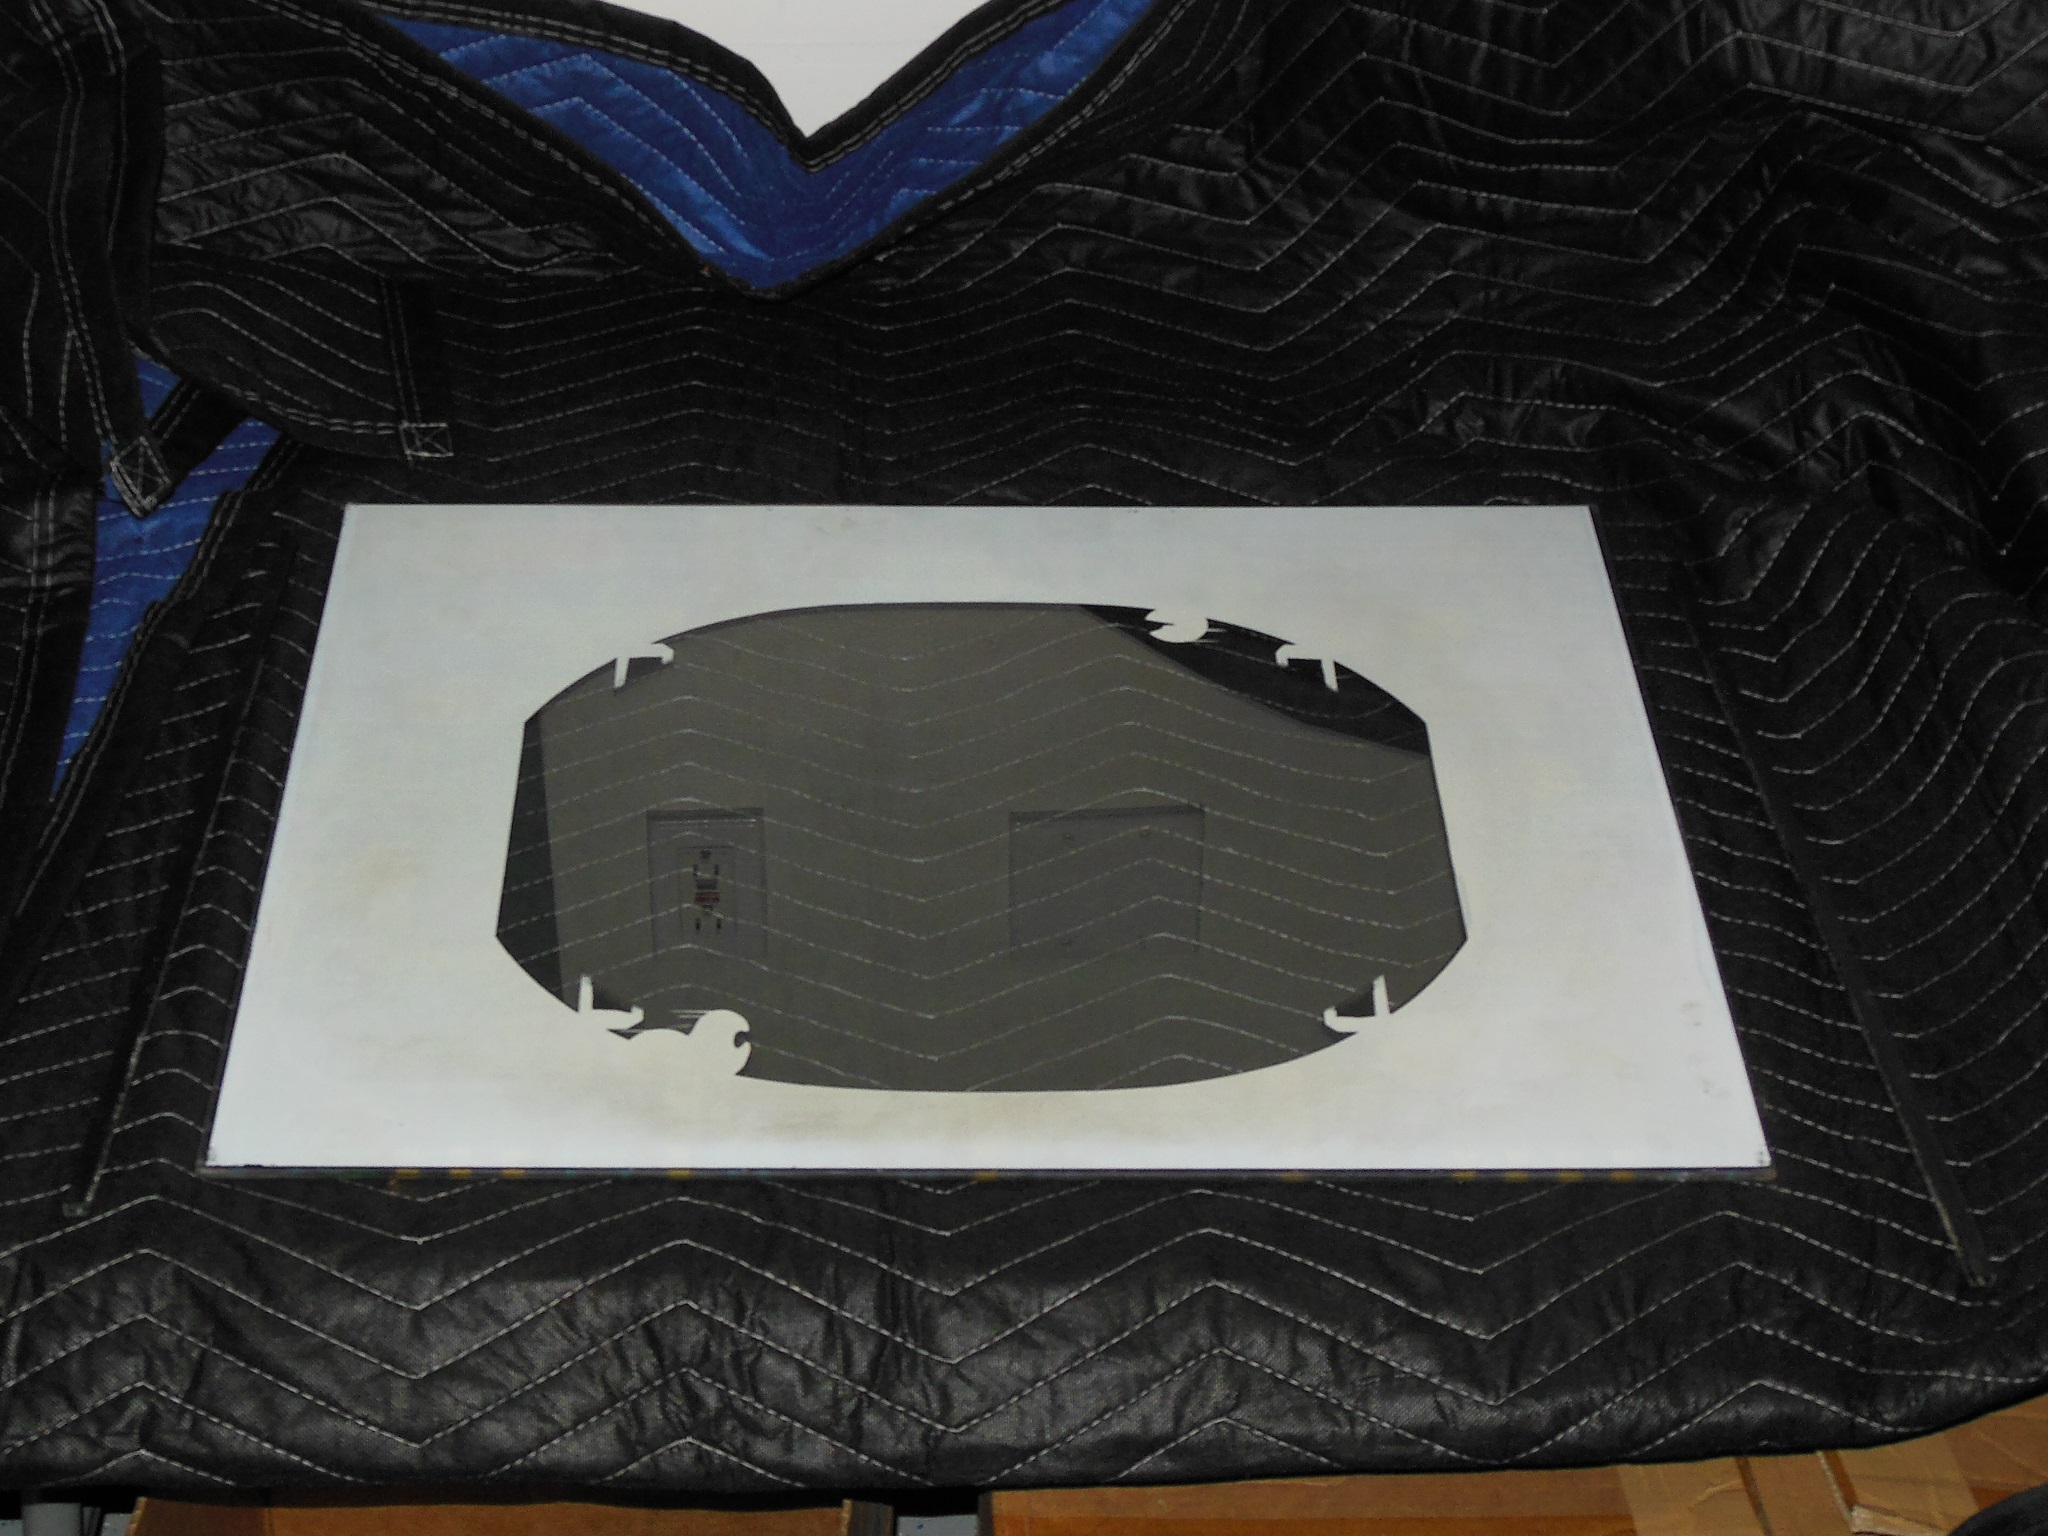
Removing the monitor glass revealed a sagging ripped monitor surround that had been torn off from its cabinet staples. The monitor glass artwork was in good condition, however.


|
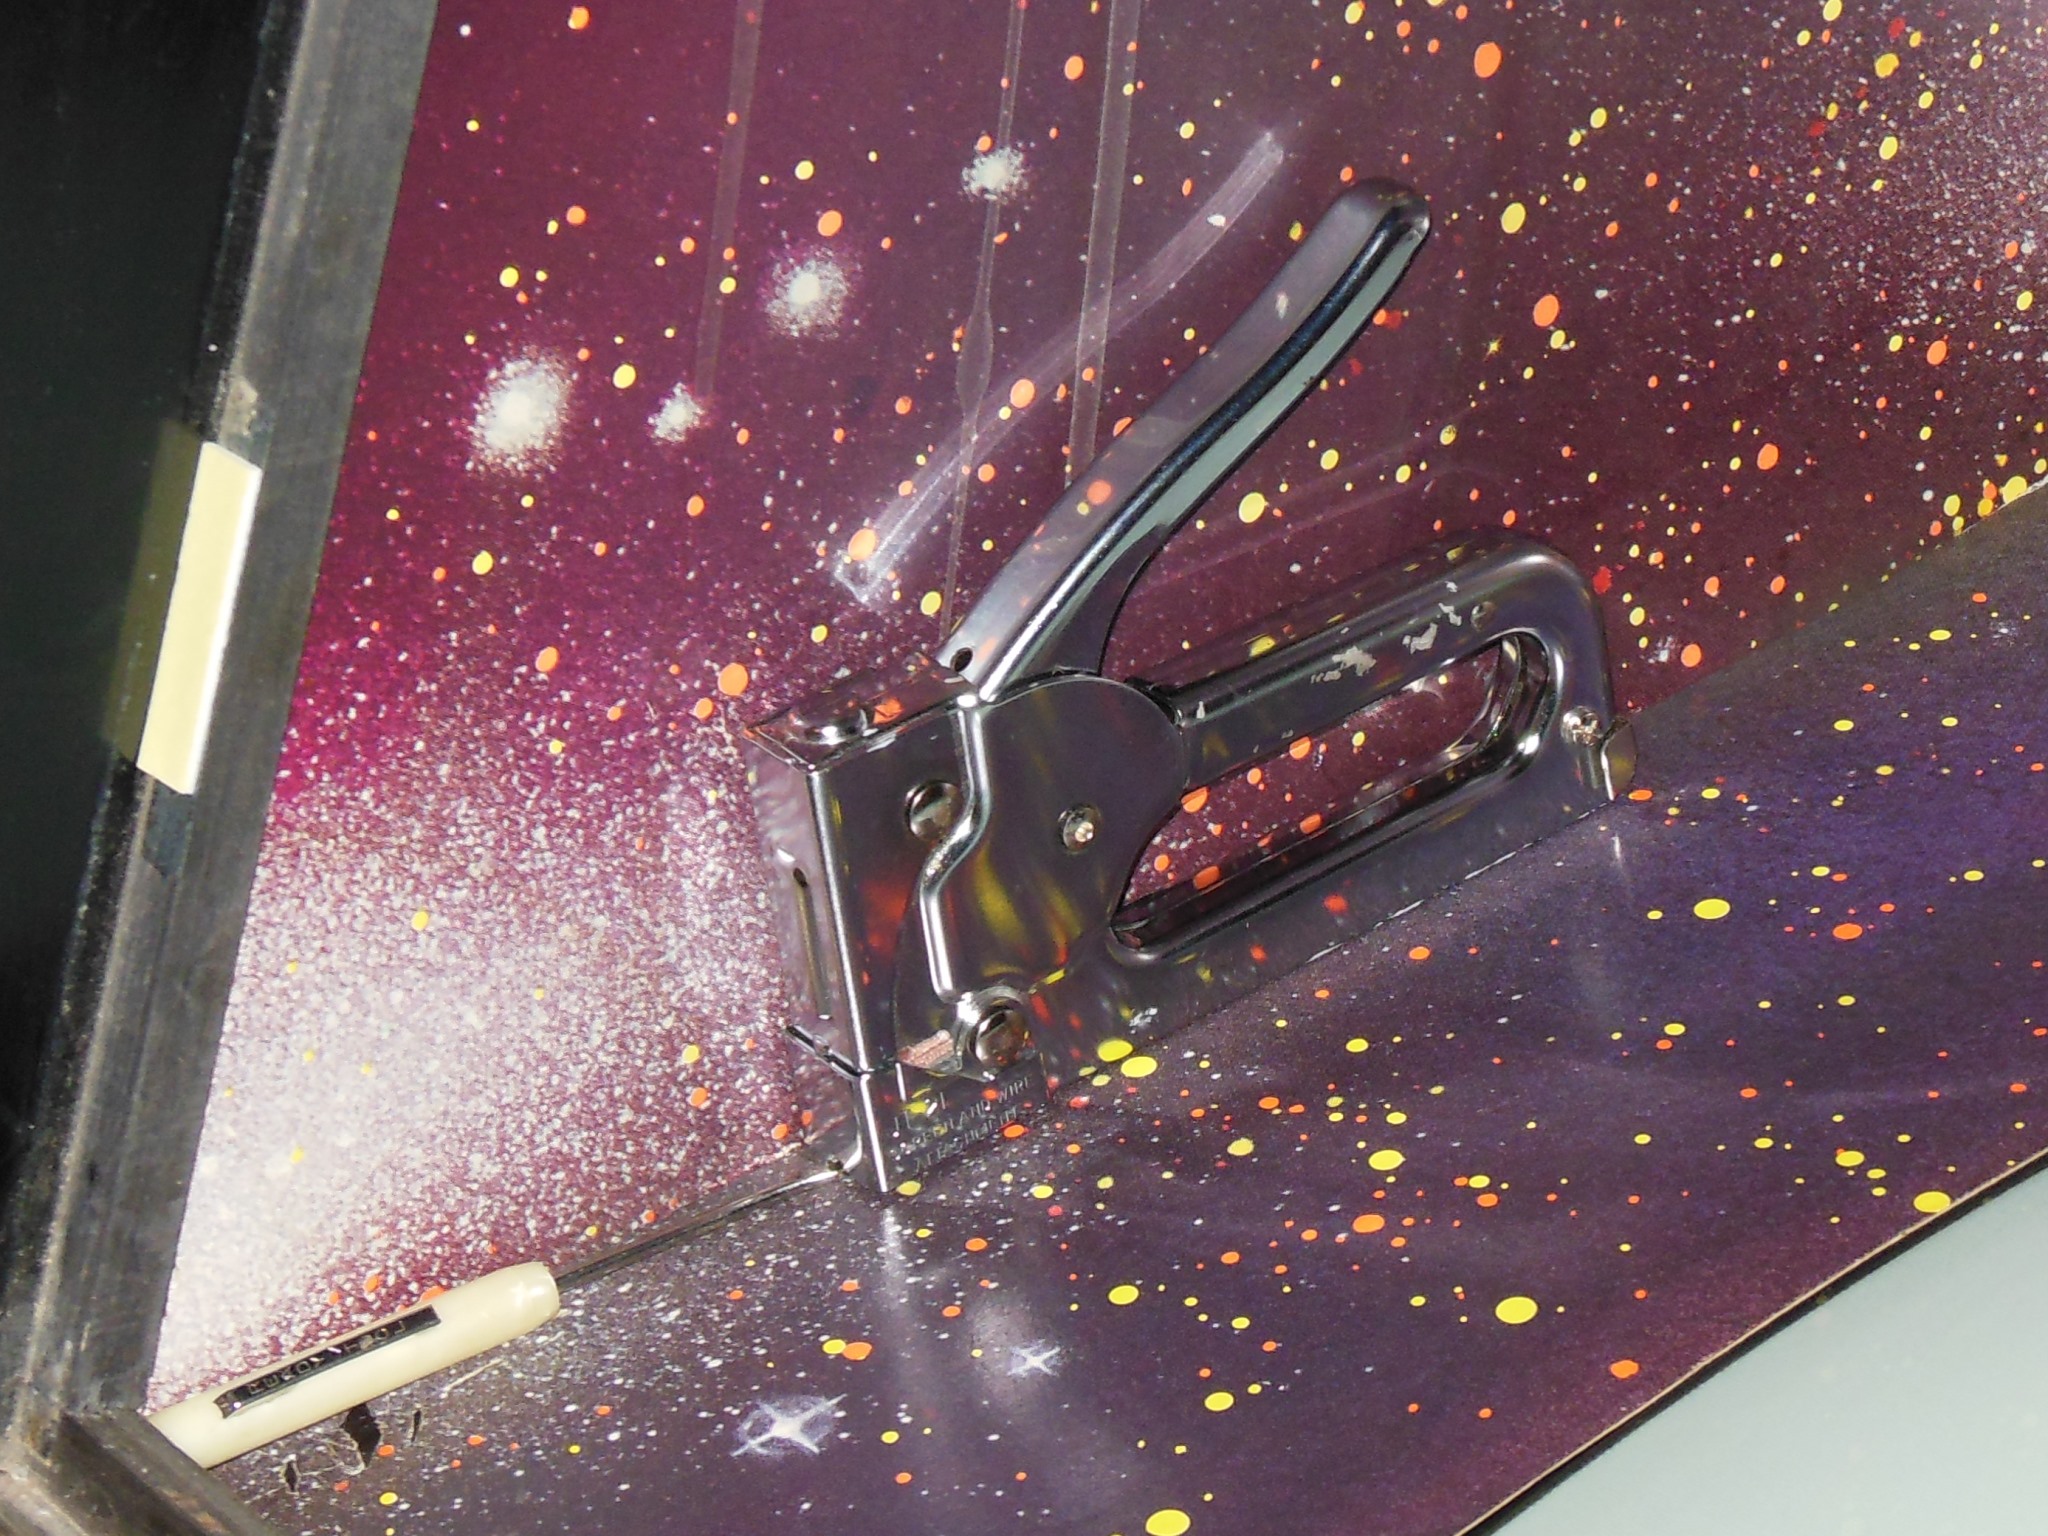
Since the surround had already been ripped up from its staples it was easily removed.
|
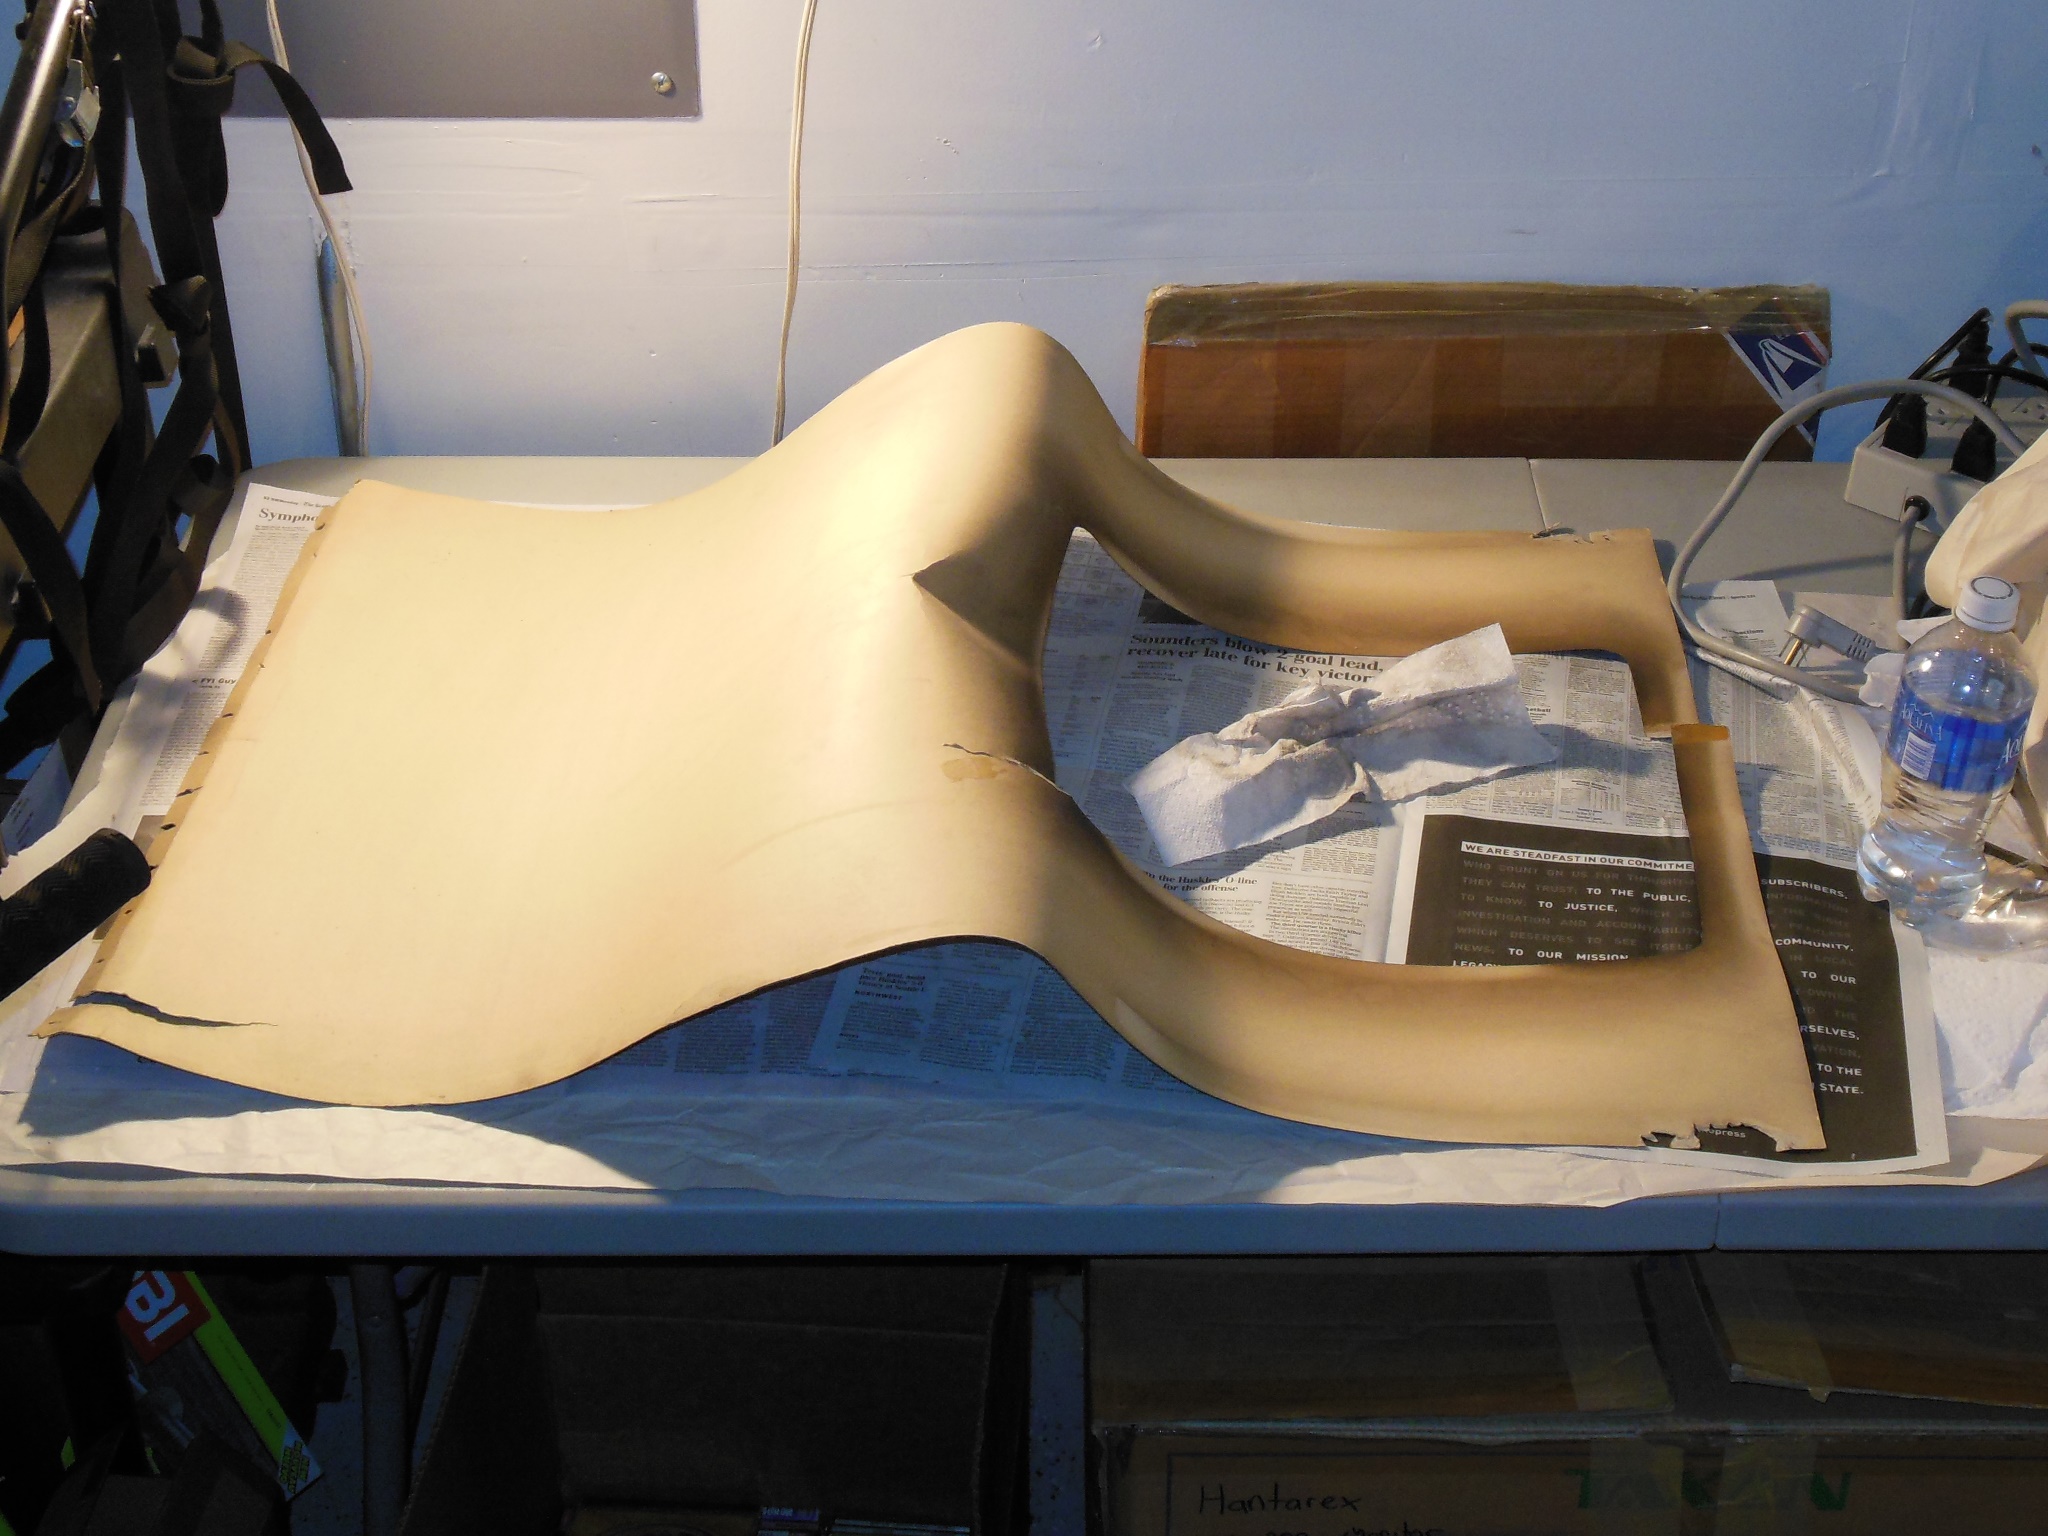
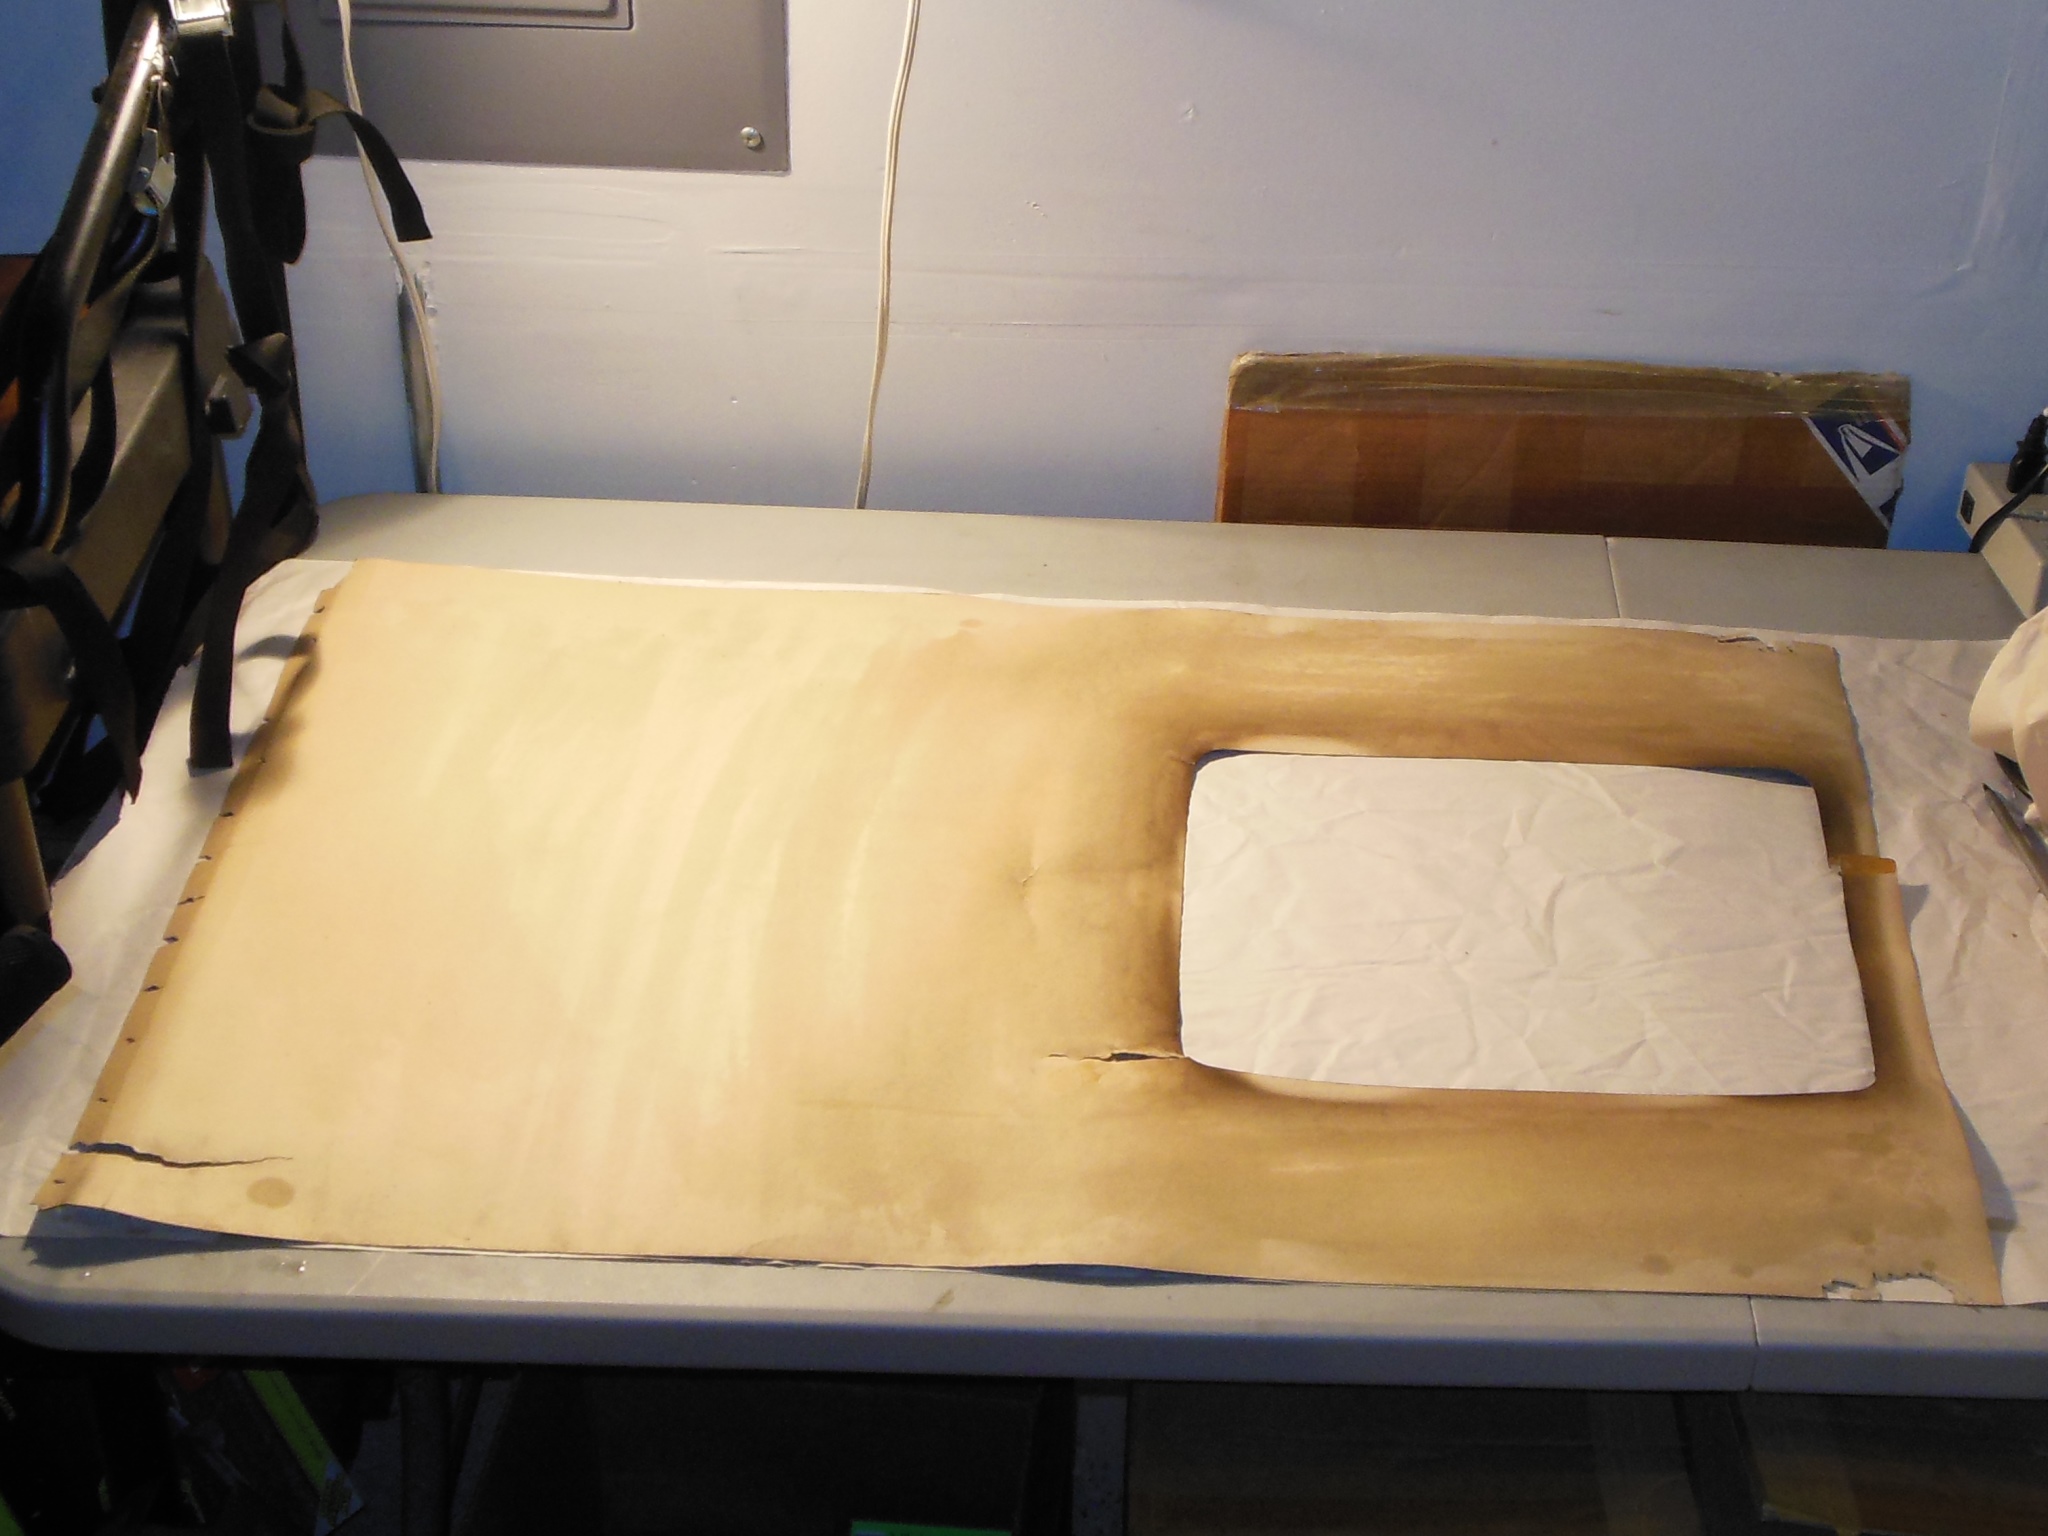
The surround was cleaned by gently wiping with a damp cloth, front & back, before being set to flatten out as it dried.


|
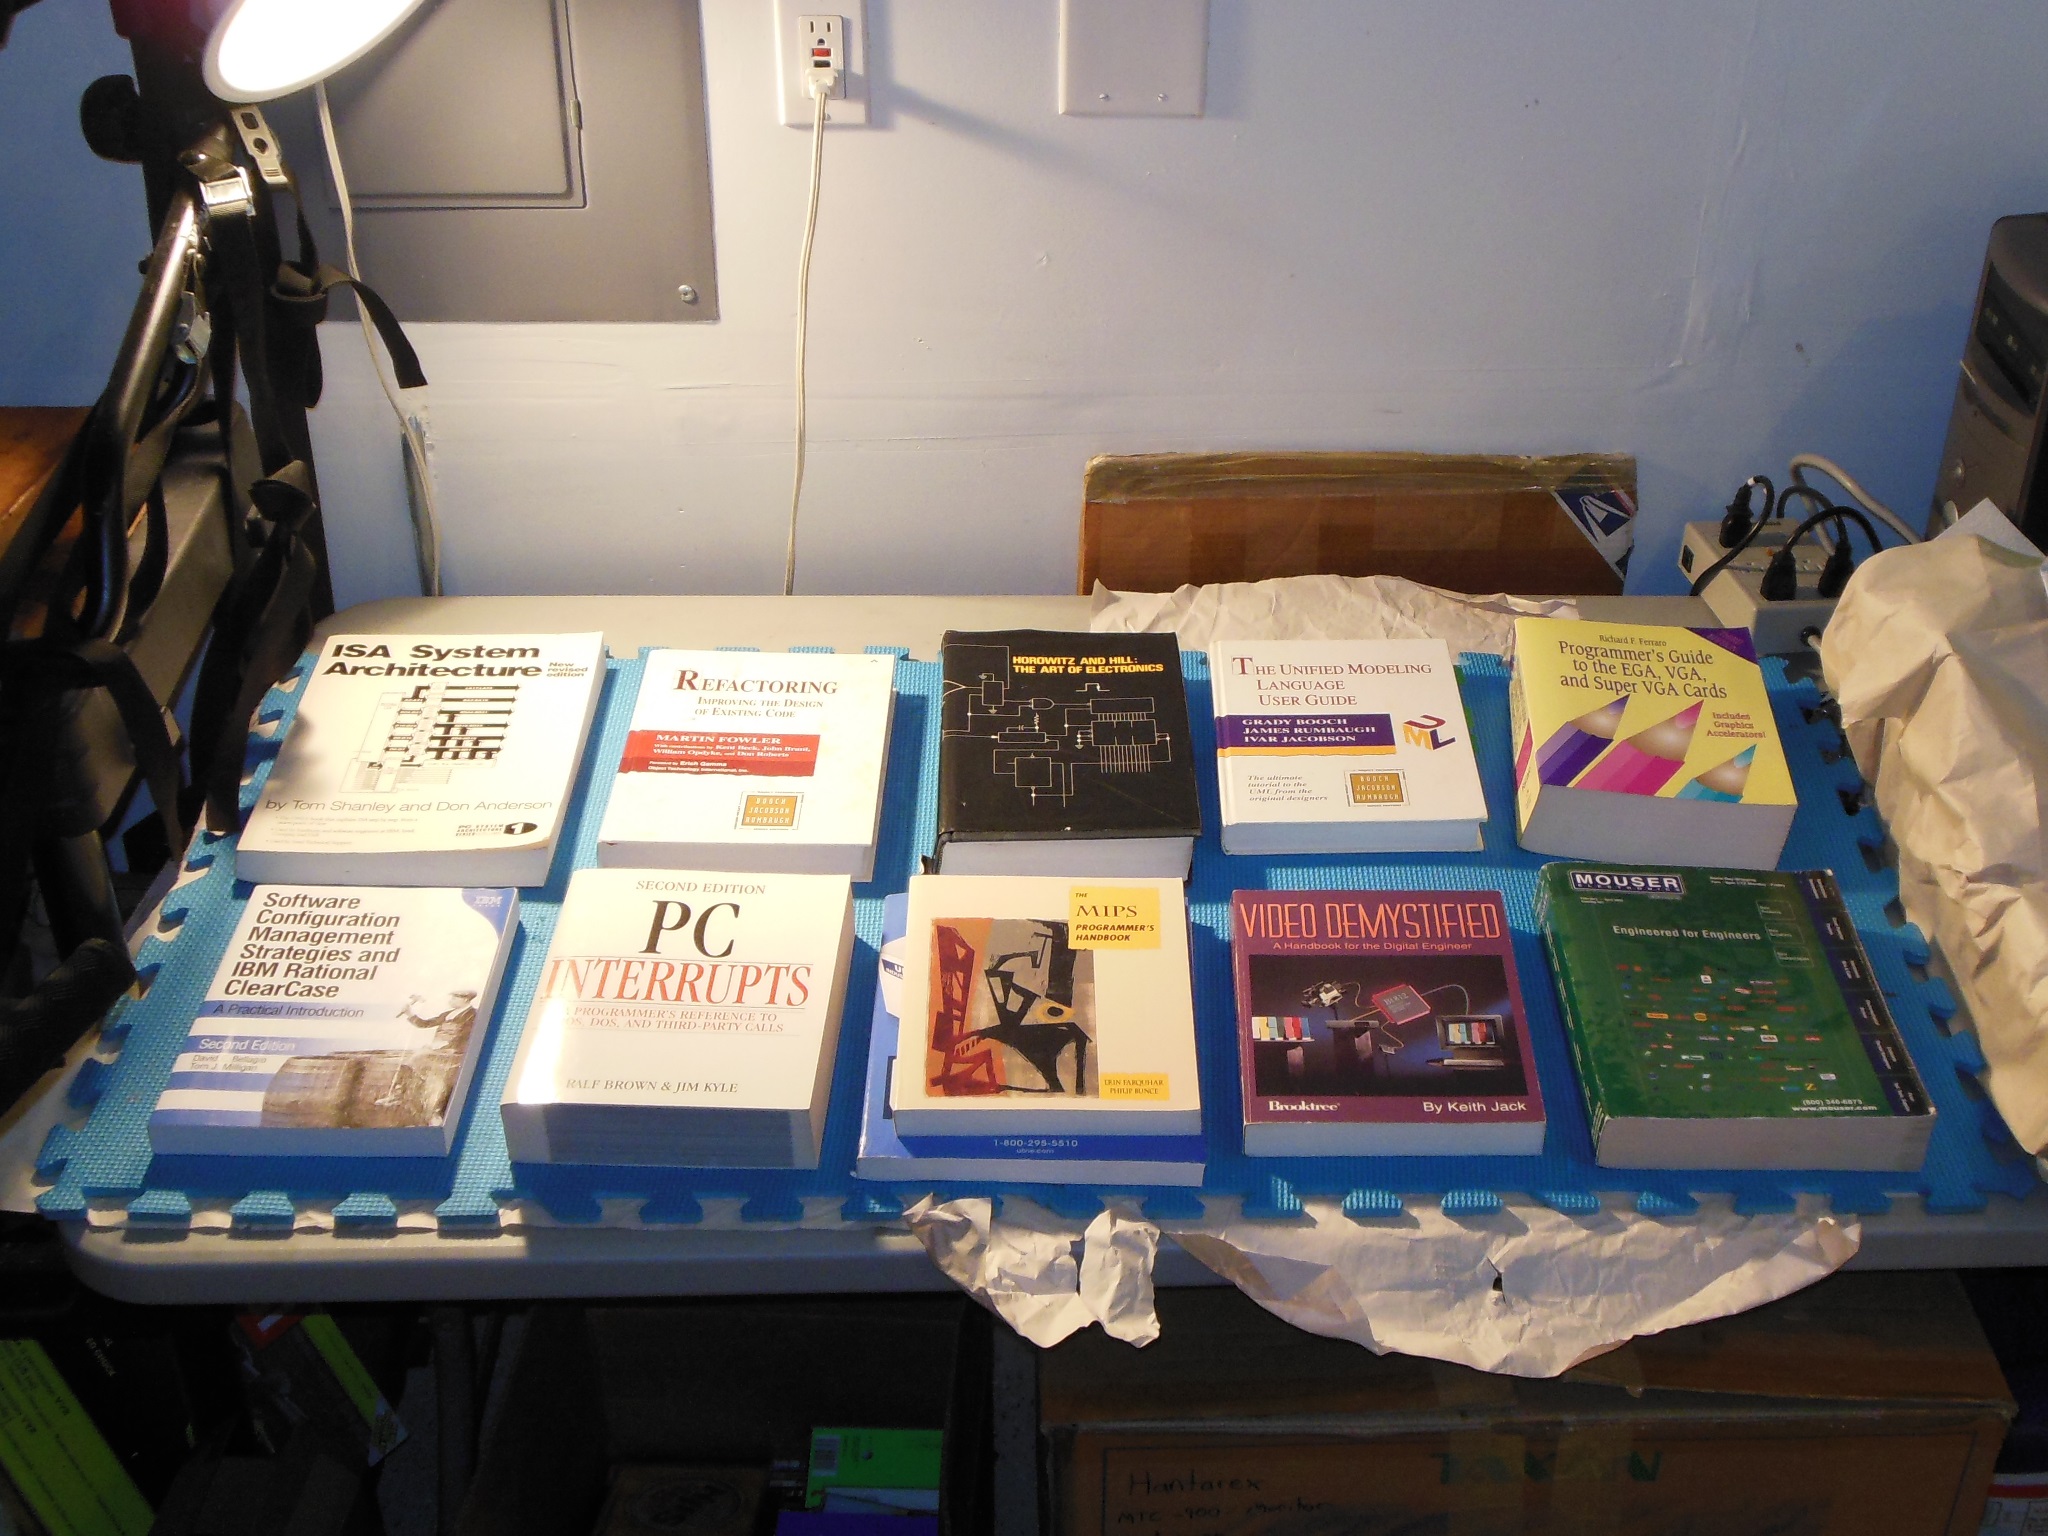
The Philips KT-3 monitor had been necked so I was intending to replace the whole monitor with another complete KT-3 from another cabinet. The necked one I boxed up to keep whole for a compatible CRT in future.
|
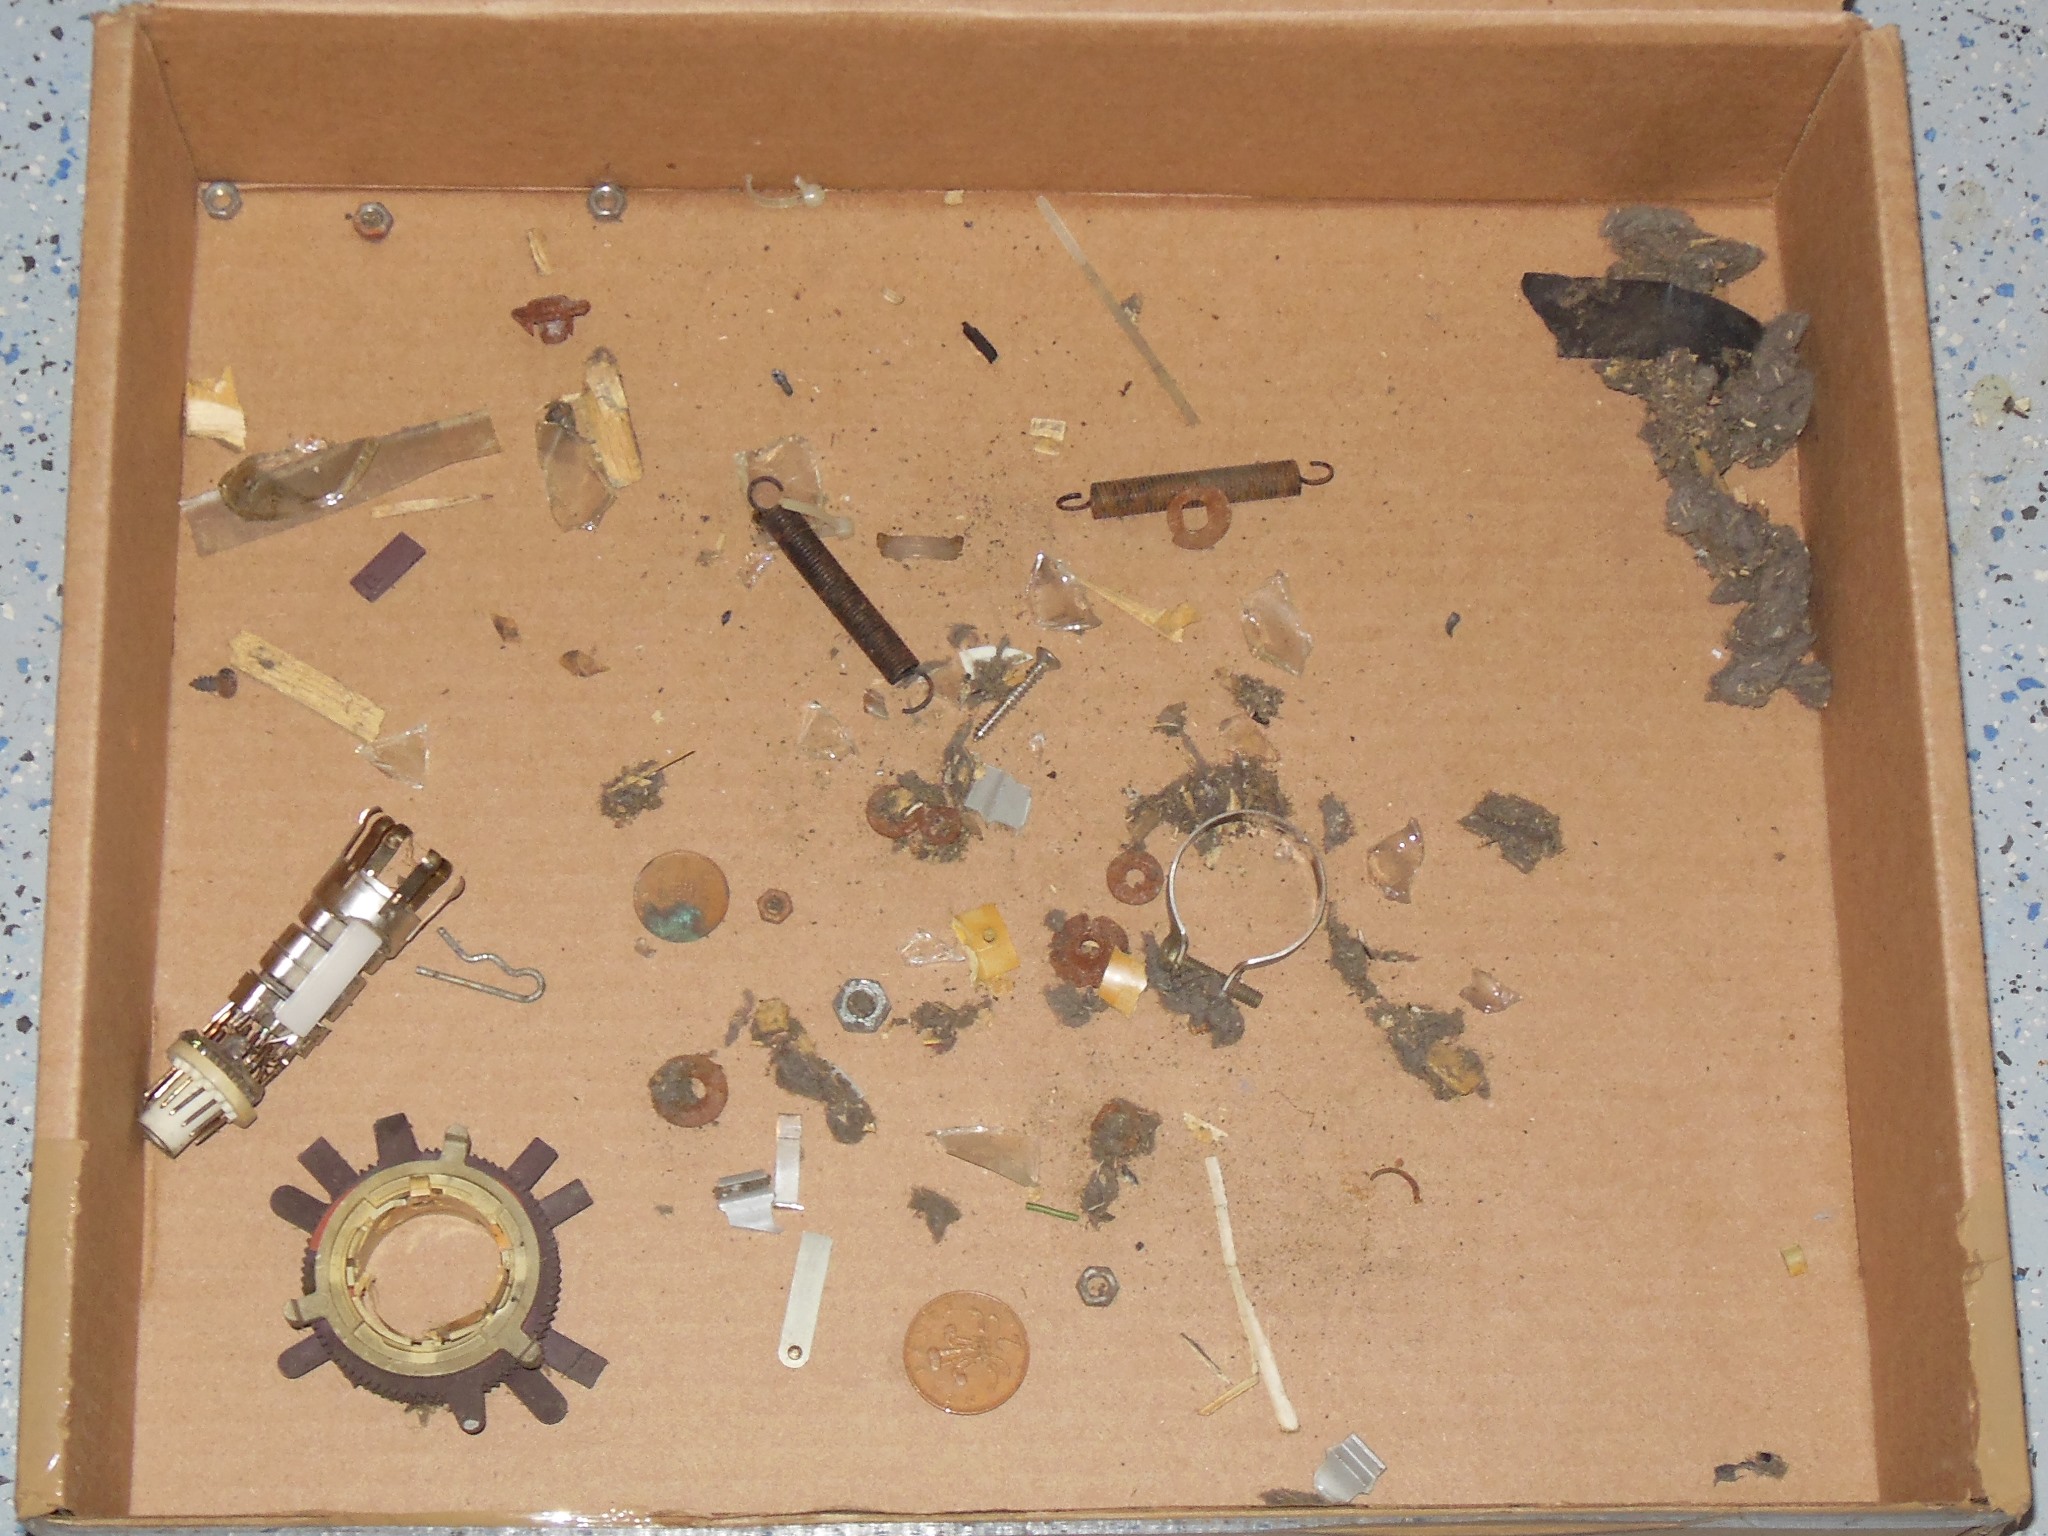
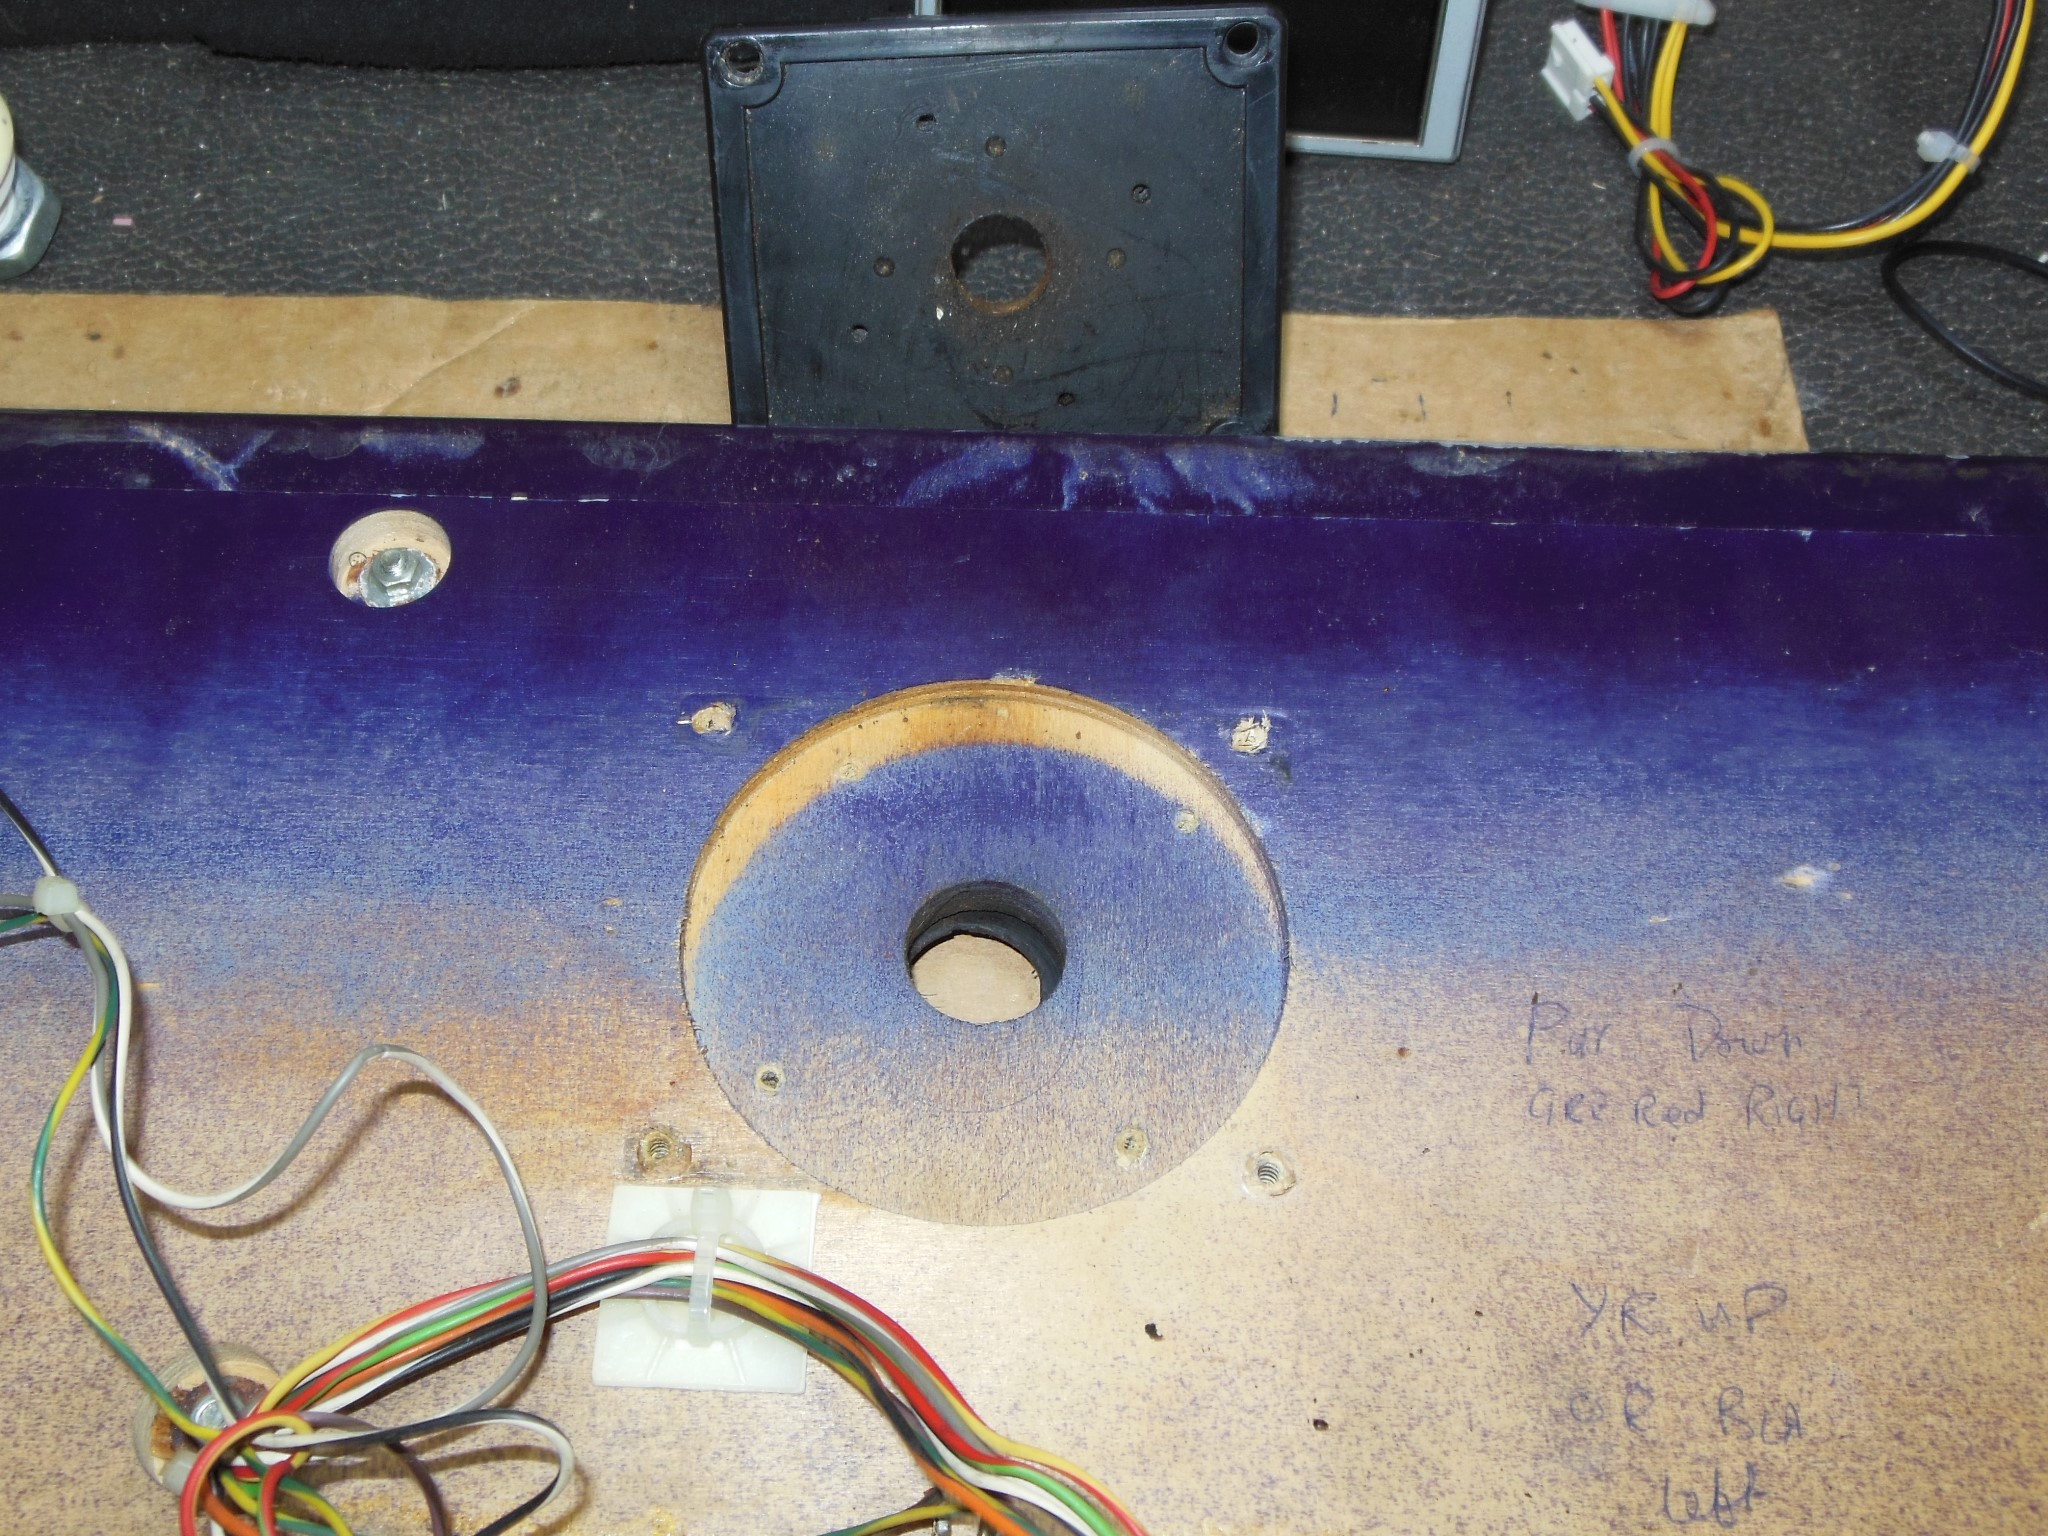
I also collected up the debris from the cabinet base comprising the CRT gun assembly, convergence rings, broken glass and various old coins, nuts & bolts.
|
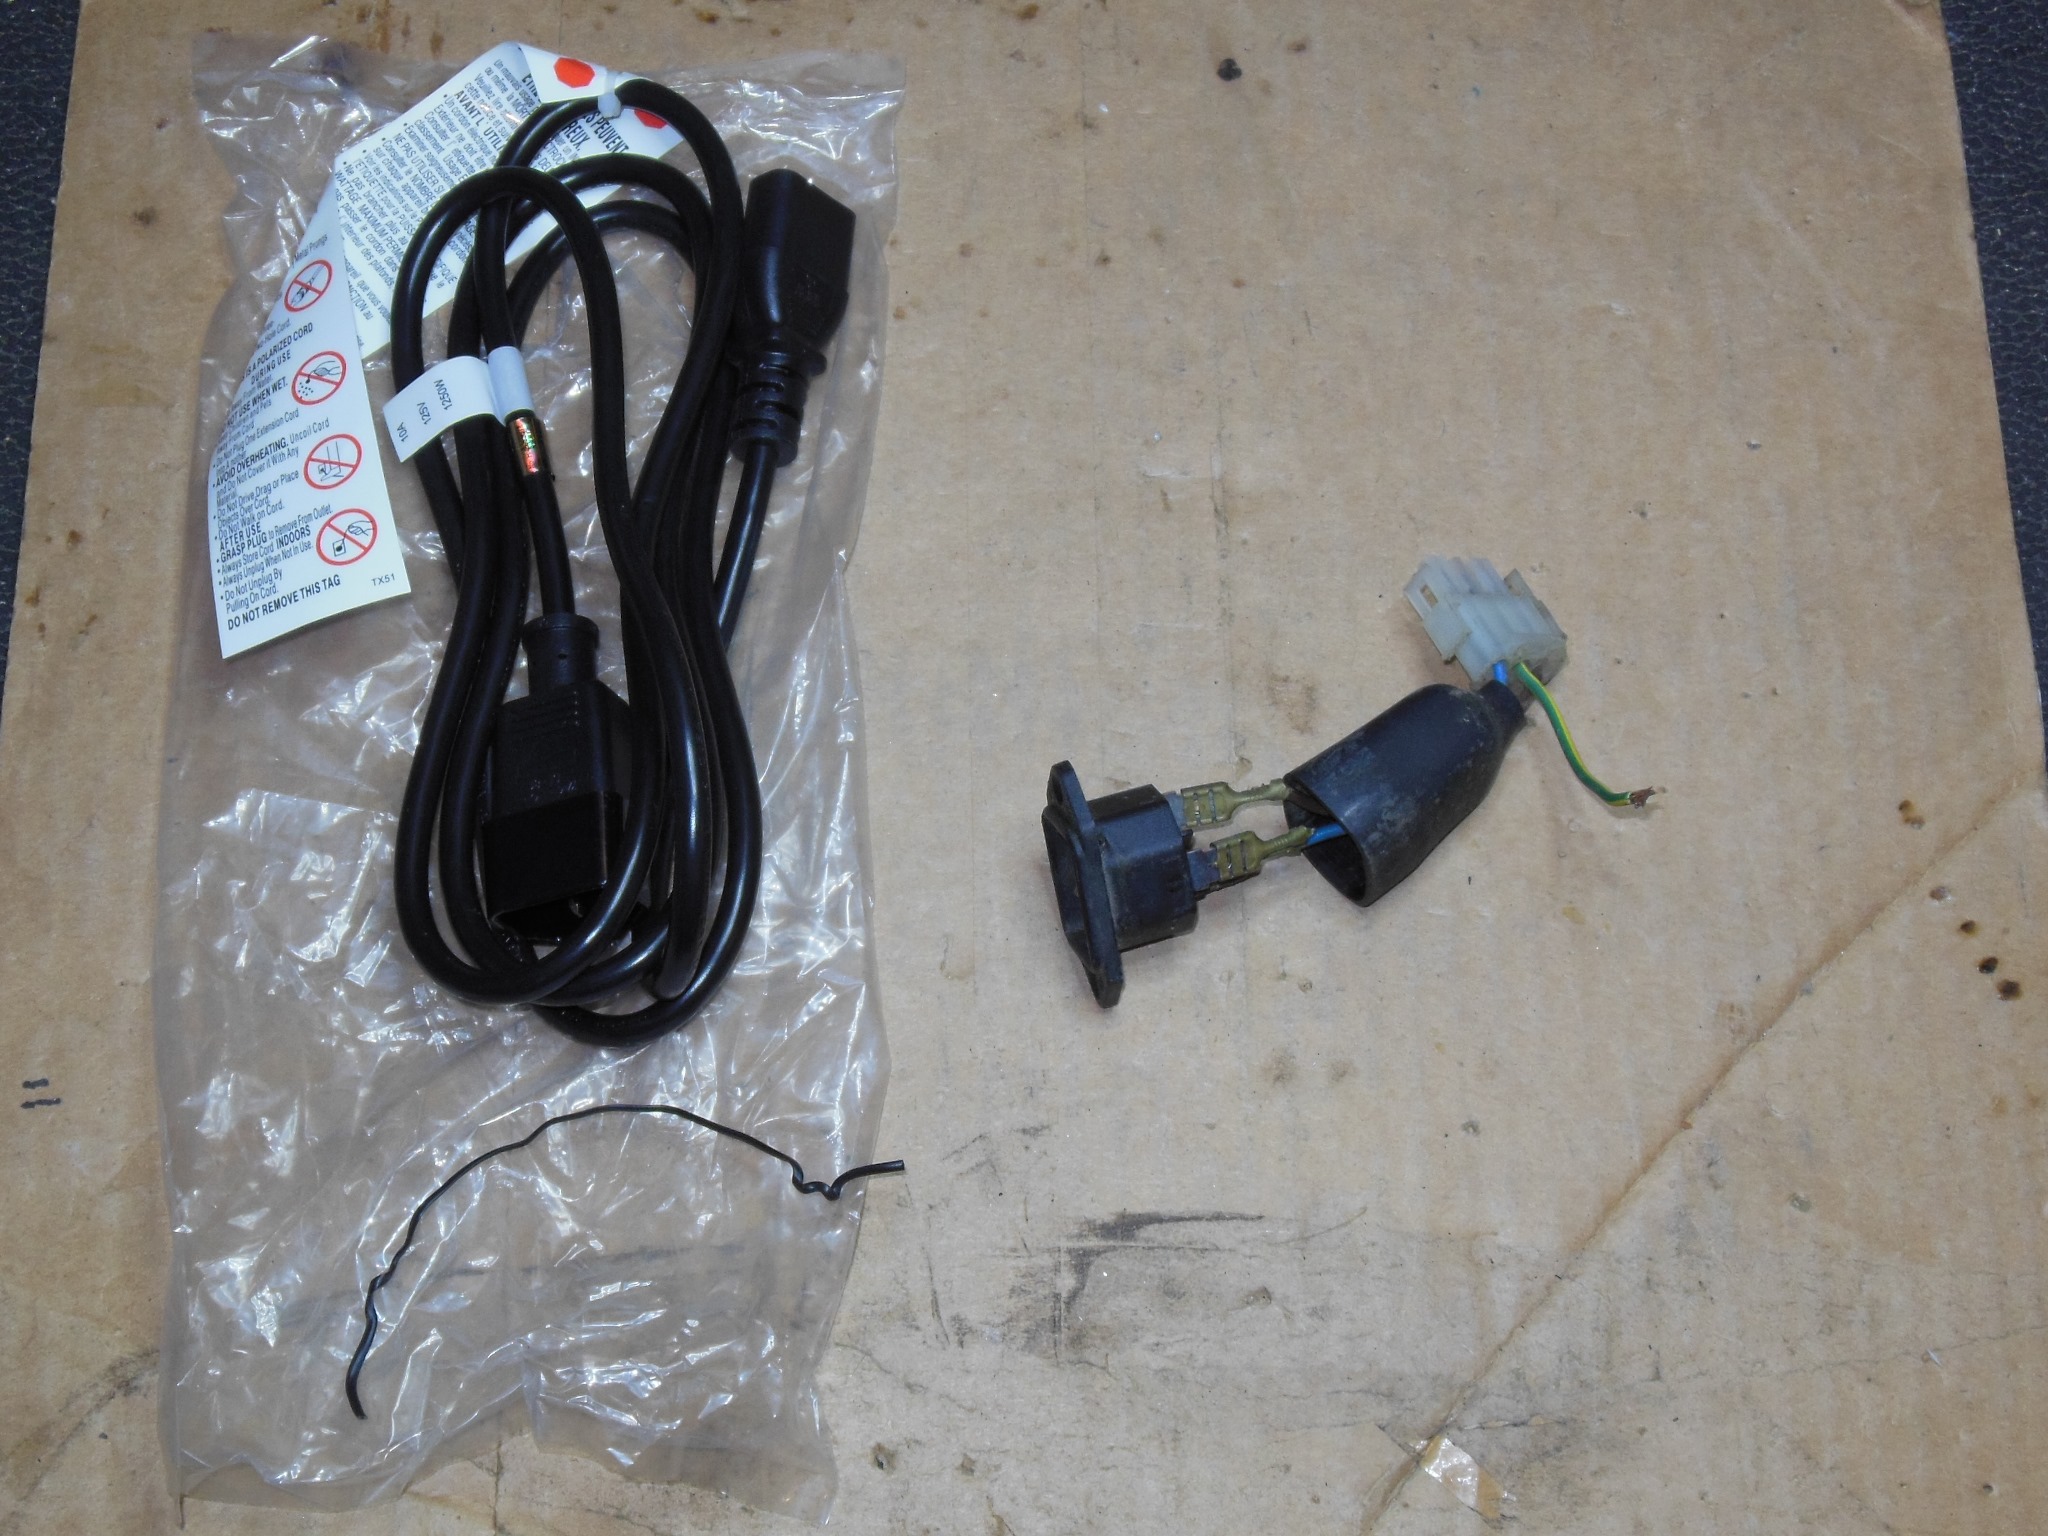
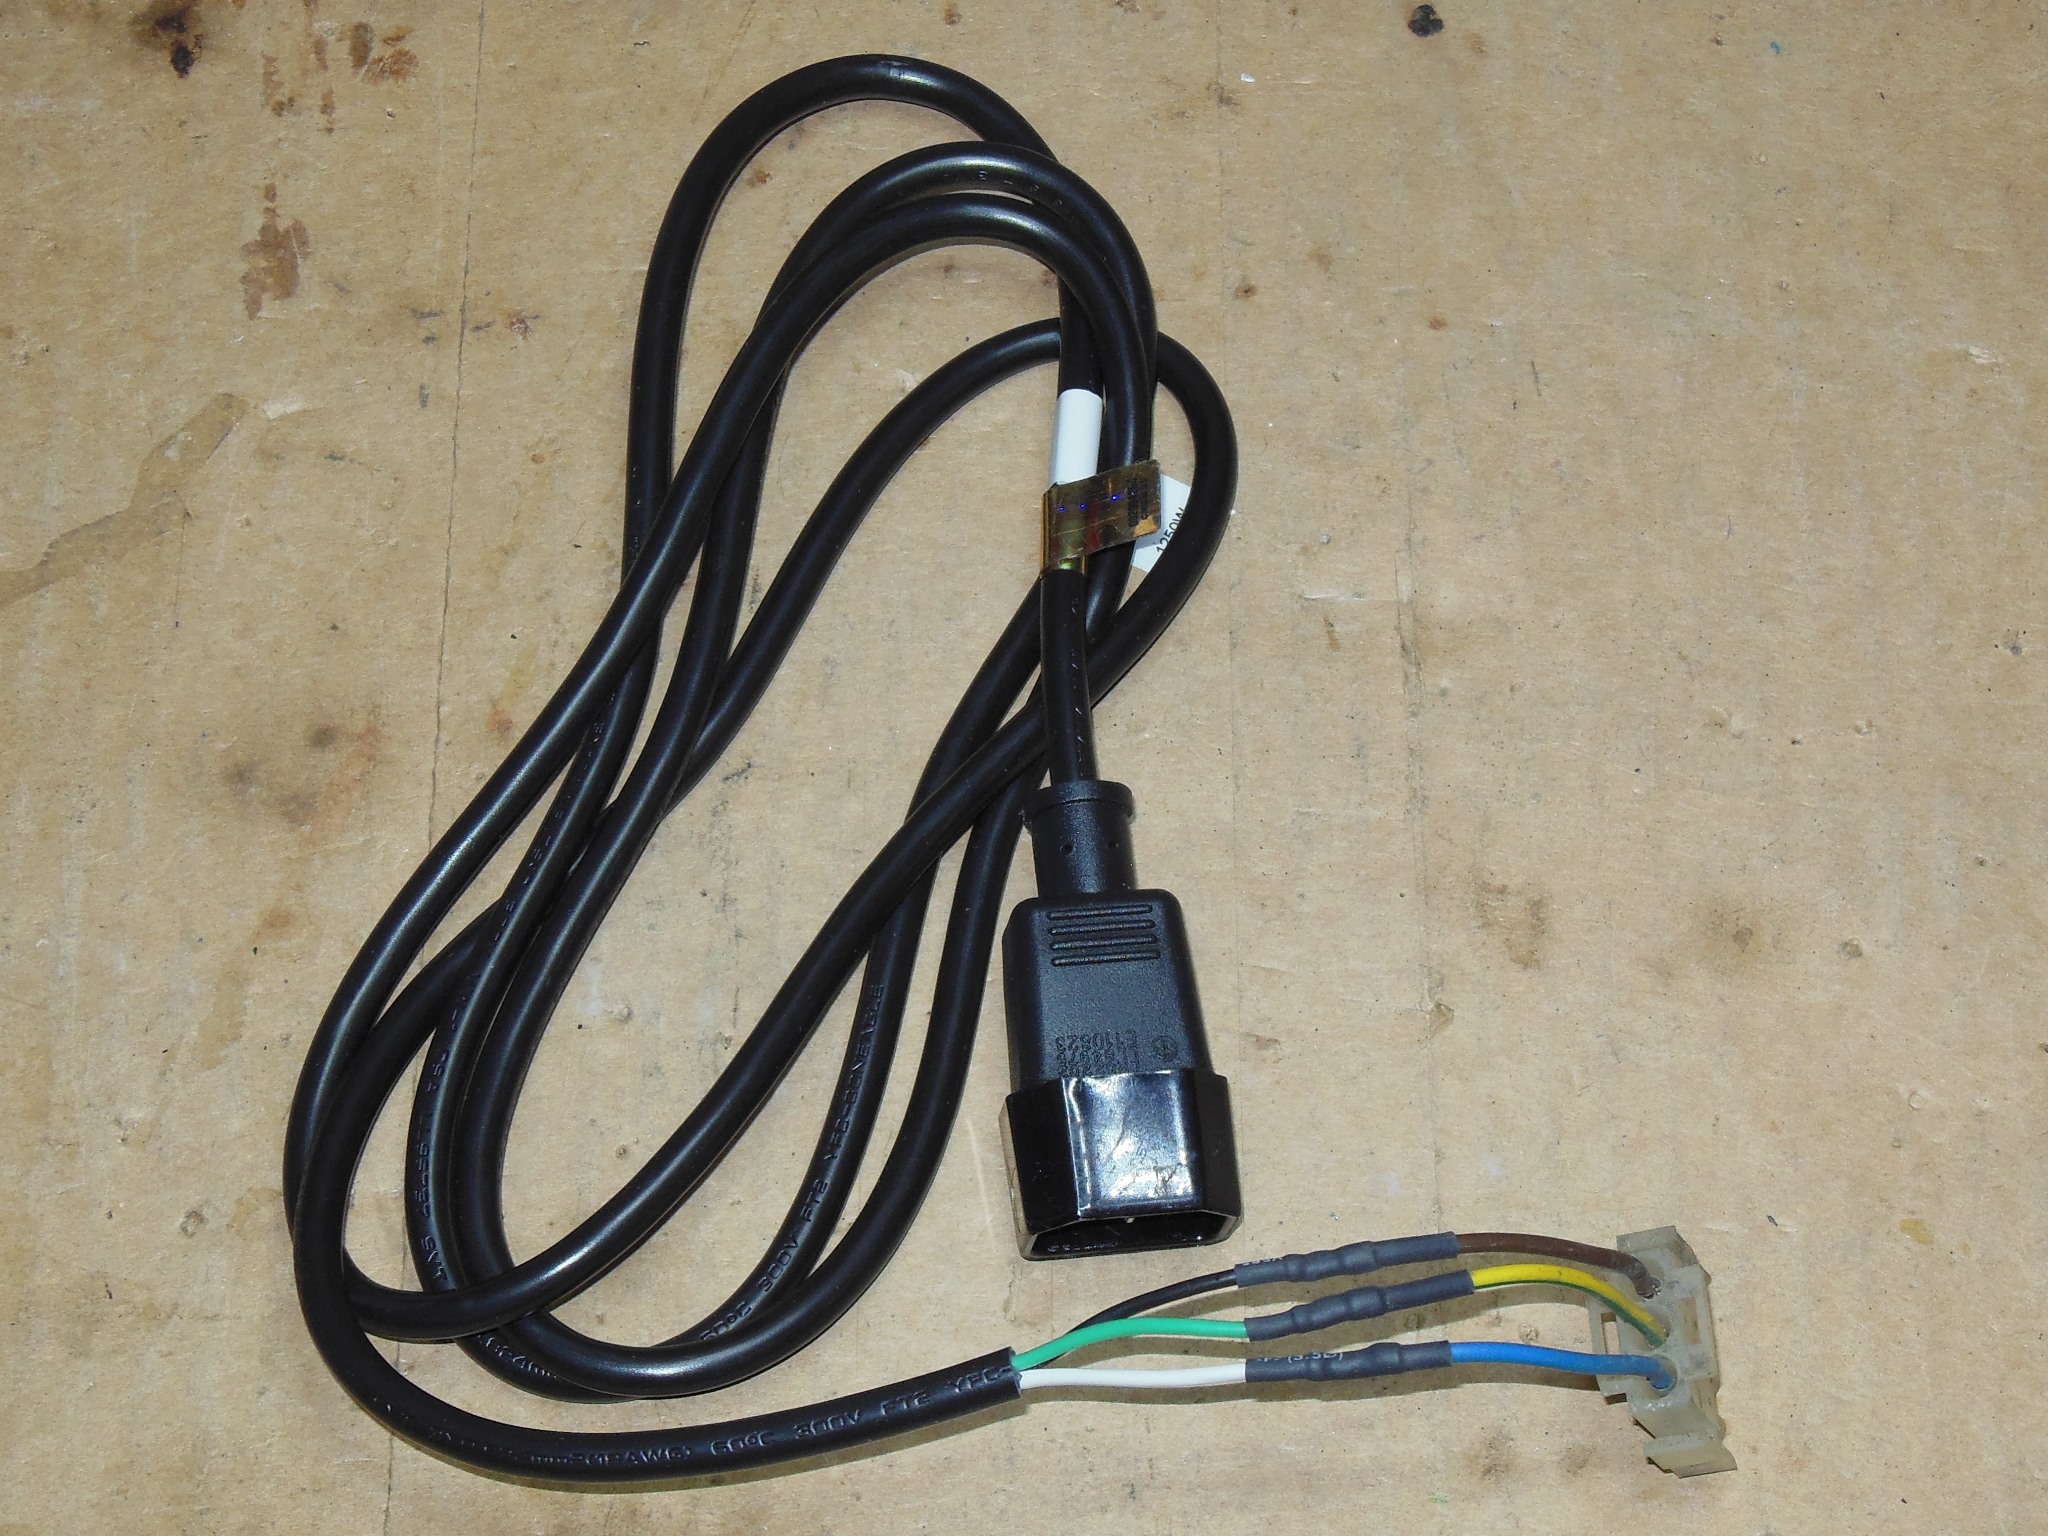
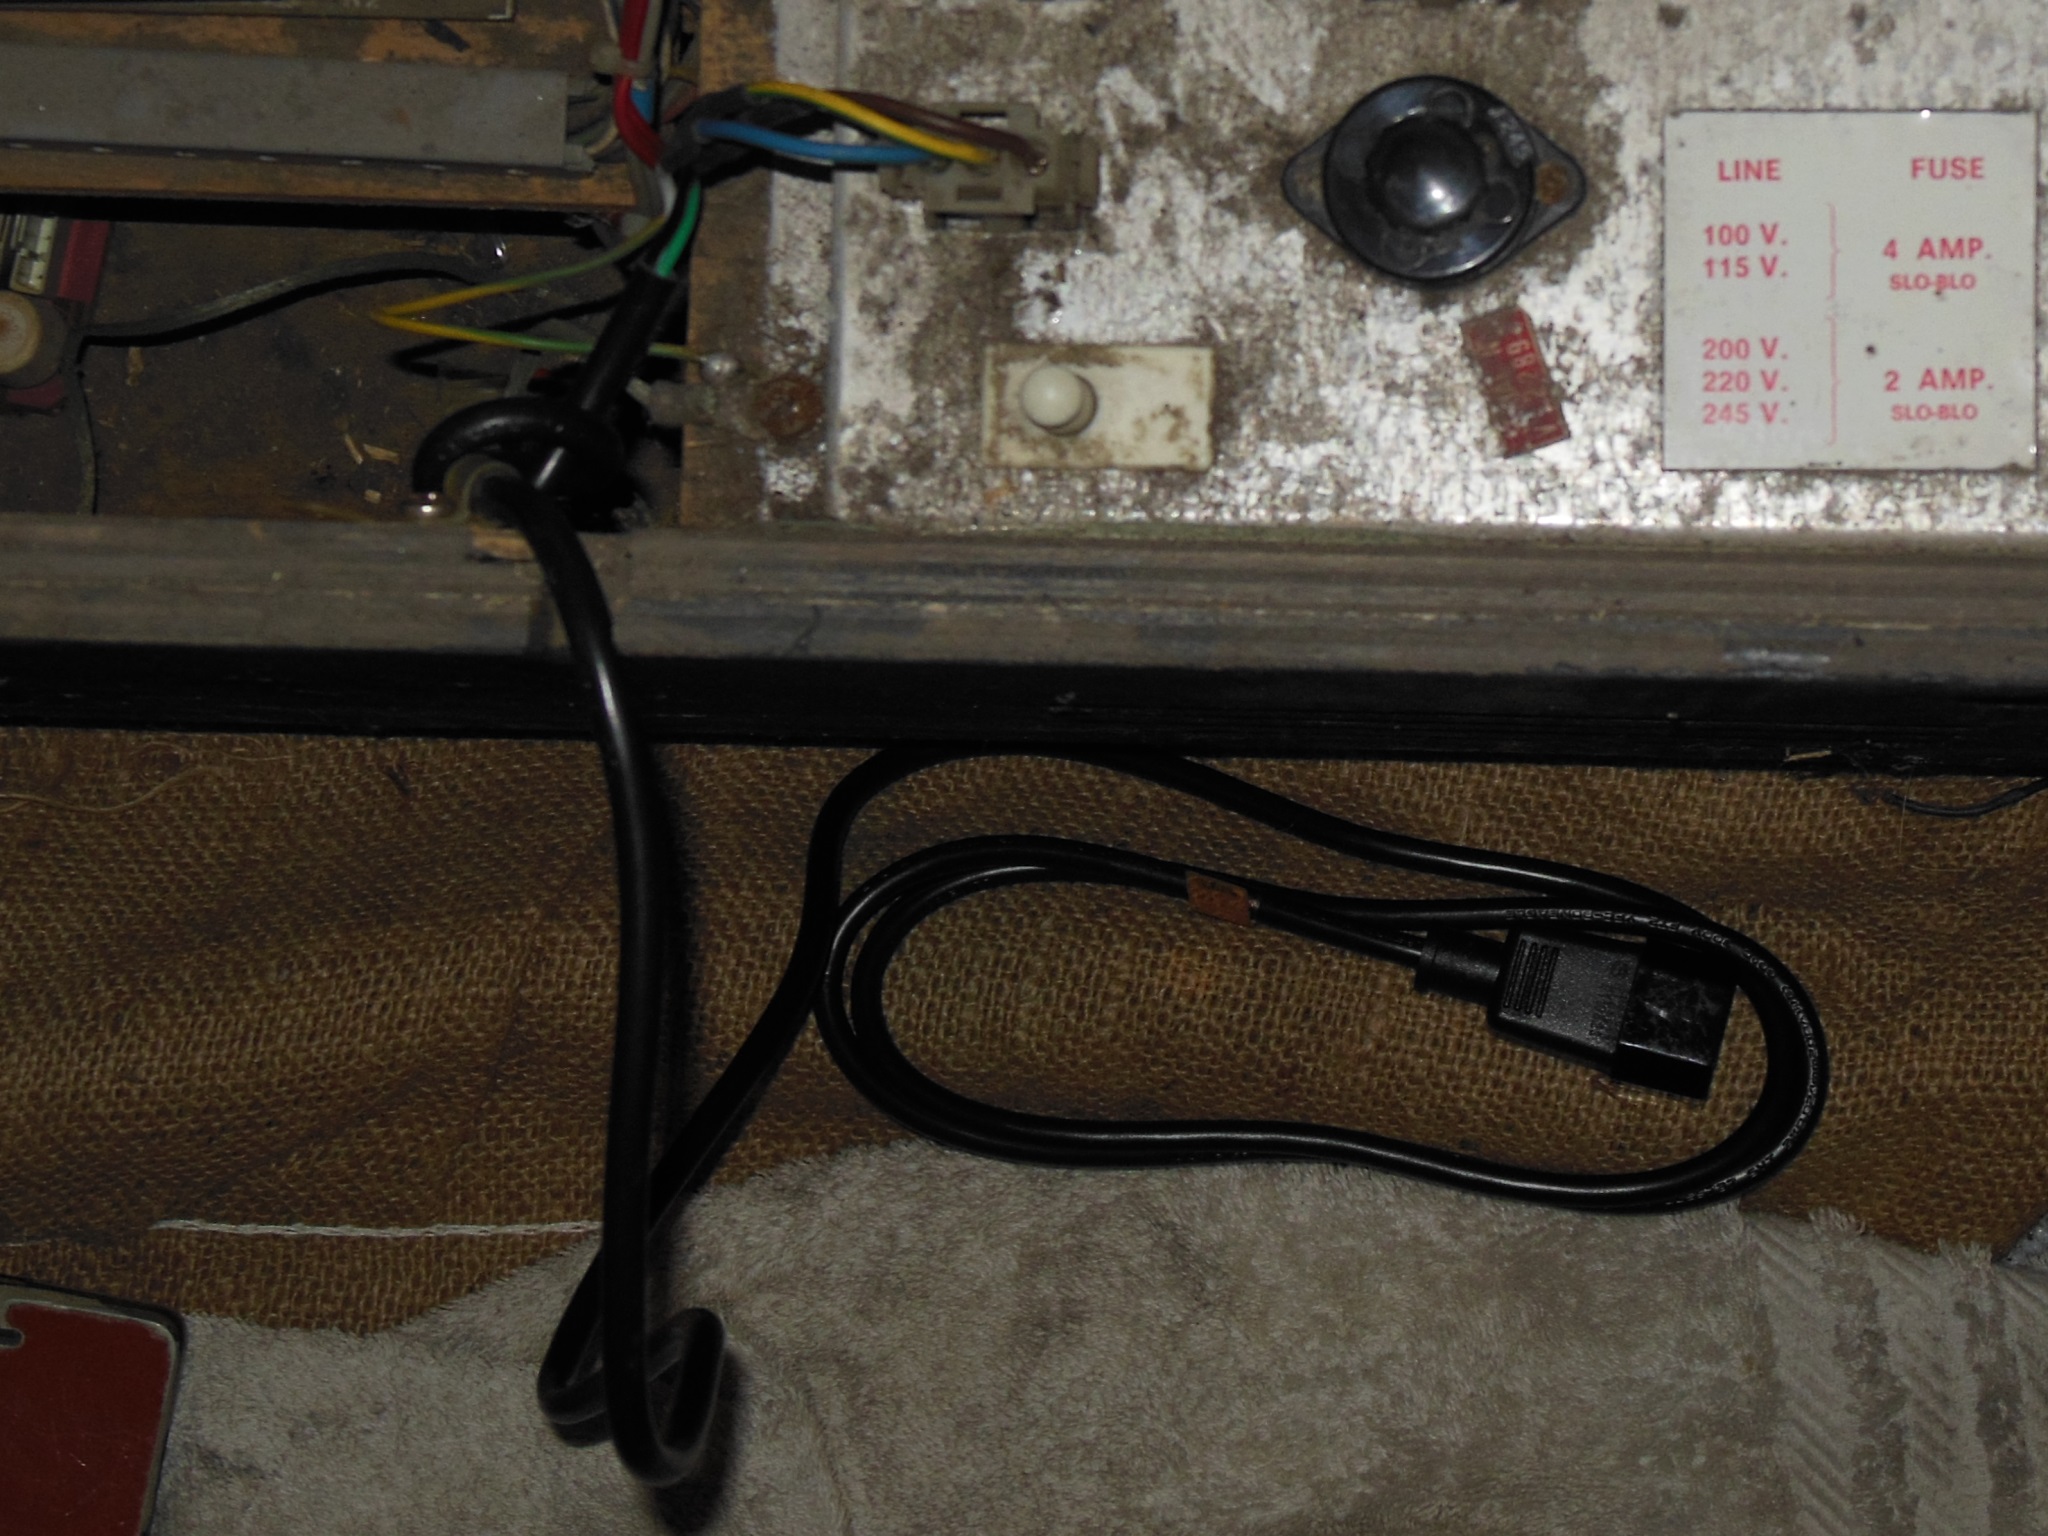
The original power cable was mostly missing with an IEC socket fitted instead that I restored with an IEC-C14 power cable broadly similar to the factory configuration.
|
A cut power cable feeding the utility outlet on the side wall for the marque light was also repaired.
|
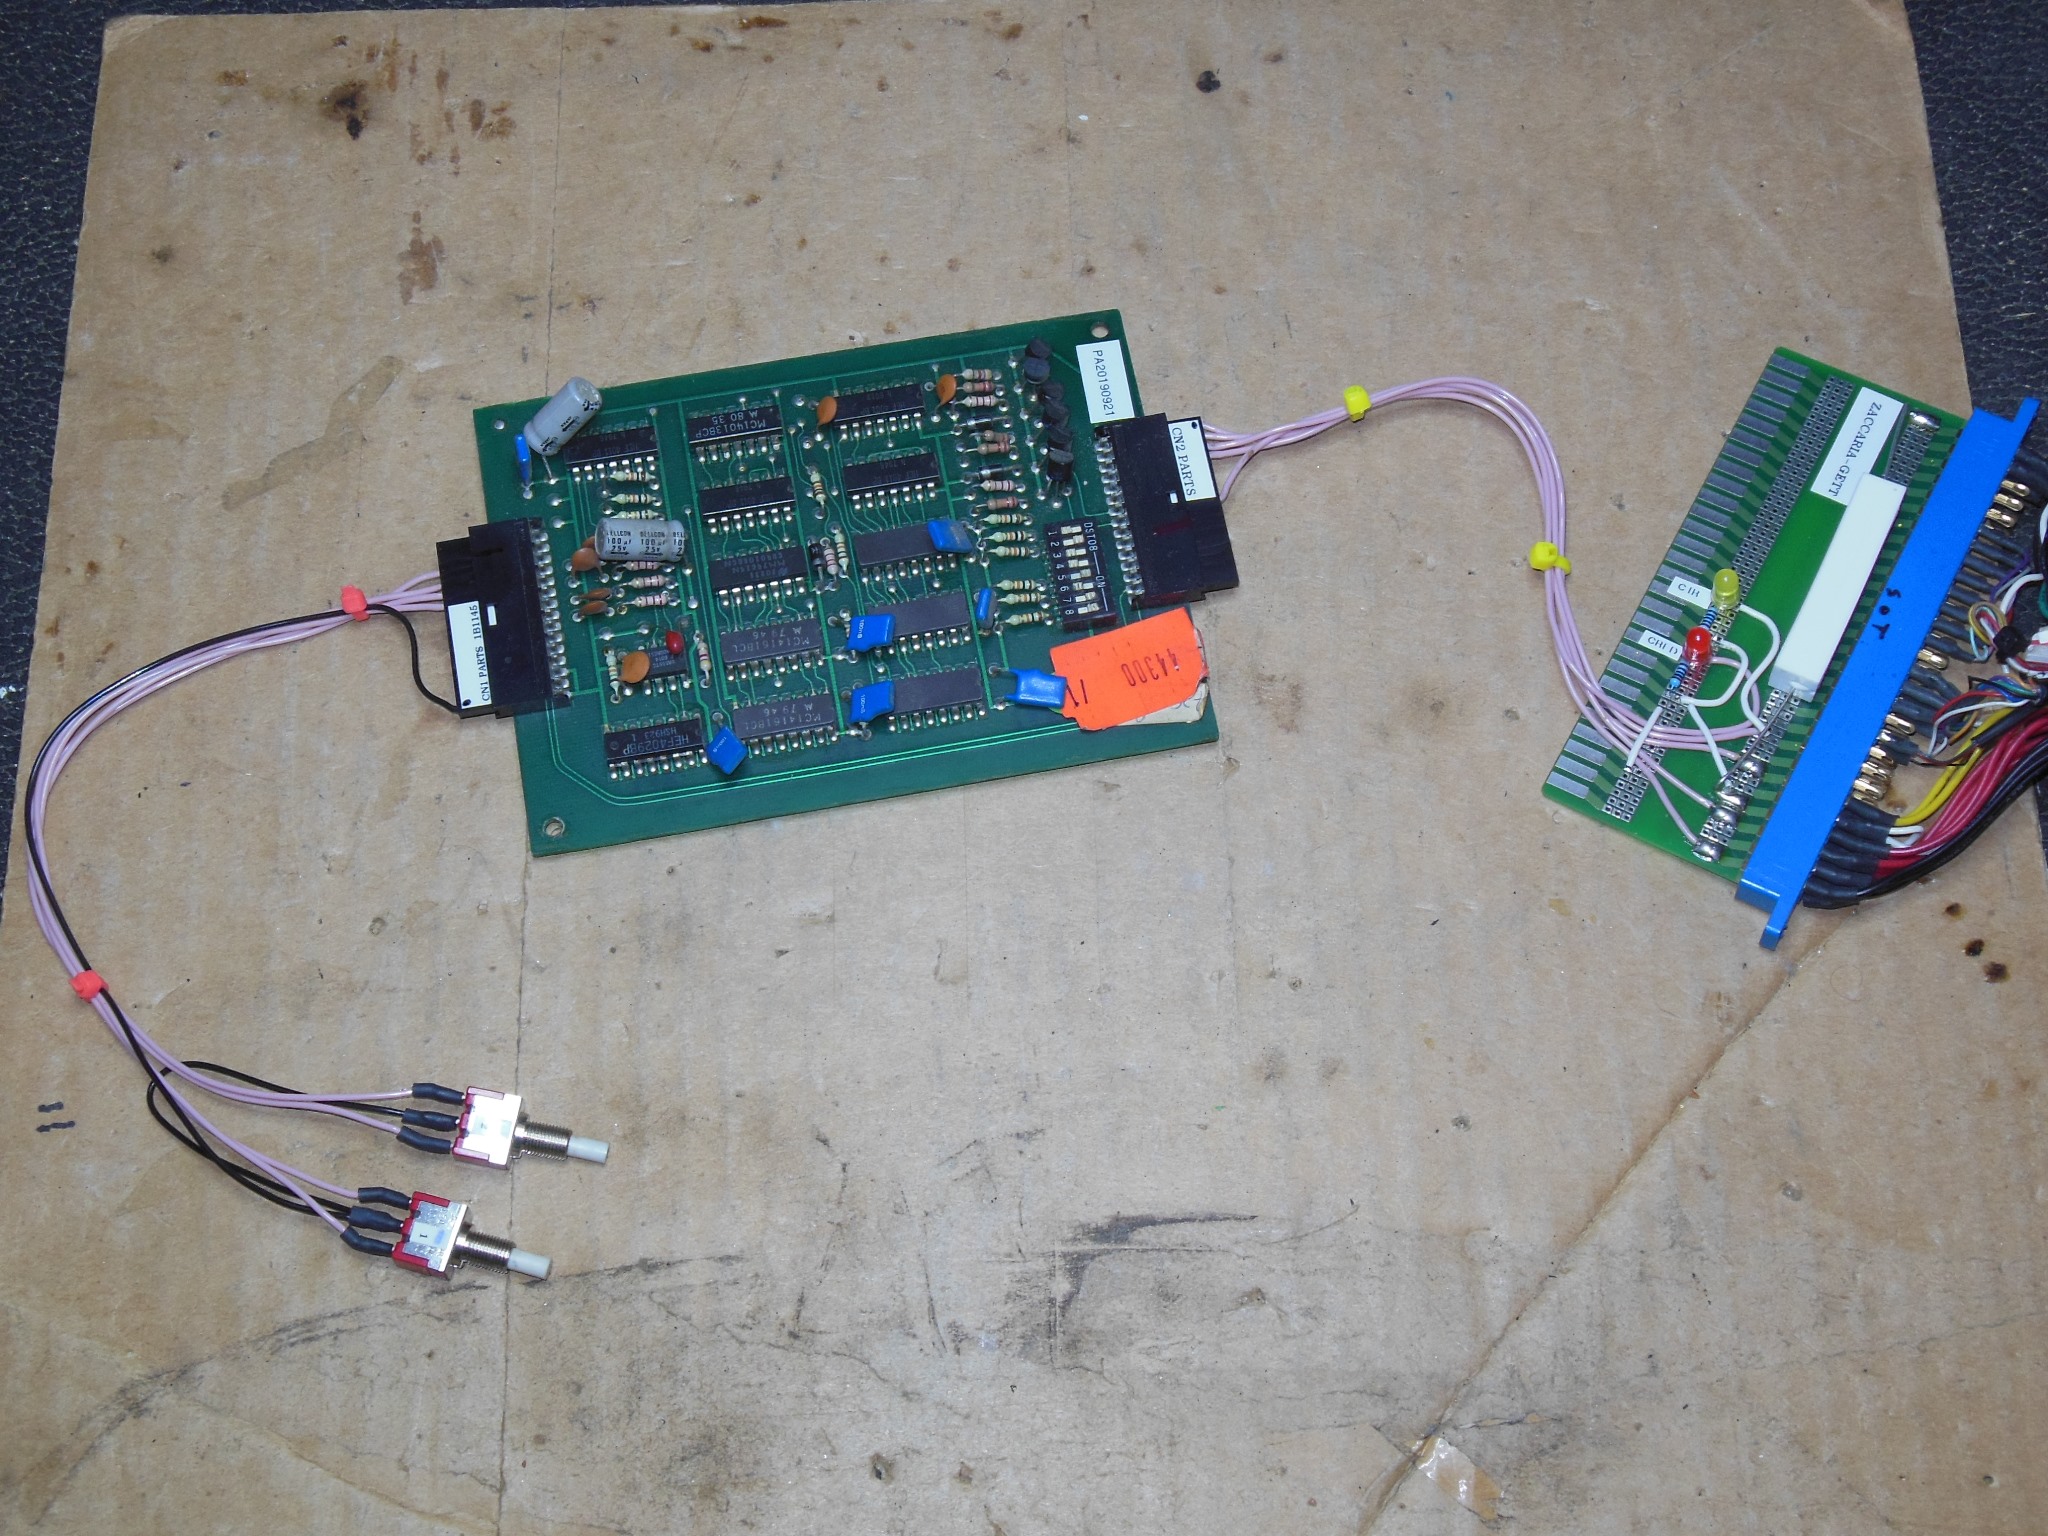
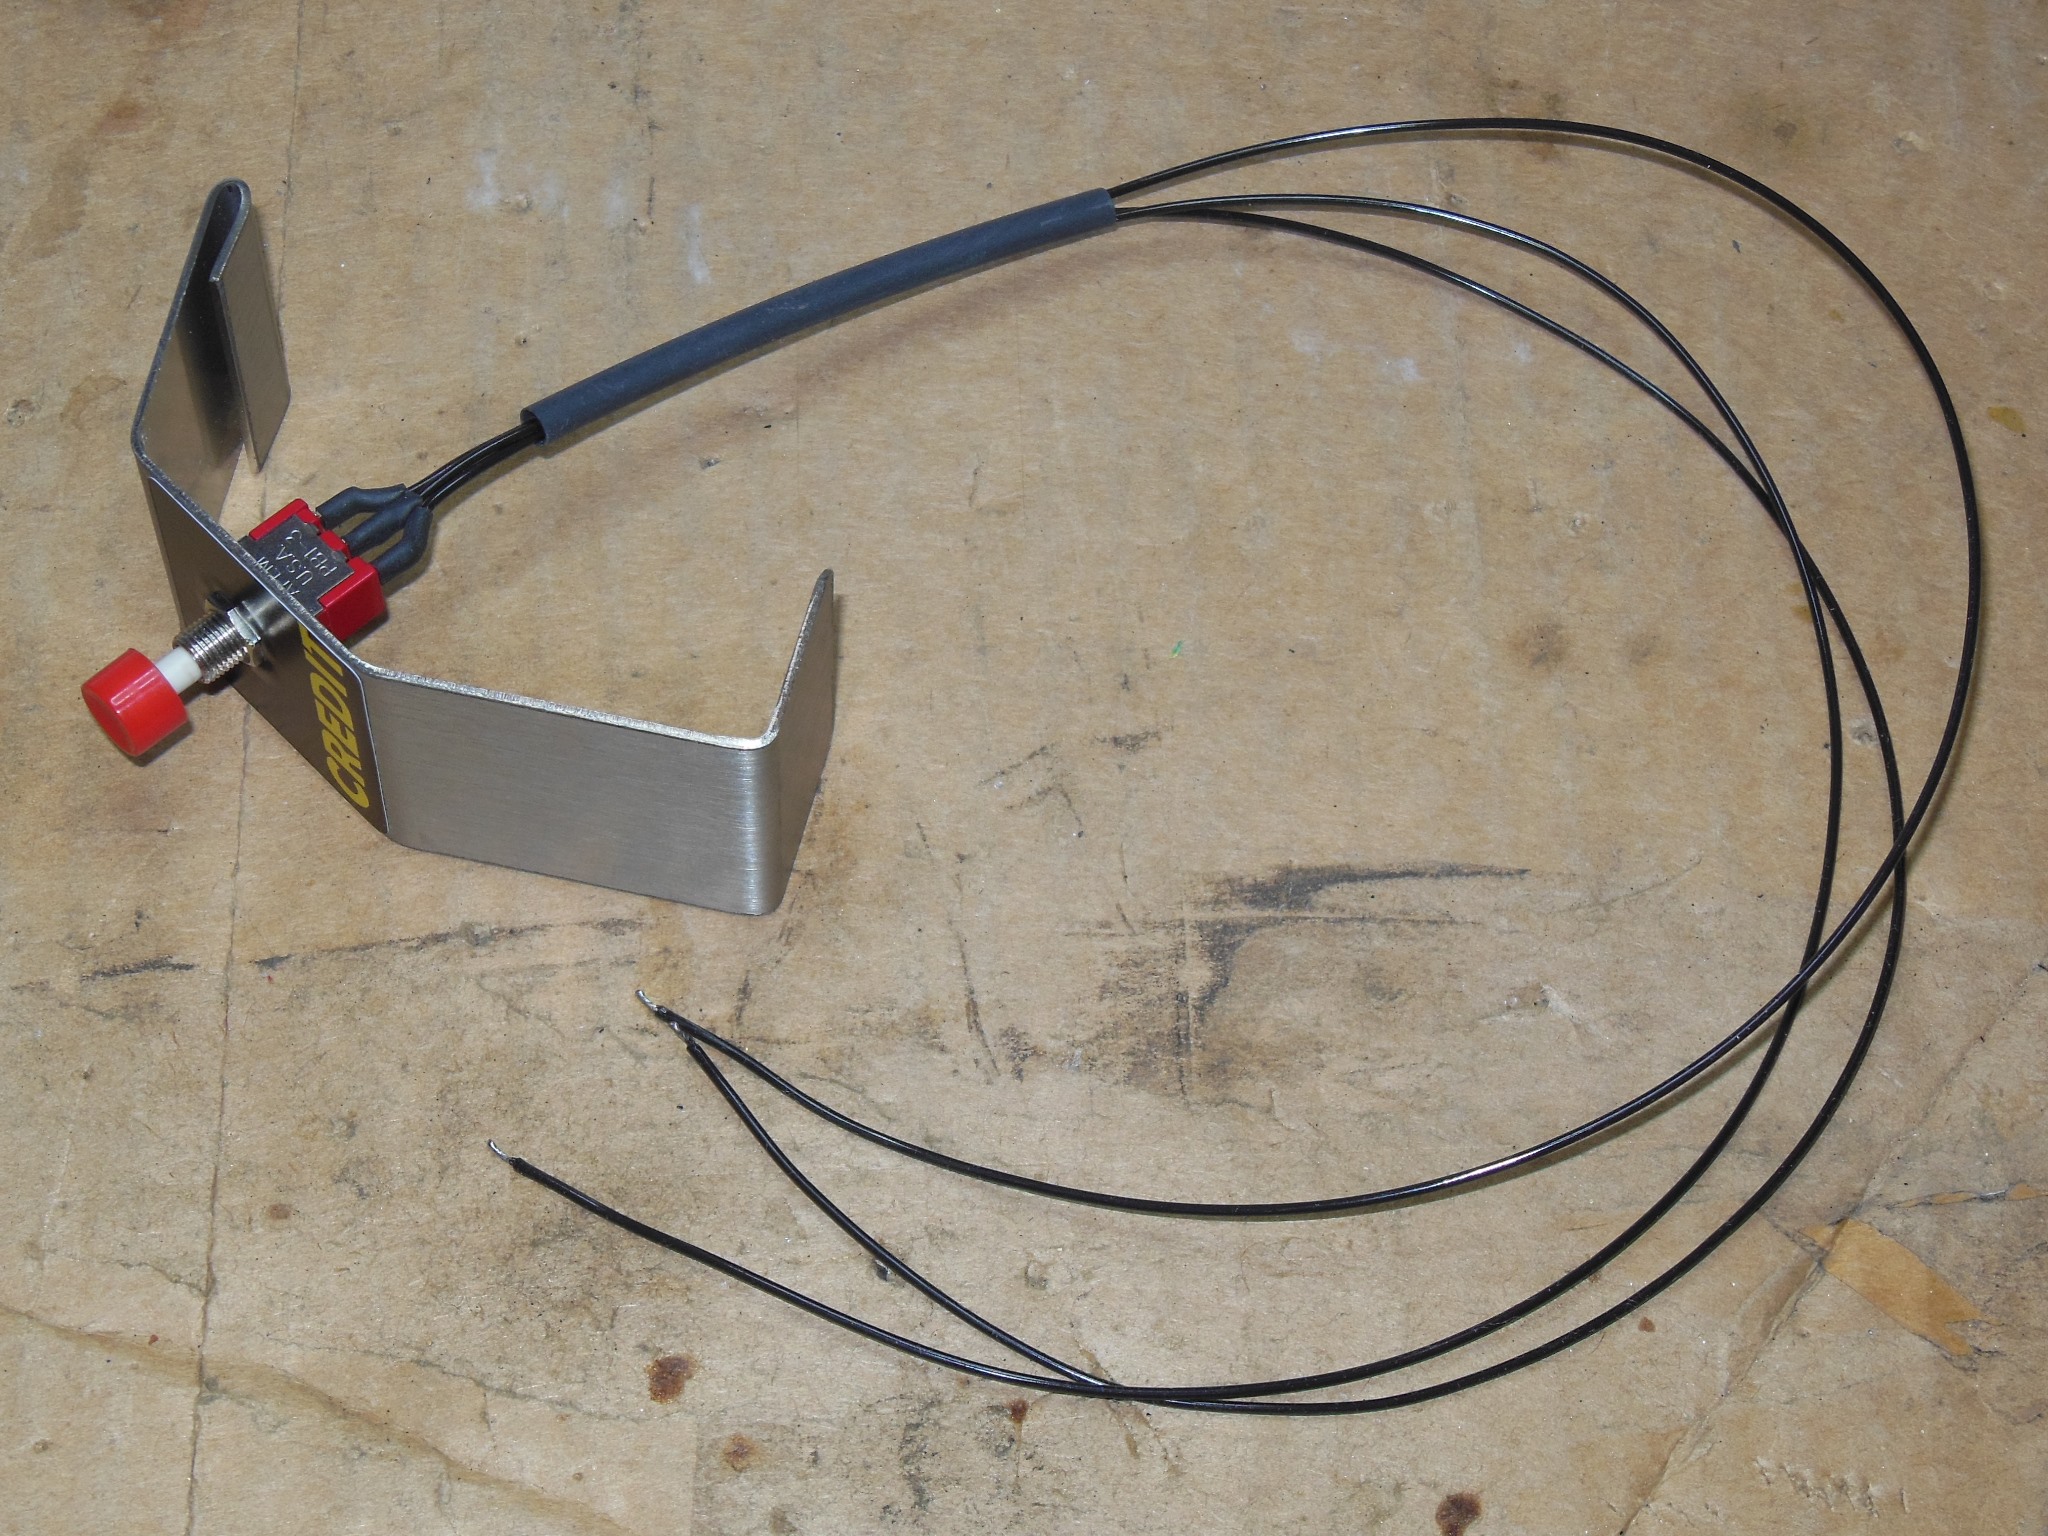
The coin door had some loose wires and the credit PCB was floating loose inside. On the bench the credit PCB appeared to be working properly and was reinstalled back into the cabinet. I assembled a credit button bracket and fitted that to the coin door along with repairing the loose wires.
|
First power on without game PCB or monitor yielded coin door lights but no marque light.


|
The marque light tube wasn't properly installed and a simple reseating fixed the light though it still had intermittent starting issues. The starter was disintegrating and replacing it fixed the light.
|
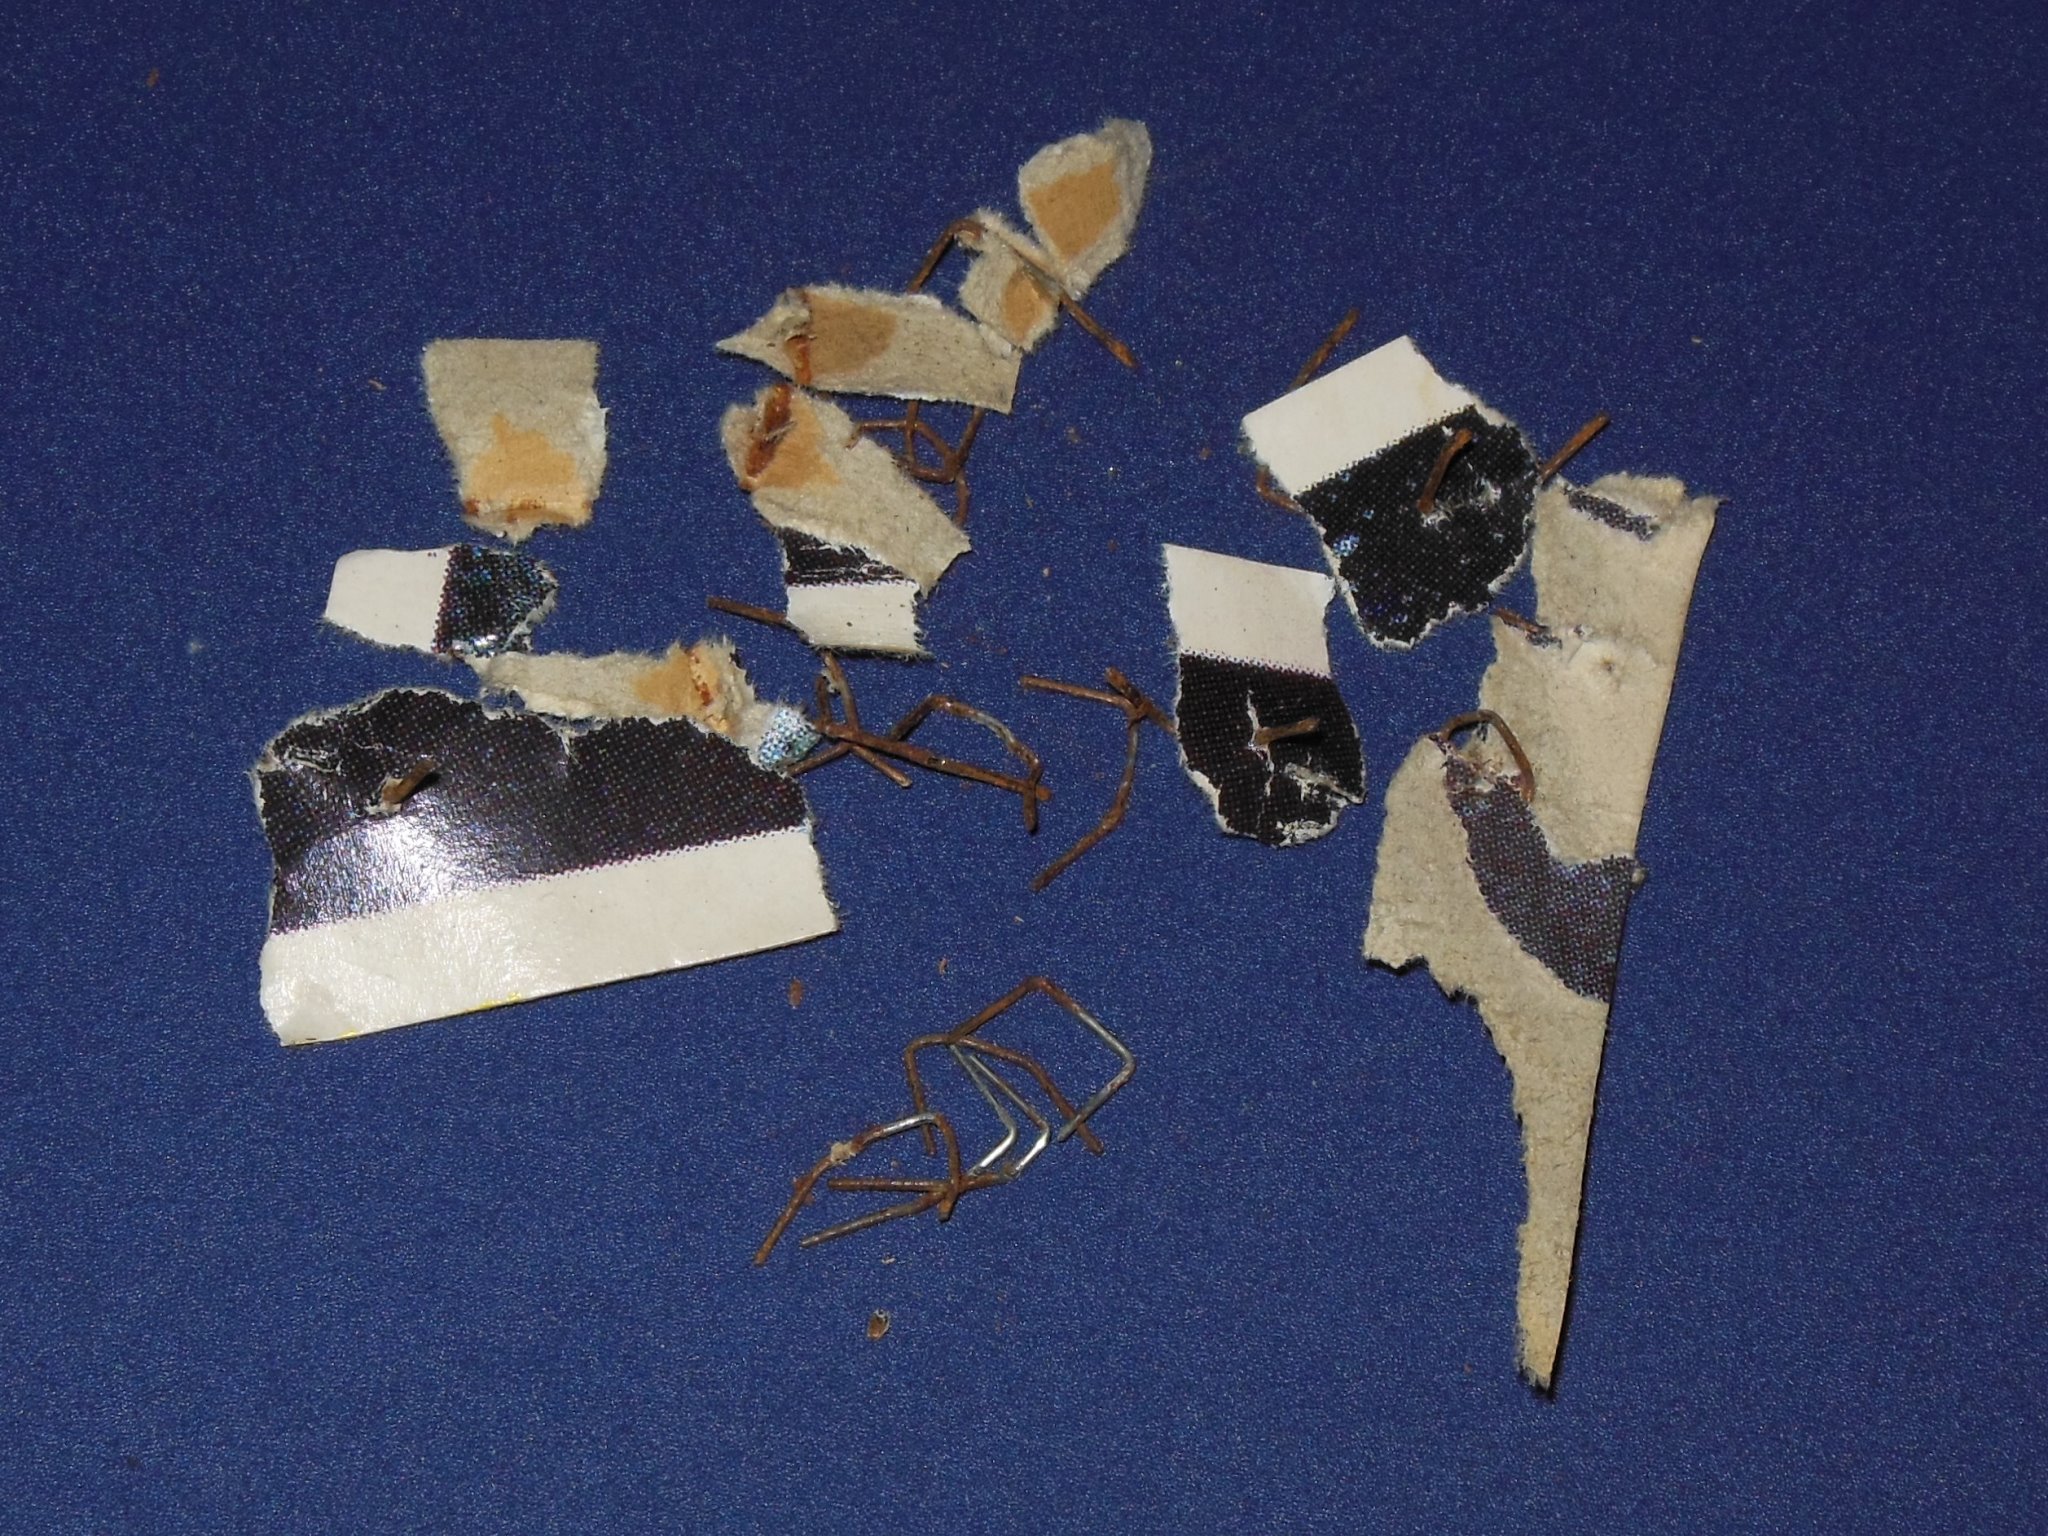
Whilst in the light cavity I removed all the staples and surround fragments left behind when the surround was ripped out. I also cleaned the marque light tube and the back of the marque with a plain damp cloth.


|
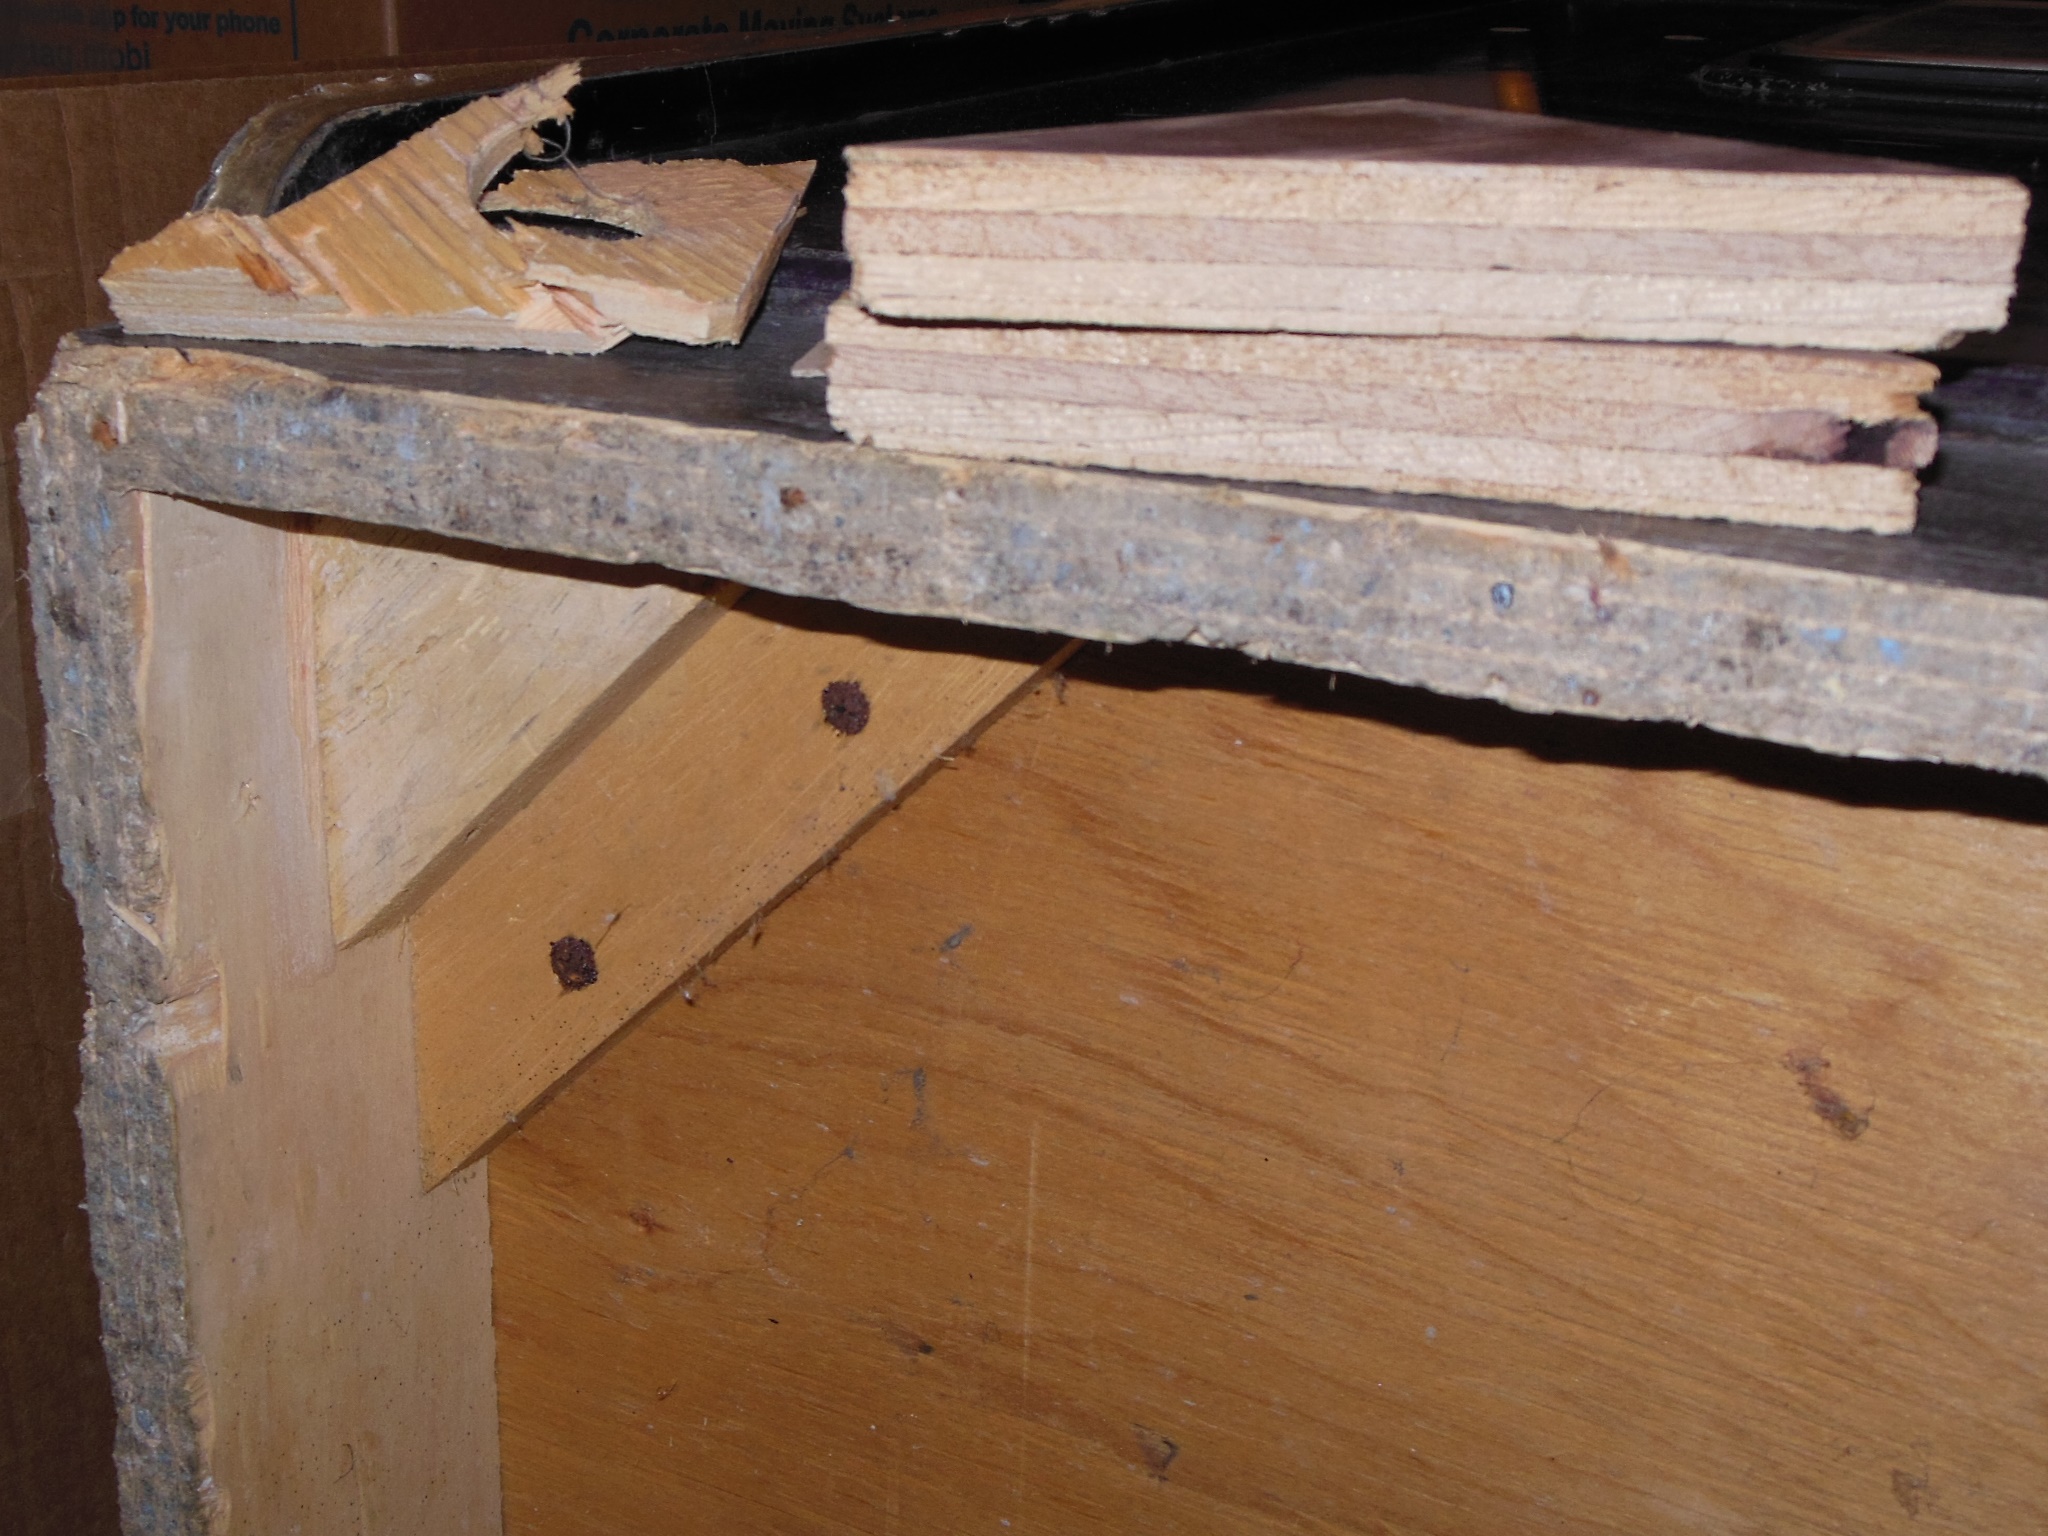
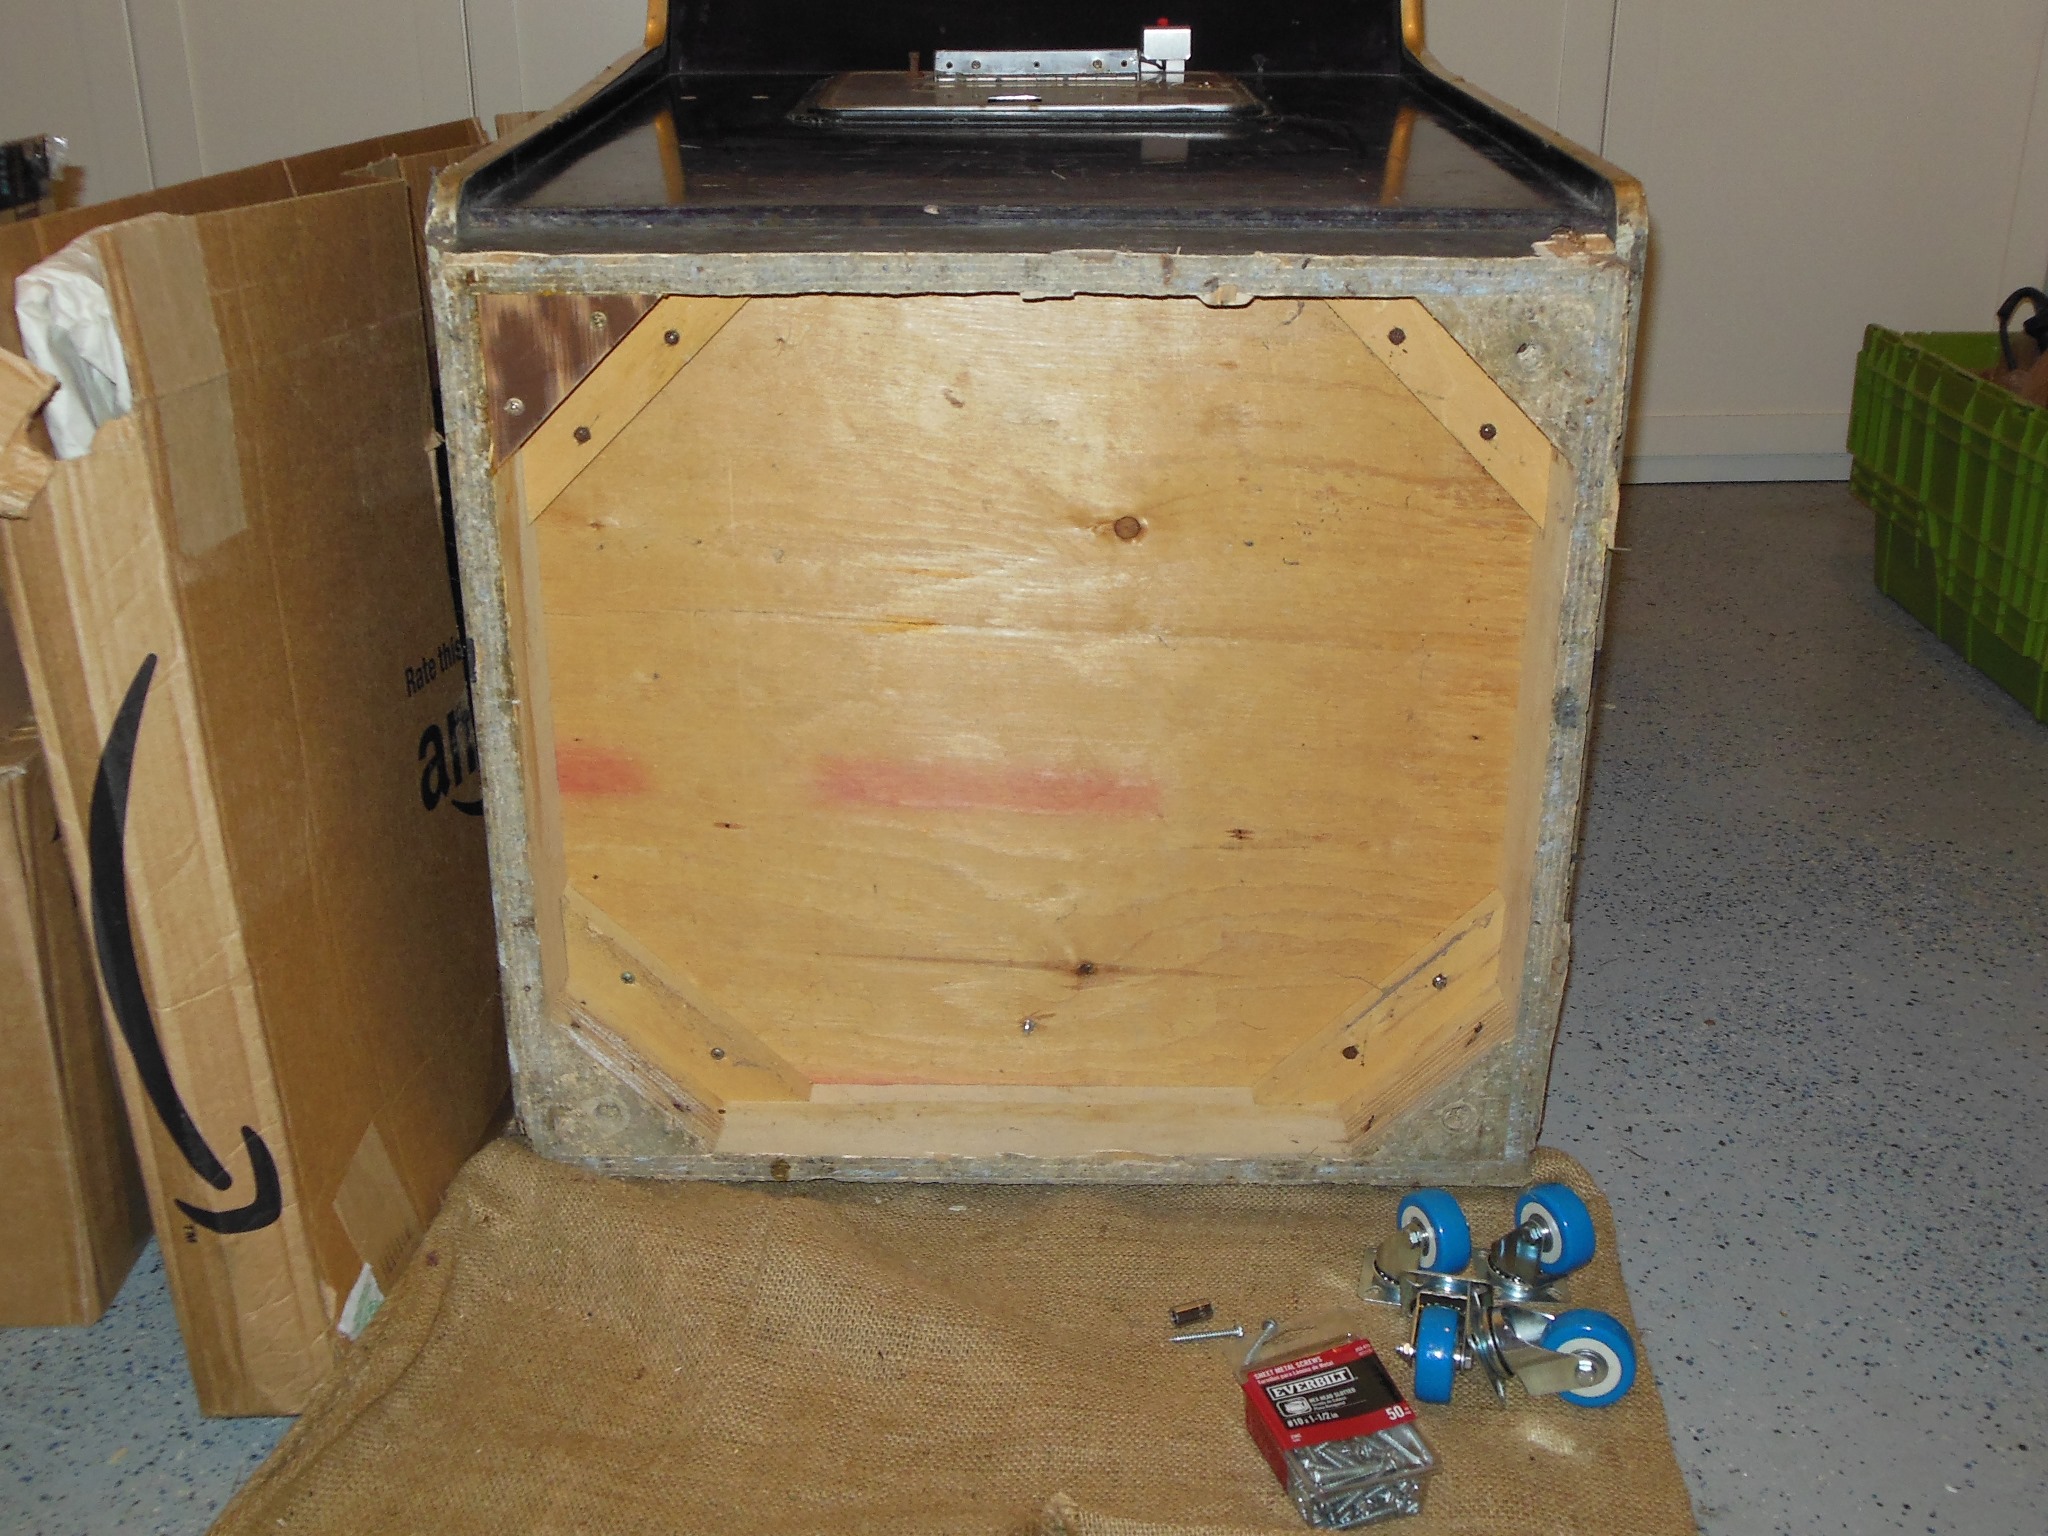
The foot and a portion of the foot block was missing that needed to be repaired before castors could be fitted. In a prior restoration I'd reproduced the wood components used to construct the foot block and had a piece already to hand. The remains of the old triangle piece was chiseled off and the layer underneath sanded down to ensure a good surface for the adhesive. The reproduction replacement piece was then glued & screwed into place.
|
A scrap wood piece was used to apply pressure to the new piece whilst the adhesive set.
|
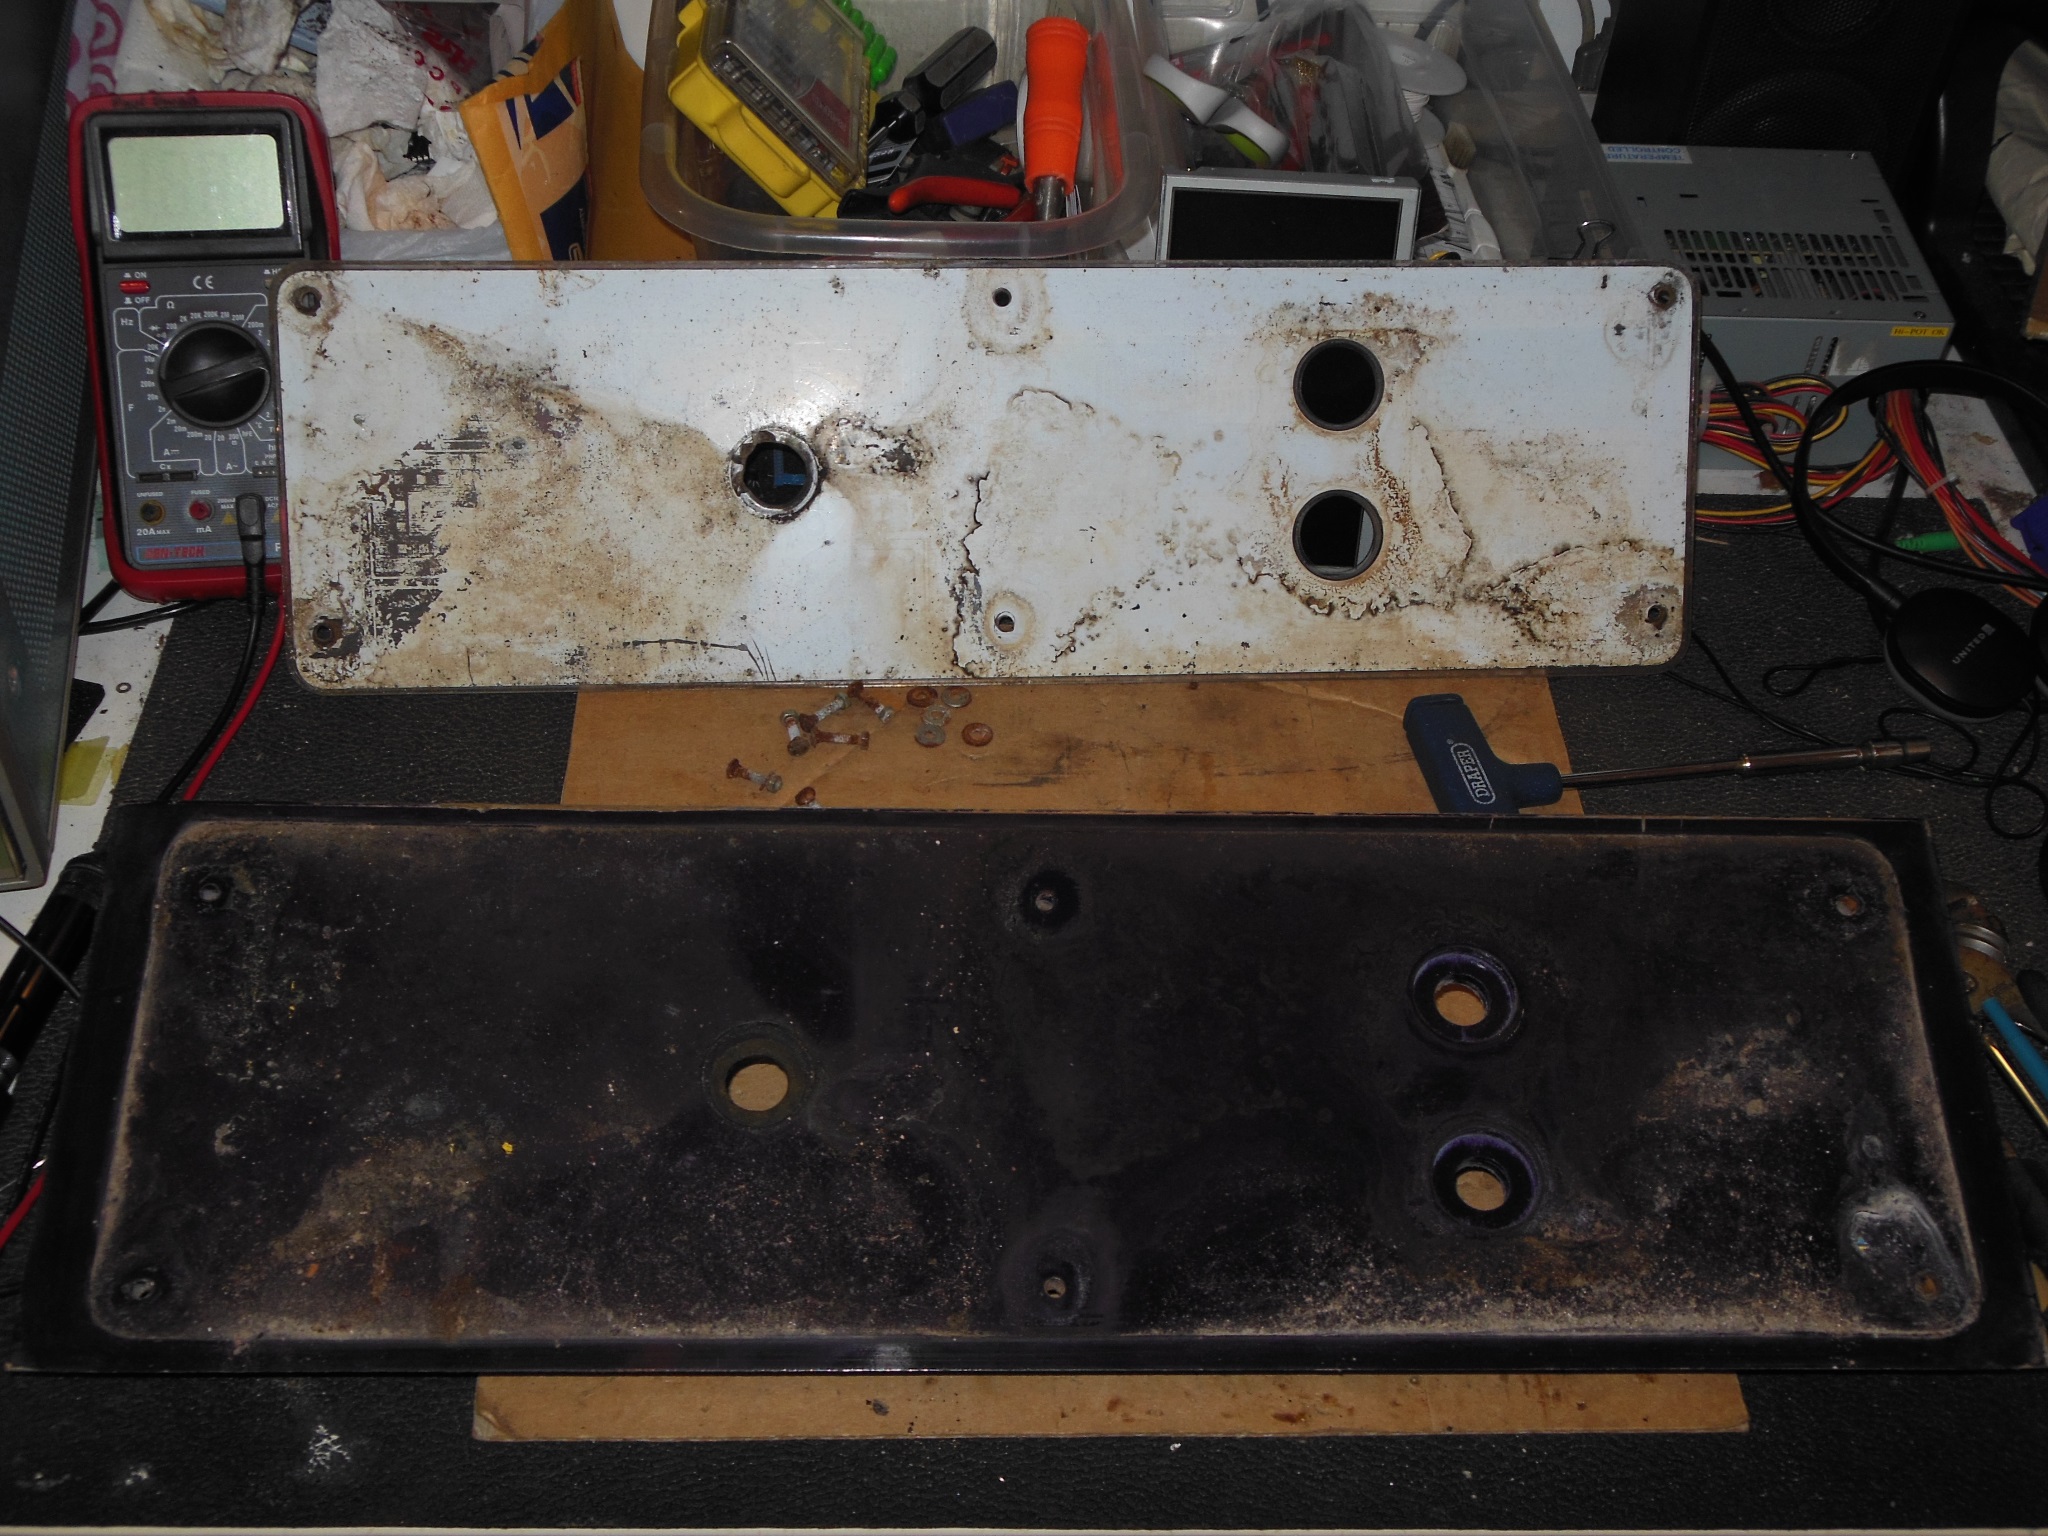
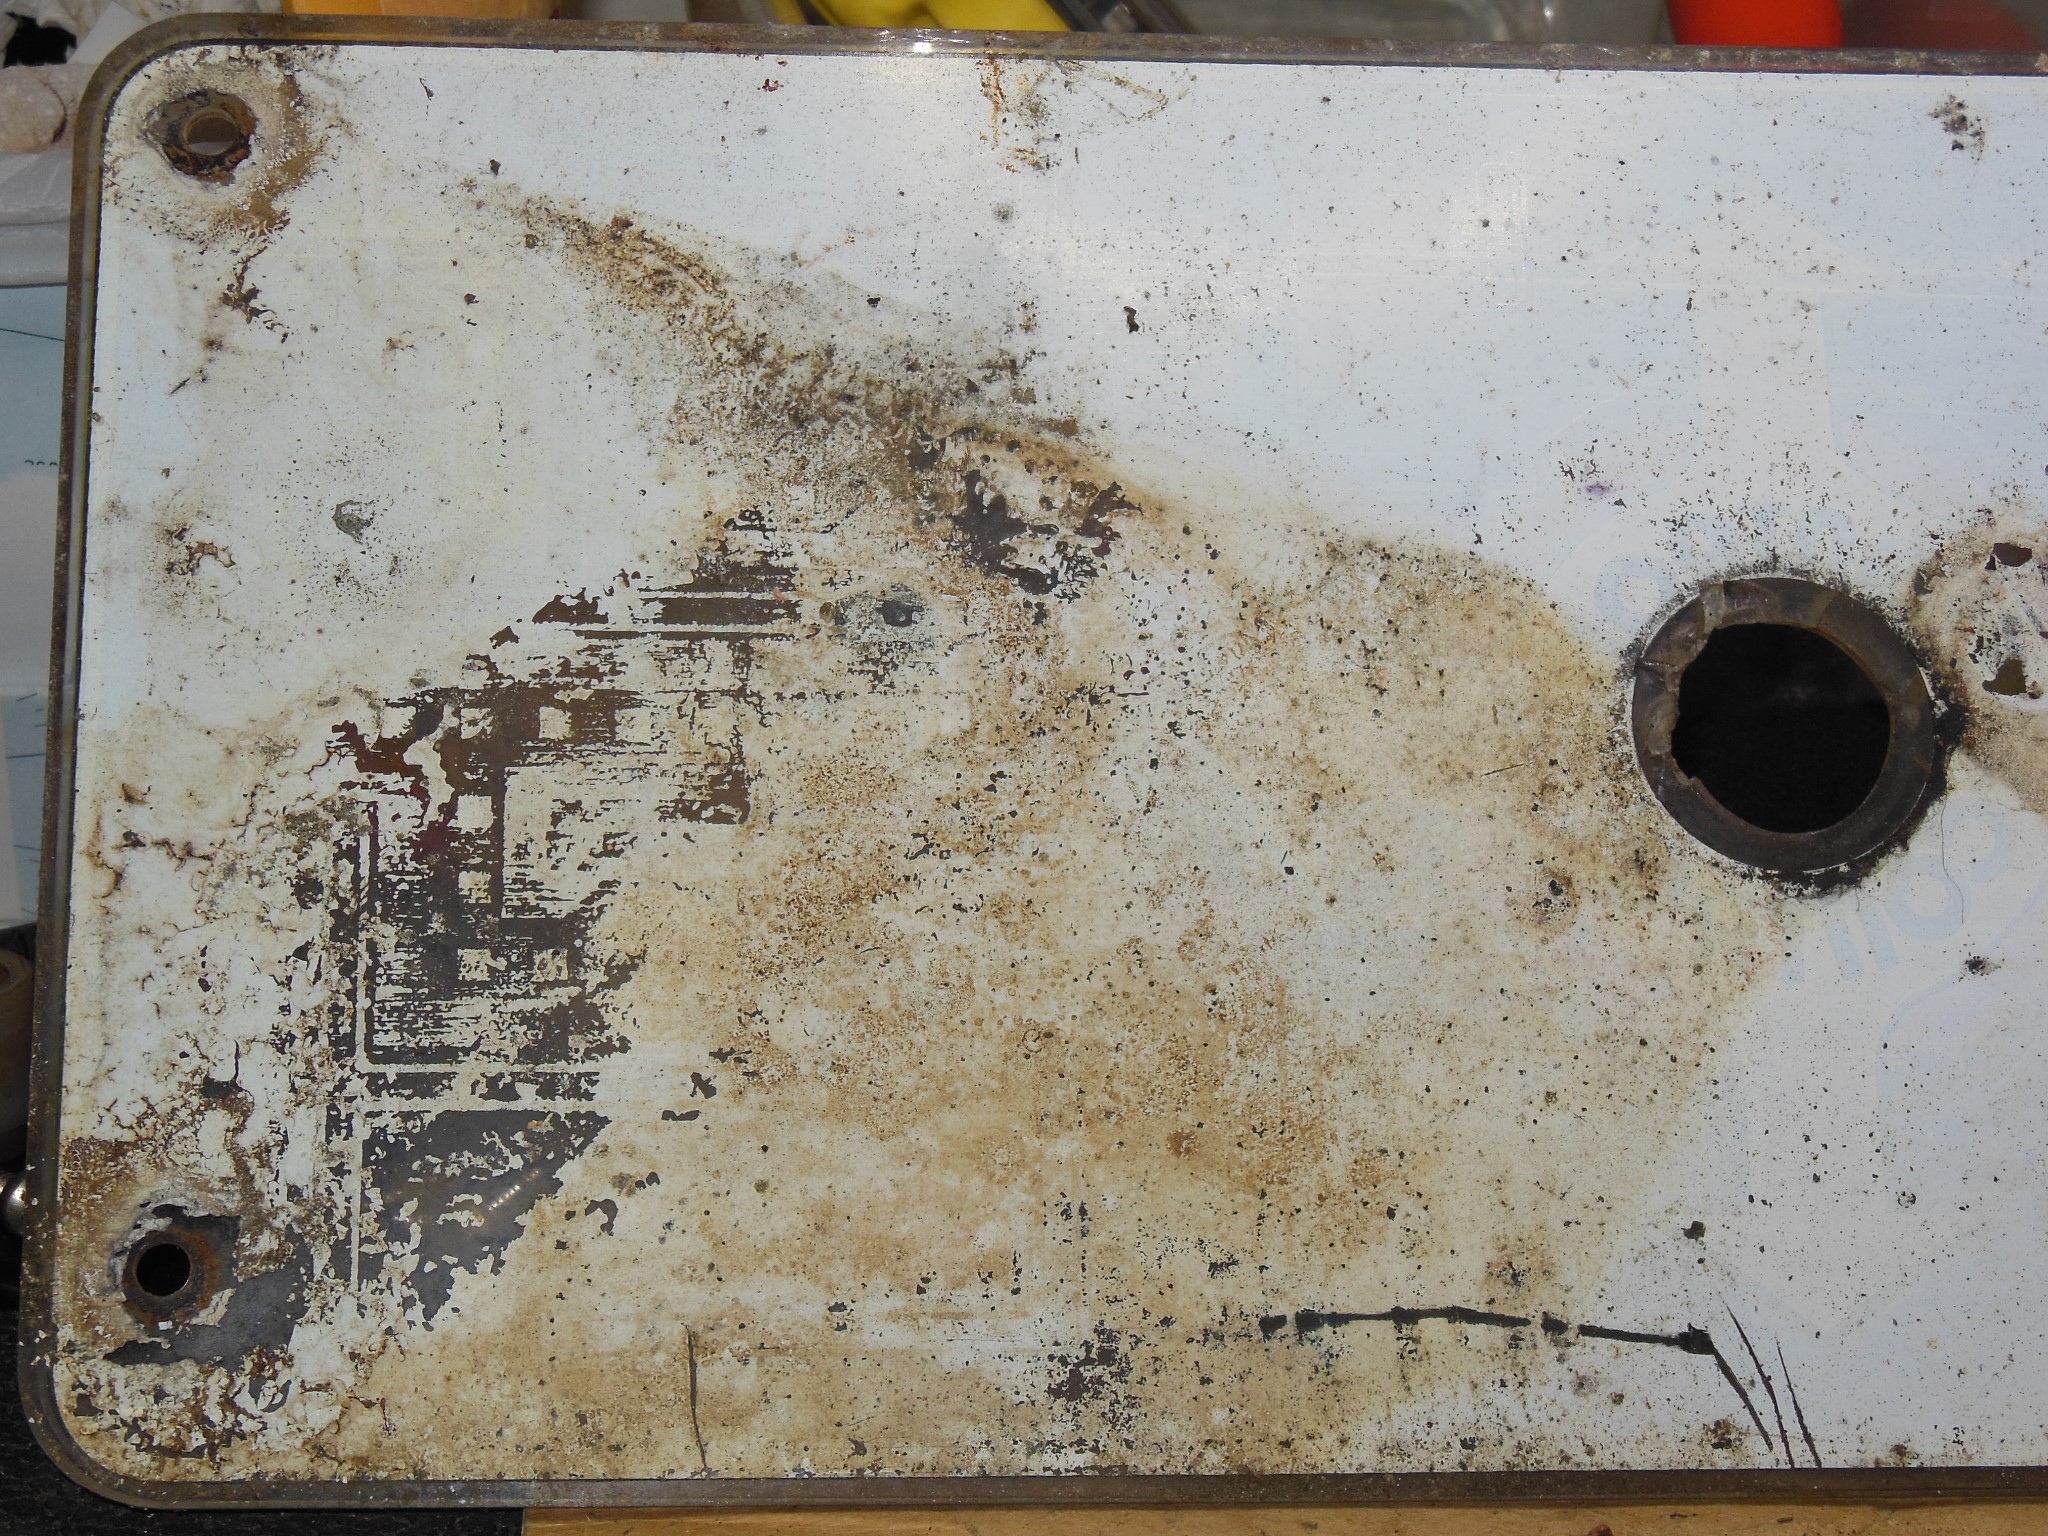
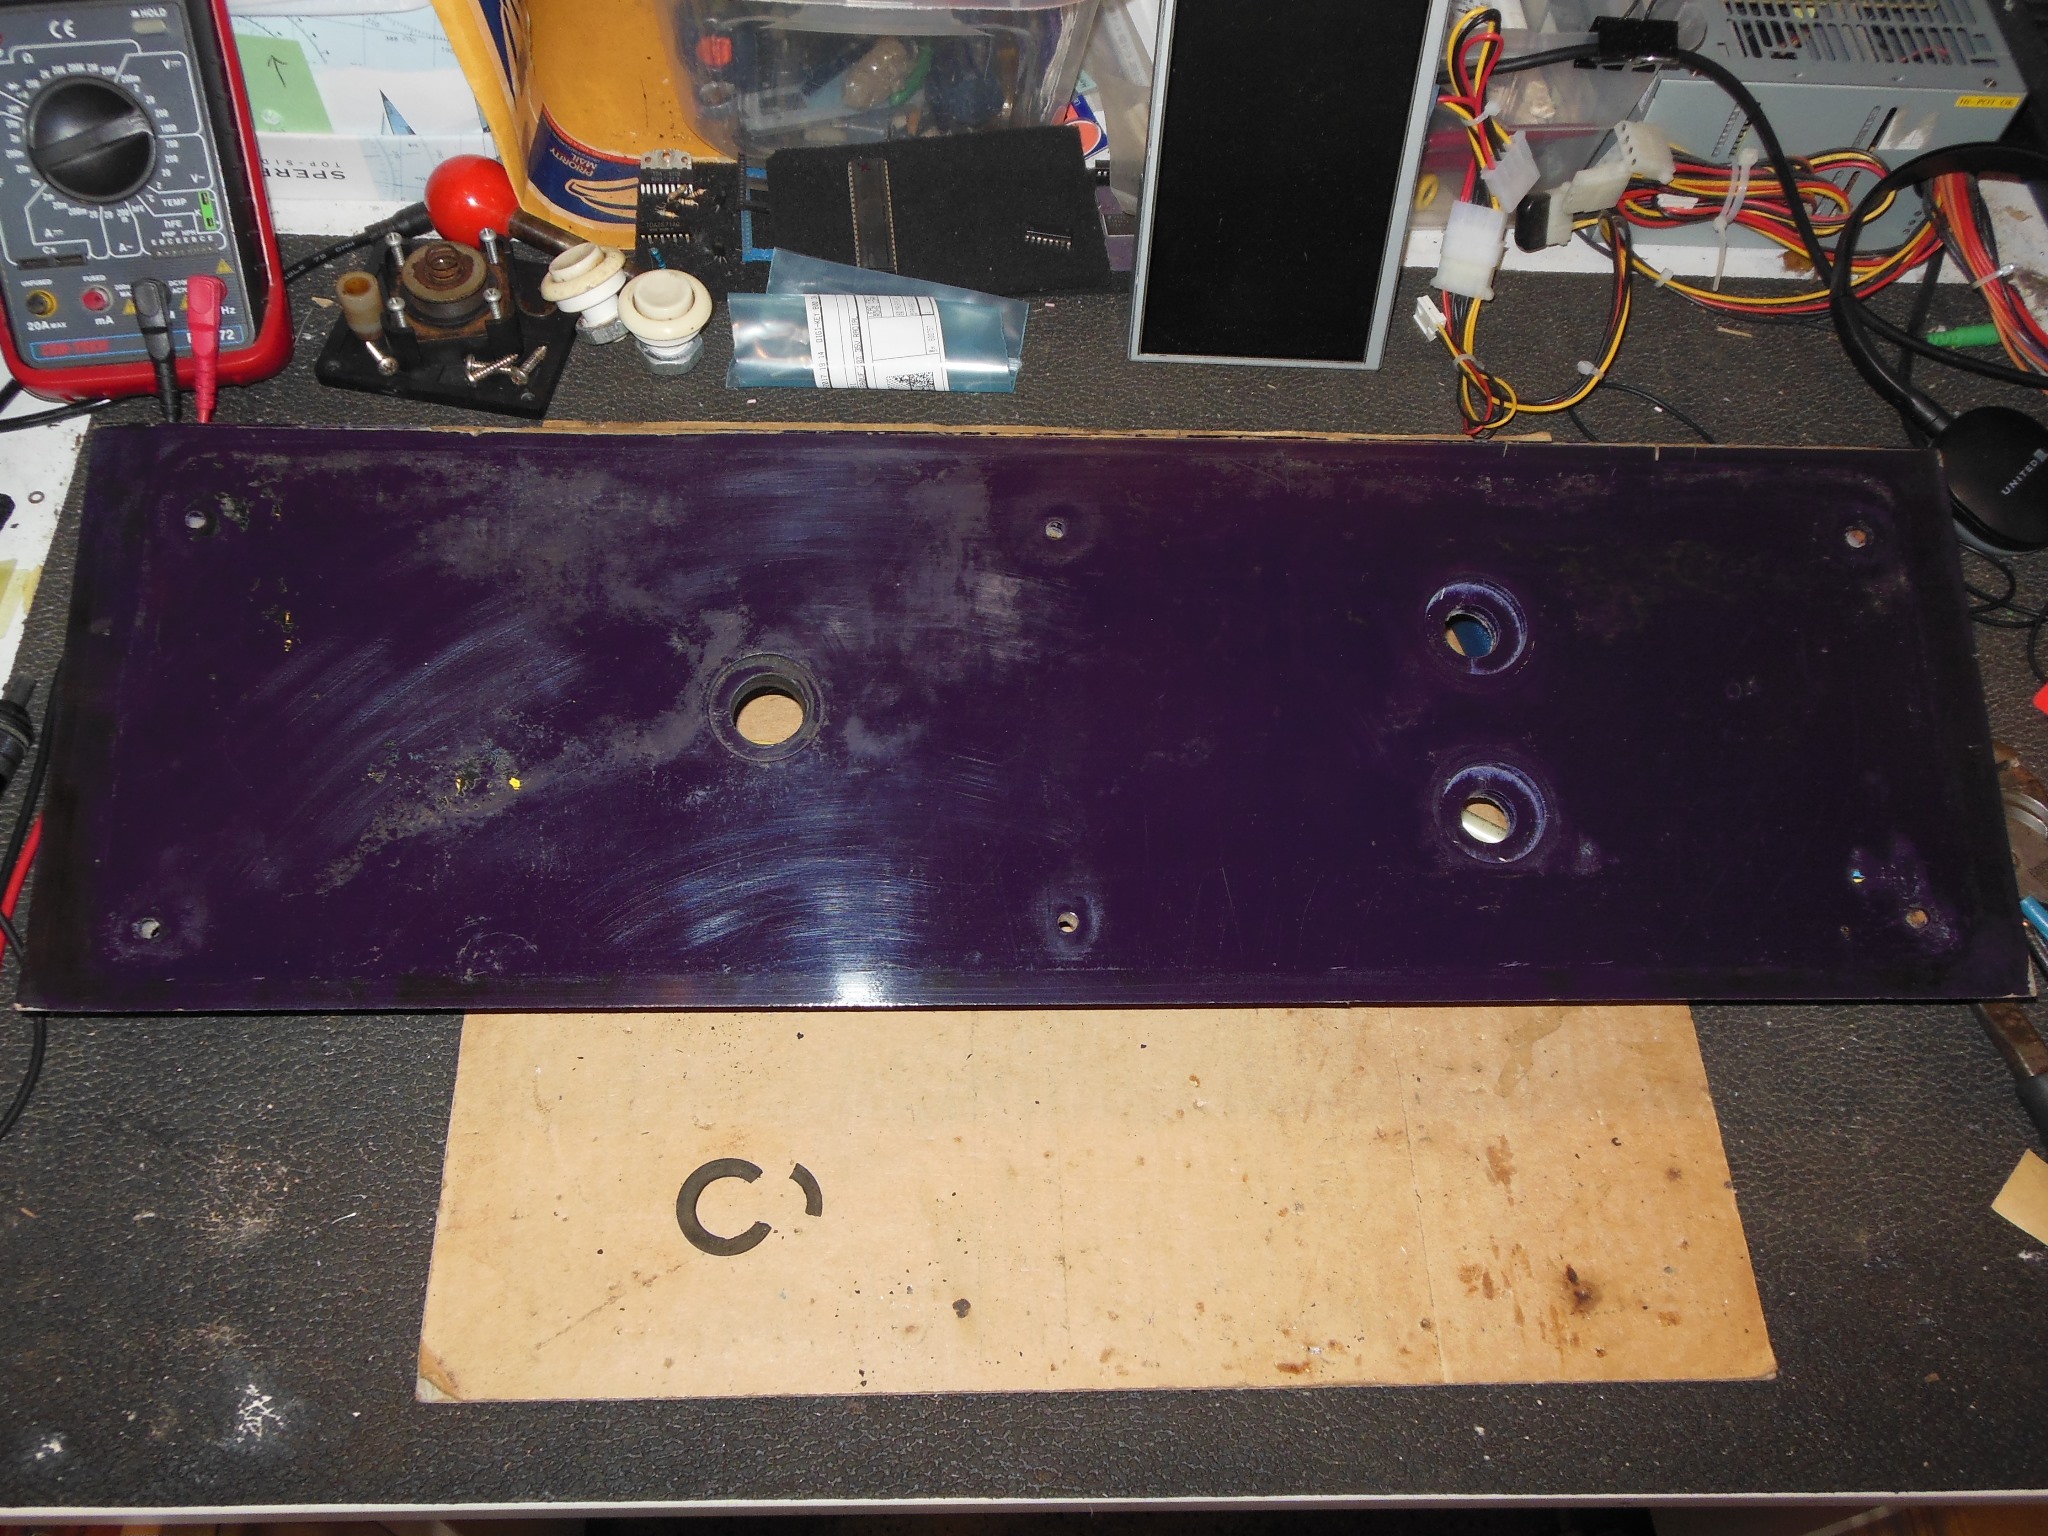
I'd already purchased PCB mounting plates for this series of cabinets as part of a prior restoration and so I had a spare to hand to mark up for the location of the mounting screw.
|
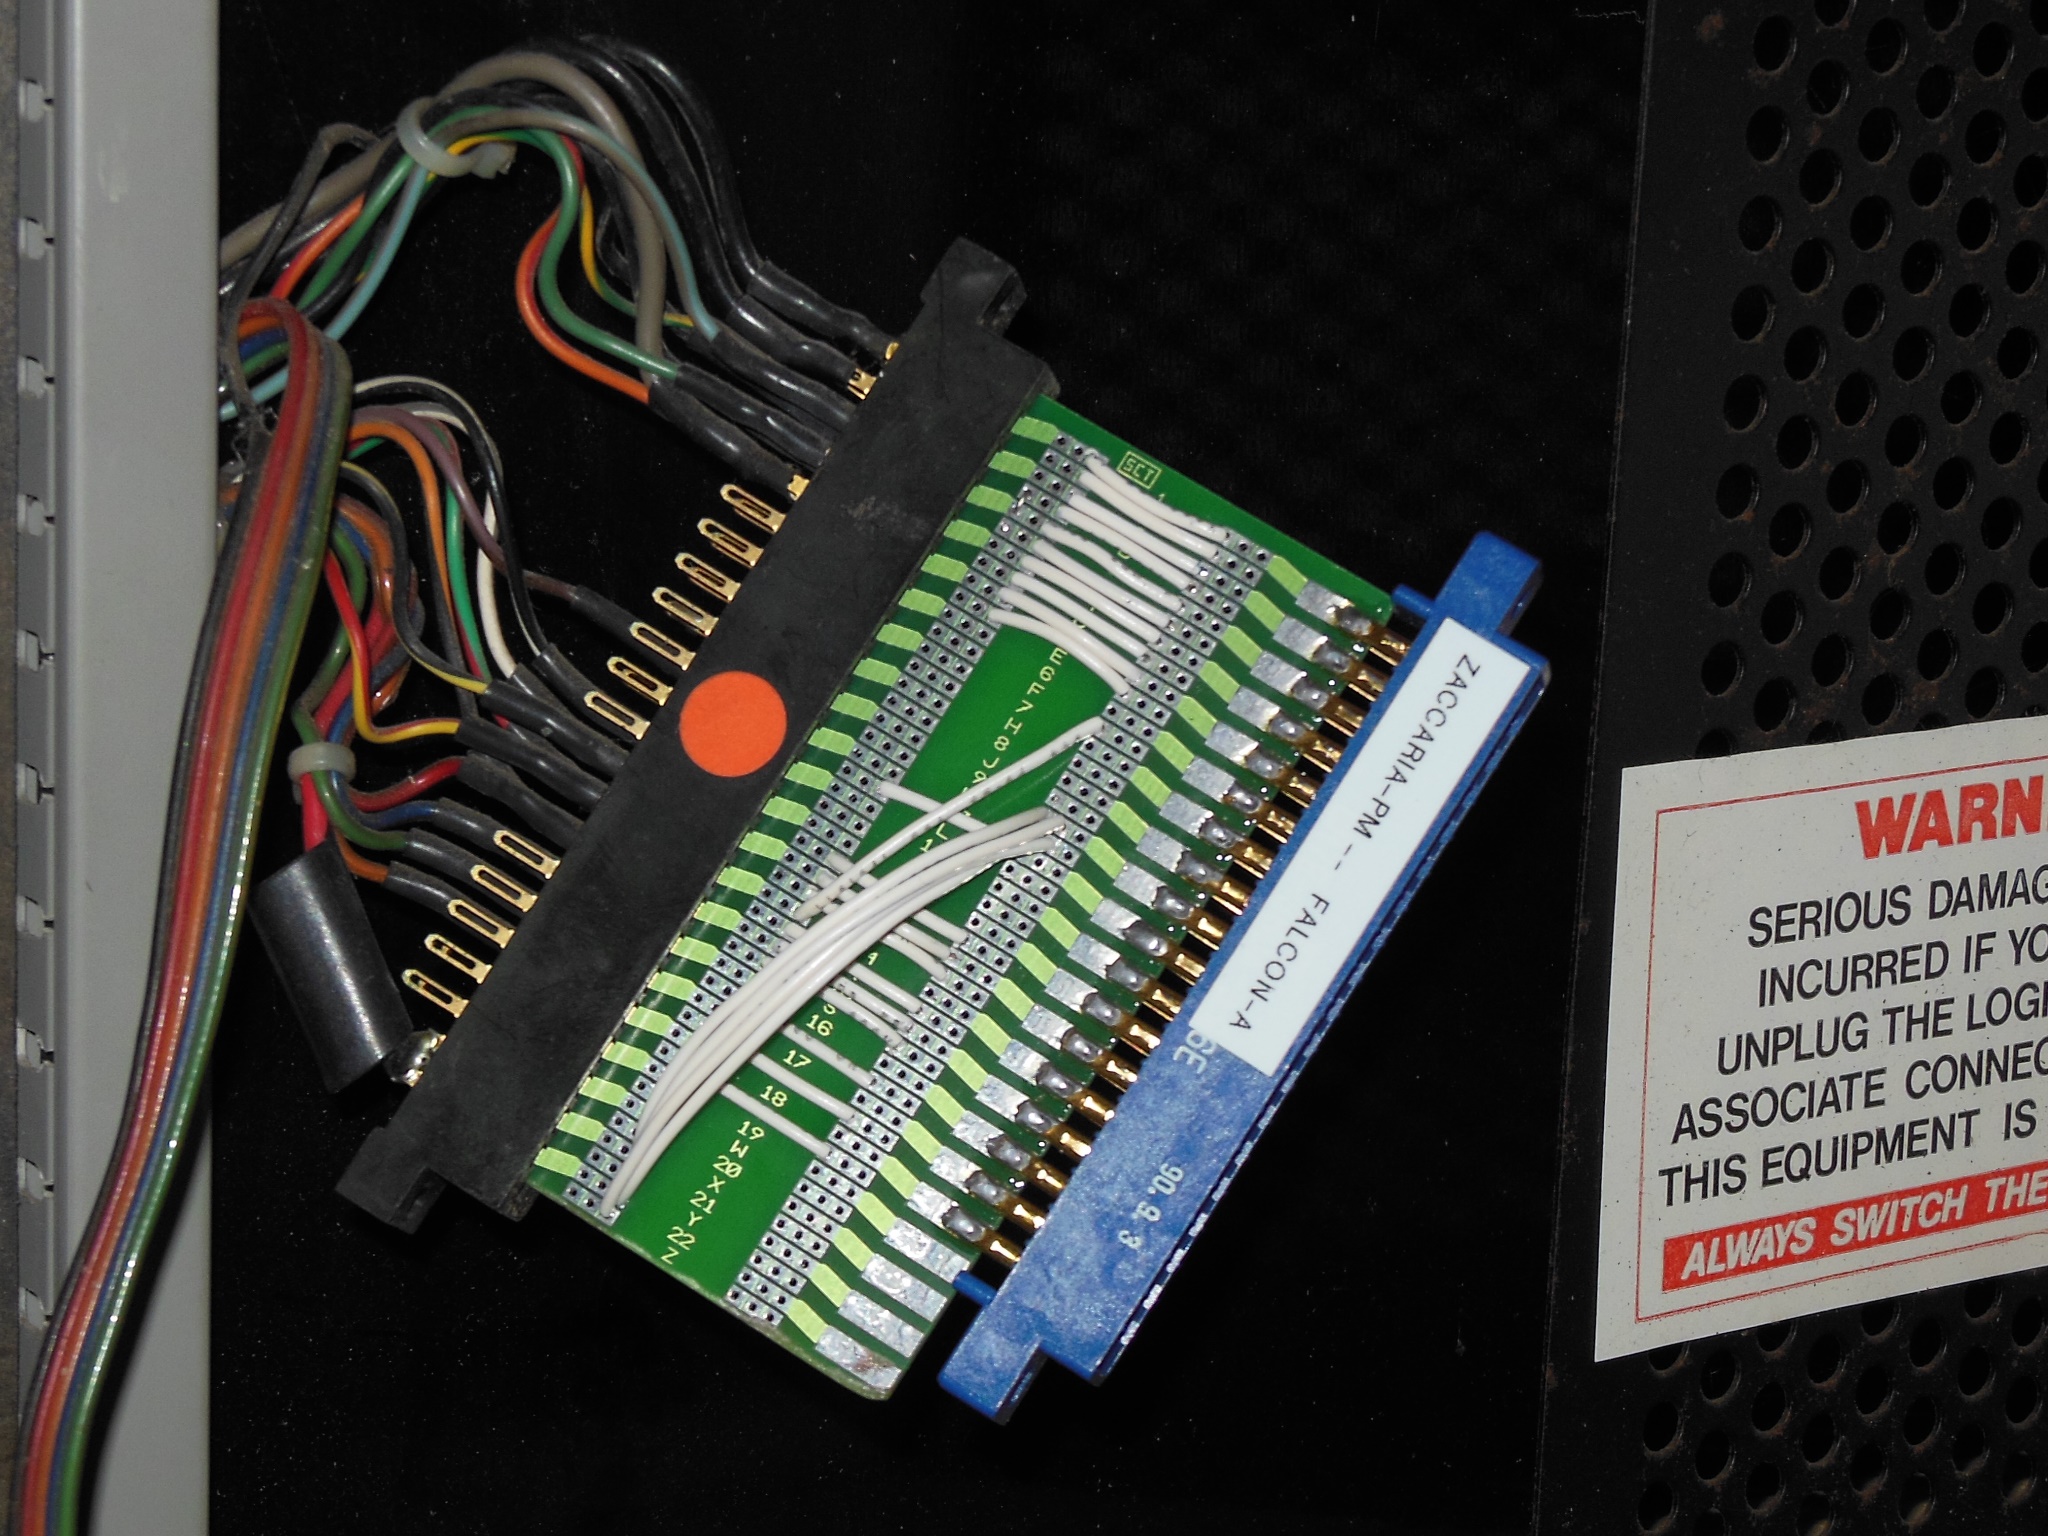
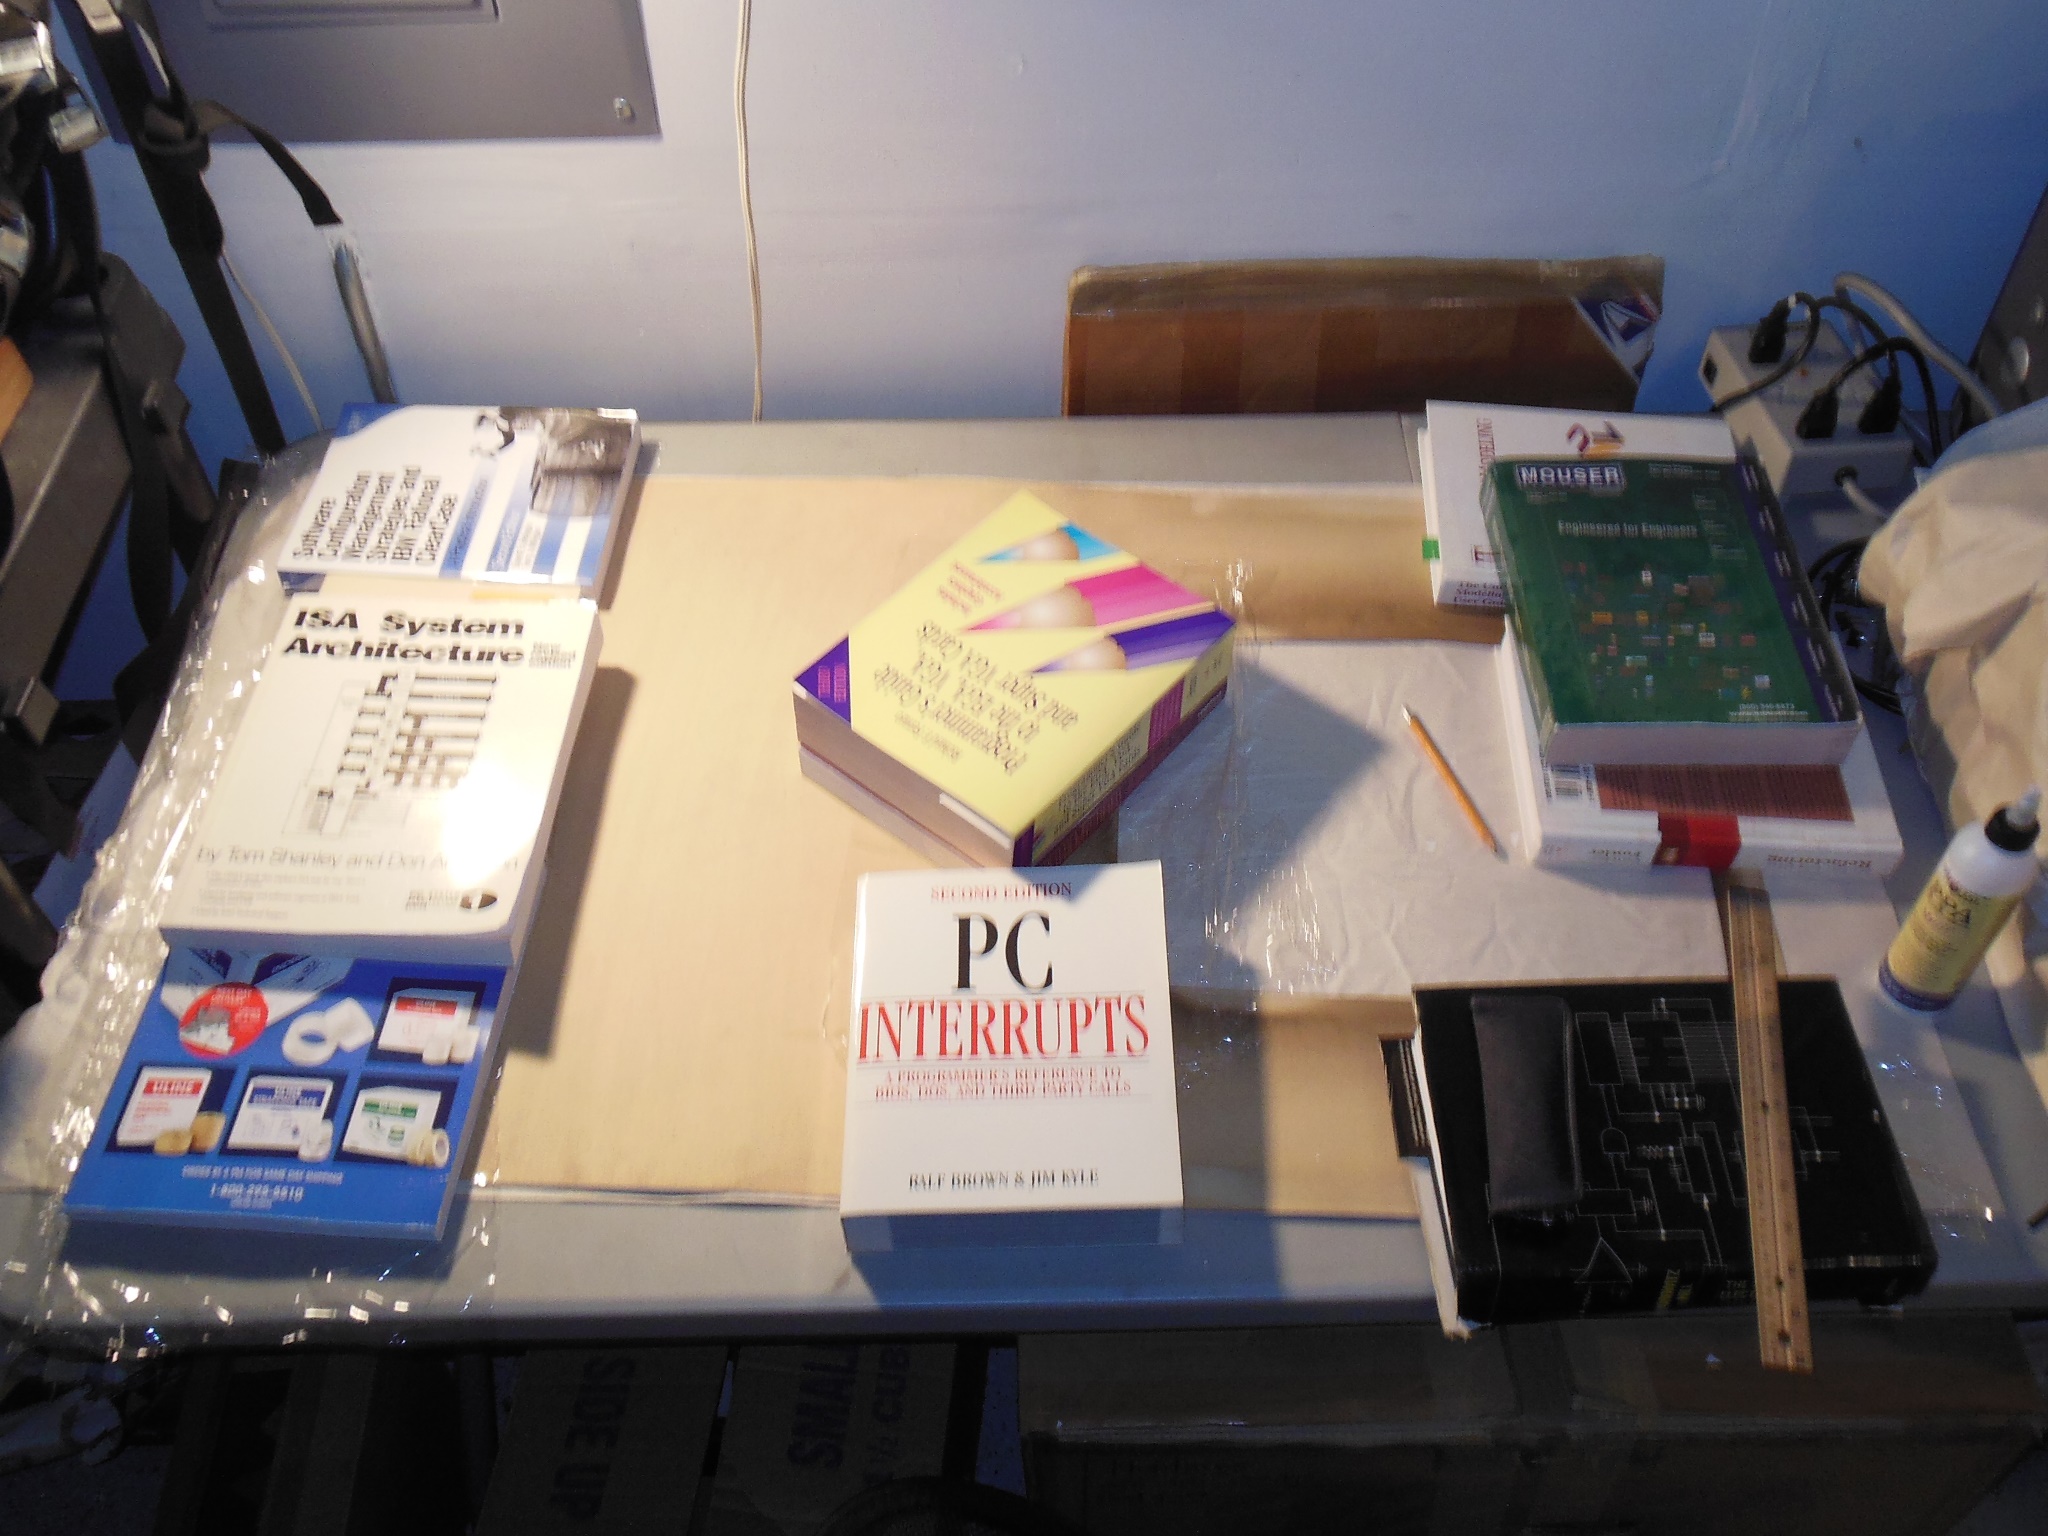
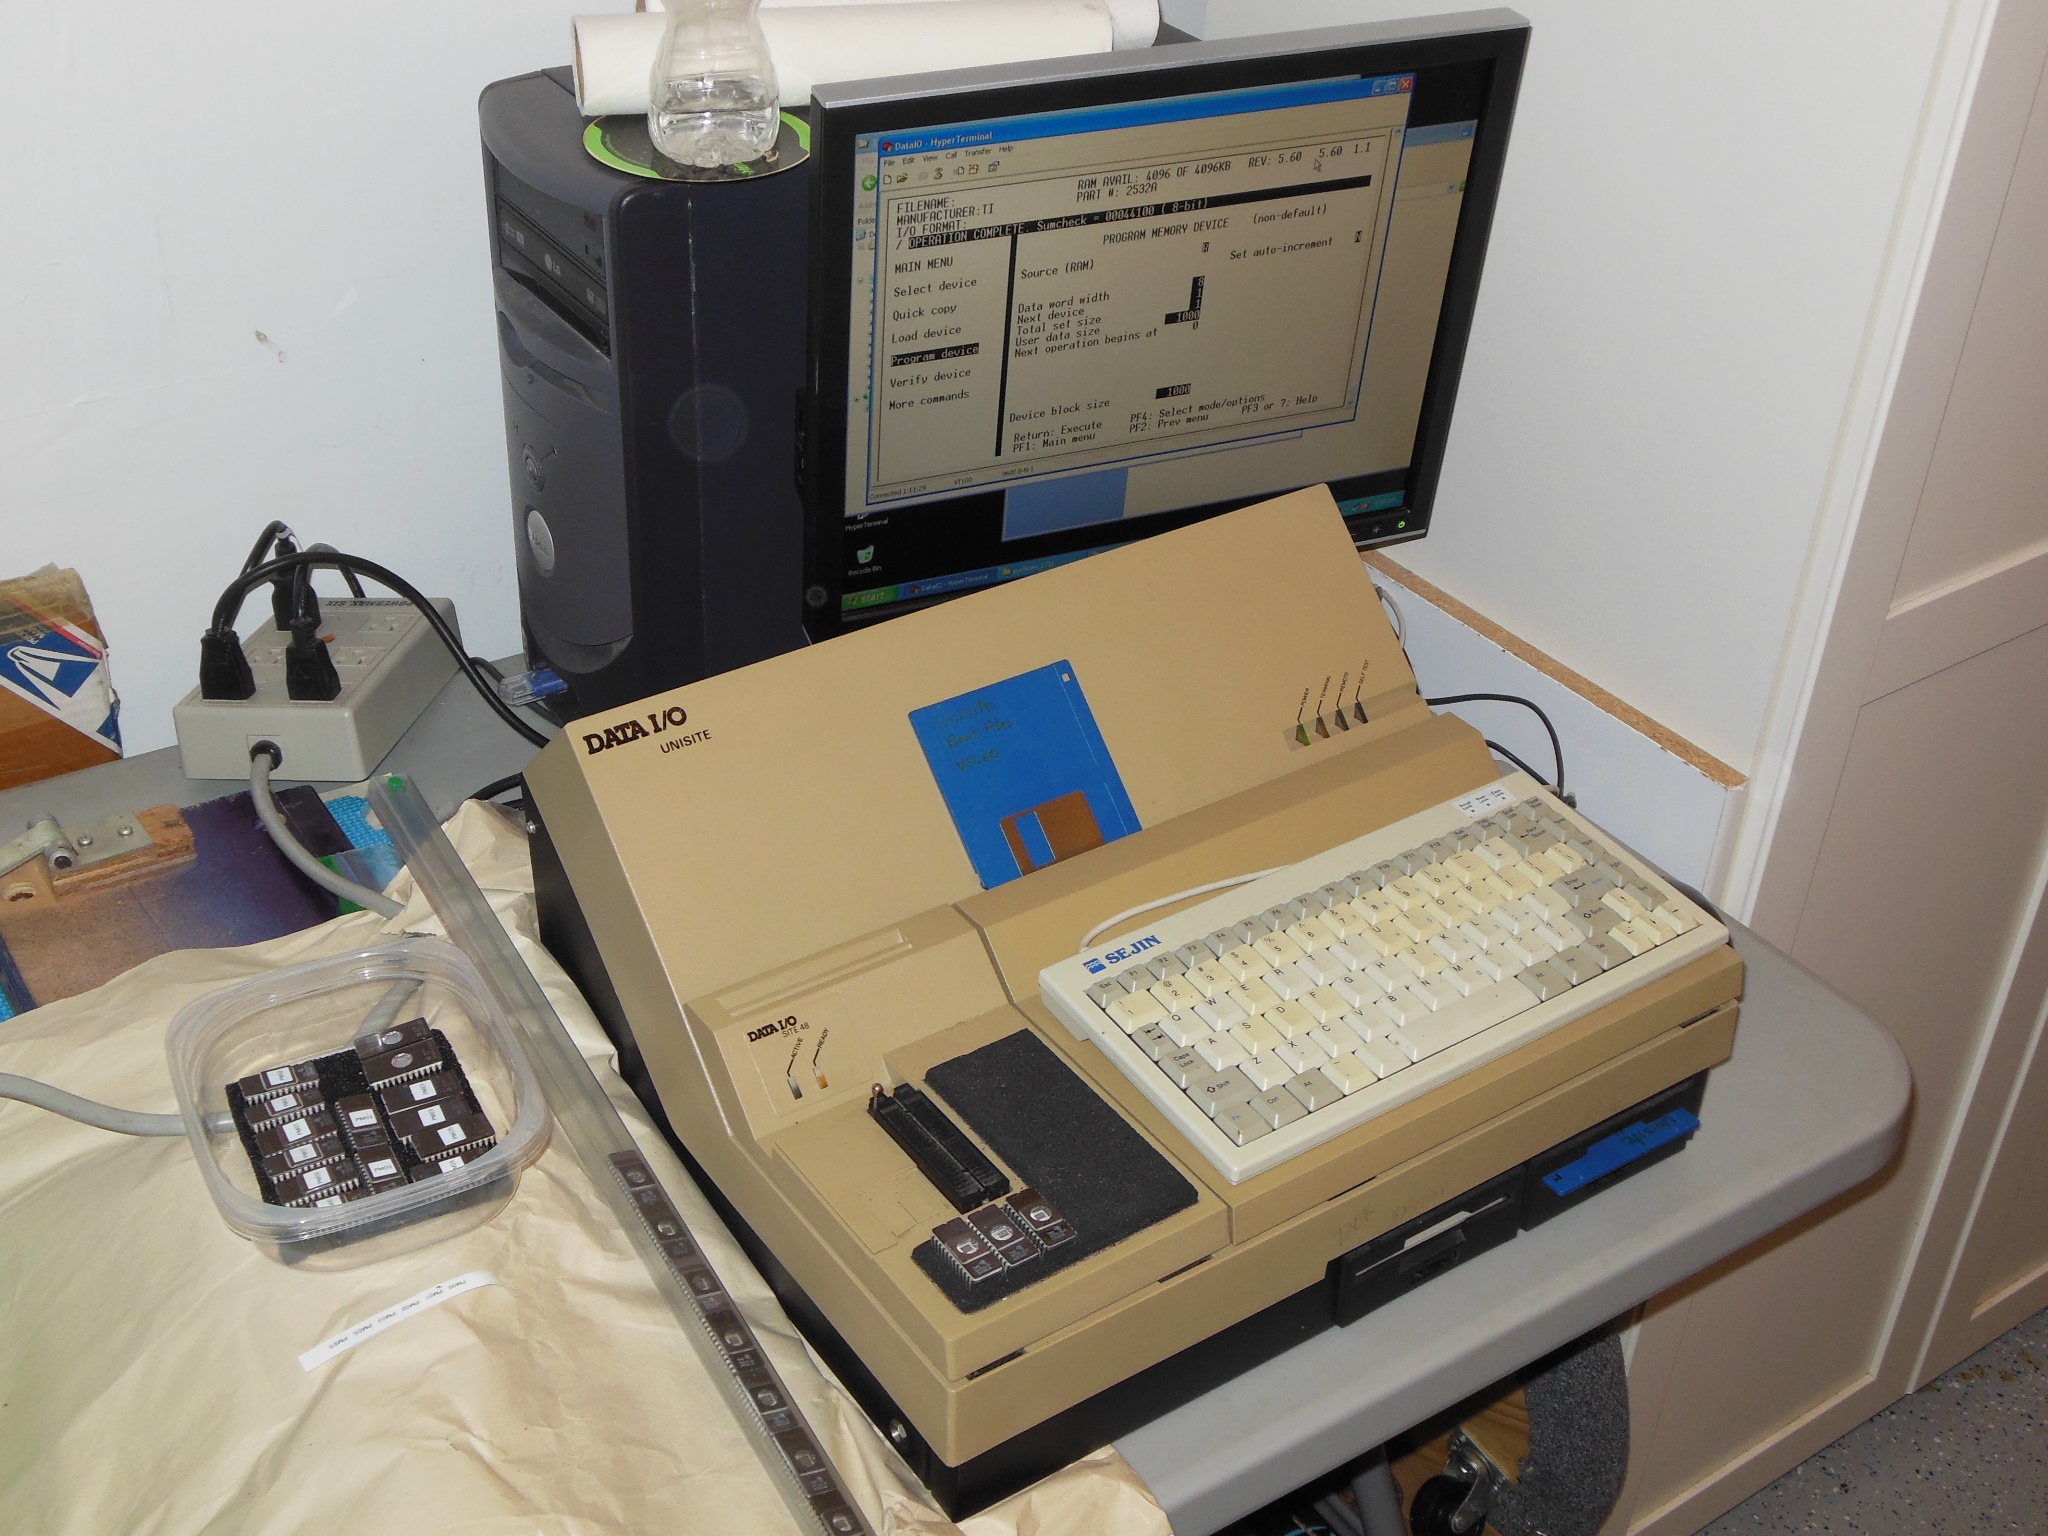
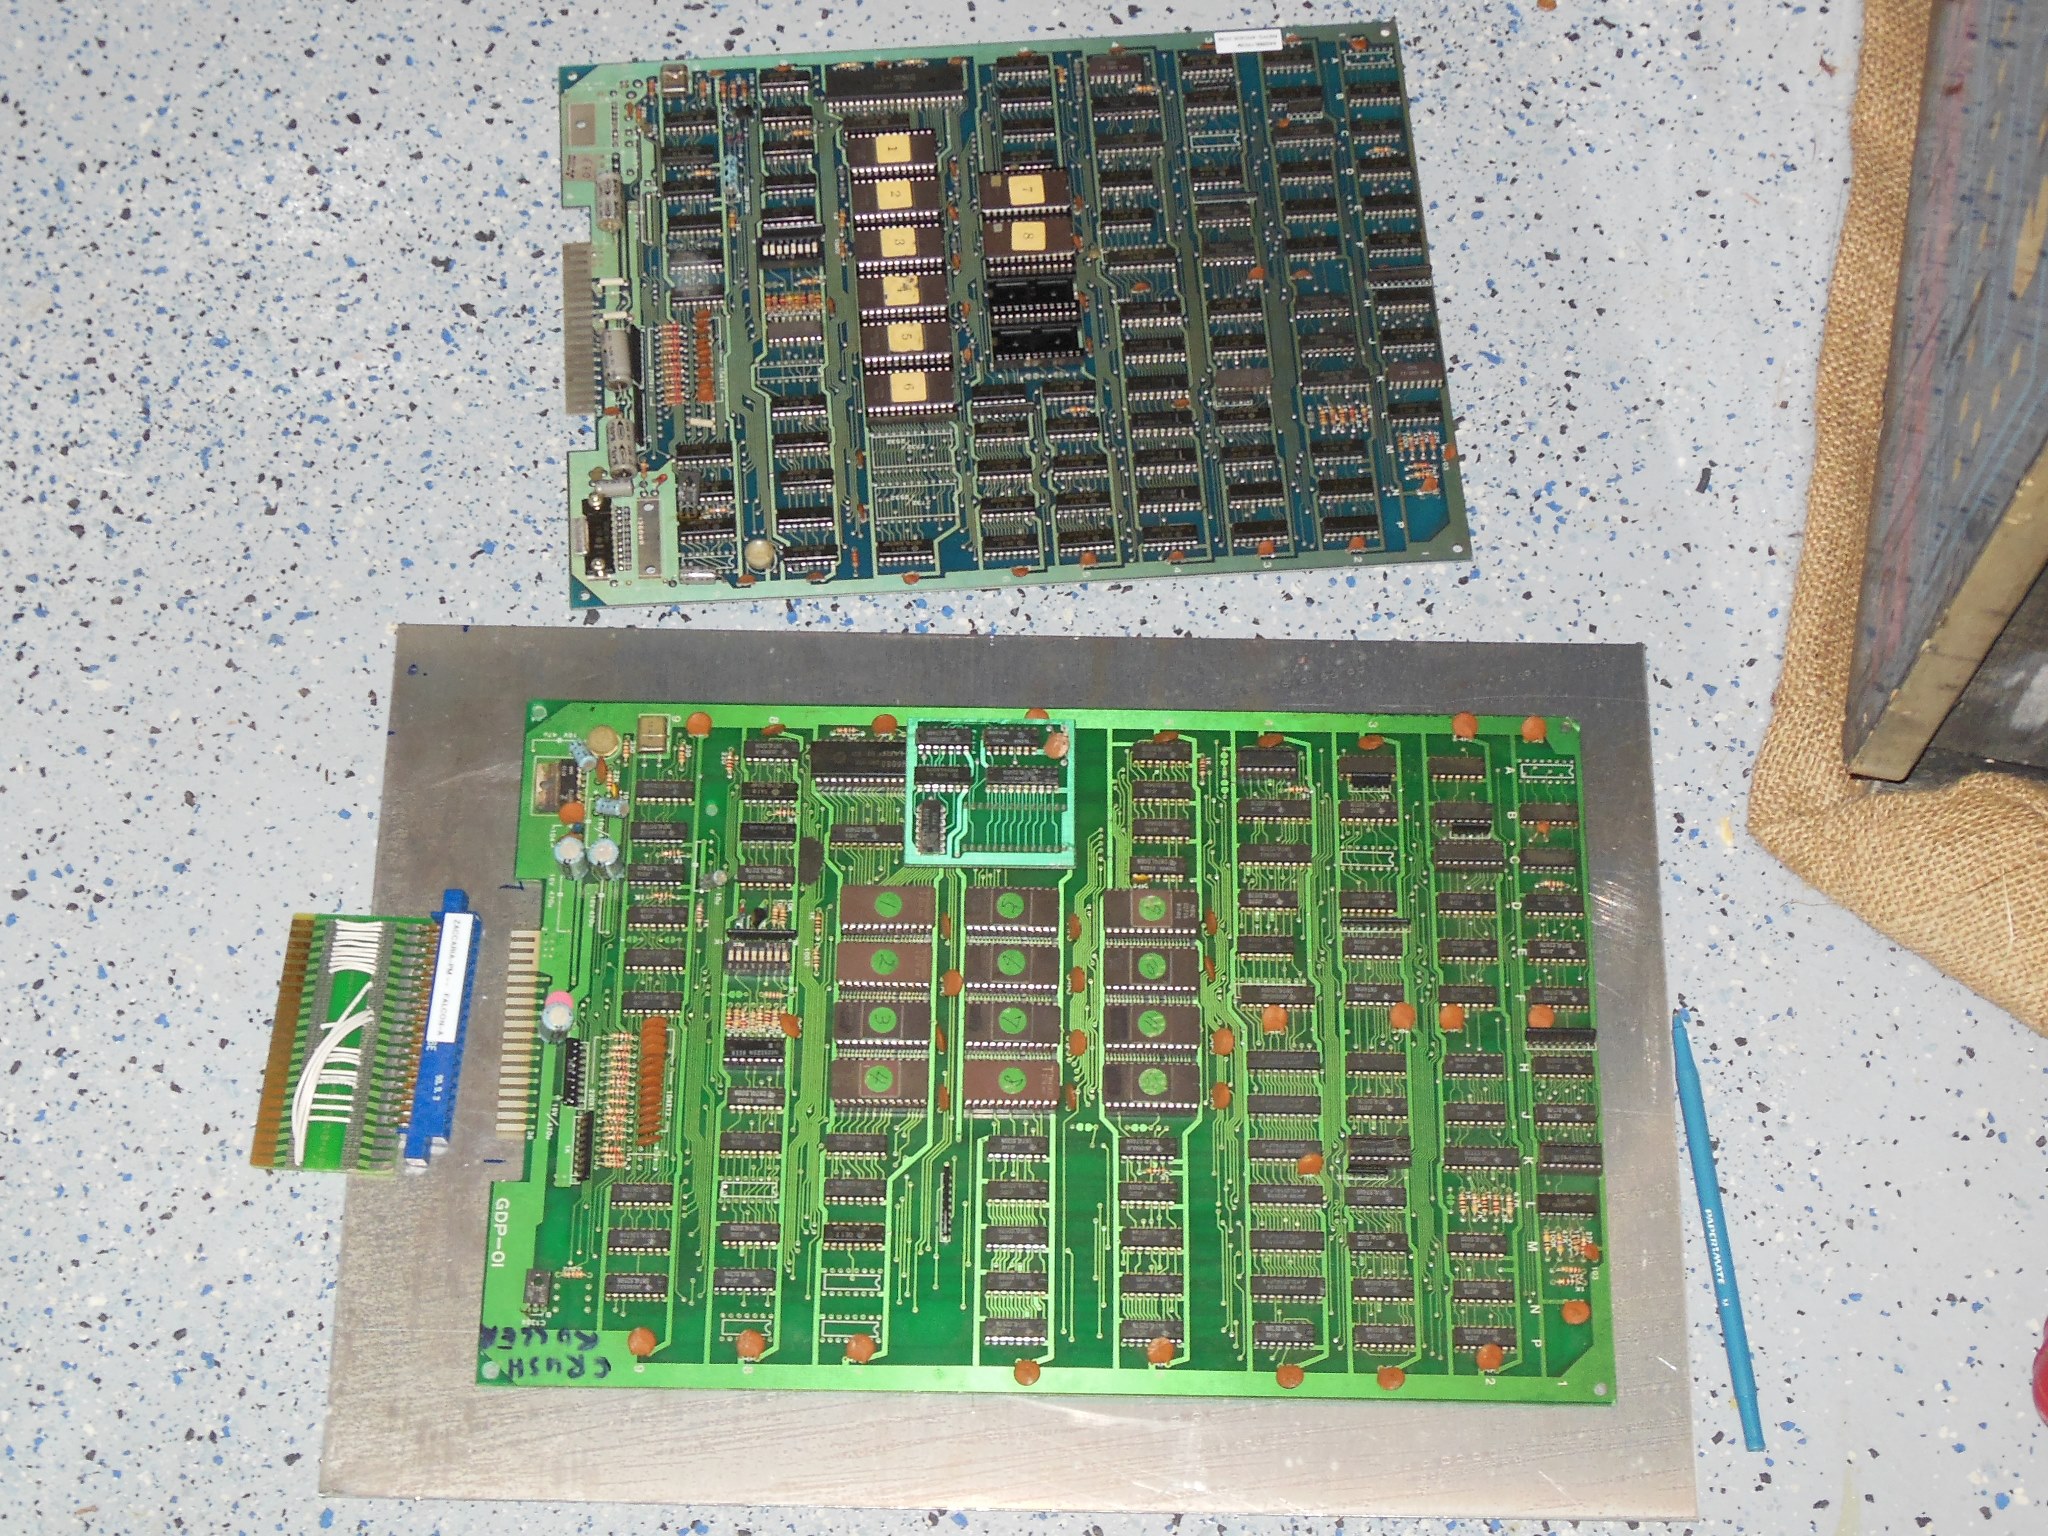
I didn't have any original Zaccaria Puck Man game PCBs for this cabinet. In my picture archive I found only one photo describing a Zaccaria Puck Man PCB with a Zaccaria serial number and an edge connector pinout that appeared to be a possible match for this cabinet. Instead I planned to use a couple of good quality Falcon Ms. Pacman PCBs converted to Puck Man with an adaptor for the cabinet.
The first step was to work out the pinout of the cabinet edge connector.
| Bottom Solder | Top Parts | ||
| GND | A | 1 | GND |
| GND | B | 2 | GND |
| GND (CP, monitor) | C | 3 | GND (credit) |
| Speaker - | D | 4 | Speaker + |
| +12V | E | 5 | +12V |
| F | 6 | ||
| H | 7 | ||
| J | 8 | ||
| K | 9 | ||
| Down | L | 10 | |
| M | 11 | ||
| P2 Start | N | 12 | |
| P1 Start | P | 13 | Coin |
| Left | R | 14 | Up |
| Right | S | 15 | Red |
| Blue | T | 16 | |
| Green | U | 17 | |
| Sync | V | 18 | |
| W | 19 | ||
| X | 20 | ||
| +5V | Y | 21 | +5V |
| +5V | Z | 22 | +5V |
|
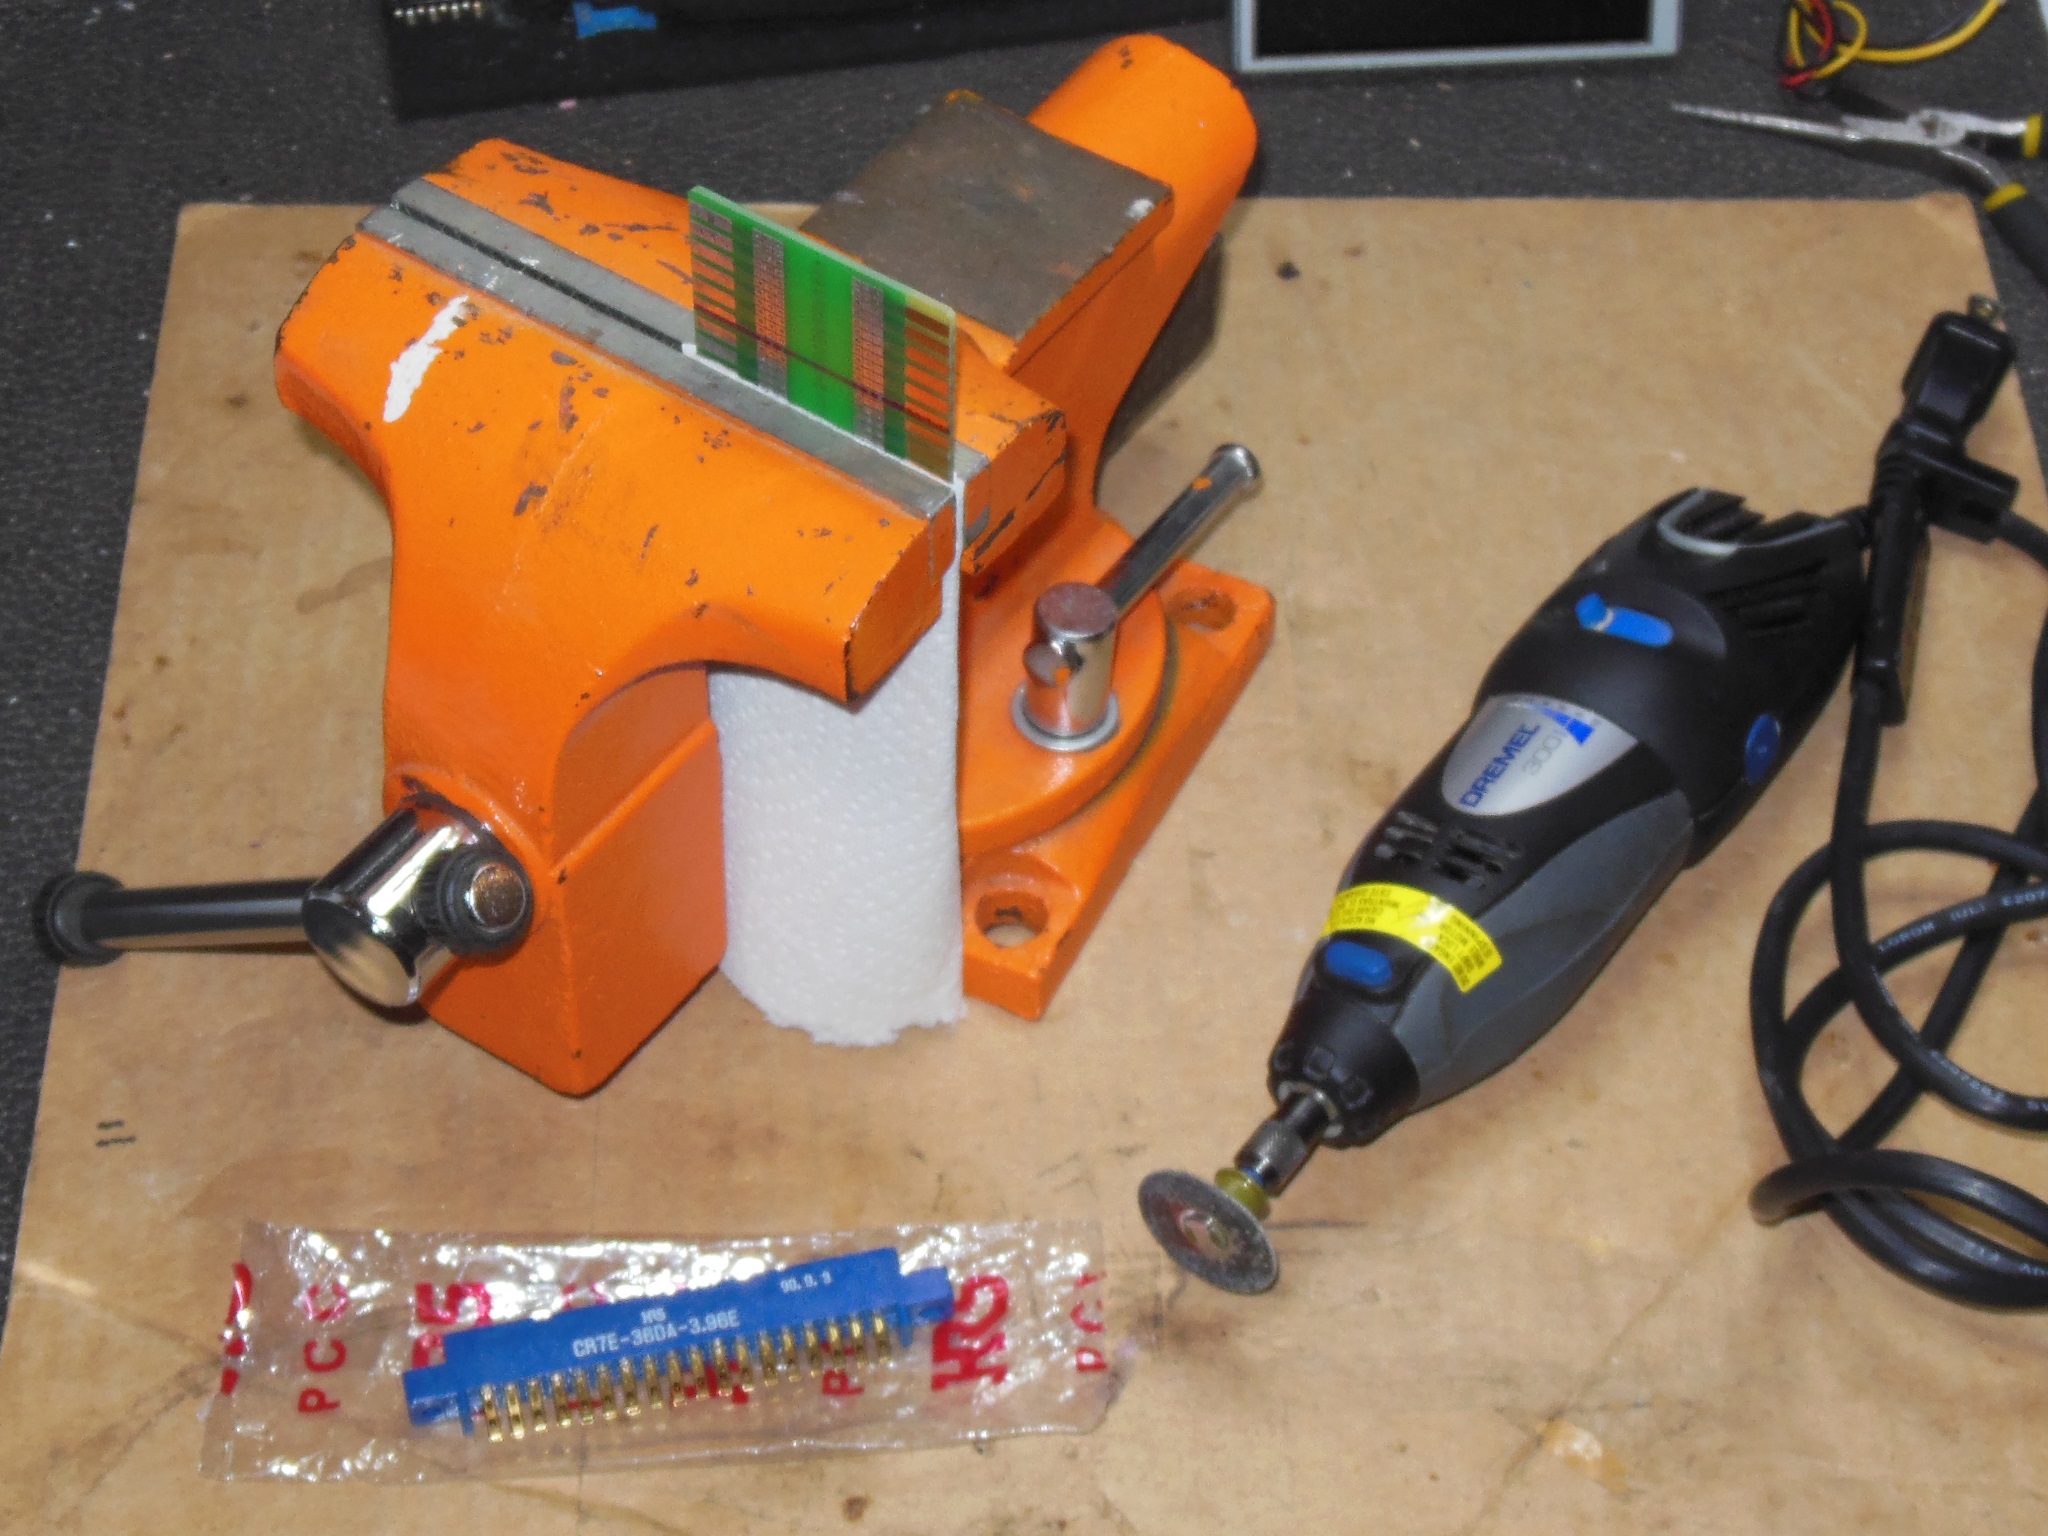
I trimmed down a 28-way JAMMA finger board to 22-way to use for the adaptor. Since the pinout was so similar the adaptor was relatively simple to build.
|
The replacement monitor came from a Quasar cabinet converted to Mr. Do! and thus the original inverting input PCB had been modified to convert it to non-inverting input. The original monitor in Puck Man had a factory non-inverting input PCB that I swapped into the replacement monitor for consistency prior to installing it into the cabinet.
|
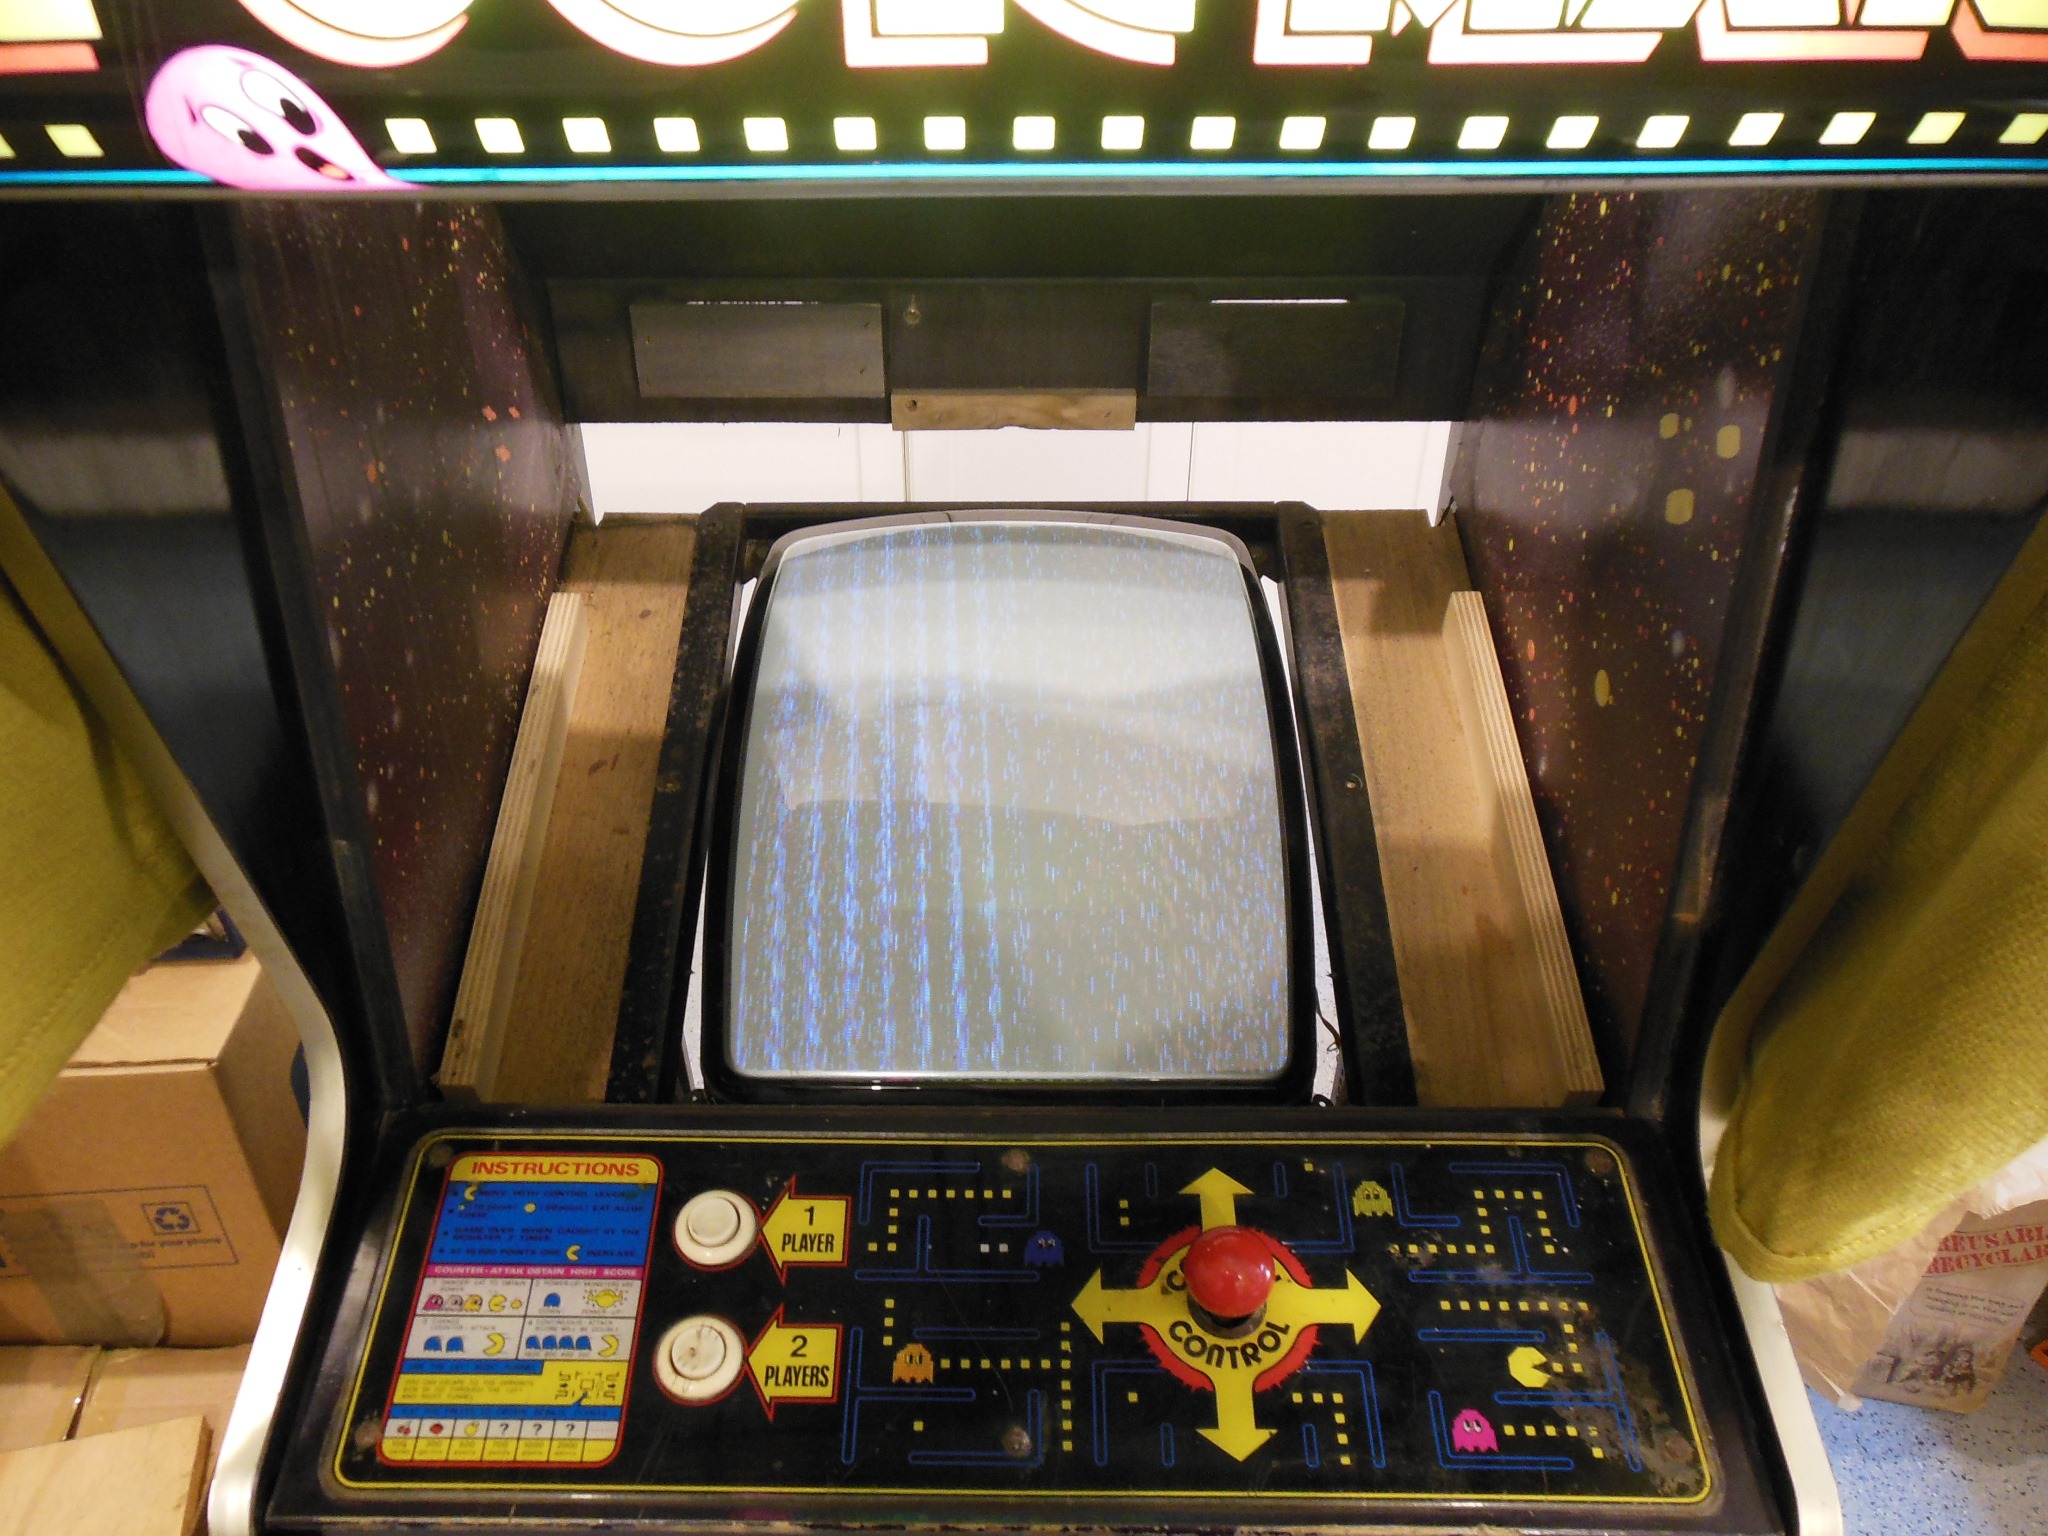
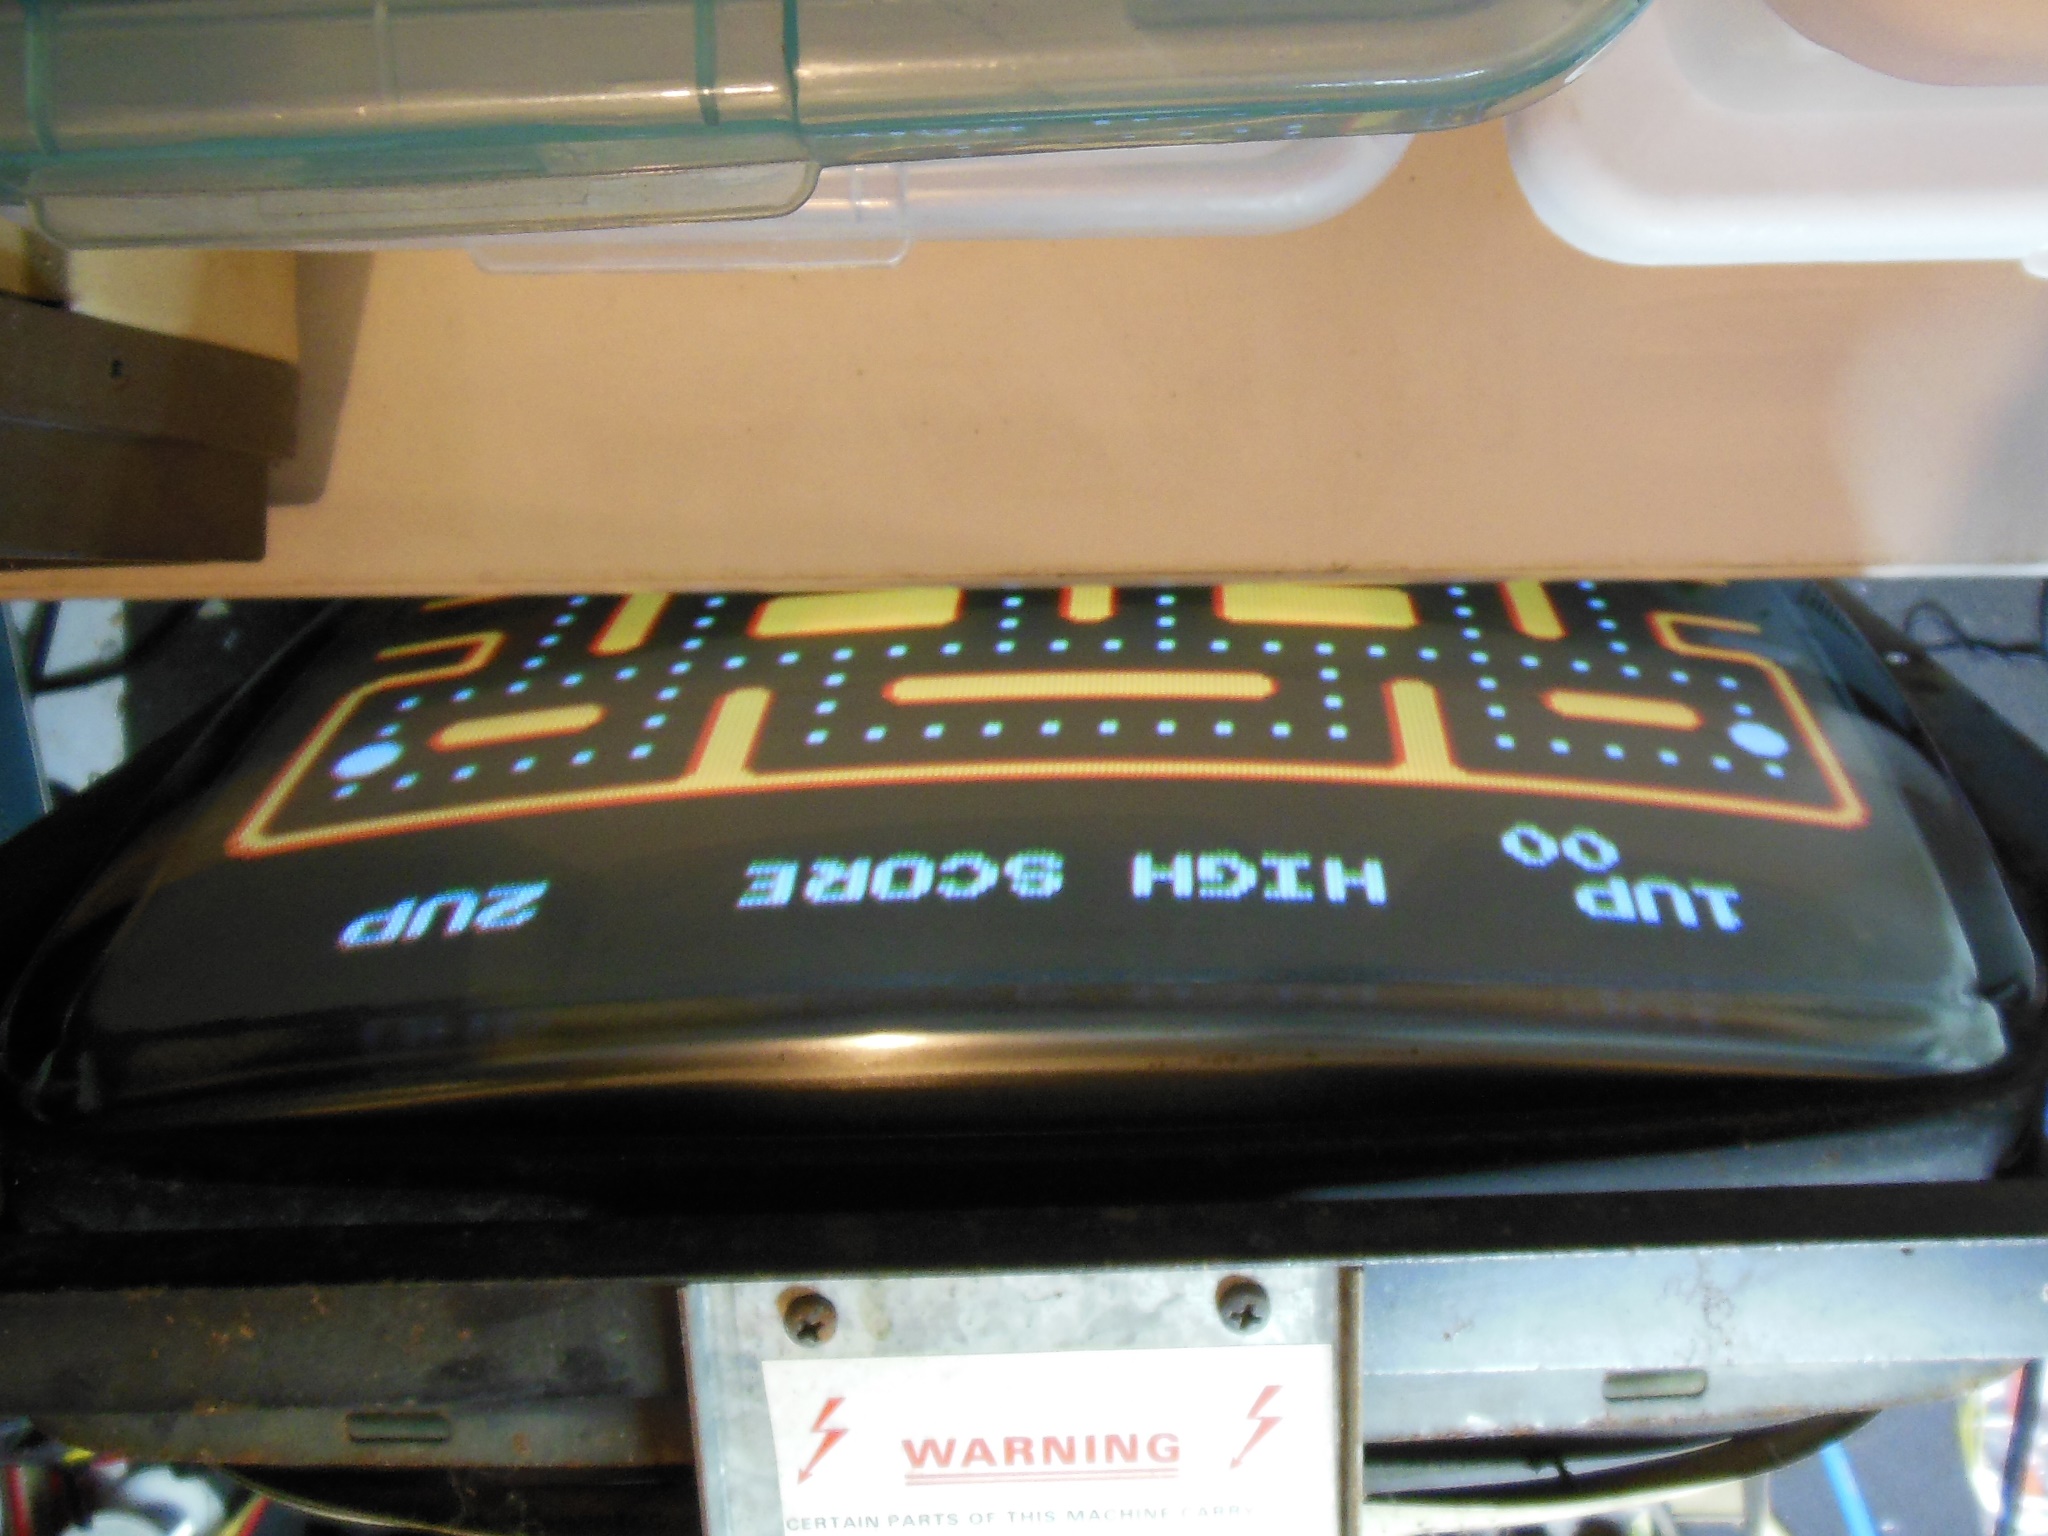
Initial power on yielded a few energize-shutdown cycles followed by an out of sync picture. Some tweaking of the vertical & horizontal sync managed to get to a slow rolling picture from the Falcon Ms. Pacman game PCB. I didn't spend too much time tweaking the picture since it was basically working and a cap kit would be needed anyway.

|
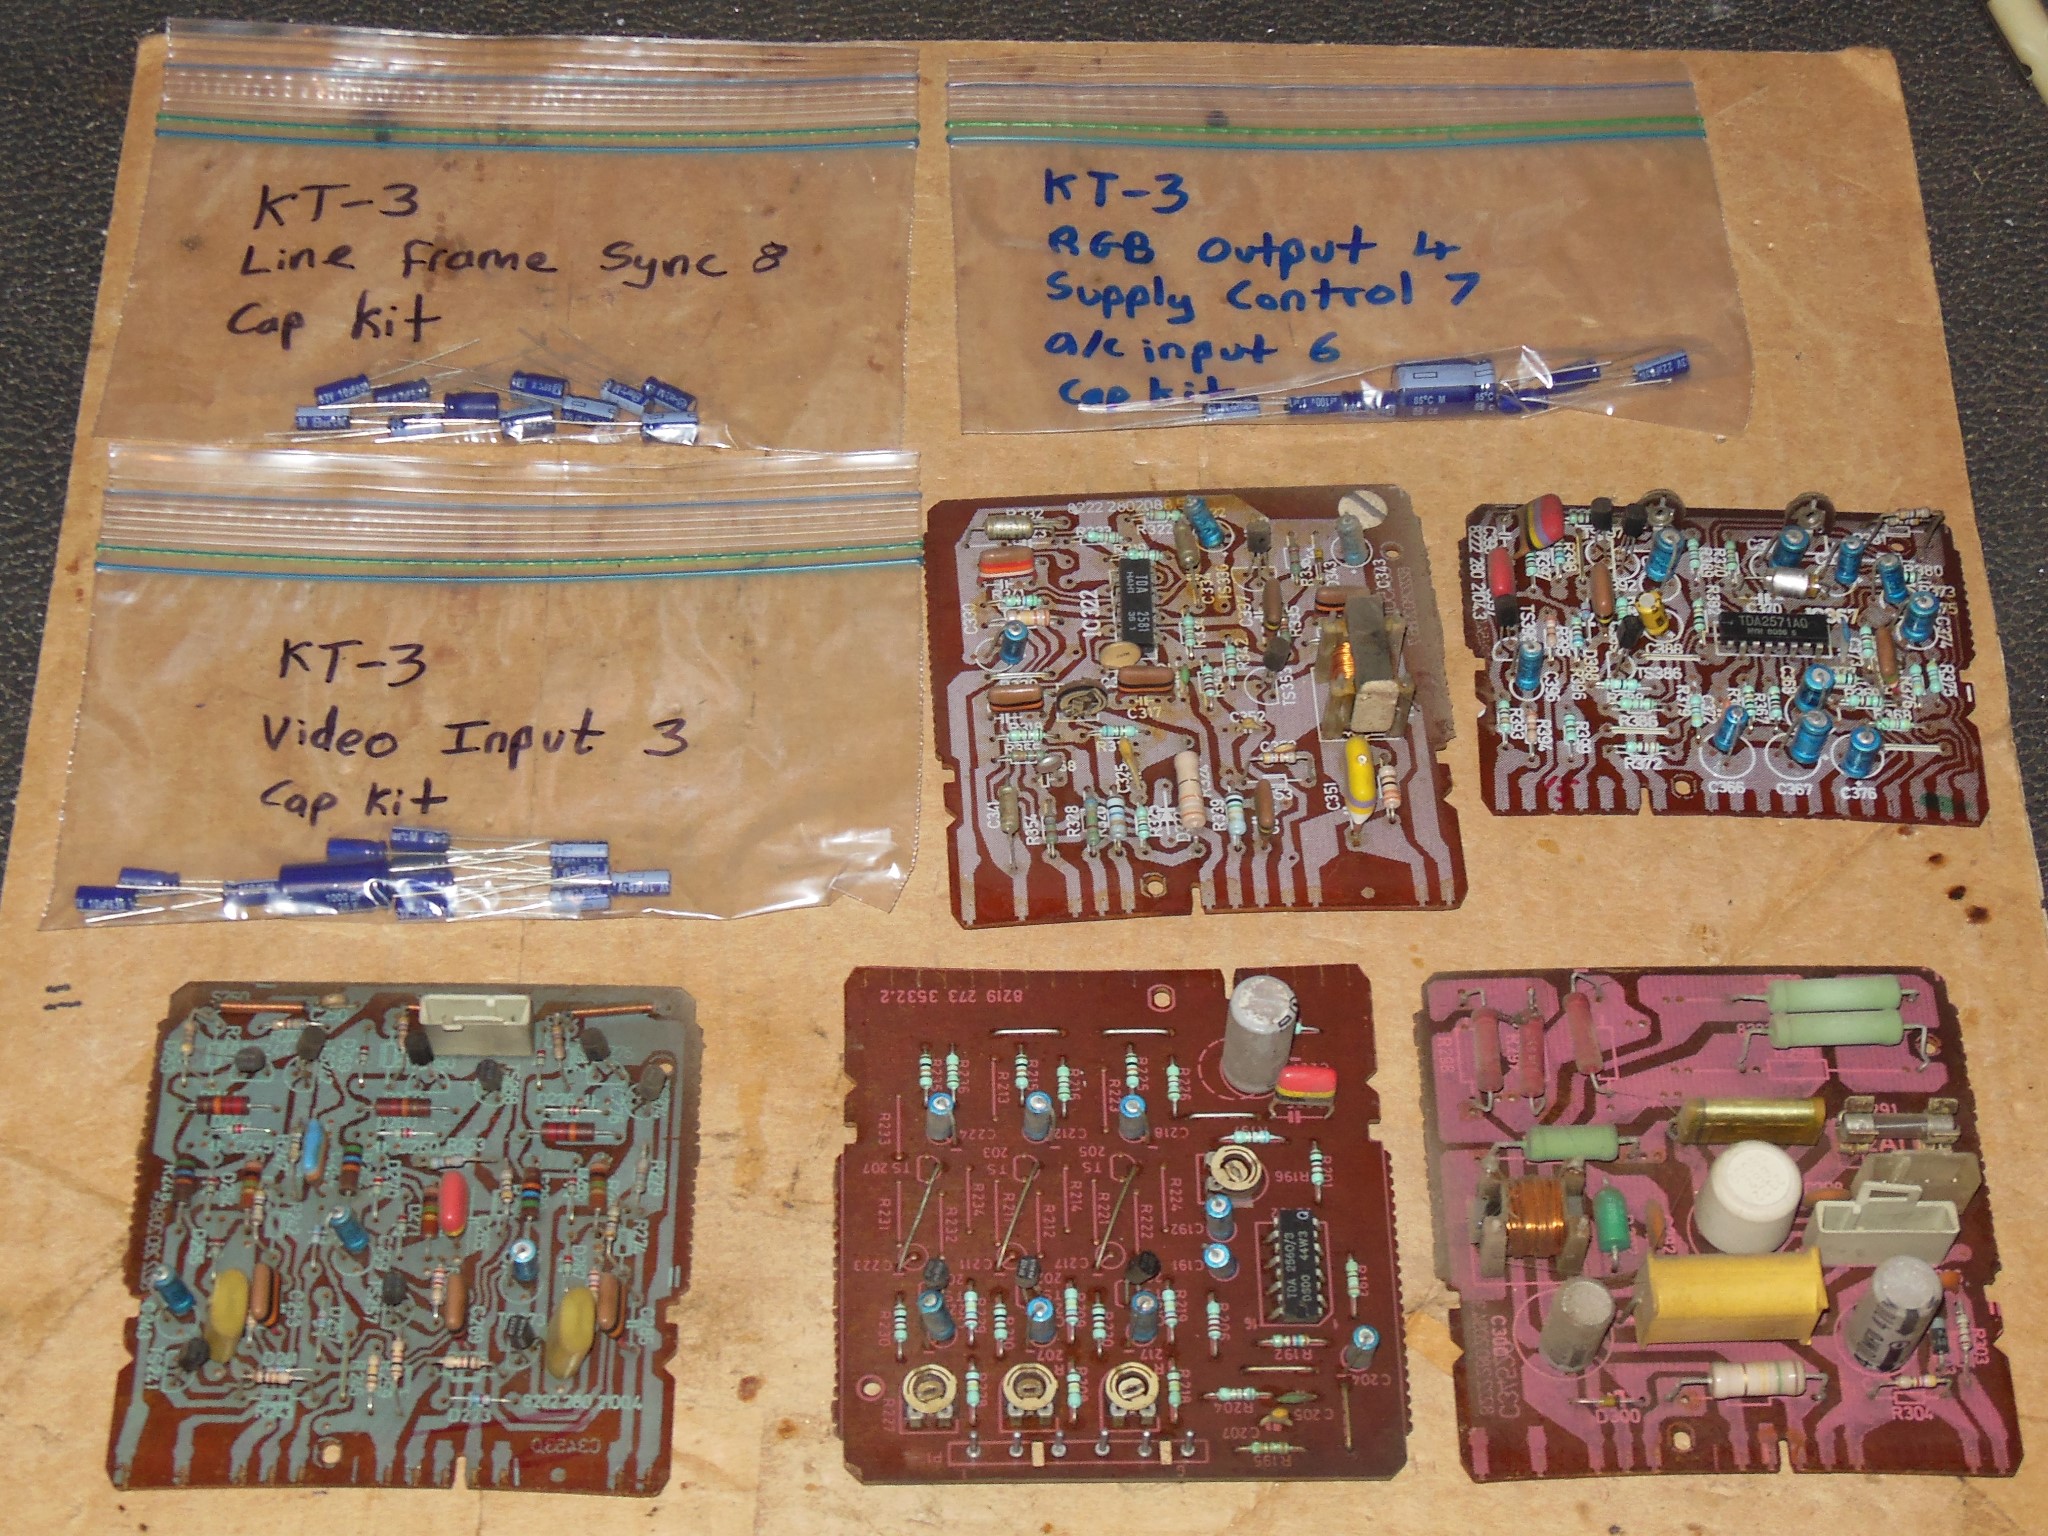
I'd made several extra KT-3 cap kits as part of a prior restoration.
|
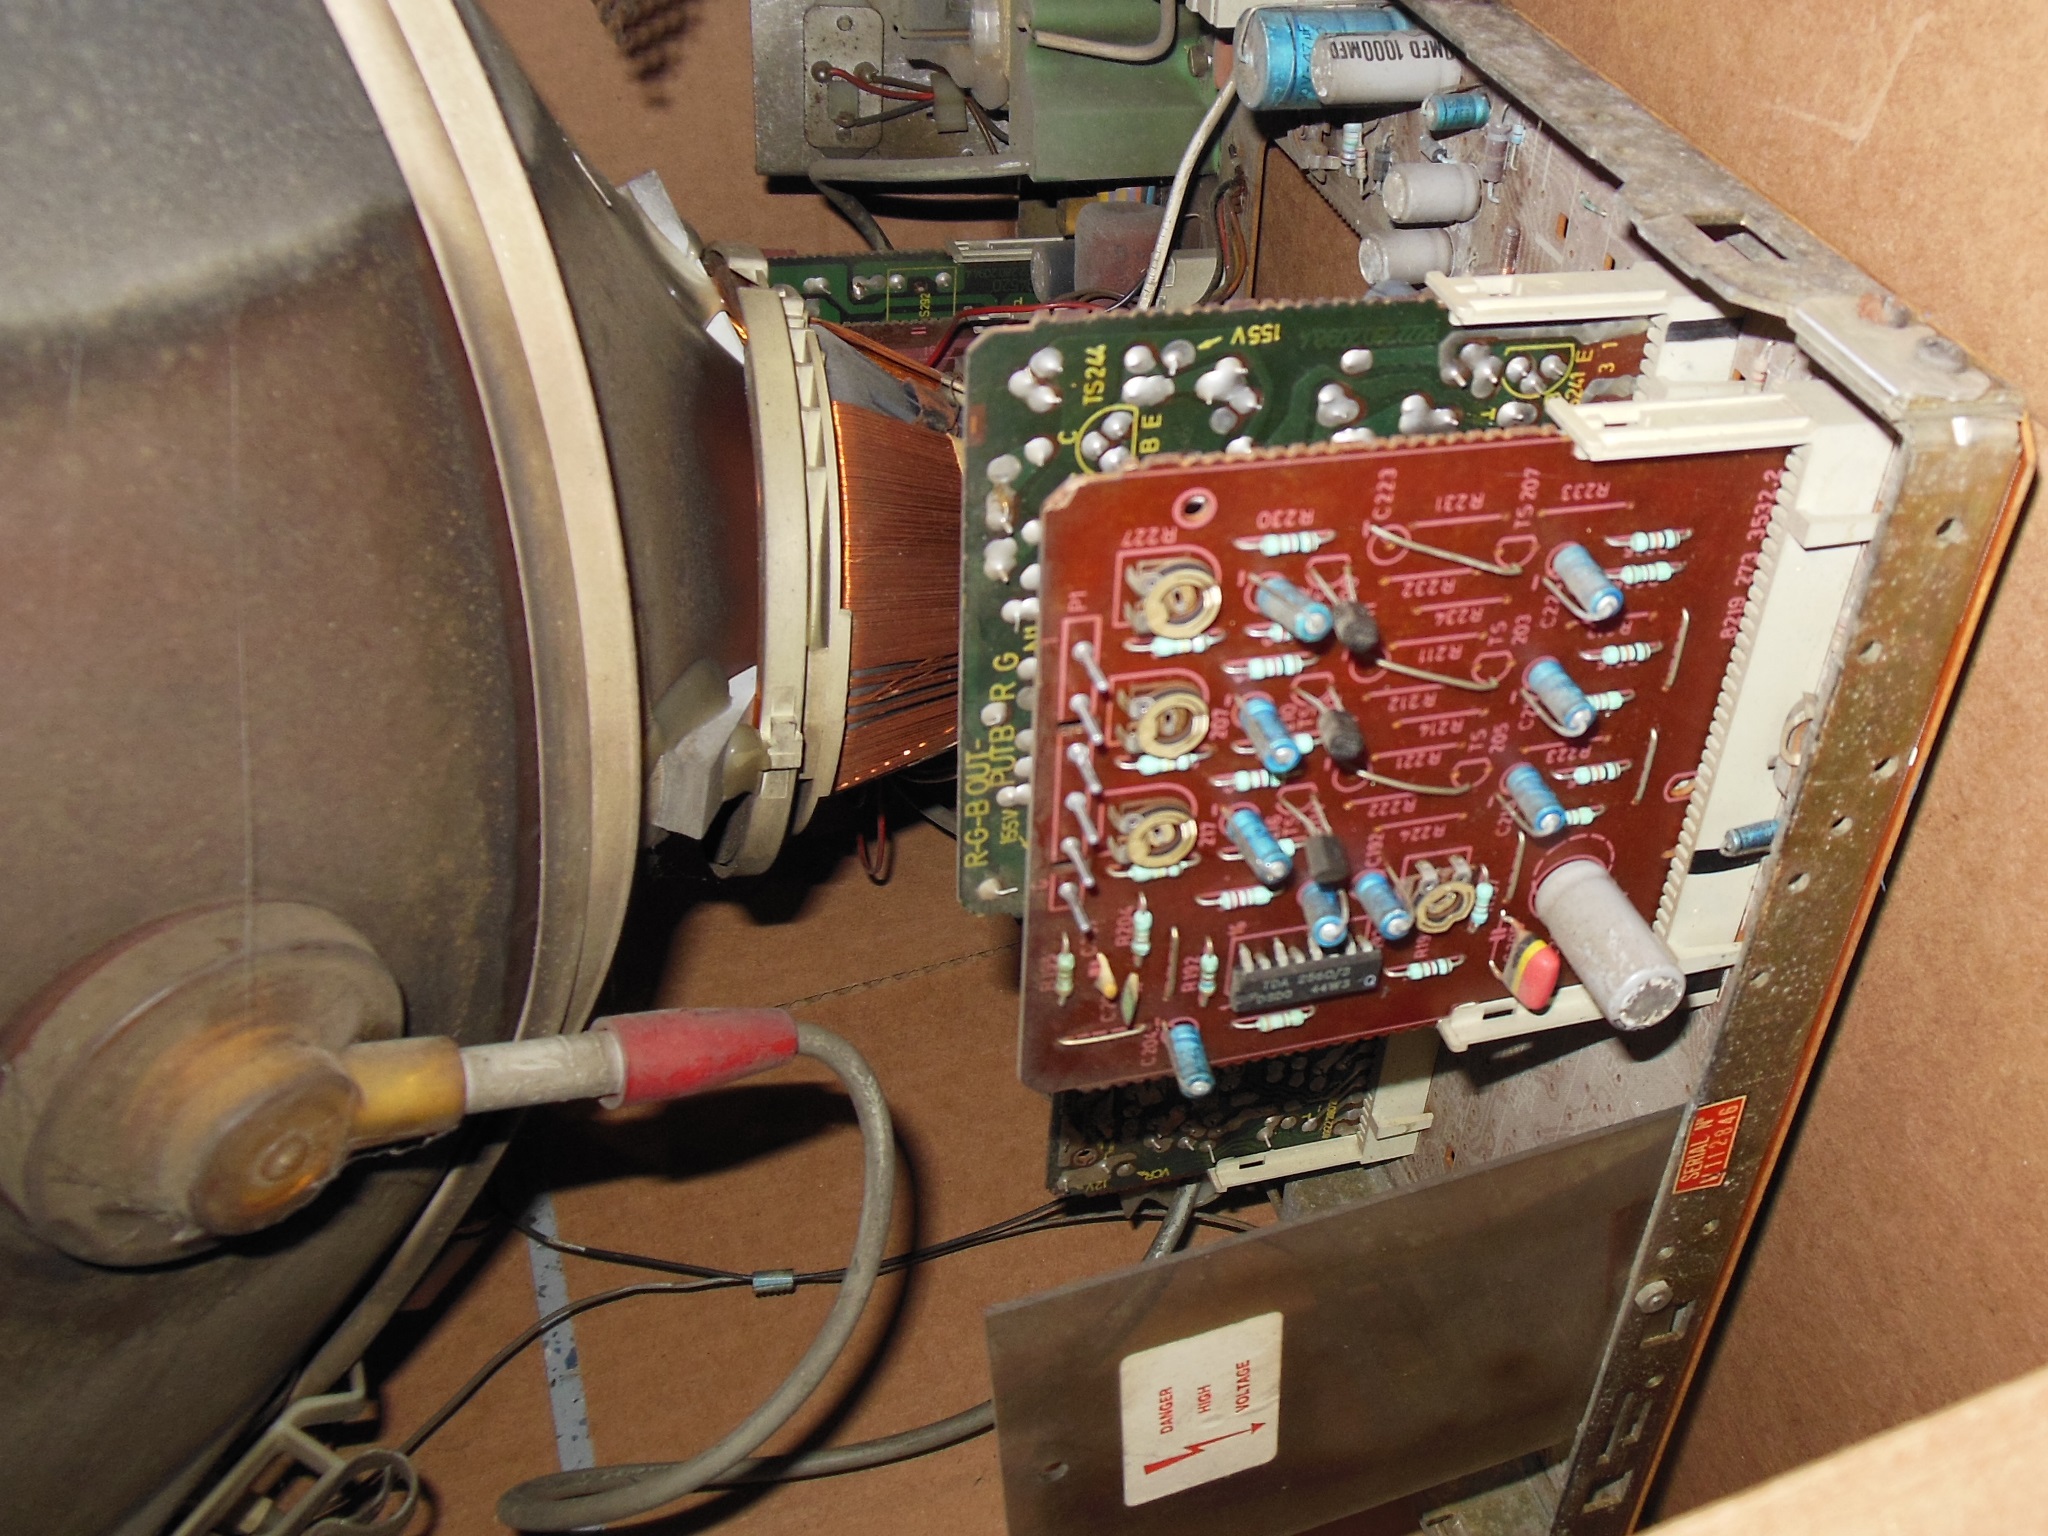
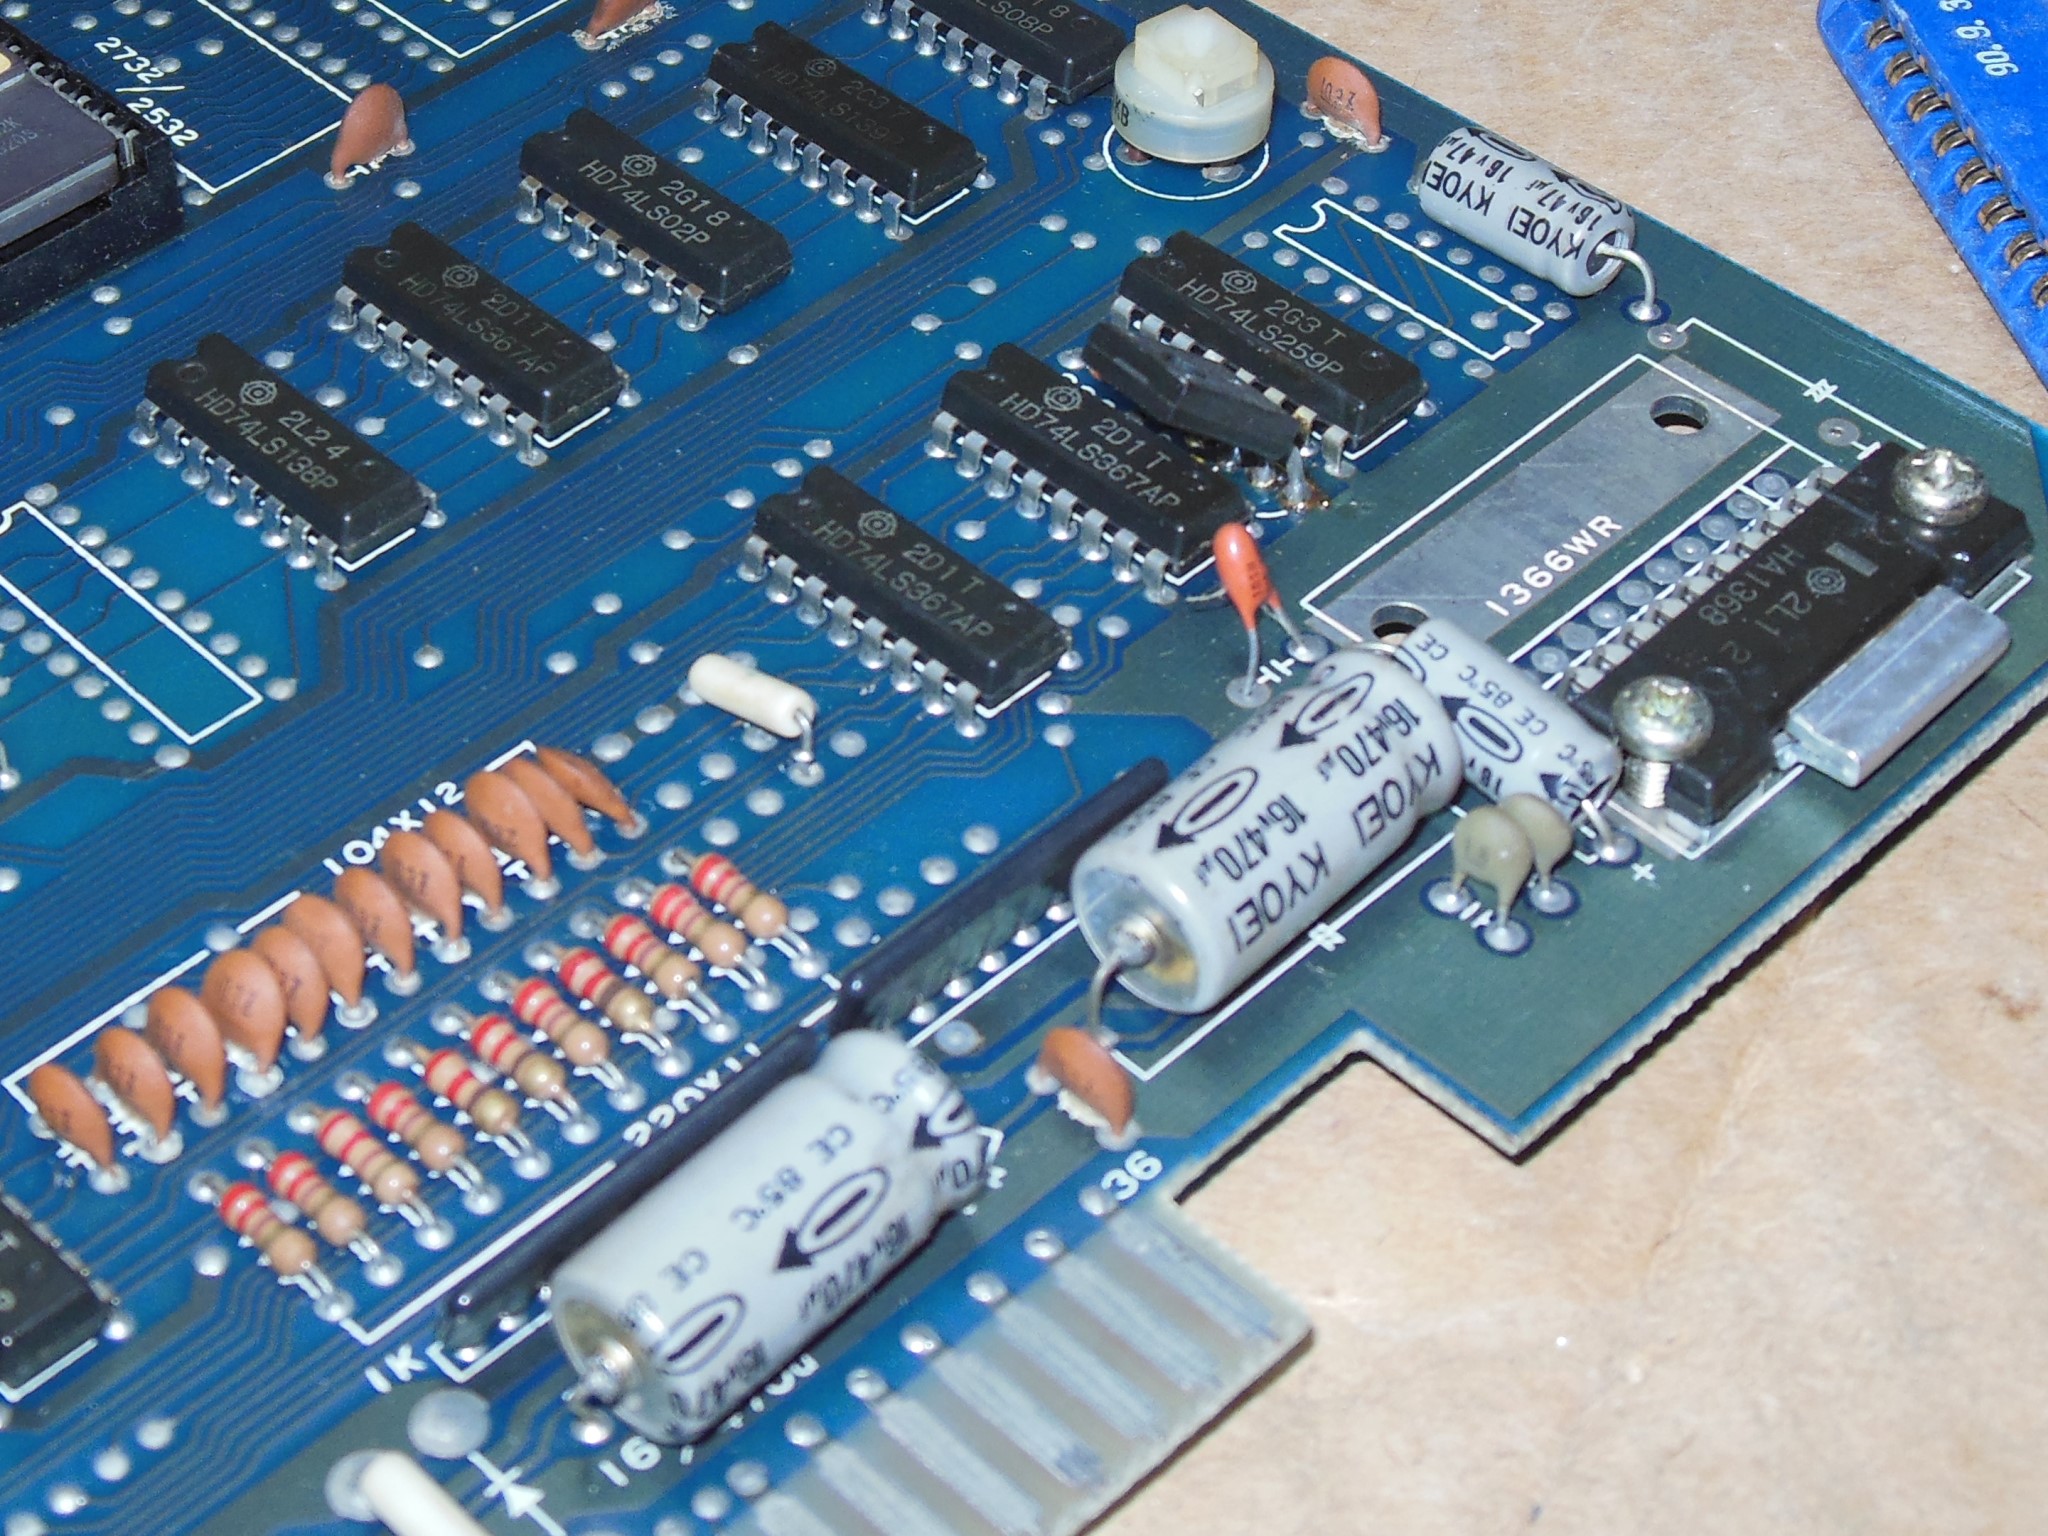
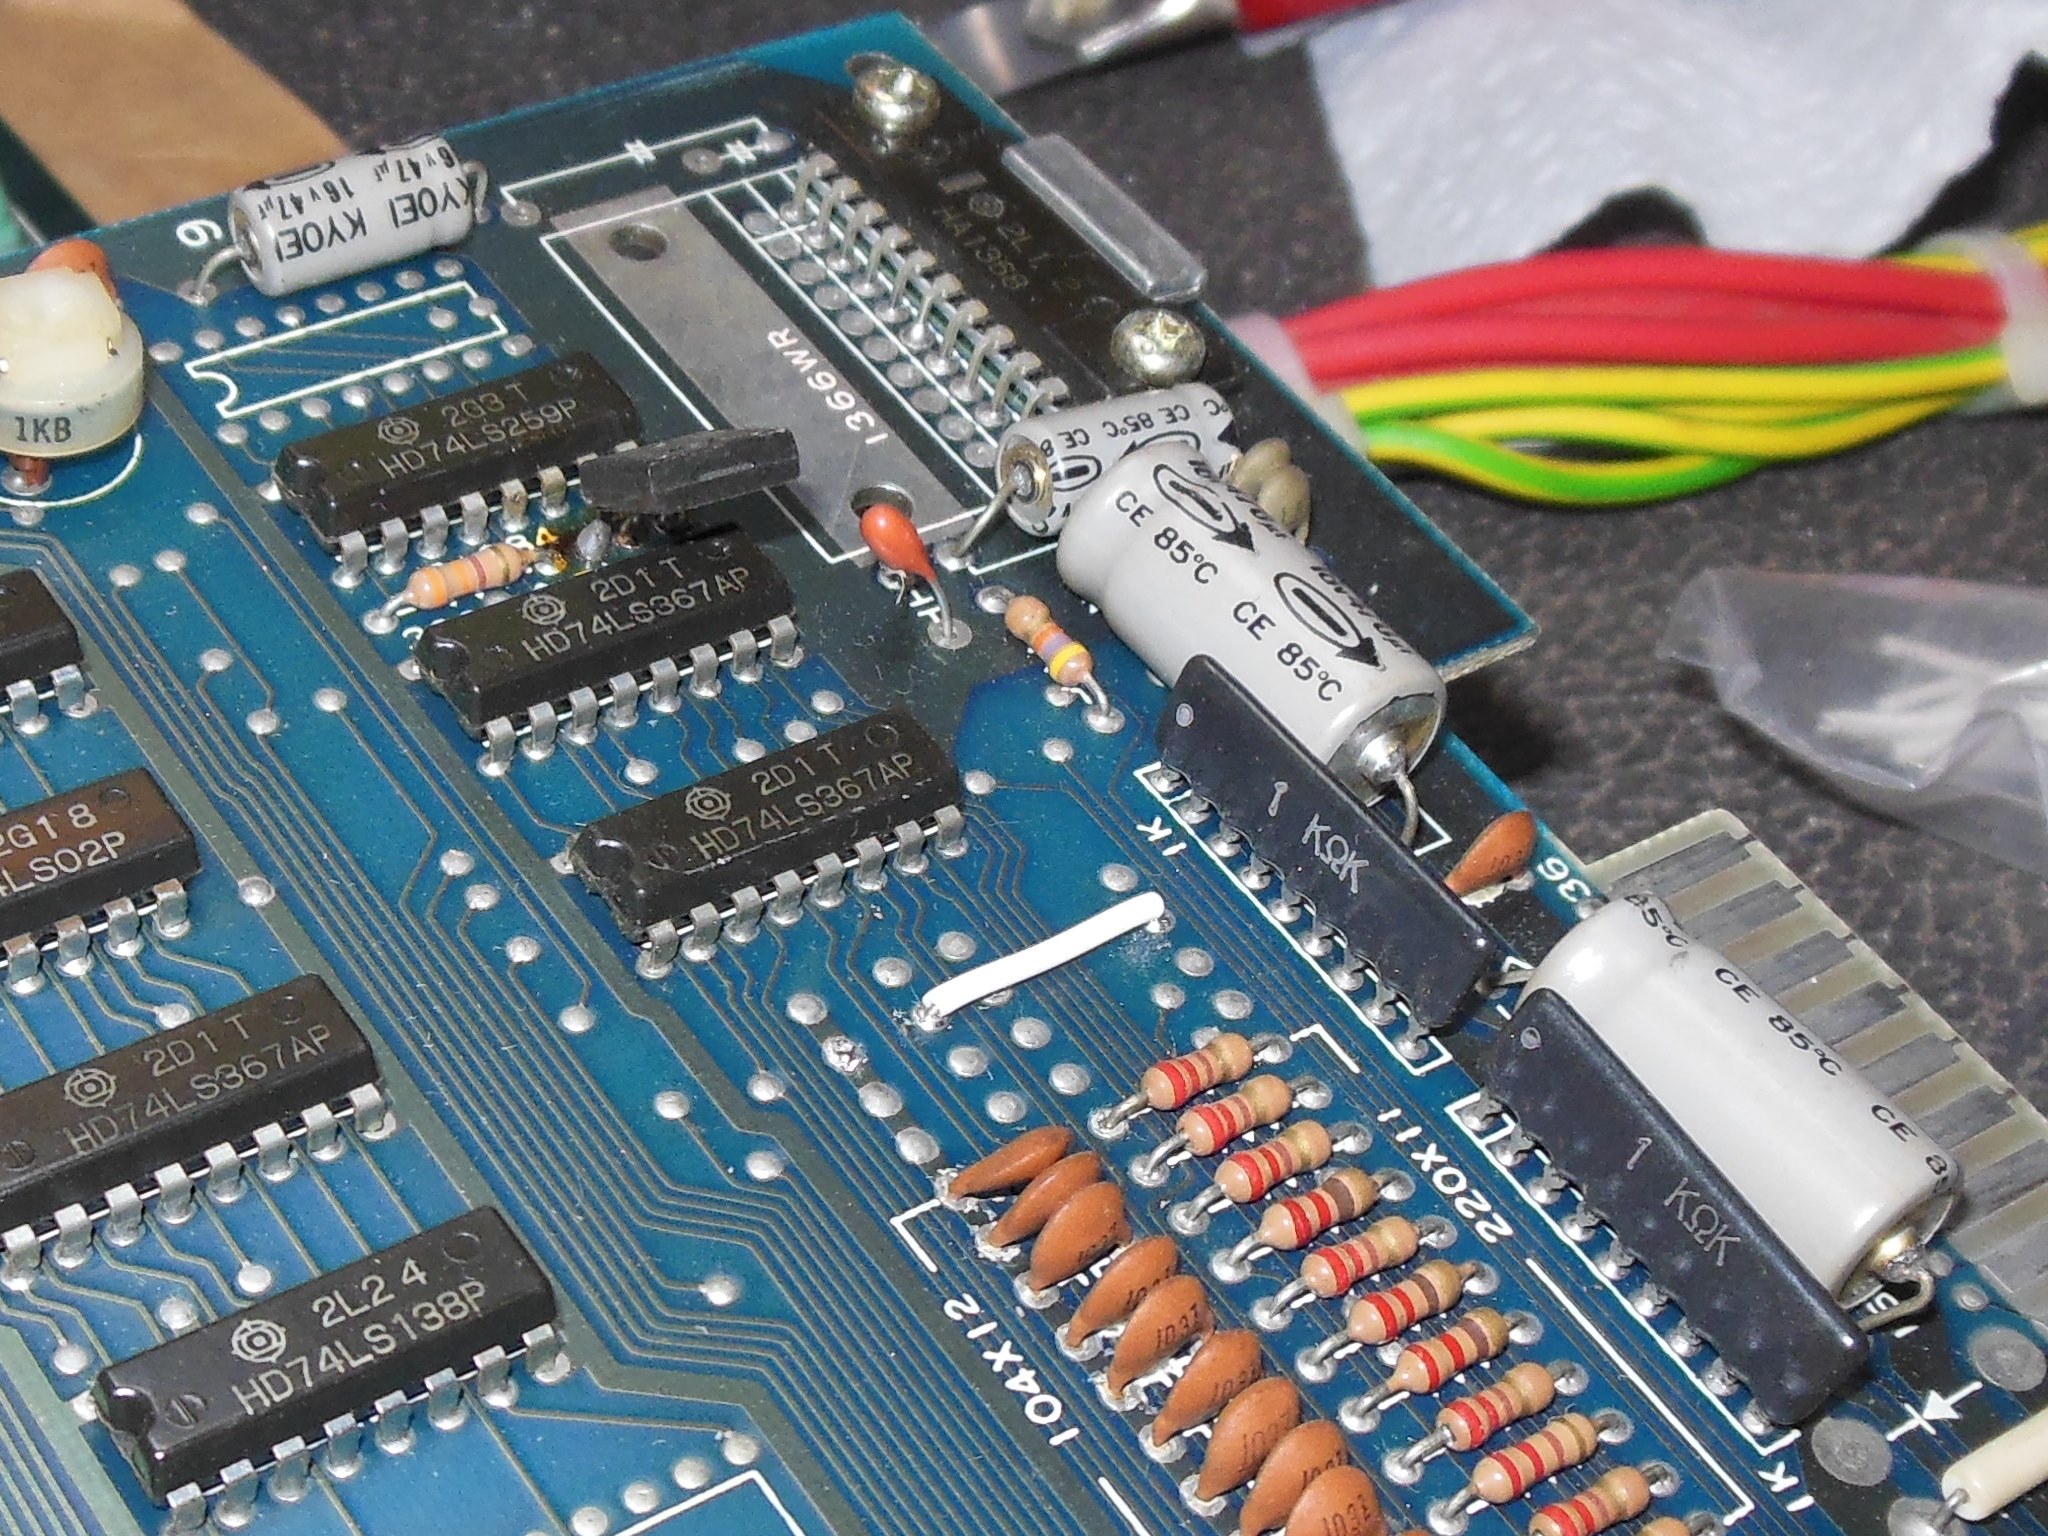
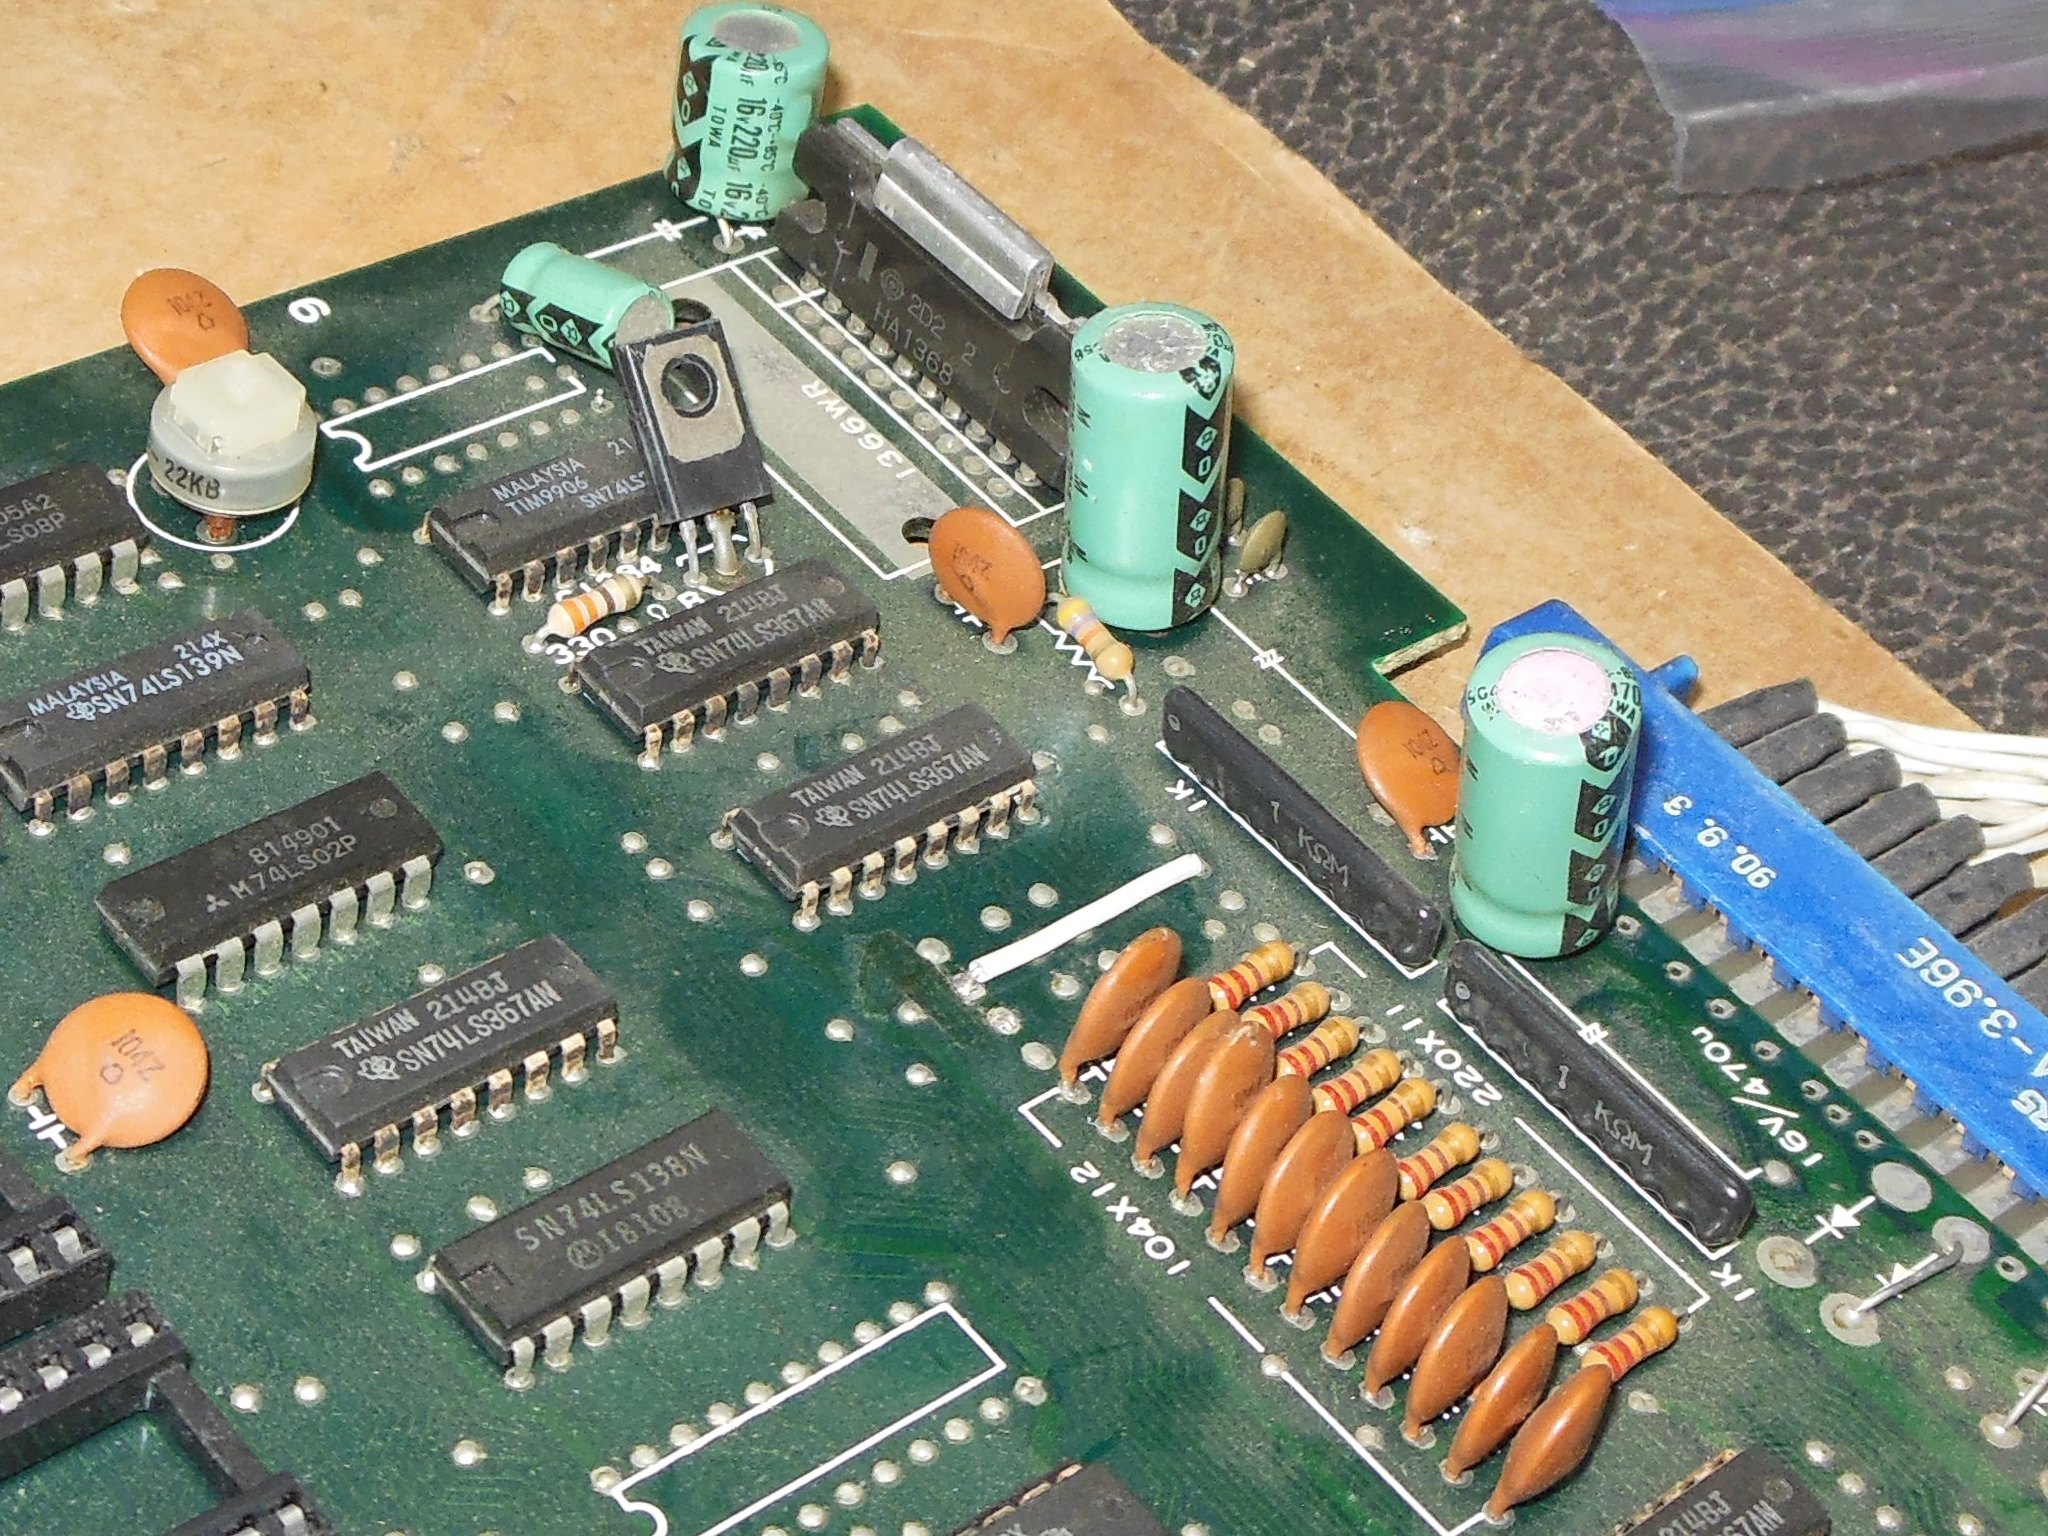
The connectors for daughter PCBs are susceptible to cracking. This instance was no exception and there were a few cracked pins so I reflowed all the connector pins and any other components that looked to have cracked pins.

|
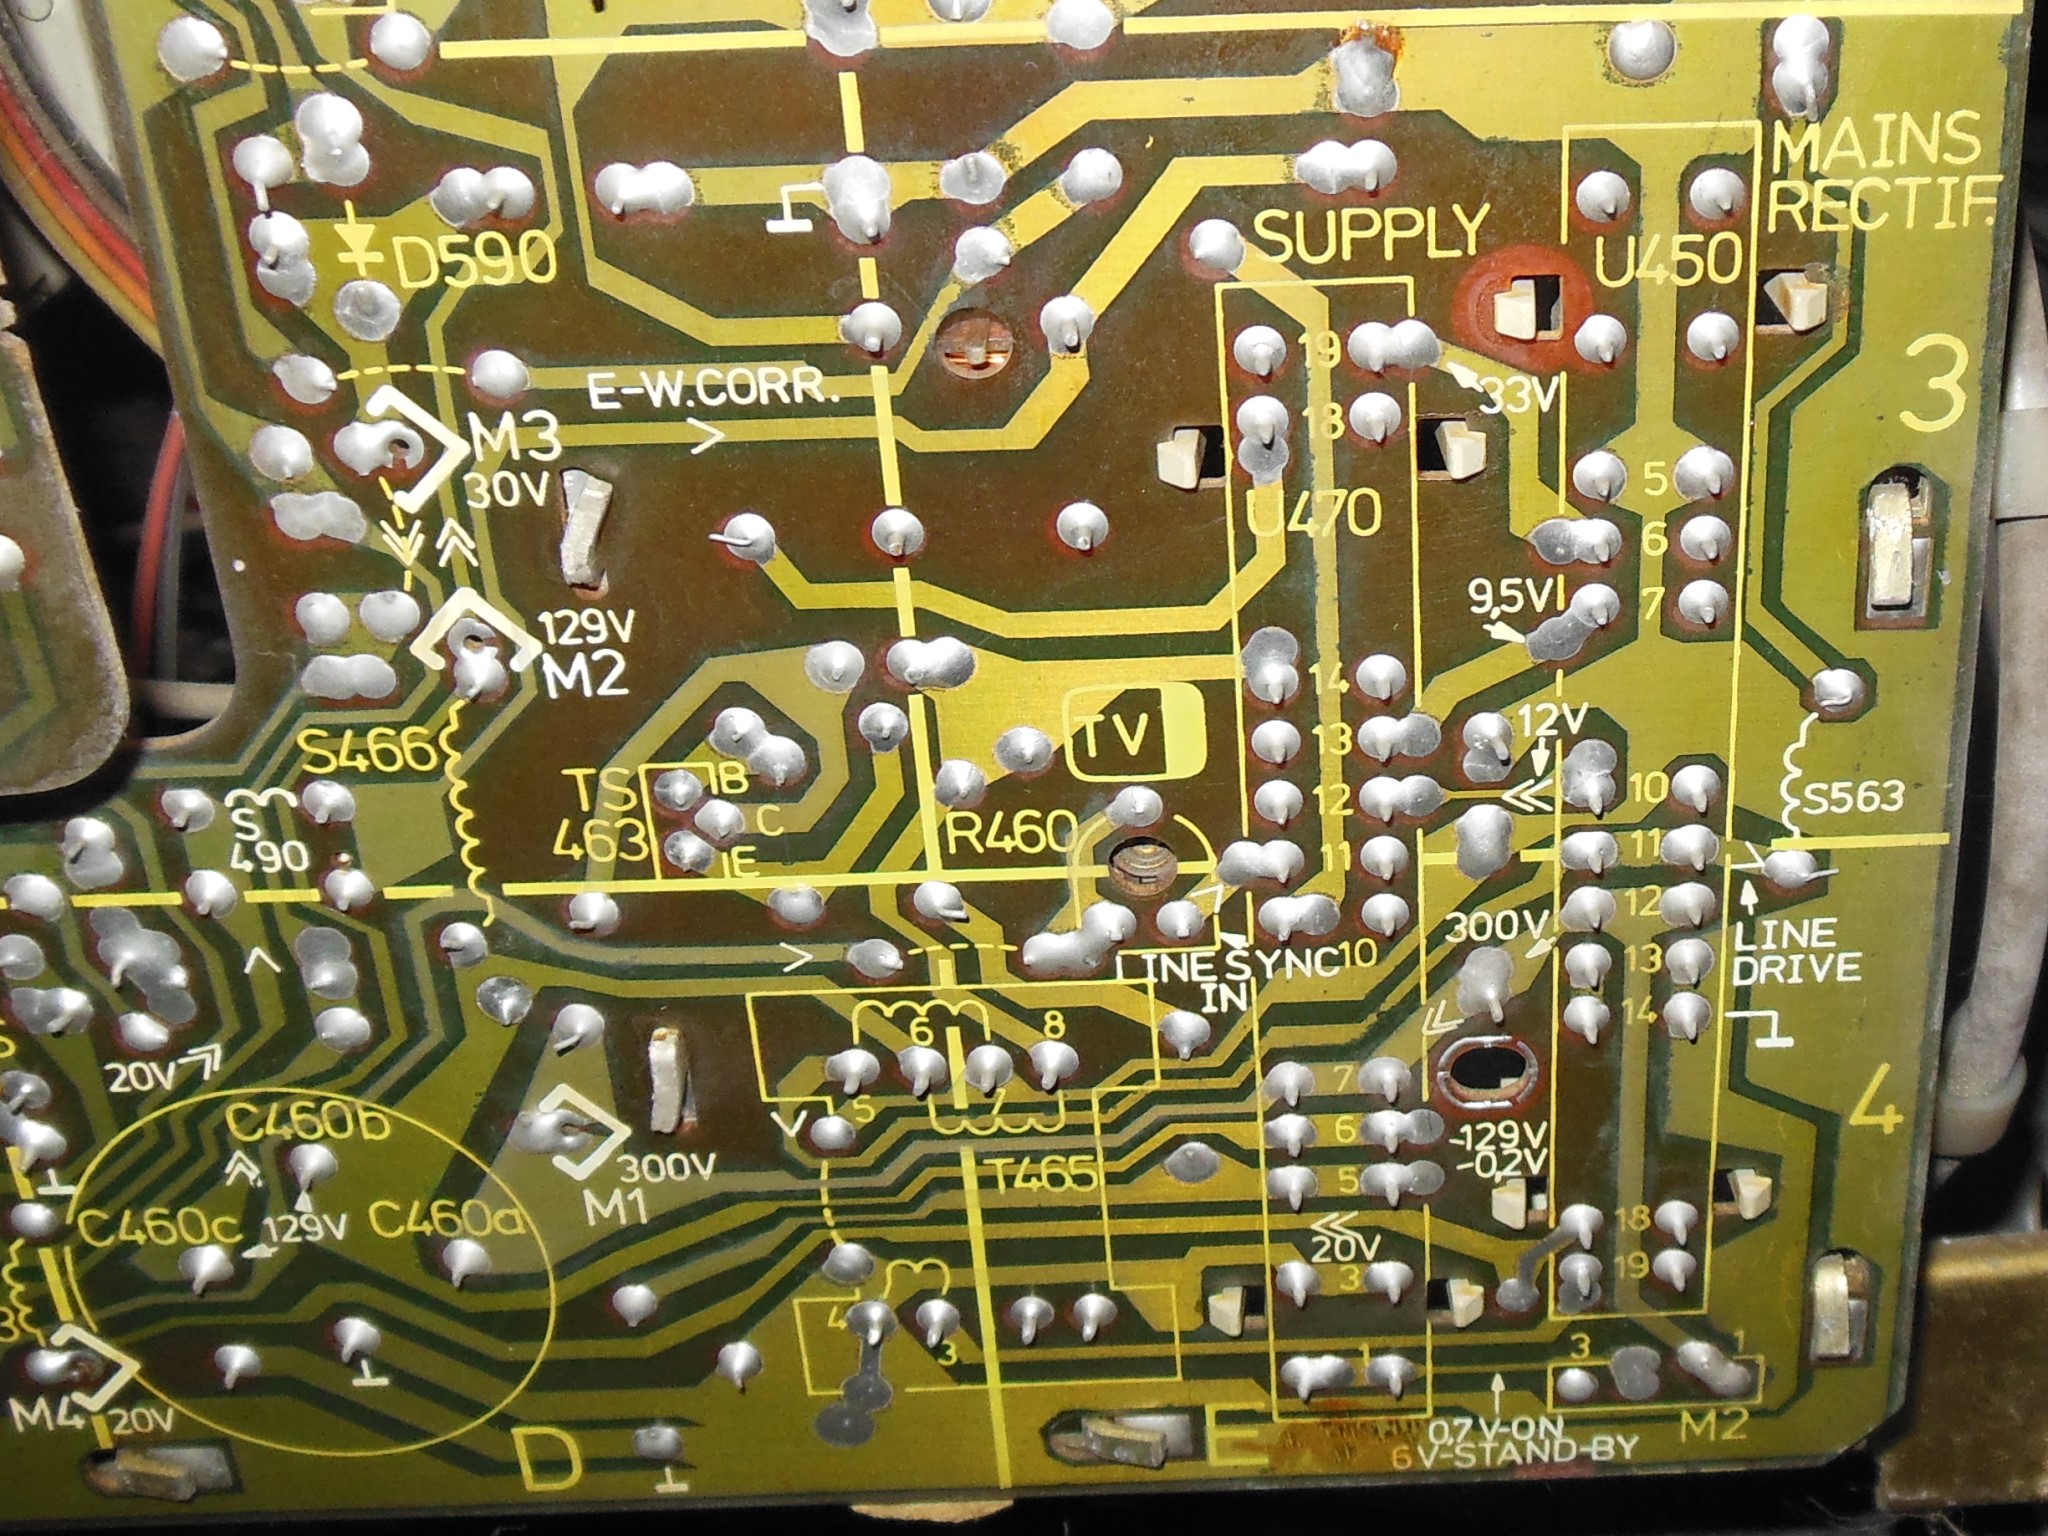
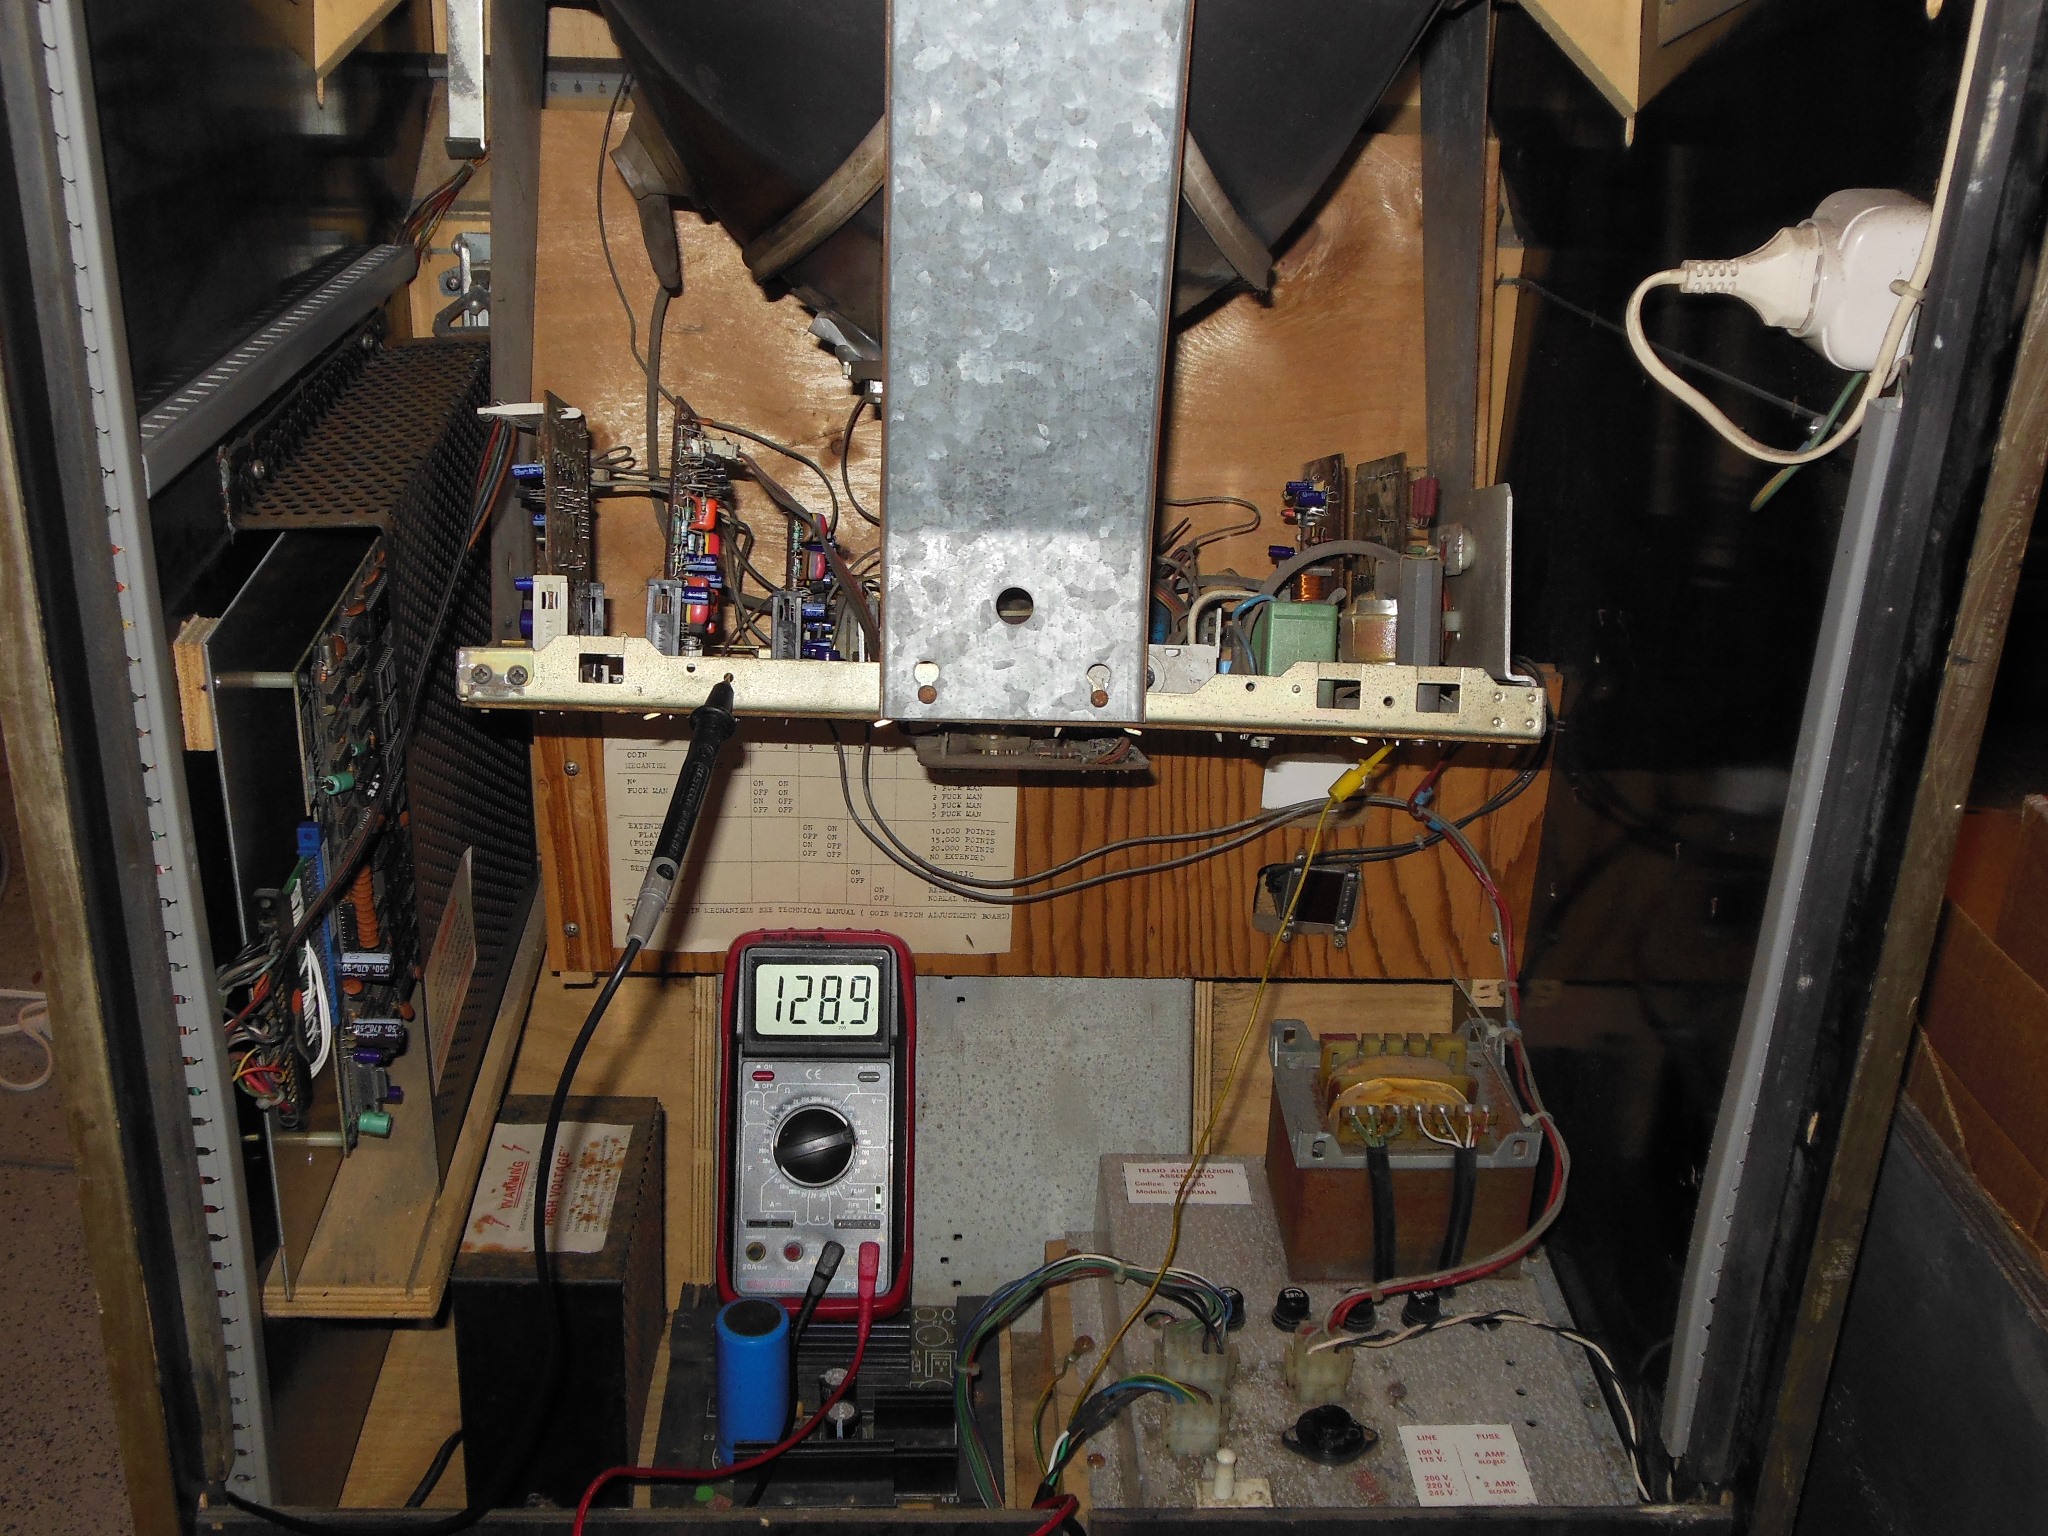
The monitor was working but shutdown & restarted a few times on initial power on and suffered from an occasional shutdown during operation. Checking the B+ voltage found it a little high at 133.4VDC versus the stated 129VDC. After adjusting the B+ down to 129VDC the monitor ran OK on the bench for several hours without issue.
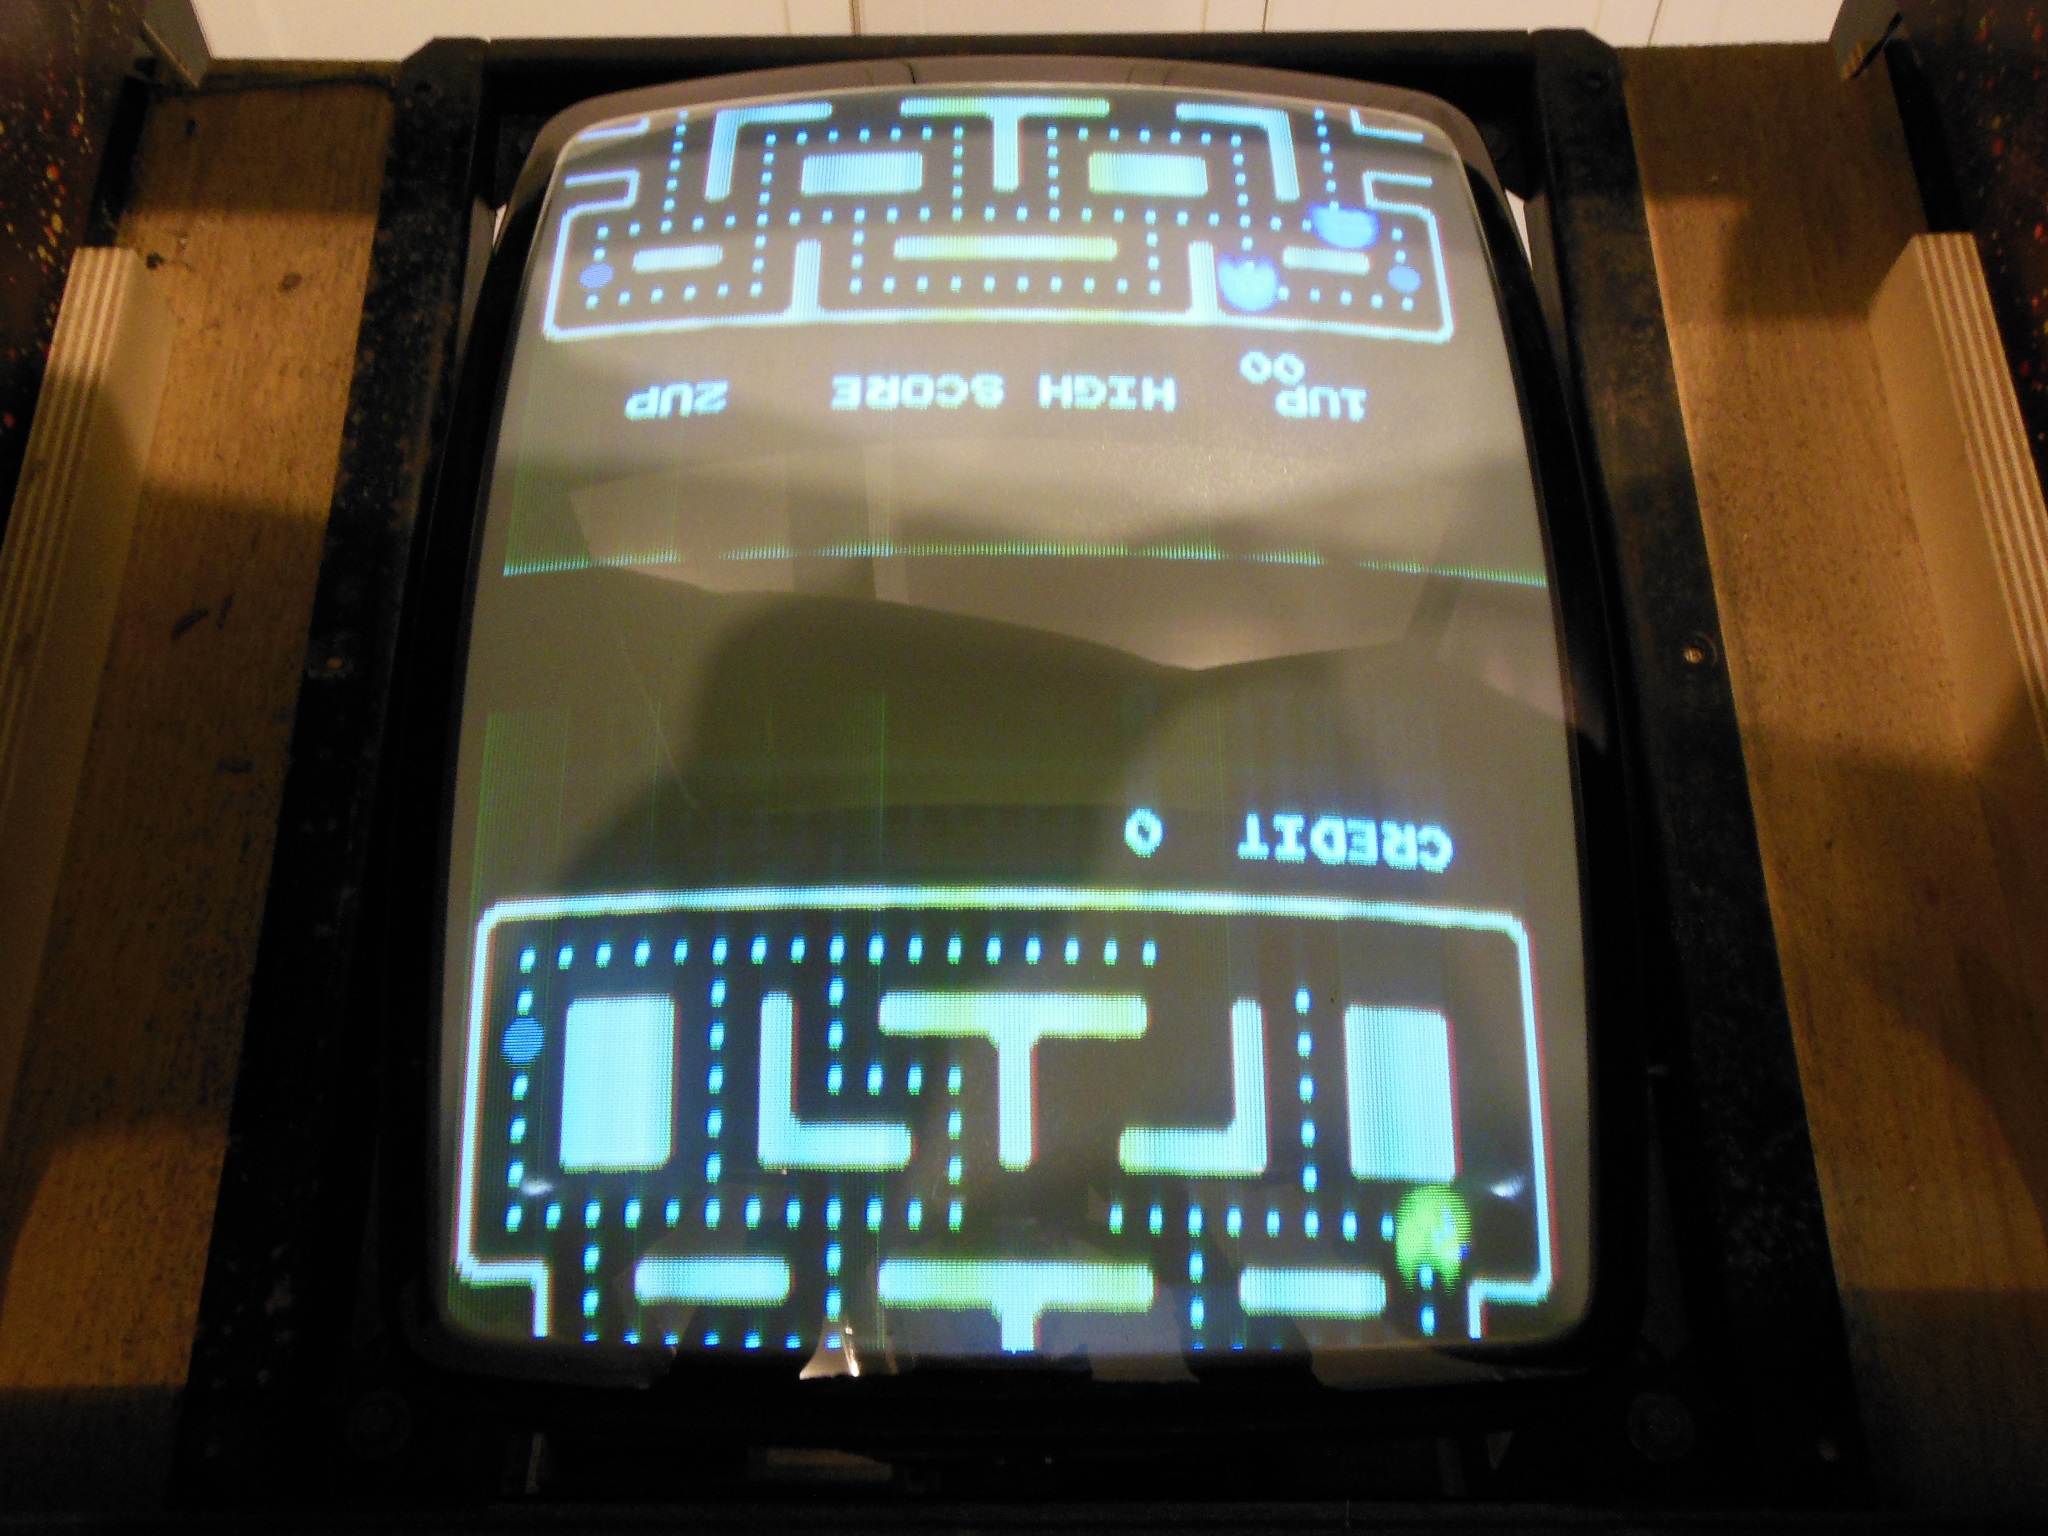
I also noted that the picture was upside down. Checking the necked chassis confirmed that the yoke connections were swapped at the connector so I swapped them over whilst the monitor was on the bench.

|
After a few days of flattening out the monitor surround was patched & reinforced.
|
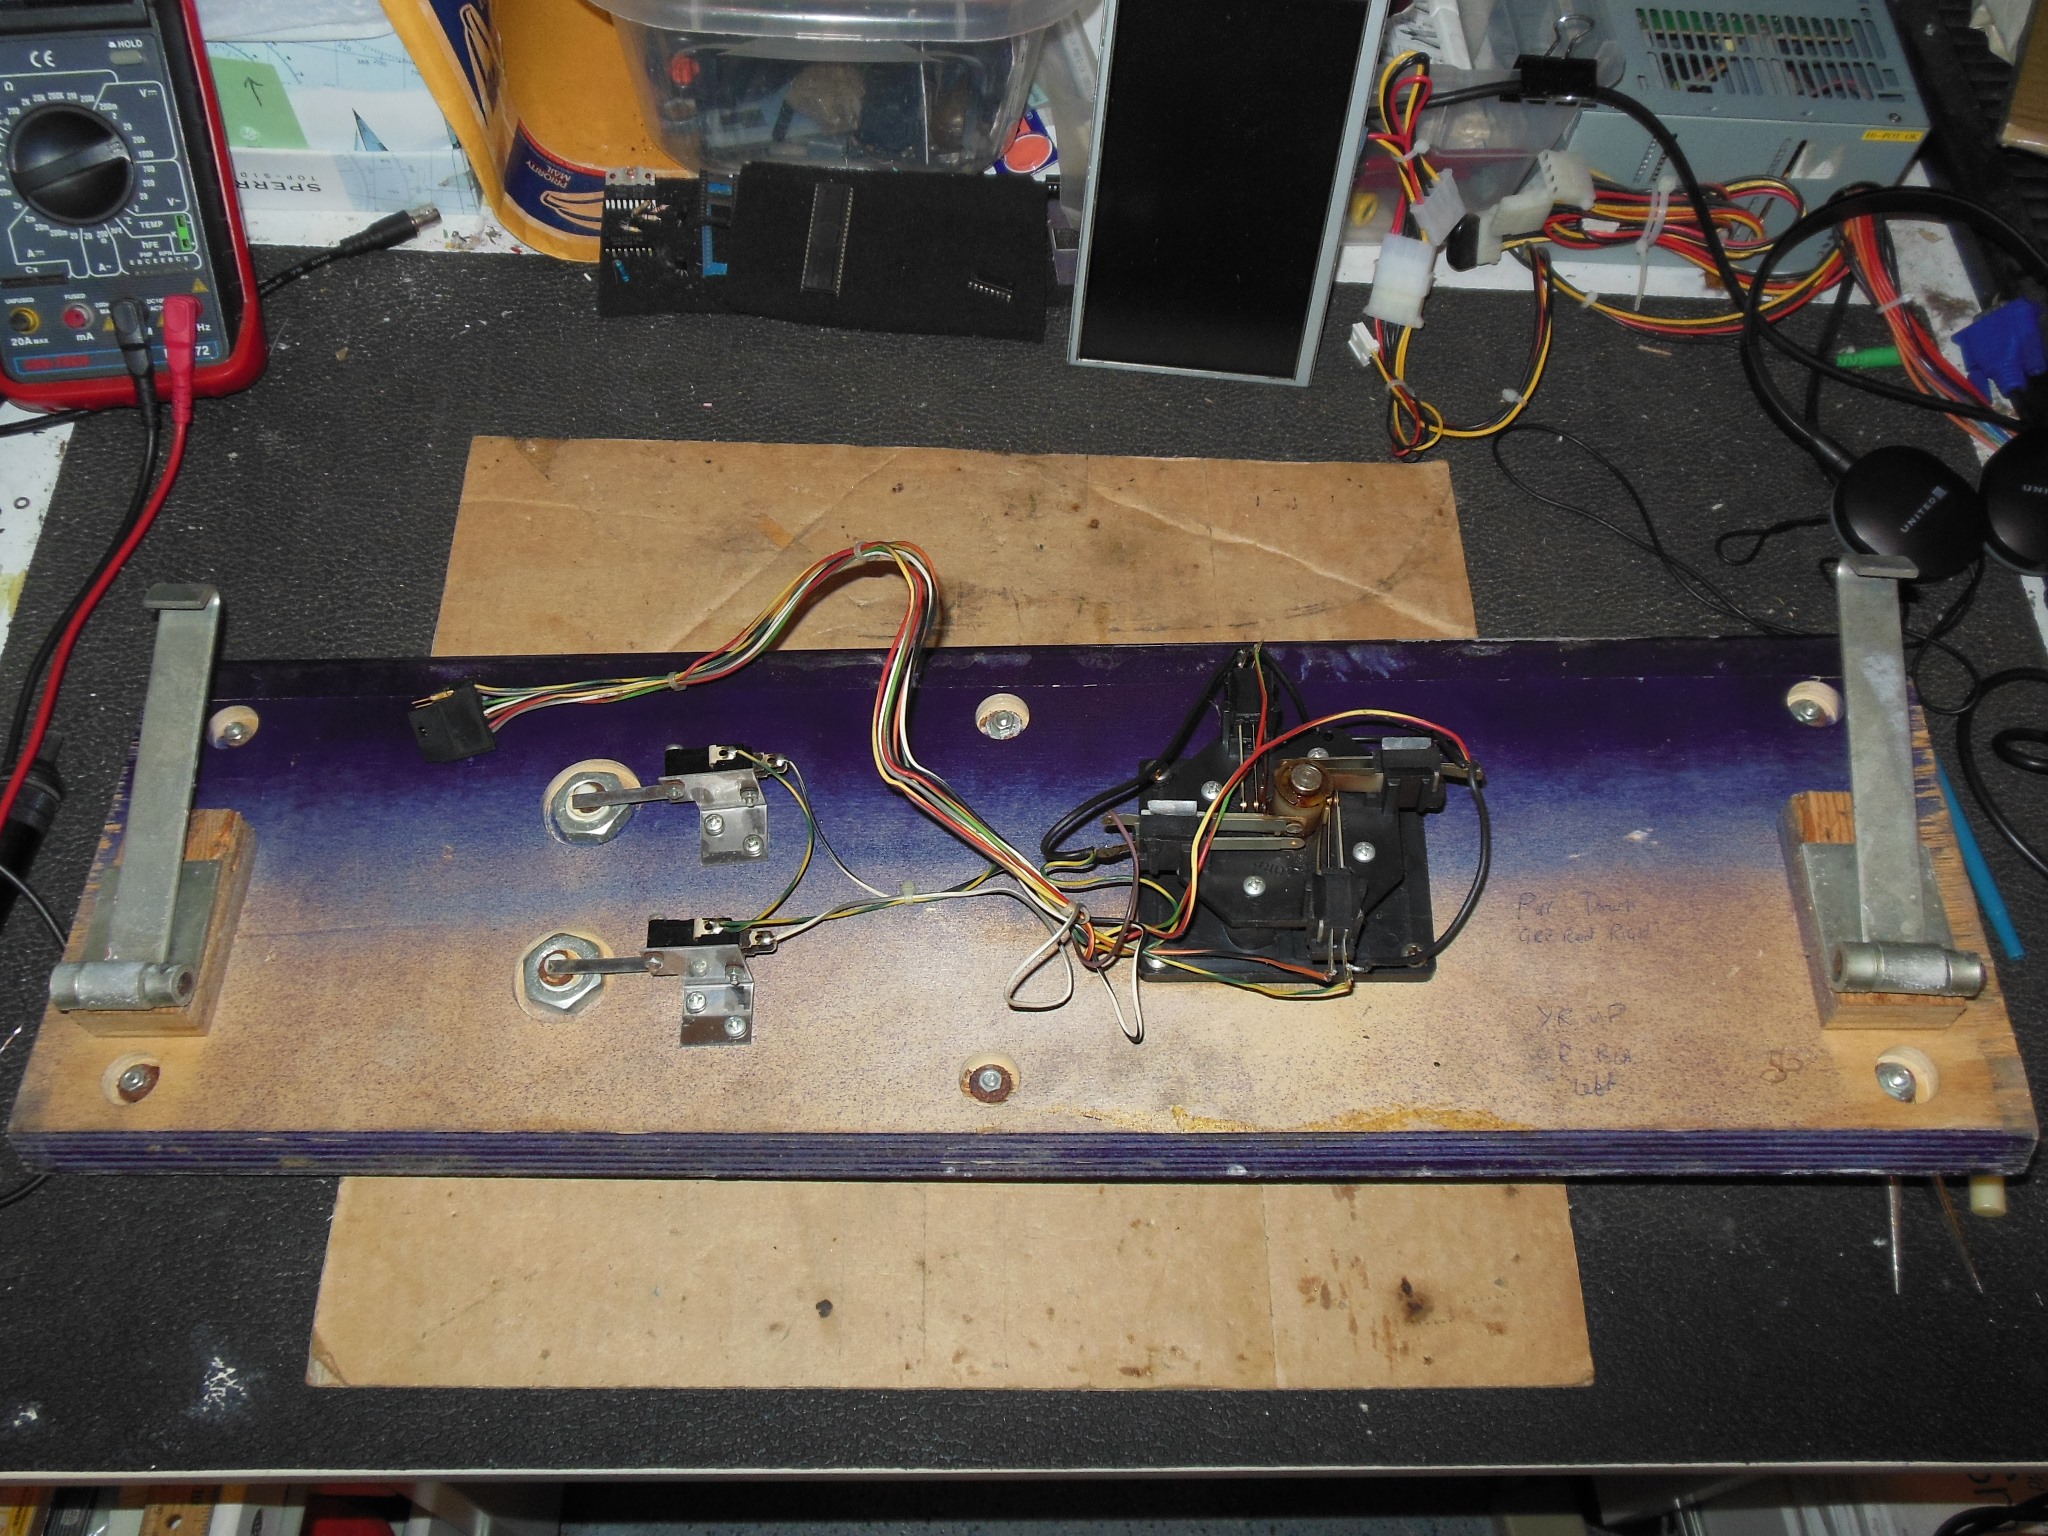
The control panel was well worn but complete aside from a US WICO joystick replacing the original joystick.
|
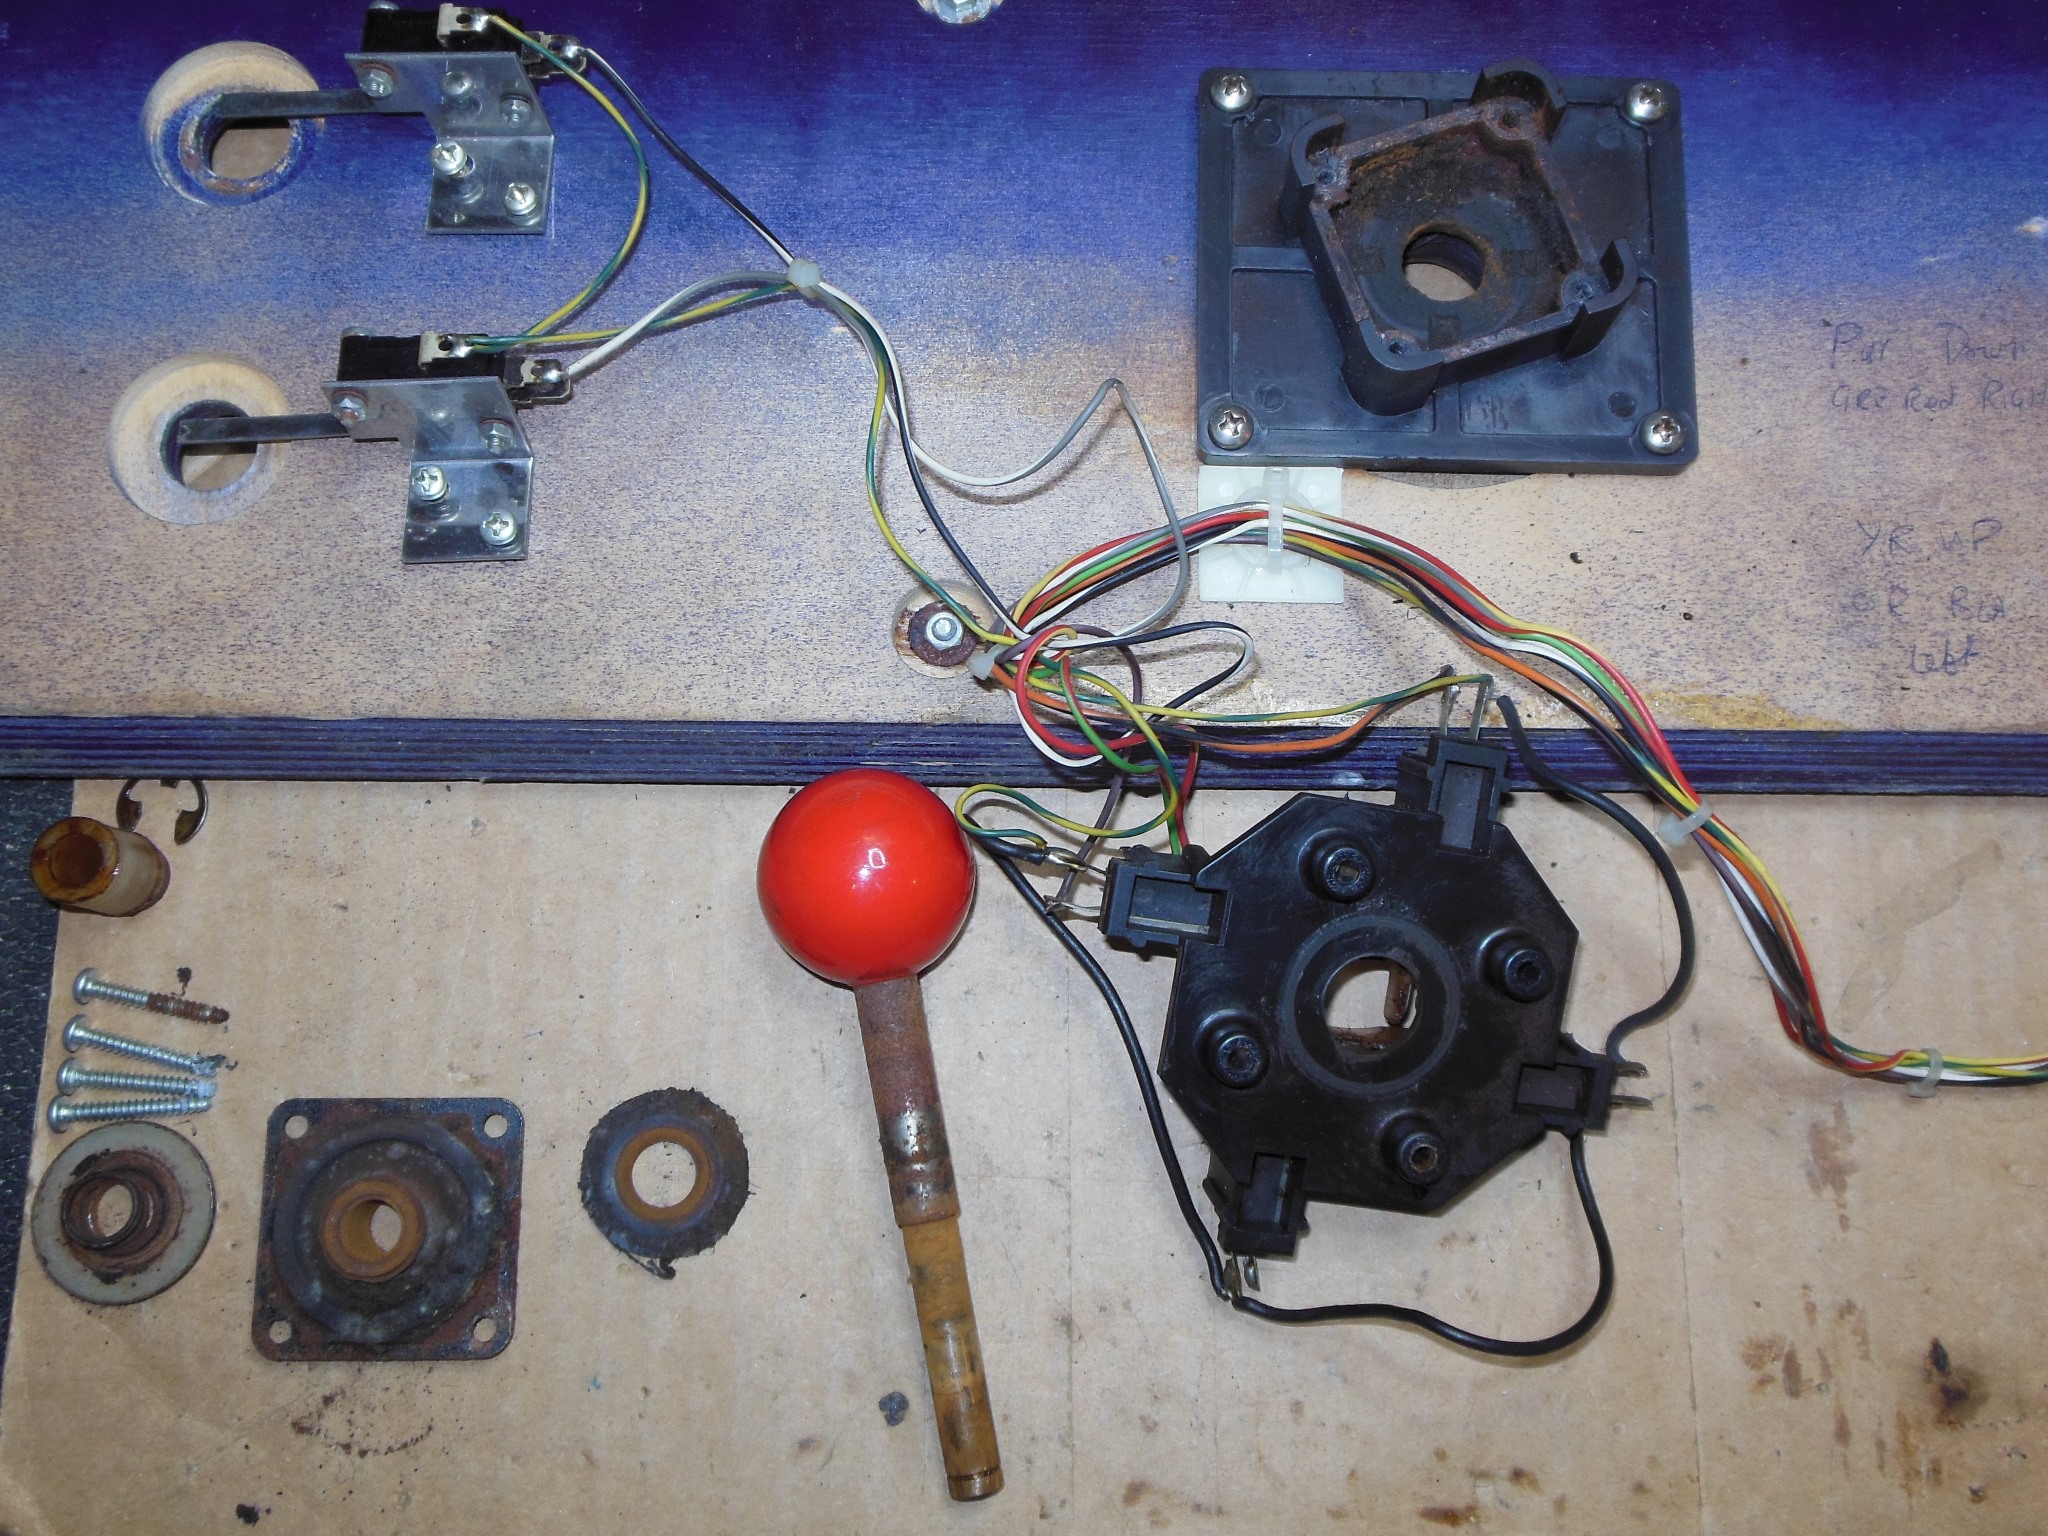
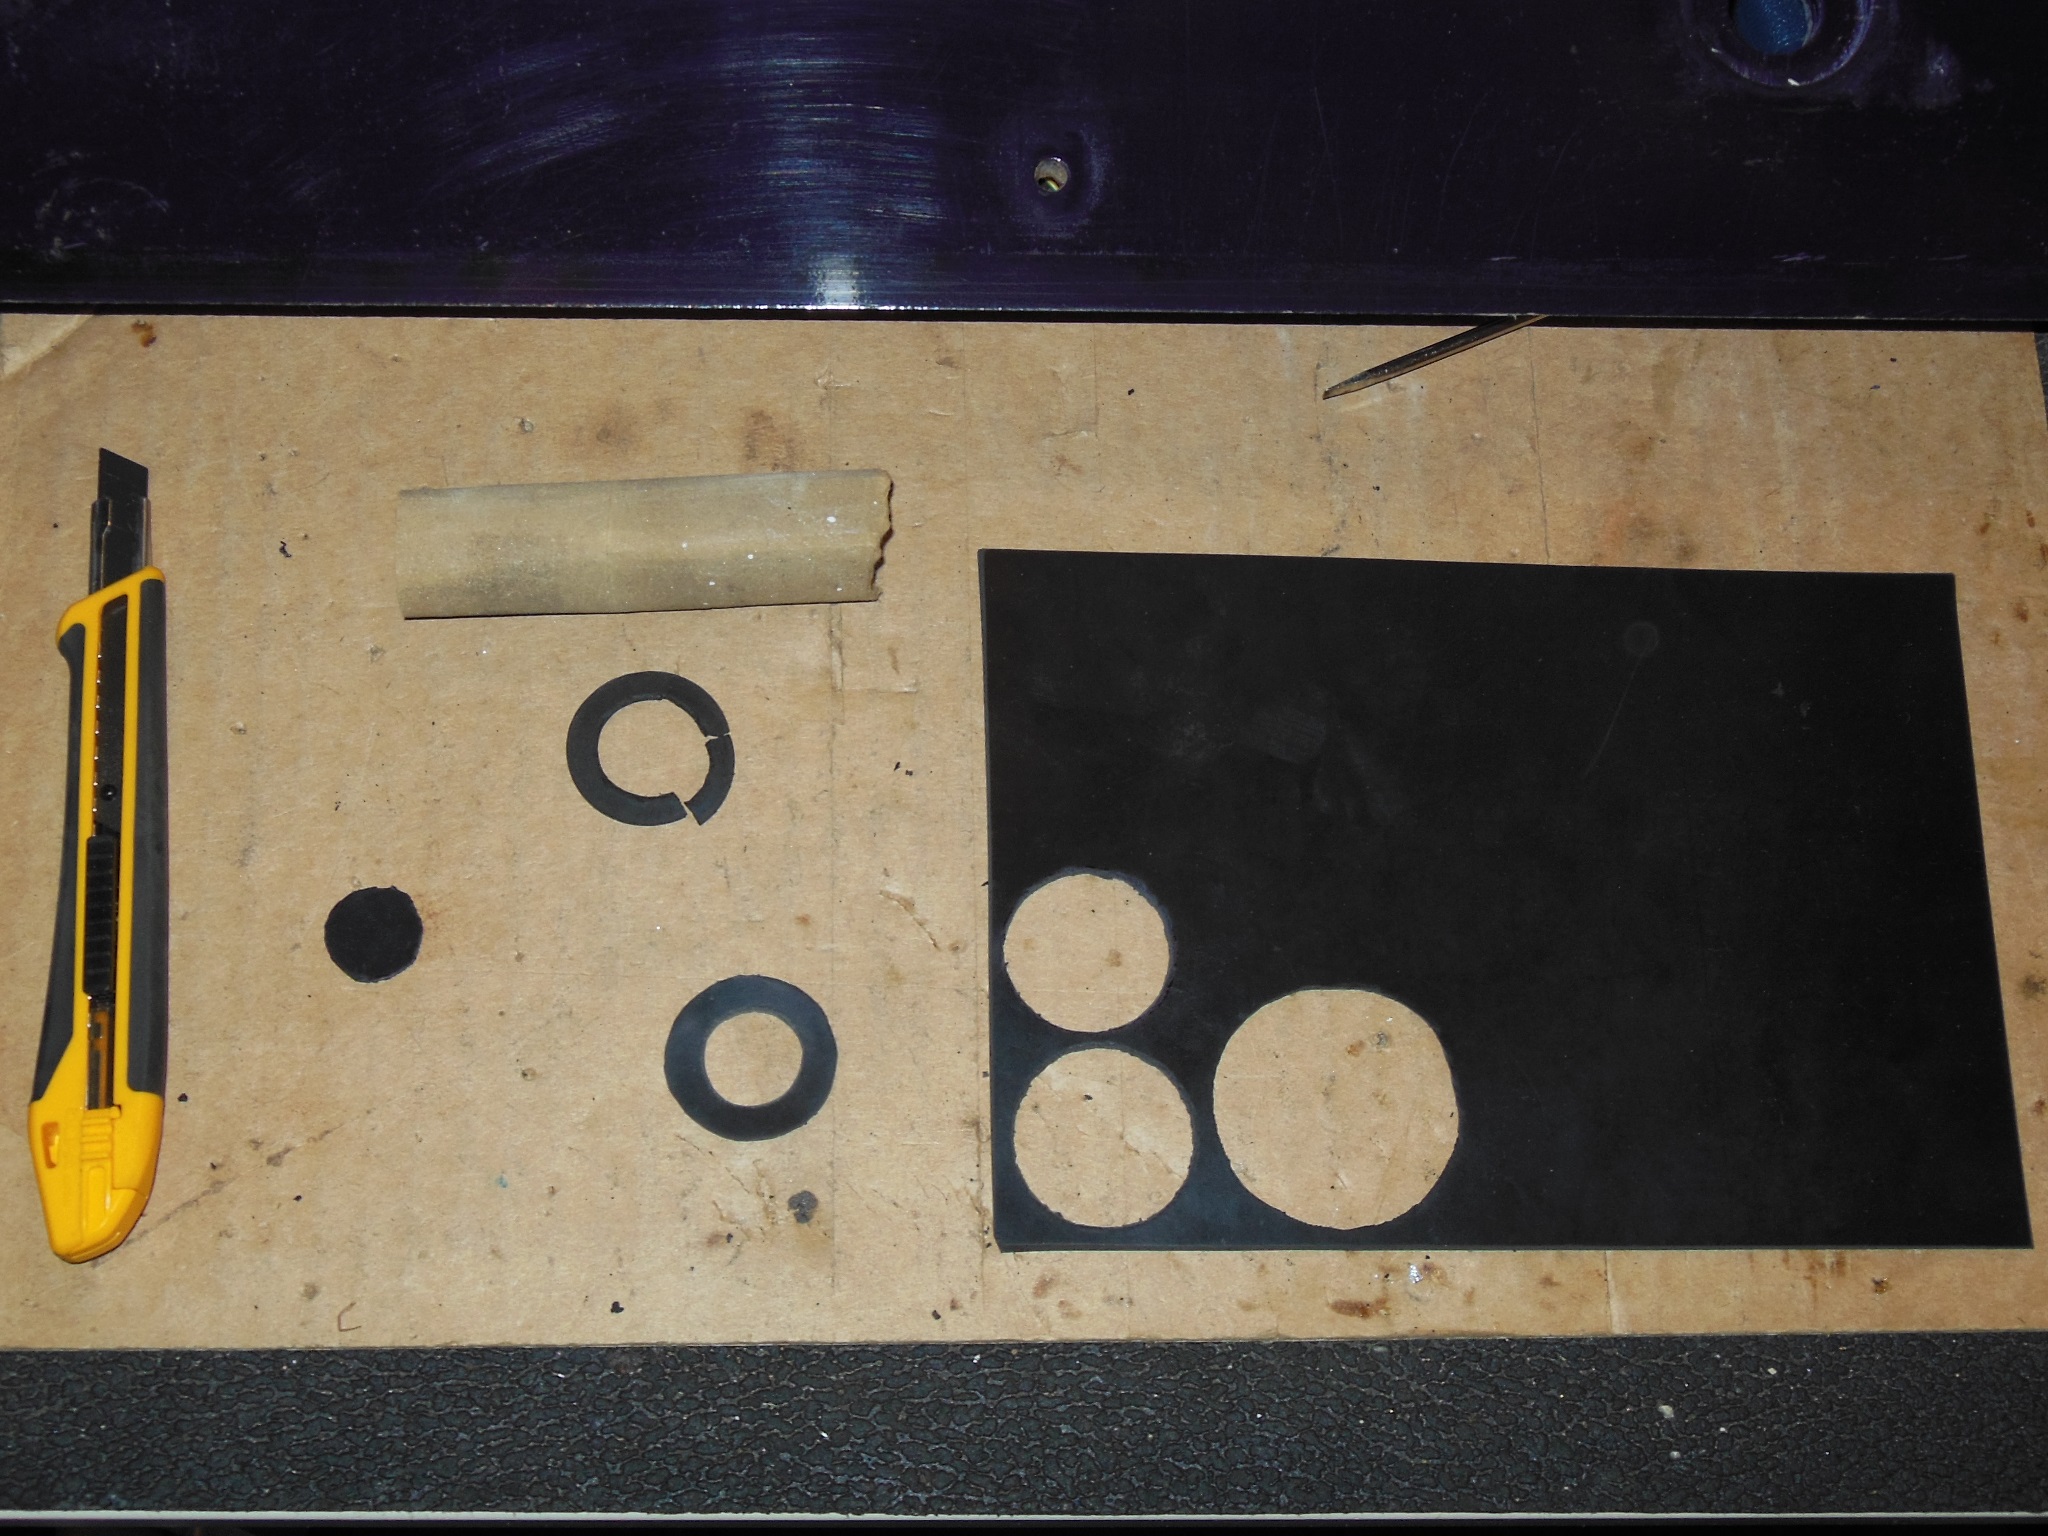
The WICO joystick had seen a lot of use being worn & dirty but still usable. The top side dust cover had disintegrated so I hand made a replacement from a sheet of rubber.
|
The control panel & overlay were cleaned with a damp cloth. The overlay artwork had some significant damage, largely missing background paint, that I decided to leave as is since the dark background somewhat blended with the control panel paint colour.

|
|
Scanned in the Puck Man monitor glass.
600 DPI Puck Man monitor glass scan (23.0MB).

|
Scanned in the Puck Man control panel overlay.
600 DPI Puck Man control panel overlay scan (12.7MB).

|
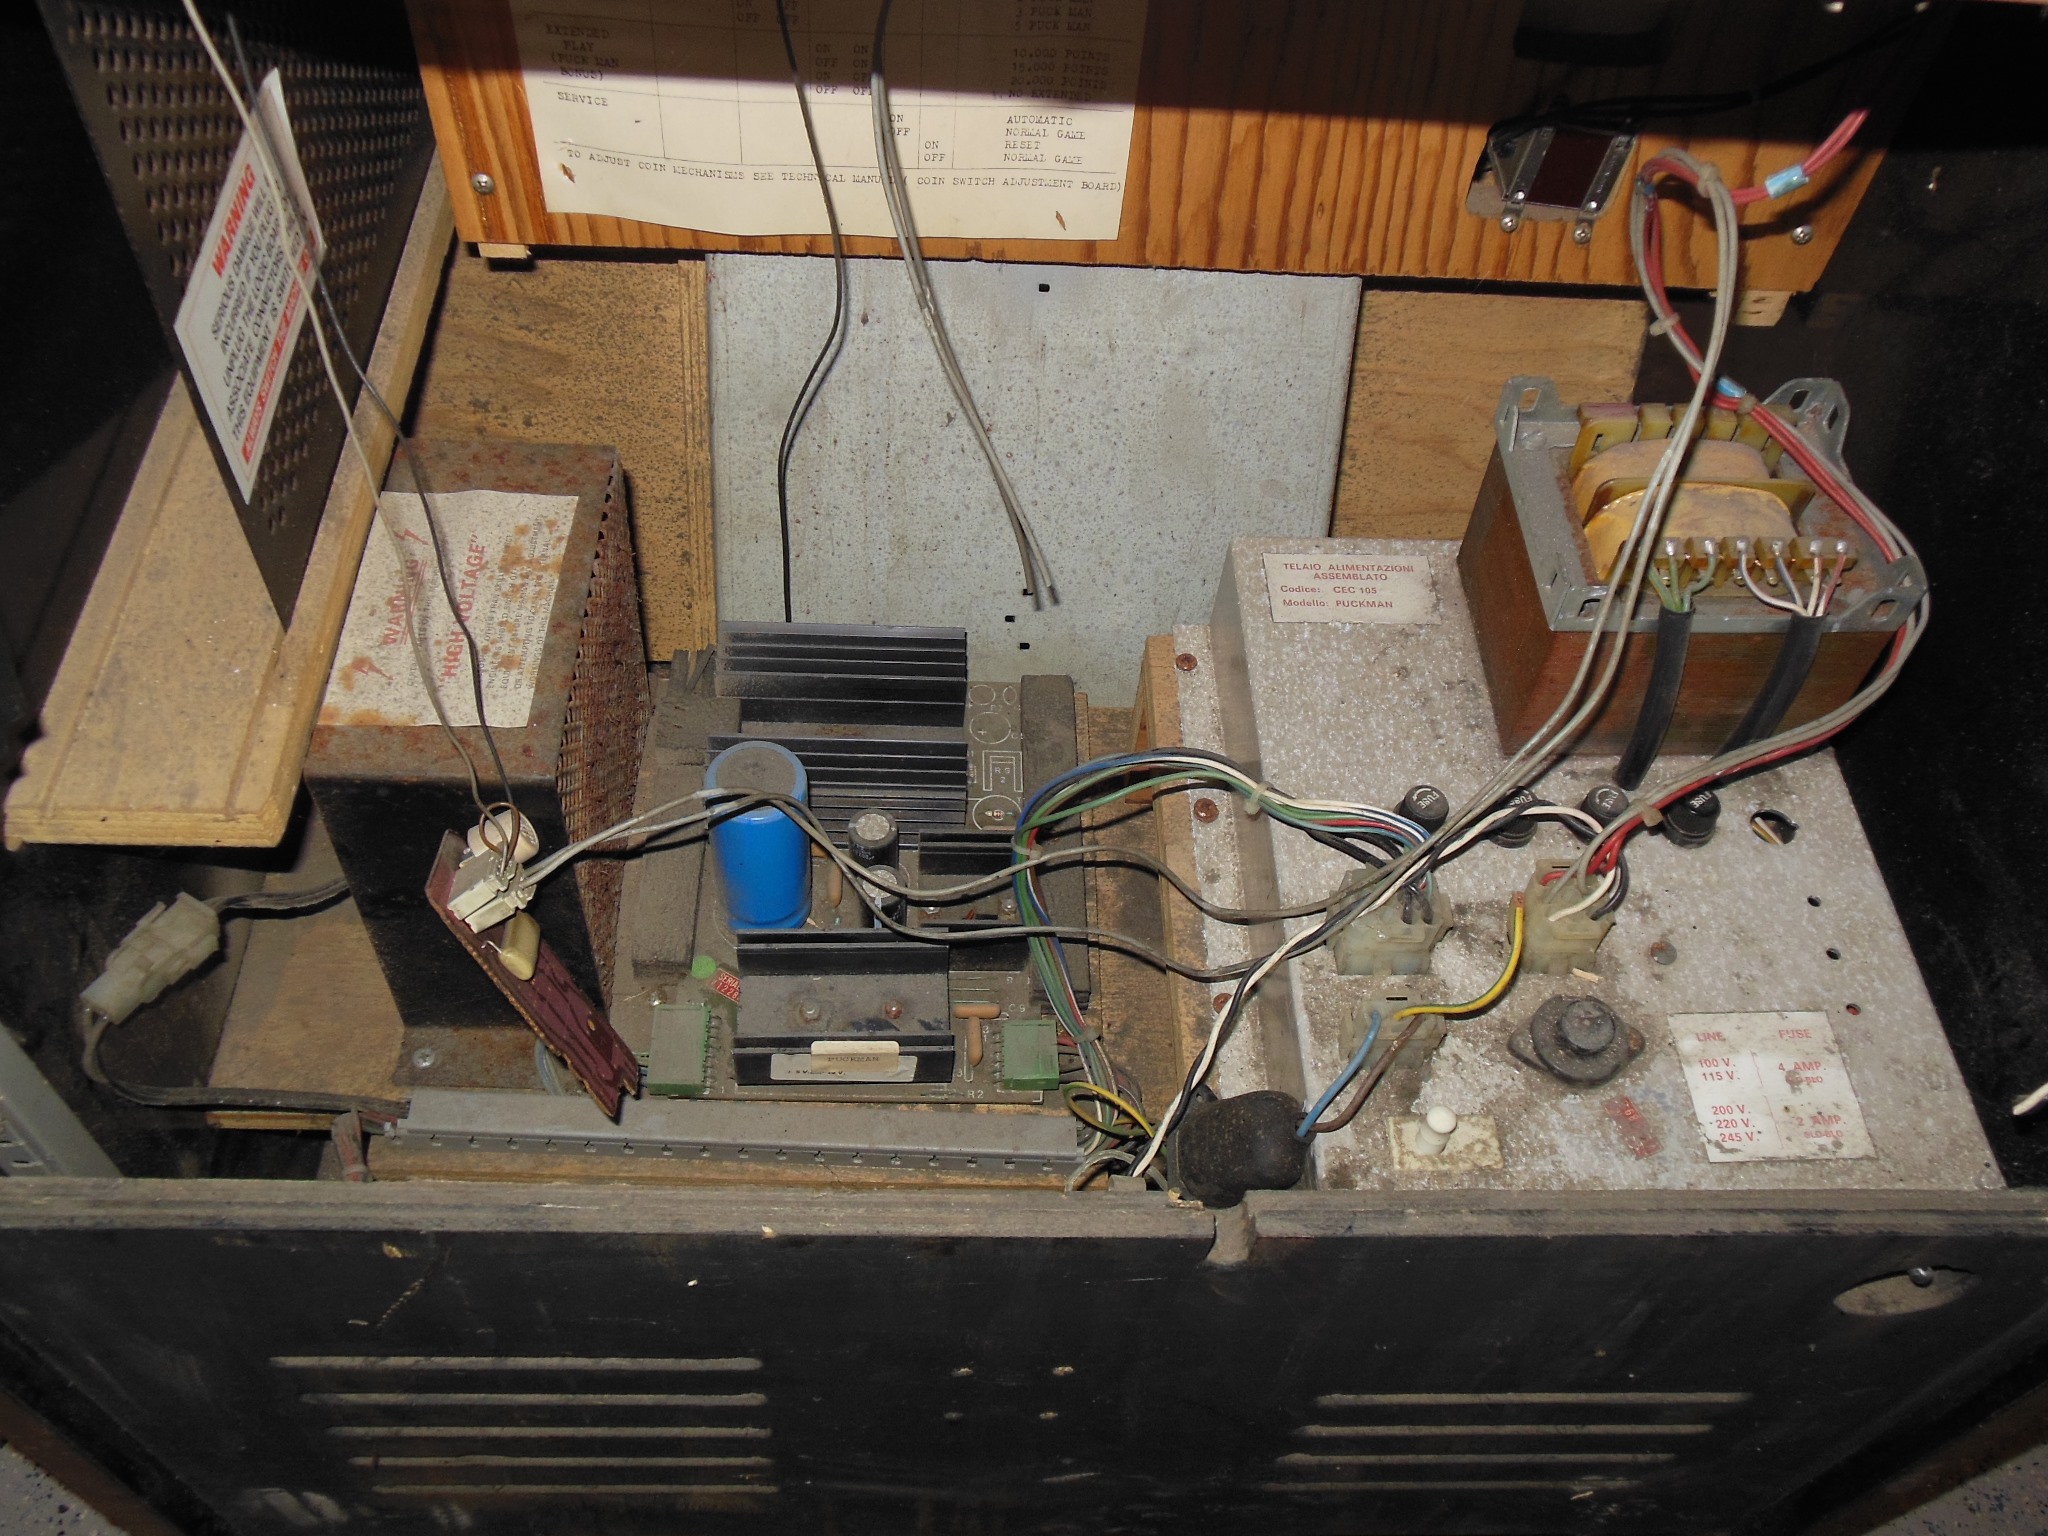
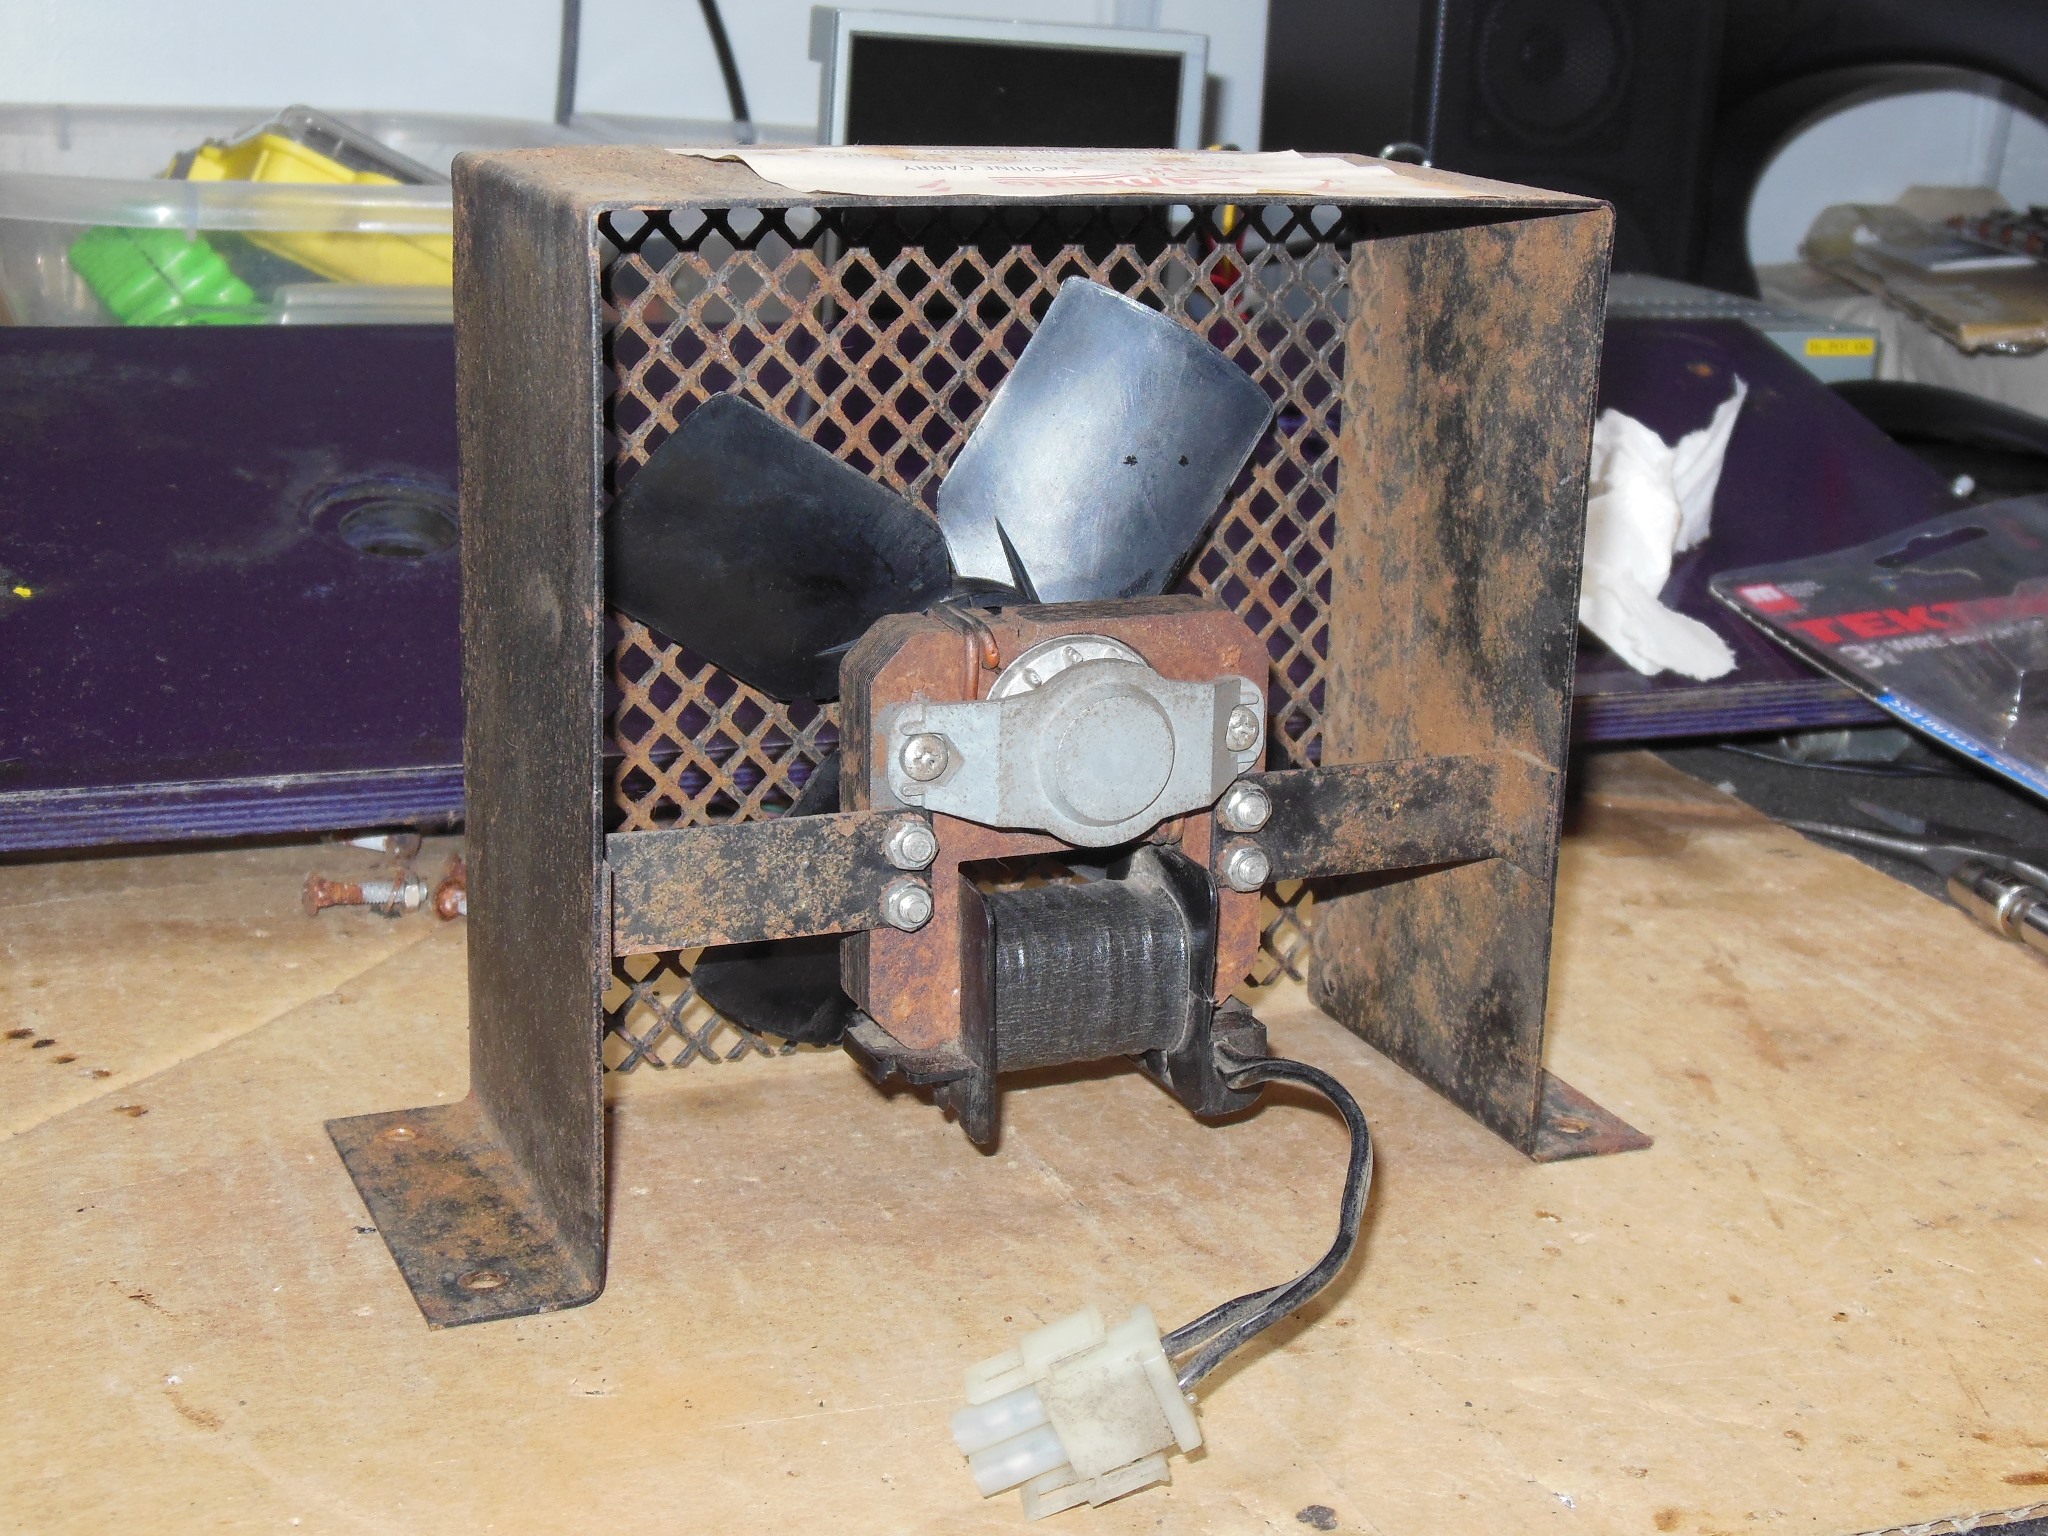
The cabinet fan was cleaned & bearings greased.

|
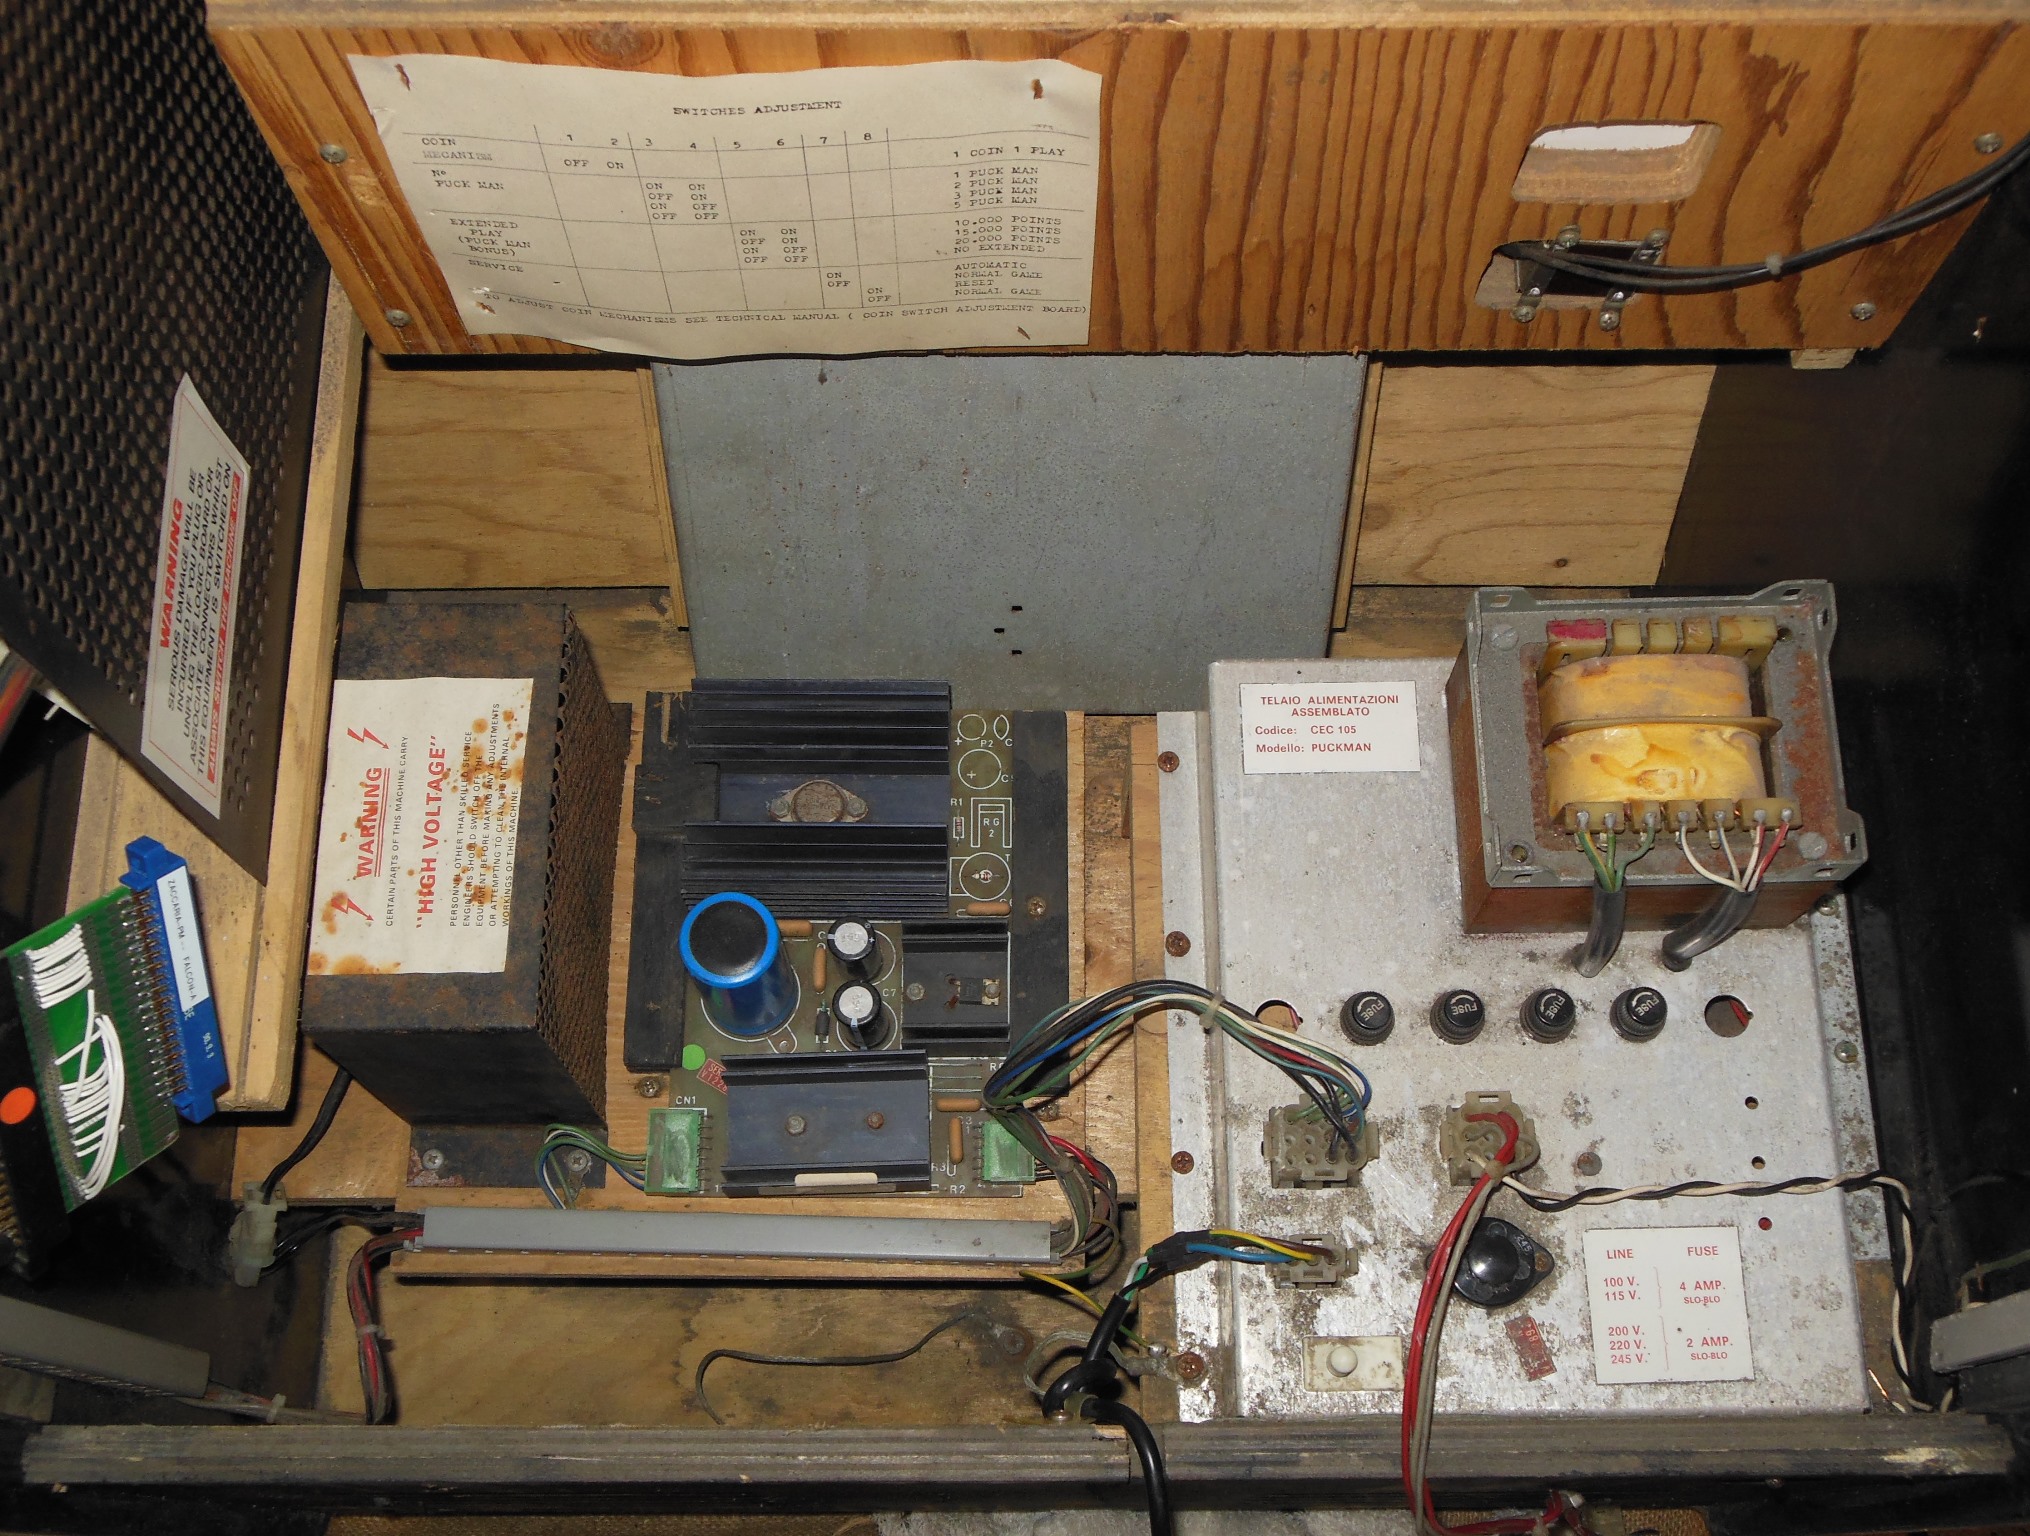
The base of the cabinet was cleaned and the fan & power regulation PCB reinstalled.
|
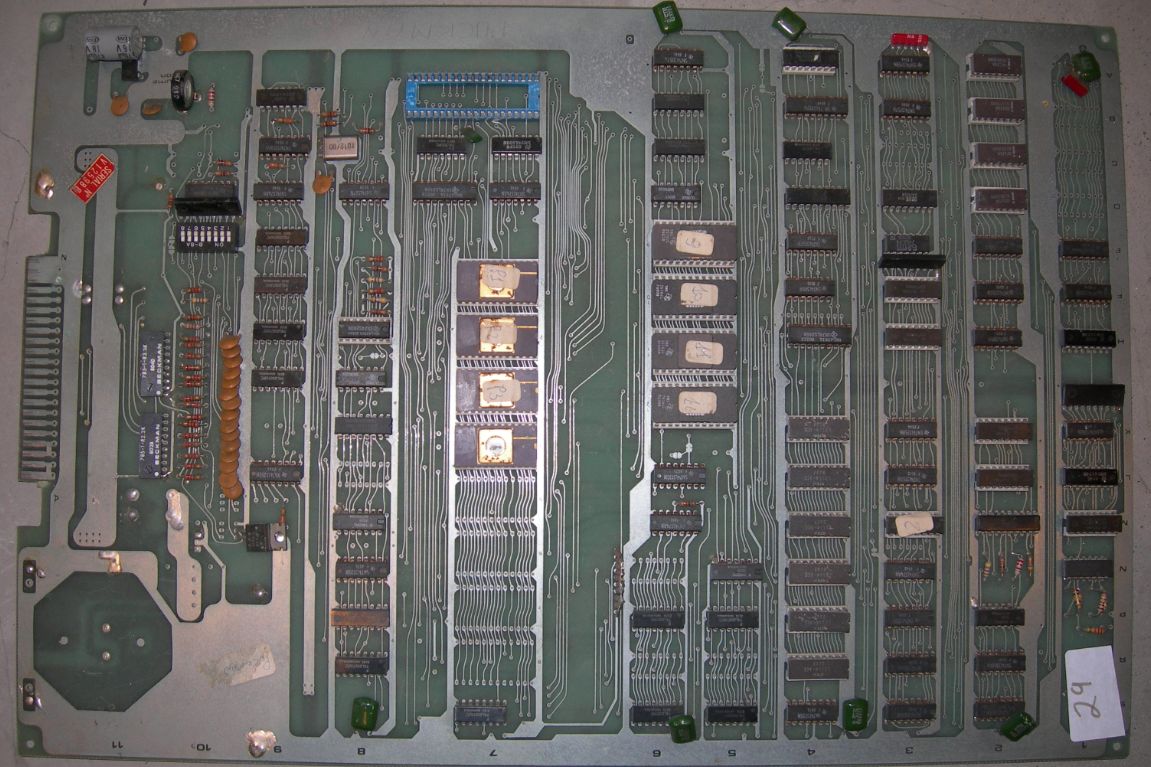
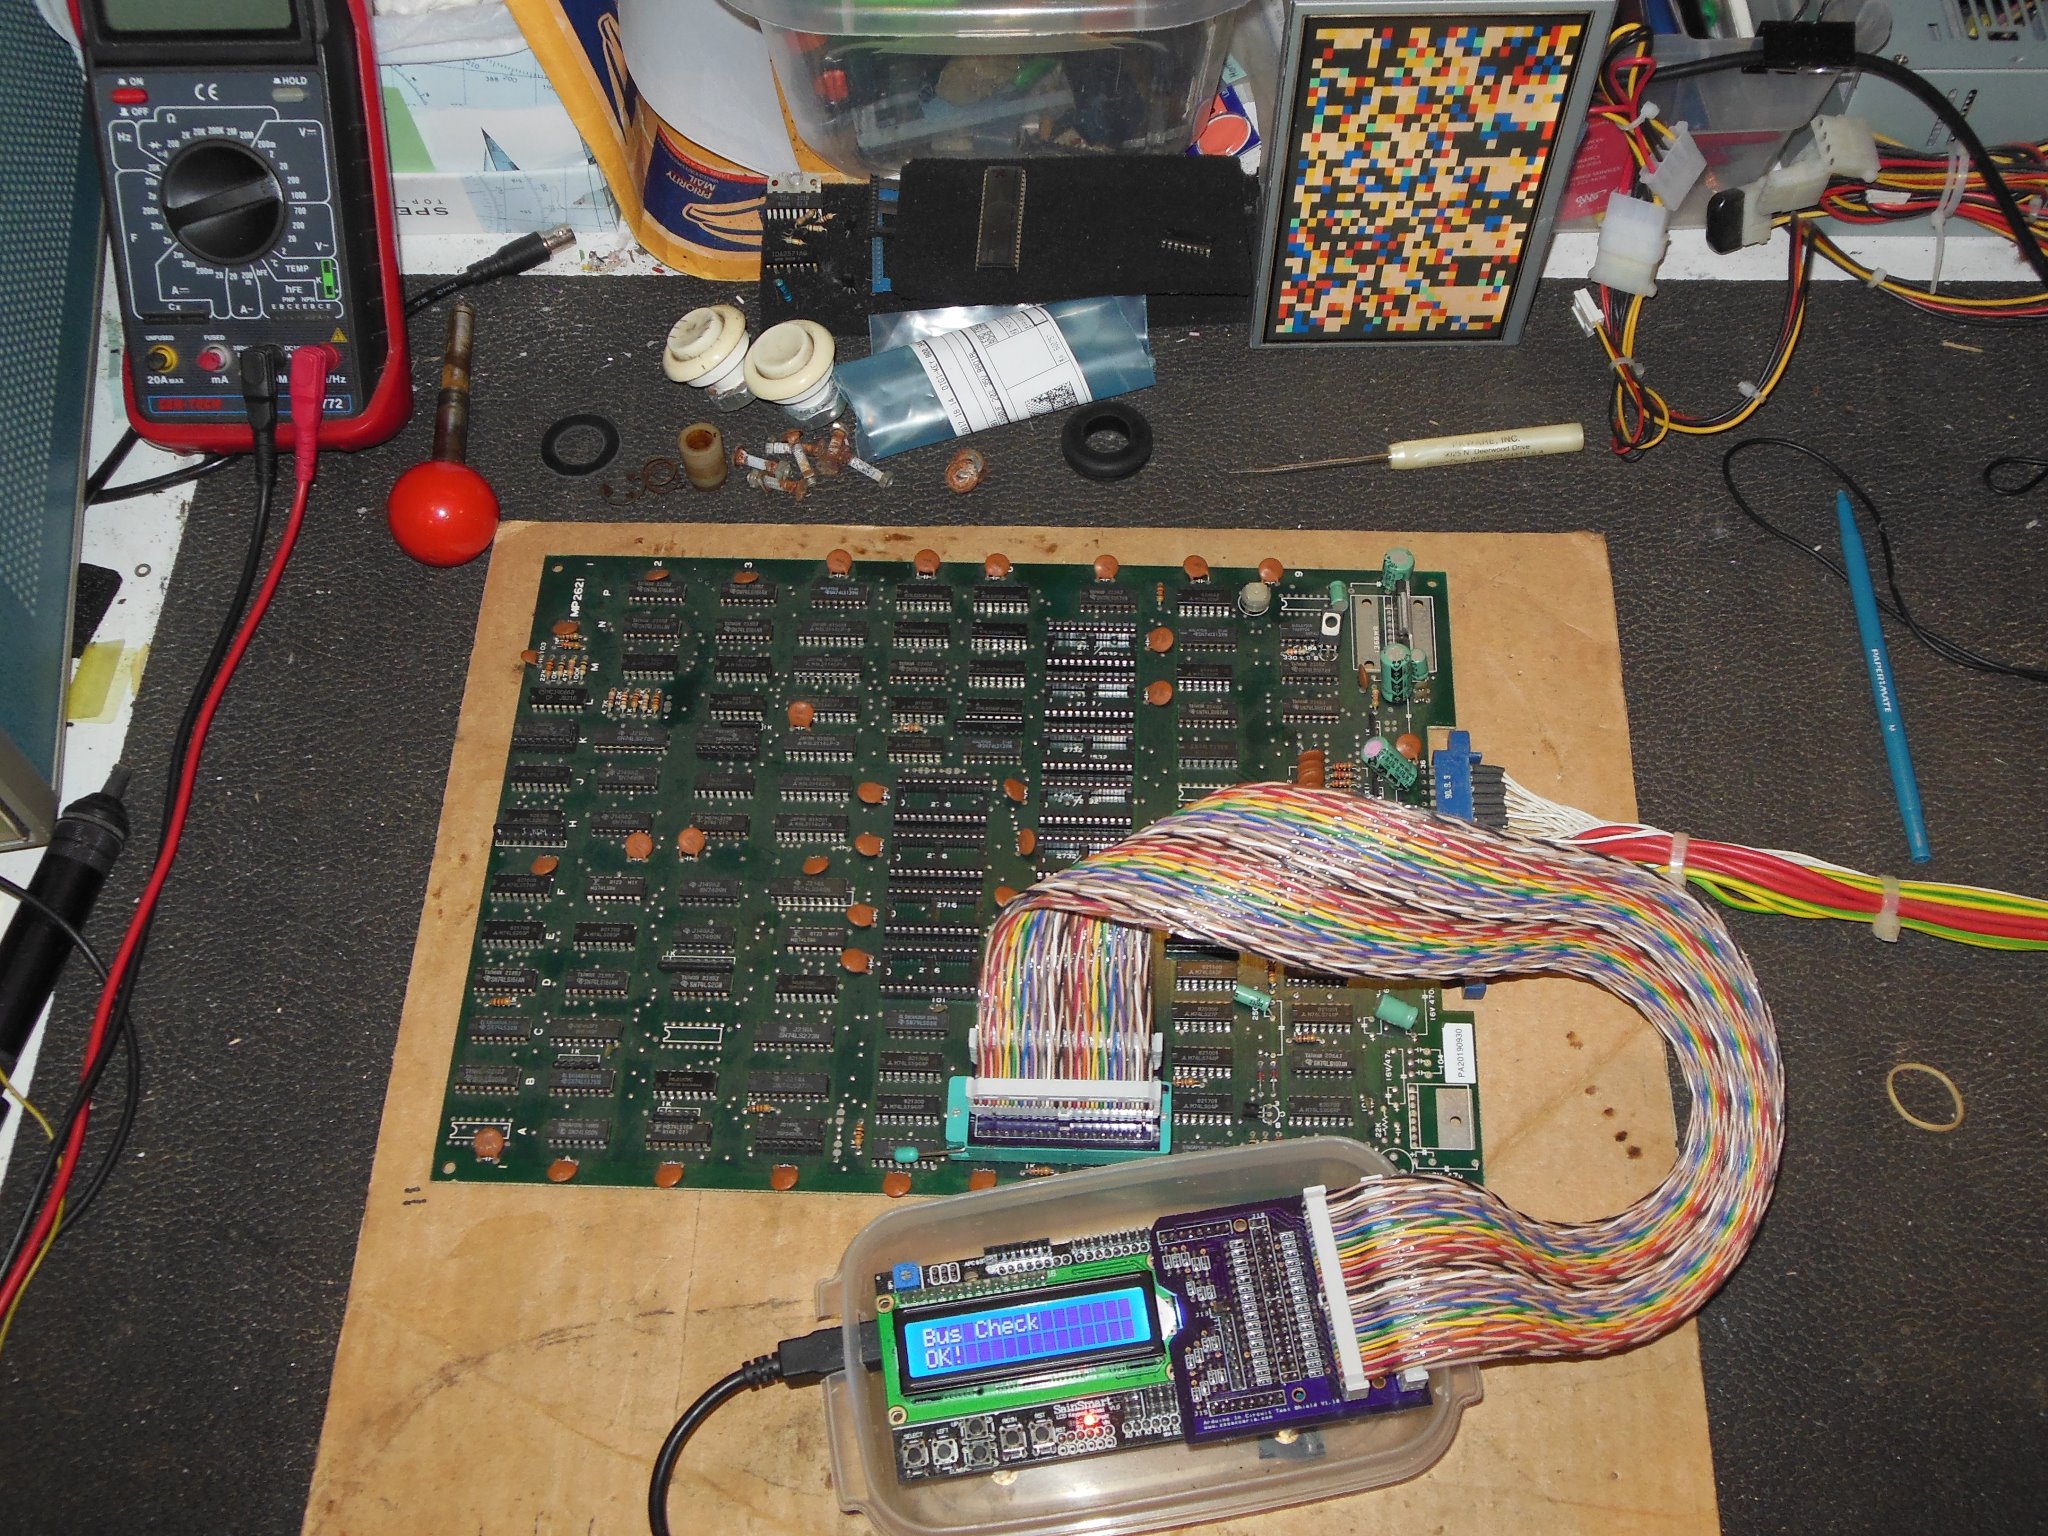
The "MP2621" Falcon Ms. Pacman PCB I had was missing all the EPROMs and the socketed Z80 so I took the opportunity to write support for Pacman on the Arduino ICT. Though the board was stripped the RAM tests all passed so I was hopeful a new set of Puck Man EPROMS may get it going.
The first attempt using the official Namco Puck Man Set 1 images resulted in no boot. Further comparisons between the Midway Pacman schematics versus this Falcon PCB hinted that the interrupt vector latch contained in the Sync Bus Controller sub-PCB was not present on the Falcon PCB. Unfortunately MAME uses only one hardware profile for all the Pacman variants so I couldn't tell from that if there were interrupt hardware differences. A consult with a couple of fellow collectors confirmed that many of the bootleg Pacman PCBs didn't implement the vector latch and thus I needed to use a bootleg Puck Man set with this PCB. The I disassembled the code of the Namco Puck Man set 1 and the Puck Man bootleg set and found them almost identical with one key difference in the setup for the Z80 interrupts (the interrupt mode instruction "IM 1" for Interrupt Mode 1). Blanking the EPROMS and programming the bootleg Puck Man set brought this PCB to life fully working.
|
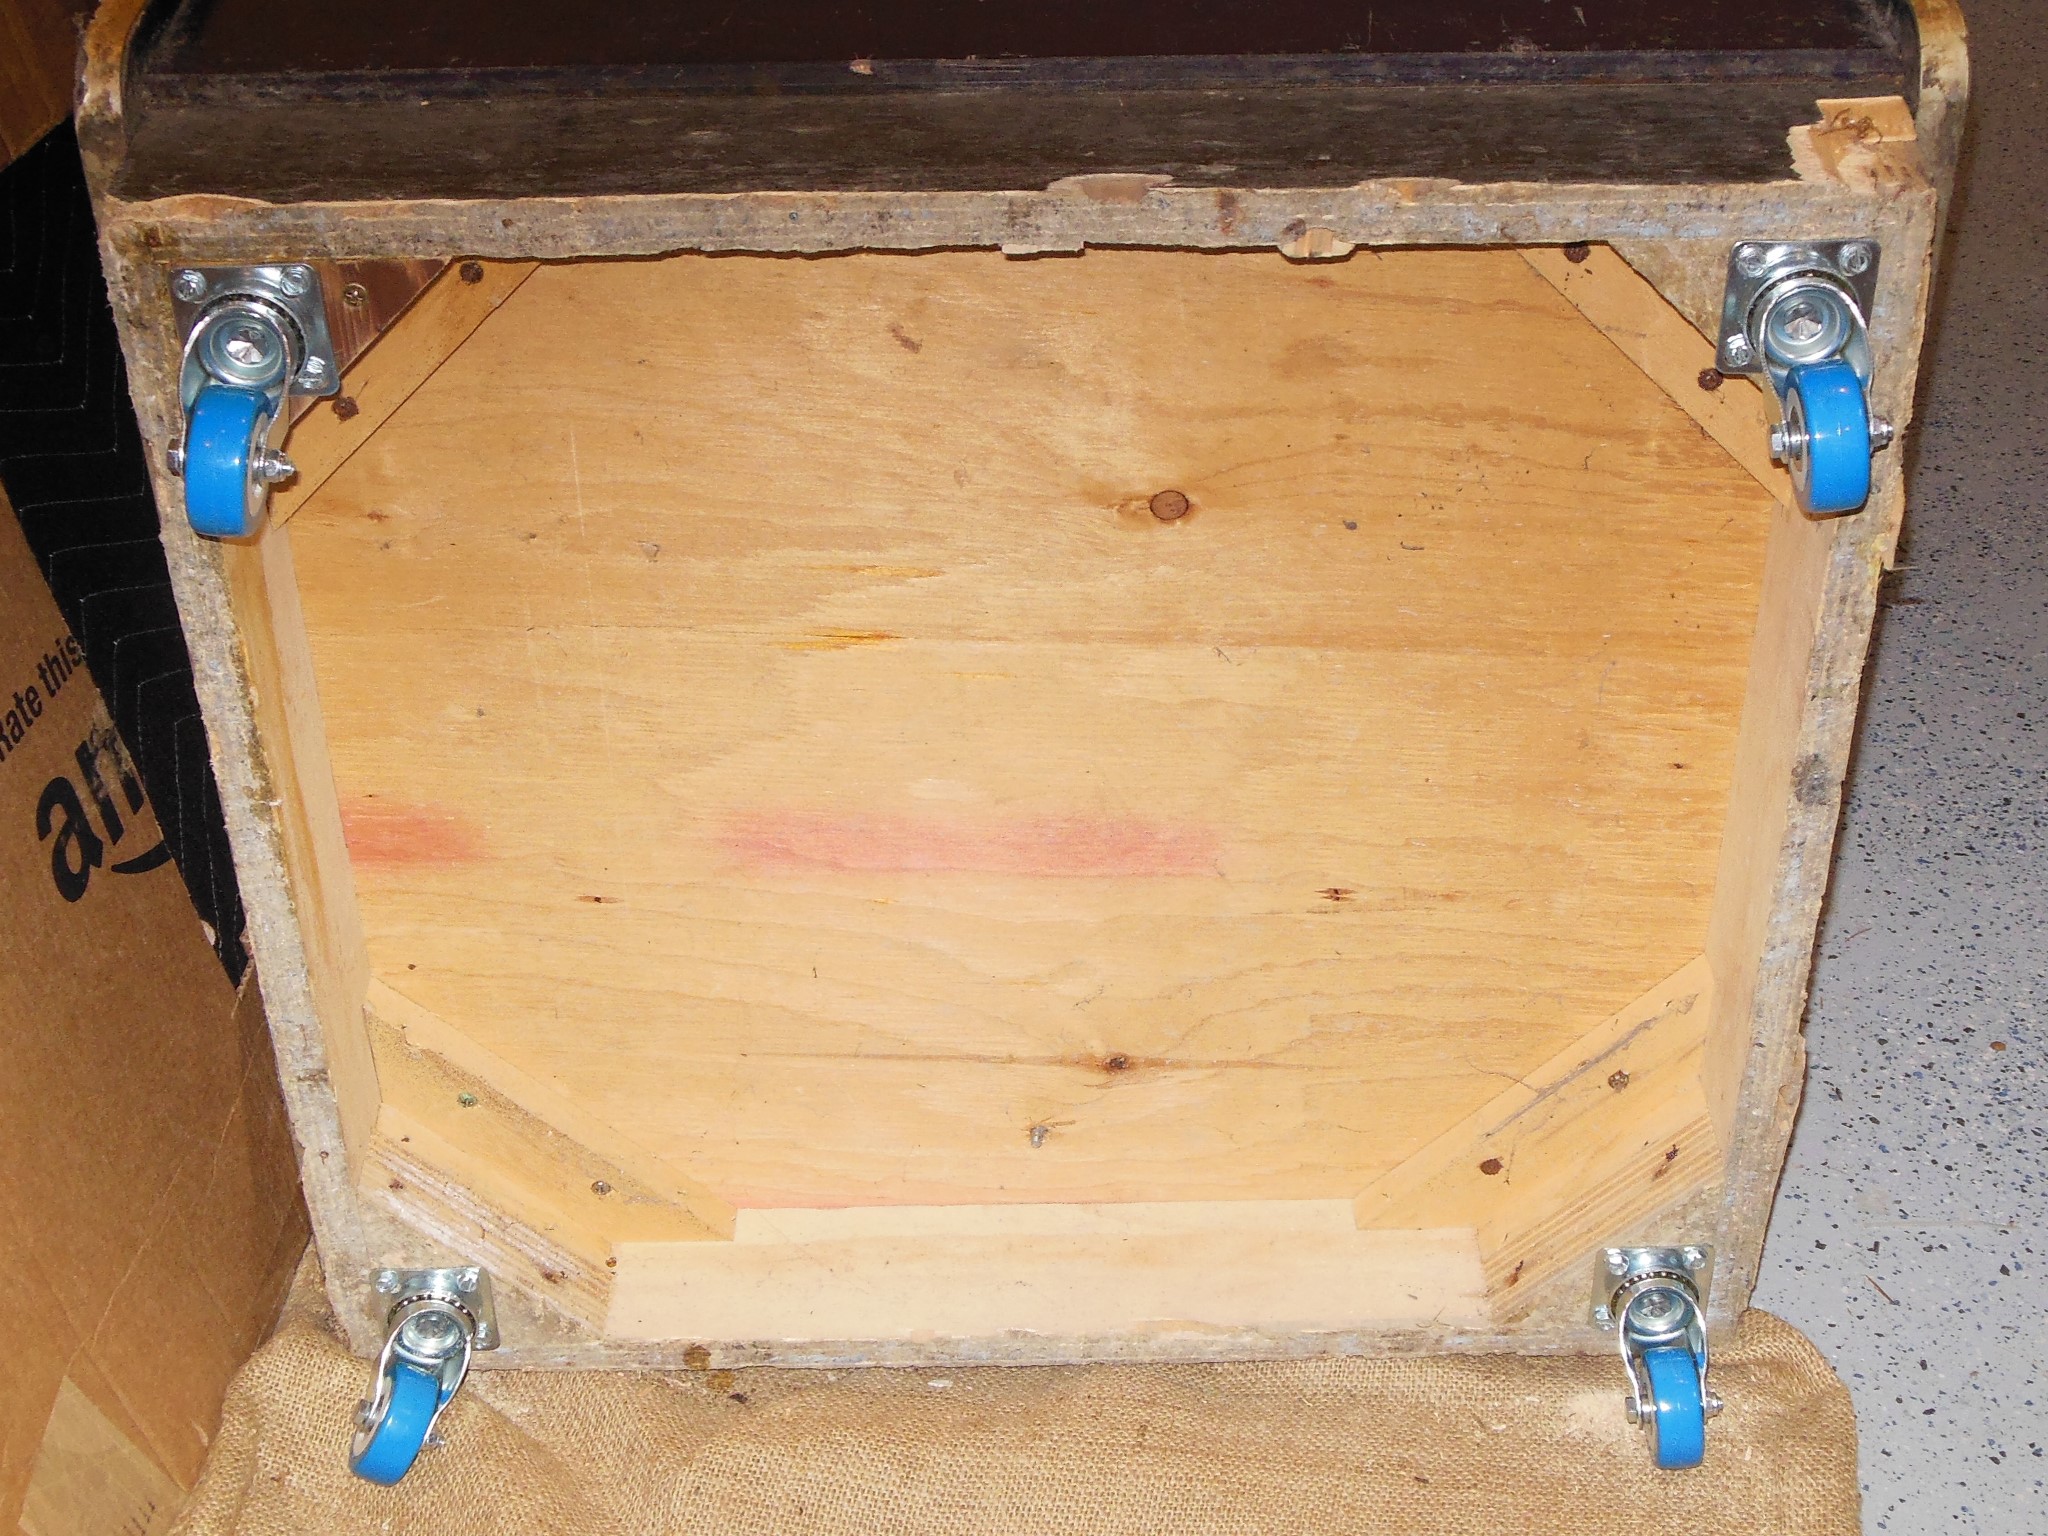
With the repair to the foot block fully set the castors were now installed.


|
The flattened & repaired monitor surround was installed back into the cabinet and the top edge stapled.
|
For the staple on each side of the front of the surround I used a thin screw driver to leave a gap between the staple and the cardboard to allow the staple to be more easily pulled out if needed.
|
It had been documented online that these Falcon Ms. Pacman game PCB's were hard wired into cocktail mode. A look at the Pacman & Eyes schematics located the wire bridge to ground on each of the two PCBs that I removed & replaced with a bridge to the pullup instead. On the bench both game PCBs now ran in upright mode.

|
The second game PCB that was running Ms. Pacman I converted to Puck Man so that I had two working game PCBs - one to use and one spare for the show.
|
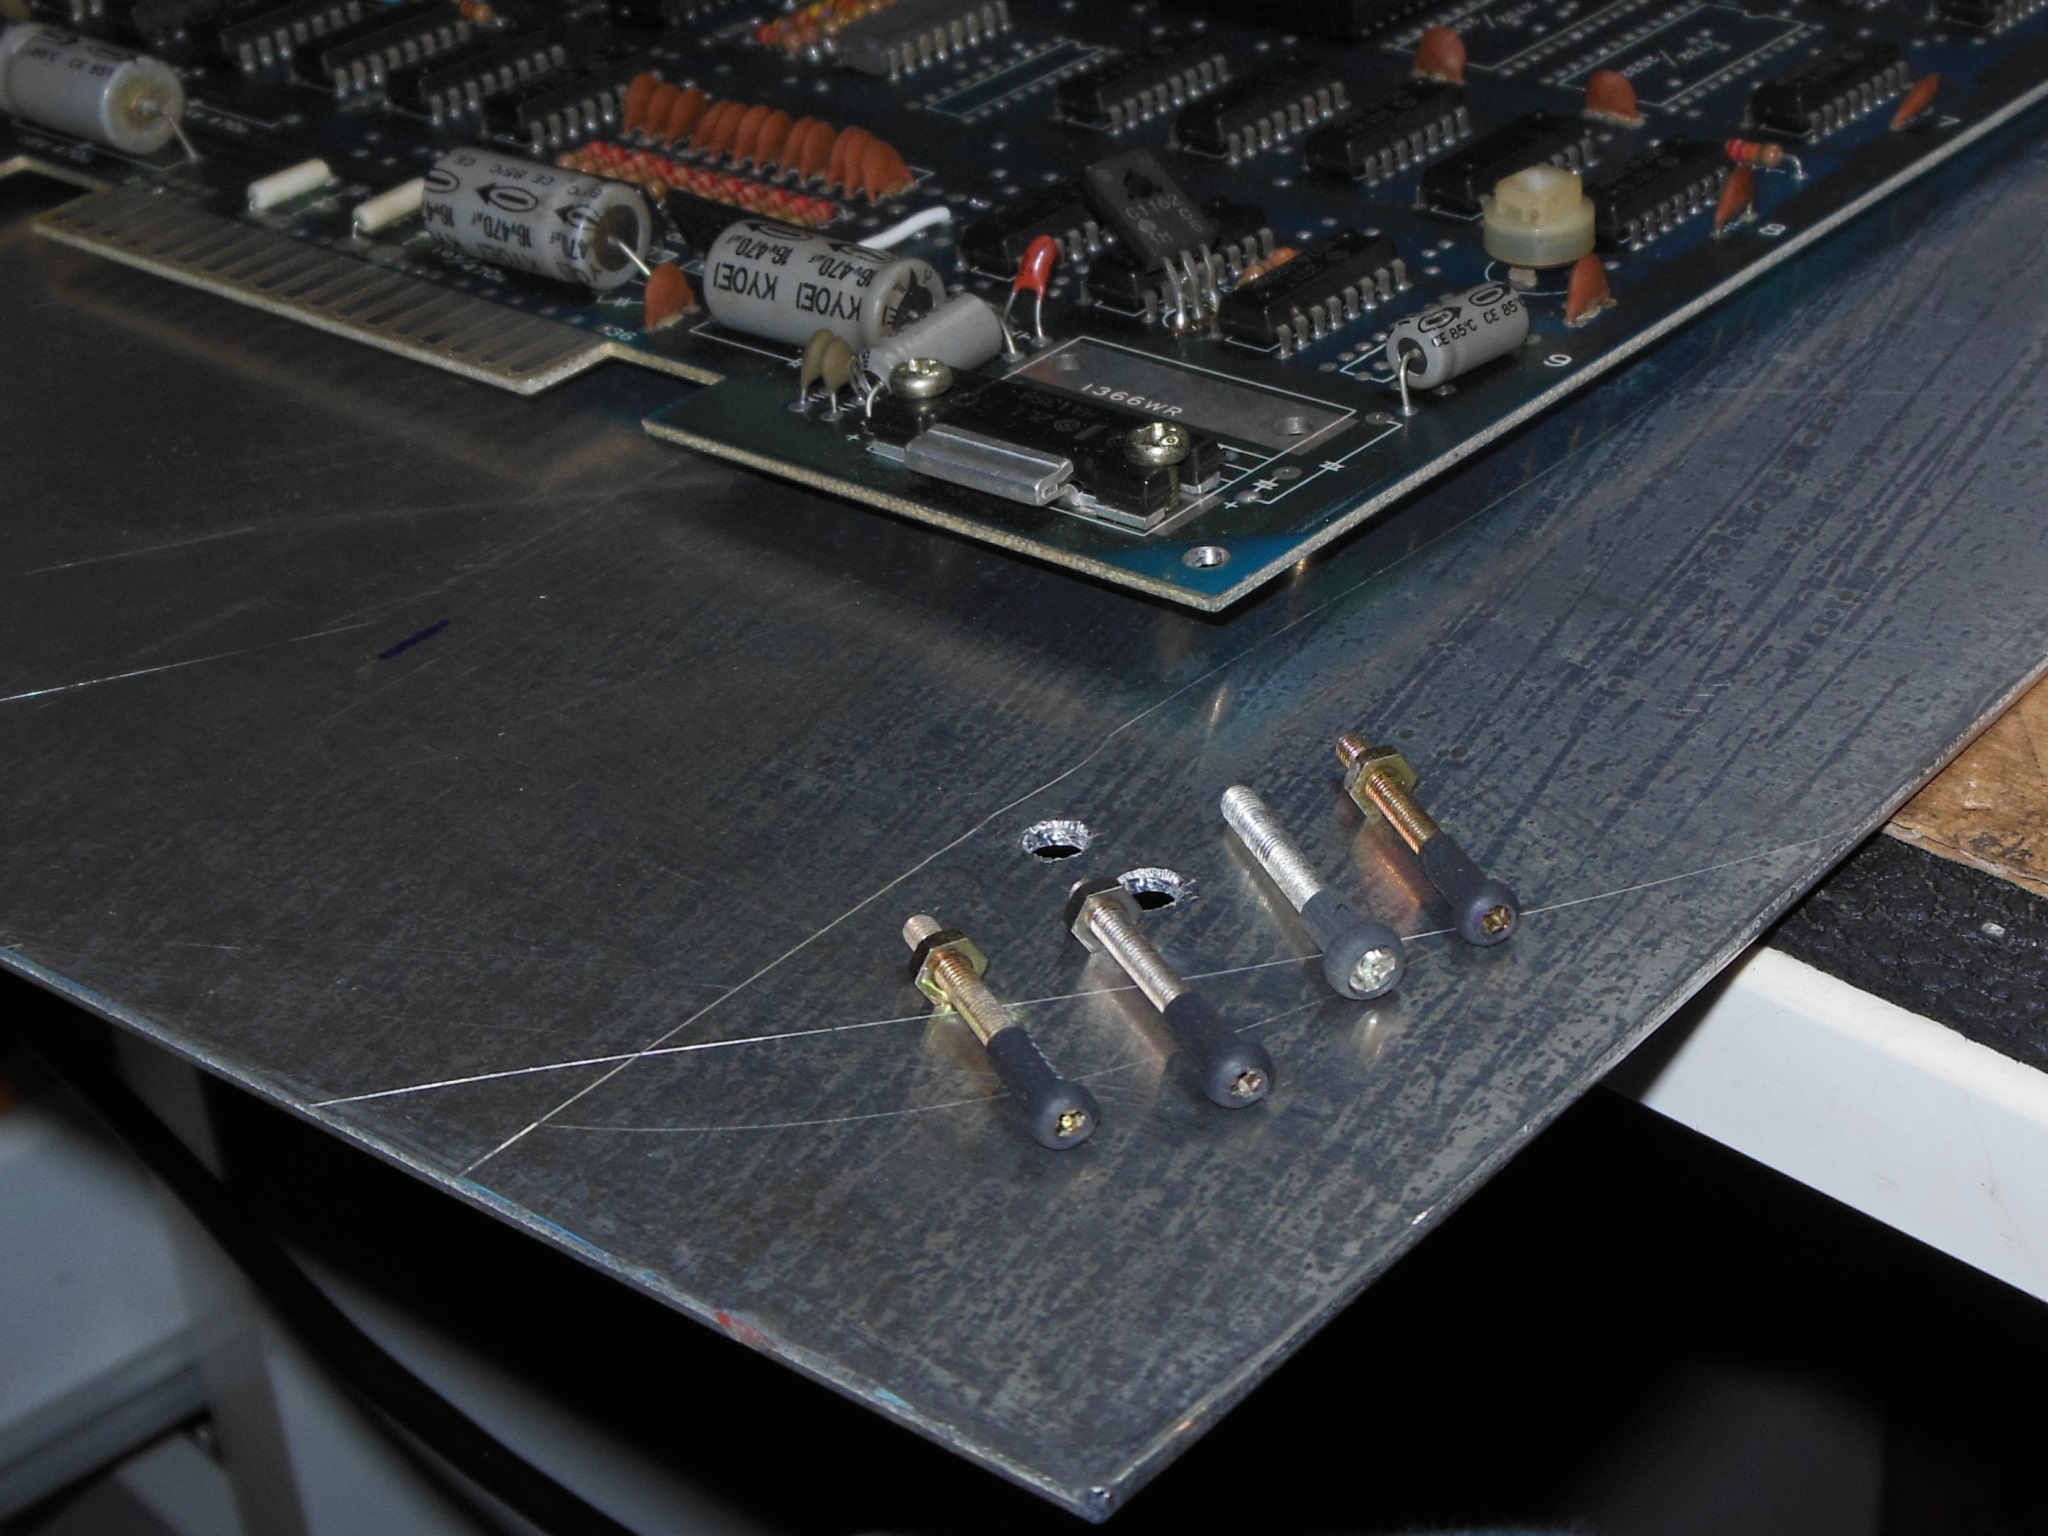
I set the game PCB holes on the mounting plate to accommodate either the two Falcon Ms. Pacman game PCBs or a third slightly larger “GDP-01” PCB. The Falcon PCB's didn't leave enough space for the screw head to not contact the tracking so I coated the PCB screws in heat shrink to keep them isolated.
|
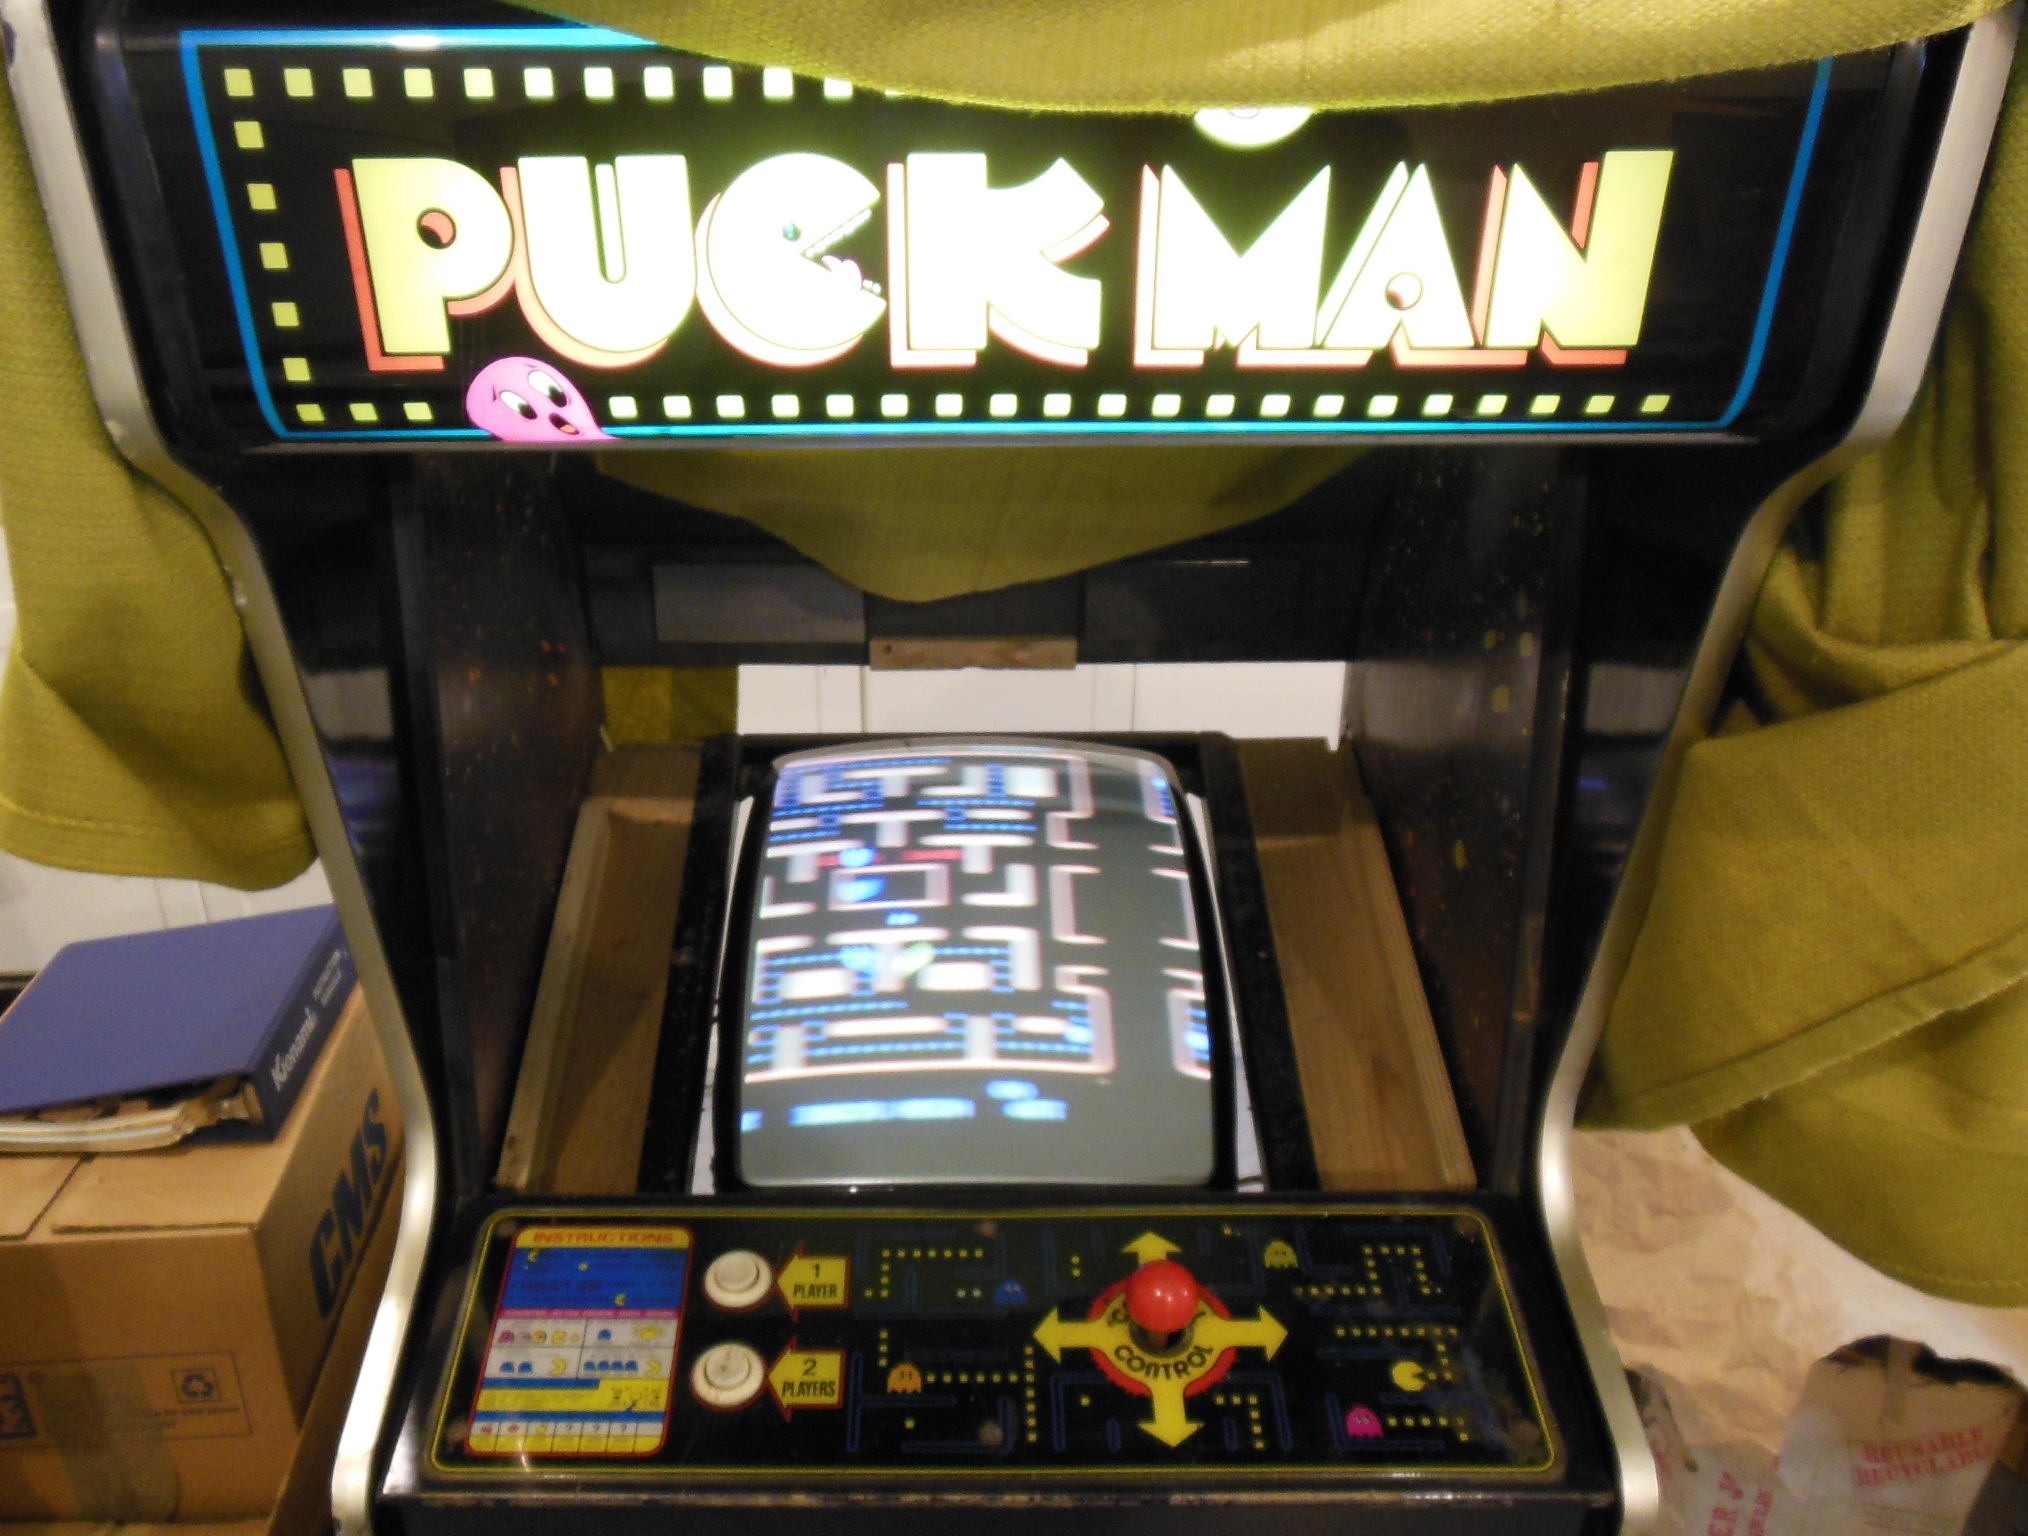
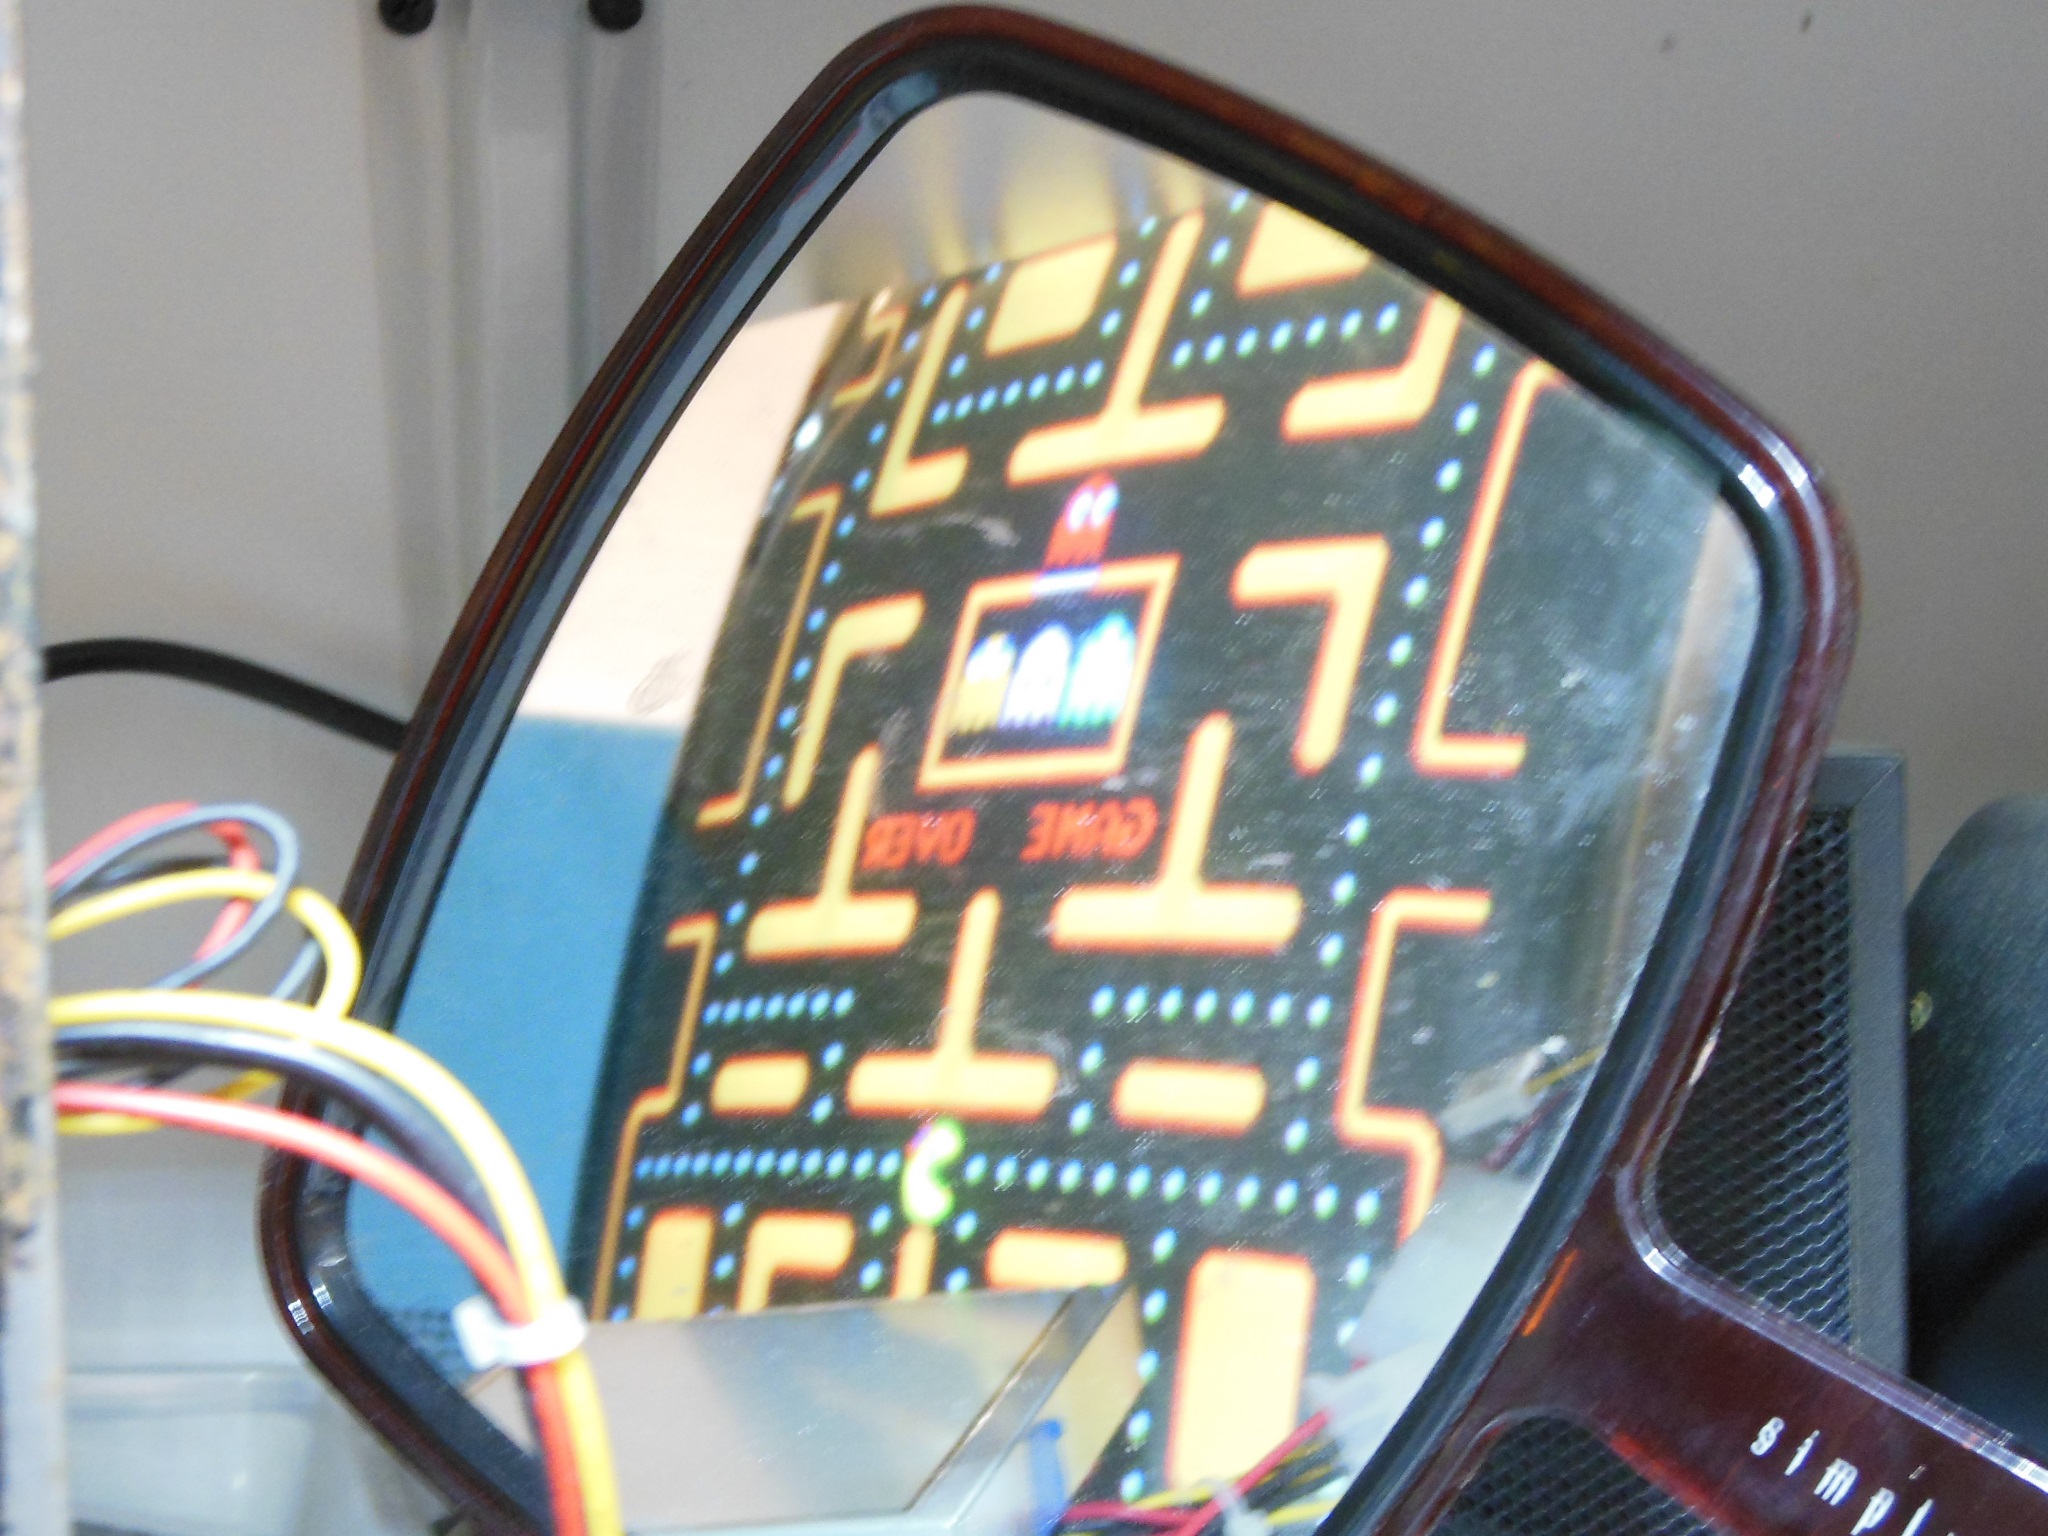
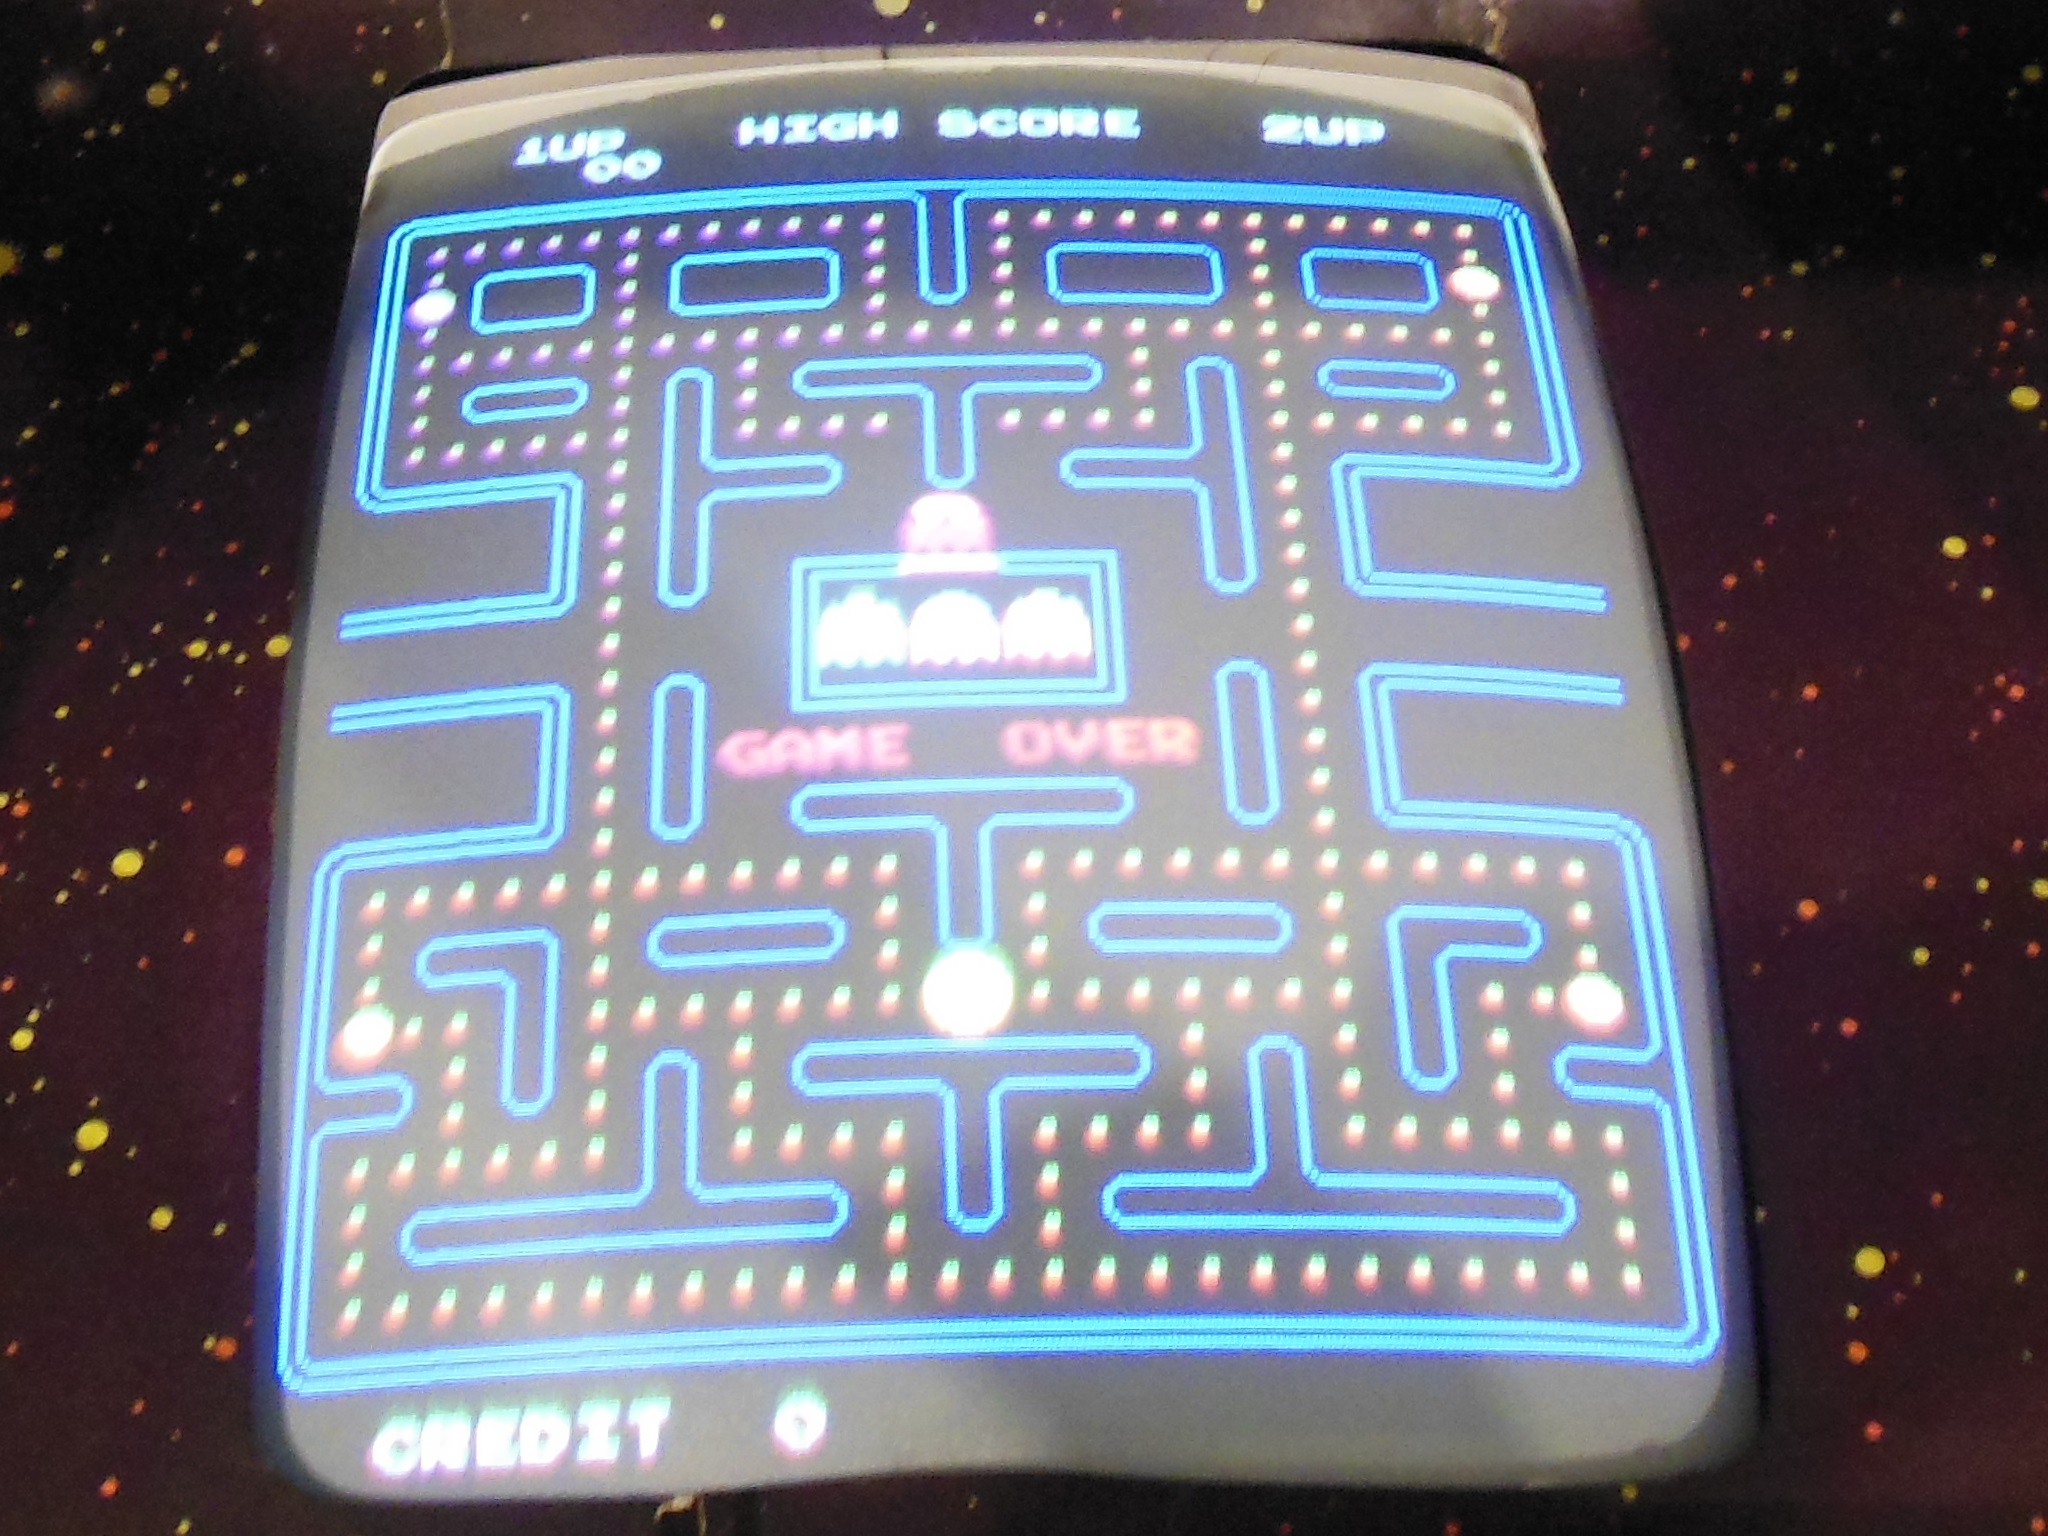
Putting everything back together in the cabinet with the Puck Man PCB installed initially yielded no video sync. This turned out to be simply a broken wire on the video connector. With that repaired the game came up working OK. The picture quality wasn't great, but stable.

|
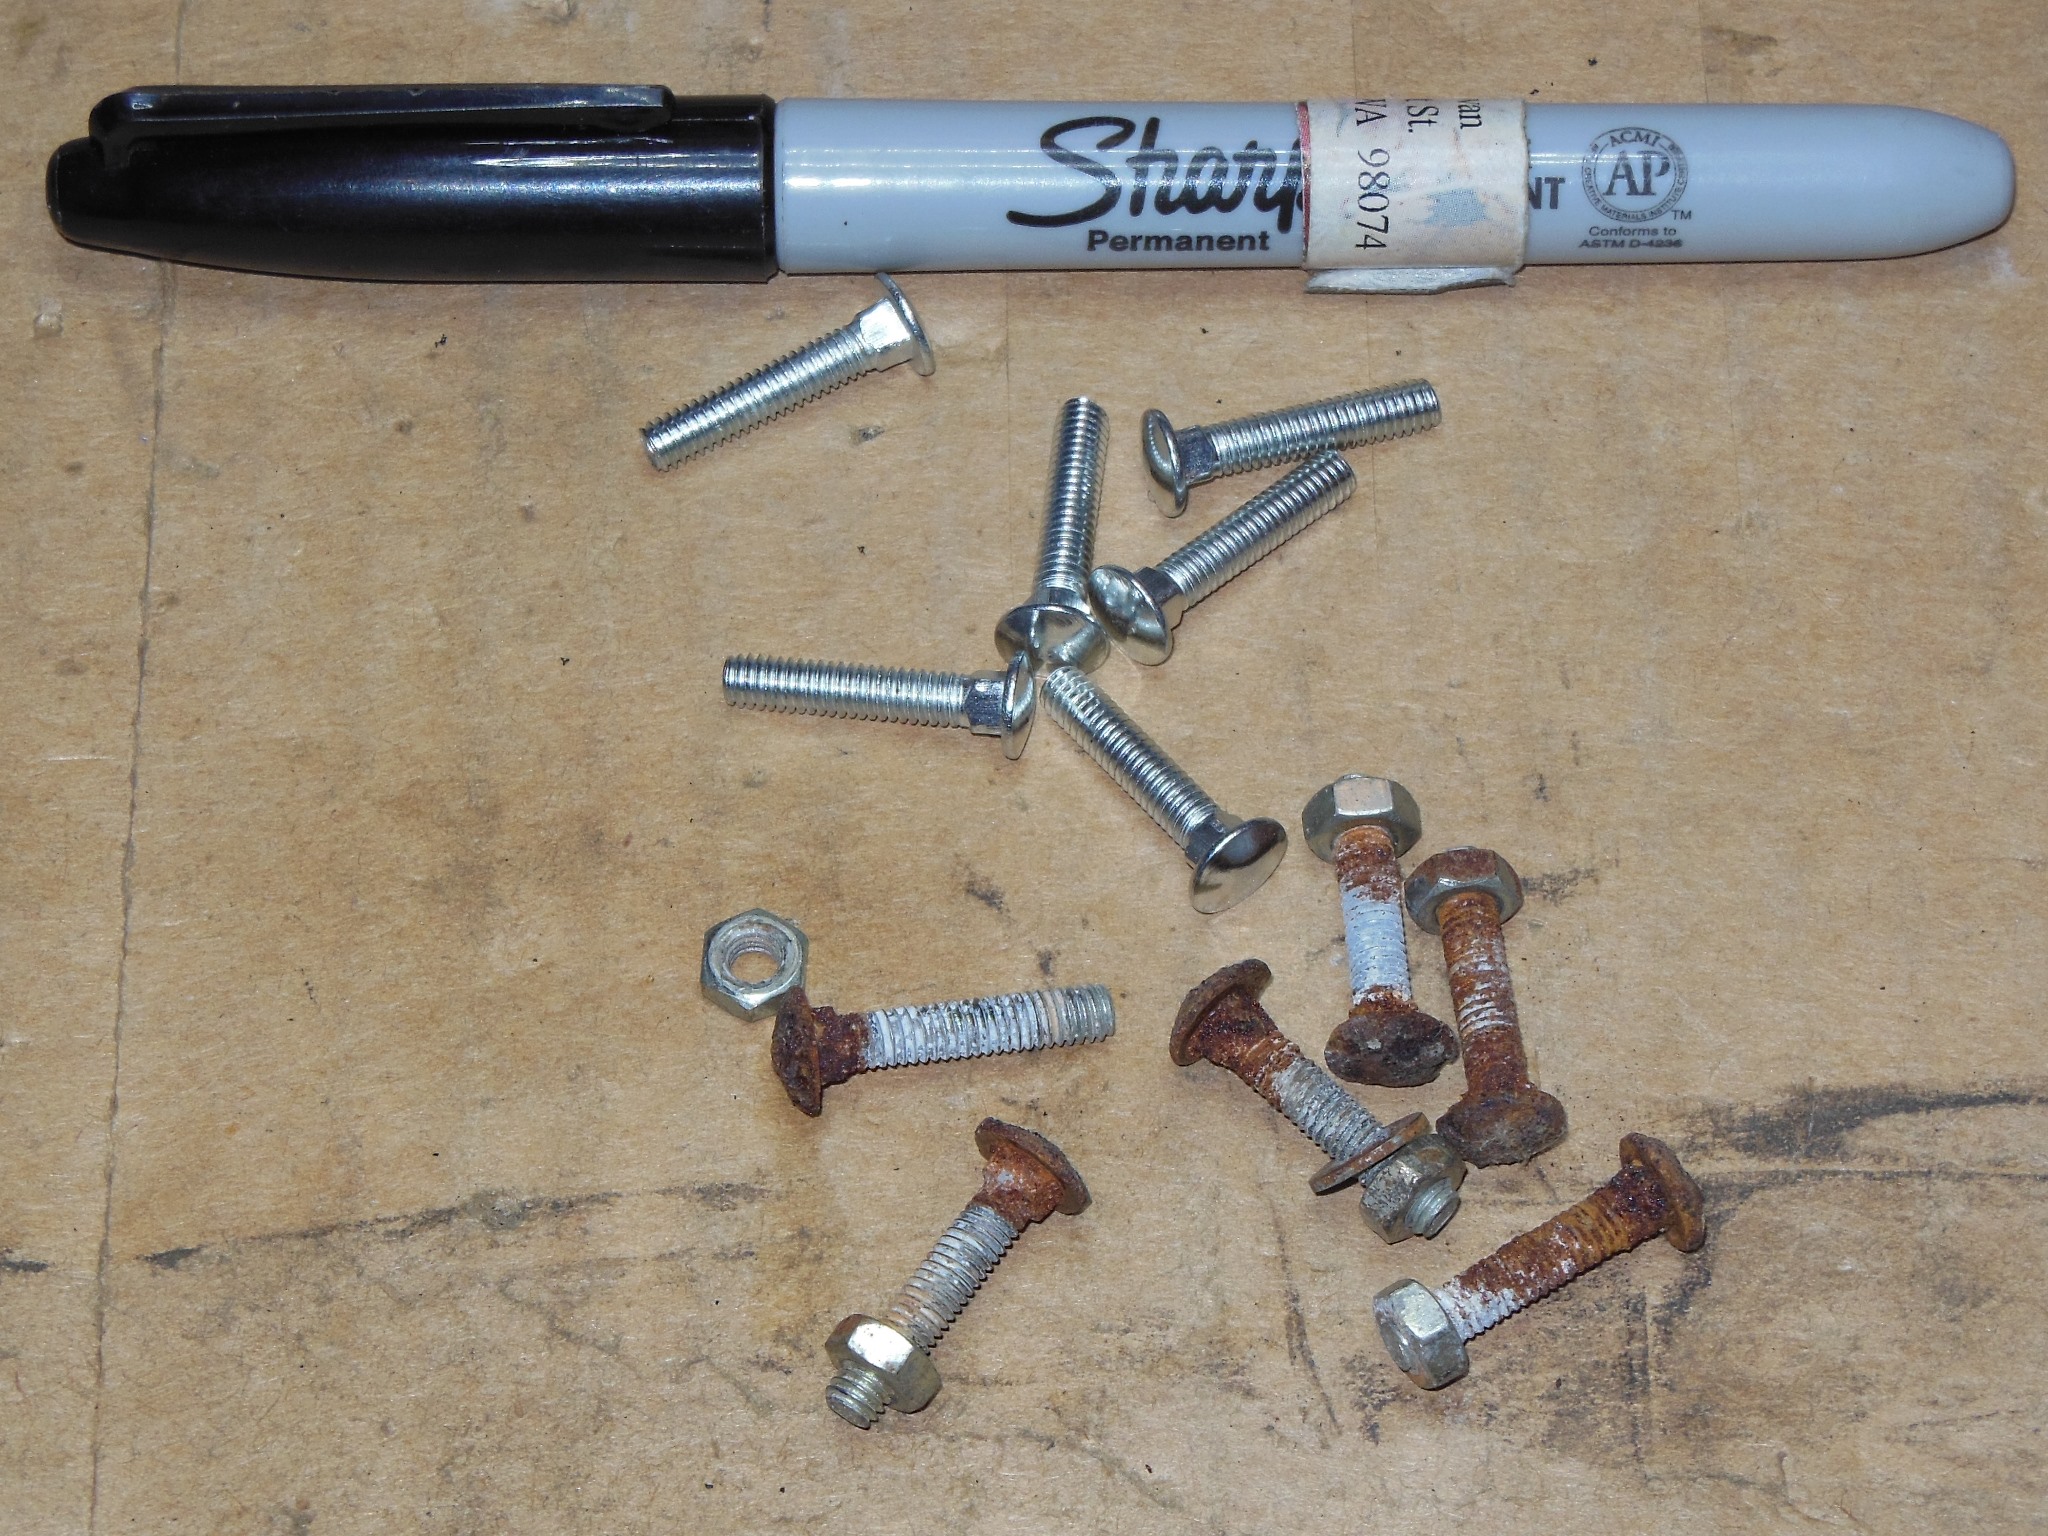
The original control panel bolts were heavily rusted on the top with little actual metal remaining to clean through. I thought they may be difficult to get but in fact were readily available from eBay, square neck head semi-circular carriage screws or shelf bolts (M4 x 20mm) for $13 for 20. The replacement bolts were bright zinc whereas the originals were some sort of dark anodized. I coloured the tops with a black Sharpie for something similar.
|
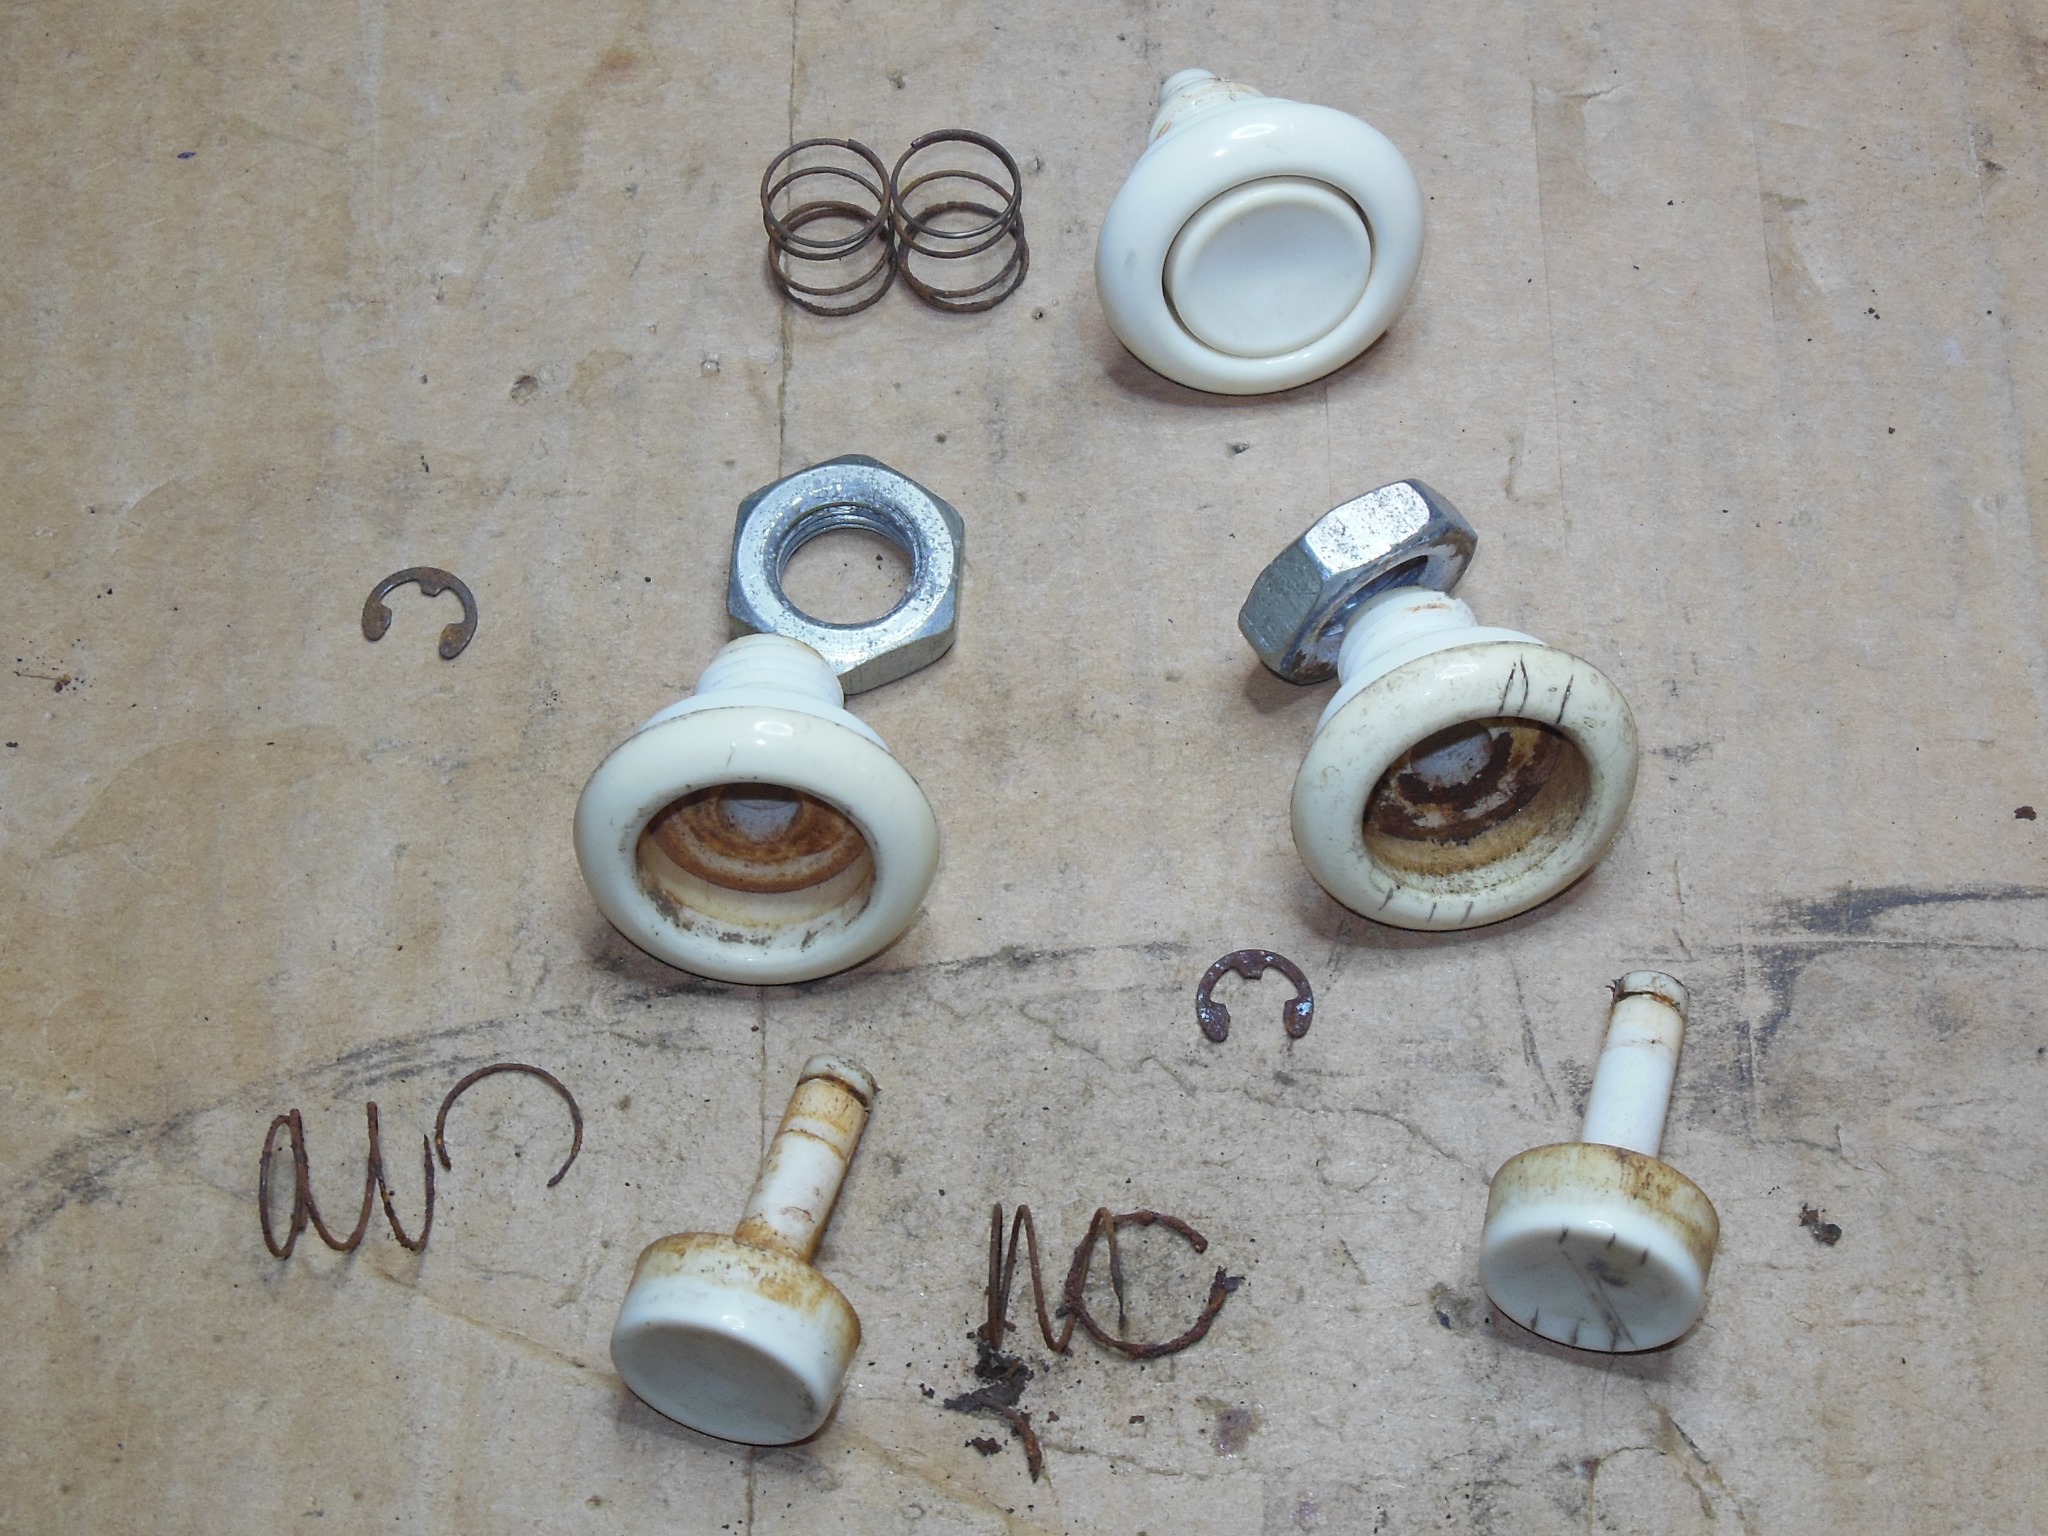
One of the start buttons was vandalized with cuts and both springs were rusted through to crumbling dust so I replaced it and the springs with spares from other panels. The control panel was then reassembled ready to go back into the cabinet.


|
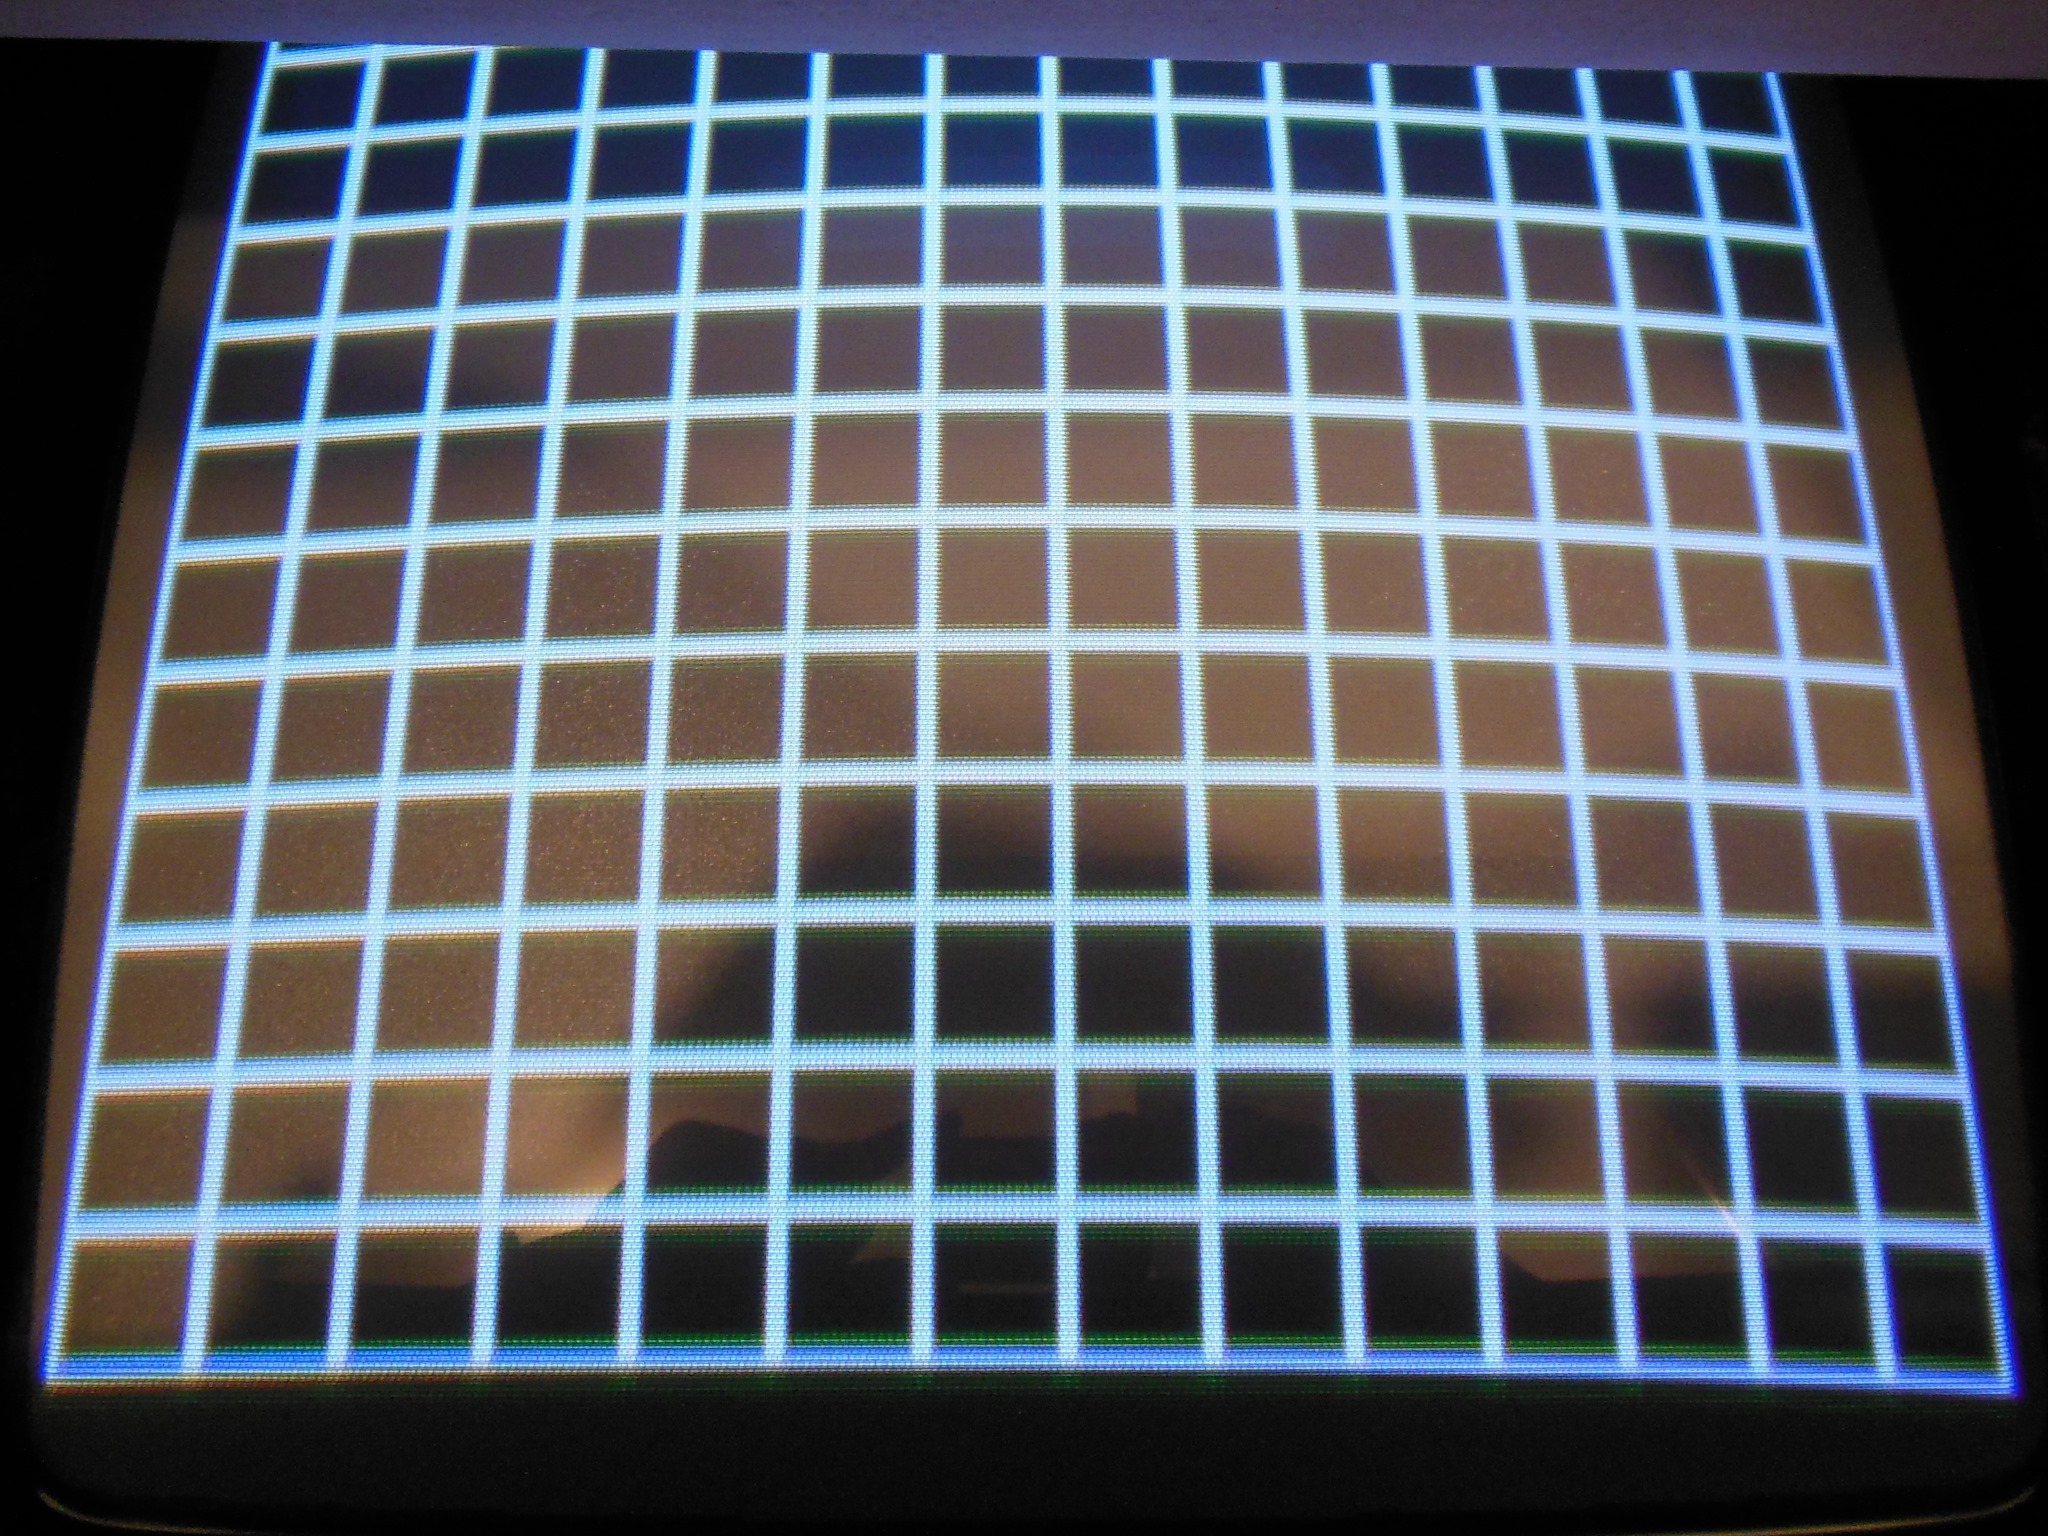
As previously noted, even after the cap kit the picture quality was pretty poor with uneven gun focus and convergence looking off. The KT-3 manual described the convergence procedure that I attempted to follow to align the colours, but I was still unable to get colour alignment. However, the attempt revealed that the convergence itself was correct and thus the colour separation was as a result of bleeding, some sort of gun drive problem. I tried adjusting the gun drive pots and replacing the gun drive PCB but neither made any significant difference to the problem. Adjusting the "screen" pot made the problem worse with increased brightness. That left the CRT itself.
|
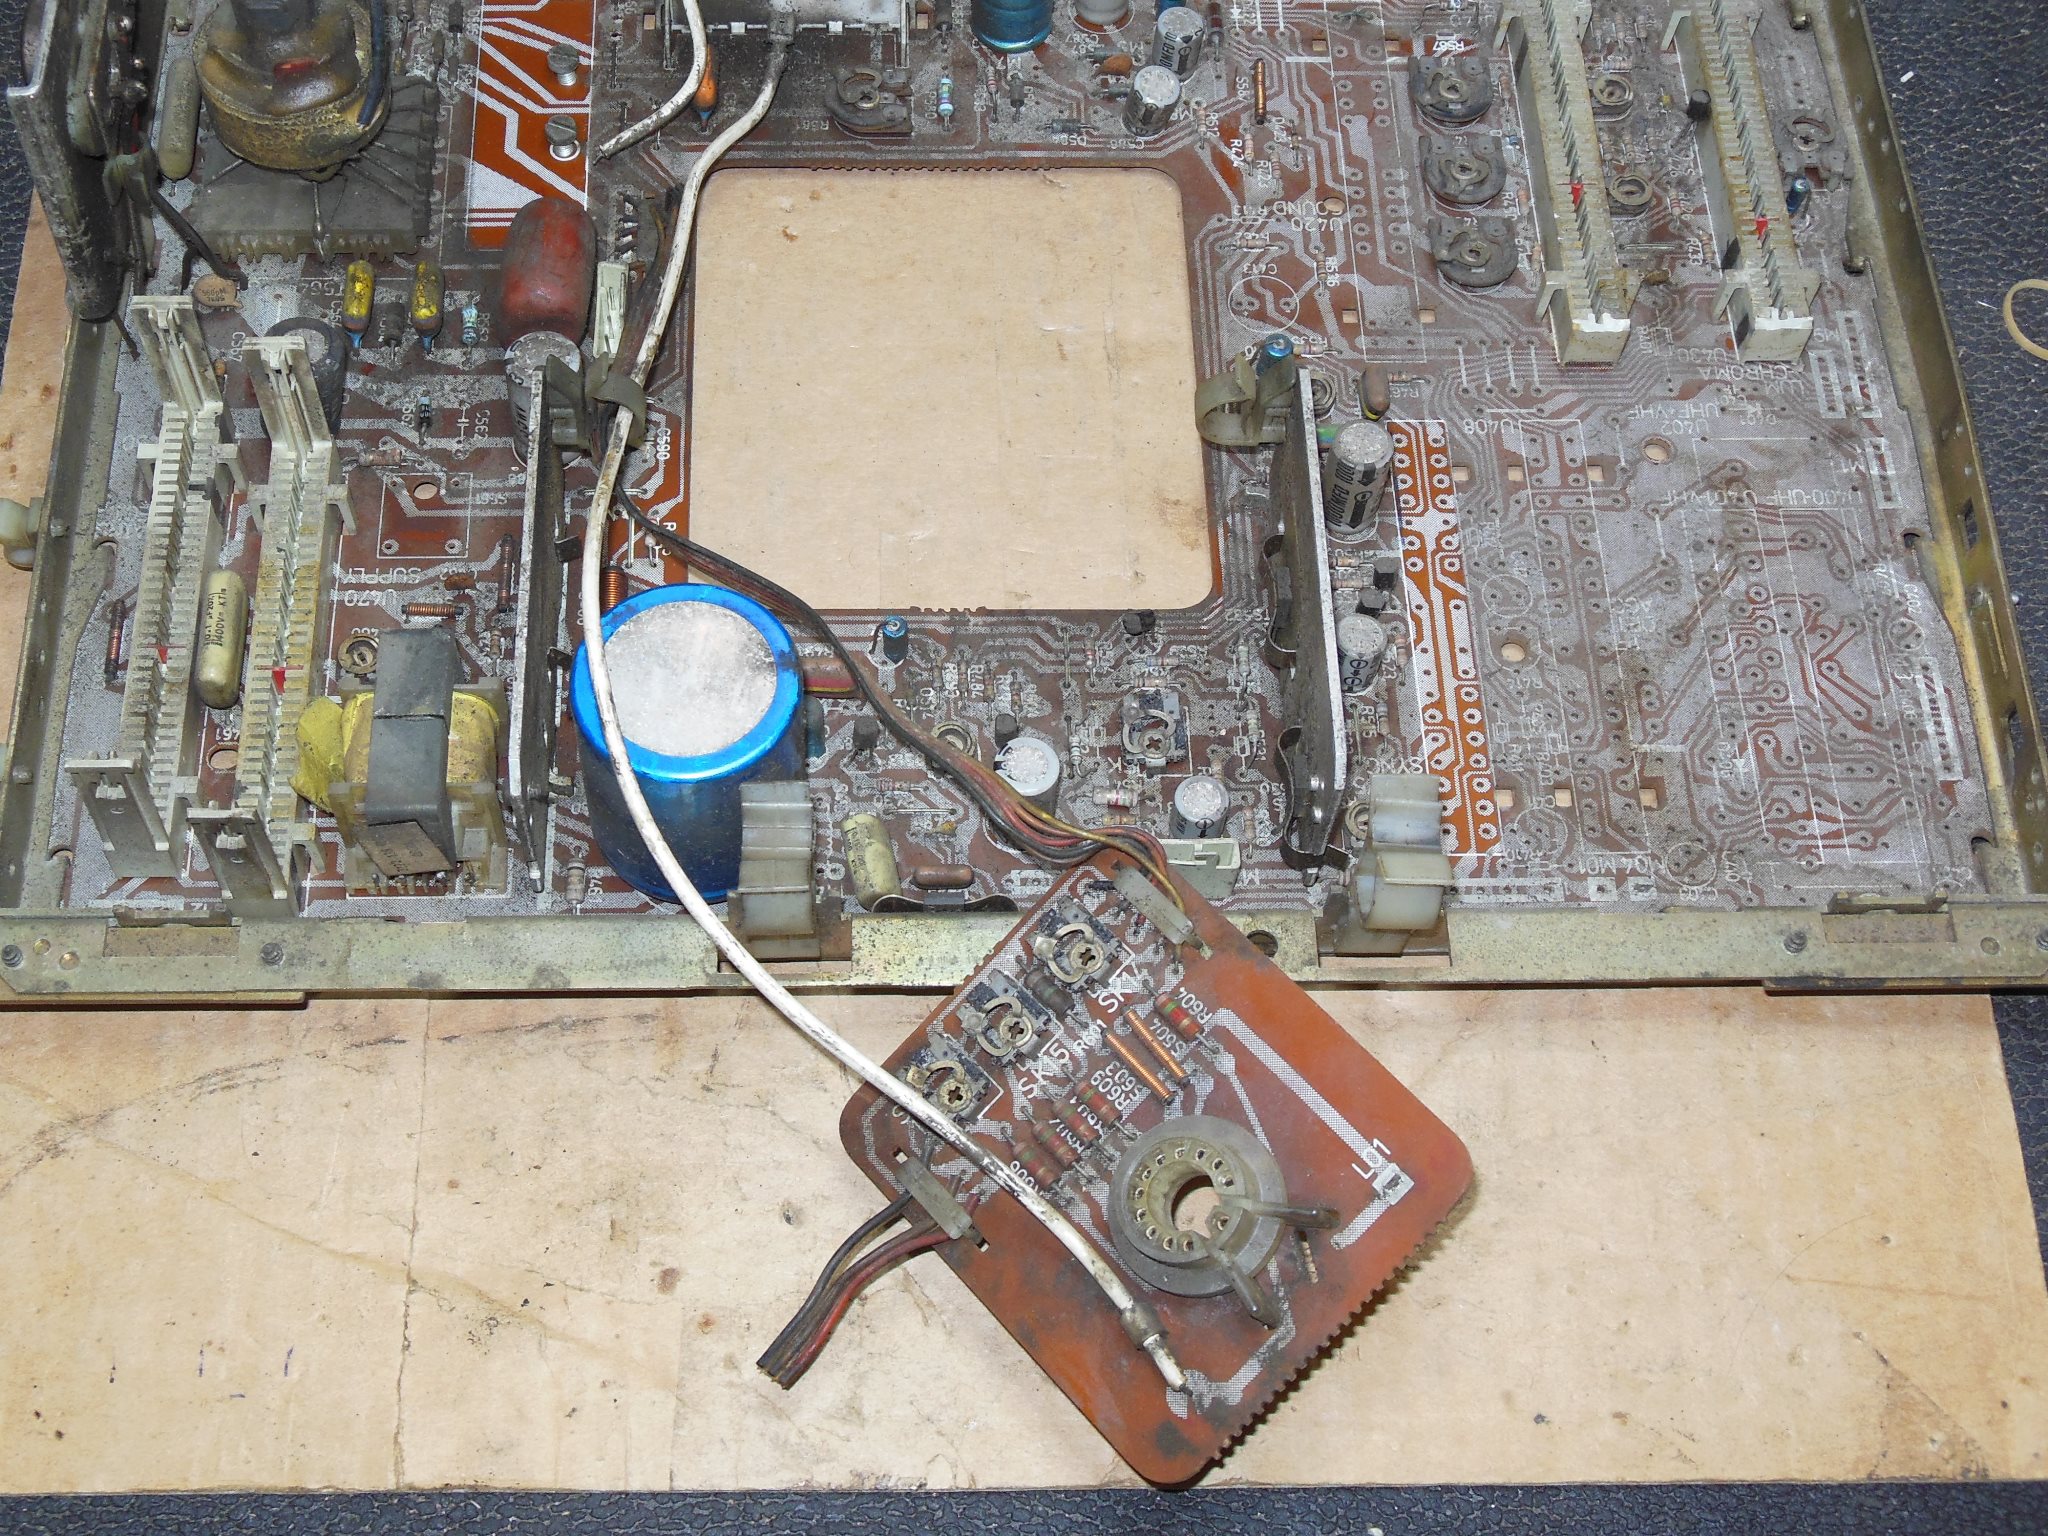
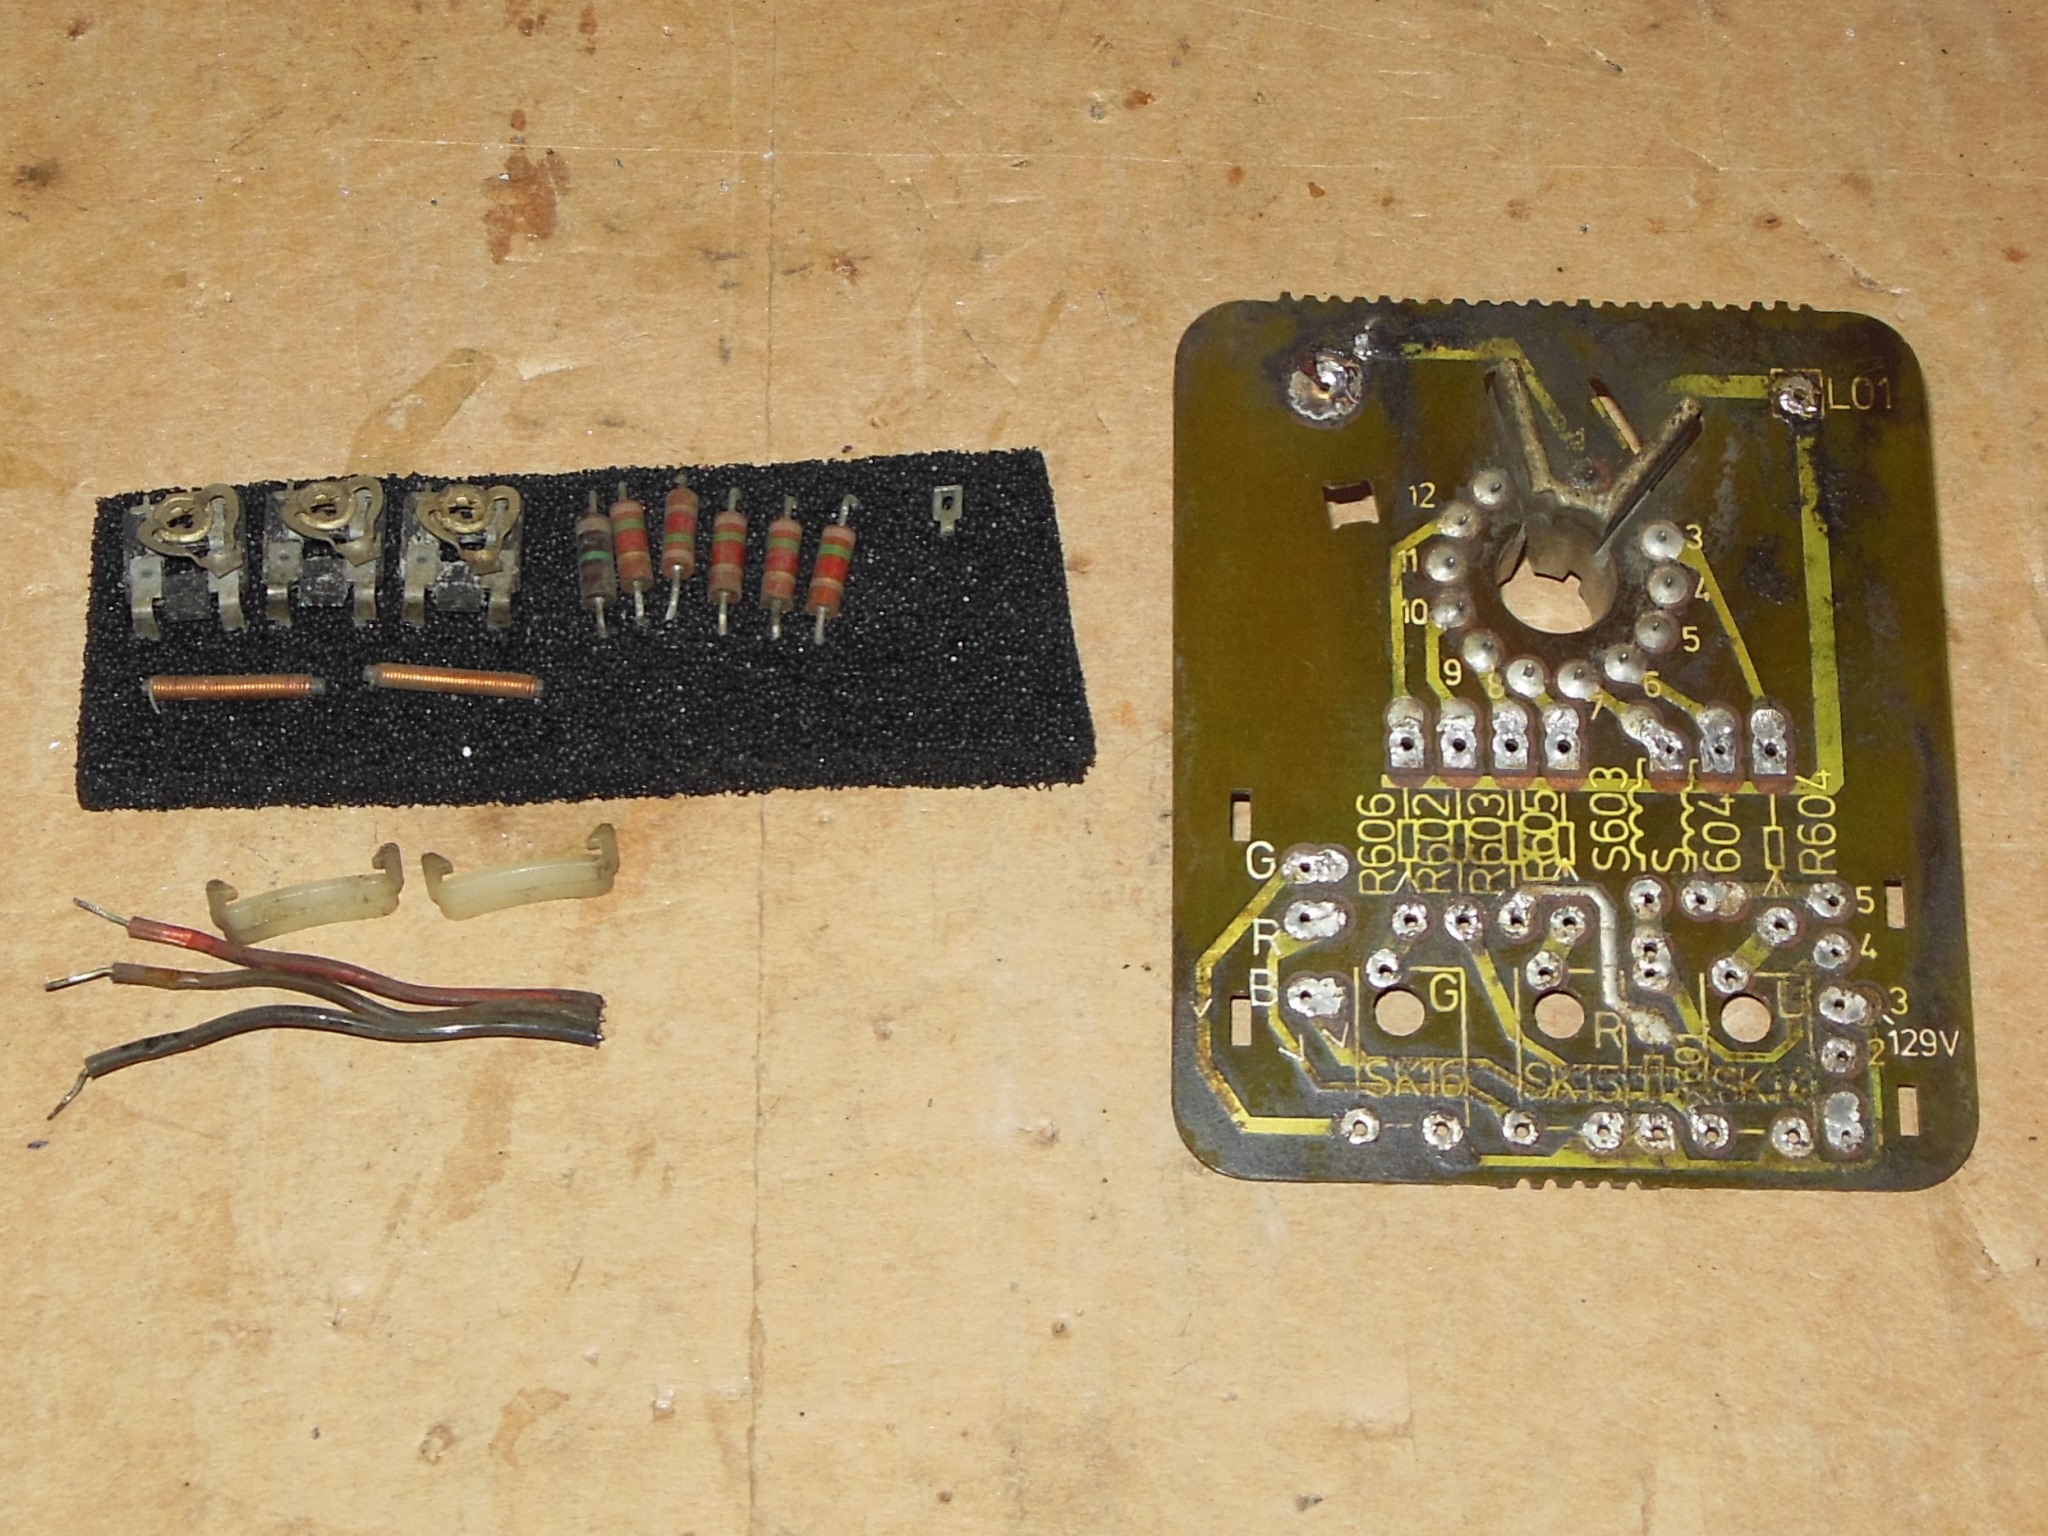
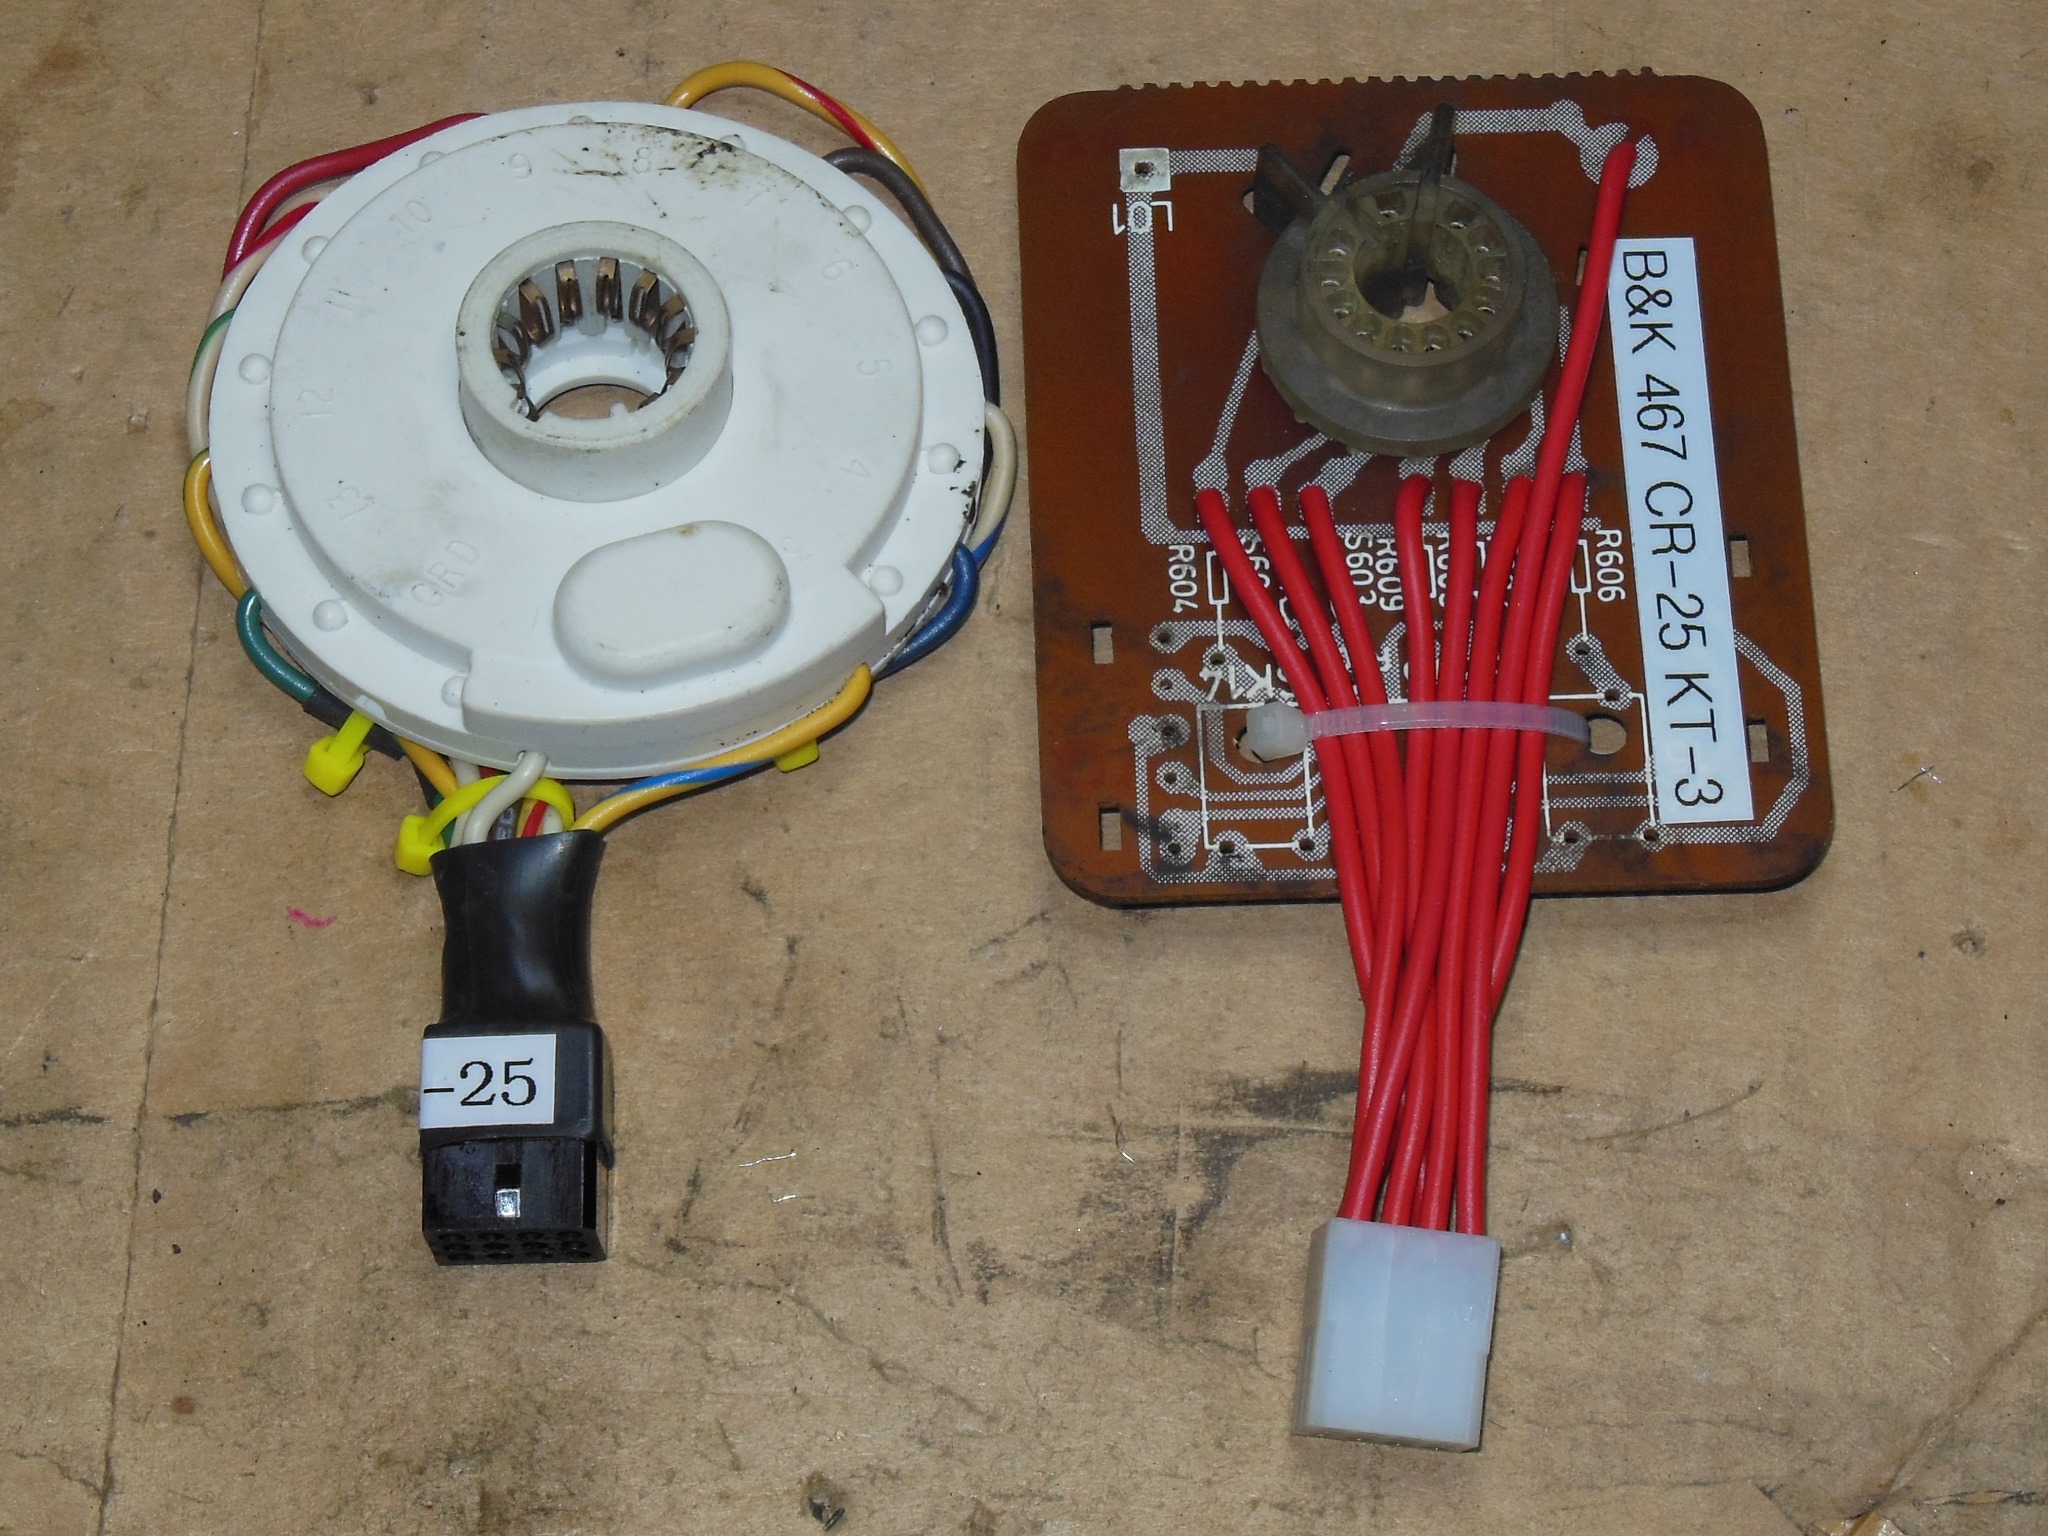
Though I had a CR-25 adaptor matching this CRT neck pinout, a A51-570AX CRT, the neck plug wouldn't fit. The plastic housing on the CRT neck was solidly glued down and I didn't want to risk breaking the neck trying to pry it off so instead I reclaimed a KT-3 neck PCB to use to make another B&K 467 CR-25 adaptor that fit this neck.

|
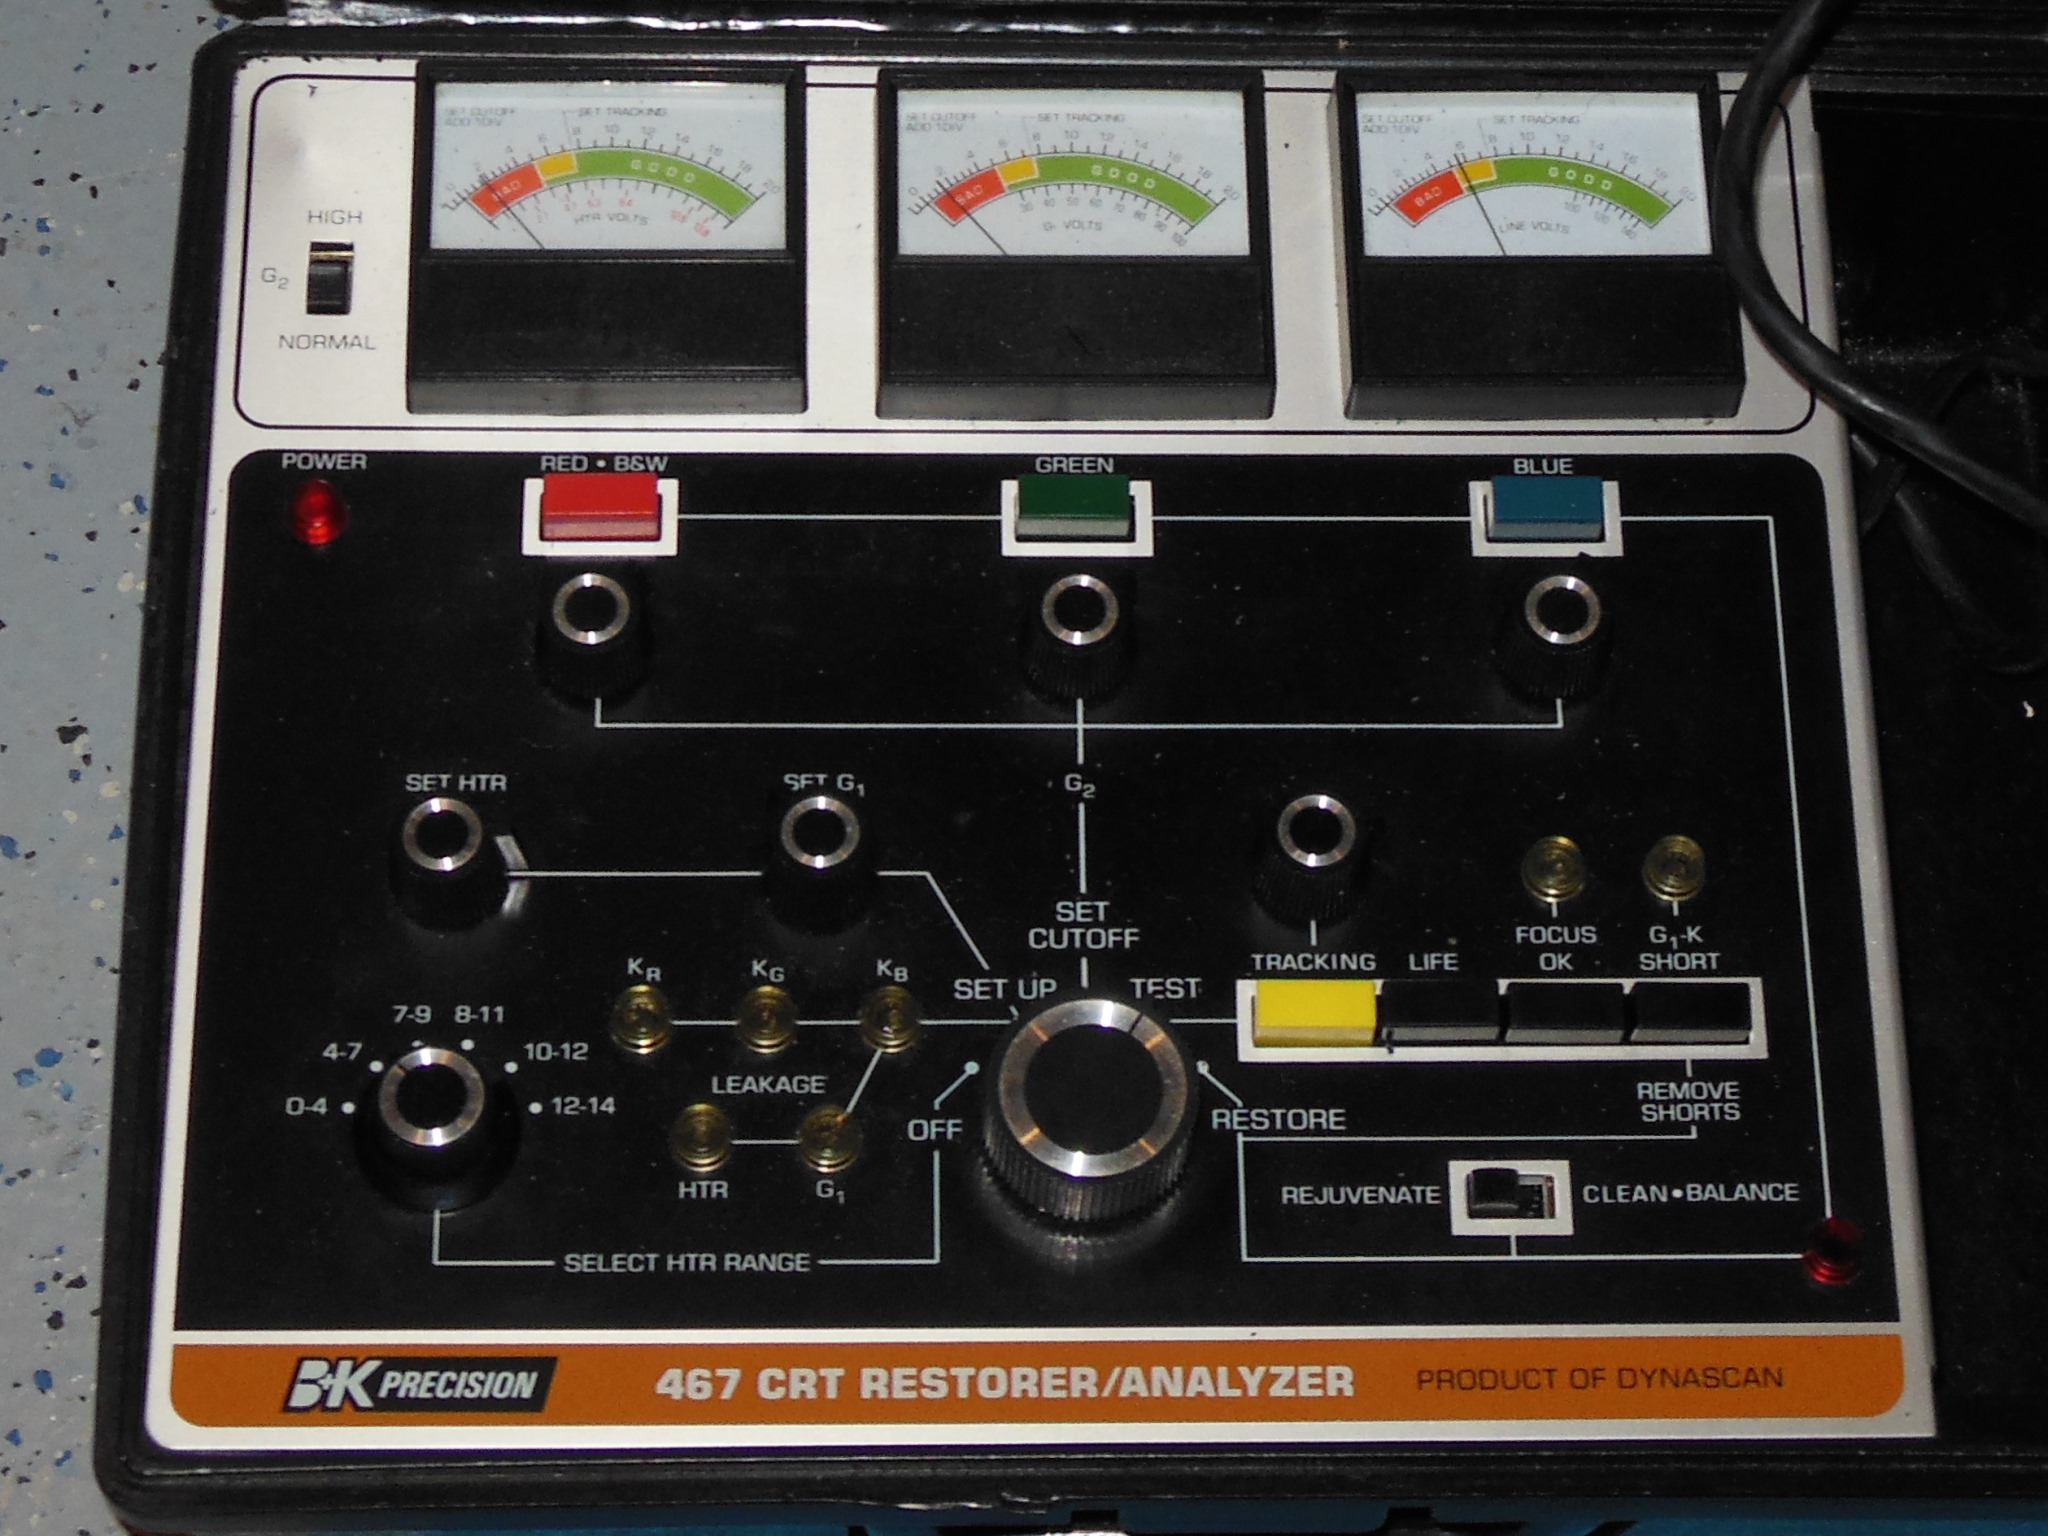
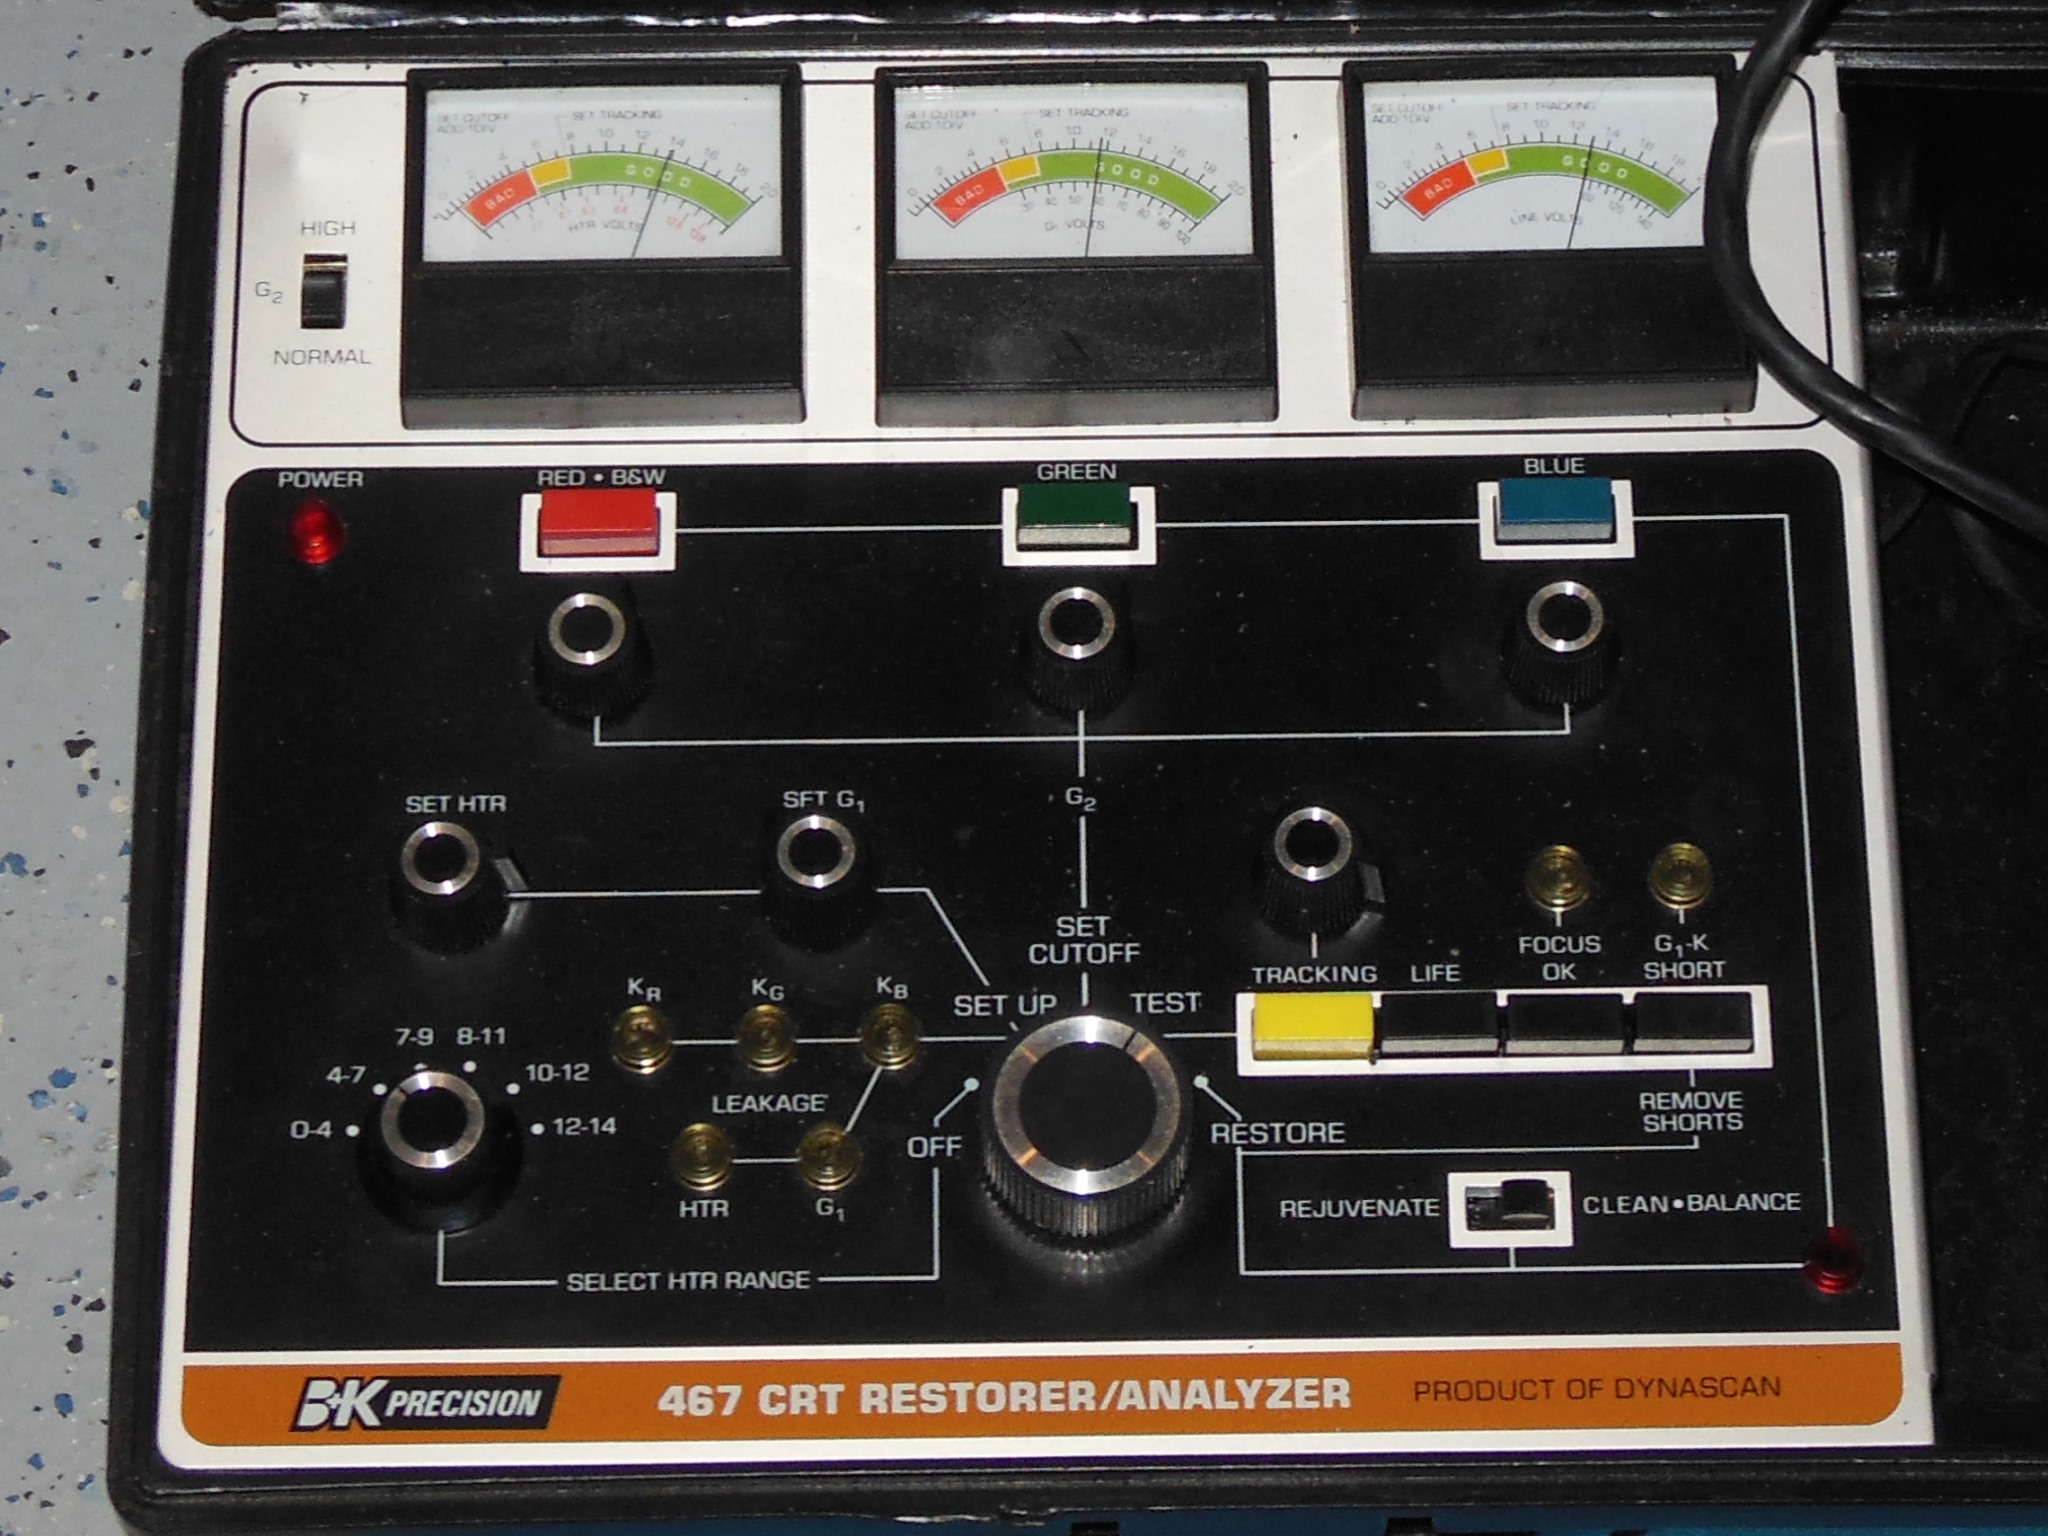
The rejuvenator confirmed that the read & green guns were very poor :( A couple of hits of "restoration" brought the readings of all three guns back firmly into the good zone. Previously on other CRTs I'd not seen a restore measurement improvement result as good as this.

|
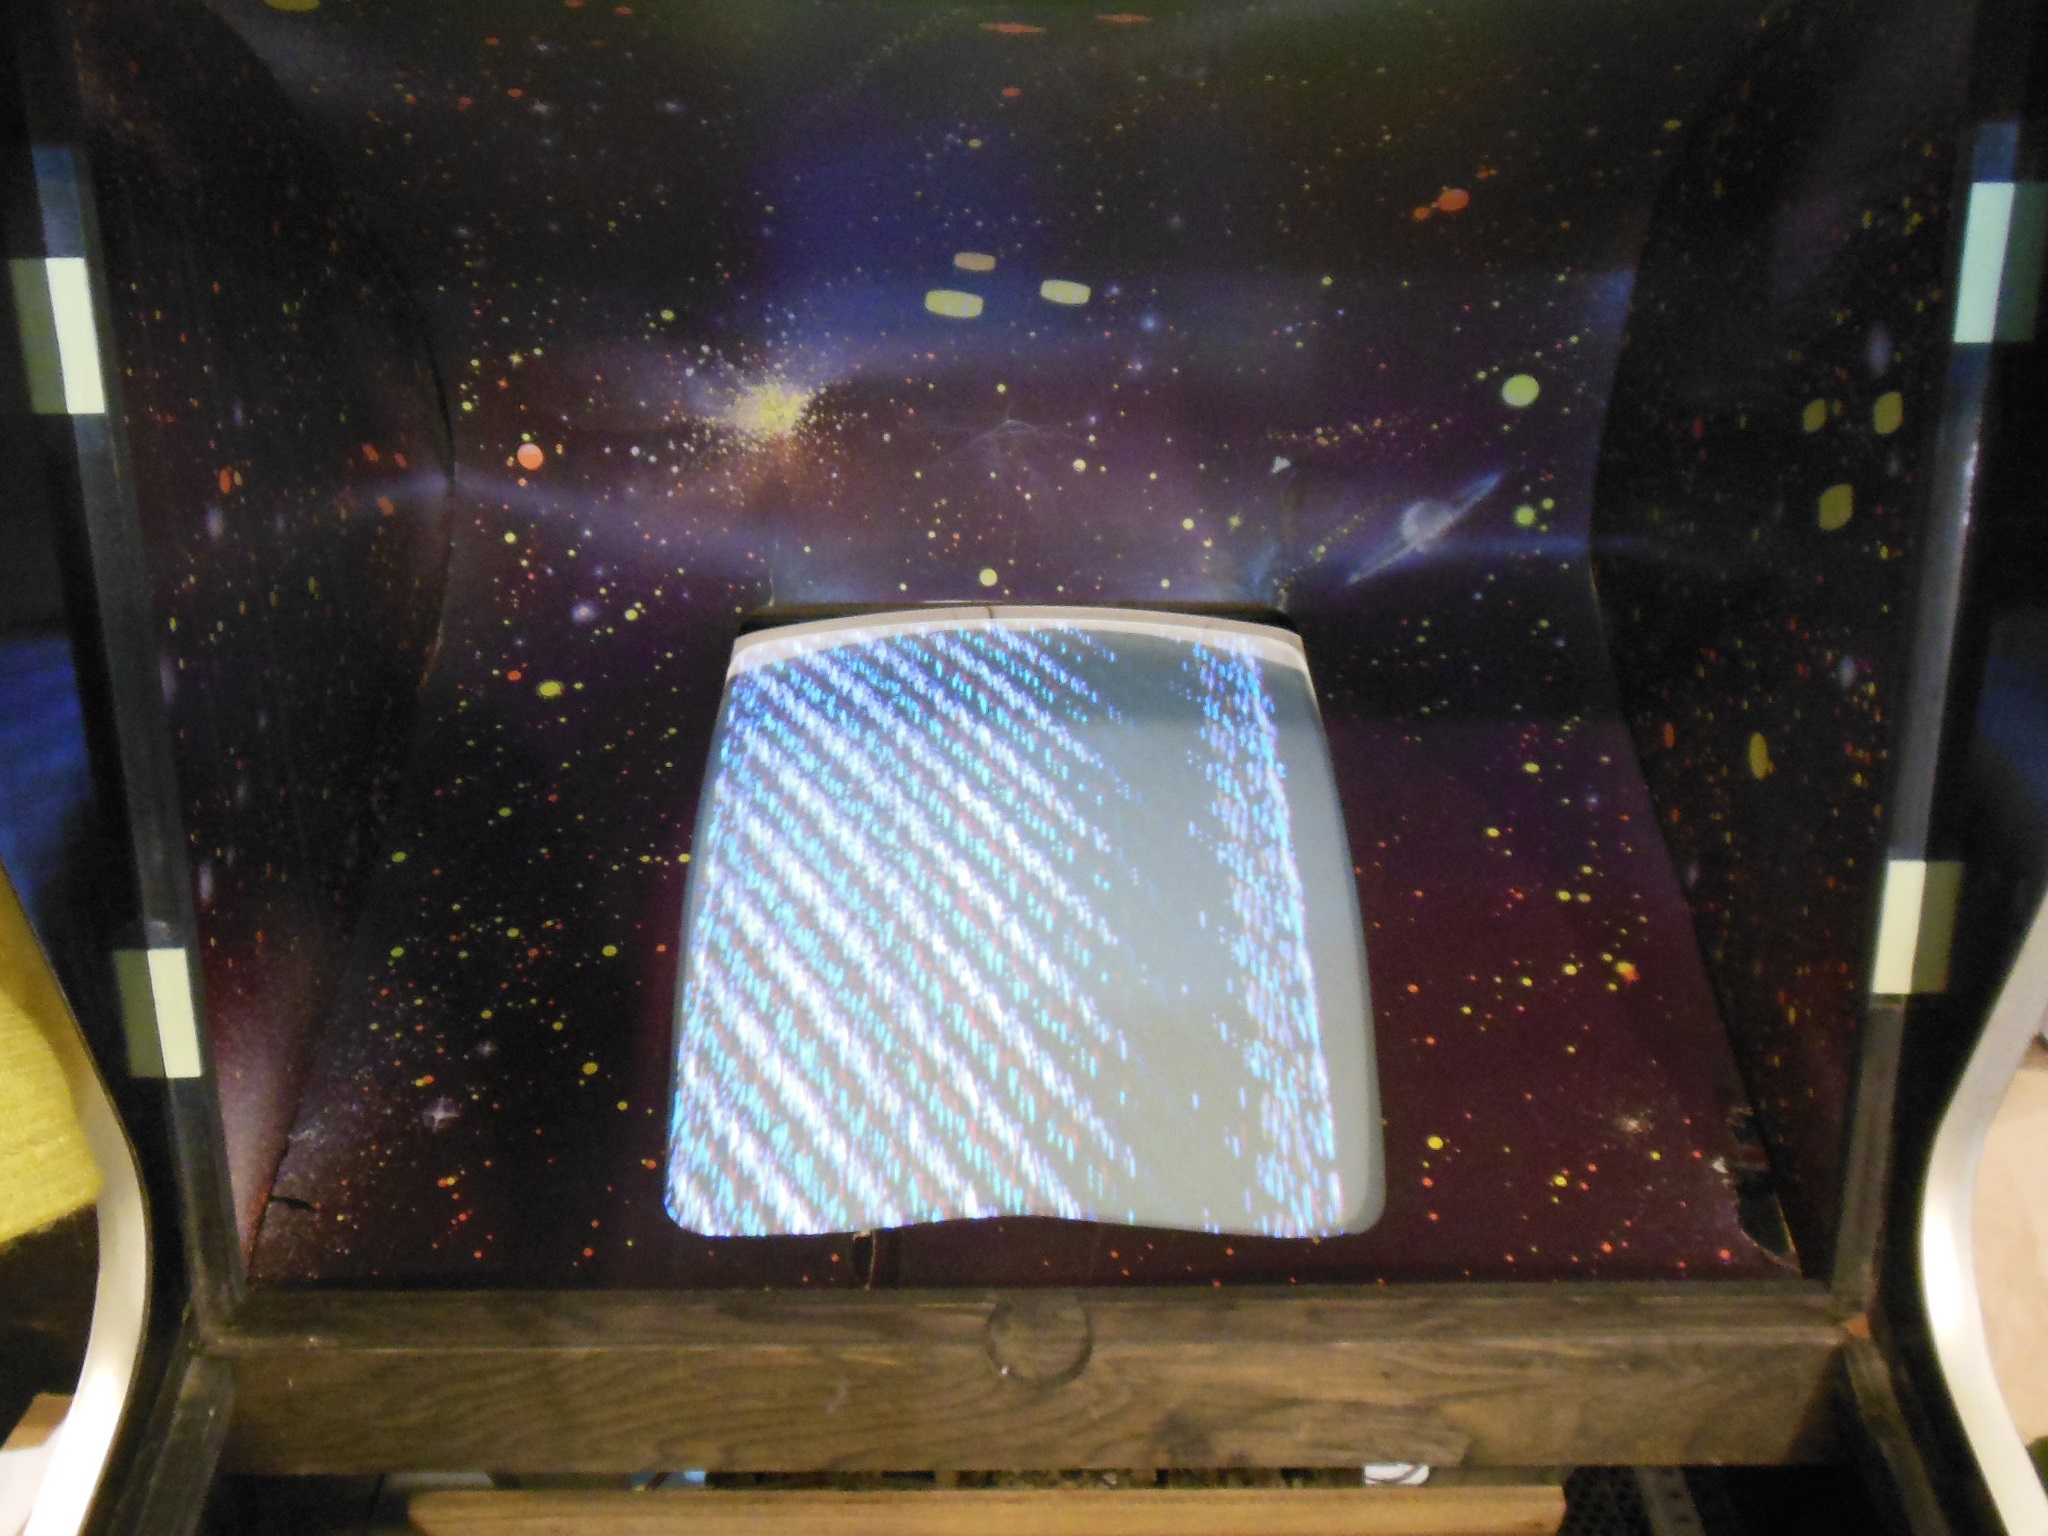
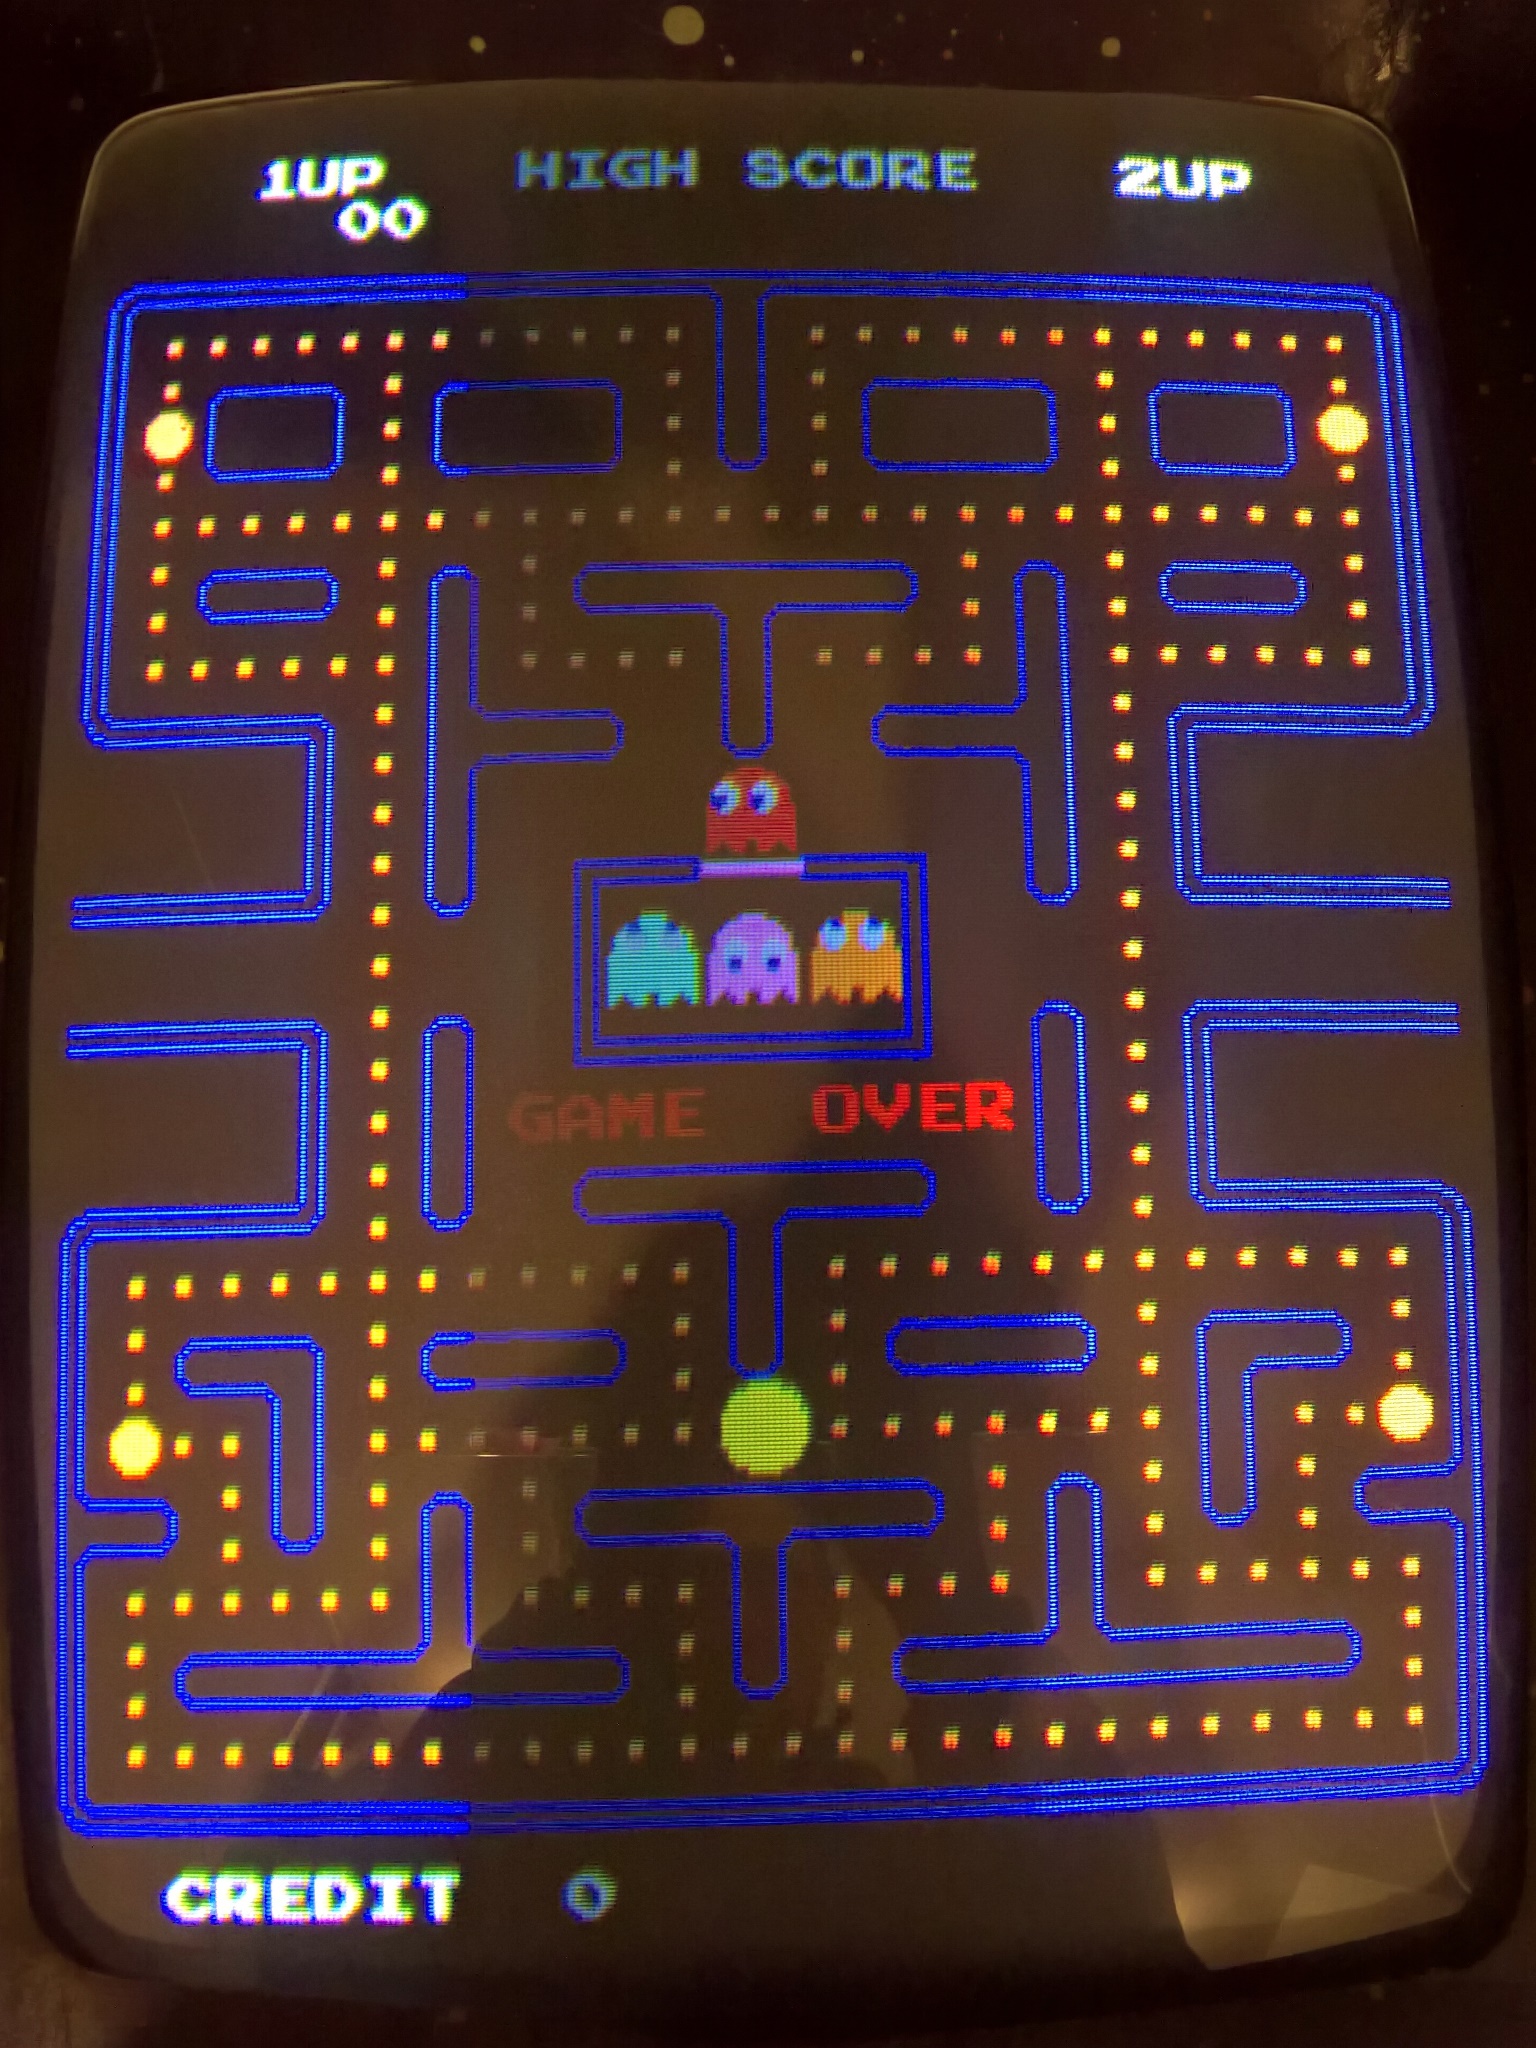
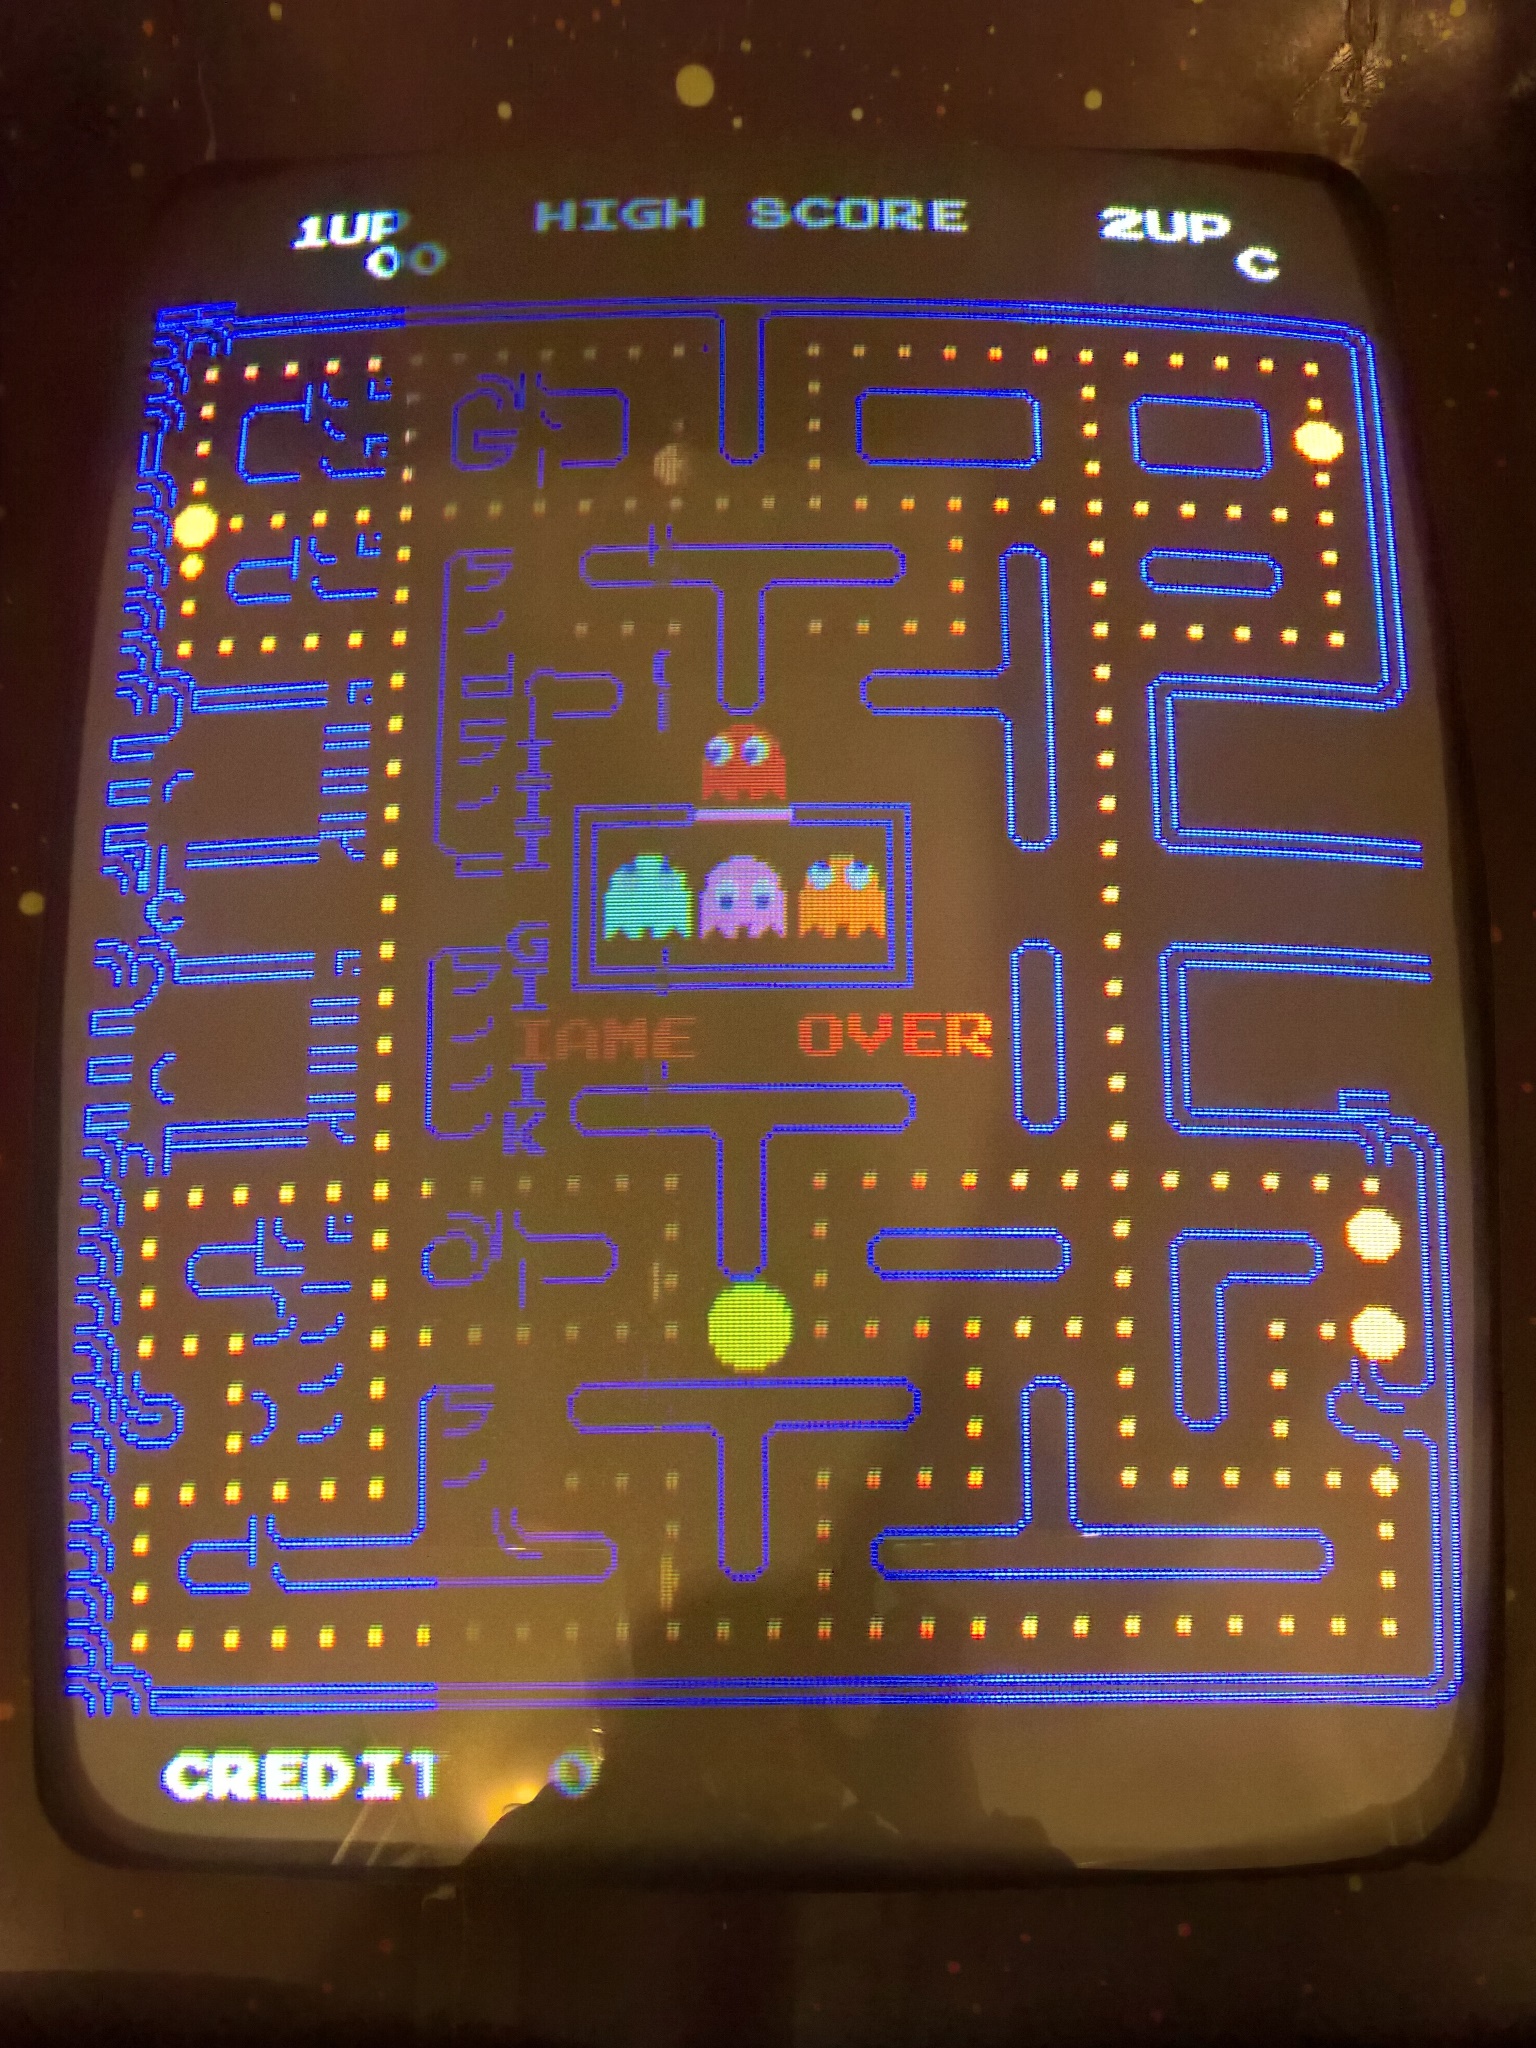
The photos above capture the before & after picture. The transformation was pretty amazing - all the bleeding was gone, all the colours were sharp, the contrast & brightness both good.

|
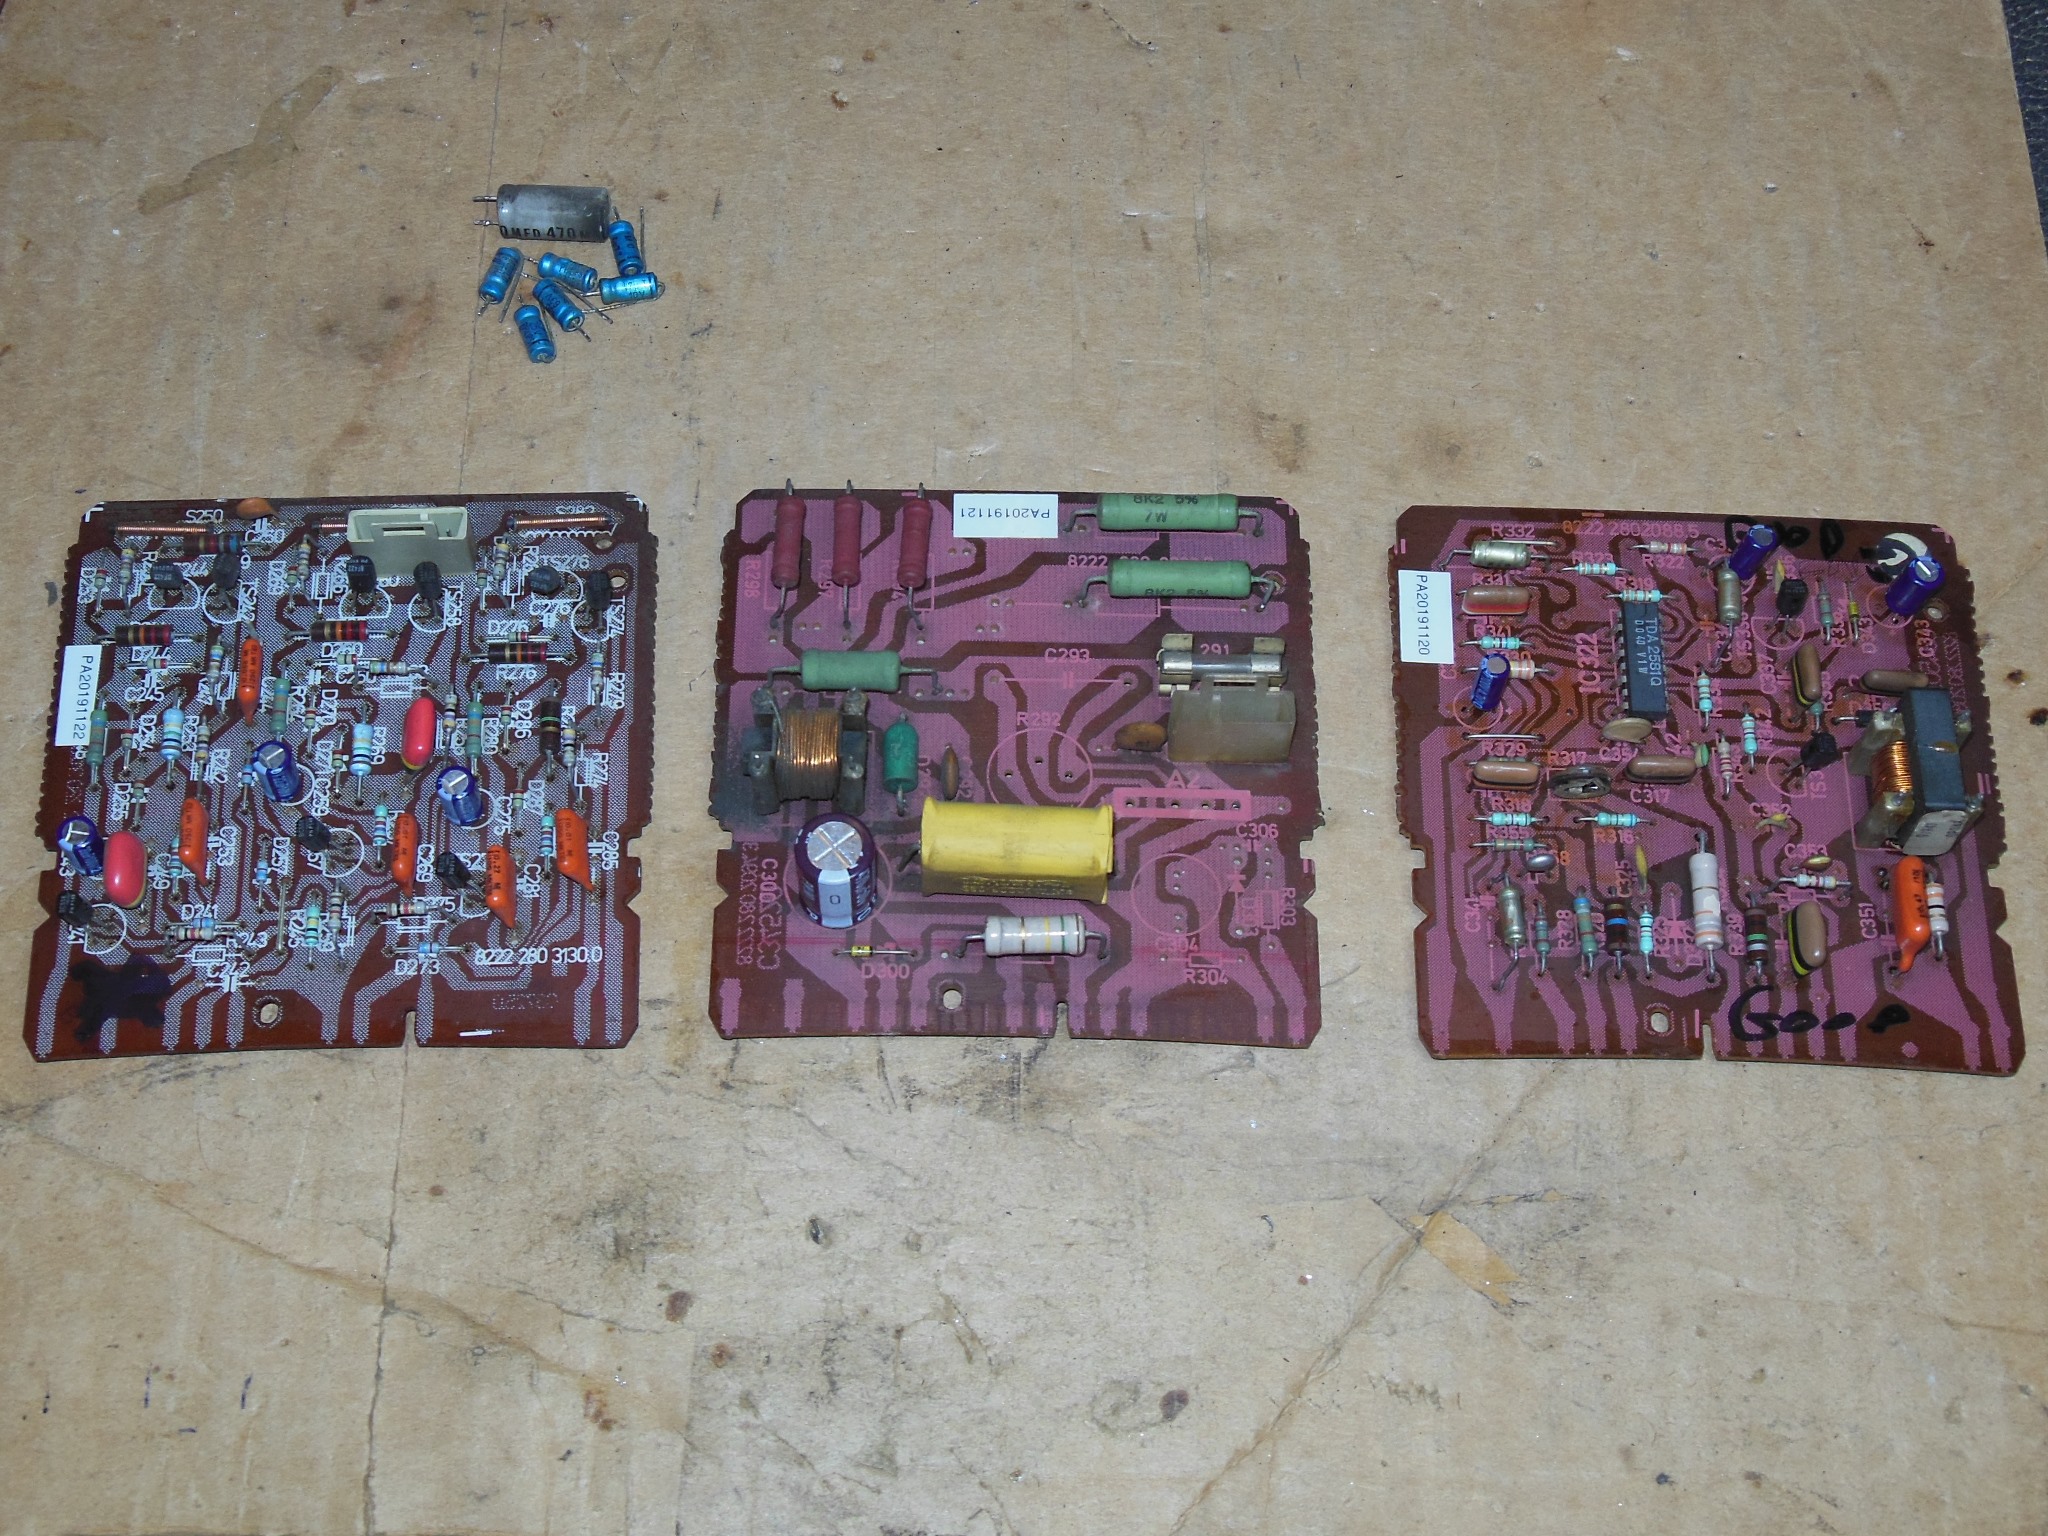
I hadn't yet put together a more complete set of spare daughter PCBs for the KT-3 chassis, so far only the sync PCB had failed in use. Since this was the last of the KT-3 based games to restore I decided to complete the spares for the chassis and cap kitted RGB drive, AC input and regulation PCBs. These were swapped into the Puck Man KT-3, B+ calibrated and run for a few hours. The known working ones removed were added to the show spares boxes.

|
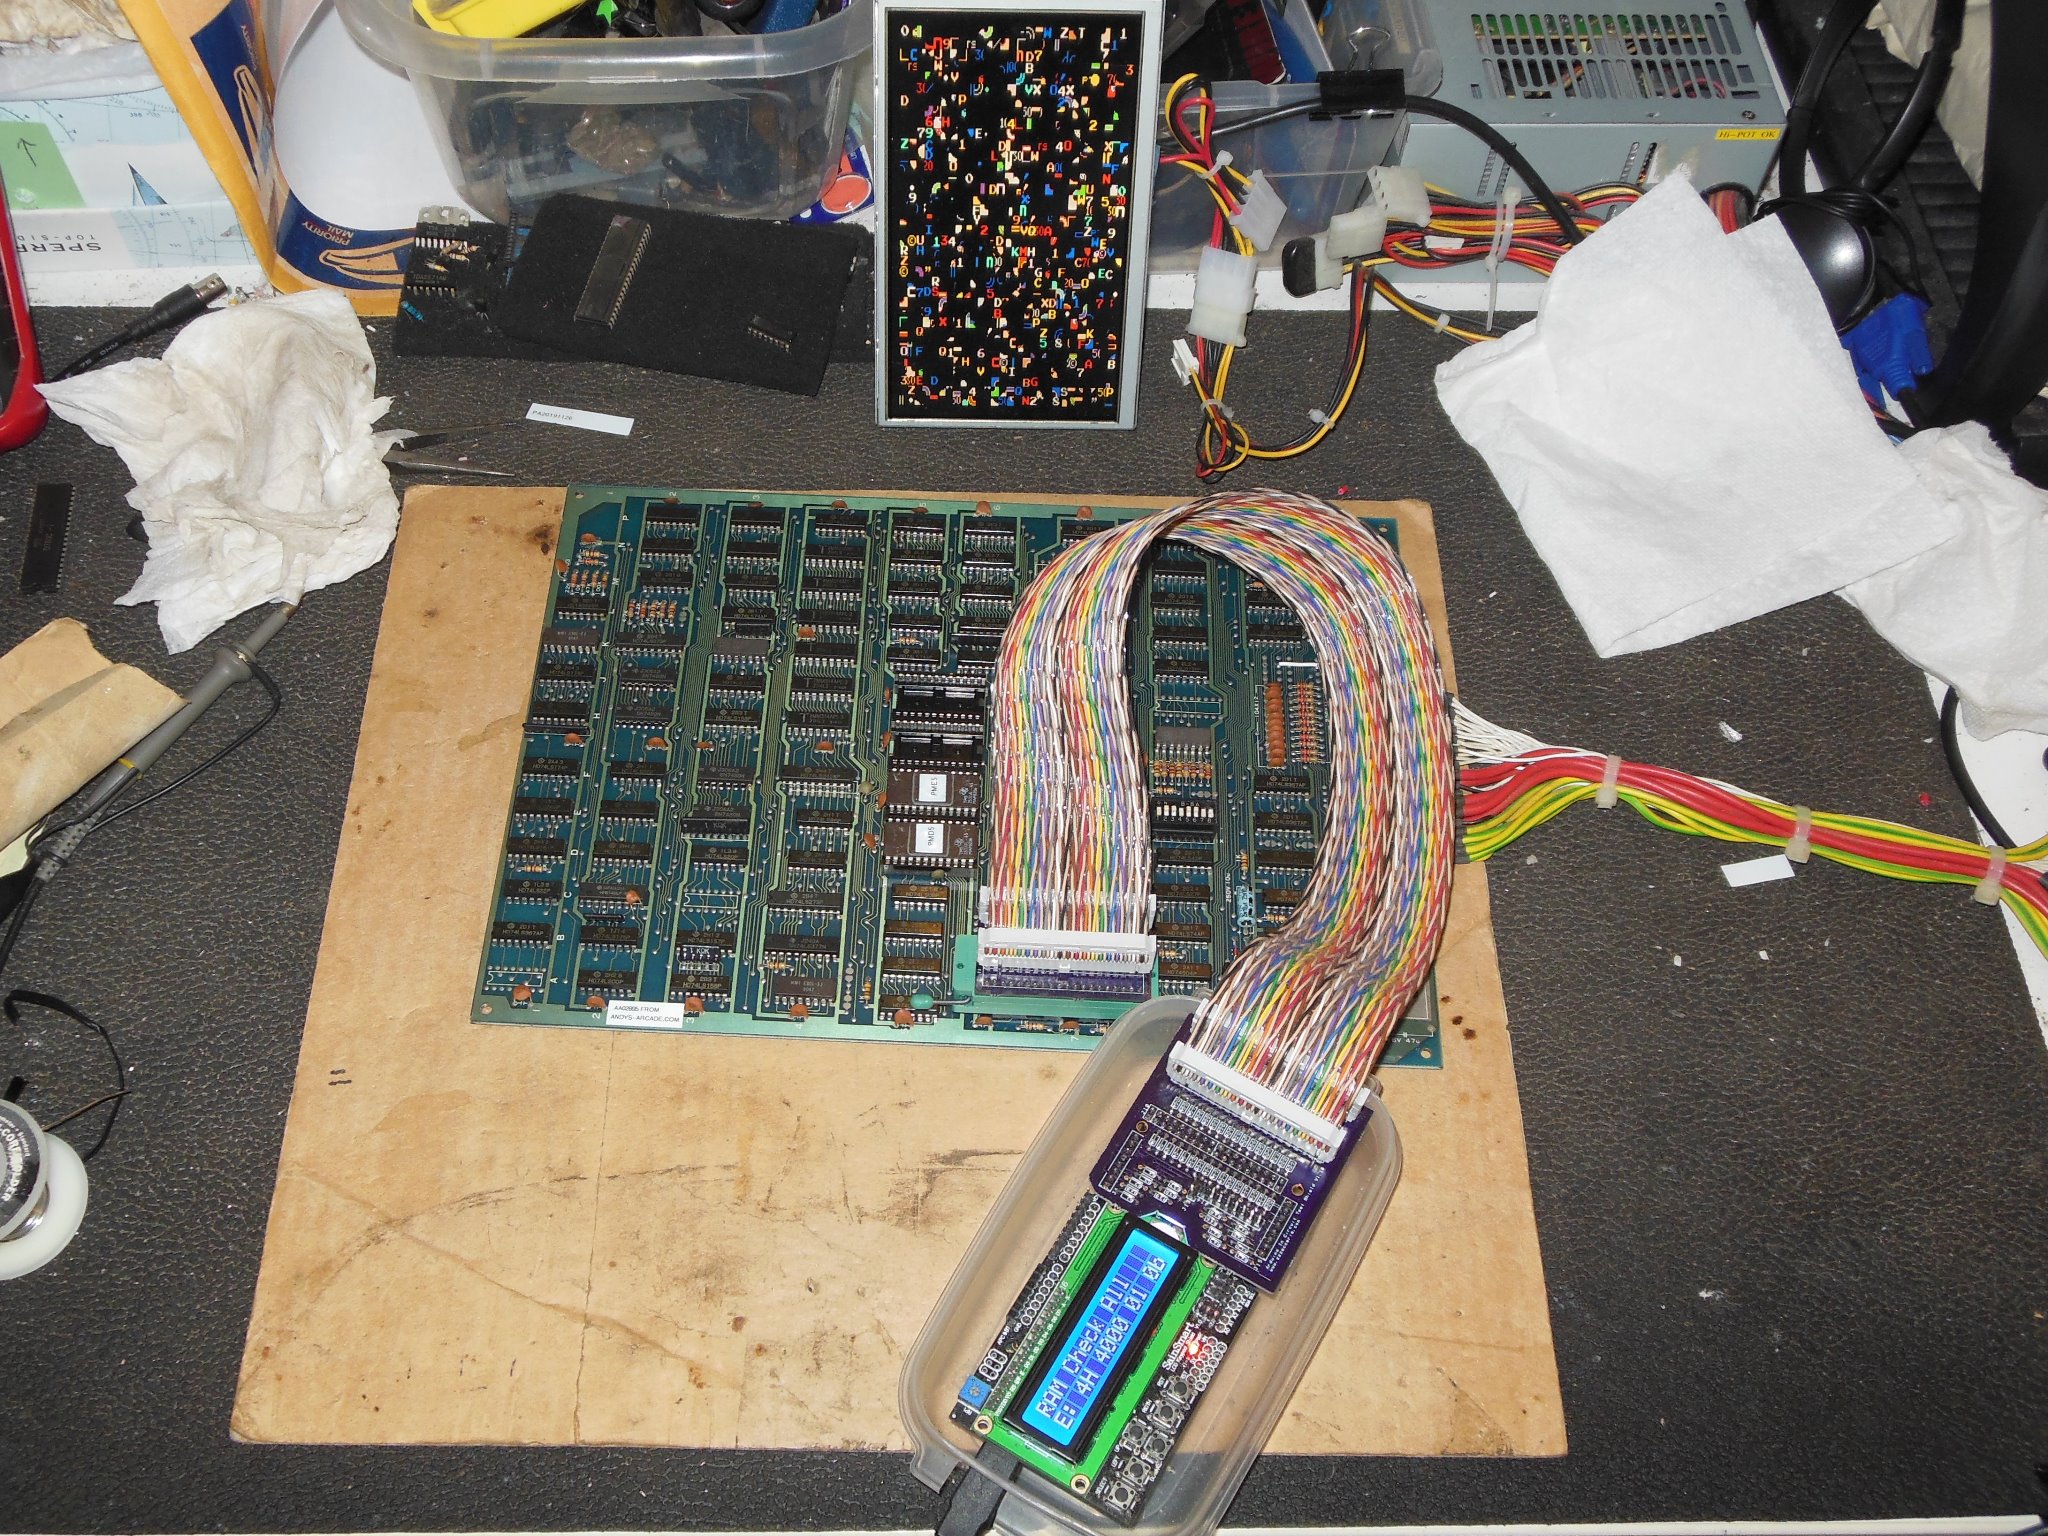
Burn in testing hit a game PCB fault after a few hours. The initial power on RAM test wasn't flagging any bad RAMs but the attract mode was stuck so the CPU was seeing some effect of the graphics corruption.


|
The behaviour on the bench was the same as in the cabinet, confirming a game PCB issue. This particular PCB didn't have its Z80 in a socket and thus first needed it de-soldered and a socket fitted to allow the Arduino ICT to plug in. With the ICT "ROM Check All" passed OK but "RAM Check All" flagged IC 4H (2114) as bad. Since the other nibble of the byte was passing OK (ruling out an access problem with the RAM in general) I suspected the RAM was bad. Replacing IC 4H fixed the game and it ran on the bench for several hours without issue.


|
A second round of burn-in testing encountered no issues and the game was declared finished and ready for show.
|
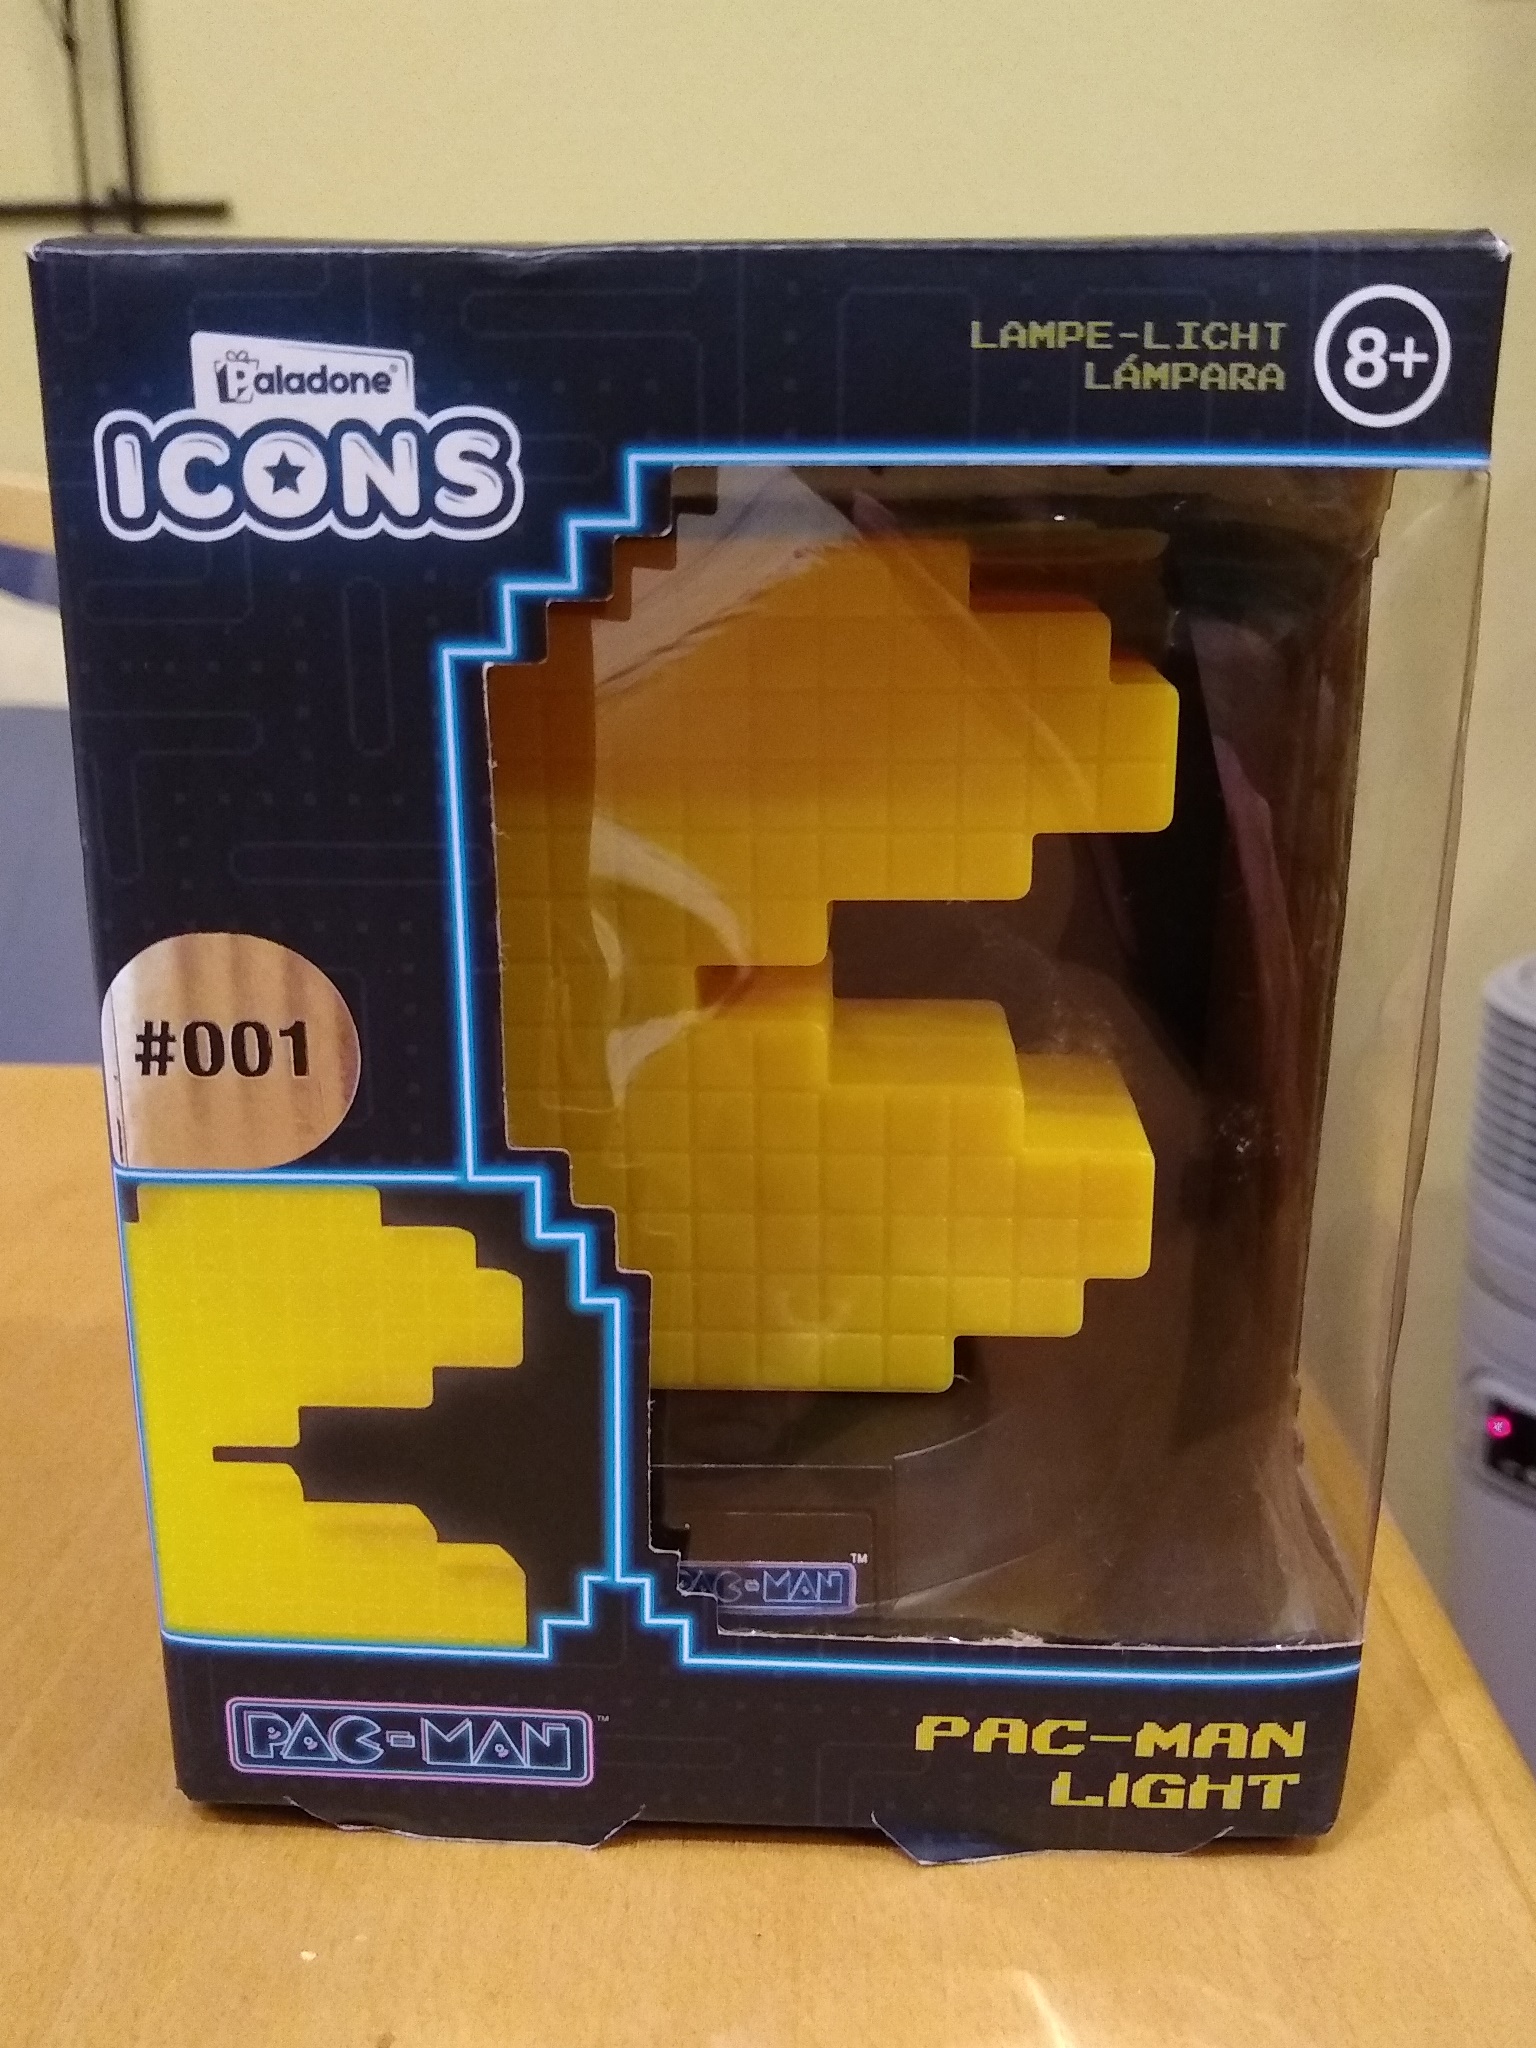
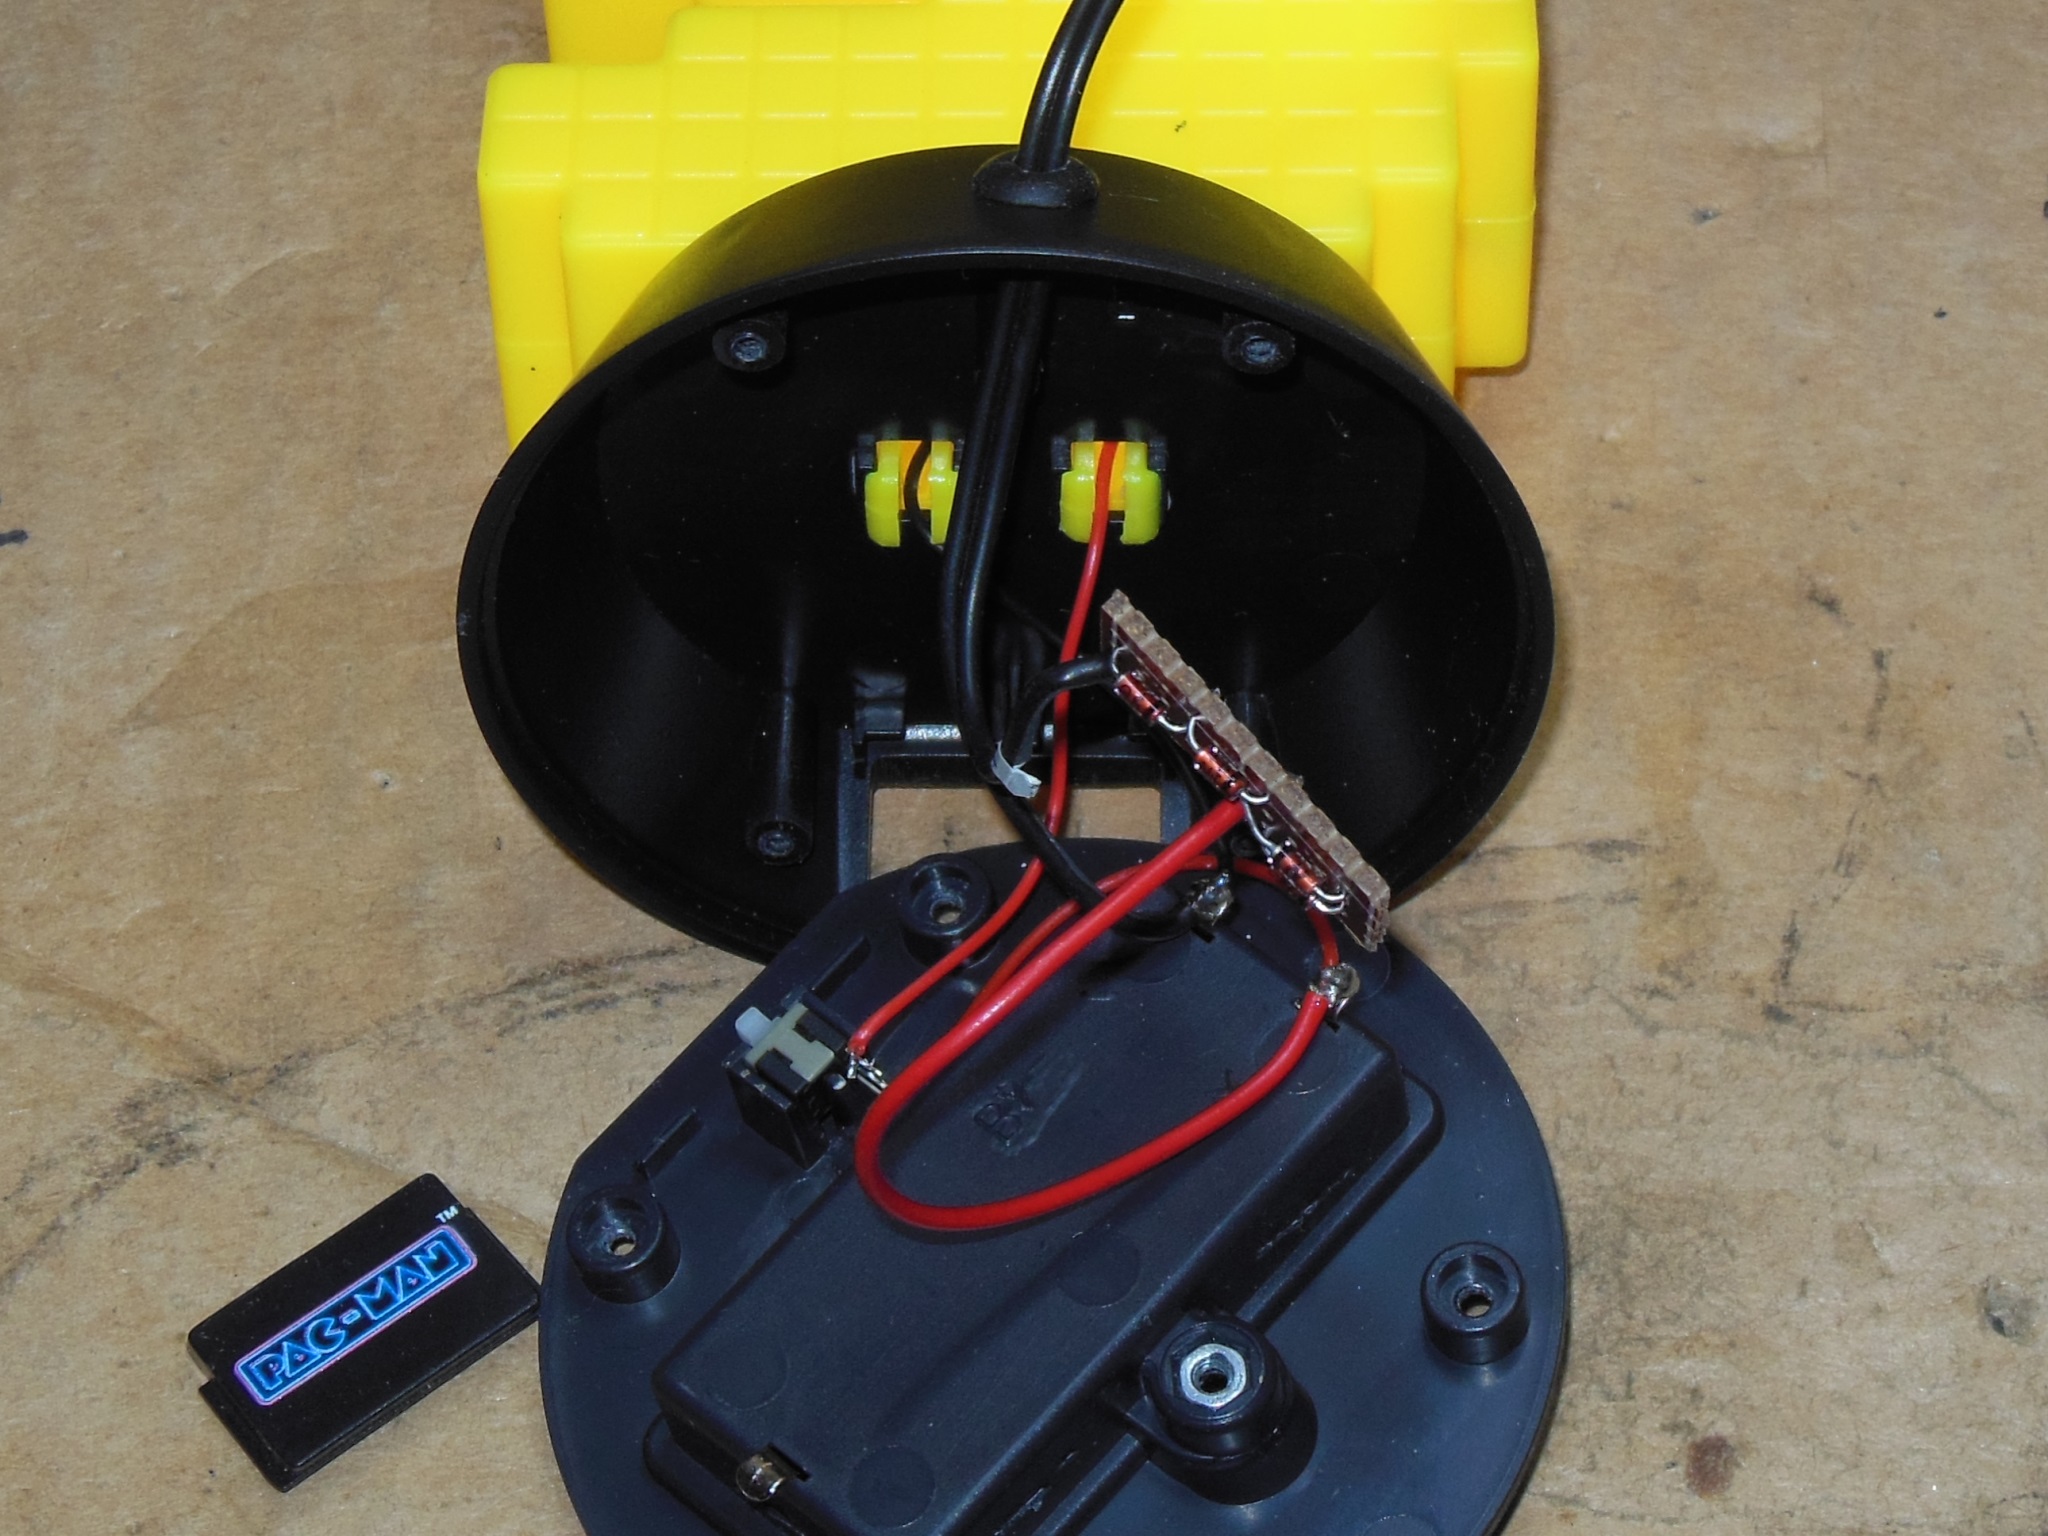
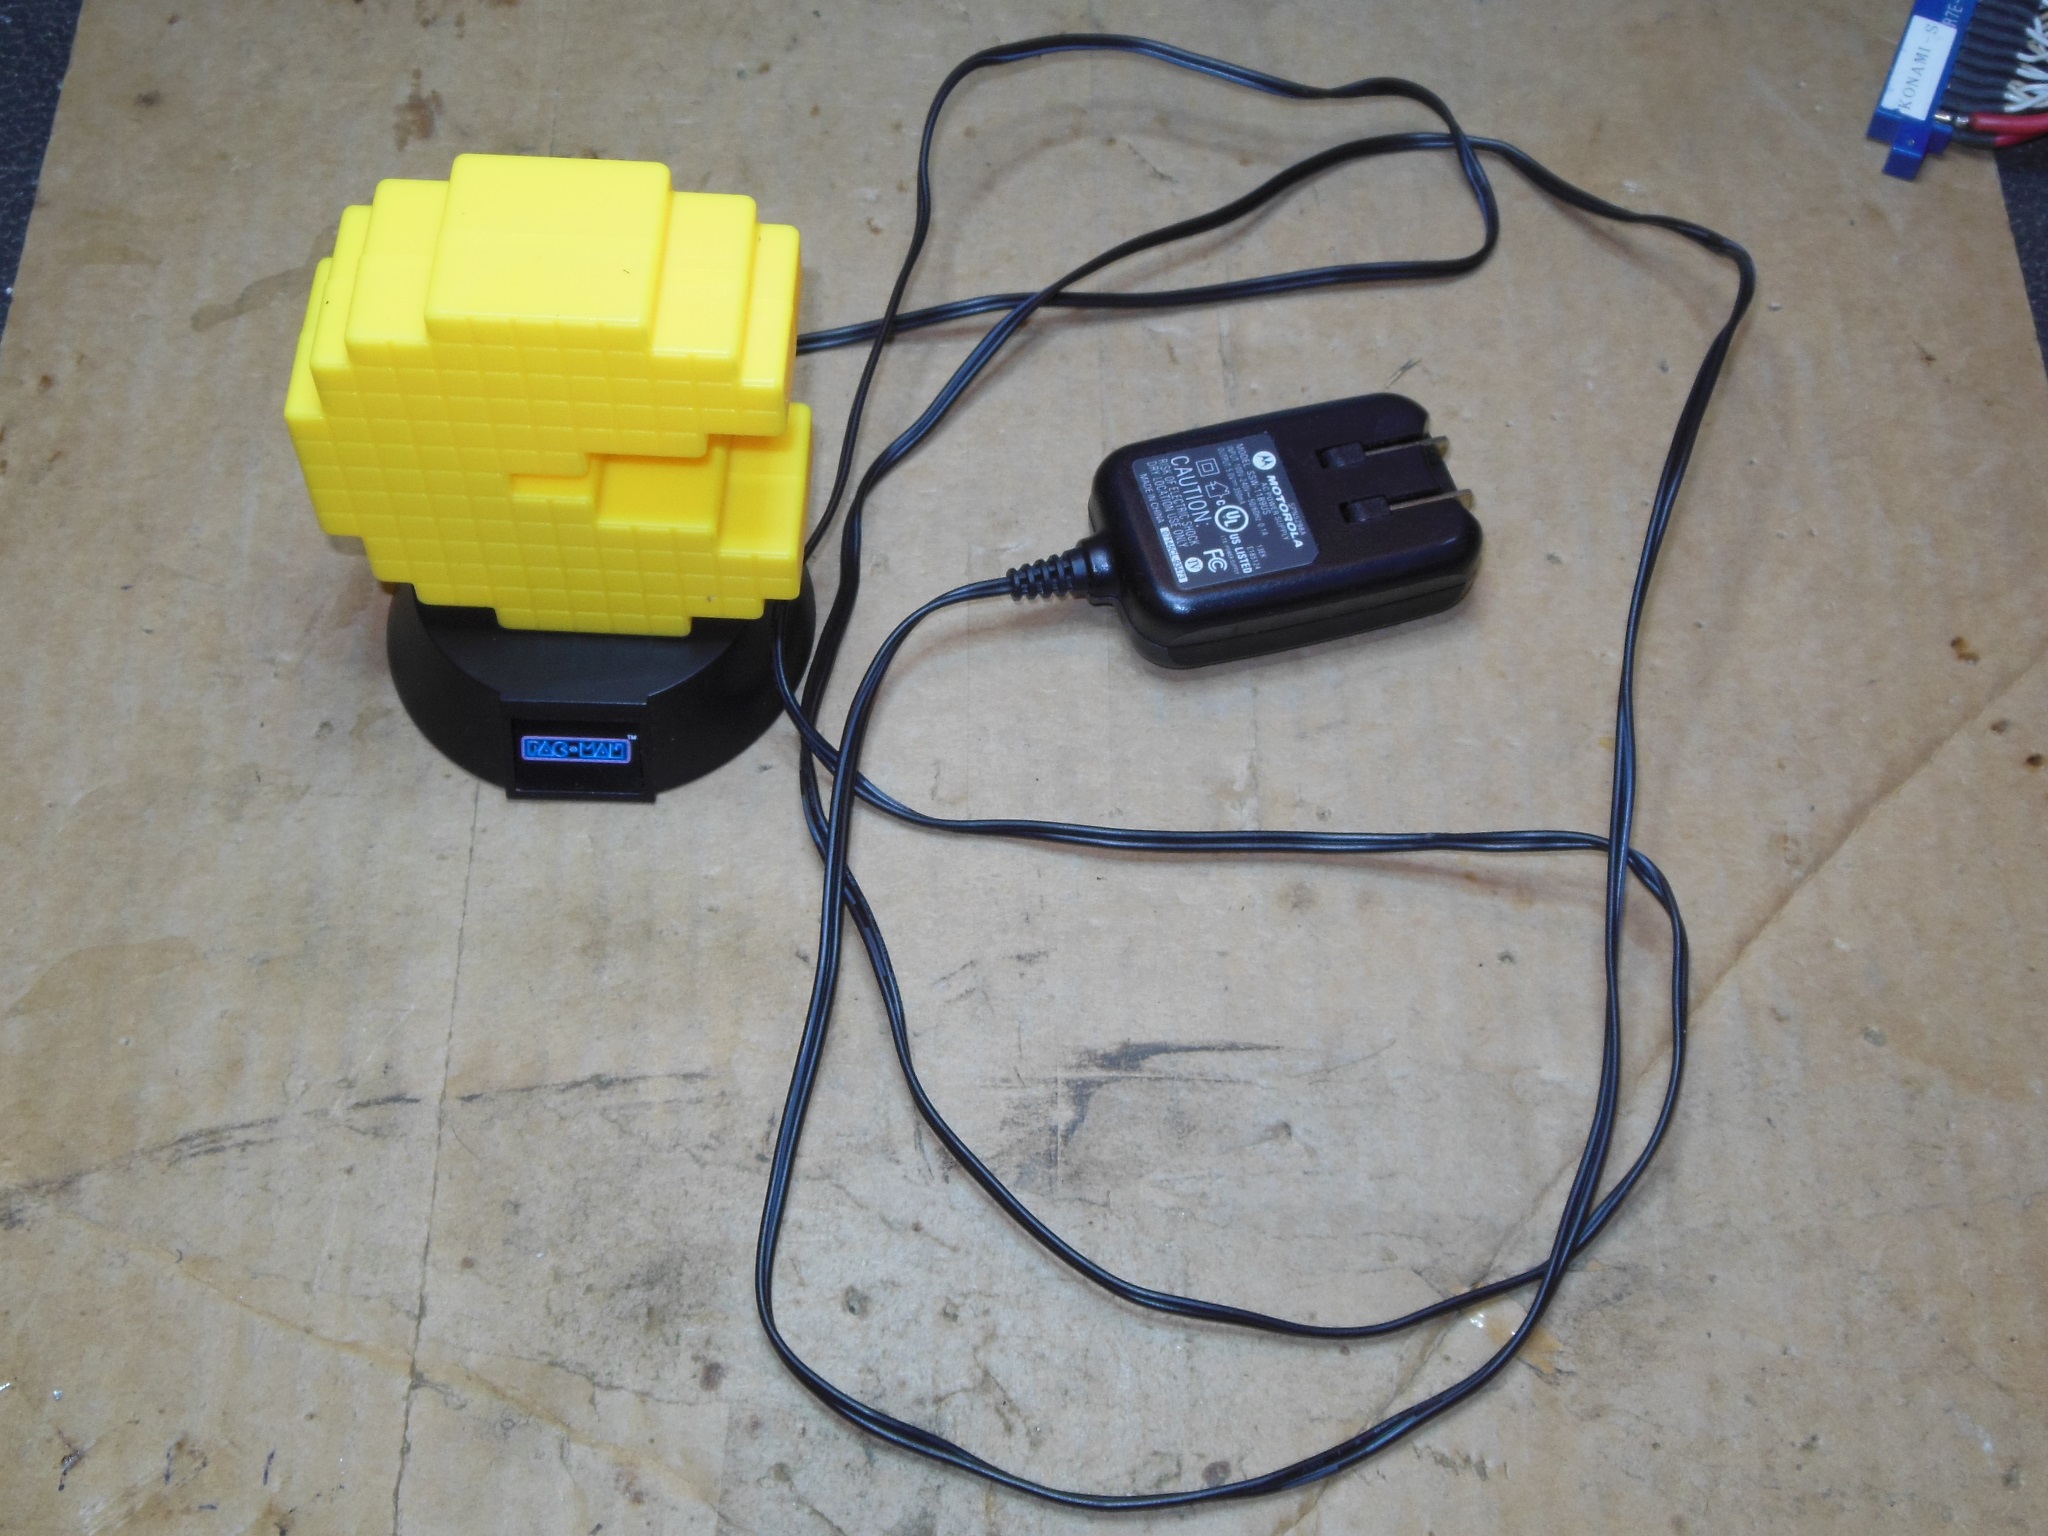
I'd noticed before Christmas that Marshalls had Pac-Man character lights (Pac-Man and ghosts) but they seemed relatively expensive. After Christmas I found the Pac-Man one on clearance for a couple of dollars to use as a show "topper" for Puck-Man.
|
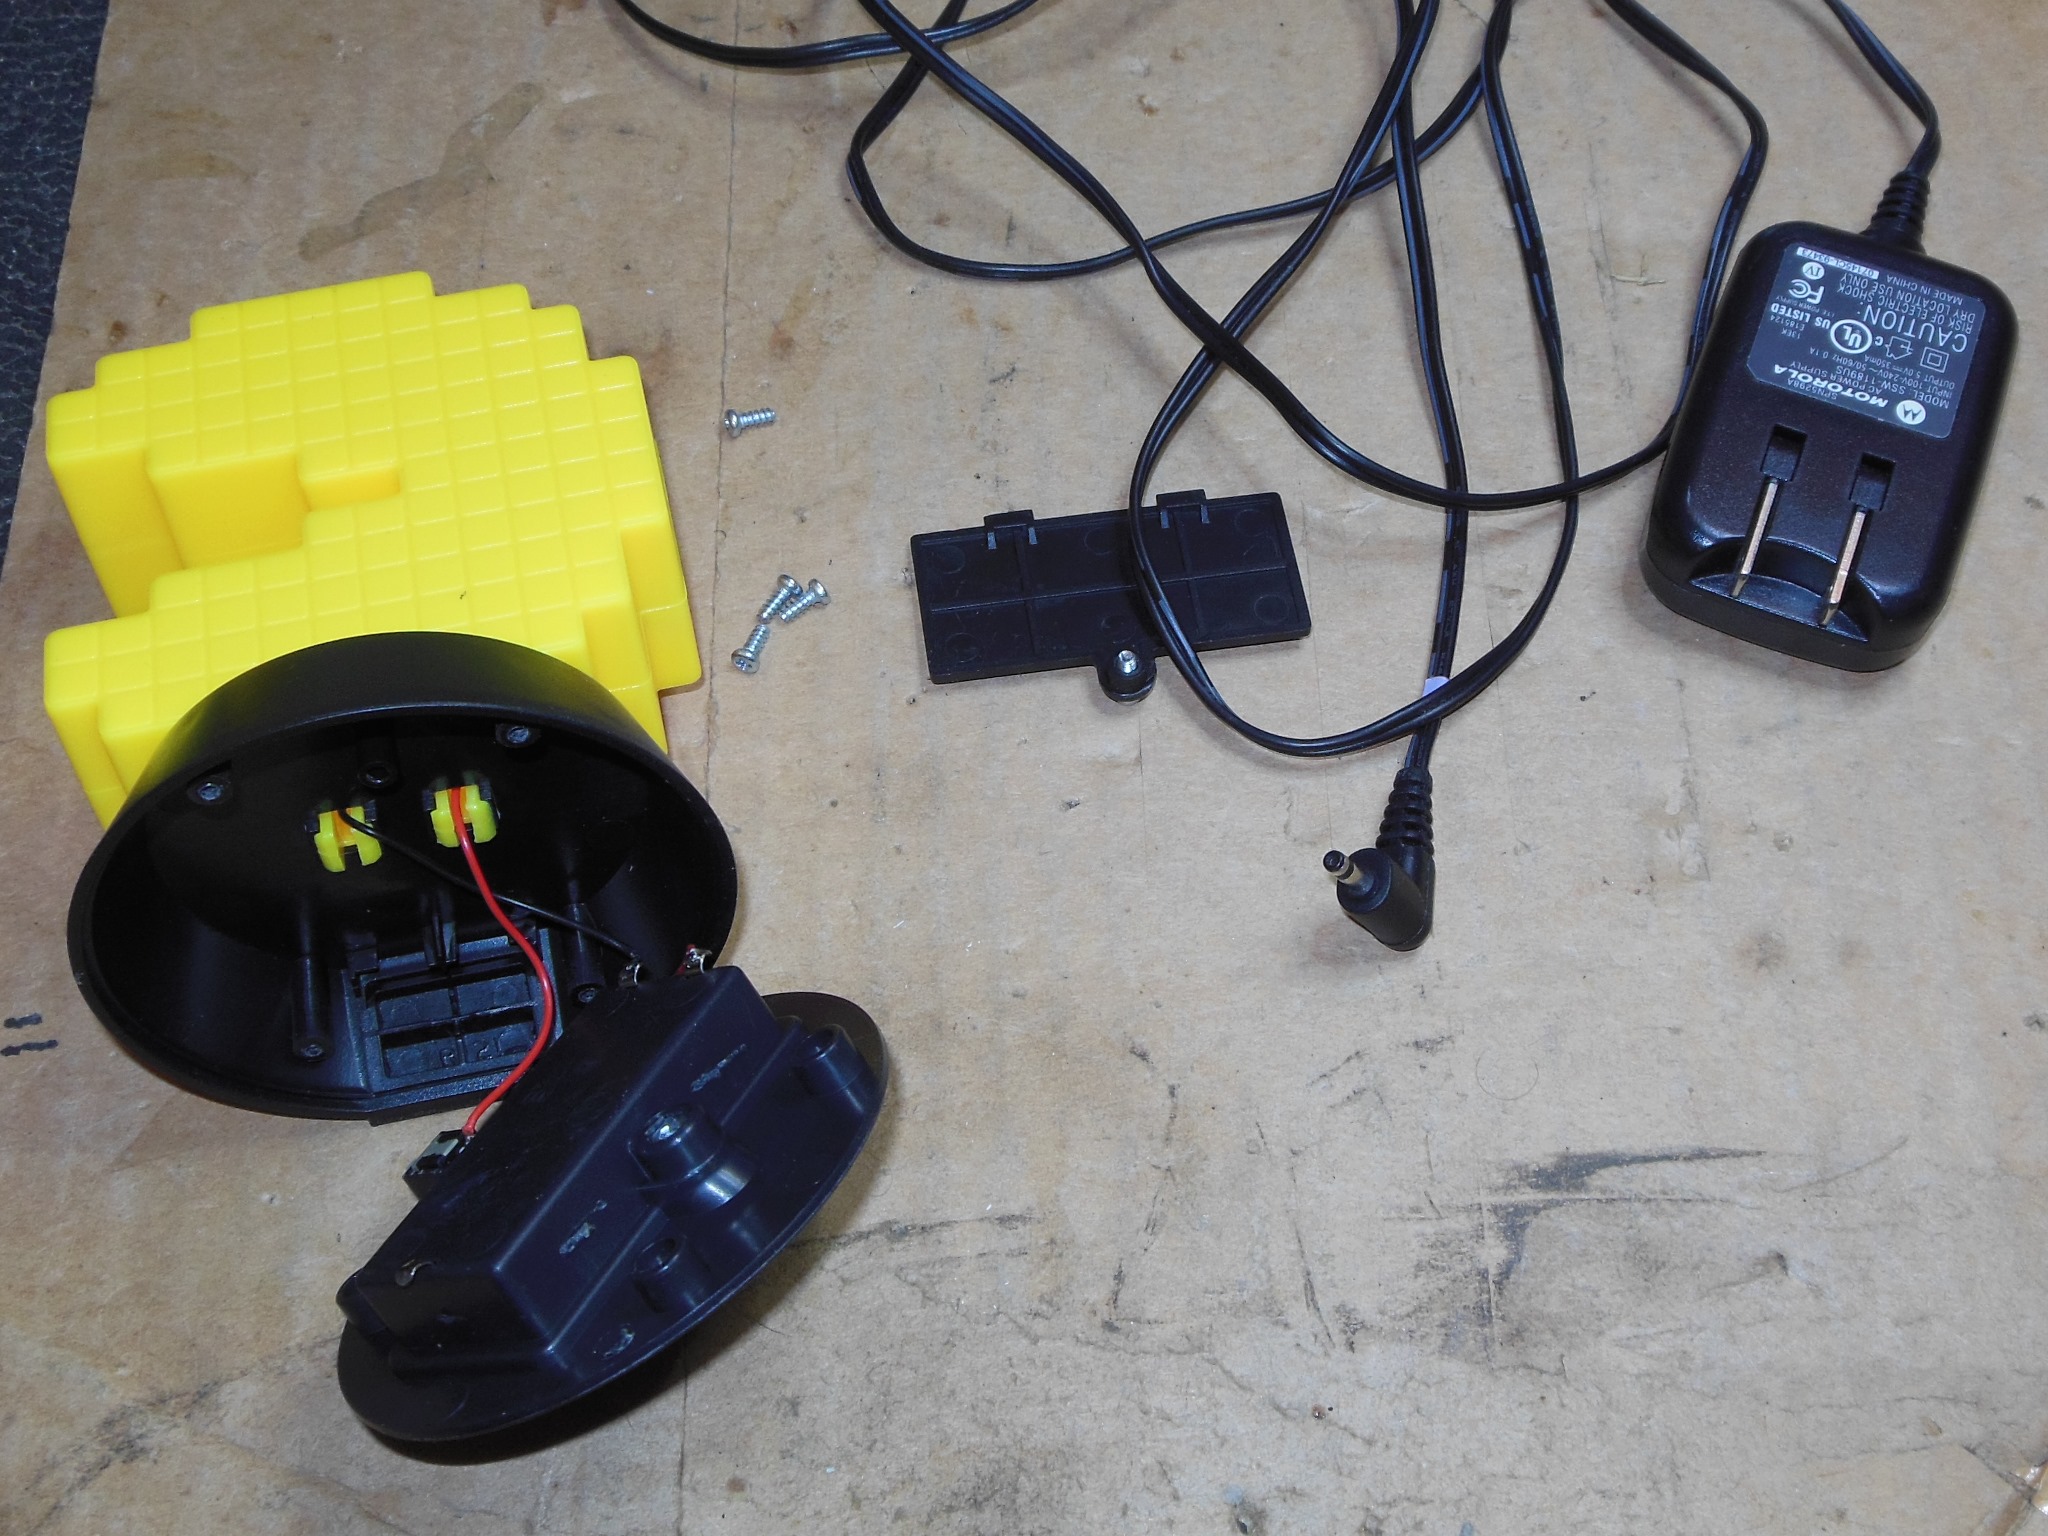
The light was battery powered only so I used an old Motorola flip phone charger wired into the light for permanent power. The phone charger output +5V that I reduced to match the 3V battery voltage using four 1N4148 diodes on Veroboard to drop to ~2.6V for the light LEDs.