
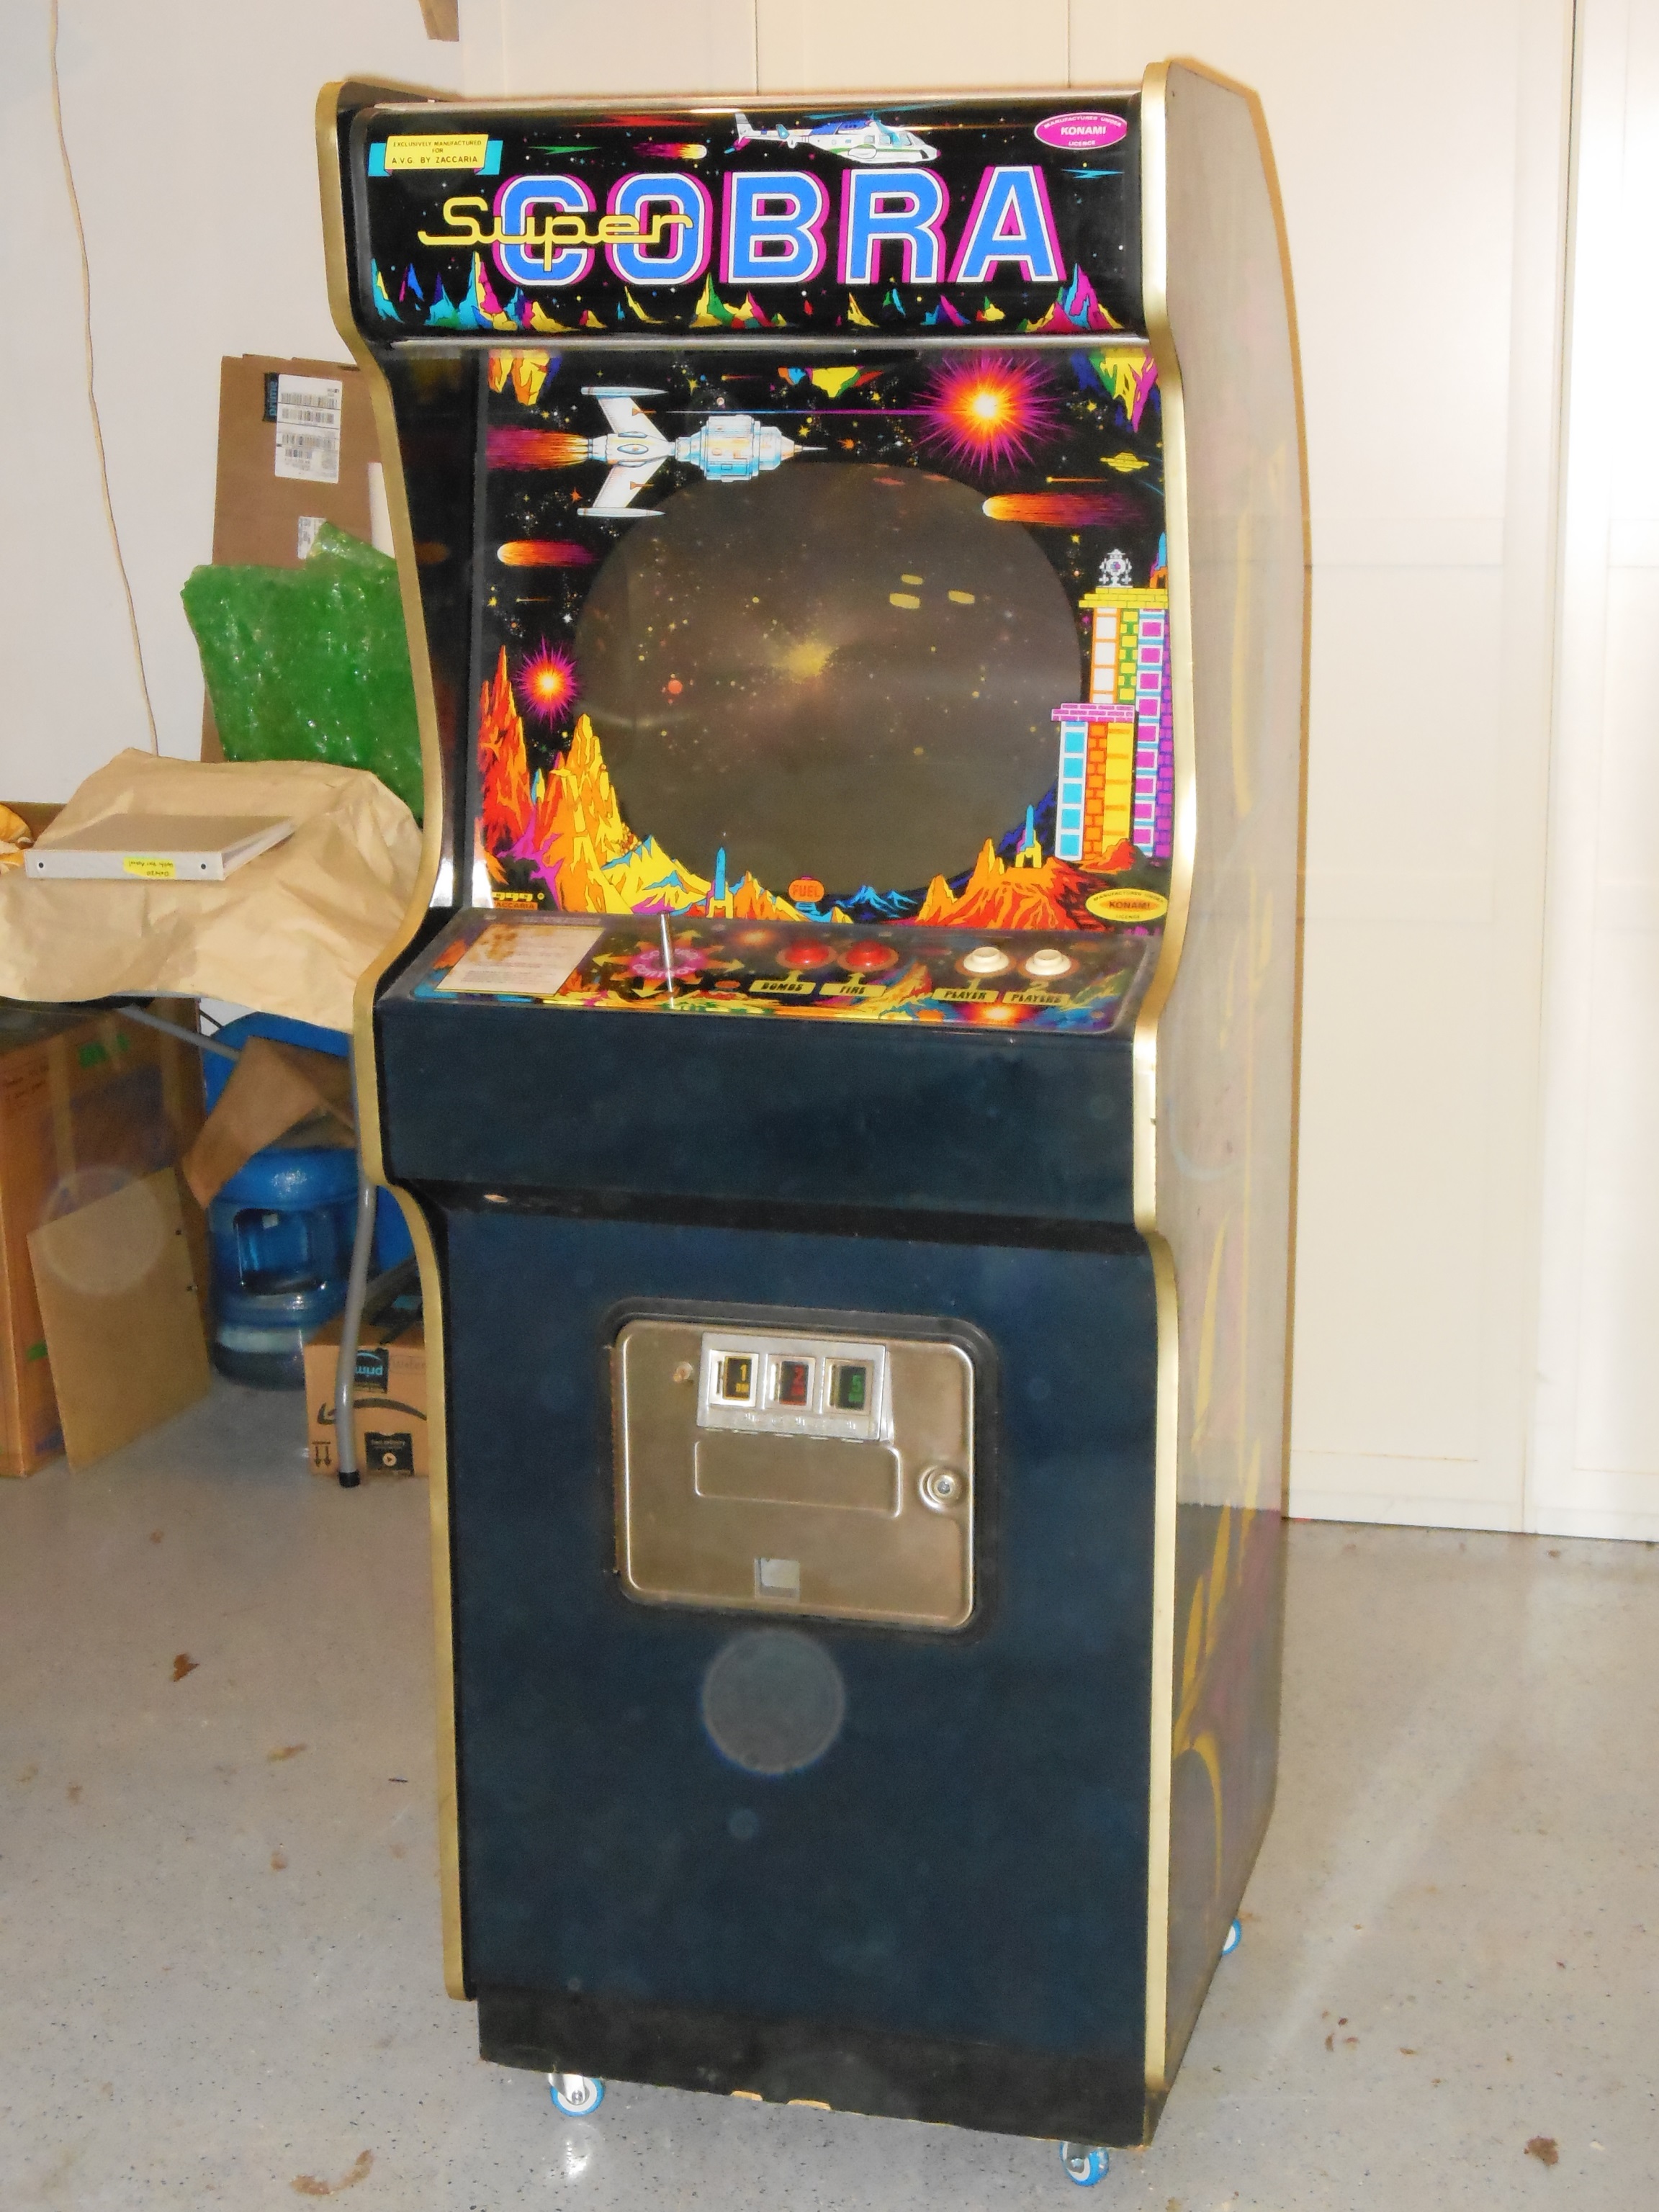
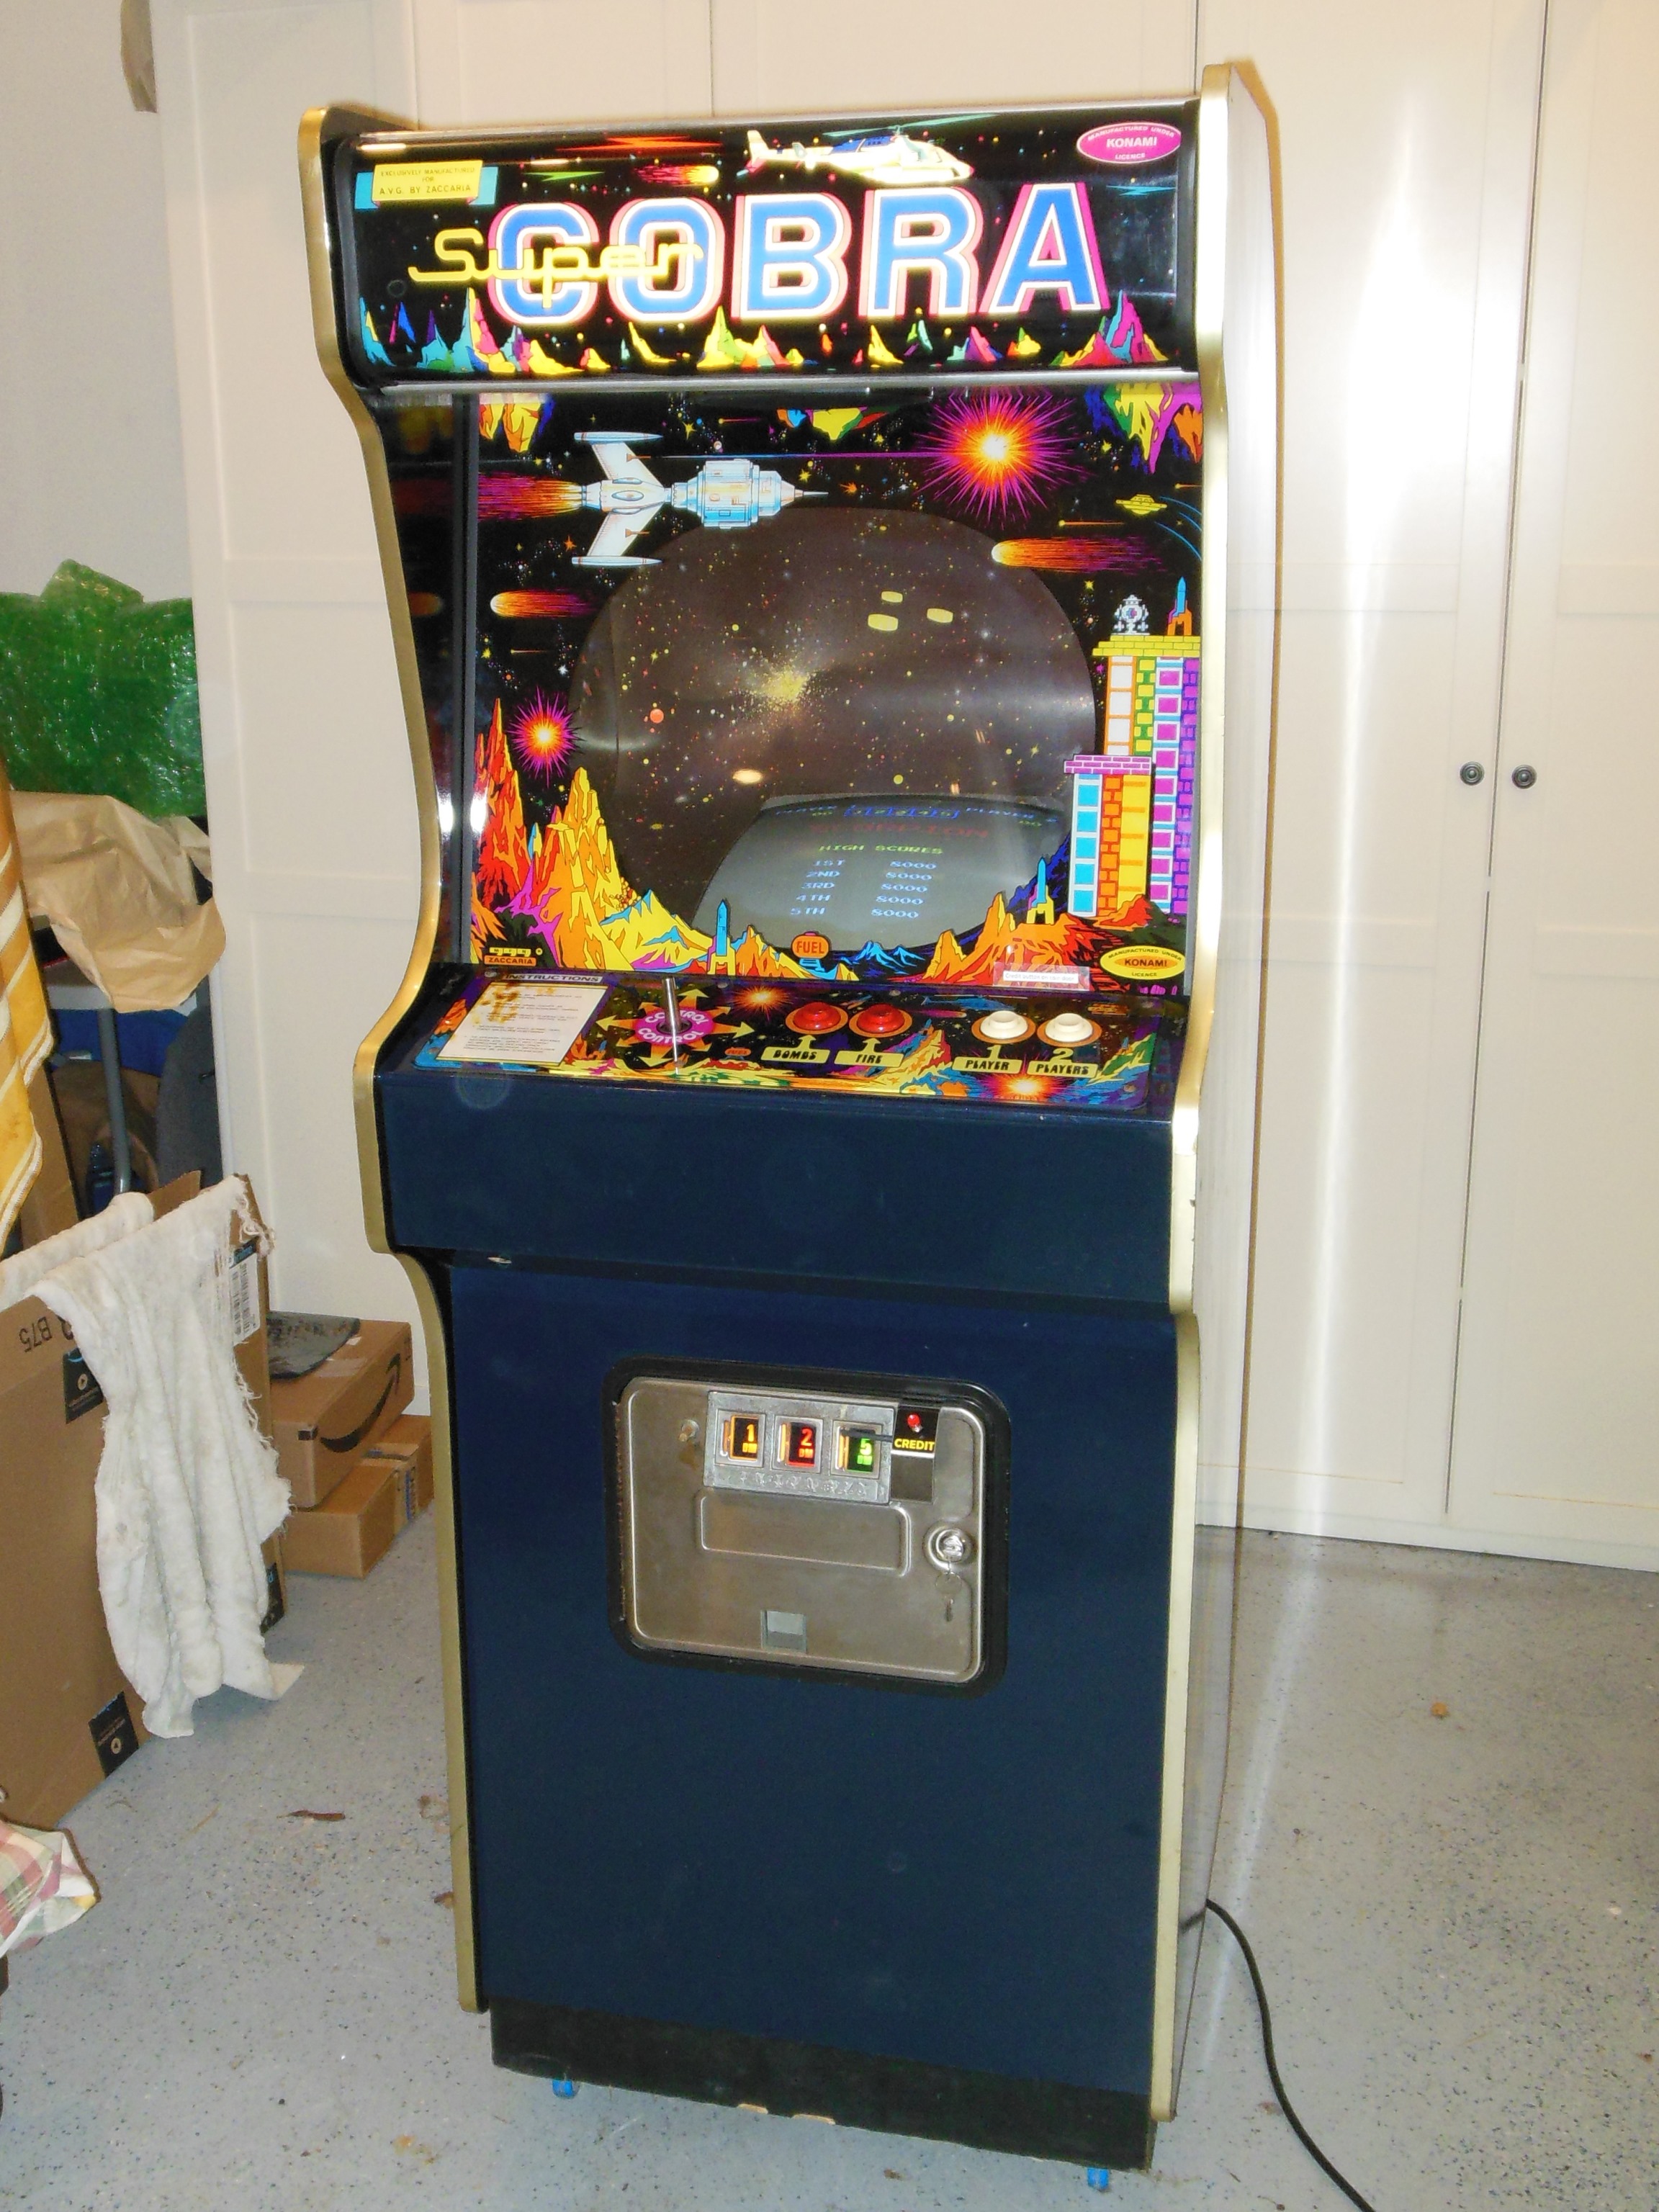
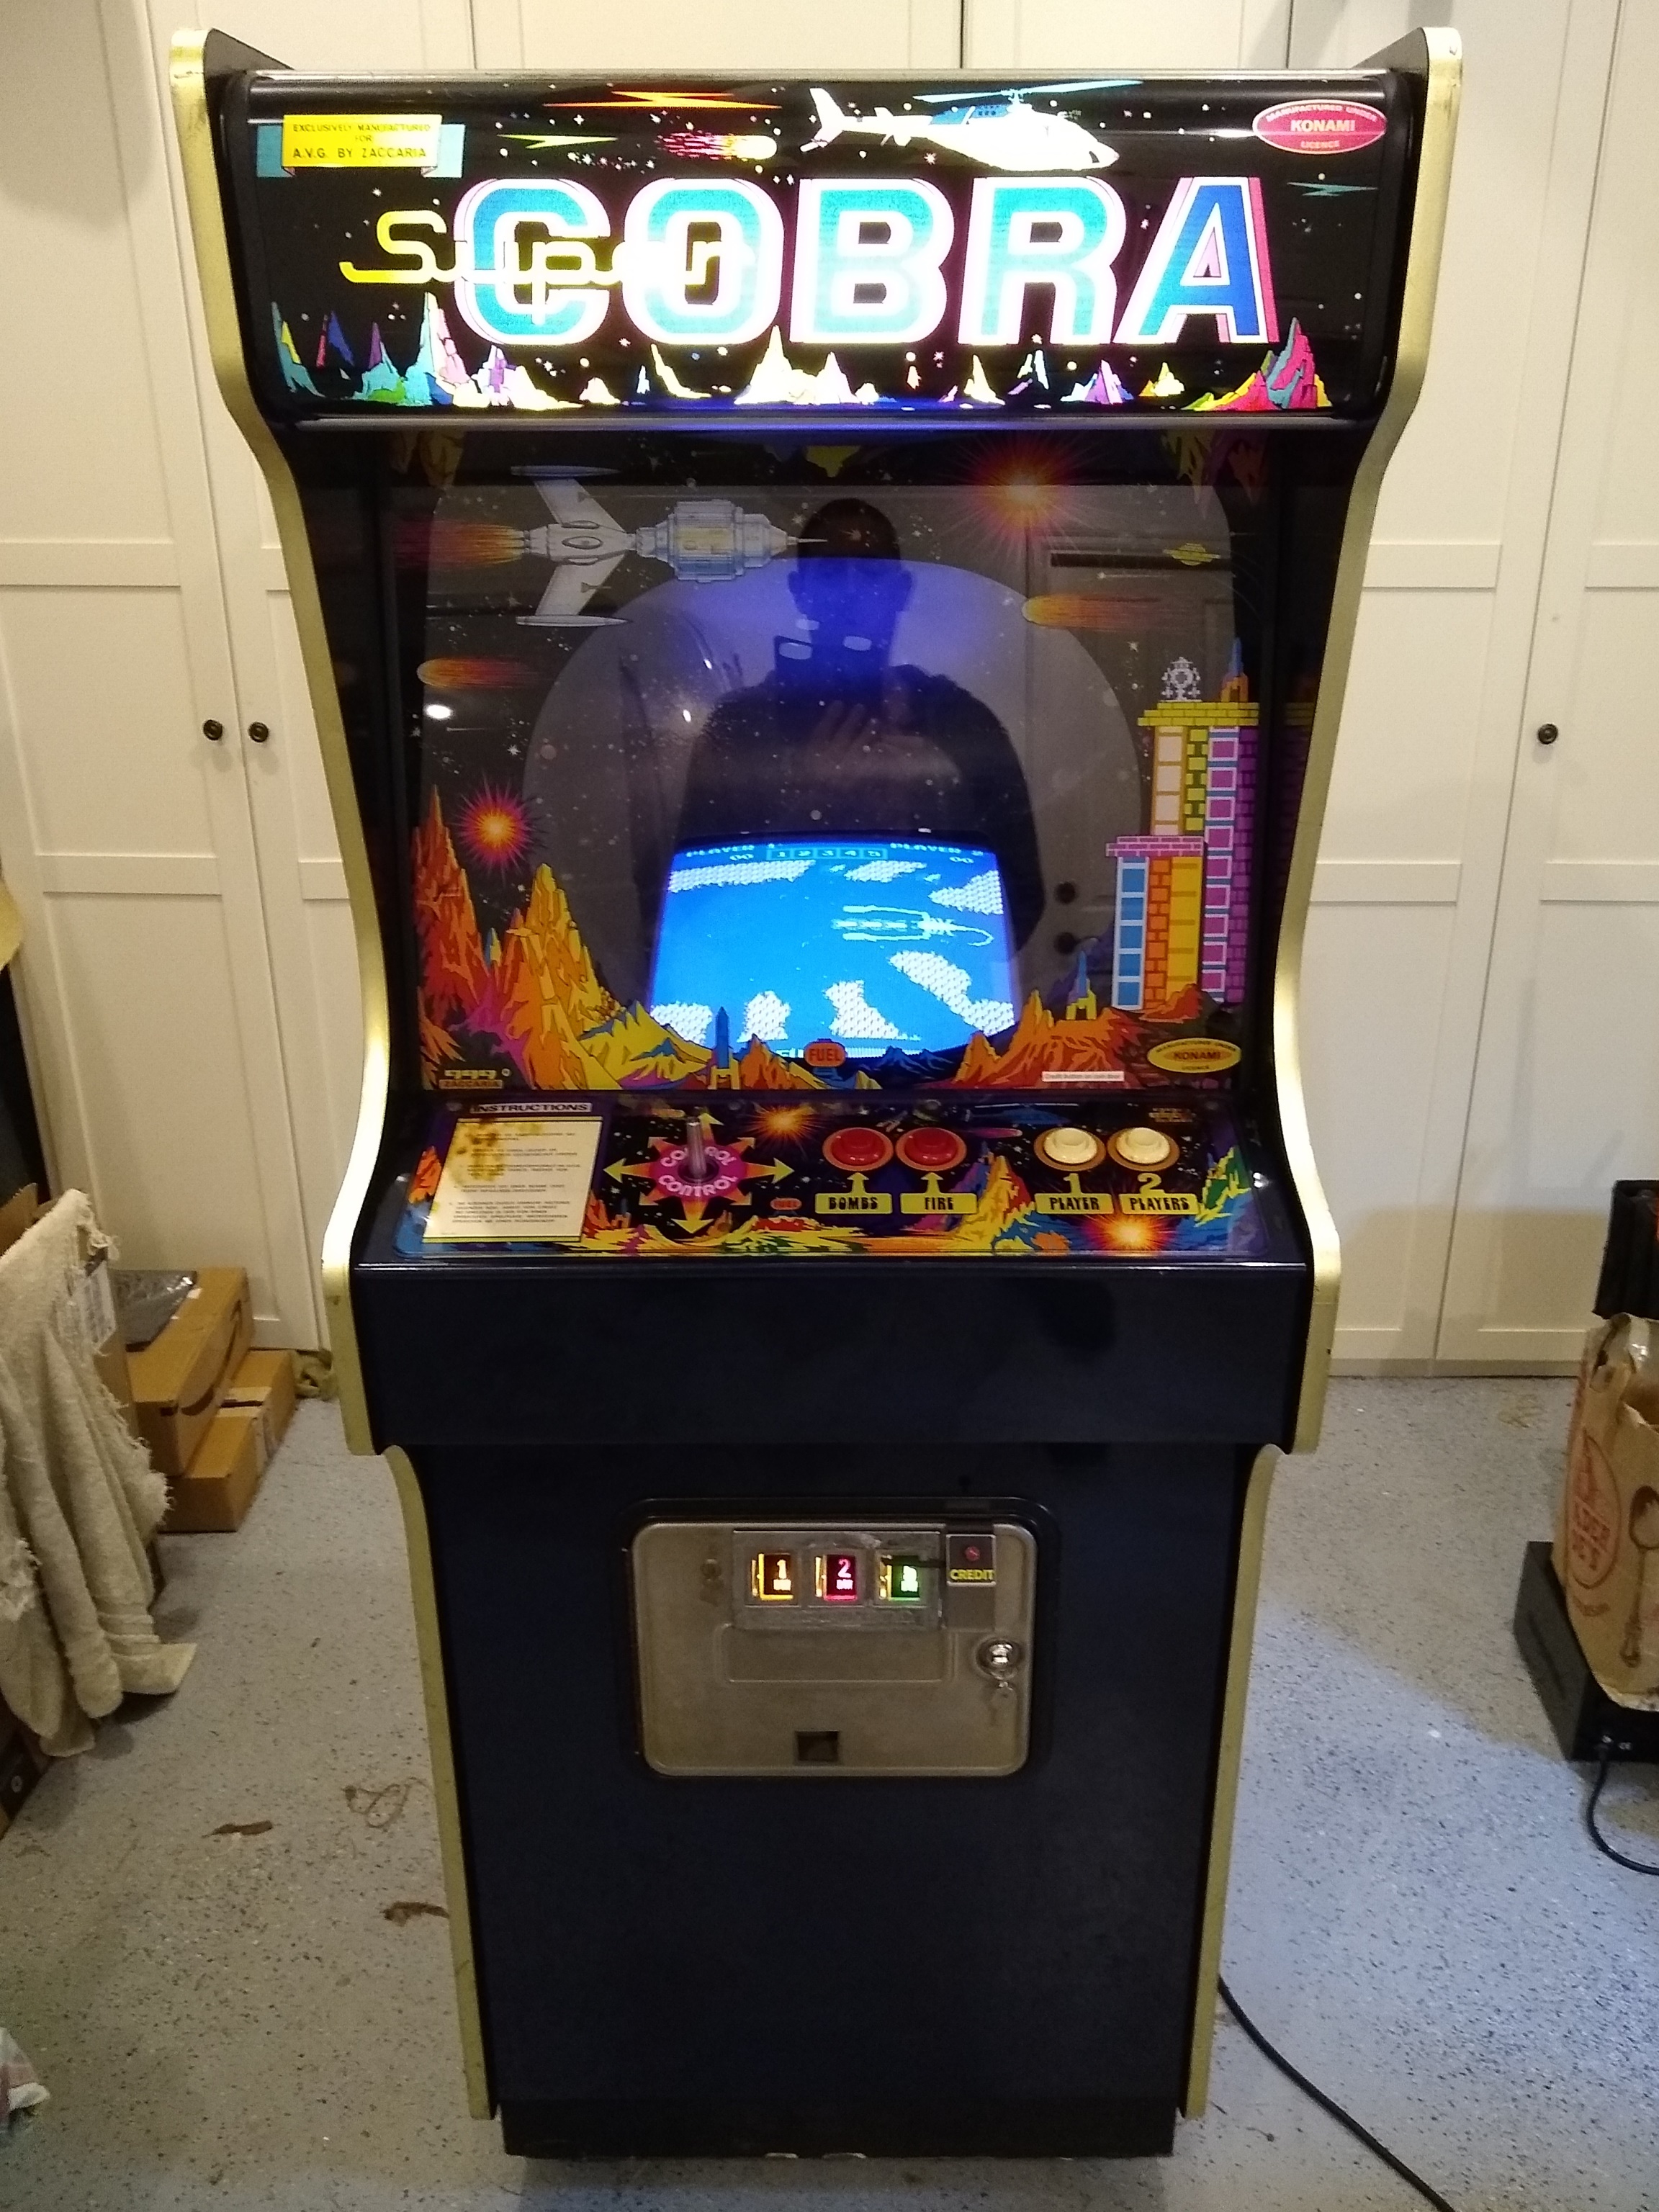
This Super Cobra cabinet likely came from a German warehouse raid judging from the DM coin slots. Since I had already restored a variant Super Cobra and this cabinet was the same base cabinet for Scorpion I decided to restore this with an eventual aim to apply a Scorpion kit to it starting with the game PCB until the artwork was found.
|
|
Castors were applied to the base whilst it was flat for transport.

|
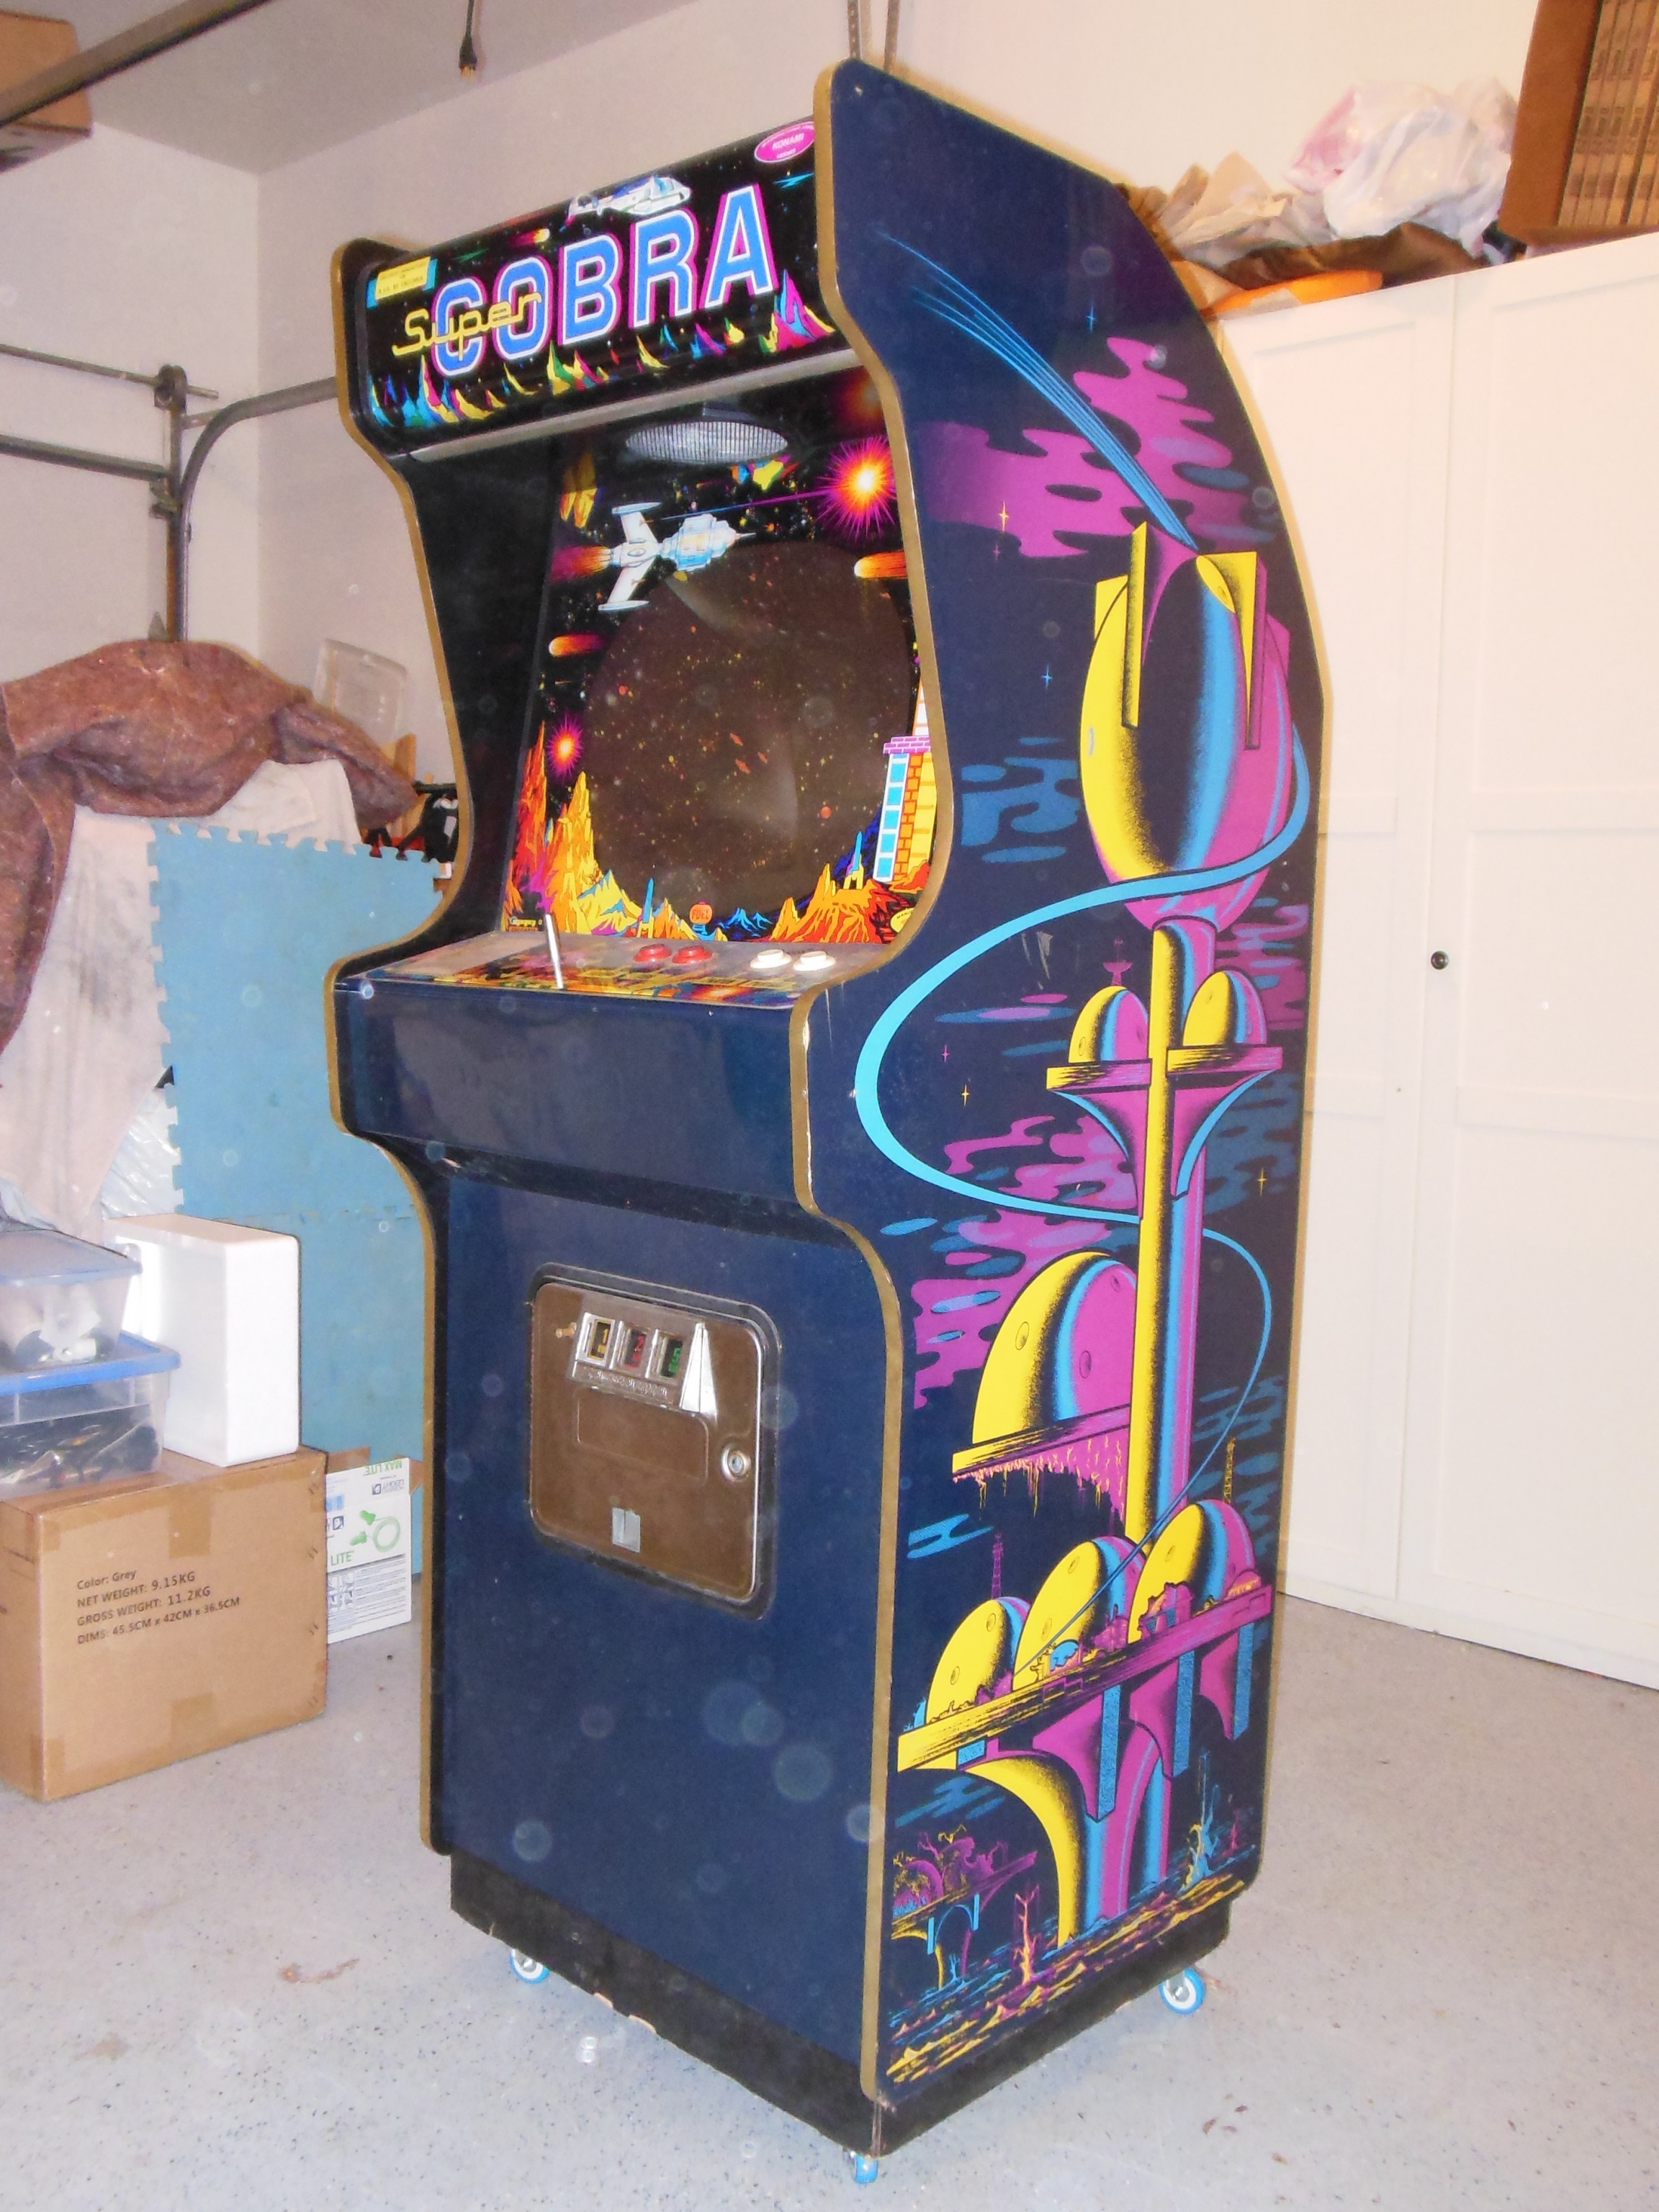
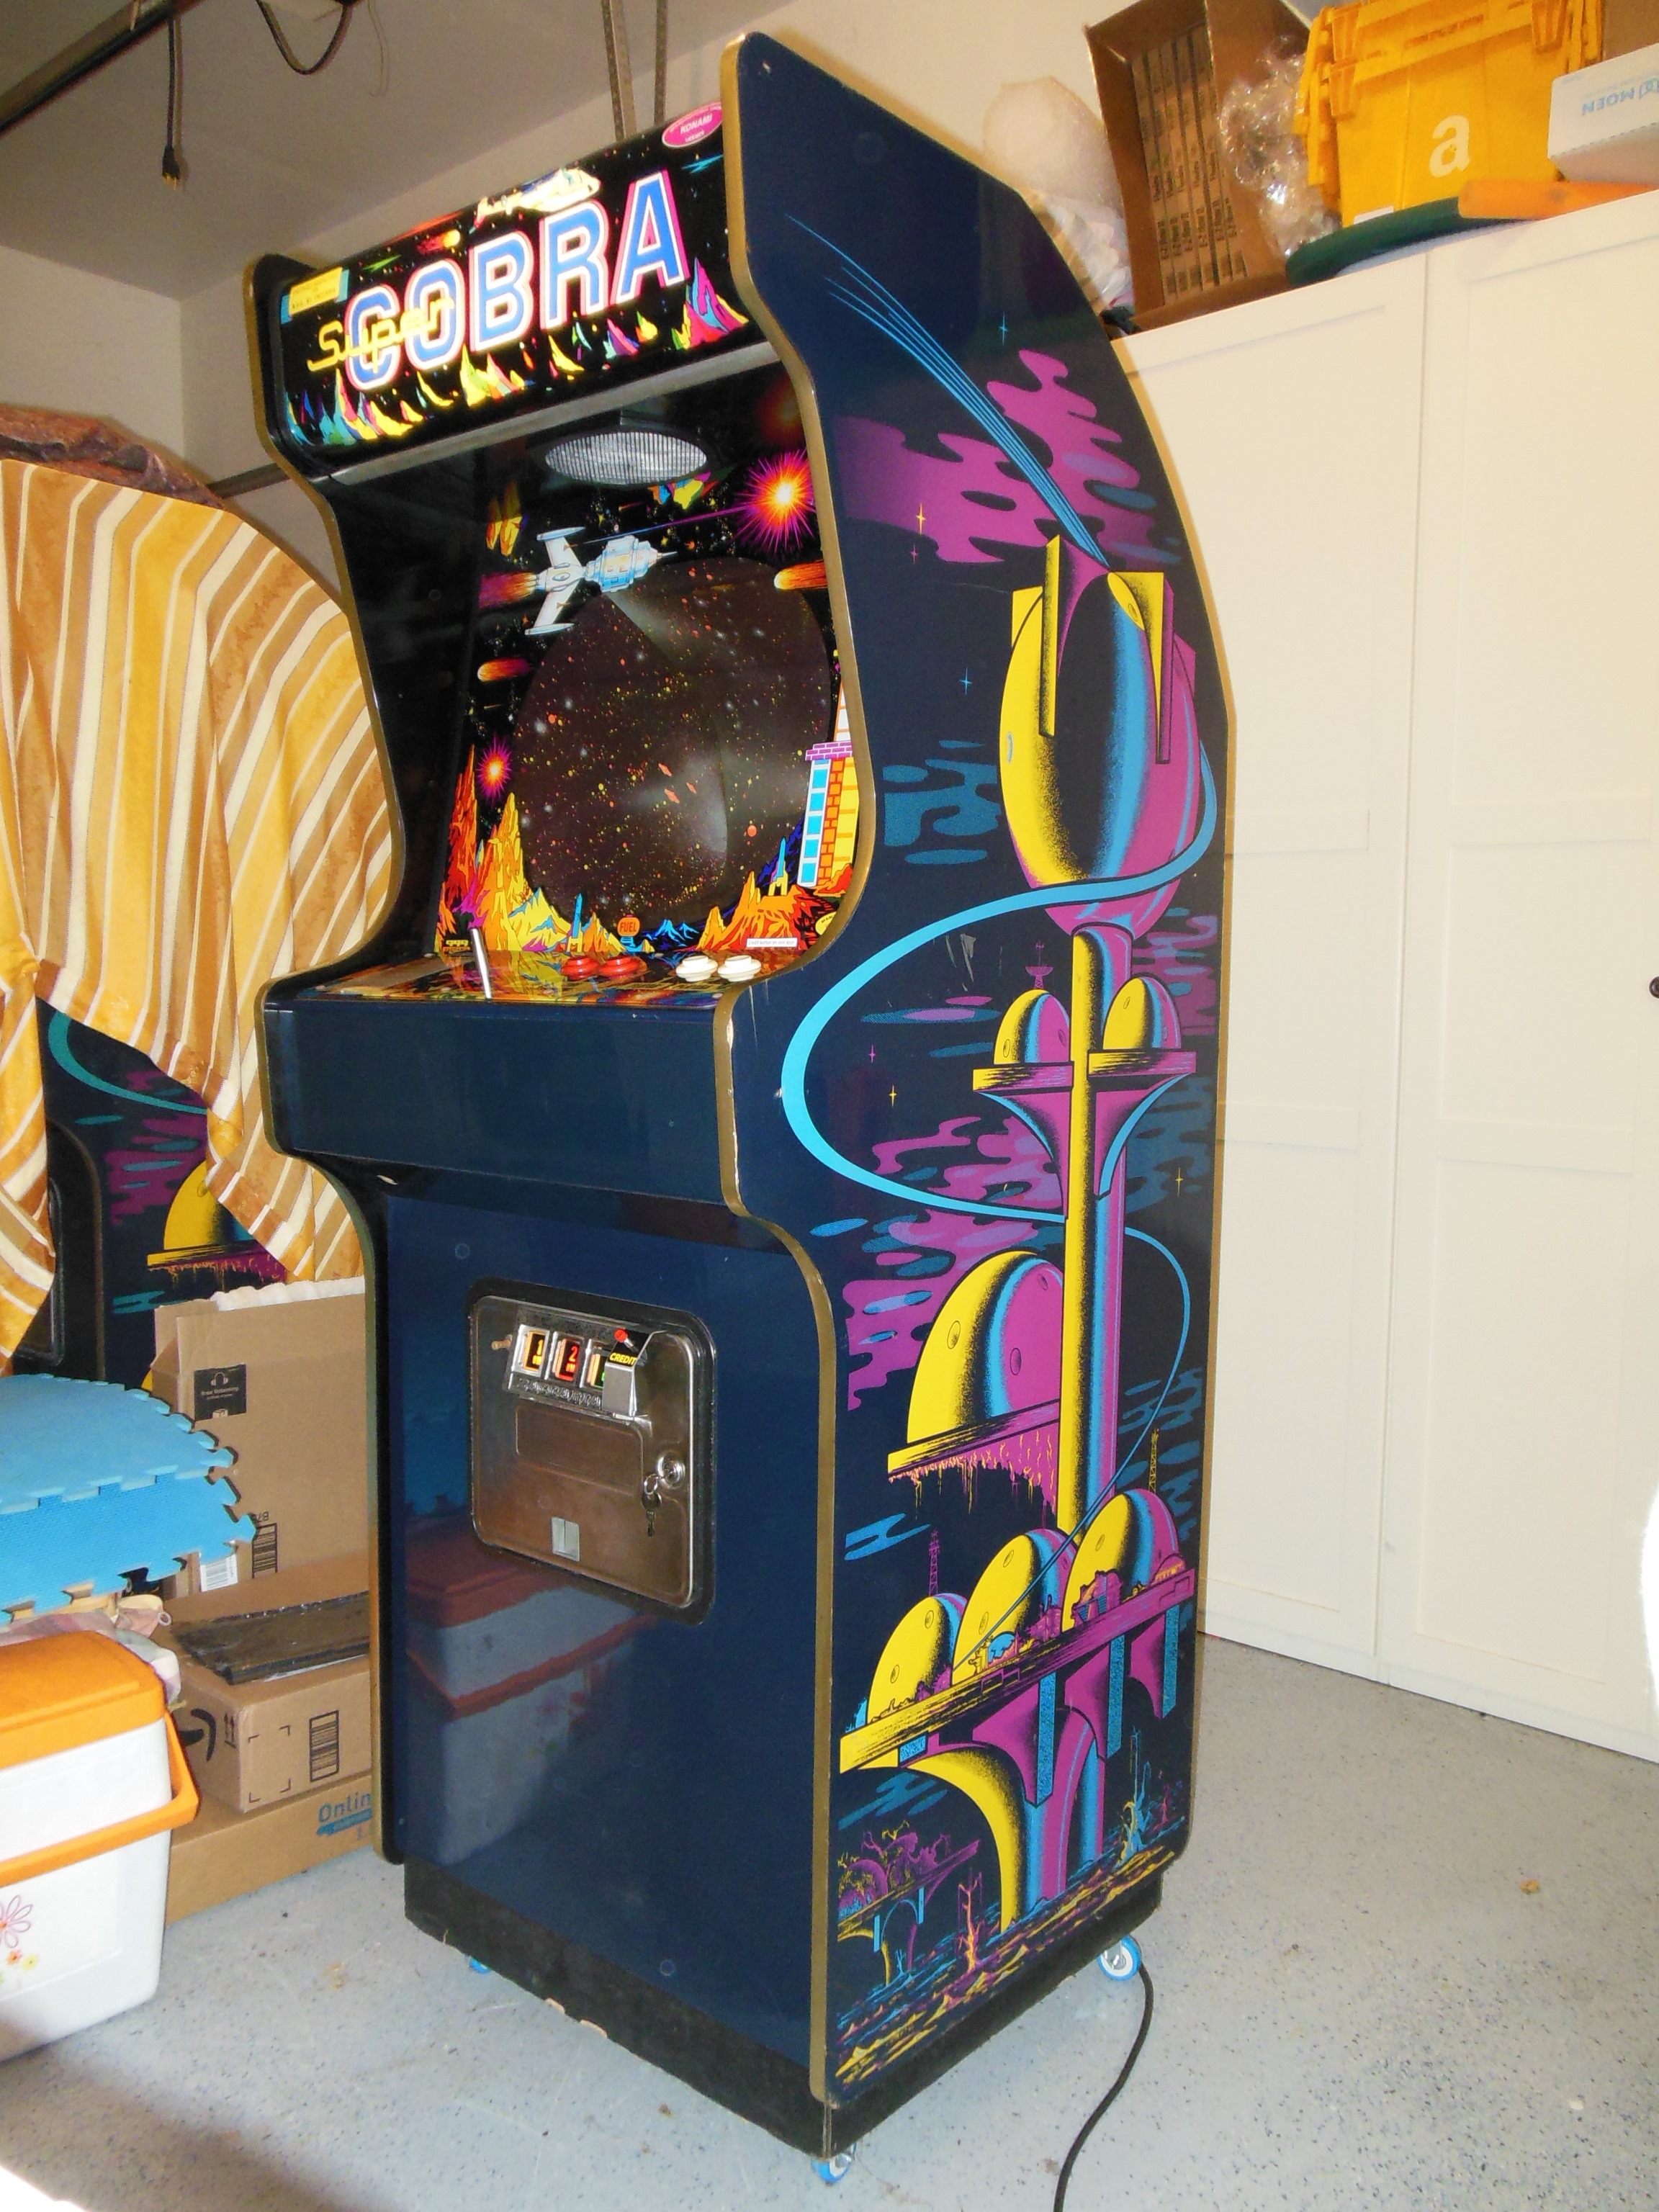
The external condition of the cabinet was excellent with T-molding all intact and minimal scratches and dings.
|
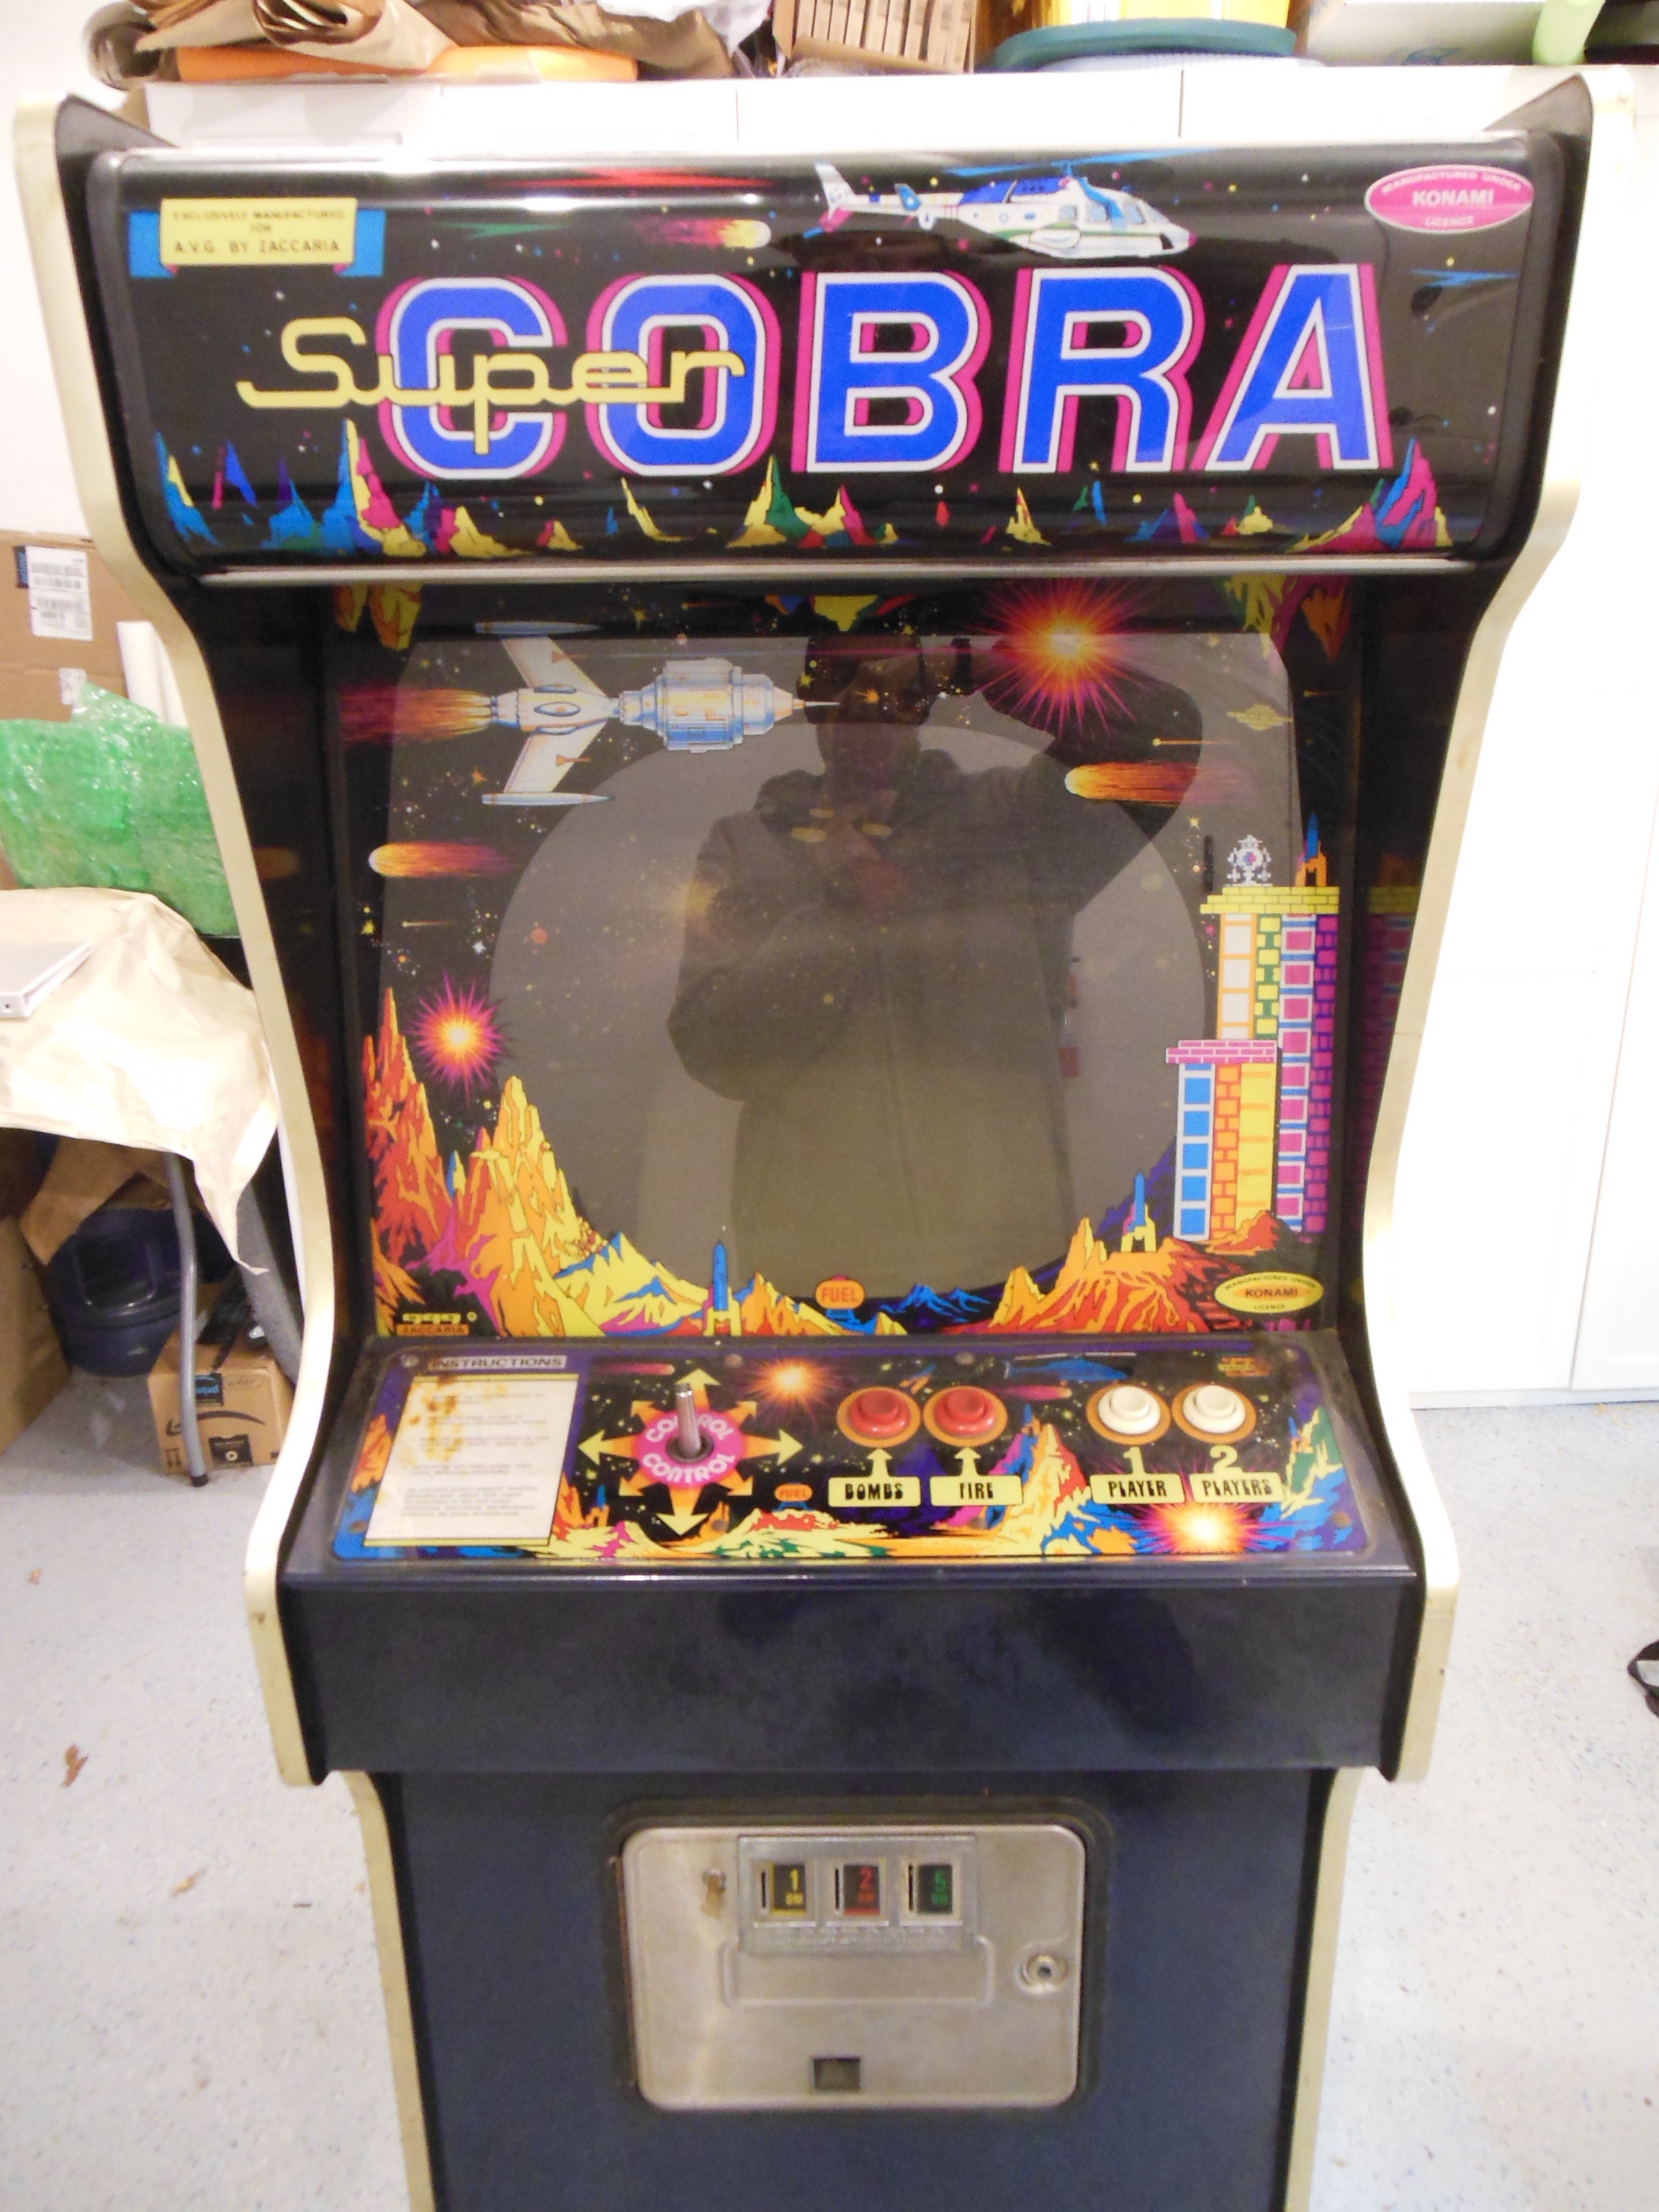
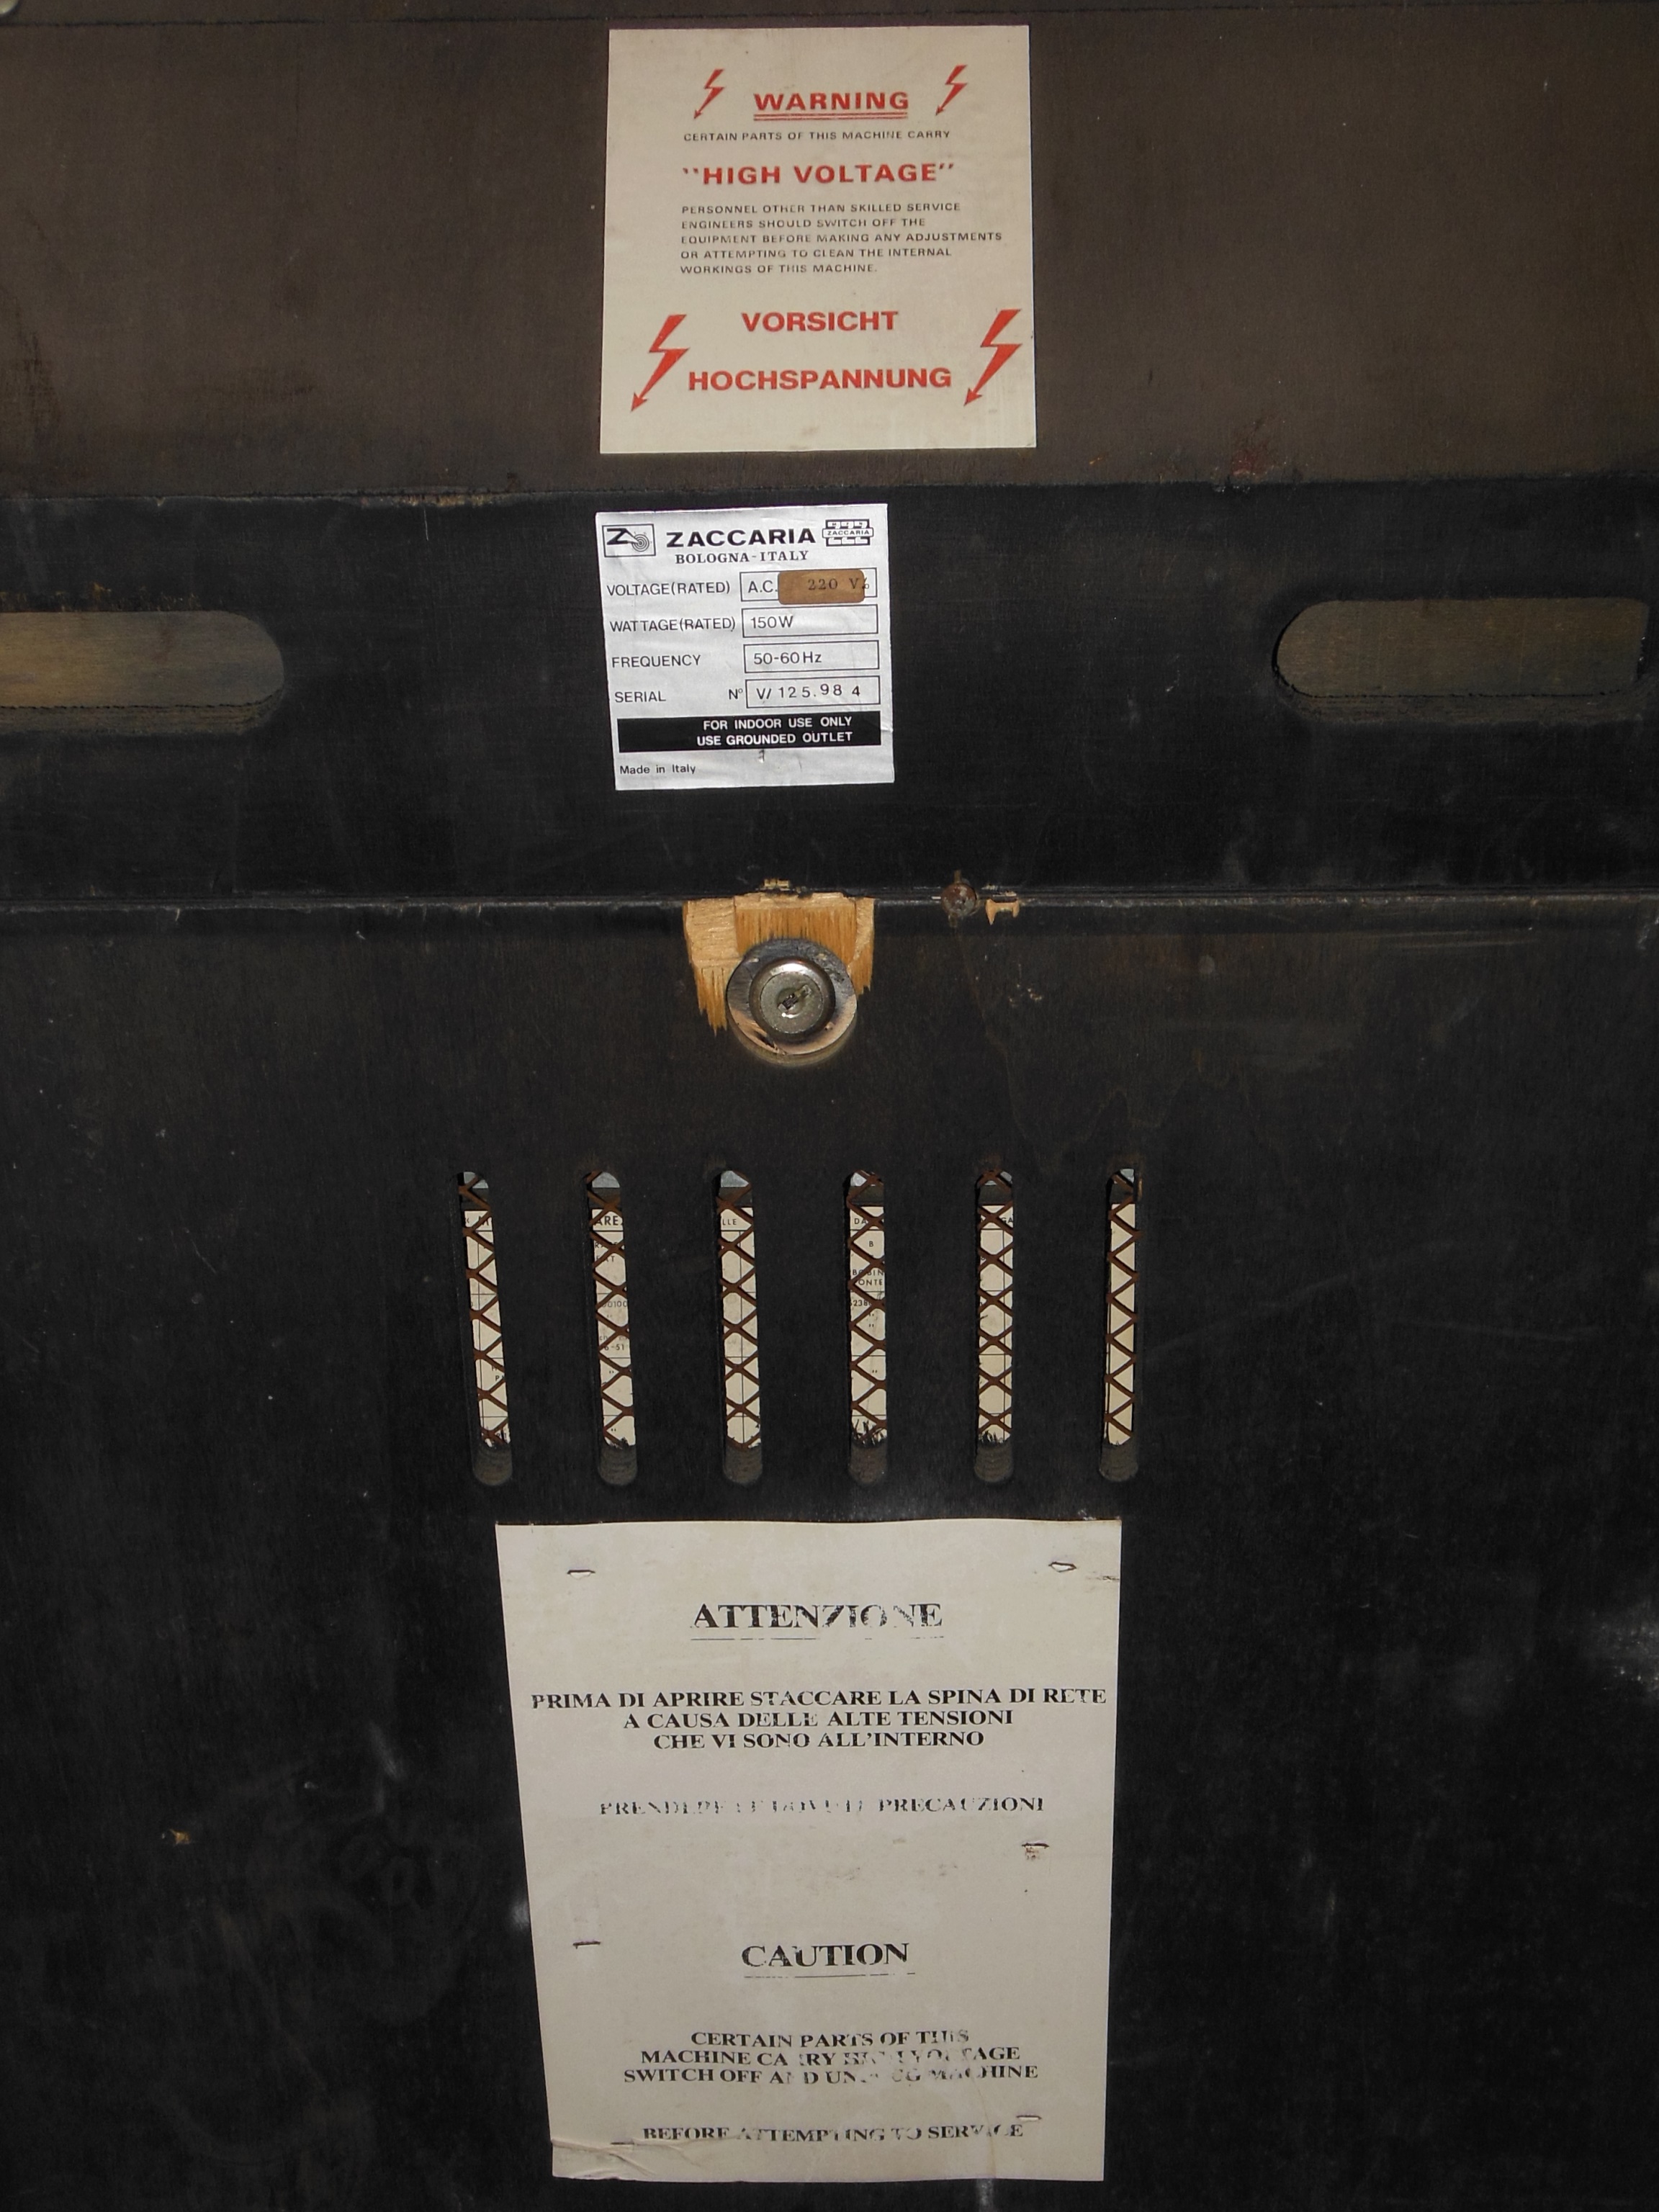
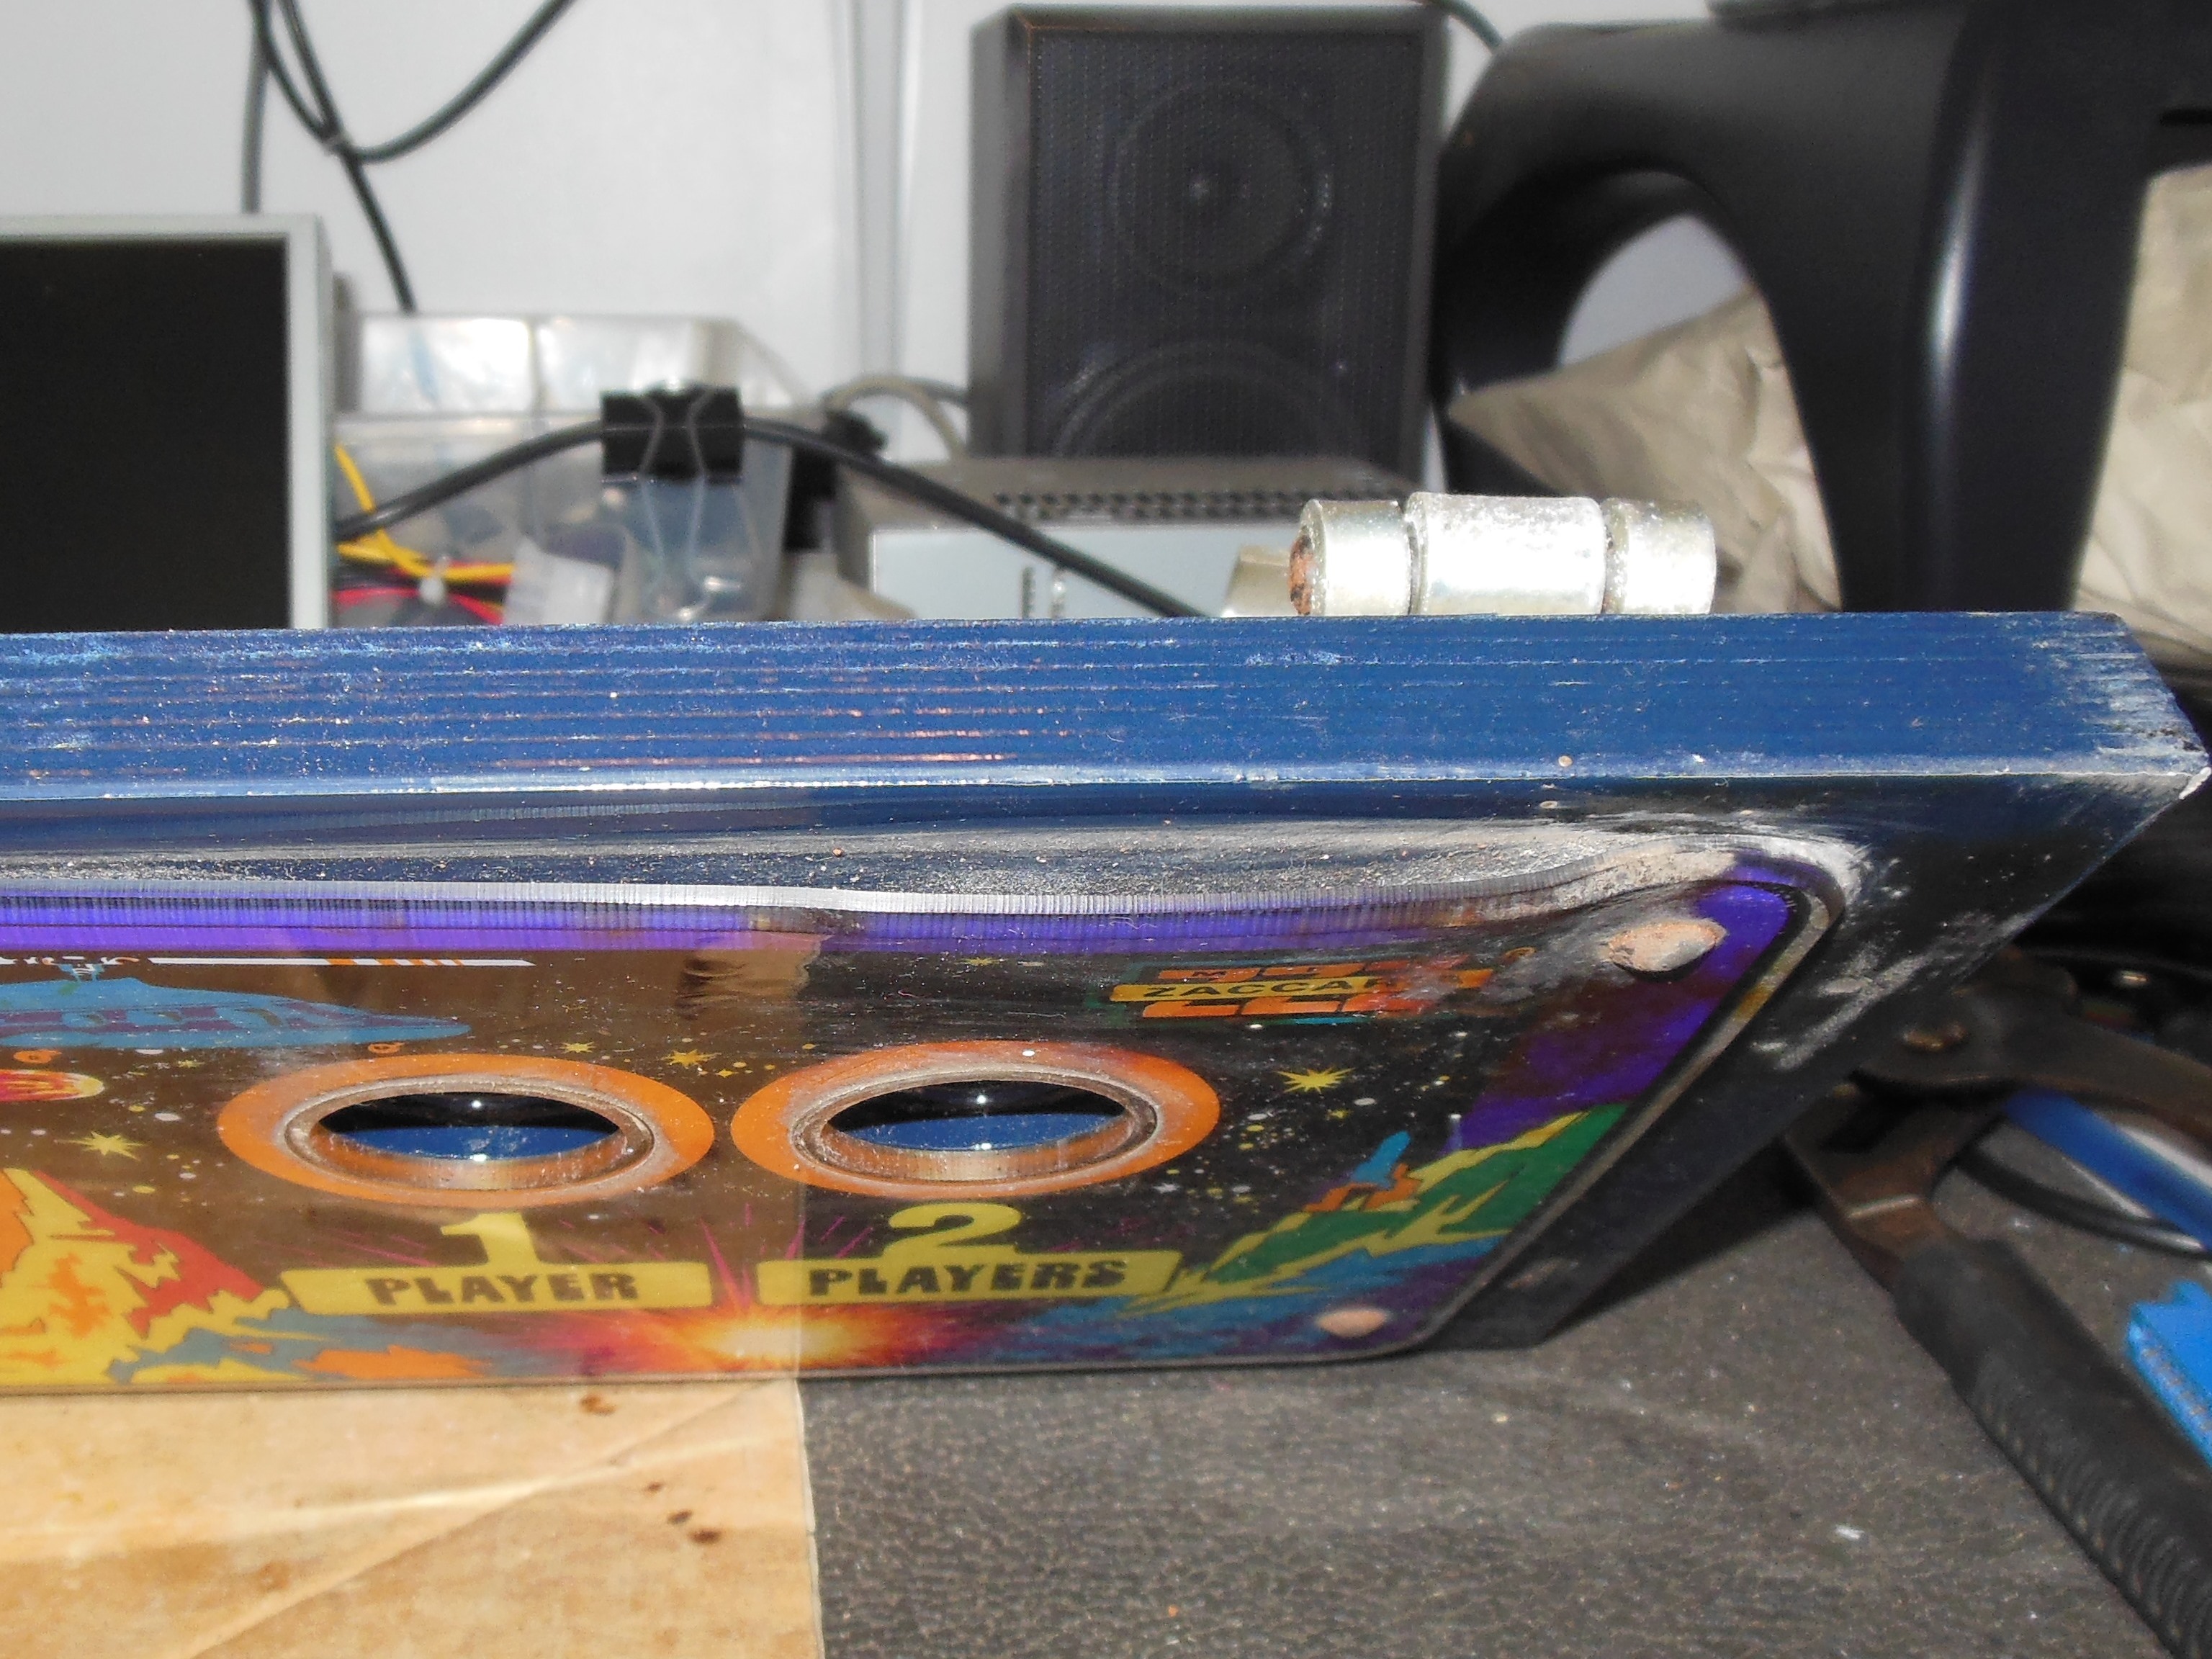
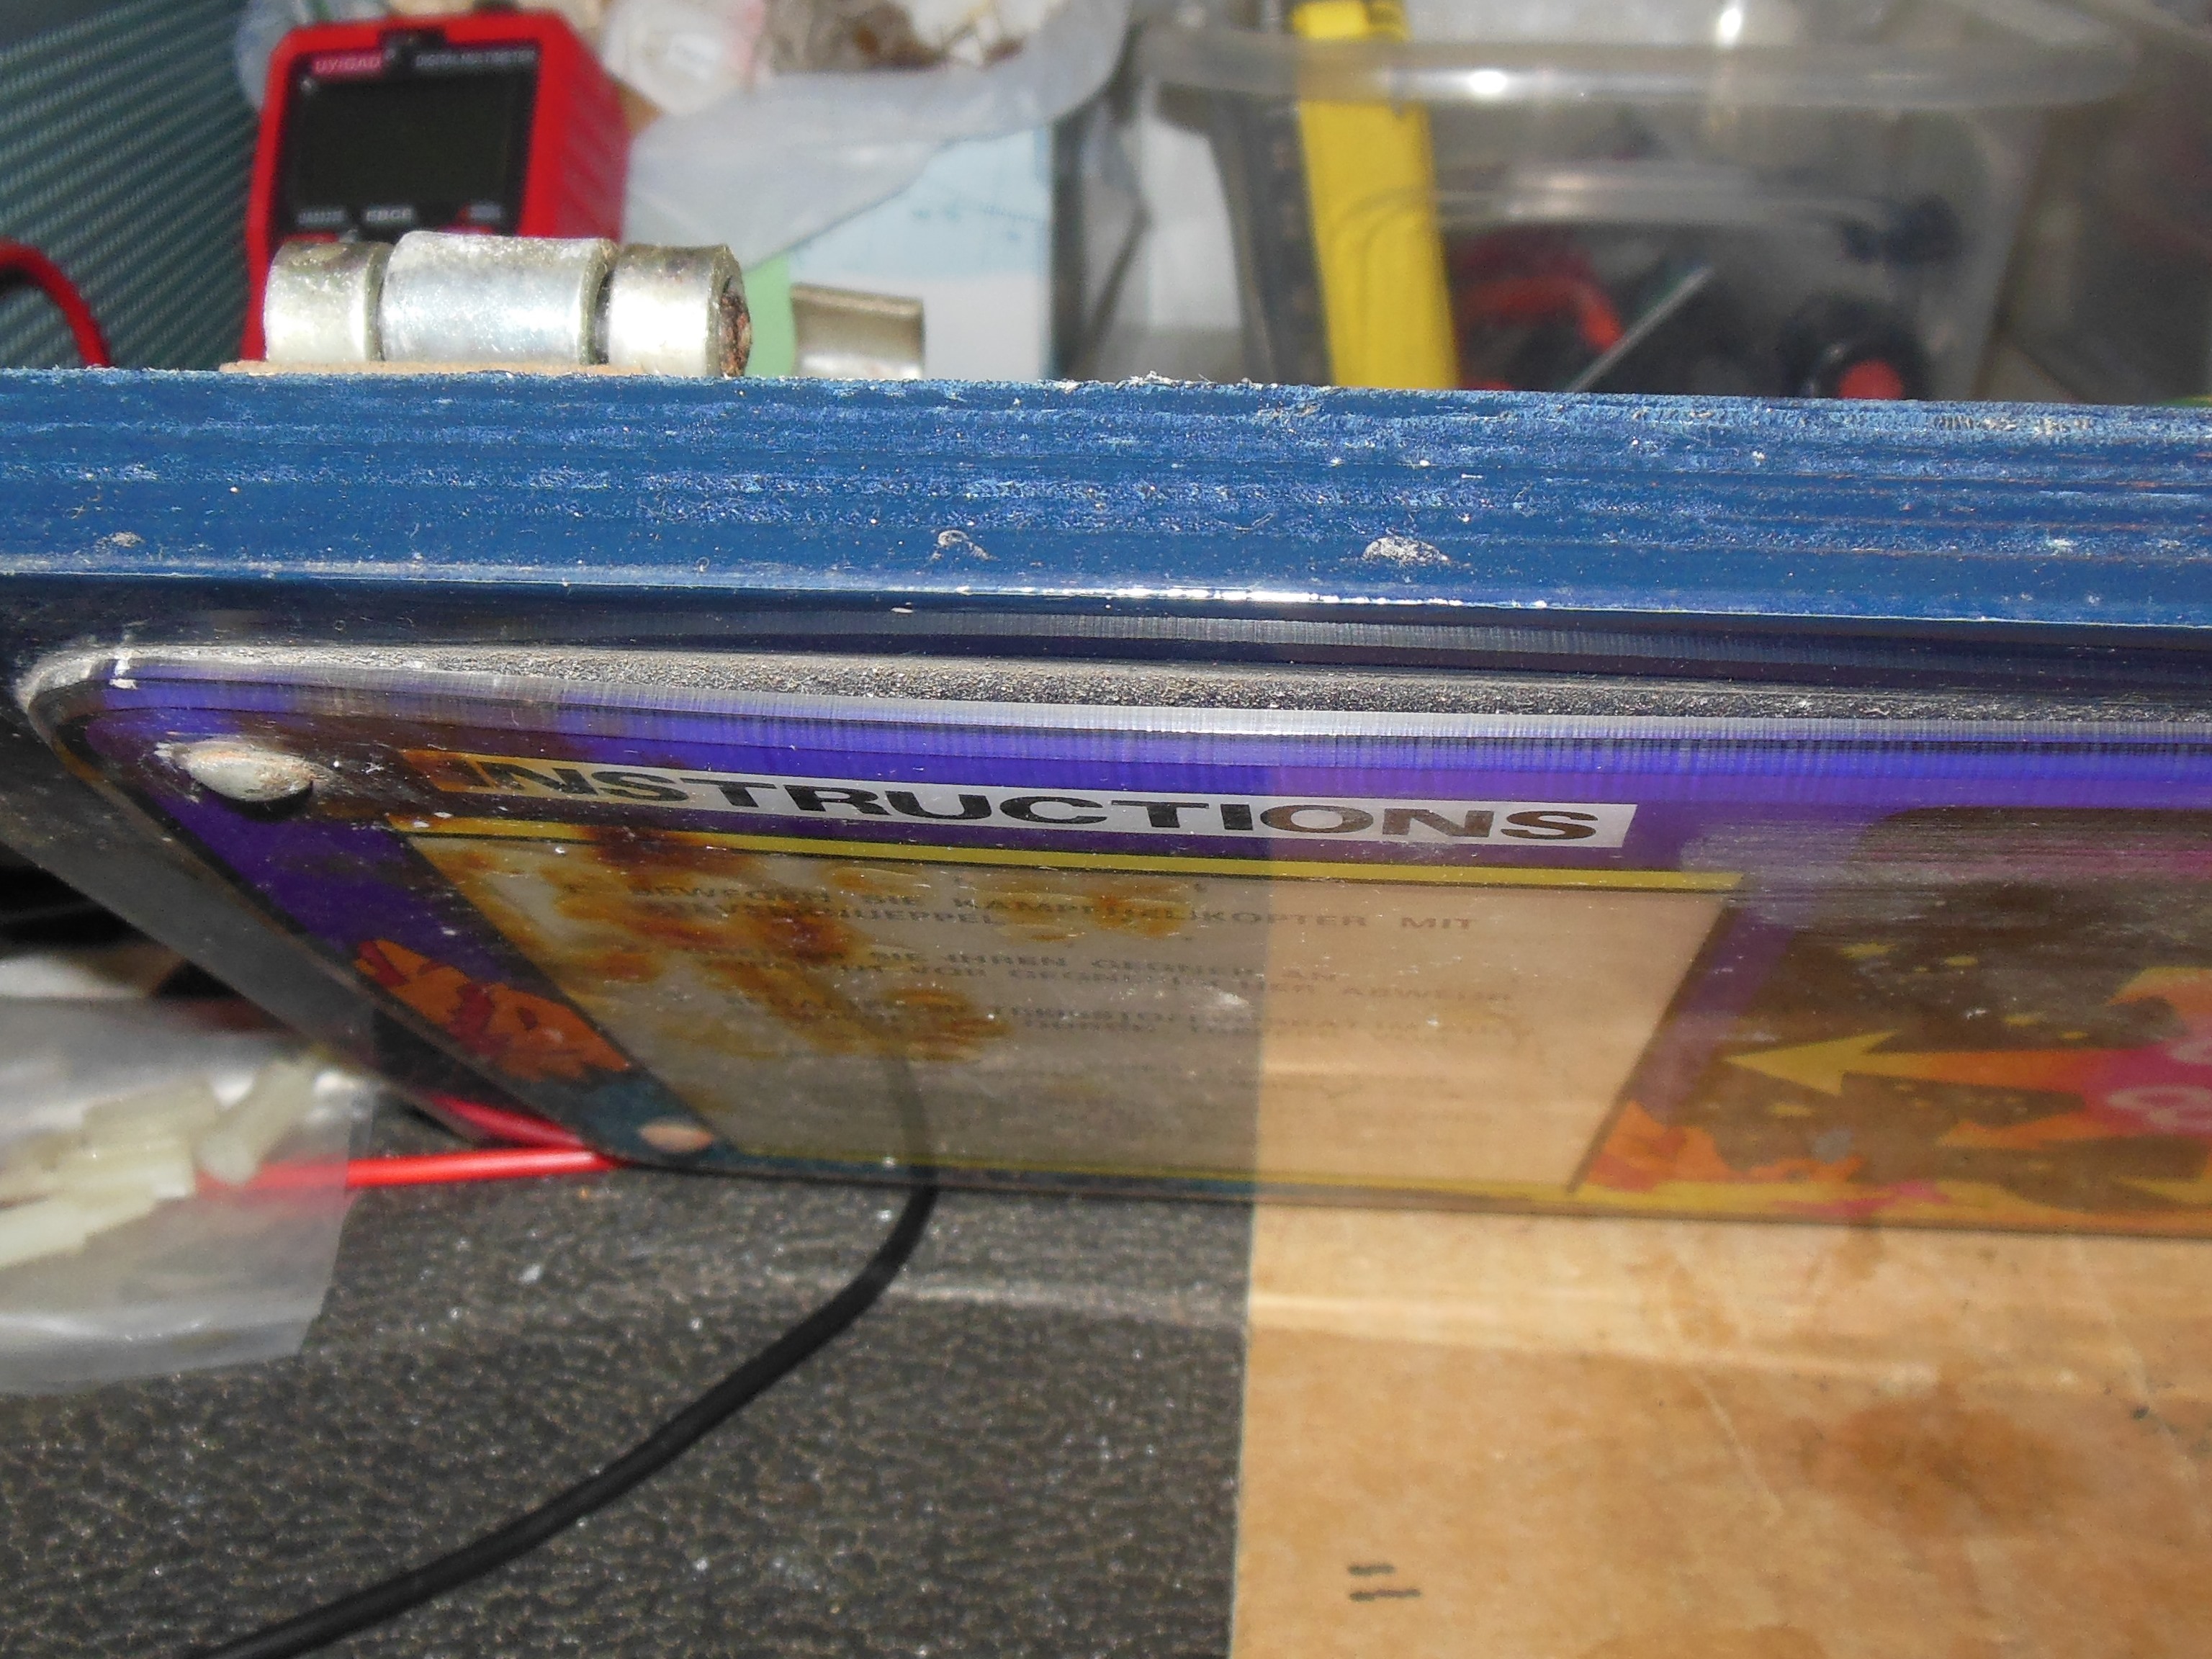
The control panel had some cigarette burns on the instruction sheet and above the start buttons. The back door was similarly in good condition with all the factory labels still present.


|
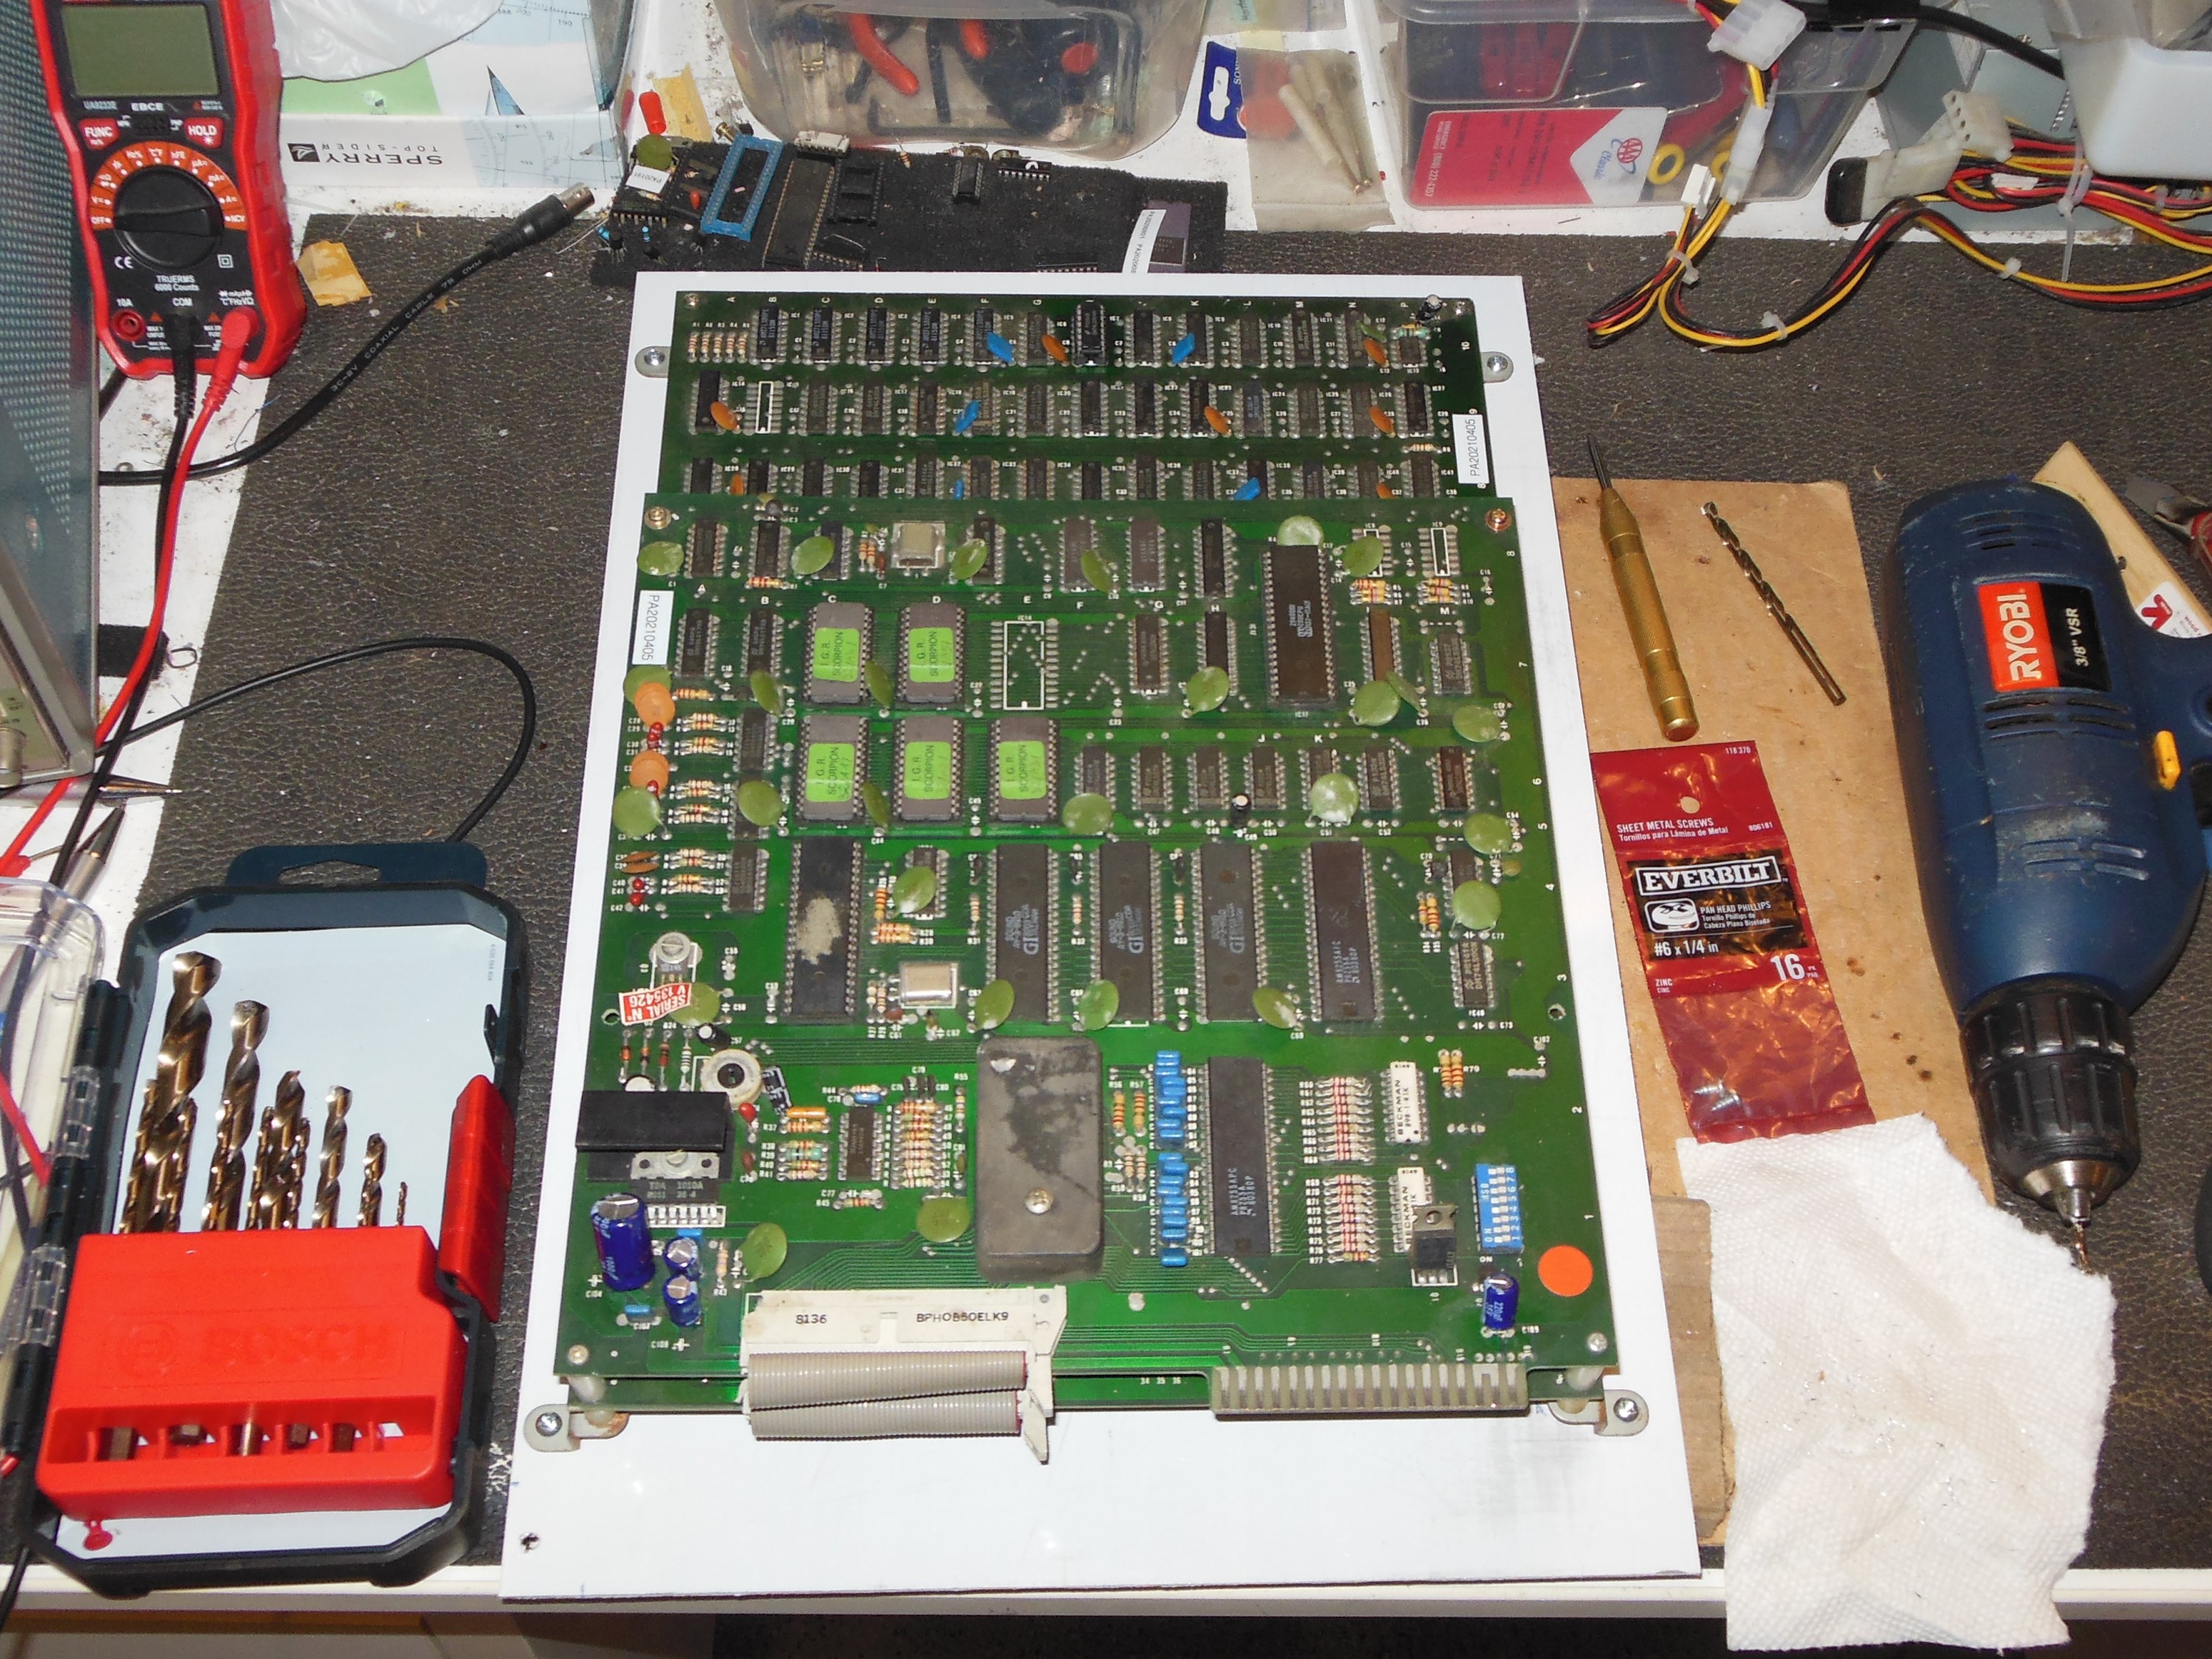
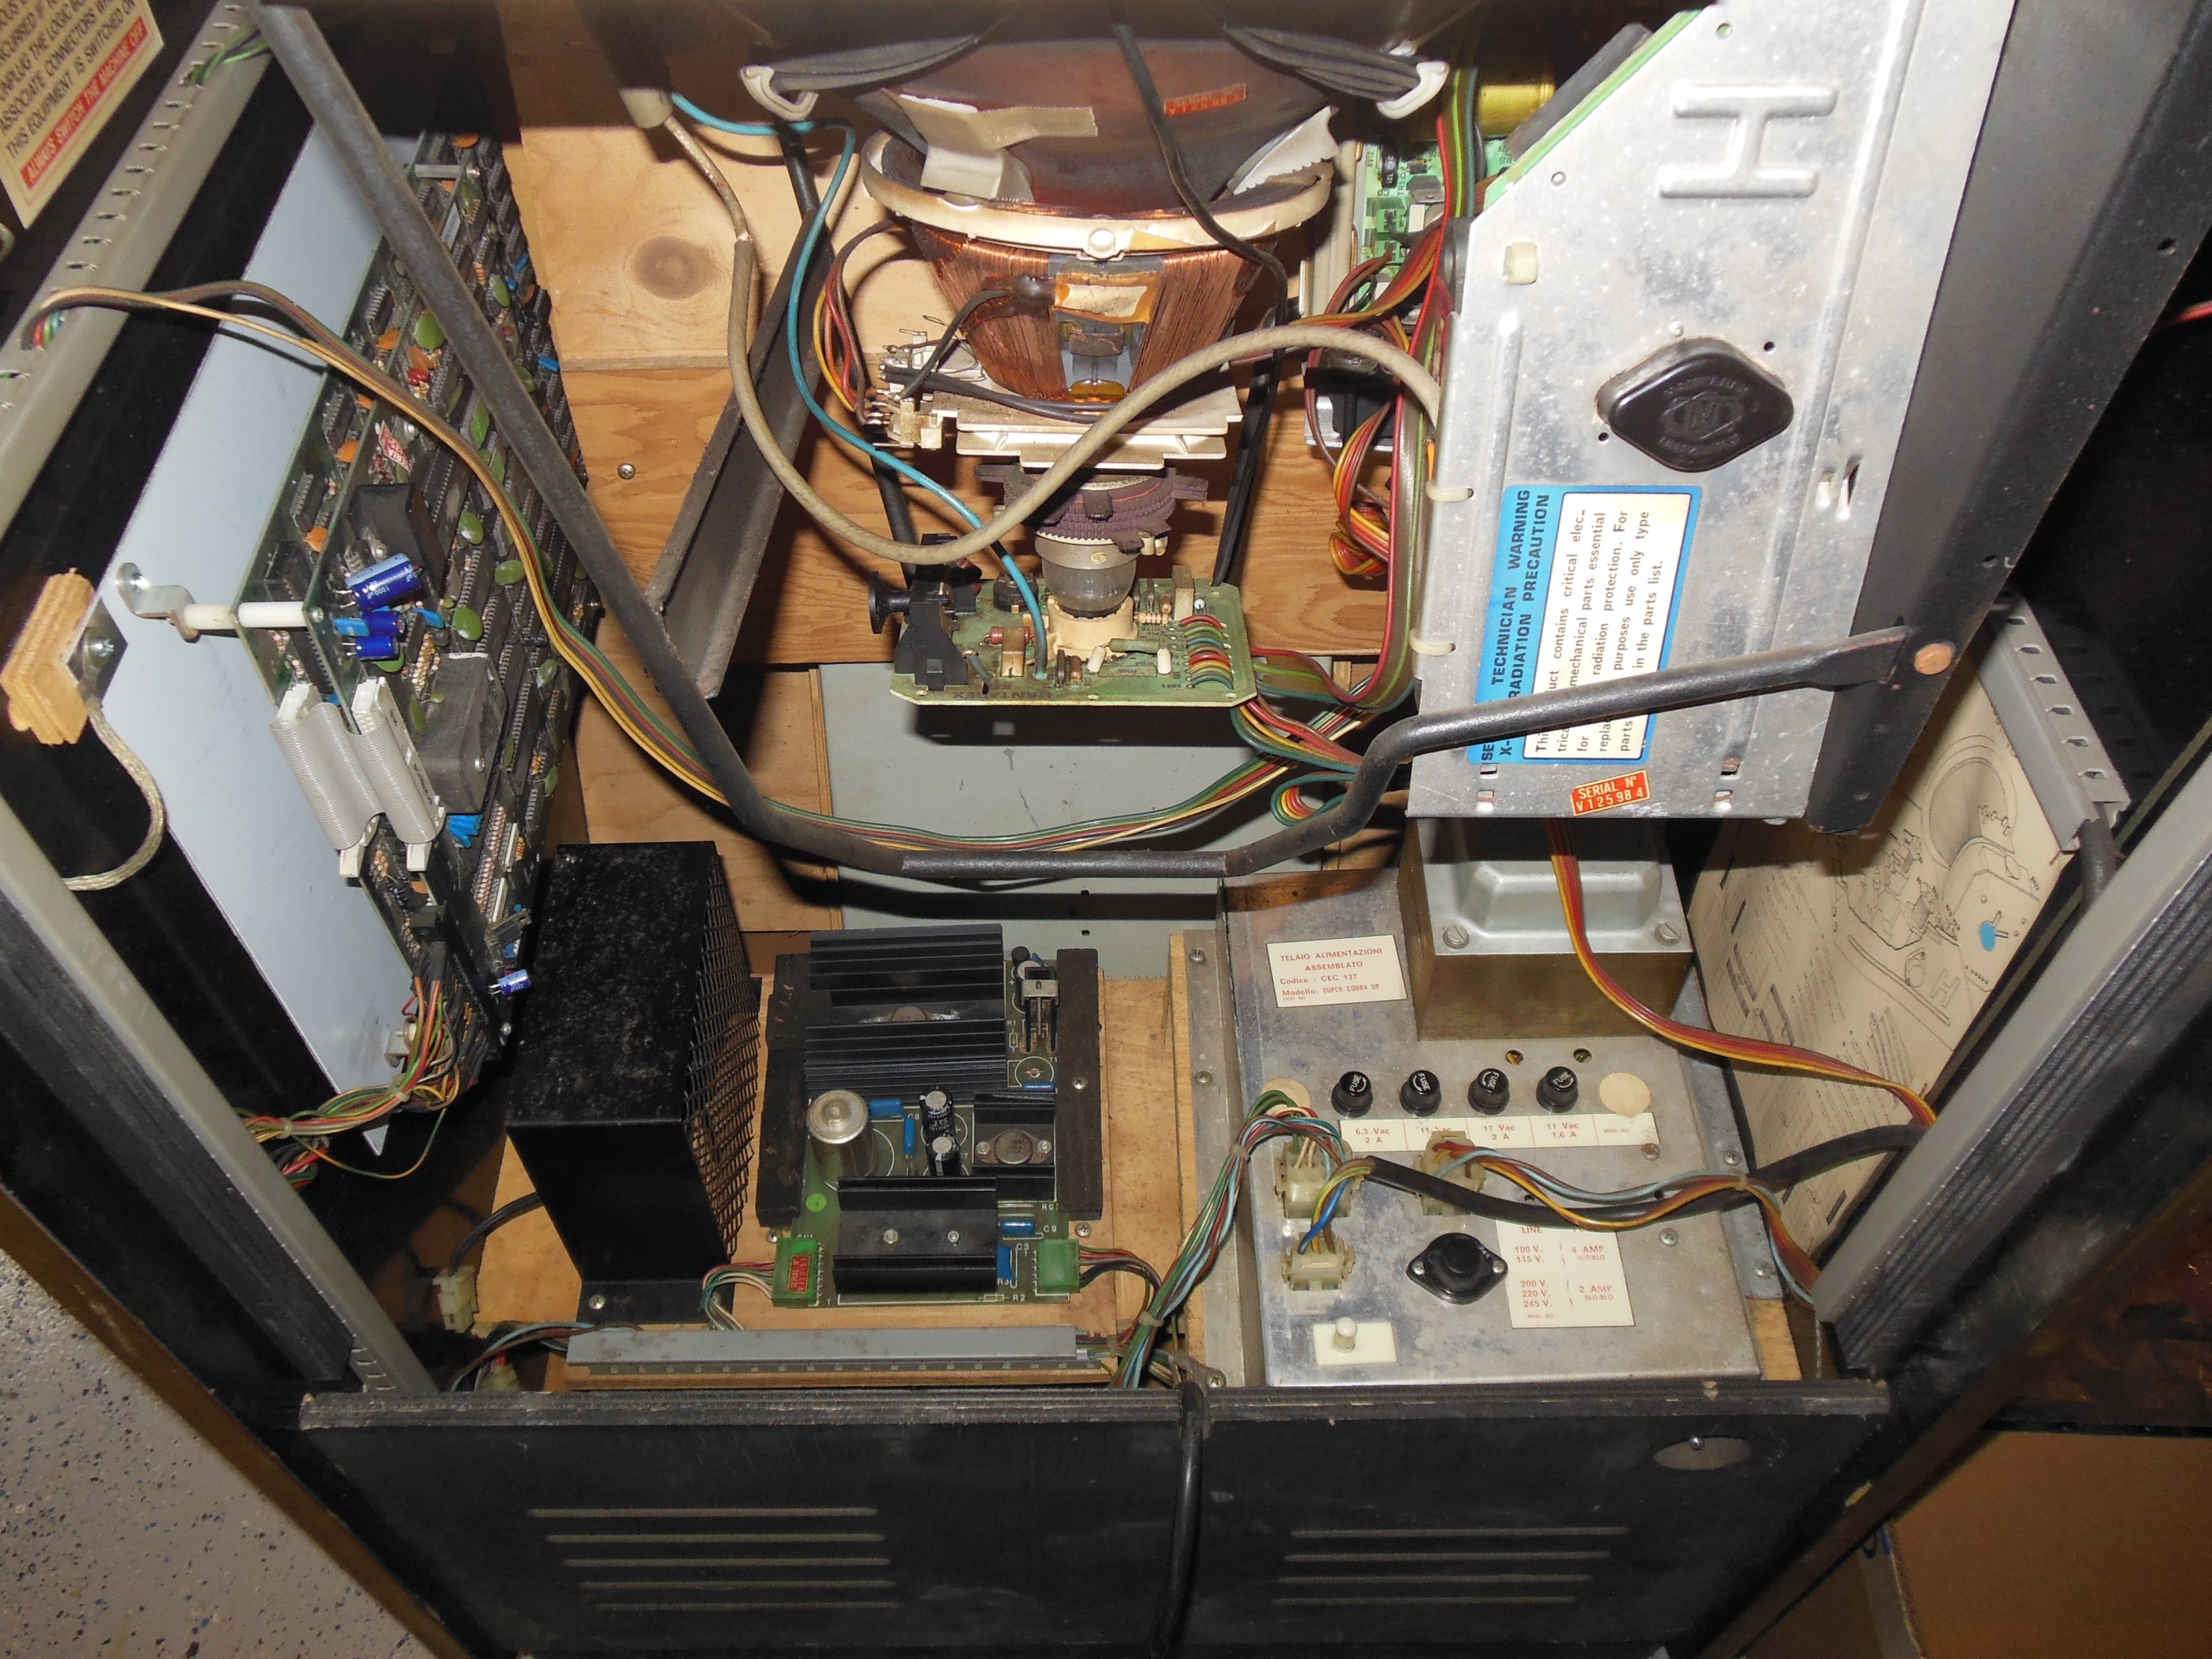
Internally the cabinet was in good condition, original and complete except for the missing game PCB.
|
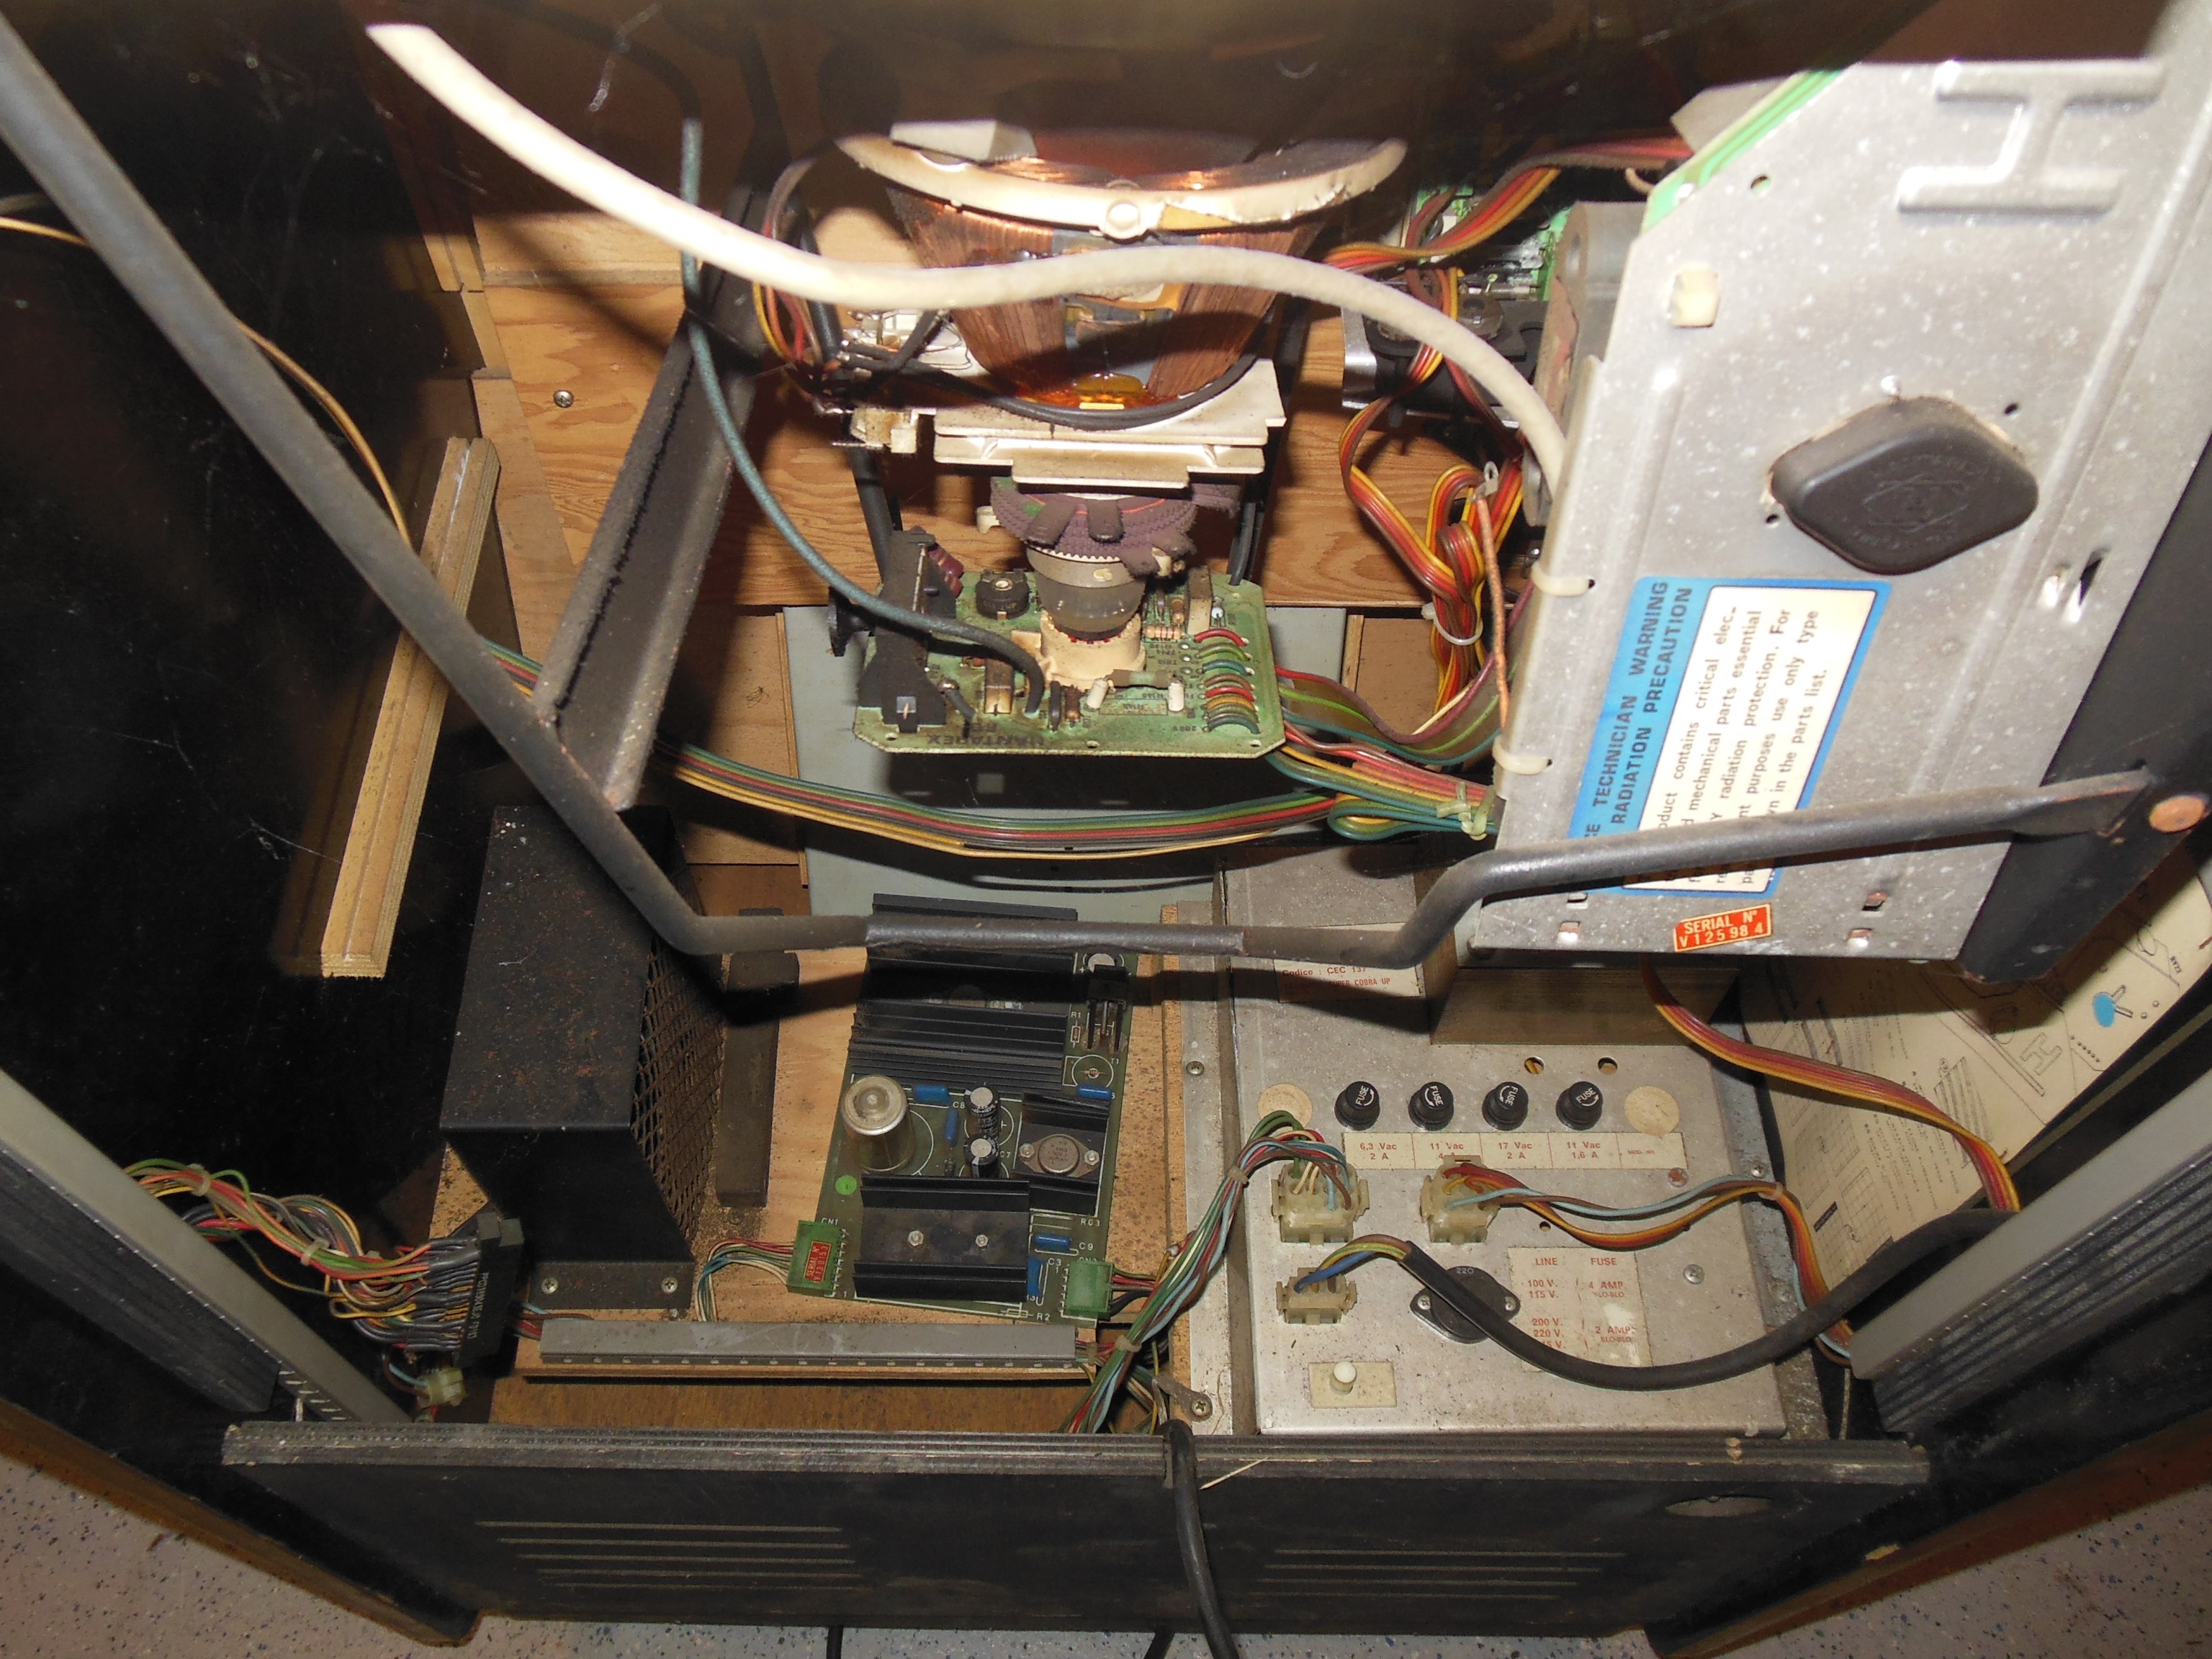
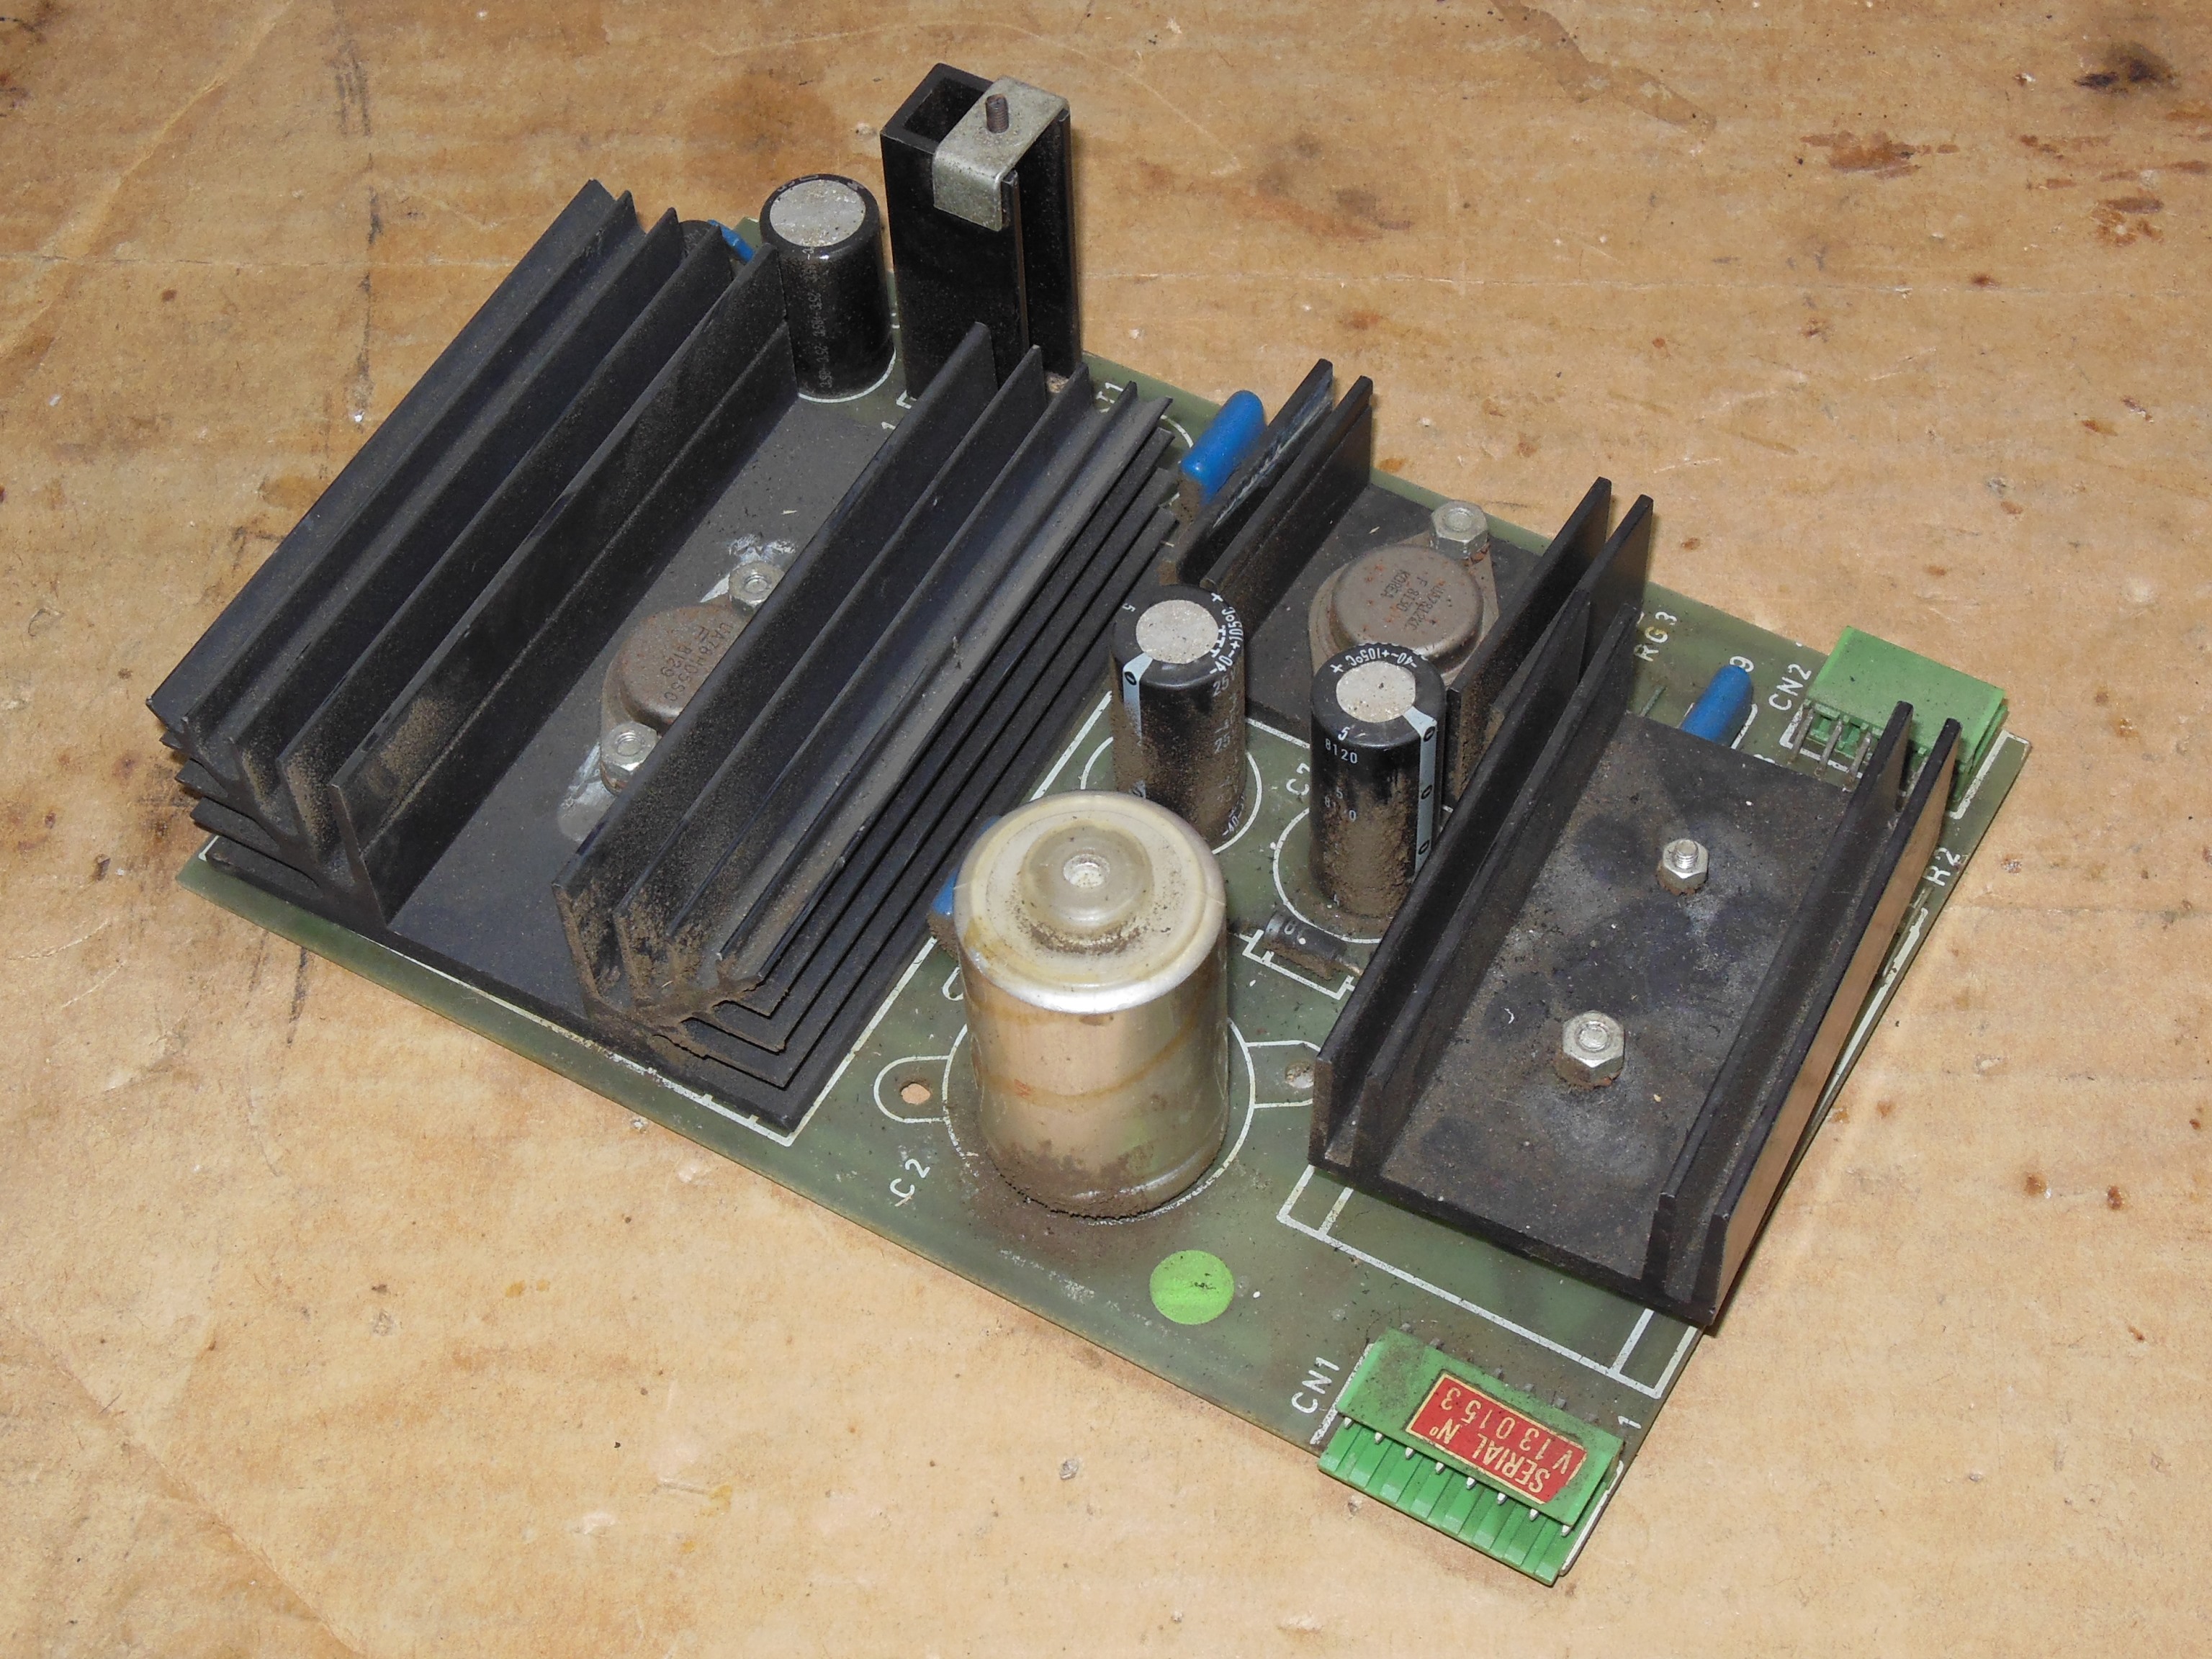
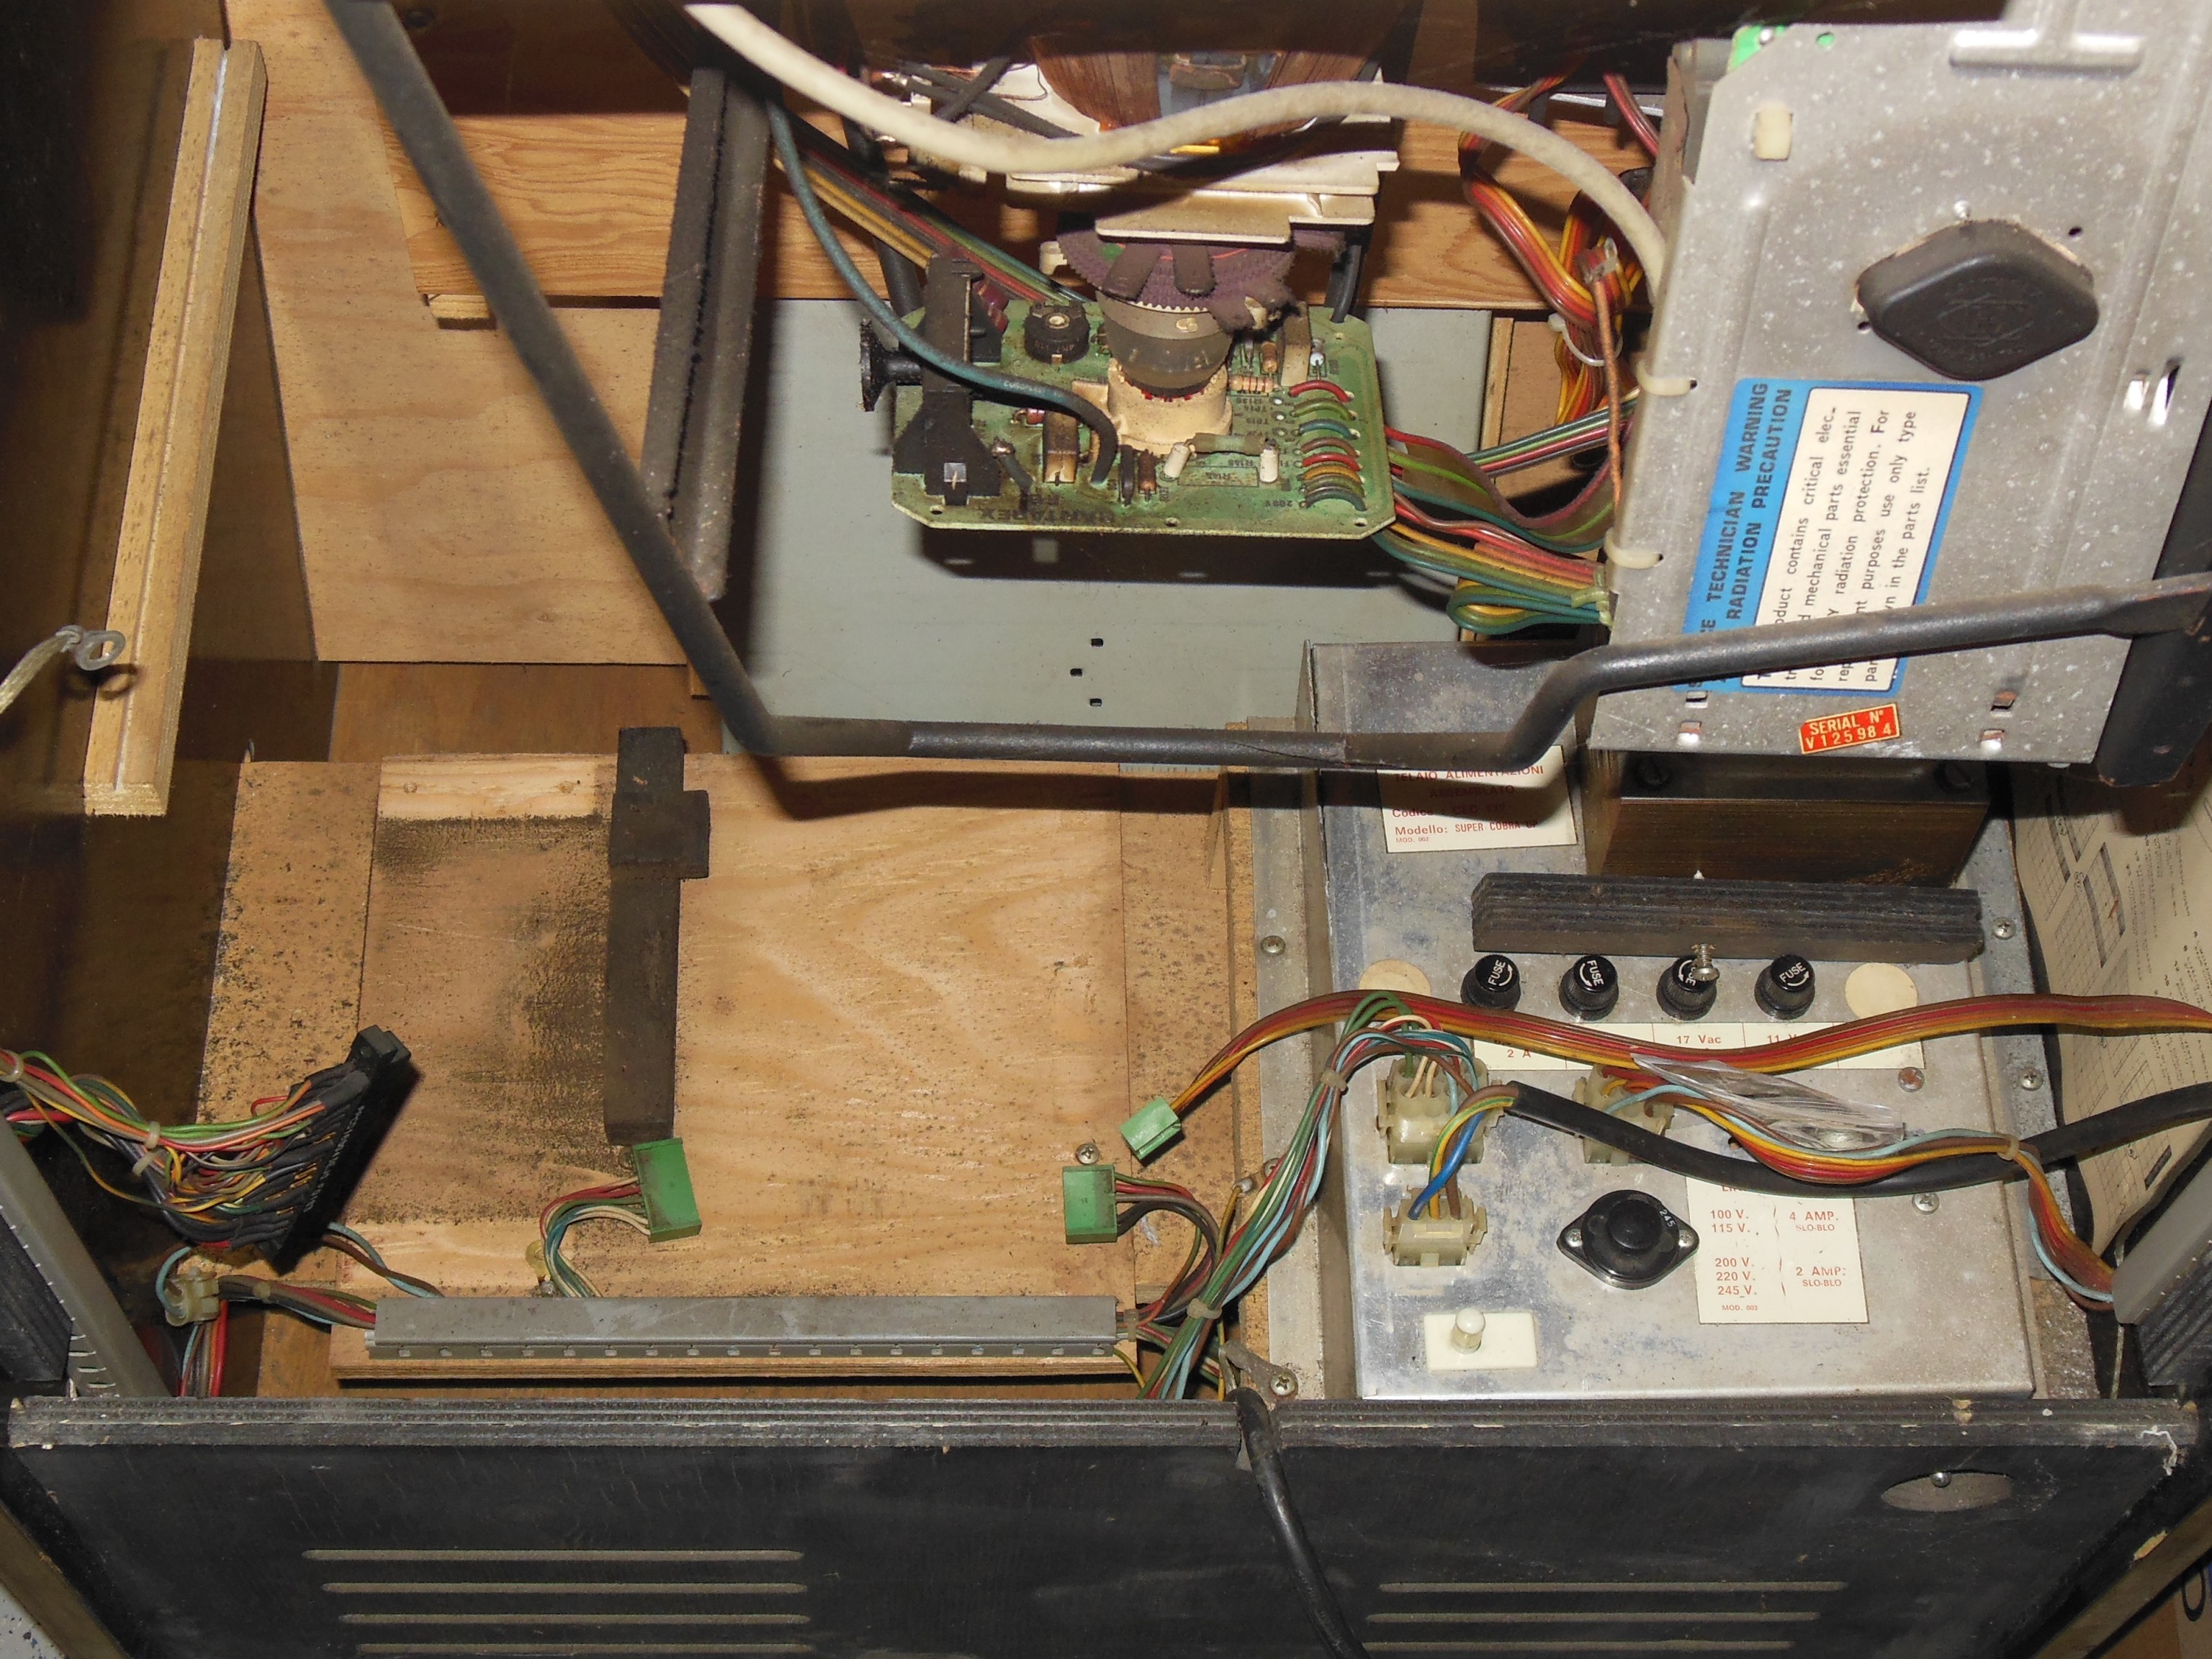
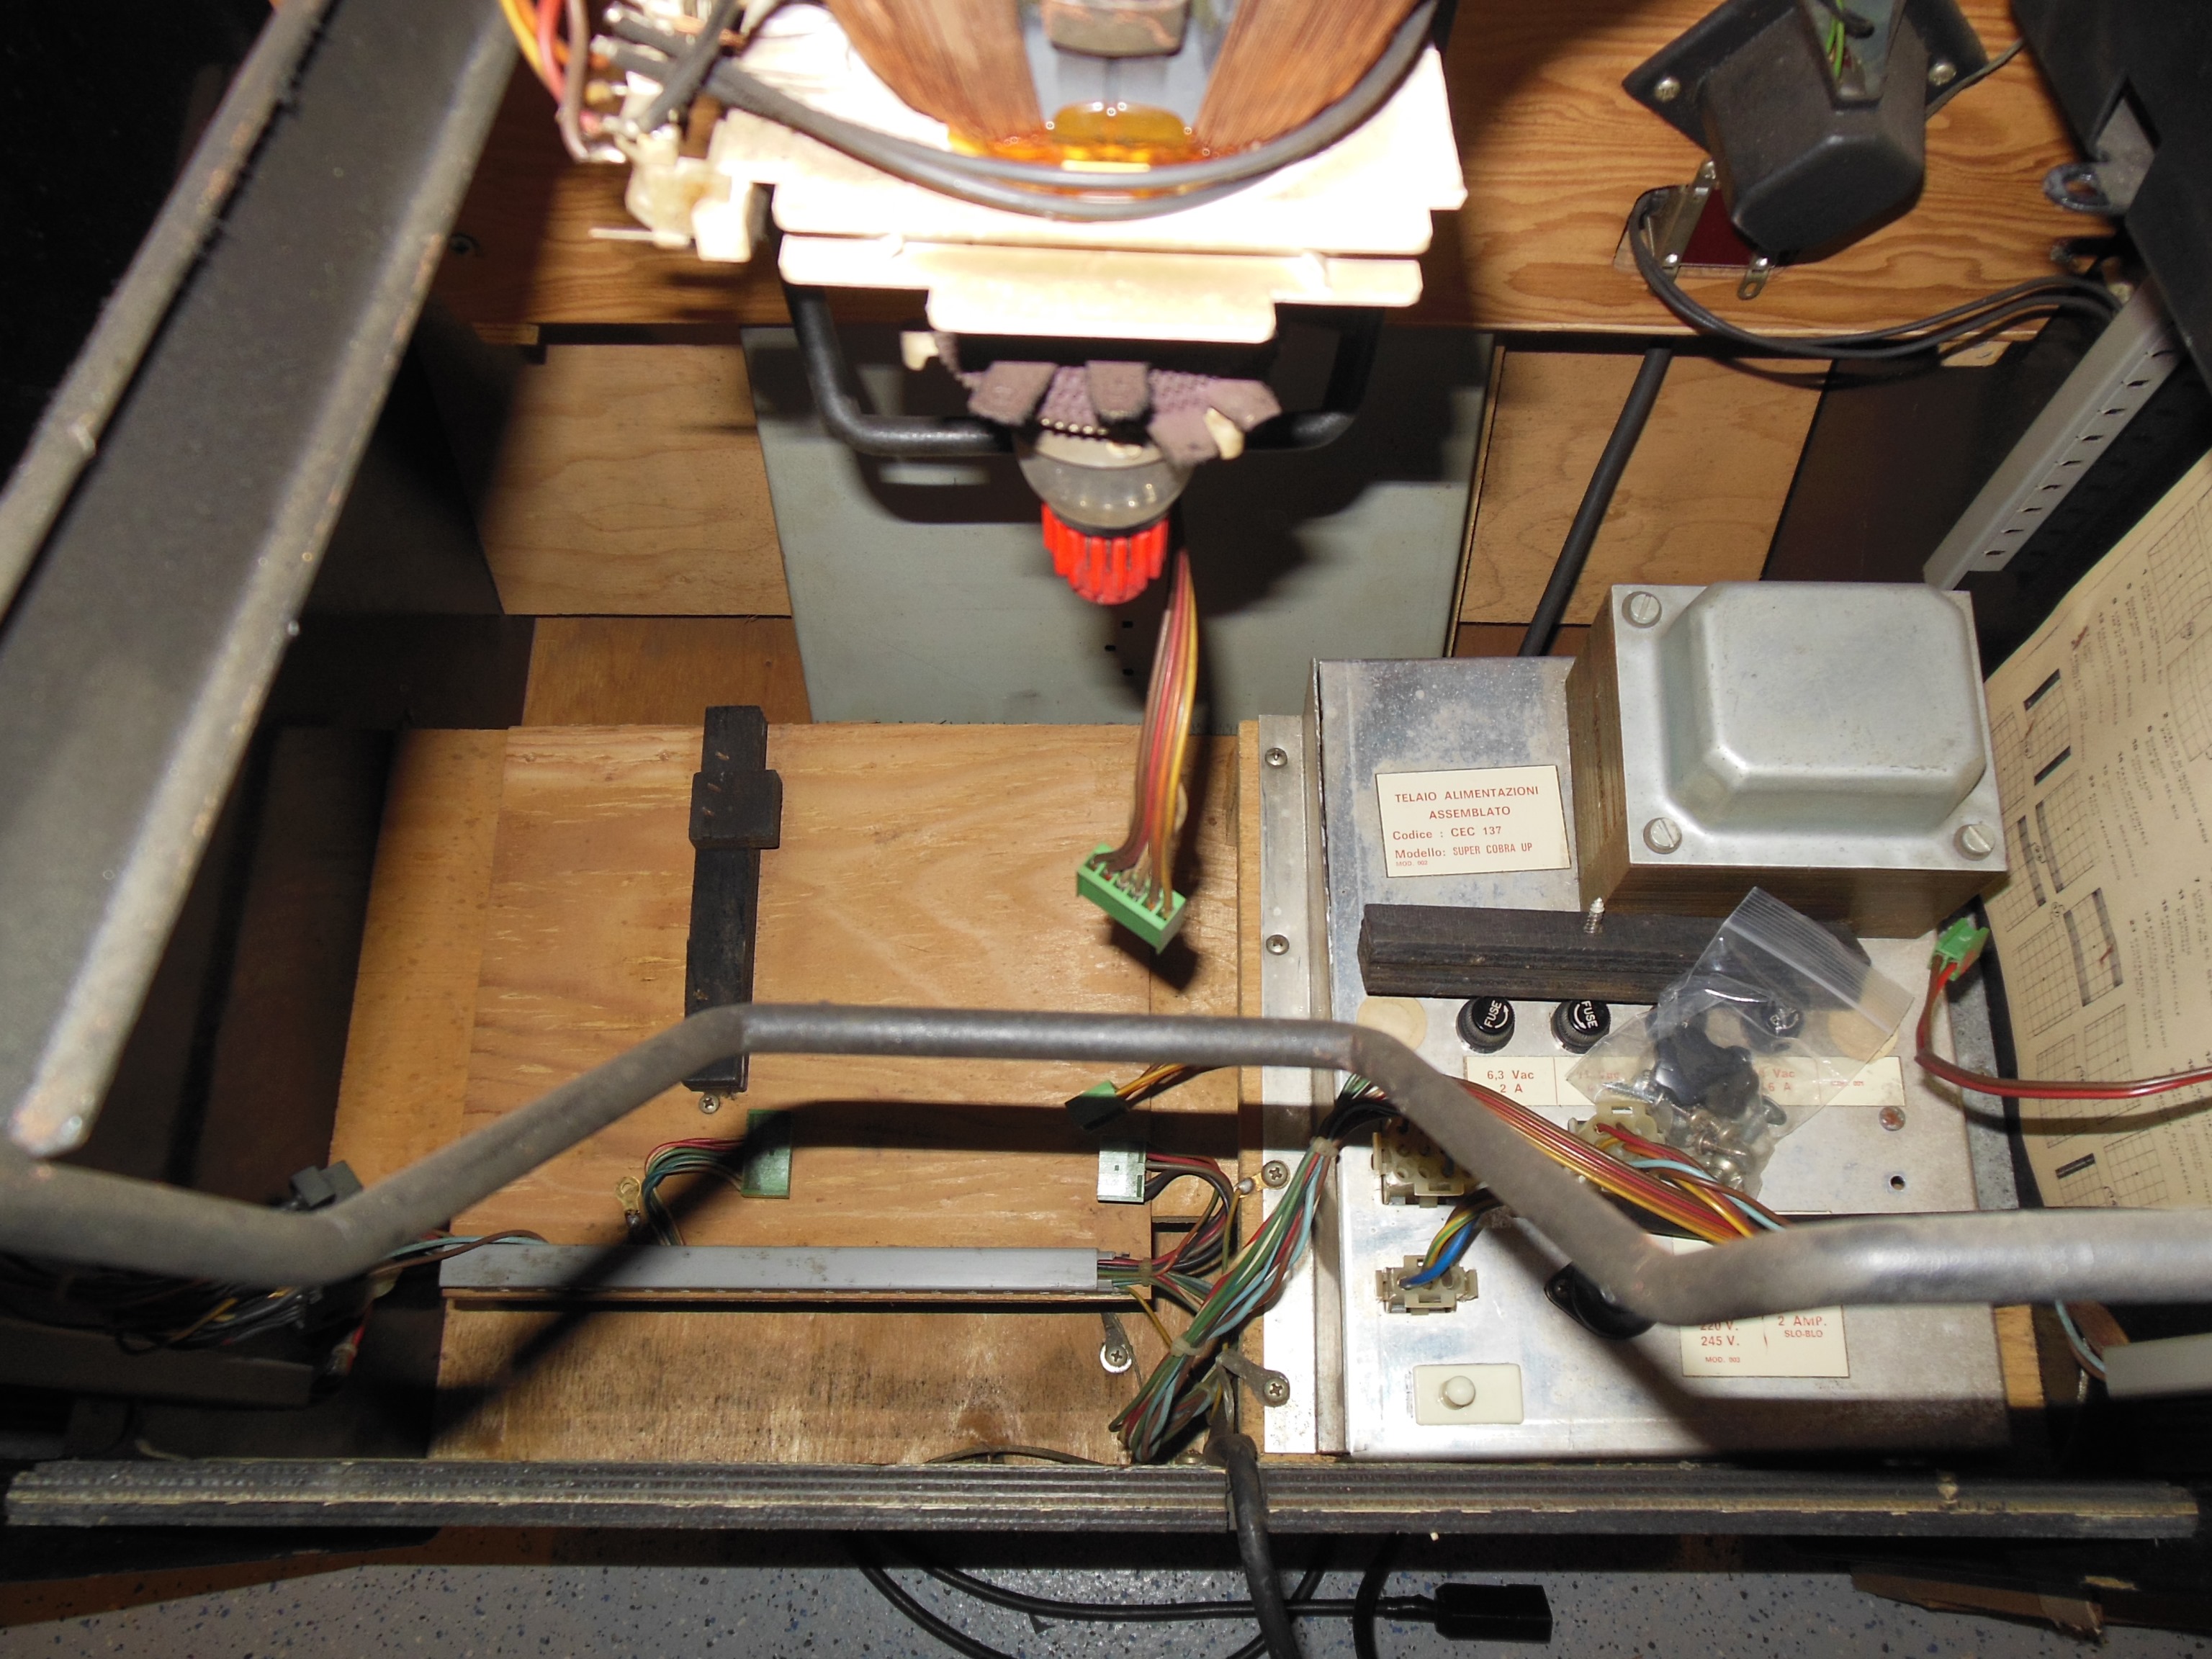
Internally the cabinet was in similarly good condition, complete except for the missing game PCB and original. The power regulator PCB mounting bracket wasn't fitted but was found in the bottom of the cabinet.

|
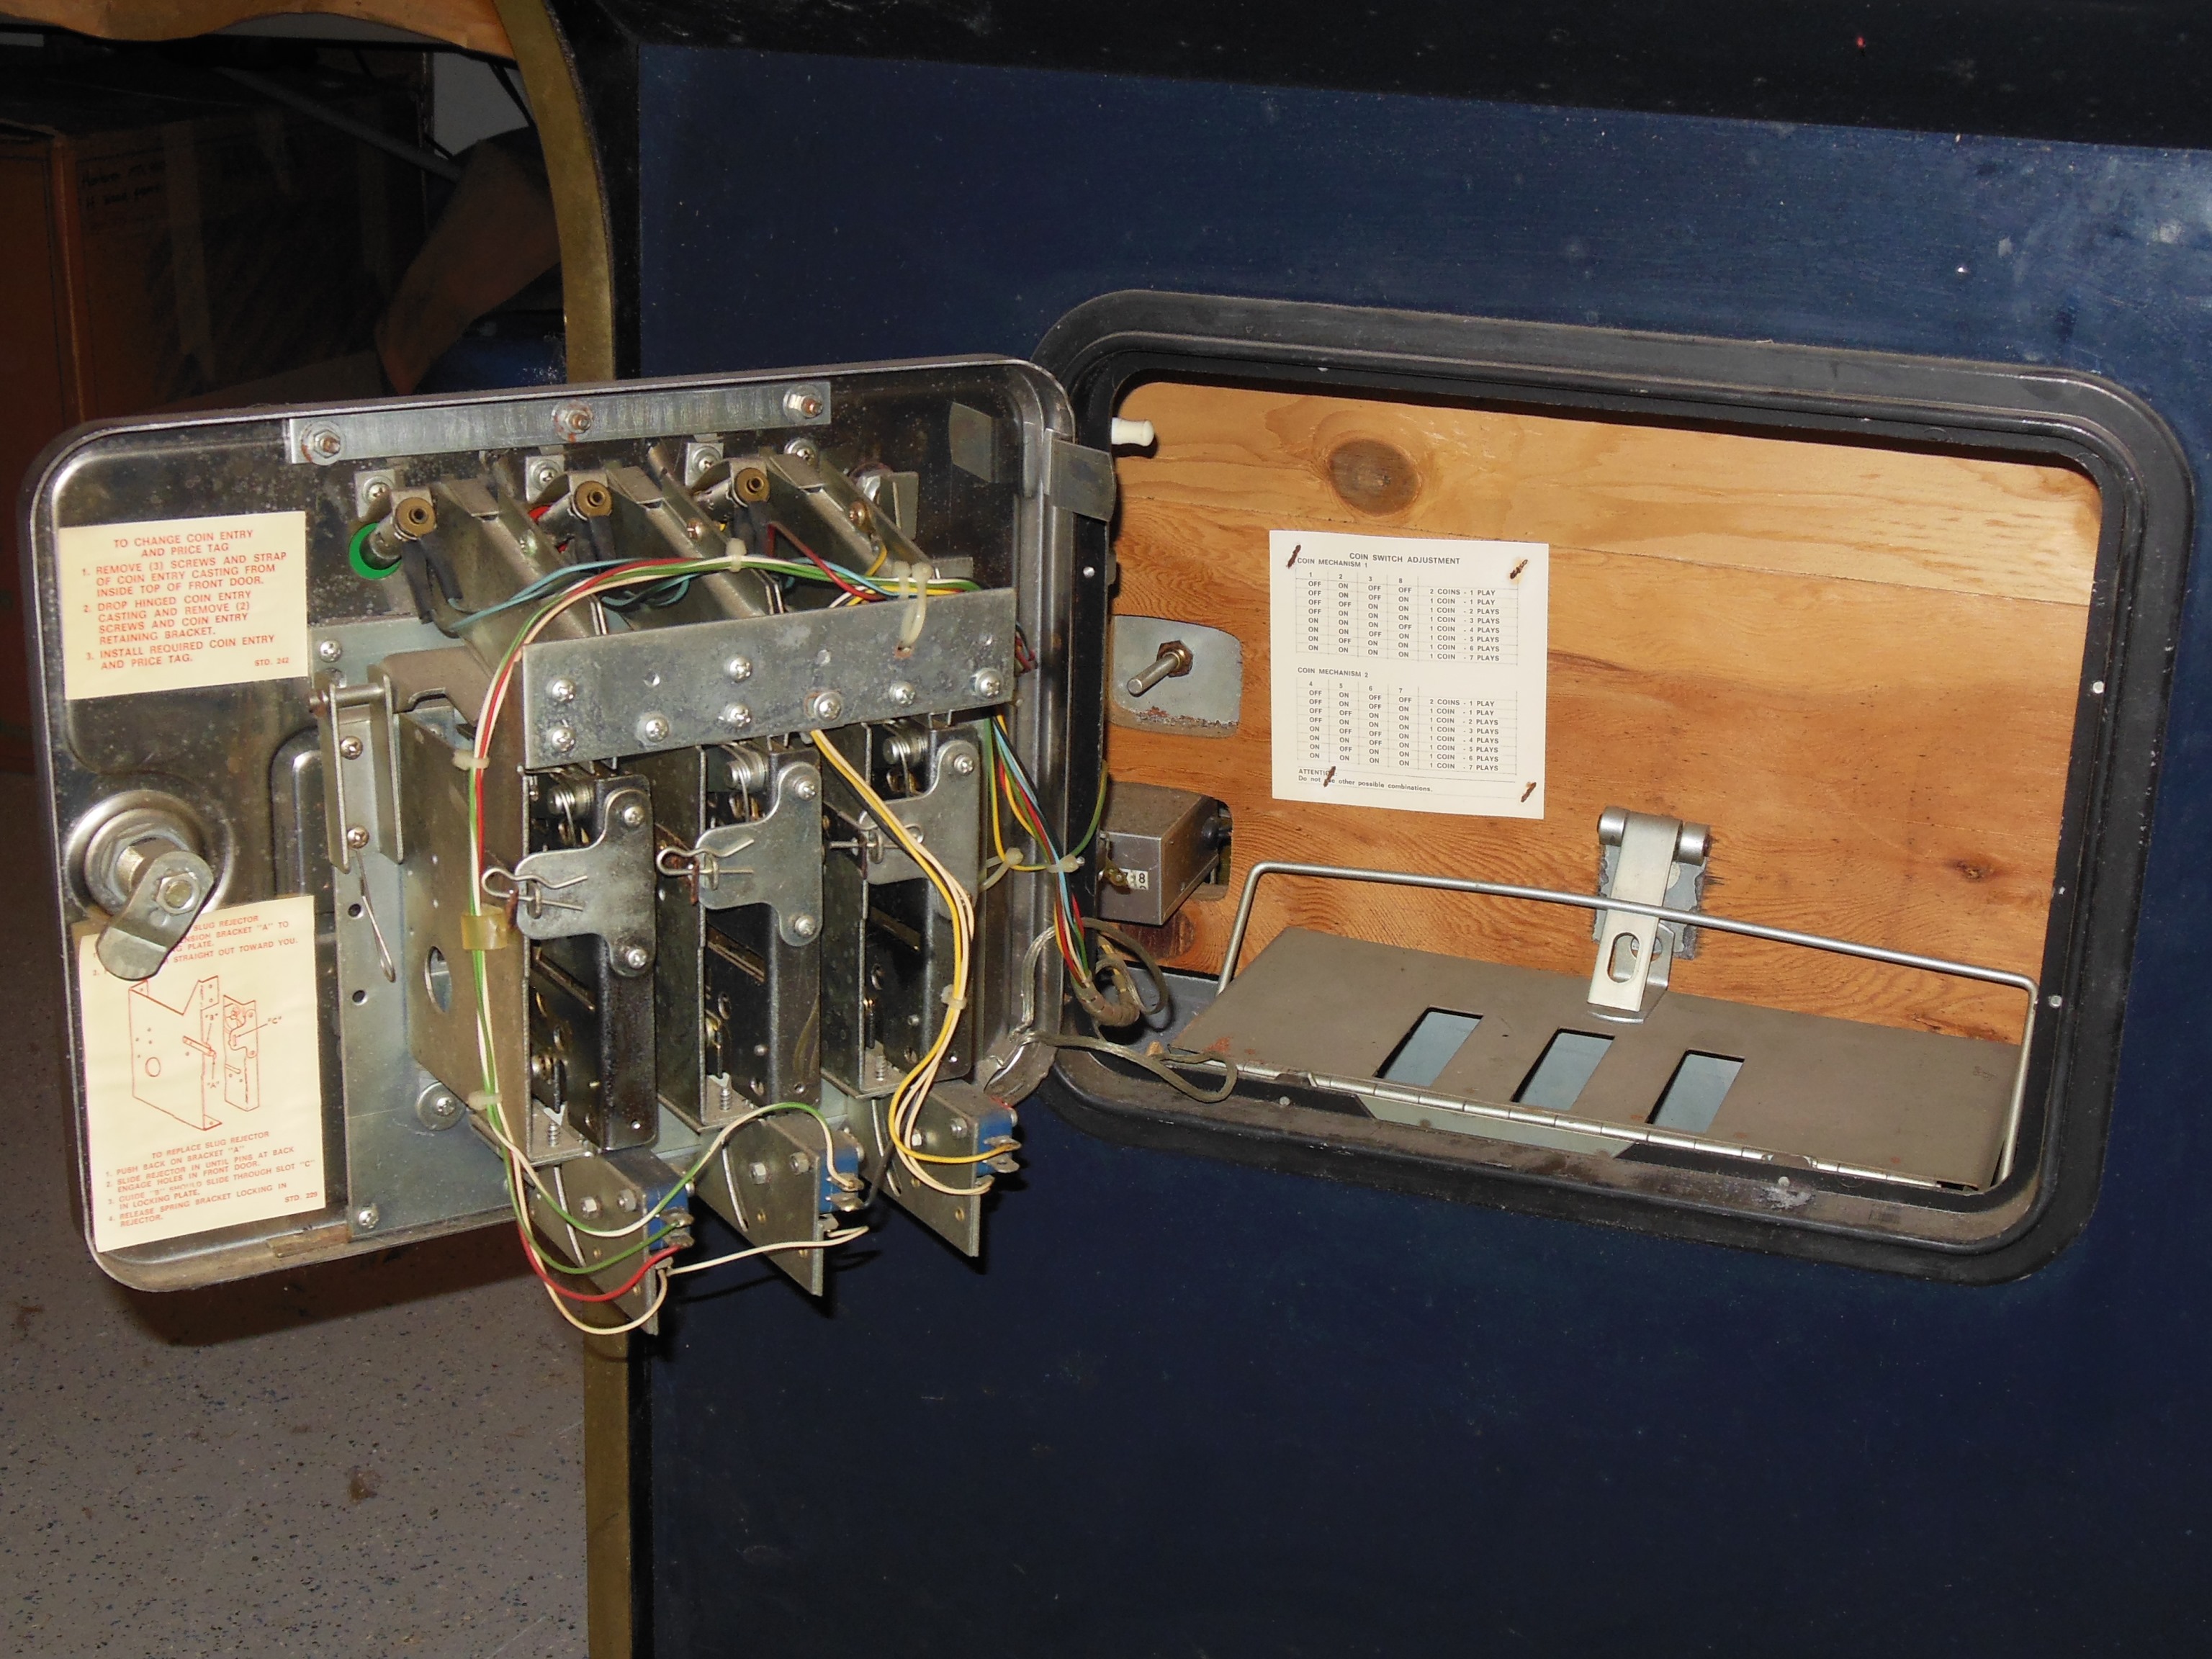
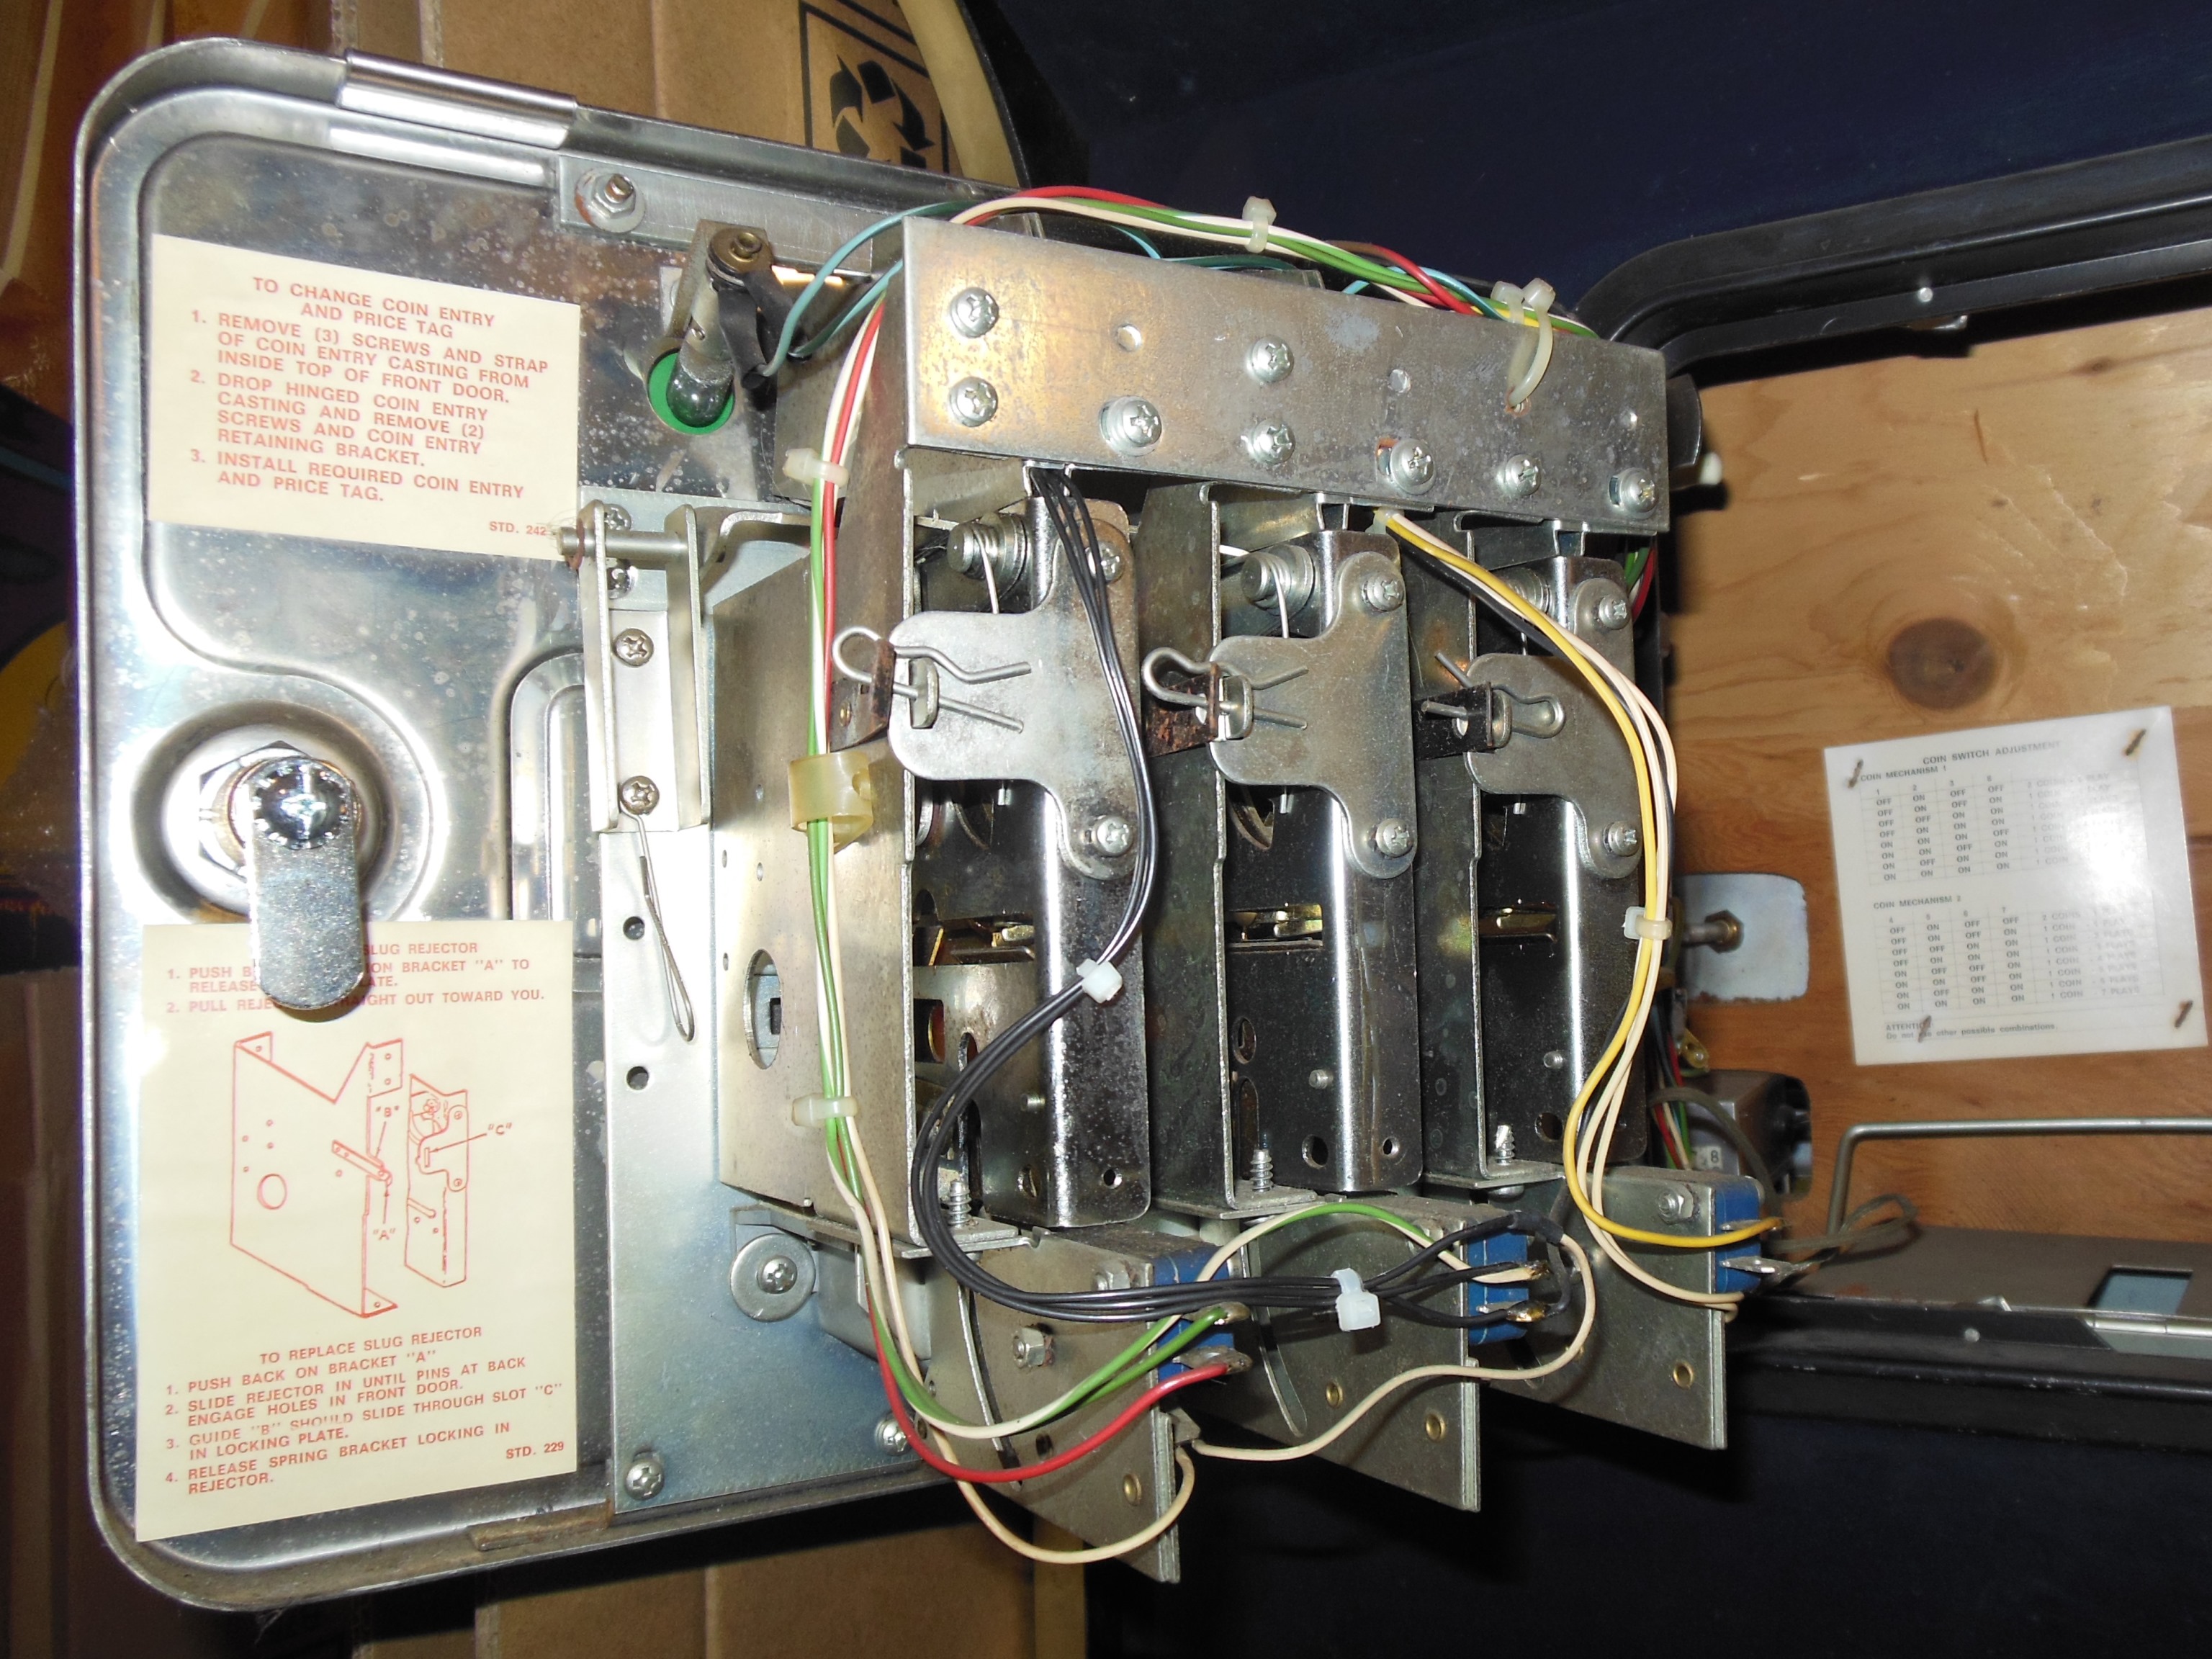
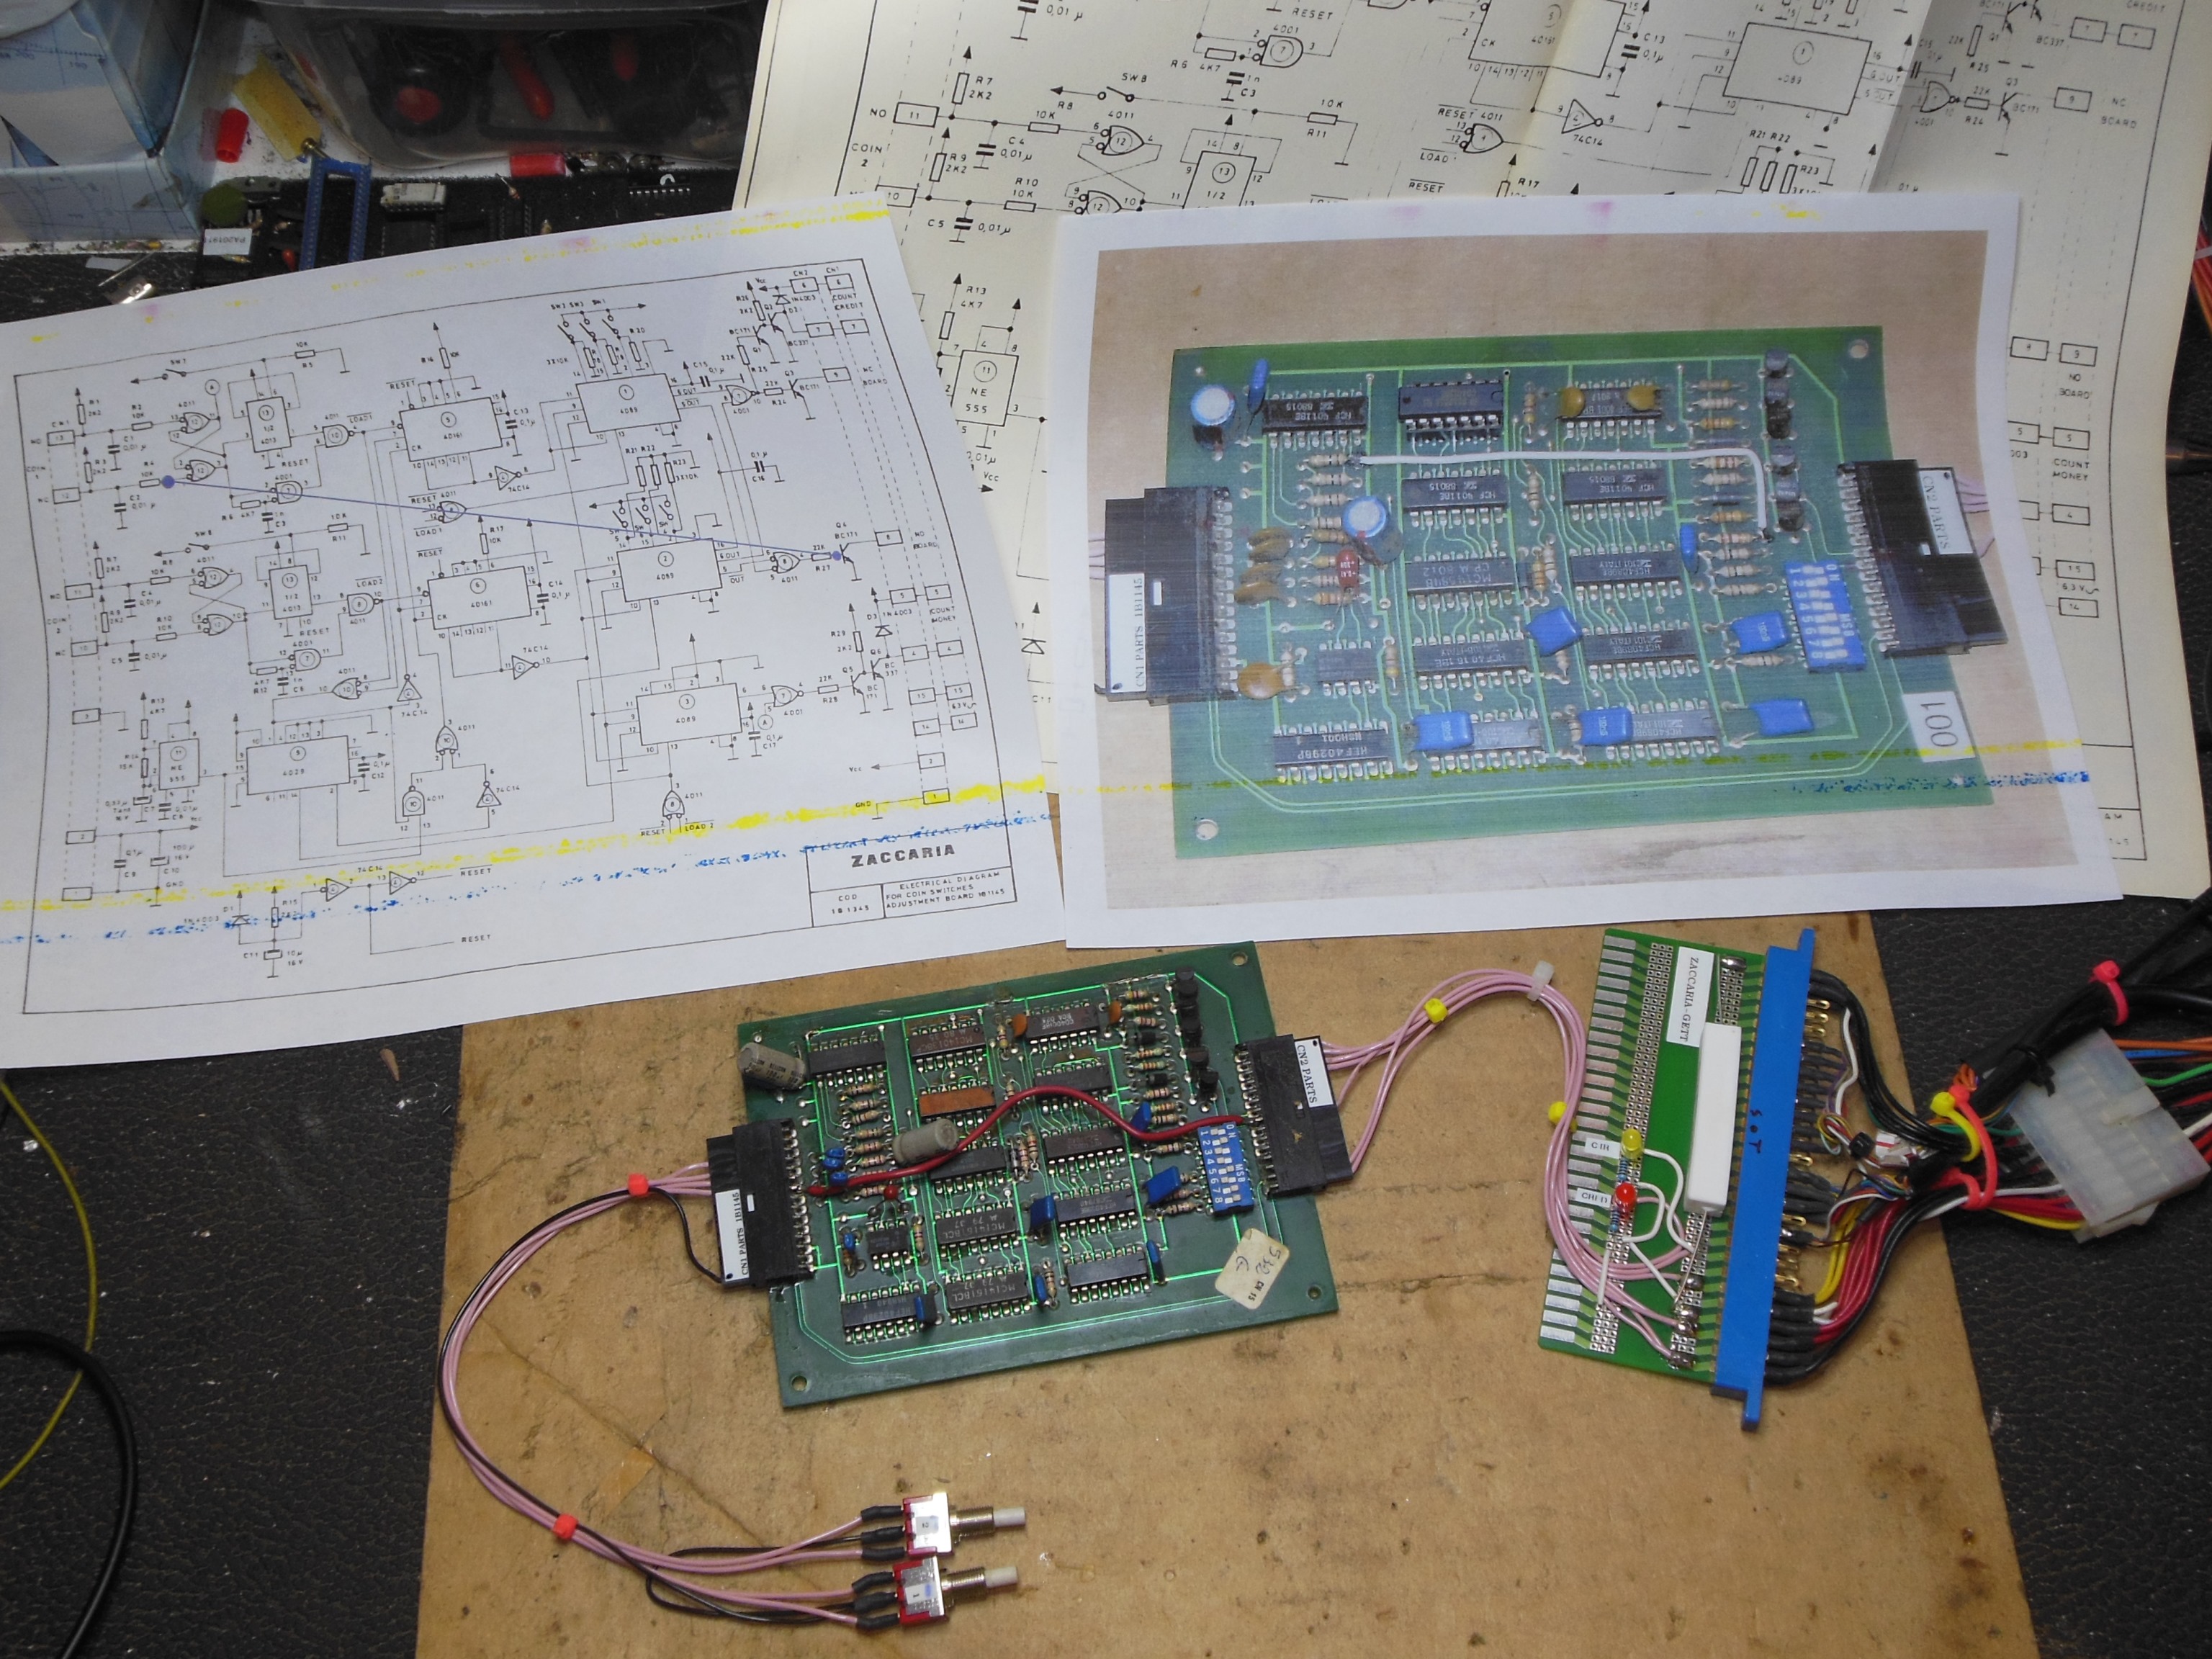
An external volume control was present in this cabinet that appears to be factory fitted. Both the credit PCB and coin door wiring all looked complete and original

|
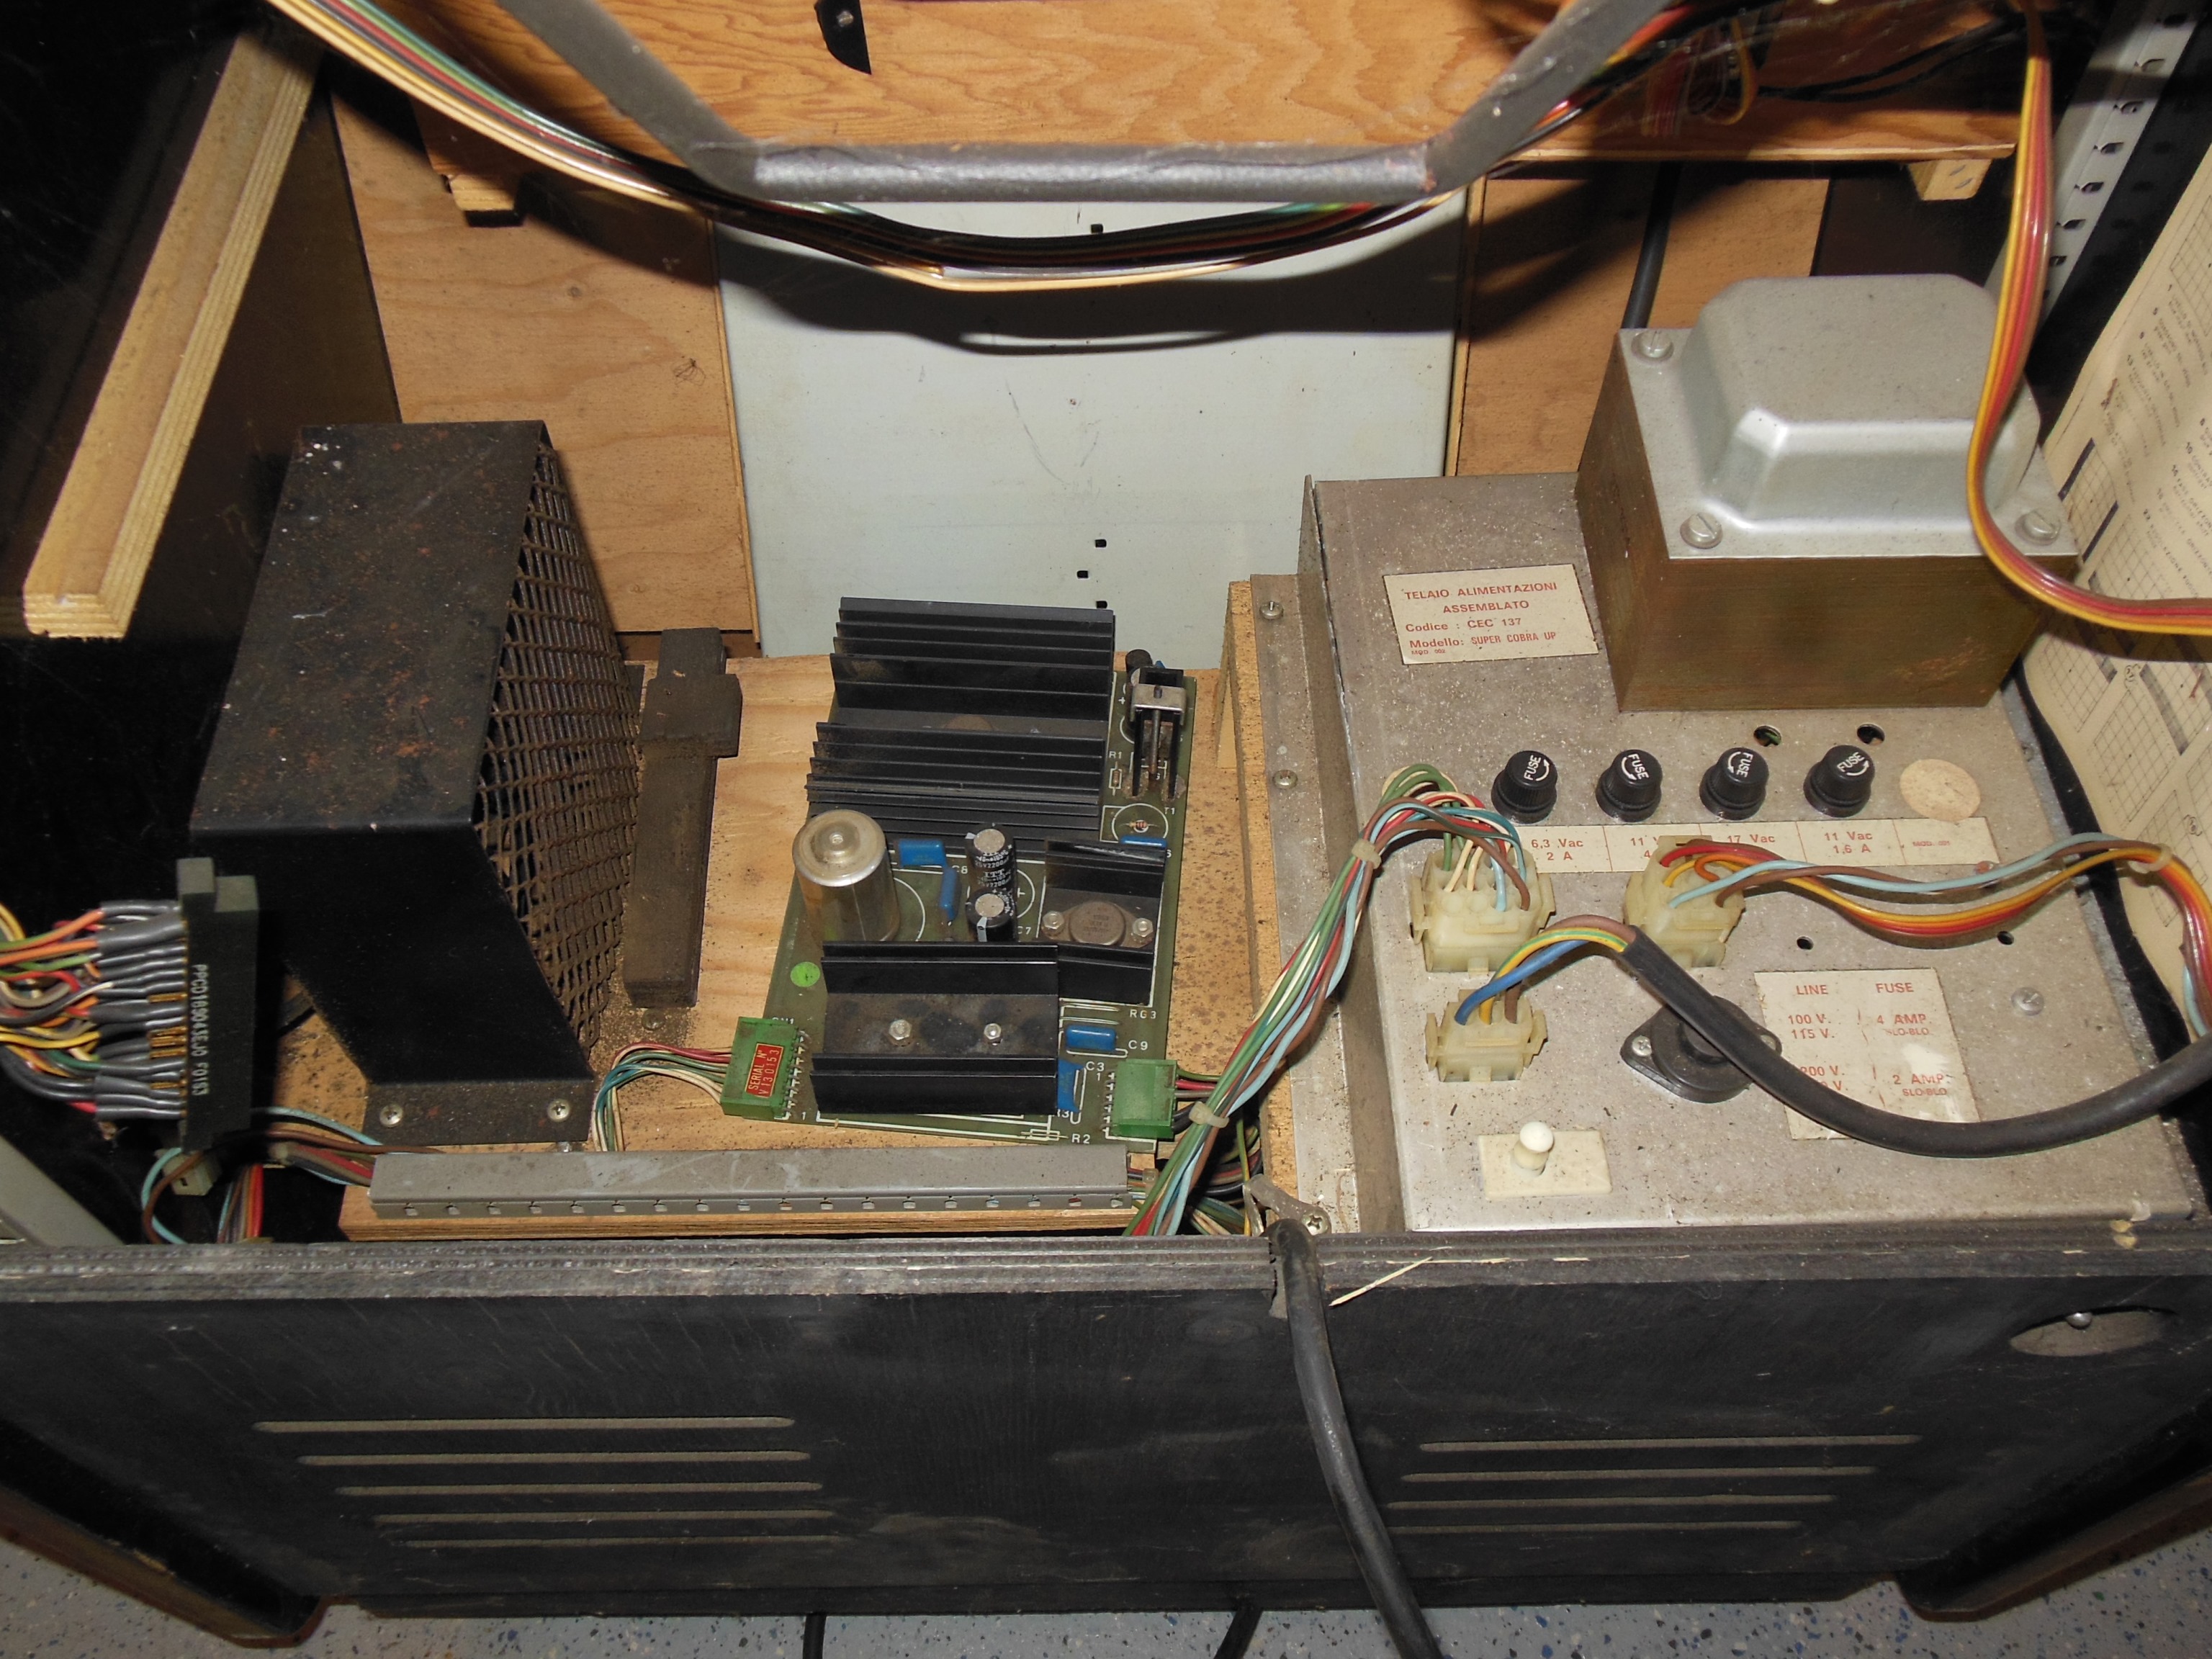
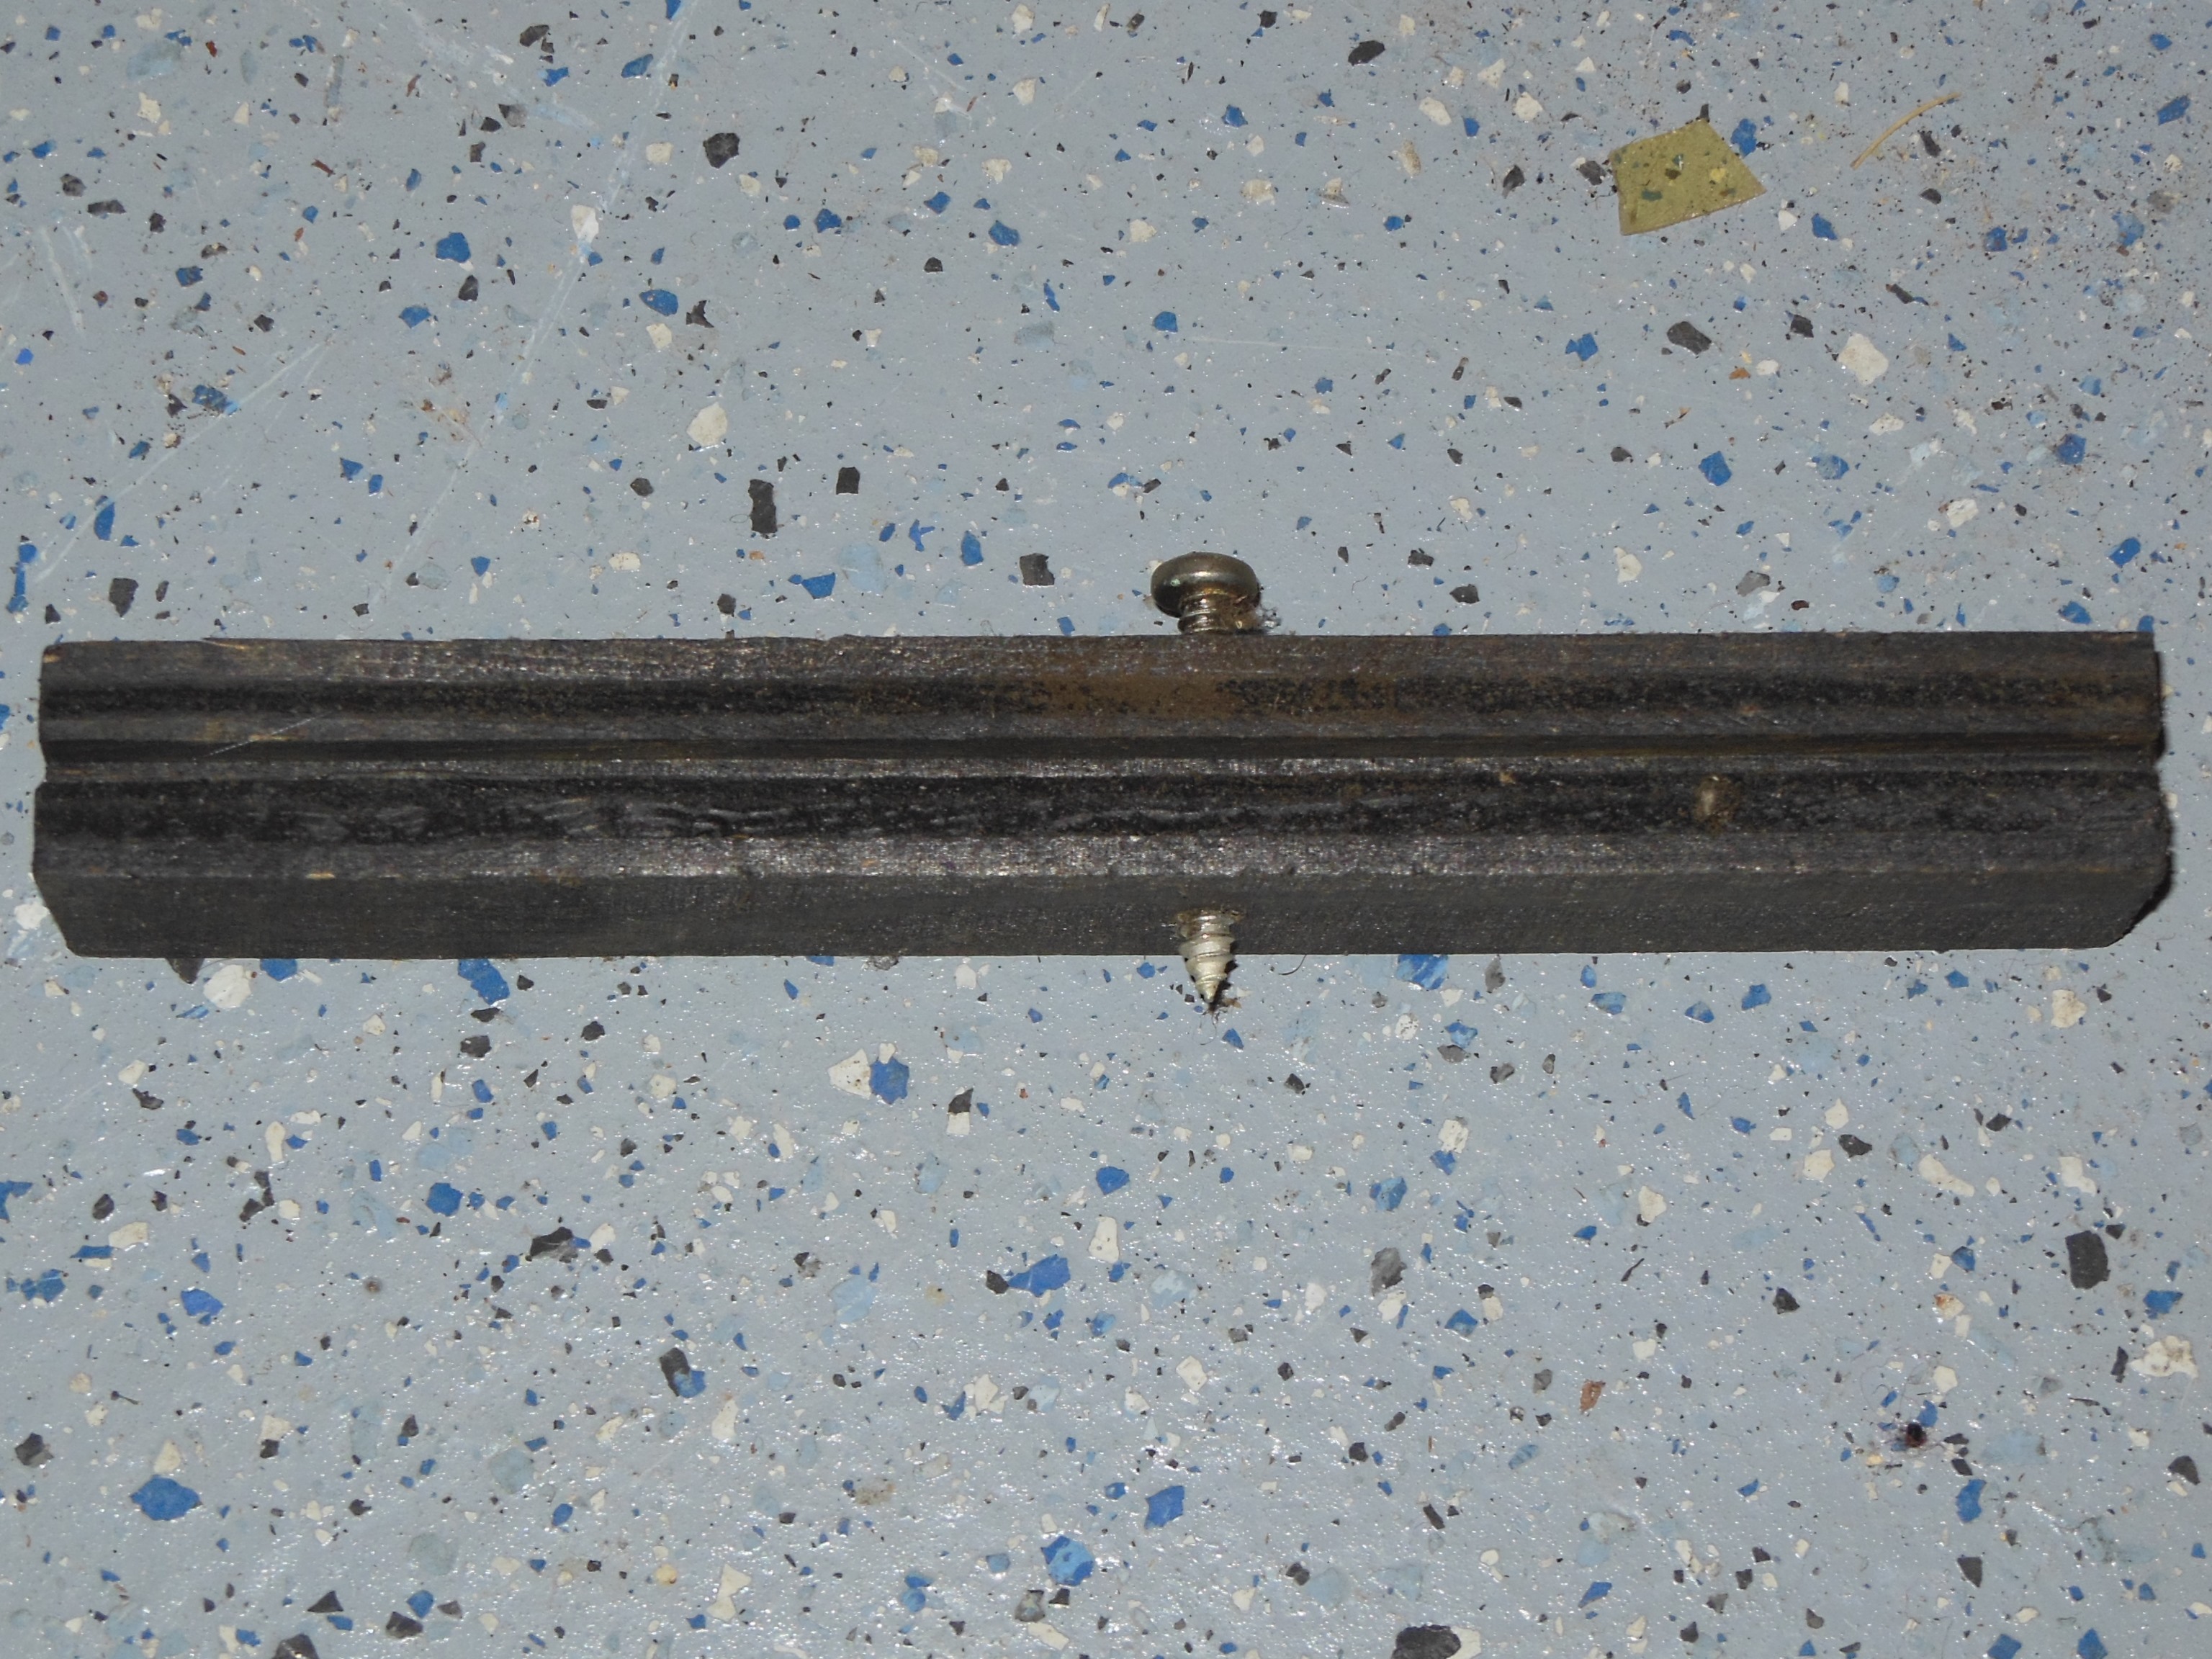
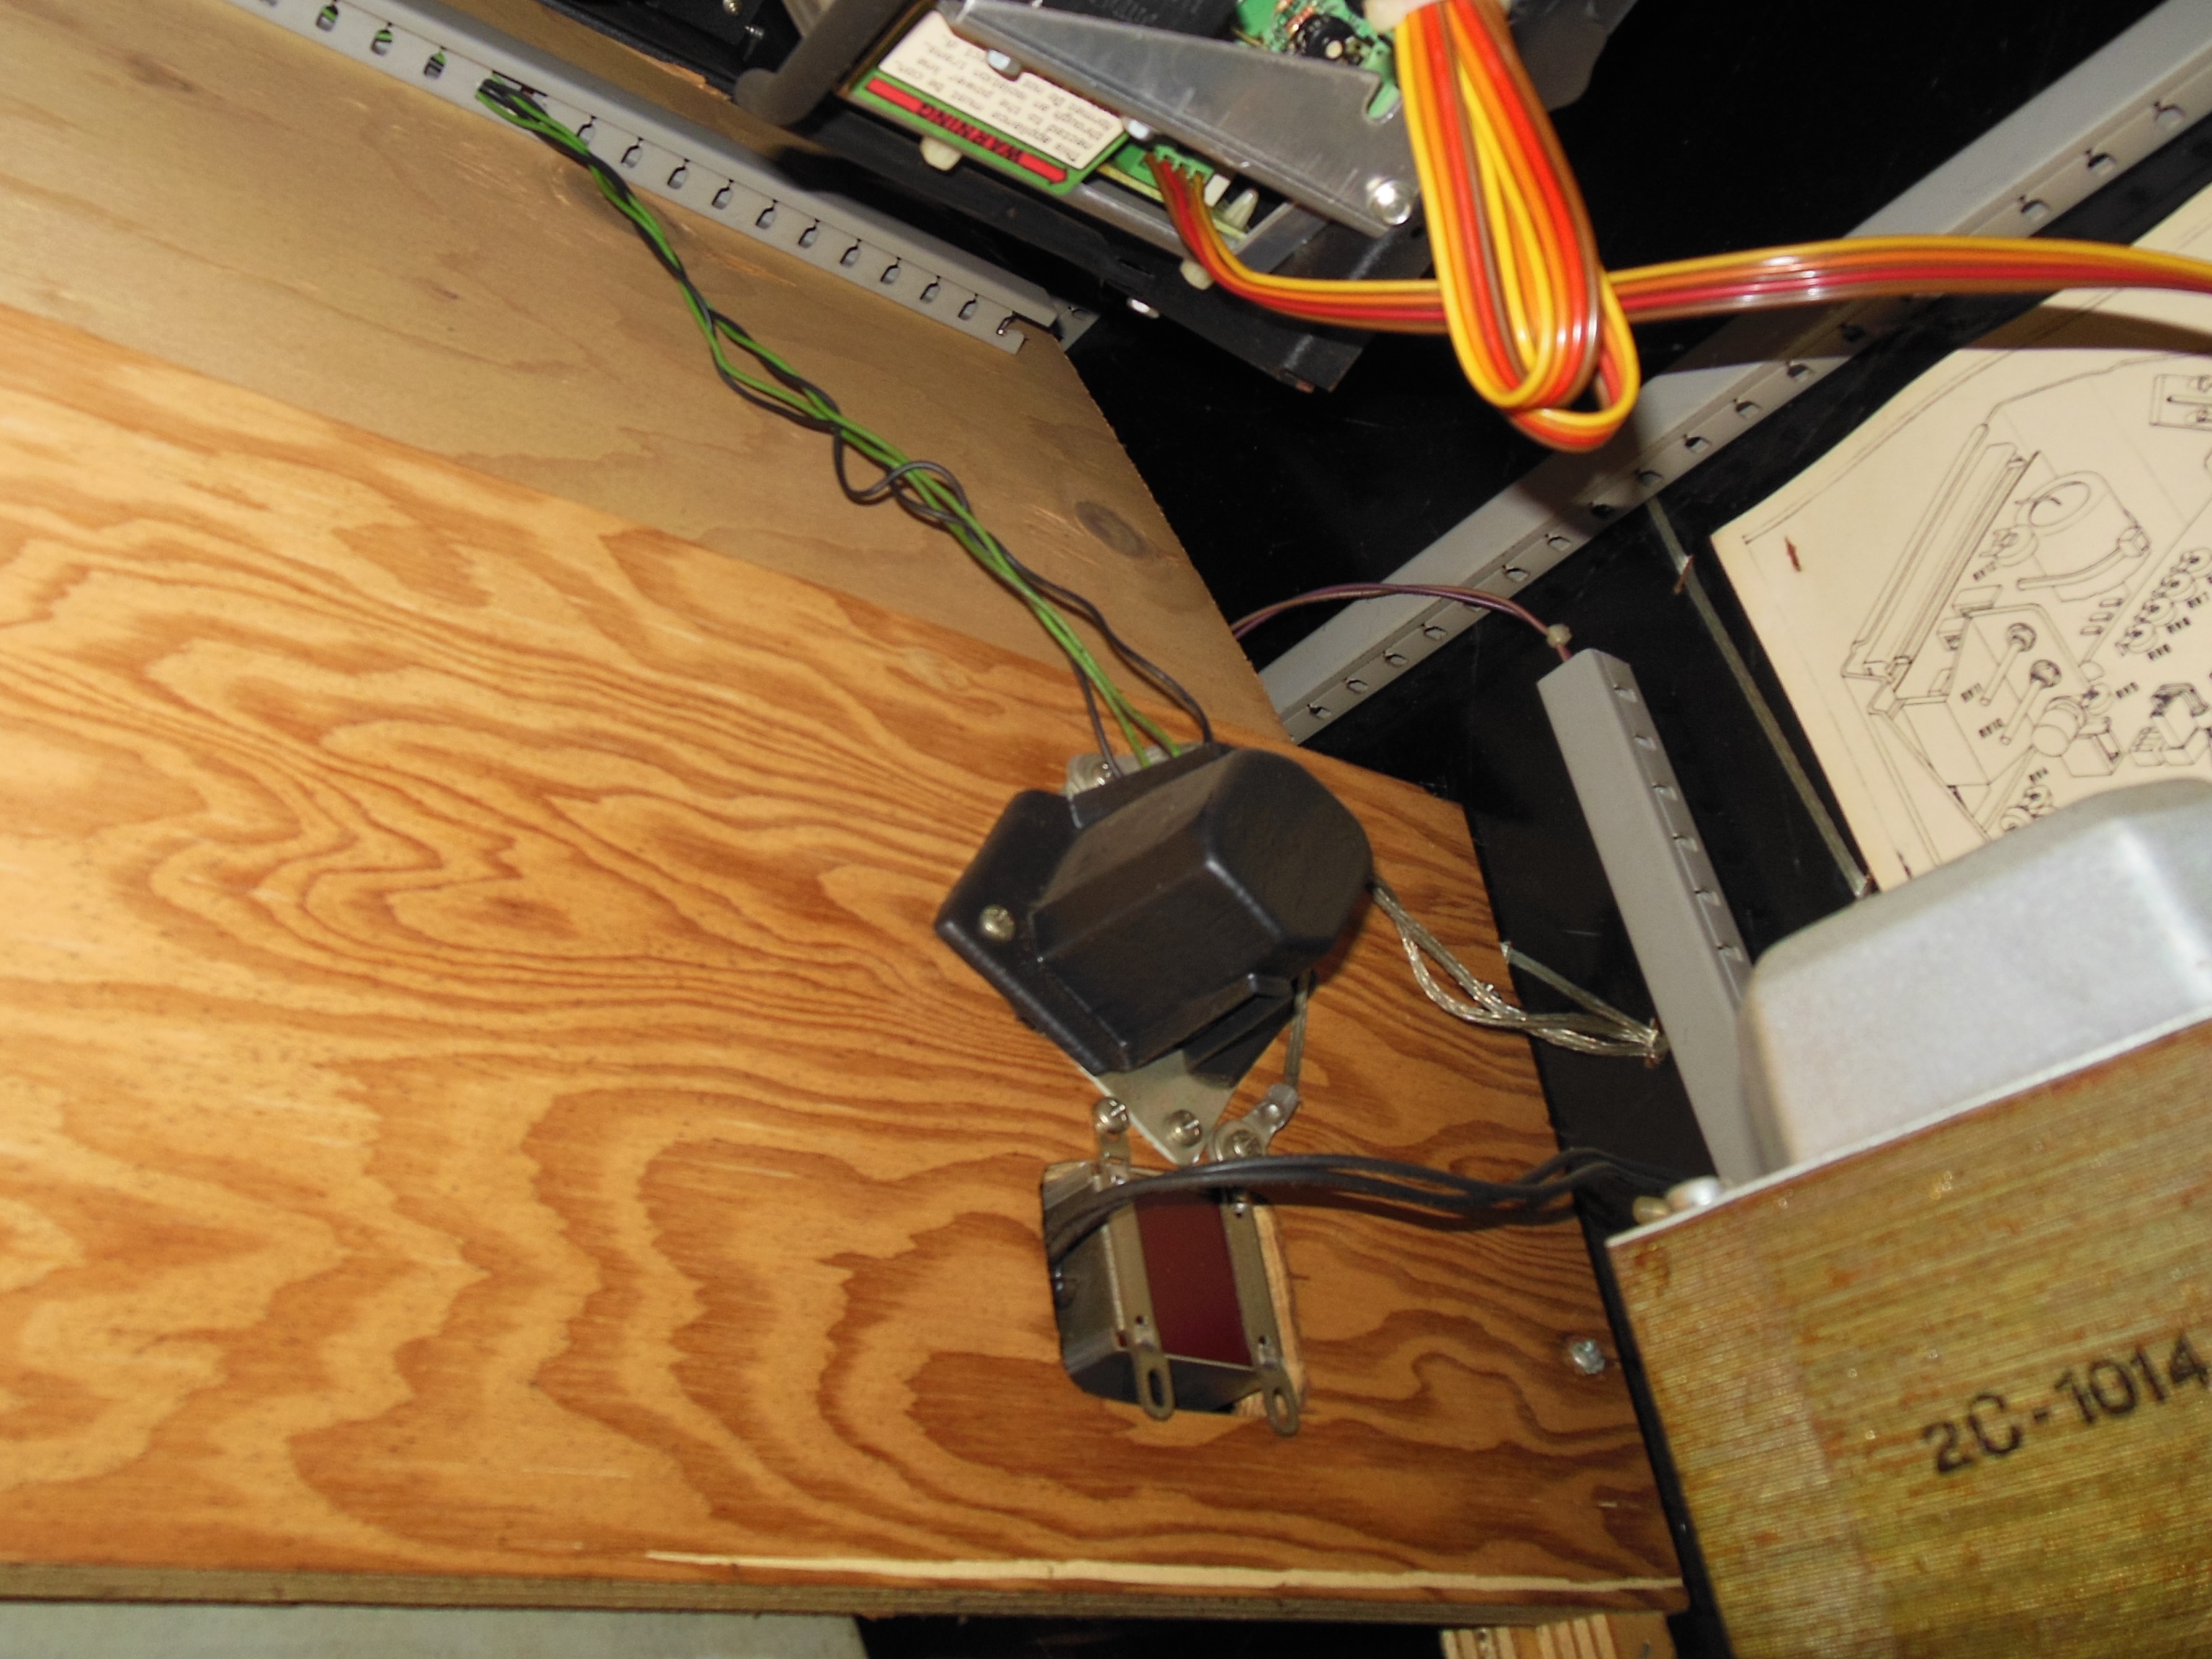
The power transformer block frame had split towards the back. The right side of the power block frame slides under a small lip of the mounting plate and in this case the the frame was on top of the lip unsecured leaving the frame attached only on the left. Over time and through various transports on its back it's likely it flapped around causing the bend to eventually split. I resecured the right side back under the lip.


|
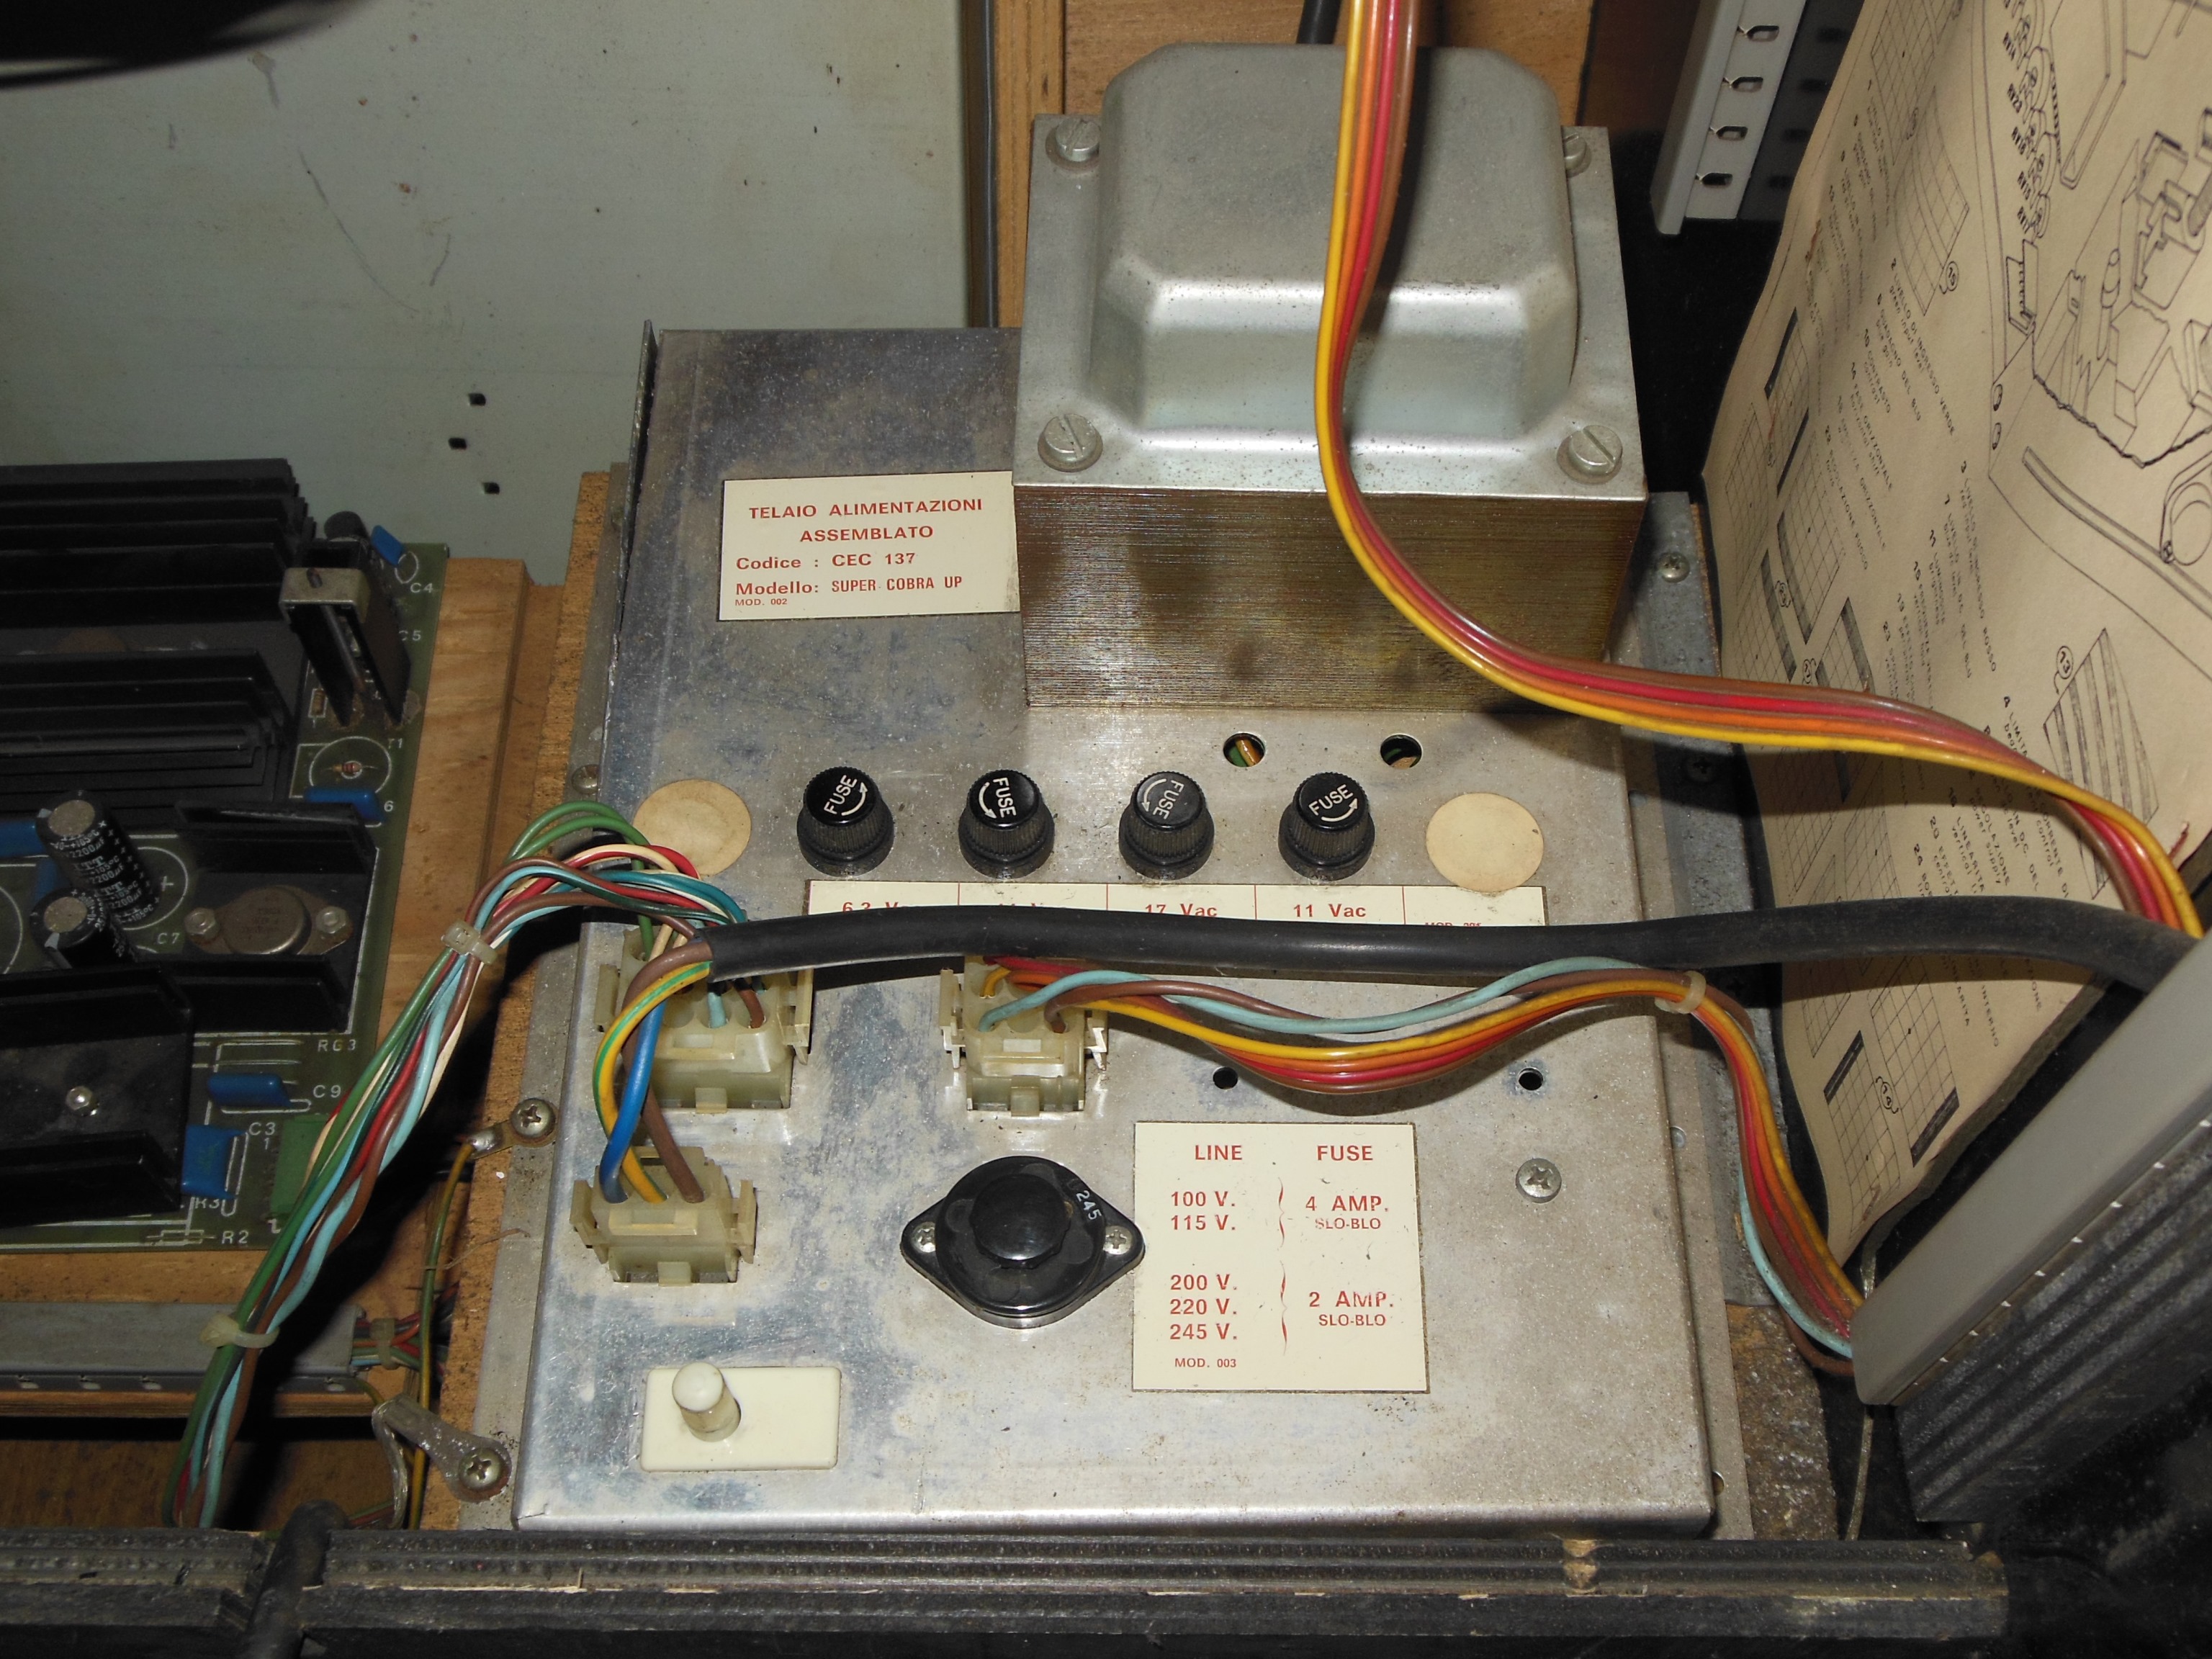
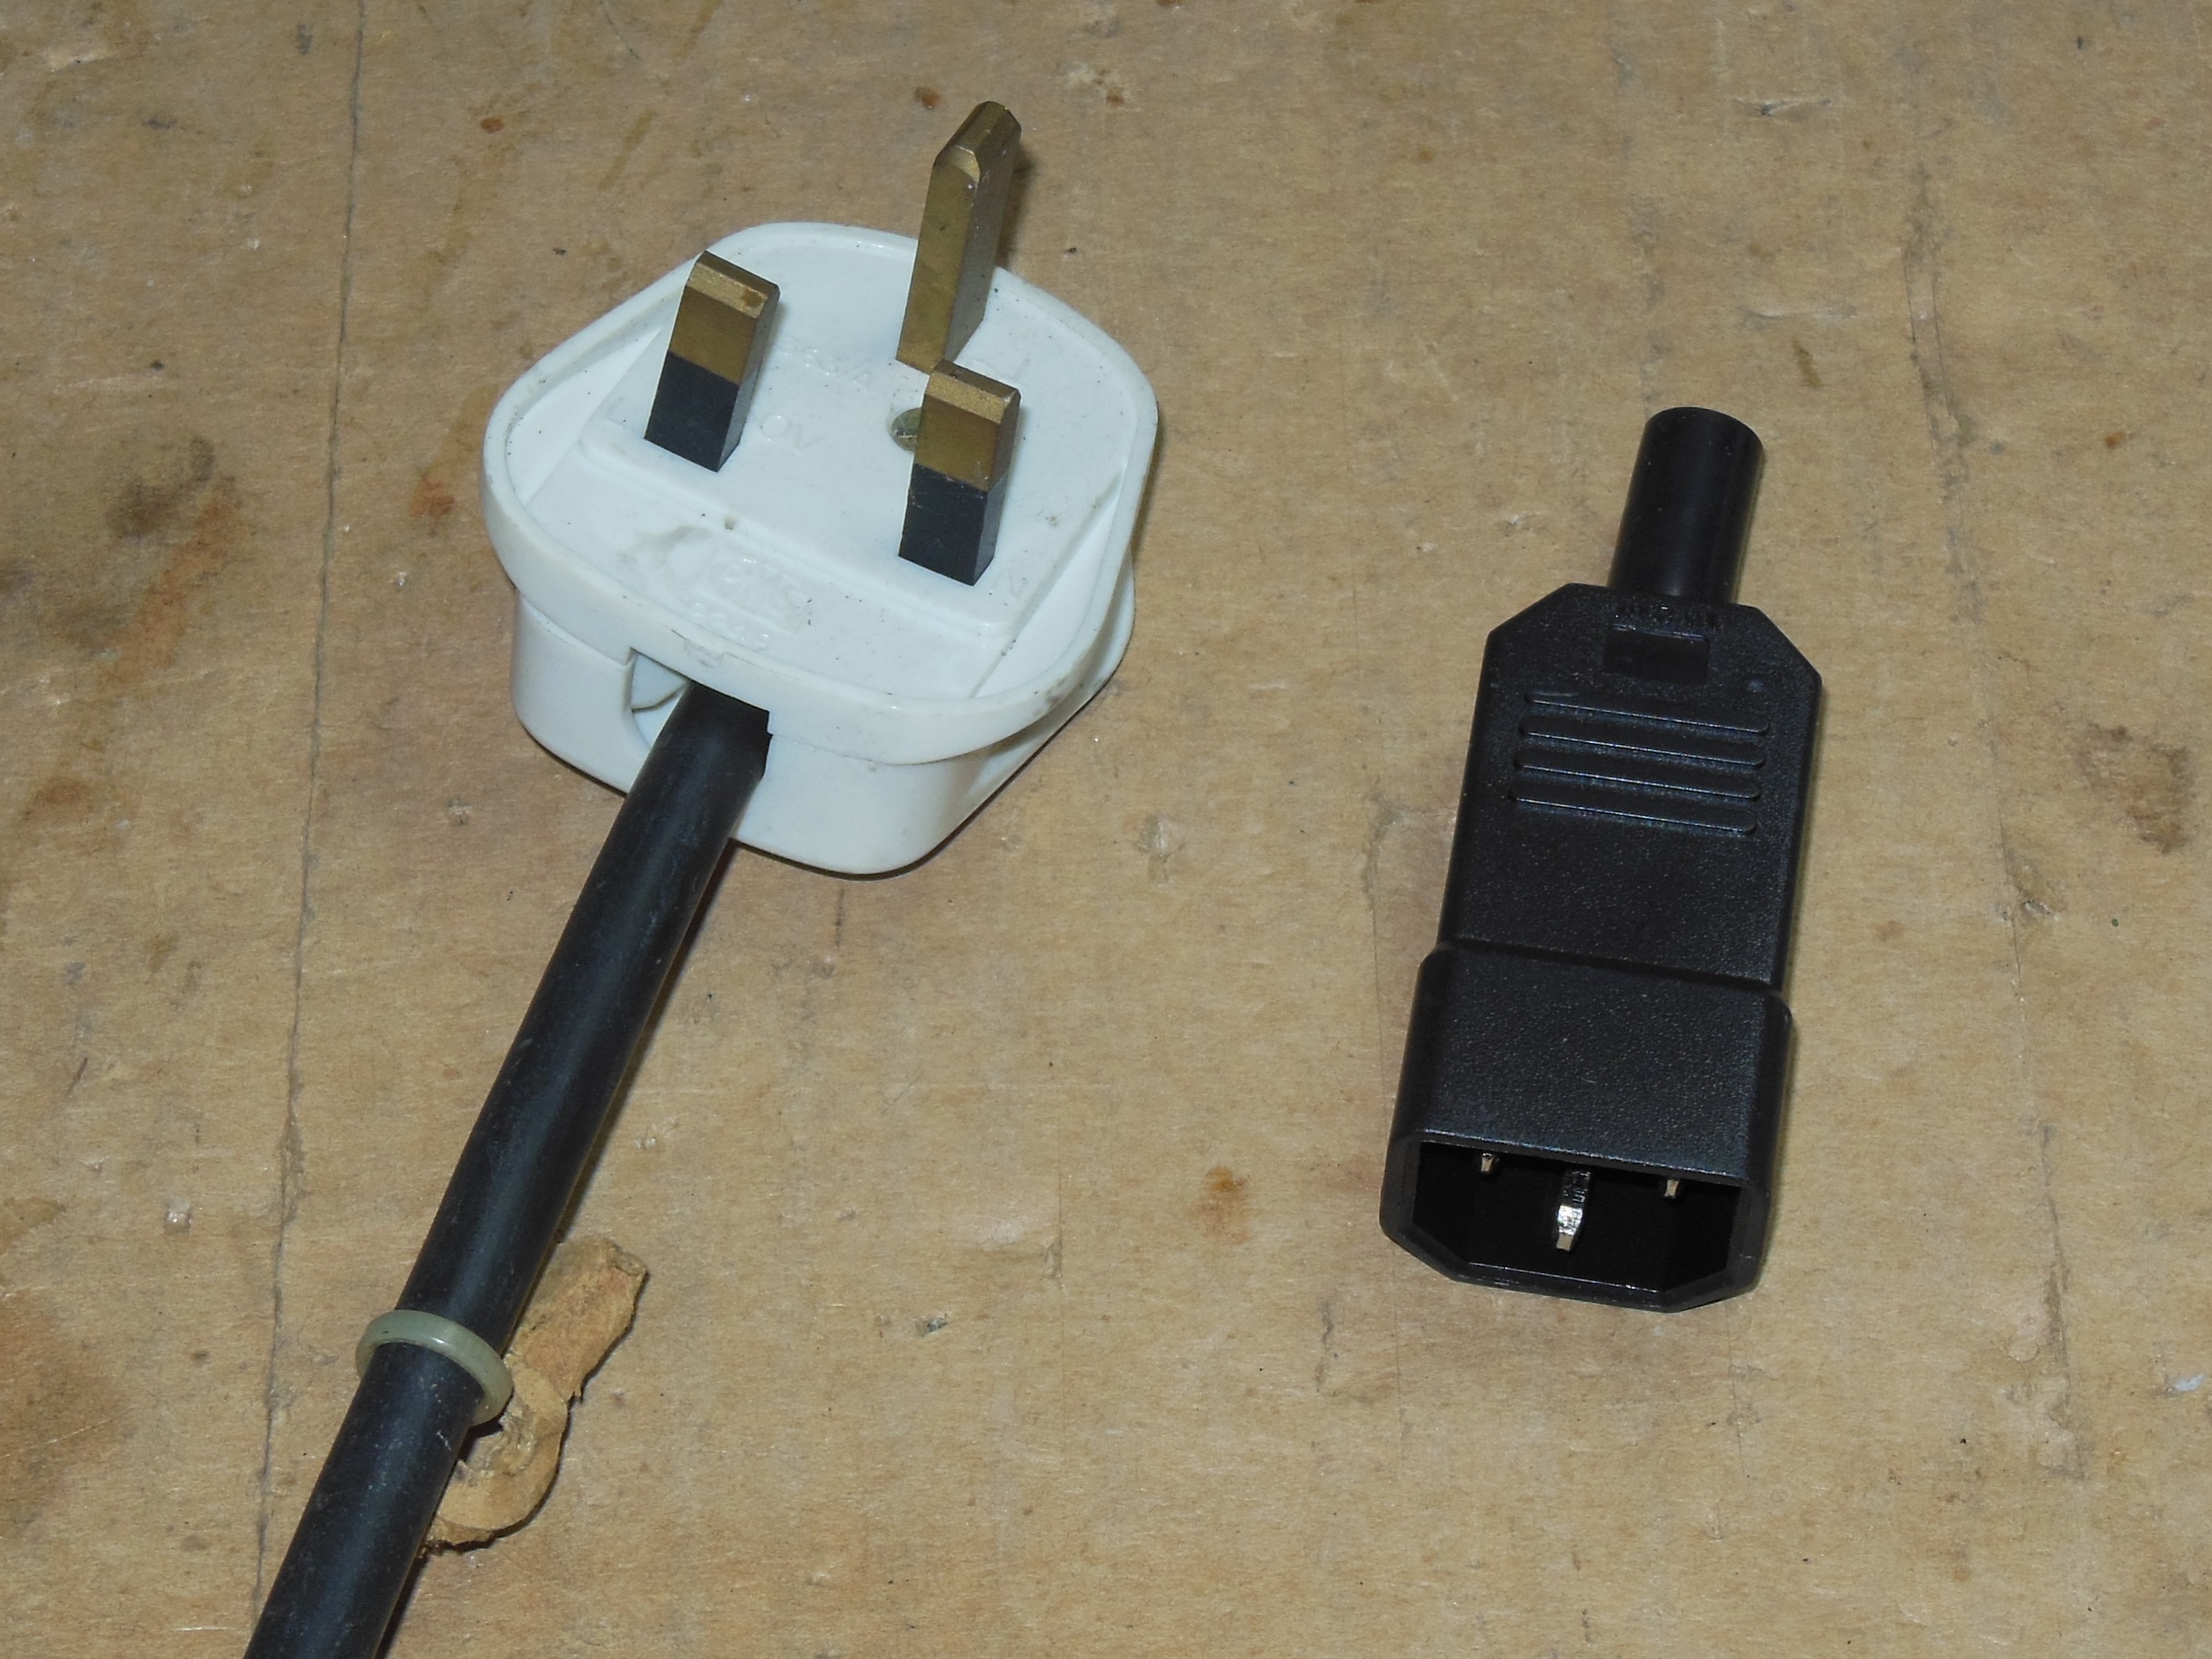
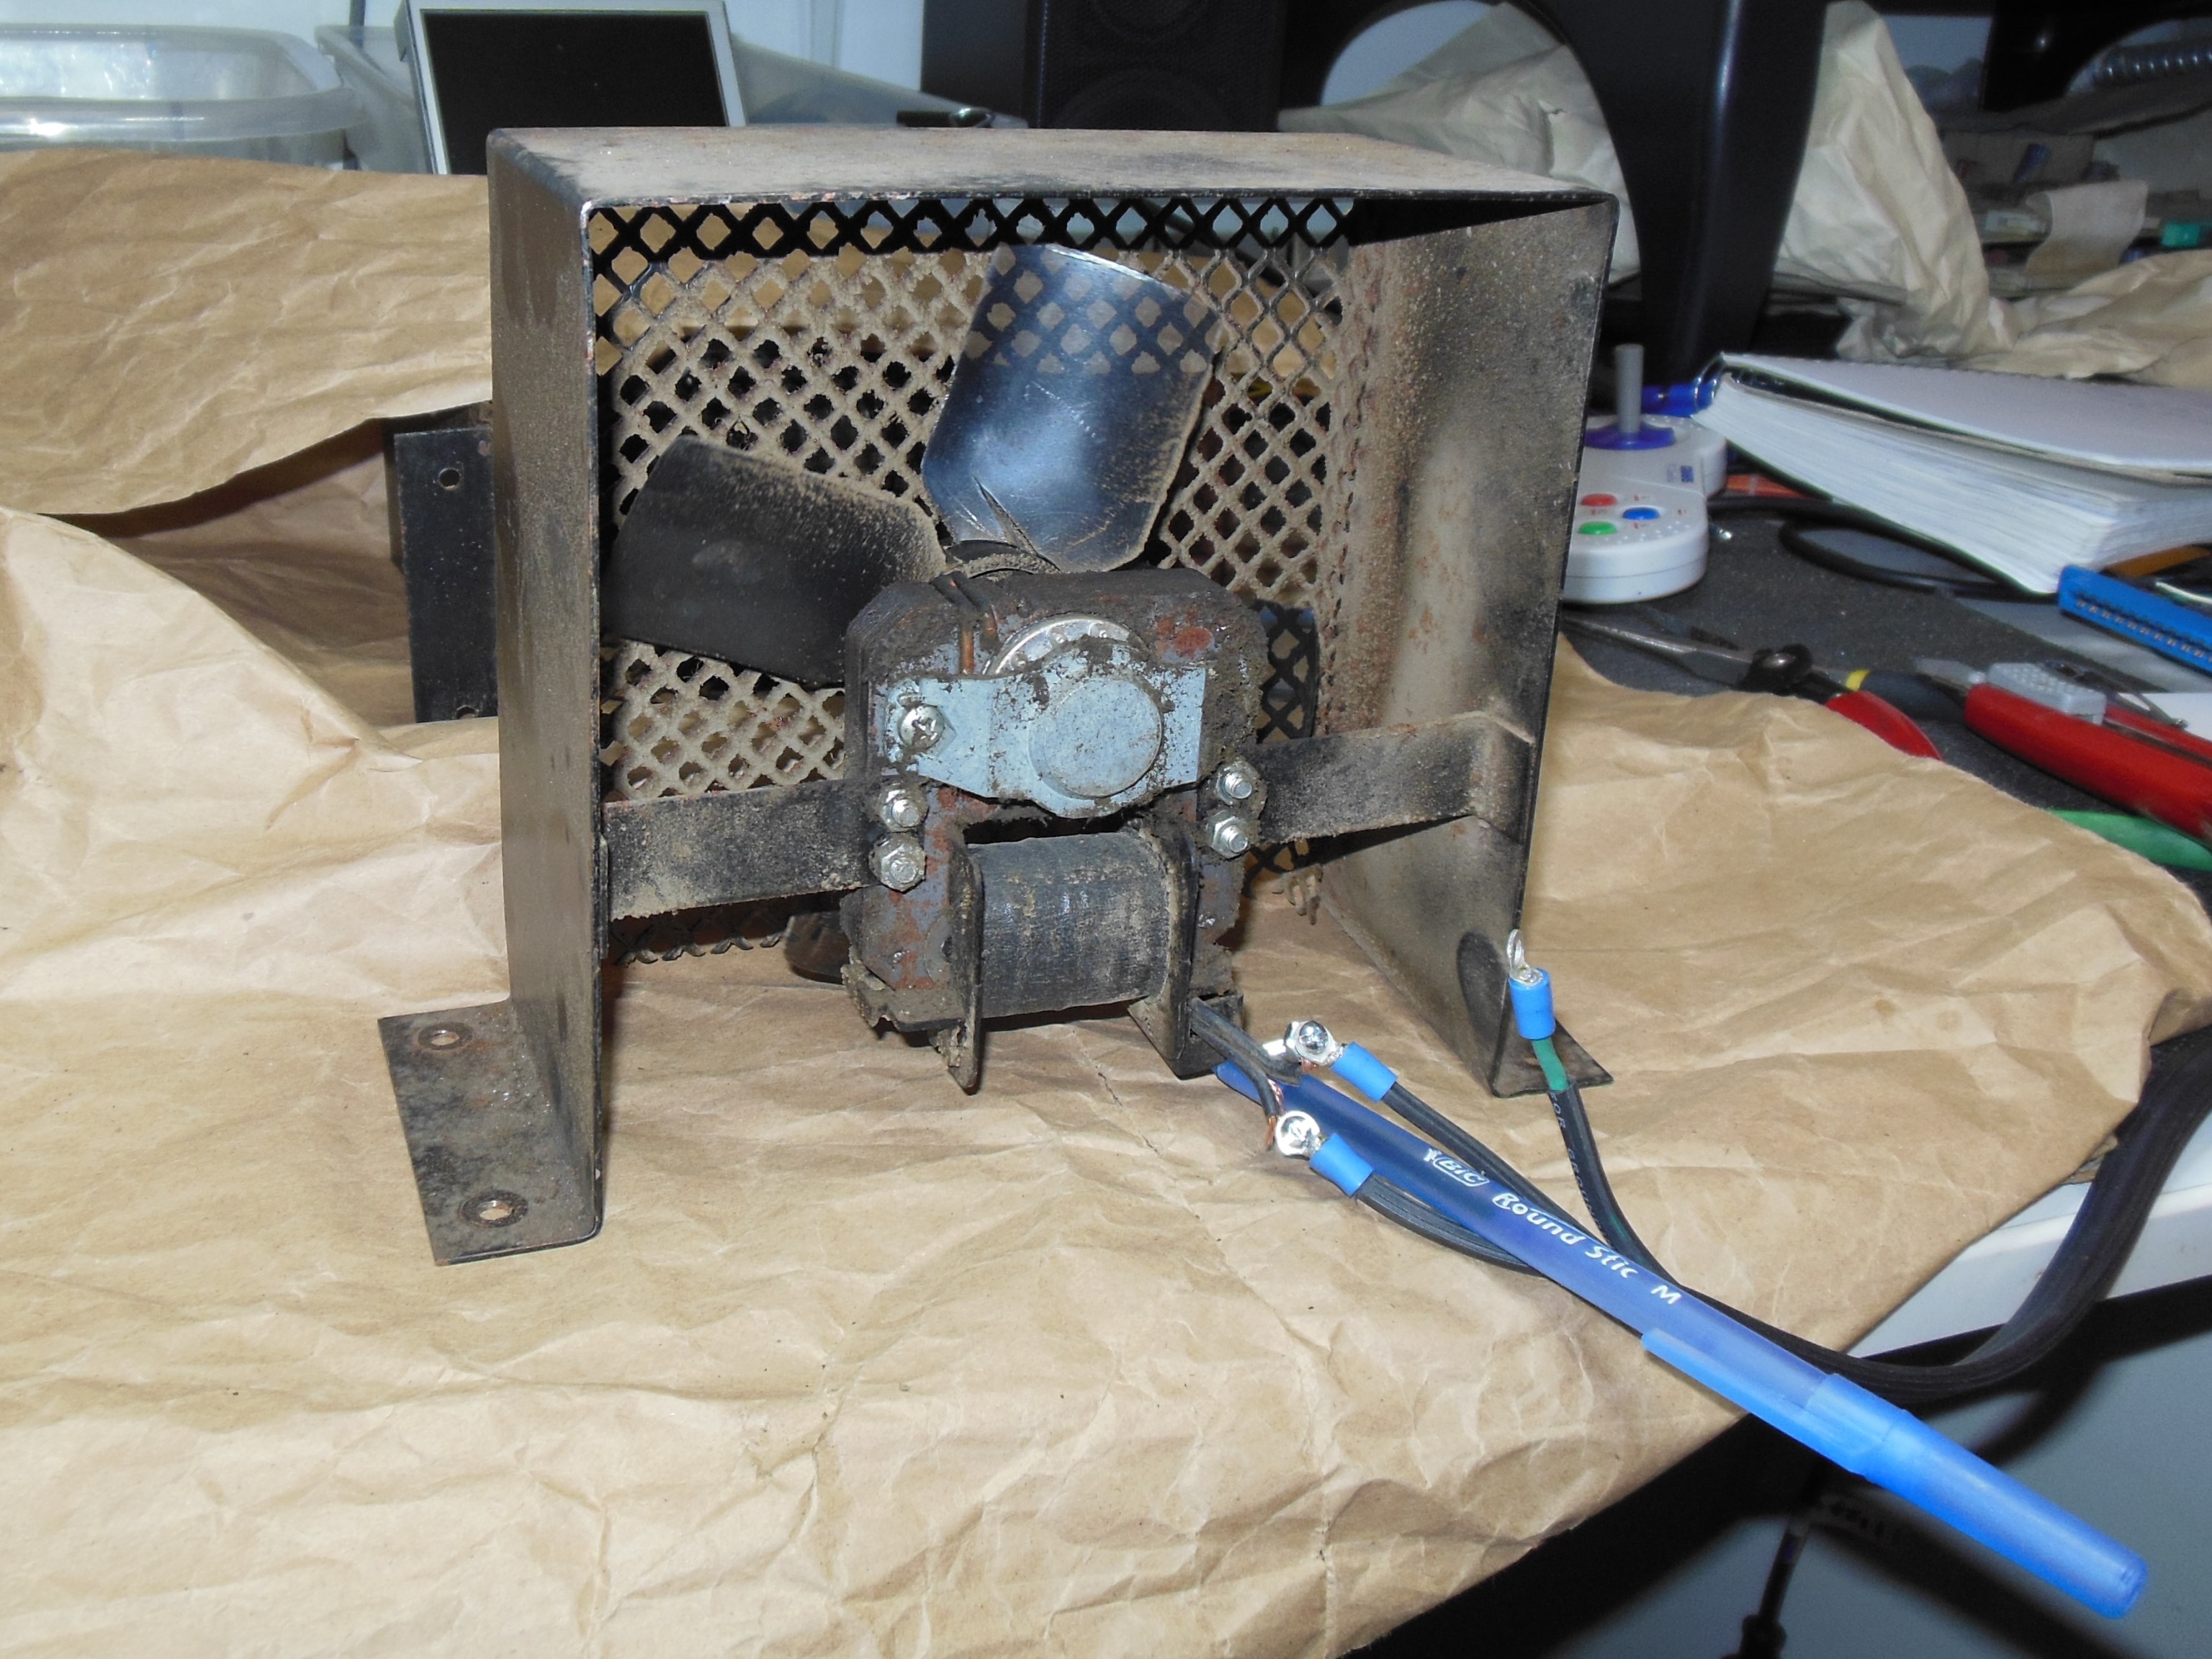
Checking the voltage selector found it already set to 245VAC and the UK plug was replaced with a IEC-14 plug for 240V use. First power on revealed a working triad of coin door lights. The marque light wasn't working and the cabinet fan was very noisy that I disconnected for the time being. Moving on to try the monitor found it energized with high voltage present. Though the power regulator PCB was unsecured the voltages were all present and correct.

|
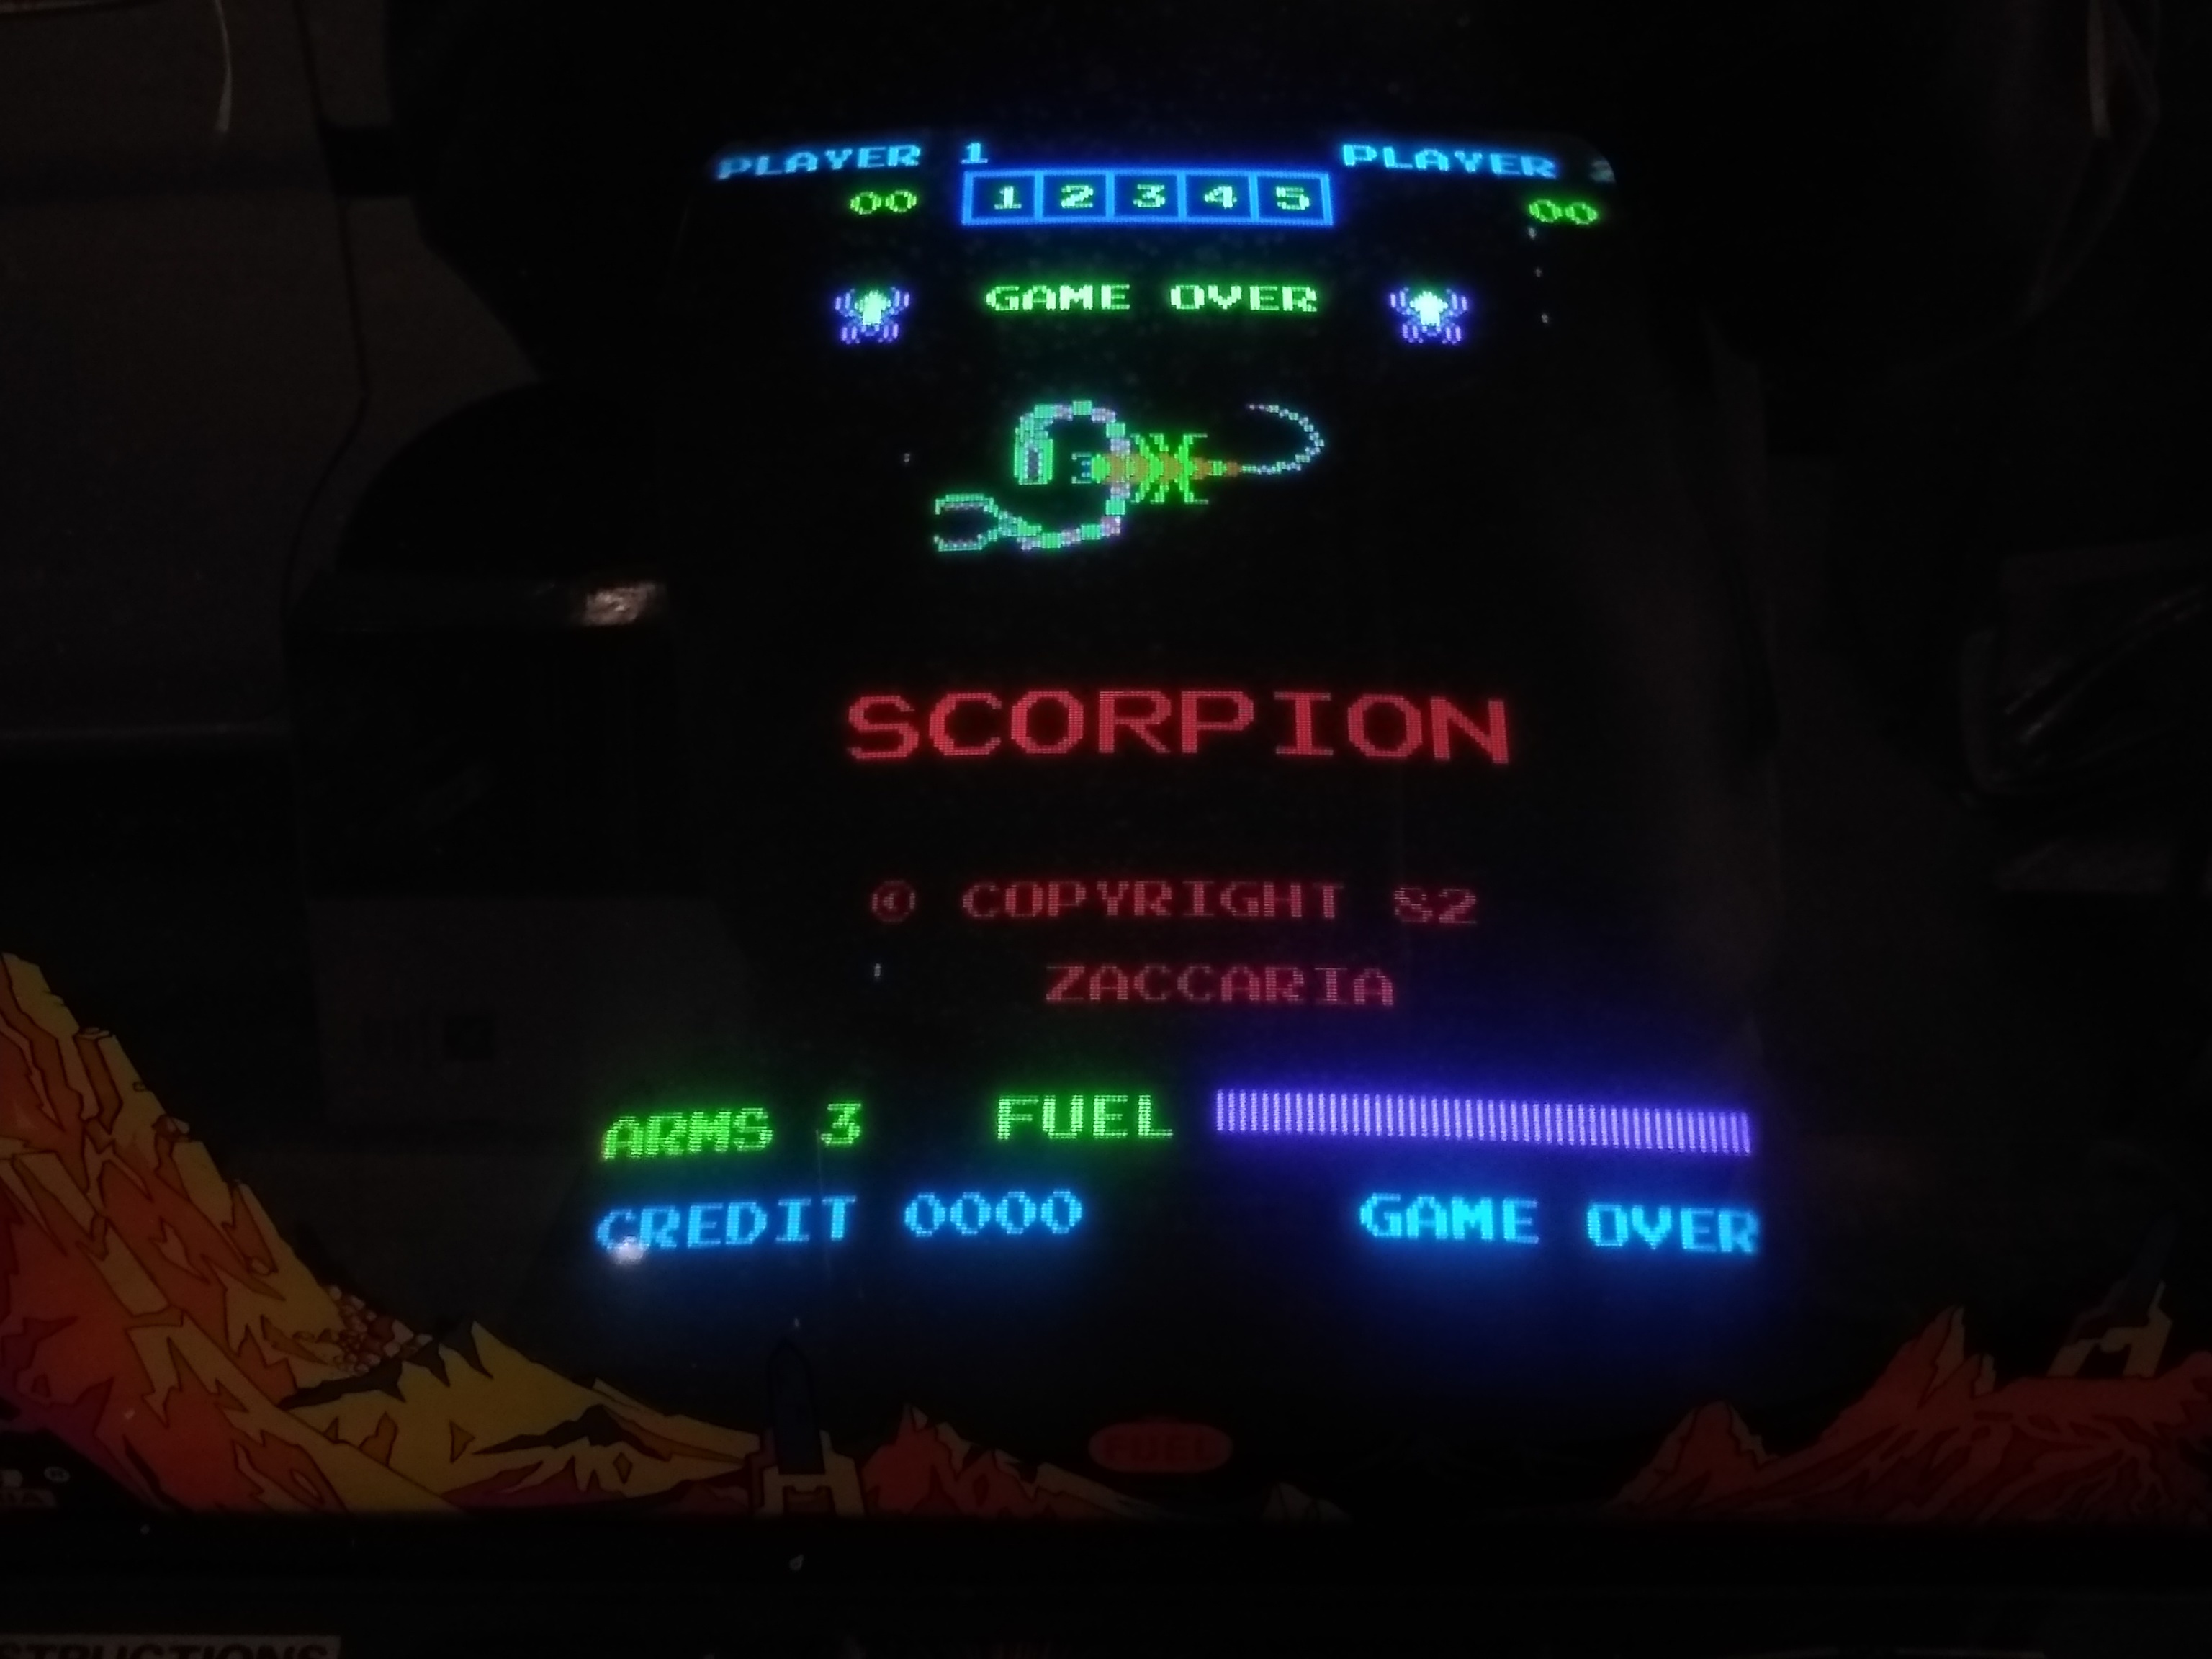
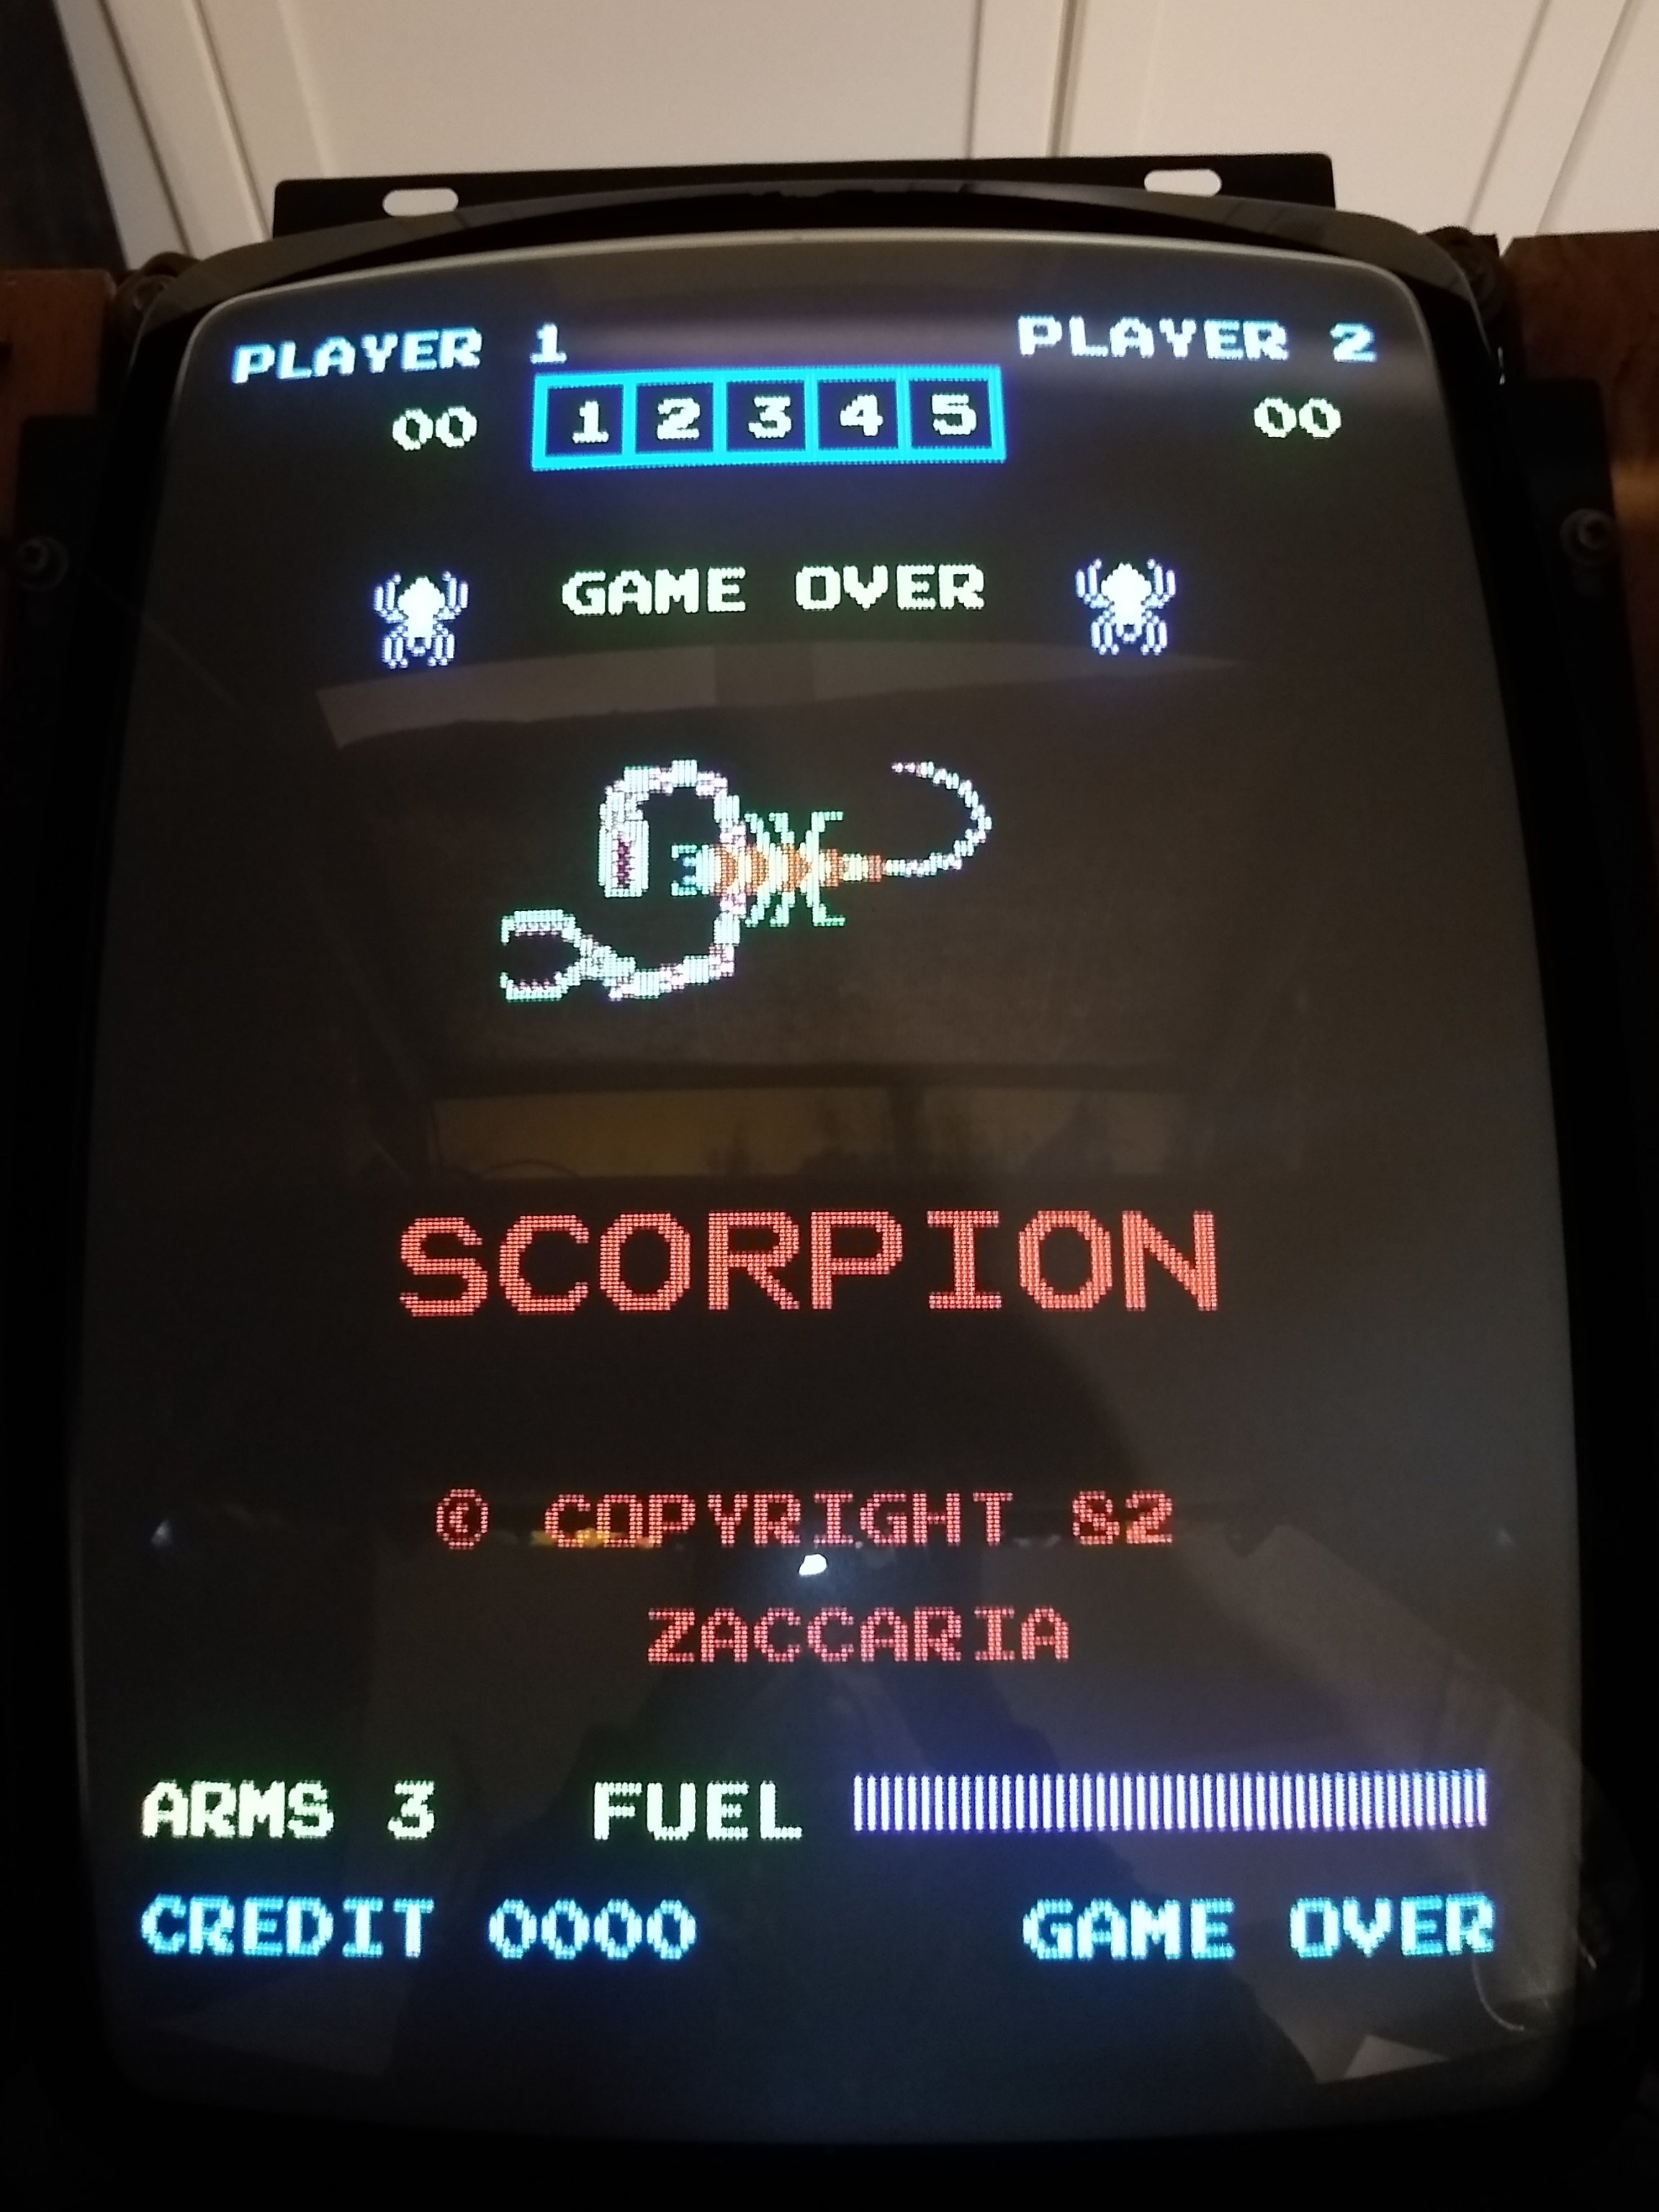
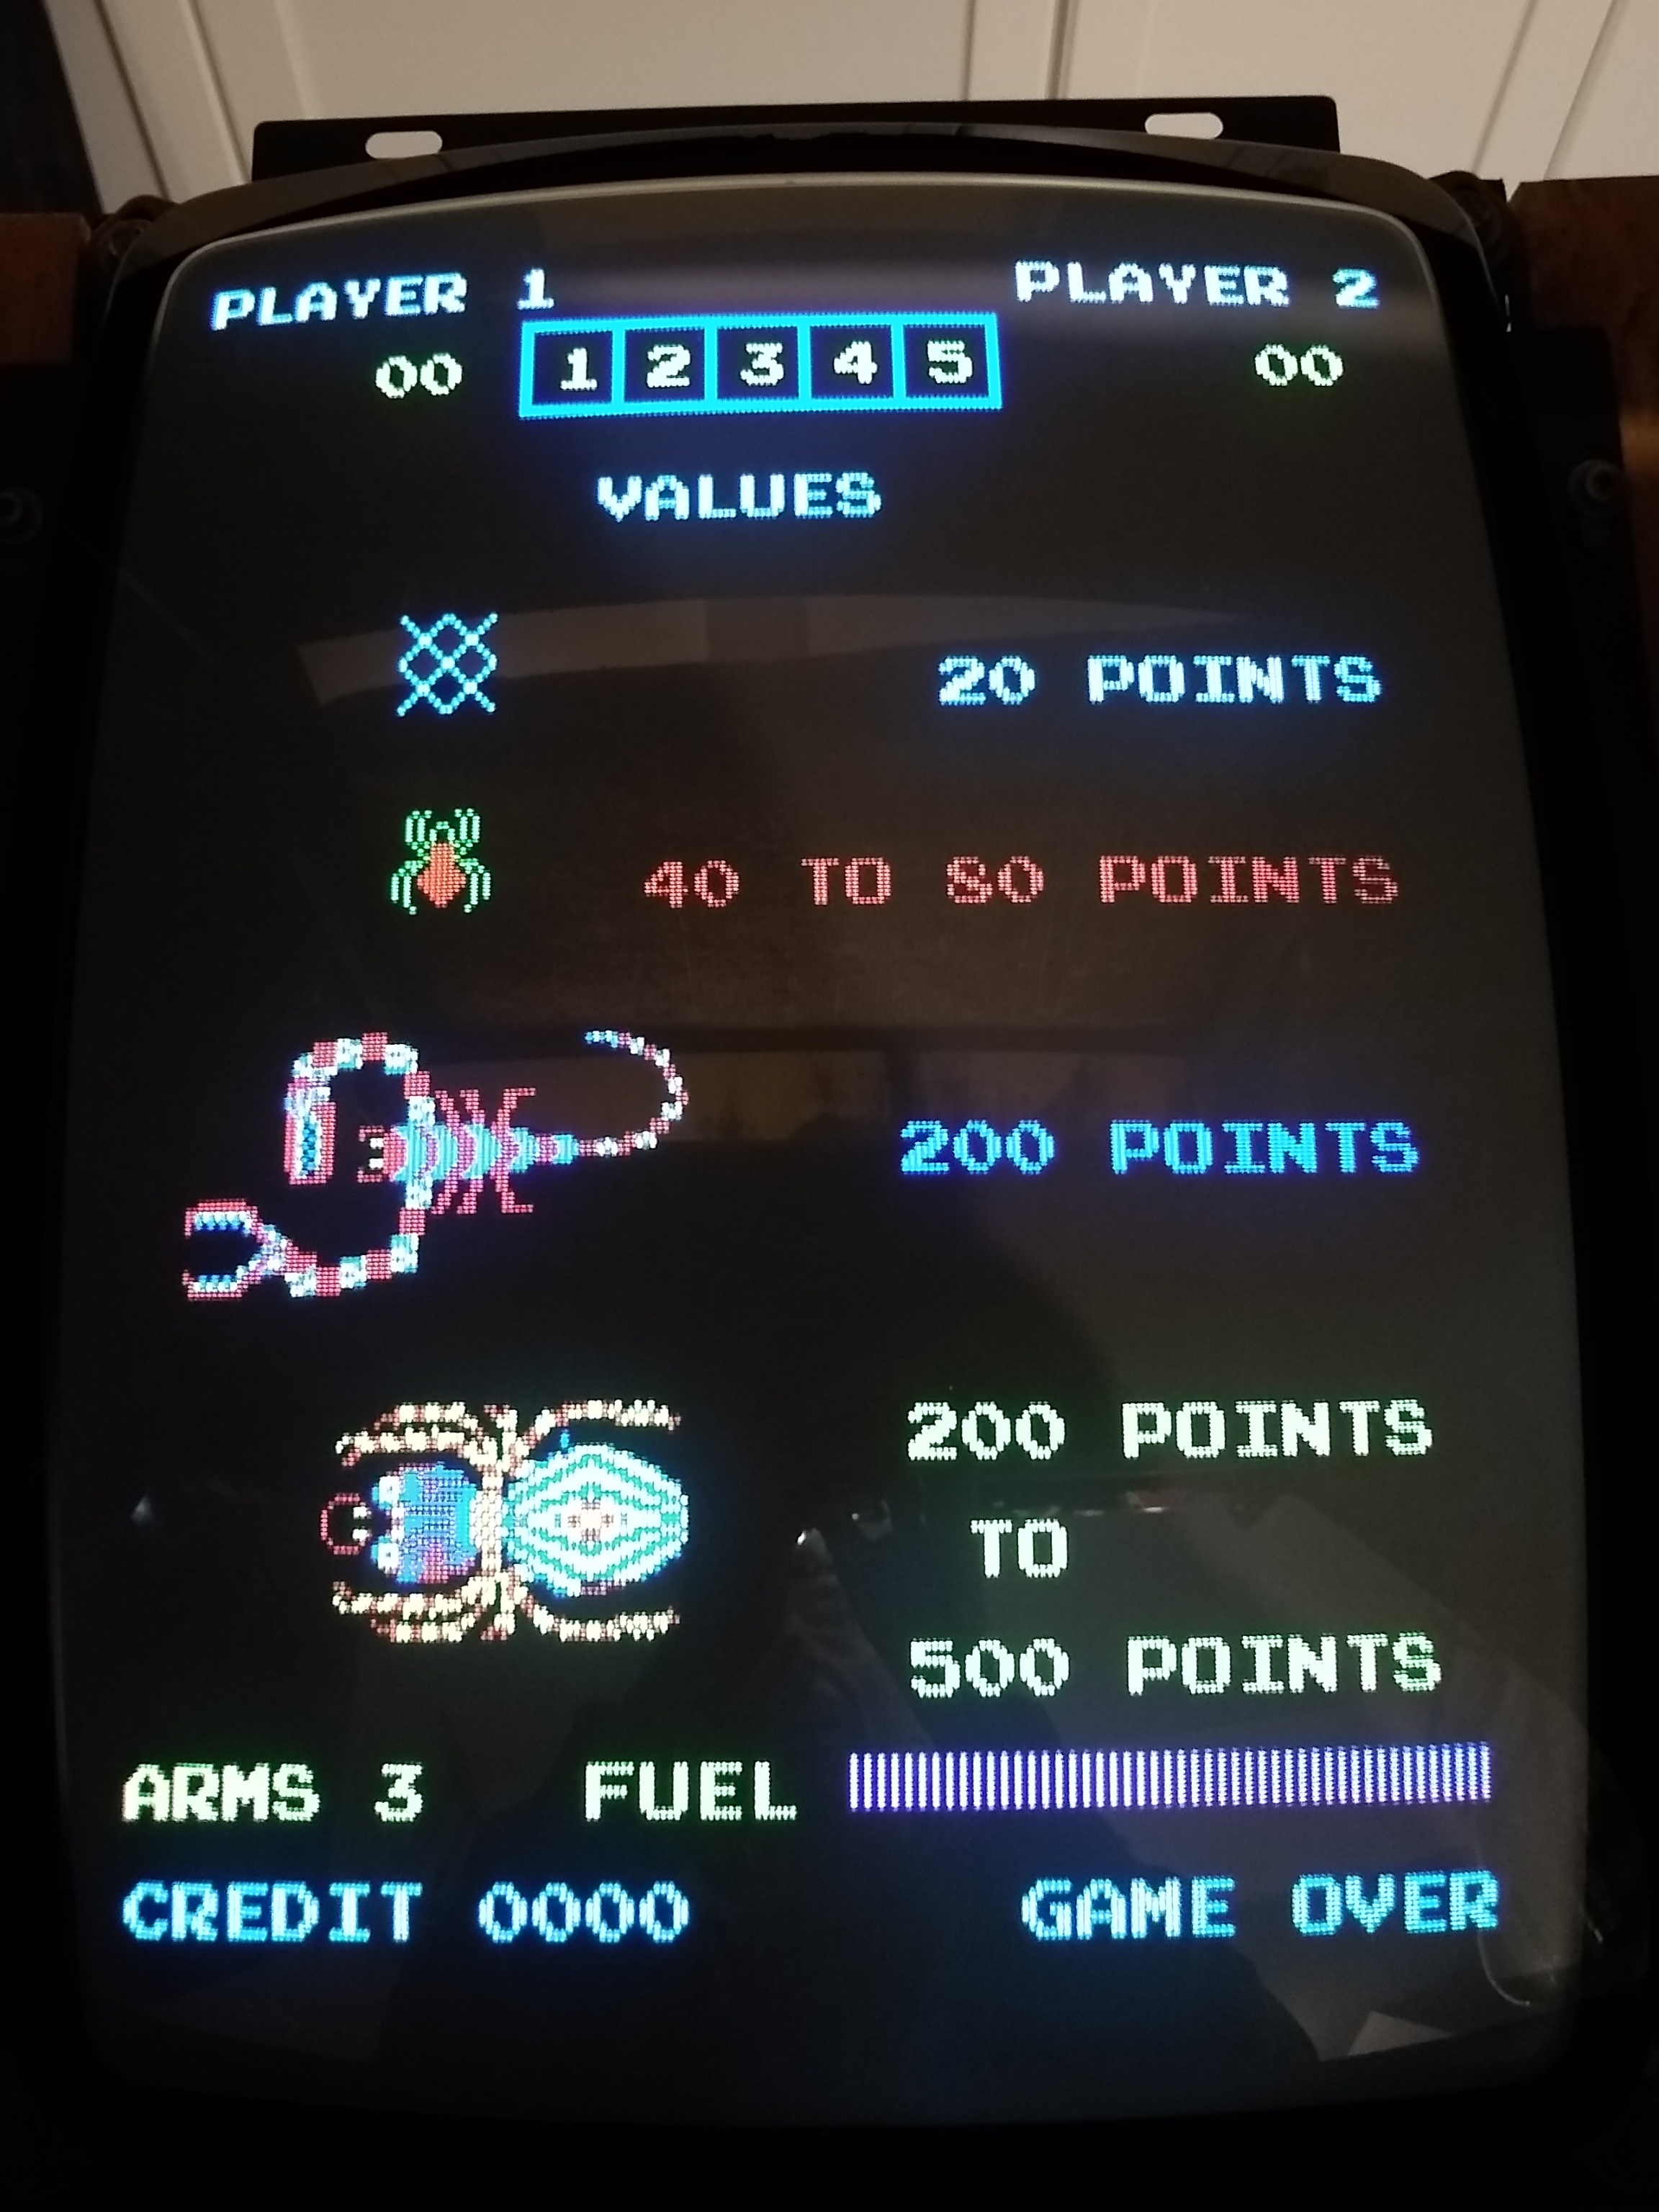
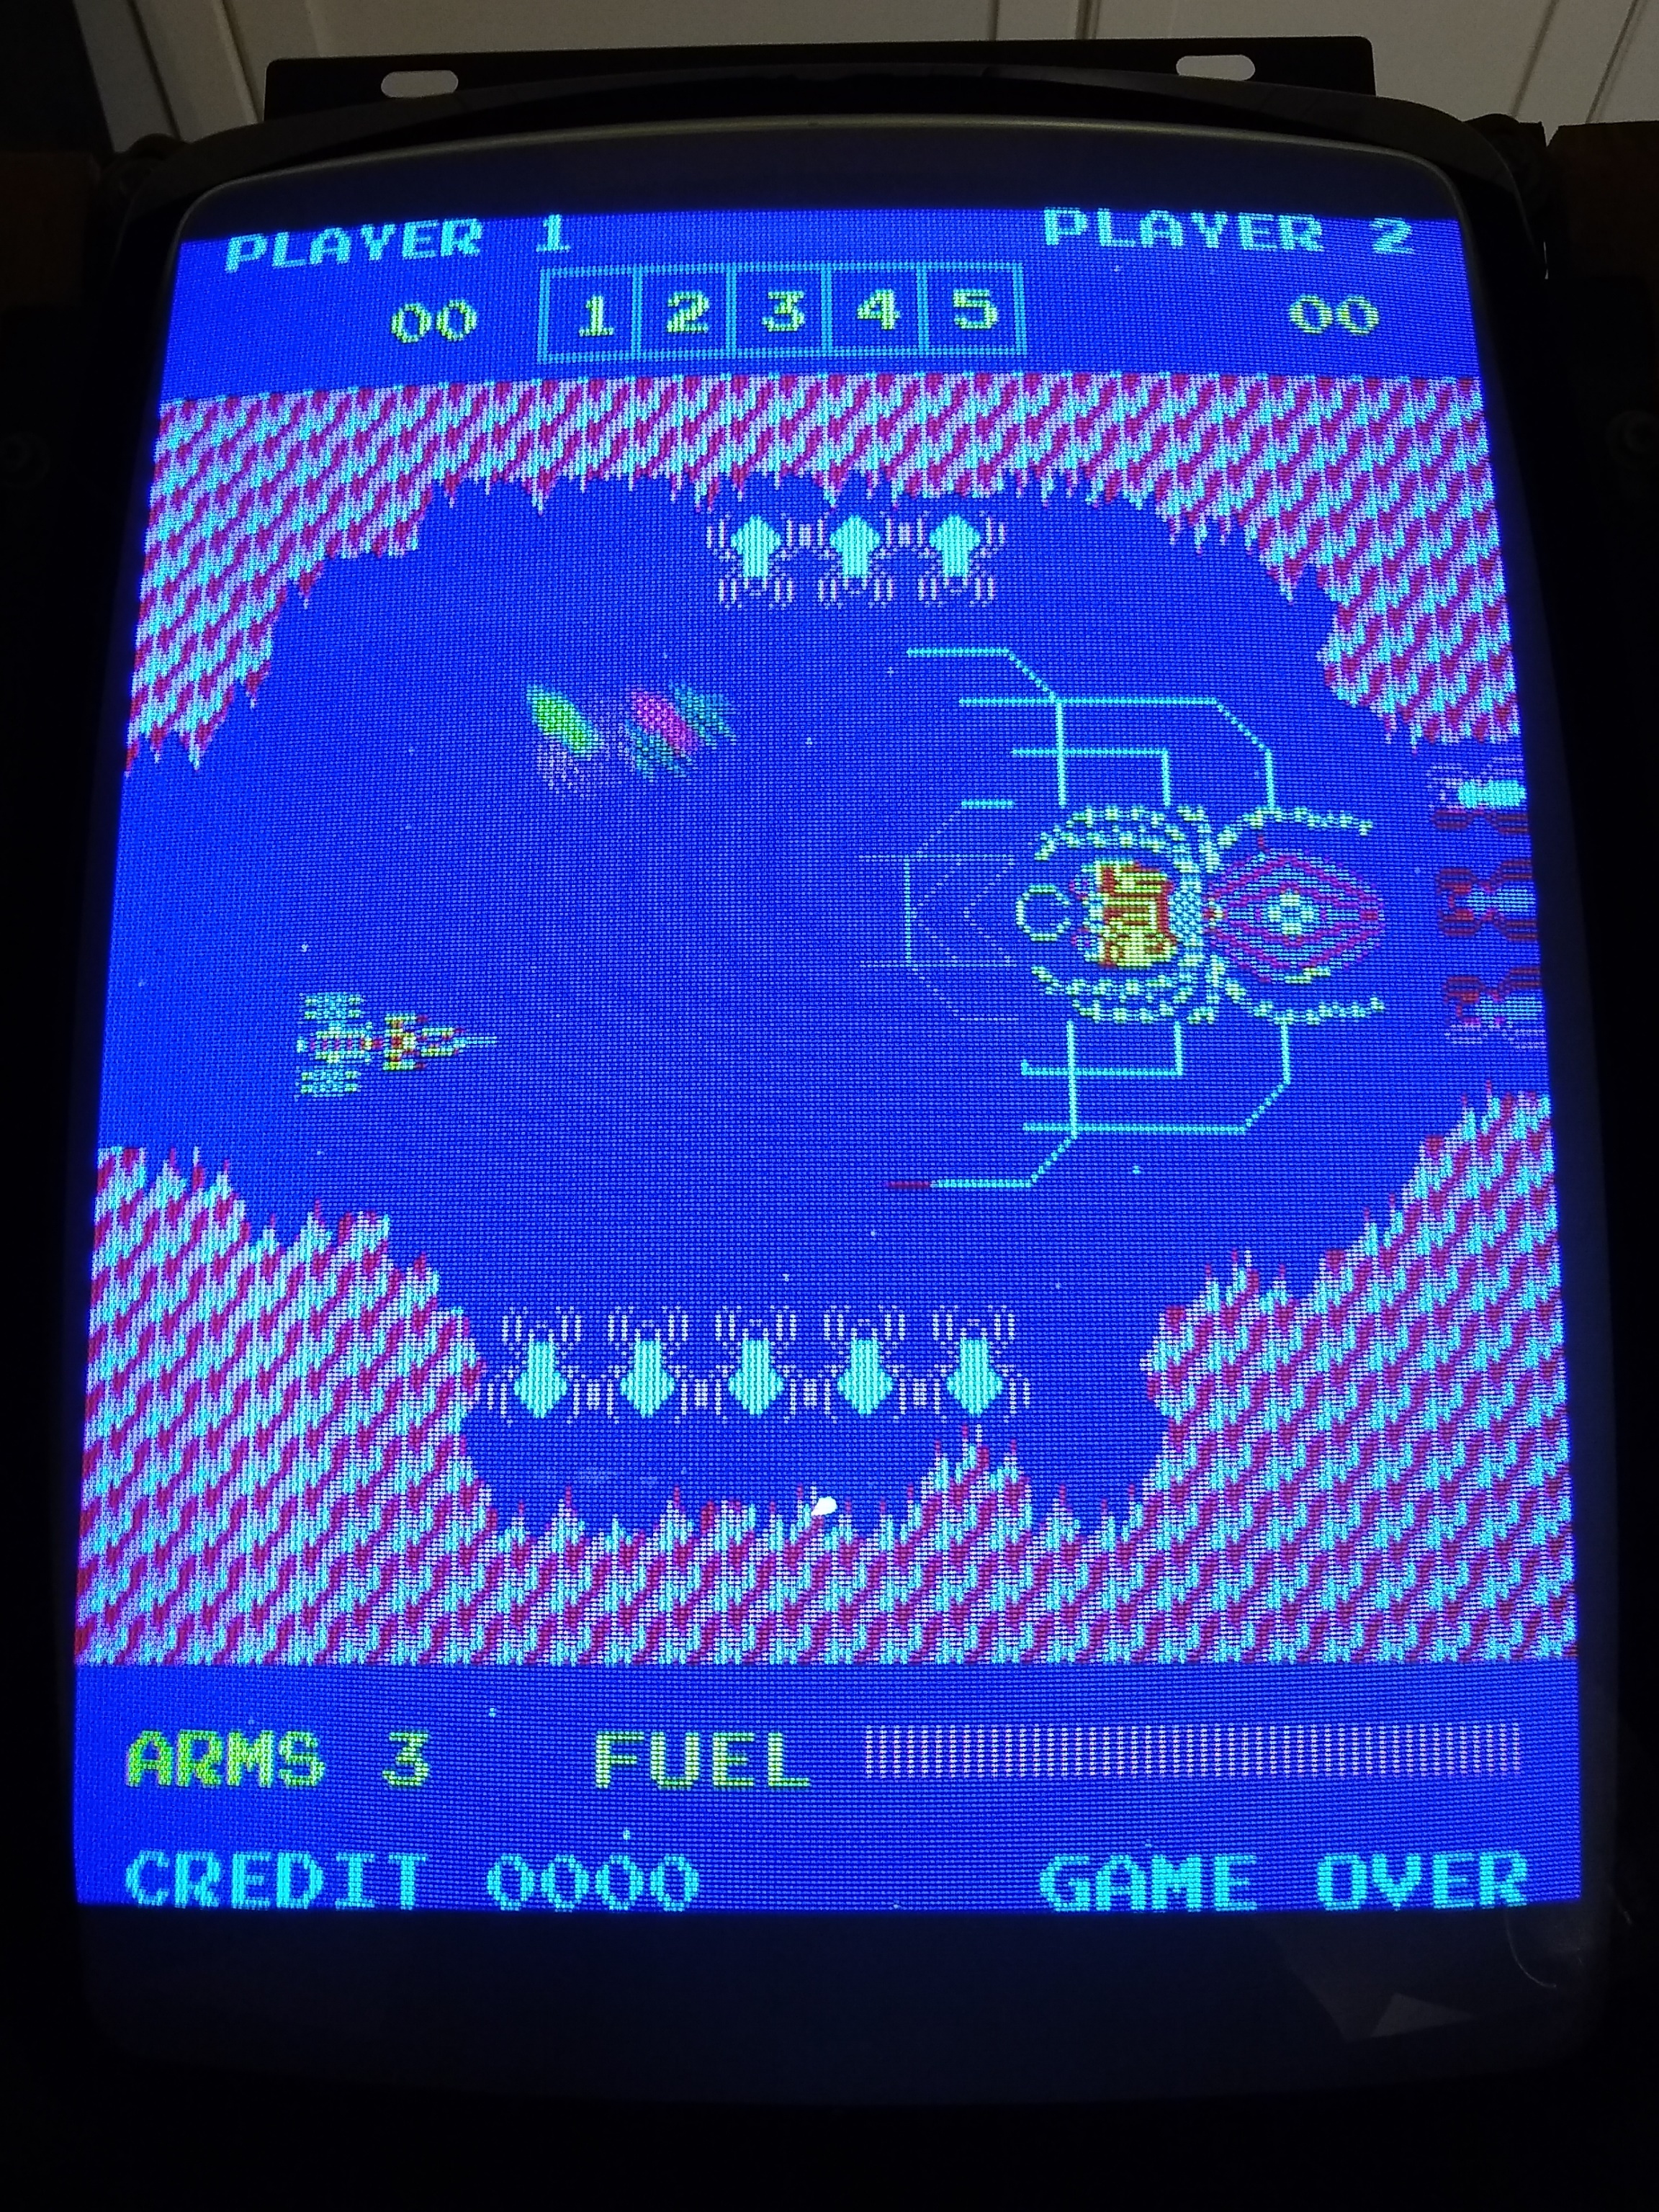
After plugging in a Scorpion game PCB the monitor displayed a pretty good picture aside from dim washout because the CRT was very very dirty. Picture geometry, focus, brightness & contrast settings all looked close to being correct.
Of the three coin switches only one registered a credit so the credit PCB was likely faulty and only the 3rd 1 coin 1 credit bypass slot was working. Starting a game confirmed the sound was working. The joystick spring was broken but the direction inputs were working. The fire button wasn't working, however.
|
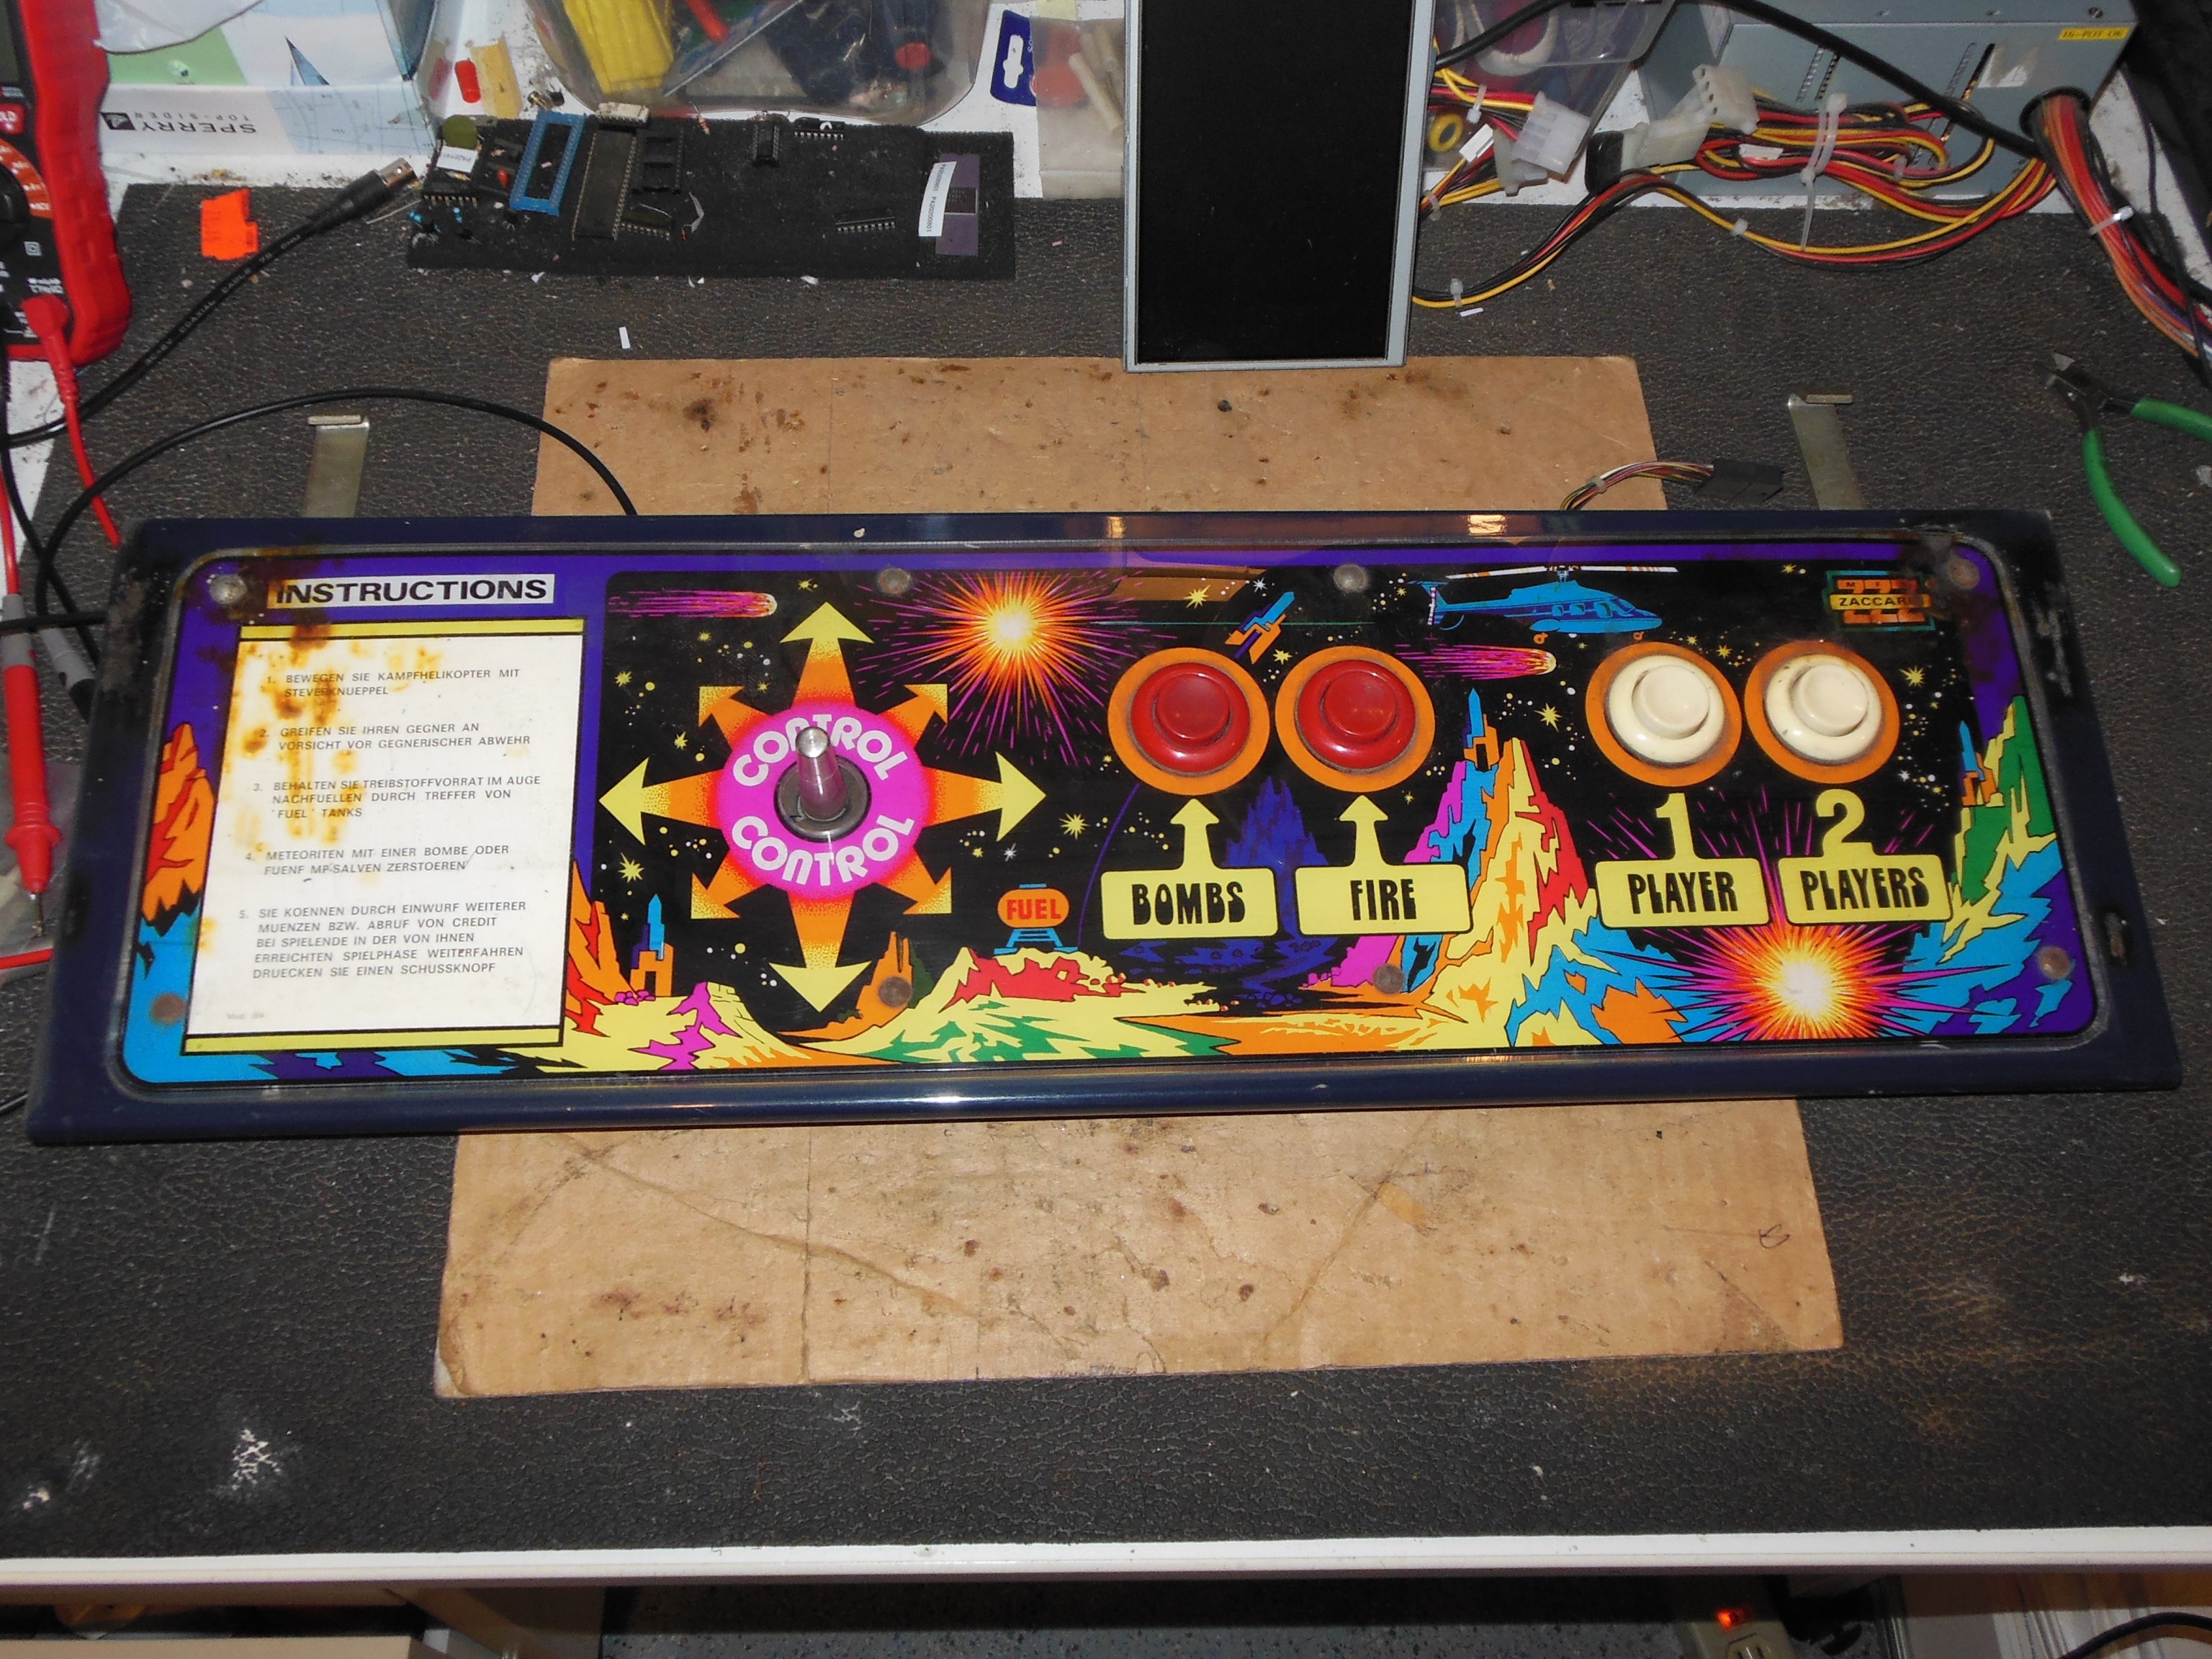
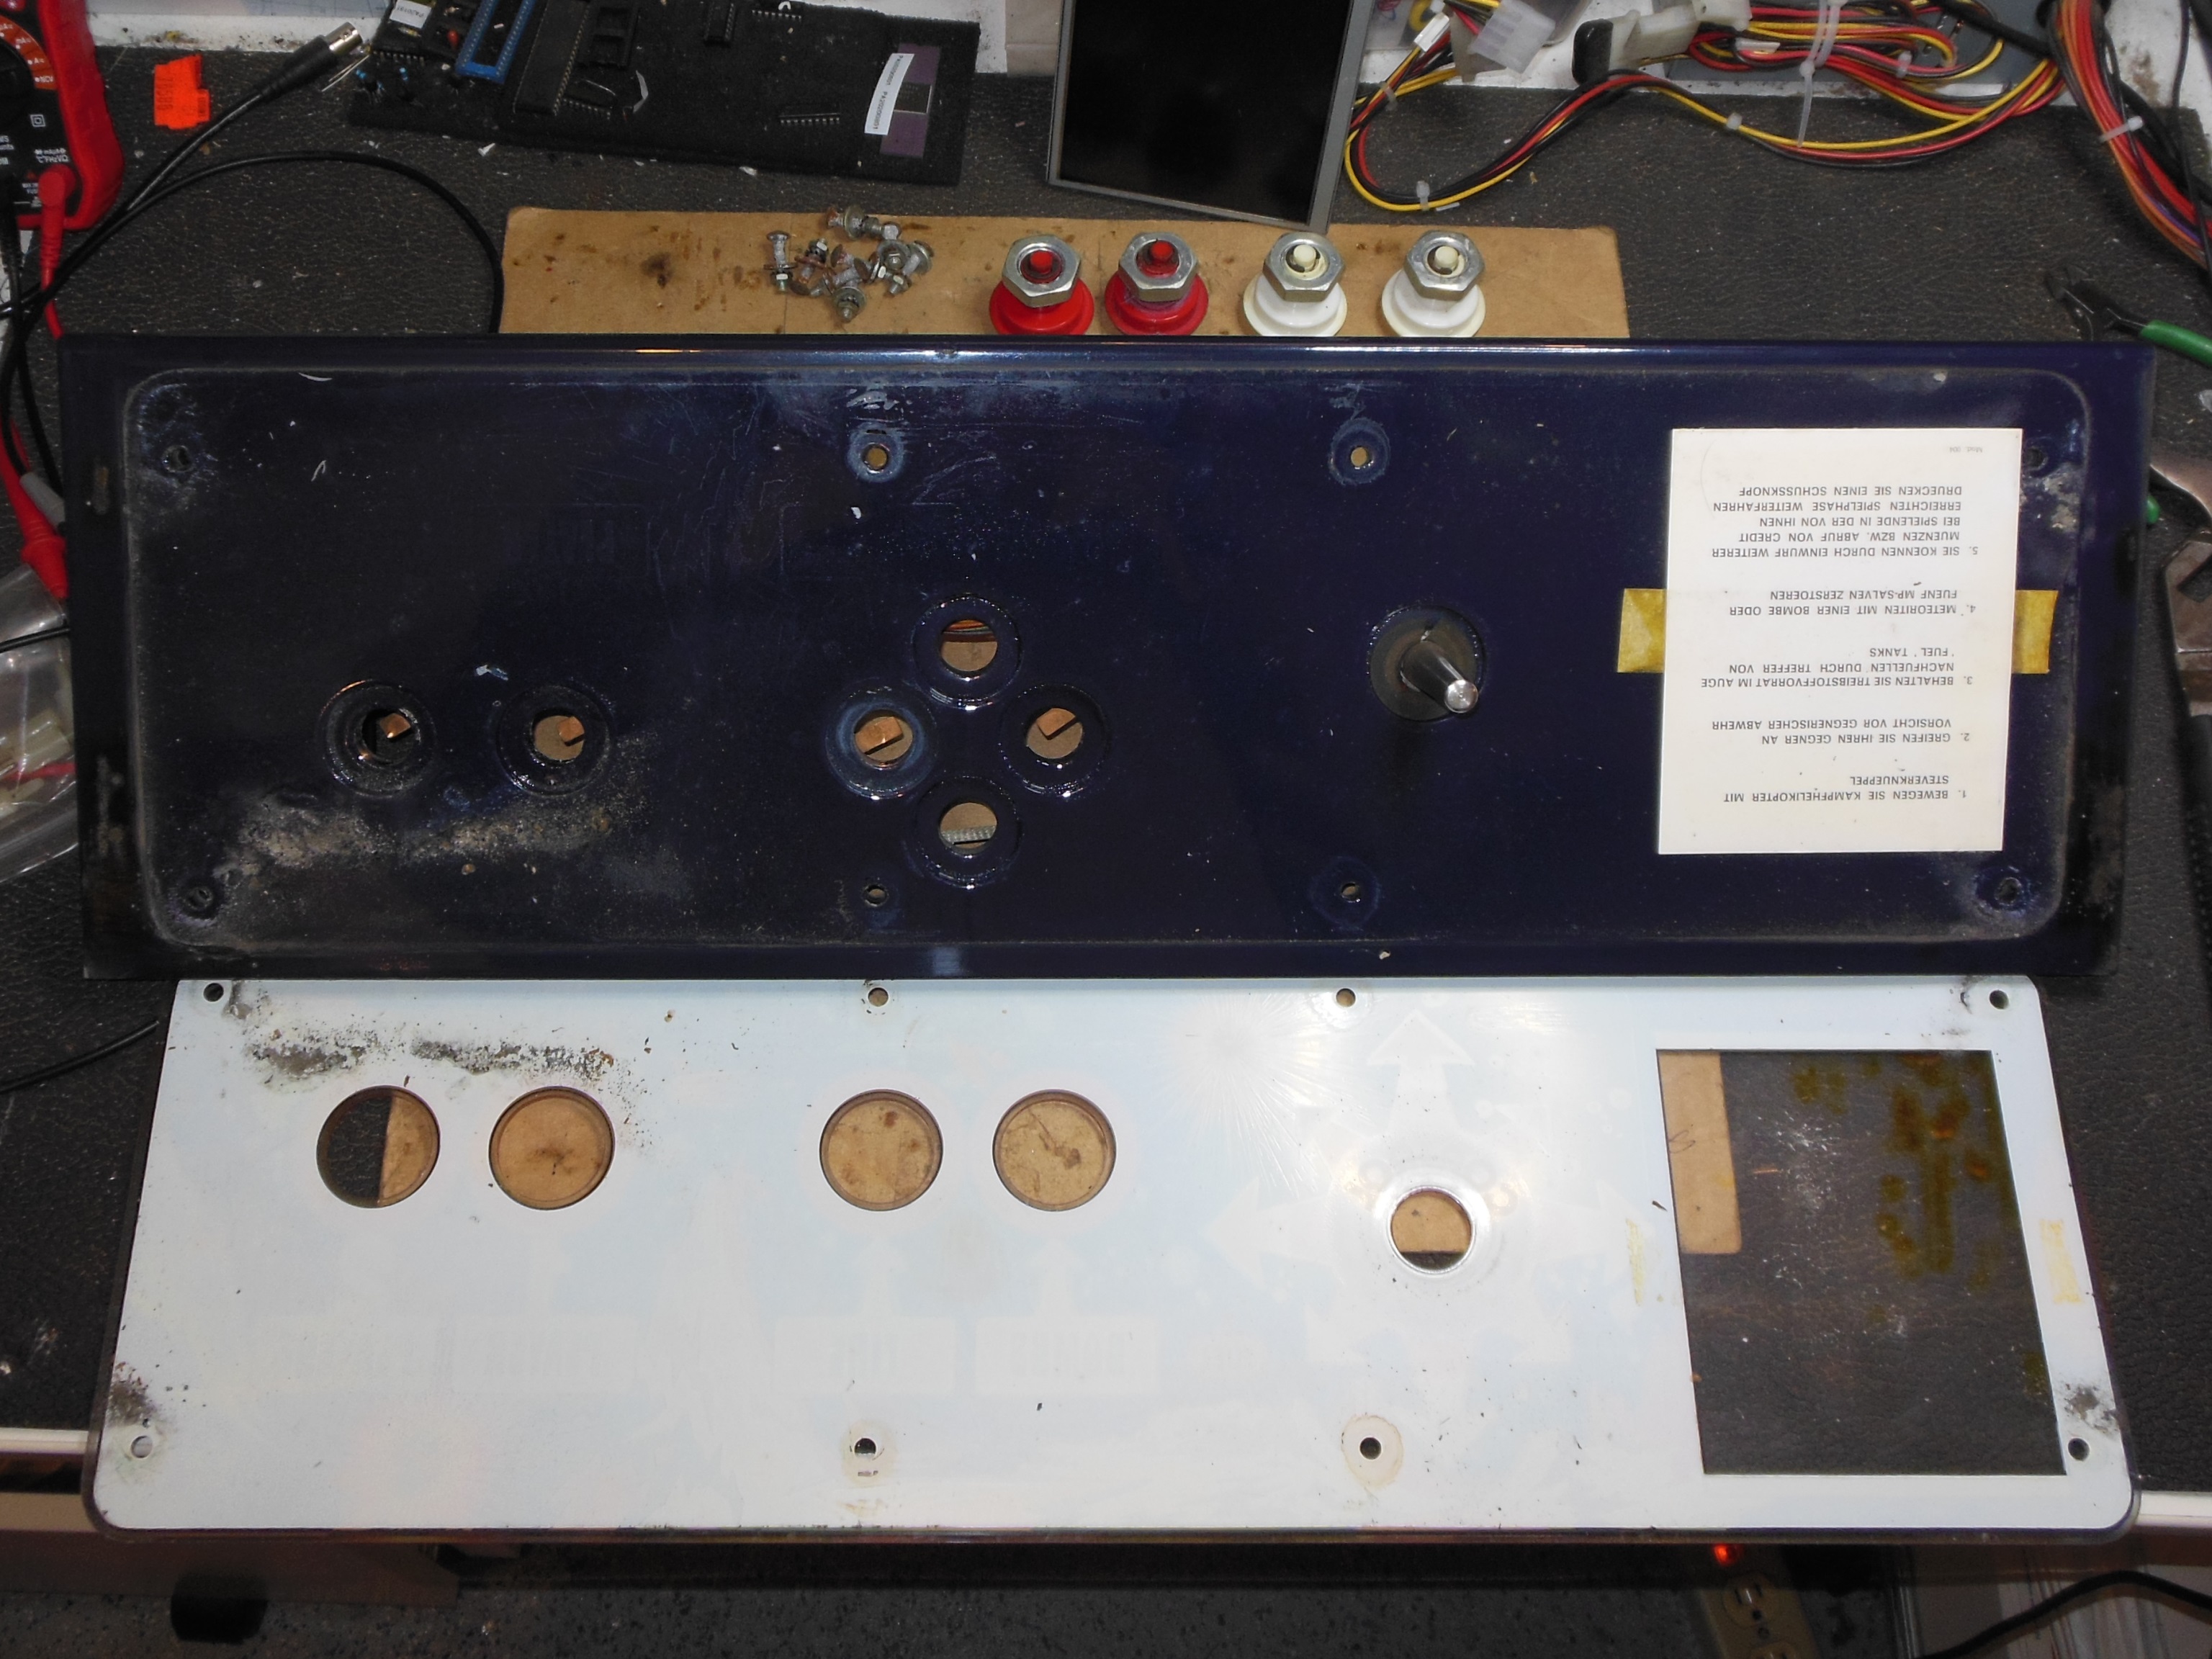
Aside from the commonly missing back cover the control panel was complete and original.
|
The control panel overlay had surface damage and deformity on both sides due to cigarette butts. The overlay was removed and set aside for the time being.
|
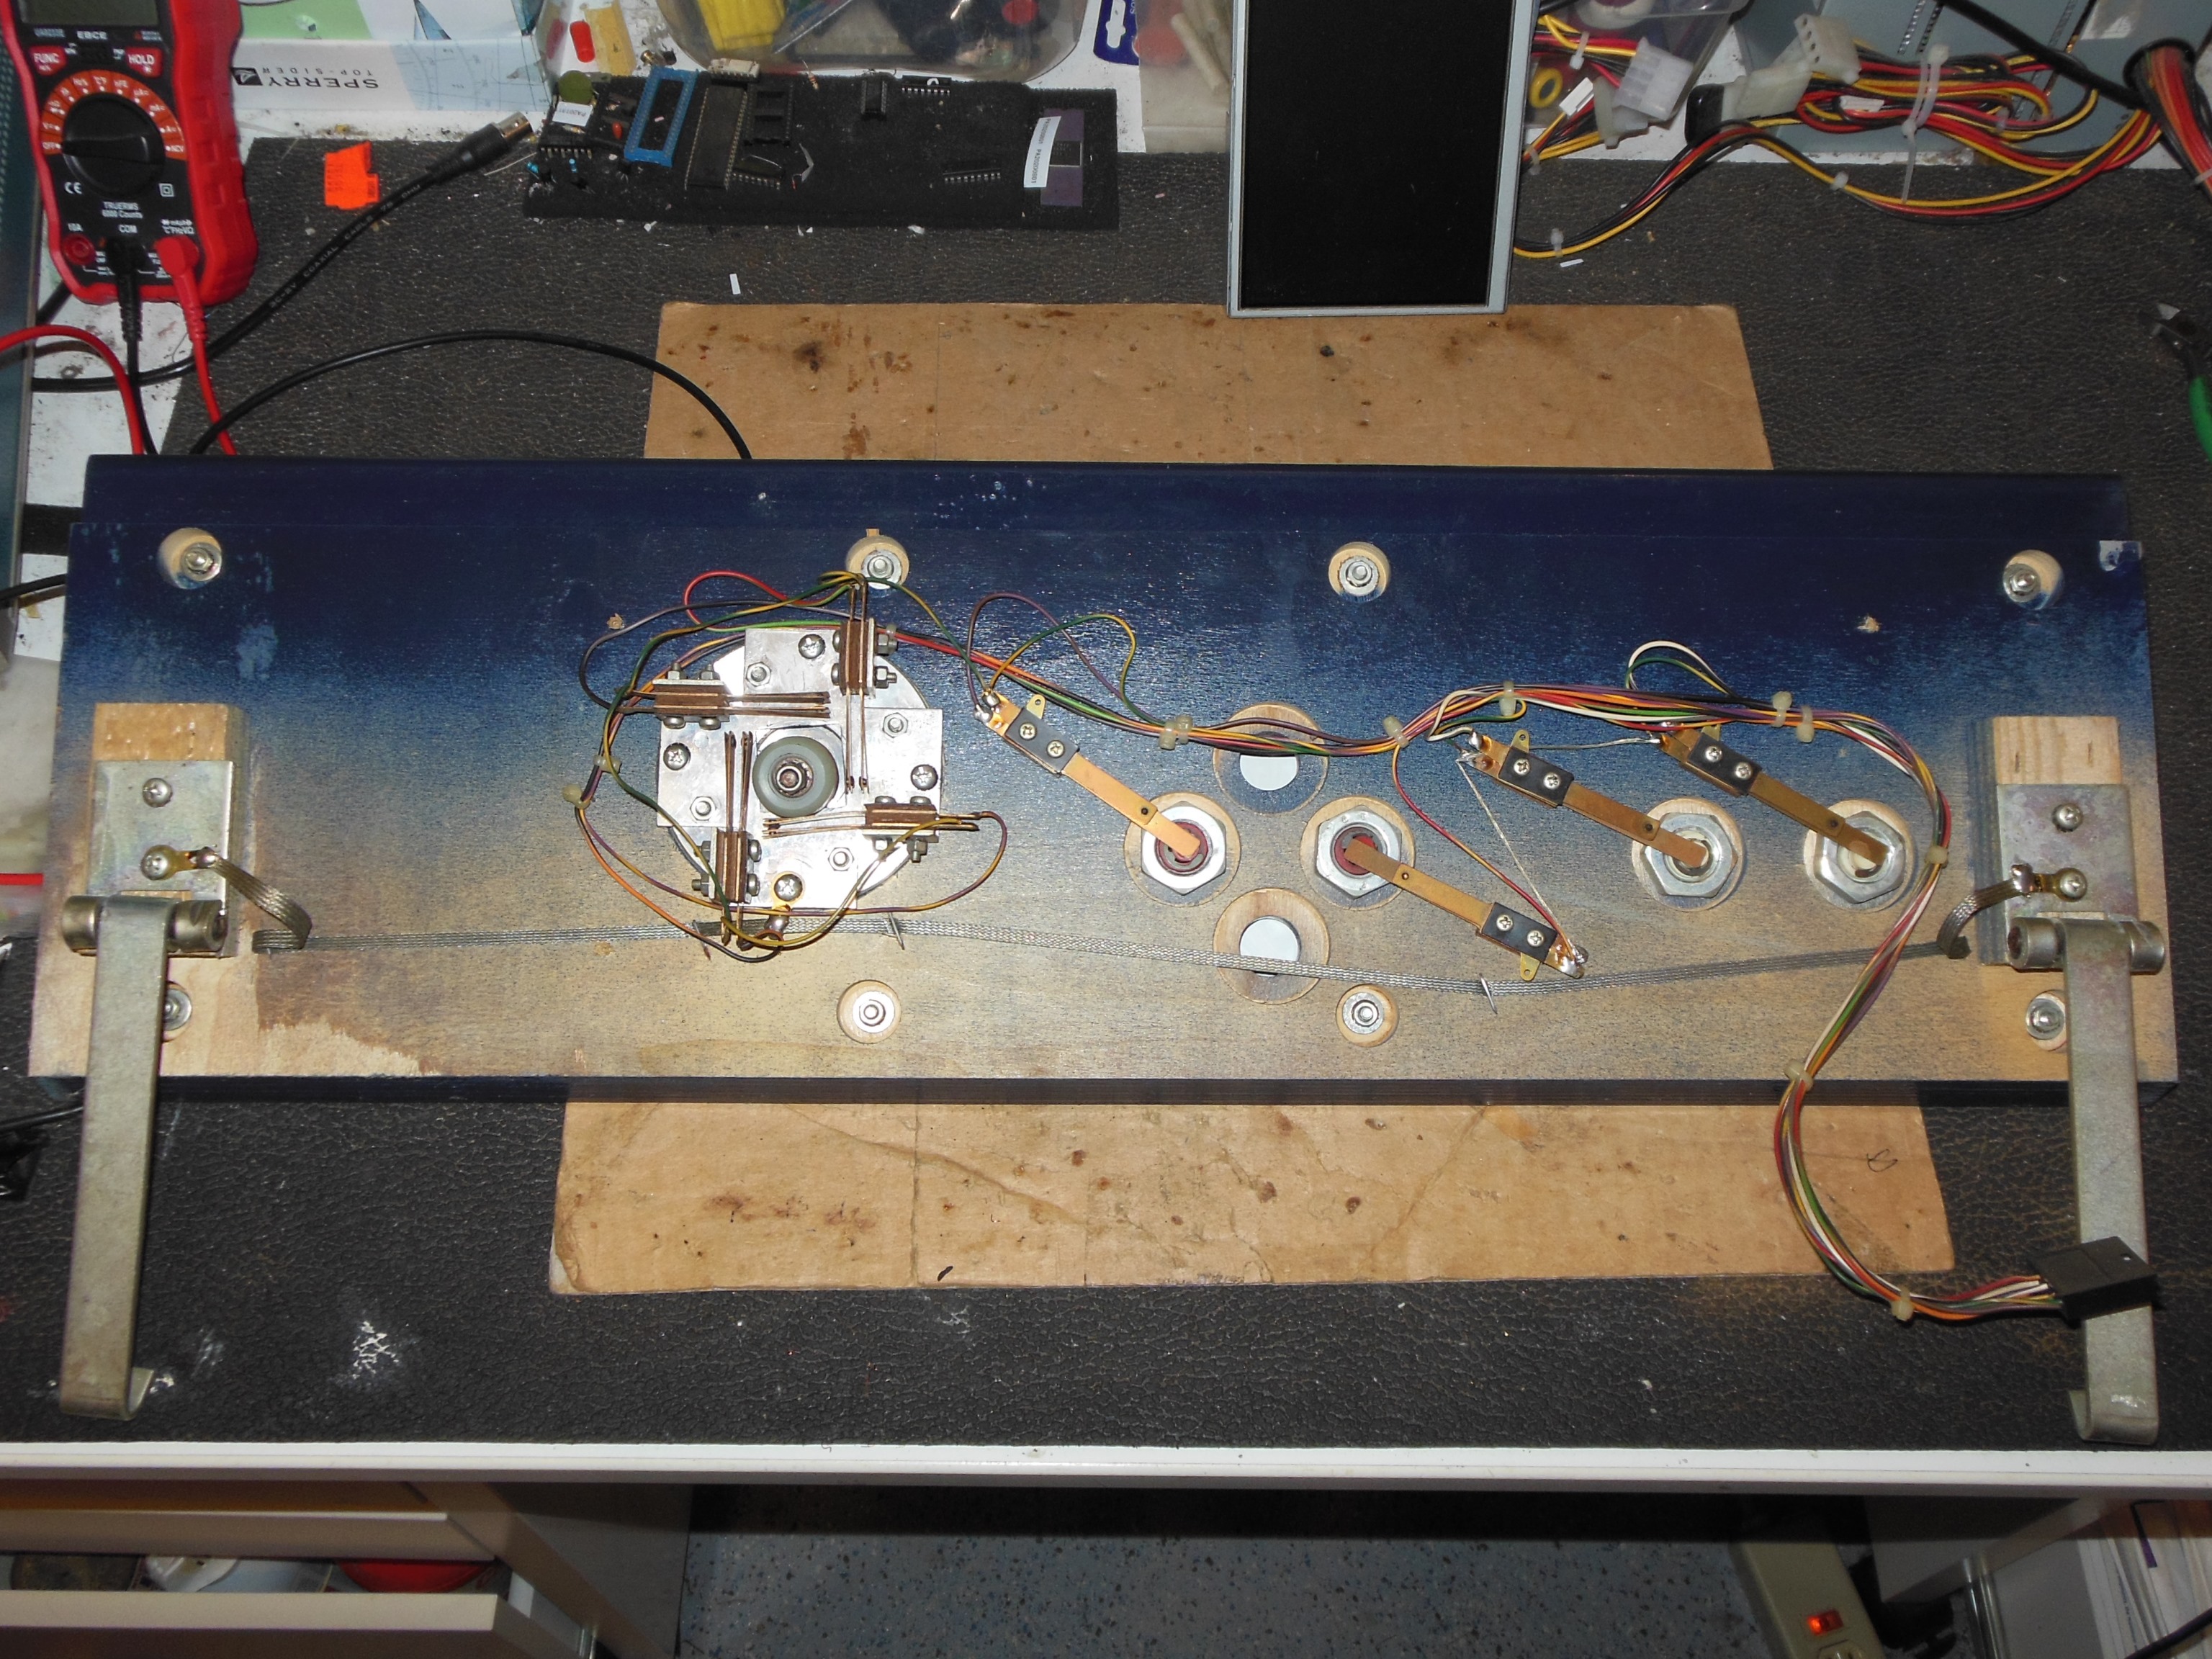
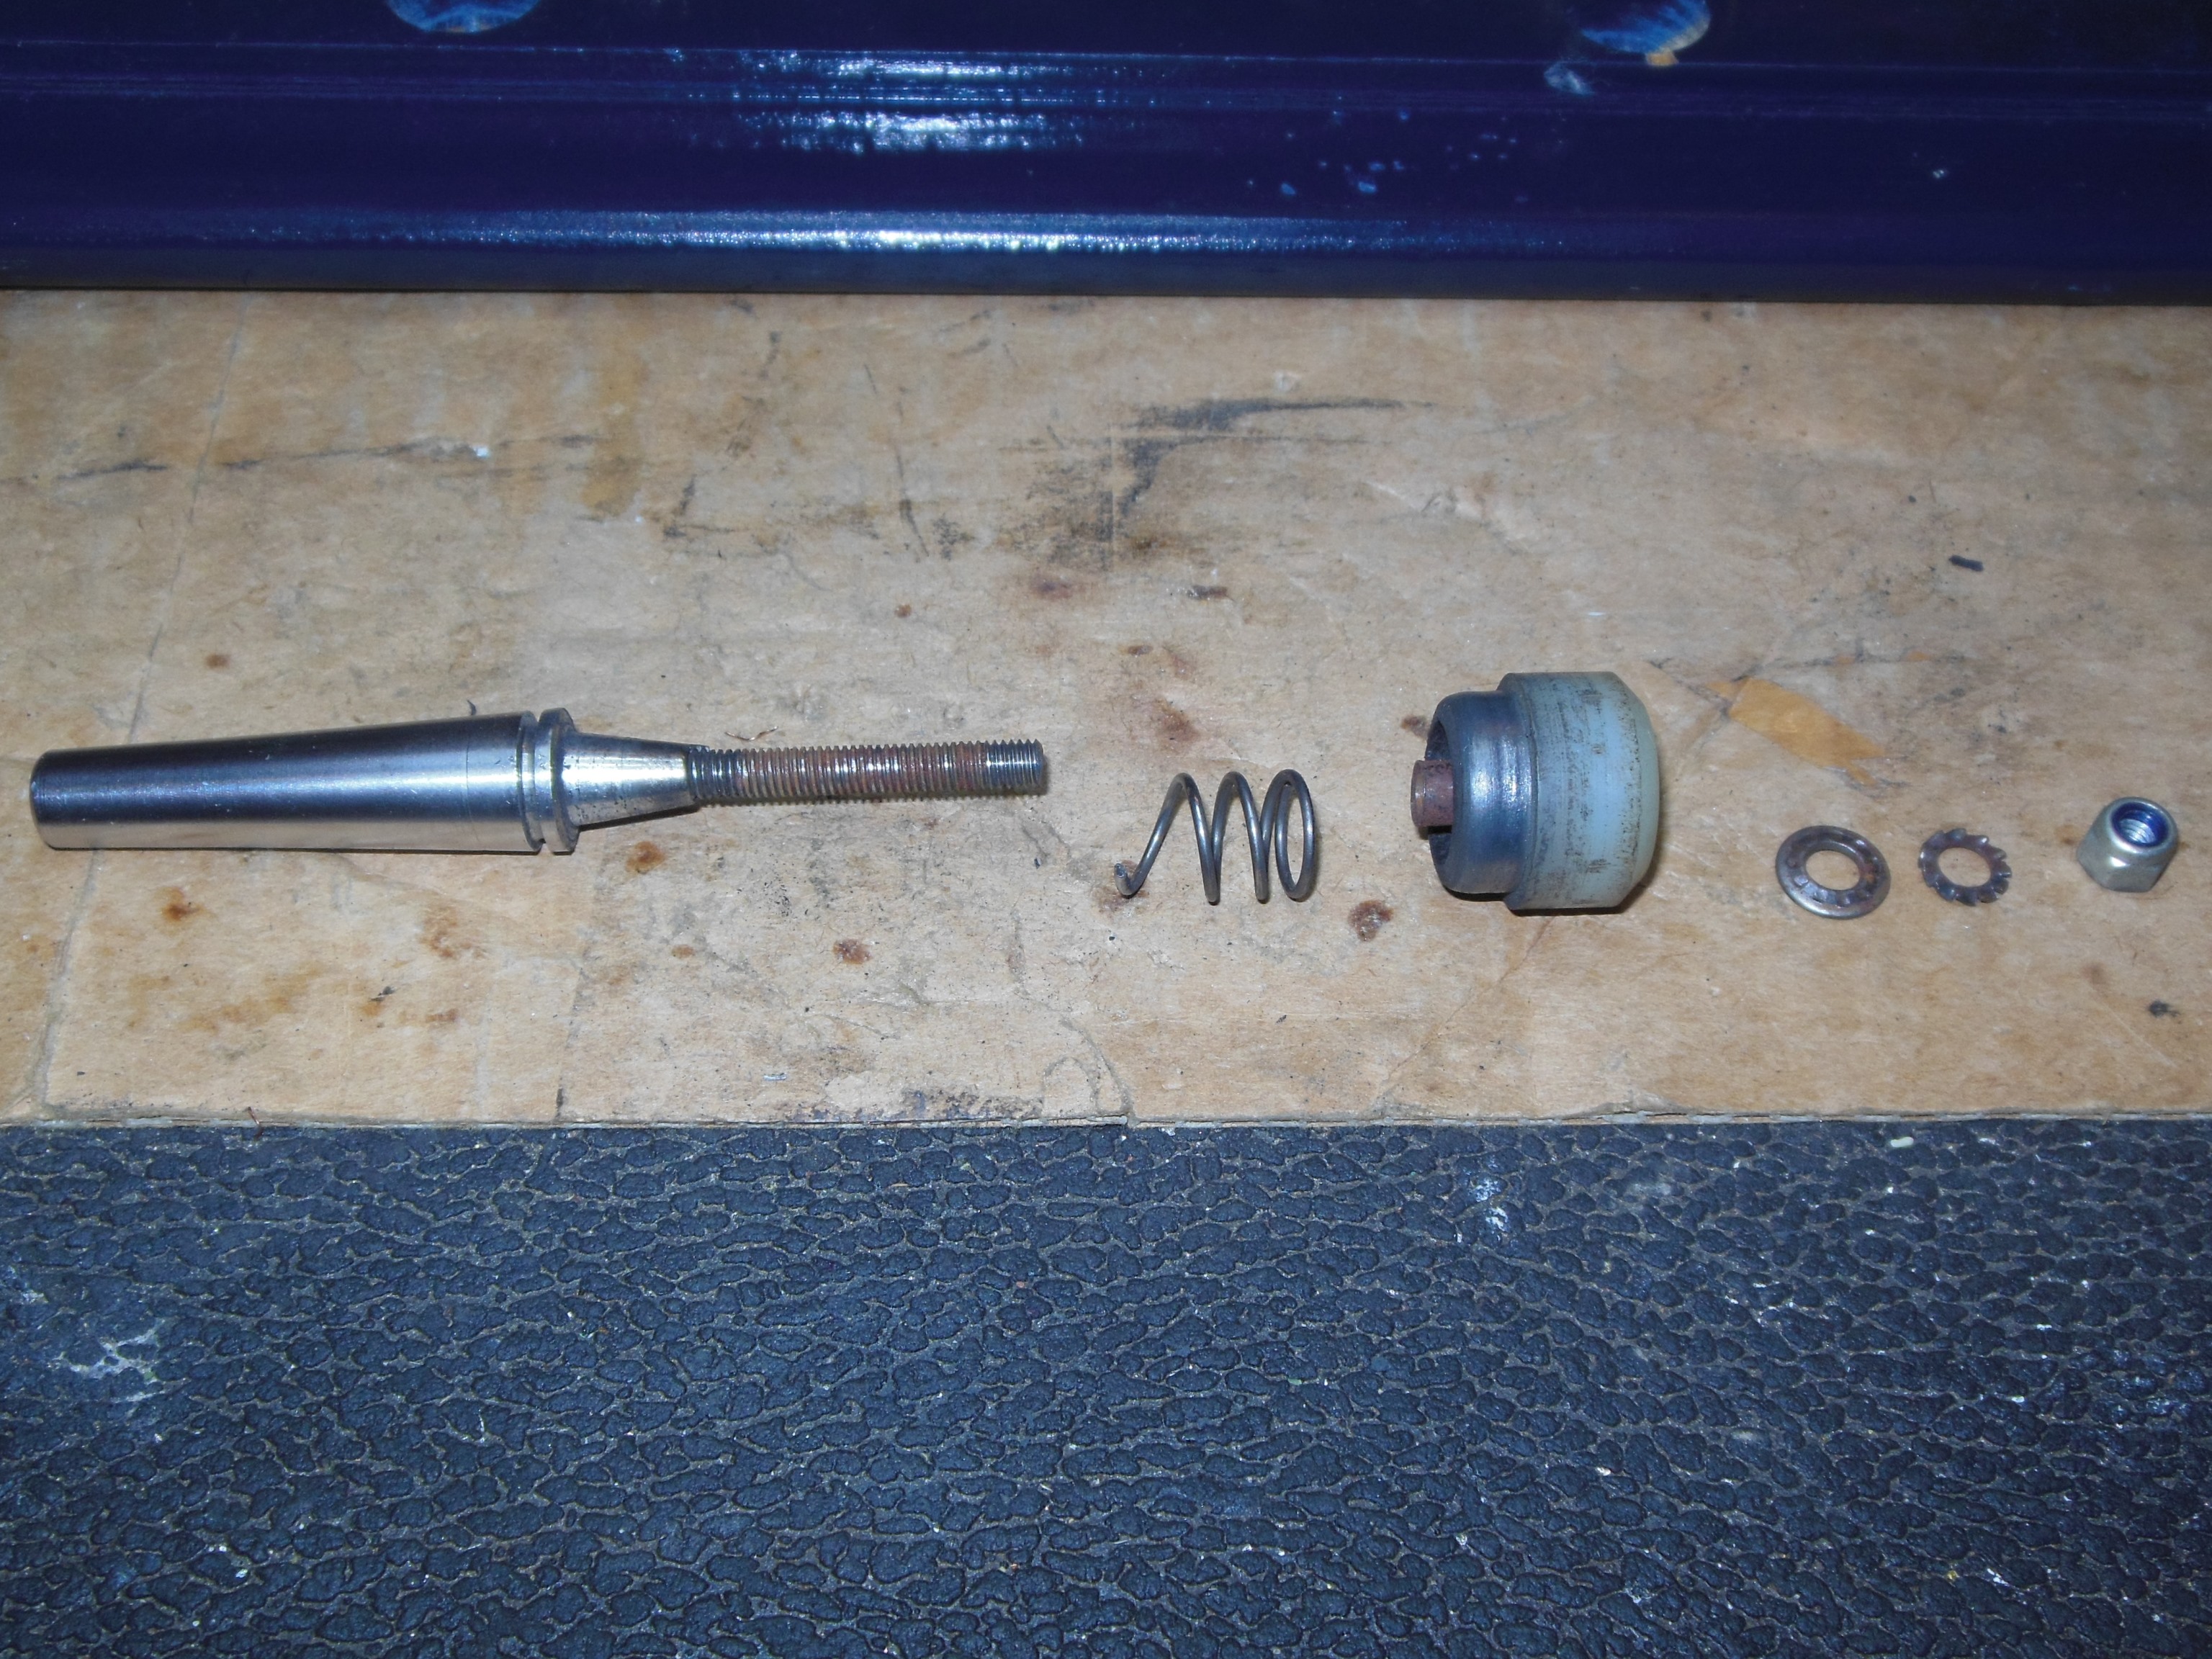
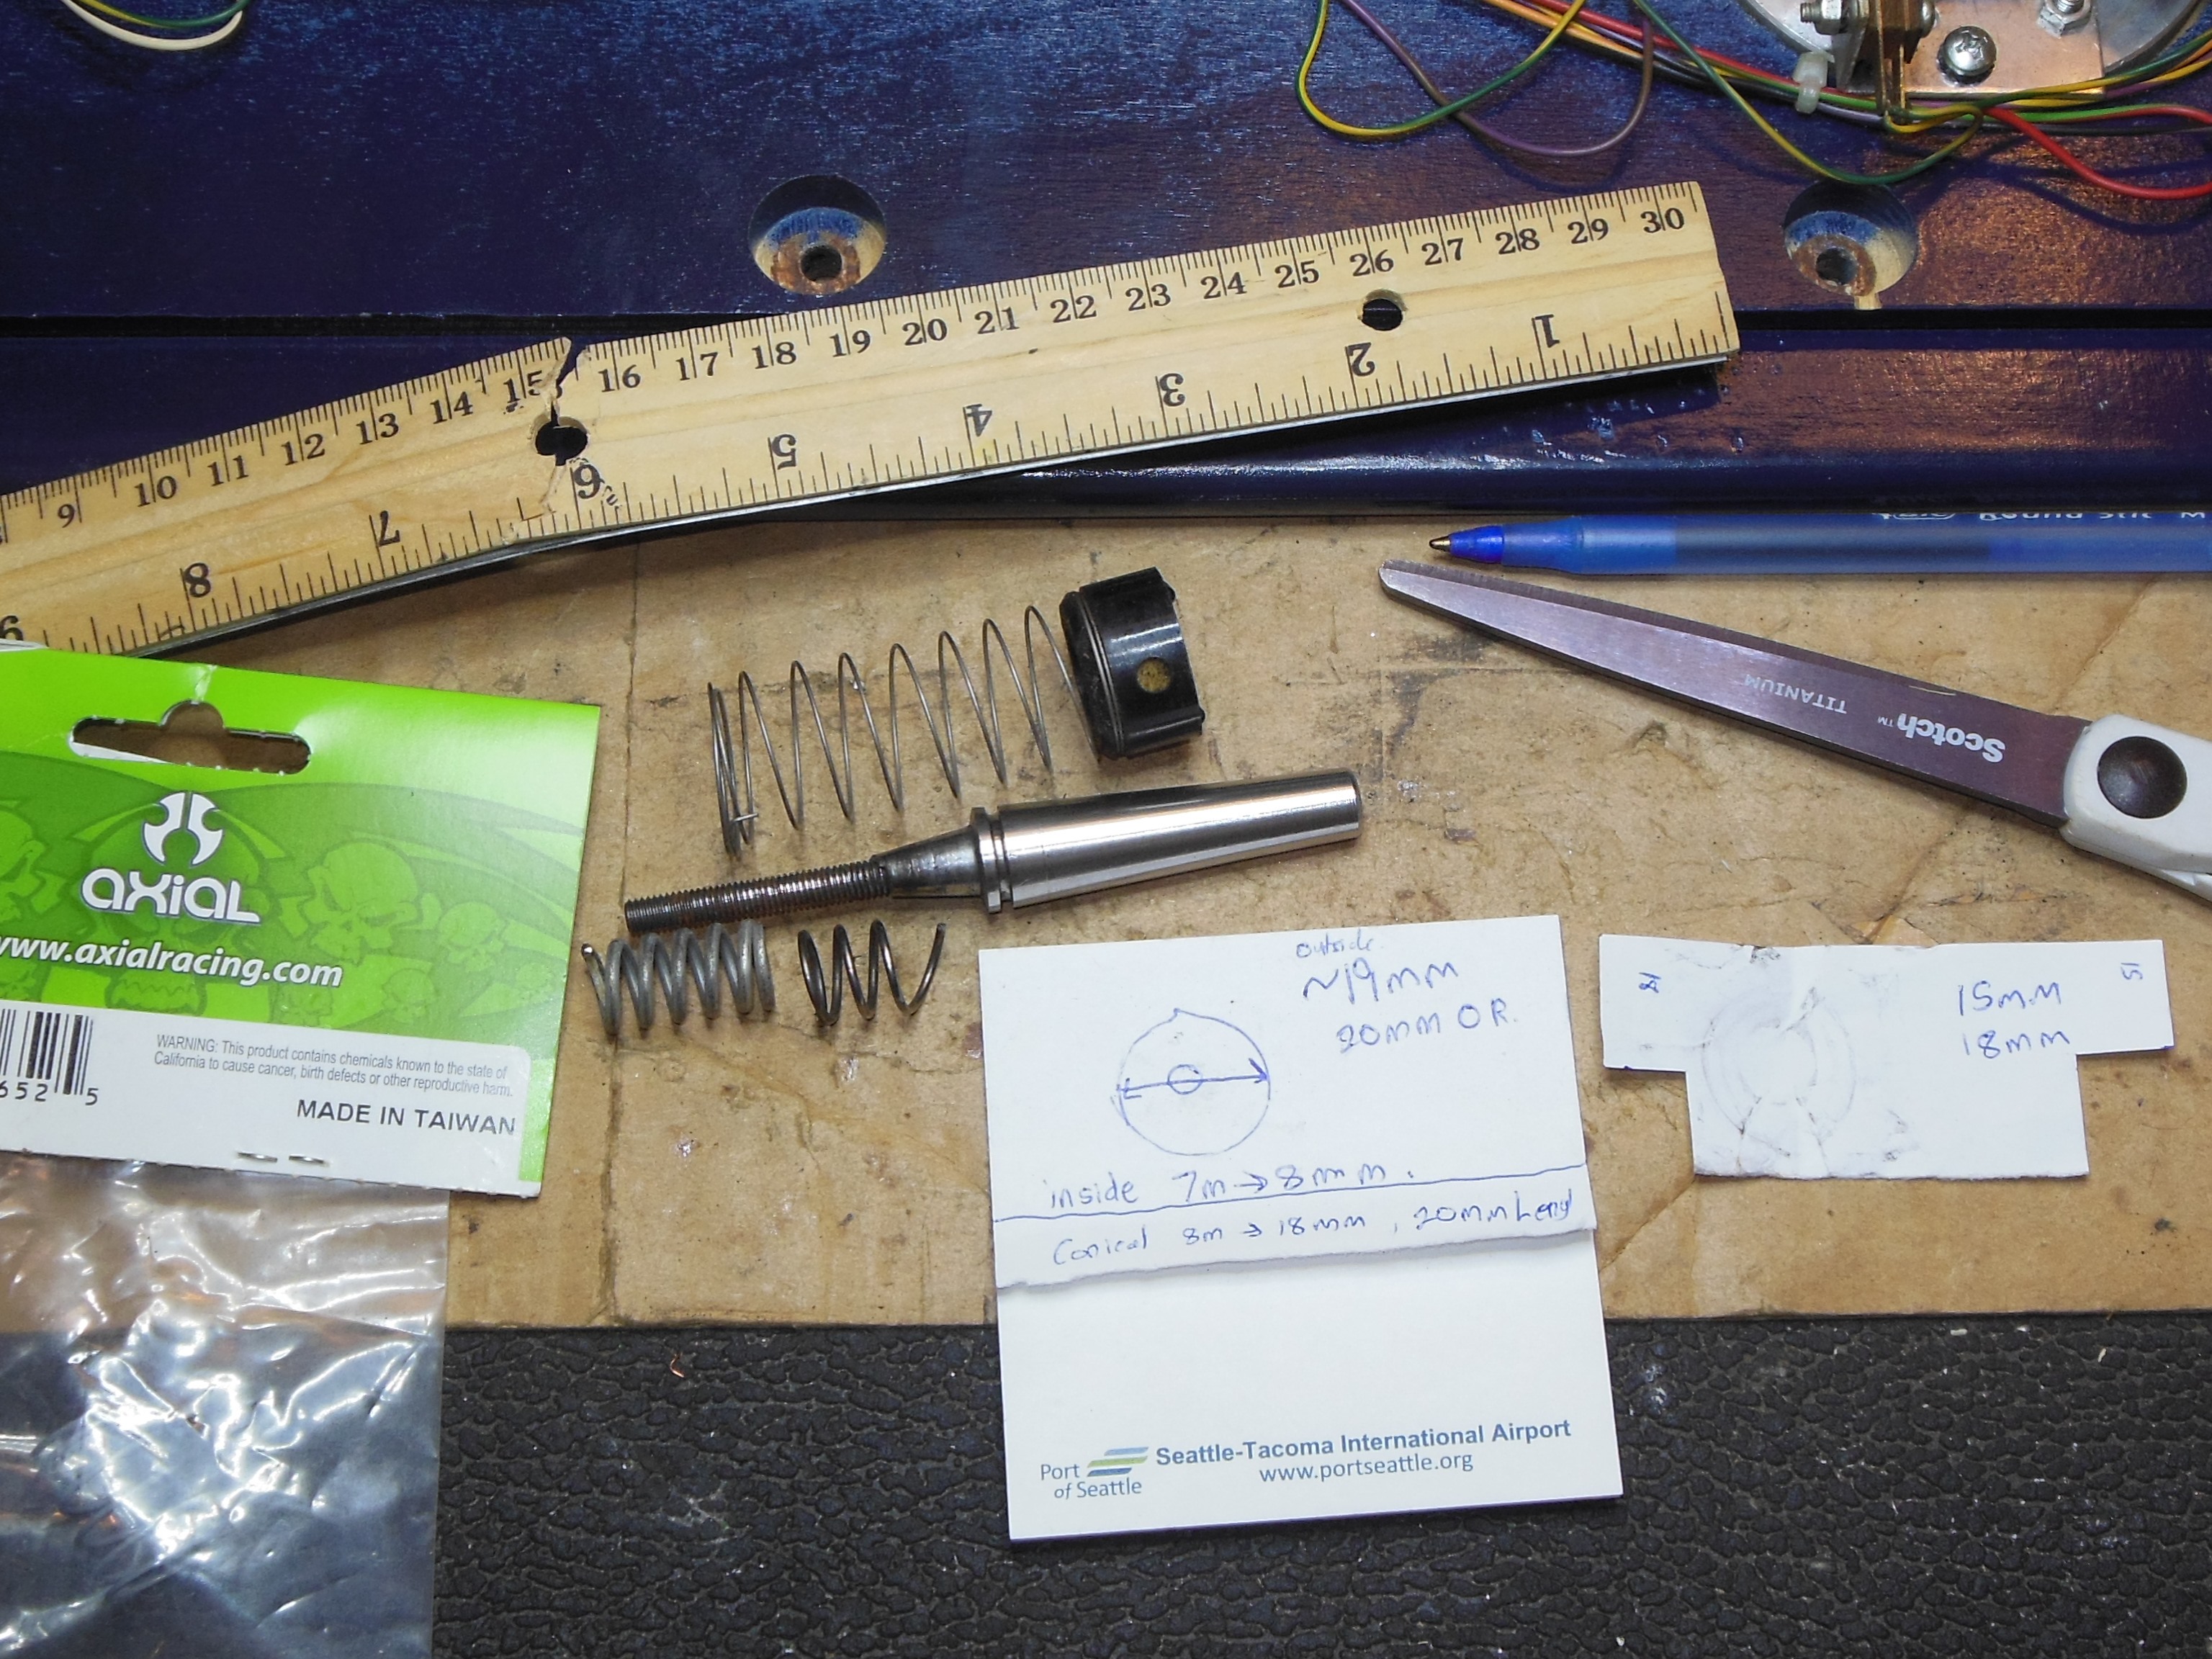
A reproduction dust cover for the joystick was cut from a rubber sheet. The loose joystick was attributed to a replacement trimmed spring that wasn't the right size and didn't fit properly. This style of chrome shaft joystick was used in many Zaccaria cabinets over several years but the rear mechanicals do vary. This particular example did match the Zaccaria Super Cobra manual that identified the missing spring as "A6266 Molla Conica", a conical spring, but didn't specify its dimensions. Rough measurements suggested a wide diameter of ~ 19-20mm and a narrow diameter of ~ 7-8mm. The length was a bit of a guess at 20mm.

|


|
eBay had many listings of various conical springs that were possible candidates. Initially I ordered "0.8x10/16x20-7" that was 0.8mm diameter wire with 10mm diameter top, 16mm diameter bottom, 20mm length and 7 coils. After this arrived I found it was too weak, making the joystick very loose. I followed up with an order of thicker "1.2x11.5/18x20-5.5" and "1x10/18x30-7" springs to try and settled on using the 1.2mm diameter wire spring.
|
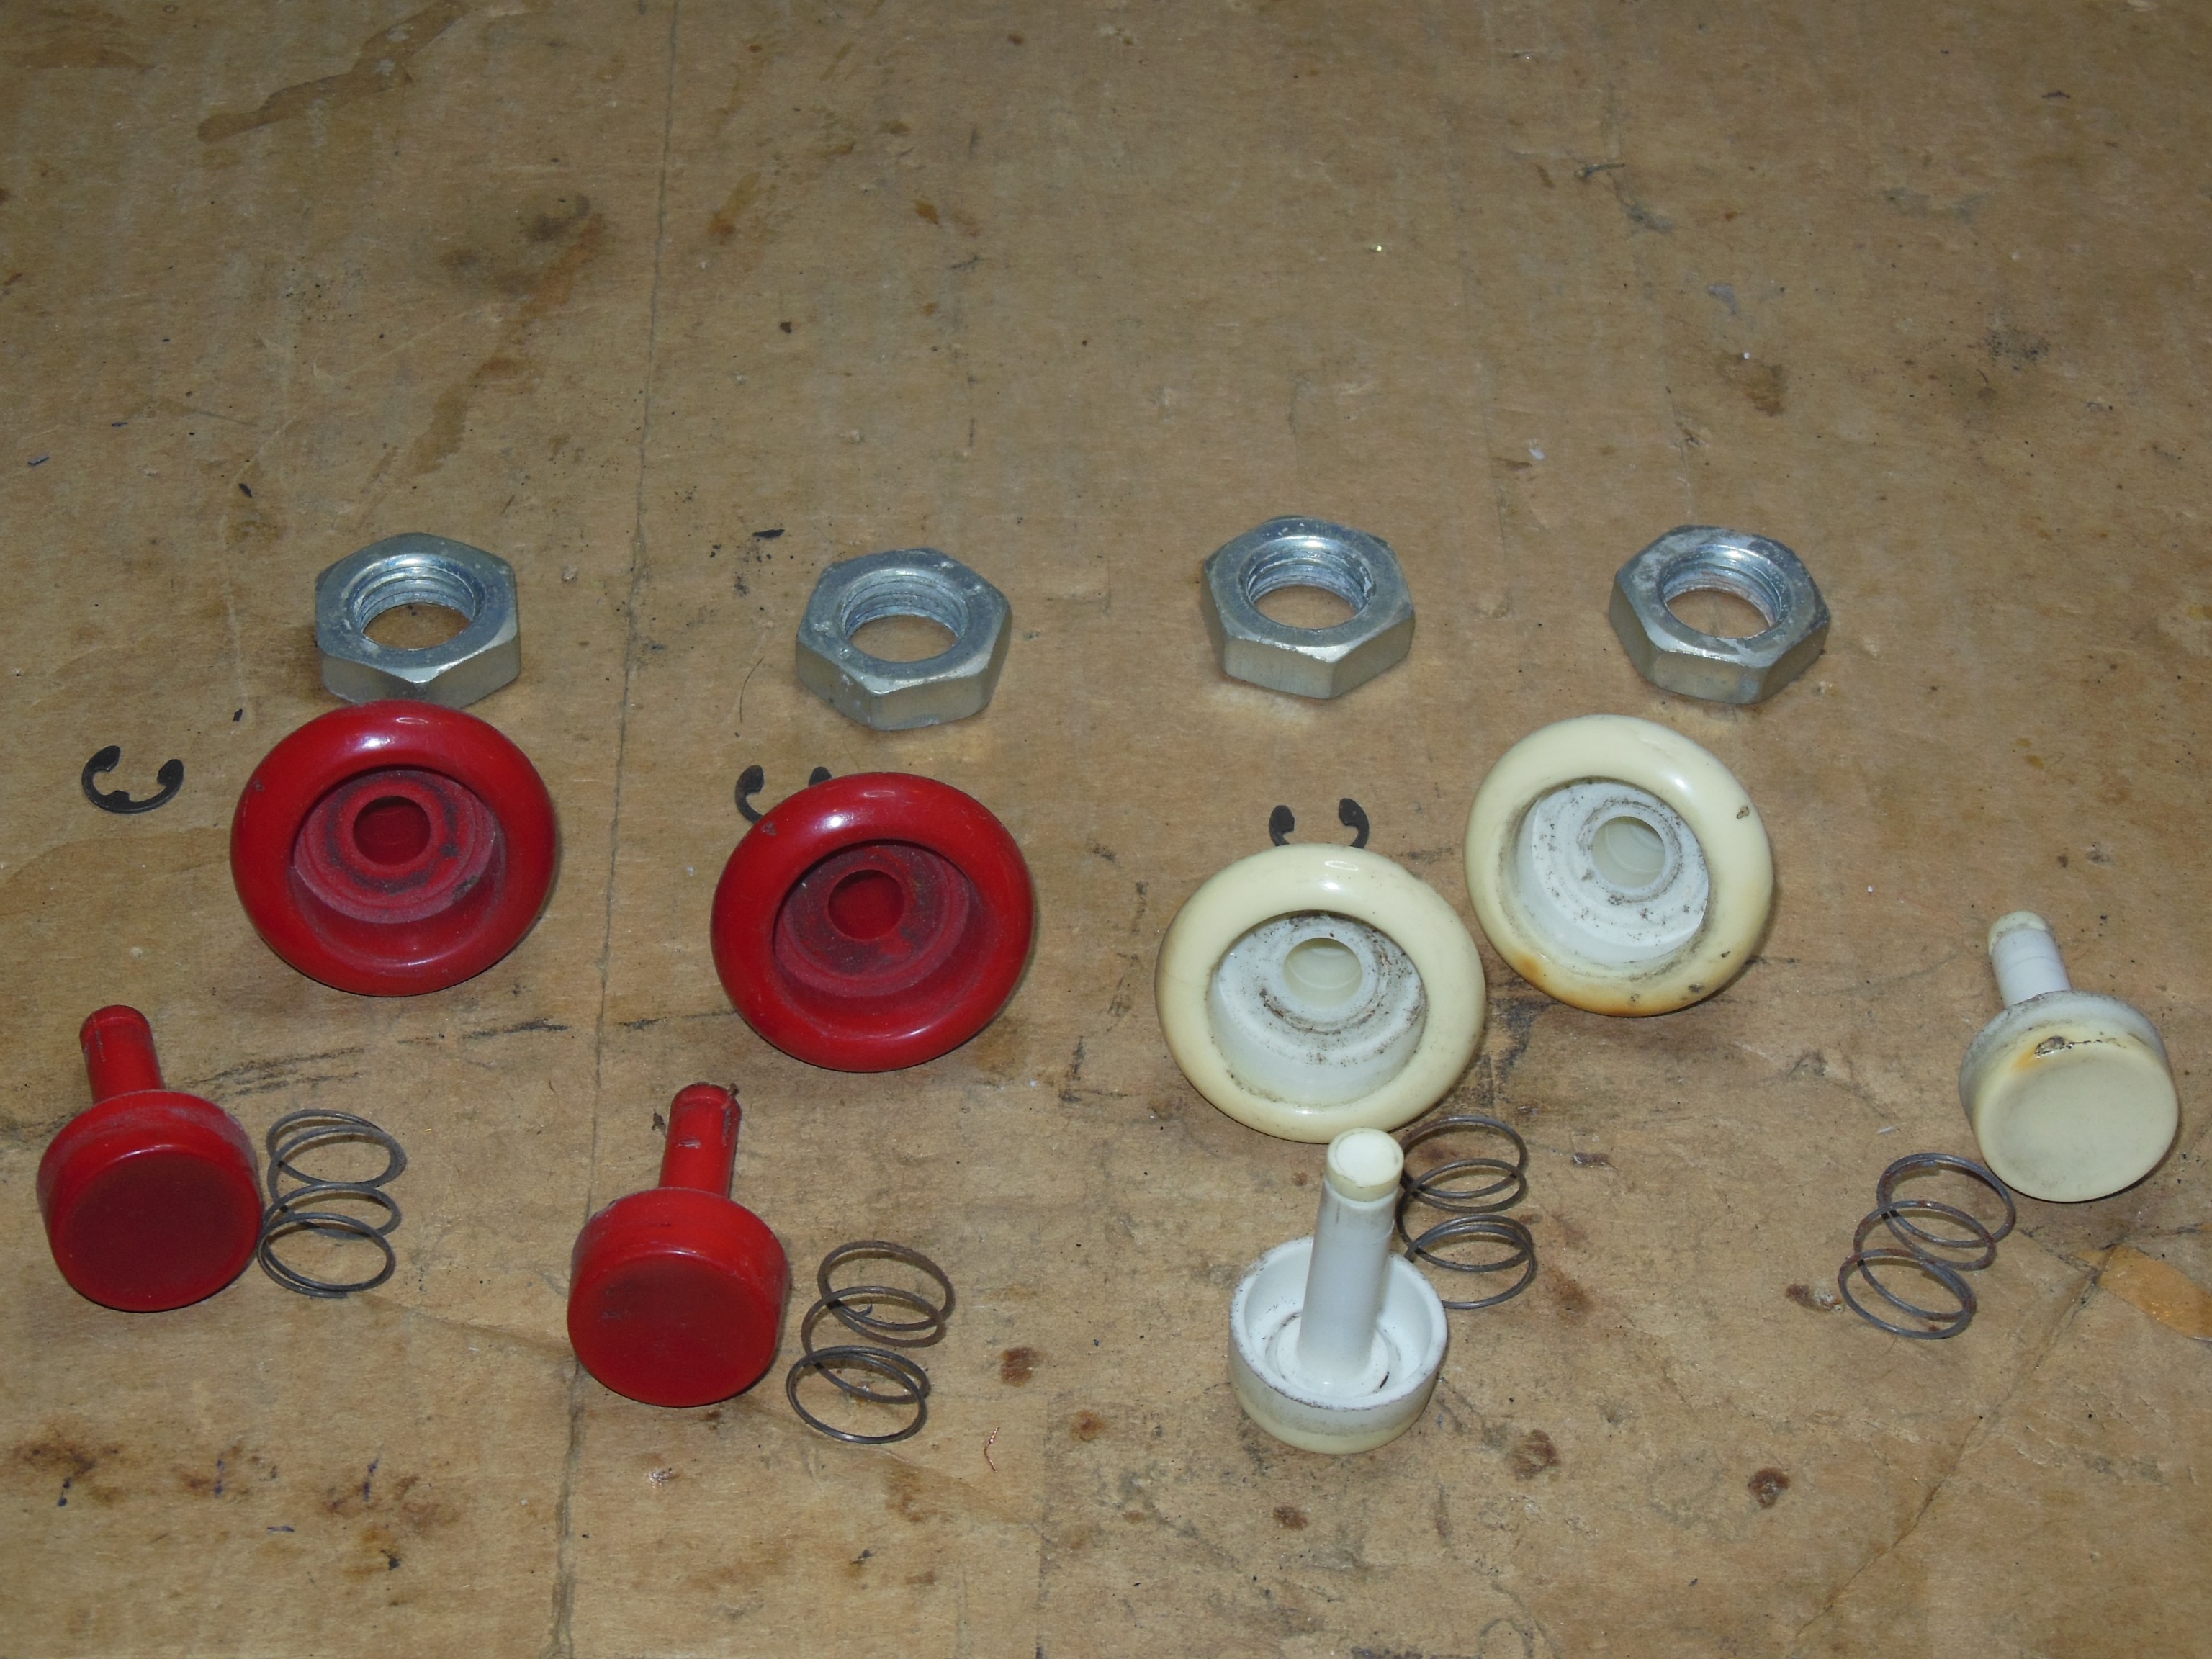
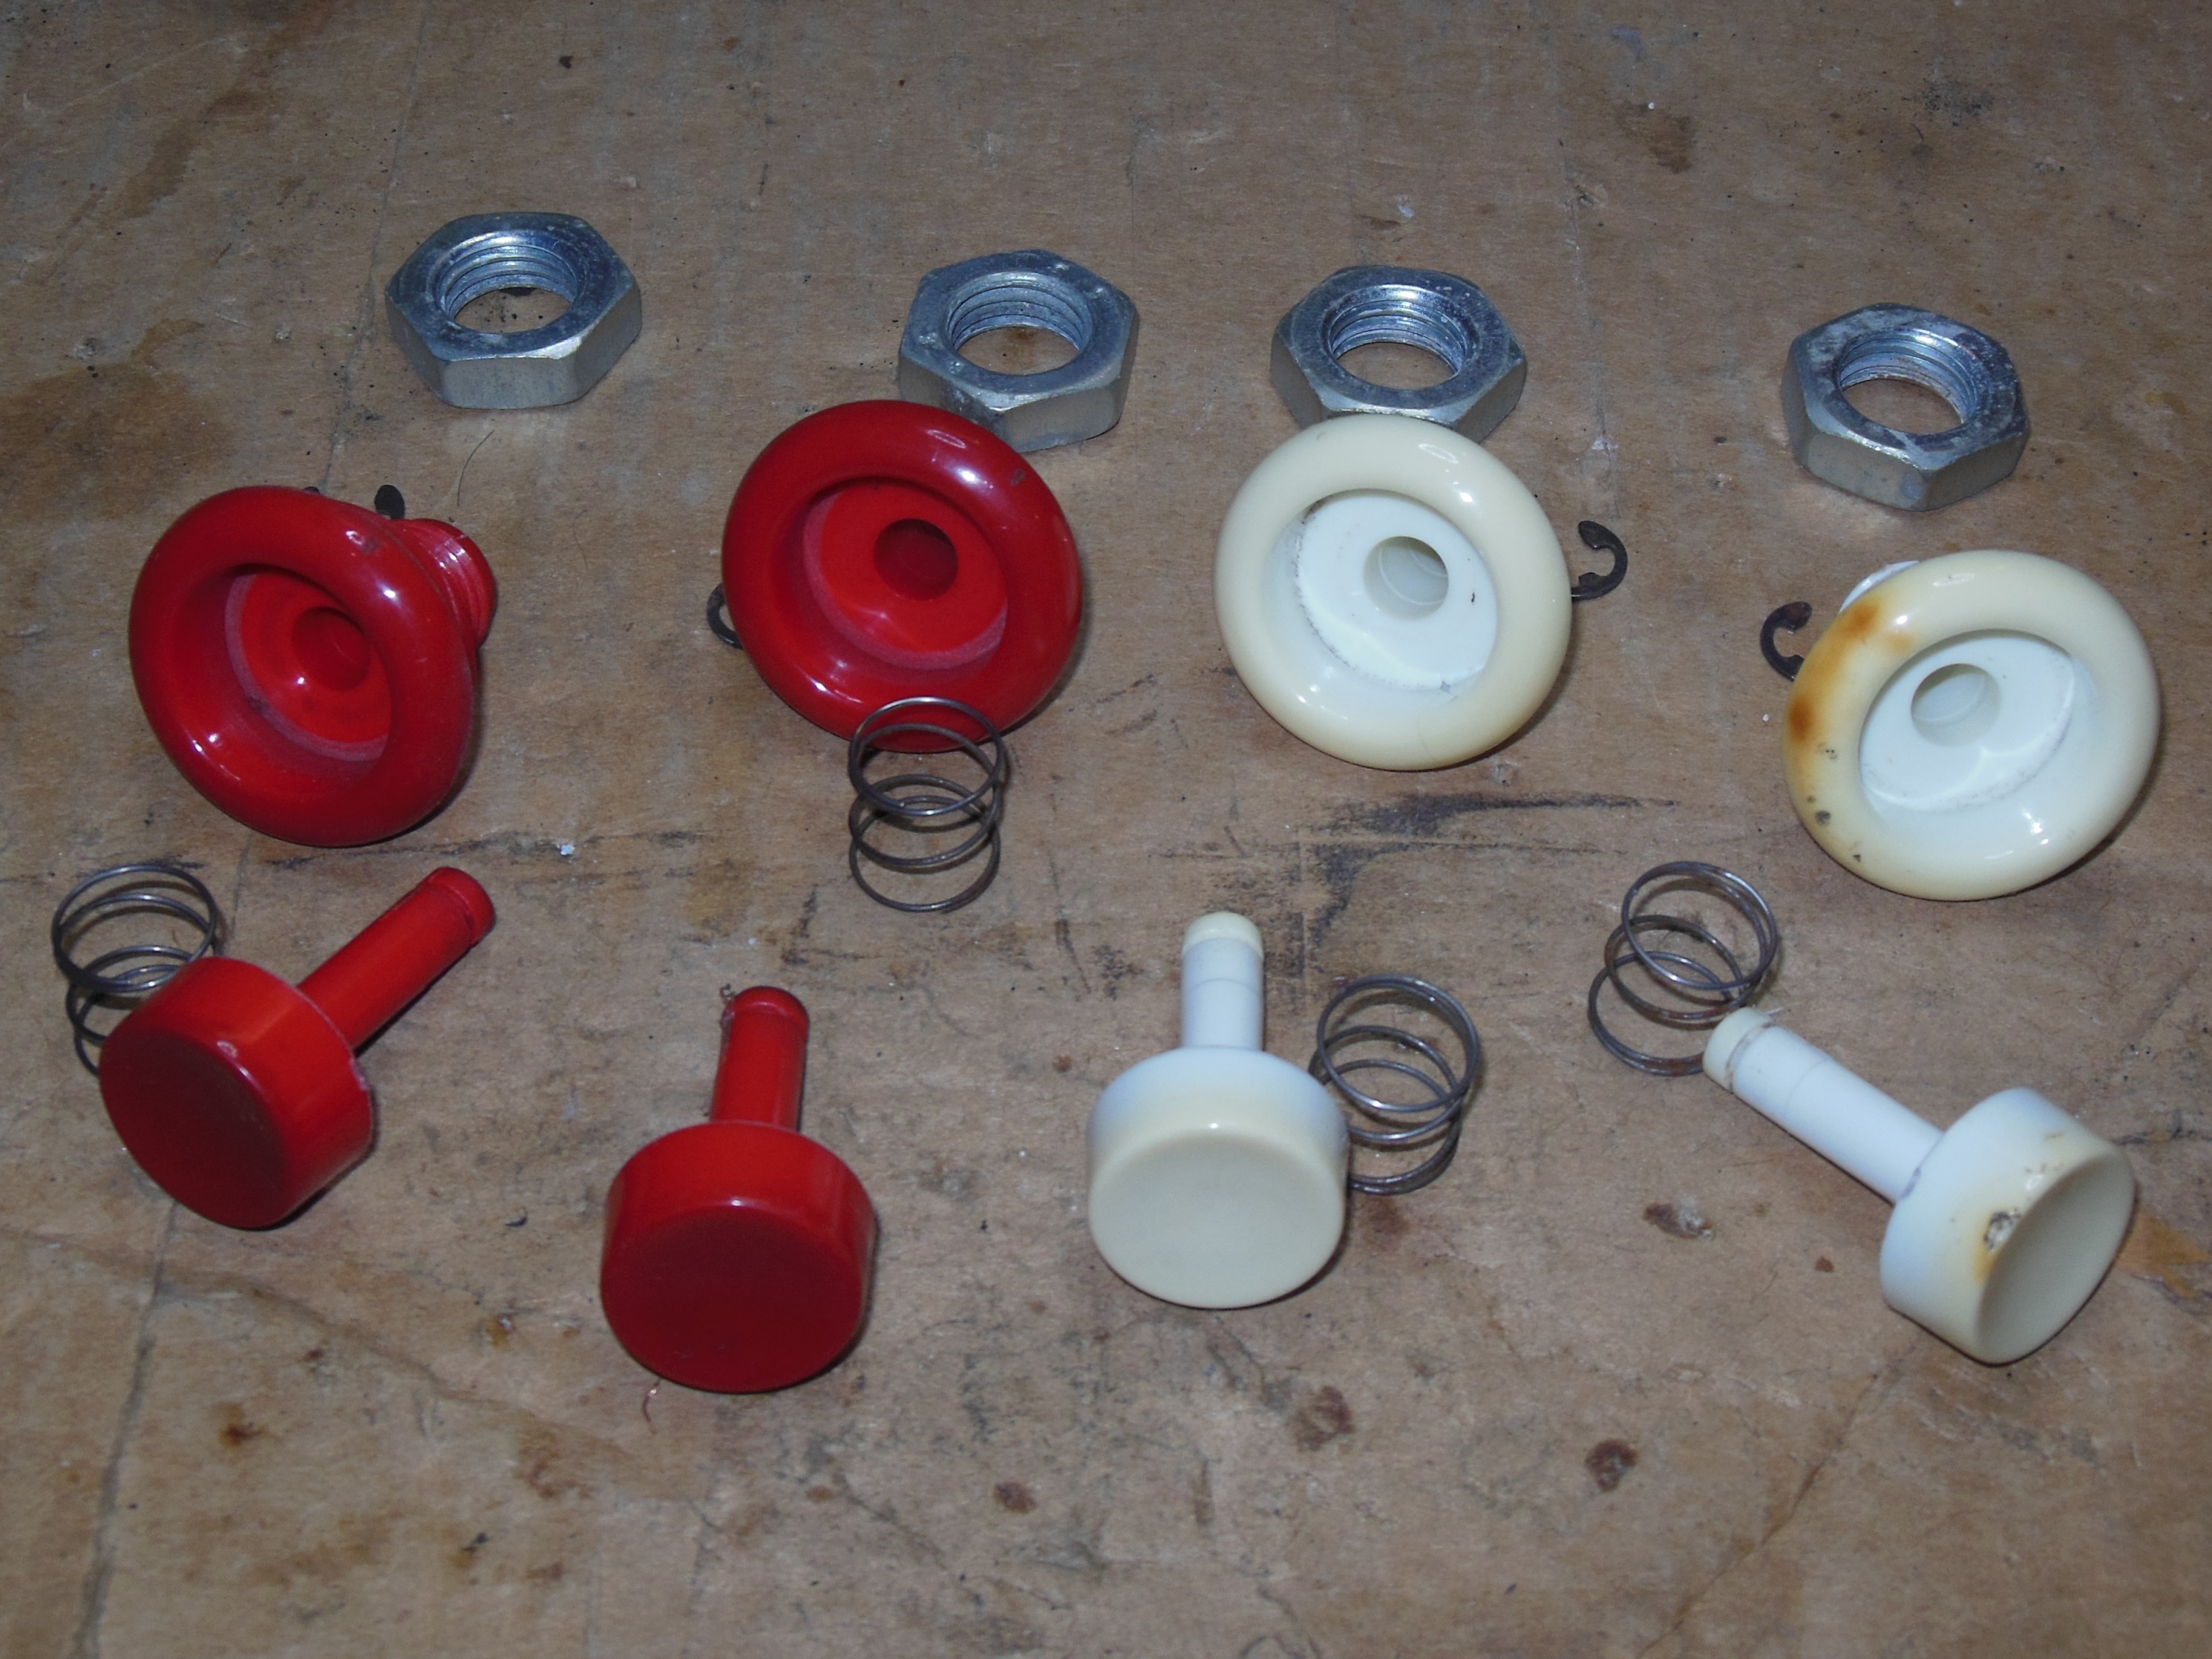
The buttons & springs were in good condition, needing only a strip down and clean.

|
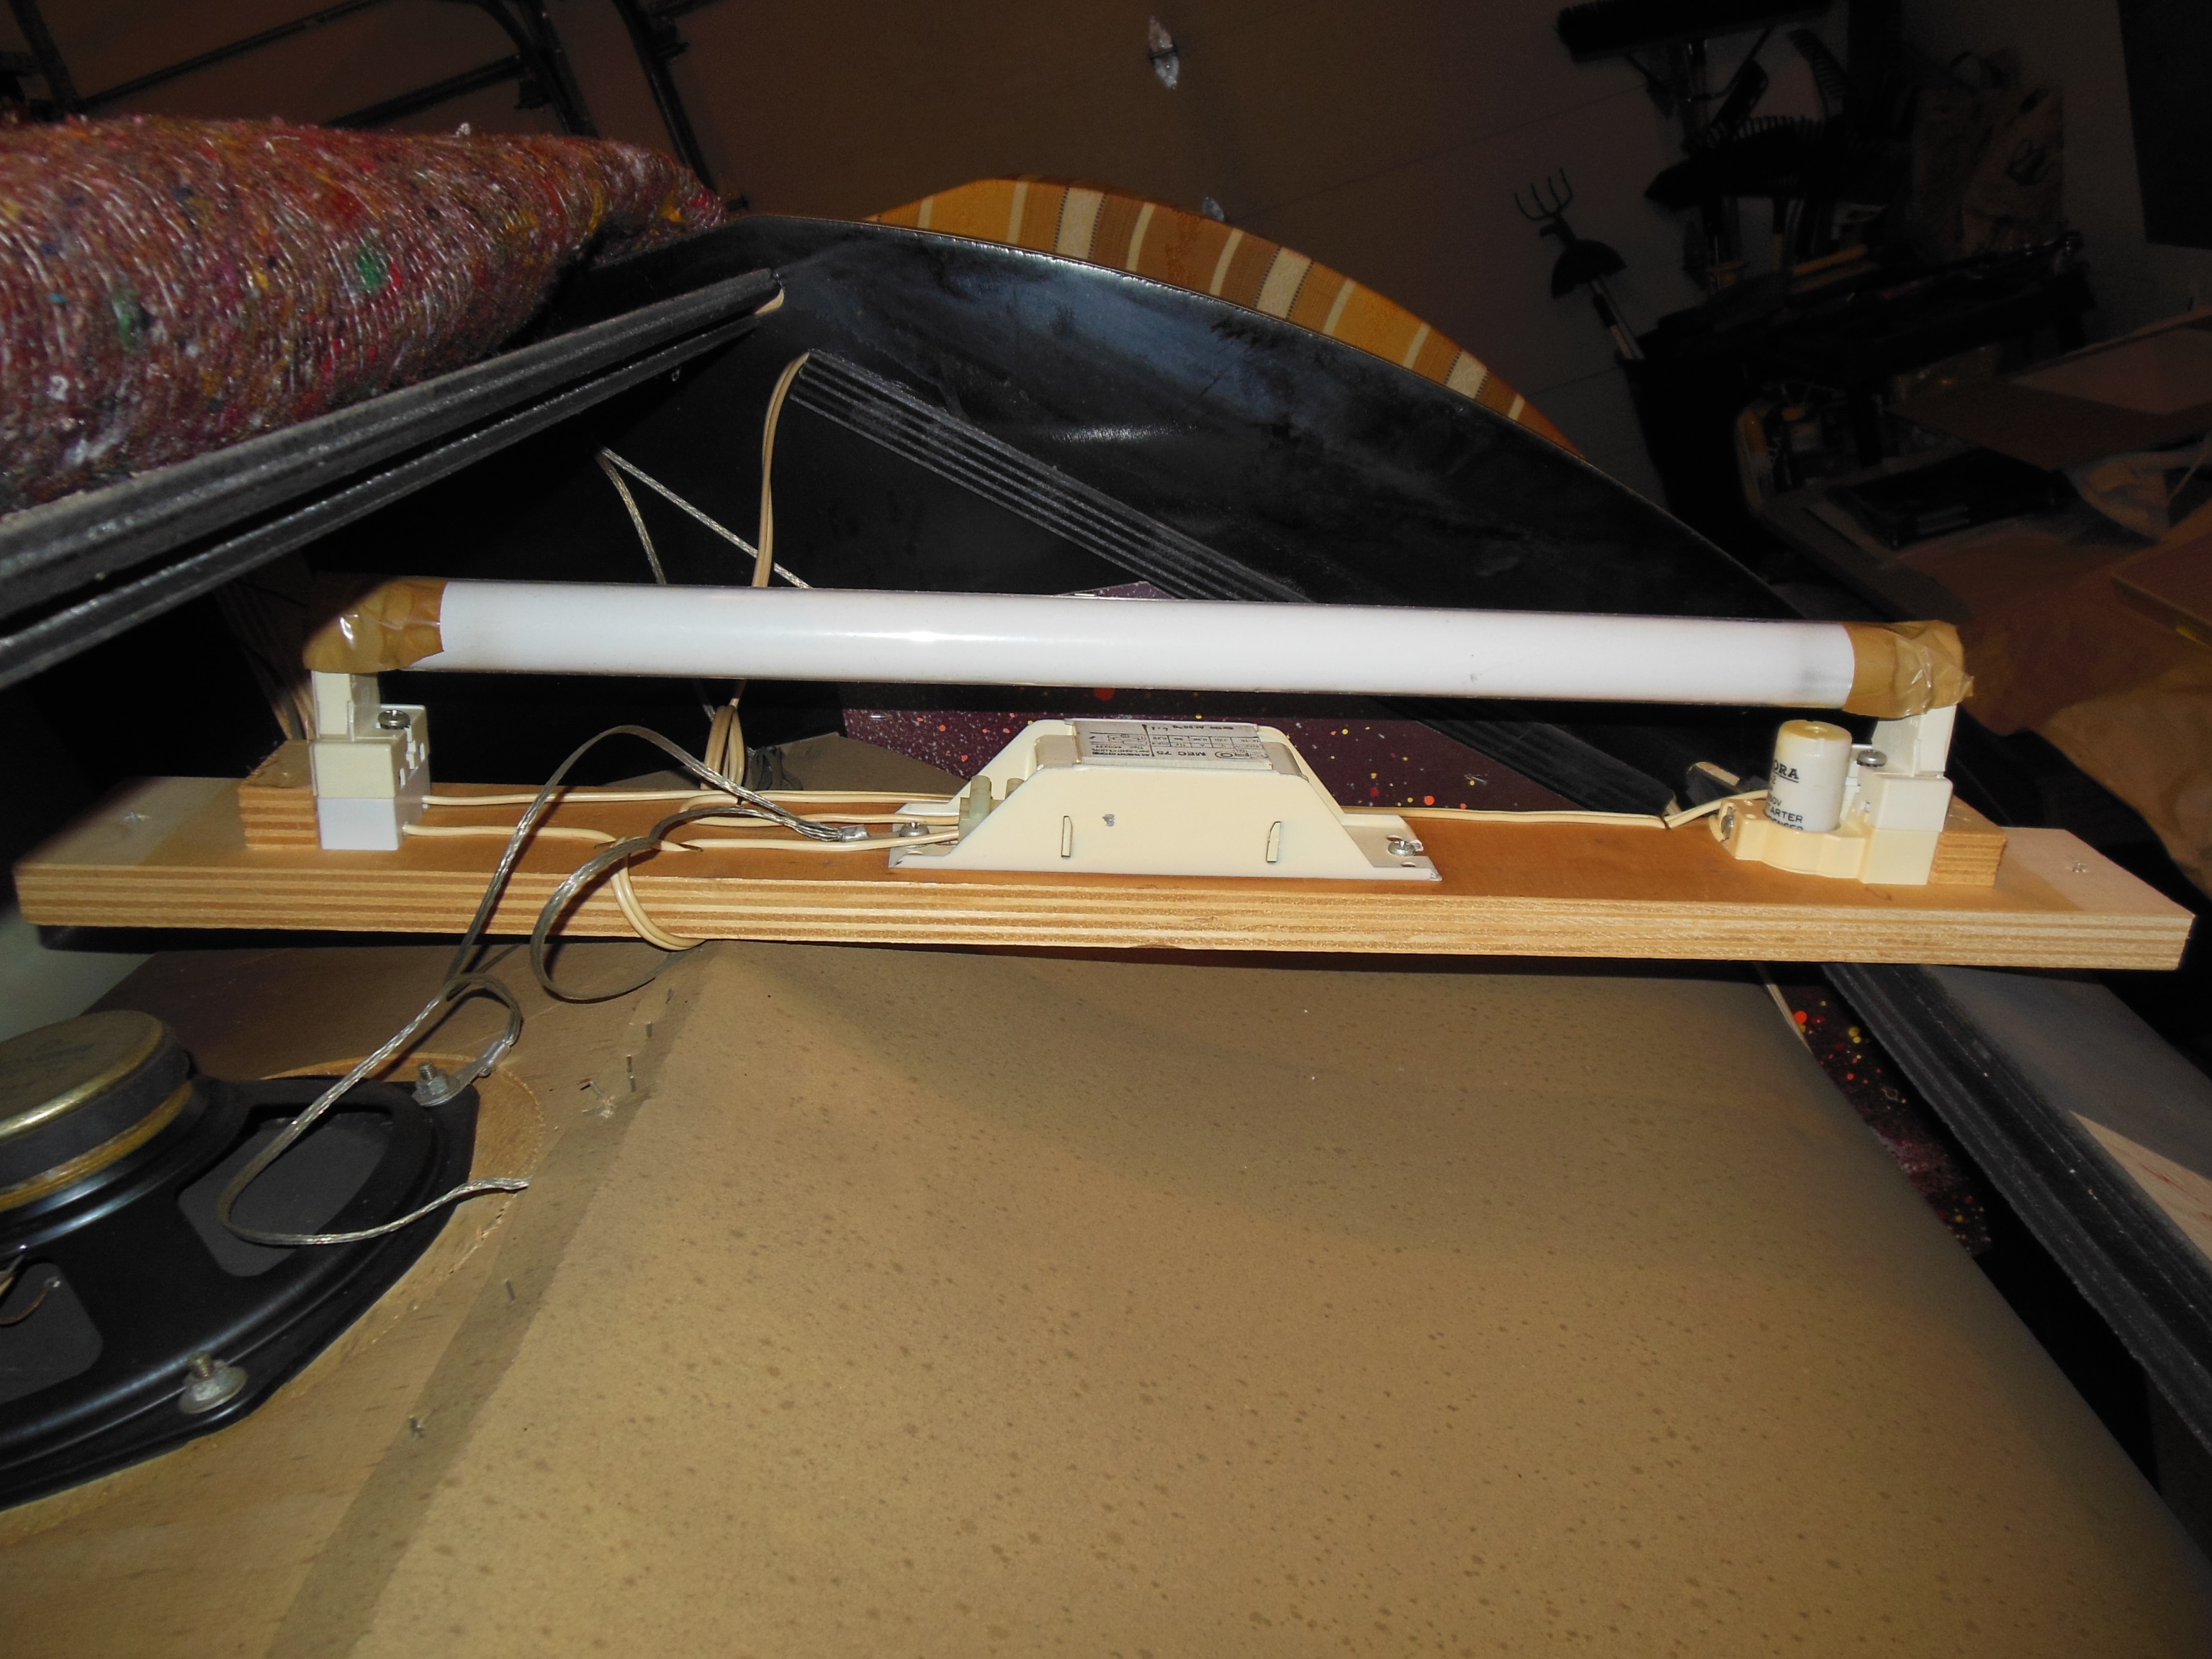
The marque light assembly appeared to be in original condition.

|
A new lamp tube and starter fixed the marque light.

|
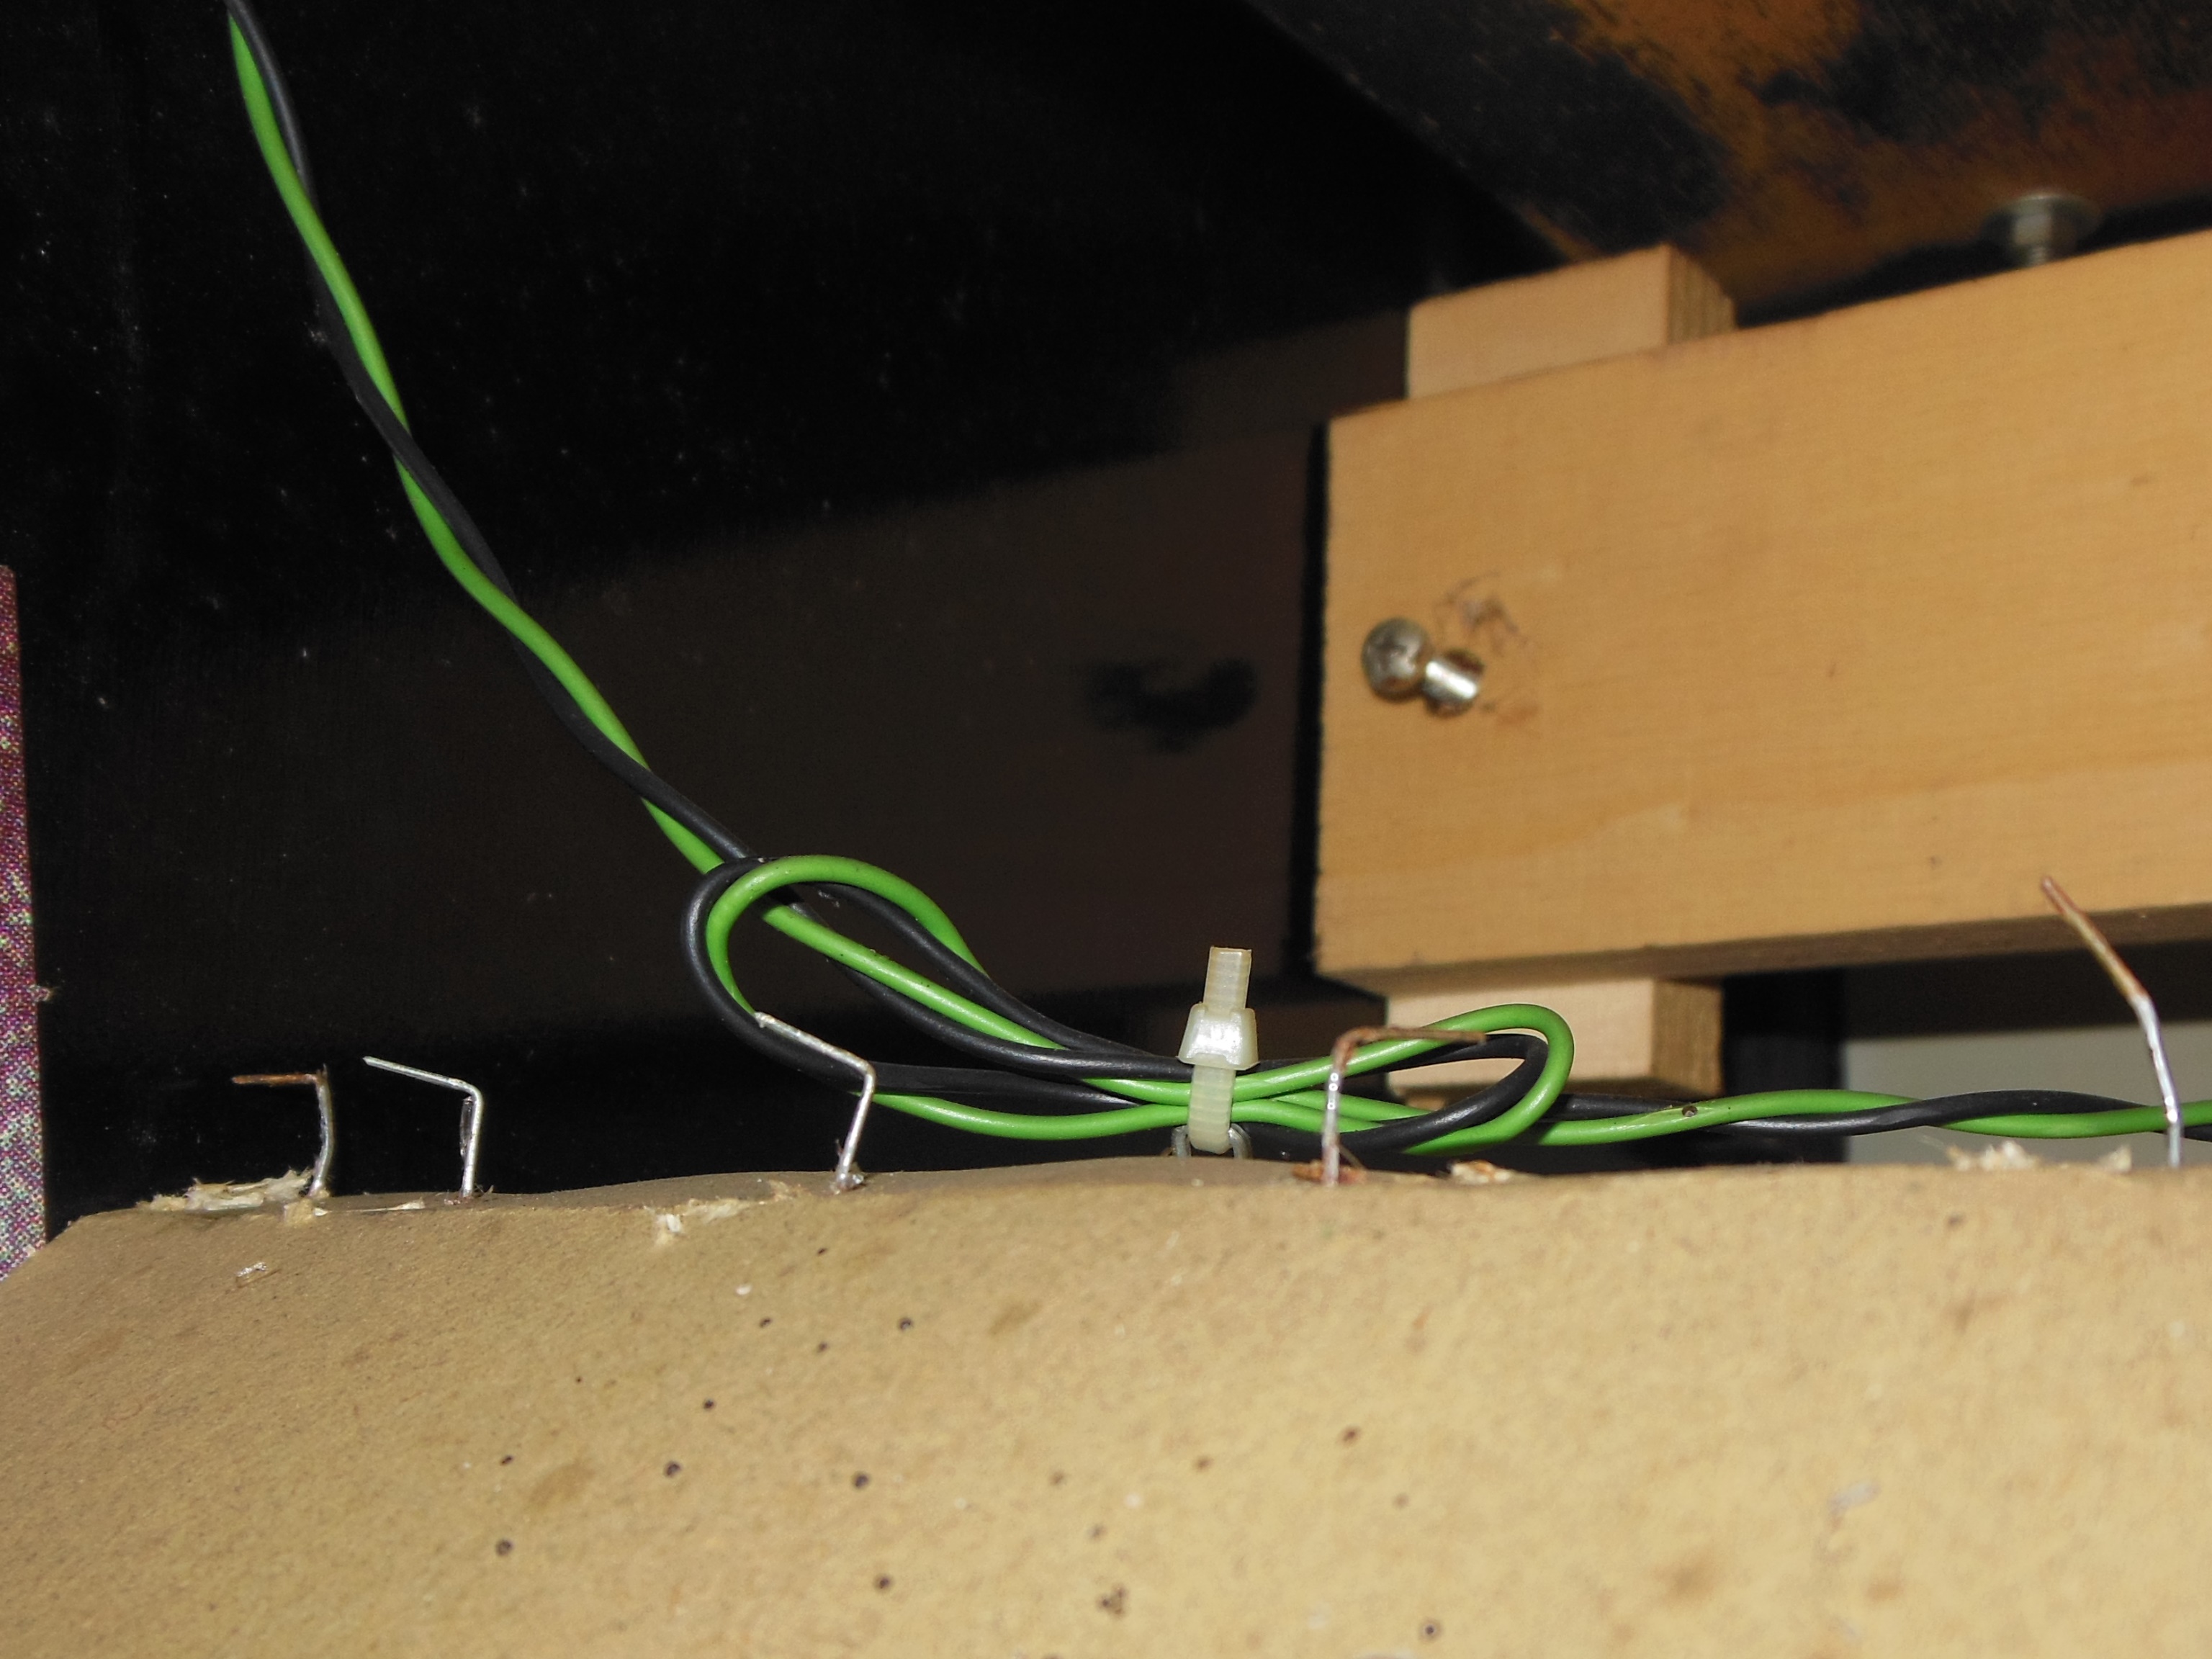
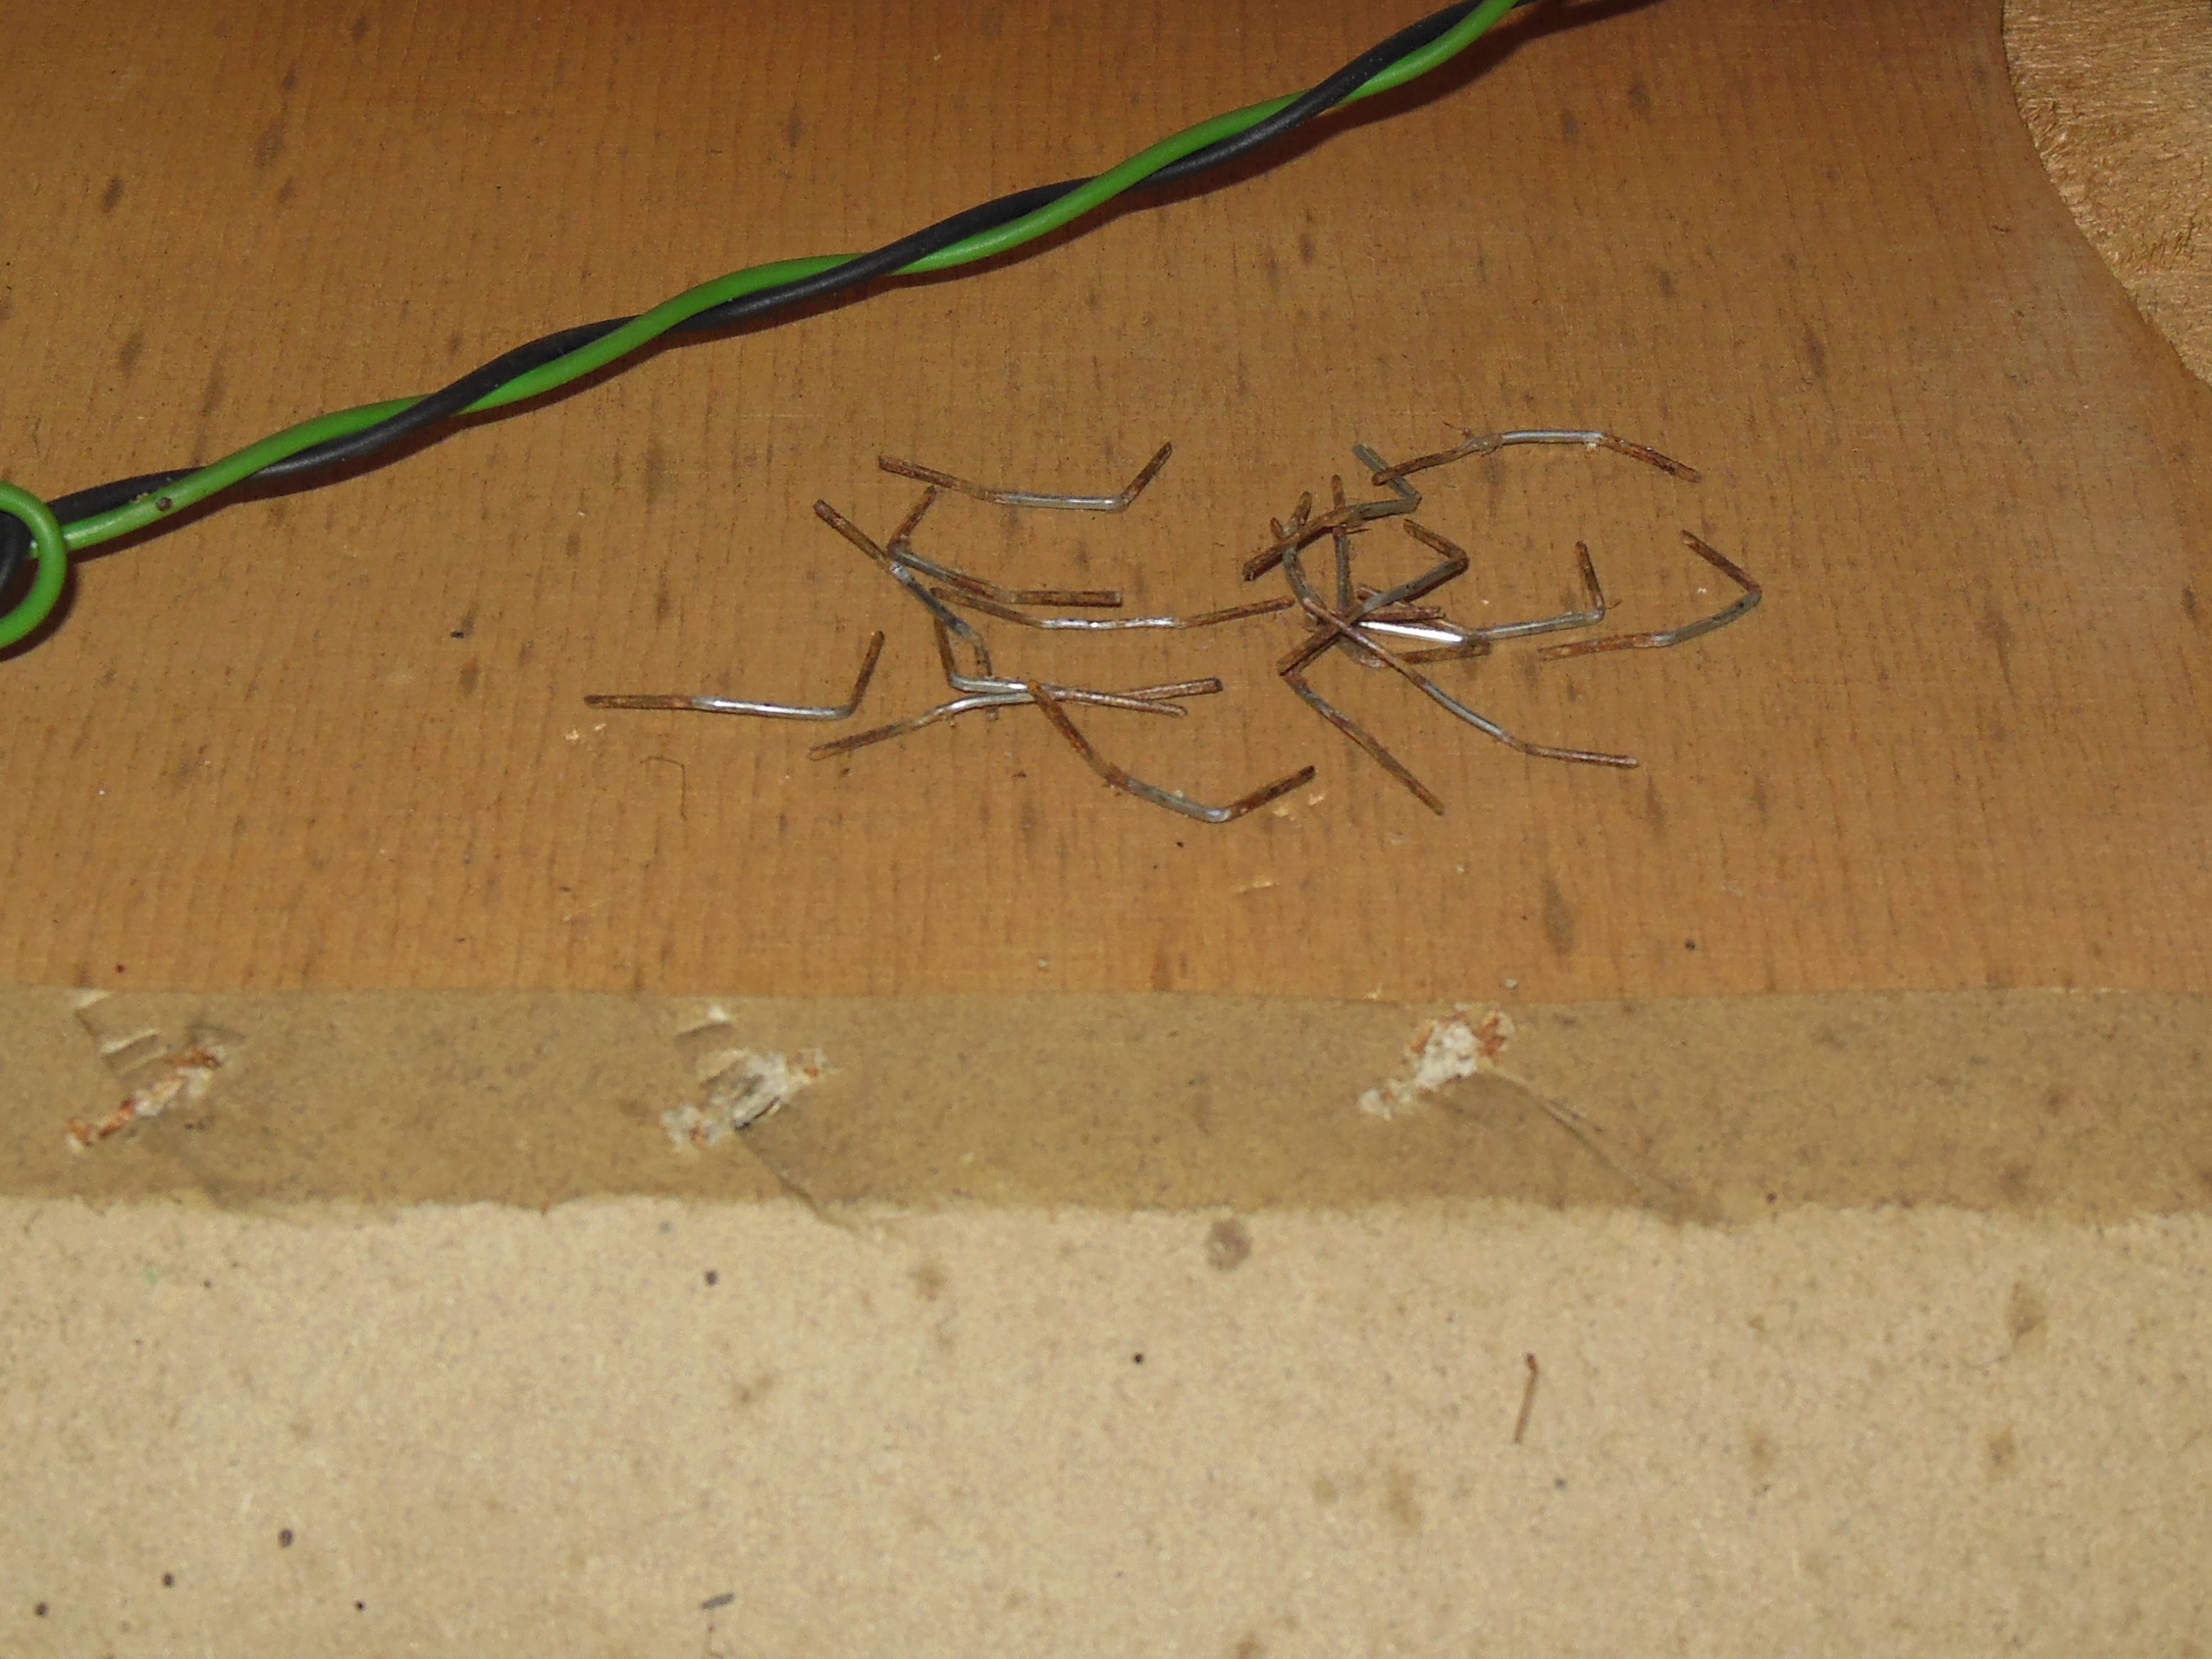
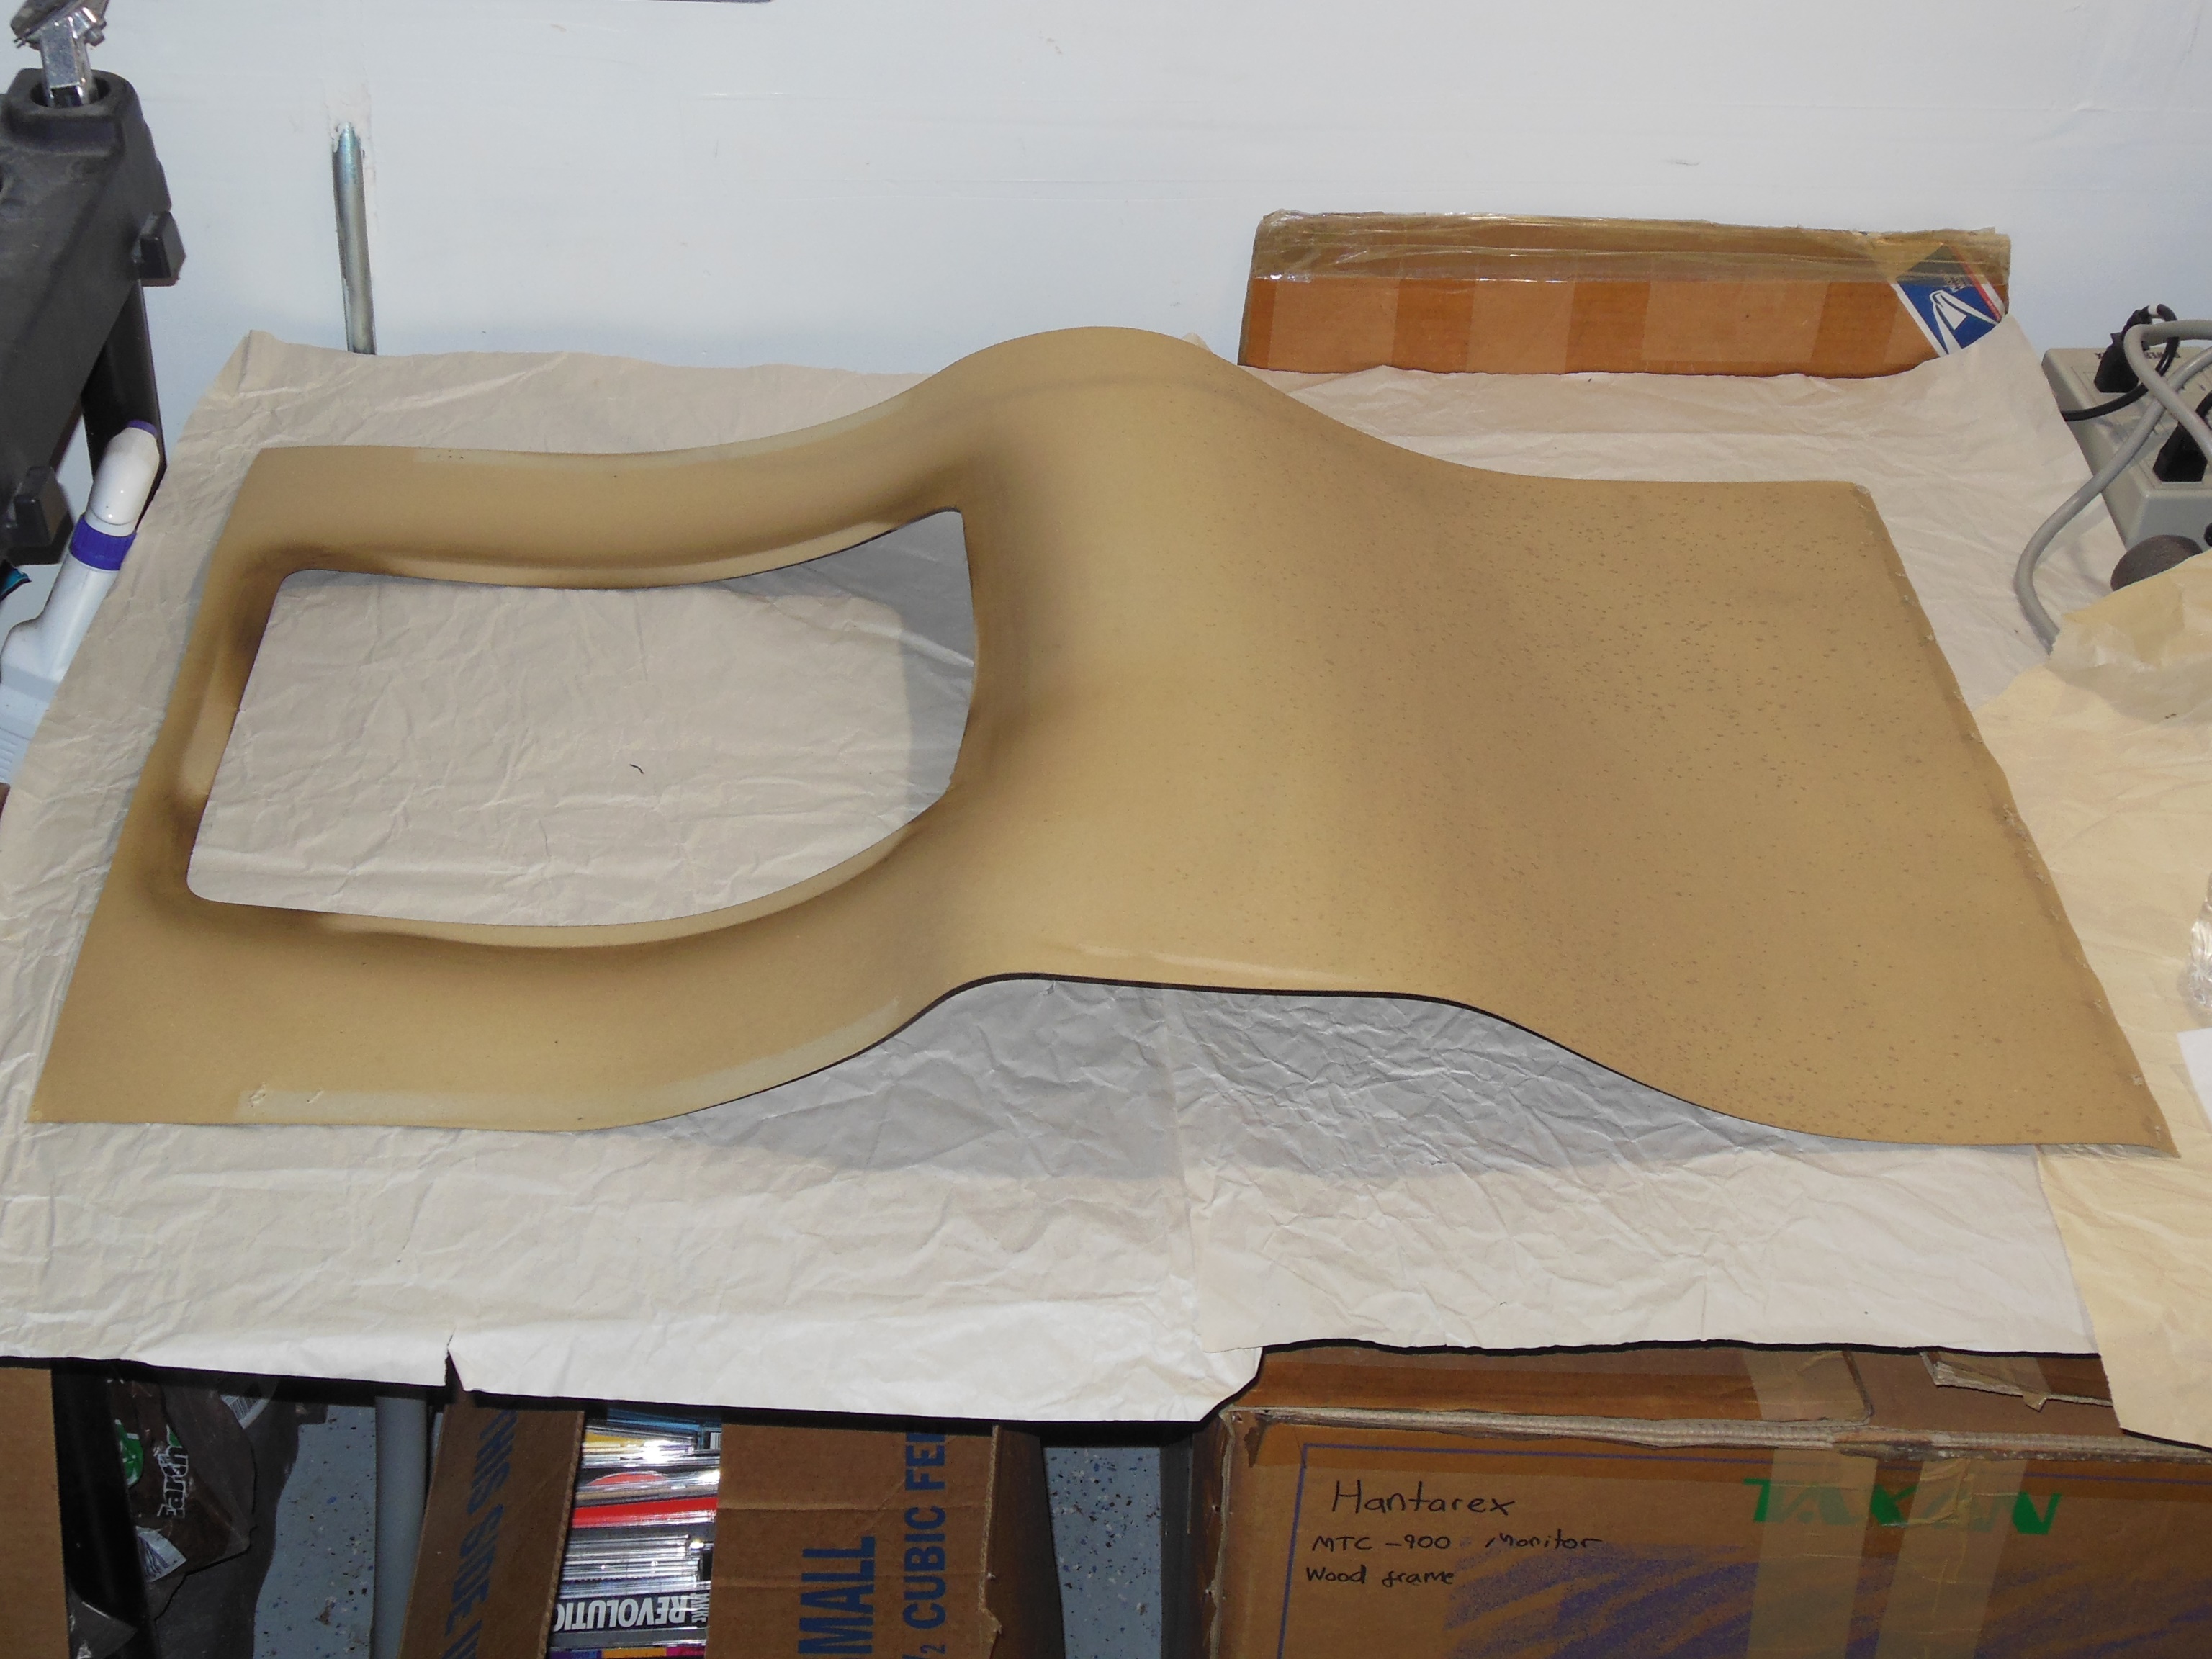
After levering up one side of each of the staples, pliers had enough grip to pull them out with as little damage as possible to the surround. The surround was removed by sliding it diagonally from the front.

|
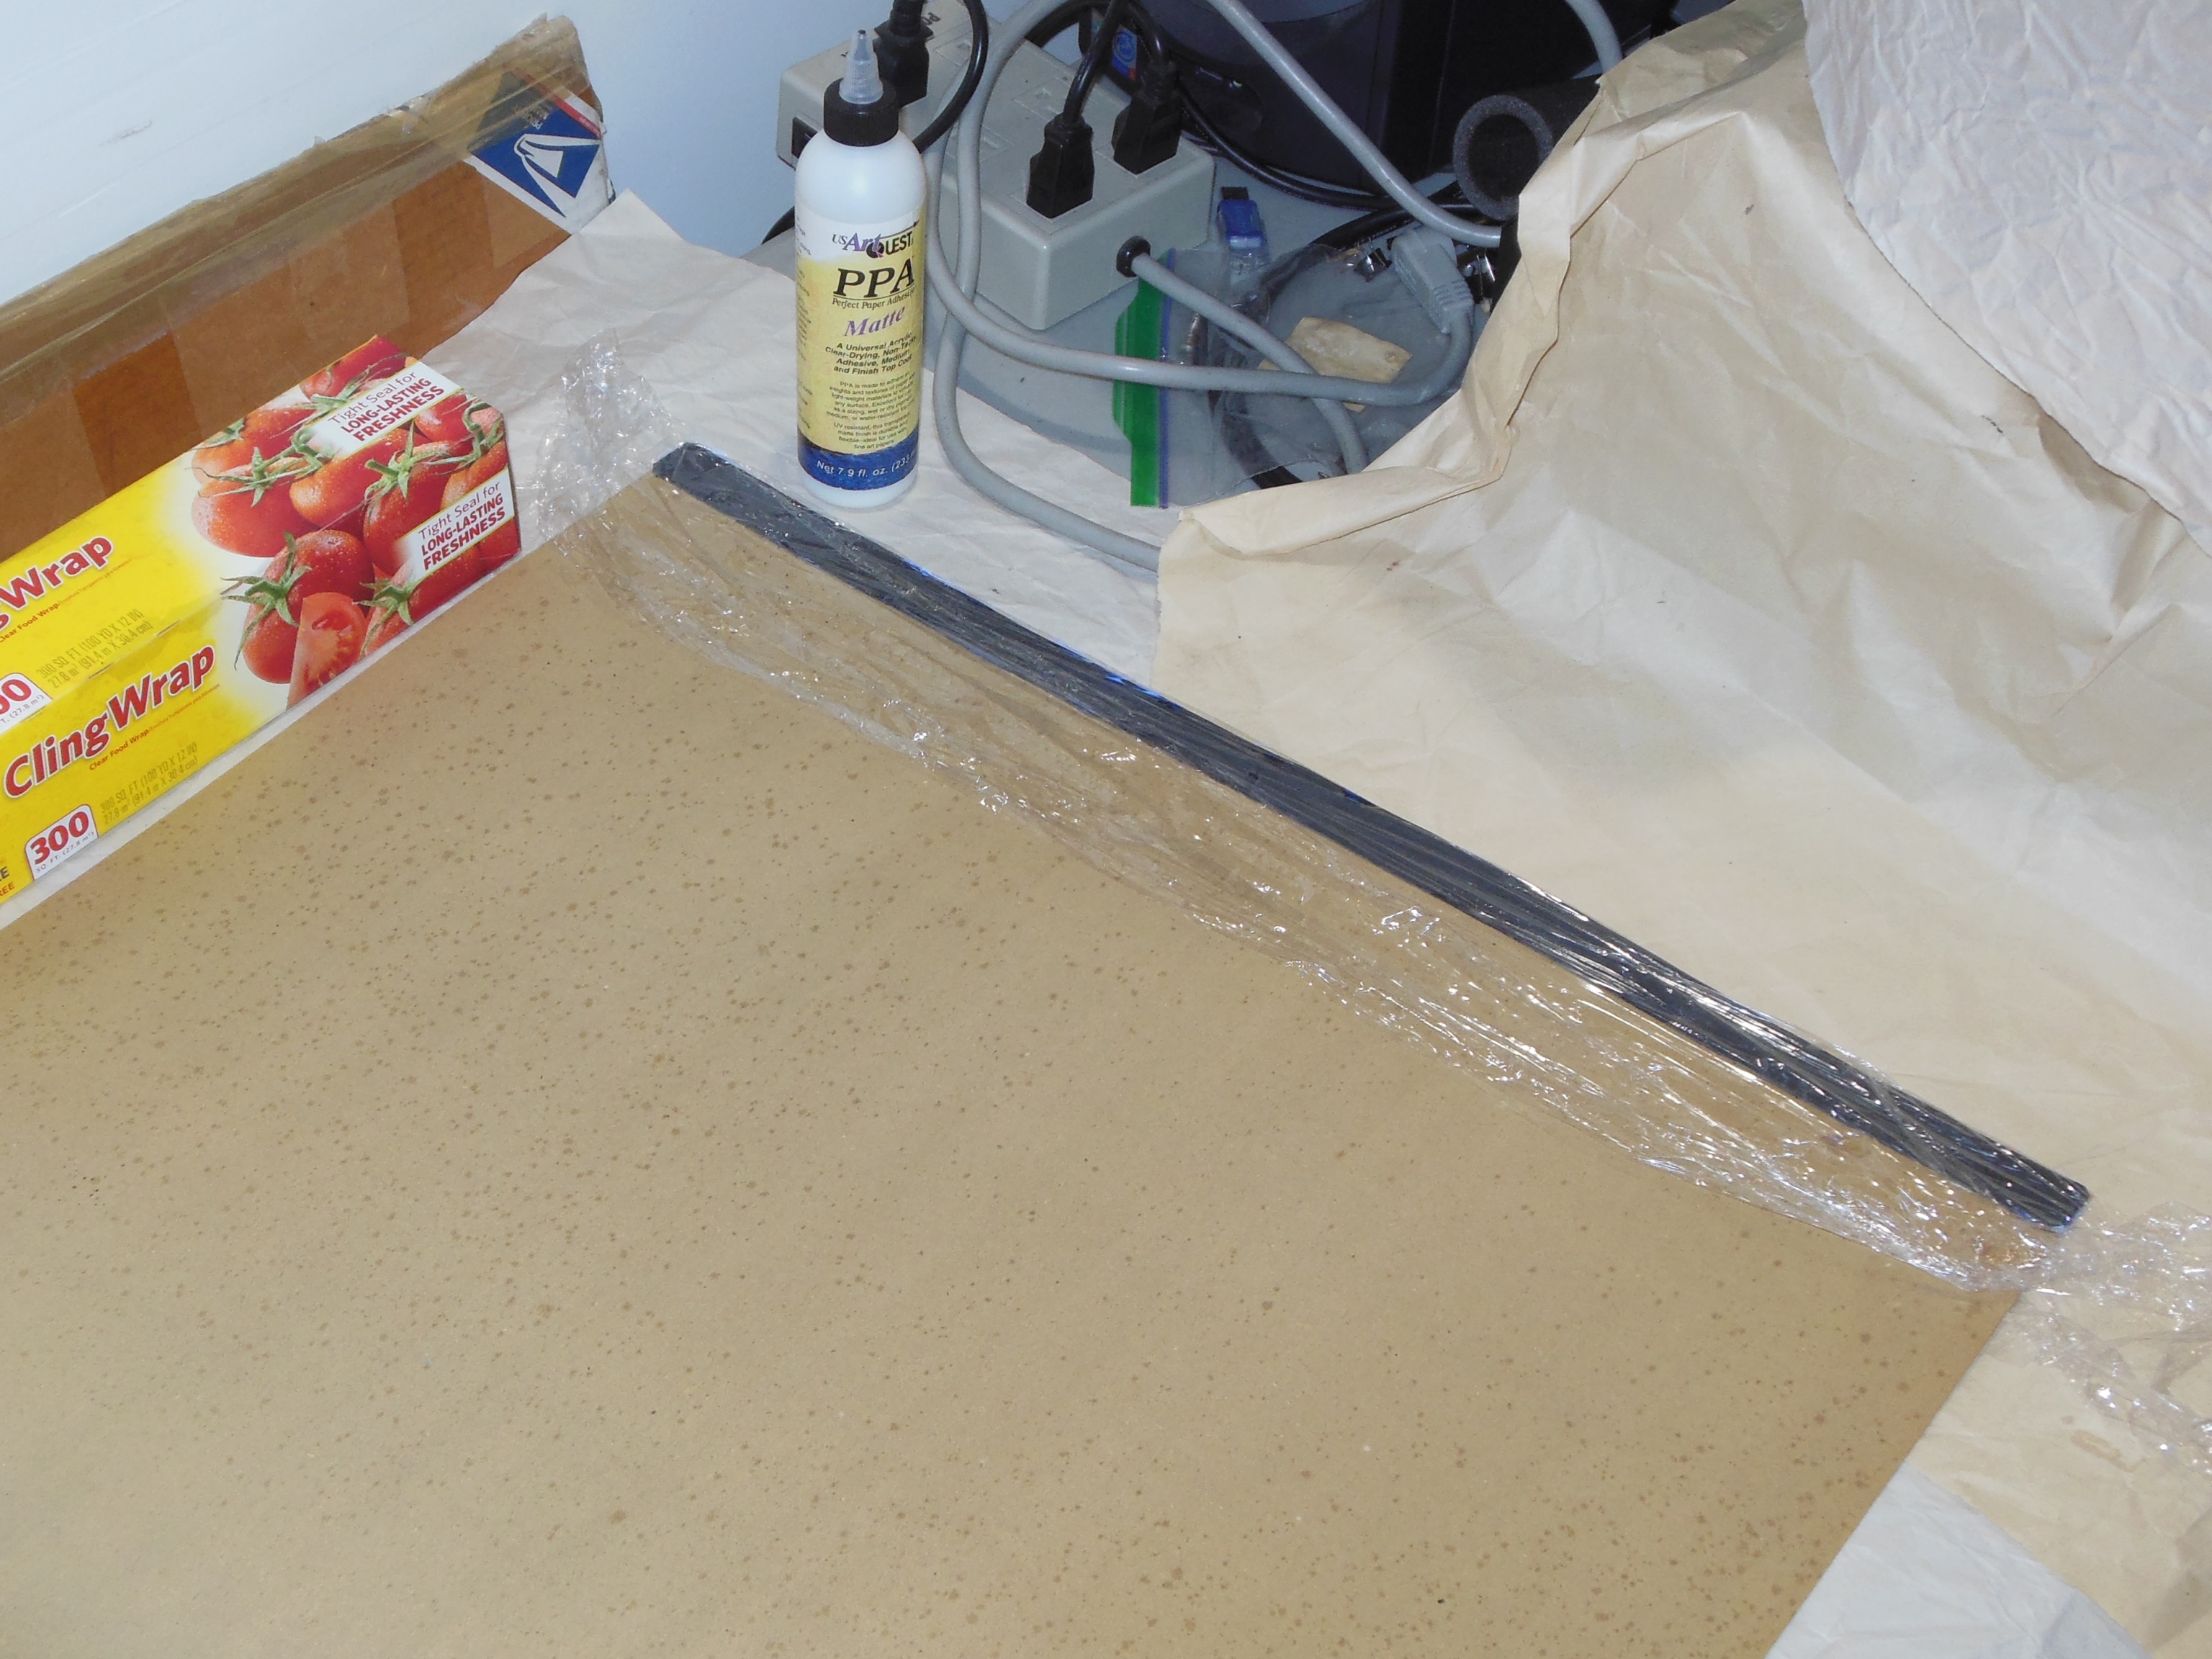
A dry cloth was use to remove most of the surface dust followed by a damp cloth to remove the more attached dust and nicotine. A little bit of moisture also softens the card so that it can flatten out and remain flat after drying out whilst set for a few days.
|
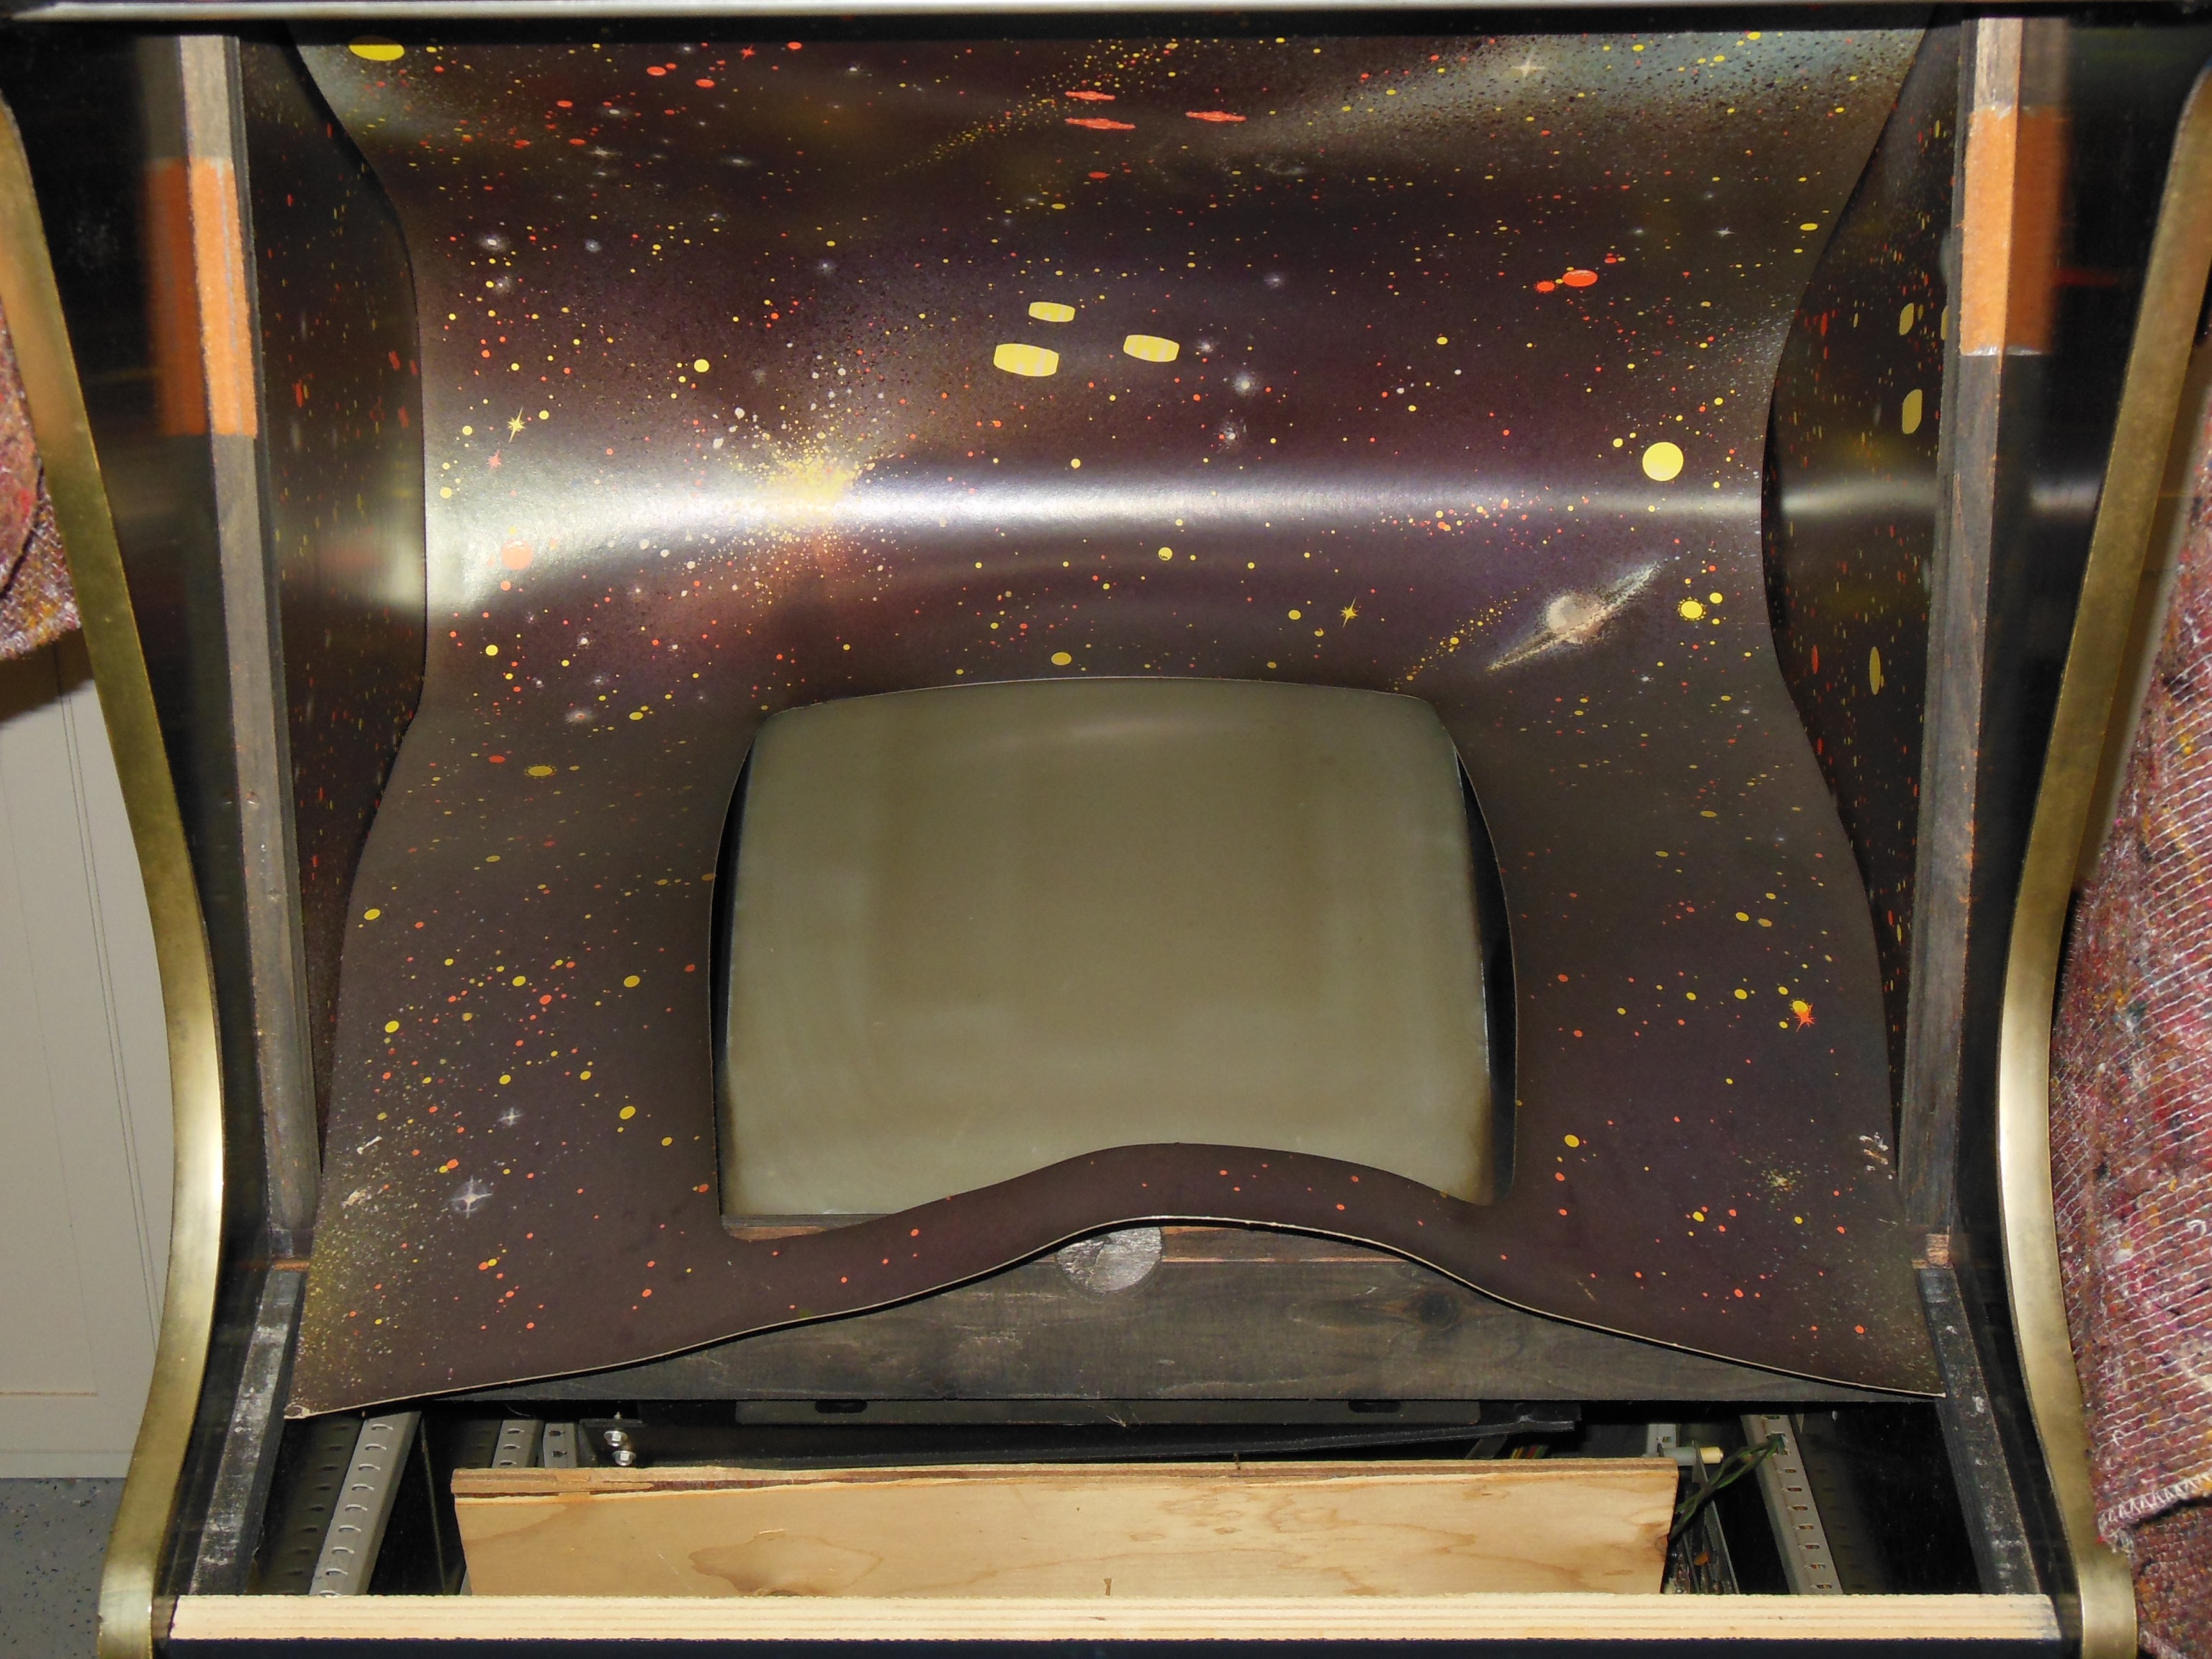
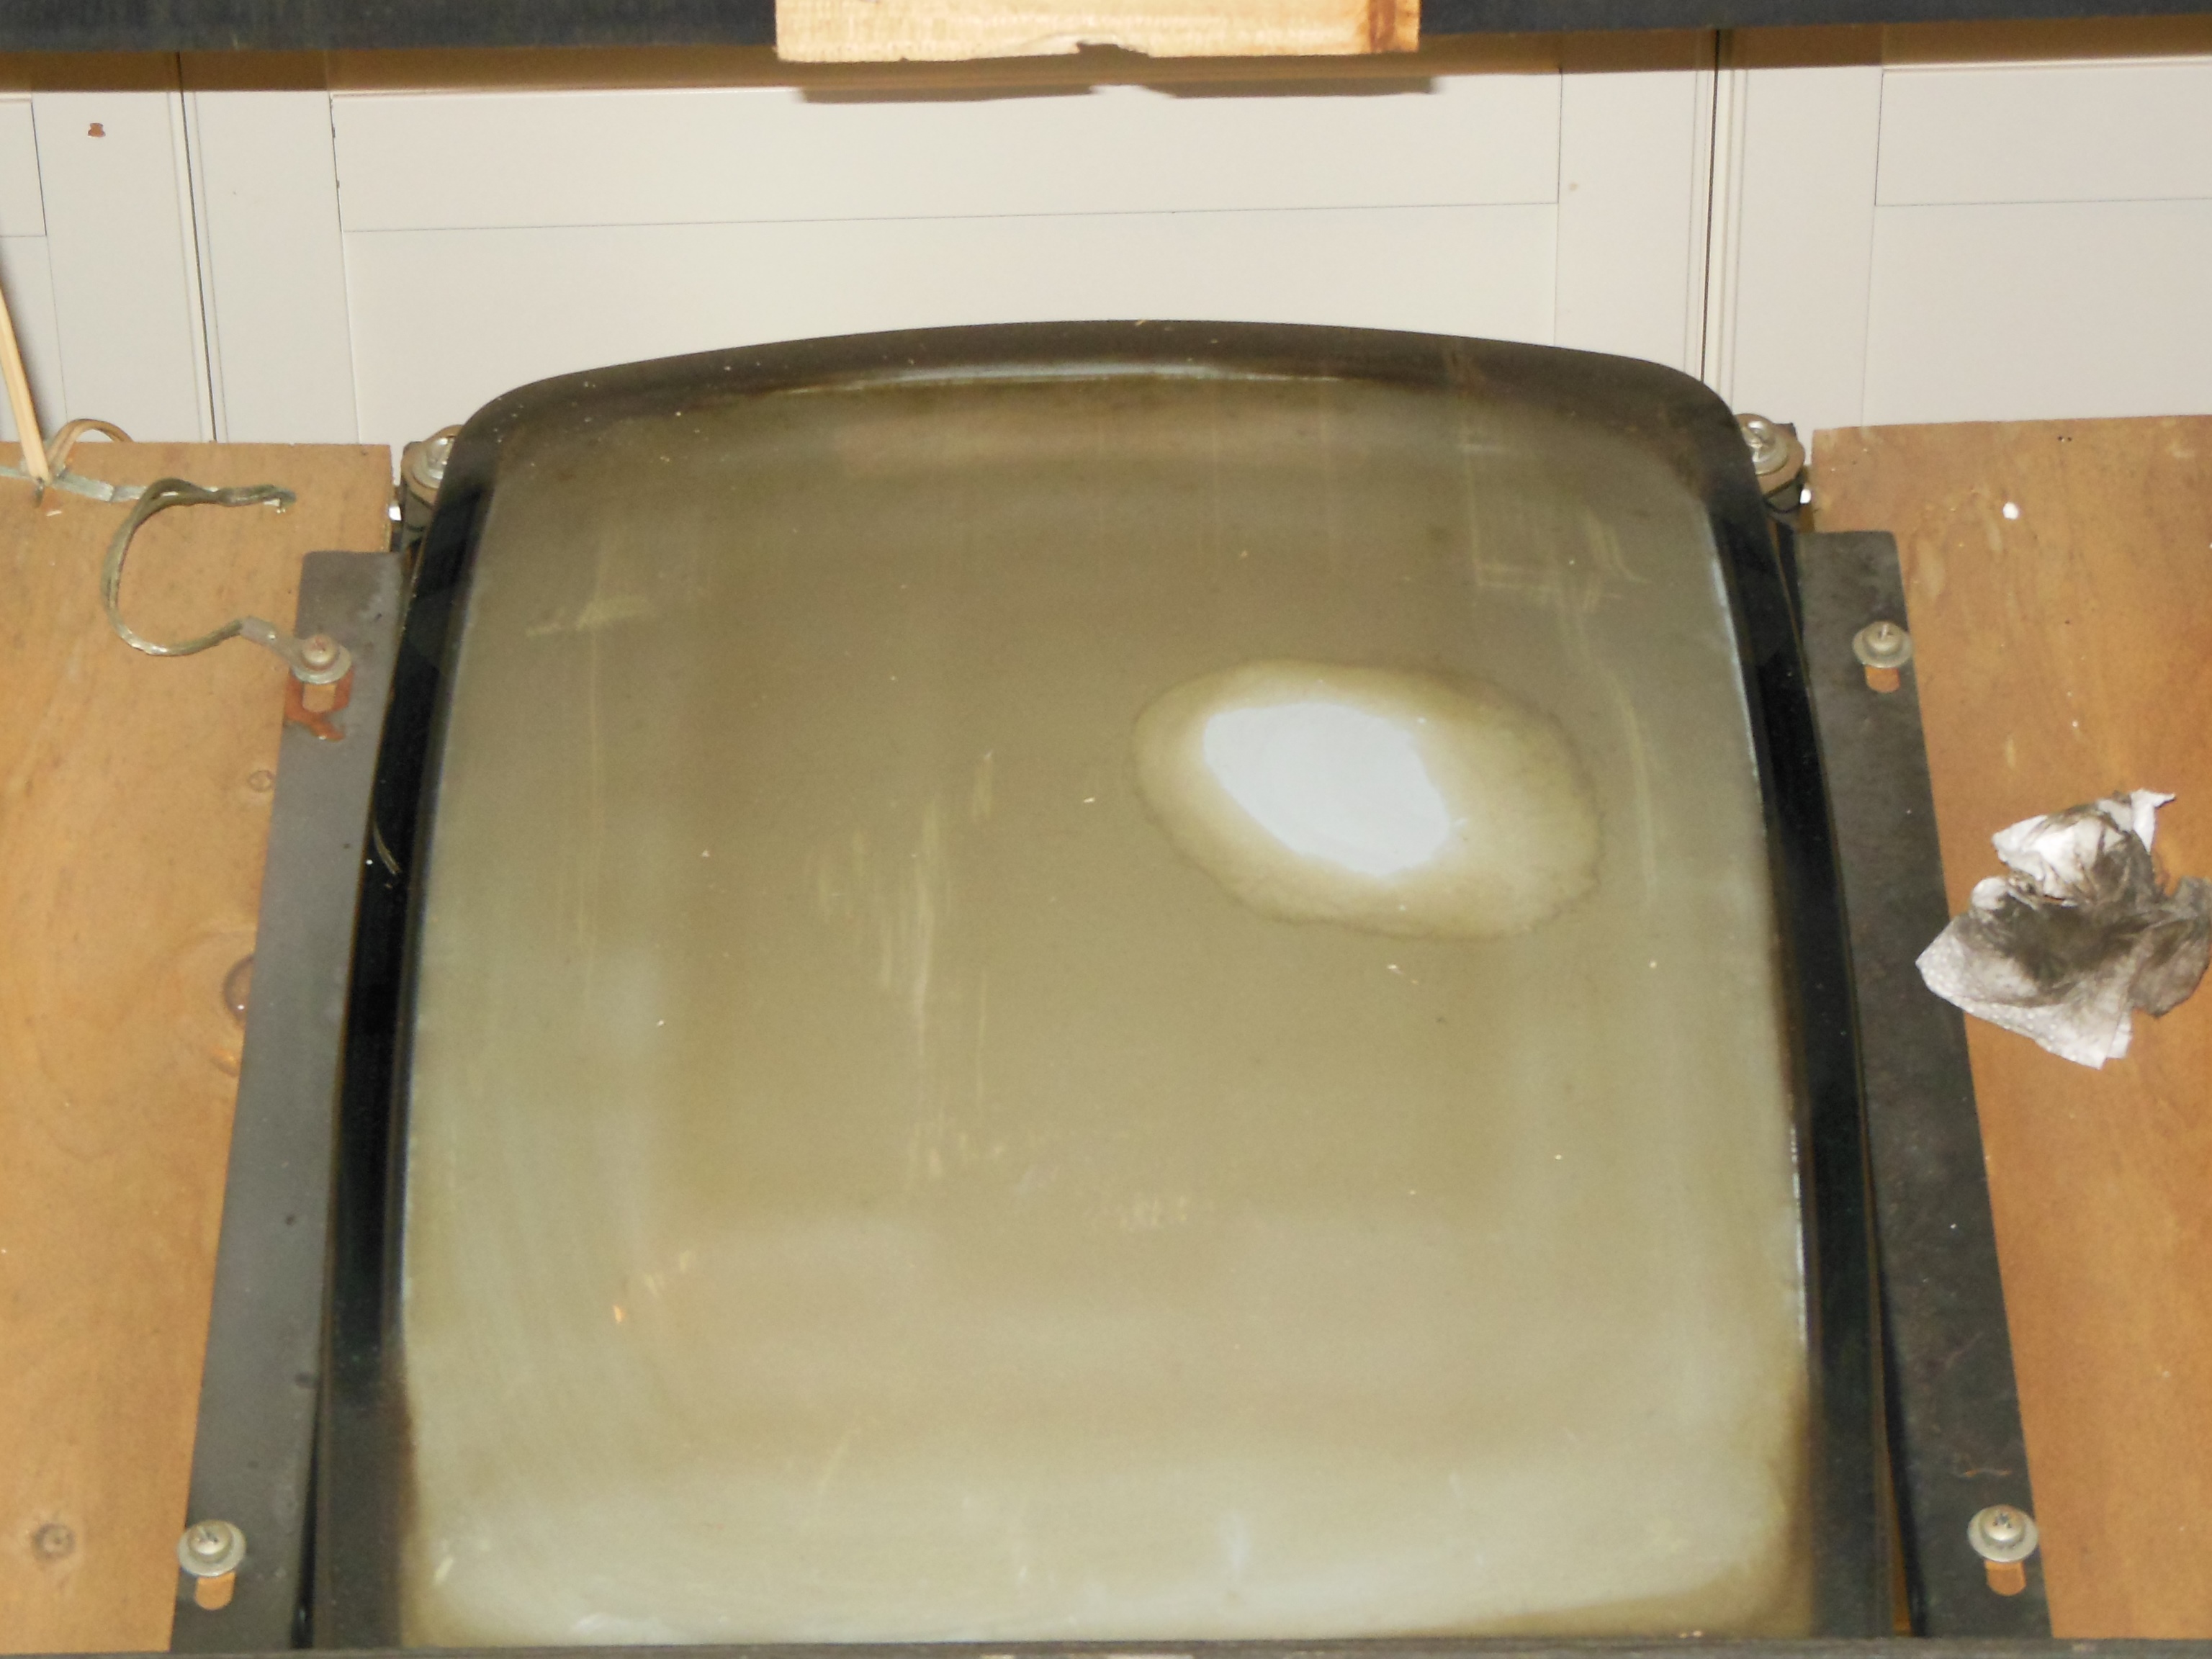
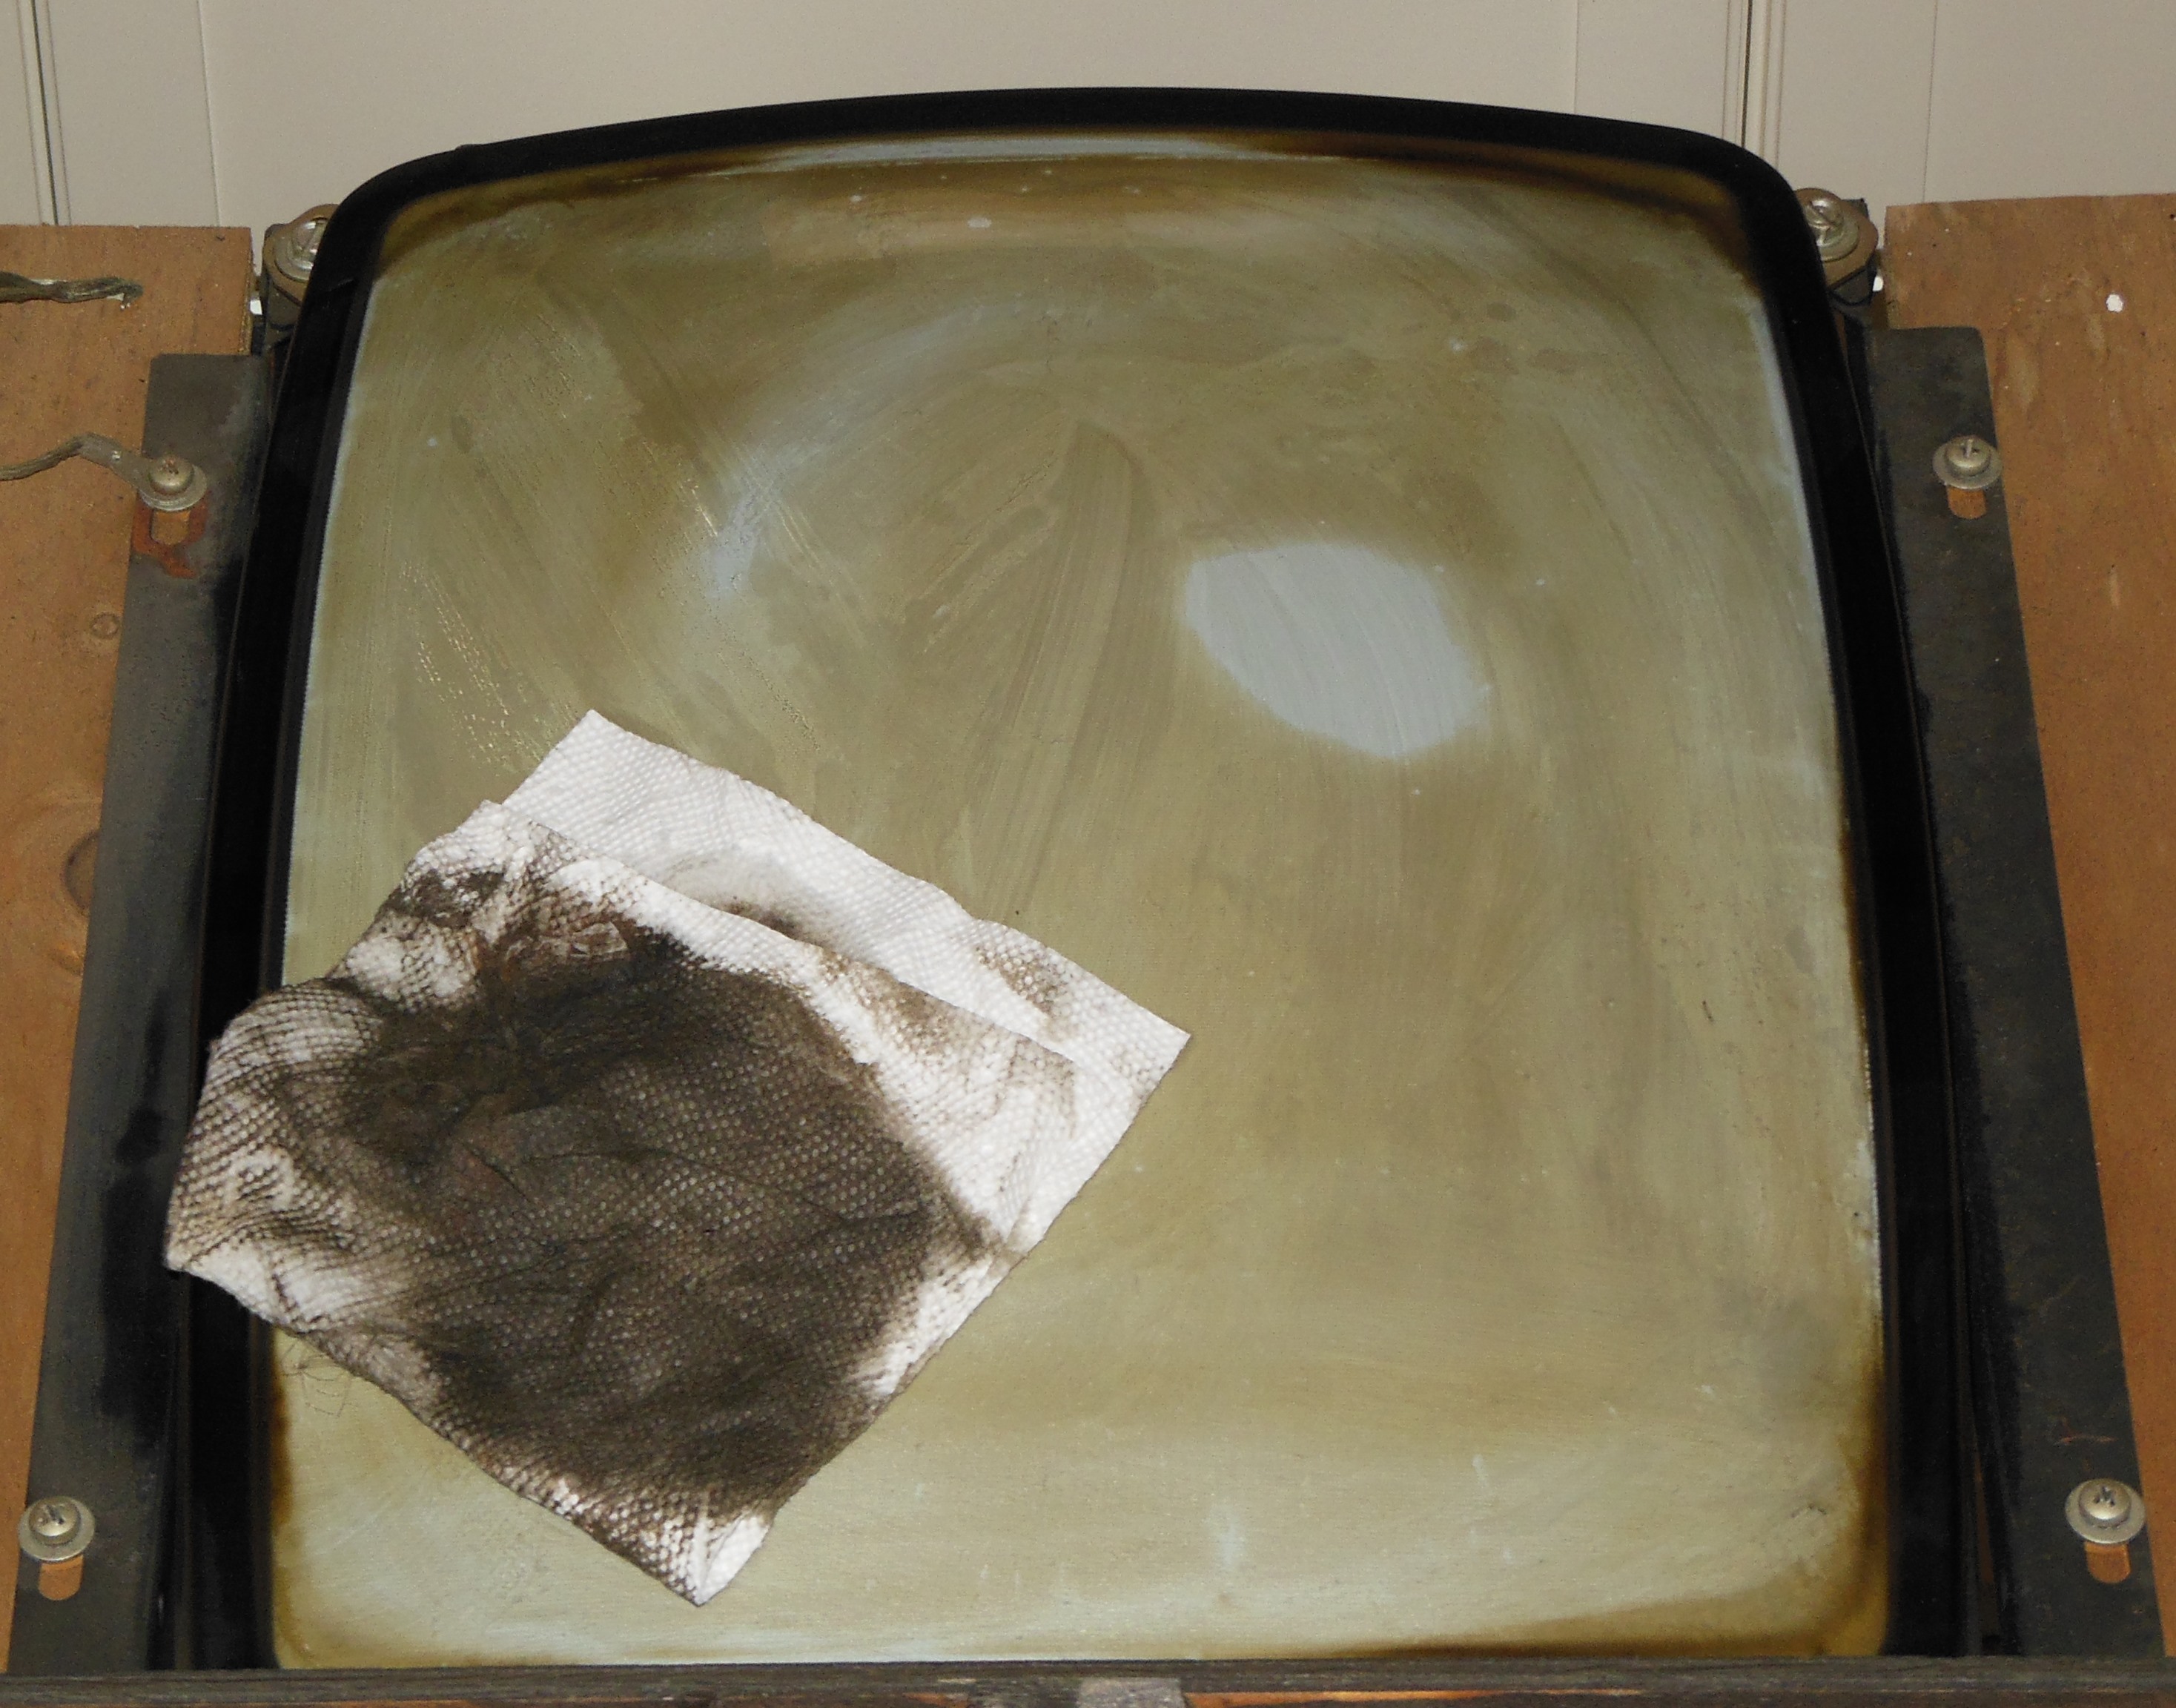
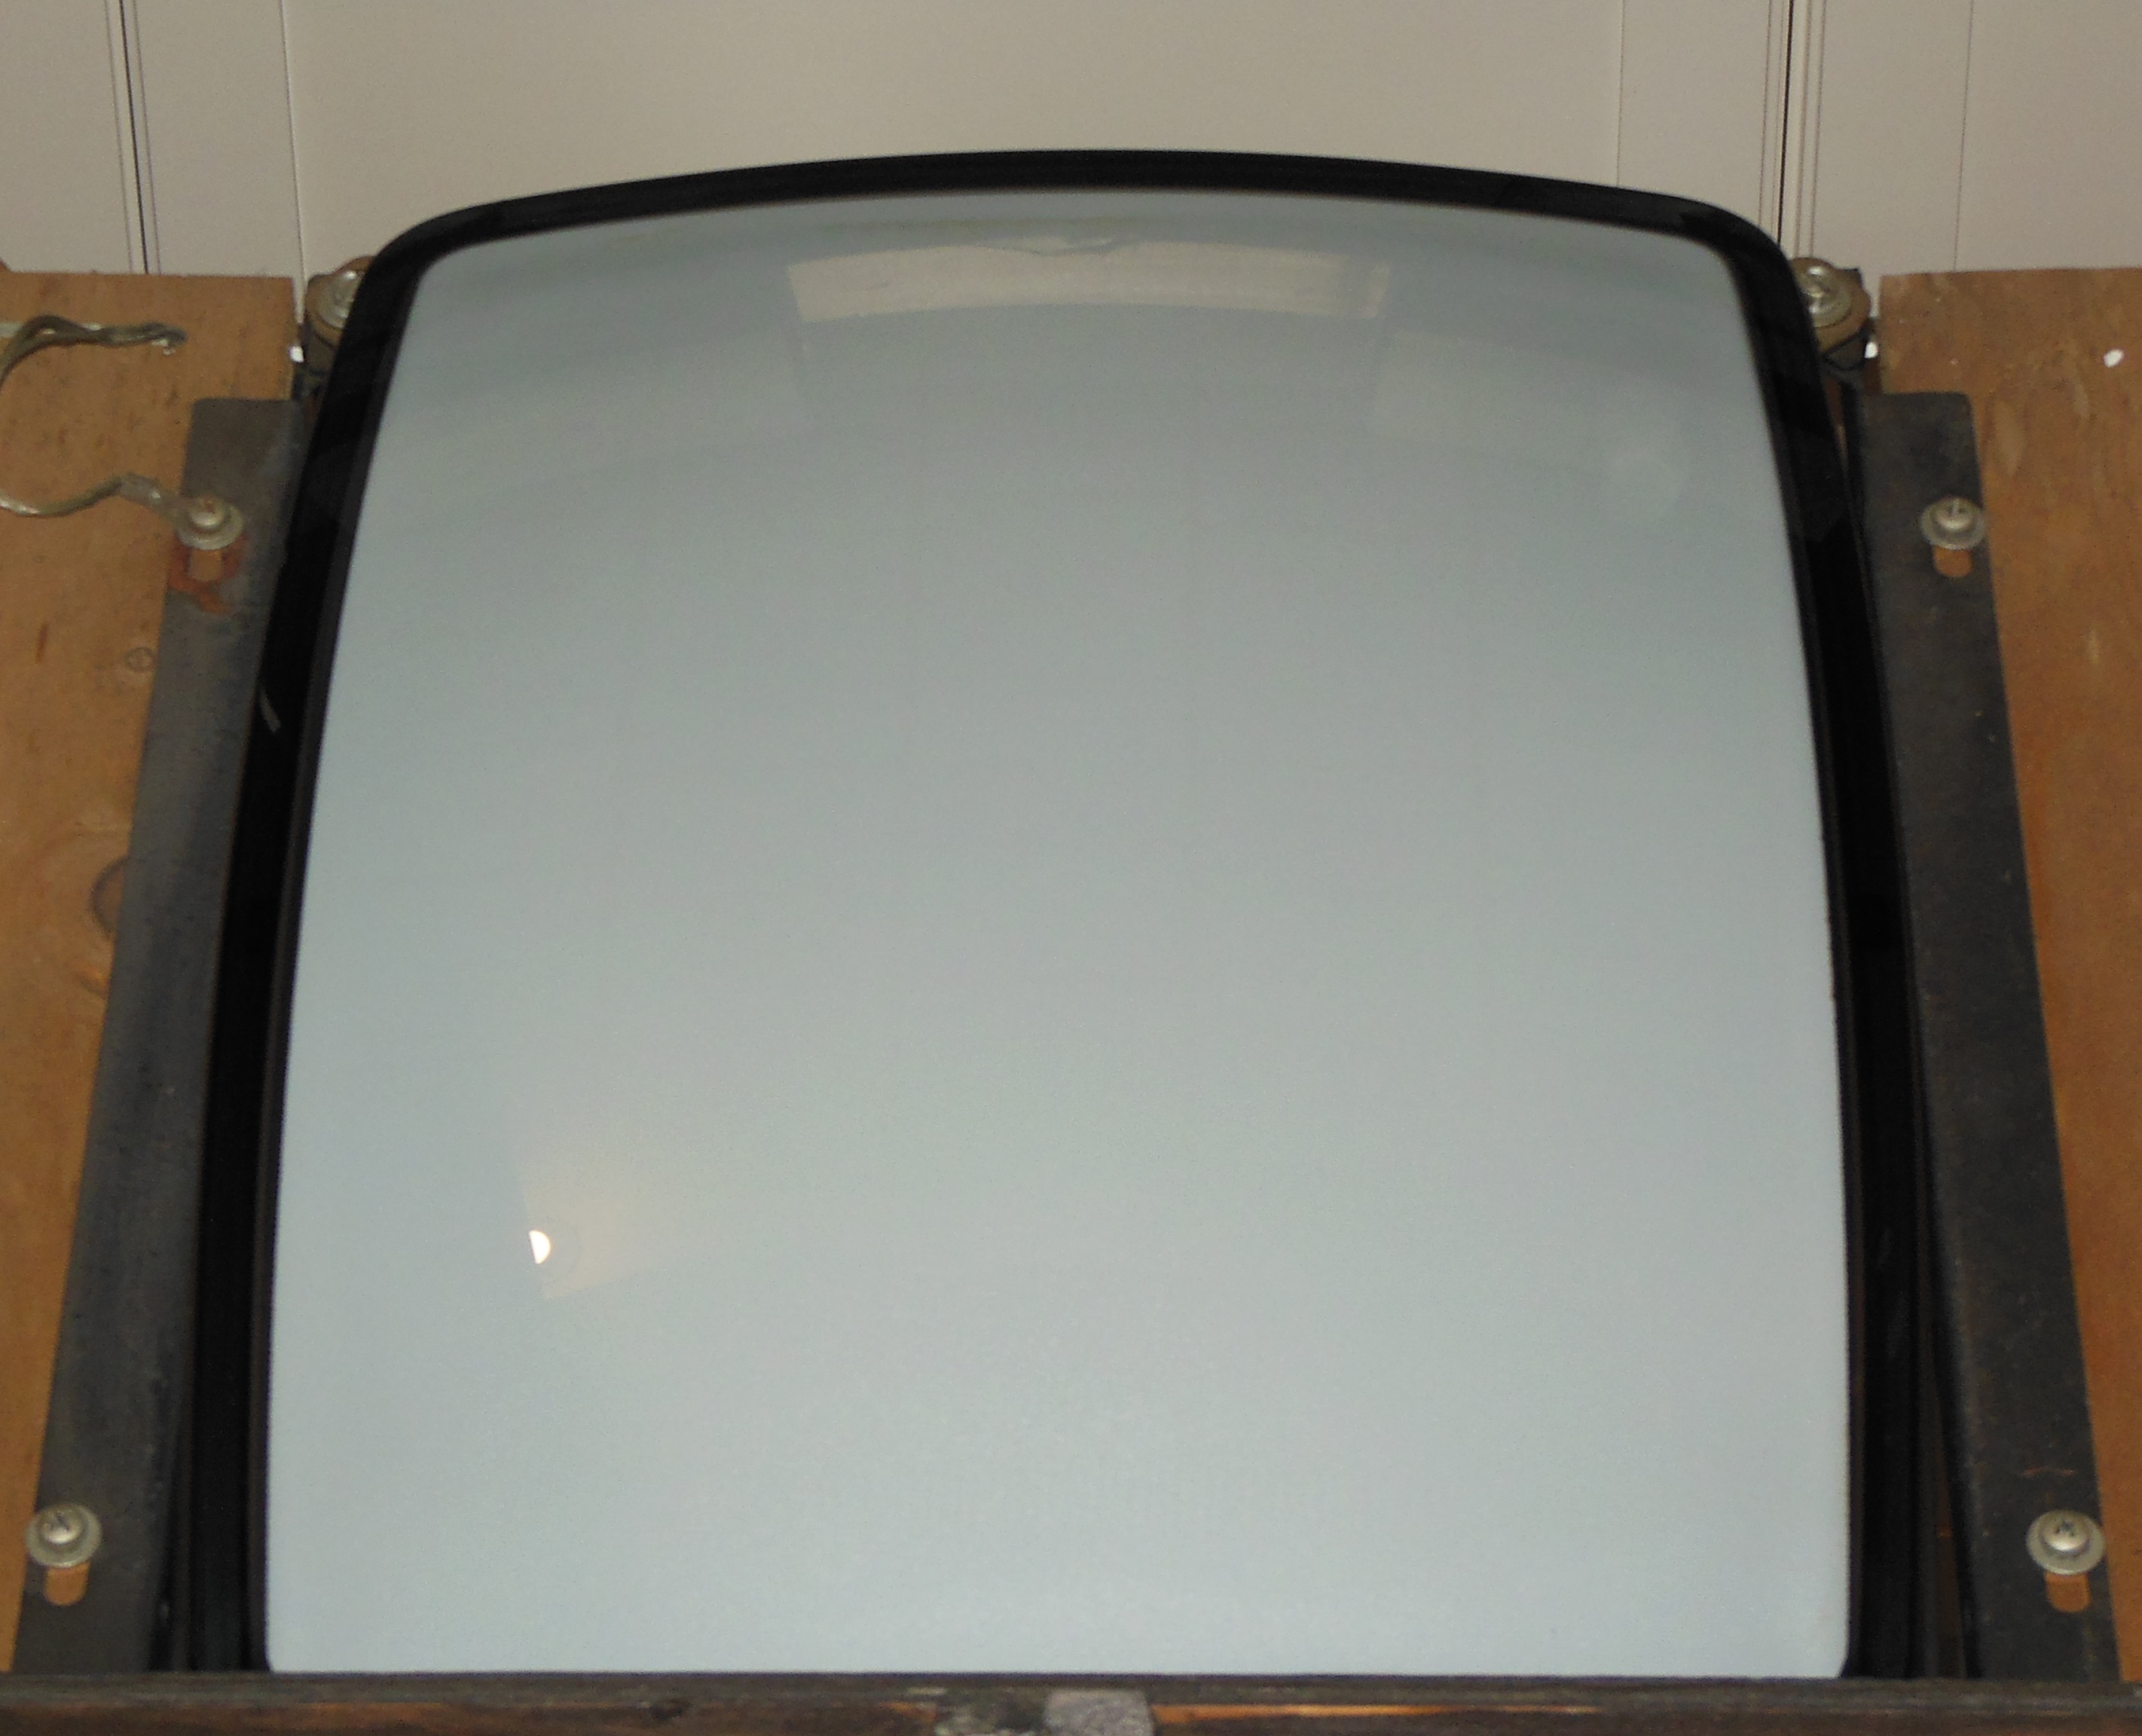
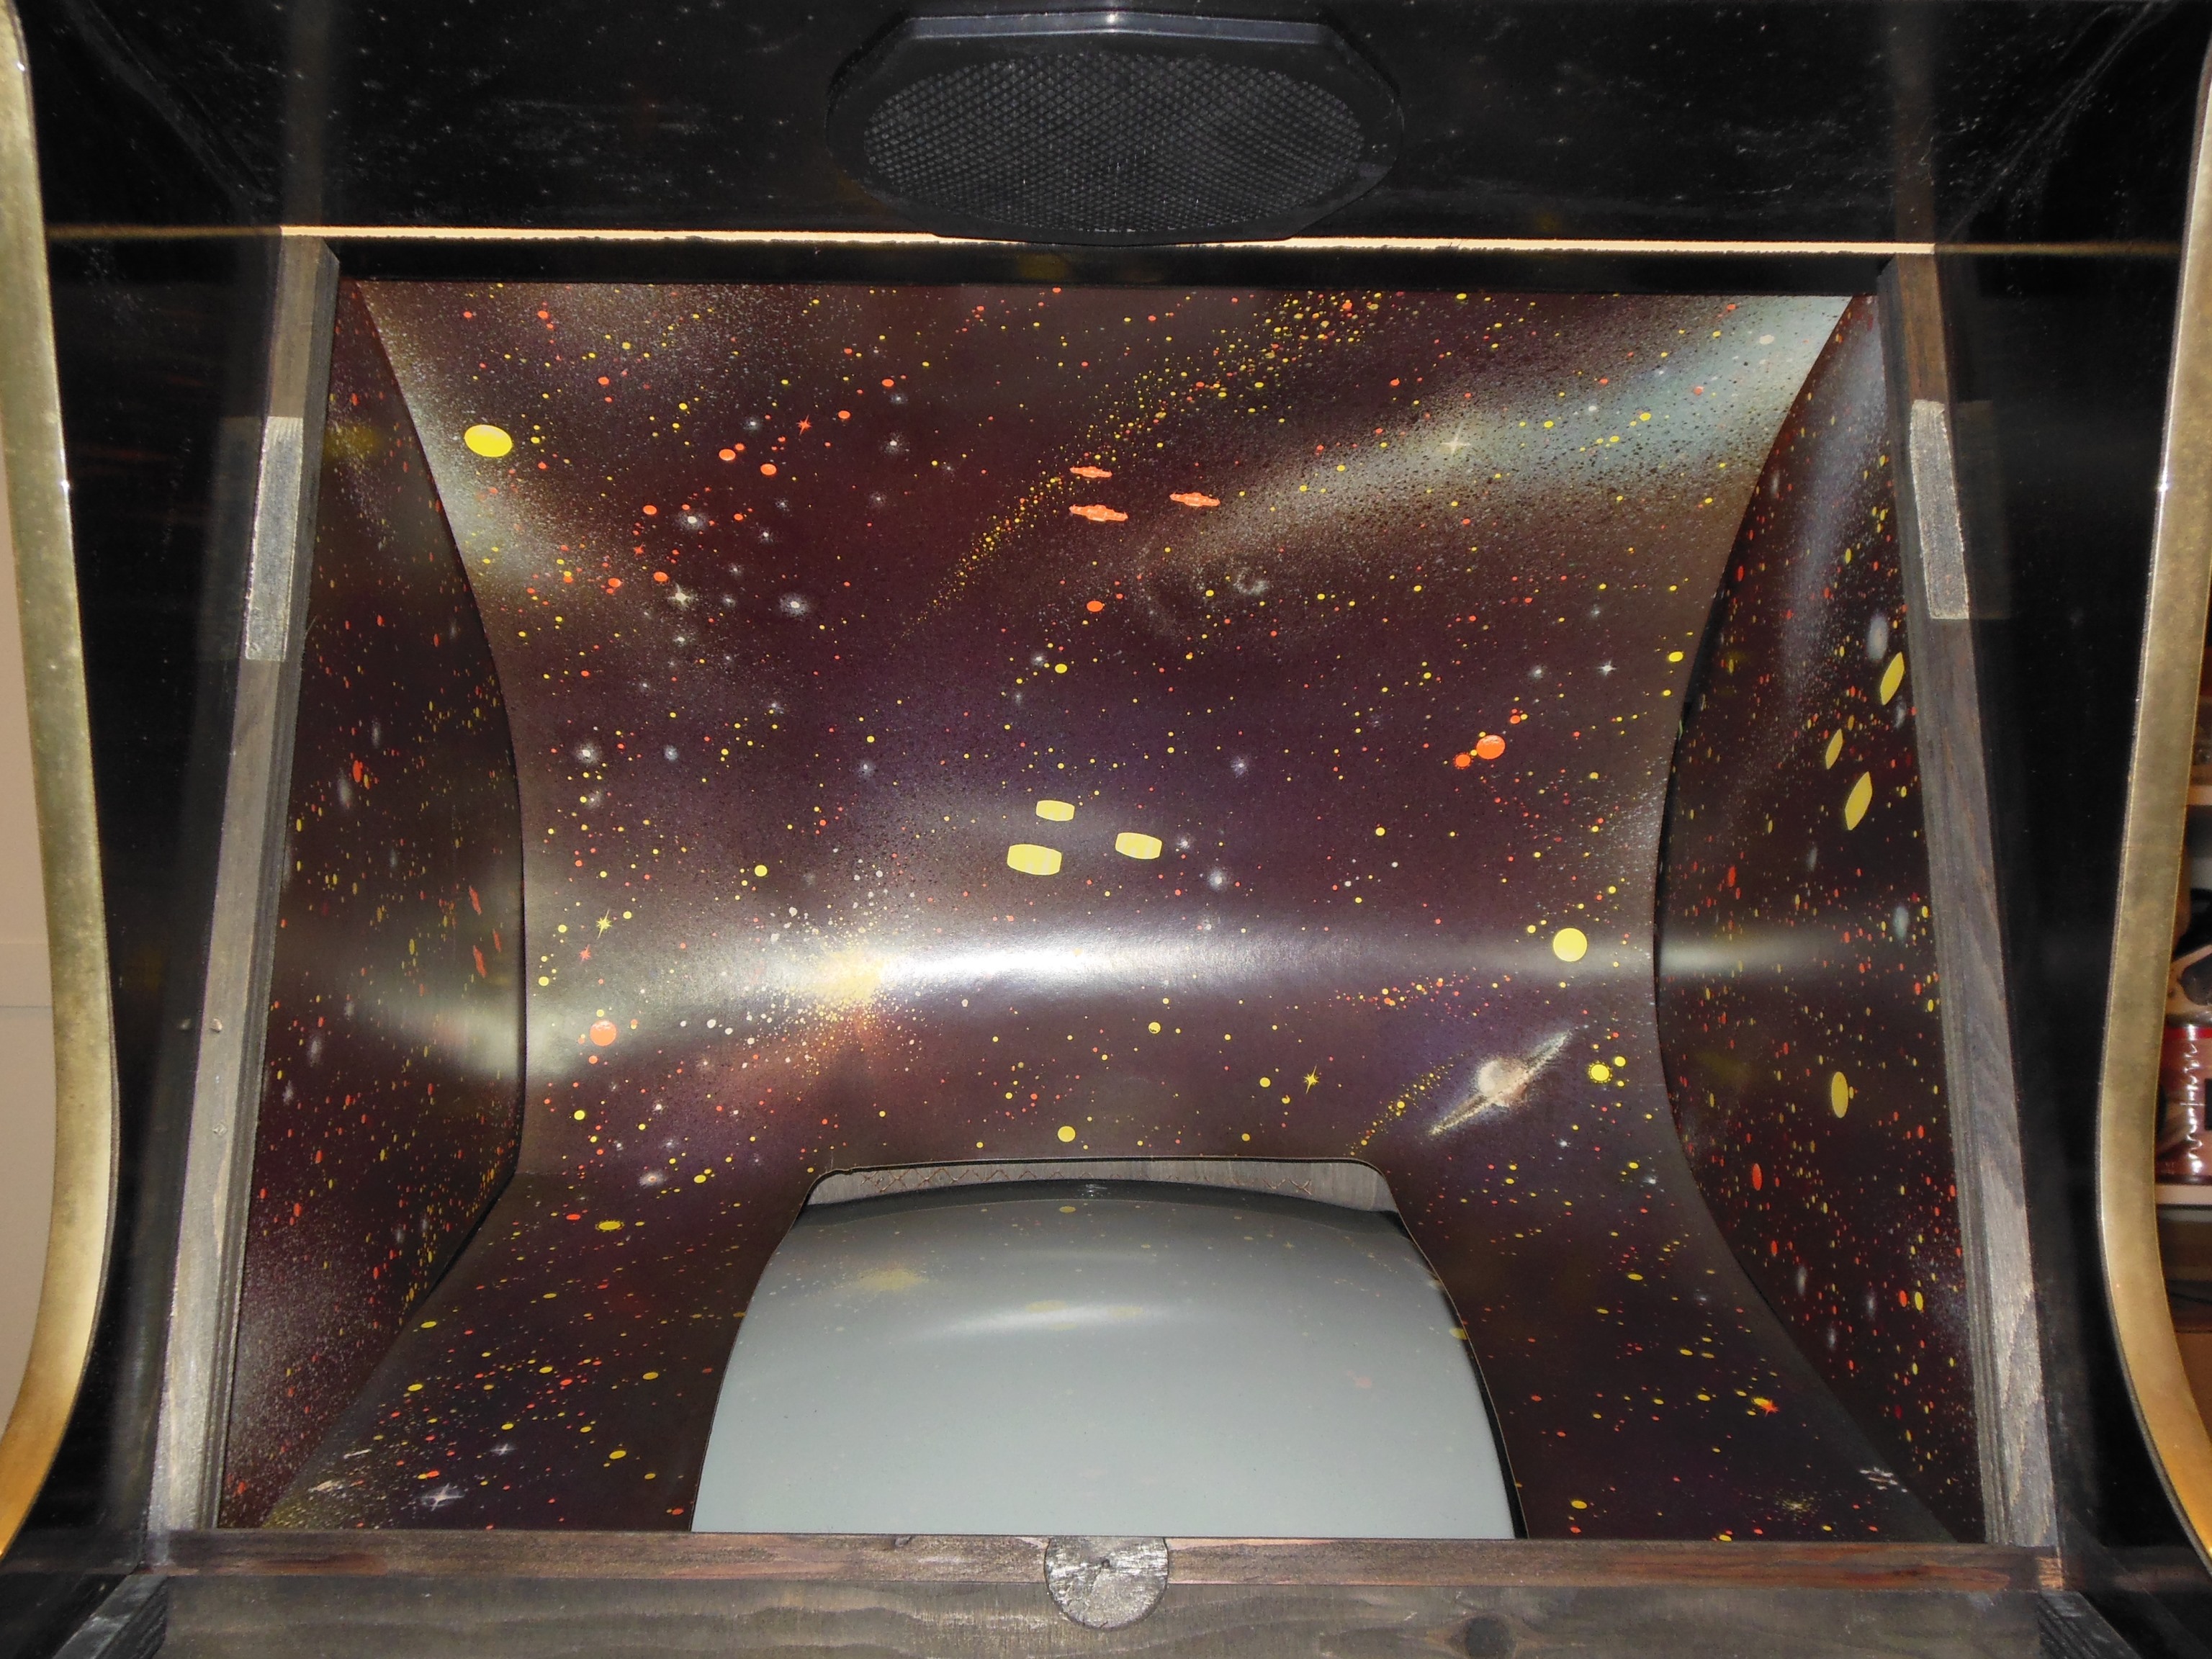
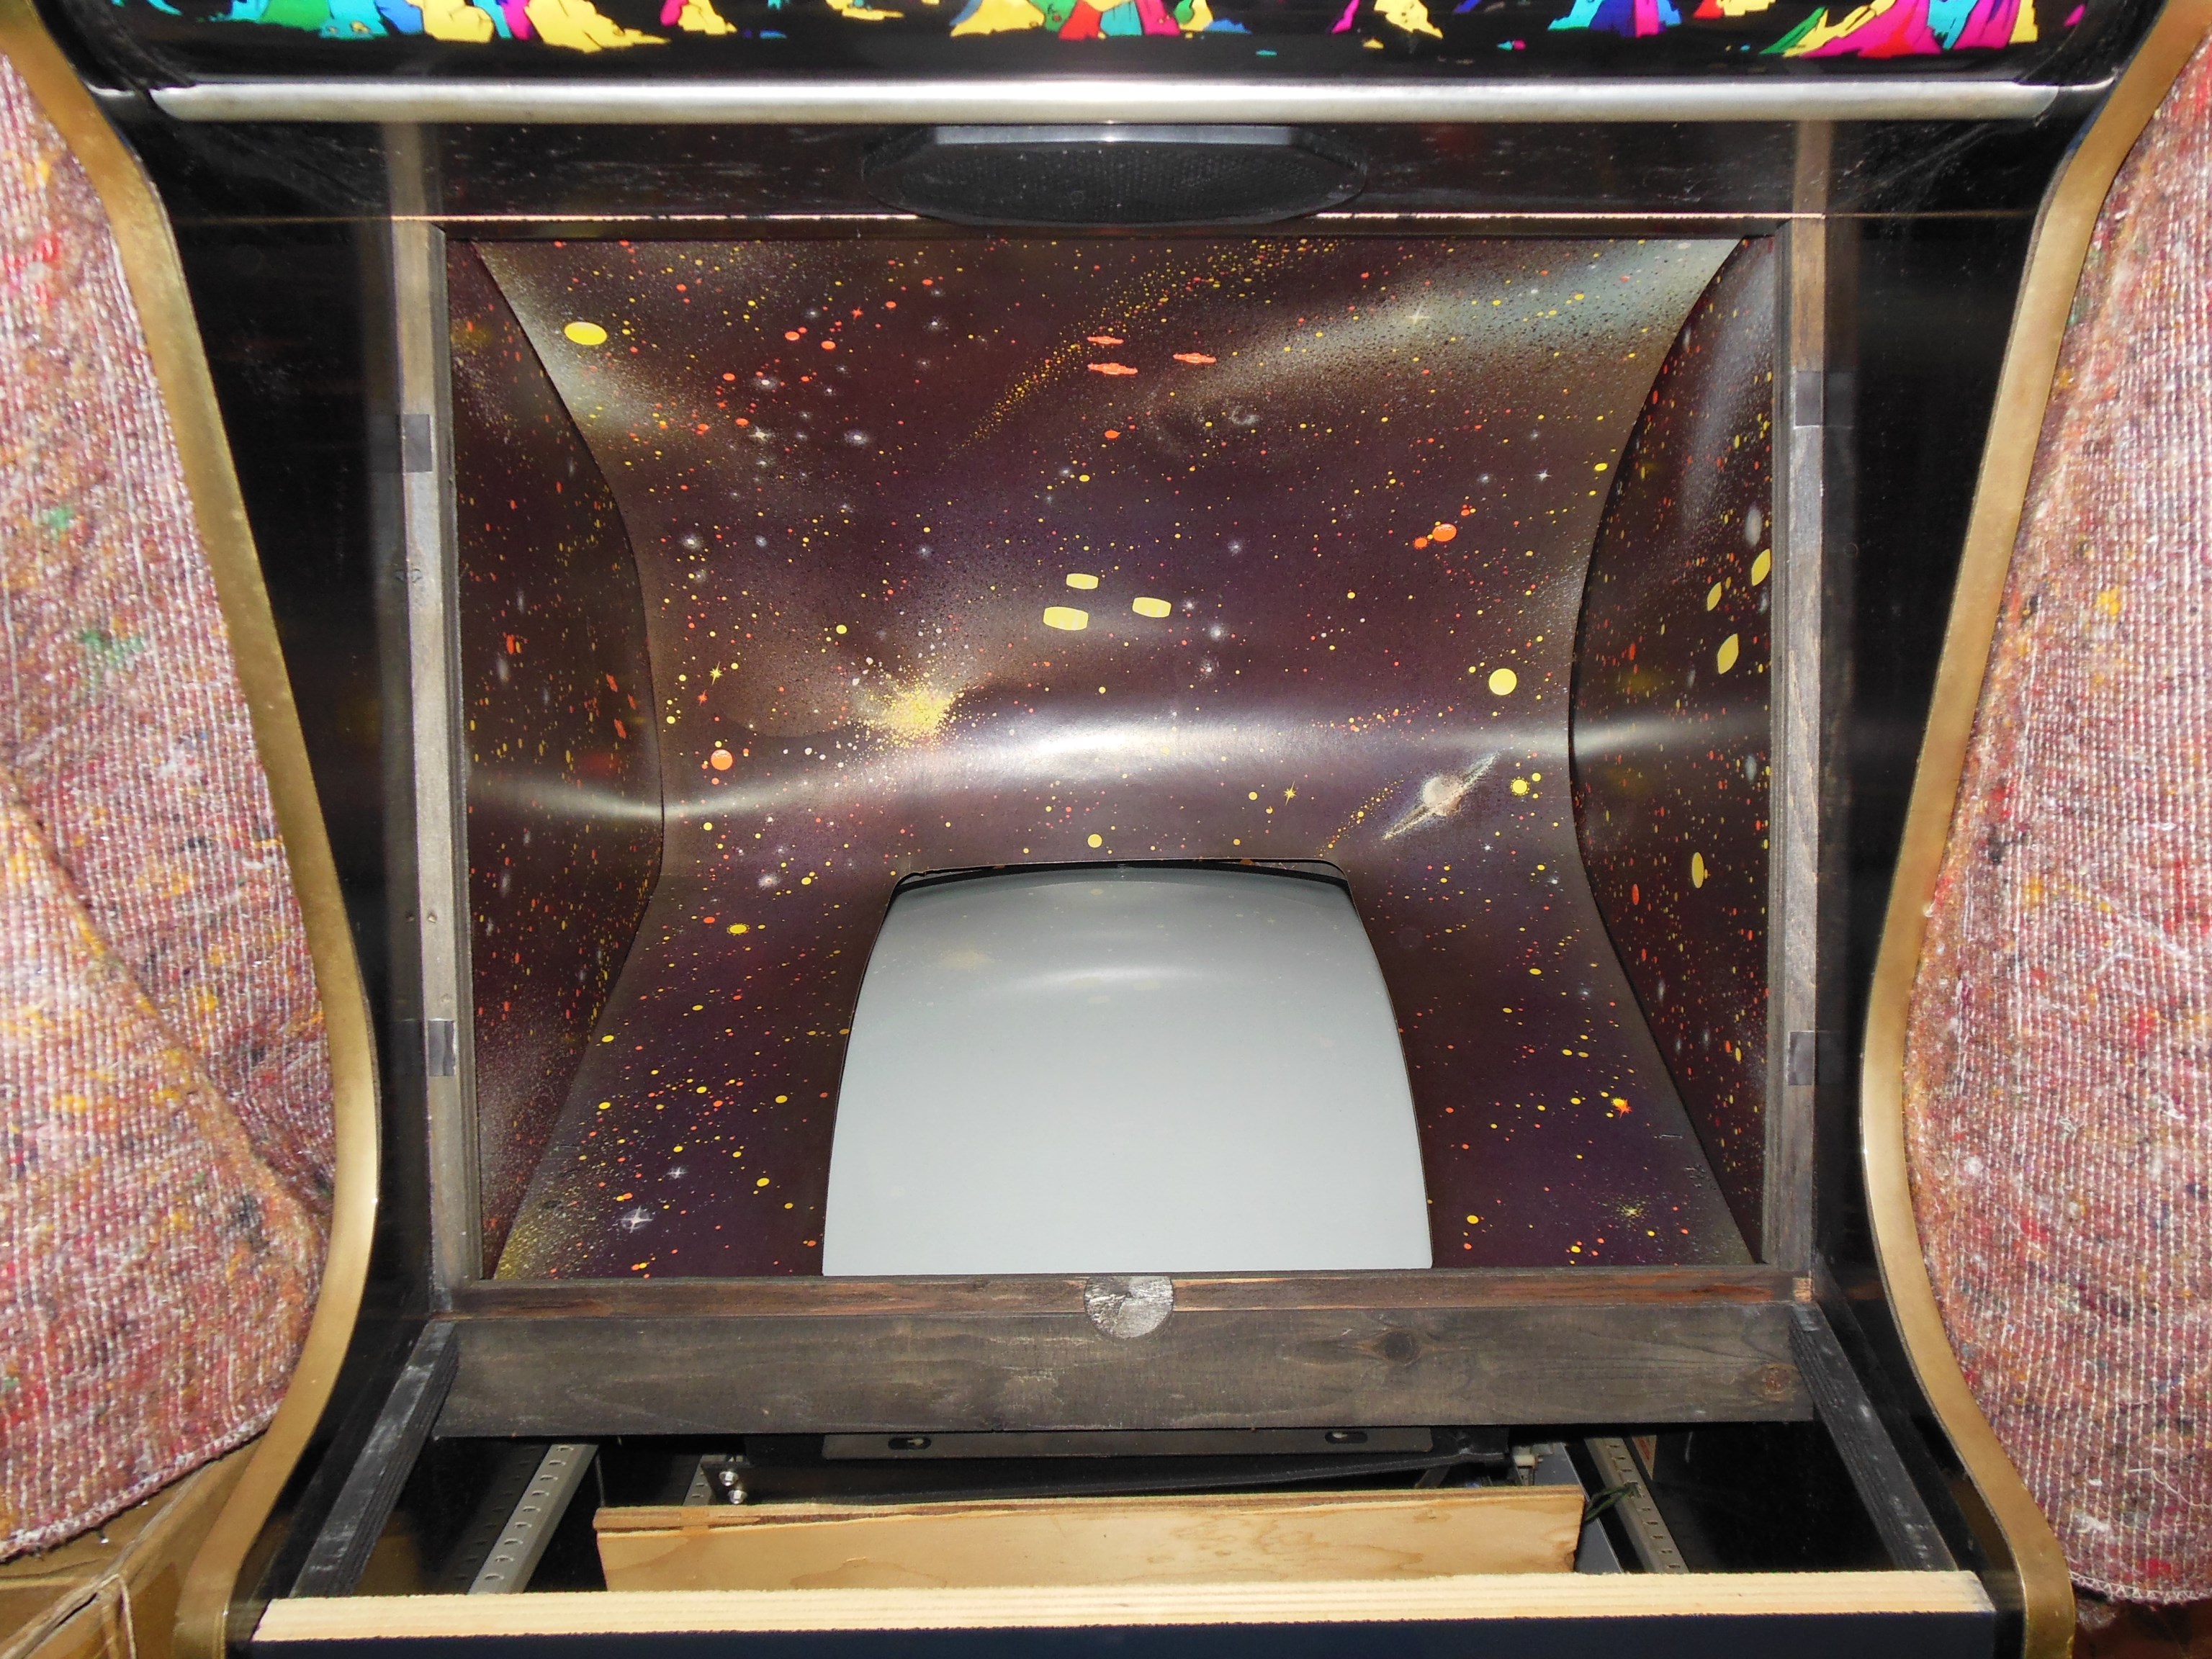
For a cabinet in otherwise good condition the CRT nicotine stain was one of the worst I'd ever seen. It took a lot of scrubbing to get it clean again :(

|
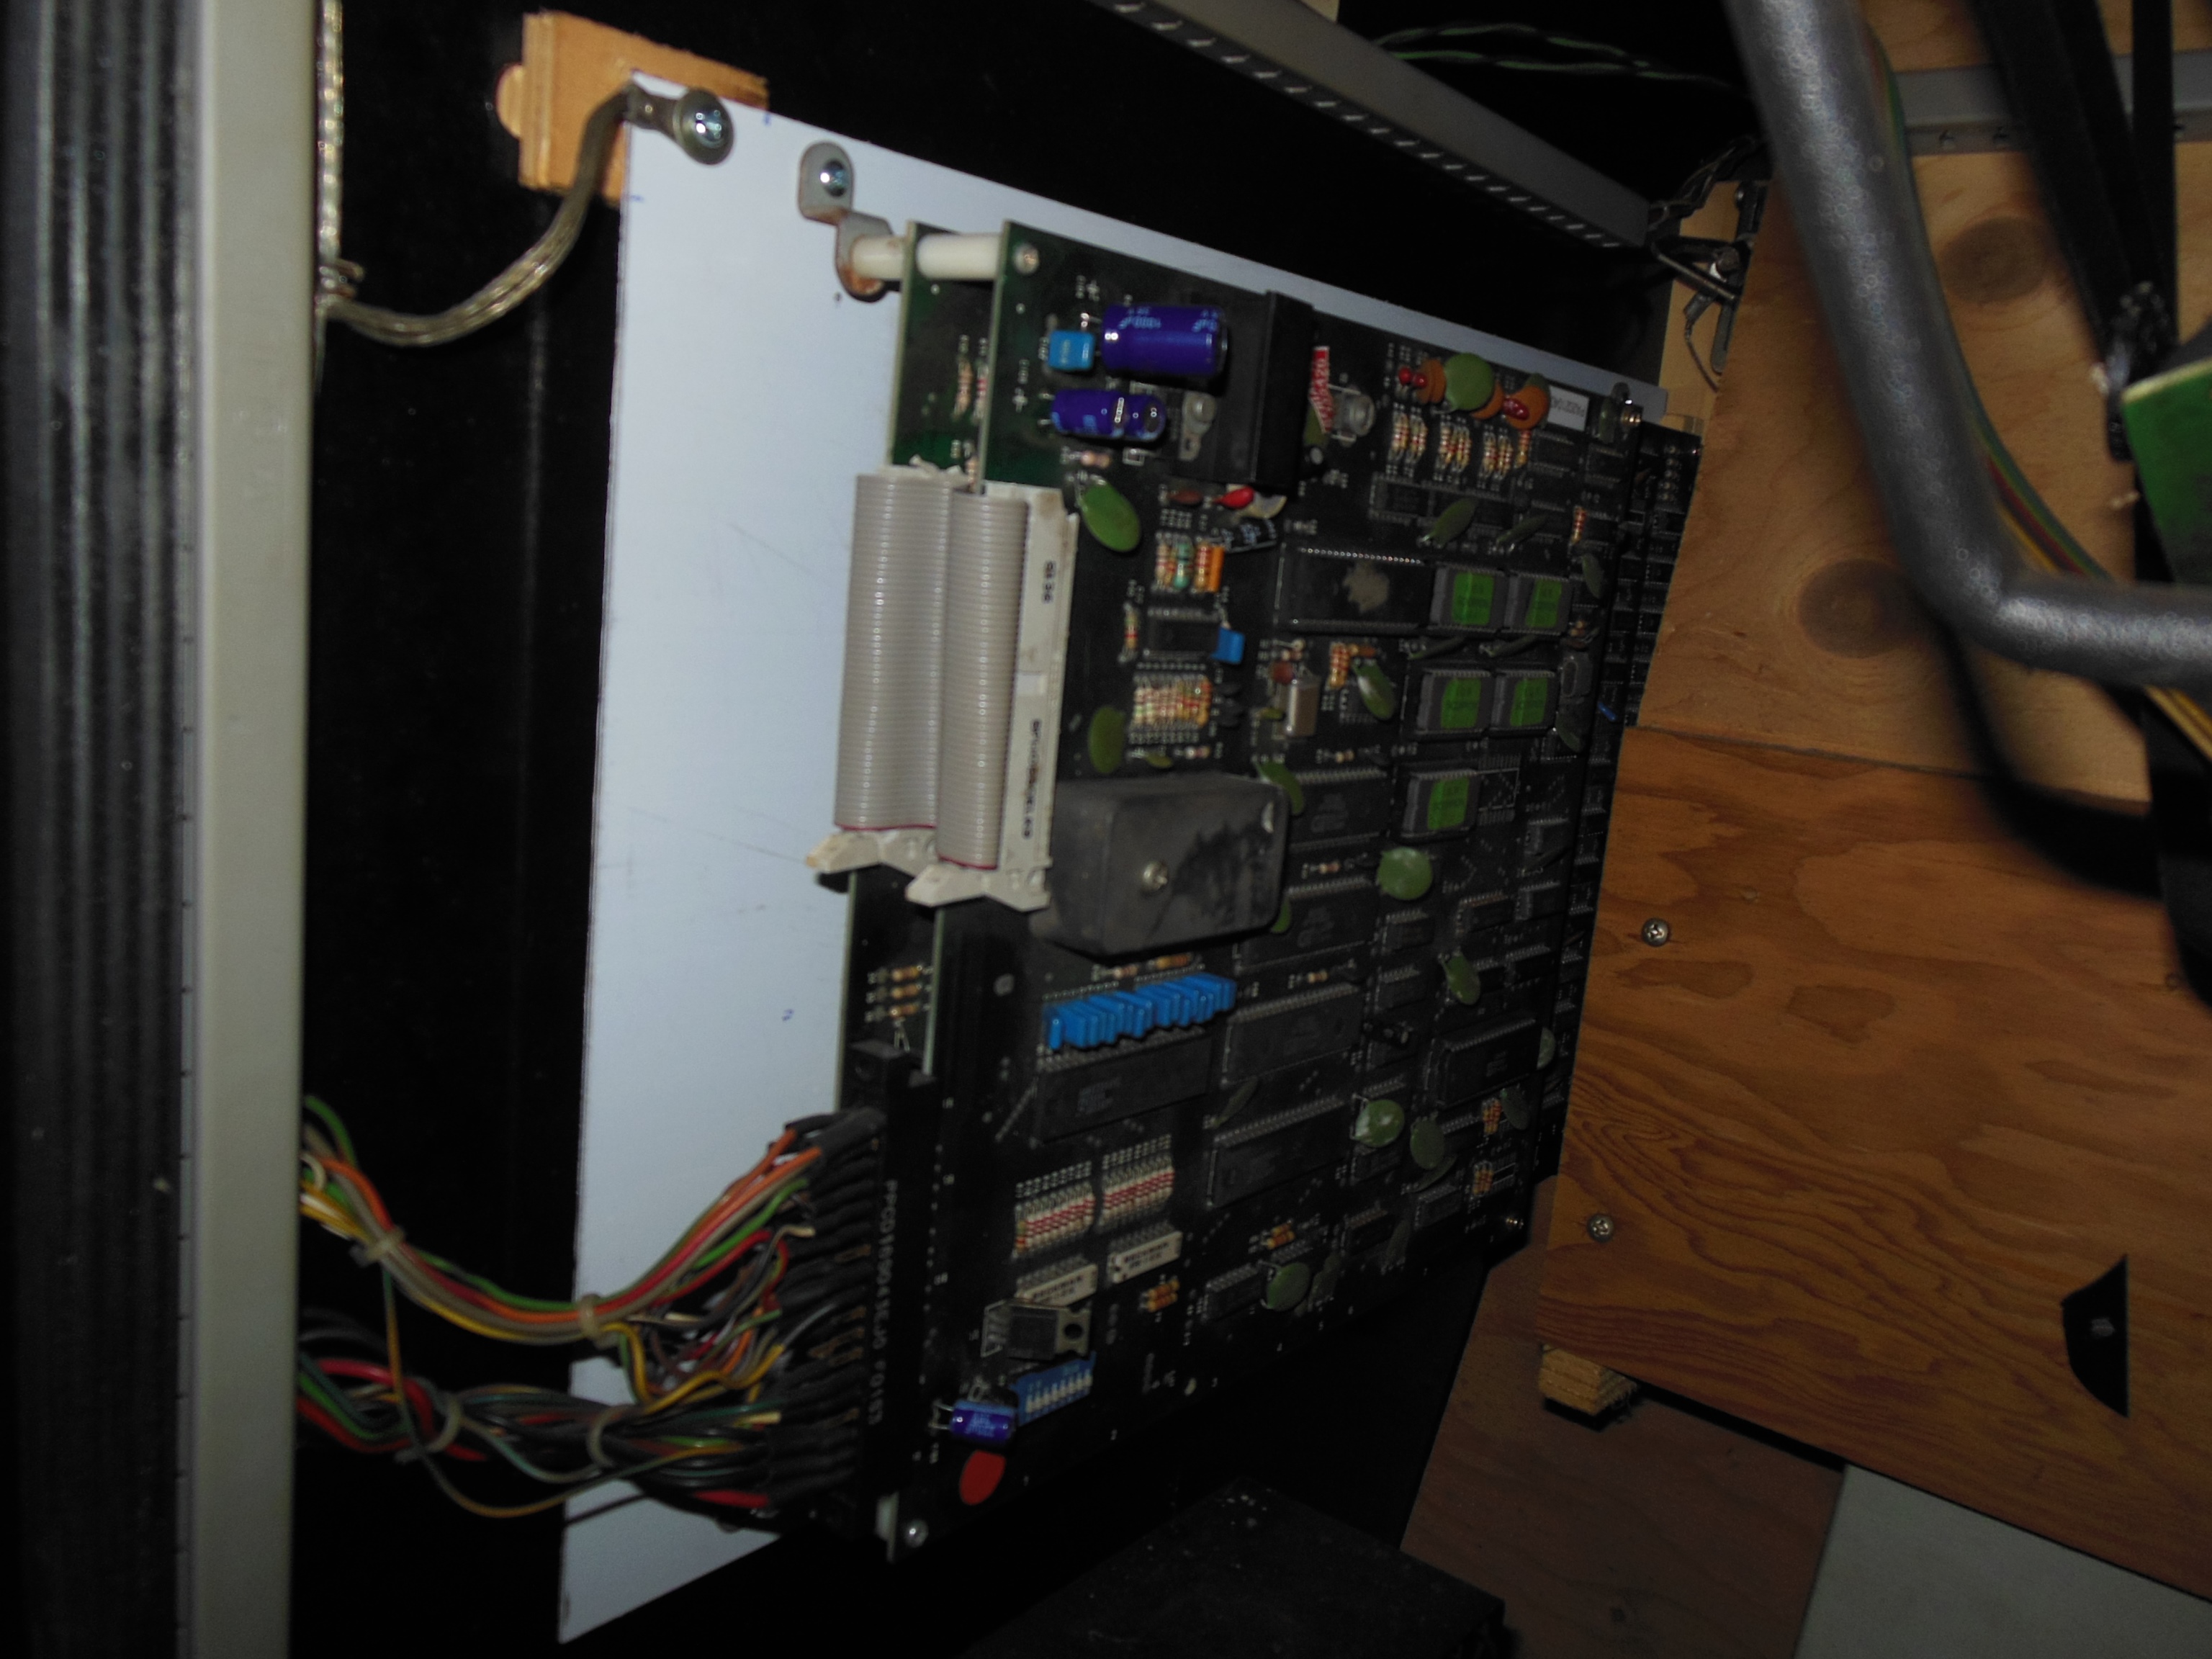
I had run out of reproduction PCB mounting plates and ordered another batch from Online Metals, a 0.063" Aluminum Sheet 5052-H32 cut to 17.0" x 11.5". Mounting holes were drilled and the PCB fitted to the plate. The assembly was installed into the cabinet.
|
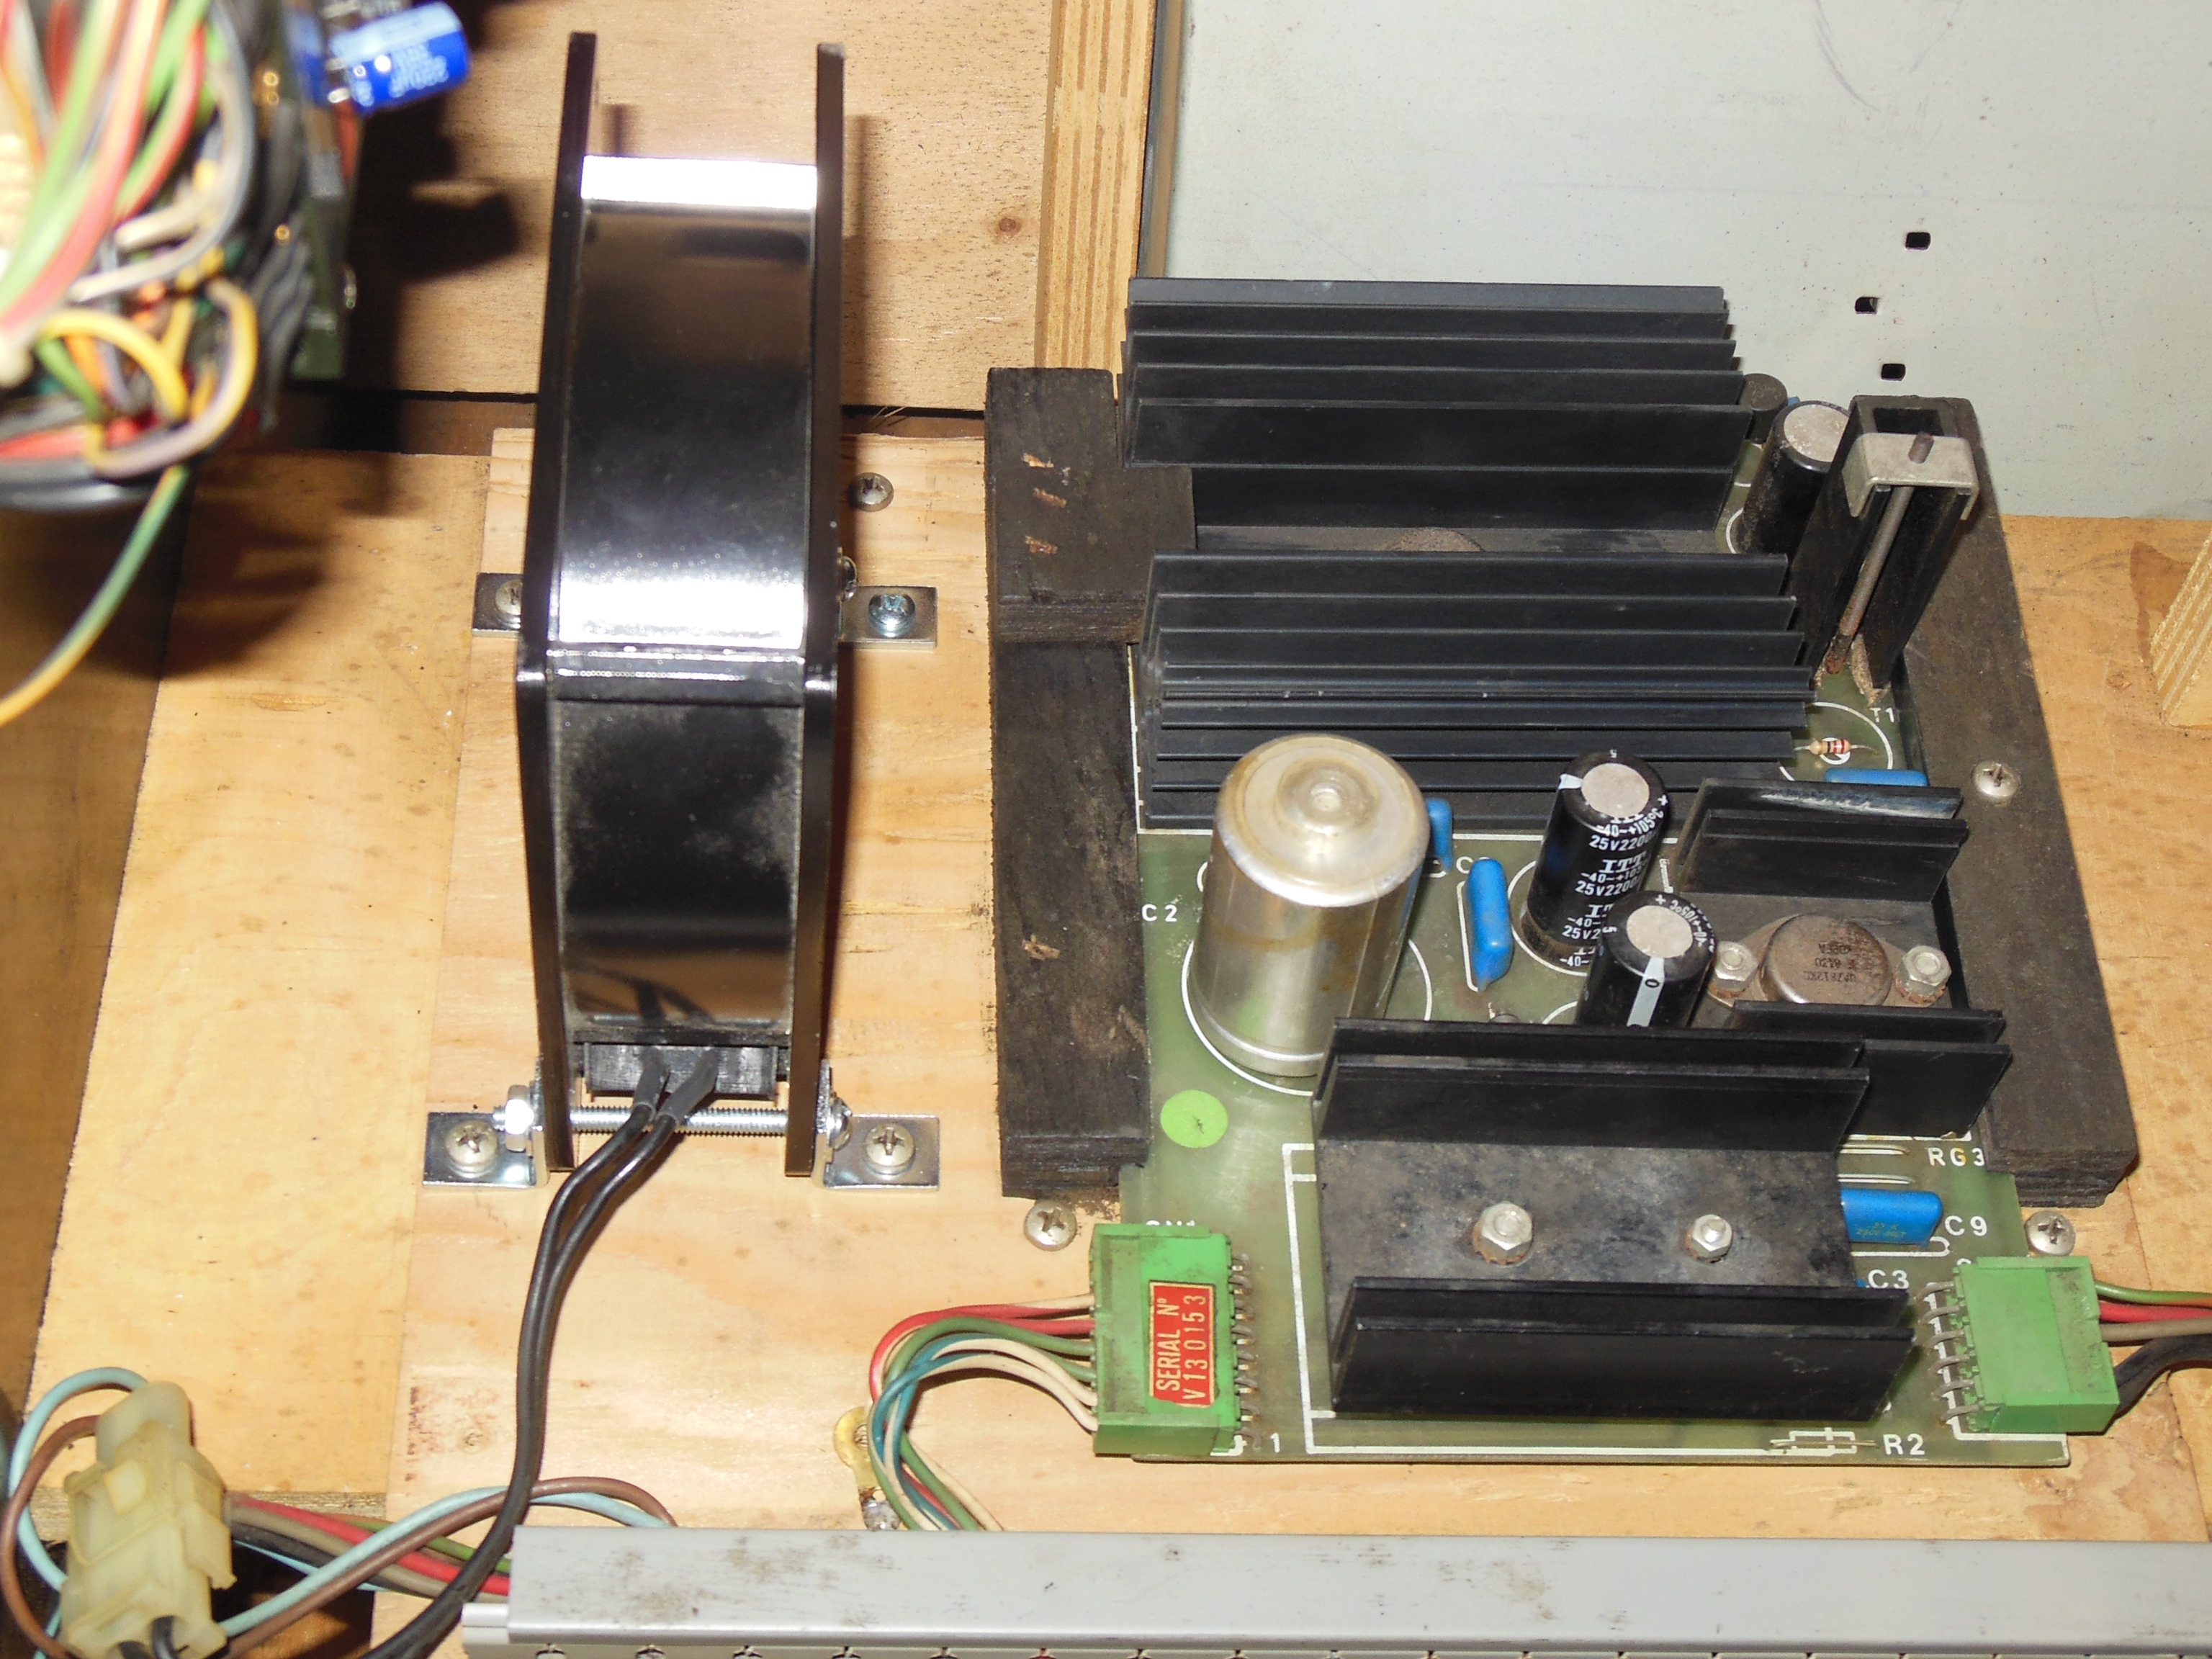
The 1B1126 power regulation PCB appeared to be working without issue and was dusted off.

|
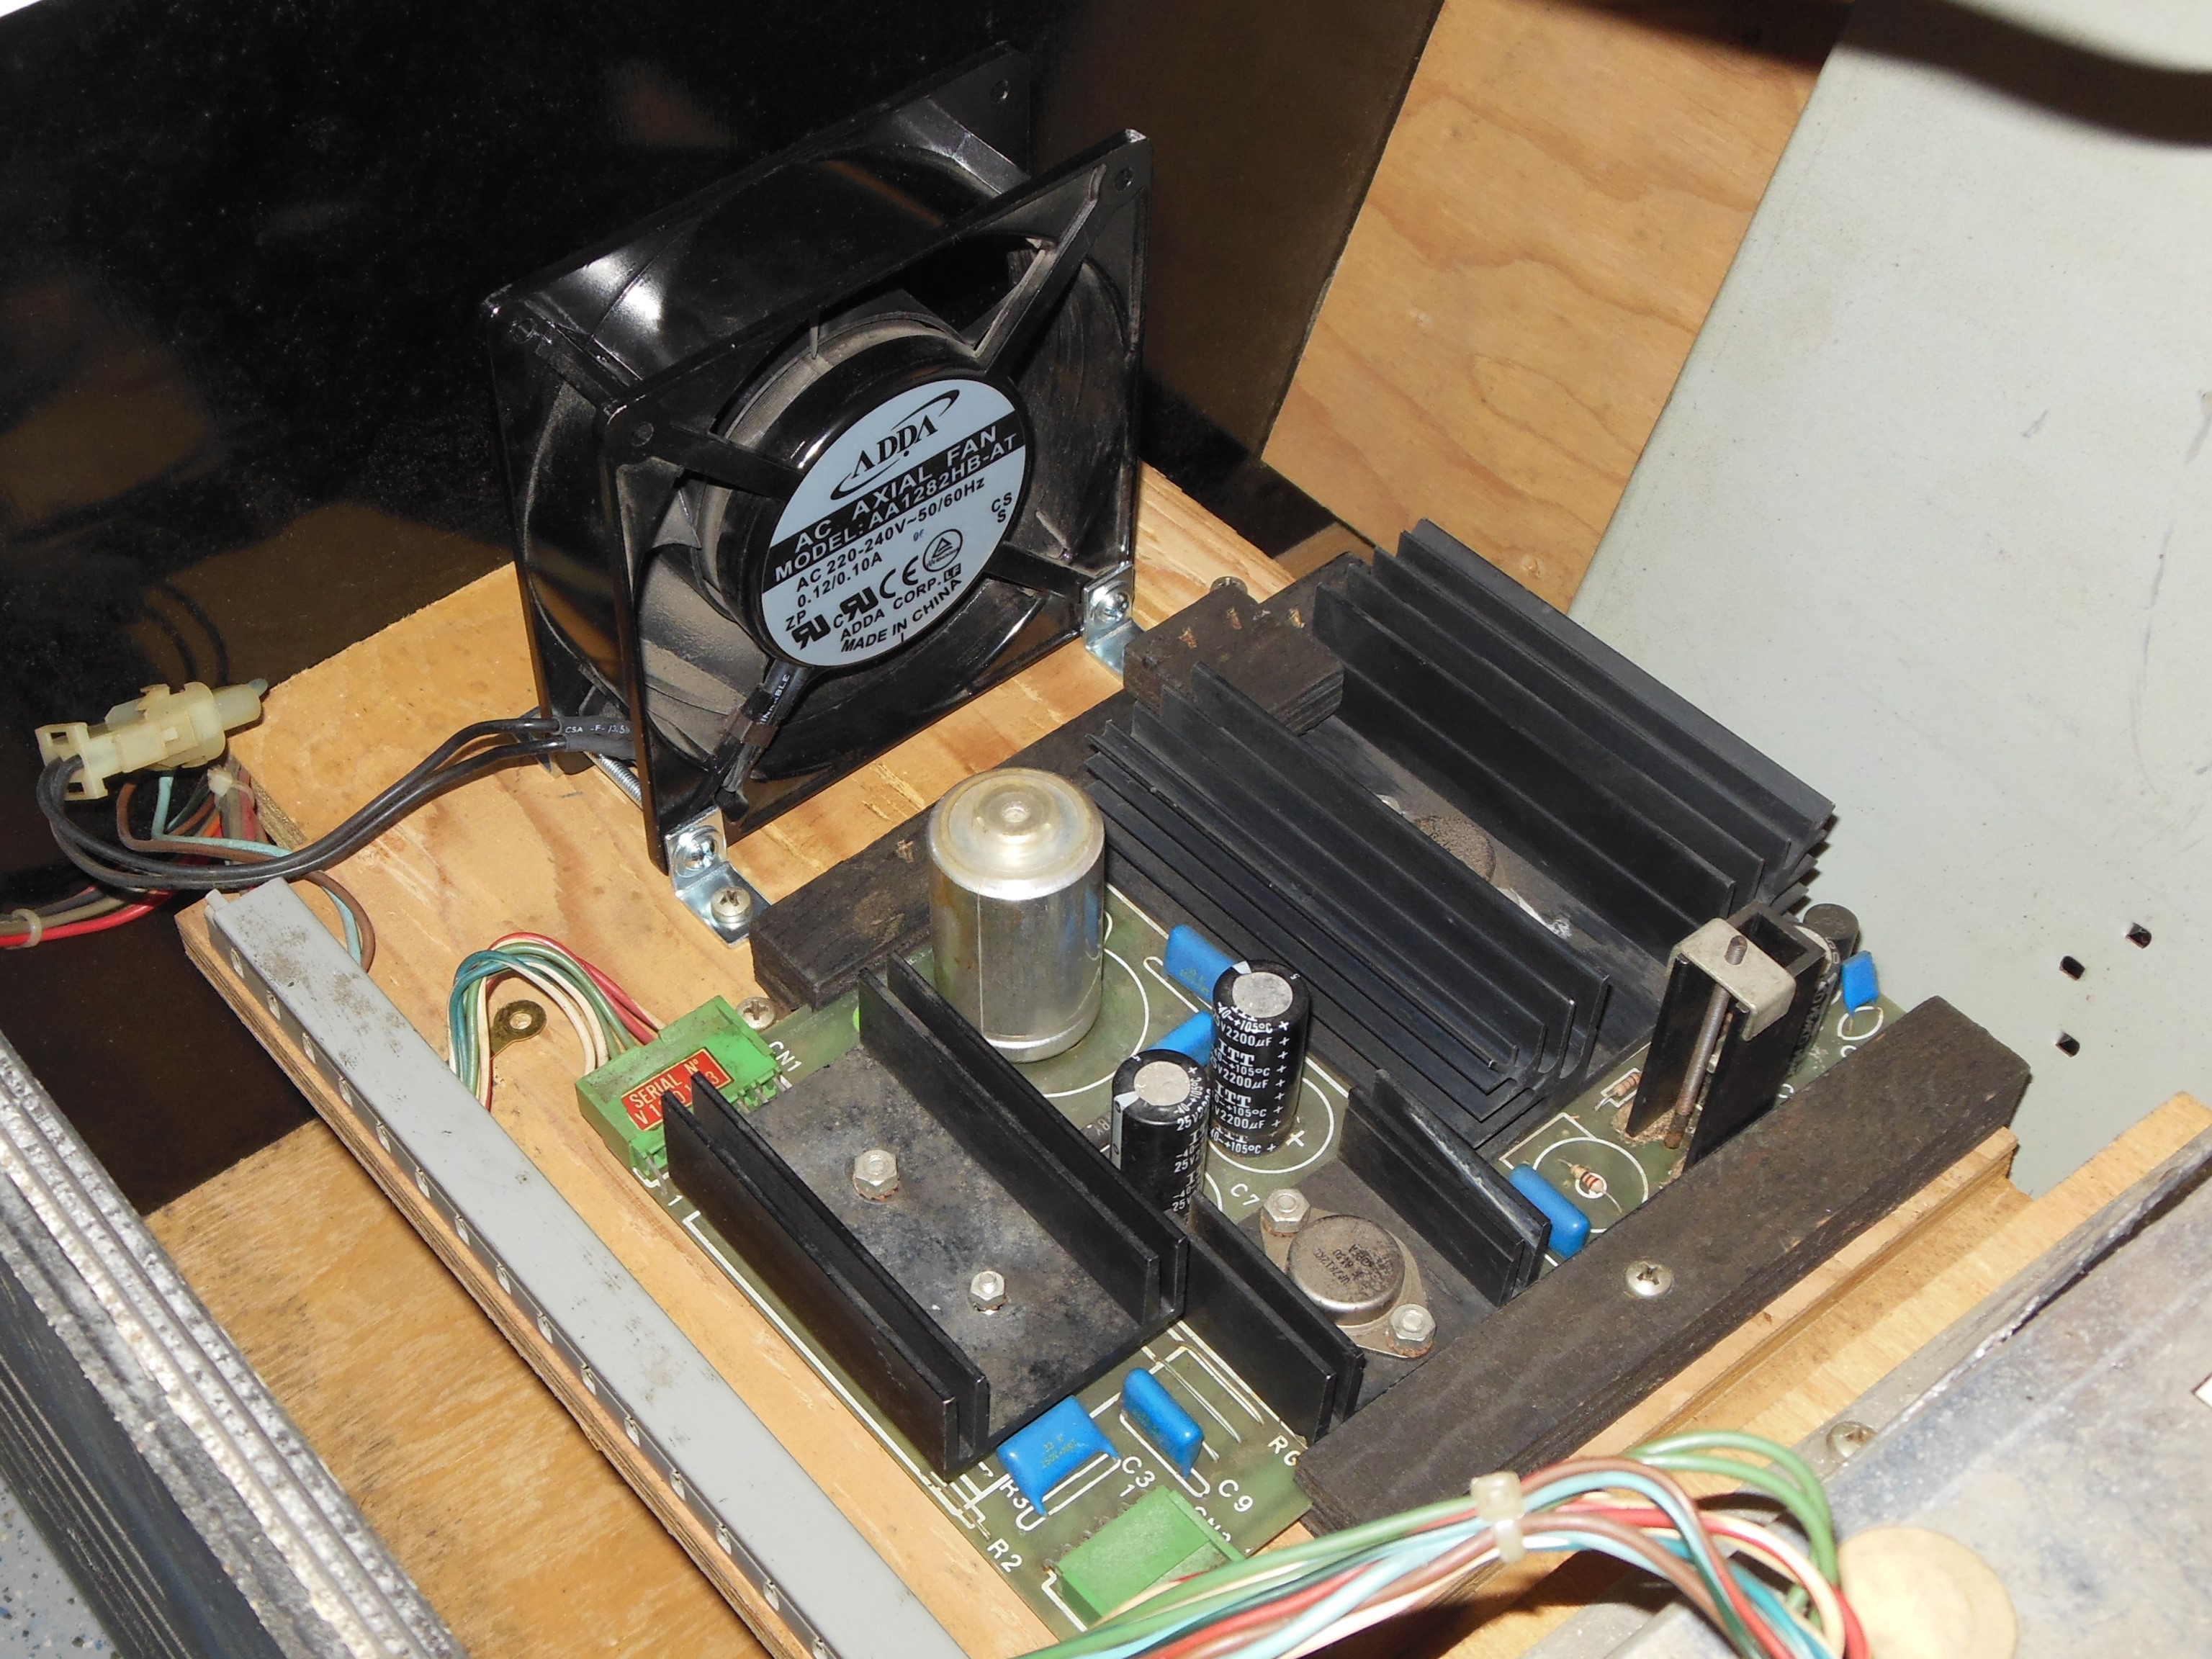
The fan was cleaned and greased.


|
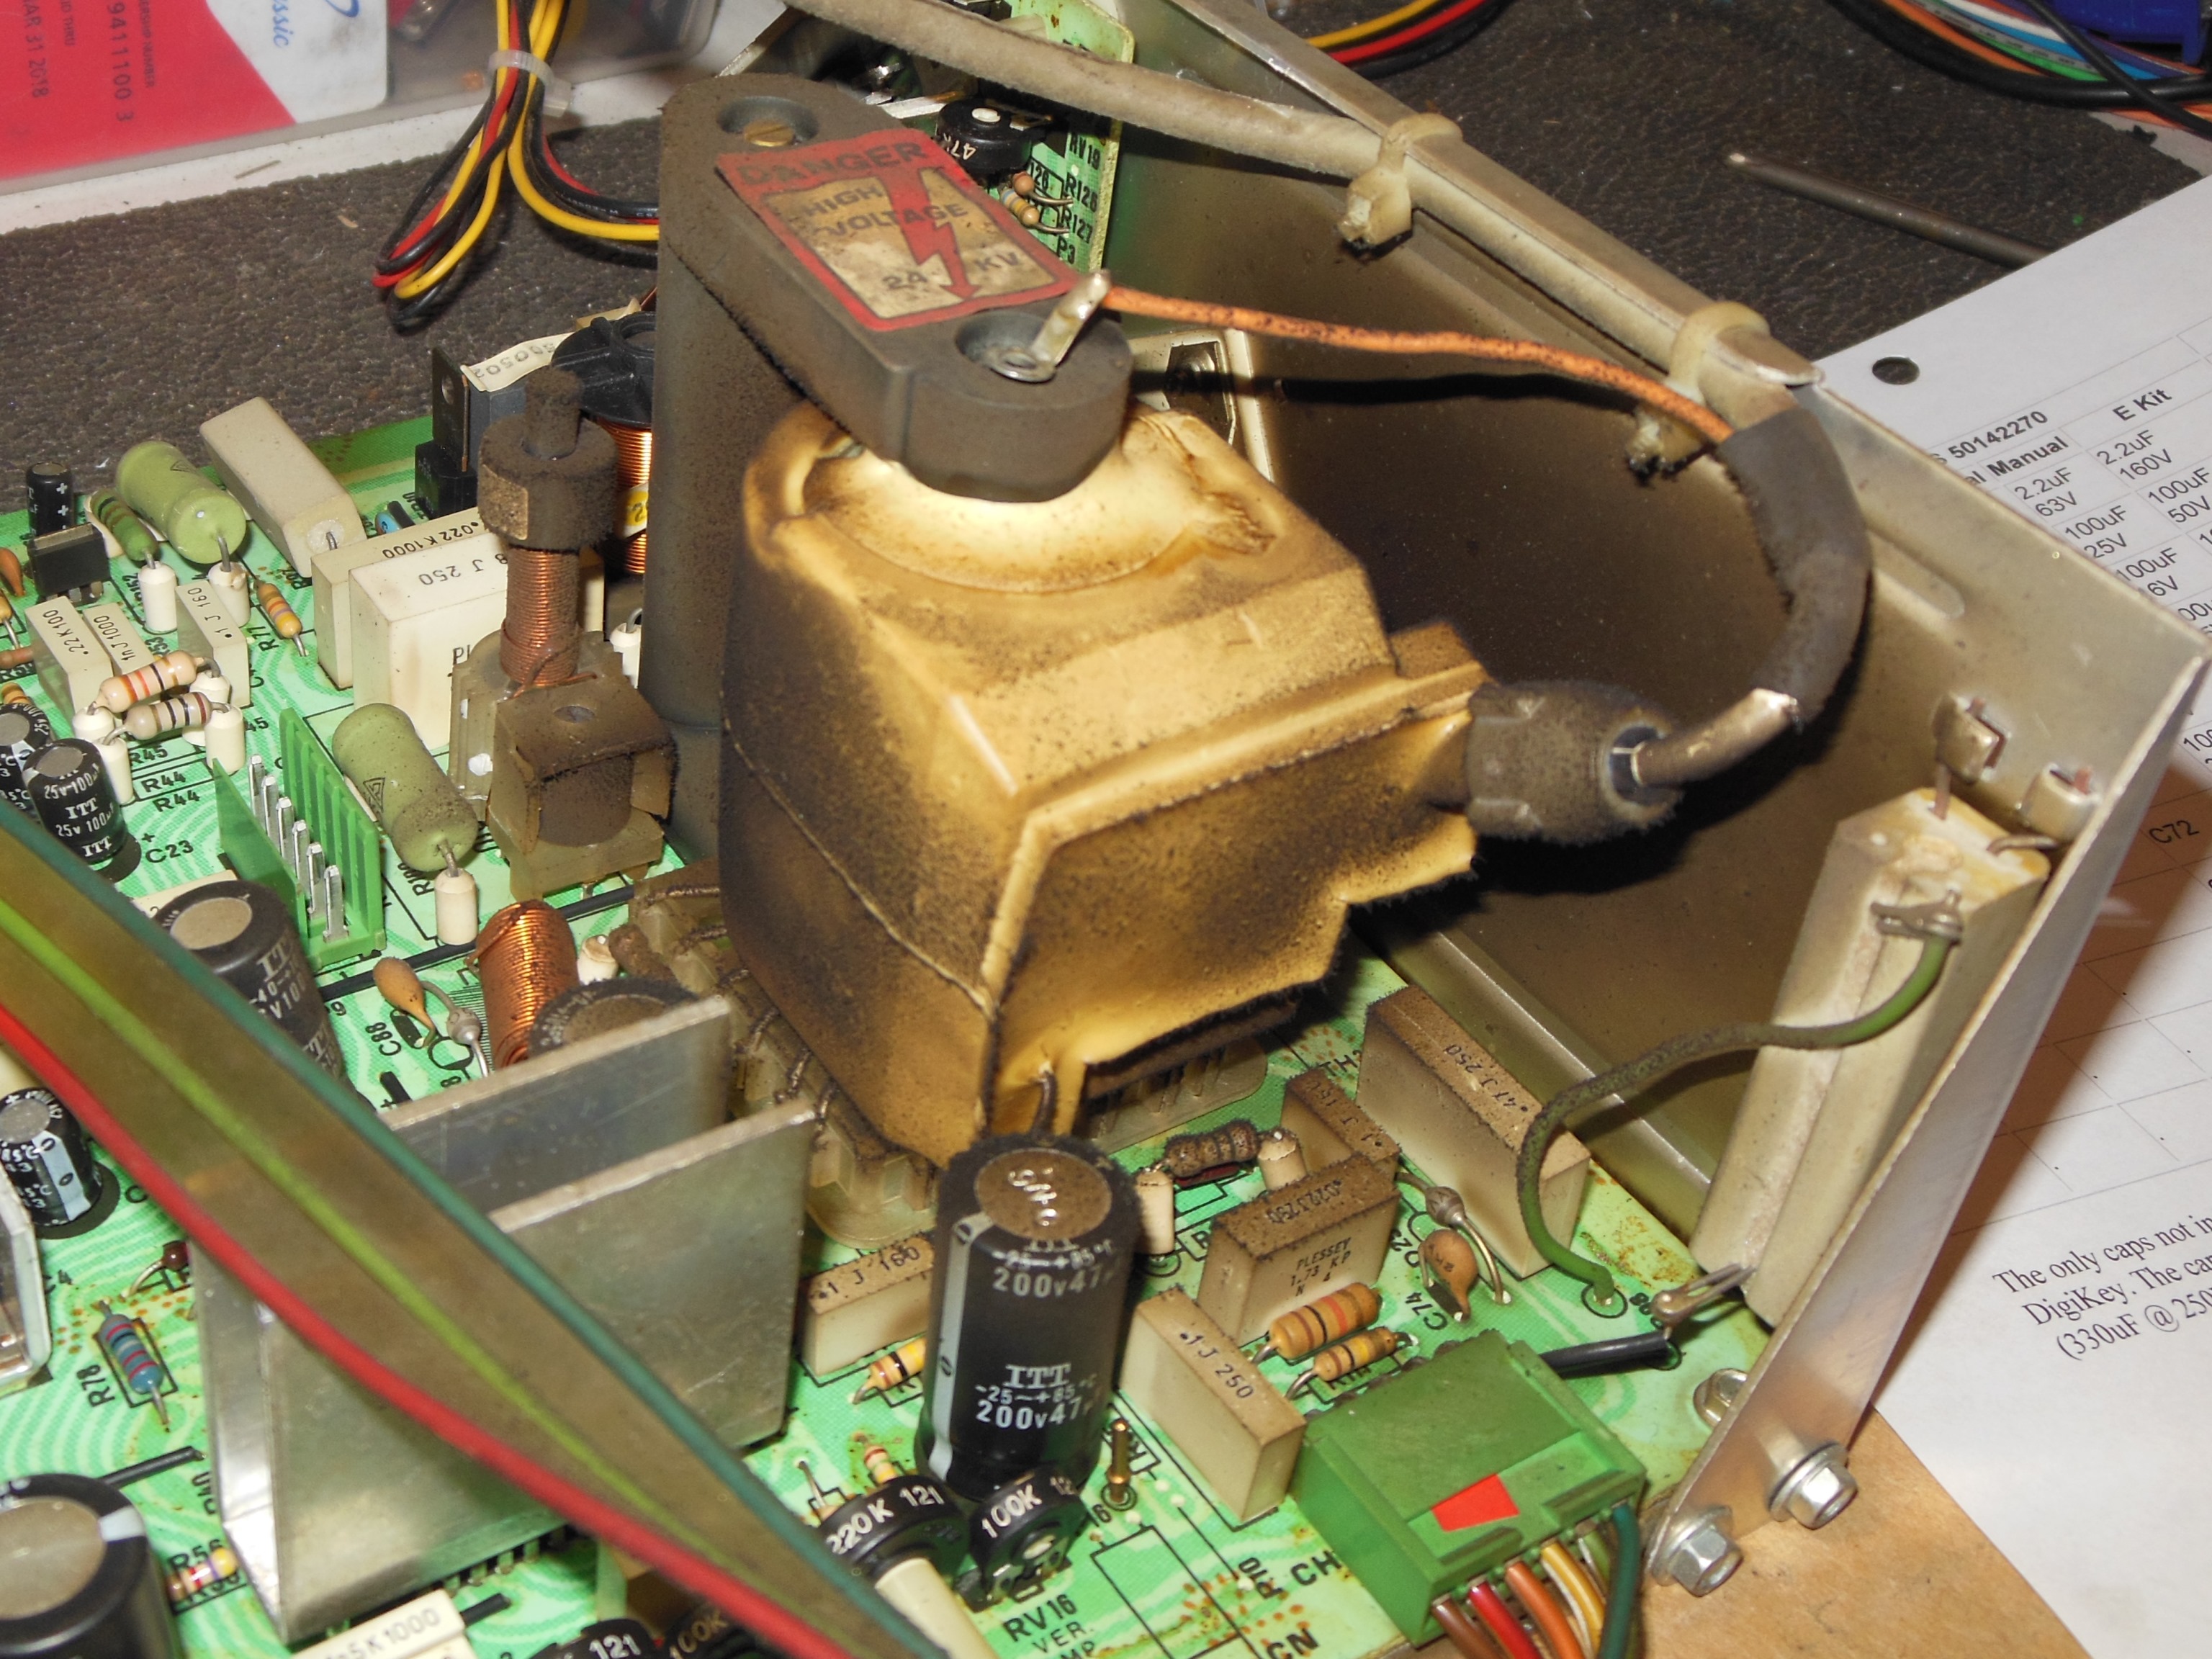
A cap kit was fitted to the MTC-900 chassis and accumulated dirt brushed off.
|
The surround was in generally good condition aside from splitting along the top edge where it had been stapled to the cabinet, a common issue. The split was reinforced with a card strip and set to dry.
|
After vacuuming & cleaning the bottom of the cabinet the internal pieces were reassembled.

|
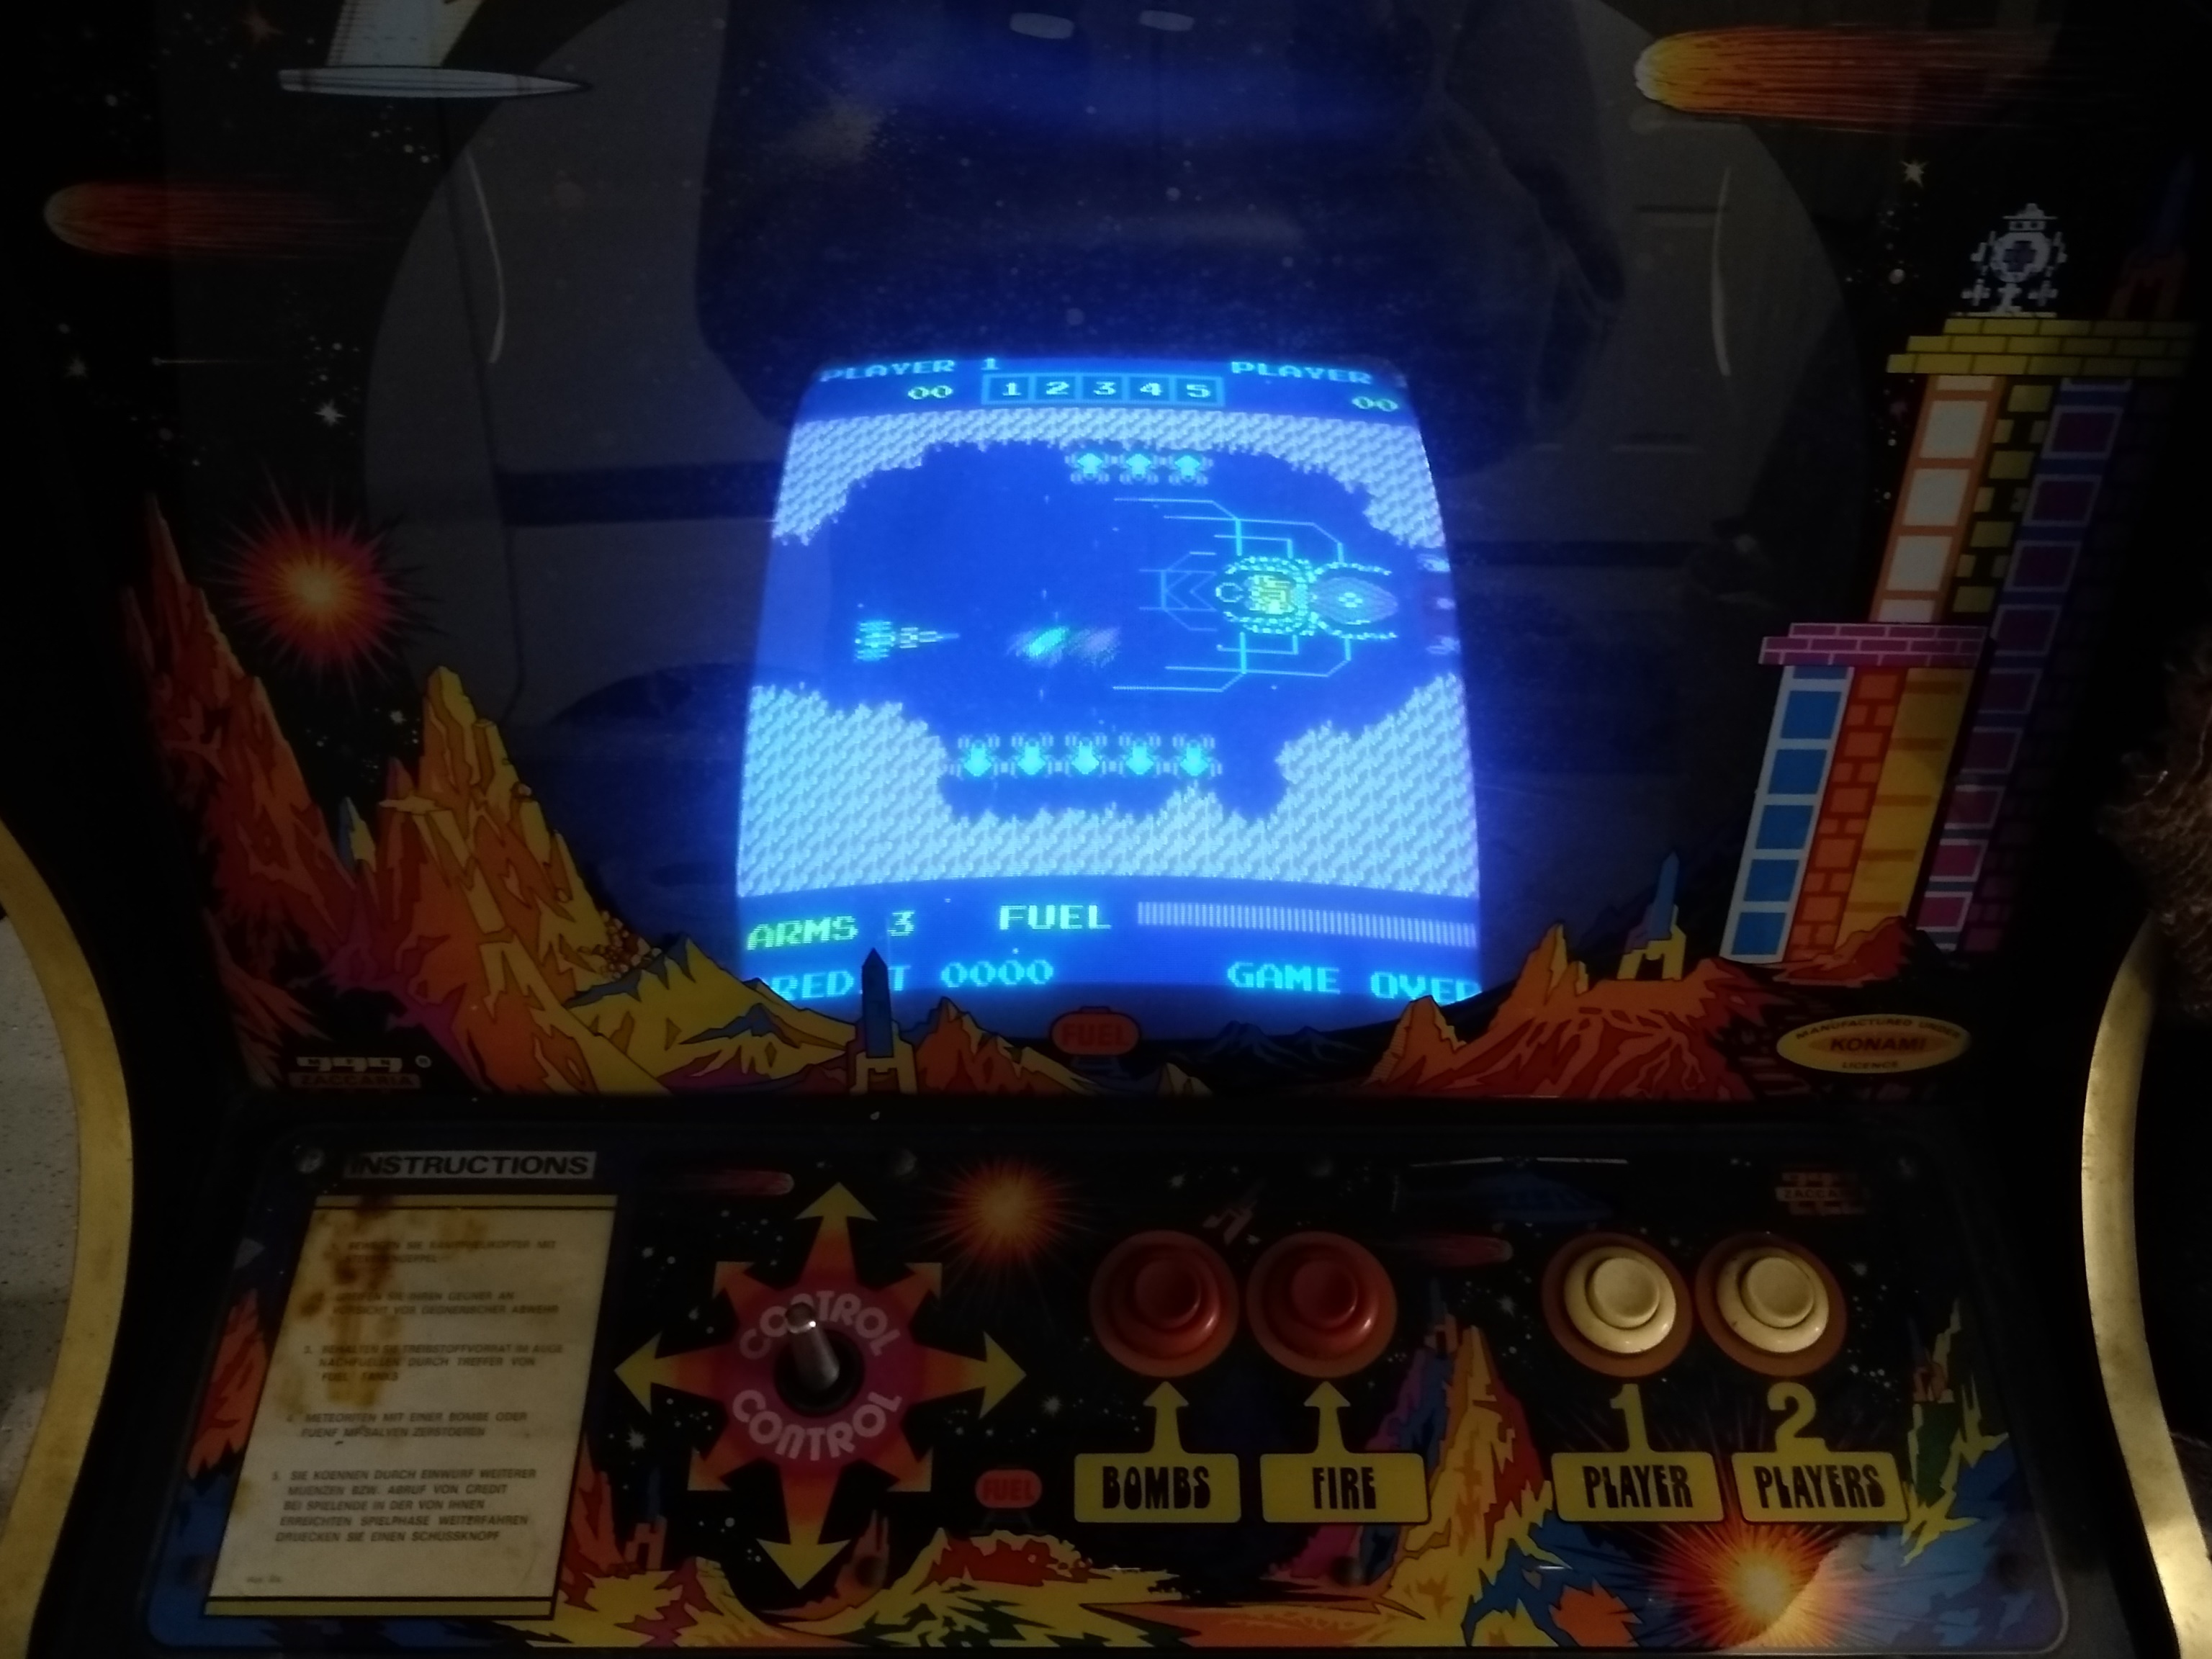
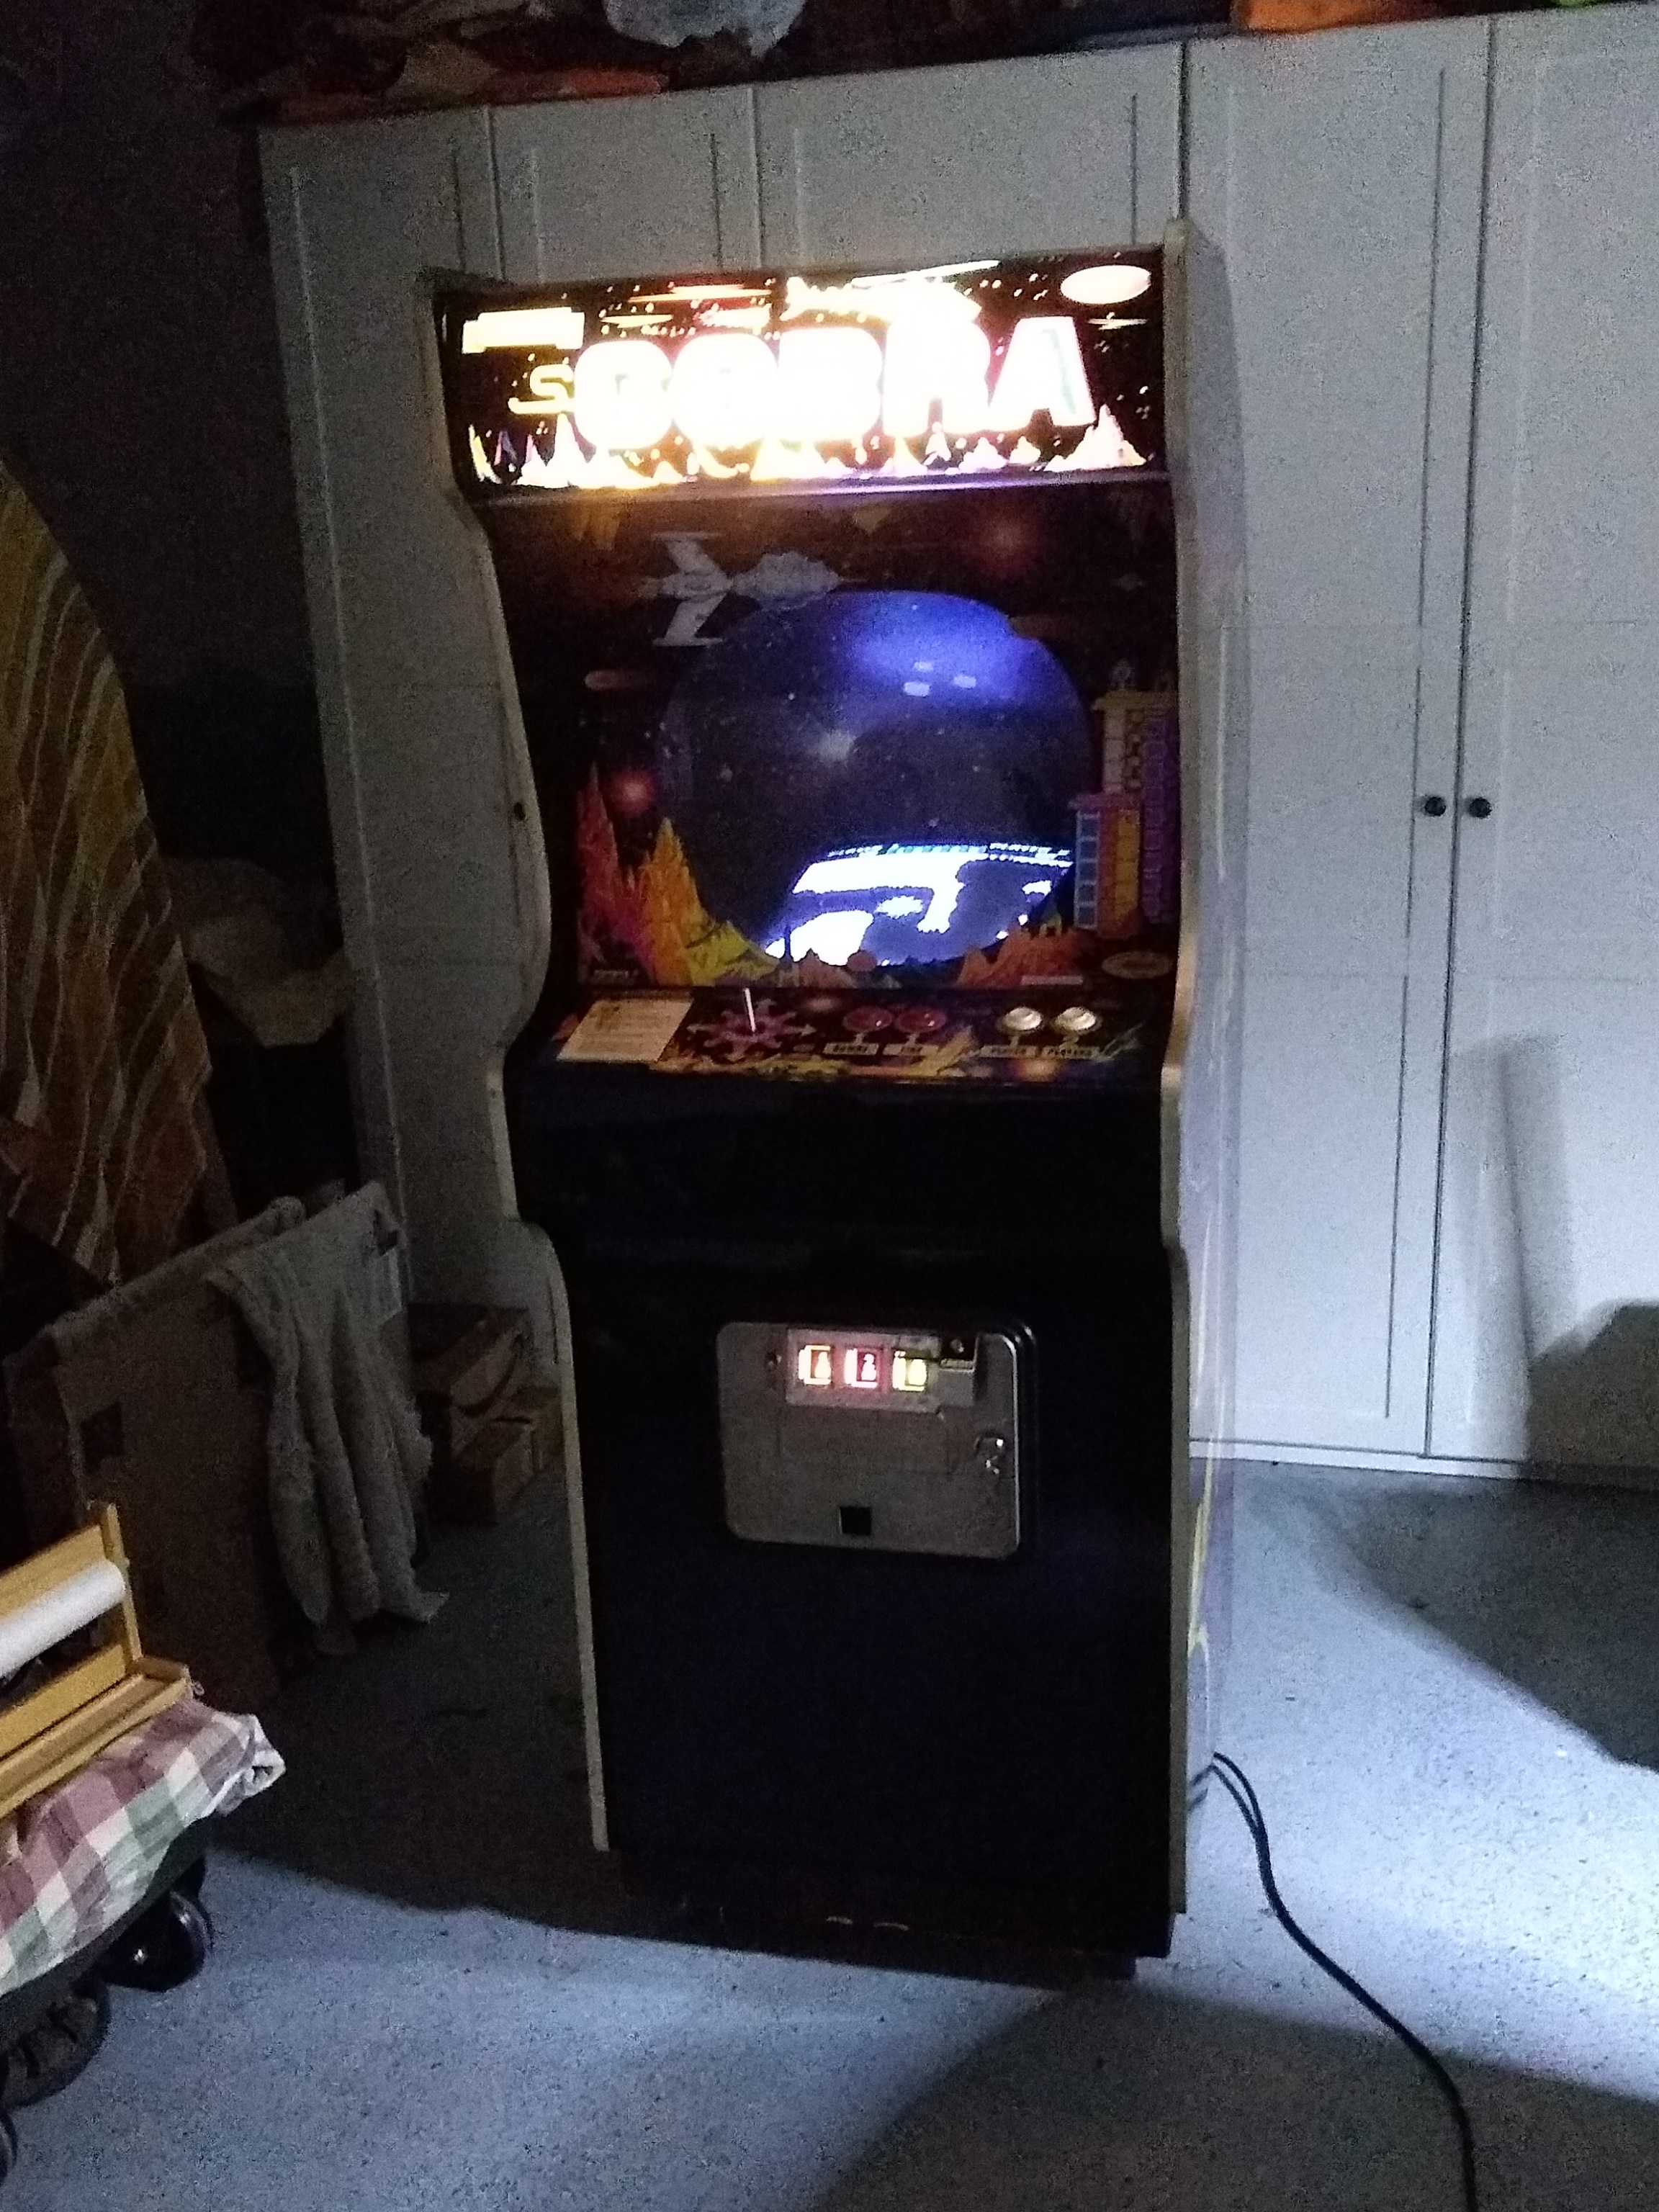
Retesting the whole game found no issues. After some minor picture adjustments the display was excellent.

|
After the support strip had dried the surround as fitted back into the cabinet and stapled in along the new strip. The cavity took on a nice curve from the top.

|
The control panel assembly was completed ready to go back into the cabinet.
|
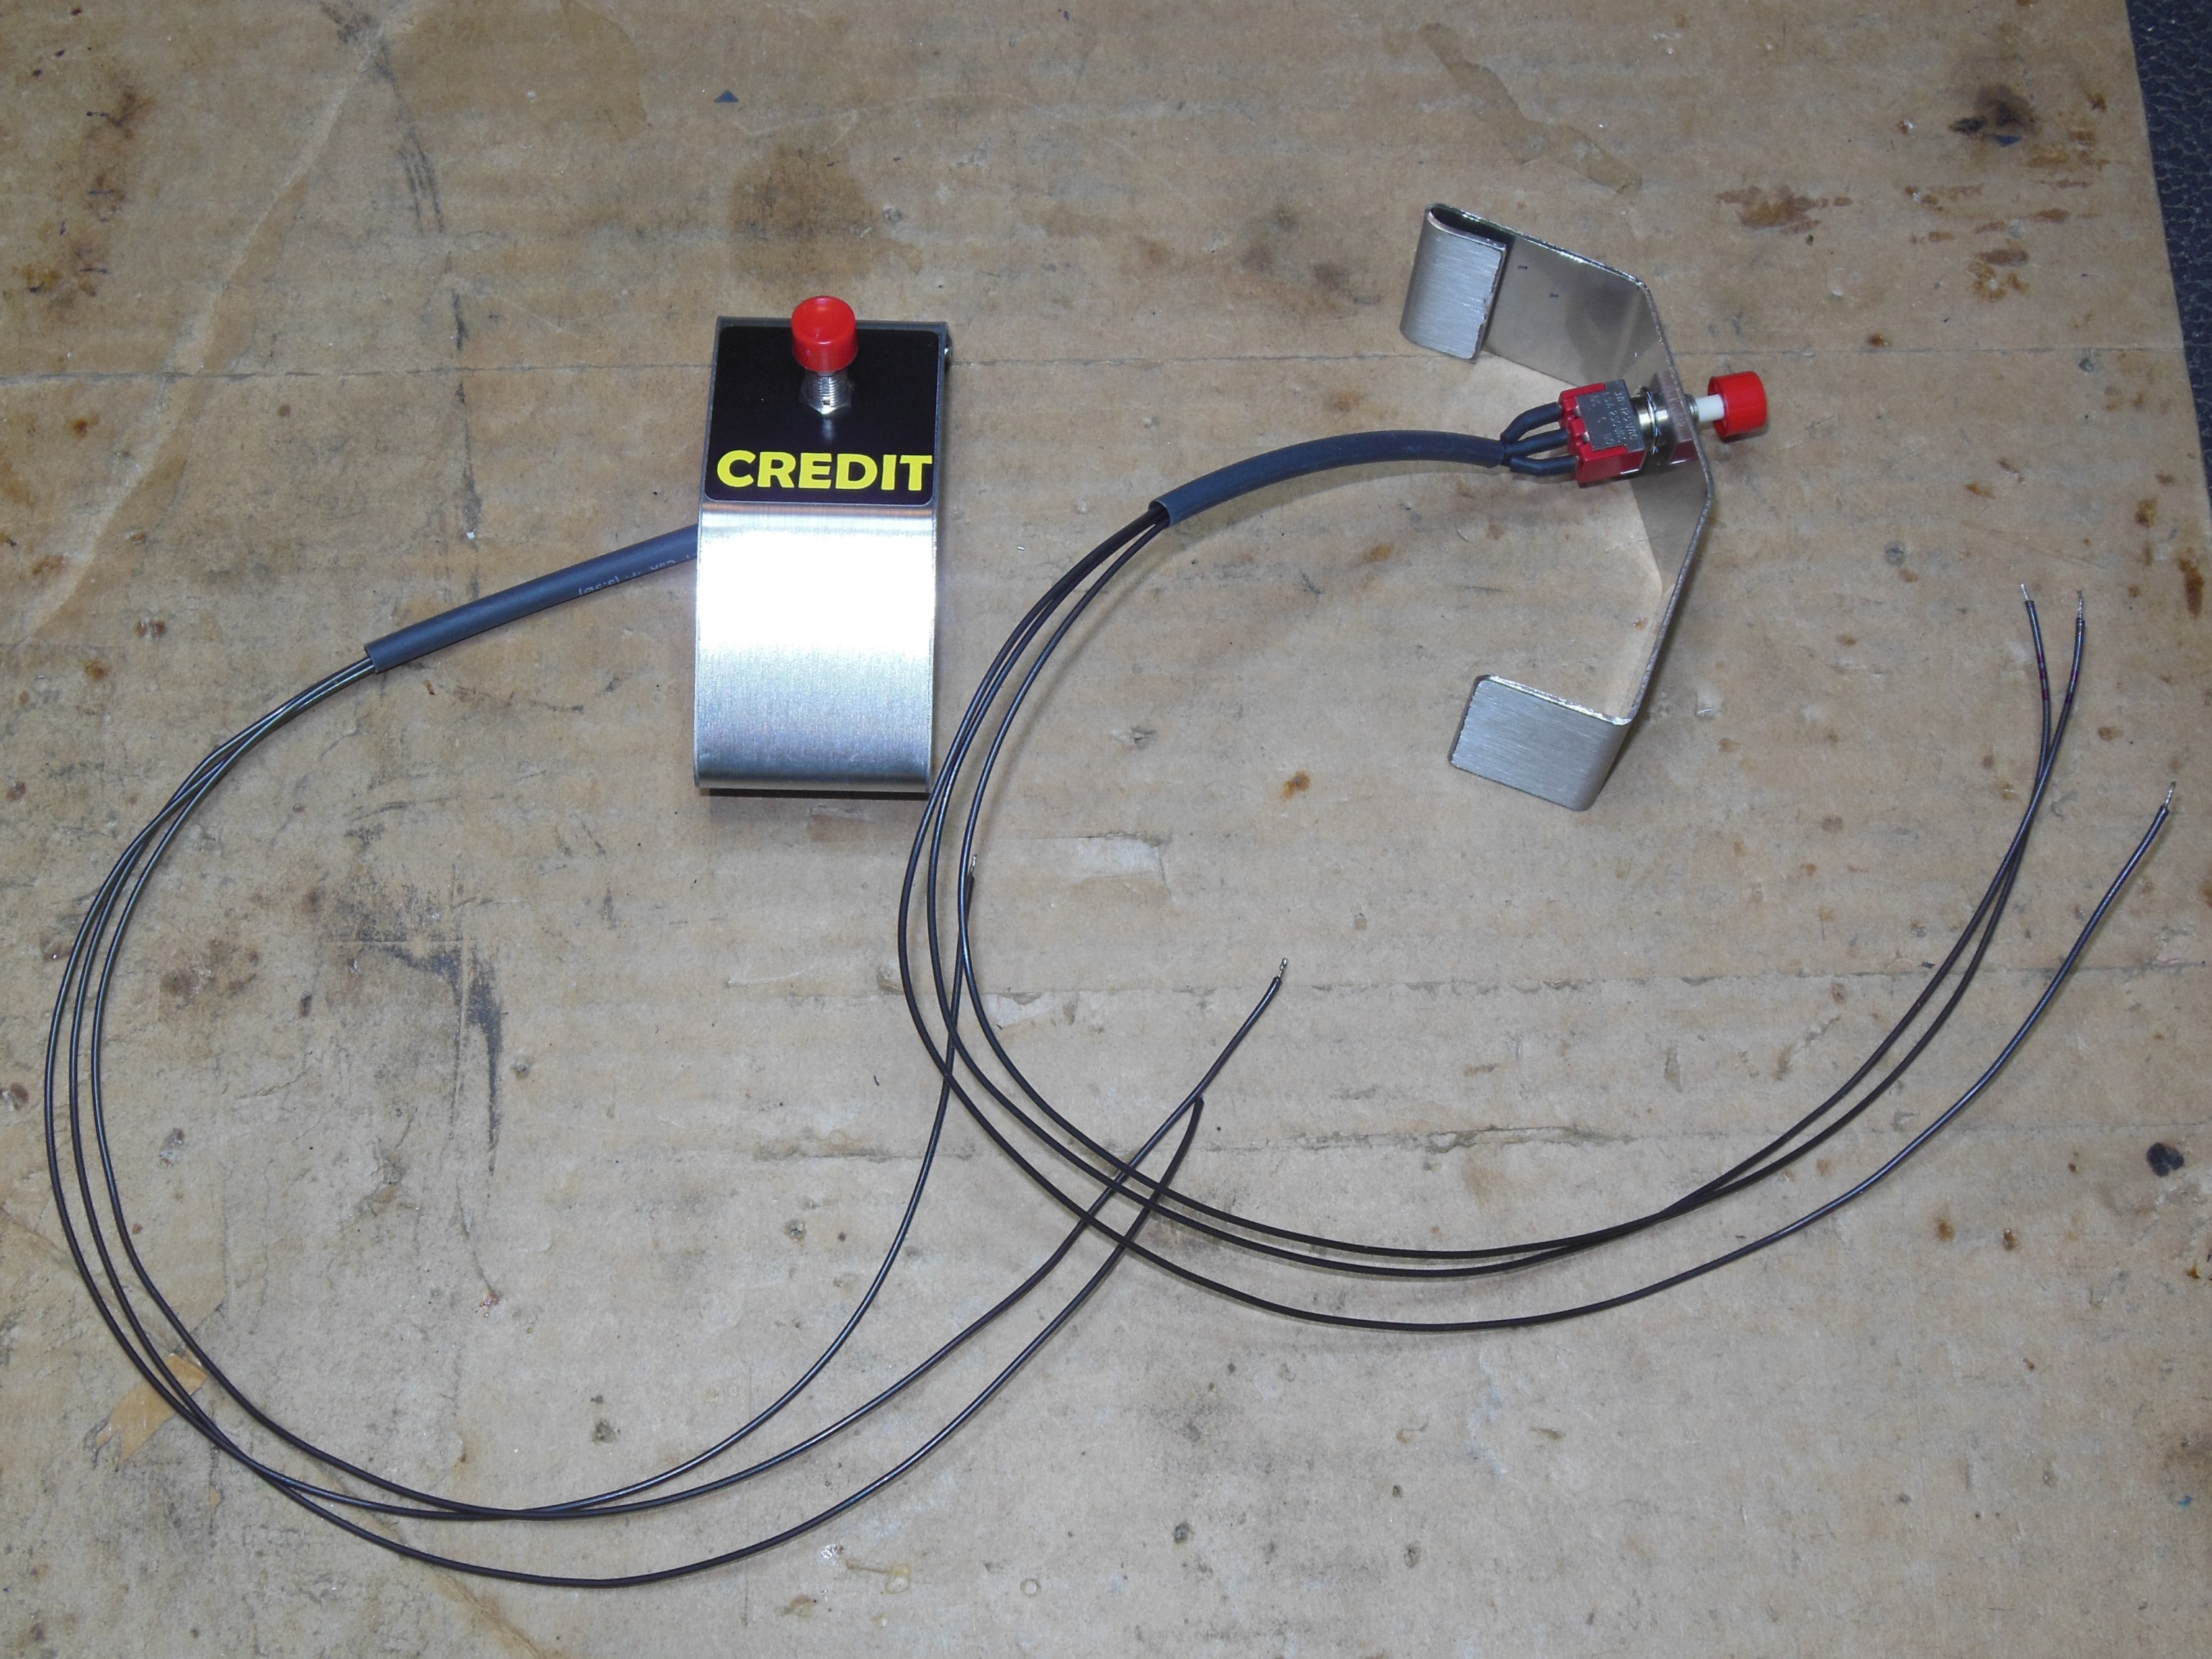
Two credit button brackets were assembled, one for this Super Cobra and a 2nd one for the next cabinet to restore. The button was fitted to the coin door and wired in.

|
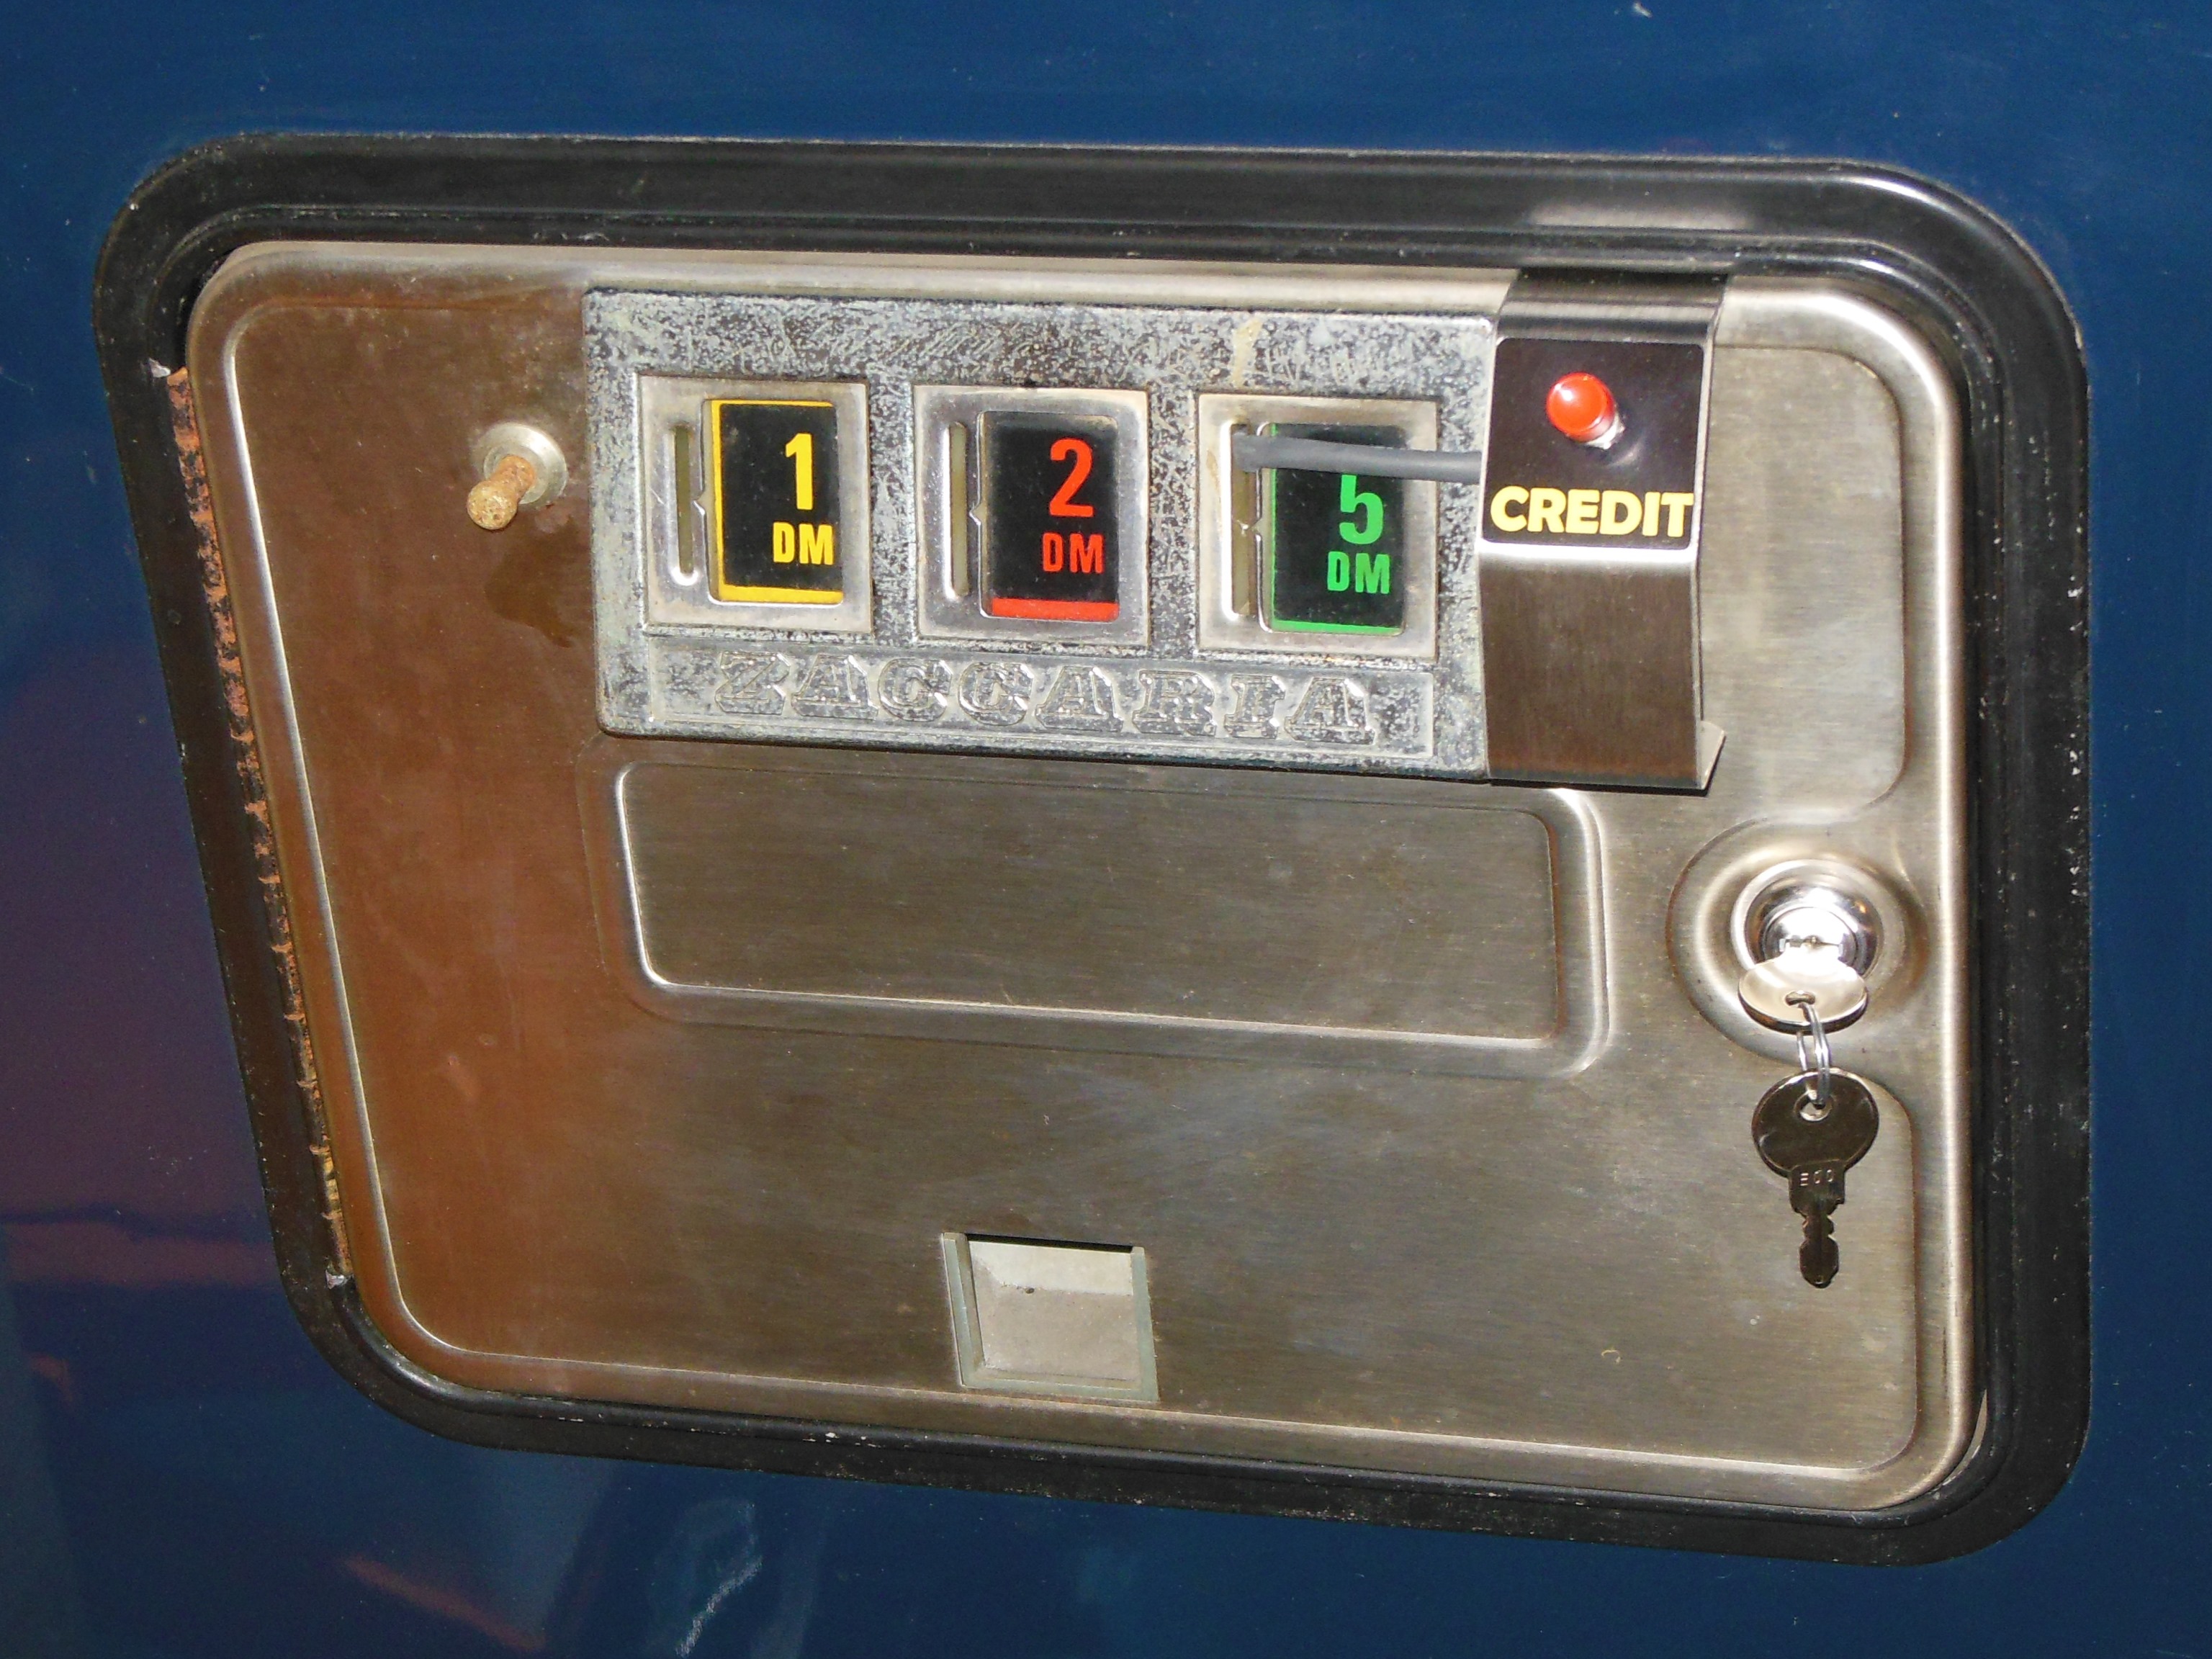
The coin door was configured for three slots and the credit PCB had a wire strap to allow for one coin one play on the third slot. Only this bypass slot was working due to a fauly credit PCB. The second slot bypass mod was added to the credit PCB for use with the credit button and the credit PCB left as is (not working).
|
Before mounting the glass four foam spacers were fitted to the side walls to replace the original foam spaces that had disintegrated.

|
|
Cabinet reassembly was completed and the exterior wiped down with a damp cloth.
|
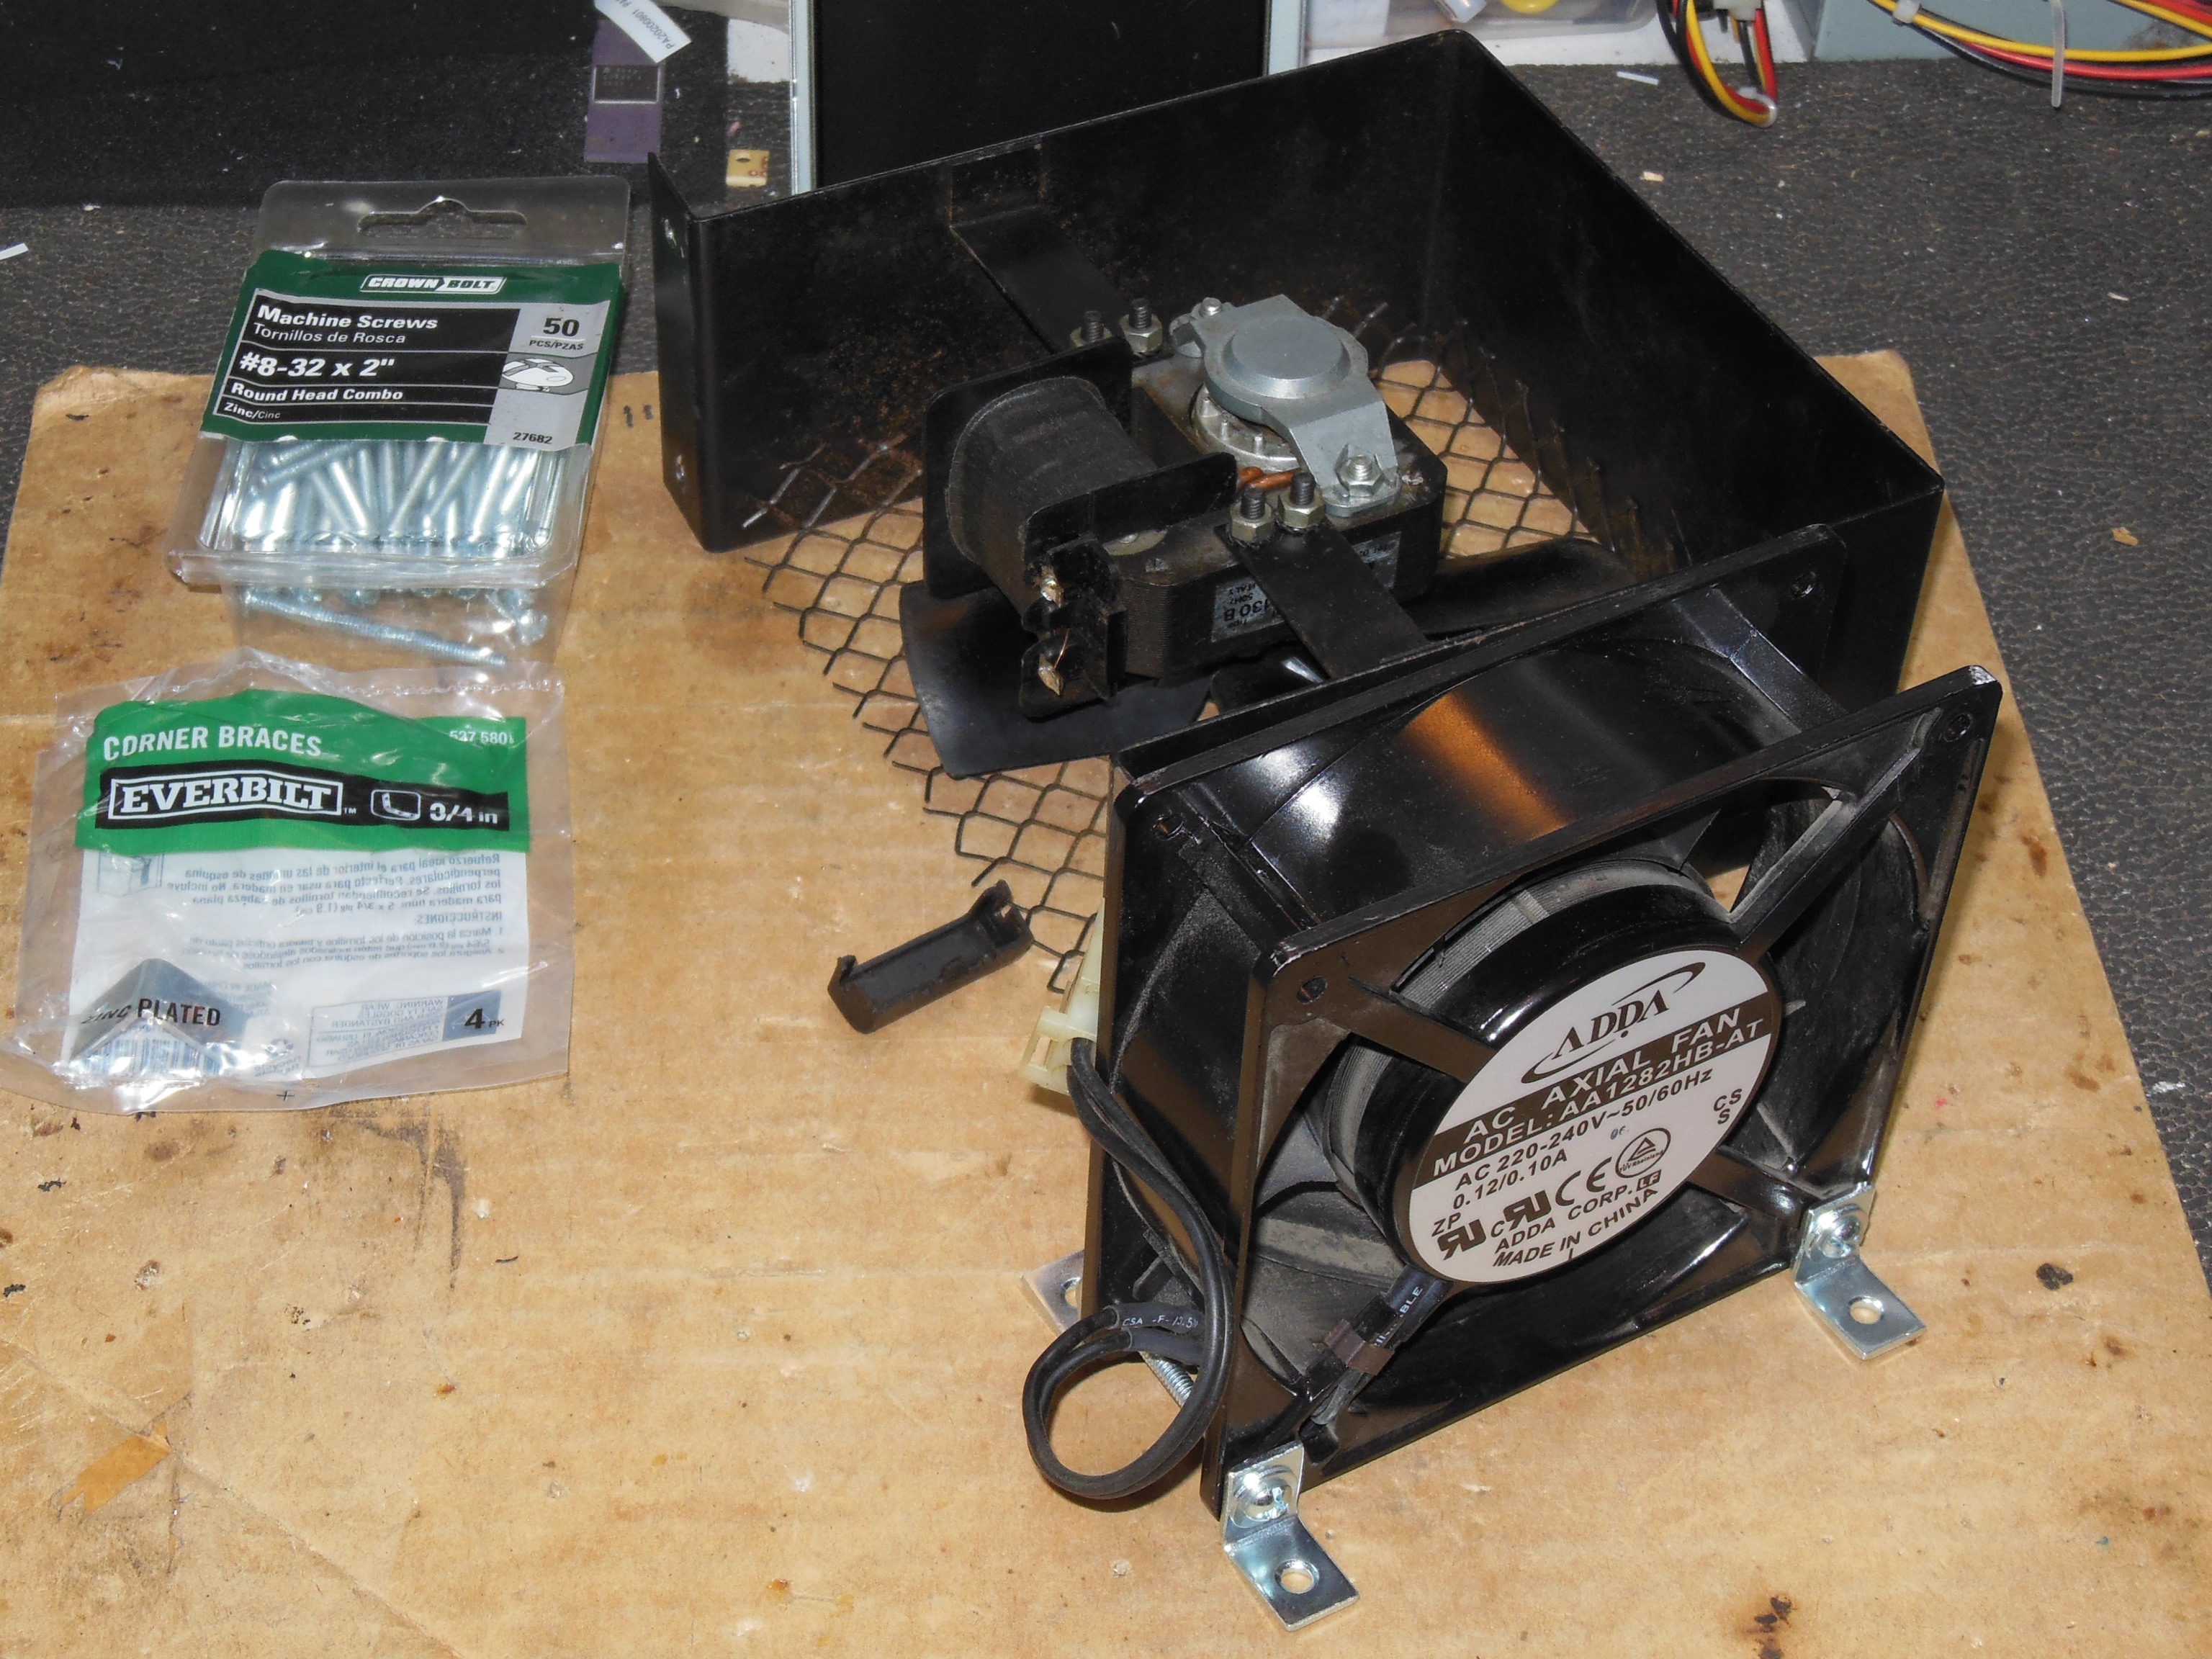
A 12hr burn in test revealed a few issues. First, the fan was still very loud and would need another look. Second, the monitor focus had drifted off slightly and needed a small tweak. Third, the game PCB developed a fault and no longer booted. The Scorpion game PCB repair is covered on the the Scorpion page
|
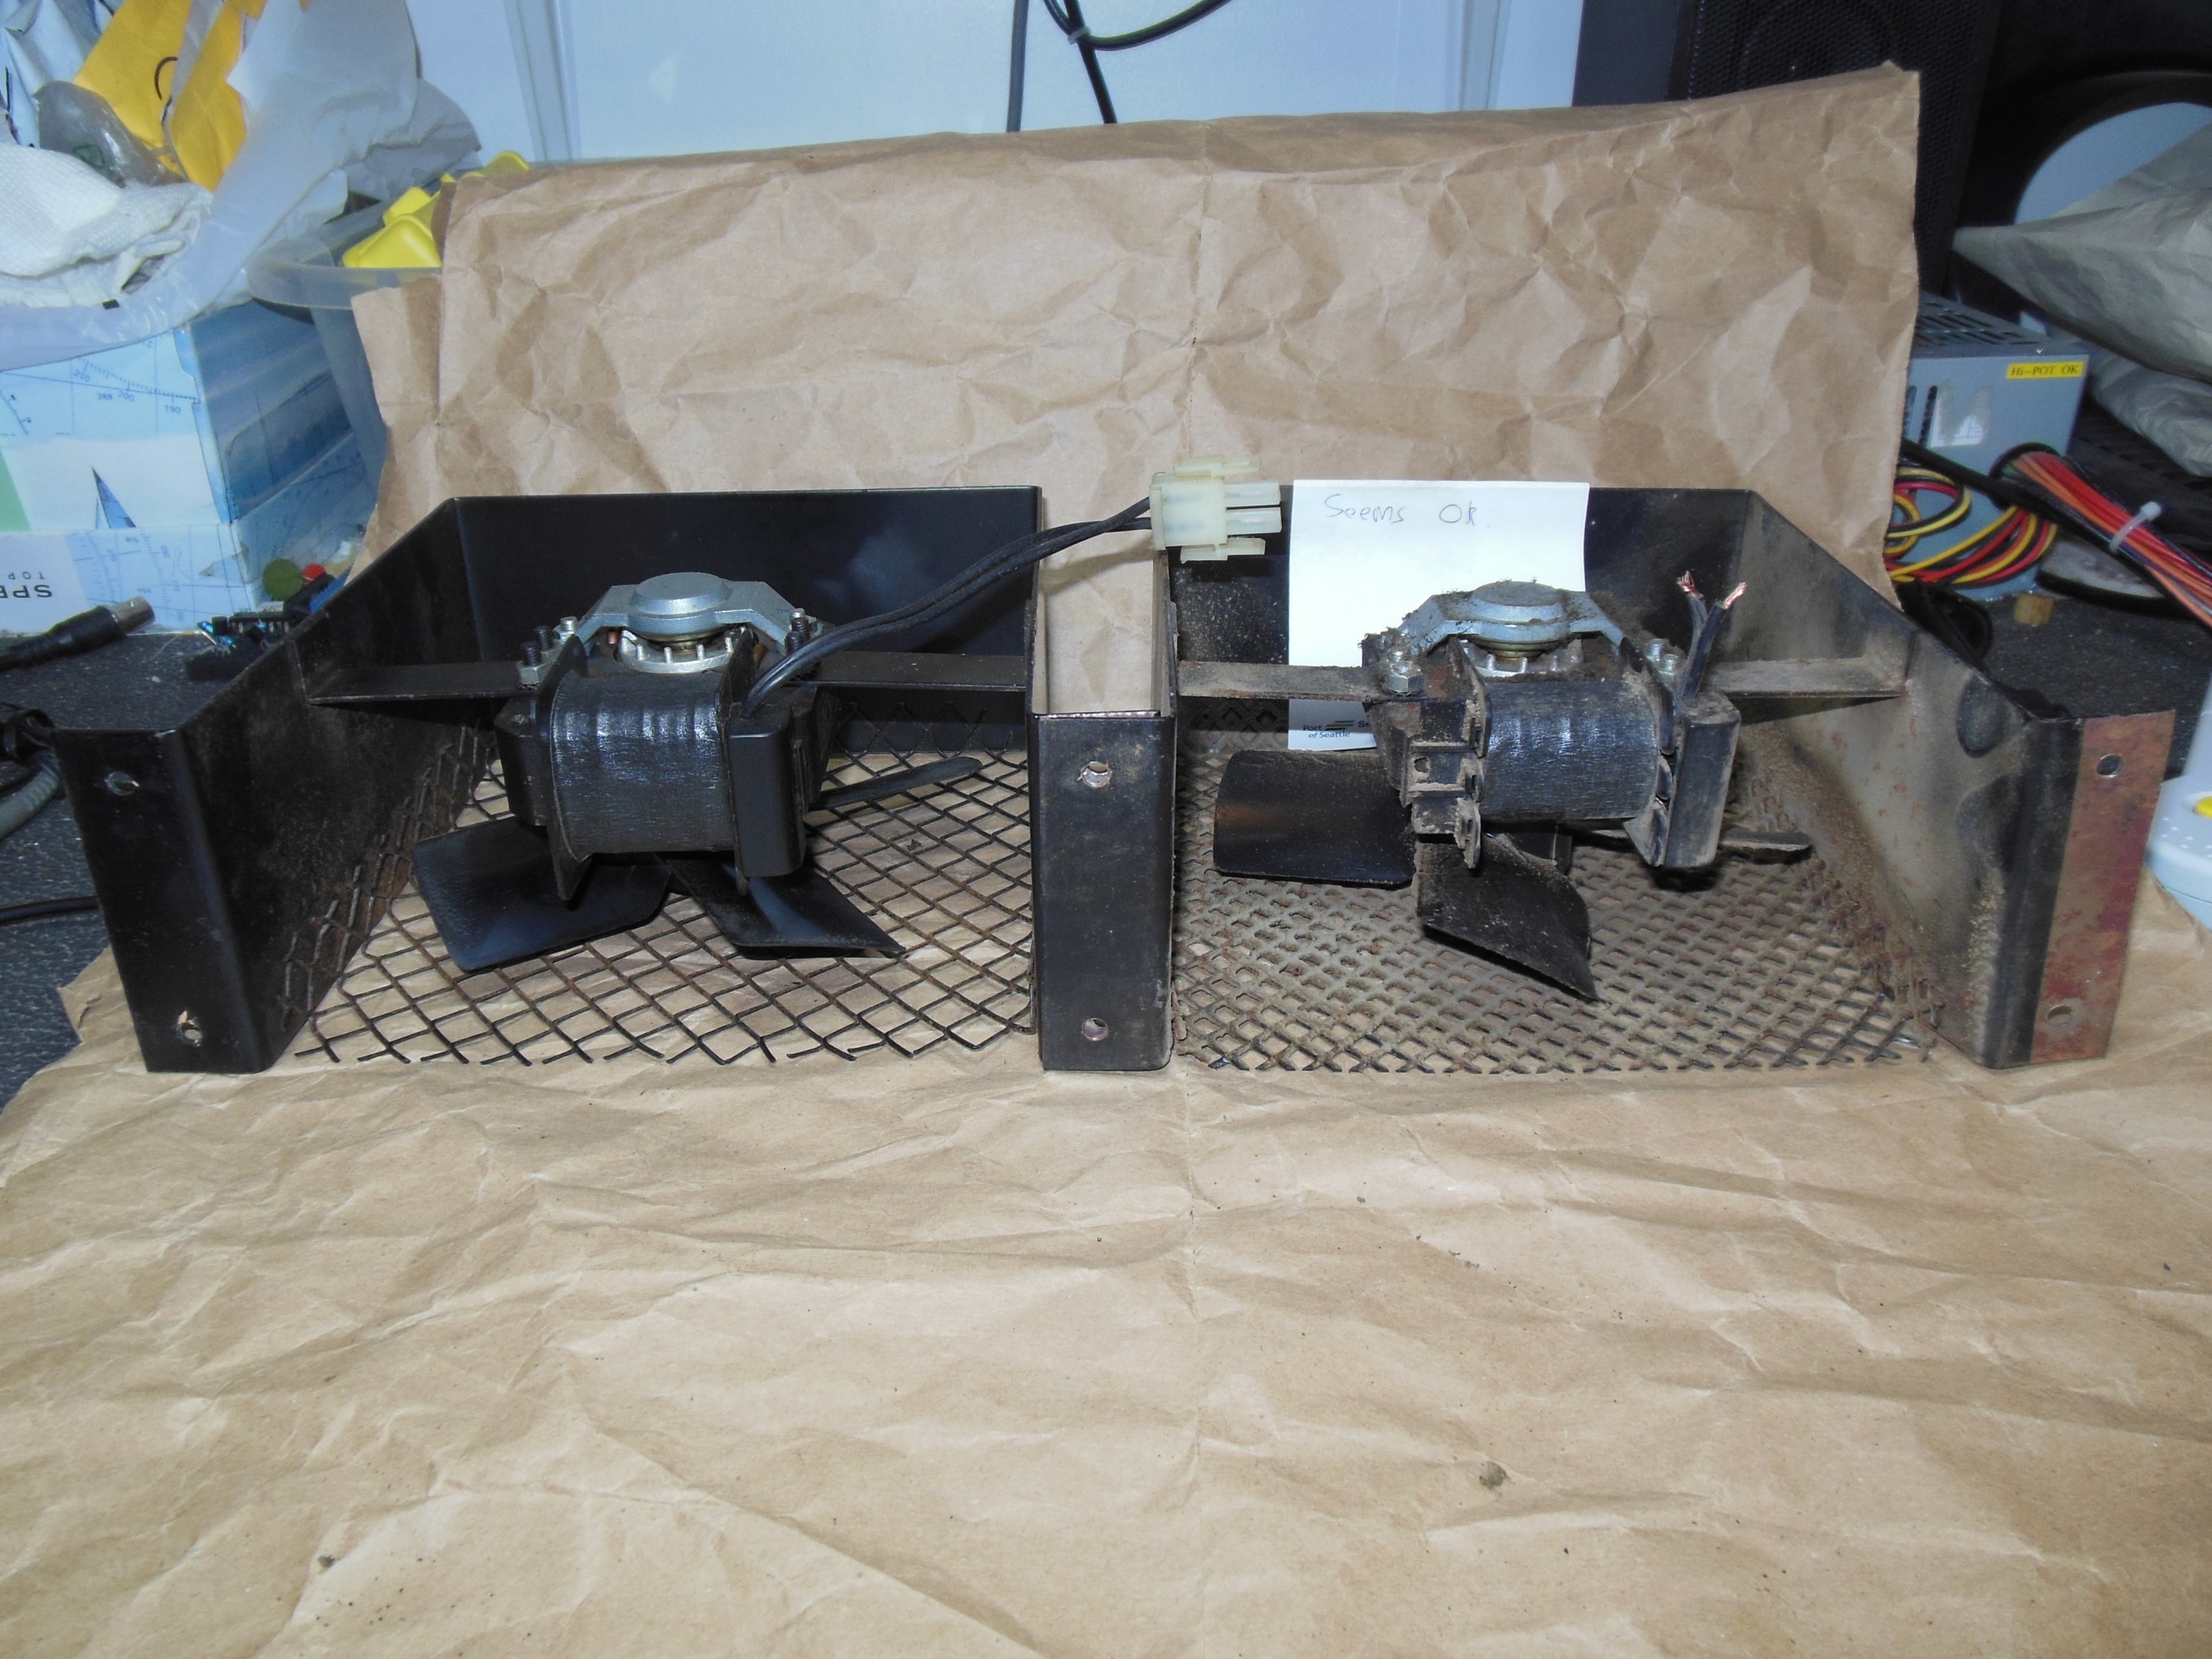
This fan seemed really powerful compared with fans I'd seen in other cabinet series. A little digging confirmed that this wasn't my imagination - a side by side of this fan versus another cabinet fan clearly shows different coil sizes. Further, of the noisy/rattly fans replaced in the past most were the large coil variety.
|
I'd been able to preserve many of the original fans with a clean and grease but this one was still very poor. The chosen replacement was a 220V ADDA AA1282HB-AT mounted to the wood base with four corner brackets and connected using the original cable & plug.