
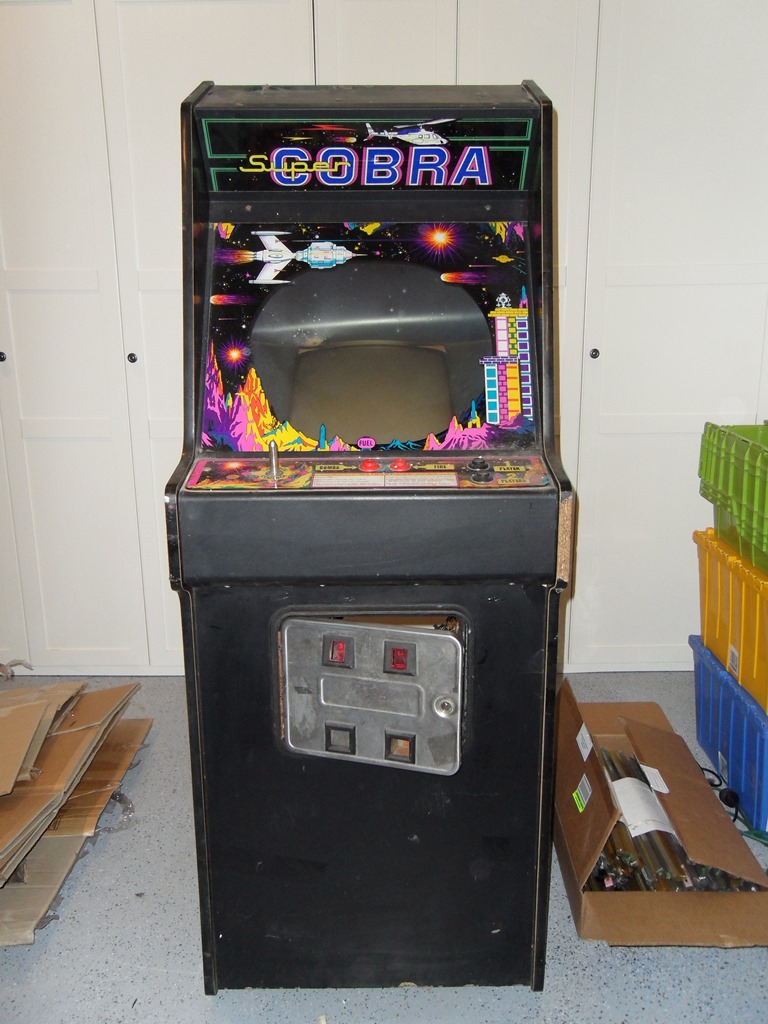
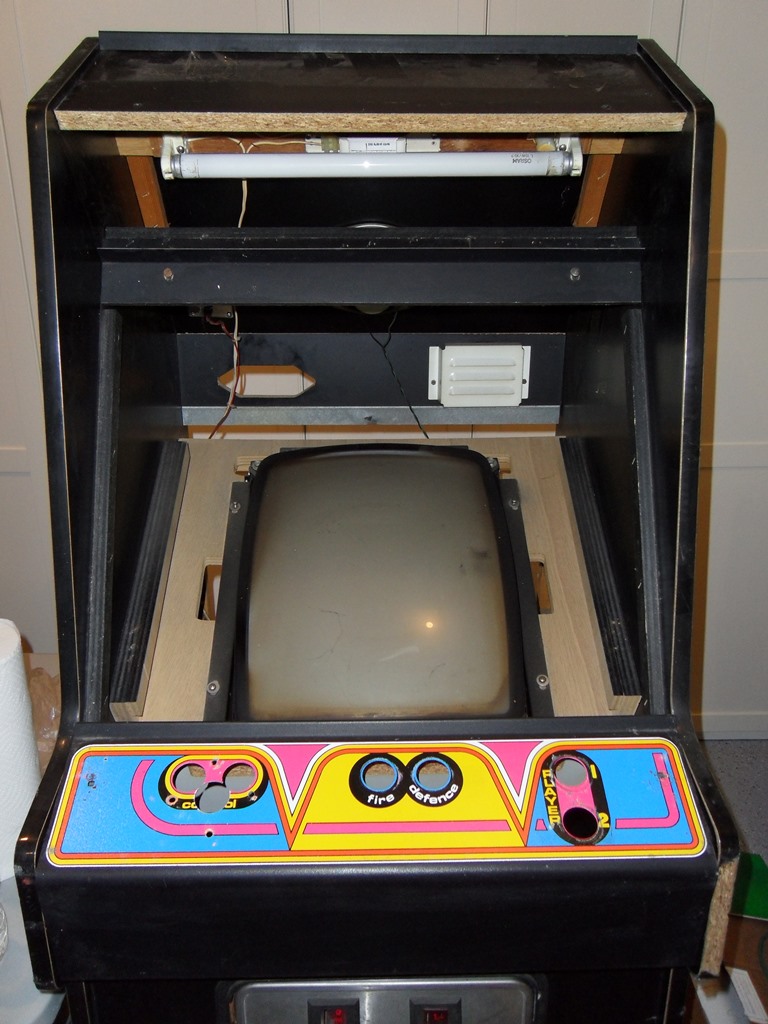
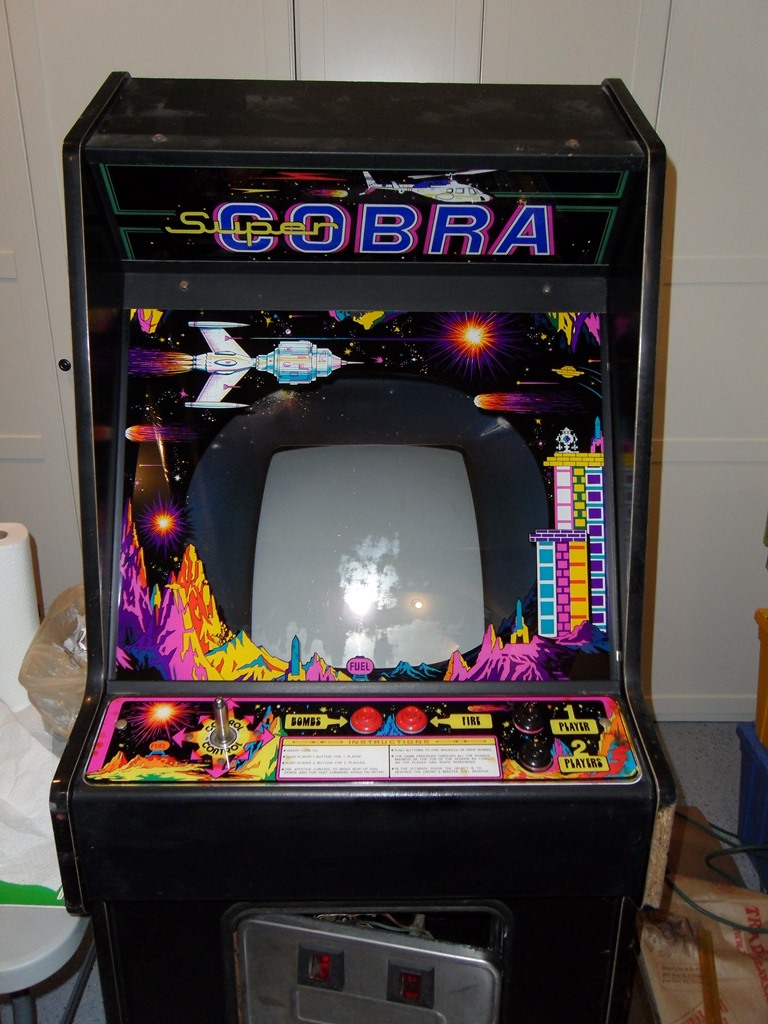
This is an example of an unusual Zaccaria Super Cobra cabinet. It came from Germany, likely off eBay. This cabinet has provoked a lot of debate and speculation for a few reasons:
All things considered, the theory is that these cabinets may have been made by another company for Zaccaria and not manufactured in house.
|
|
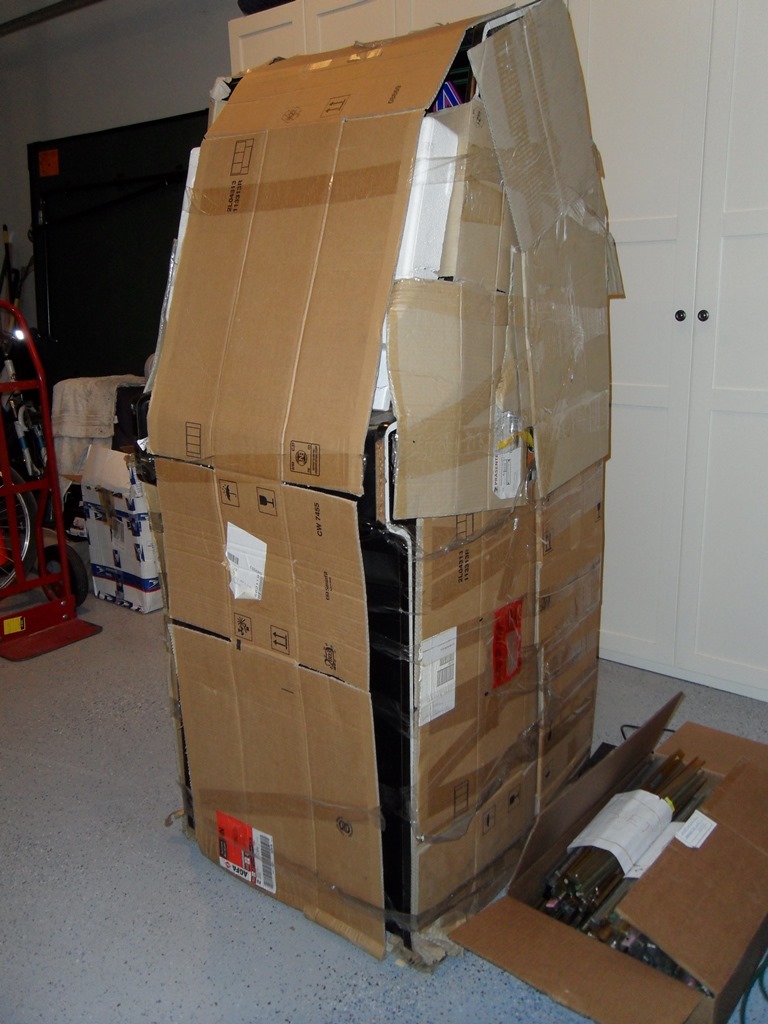
The seller did a good job of wrapping the game (it had been wrapped a few years).


|
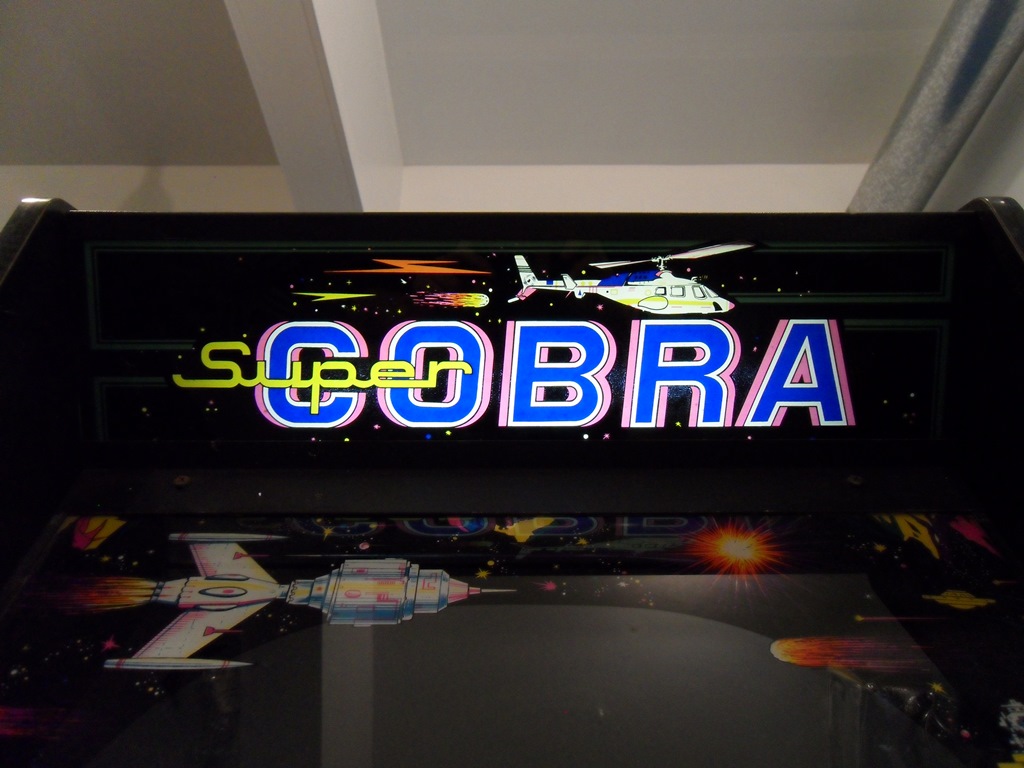
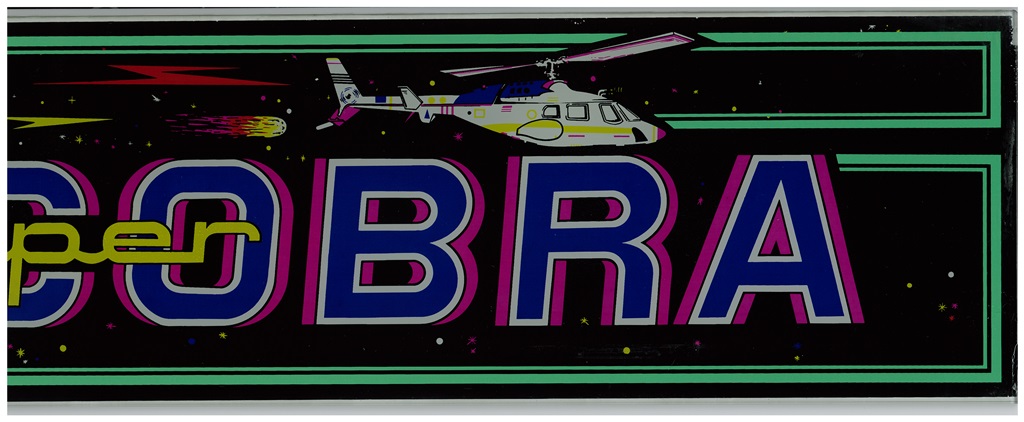
The cabinet looked complete except for the missing back door and game PCB, and in good condition (very dirty of course). All the artwork was present and looked original though slightly different to the Super Cobra artwork used on the usual Zaccaria style cabinet.
|
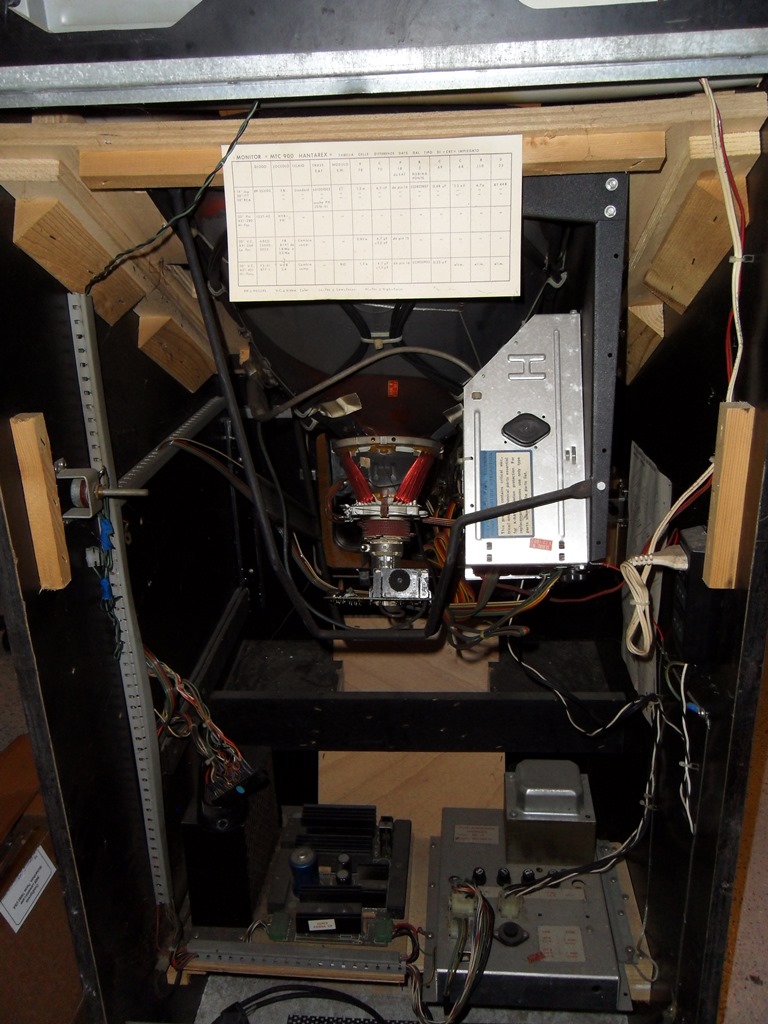
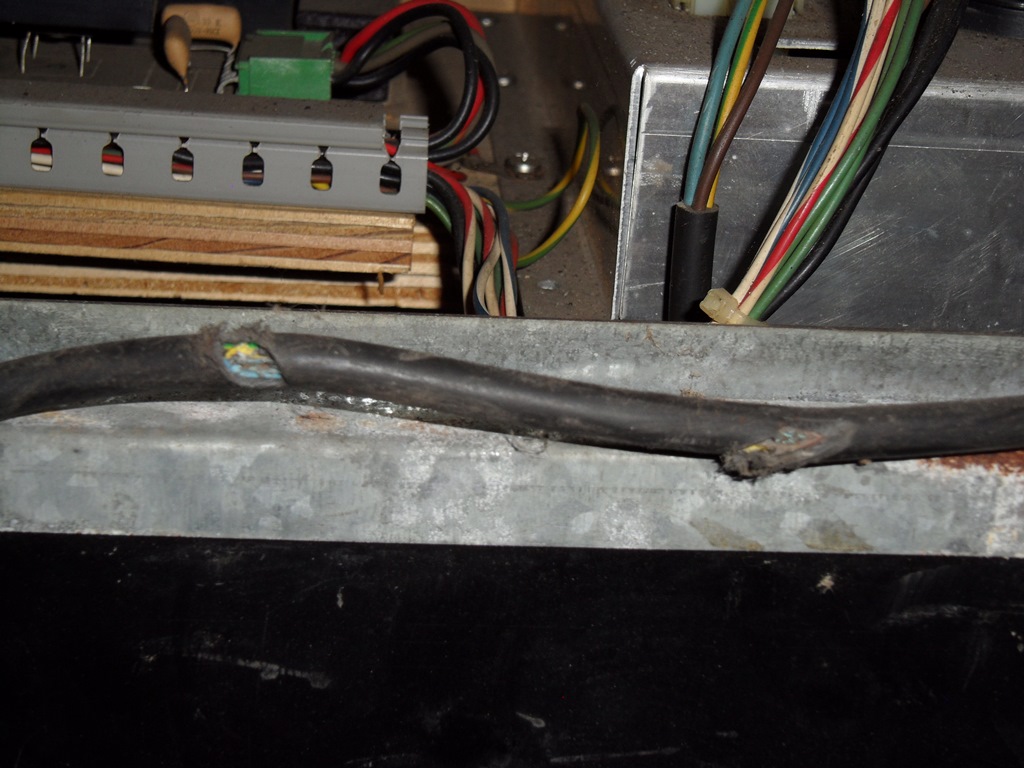
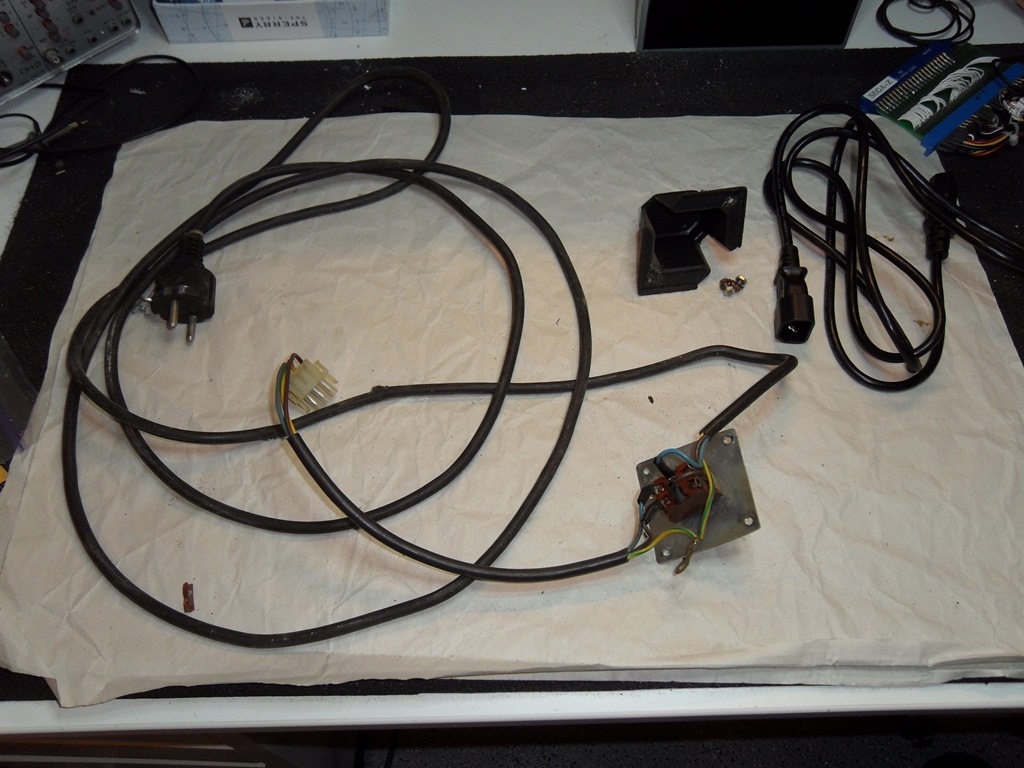
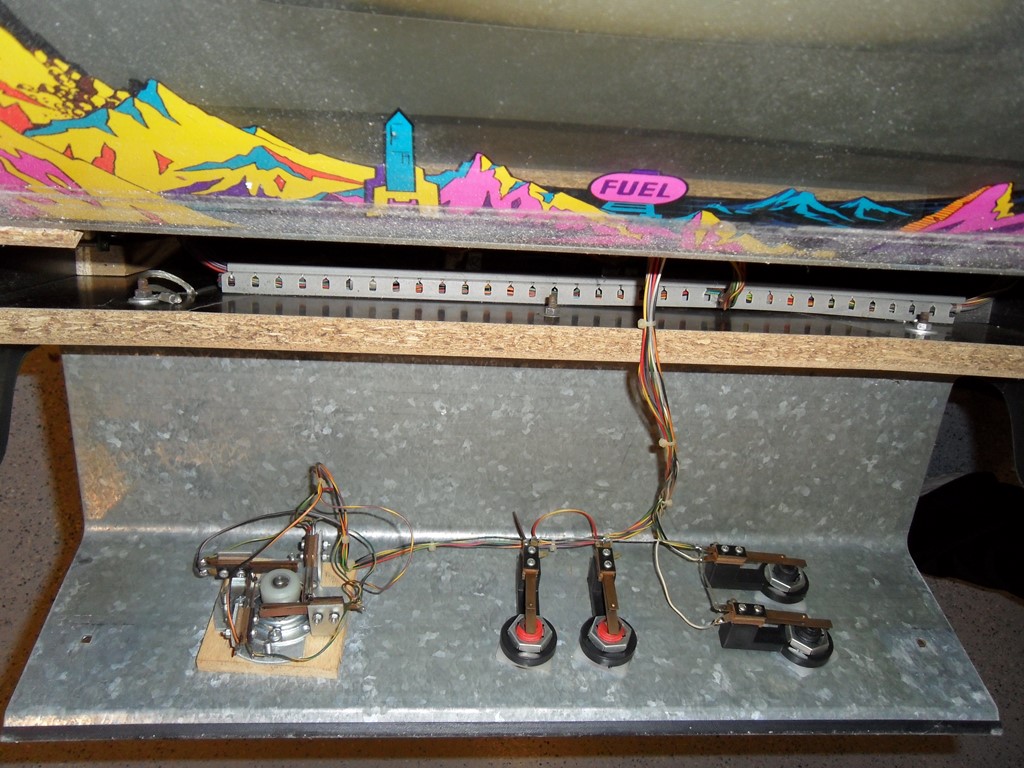
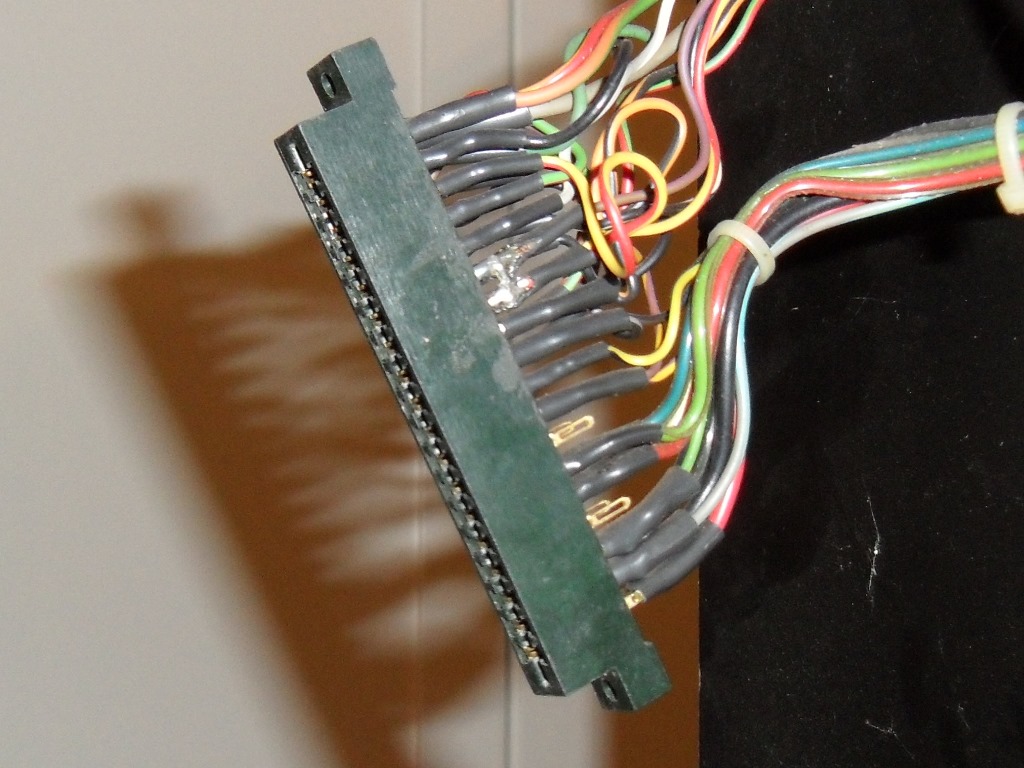
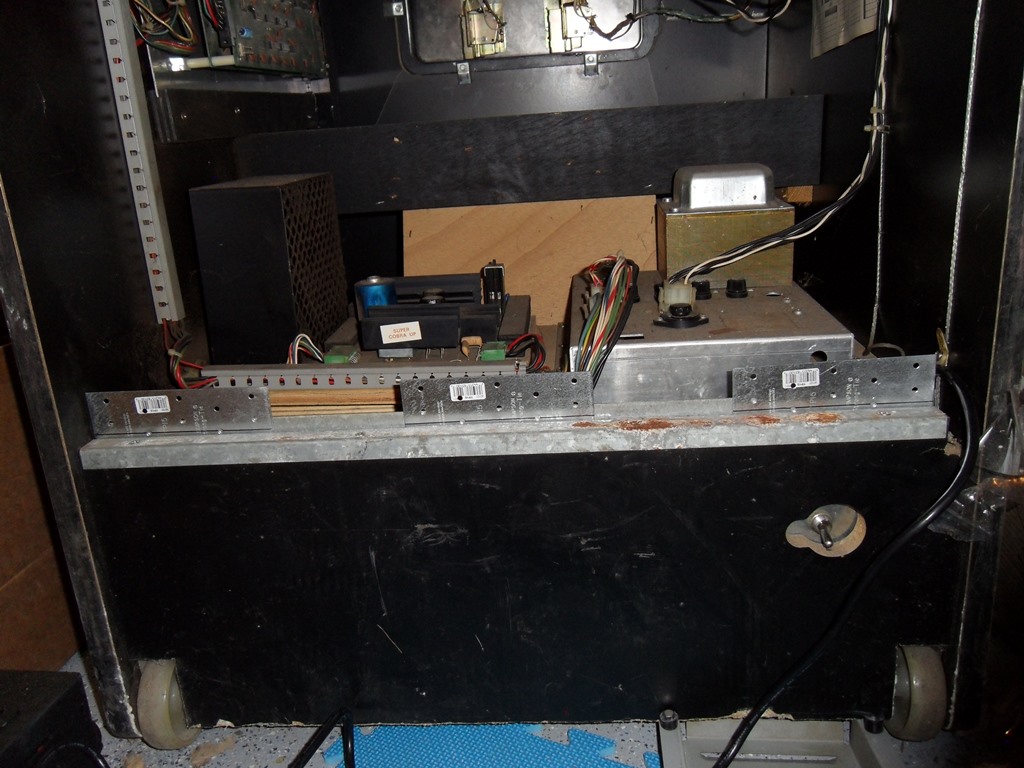
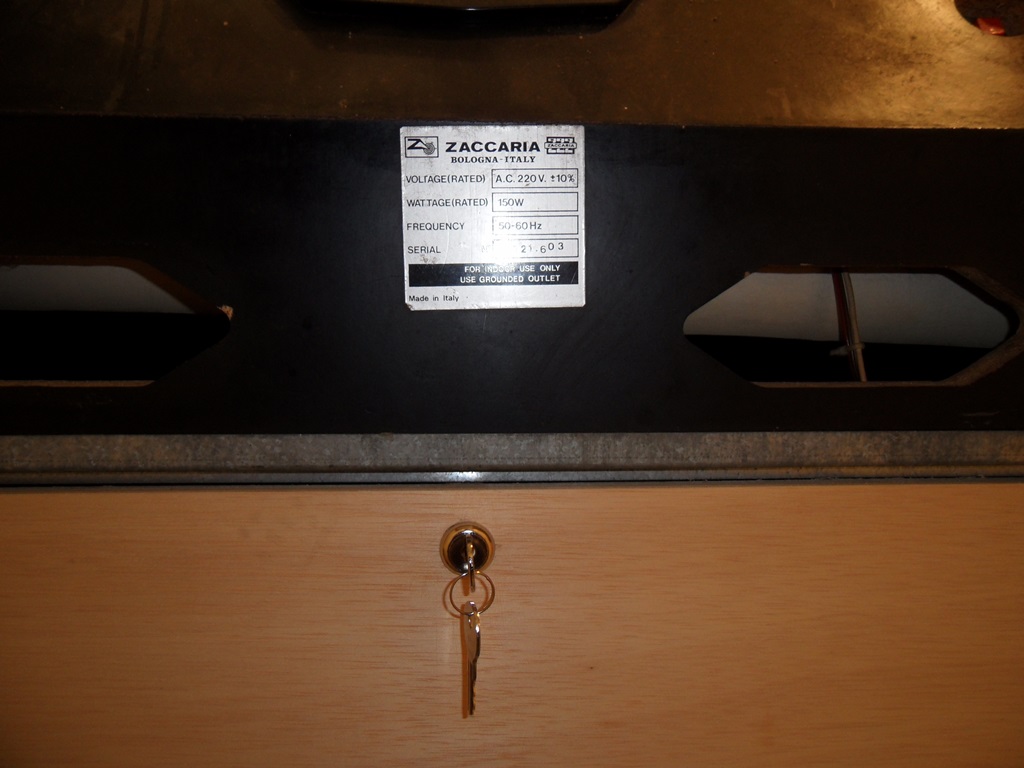
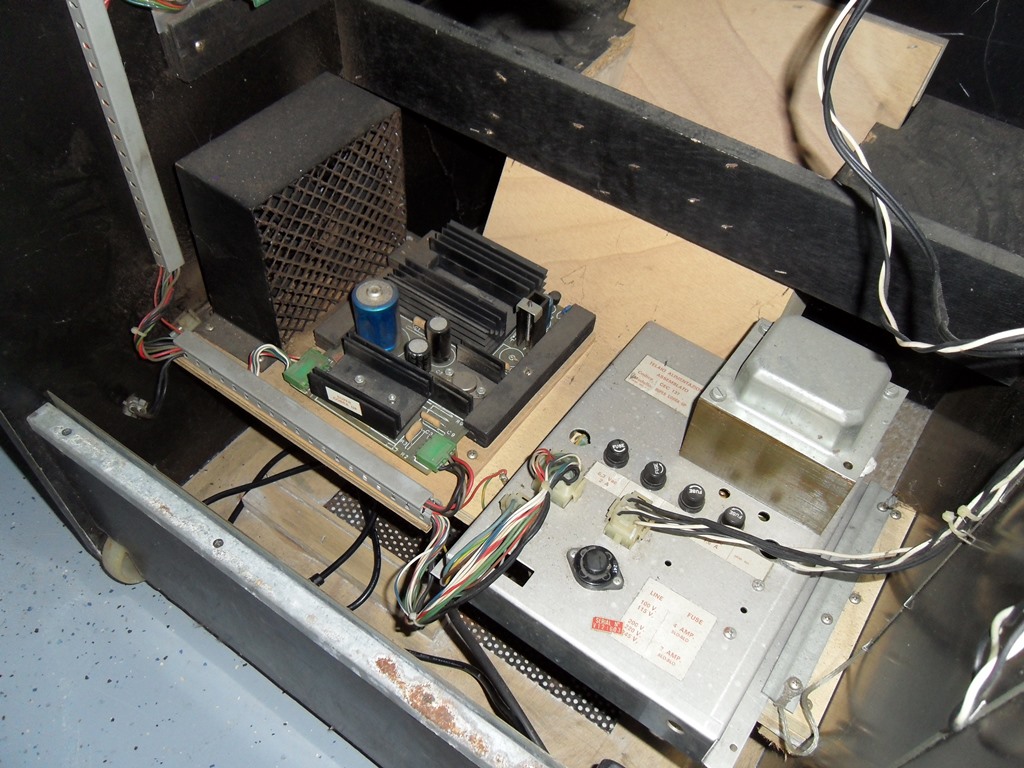
The wiring, monitor and power supply all looked original ("Super Cobra" labels on the power supply). Only the power cord looked like it needed to be replaced. I changed the voltage selector from 220V to 245V to reflect my local 240V supply.
|
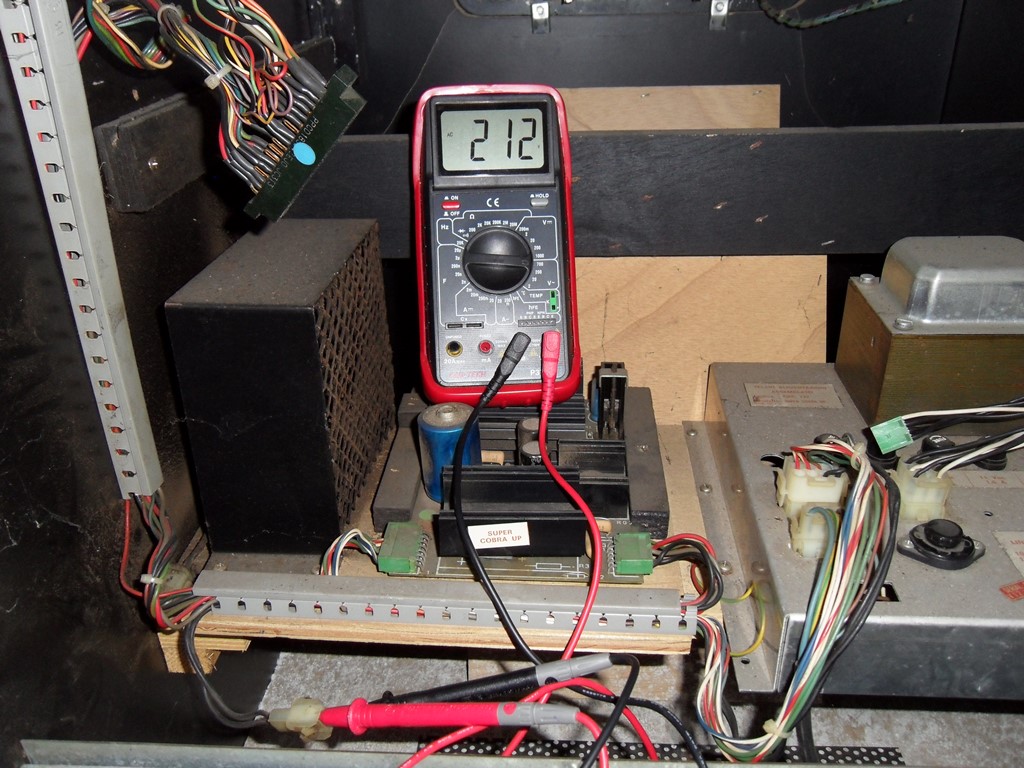
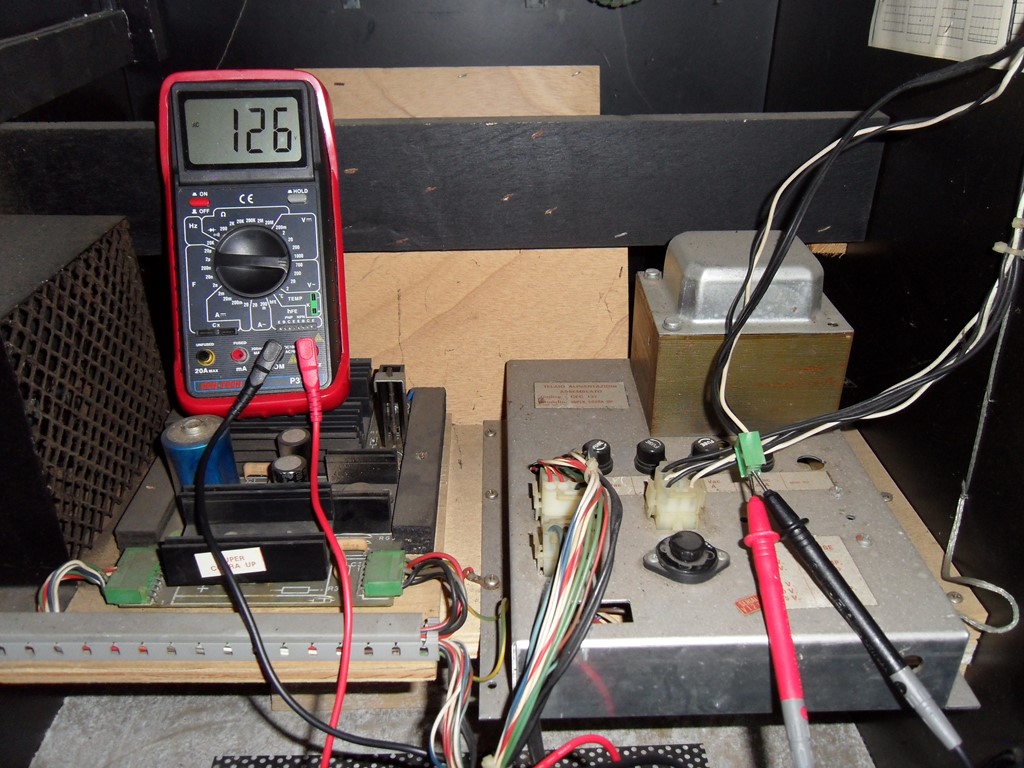
With the new power cord the game side 220/128V looked OK. On the regulated side the +5V, -5V and +12V all looked reasonable. The next step was to reconnect the monitor and marque light.
|
|
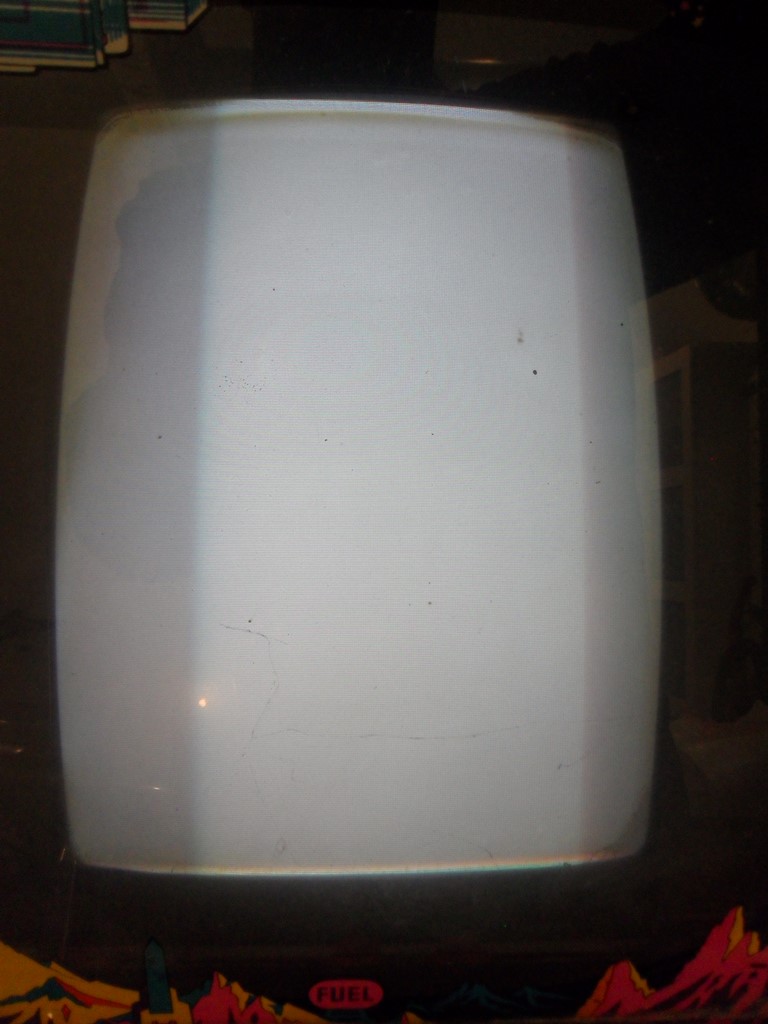
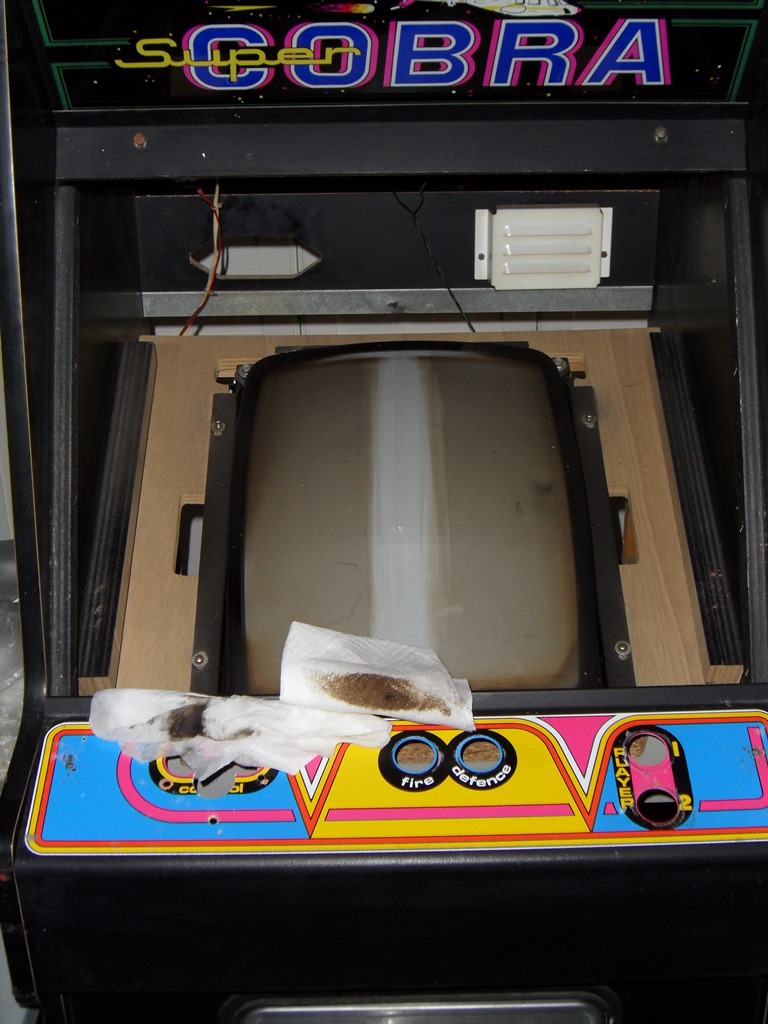
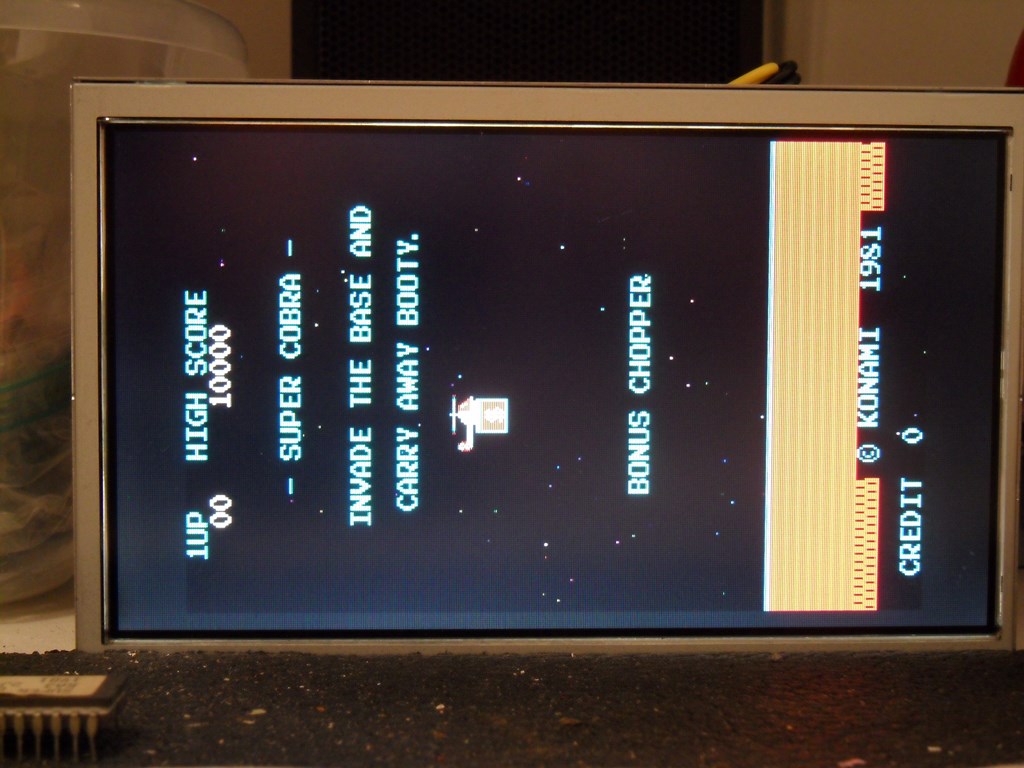
The marque light and monitor came on OK, free running with brightness turned up to raster (the dark band is the photo, the grey and stains are thick dirt). Both were still running after an hour. I needed to dig out a Konami board to see what the monitor picture looked like next.
|
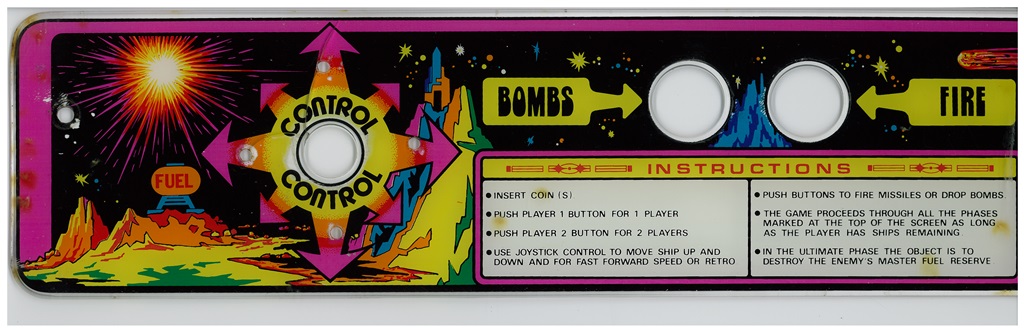
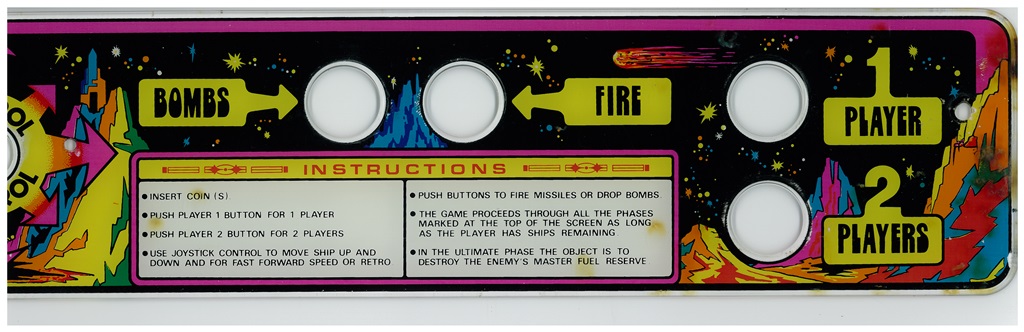
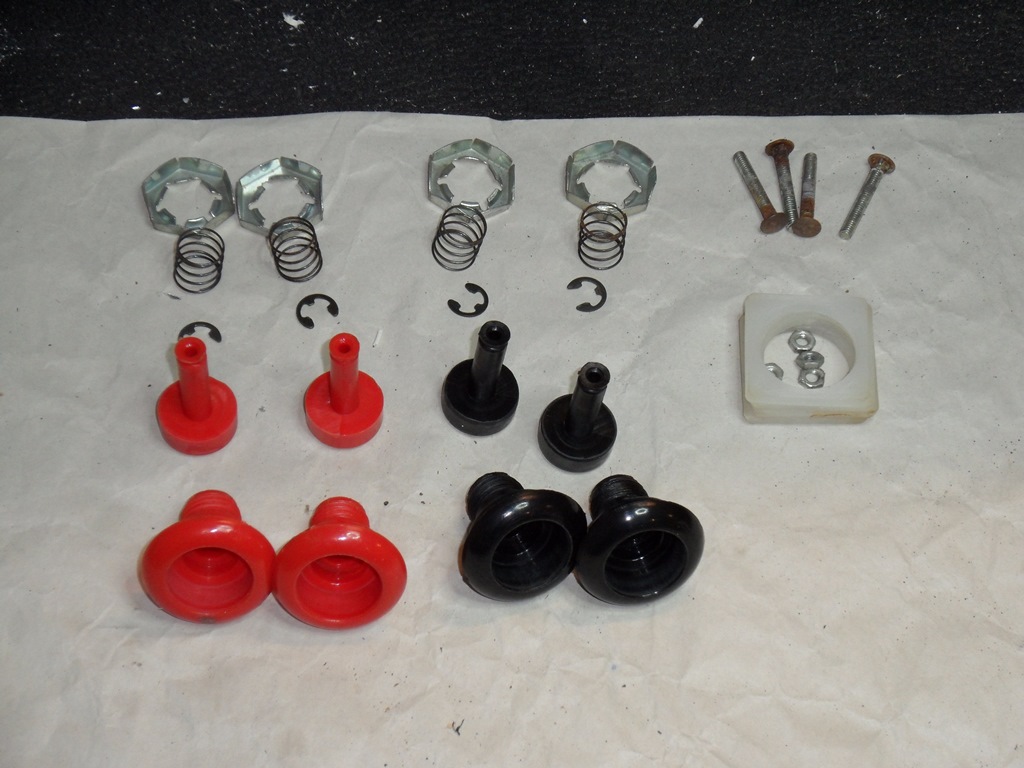
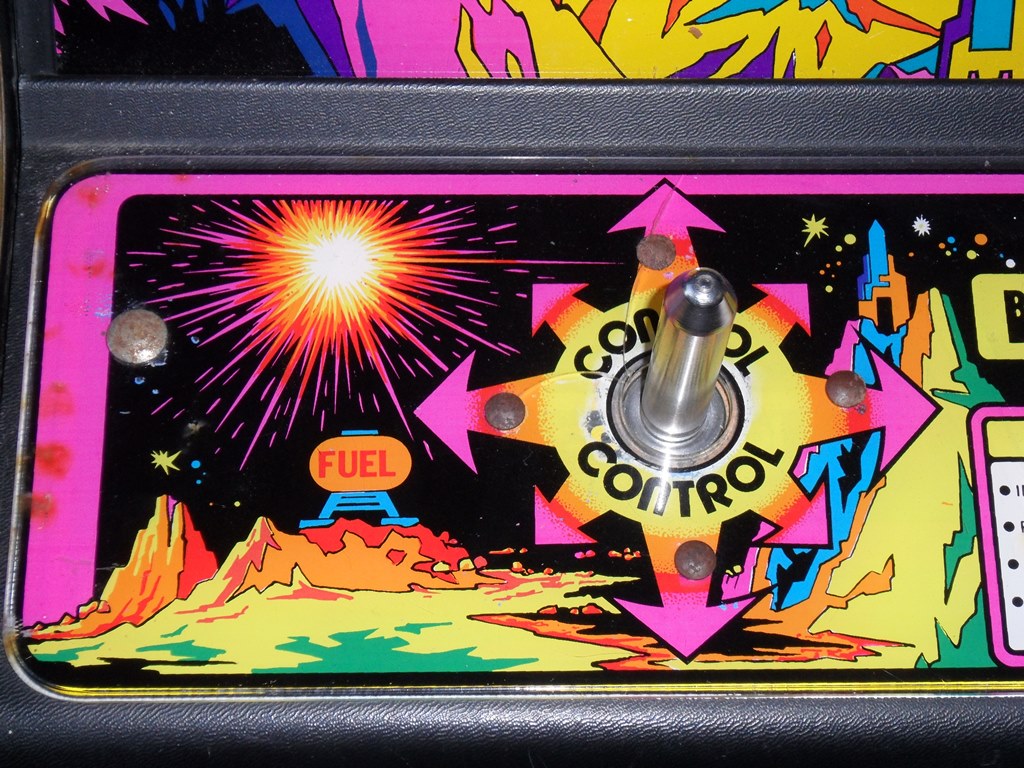
I stripped down the control panel to scan the overlay and clean the buttons out (the fire button stuck down). Underneath the Zaccaria overlay was the original silkscreen in near pristine condition. From the button configuration it looked like the original intent for the cab might have been Phoenix.
|
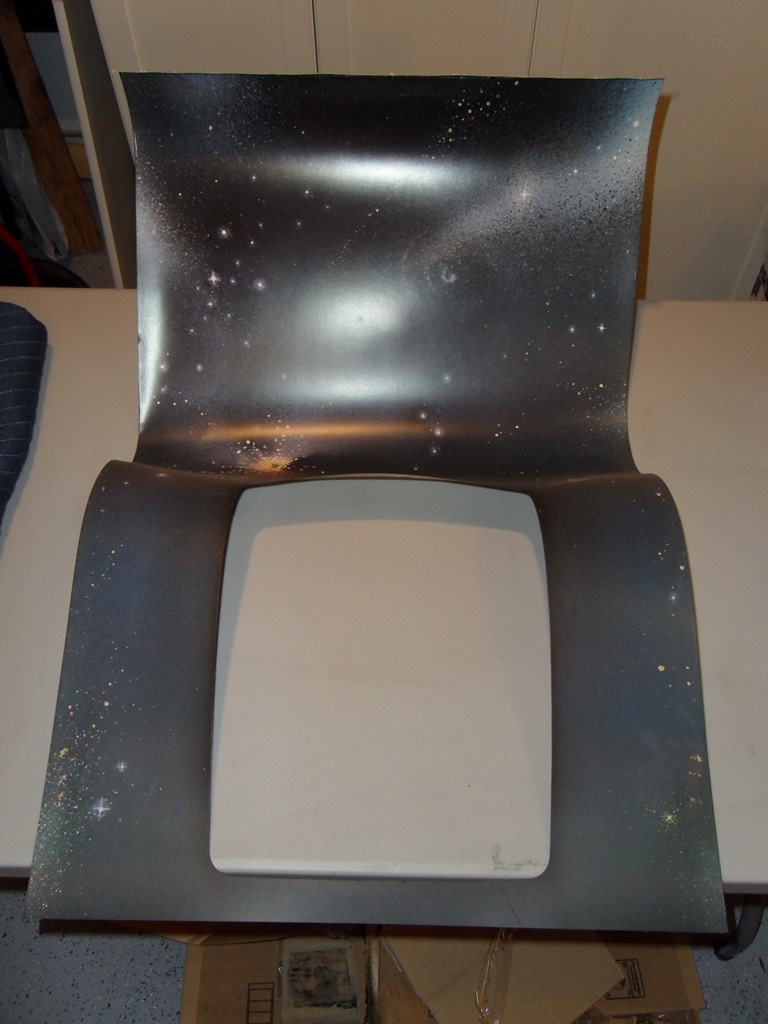
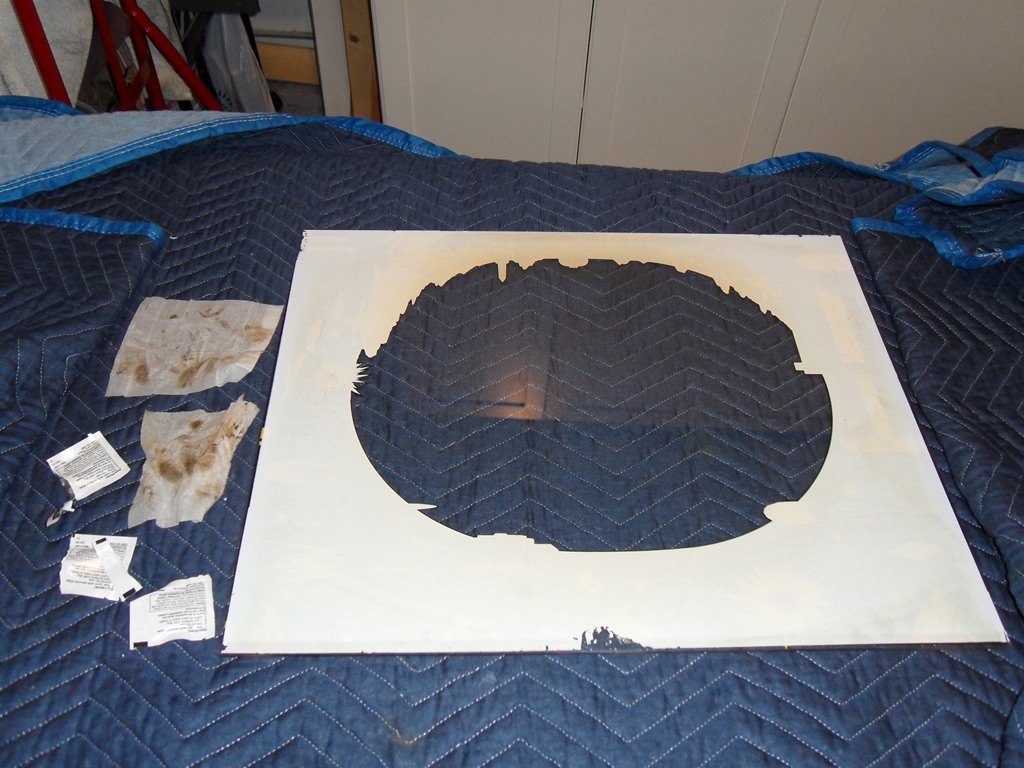
I popped out the staples in order to remove the cardboard monitor surround. Like the CRT there was a think layer of brown sludge that was mostly impervious to water. I don't think there is a safe way to remove this from the cardboard. Unlike usual Zaccaria cardboard surrounds that are plain cardboard and painted this one was double sided gloss laminated with photographic printing on one side.

|
Since the cardboard was laminated on both sides I had to be careful to not crease the laminate as part of flattening it. It had developed a sharp curve over time that would need to be slowly teased out (the top side staple row along the wood line had already been creased and cracked so that would need repairing once flattened). The plan was to gradually add weight over a few days to flatten it out and hopefully not crease the laminate.
|

|
|
|
Scanned in the marque, monitor glass and control panel overlay.
400 DPI Super Cobra marque scan (10.9MB).
300 DPI Super Cobra monitor glass scan (16.4MB).
400 DPI Super Cobra control panel overlay scan (9.7MB).
|
The same brown sludge was in the control panel buttons. A run through the dishwasher cleaned it off and the buttons worked fine on reassembly. Since the control panel overlay was cracked at the bolt holes and the bolts were tight I trimmed down the collars with a Dremel to reduce the stress on the overlay holes. Also added more weight to the cardboard flattening.
|
This set a new standard for dirty. I don't know for sure what this brown sludge was but it didn't come off with soap and water. In the end it took a lot of elbow grease, Goof Off and a full roll of kitchen towel. Yuk.


|
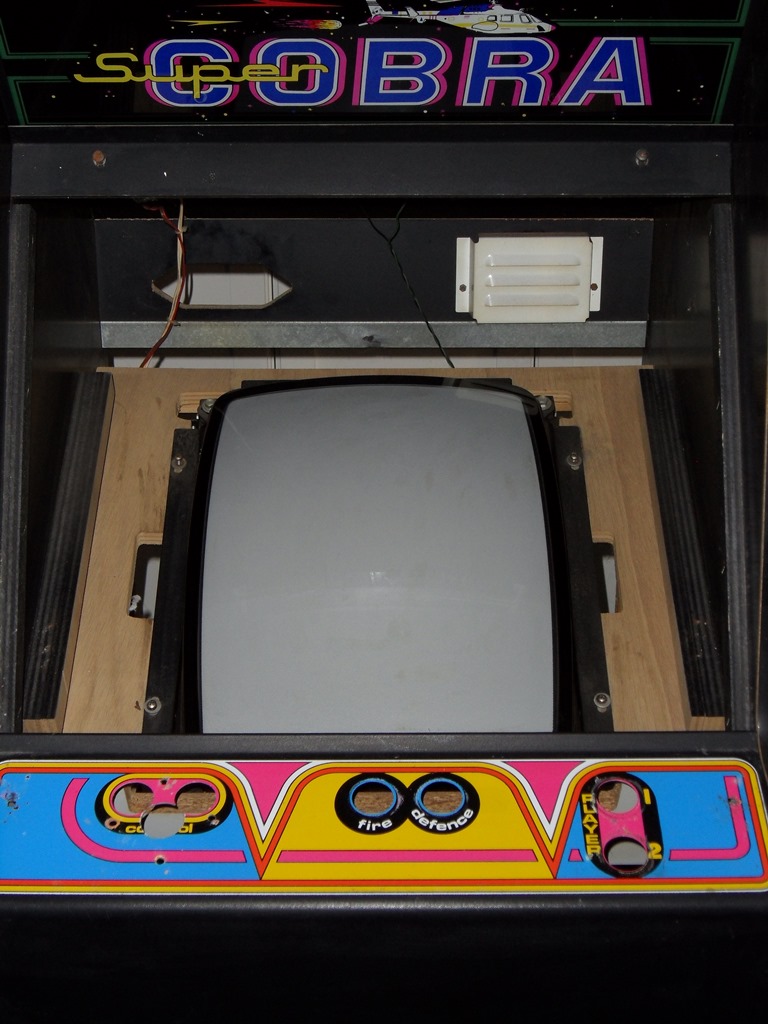
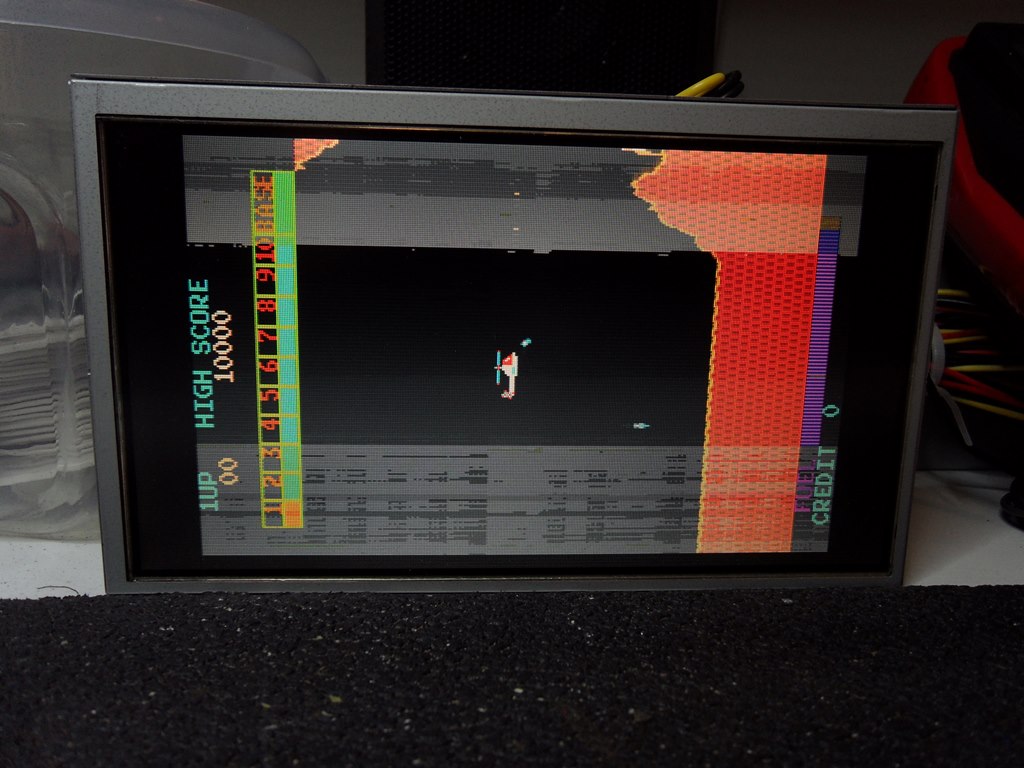
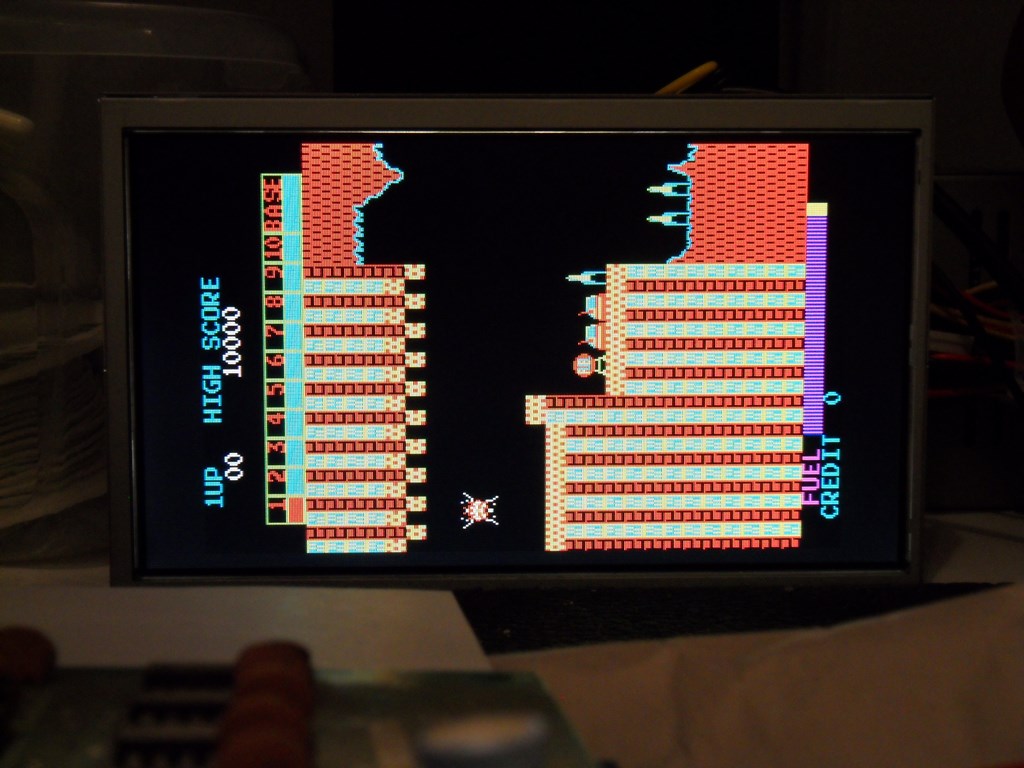
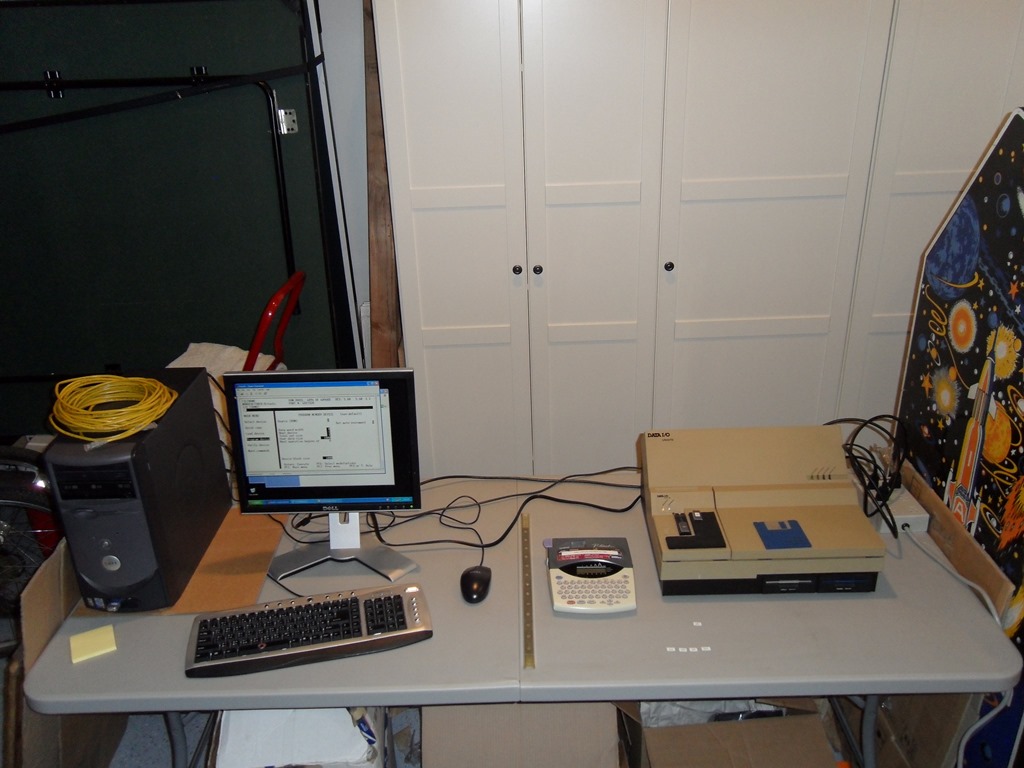
A little bit of pot tweaking and the picture was pretty good. The monitor looked all original. The only issue was that the H width was a little bit short and the pot for that had no effect on it but was OK as is for now. There was a little bit of hacked wiring on the volume pot that needed cleaning up. The sound worked fine. This was with a GGI/Karateco bootleg game PCB until I can get an original Konami running.

|
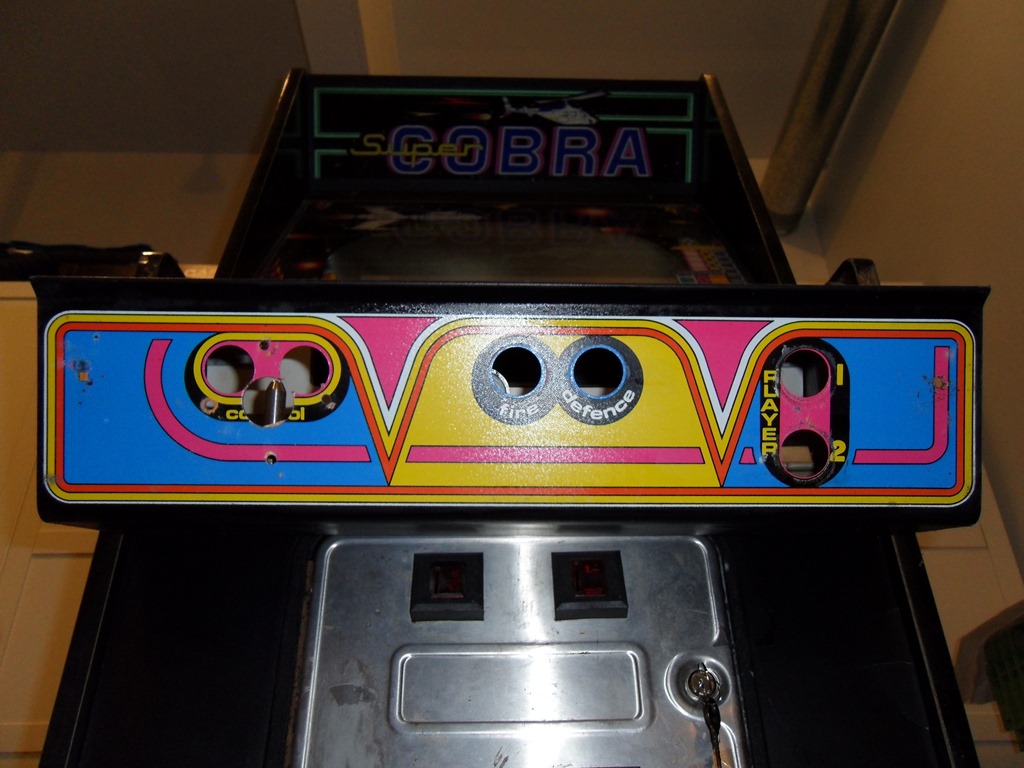
I applied some reinforcing strips to the back of the monitor cardboard to help with the sagging (that's typical on cardboard bezels). I also found that the game had bomb and fire linked together, that was eventually traced to a the edge connector, that I removed to restore the game to two buttons as intended.

|

|
|
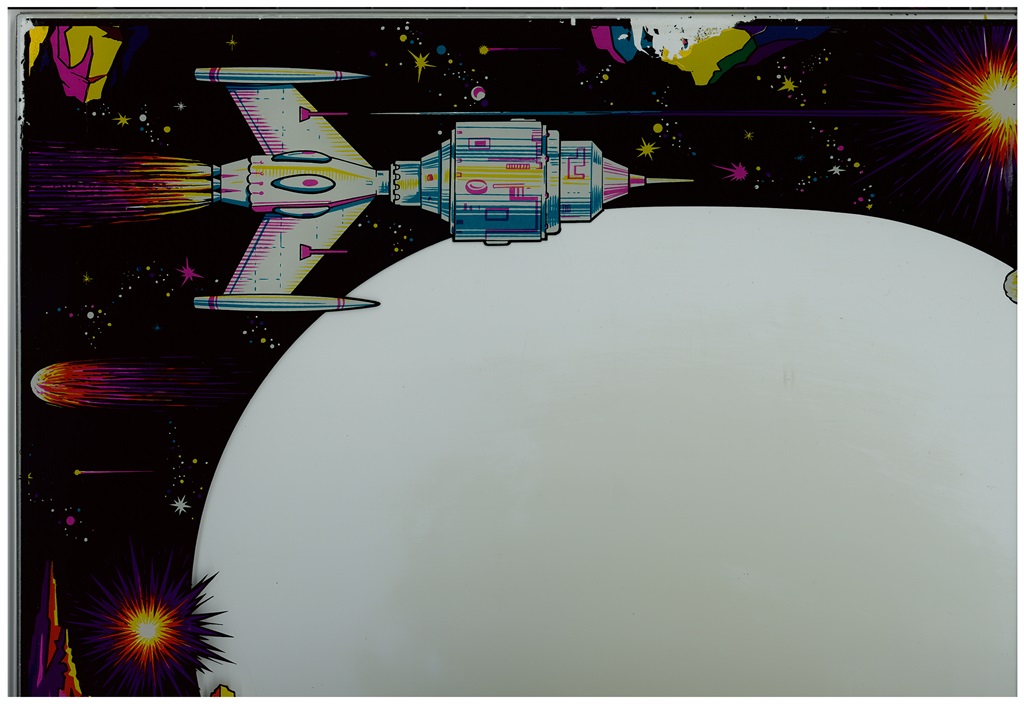
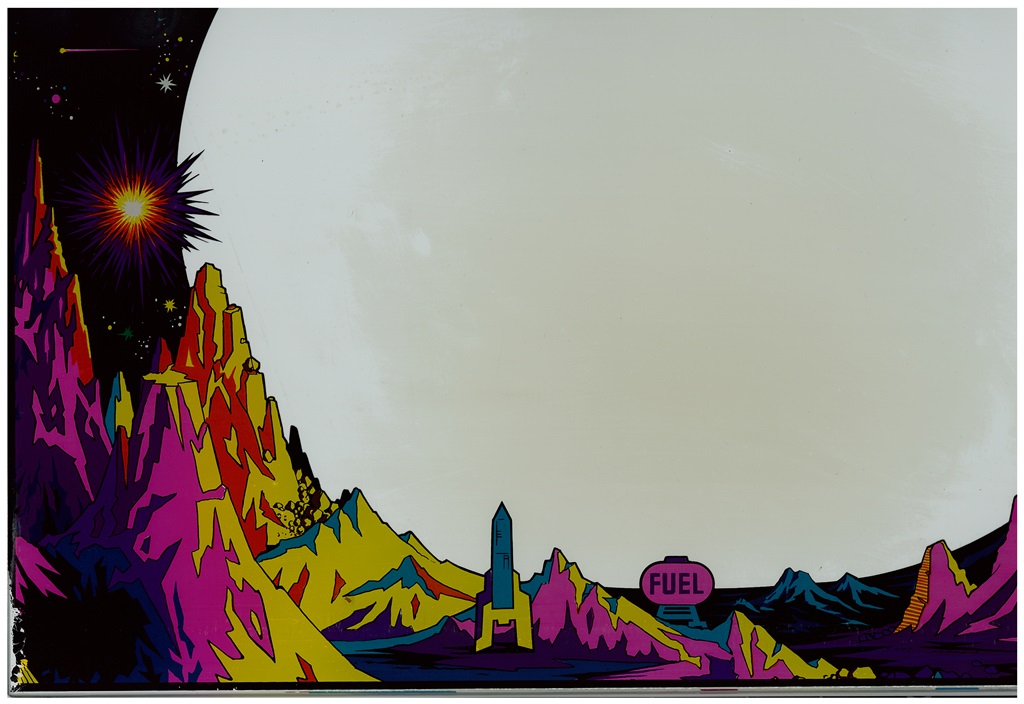
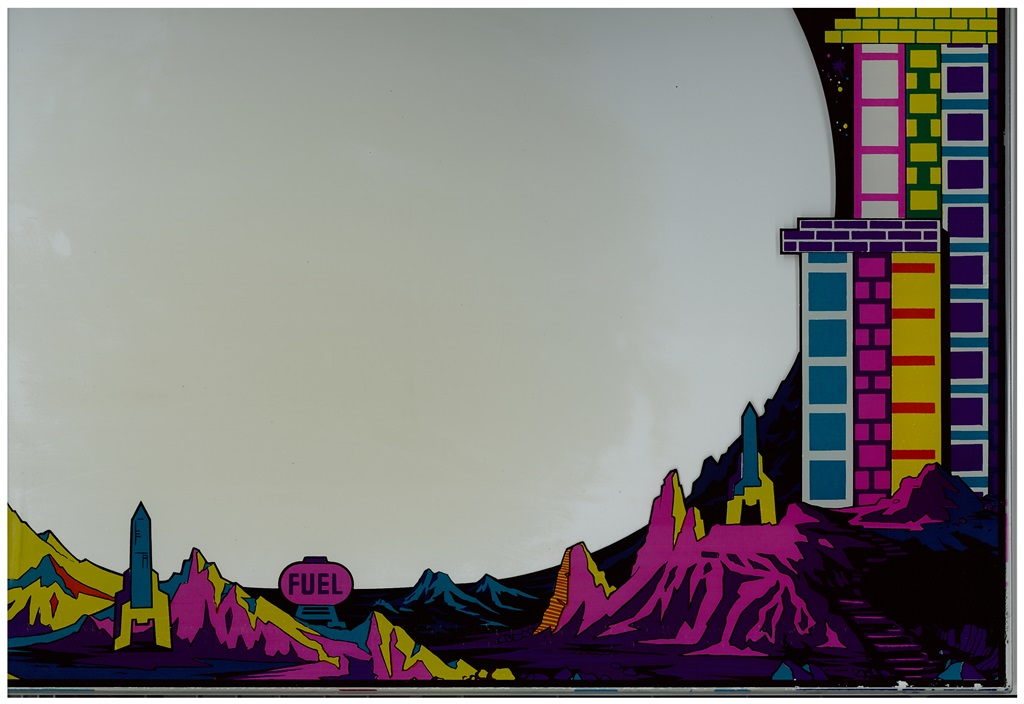
Scanned in the cardboard monitor surround.
200 DPI Super Cobra monitor surround scan (42.5MB).
|
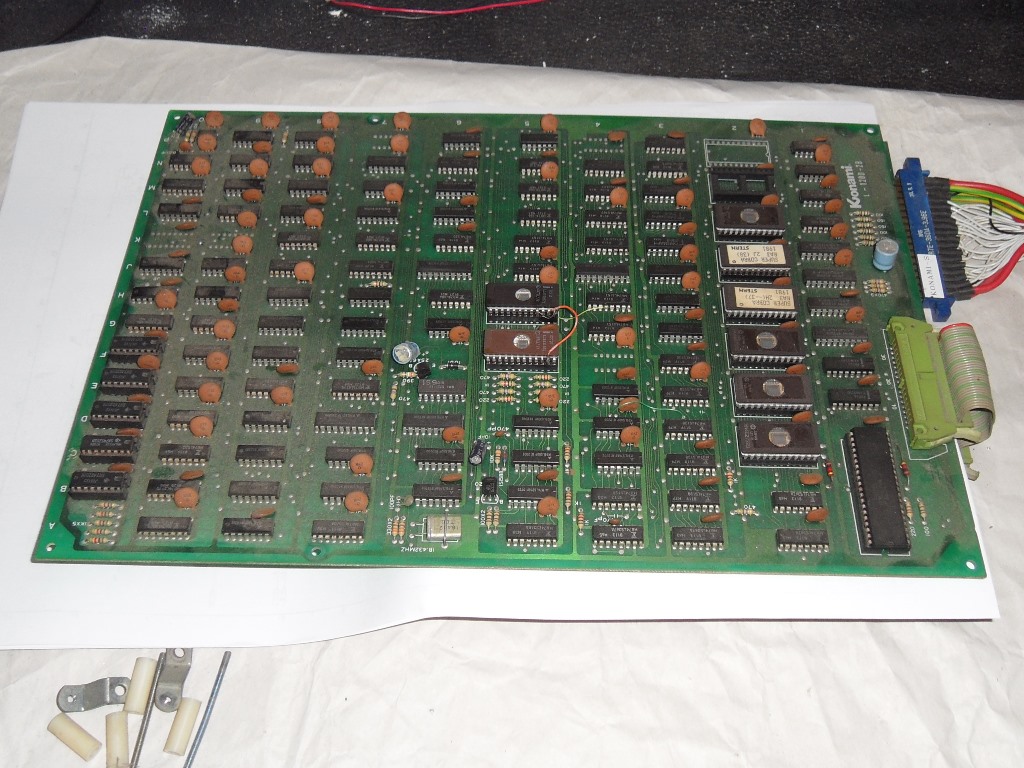
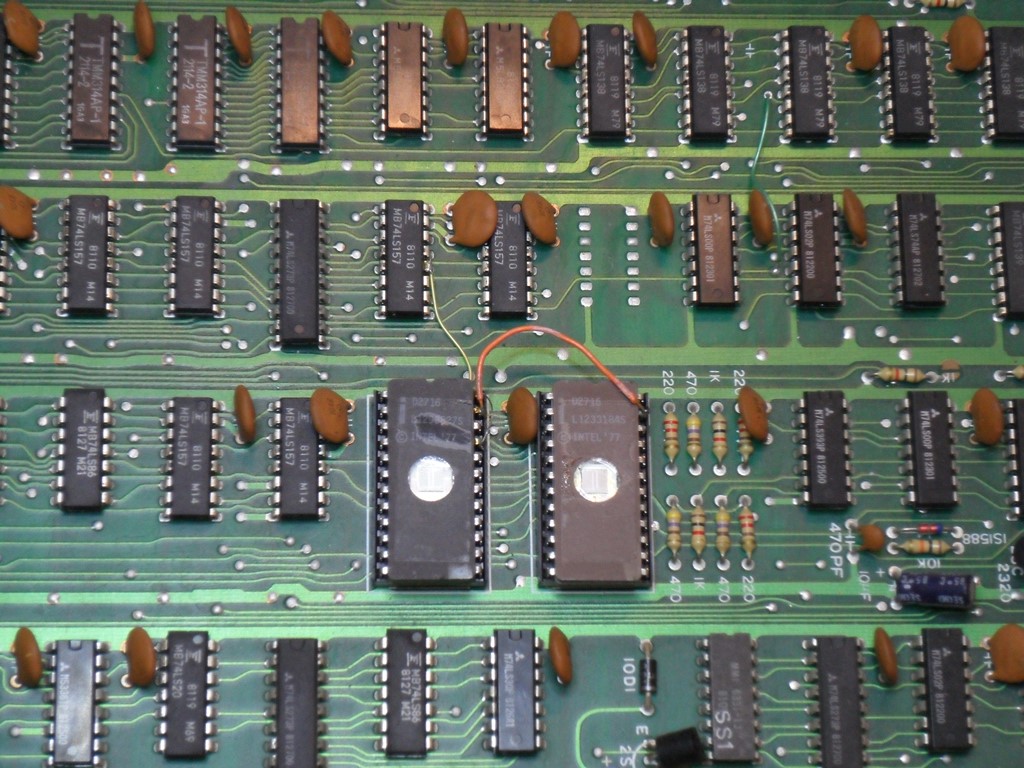
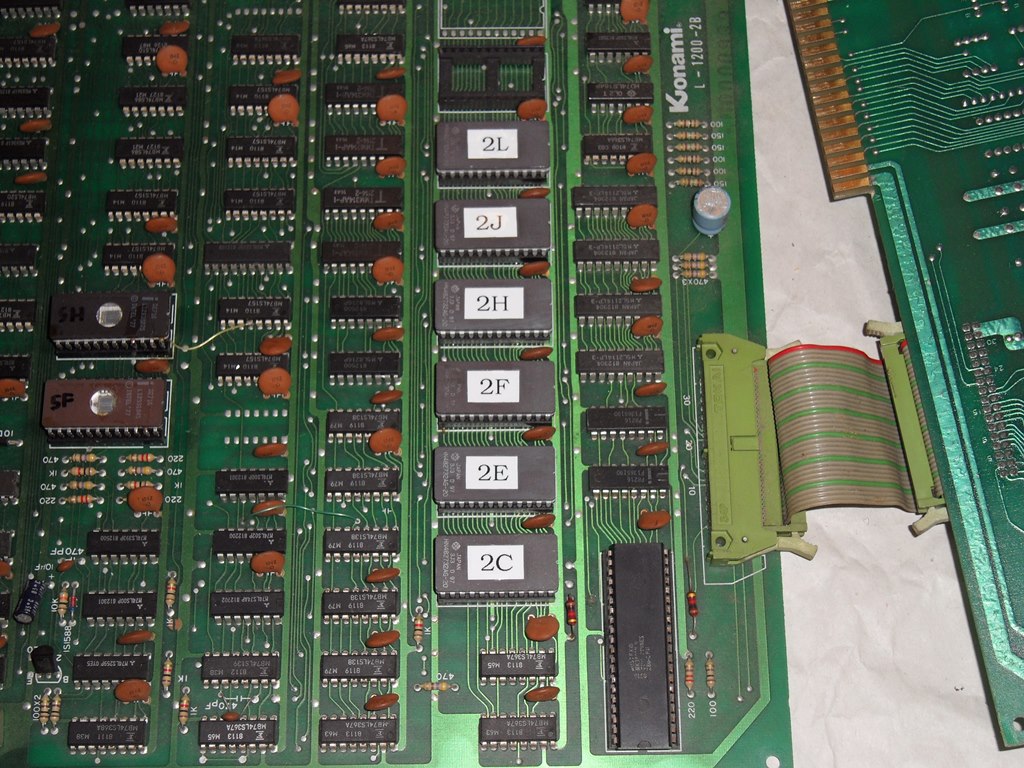
I found a mostly working original Stern Super Cobra PCB to use but the graphics drifted in and out. Flexing the main PCB and pressing on the sprite RAM caused video artifacts.
|
The sprite RAM pins were oxidized and the sockets had little grip. There were wire hacks on the graphics ROMs that were bridging open socket pins. The sprite RAM and graphics ROMS sockets needed to be replaced.

|
I removed all the bad sockets and fitted new ones. A Dremel with a soft wire brush attachment was gently used to remove the oxide layer.
|
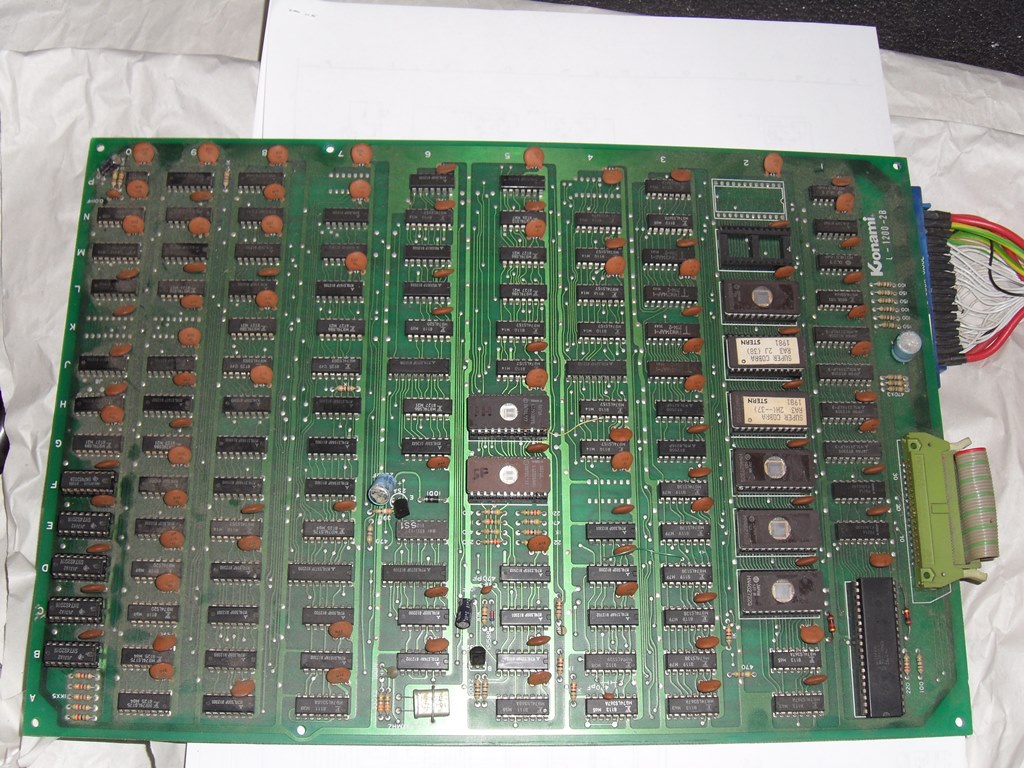
With new sockets and the wire hacks removed the graphics were solid. The plan now was to burn a set of Konami game EPROMS since the cabinet would have had the original Konami game in it rather than the US Stern license.
|
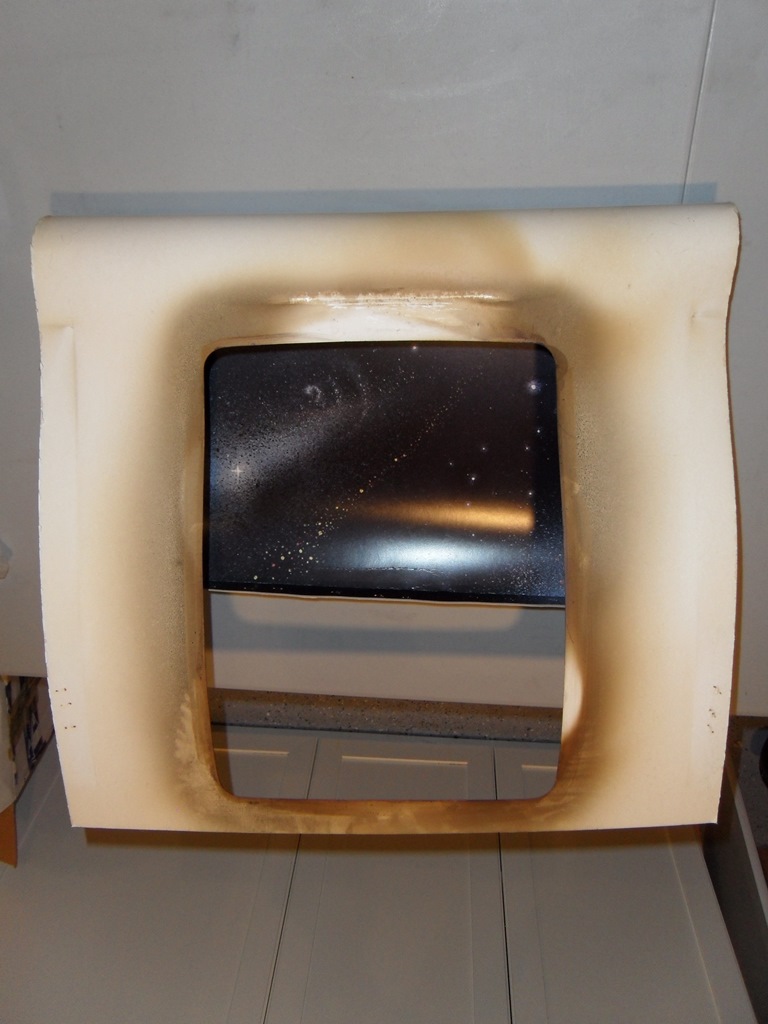
The monitor glass had an uneven brown tint that was likely more nicotine staining. Using some monitor wipes (testing first on a small corner to make sure it didn't lift the artwork) and a lot of rubbing got pretty much all of it off eventually.

|
I reinstalled the monitor surround cardboard and put back the cleaned glass.
|
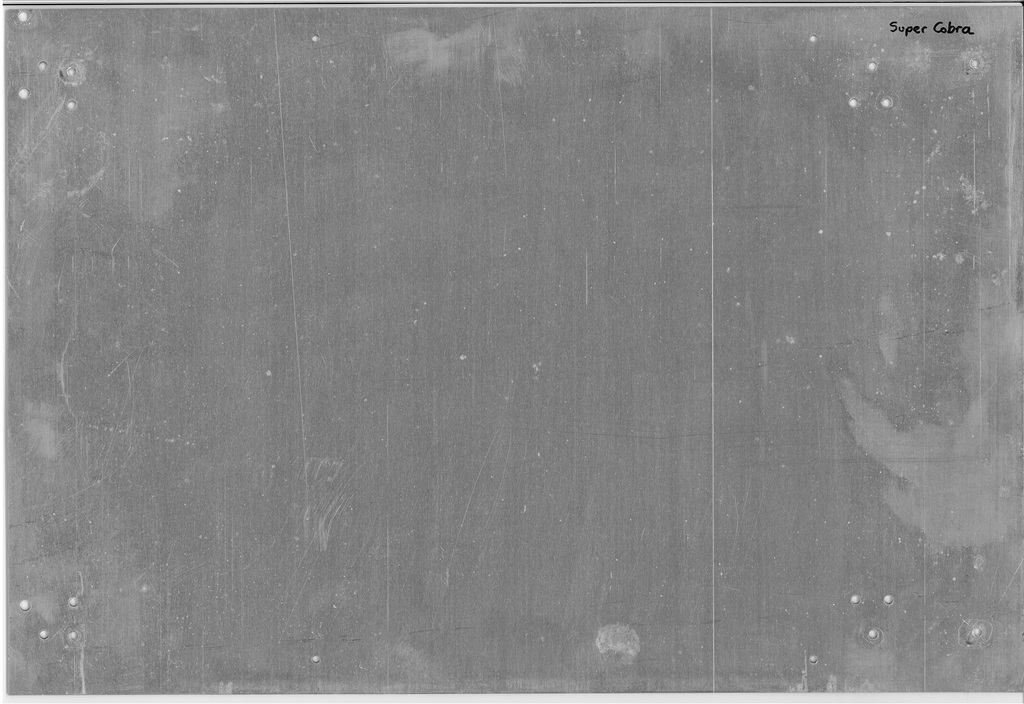
Both the PCB and the PCB mounting plate were missing so I needed to make a replacement.
I used a plate from another cabinet and scanned it in and made a template in order
to make a replacement in future (size was 16 7/8 x 11 7/16 inches).
200 DPI Super Cobra PCB mounting plate scan (2.8MB).
|
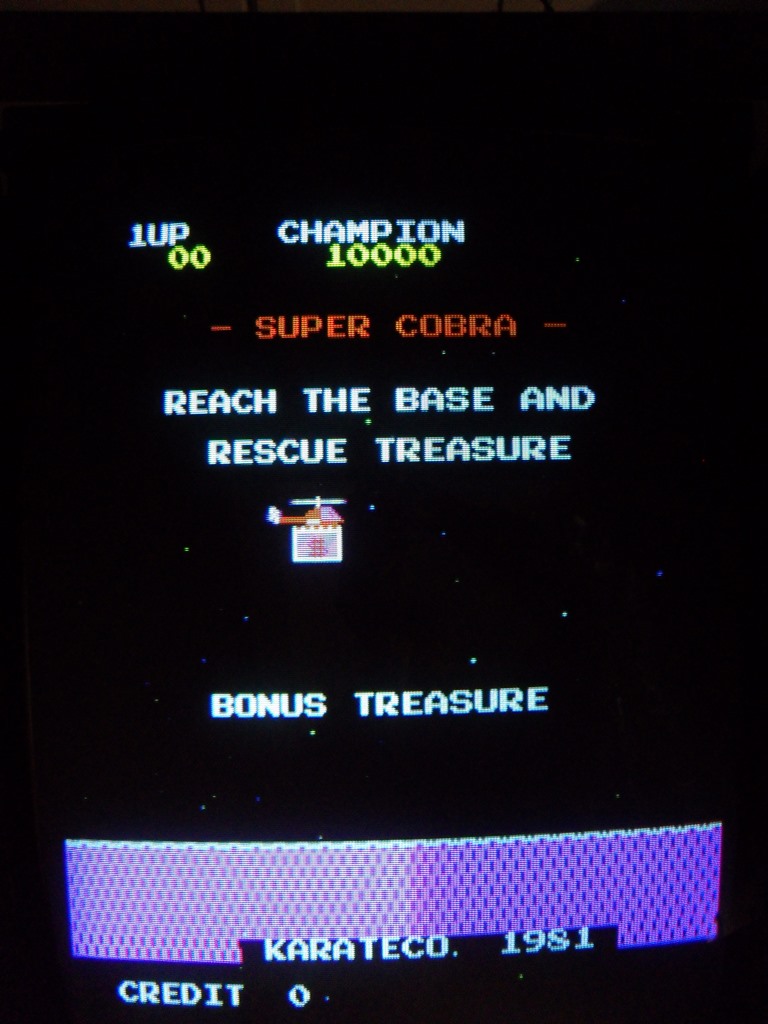
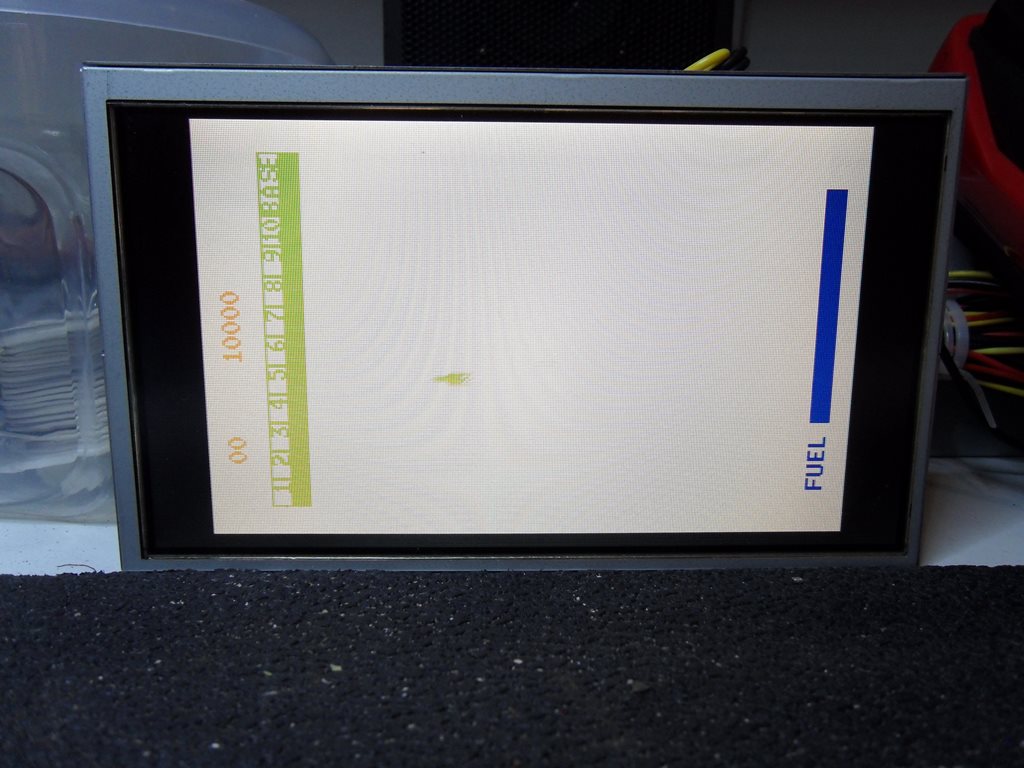
After erasing a few 2732's in the Spectroline and using the UniSite to program a complete set of Konami edition ROMs the game ran as the original Konami version with a Konami copyright as would have been originally used in this cabinet.
|
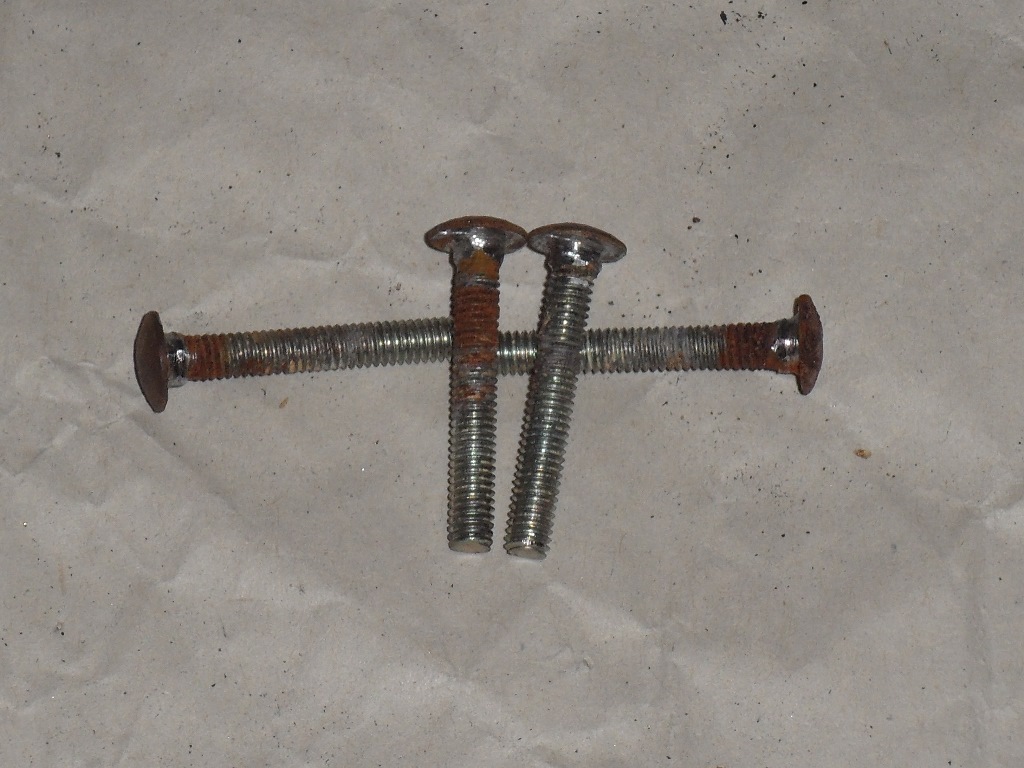
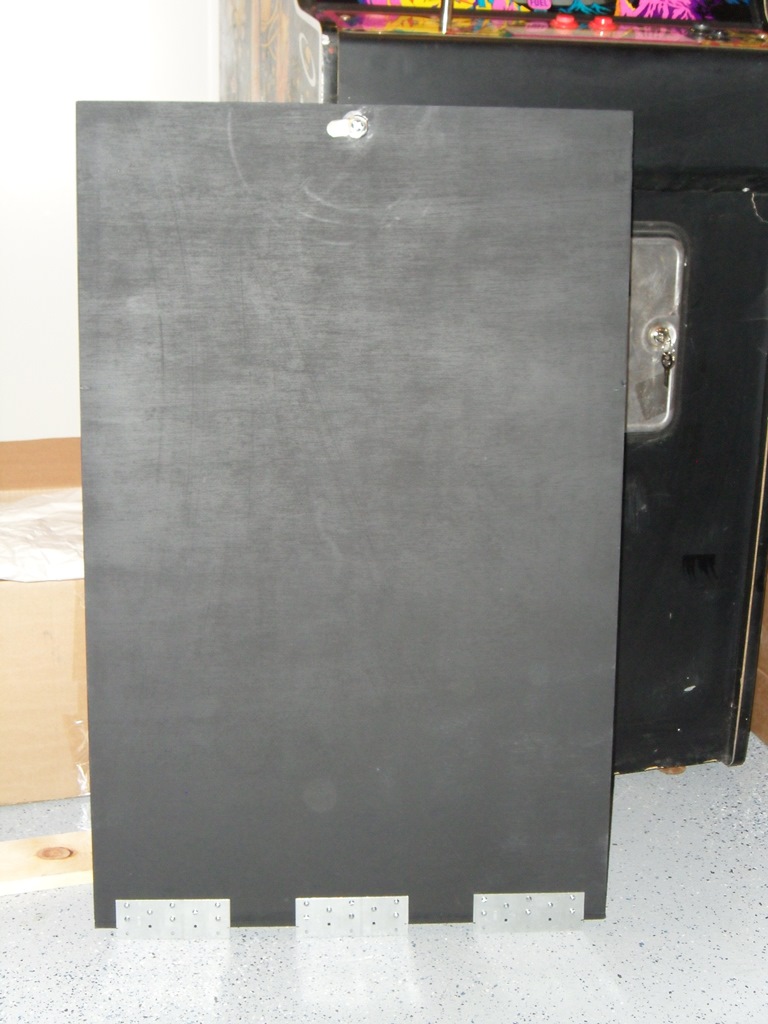
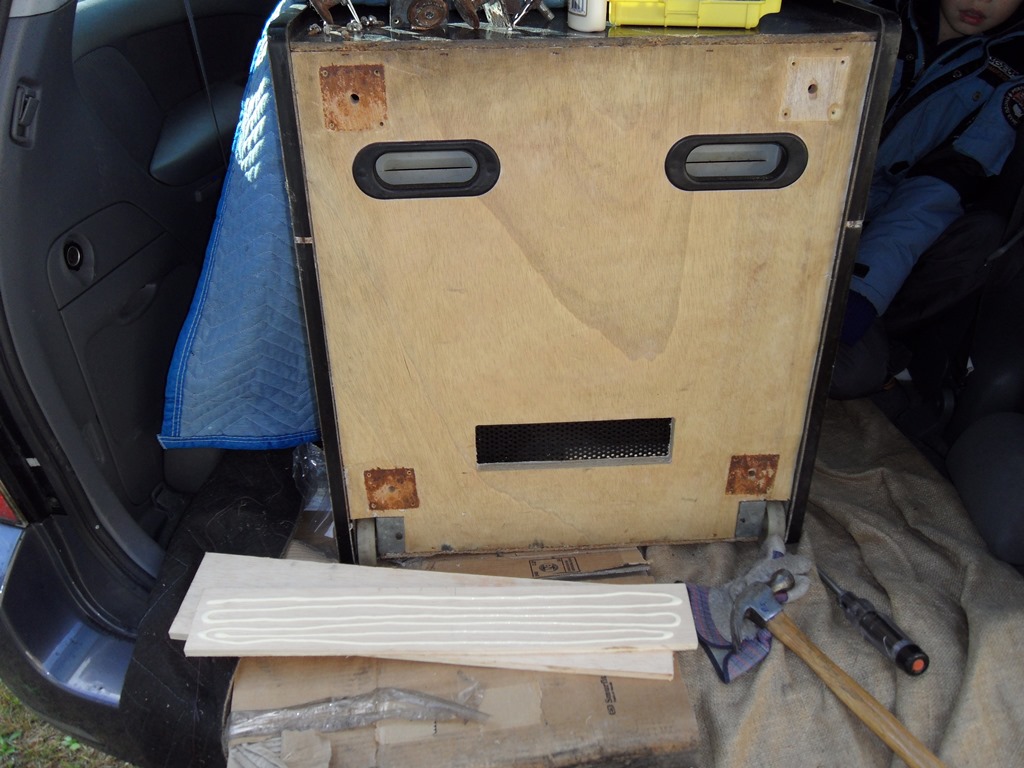
The plan was to use three metal joist join plates to form the interlock with the door lip. The original door had a similar mating edge trim piece (an arrangement not used on the native Zaccaria cabs and thus I didn't have spares). The nice folks at Home Depot cut a back door from the large piece of wood left over from The Invaders back door but made a mistake and cut it exactly a quarter inch too short :(

|
In a stroke of good luck Home Depot had a piece of wood trim that was near exactly the right size to fix the length of the door. I glued and tacked it on to the bottom and now it fitted like a glove. The lock cam also needed adjusting because of the thin steel lip rather than the usual wood block.

|
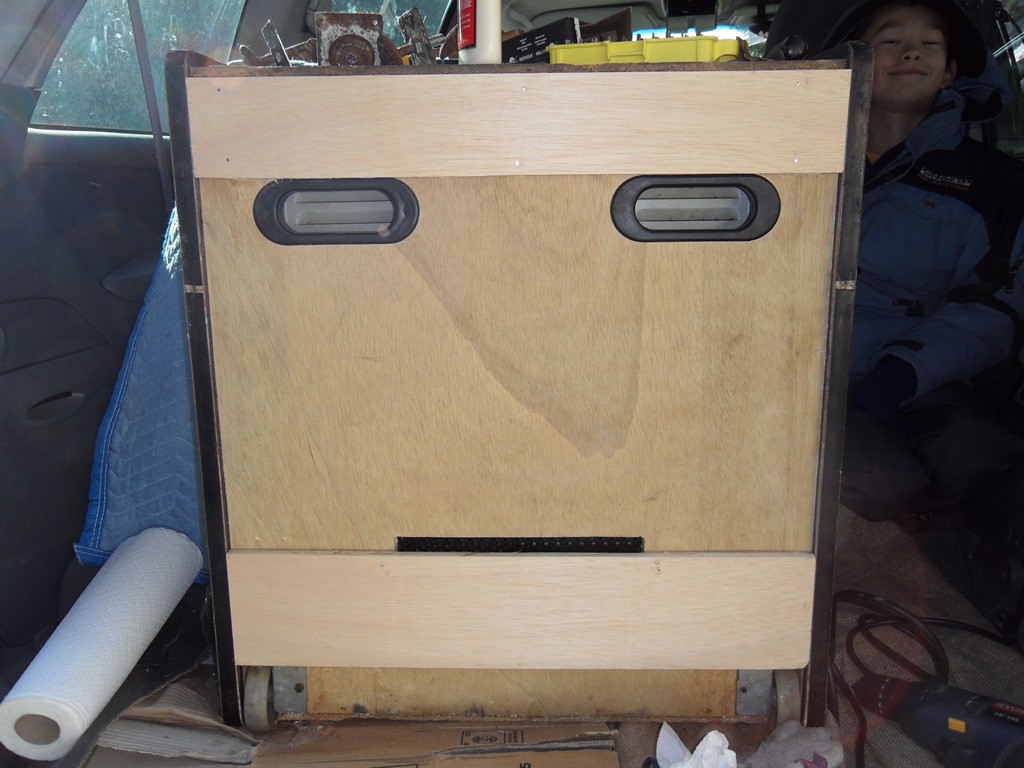
Finally a break in the rain to allowed the kid to spray paint the back door for me. I fitted the metal lip plates and lock to finish it off.

|
A four hour burn in test yielded no issues. Not bad for a monitor on original caps - red/blue takes a few seconds to come on and the horizontal width pot had no effect but neither was significant enough at need action.
|
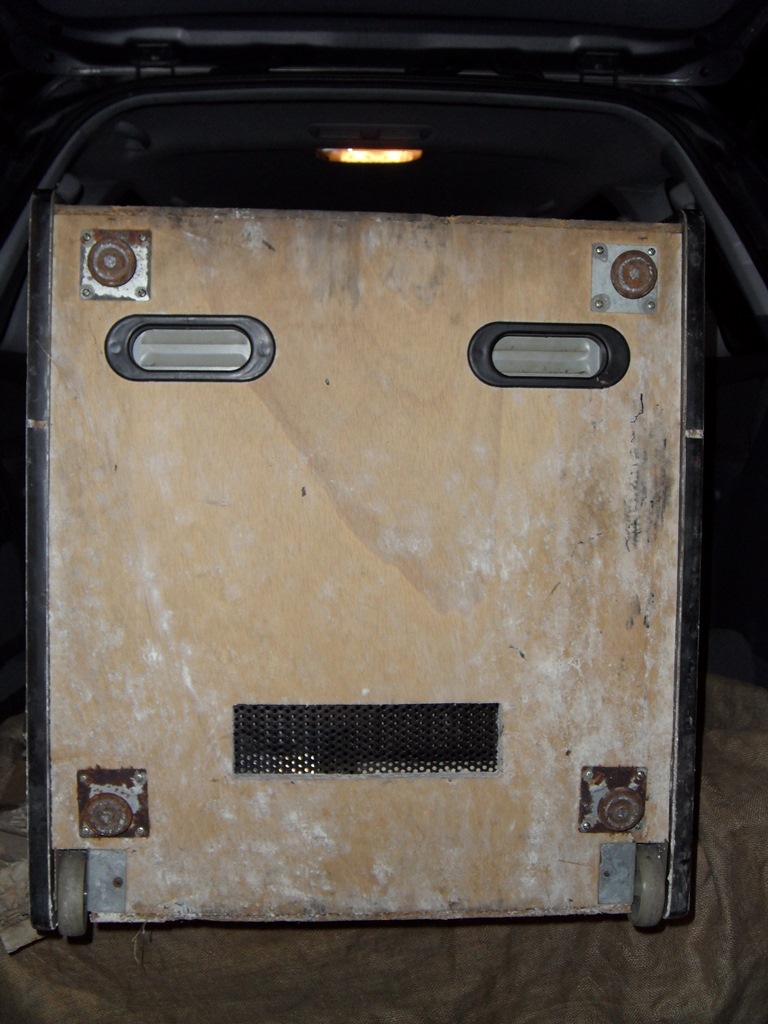
Whilst it was back in the van for transport it was a good time to use a bleached cloth to clean off the white mold. The back of the base had some trauma.
|


|
The back feet had cracked the wood base so the plan was to use hardwood
plywood panels glued to the base. The screws were drilled to bite on the base
but not on the plywood so that the base is pulled back level by the screws.
Castors on top complete the repair and the base was solid.
Just a couple of small items remained - some missing T-molding on the control panel
and a broken coin reject push - that I decided to leave as is.
Submitted for the first time into the show as one of ten machines. The game ran OK for the whole duration without issue :)


|
The fan wasn't too bad physically but caused a little bit of waving on the monitor. The replacement was an ADDA AA1282DB-AT 220V-240V 50Hz/60Hz low noise, low power, ball fan that had no problems as a replacement.
|
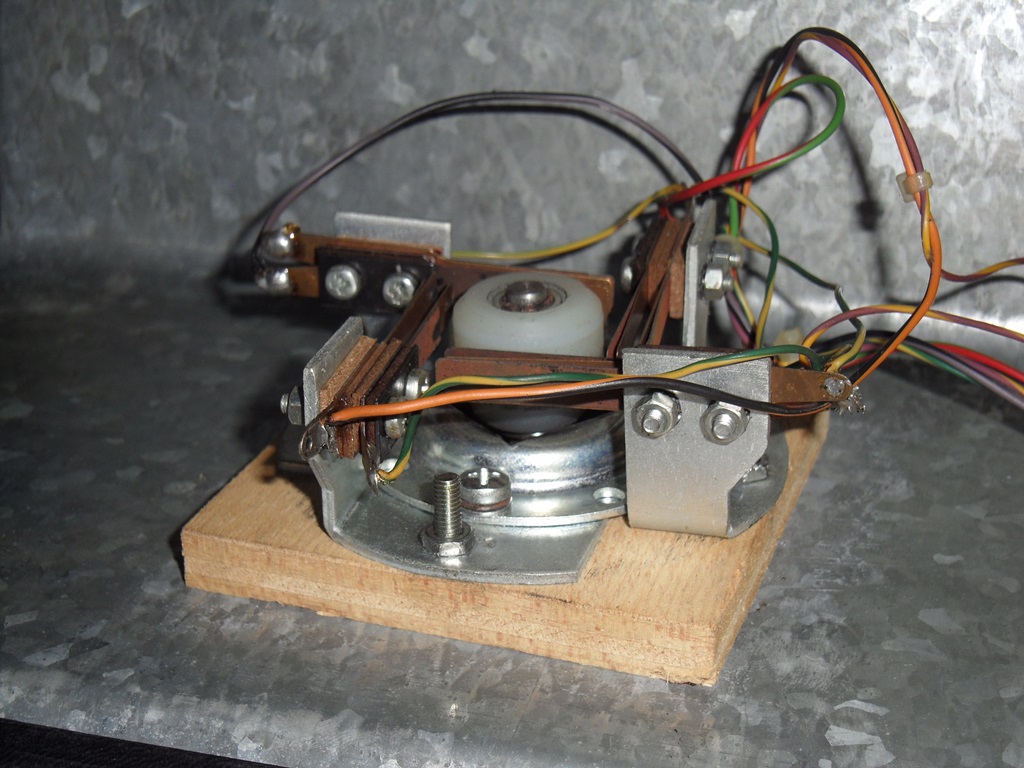
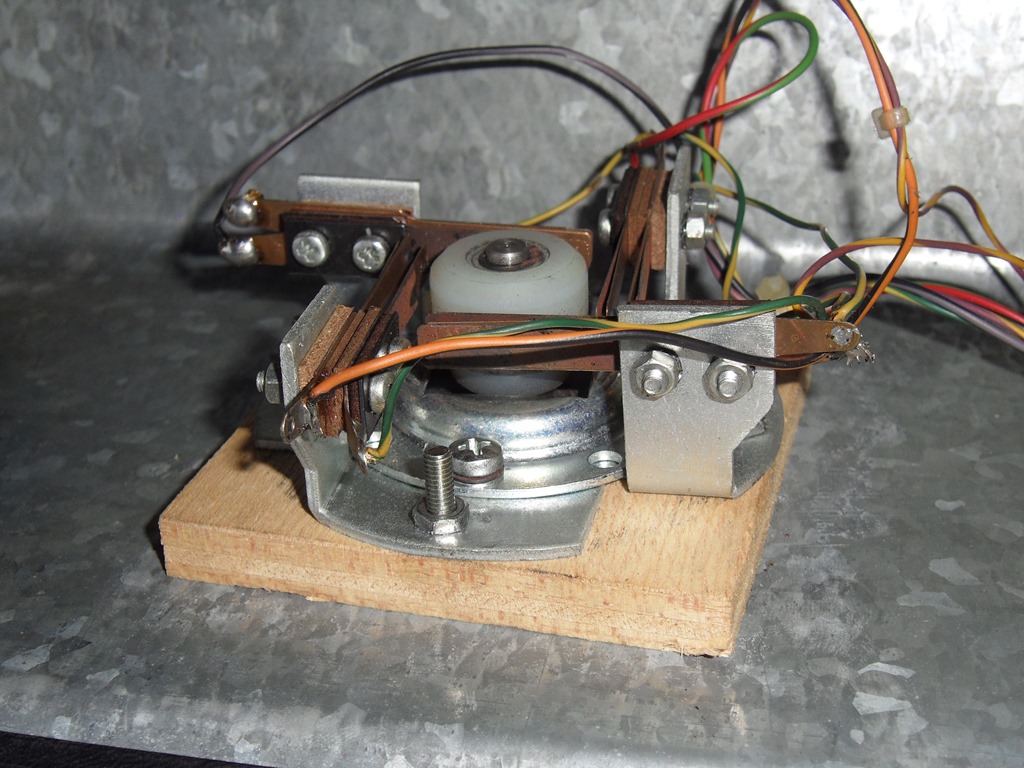
A fellow collector at the show mentioned that he thought Super Cobra was an 8-way game and the joystick in this cab appeared to be set to 4-way. MAME did show it as an 8-way game consistent with the joystick artwork. The joystick had an adjustable limiter collar to allow it to be set to 8-way.
|
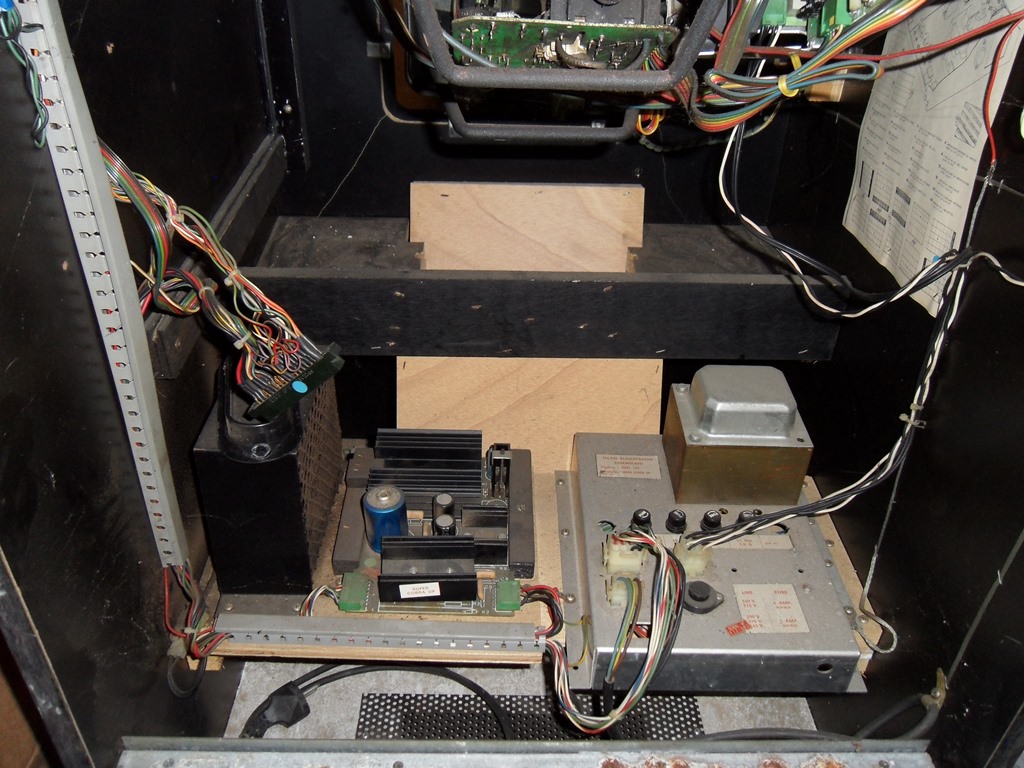
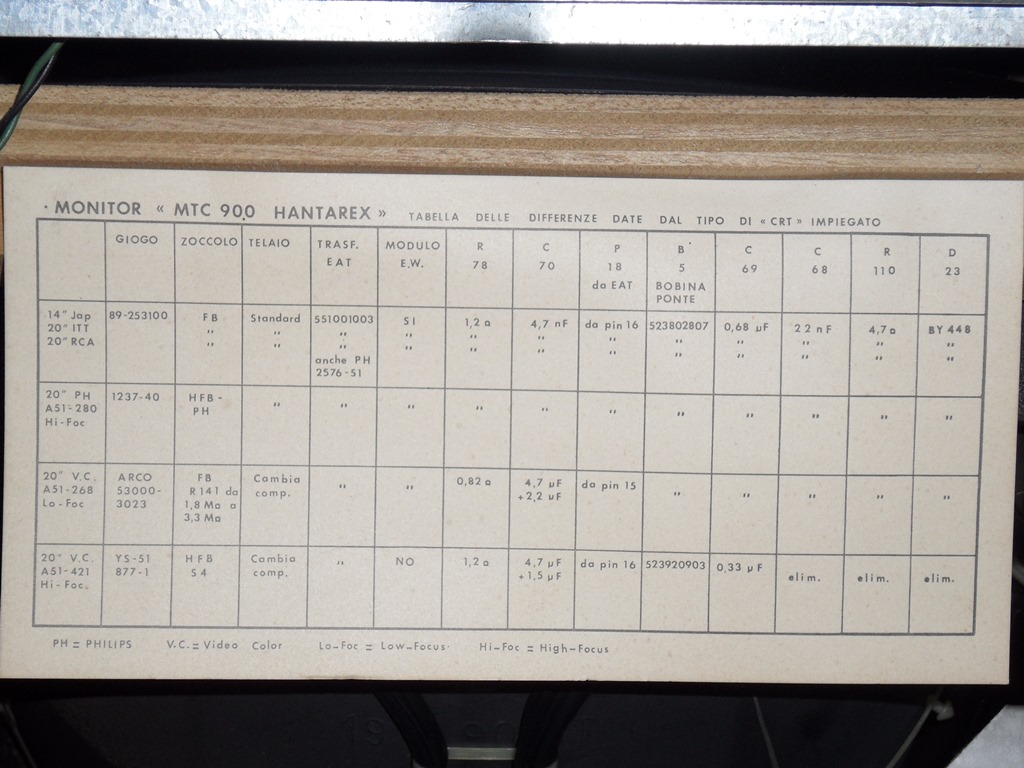
As part of the Mr. Do! restoration some questions were raised over MTC-900 chassis compatibility with various CRT's. In this cab there is a handy chart showing the chassis differences for various CRT's :)