
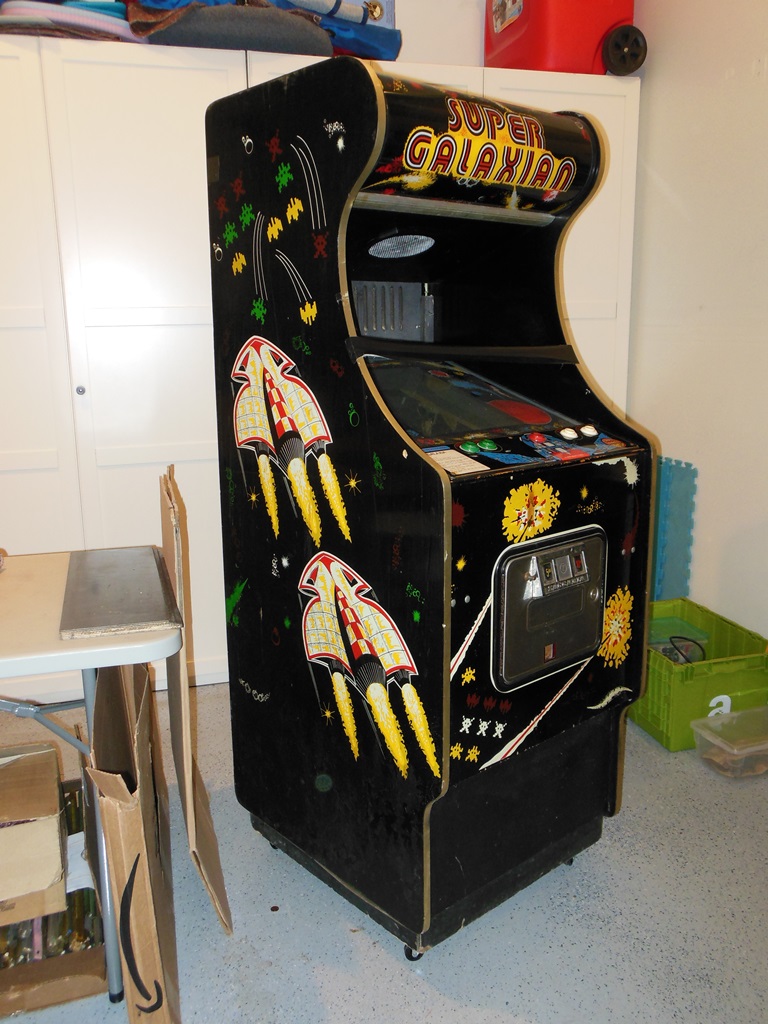
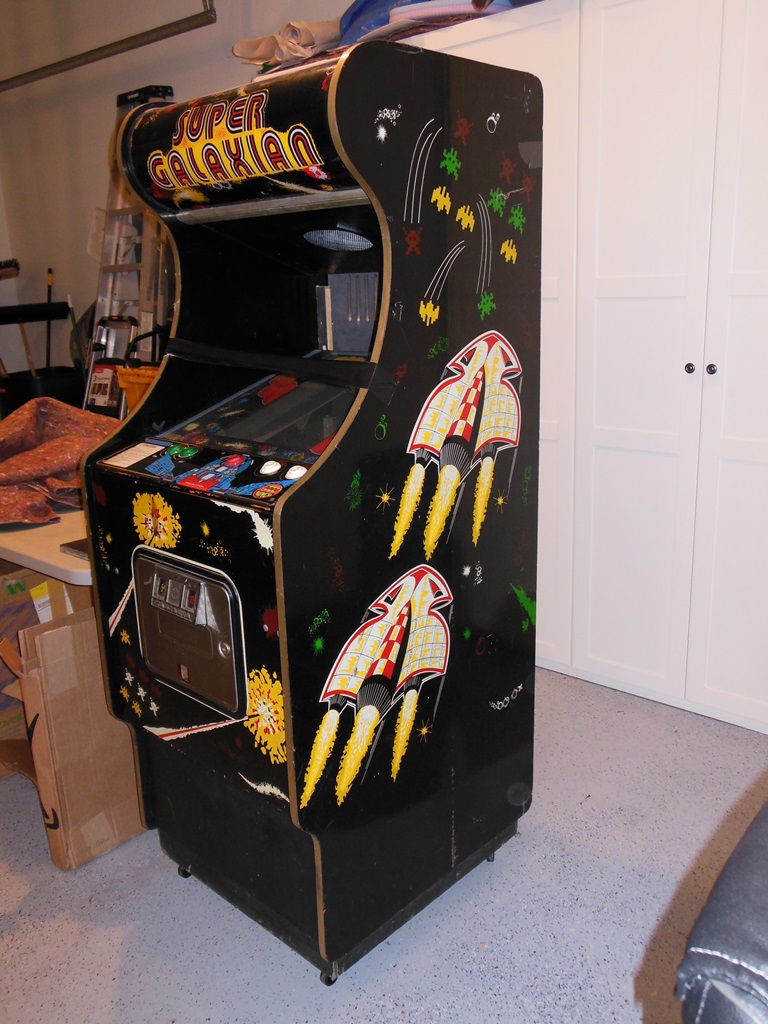
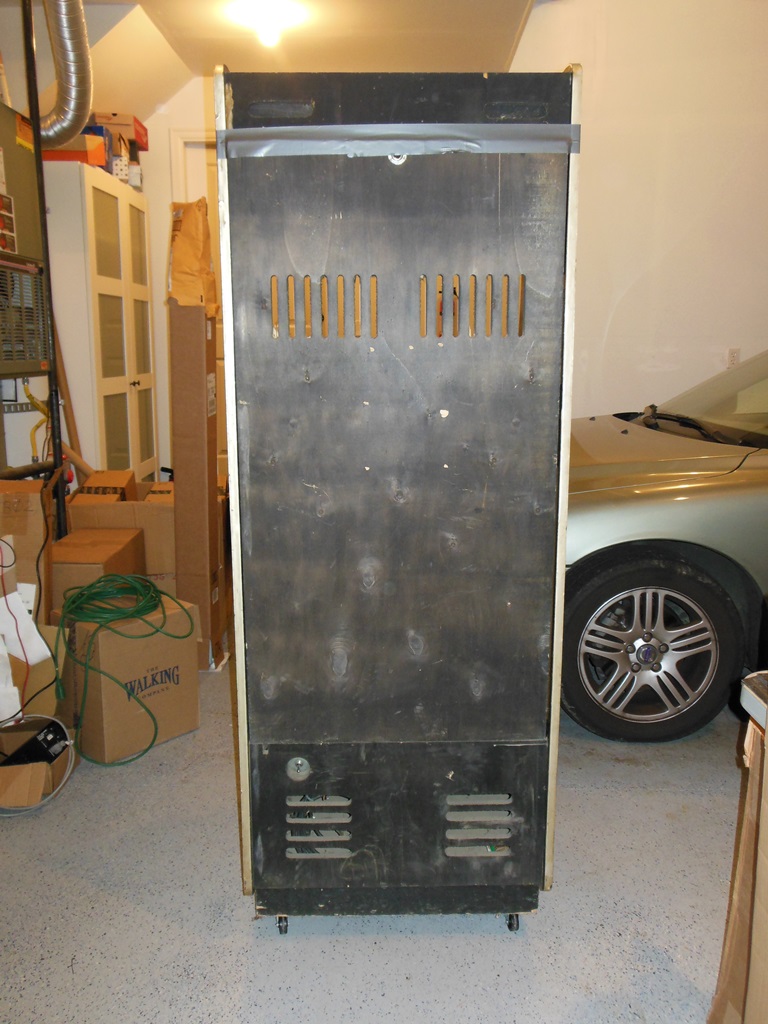
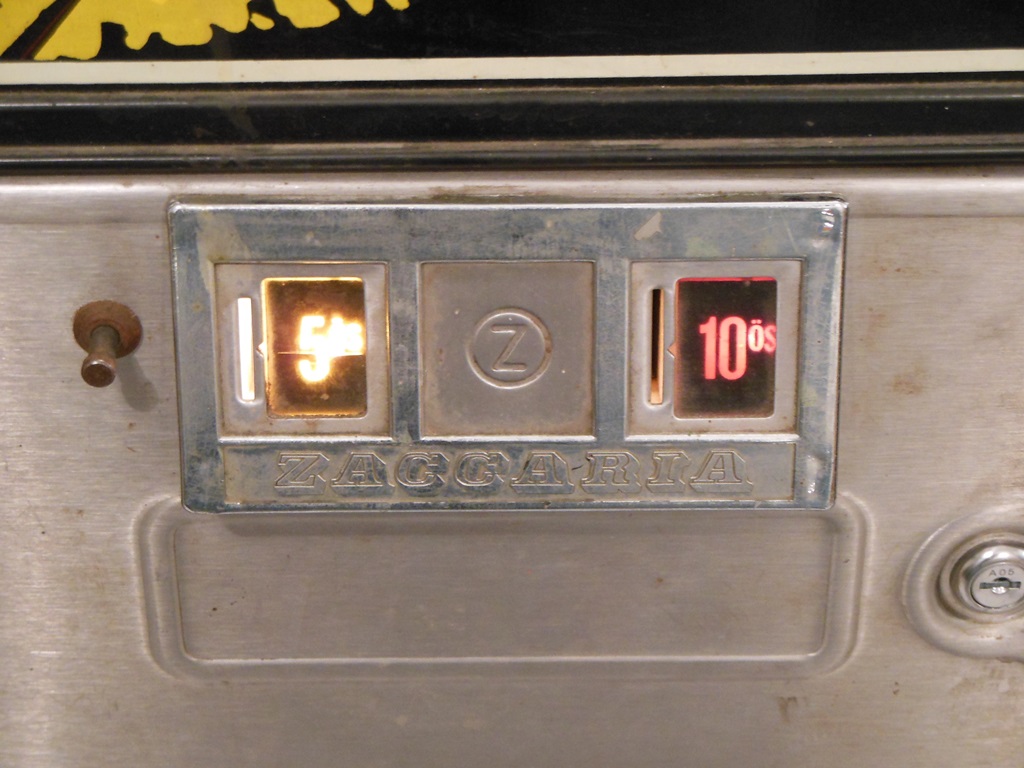
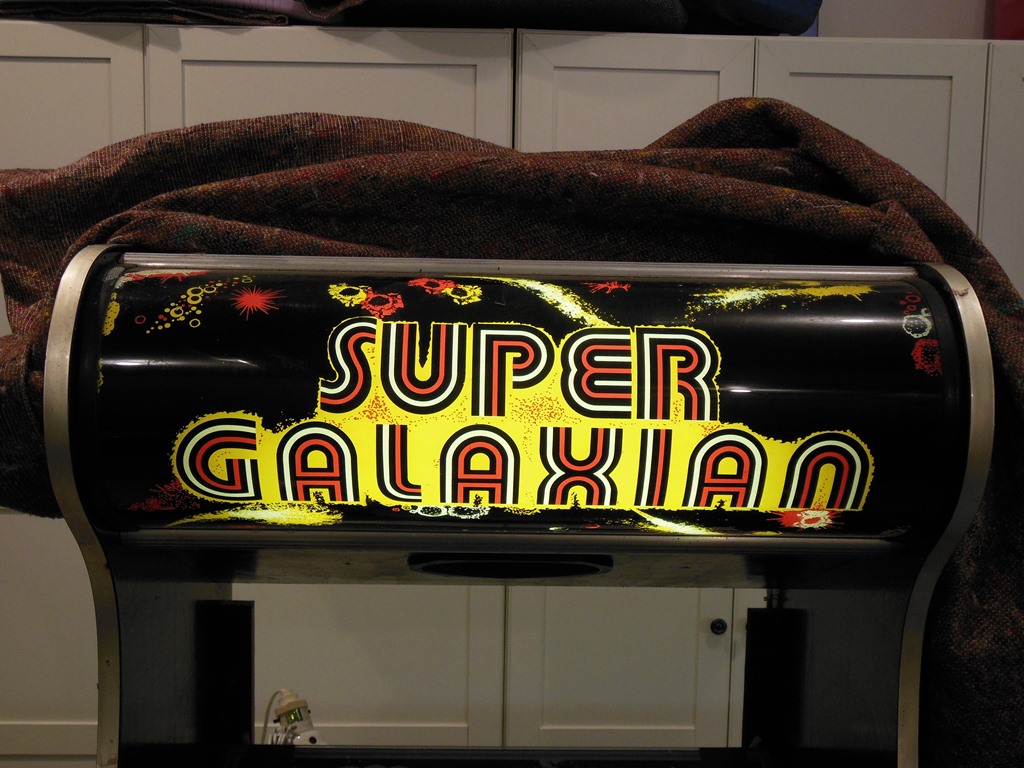
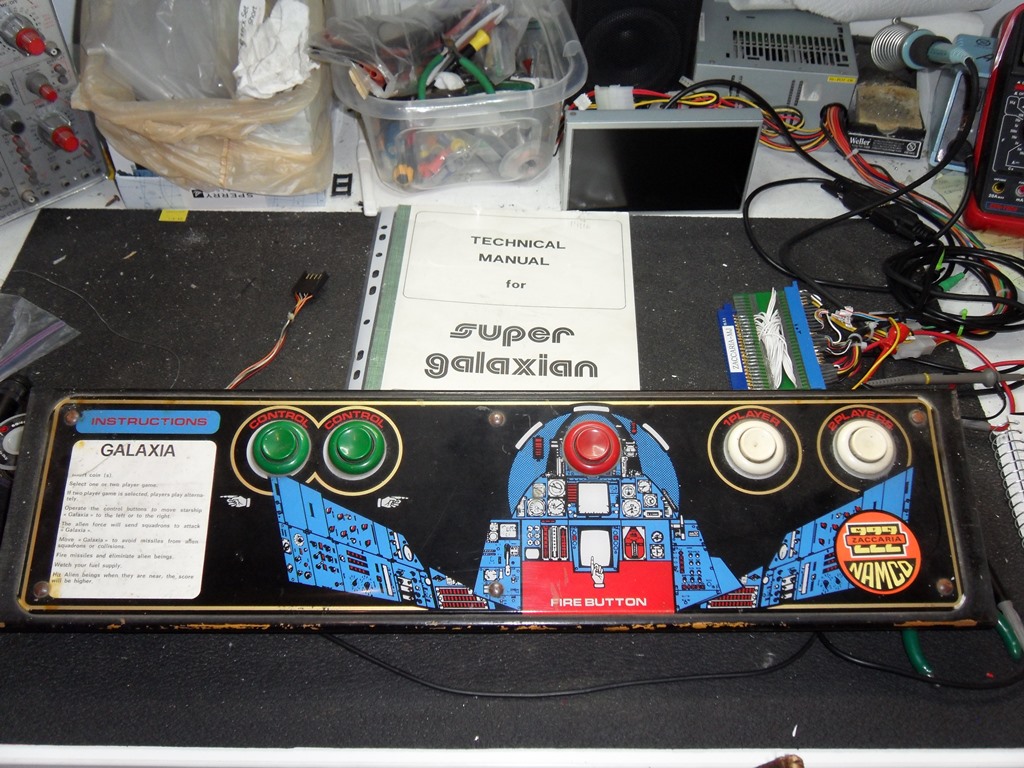
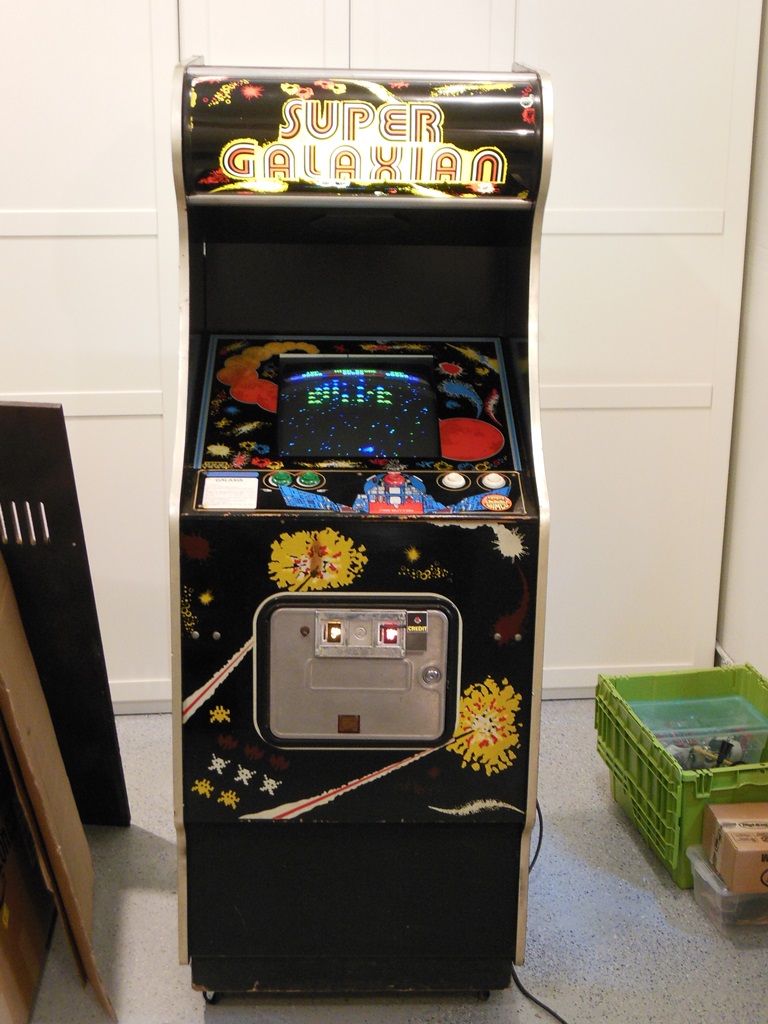
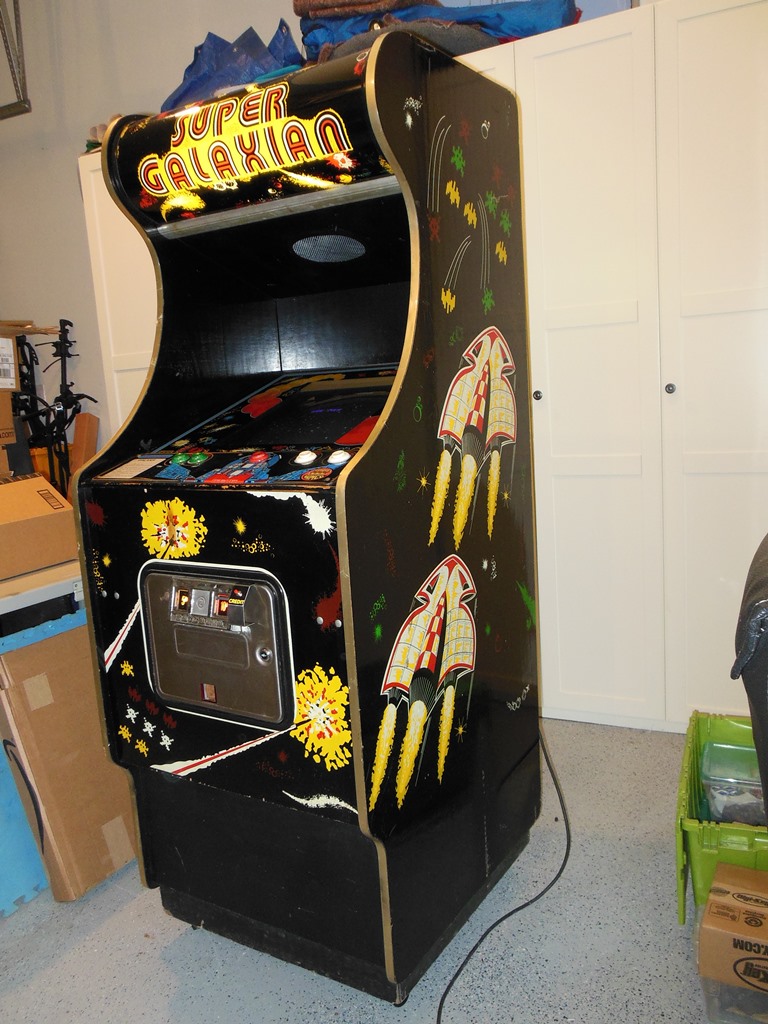
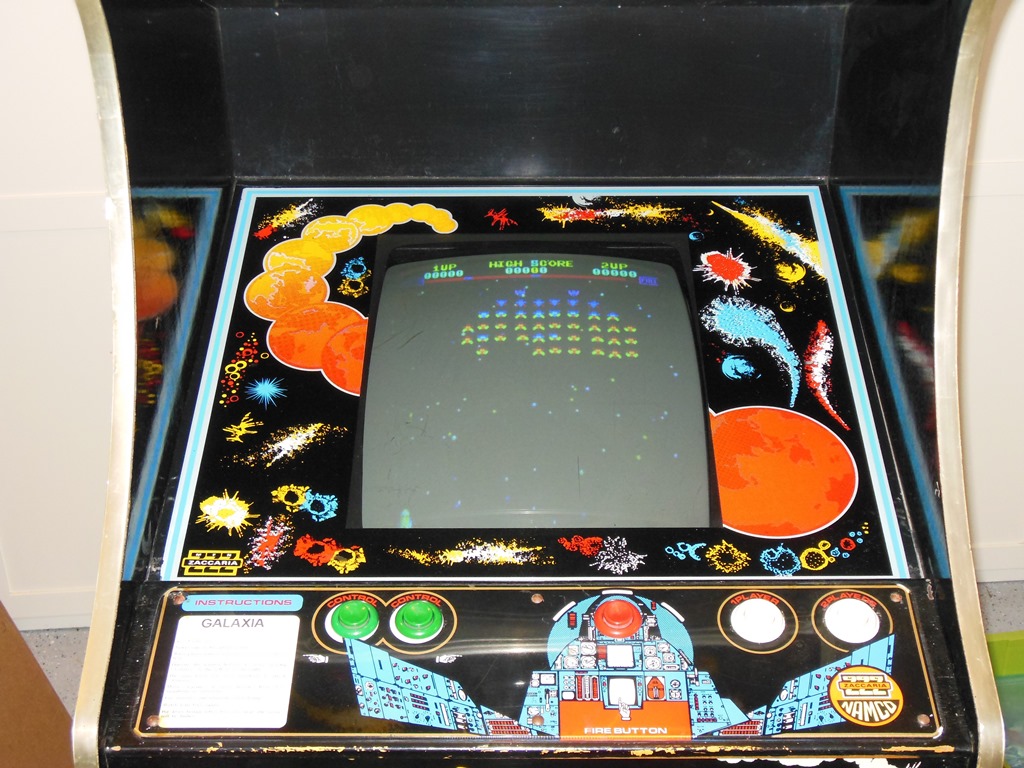
Can't quite remember how I got this game but it was imported from Austria. The manual and marque title the game as "Super Galaxians" but it's more widely known (and stated on the control panel instructions) as "Galaxia". The control panel has a Zaccaria/NAMCO label on it and the game is a port of Galaxians onto Zaccaria 2650 based hardware (the same basic hardware as Astro Wars). This restoration is titled under the "Galaxia" name and I have an incomplete converted machine in the UK that will donate it's Galaxia marque to this game in future.
|
|
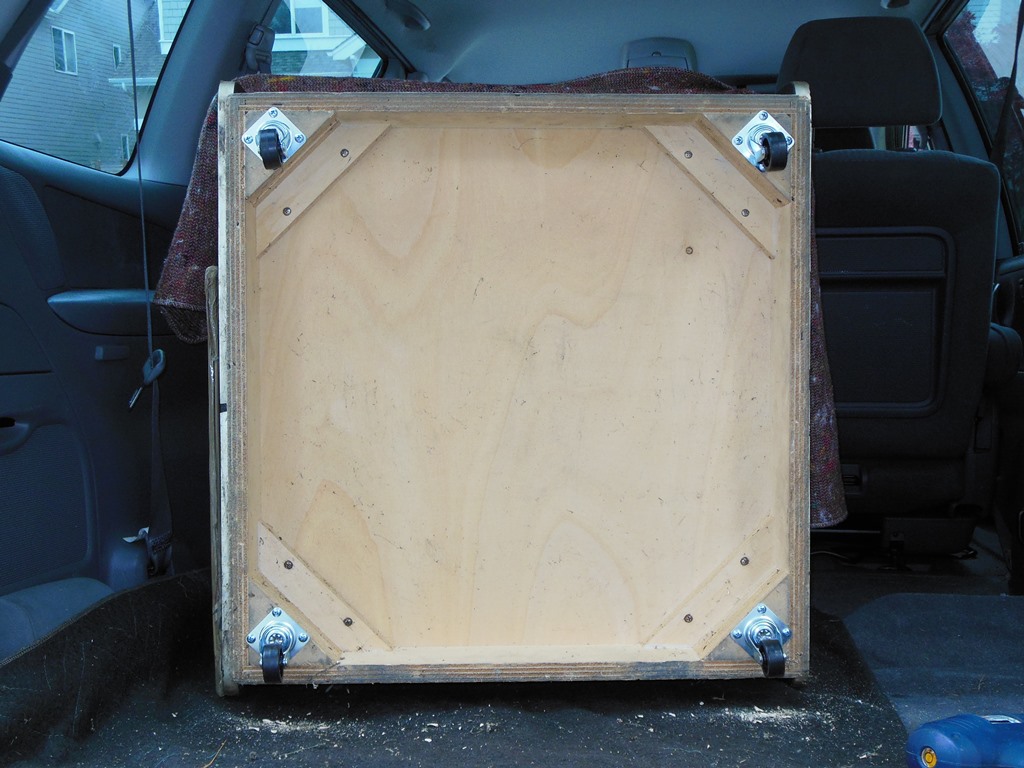
Whilst it was in the back of the van I took the opportunity to replace the loose feet with castors to ease moving it around.
|
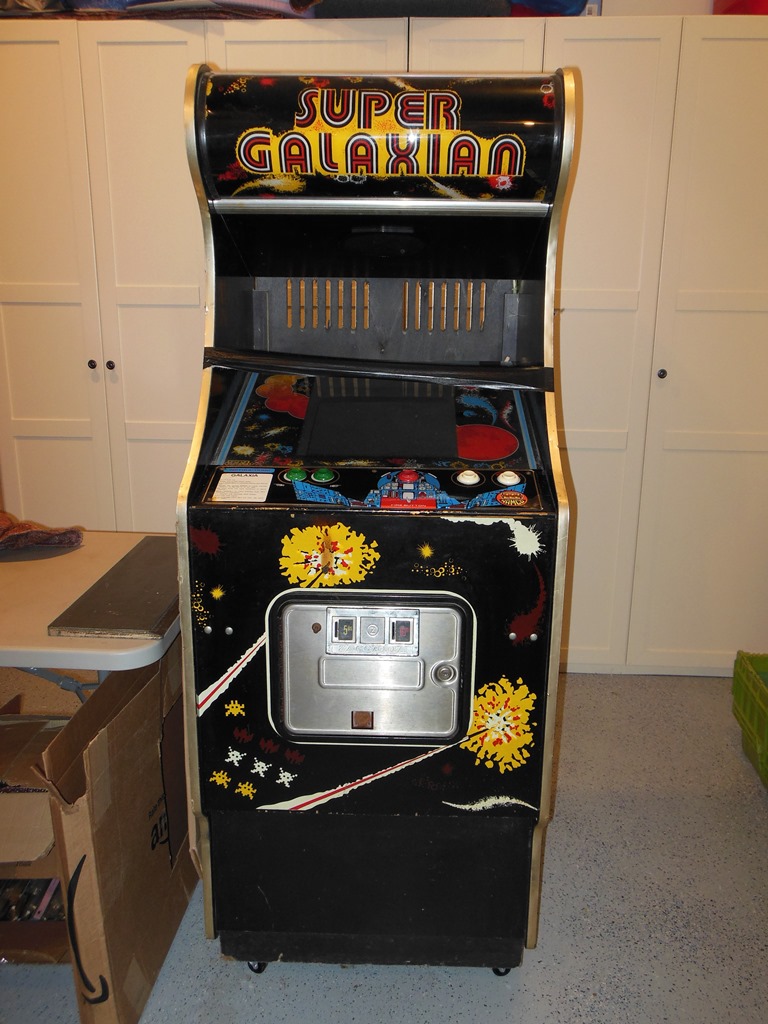
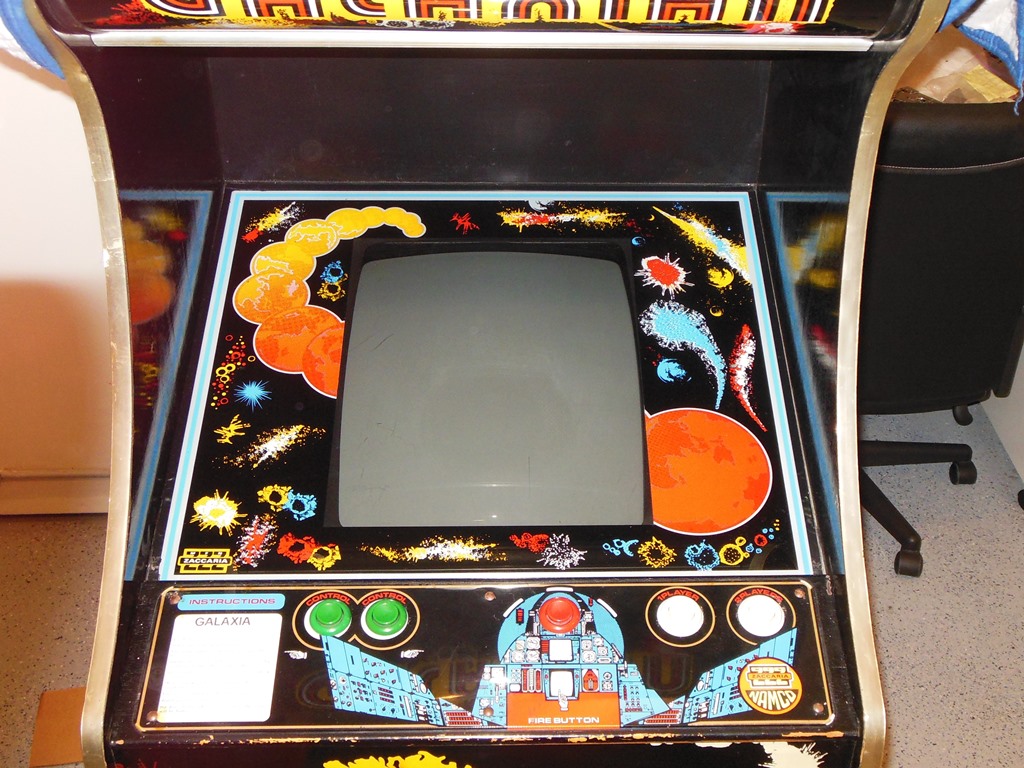
The exterior looked mostly complete and original with only the monitor glass back board missing. No visible modifications or damage other than a small amount of separation of the T-molding along the bottom. I'd already restored the control panel as part of an overlay scan request from a fellow collector also restoring a Galaxia so there should be no further work needed on the control panel.
|
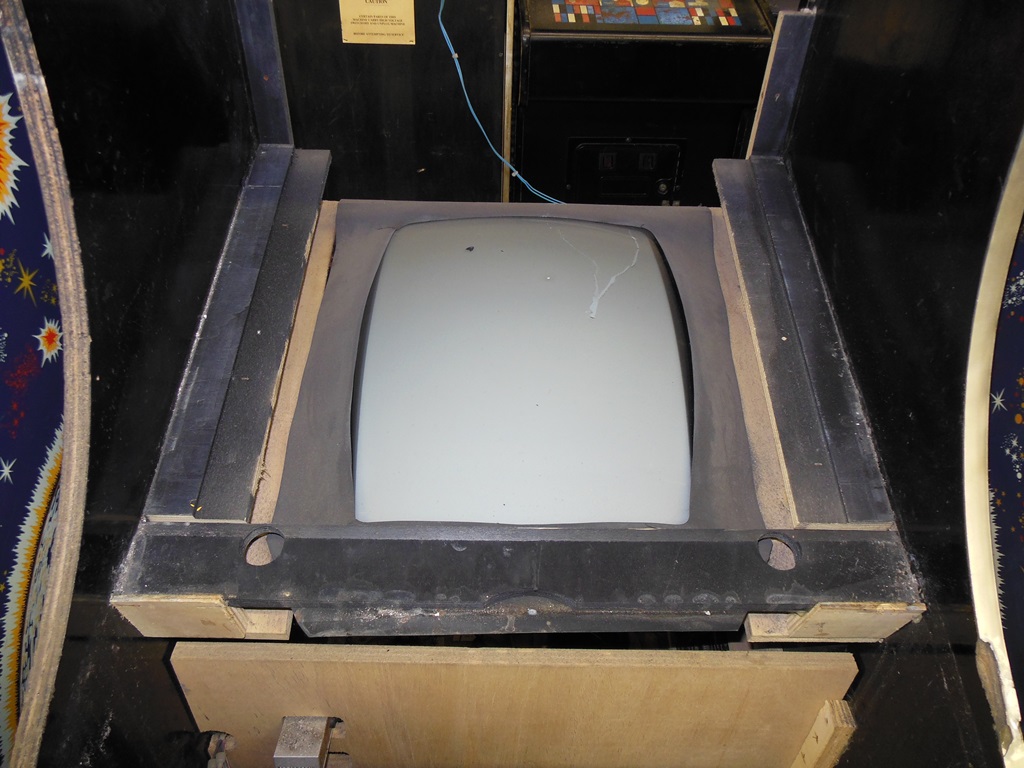
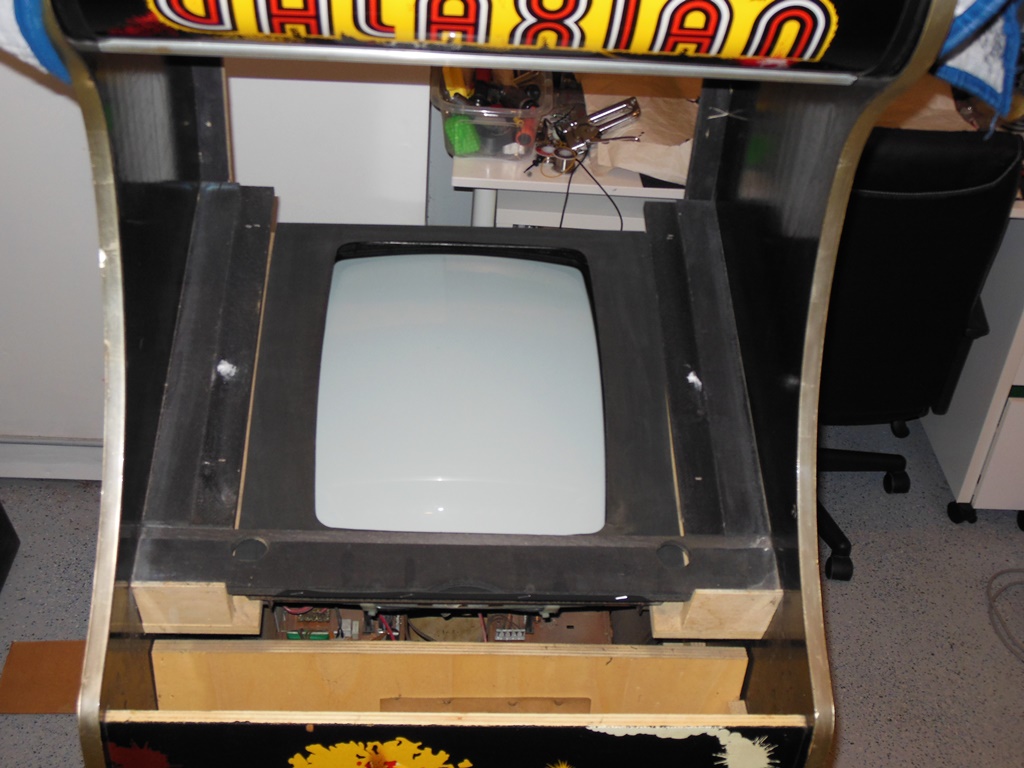
The manual was in the bottom of the cab and previously scanned for another collector. At least one significant issue is that it's Hantarex MTC-90 monitor is missing as is the tinted plexiglass sheet that goes over it :(


|
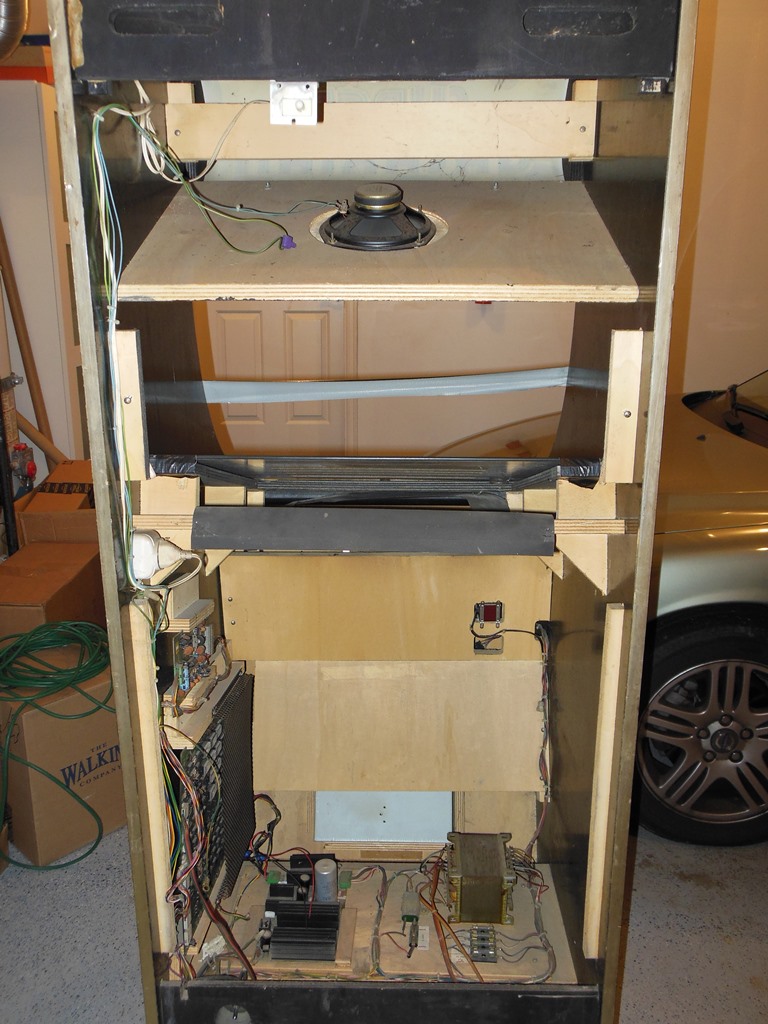
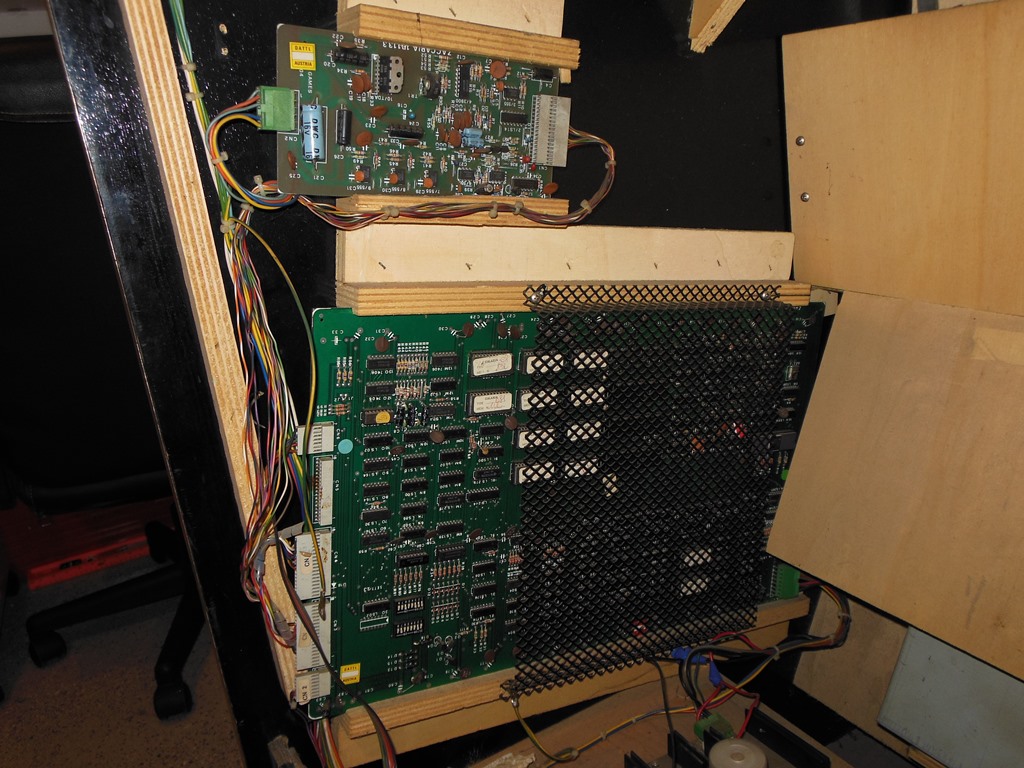
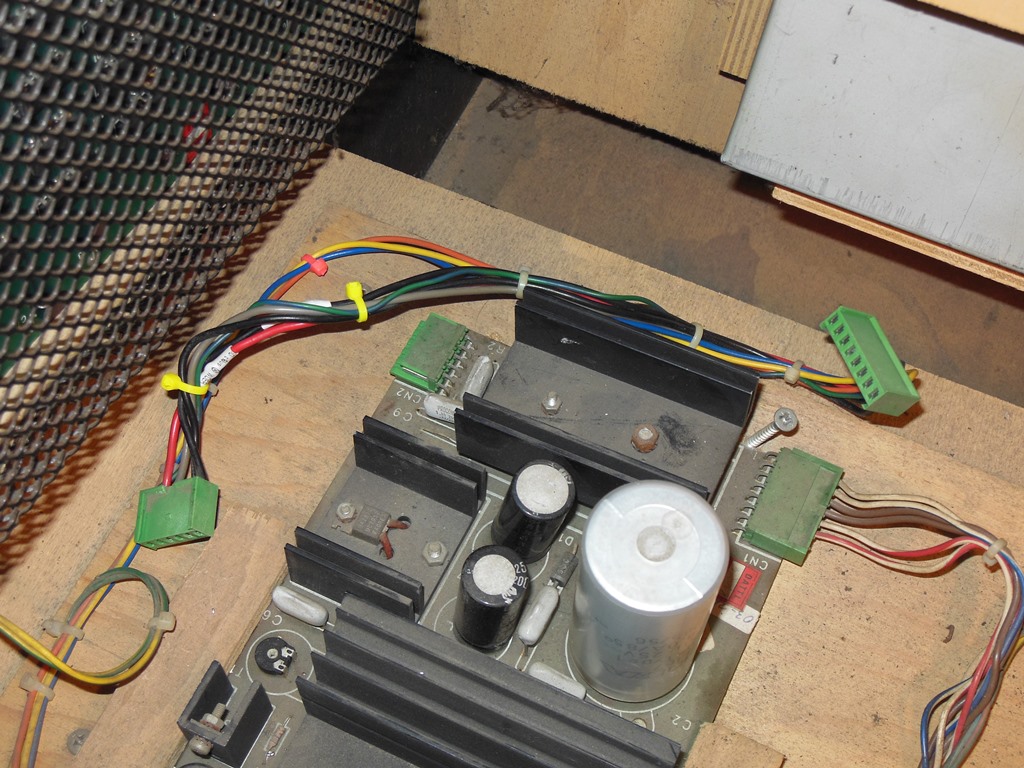
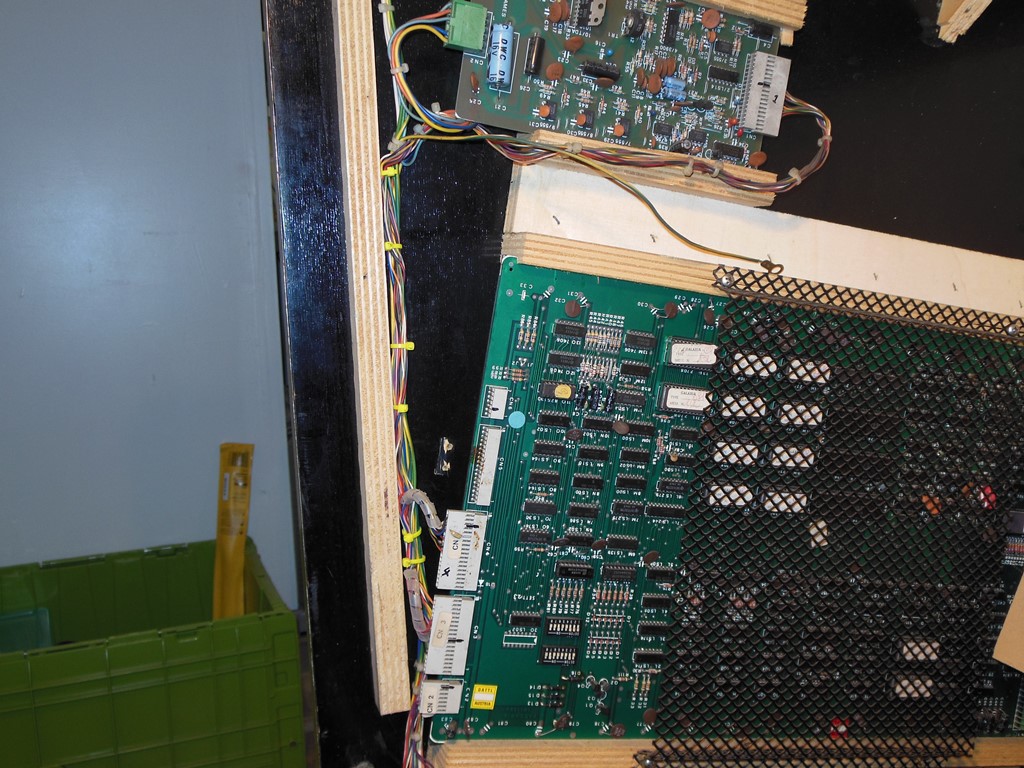
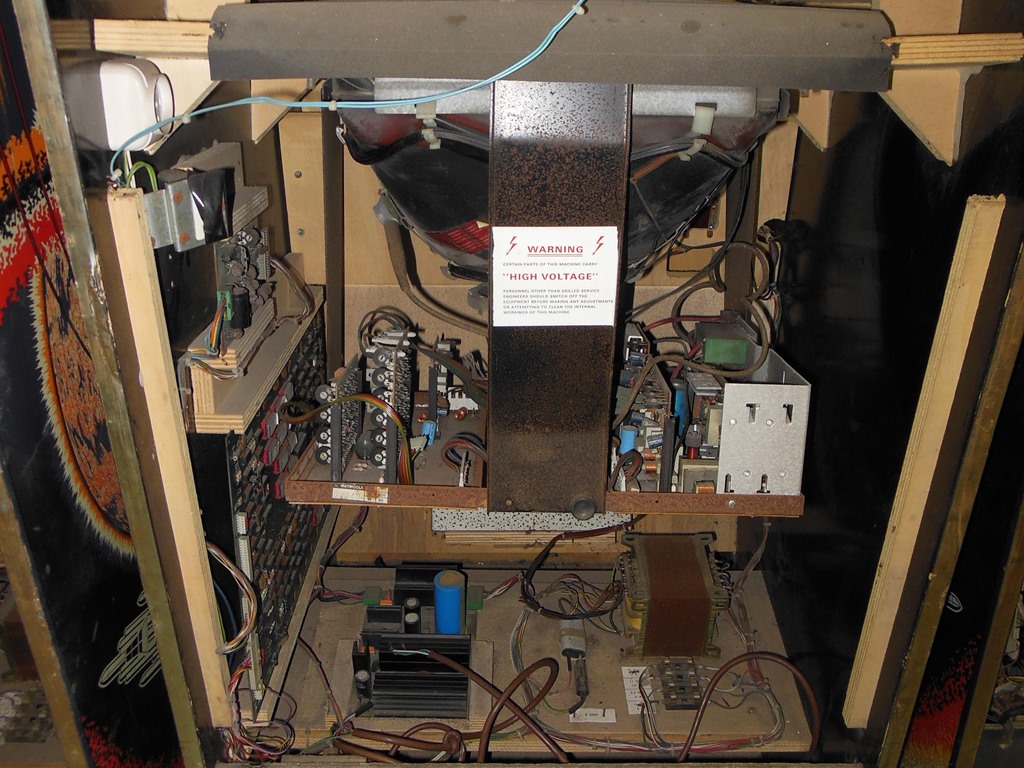
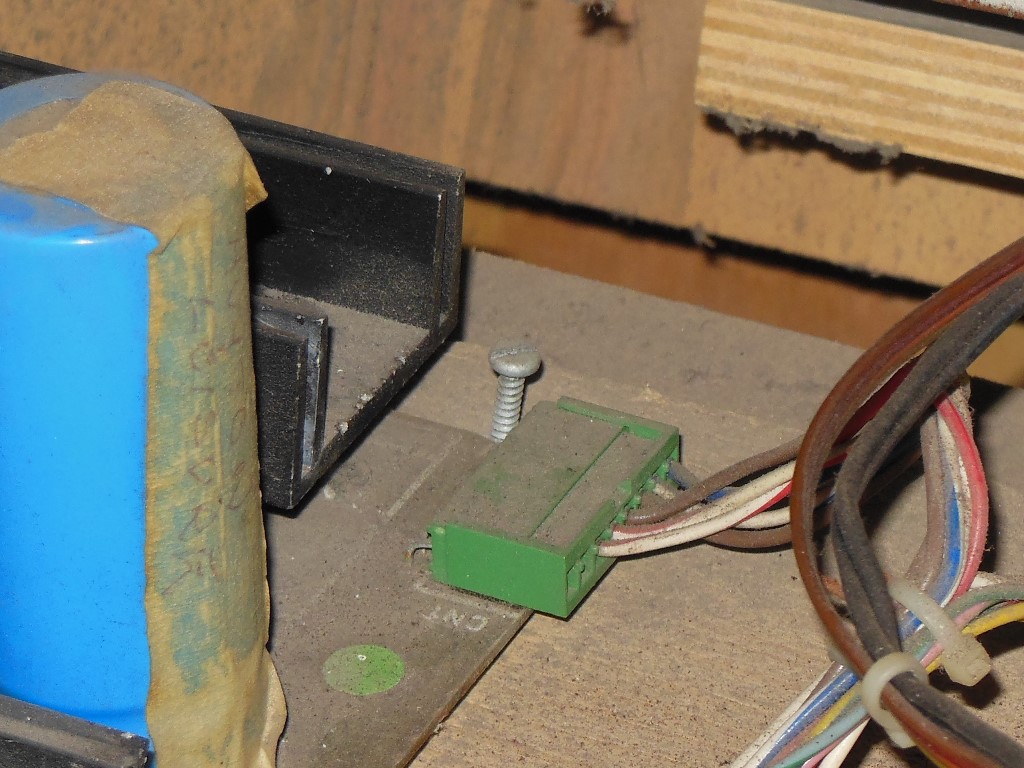
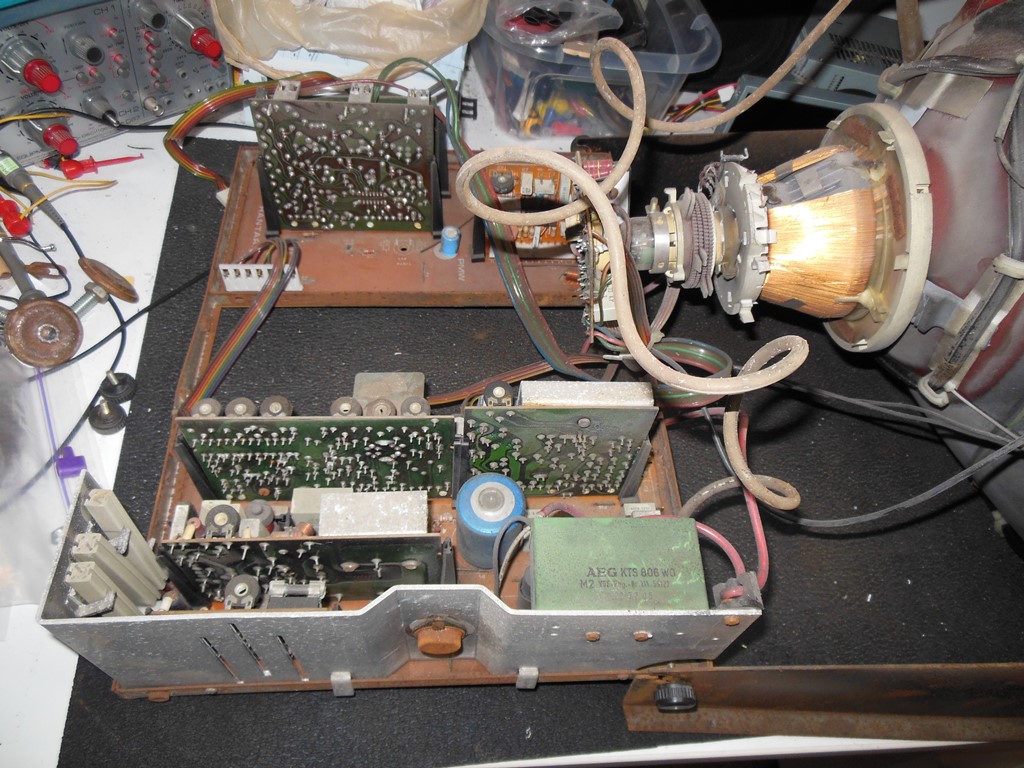
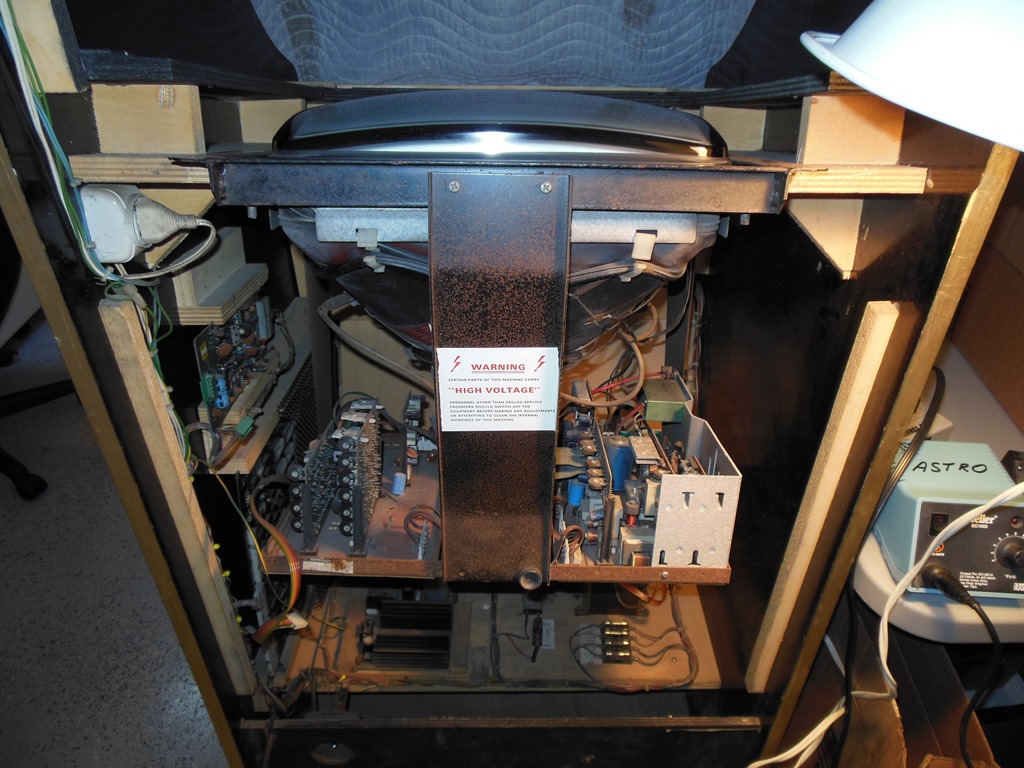
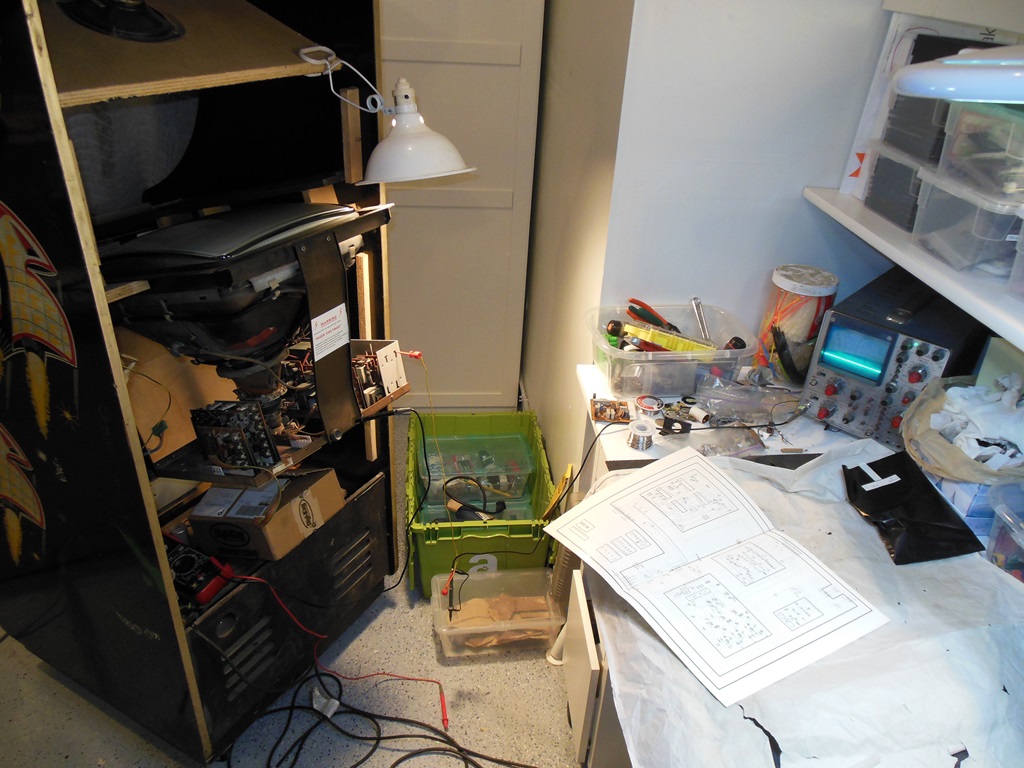
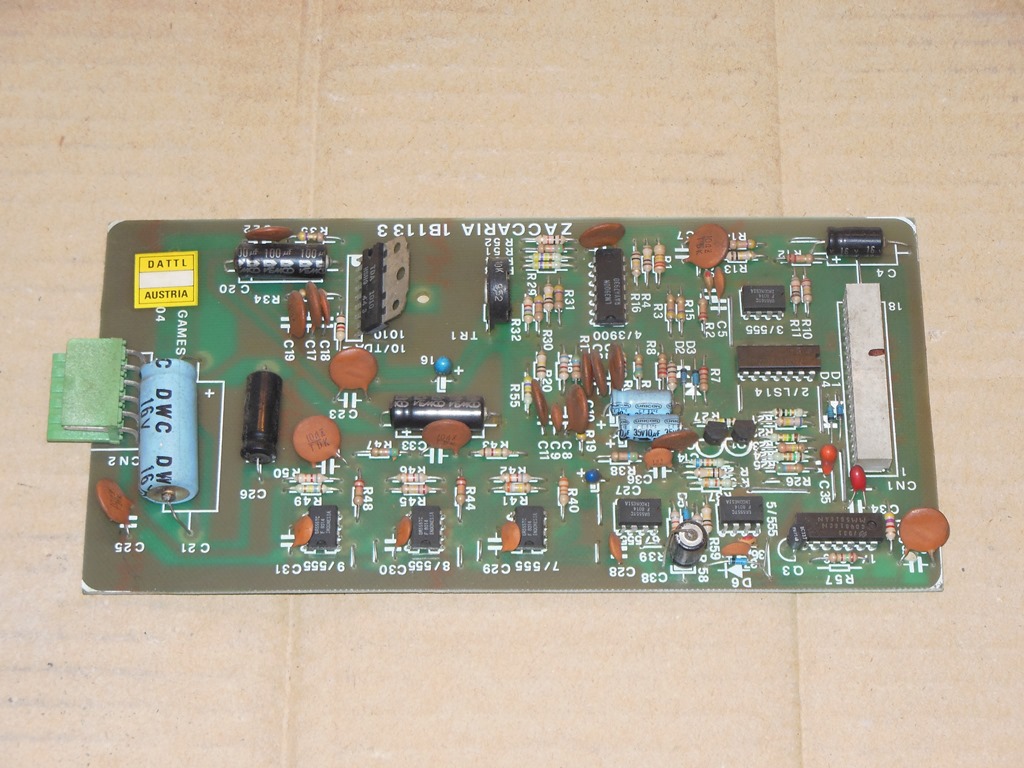
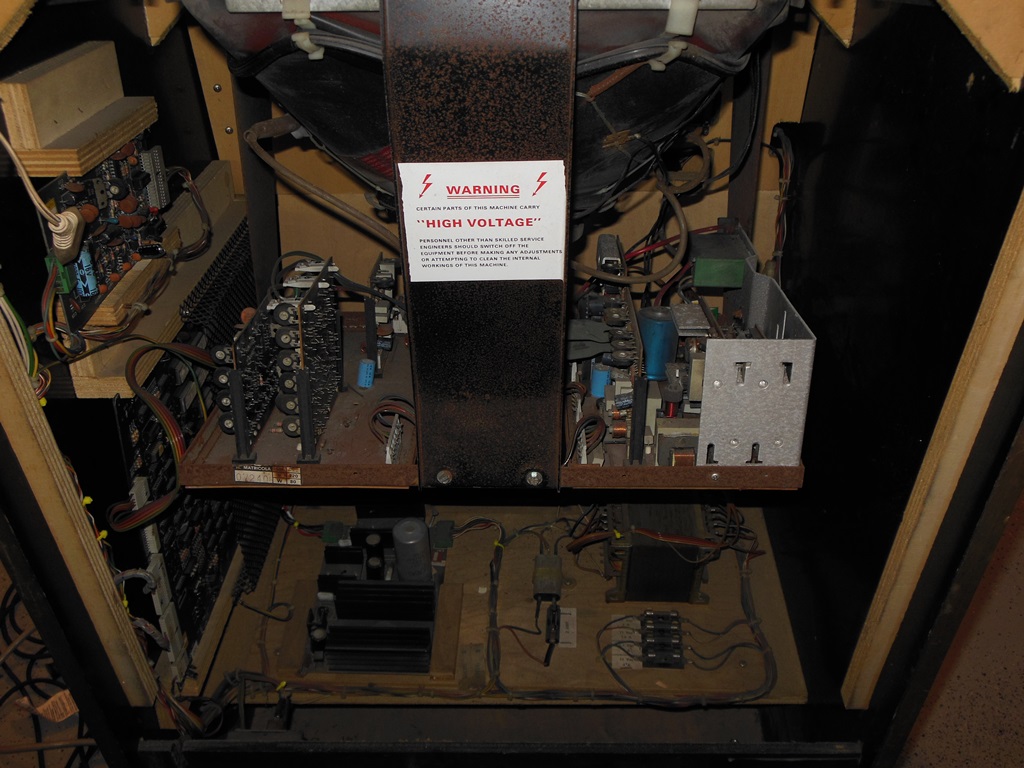
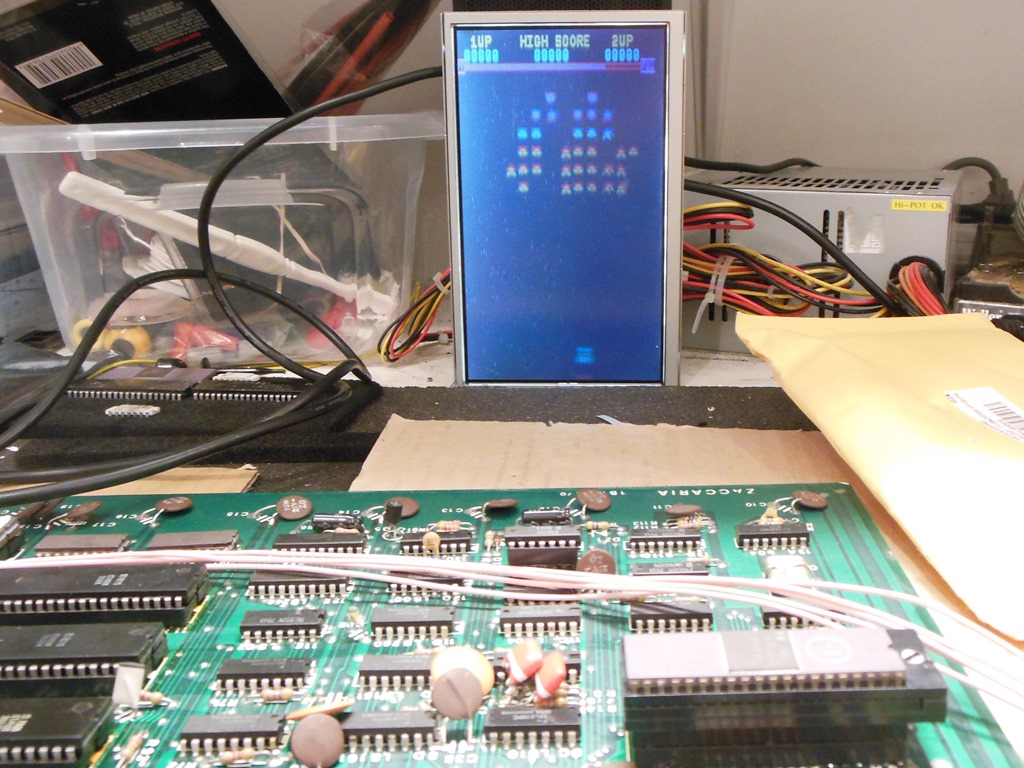
Internally, the game boards were present including the hard-to-find sound board. There has been some hacking of the wiring to the game board and on the power supply wiring. The door interlock switch had also been bypassed. As part of that a lot of the cable zip ties had also been cut off. All minor things but needed tidying up before power on.

|
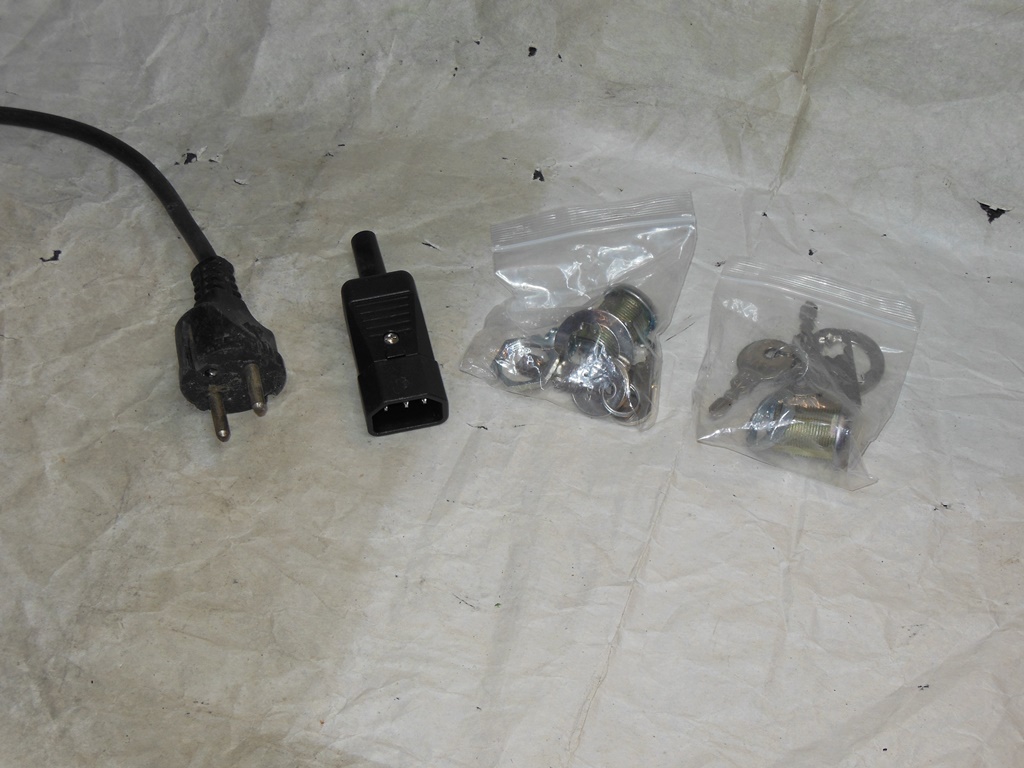
Replaced the European power plug with an IEC-14 for 240V use. The power cord itself was mostly OK except for a scrape that had peeled back part of the outer insulation. I elected to repair it with a heat shrink tubing sleeve since the conductors were unharmed. Also replaced the locks.

|
A couple of floating leads had been spliced into the power harness and wrapped with insulation tape. I removed them and rejoined adding heat shrink tubing to cover them, zip tying them all together again into a neat bundle.
|
Tested the interlock and it appeared to work fine and does have a pullout latch so I'm not sure why it was bypassed. Reconnected it for now.
|
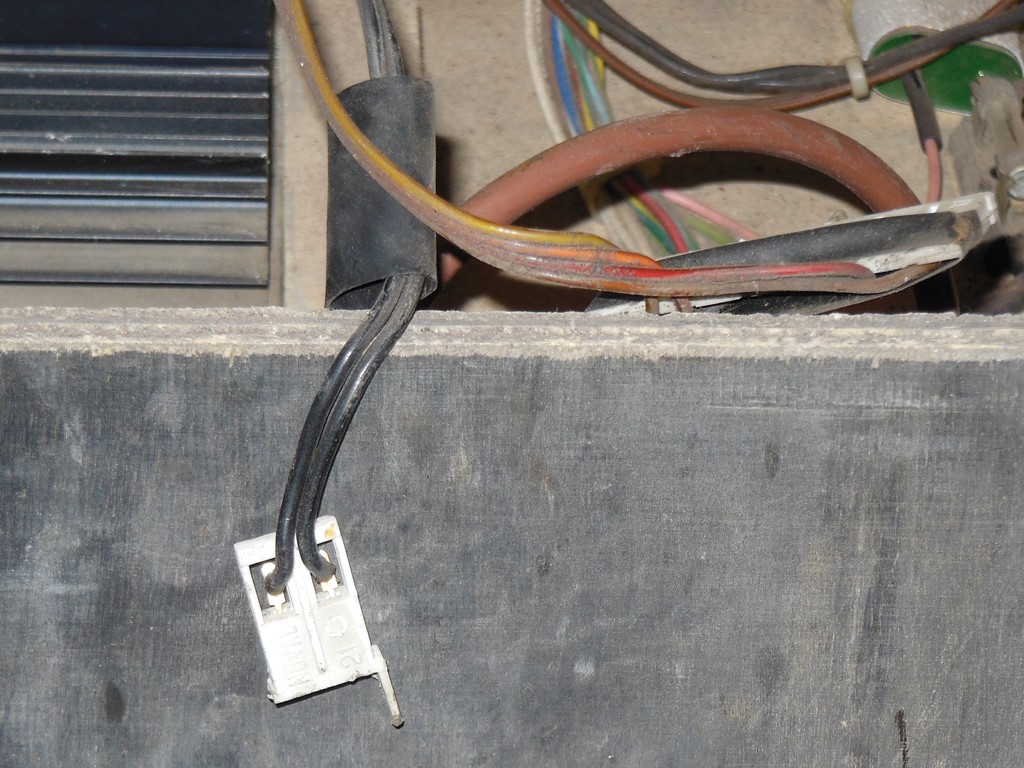
Redid the splice adding heat shrink tubing to cover it, zip tying the wire bundle back together again.

|
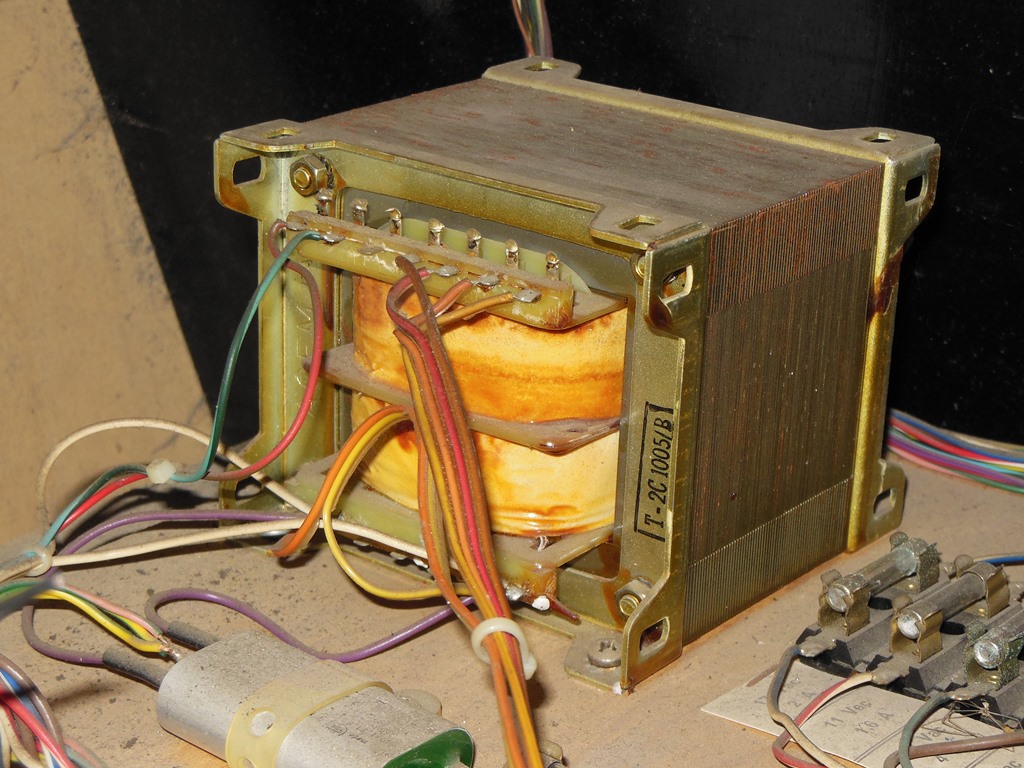
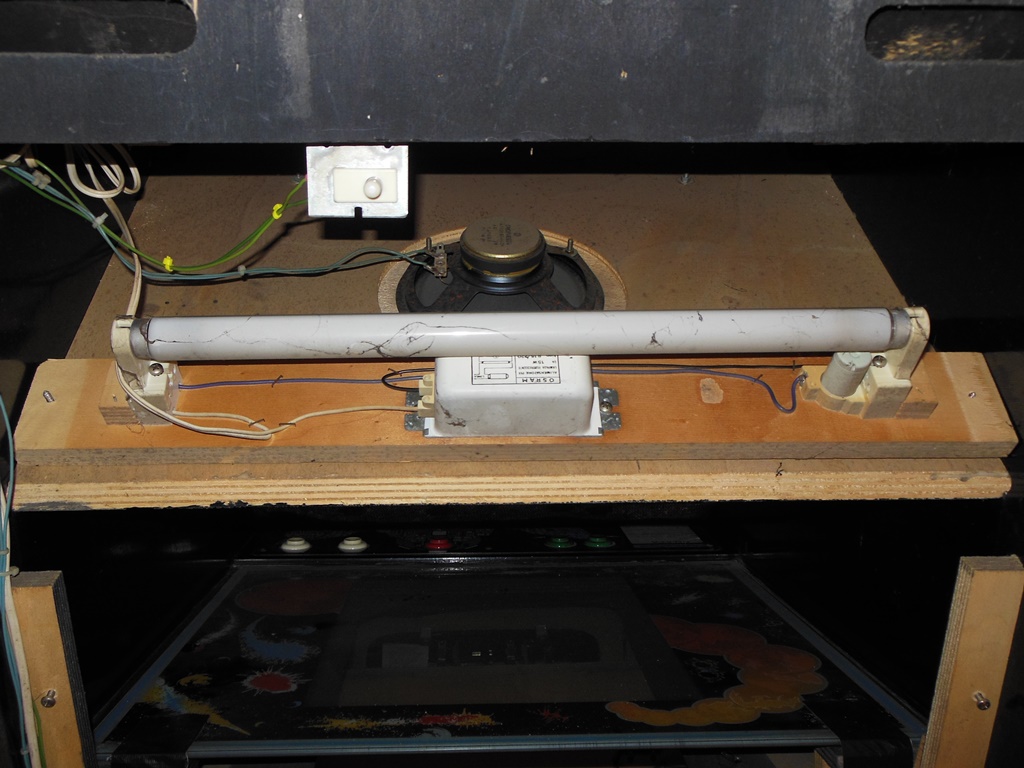
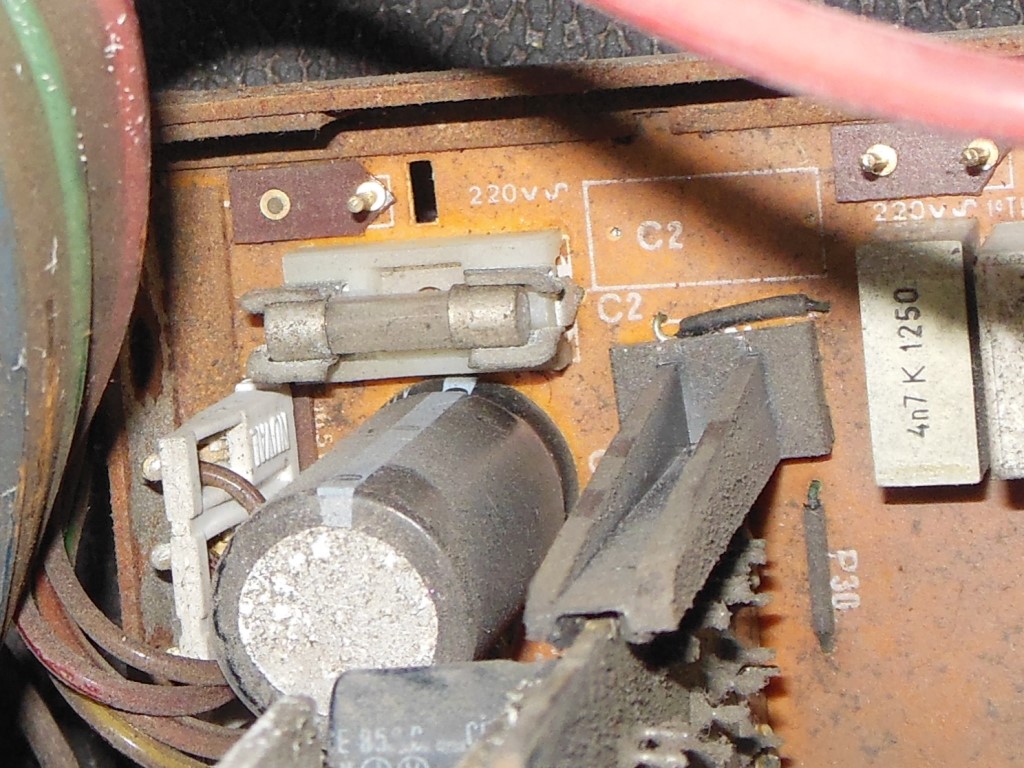
Being of European origin the machine was set for 220VAC. Since I'm using 240VAC I moved over the transformer AC input tap accross one pin to the 245VAC input, leaving the monitor degauss and marque light on the 220VAC tap as designed (the usual supply range is -+ 10% so 220VAC would be 198-242VAC and I measured my warehouse 2-phase at 243VAC making the 245VAC input tap a better choice).

|
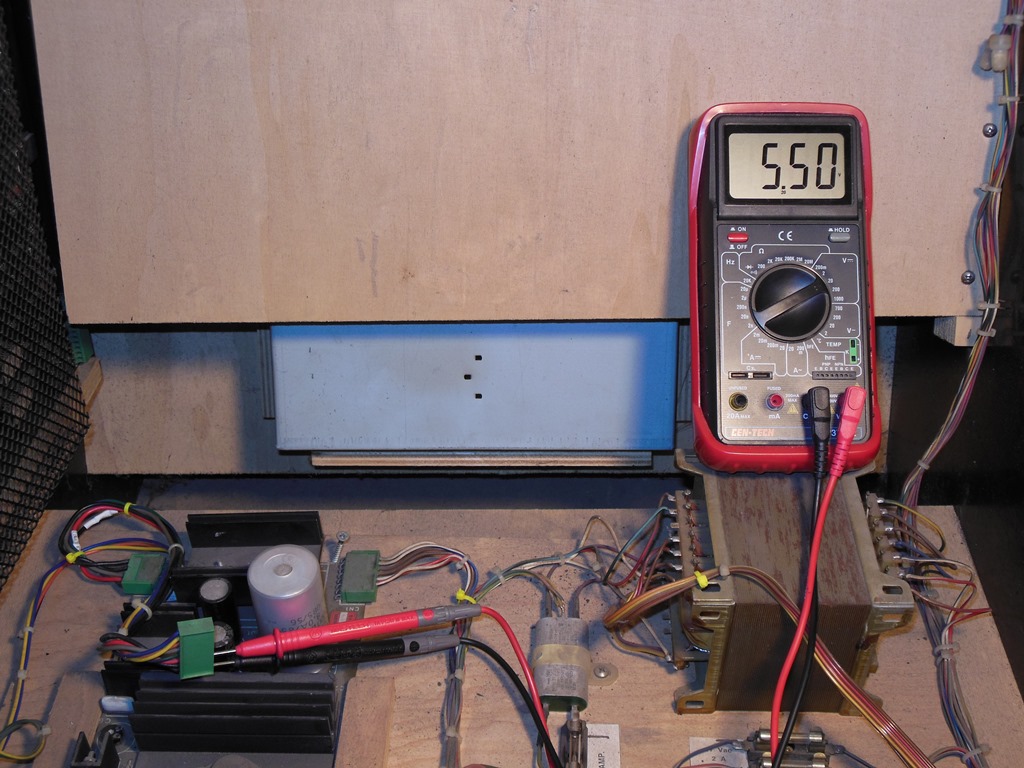
First power on yielded coin door lights and 211VAC on the 220VAC degauss line. Adding in the power board yielded all voltages present and +5.5VDC output. The marque light flickered a couple of times but didn't light up so it'll need fixing. The dim coin door light on the right was due to a 12V car bulb that I also replaced with the correct one :)
|
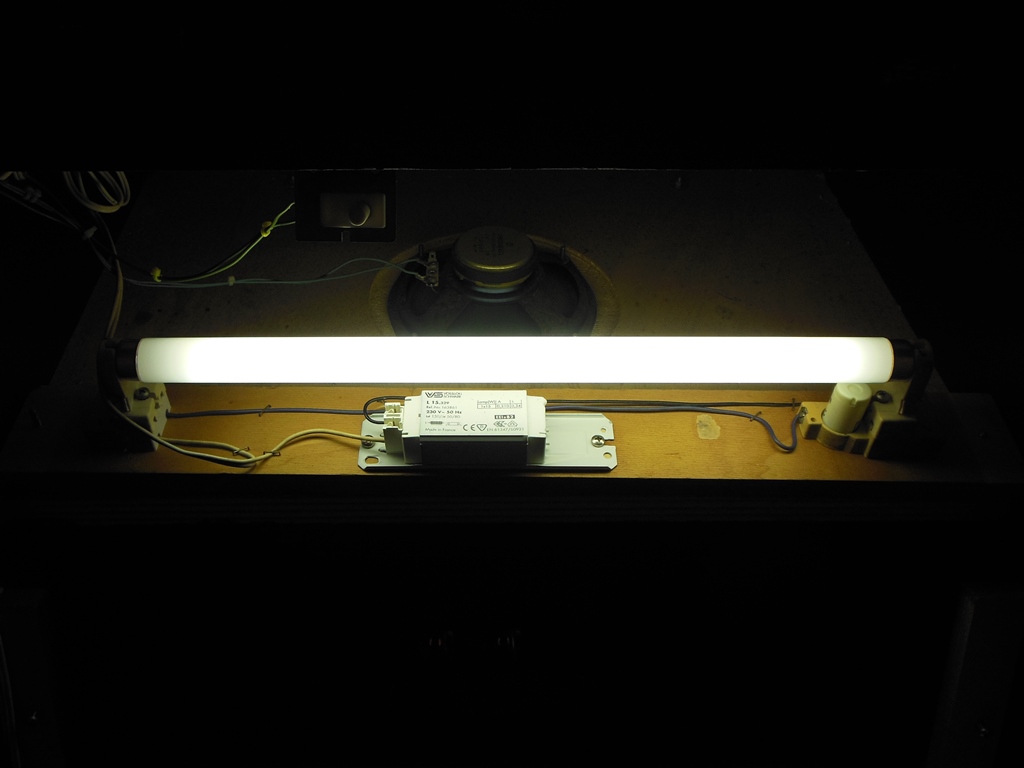
Unscrewed the marque light assembly (accessible from the back on this style of cabinet) and reseating the lamp & starter didn't change anything - still a couple of flashes then nothing. Replacing the tube & starter yielded a few more flashes but it still didn't start. The plastic on the ballast fell apart simply trying to unscrew the wires so a new ballast was needed. The replacements I bought were from the UK, NOS mid-80's ones (the same model that was used the late Zaccaria cabinets). With that it was pretty solid. Since the replacements were 230V rated I moved the transformer tap for the marque light across onto the 245V line input tap. So far it's working fine.


|
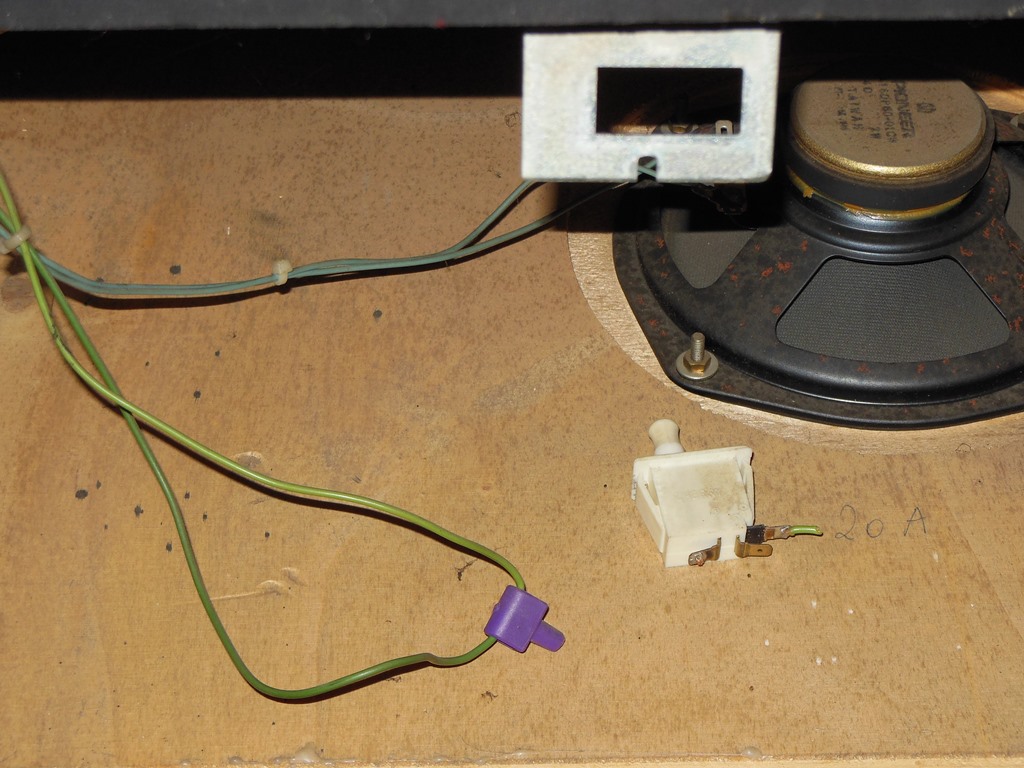
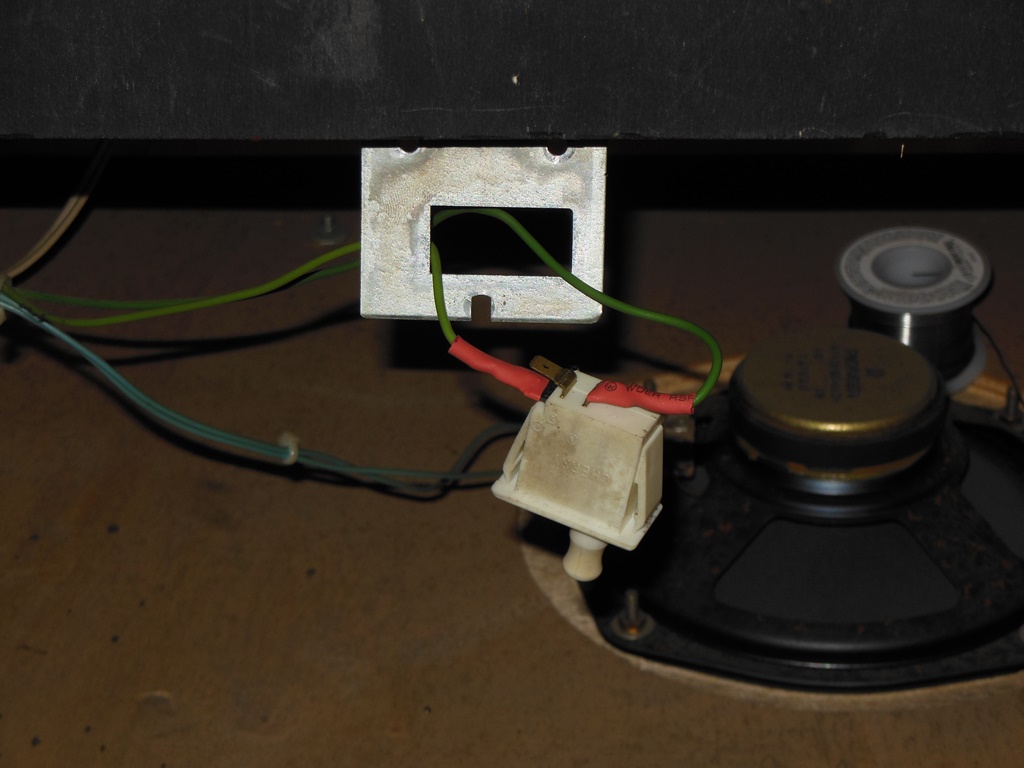
Assembled a credit button on a bracket, wired it in and attached it to the coin door.
|
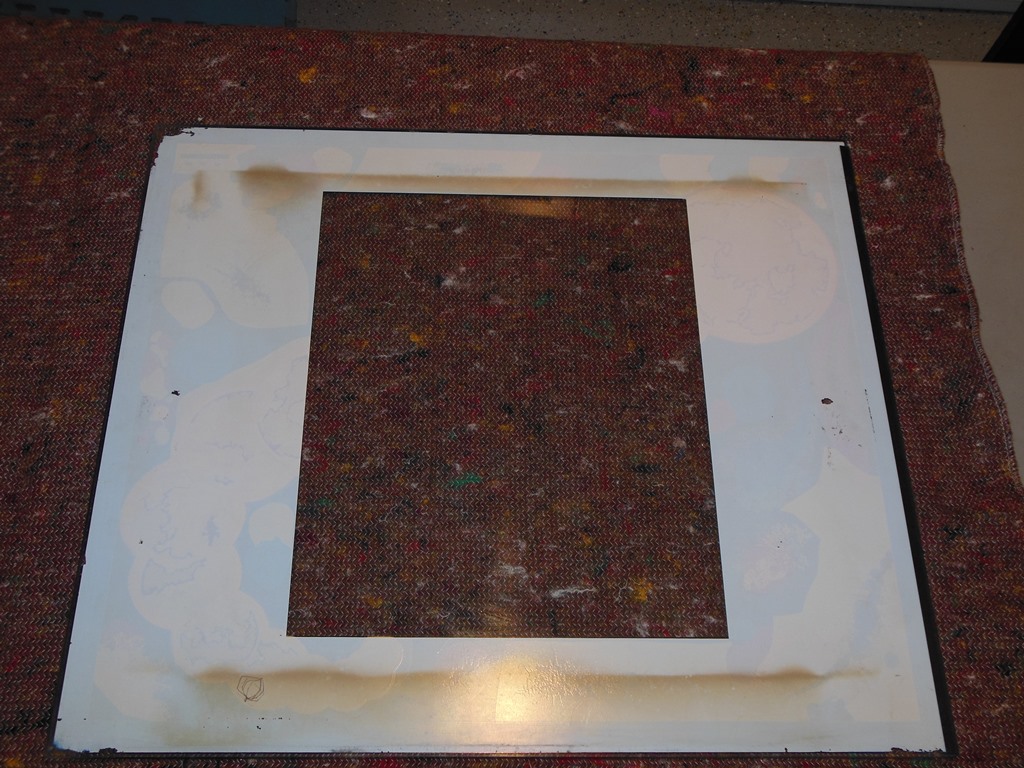
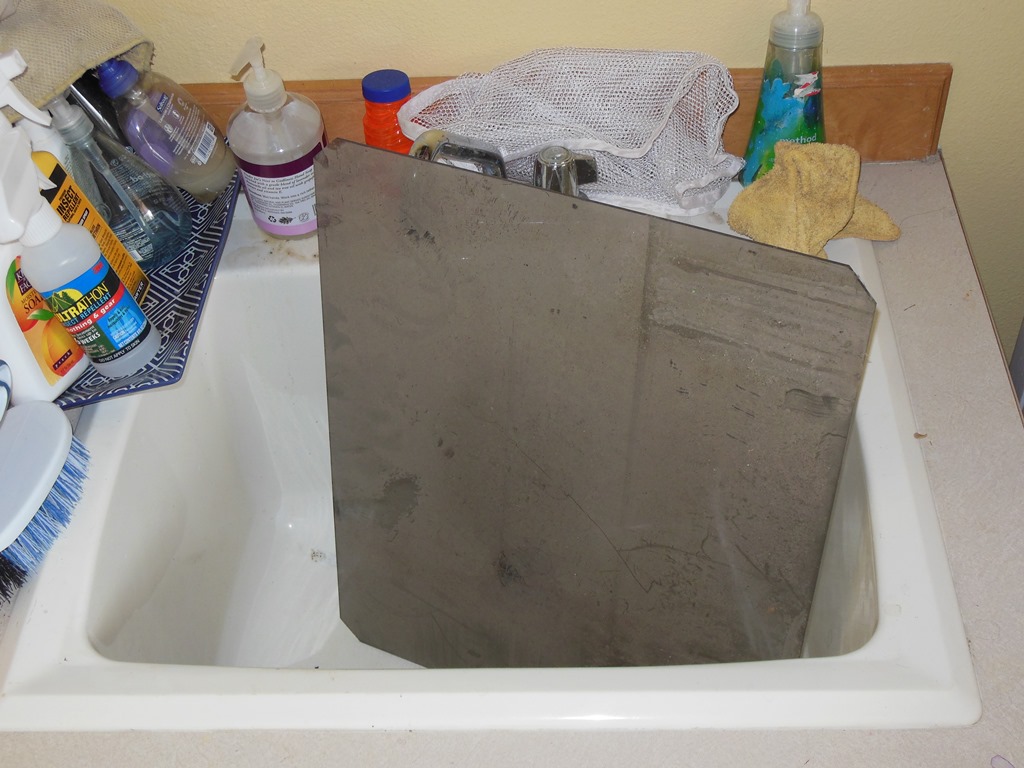
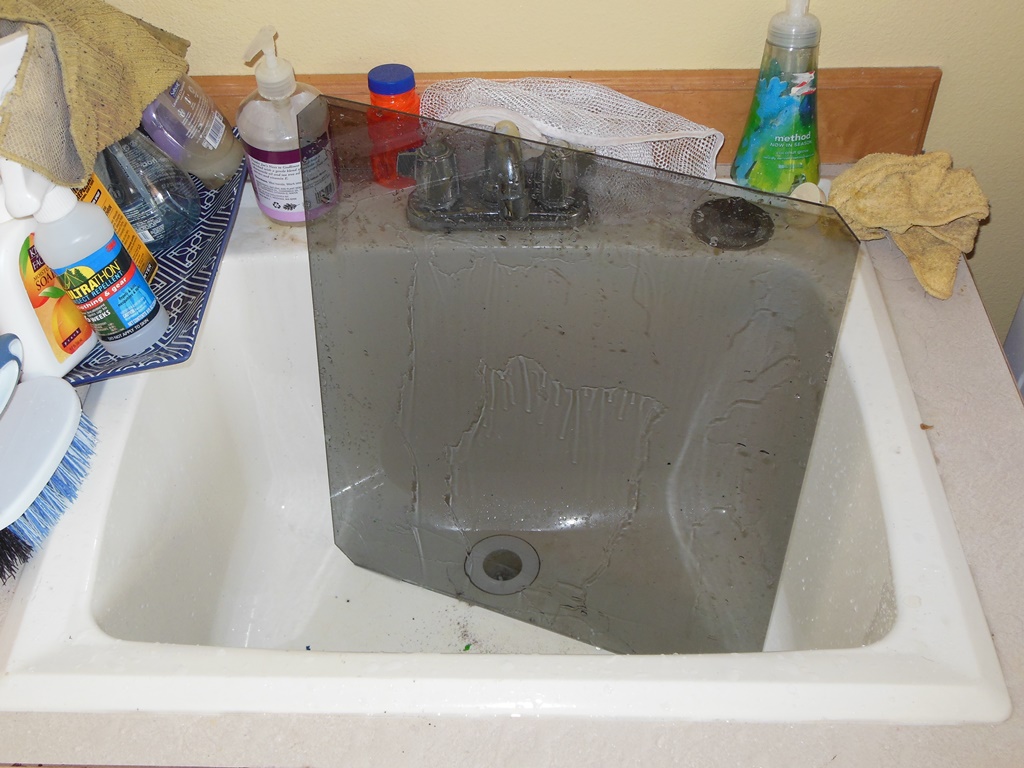
Removed and cleaned the monitor glass.

|
Removed and cleaned the monitor surround, setting it to flatten out. The wood mounts had spacers inserted, likely to accomodate another monitor at some point in the past. They were only held in with screws and easily removed. I don't see any further modifications to the original woodwork.
|
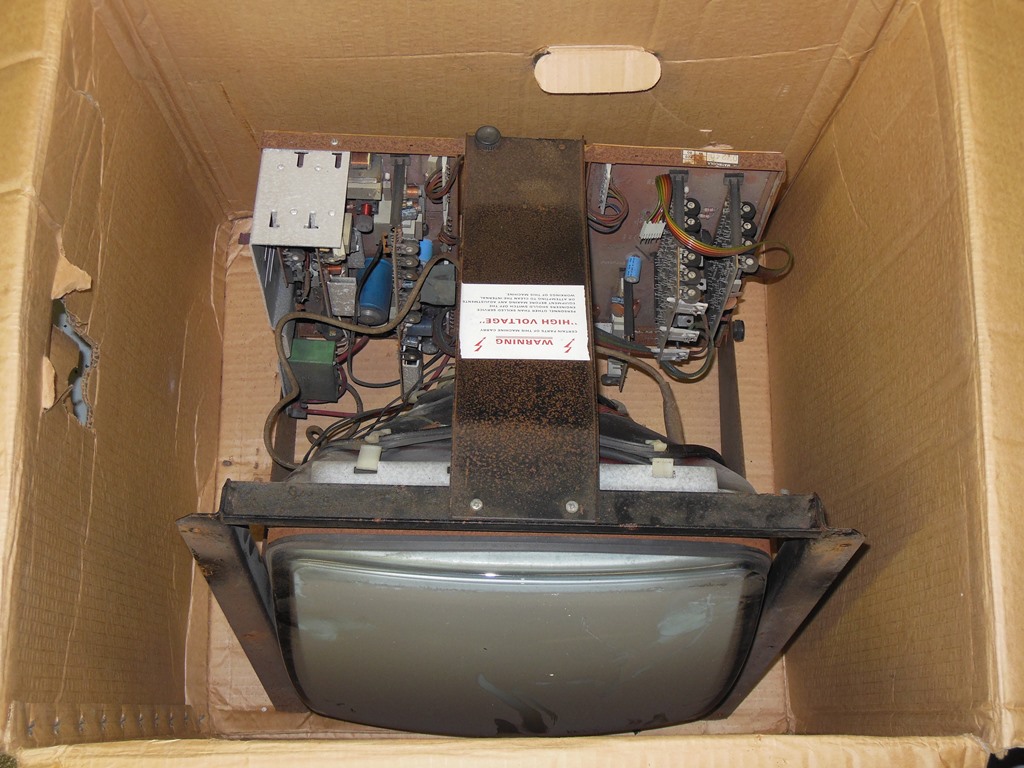
I ended up with two Astro Wars from the Duke of Lancaster, both in pretty poor condition and in a worse state that the Astro Wars I already had. One had already been used to donate parts for the Sea Scare restoration but it's MTC-90 monitor chassis was smashed. The other Astro Wars had a complete MTC-90 in good physical condition except for a lot of chassis and component rust. This one I recovered to try and get working in the Galaxia.
|
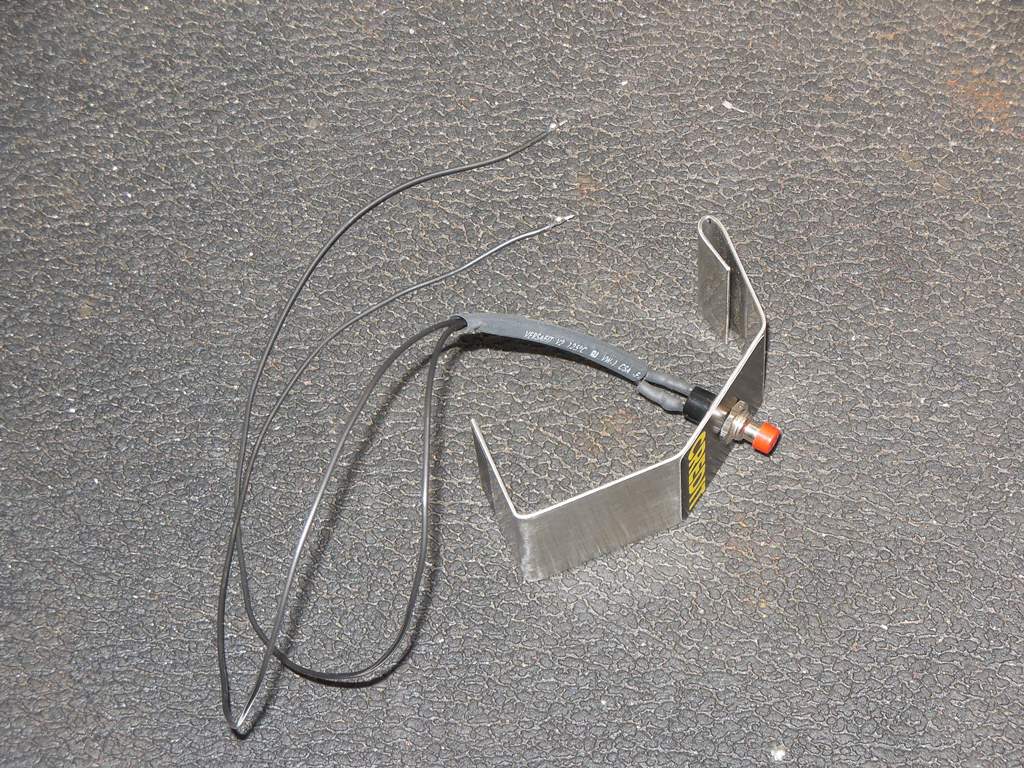
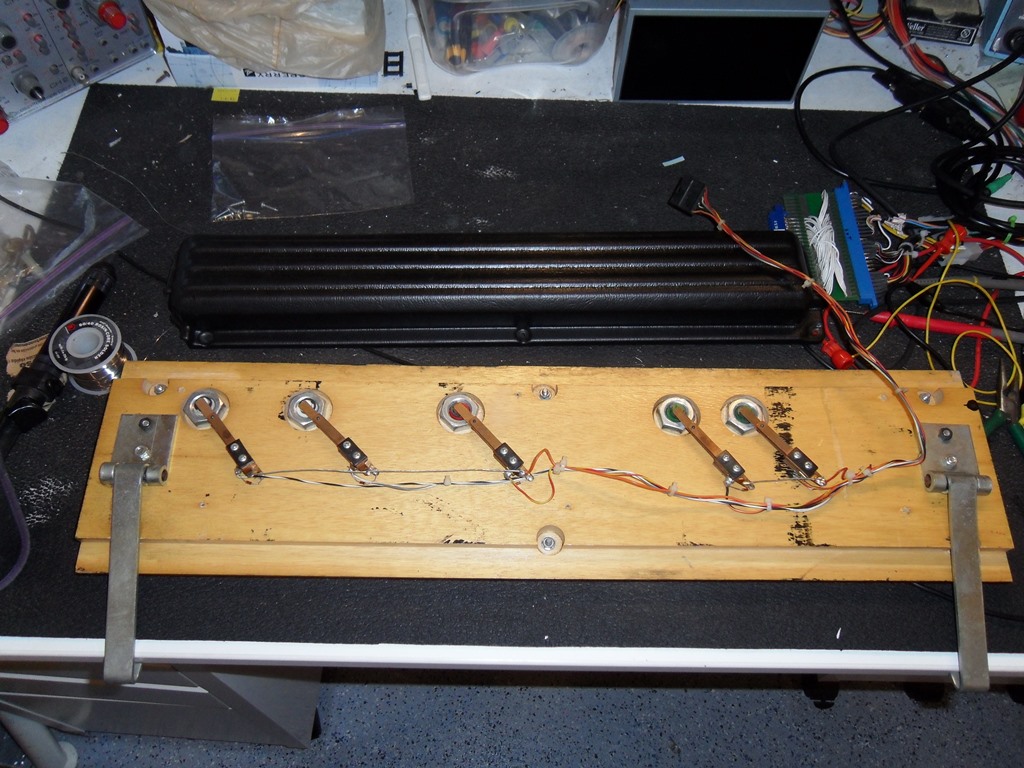
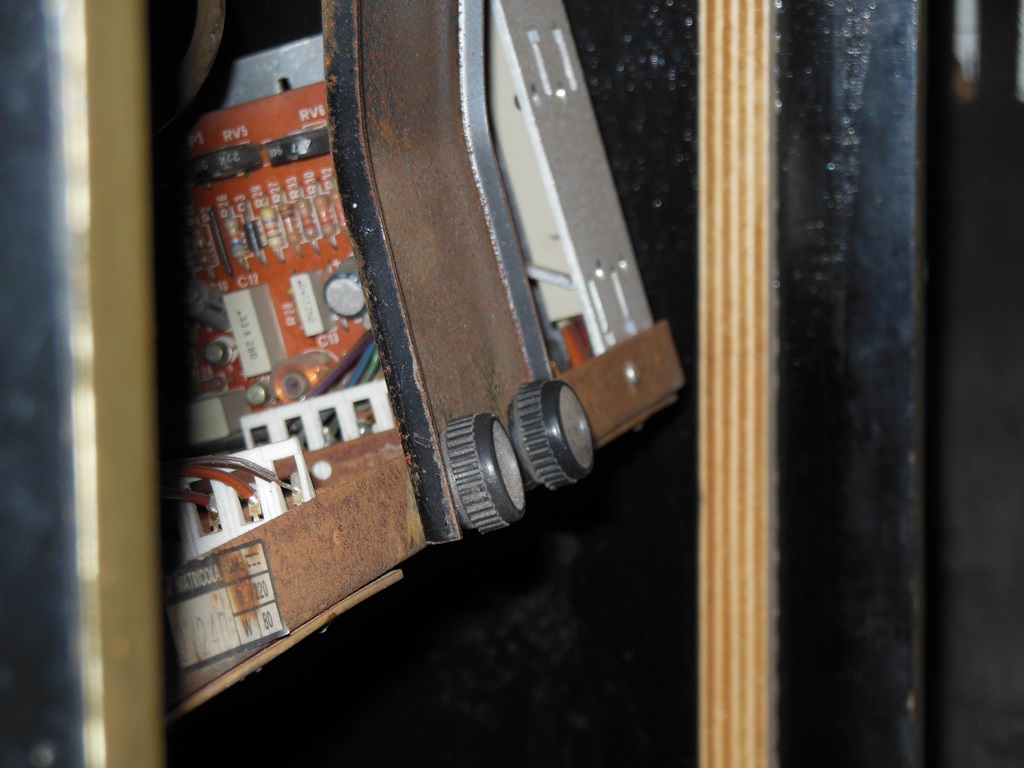
I also needed some other questions answered - the Galaxia has two holes near each of the main and sound boards that looked like it was something to keep the boards in place. Sure enough, there is a small metal bracket screwed into the side walls that holds them in place. Of four machines (this Galaxia and three Astro Wars) there was just one bracket remaining across all of them. Thus, a bunch of repro brackets needed to be made but at least I have one to use as a template. I also wanted to check if the power supply board was really just held in with a tall screw or also had a bracket. Only one Astro Wars had anything and it was just a tall screw like Galaxia. The Galaxia was also missing it's 220V input connector so I recovered one of those from an Astro Wars to refit.
|

|
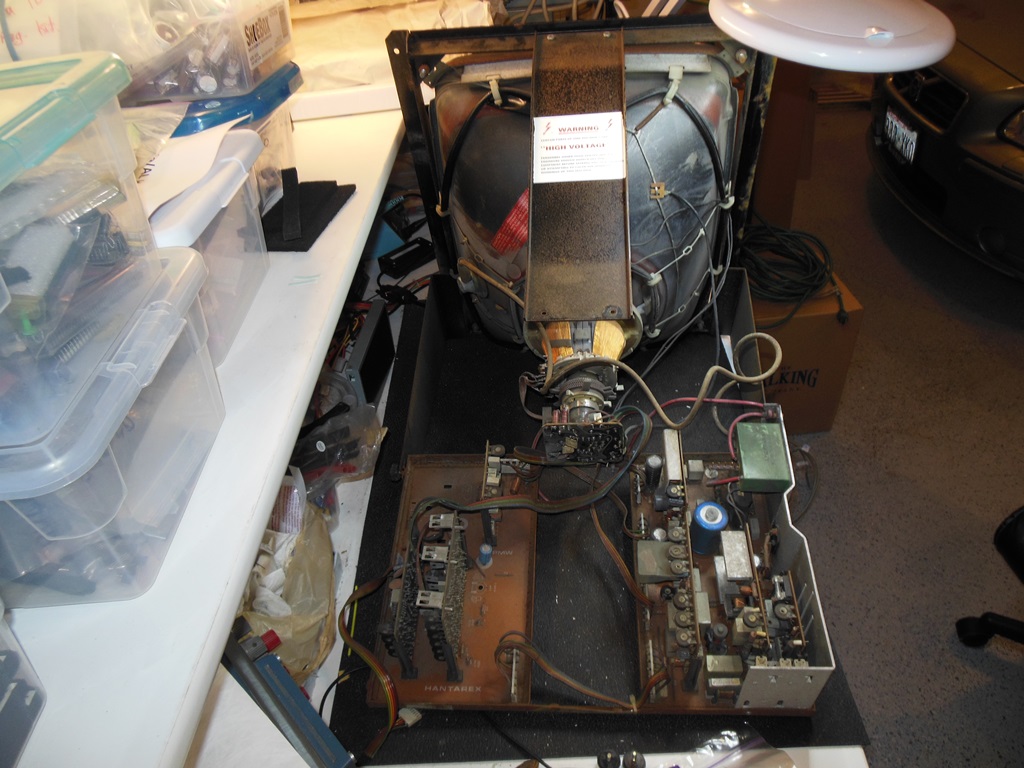
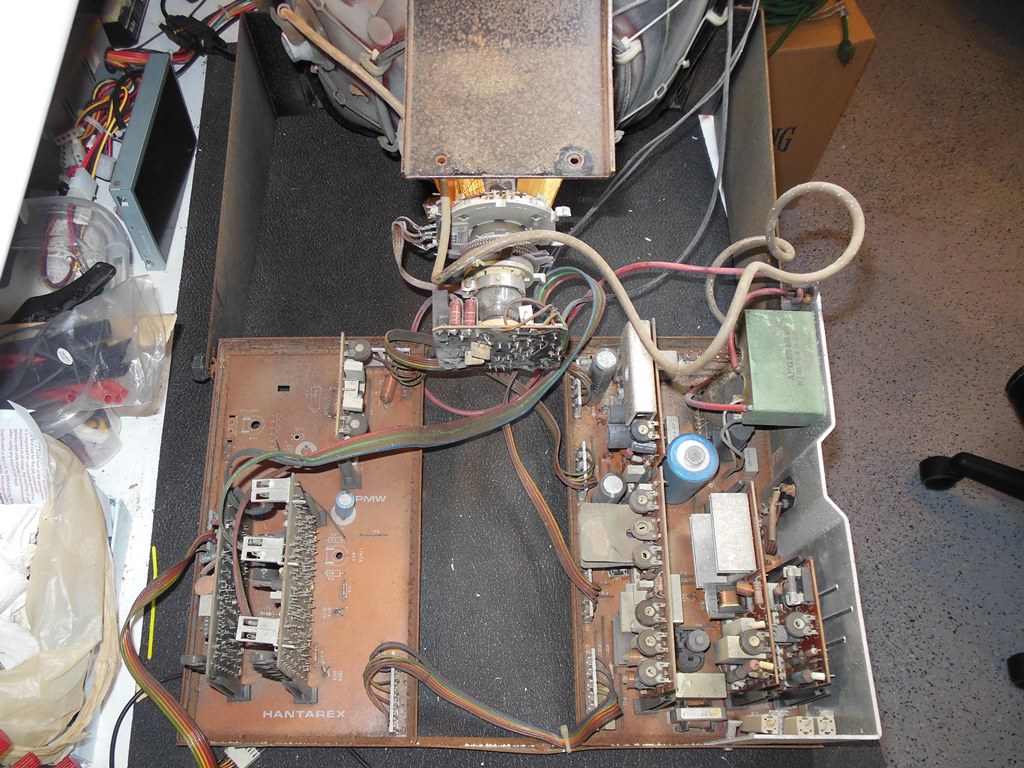
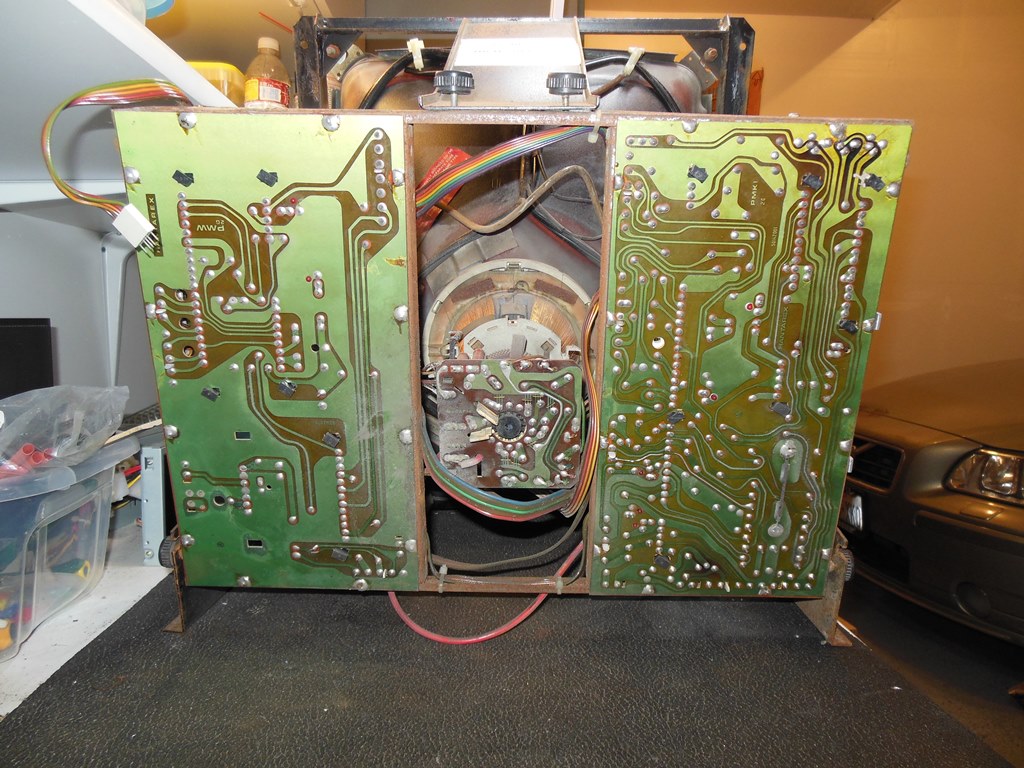
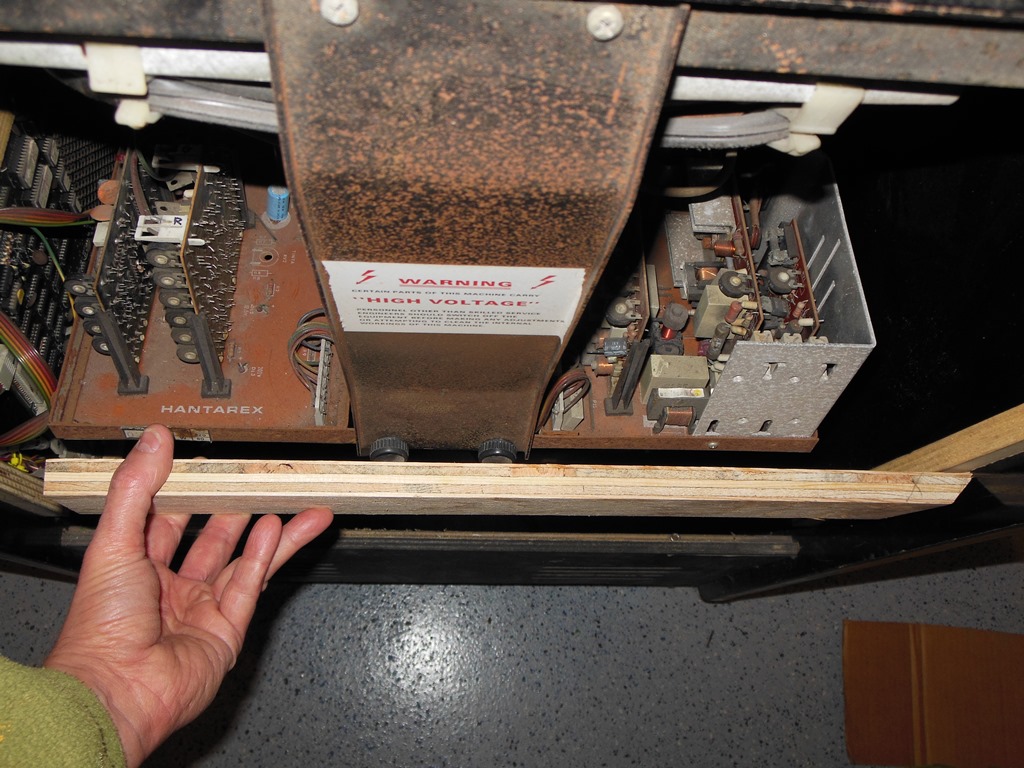
Since the complete monitor was out I set it on the bench for a complete physical inspection. The exposed metal is very rusty with some components also having rusty legs. You can tell this thing has been on a coastline for 25 years :( The TO-3 cans are completely rusted over but not rusted through yet. The only physical issue I found was a broken pin on the 220V input connector that I replaced with the same connector from the audio input (conveniently the only part of the unused audio circuitry that was fitted). With that the monitor was ready go into the cab for testing.
|
I fitted the Astro Wars recovered 220V input connector back onto the monitor power wiring and connected the power (leaving the game video input connector disconnected for now in case of arcing).
|
With power switch in one hand and fire extinguisher in the other power on yielded...
nothing. Well, not entirely nothing - some of the various power LED's on this
chassis were lit and the power resistors were hot but no HV.
Further examination with the manual gave the following problems:-
|
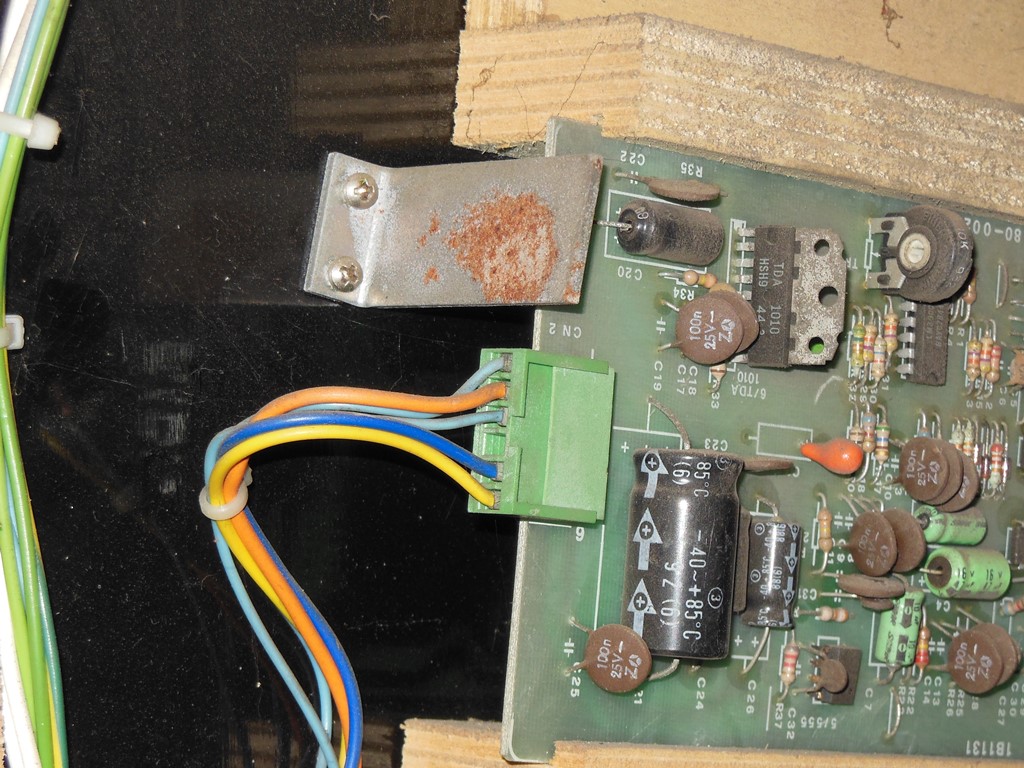
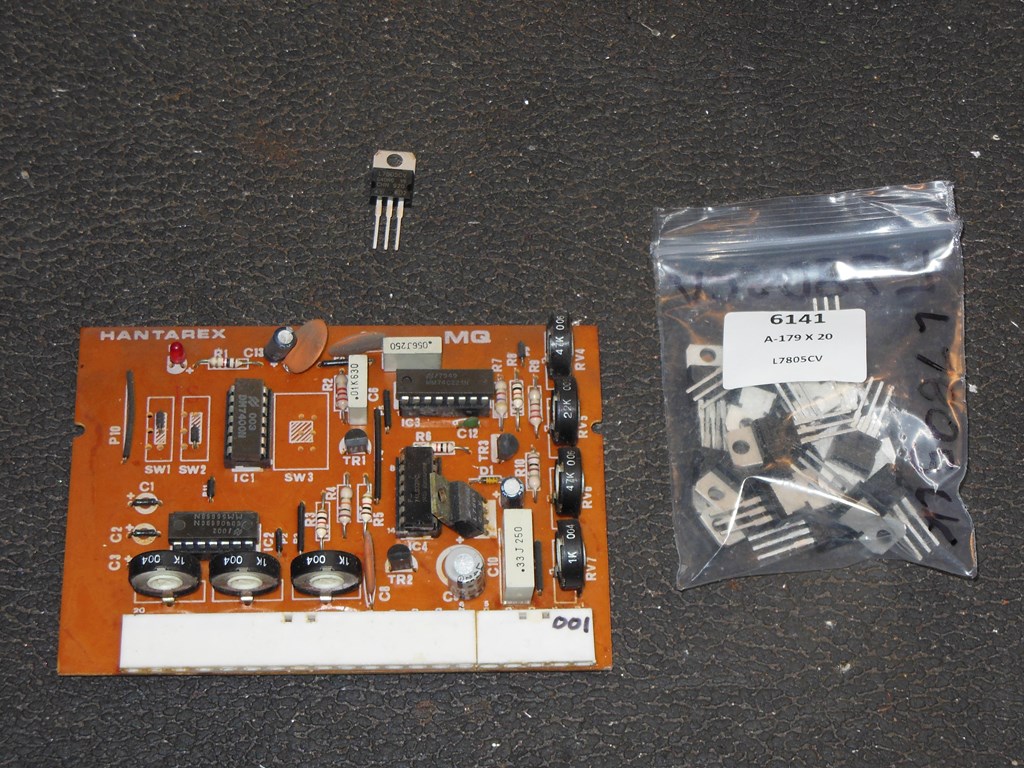
The 12V input to the MQ board was present all the way to the 7805 regulator on the board but there was no output from the regulator. Replacing the MQ with a spare MQ yielded exactly the same result - no +5VDC out of the regulator. Feeling it was odd to have the same fault on two boards, I retested on the bench by feeding in a known 12V supply to the power input but as far as I could tell the 7805 was bad on both boards. With no spares to hand I had to order and wait for replacements to arrive before continuing with the monitor.
|
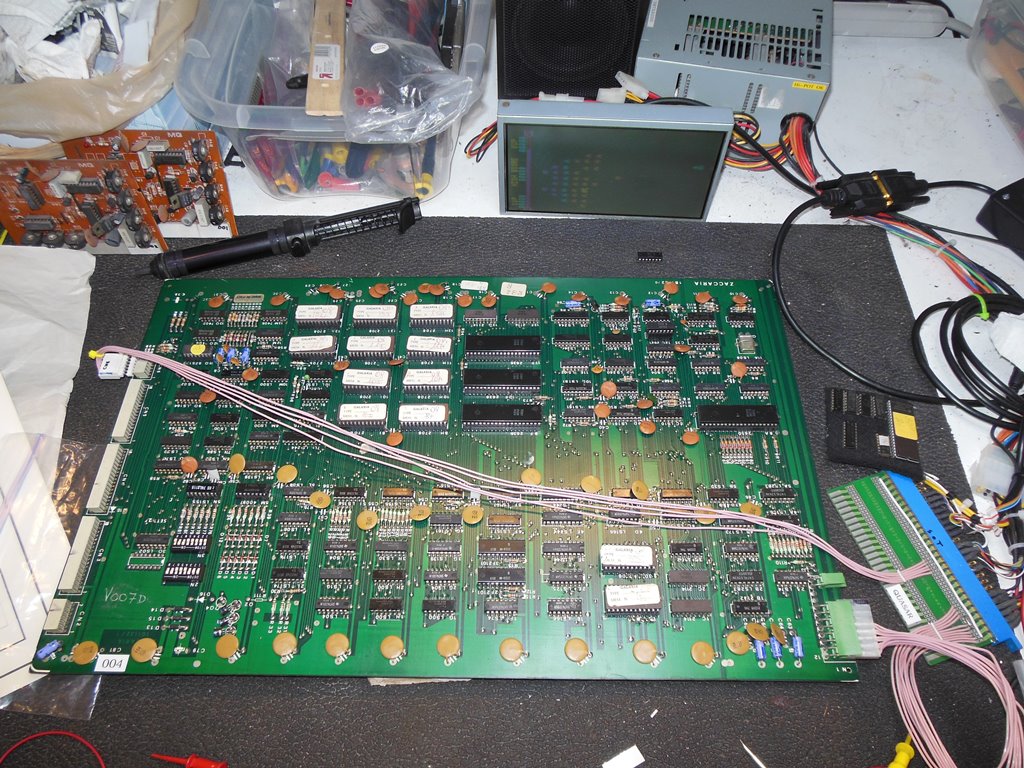
Whilst waiting for the 7805's to arrive I went through a small pile of untested spare Galaxia main PCB's. All except one other didn't boot. However it became clear that the original working board in this cabinet did in fact have a sync problem - with a 2621 PAL sync generator there should have been vertical roll and with 2622 (NTSC) sync generator there should have been full lock. With no schematics online for Galaxia a little tracing yielded:-
|
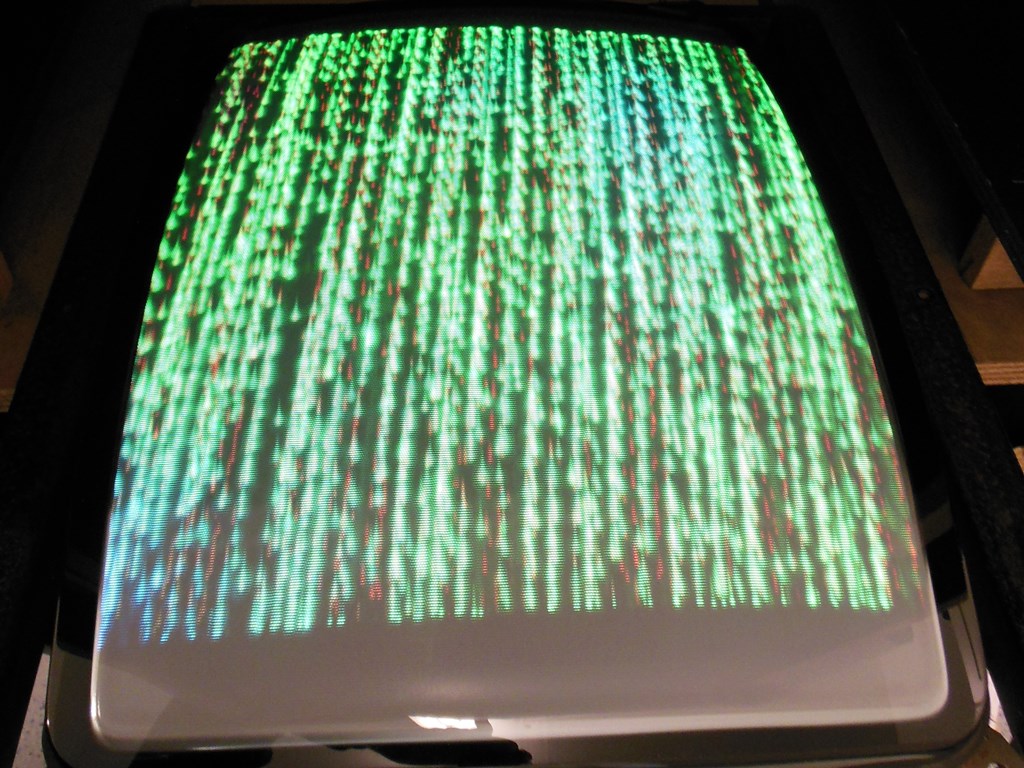
The 7805's arrived and I replaced it on both of the MQ boards I had. Initial power on with the original MQ yielded the MQ power LED on but still no picture. Poking around with the scope showed no video drive out of the 4066 (IC2) switch. Trying the second MQ yielded an unsynced mess but something to start with :) Starting with the video input there was no sync out of the game board (the one I just fixed a few days earlier). Even with the monitor disconnected there was no sync output from the game PCB. Checked the grounds and connections but it was true - no sync output from the game PCB :(
Pulled out the game PCB yet again and followed the sync chain back. This time the 7406 had idle input. The 74LS04 also had idle input and in fact there was no CSYNC out of the 2621. The 2621 had died. Replacing it with one from one of the no boot spares brought the sync back again.

|
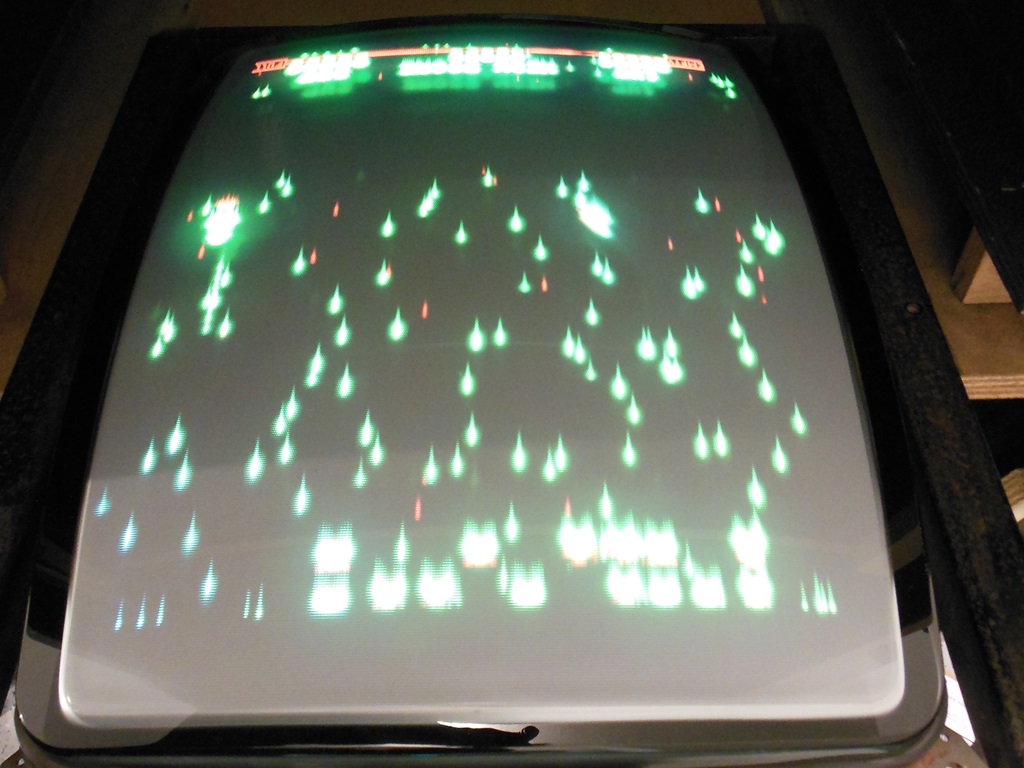
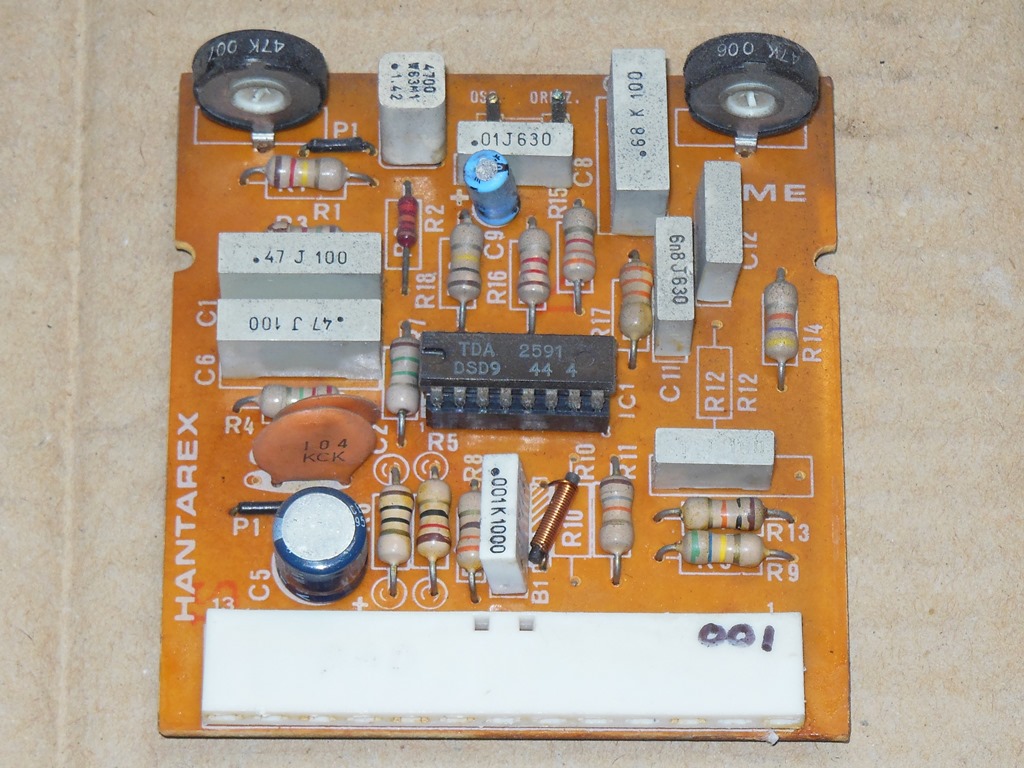
Reconnecting everything still yielded no sync. Tweaking the sync pot by a large margin found a narrow area where sync would lock but with the picture largely off center and rolled over. Pulling out the ME board I started the online hunt for replacement TDA 2590's. As it turned out the TDA 2590, 2591 & 2593 are considered mostly pin-for-pin compatible in circuits where a TDA 2590 was originally fitted. I had spare TDA 2593's so I replaced the dead TDA 2590 in the original ME board with a NOS TDA 2593. Power on again and the sync was locked with no adjustment needed :)
|
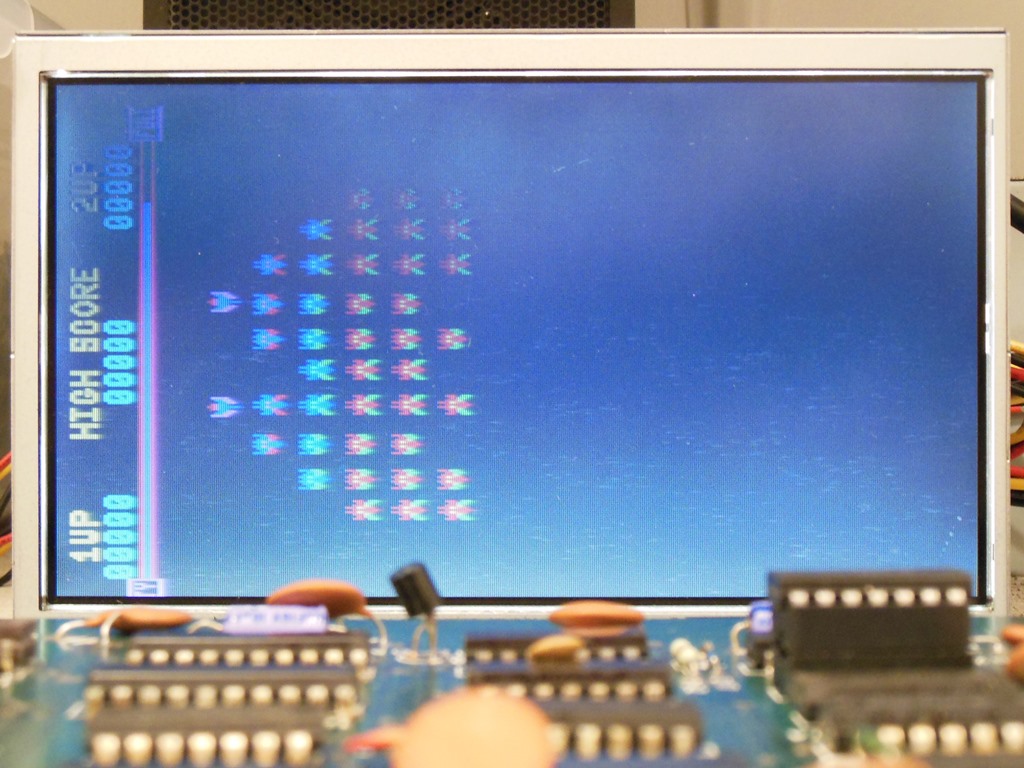
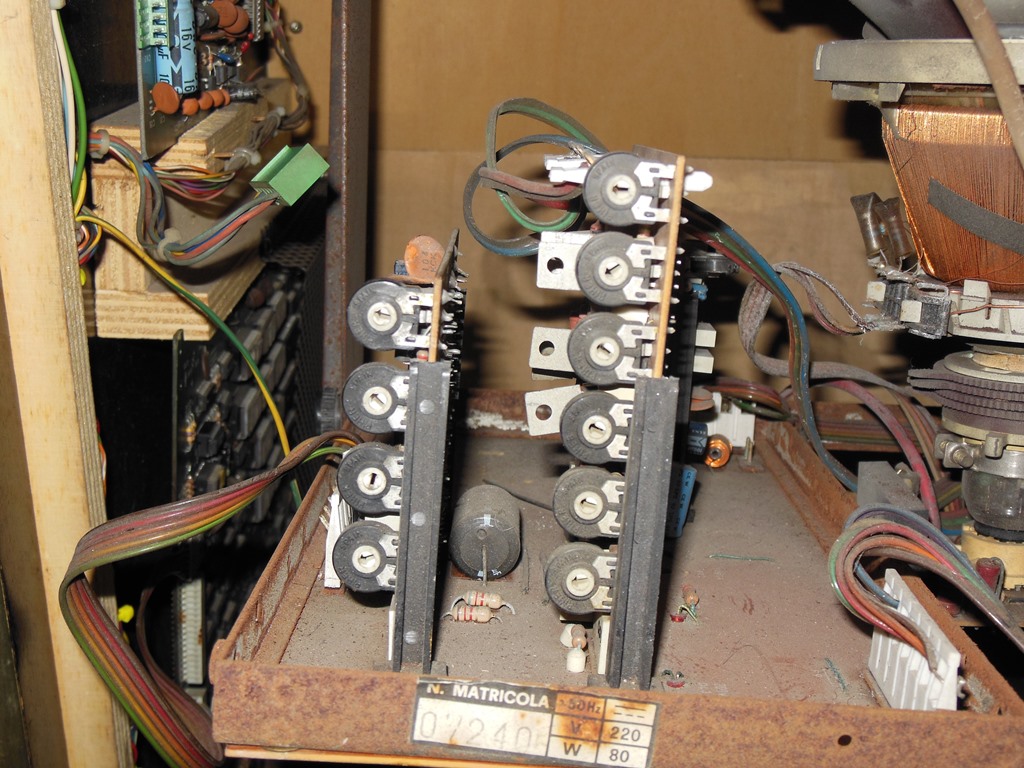
So we had a sync locked picture. Still some problems, however. There was no blue, green was splattered and red bleeding. There was blue video out of the MQ input board so it was looking like an MD (gun drive) problem. Replacing the original MD board with a spare yielded a near perfect picture with no tweaks needed at all! This monitor has a vast pile of pots so I always take pictures before touching anything. The photo above is of the pot settings for the as-is working MD board with a good picture to use in future :)
|
|
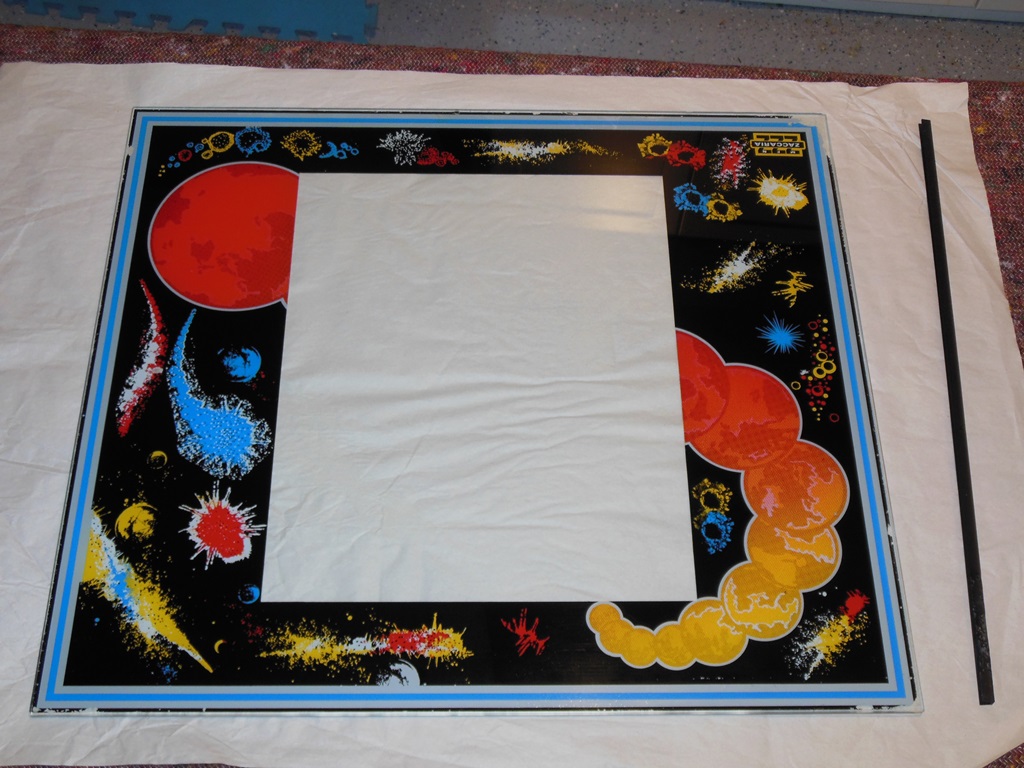
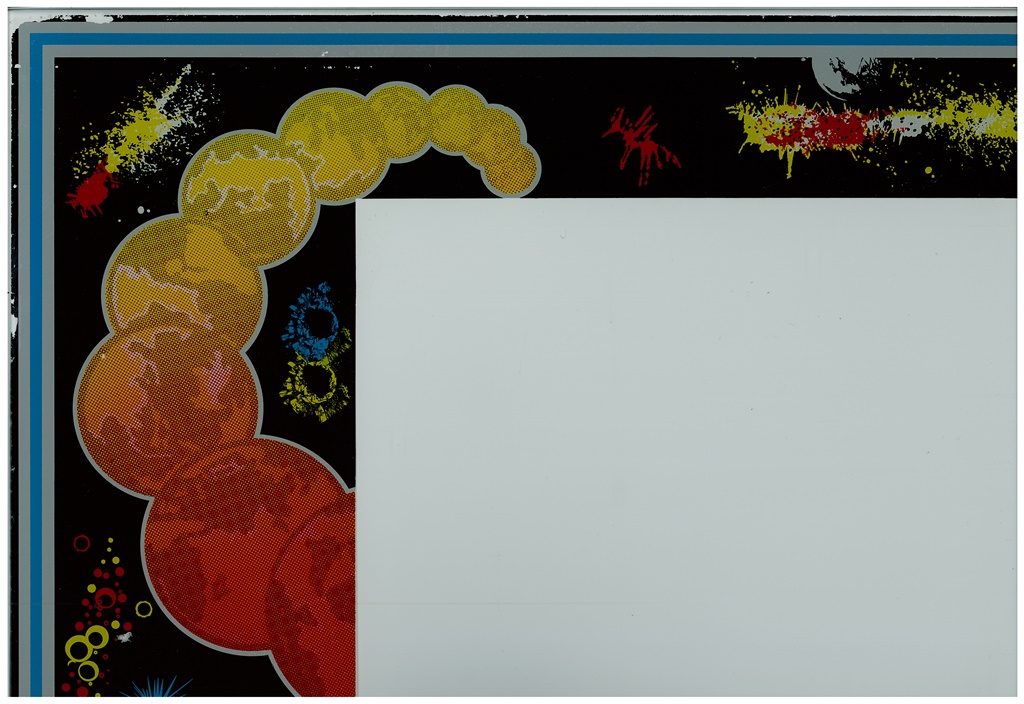
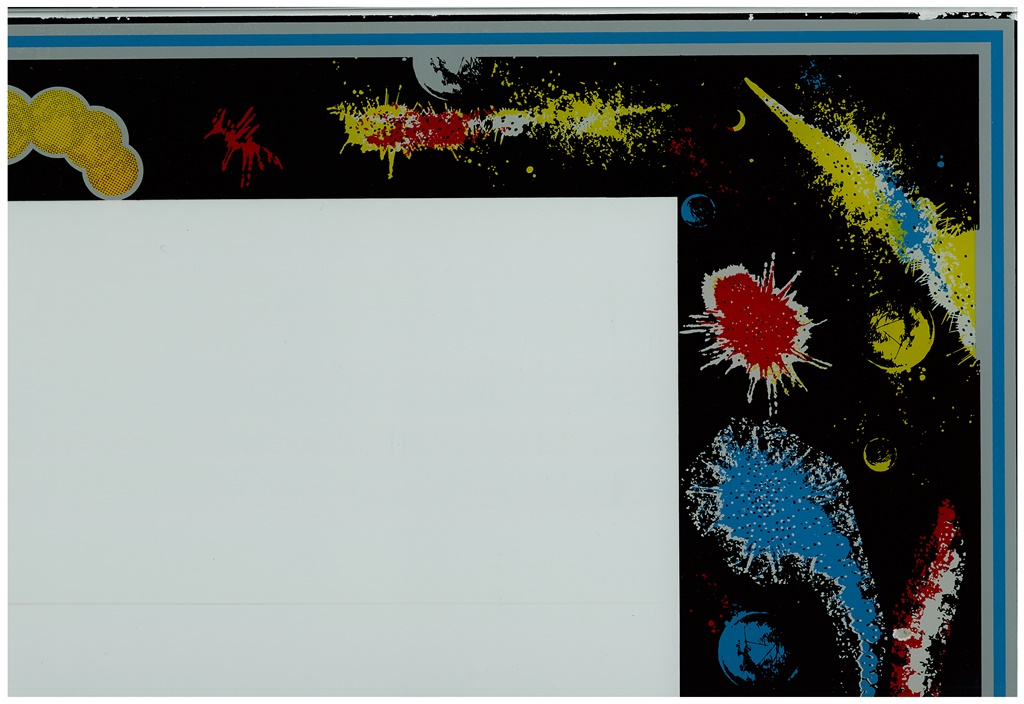
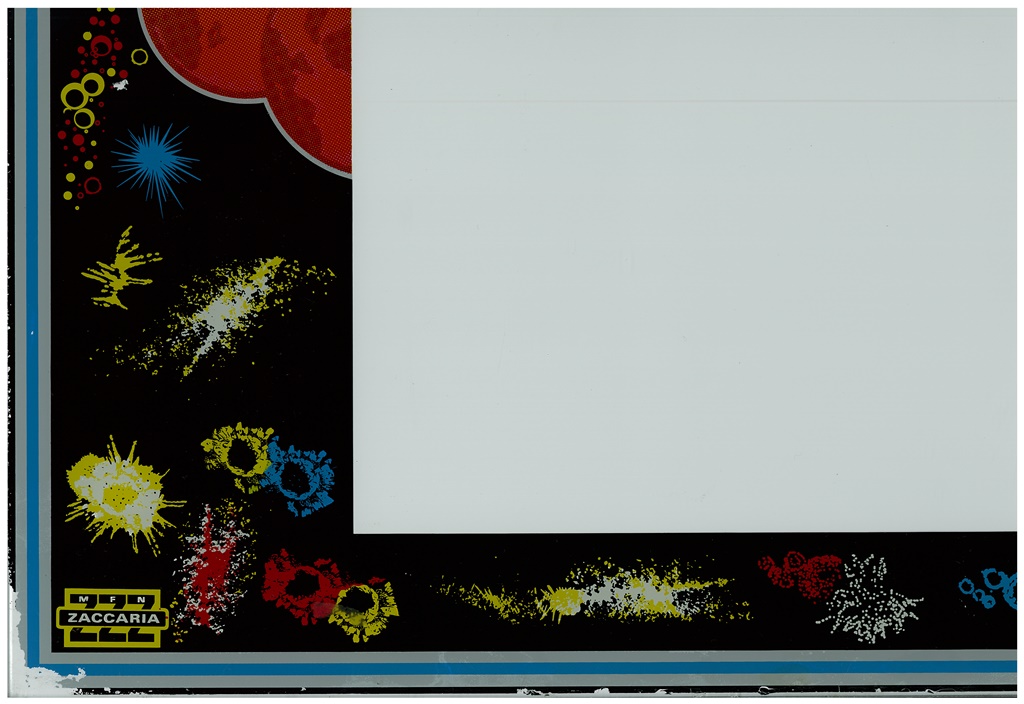
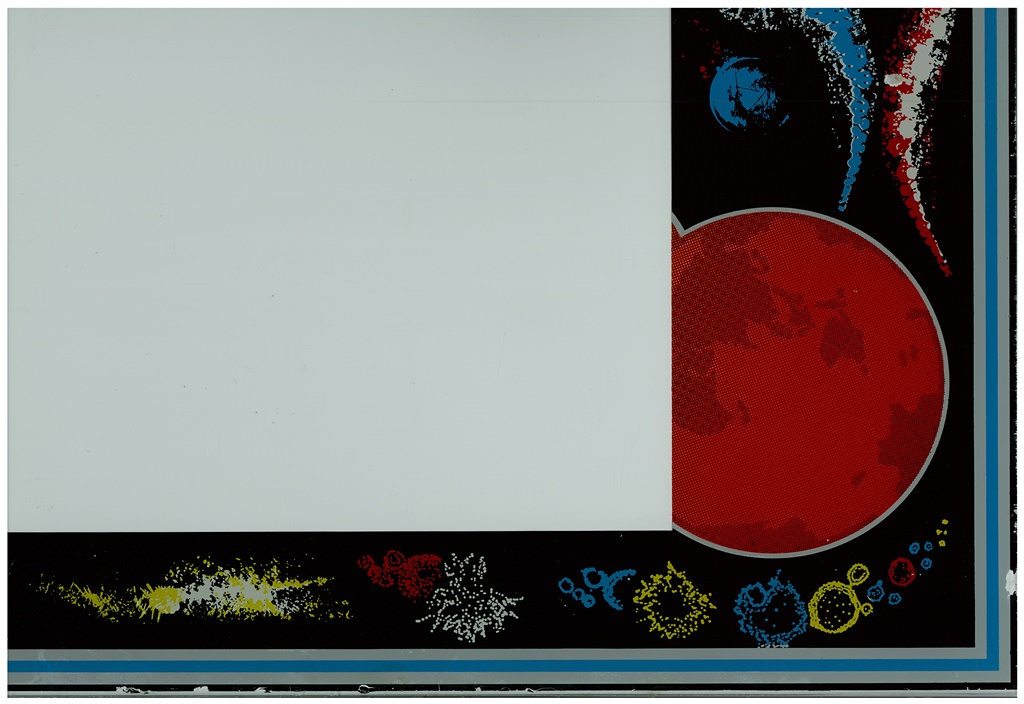
Scanned in the Galaxia monitor glass.
300 DPI Galaxia monitor glass scan (18.9MB).


|
Scanned in the Galaxia control panel overlay.
400 DPI Galaxia control panel overlay scan (14.2MB).
Scanned in the Super Galaxians technical manual.
300 DPI Super Galaxians technical manual scan (40.3MB).
|
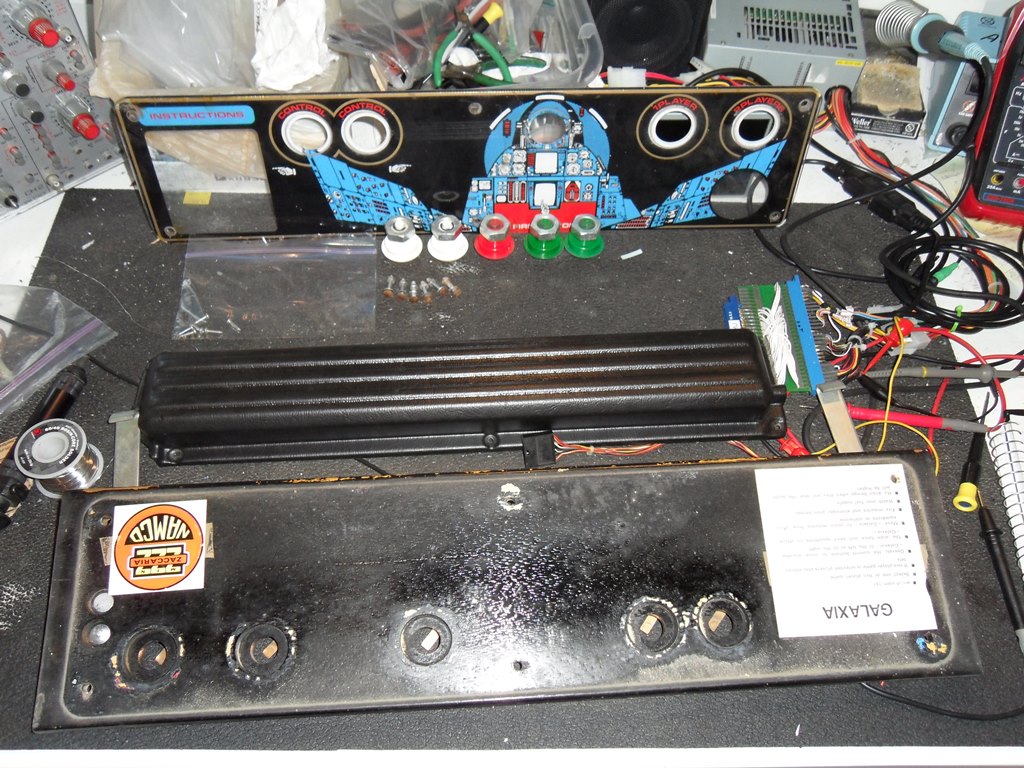
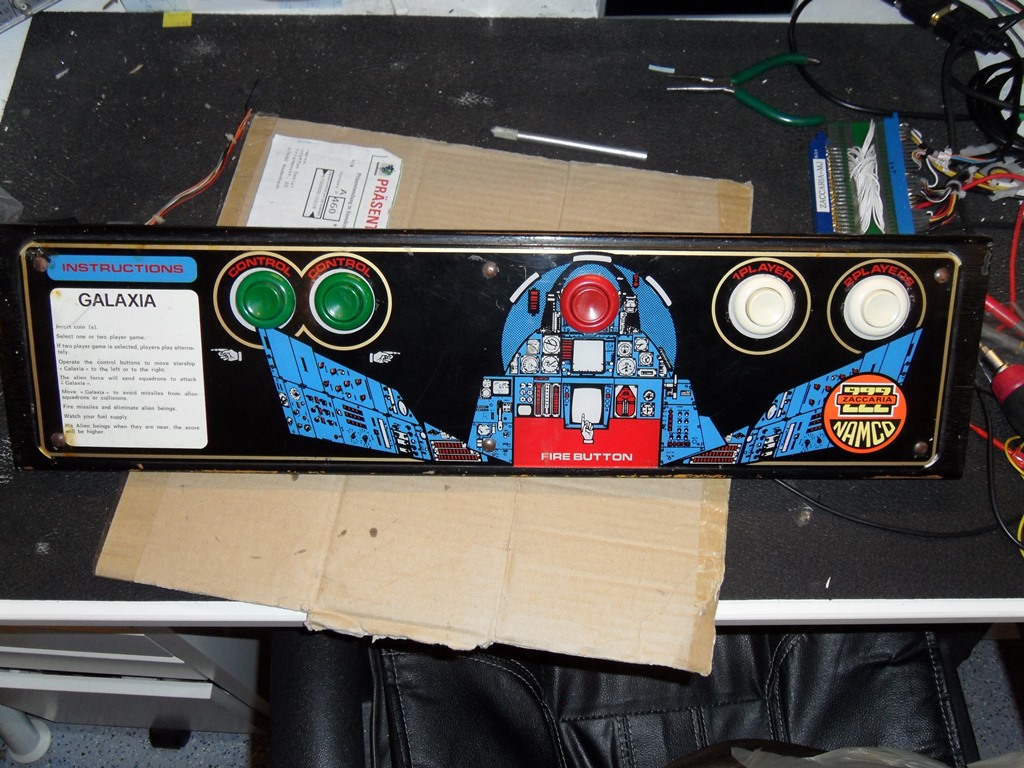
I did the control panel work a while back in June as part of a request for a scan of the overlay to aid in the restoration of another machine by another collector. Since the control panel needs a complete disassembly to remove the overlay it made sense to do the restoration work on it at the same time.
|
The control panel was complete and in good condition needing only a thorough cleaning and the buttons putting through the dishwasher.
|
This cabinet was missing the tint screen so I recovered one from one of the Duke of Lancaster Astro Wars to use (it's the same one in Galaxia & Astro Wars). This one was already out loose the bottom of the cabinet (likely for years) and thus filthy. Came up looking reasonable with a good clean, no obvious major damage.

|
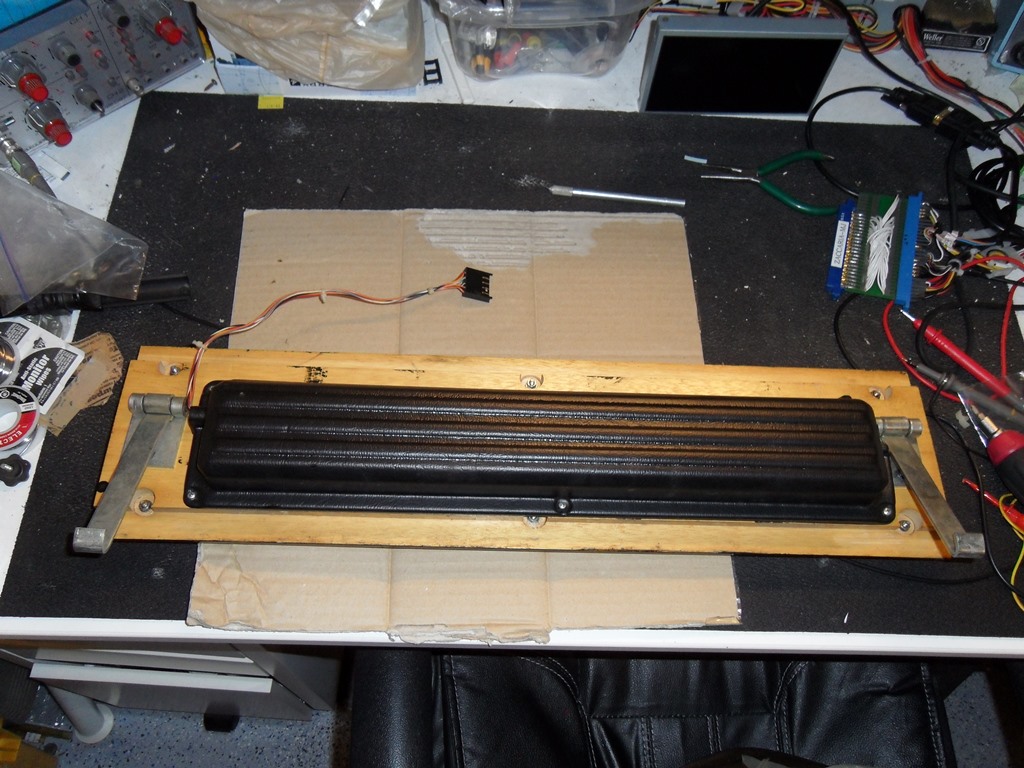
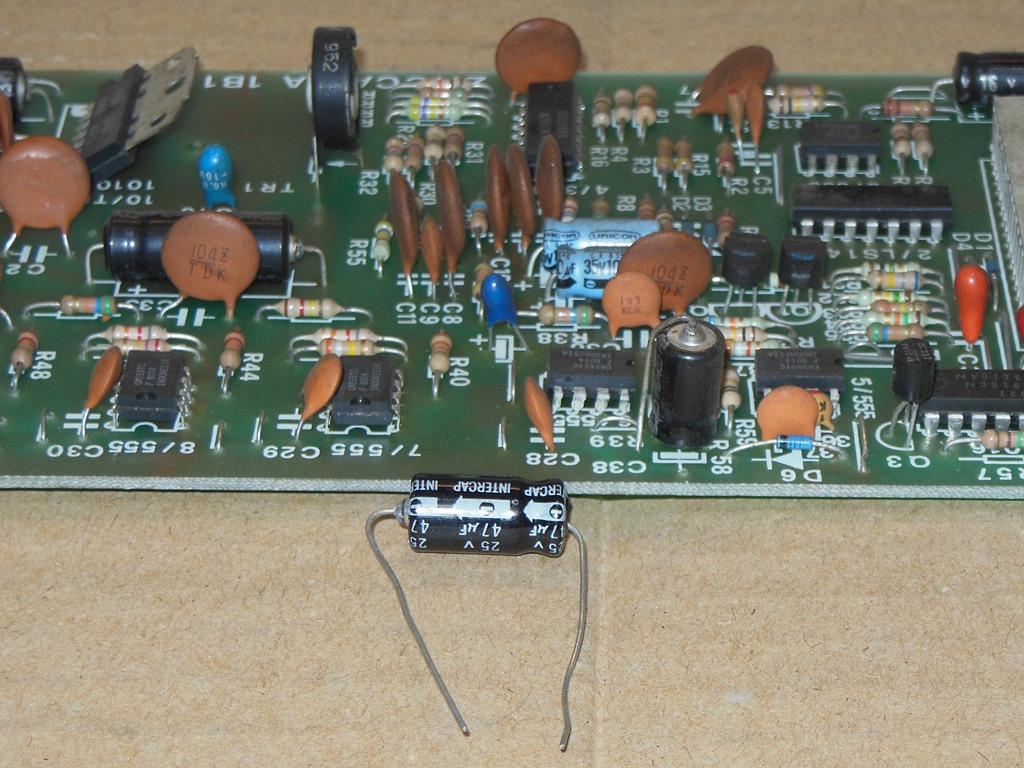
The game played with a number of missing sounds - no invader dive or hit/explosion and the ship fire sound was a bit off. A physical inspection found a broken capacitor at C38 that I replaced with the exact same one from a bag of Radio Shack various. There is a slight design error that allows one pin from this cap to catch on the board guide in the cab. I added a shrink tube sheath around it for additional protection from that.

|
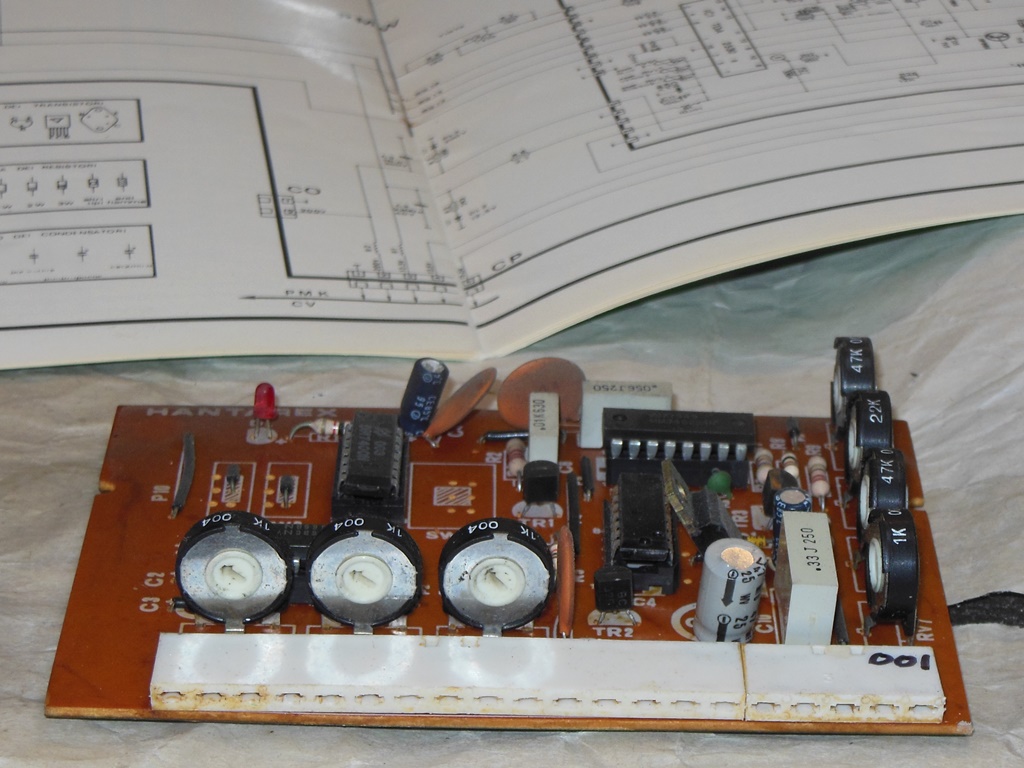
I built a small adaptor that allowed the sound board to run on the bench (just power and speaker hooked up). Using test clips, a scope and the schematic I went through all of the sound circuits. An initial pass yielded one bad input on the LS14 (IC2) and one bad switch in the 4016. This fixed the noise mixing for the ship fire/missile and ship explosion sounds. Still missing was the invader dive sound that I couldn't find anything related to it on the sound board.
Putting everything back into the cab and attaching the scope to the PVI lines discovered that the invader hit/explosion was generated out of one of the 2636 PVI's on the main board and that it was only 1.2V high in amplitude (not enough to for the sound board to register it on the LS14 input). Replacing the 2636 PVI brought back the last missing sound.
The following table describes the sound mappings:-
| Sound CN1 | Main CN6 | Main end point | Annotation | Sound |
| 1 | ||||
| 2 | ||||
| 3 | 13 | 2636 10F pin 22 | PVI2 | unknown |
| 4 | ||||
| 5 | 5 | SUONO 6 | Rack speed bit 0 | |
| 6 | 6 | SUONO 5 | Rack speed bit 1 | |
| 7 | 7 | SUONO 4 | Rack enable | |
| 8 | 8 | SUONO 1 | Invader dive | |
| 9 | 9 | EXP | Ship explosion | |
| 10 | 10 | MISS | Ship fire/missile | |
| 11 | 11 | NOISE | Noise generator input | |
| 12 | 12 | 2636 8F pin 22 | PVI1 | Invader hit/explosion |
| 13 | ||||
| 14 | ||||
| 15 | ||||
| 16 | ||||
| 17 | ||||
| 18 | 18 | GND | GND |
Additional notes:-
A video of the Zaccaria Galaxia game in action on this cabinet.

|
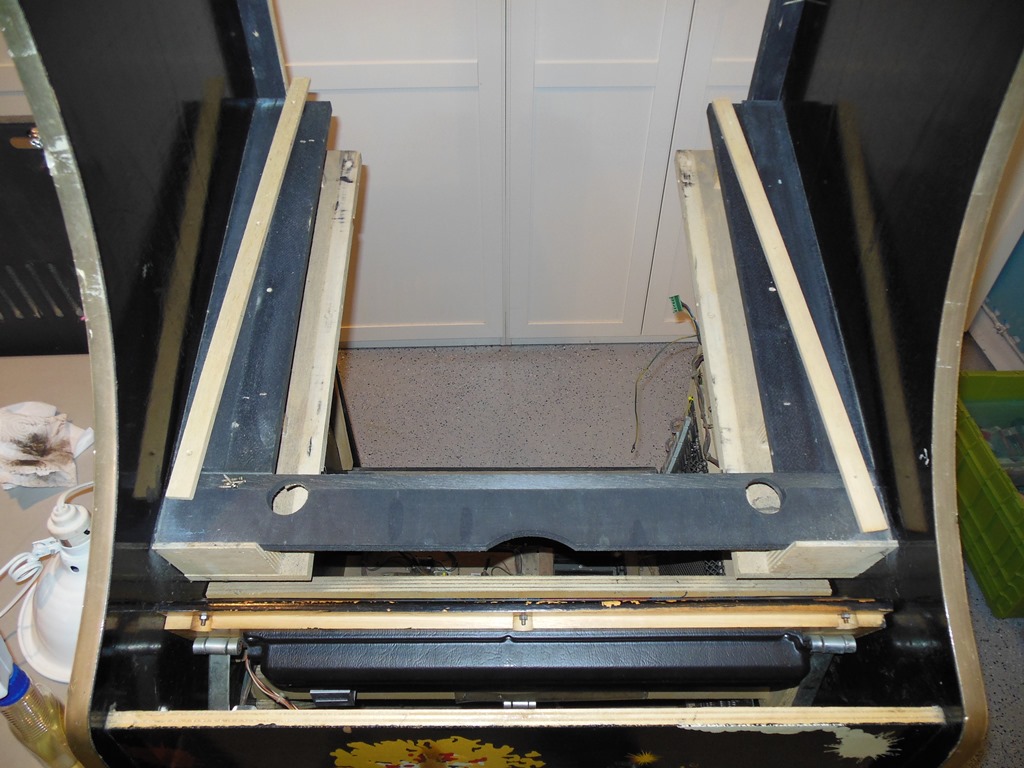
The monitor surround was in pretty good condition and came up looking OK after being cleaned and flattened out. The only repairs needed were over a small tear in the corner and the several generations of staple holes.
|
The monitor once screwed into the frame (using the original holes) overhung slightly so that the back door wouldn't sit flush. To fix this needed a reseating of the chassis "hinge" bracket at the back of the chassis and the replacement of the thumbnail screws with hex bolts obtained from another chassis that had used them instead of the usual thumbwheel screws. This combination fixed the clearance to allow the back door to fit properly. I suspect the chassis brackets on this monitor might be slightly bent.


|
As noted earlier, of four cabs (one Galaxia and three Astro Wars) there was left only one bracket that holds the sound and main boards in their mounting frames. I ordered some blank aluminium plate cut into the correct size from OnlineMetals, marked the angle and used a vice with a wood block to bend it over. Adding two screw holes finished the job.


|
Whilst the sizing of the brackets wasn't exact they still fitted OK.

|
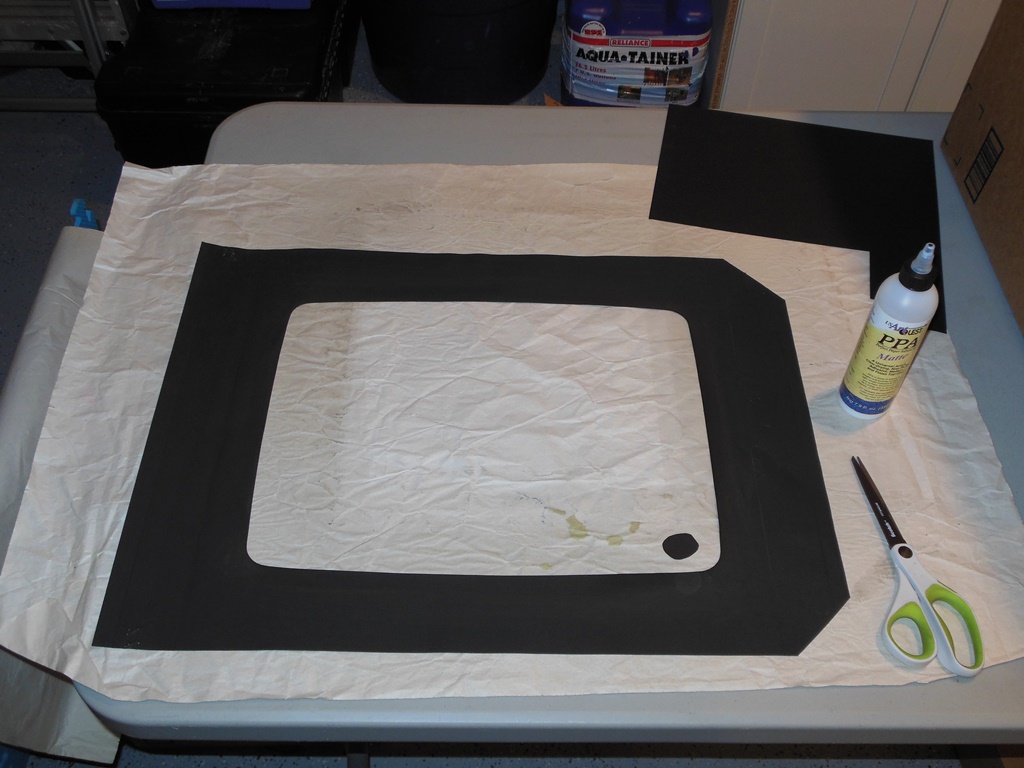
Fitted the cardboard monitor surround back into the cab followed by the tinted perspex screen secured with a couple of screws and a peice of tape over the tops to protect the top glass from being scratched by the heads. Refitted the beading around the edges of the bezel and fitted that back into the cab to complete the set.


|
|
Putting it all together and running it through a 4 hour burn in test yielded no further issues :)
Scanned in the Galaxia main board schematics, courtesy of P-Man.
300 DPI Galaxia schematic scan (27.8MB).
Dumped multiple ROM sets from a selection of spare boards.
Zaccaria Galaxia ROM sets.
|
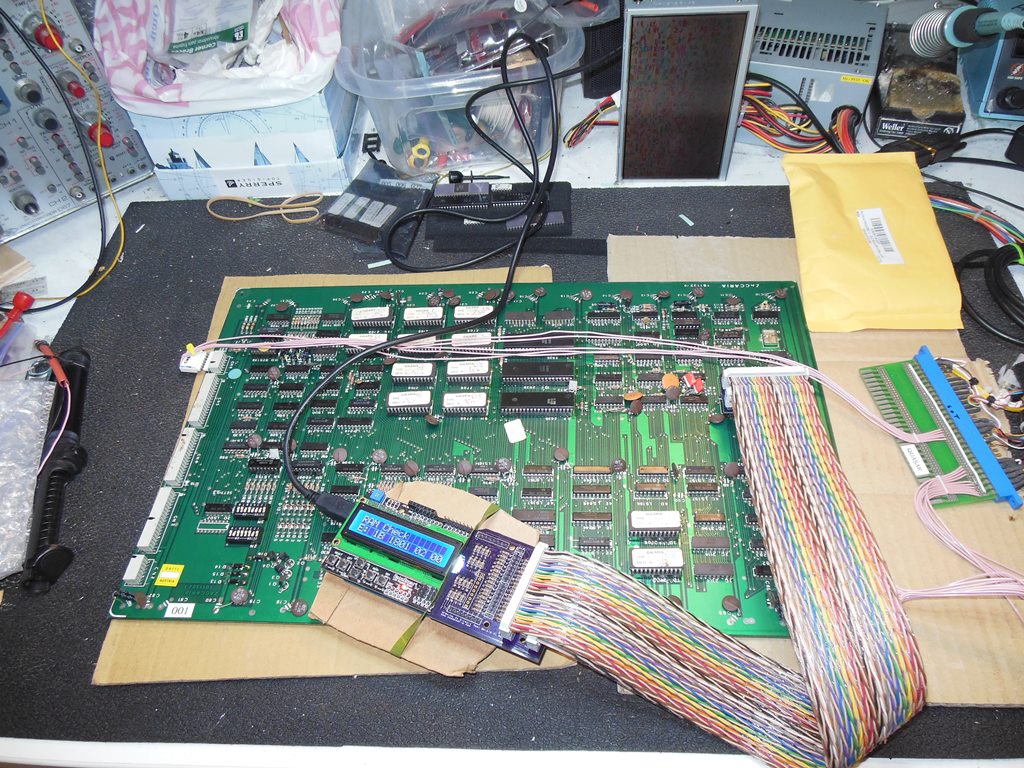
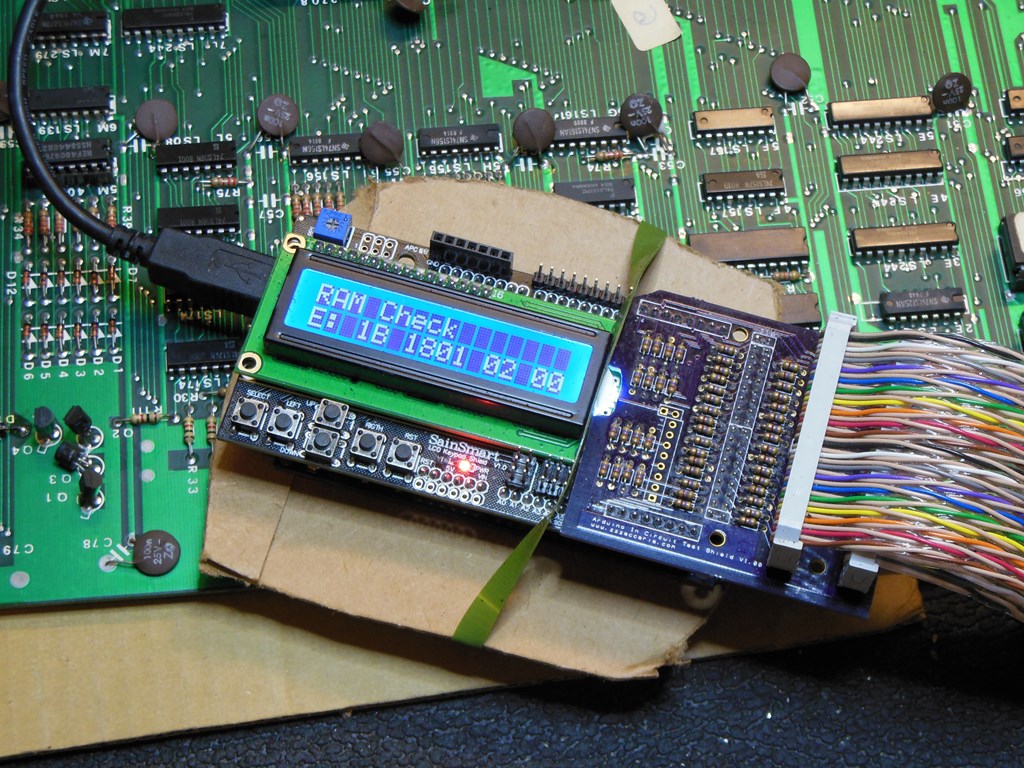
As part of the preparations for the show I decided to fix the minor colour fault that was on the board in the cab. I suspected it was a bad 2102 colour RAM and the Arduino ICT confirmed the 2102 at 1B was bad. Replacing it fixed the colours.