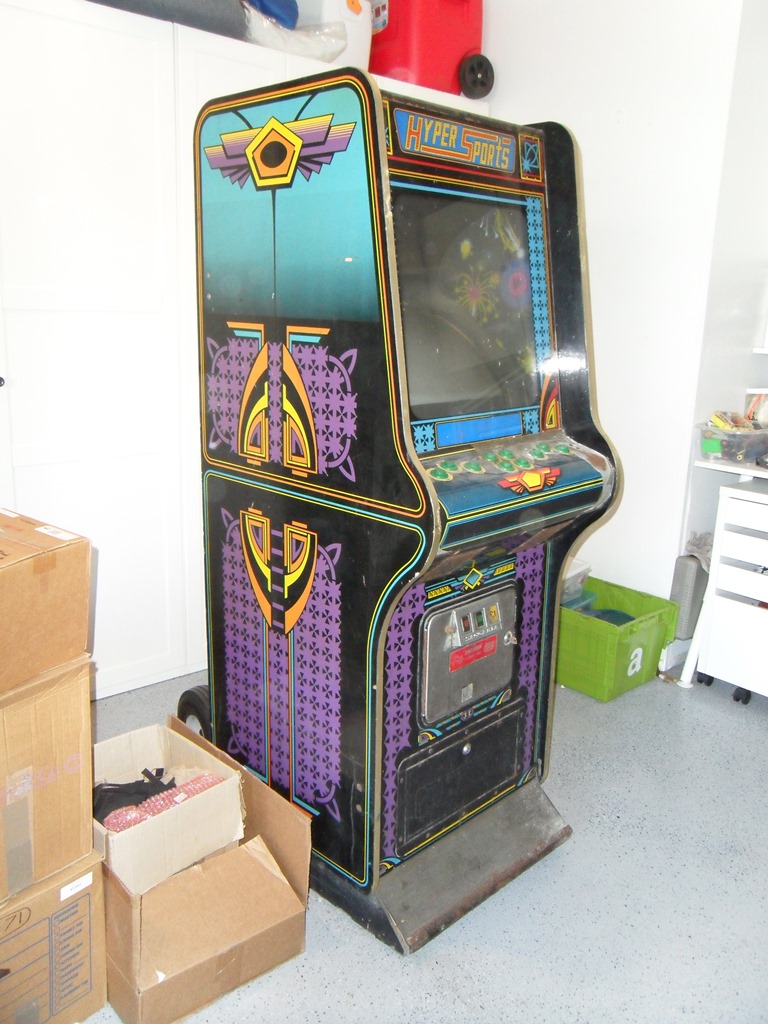
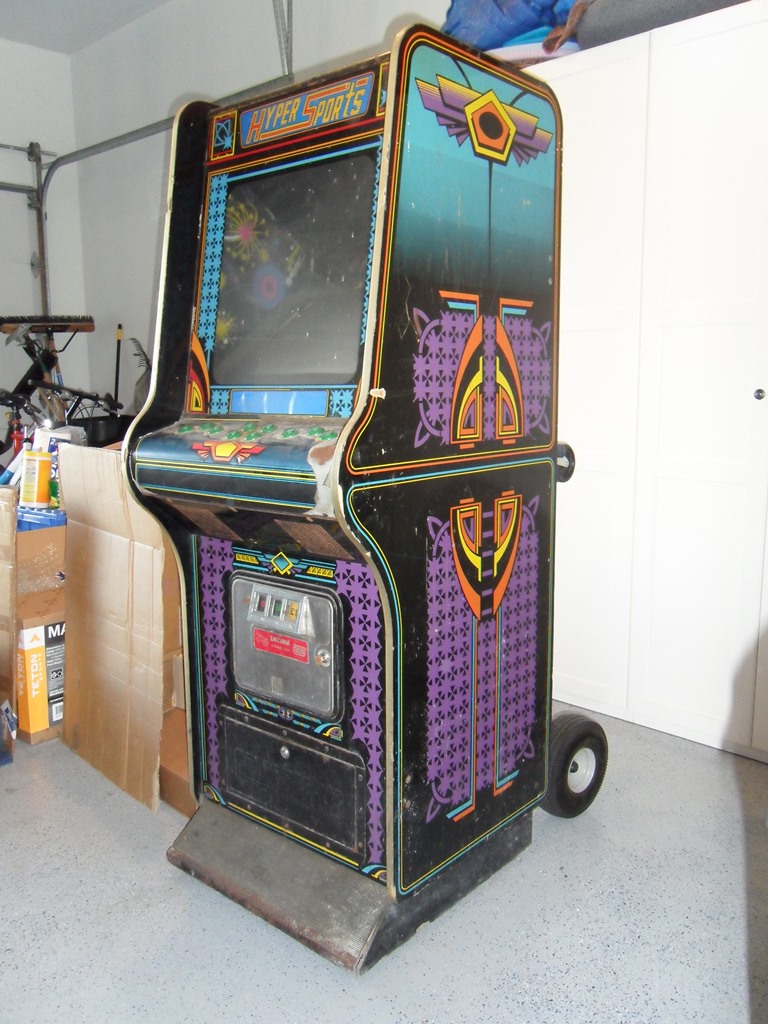
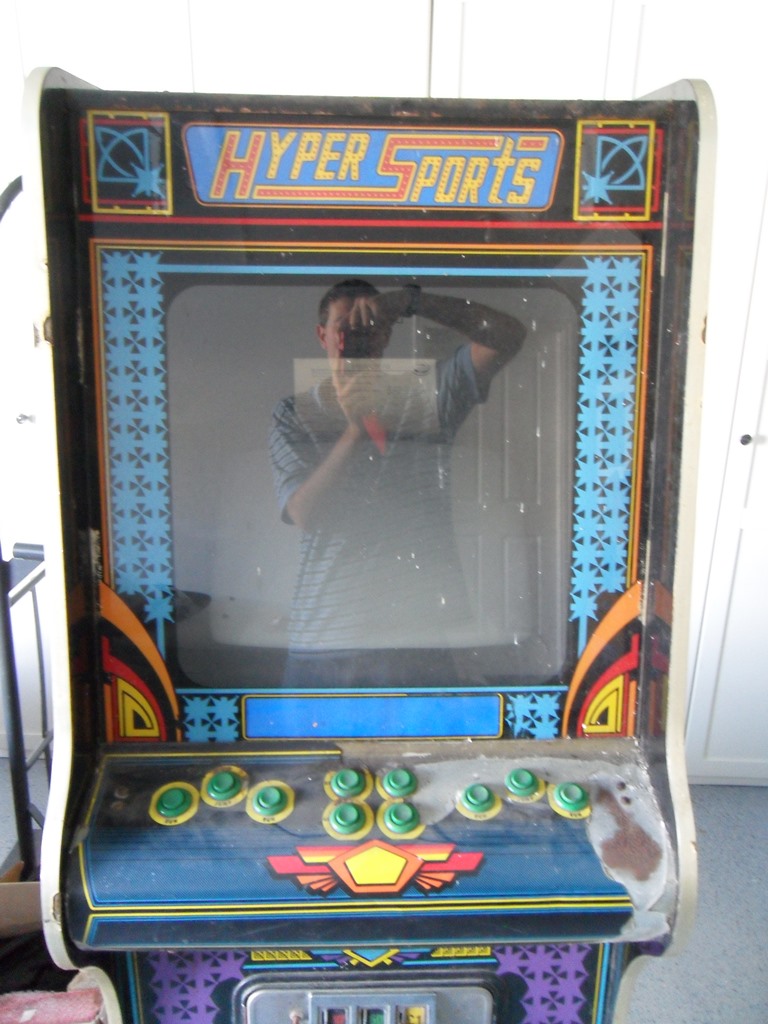
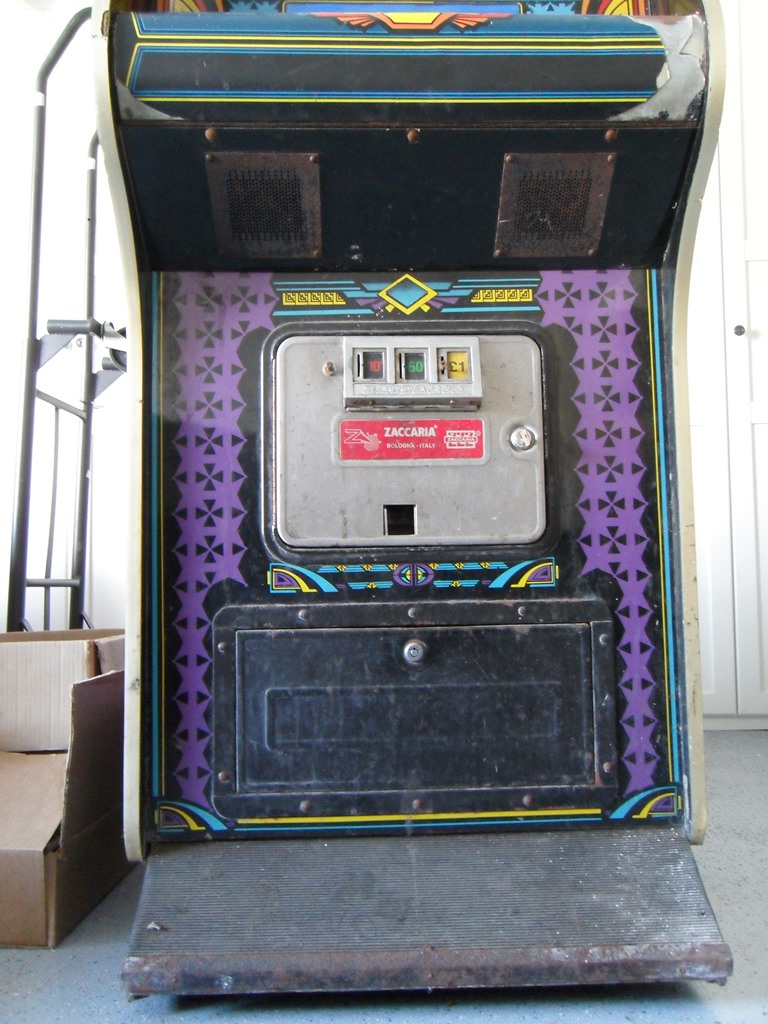
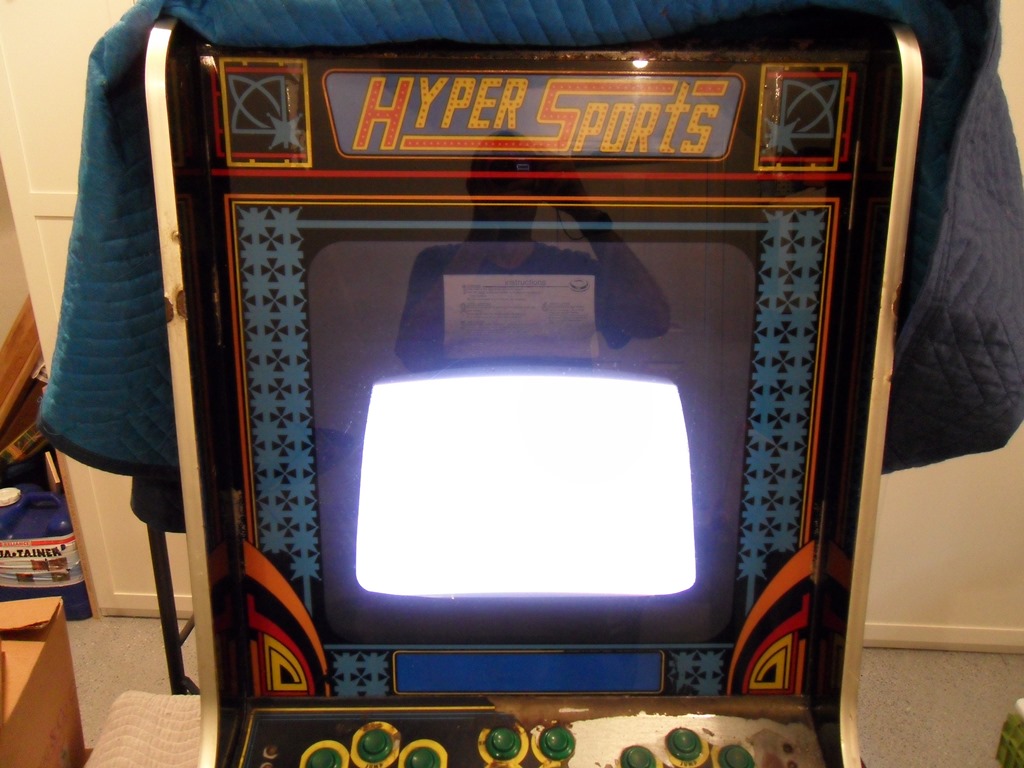
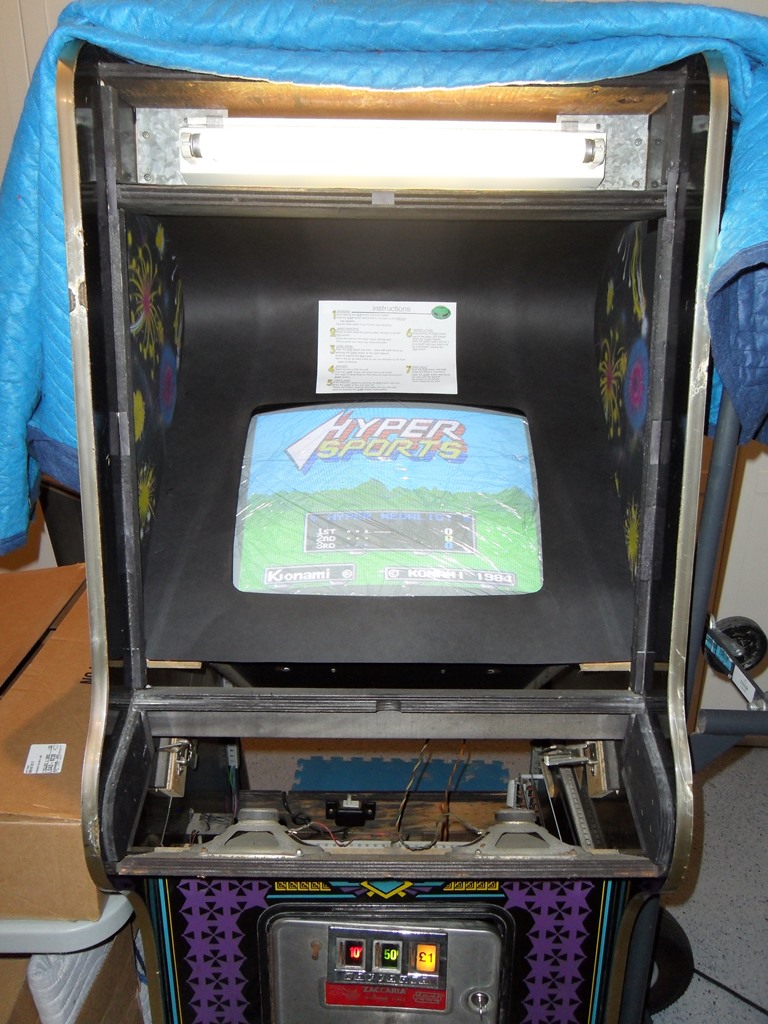
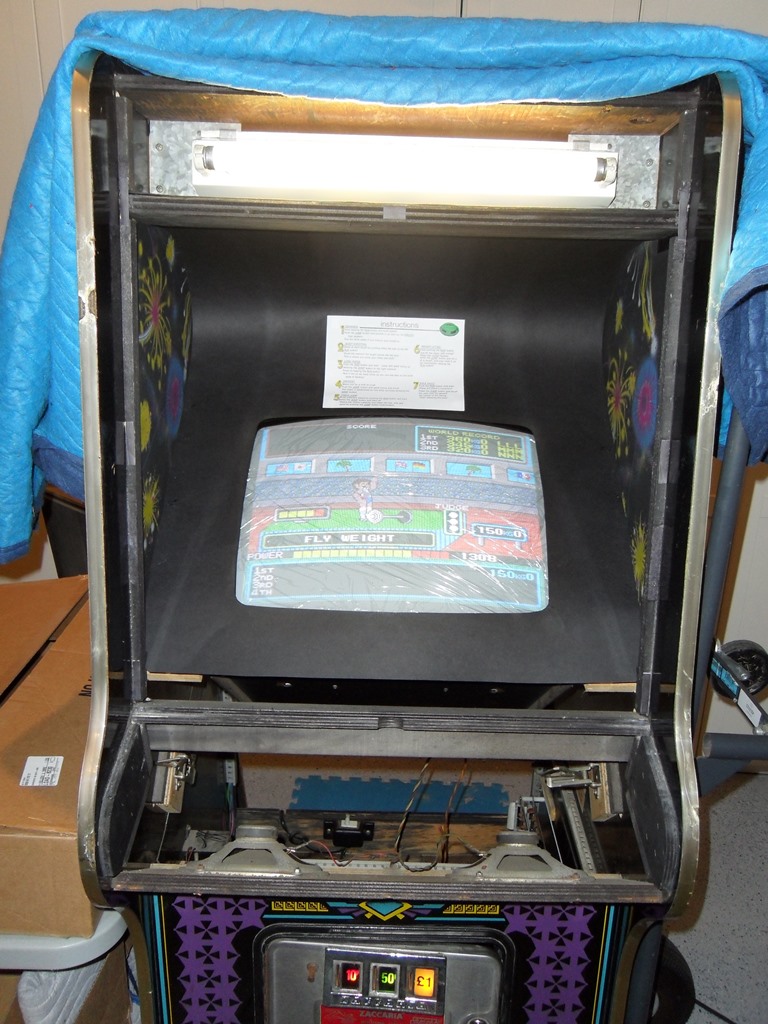
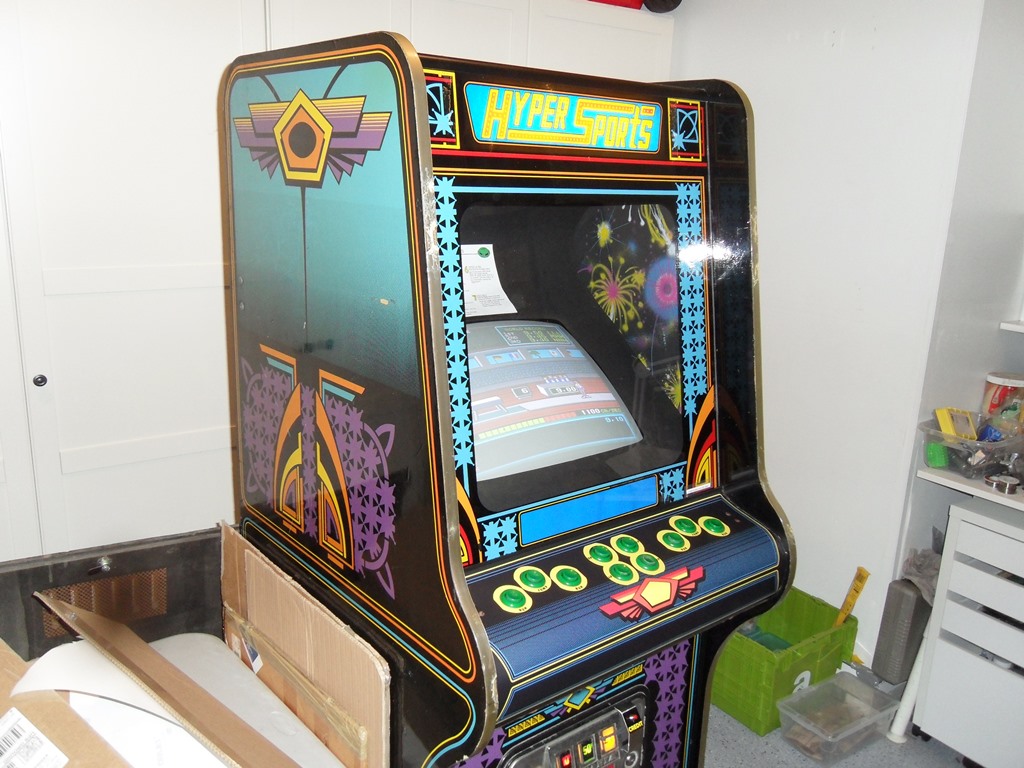
This game I acquired from a fellow collector as part of a trade deal shortly before I left the UK for the US. The game has a printed Associated Leisure label on the inside and is likely a Zaccaria Universal cabinet AL configured to operate Hyper Sports. This style of cabinet was the last that Zaccaria produced before the factory closed. Some of these cabinets were sold as Tecnoplay cabinets when Zaccaria transitioned to become Tecnoplay.
|
|
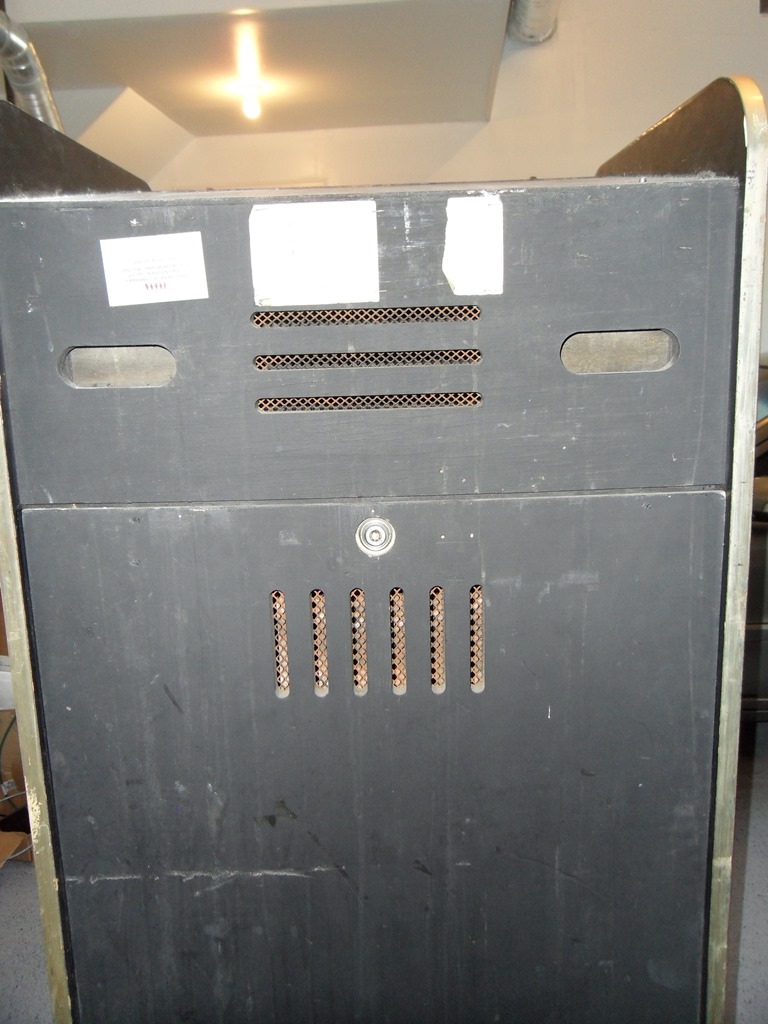
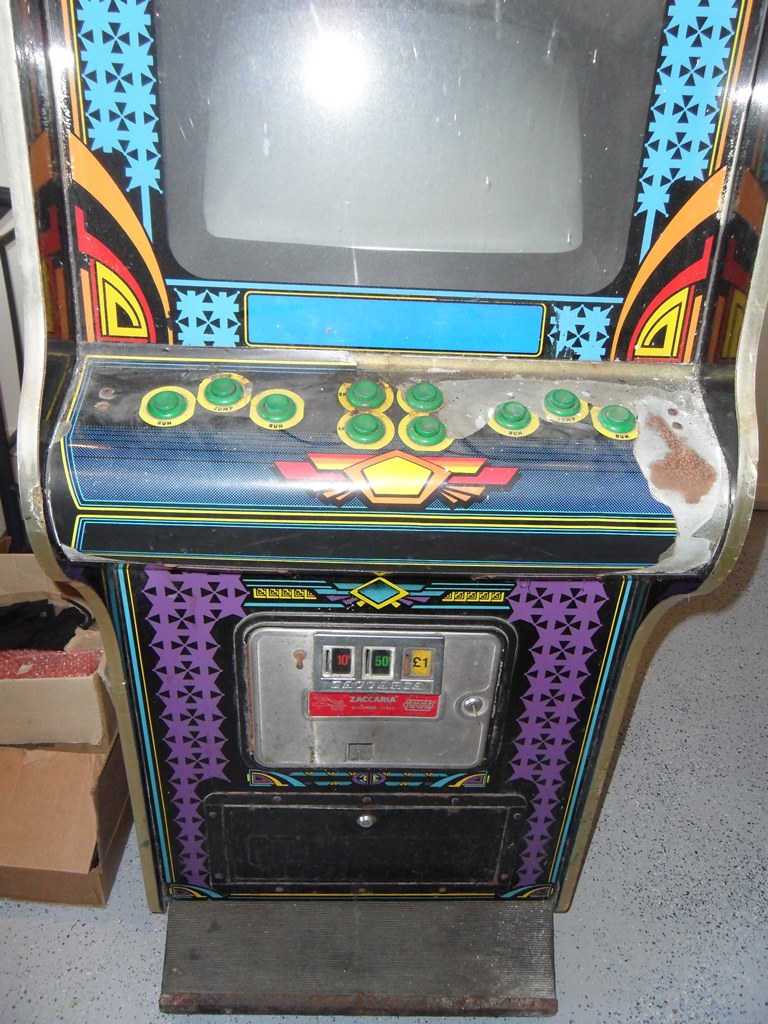
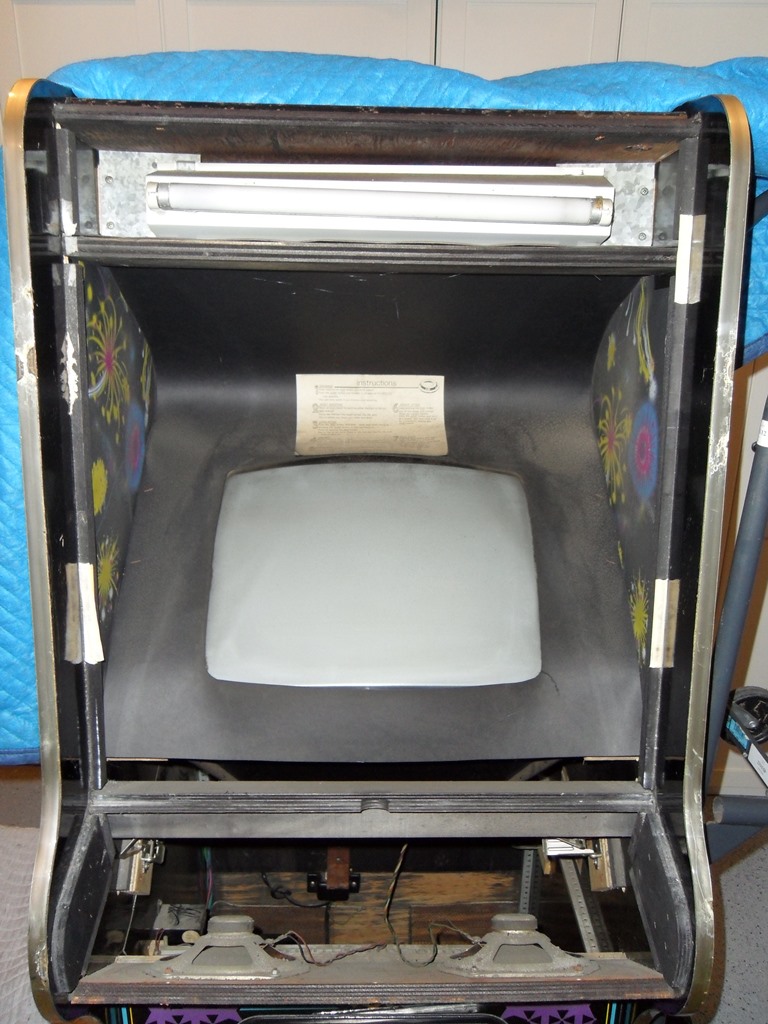
The outside has a layer of soil-like dirt over everything and there are bird droppings on the front glass. My guess would be that's it's been stored in a barn for a while. It has it's back door.

|
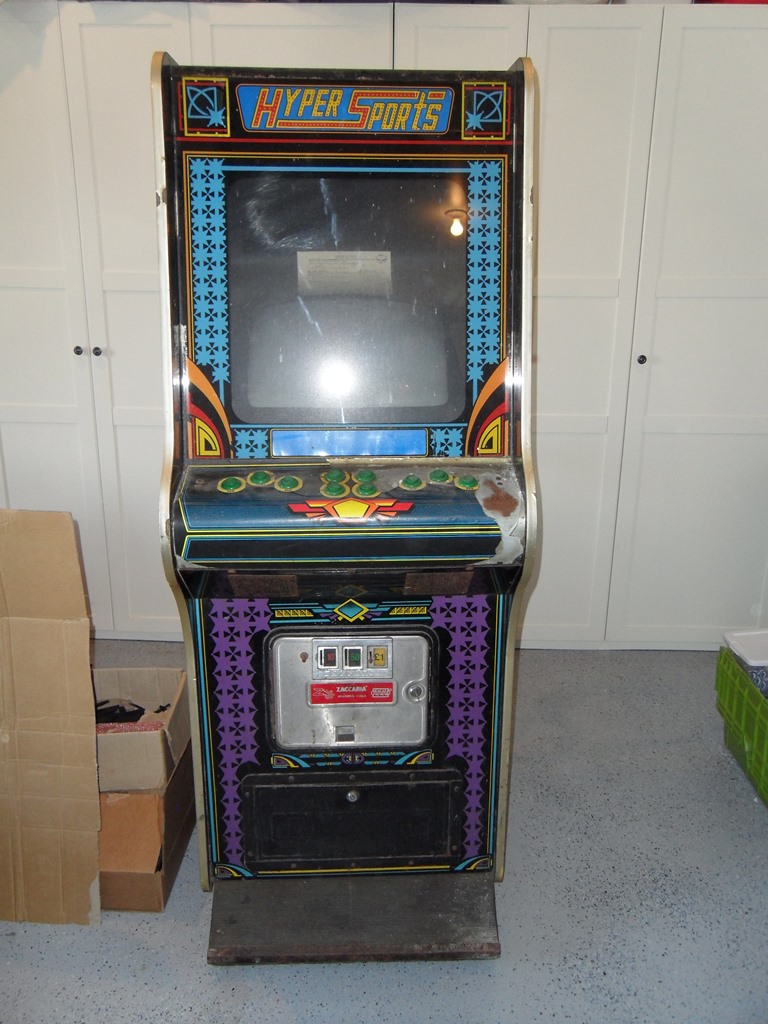
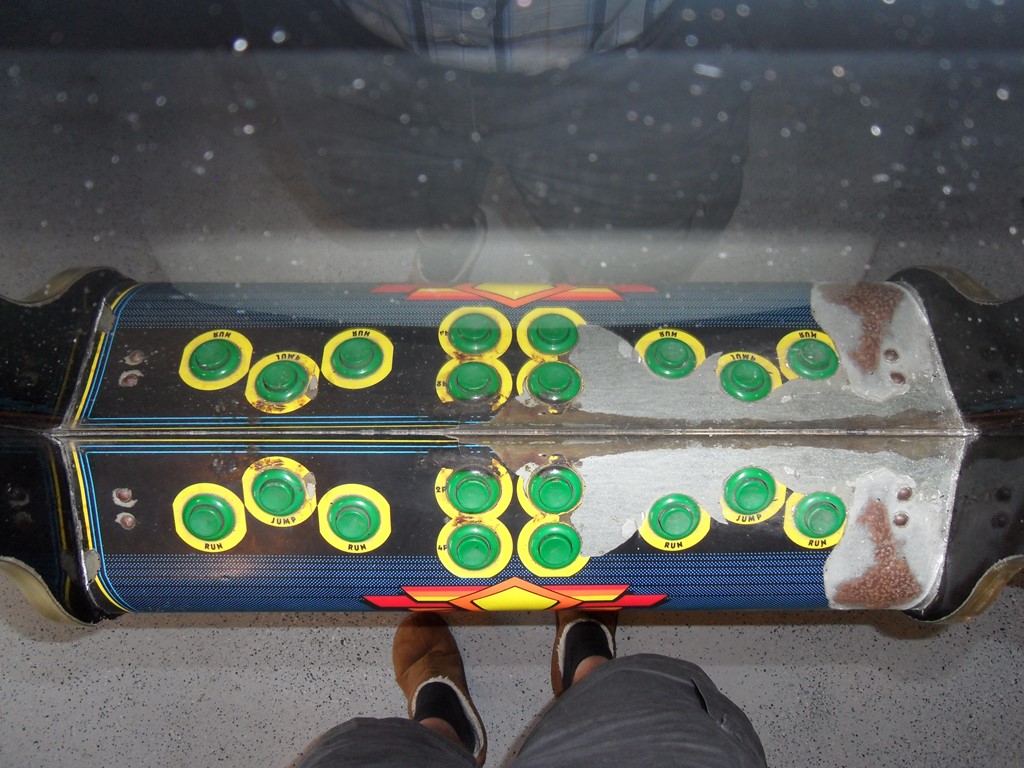
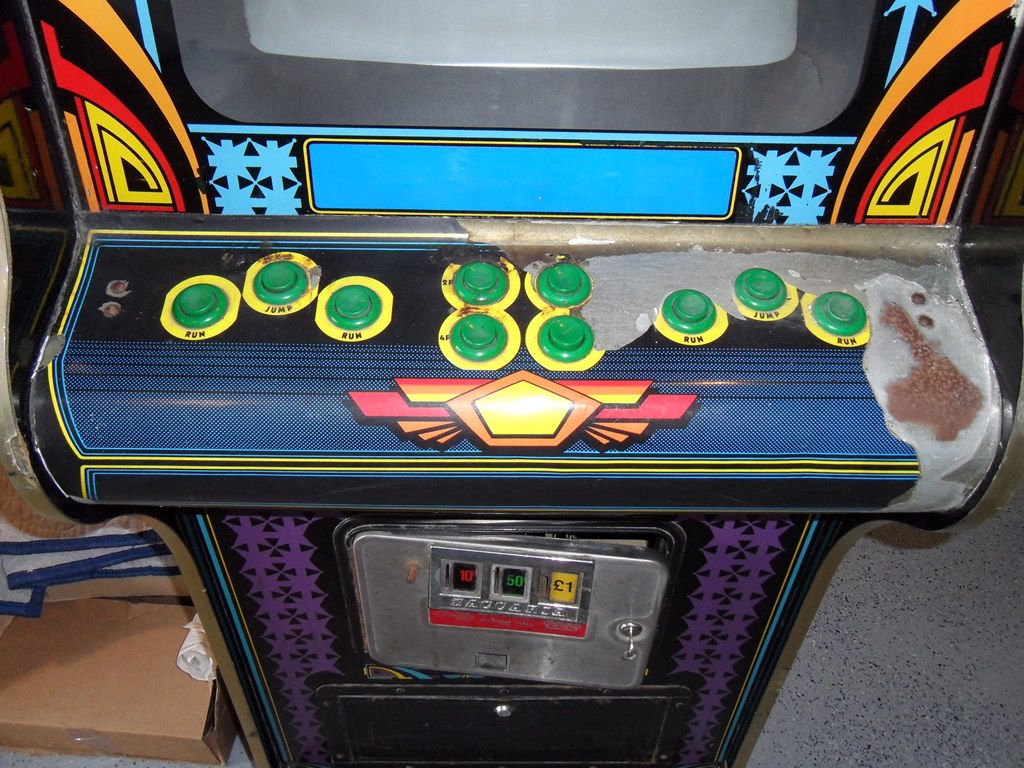
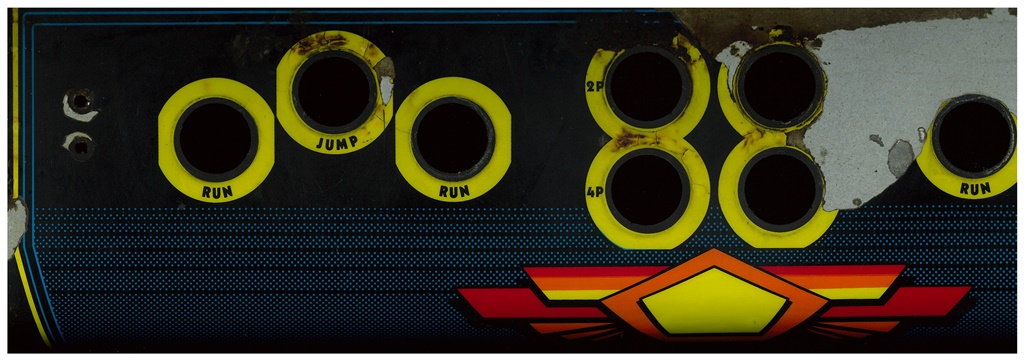
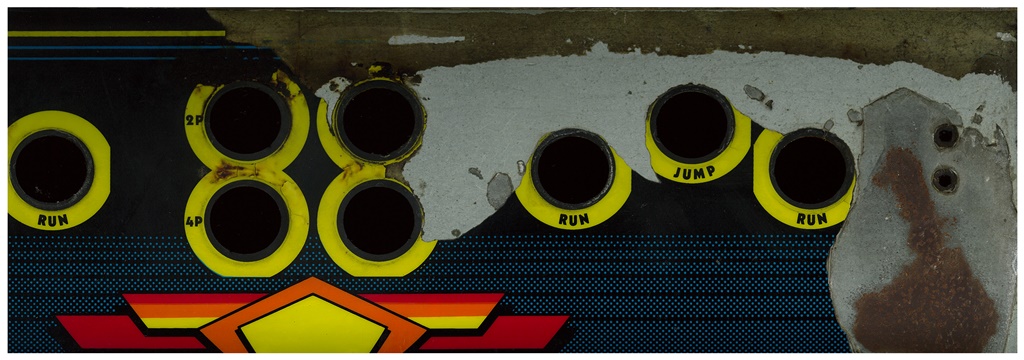
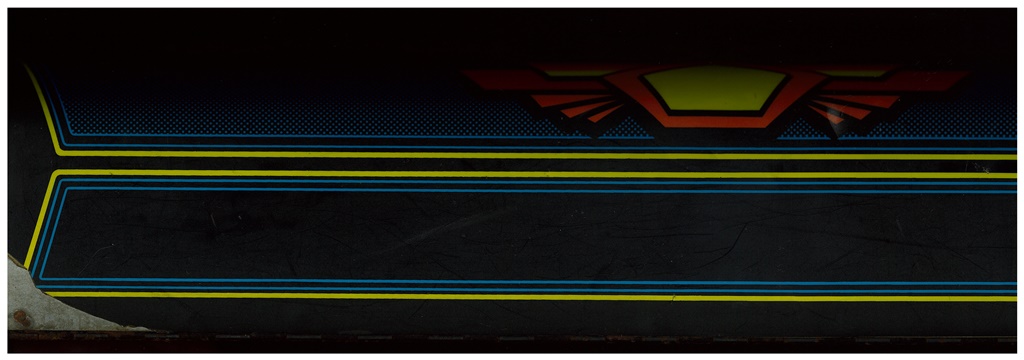
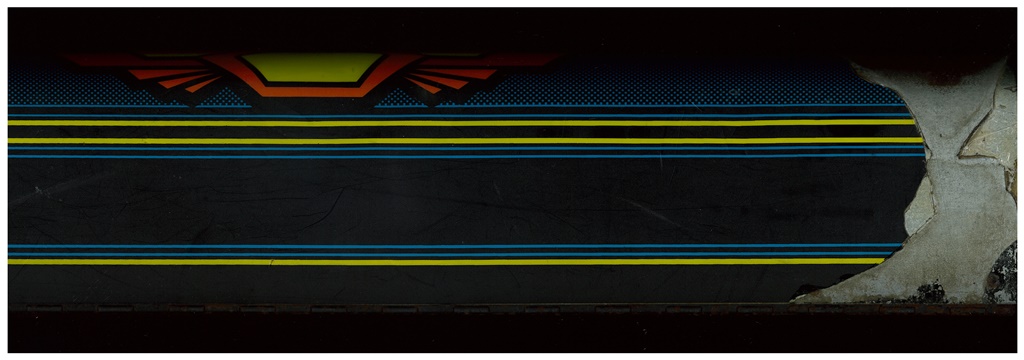
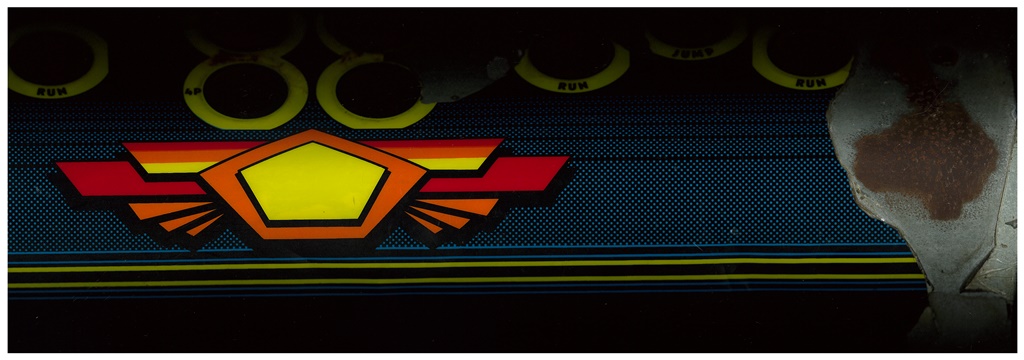
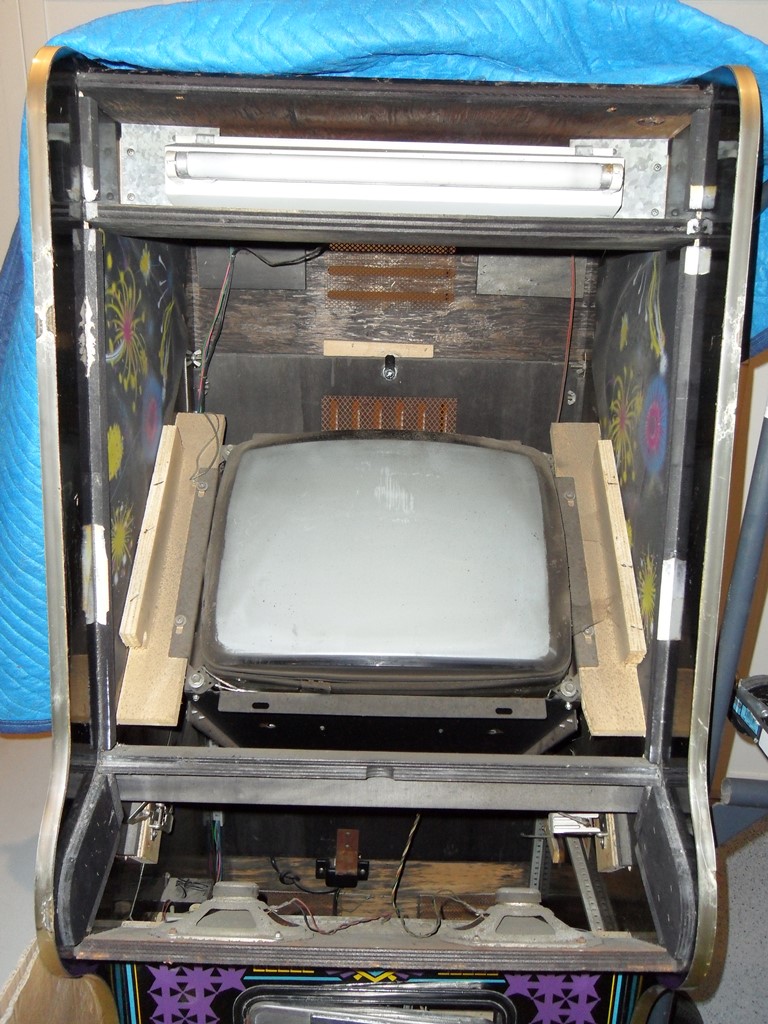
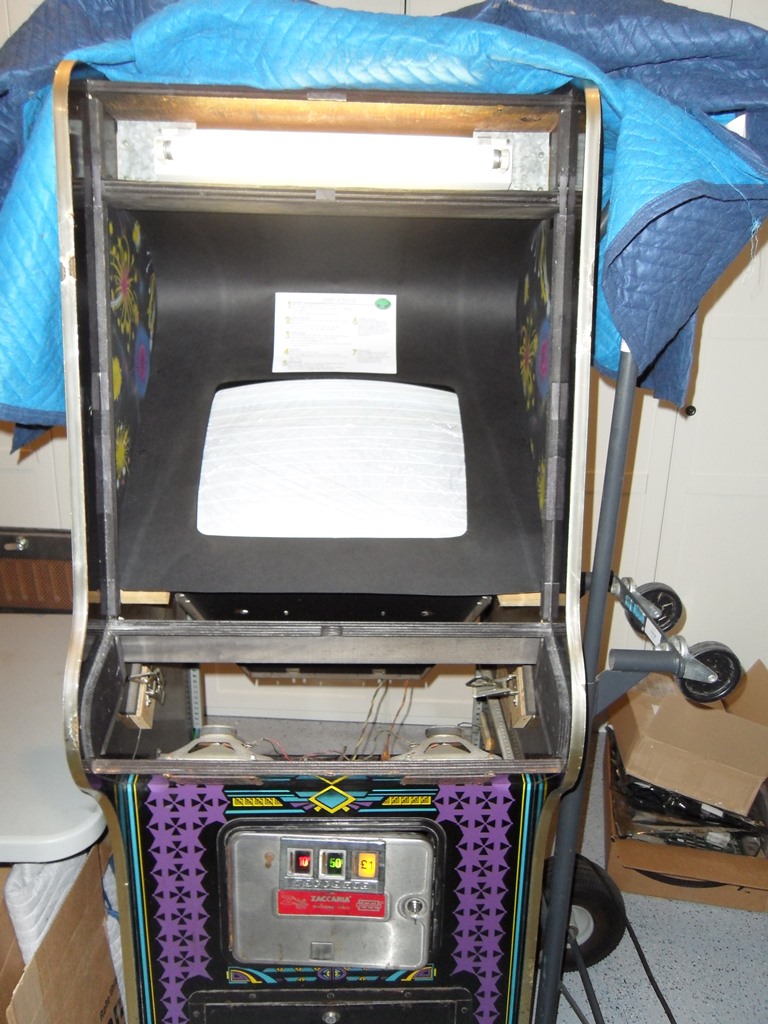
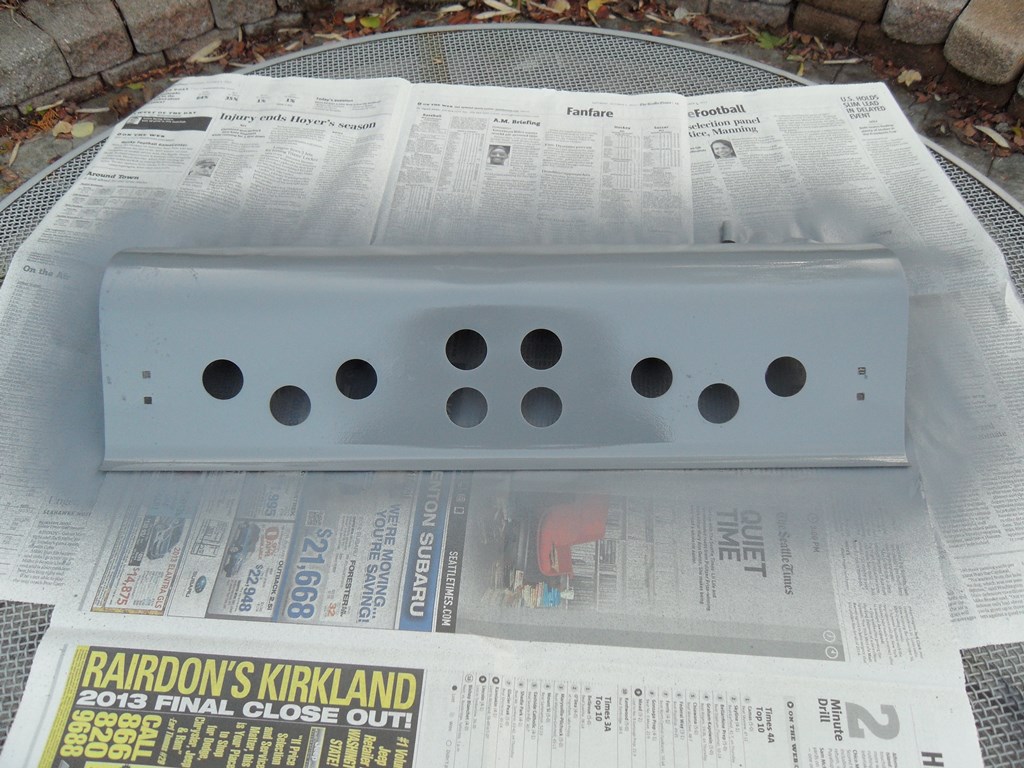
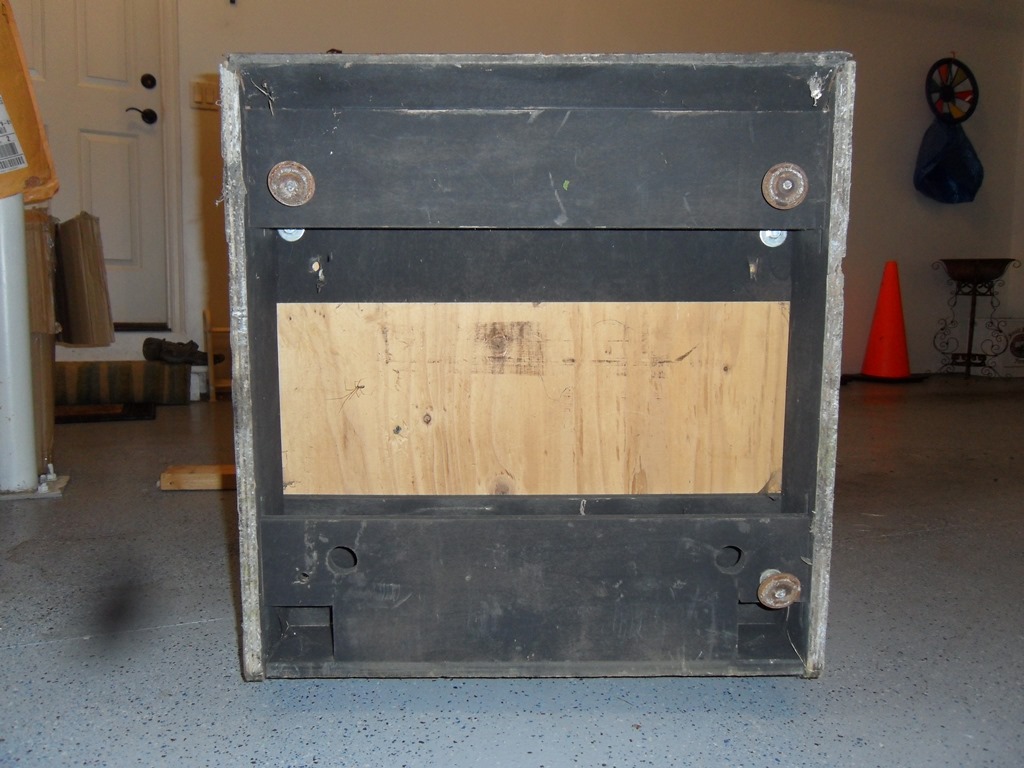
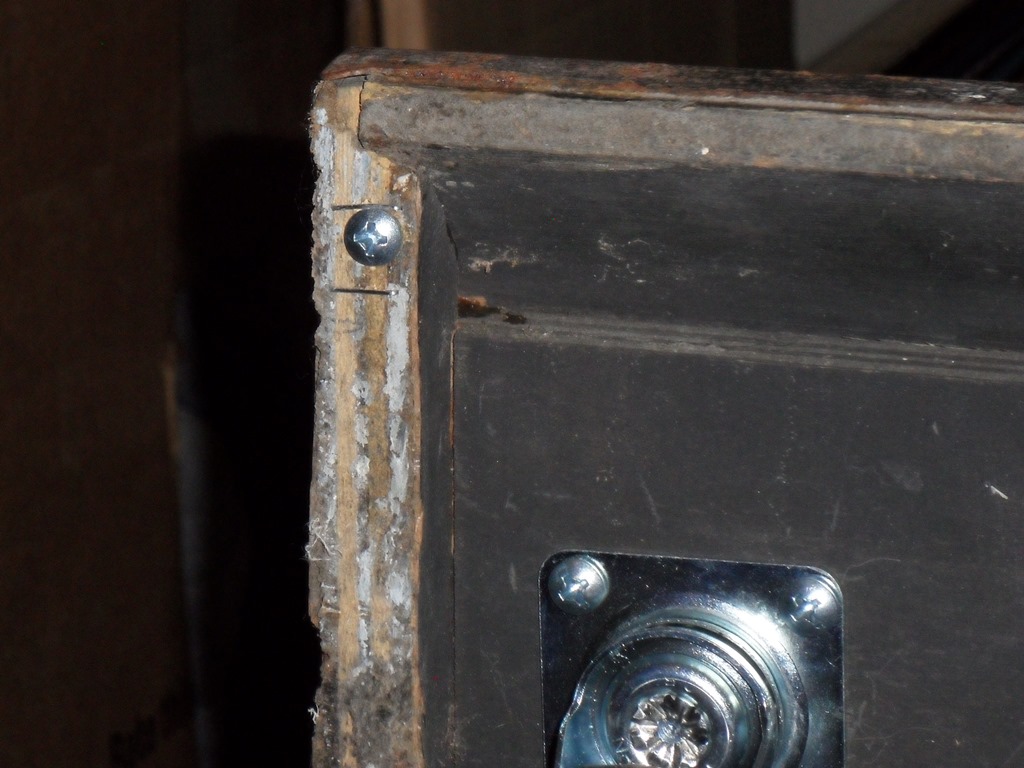
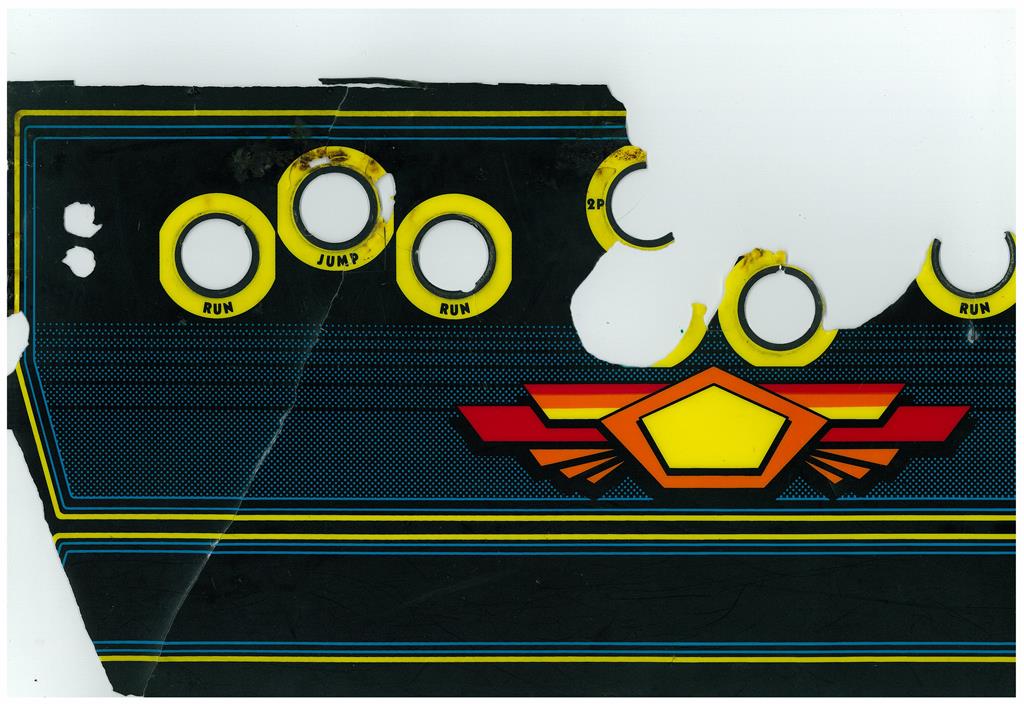
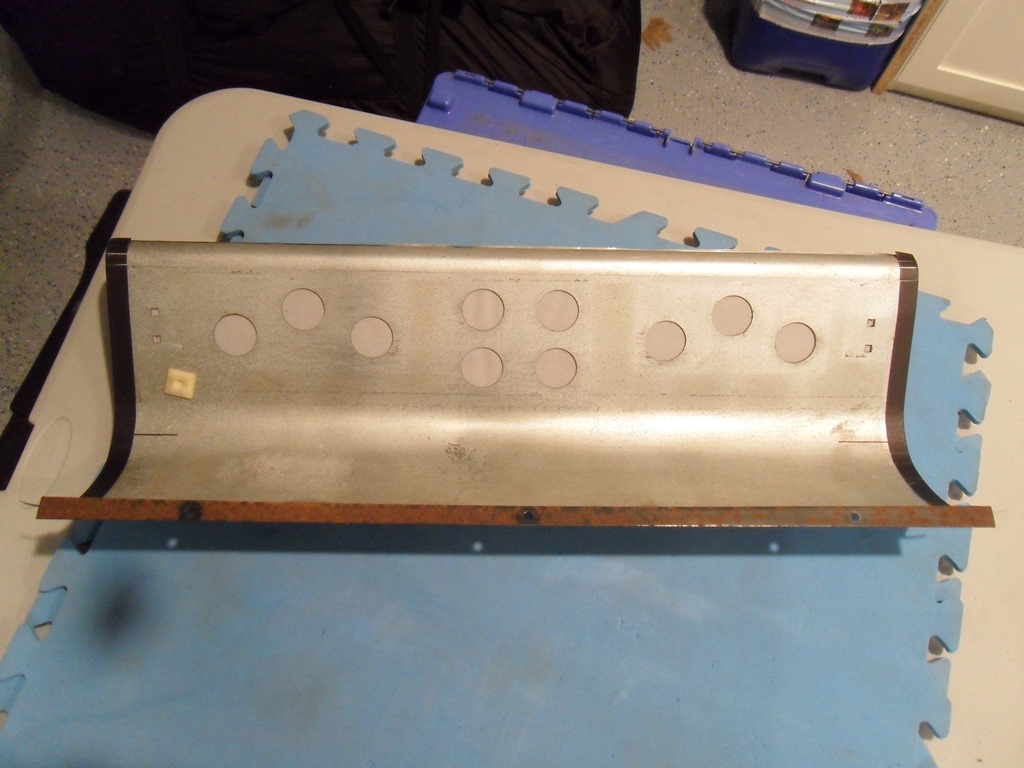
The control panel overlay has been significantly peeled away on the right side. It could do with a new one. The buttons all seem to be OK except for a small amount of cig burn staining. The marque appears to be in reasonable shape. The monitor glass is bubbling at the edges of the marque assembly and has worn away along the edges where it contacts the wooden frame (likely the usual foam spacers have rotted away long ago). The monitor glass bracket is very rusty and peeling. The foot rest has come away from the cabinet but doesn't seem to be too badly damaged. Should be repairable.
|
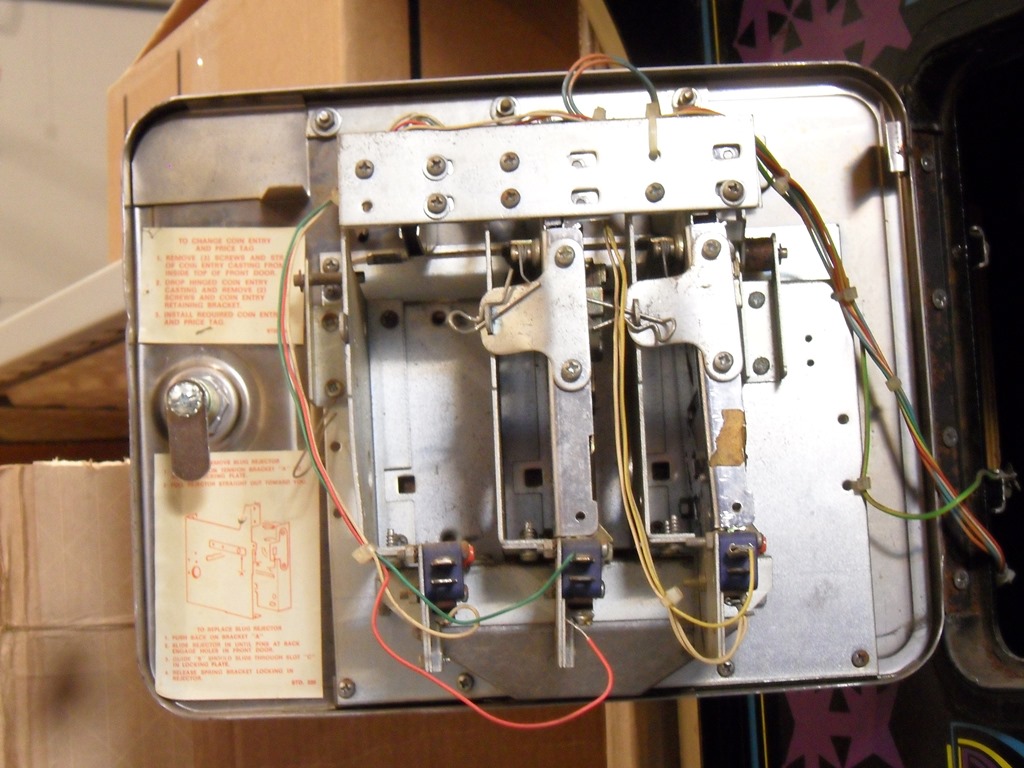
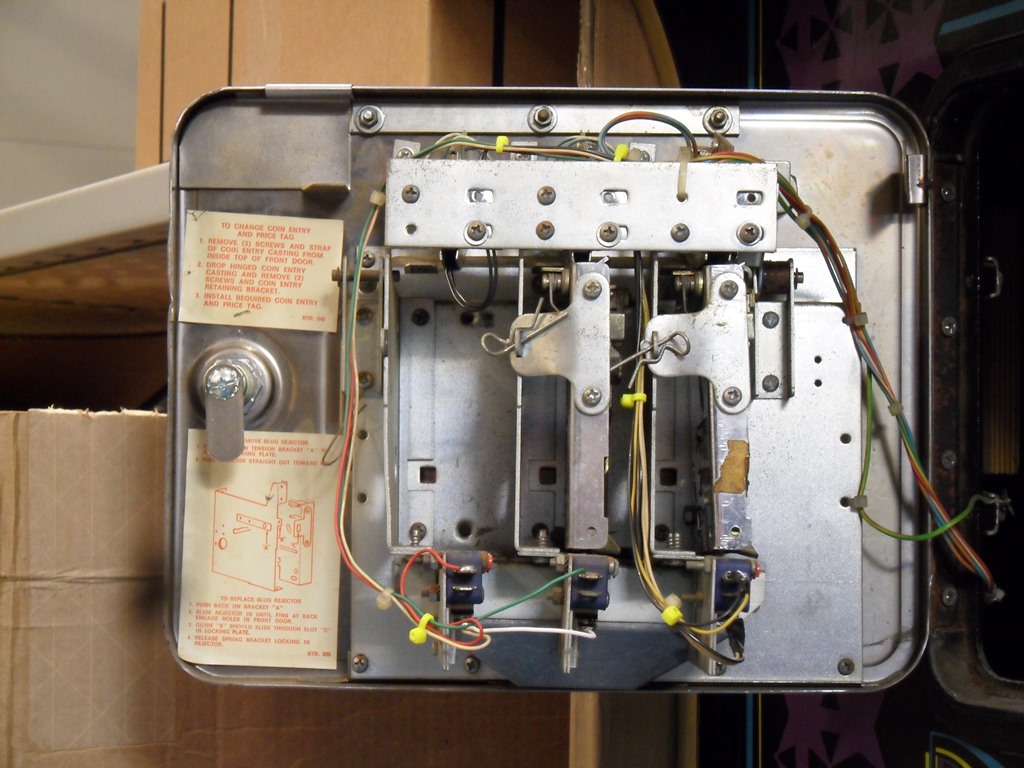
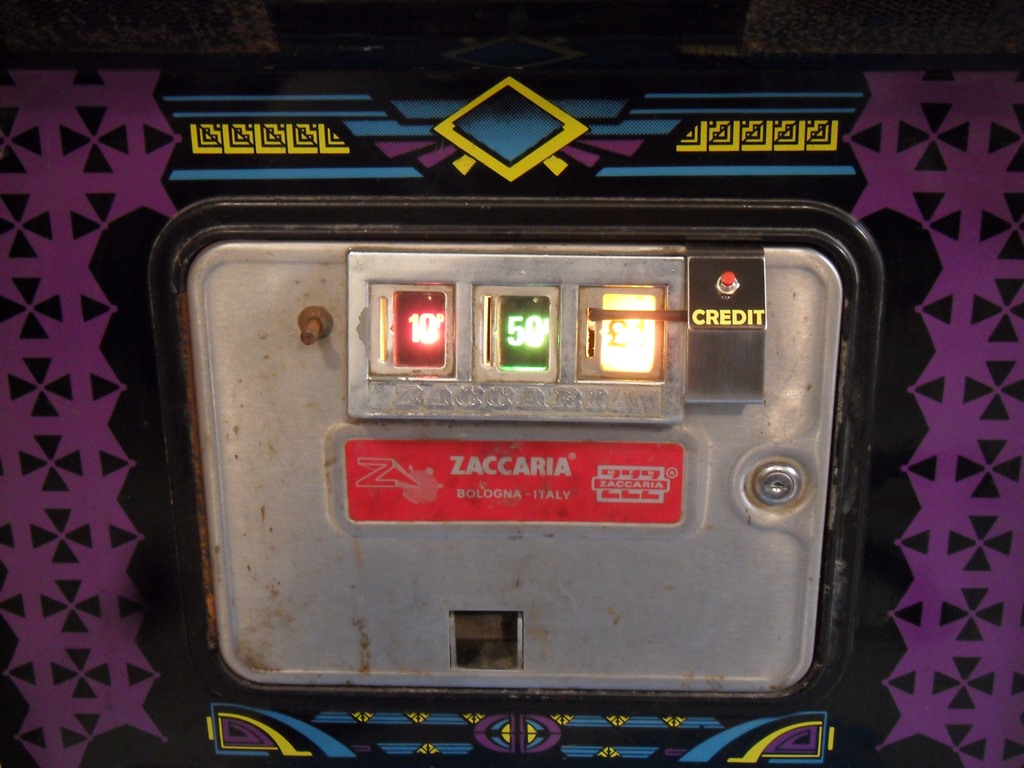
The coin door looks to be OK and complete - the center position has been loaded whereas in other AL cabinets it has been used to display the license seal. The coin door still has the red Zaccaria label intact. No key for the cash box or the back door (there was a key for the coin door) but the barrel for the back door was loose enough to turn to open it.

|
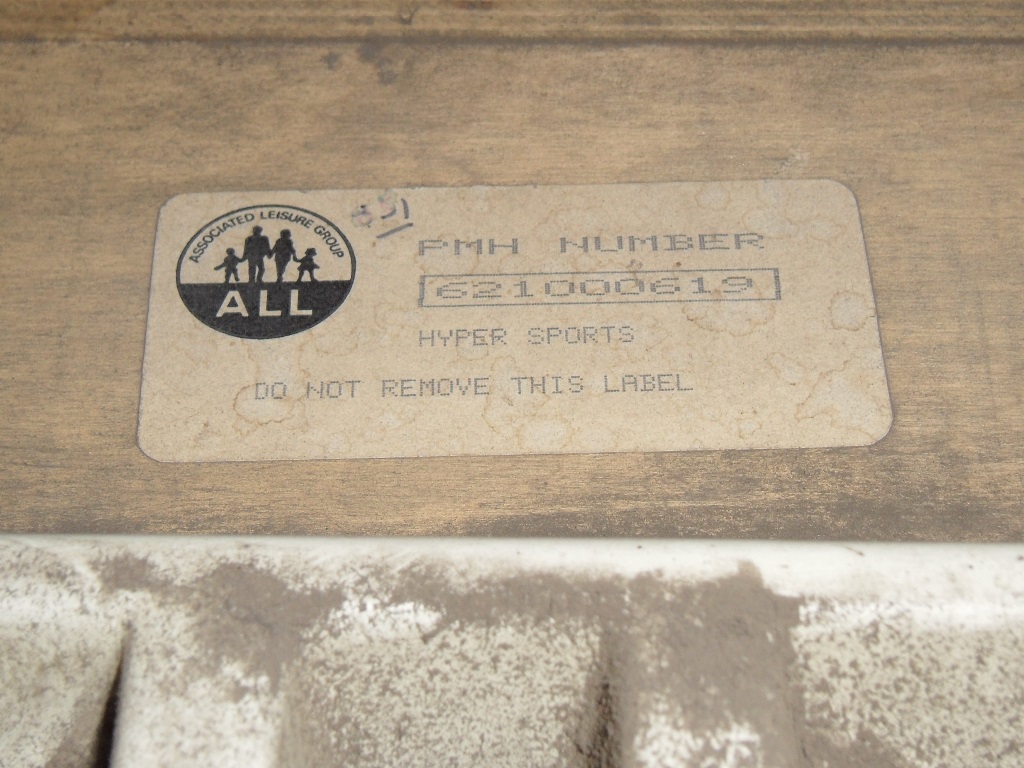
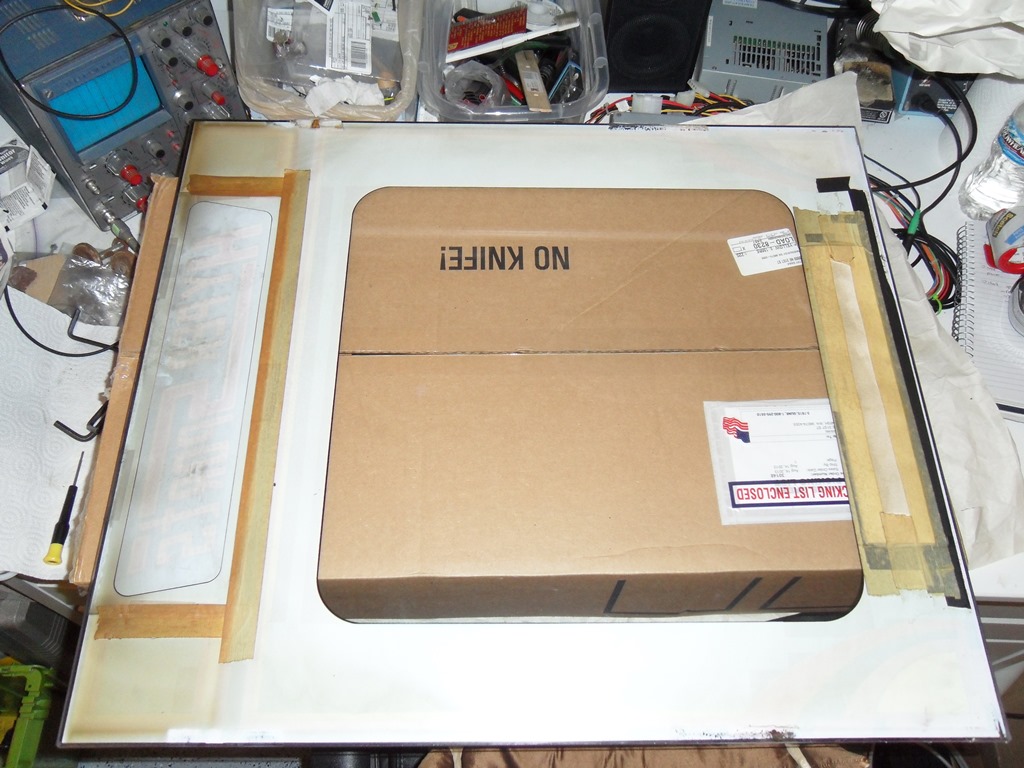
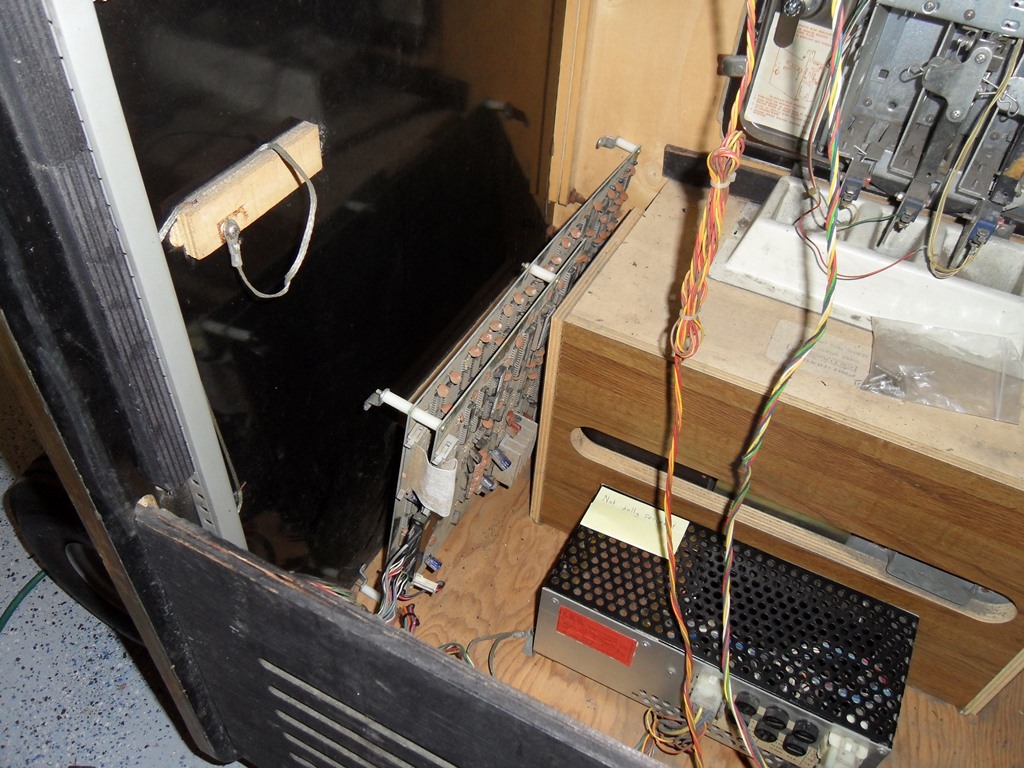
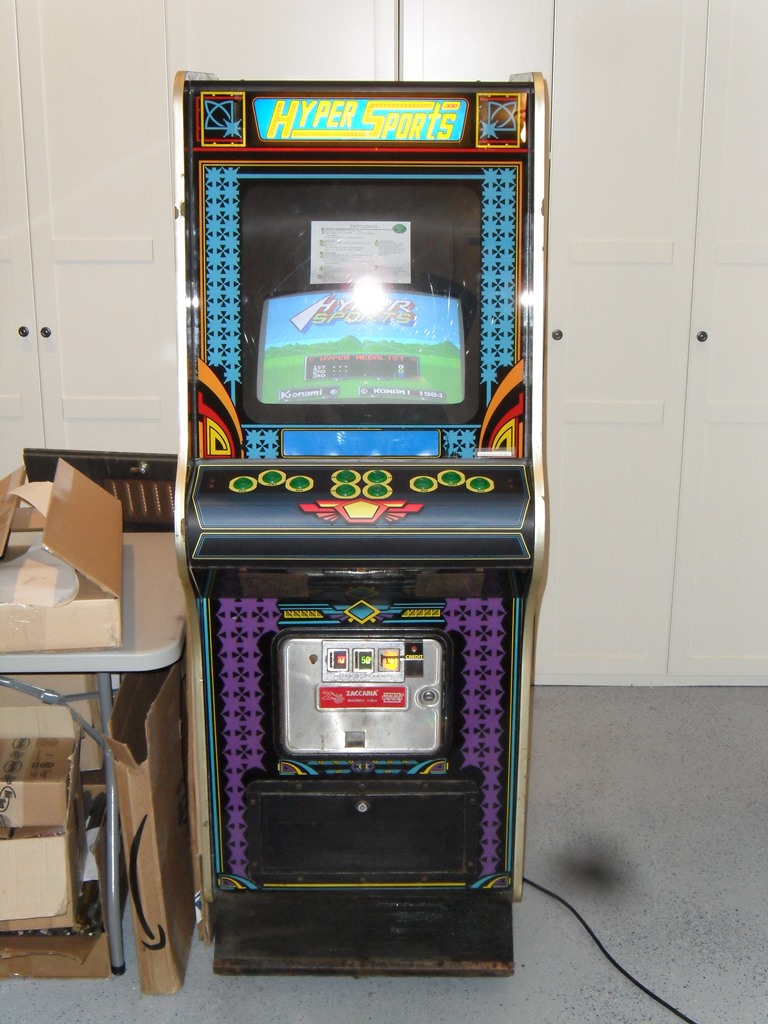
As noted before there is an Associated Leisure serial number label behind the coin door. The game board and mounting plate are missing.

|
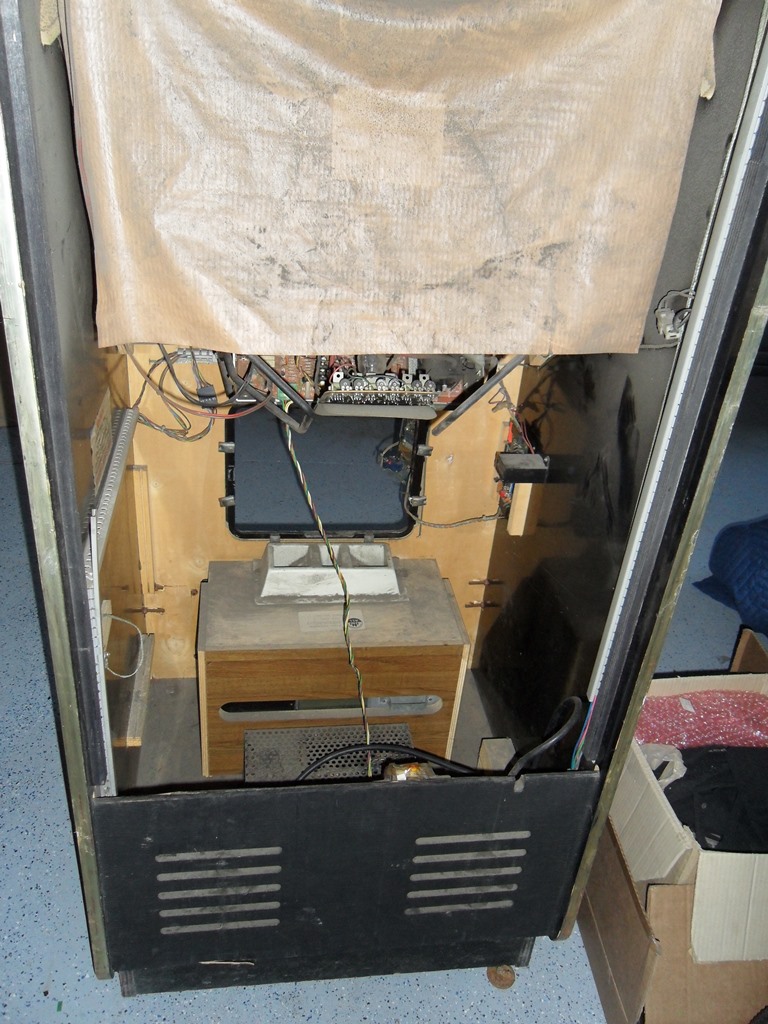
Inside appears complete and wiring intact except for the game board. Even the safety curtain for the monitor is still present.

|
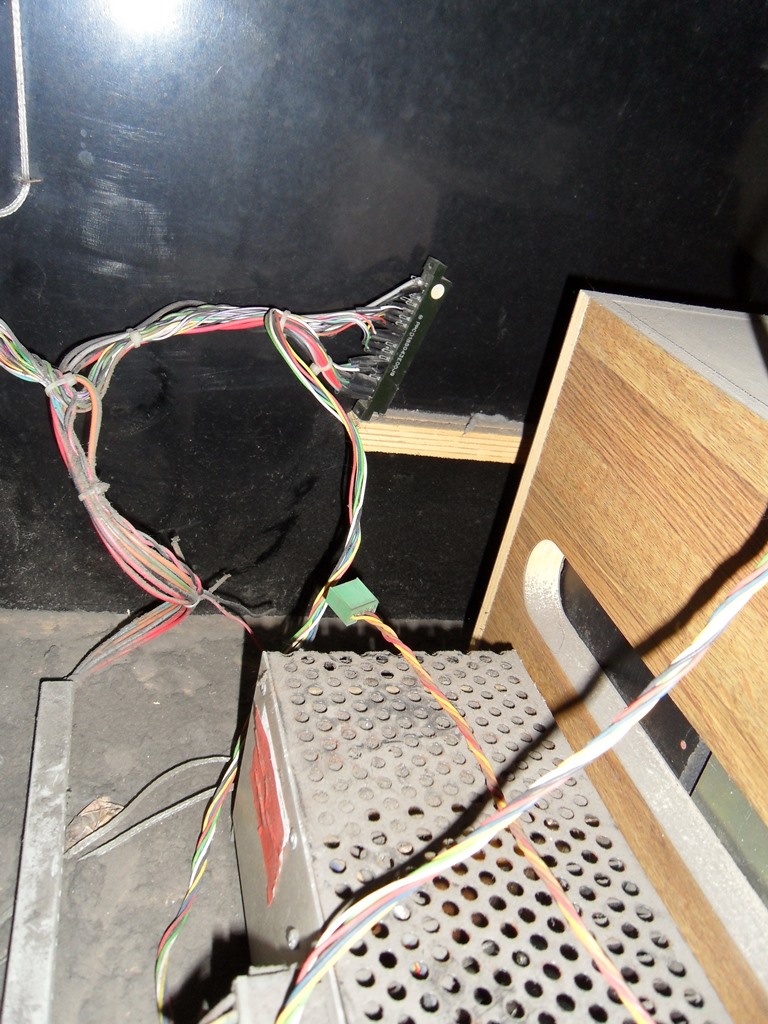
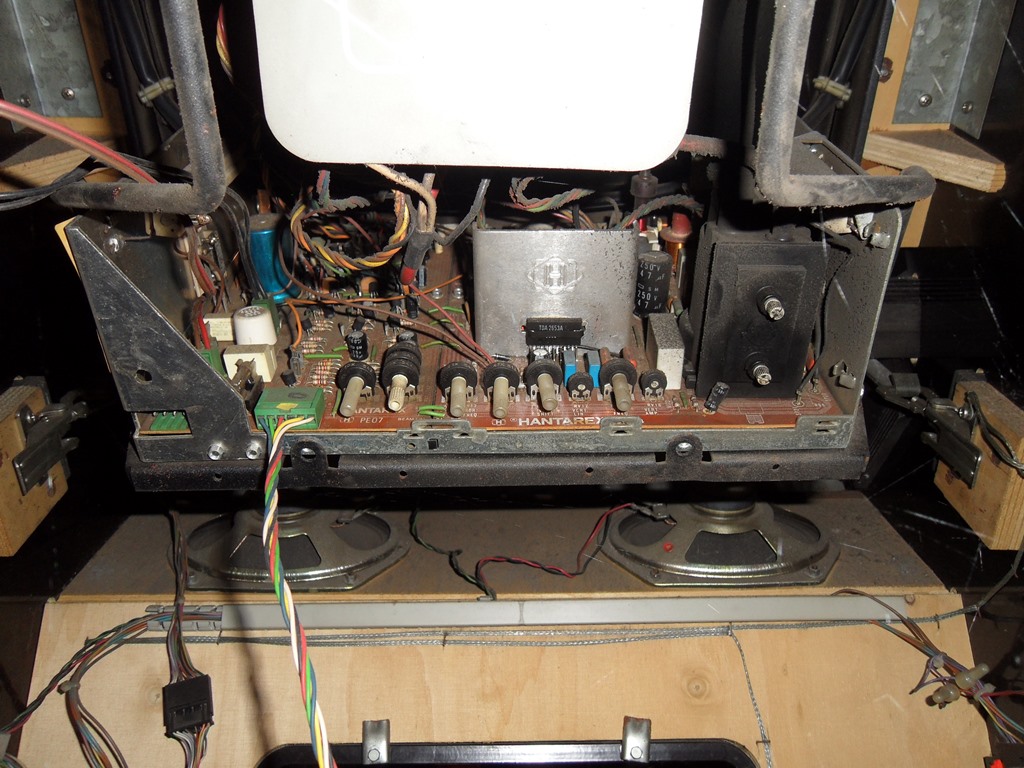
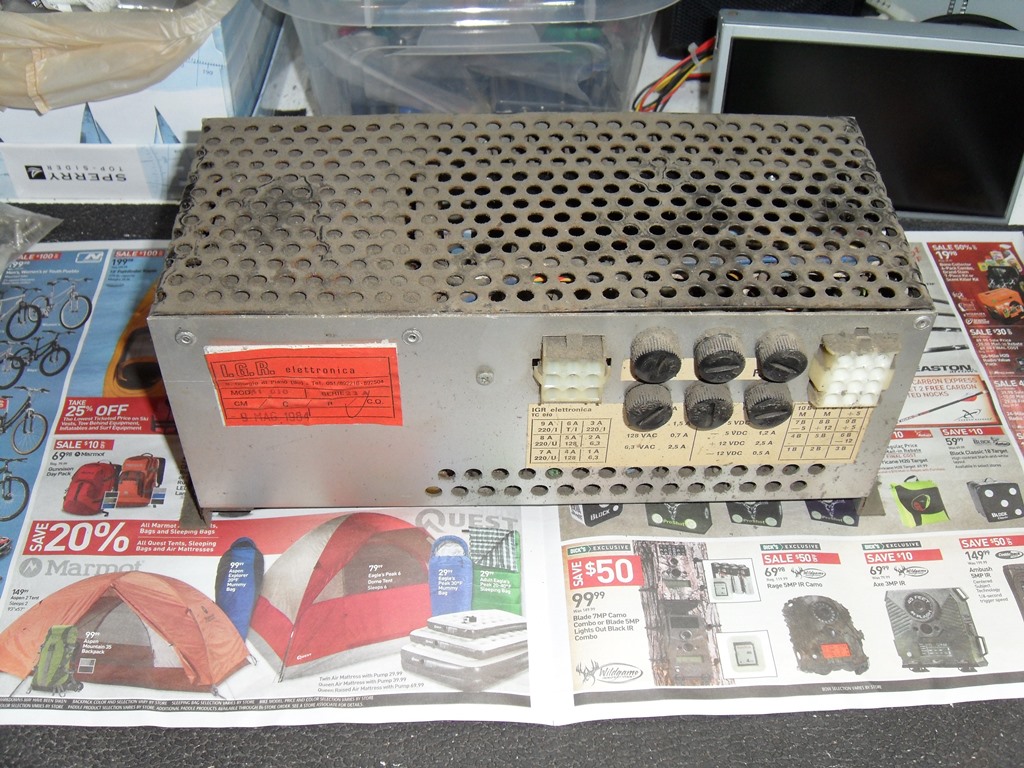
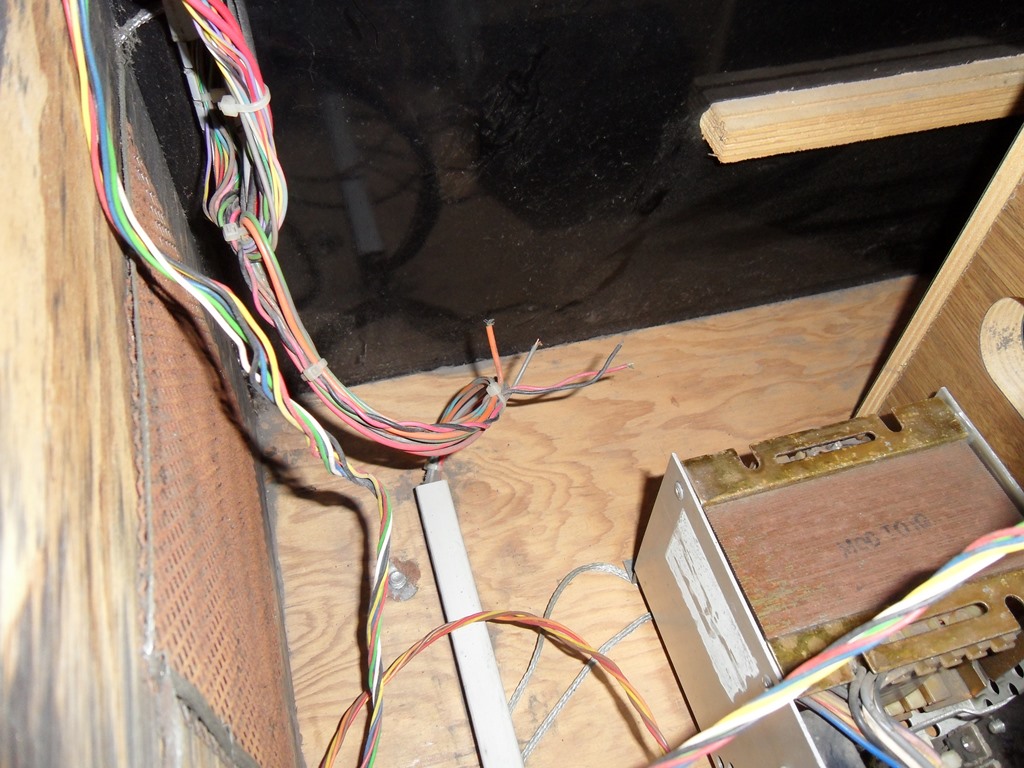
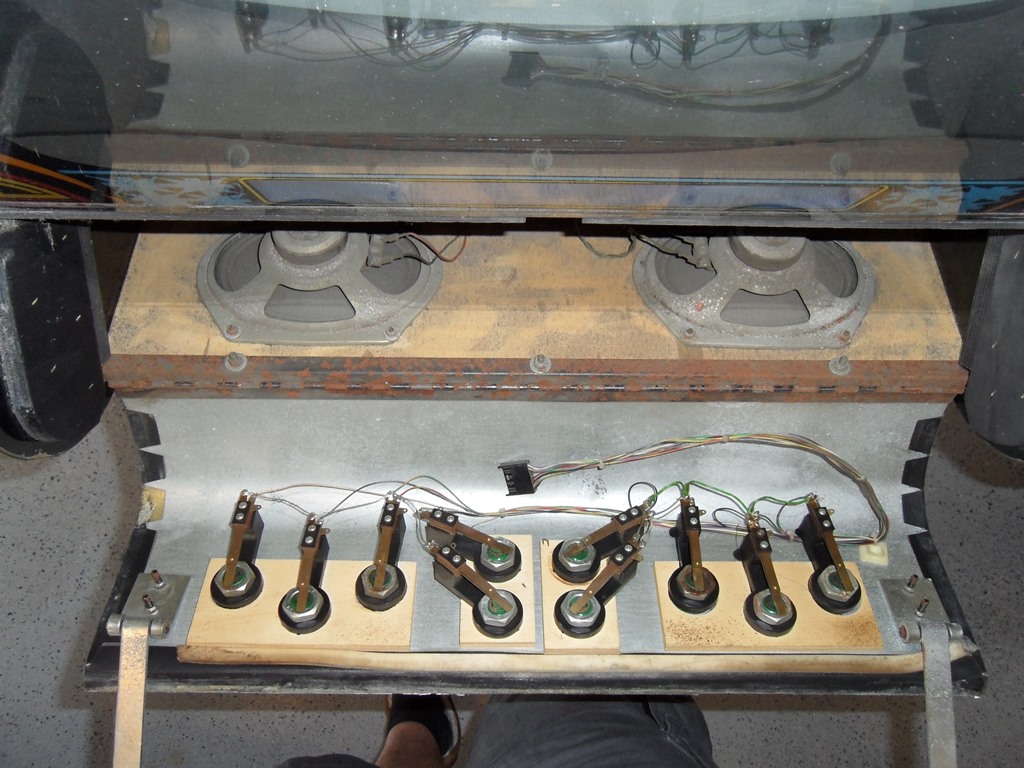
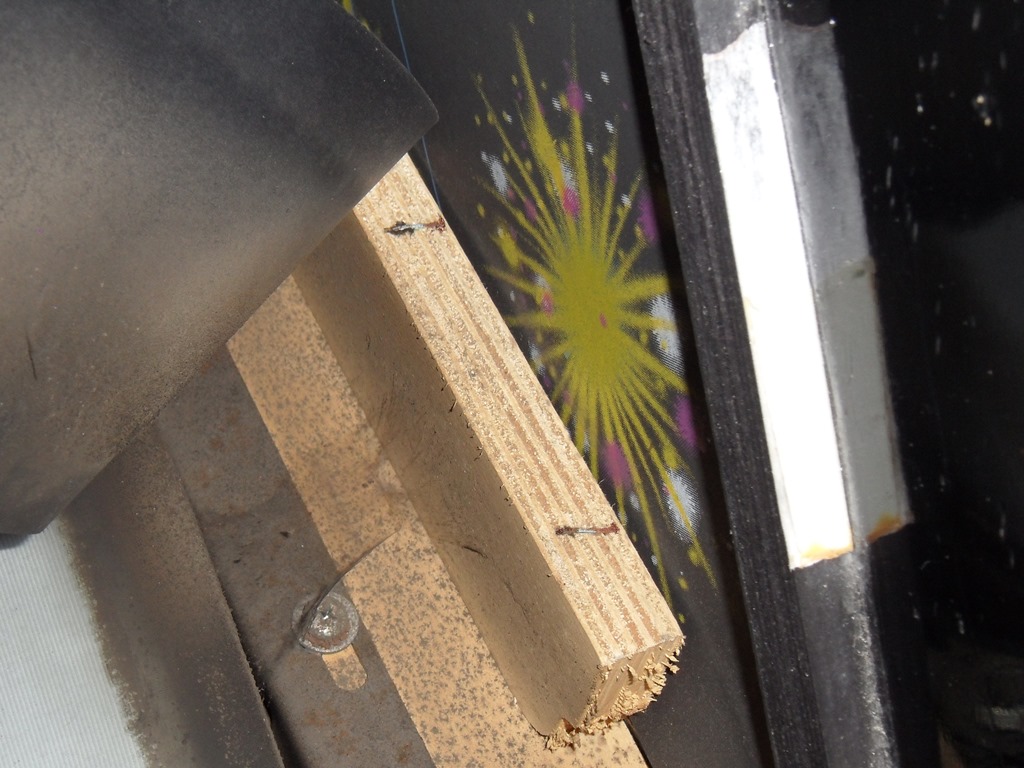
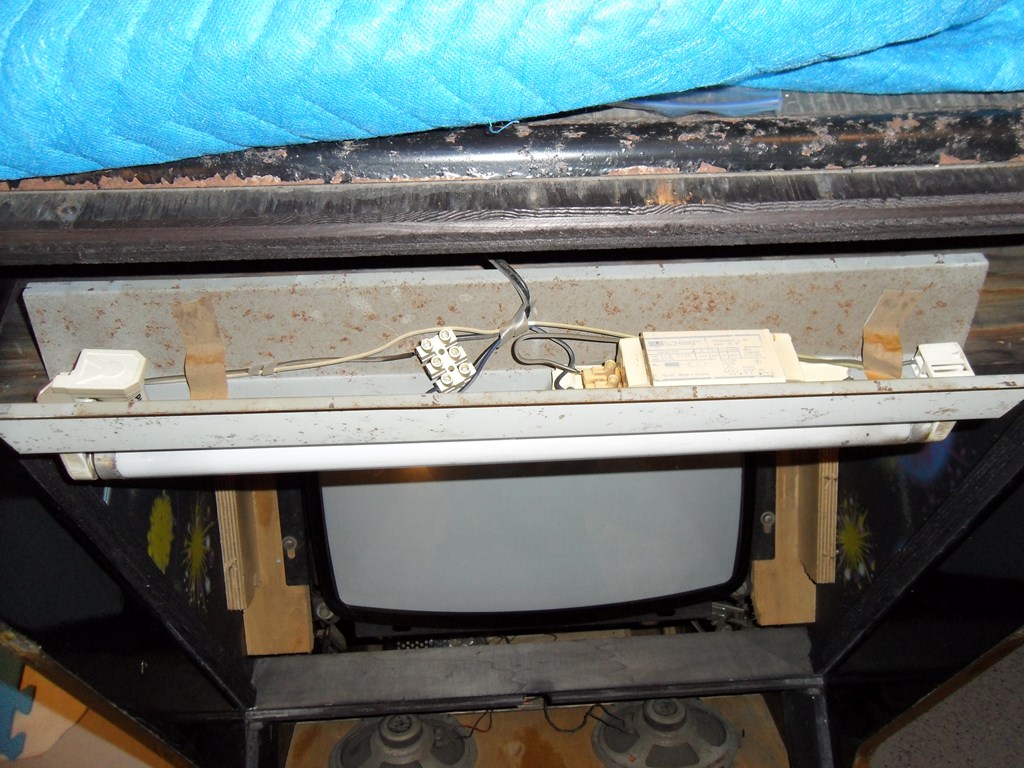
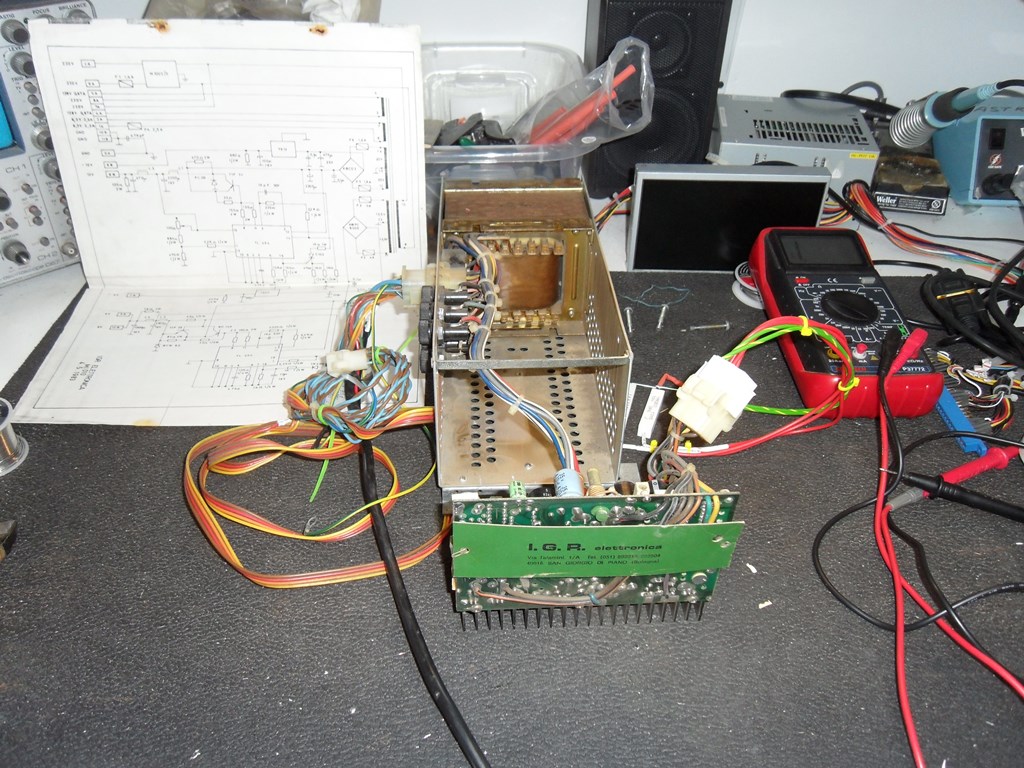
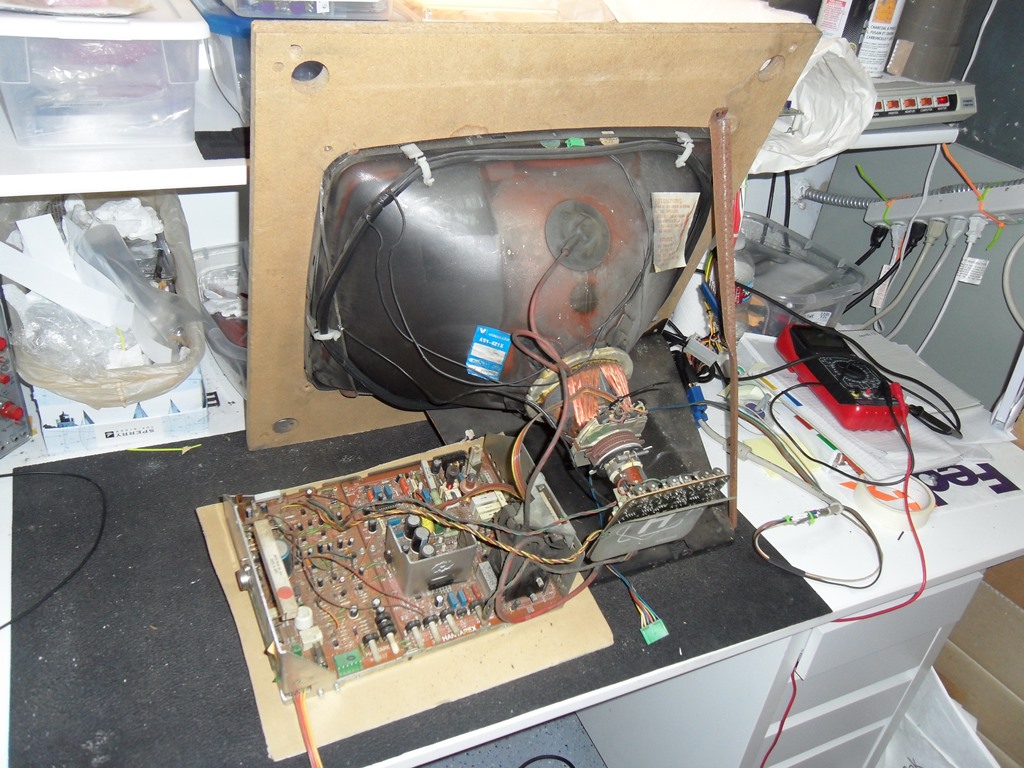
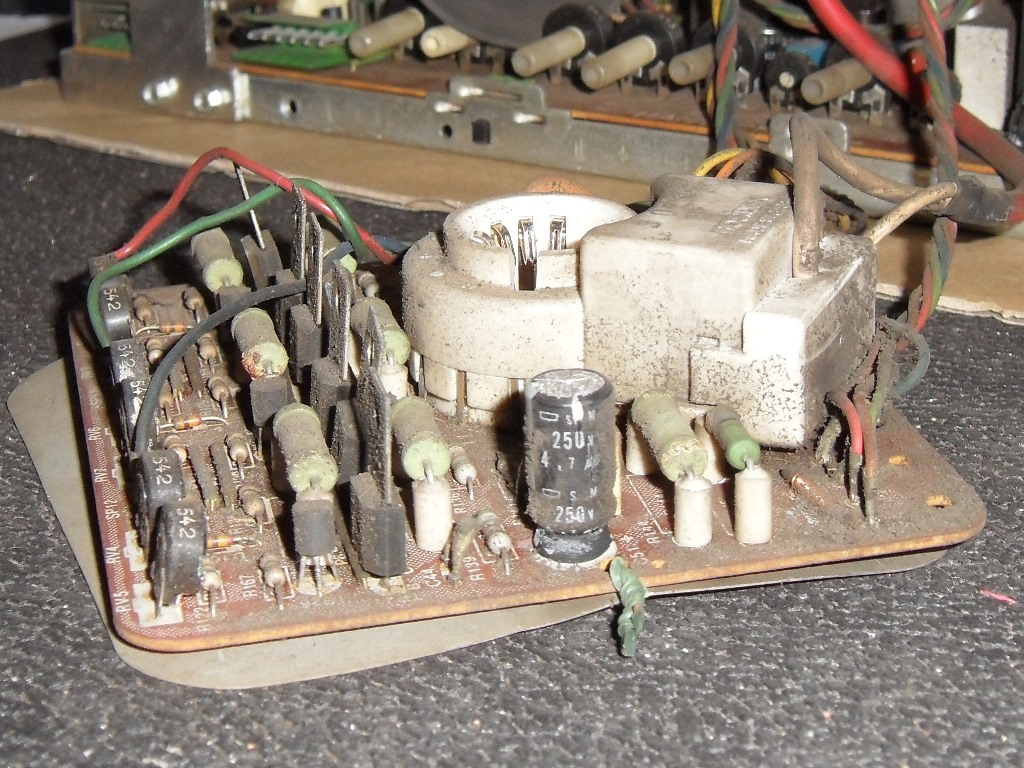
There is *a lot* of dirt in the bottom of the cab underneath which is an IGR Elettronica MI 010 power supply. The marque assembly seems to be in a self-contained frame with ballast & starter on the back side. The monitor is a Hantarex MTC-900E that looks complete and in good physical condition though the power to it has been unplugged. The cabinet has stereo speakers fitted with stereo wiring for them. There is also a random piece of wood from somewhere.
|
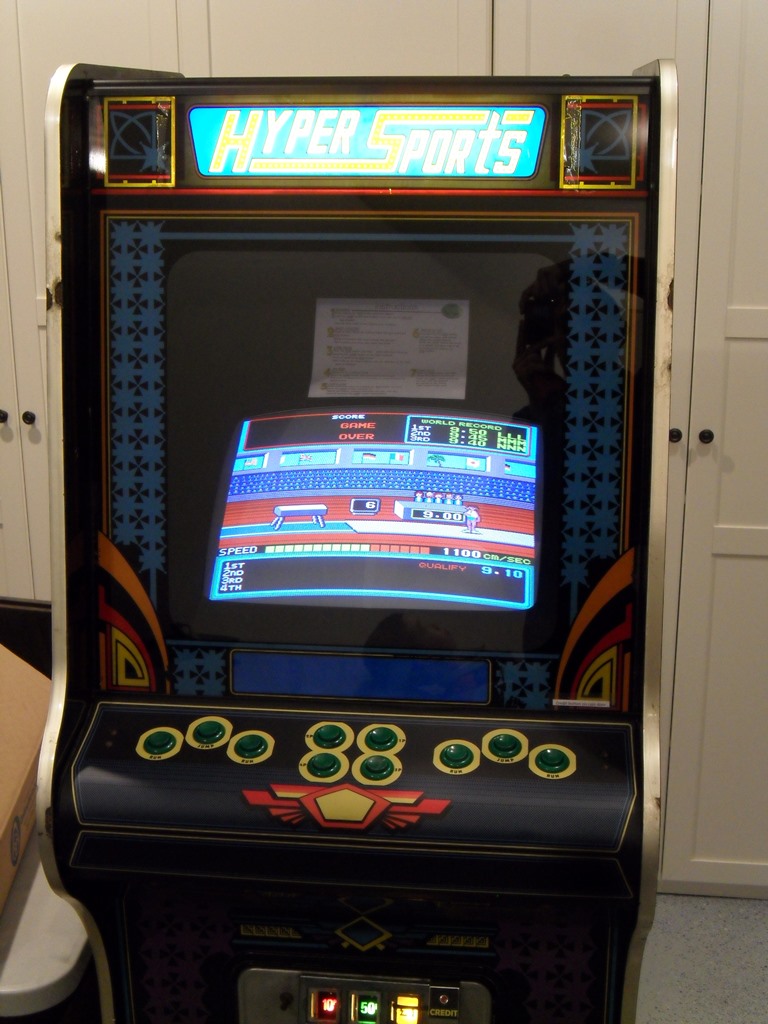
The back of the control panel buttons and wiring all look complete and original.

|
I gave the front a clean with a damp cloth to start with.

|
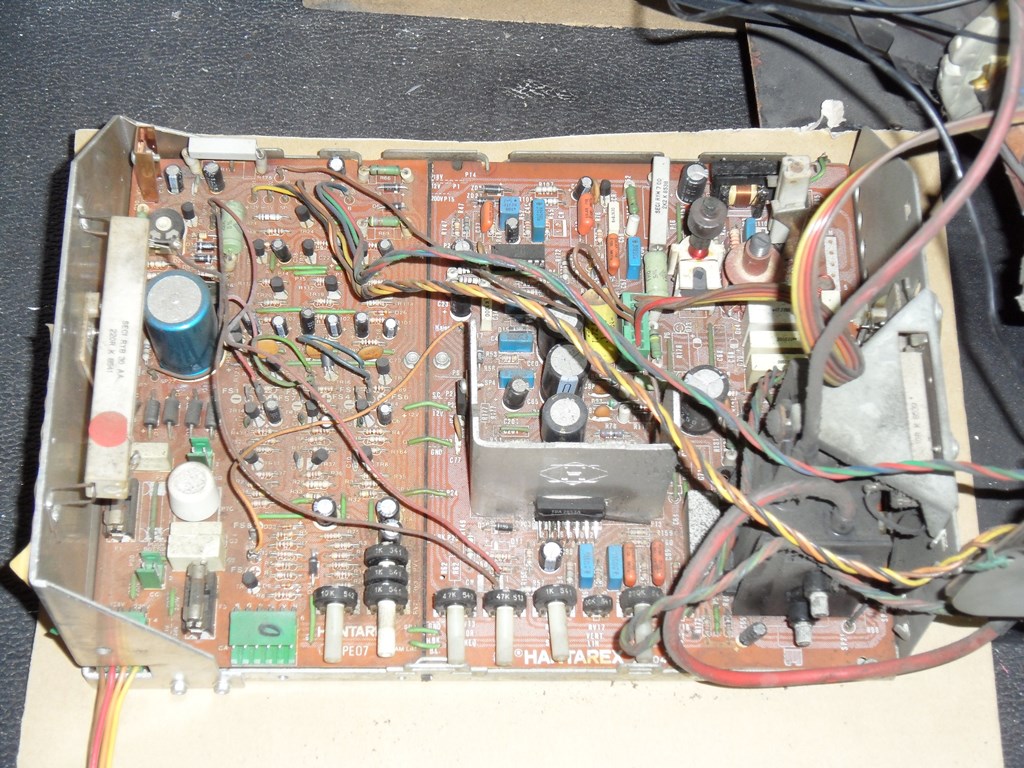
Given the large amount of dirt in the bottom of the cab I suspected the IGR power supply might be full of dirt. I wasn't disappointed. A few minutes blasting away with an aerosol duster in the back yard cleared it all out to leave something that looks in good physical condition.


|
The camera flash makes it look less dirty than it was. A full size vacuum cleaner with a good set of attachments got rid of most of the dirt.
|
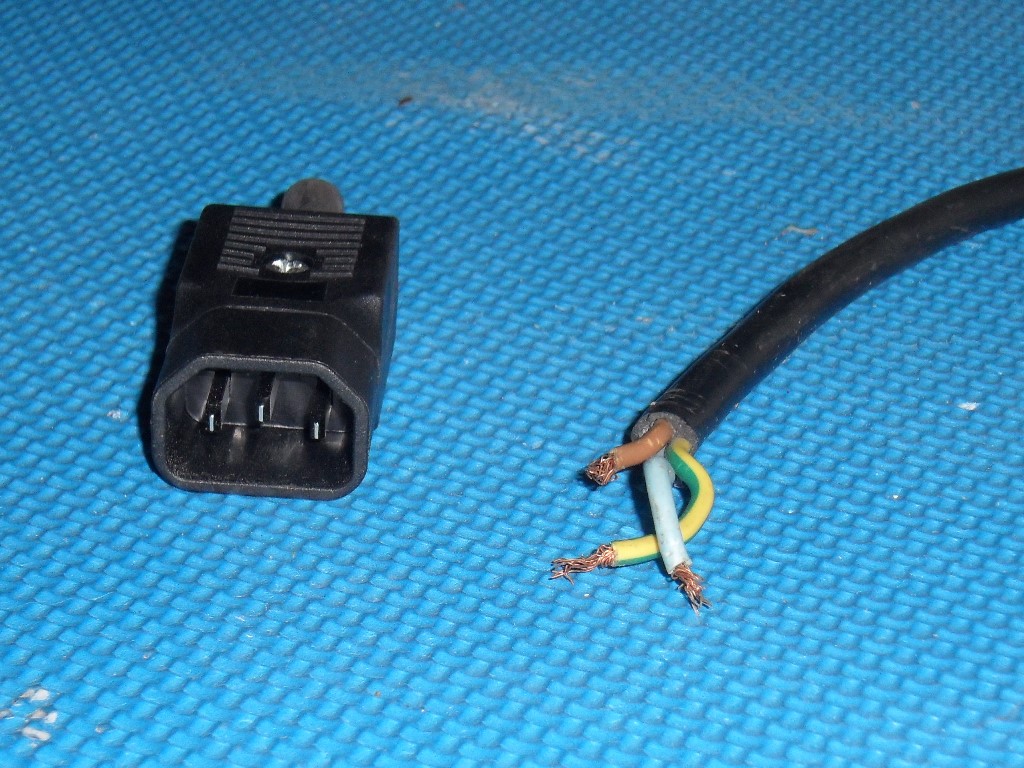
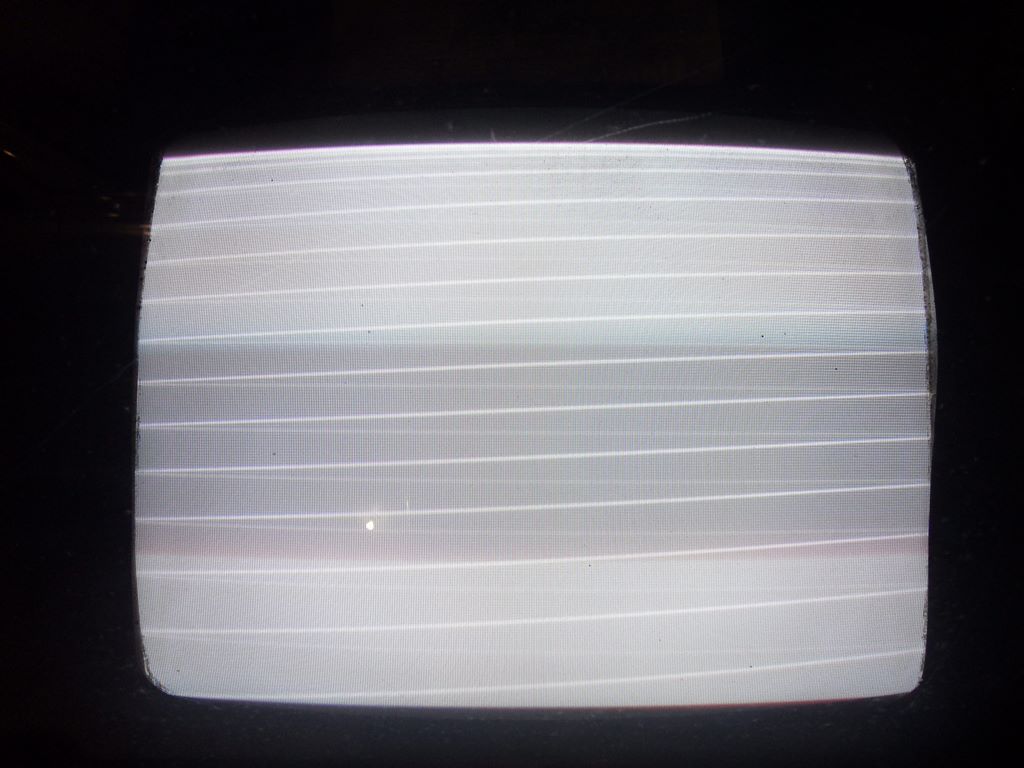
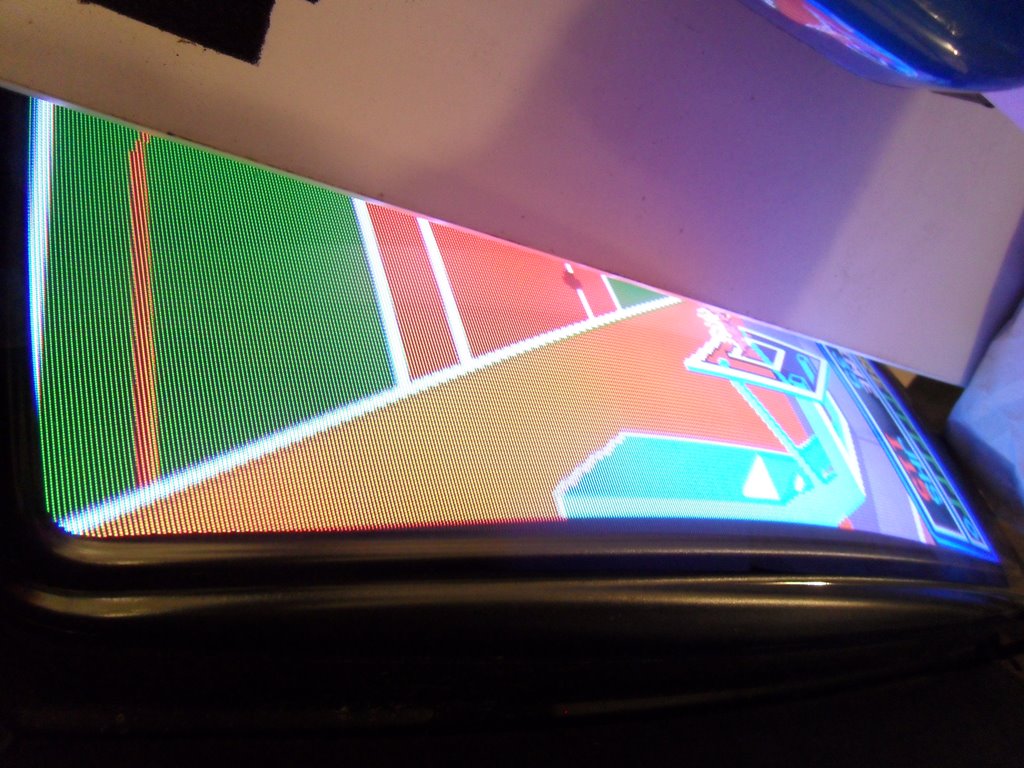
Adding the 240V IEC C14 power plug and reconnected the IGR power supply for first power on test. With the monitor disconnected first power on yielded no coin door lights or marque lights. However, the AC voltages all measured good - 220V on the marque connector, 220V/128V on the monitor connector and 6.3V on the coin door lights. Likely all the coin door lamps are burnt out and the marque light is blown. Plugging in the monitor yielded a white screen of scan lines with no obvious cap venting, smoking or arcing. A good start!
Since I know from experience that the IGR power supply will run overvoltage with no load and that it has no overvoltage protection I decided to not try a game board in it yet until I can verify it's working properly. I've had cases where it can be faulty and drop the raw switch voltage onto the outputs :(
|
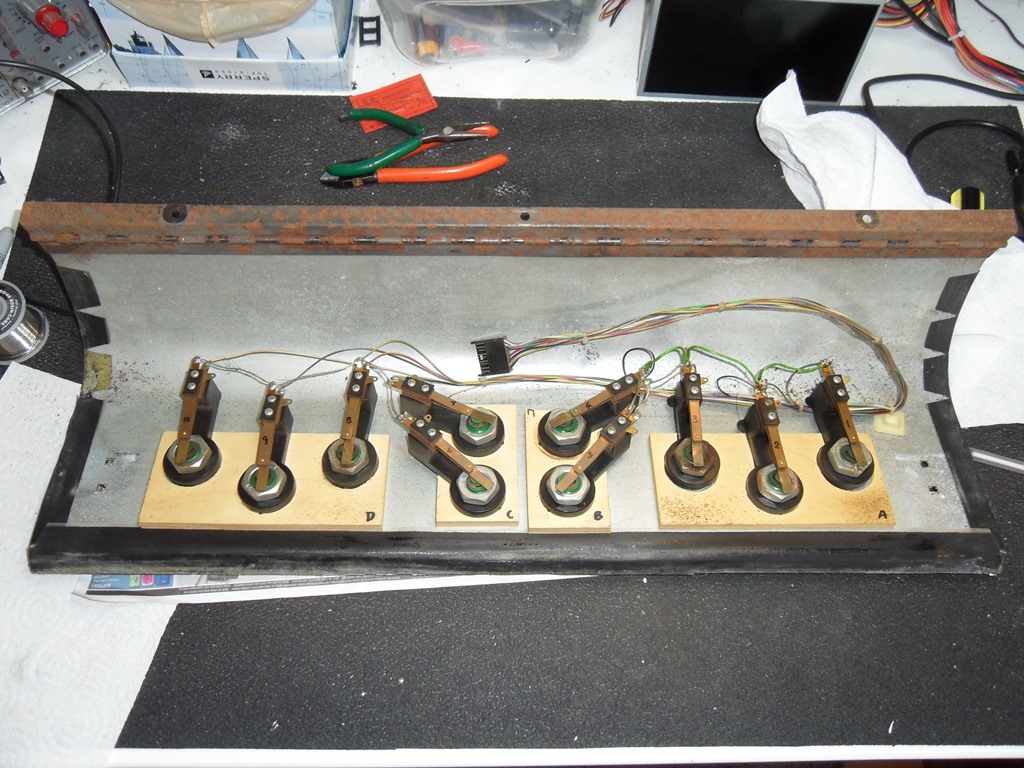
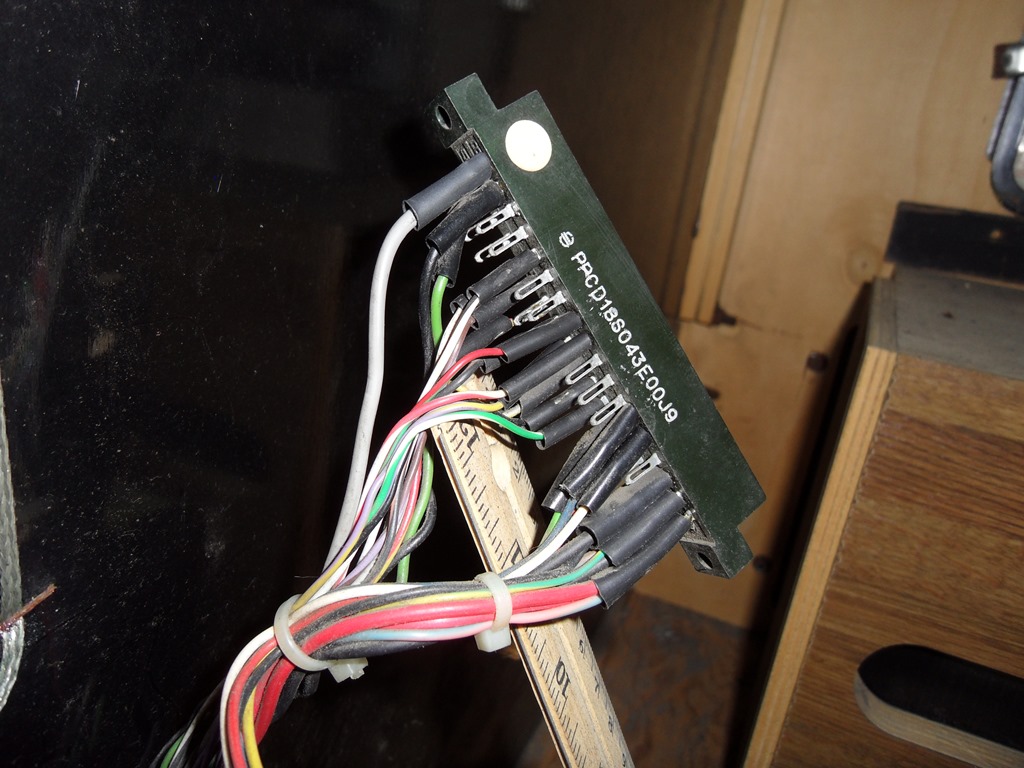
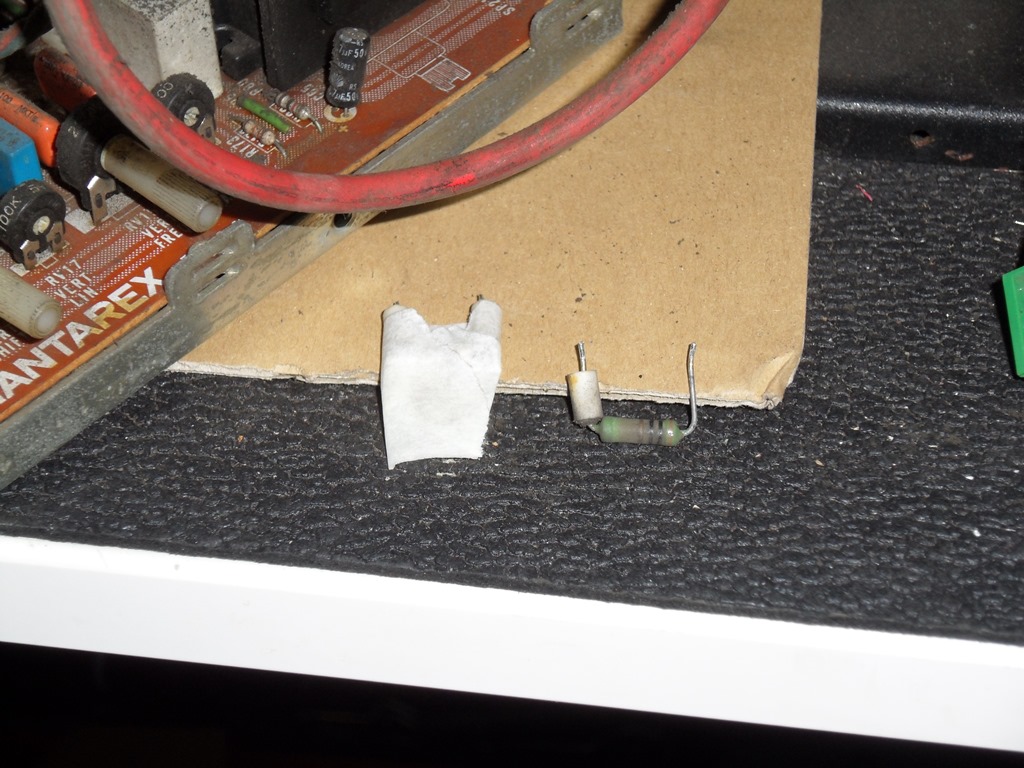
There are four extra wires part way down the wiring harness with exposed ends. On investigation, two were for the extra speaker, one was -12V (not used on Hyper Sports) and the other was unknown but seems like it's all original.

|
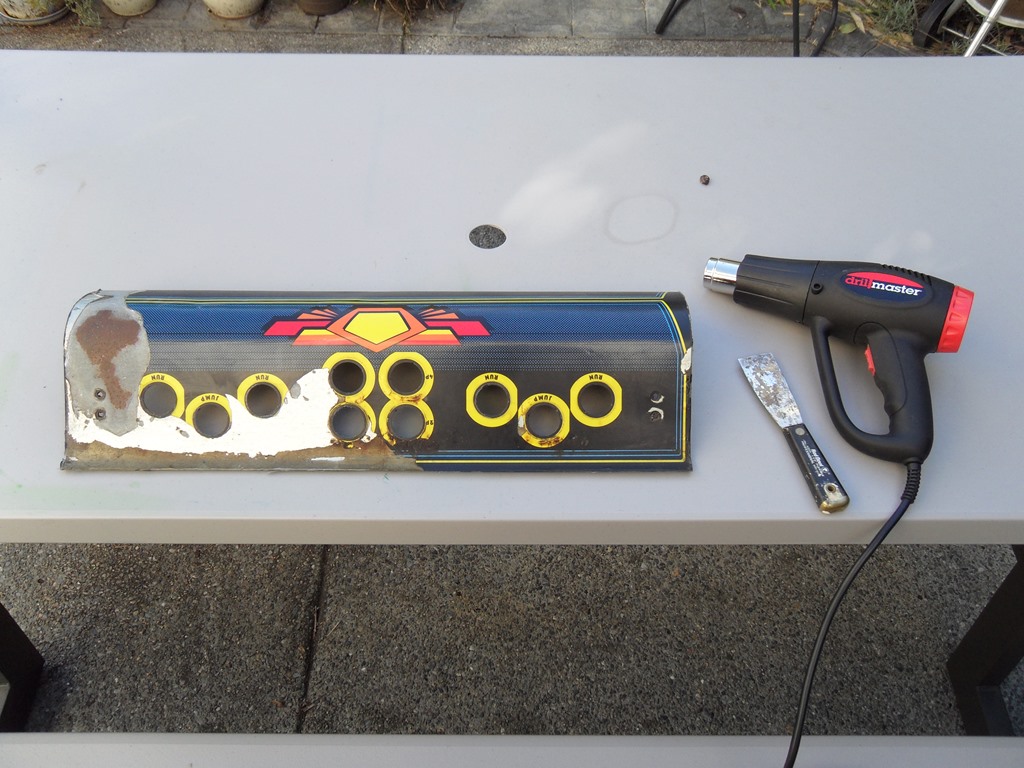
It needs a new control panel overlay. No getting away from it :( The plan is try and scan what�s left and find someone to repro it.
|

|
Labelled all the switches, buttons and spacers for ease of reassembly when the time comes. I tried using a heat gun to see if it was possible to get the overlay off in one piece so that it could be scanned in more easily but it's like peeling off eggshell - cracks and breaks apart far too easily for that after 30 years :(
|
|
|
|
Scanned in the Hyper Sports control panel overlay.
300 DPI Hyper Sports control panel overlay scan (40.7MB).
|
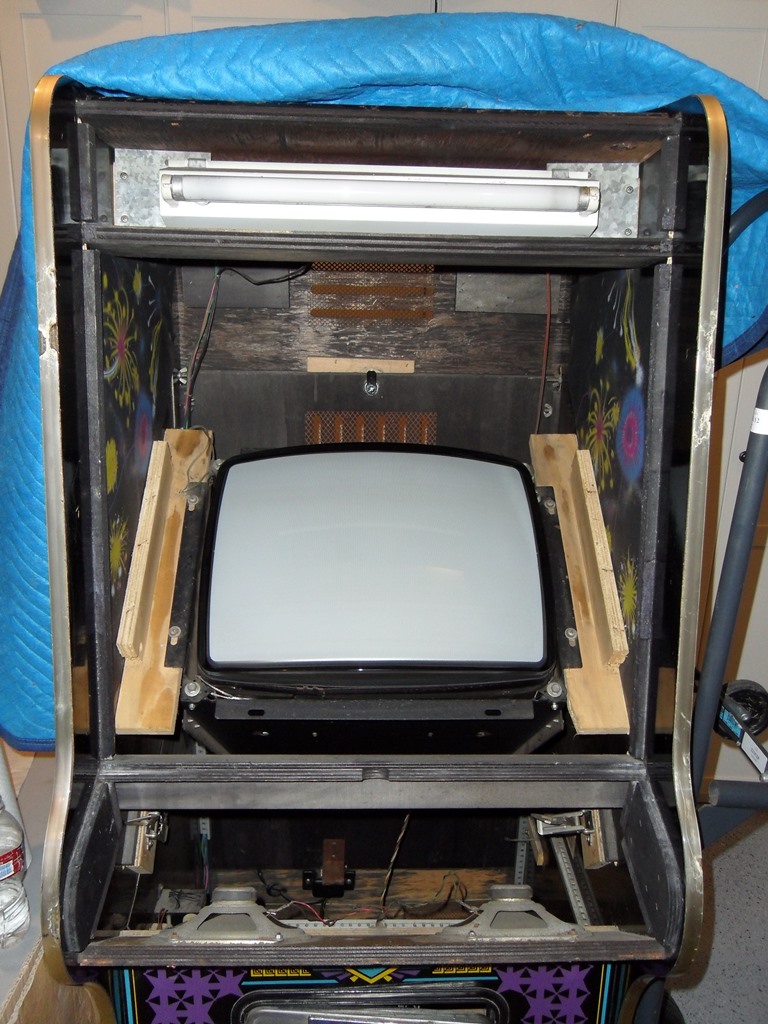
Removing the glass revealed the monitor surround in OK condition aside from the usual layer of dust & dirt and sagging at the top.
|
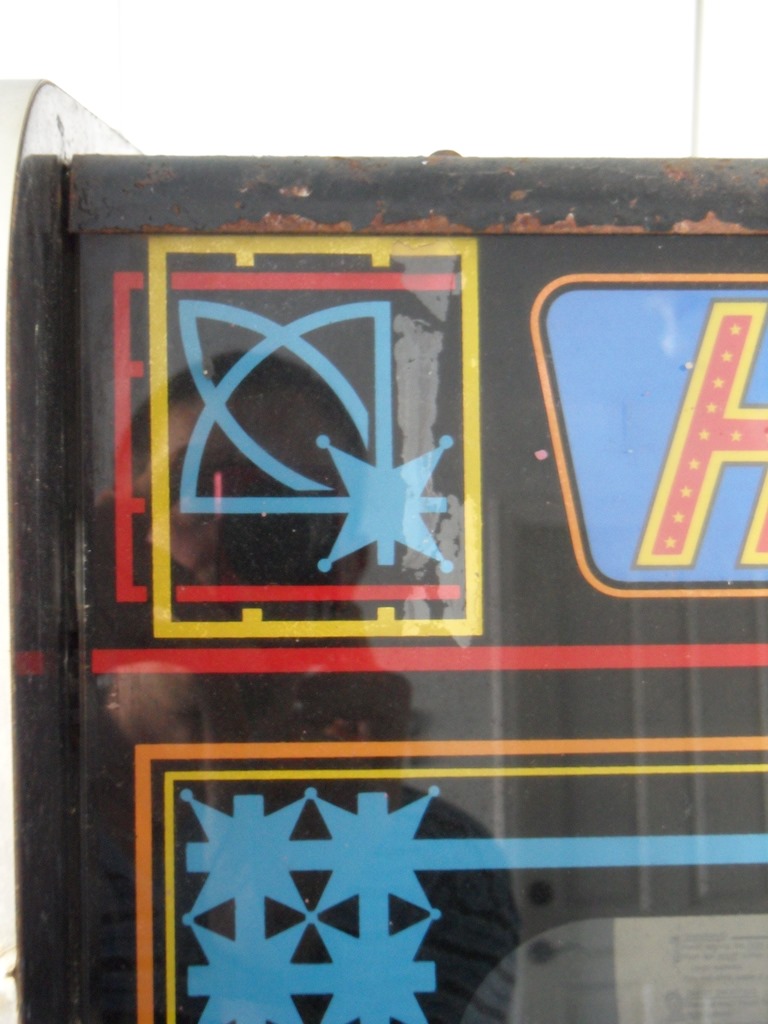
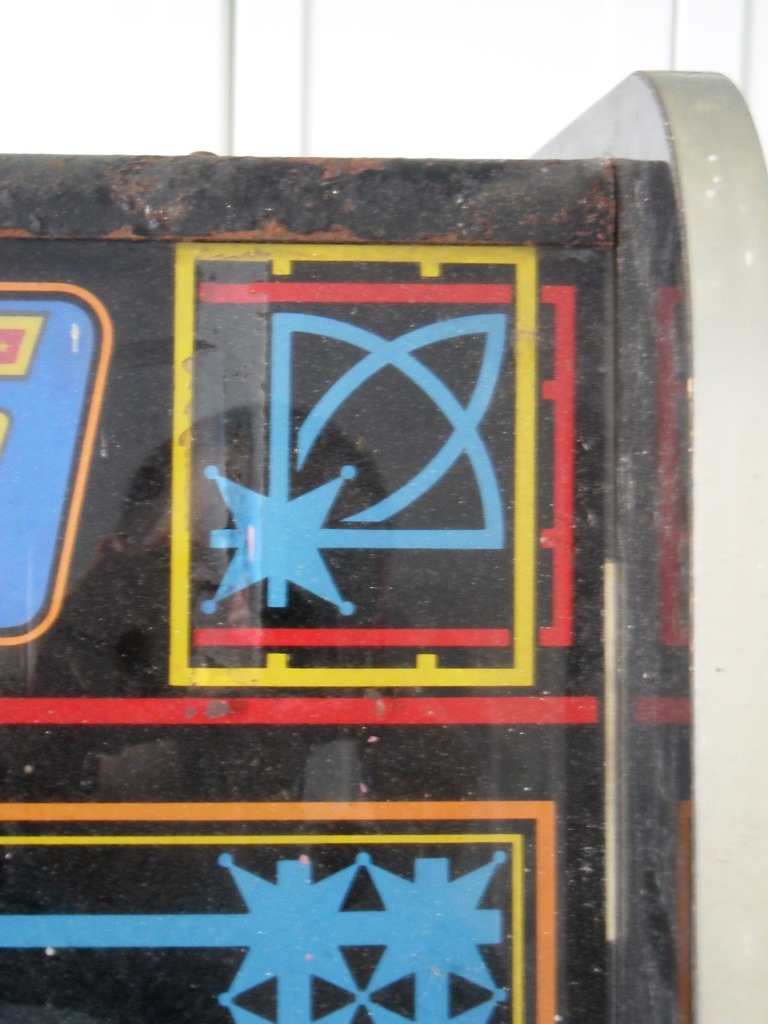
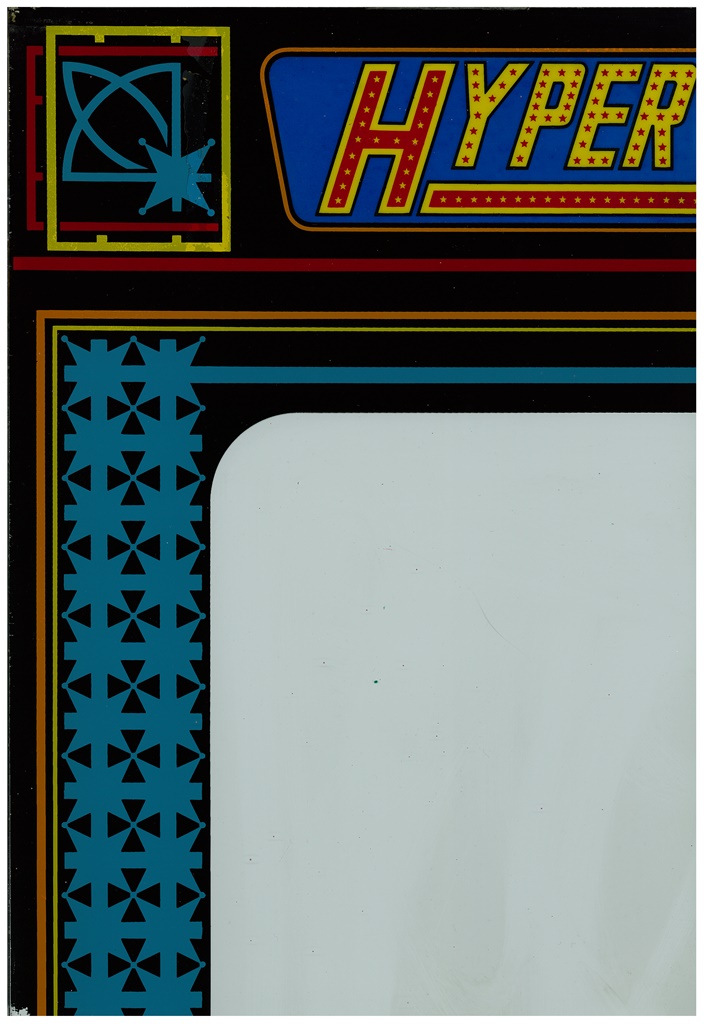
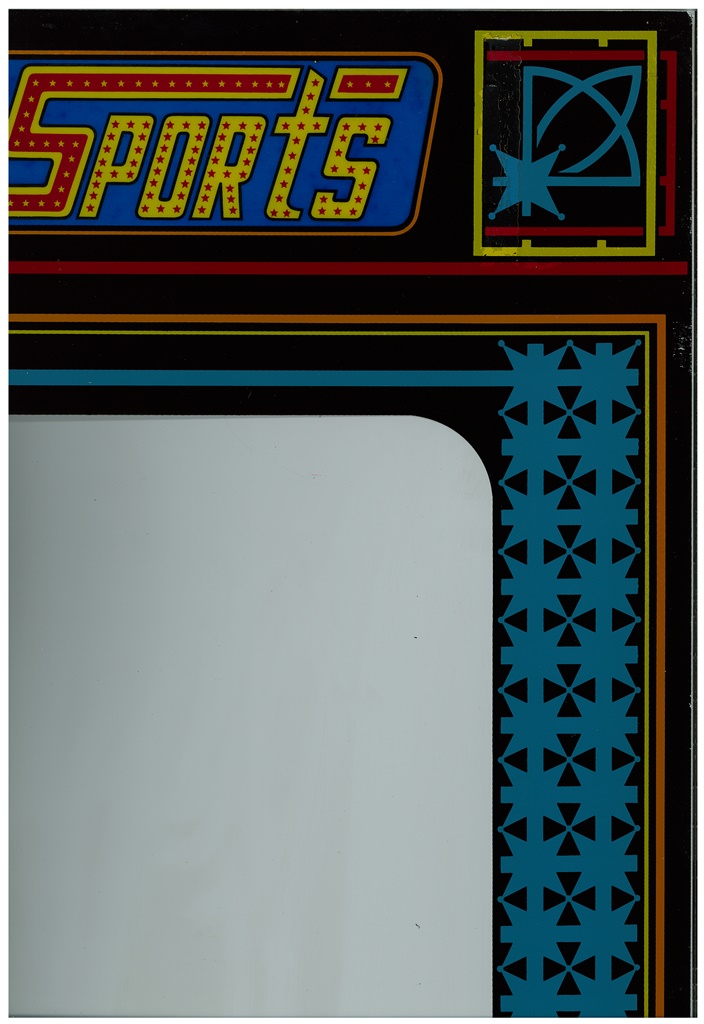
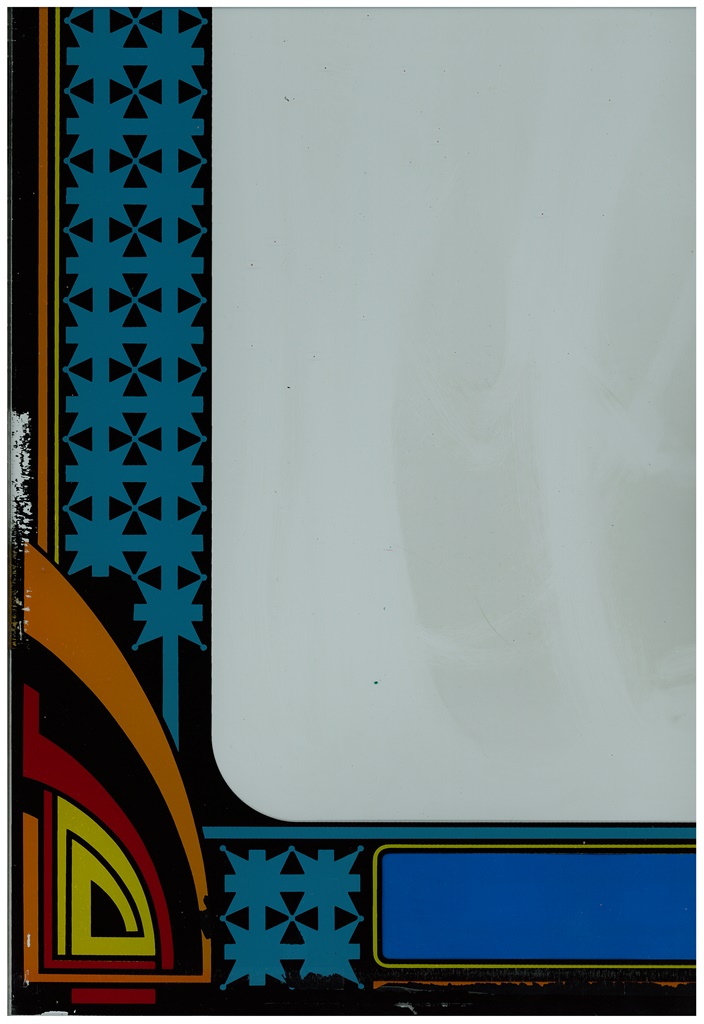
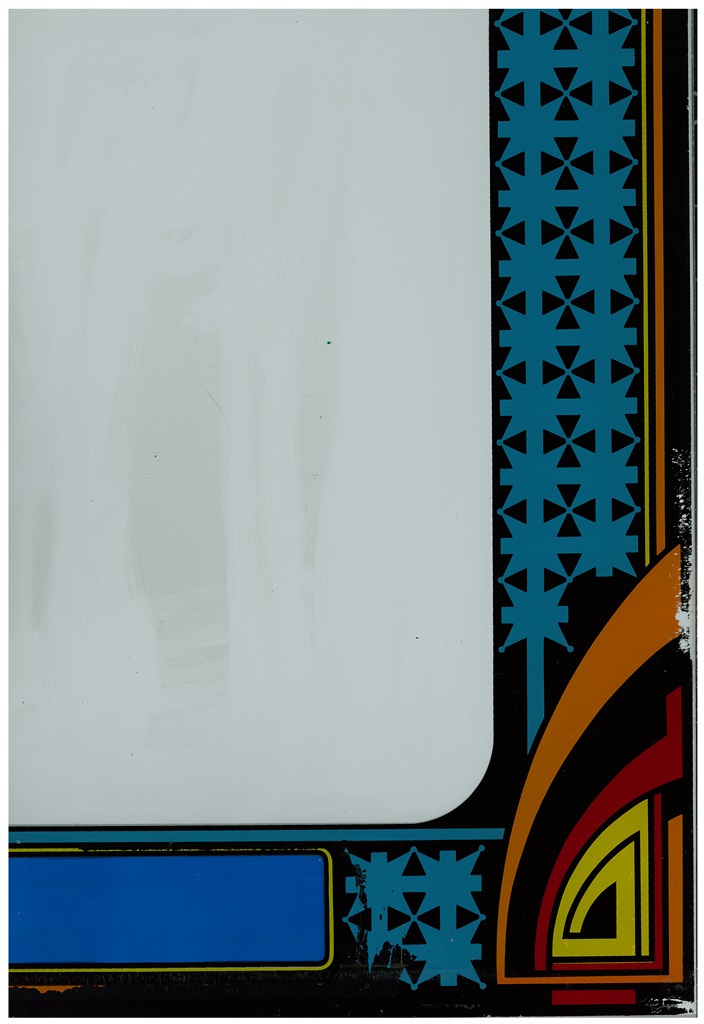
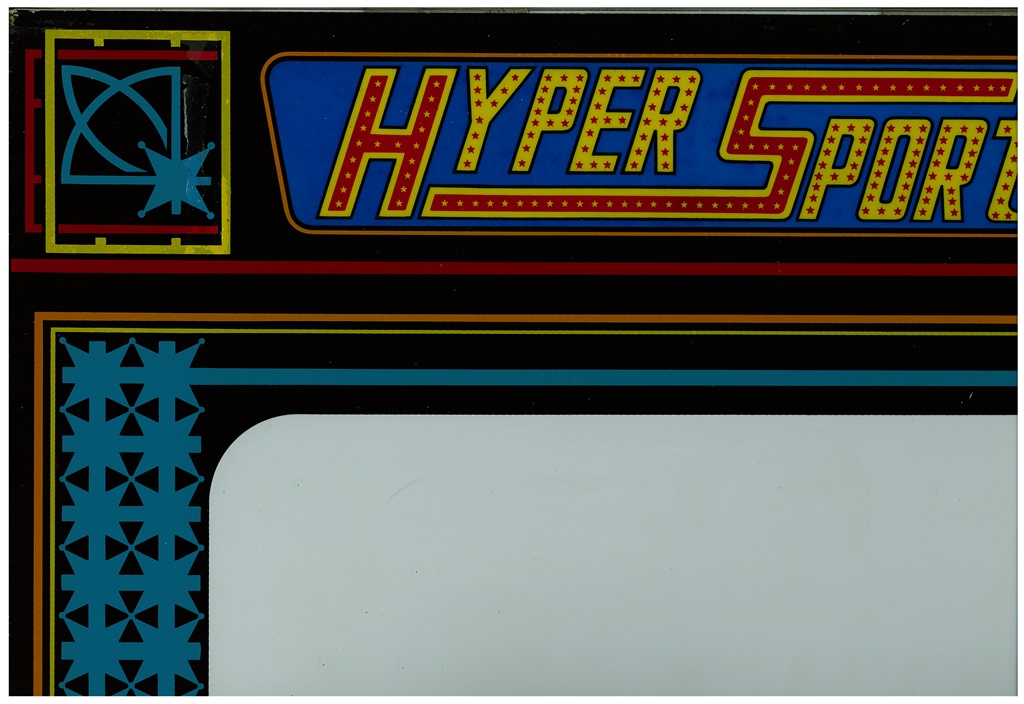
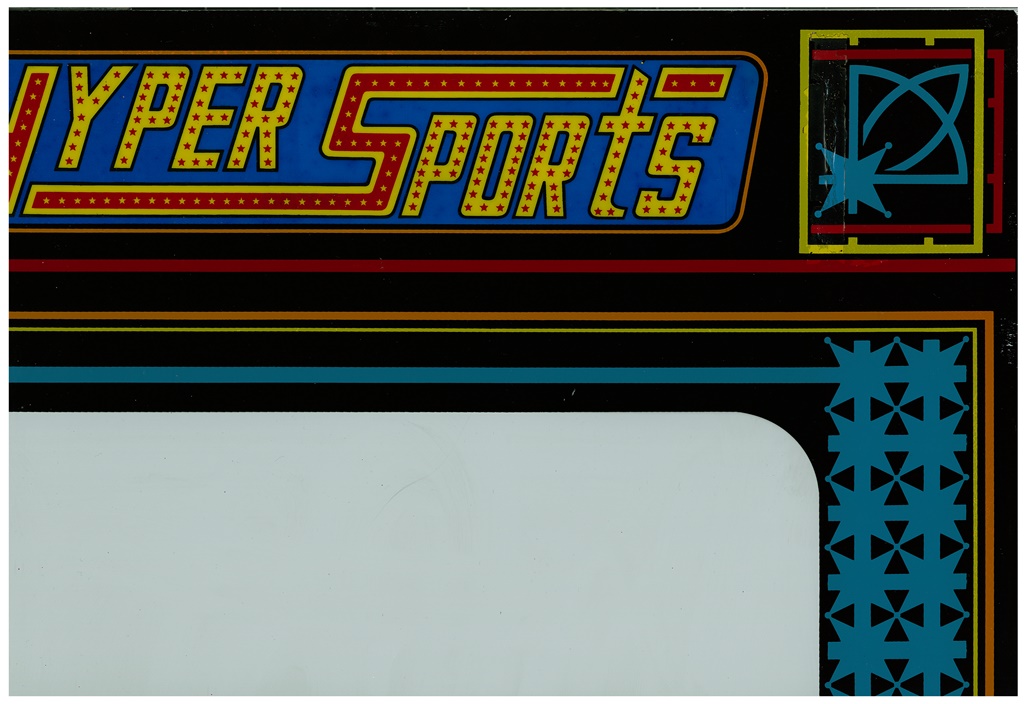
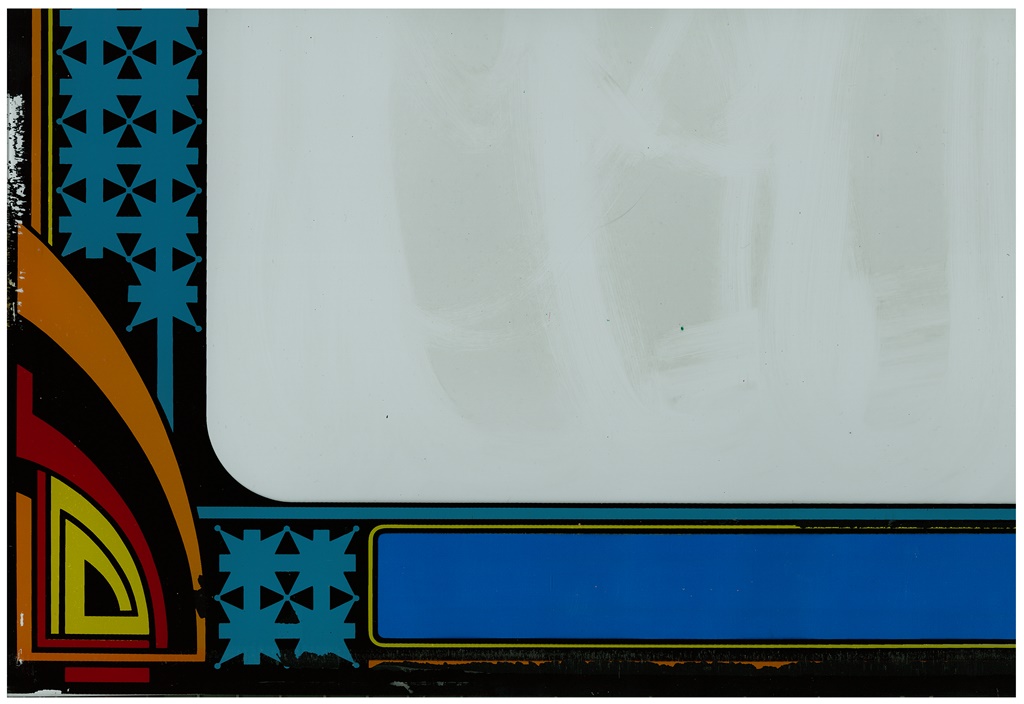
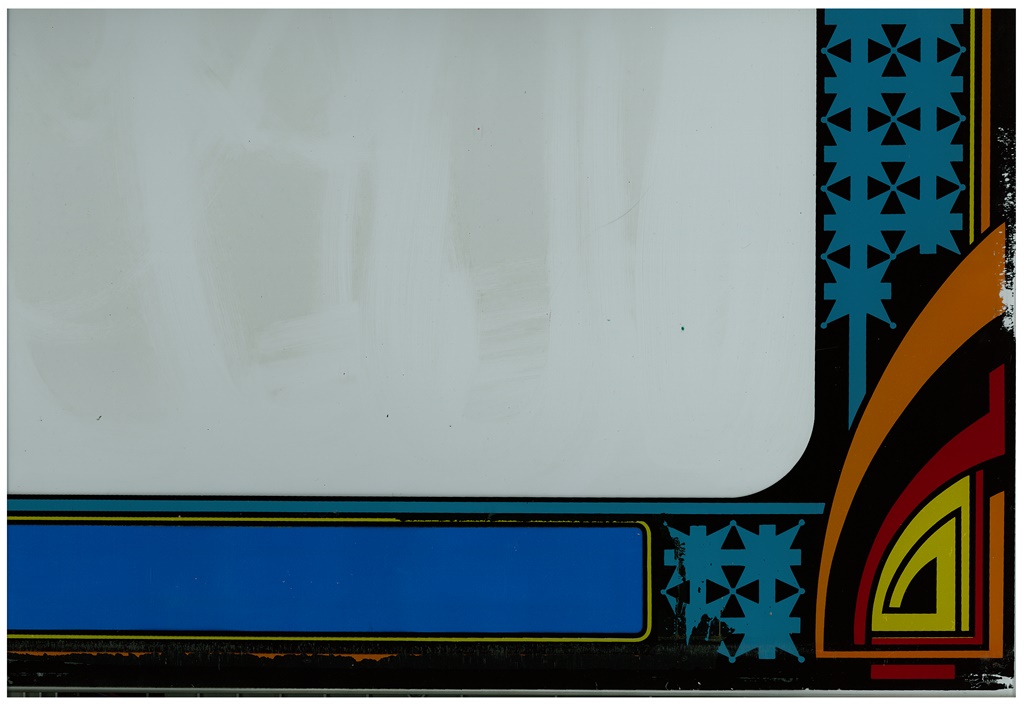
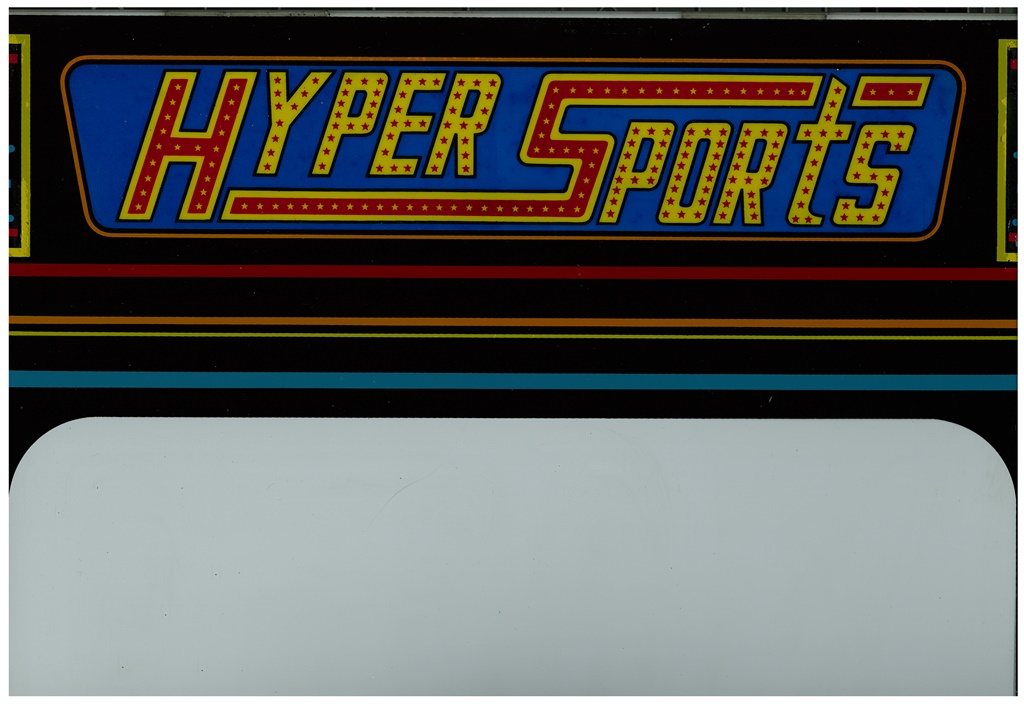
The design of the glass allows for a mini marque at the top and an instruction card at the bottom. In this cabinet the instruction card window is blanked. Both marque and instruction blank have been additionally taped with masking tape. The original sellotape on the sides of the marque has caused the corresponding strip of glass art to delaminate (see close-up above) :( I'm not going to attempt to remove anything and will leave as is.
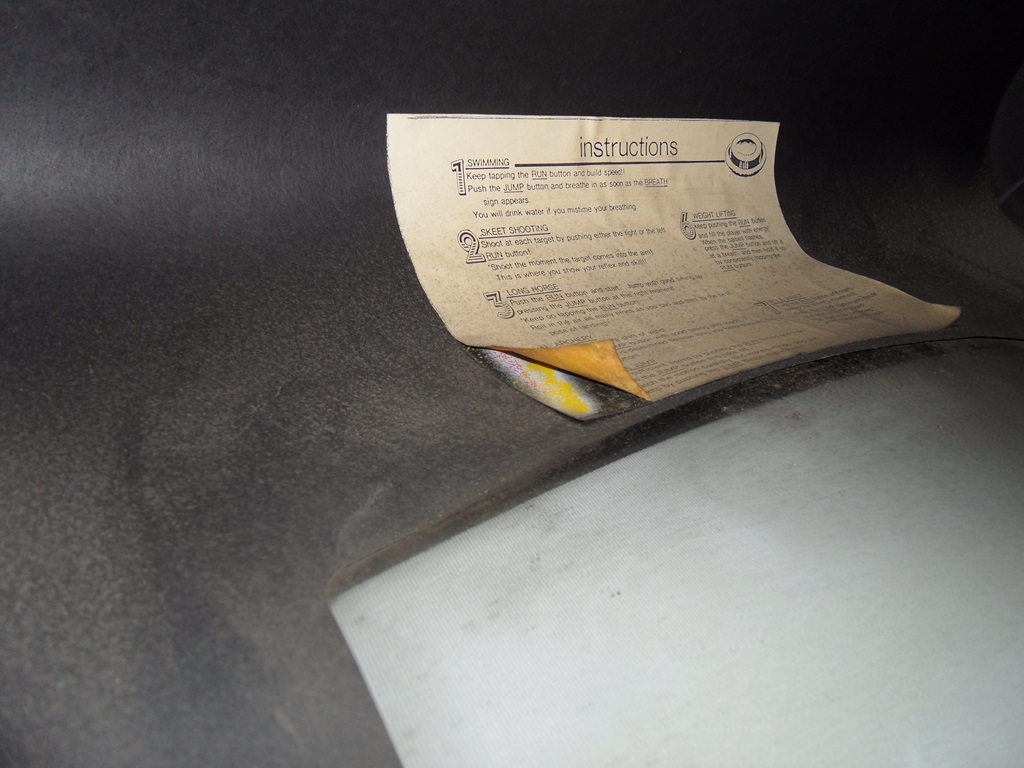
The instruction sheet on the cardboard surround has a square of fireworks artwork behind it. The cab has fireworks side walls and there are versions of the cab with a fireworks surround. Maybe the original surround has been replaced?
|
|
|
|
|
The glass is just a bit too wide to scan in four parts in either dimension so it's scanned in both portrait and landscape to cover it all. I also did one complete scan of the mini marque.
Scanned in the Hyper Sports monitor glass.
200 DPI Hyper Sports monitor glass scan (21.9MB).
|
Lurking under the monitor surround are the original staples from the original surround - it has been replaced and it would have had the fireworks surround originally. The replacement doesn't look like a home made one and fits perfectly.


|
The surround was so thick with dust that I actually had to vacuum it first before attempting to wipe it over. This is the dirtiest cab I've seen so far.
|
Vacuumed and then cleaned off the remaining dirt from the monitor glass, frame and woodwork.

|
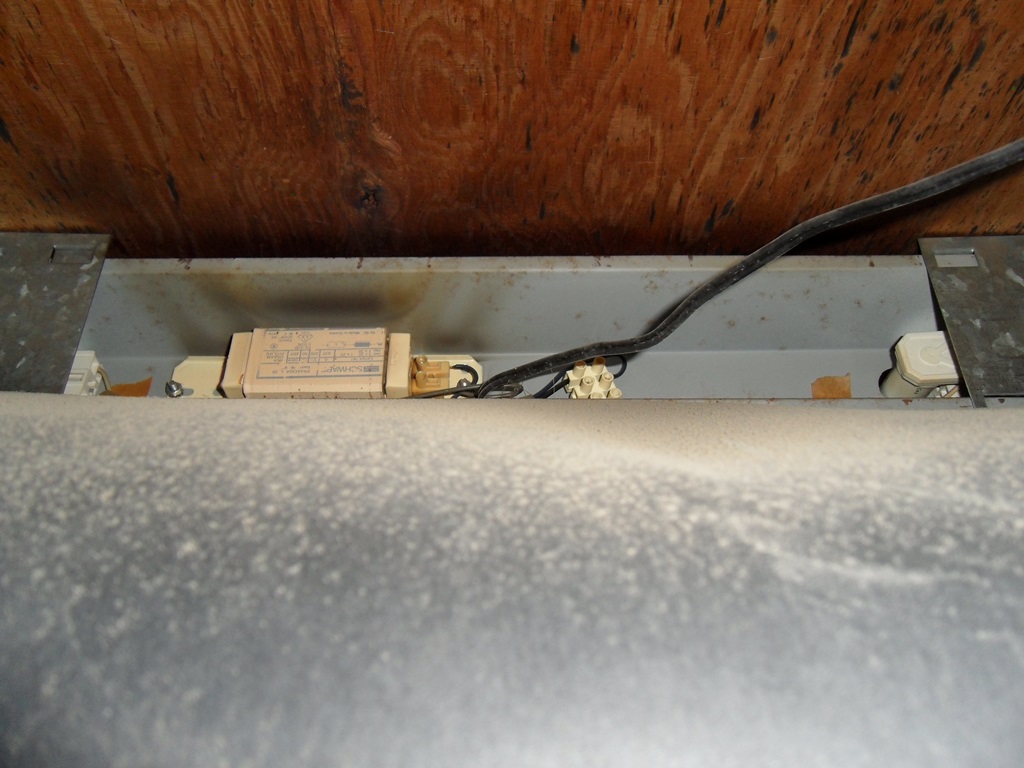
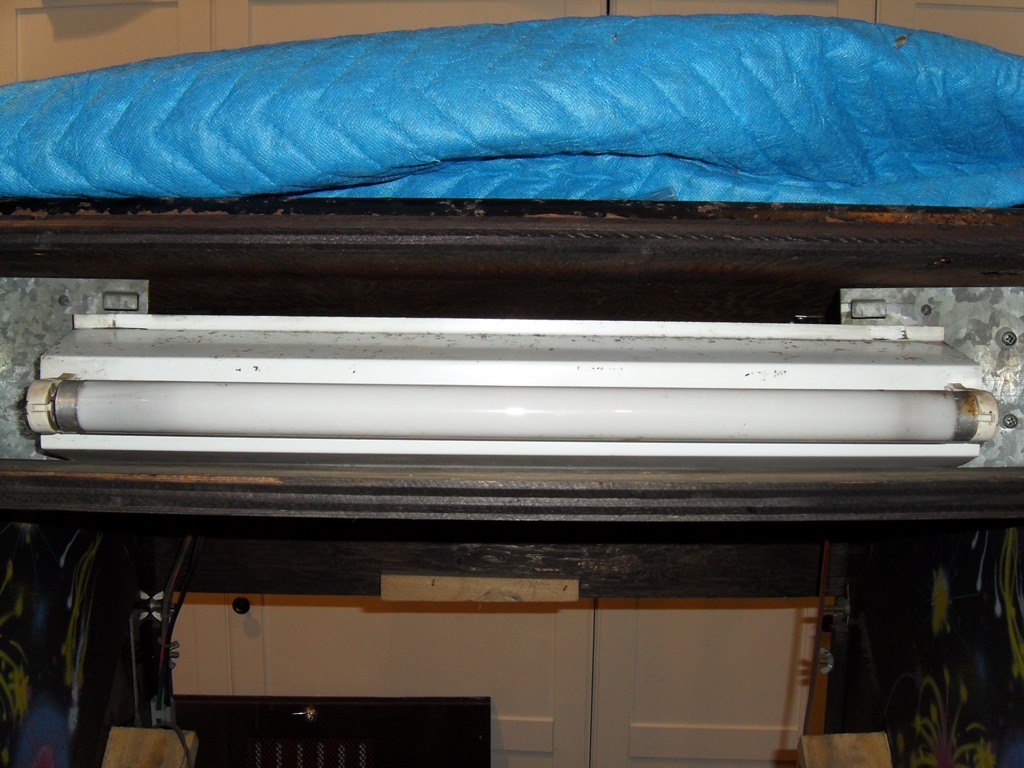
The marque light bulb wouldn't twist out and appeared jammed half way between out and in. Further, attempting to widen out the end sockets enough to try and unplug it from one side then jammed one pin out but not the other :( In the end I had to remove the whole unit and pry out the bulb on the bench. Once released, the end sockets unseized OK and the bulb had an open heater on one side. After a little bit of exercising of the end sockets and a new bulb the marque light was working again.

|
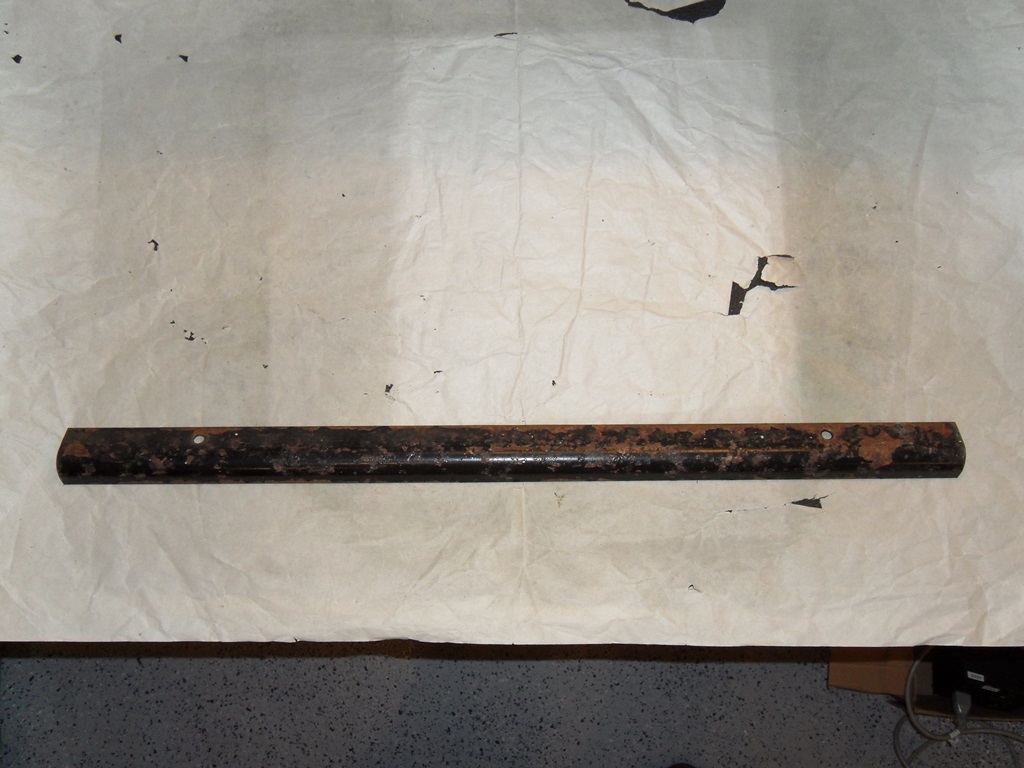
The steel bar holding the monitor glass in place at the top was rusty with lots of bubbling and flaking paint. I usually leave the wood and metal as is but this one was a bit too far gone to not do something about it. The first step was to use a scraper to remove the remaining paint and then sand it down to remove the loose rust and key it for the primer.


|
No issues with priming or the top coat. The matte paint I thought would not match the semi-gloss of the original but on the smooth surface of the metal it came out a good match for the original.
.jpg)
|
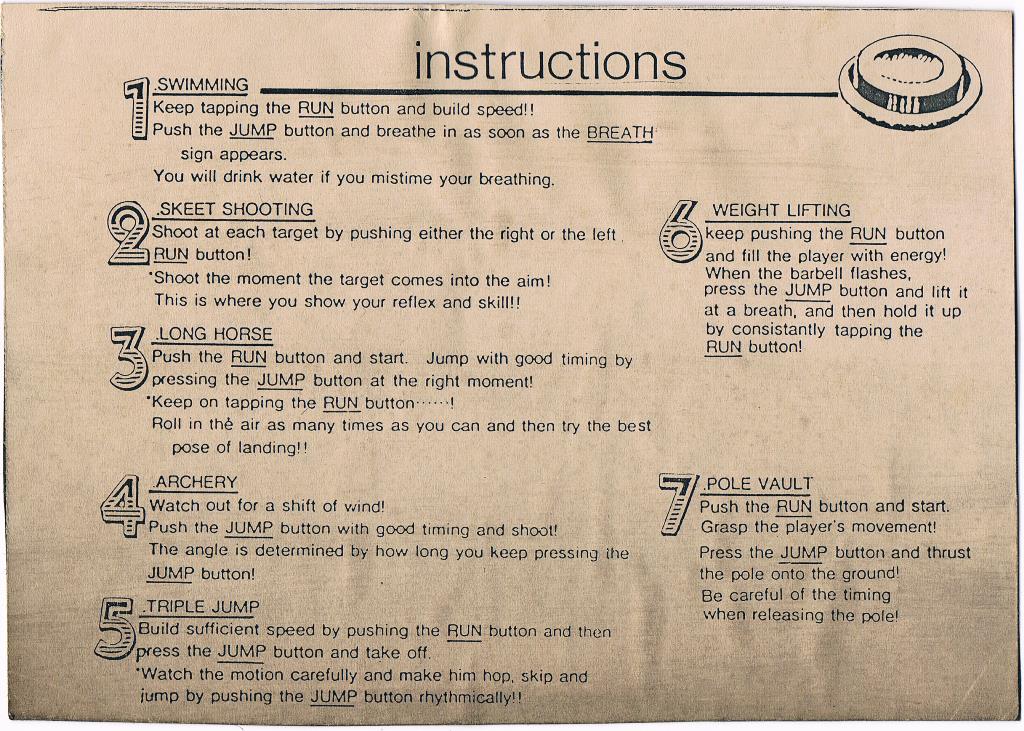
My son volunteered to help process the scan of the instruction sheet into a reasonable cleaned up image to print a new one since my art skills are pretty poor.
Scanned in the Hyper Sports instruction sheet.
300 DPI Hyper Sports instruction sheet scan (9.7MB).


|
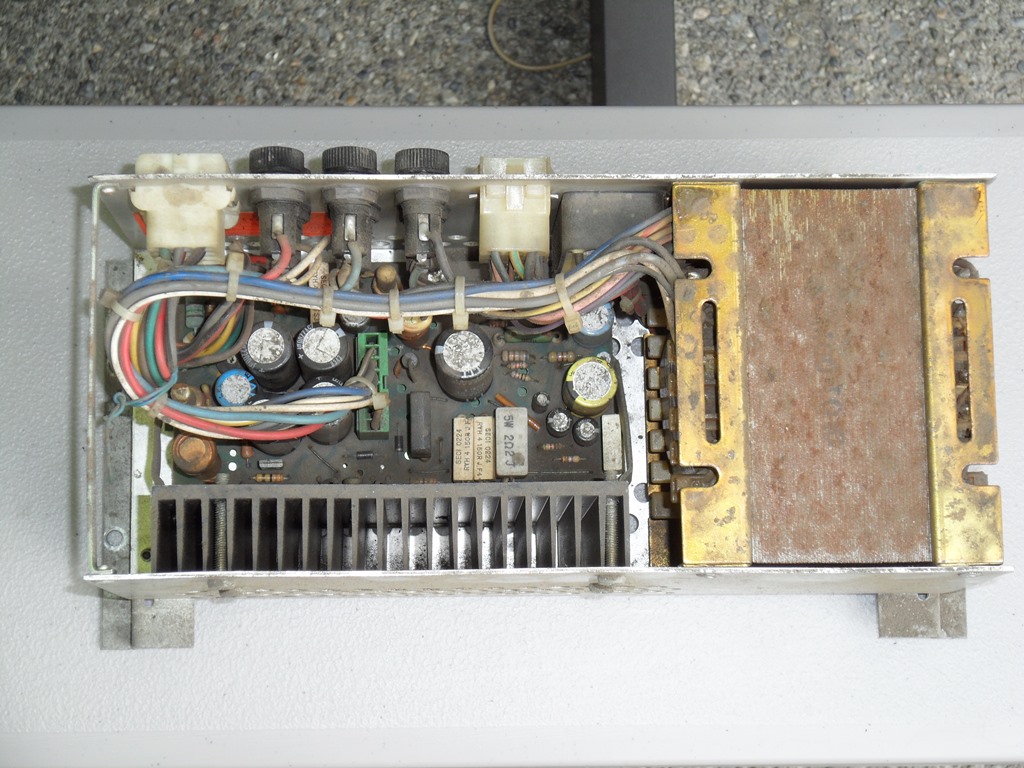
The Amp Mate-n-Lok connectors arrived along with some 10W resistors to build a dummy load assembly for testing the IGR switched mode power supply. No +5V but +12V, -12V and -5V working OK. Poking around with a meter showed no switching output from the TL494. Replacing it brought back the +5V and it was still running OK after a couple of hours on the dummy load.

|
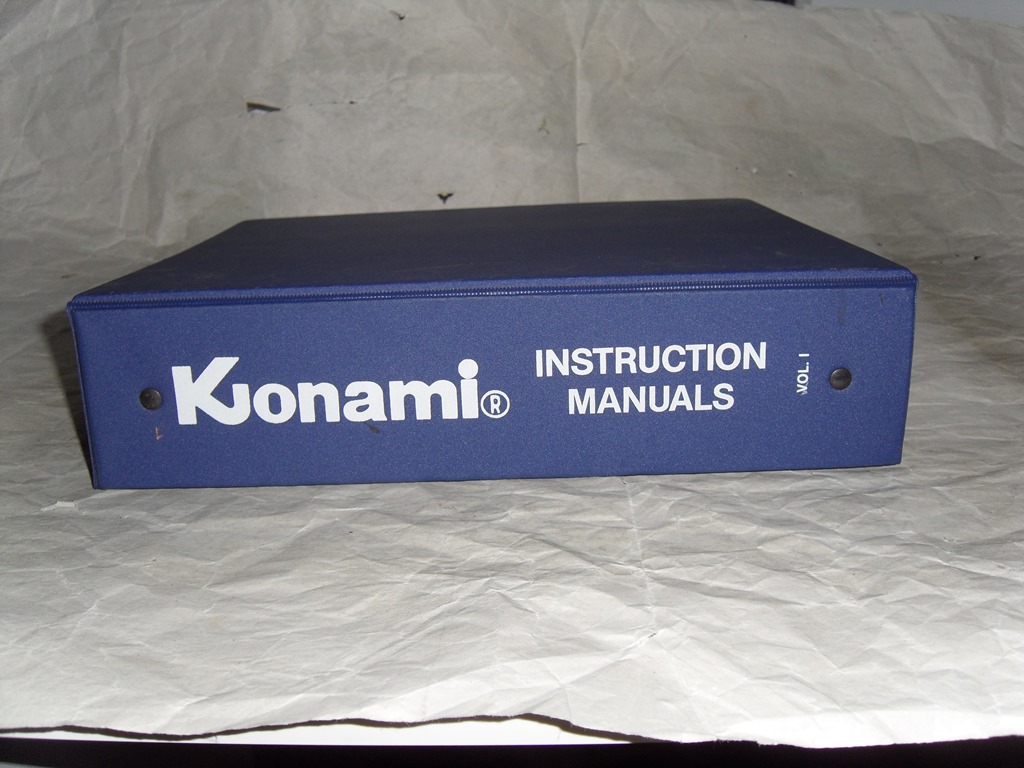
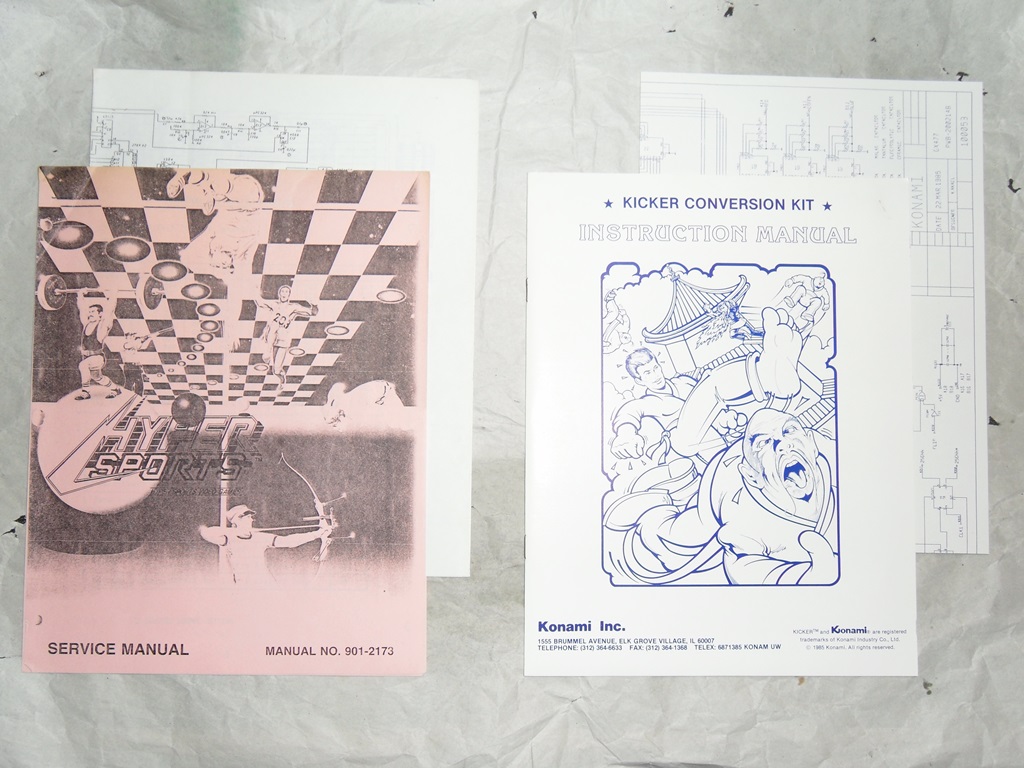
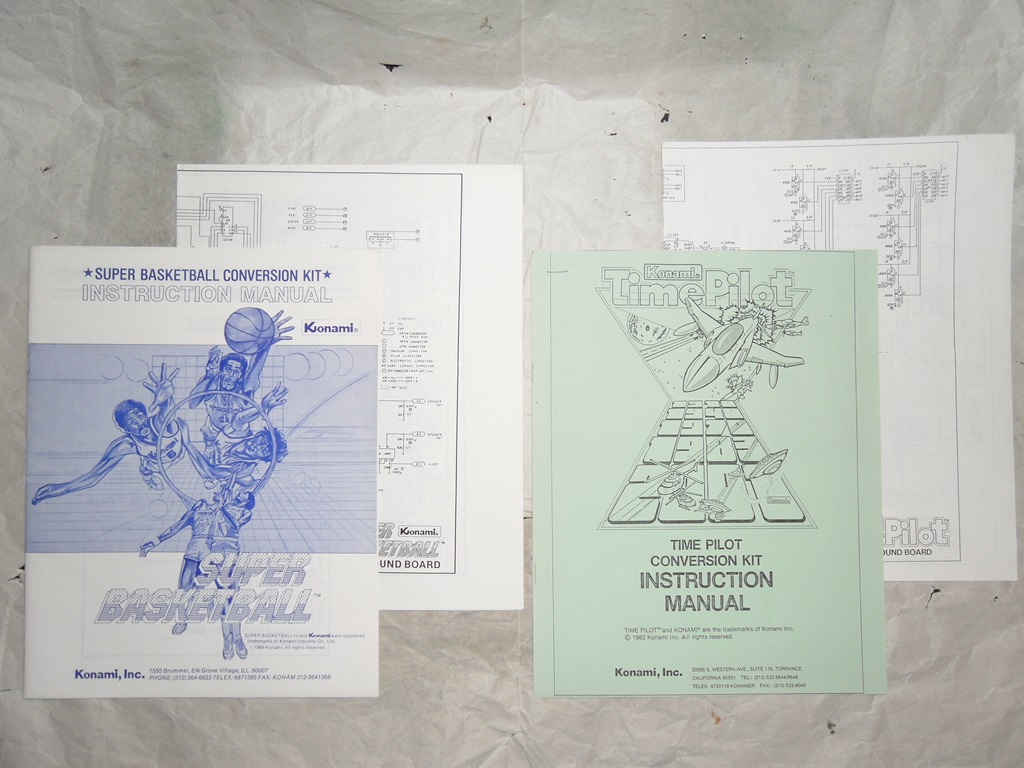
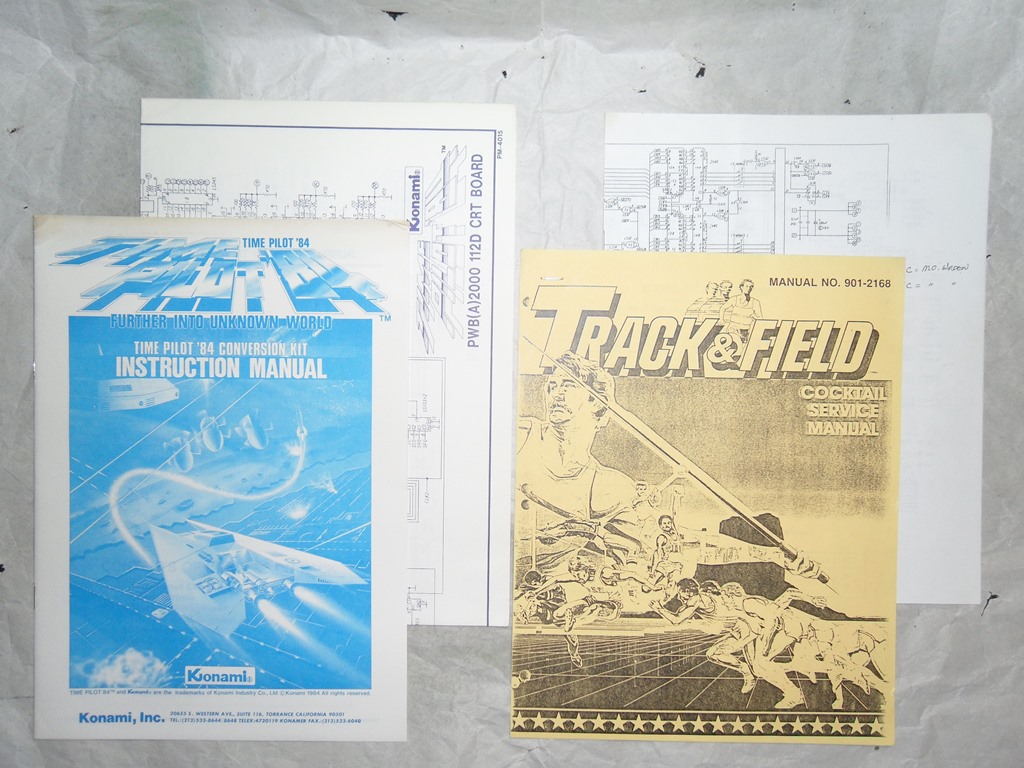
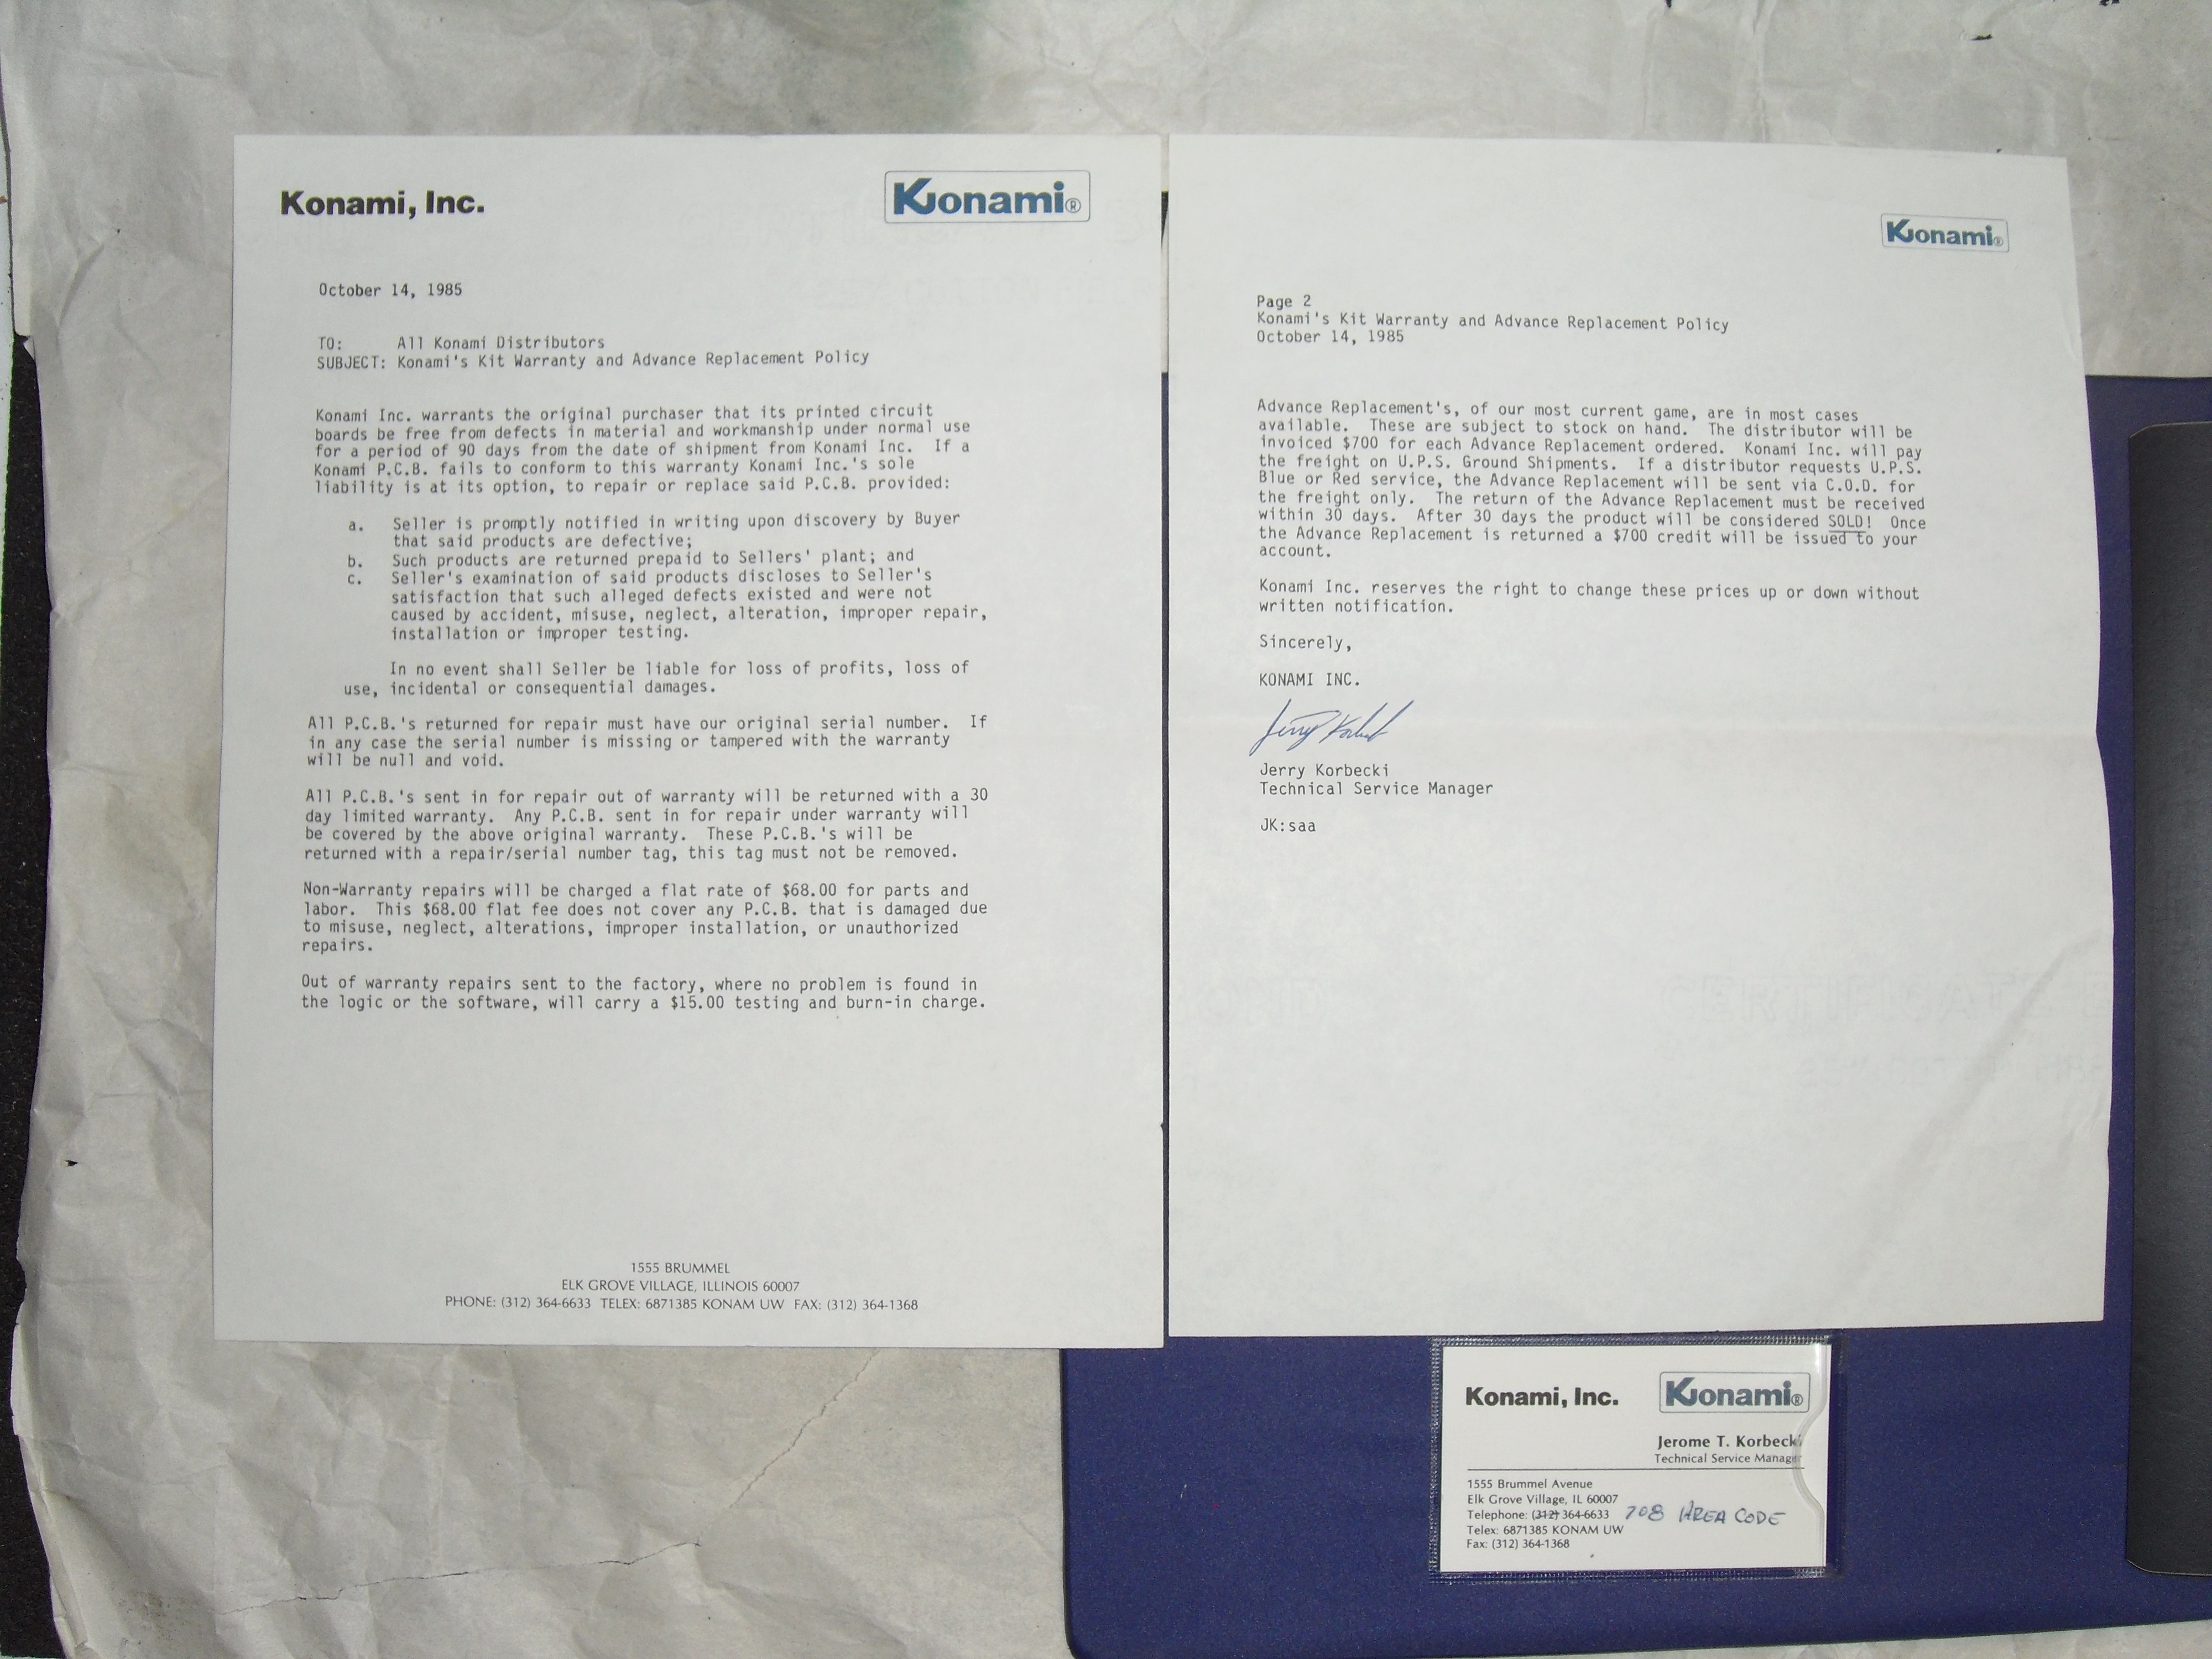
Needing a set of Hyper Sports schematics I dug out a Konami Instruction
Manuals folder I acquired. Not sure where I got this from but it was
in the US.
This is the full resolution picture of the enclosed letter above.

|

|
|
A lot are copies but they all at least cover the DIP switch settings and include schematics. For this project it's the Hyper Sports schematics that I need.

|
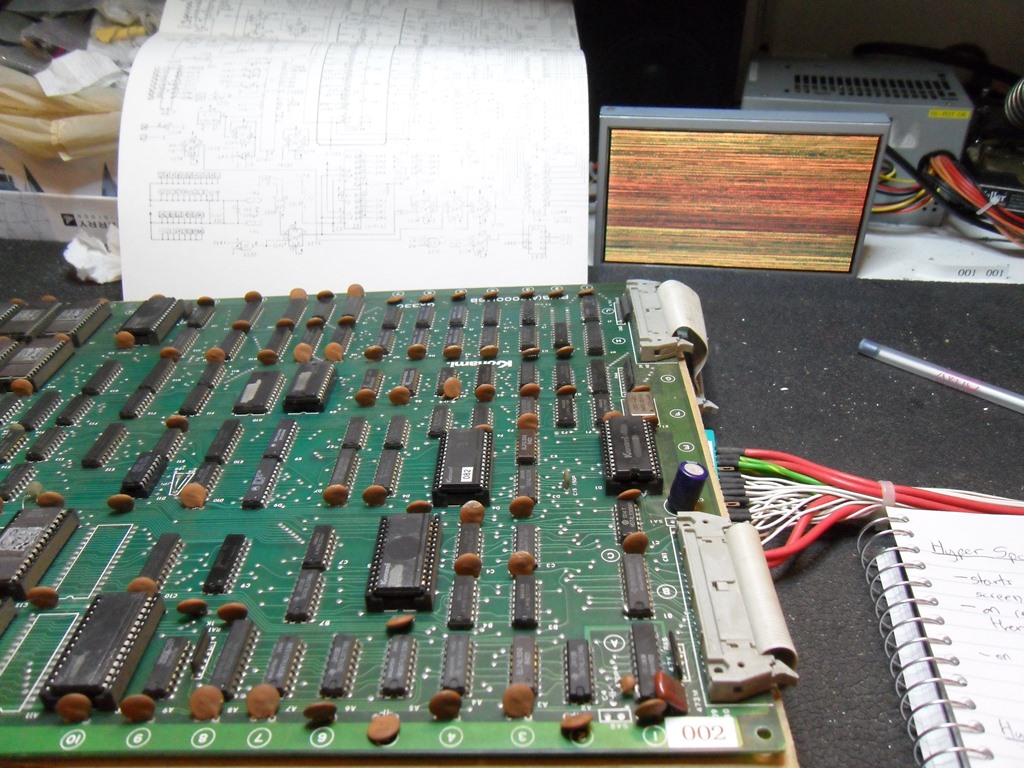
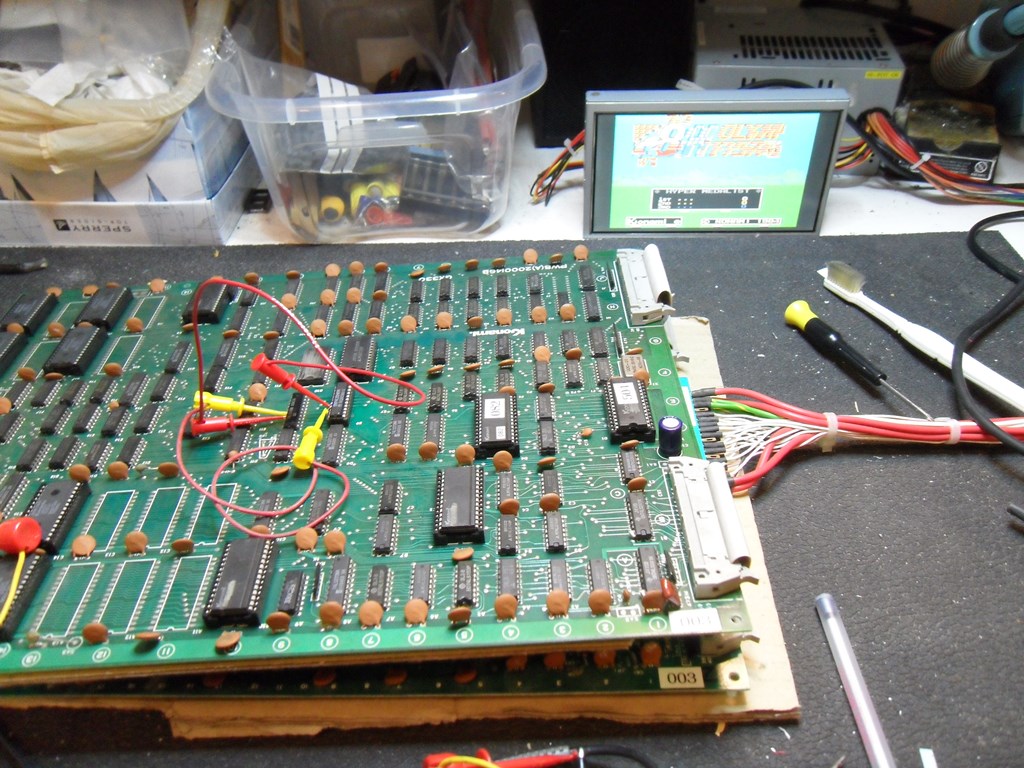
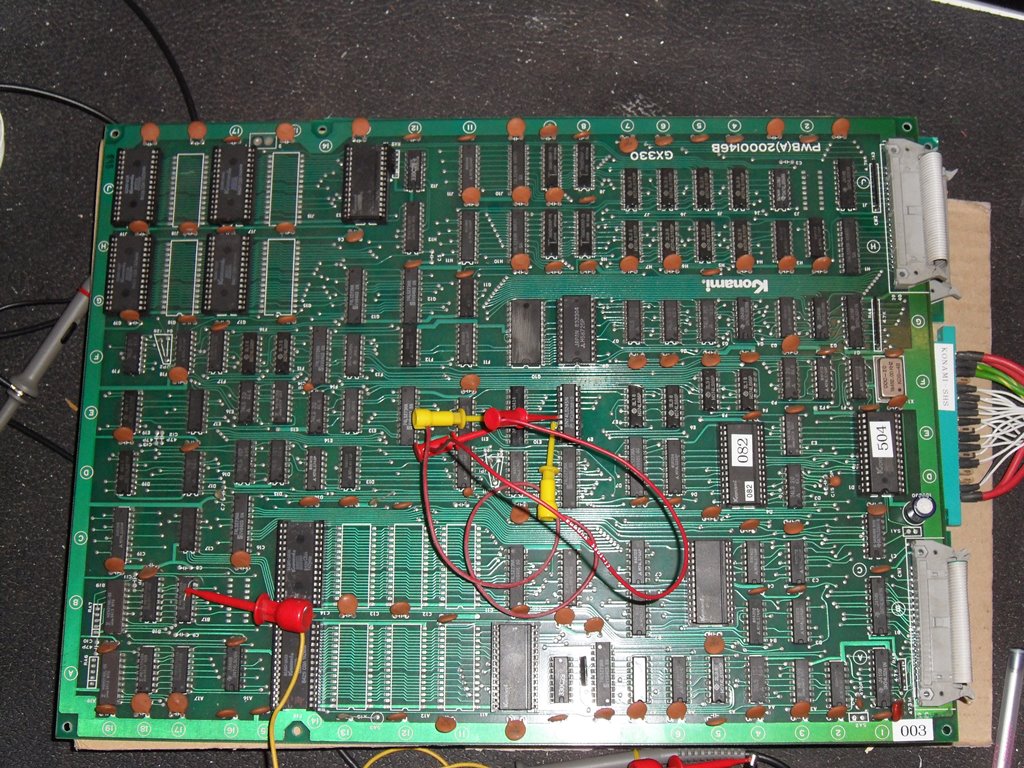
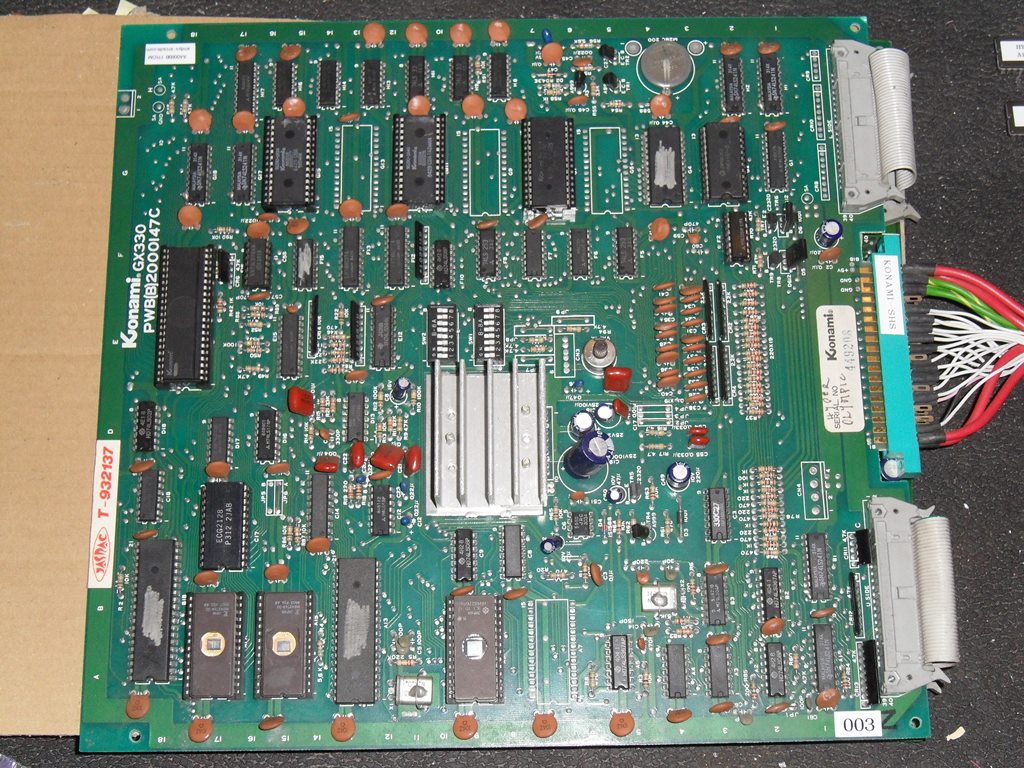
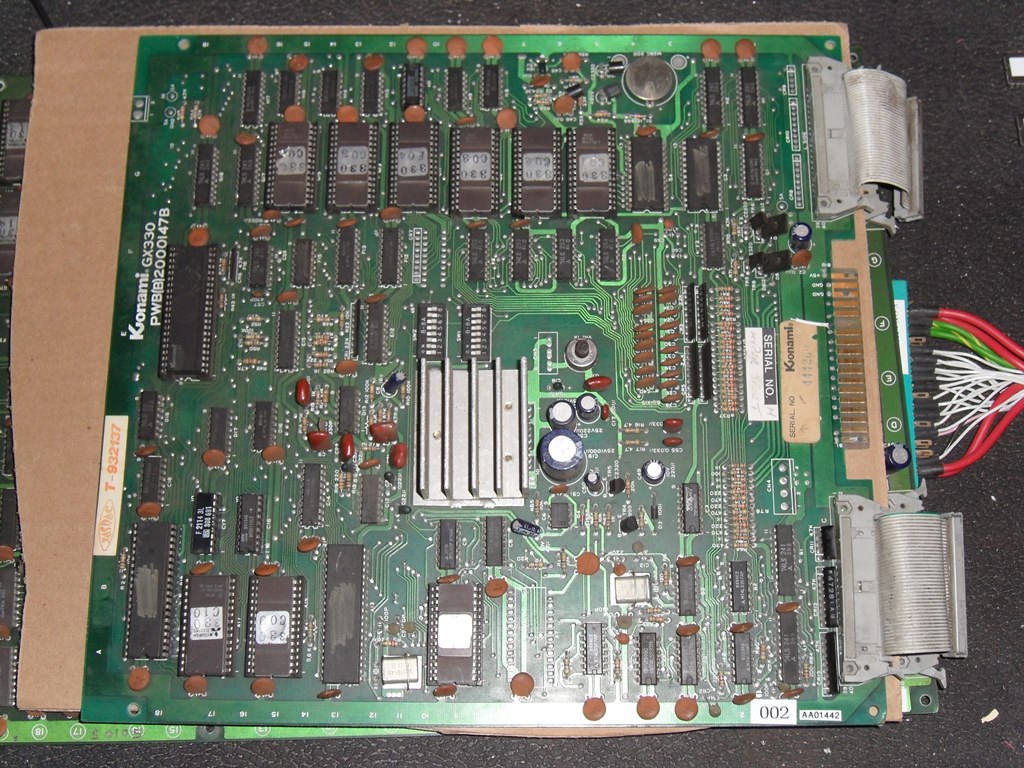
A friend in the UK sent me a couple of faulty Hyper Sports PCB's to try and get working for this cab. The first one had no sync and a missing colour due to a missing edge connector finger. Clearly the sync is faulty but both the 504 & 082 customs checked out OK. Swapping with the other board that had bad graphics indicated both top and bottom were faulty and the single beep tone from the speaker hinted at bad sound to boot. Put this one to one side for now :(
|
The one with bad graphics appeared to be otherwise working fine. The issue seemed to be that the title screen and the backgrounds to weight lifting and skeet shooting were missing though long horse was fine. The score and crowd/flags were also OK. Some poking around with a scope found sometimes floating data on the character ROMS due to sometimes missing OE. The VRAM had already been replaced before (and checked out OK). Forcing OE always active brought junk graphics back in the missing areas. Forcing the relevant data line low was also stored and output from the VRAM. It all seemed to be working fine, just bad data getting written into the VRAM. Last ditch I changed the LS245 but no change. I began to wonder if this was something to do with the 27128 masked character ROMS whereas the other set had 2 x 2764. In that configuration the character map would have the wrong address space with a gap between them...
|
Sure enough, swapping the data bus bits brought back the missing graphics and enough of the title screen to see the problem - the video board is from a Hyper Olympic '84 that's incompatible with the Hyper Sports top board. The next step is to figure out the correct ROM set.

|
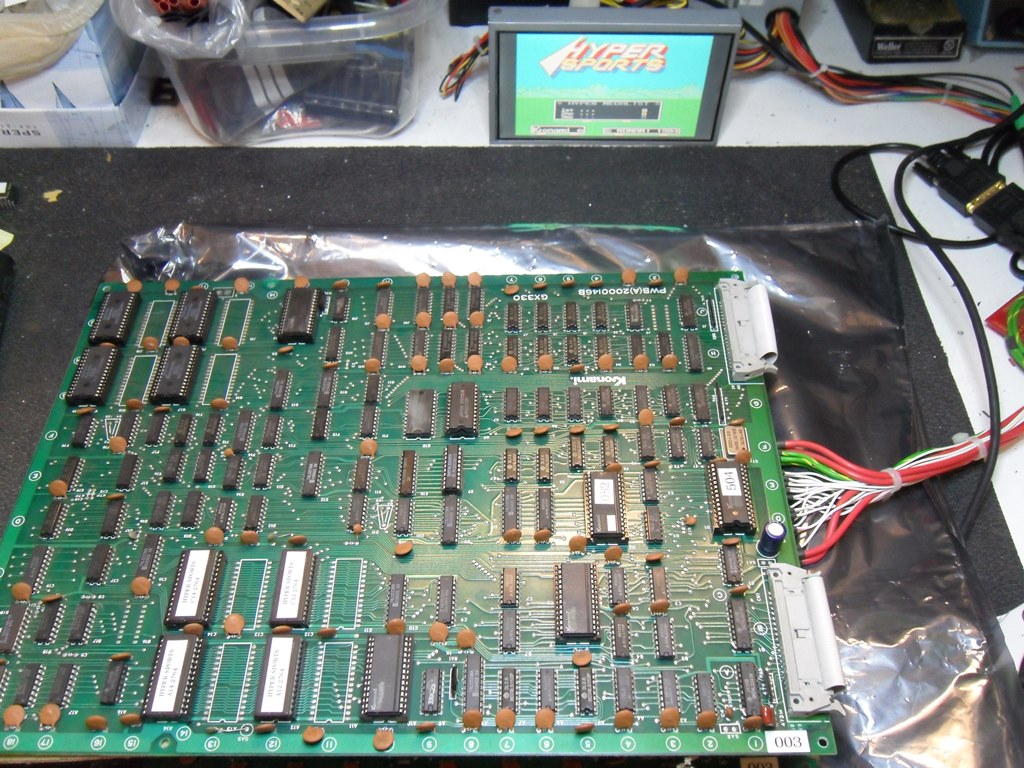
The two video board configurations side by side. Note the character ROM configuration towards the bottom, center-left.

|
Refitted the flattened and repaired monitor surround back into the cab. I coated the tube with cling film to prevent finger marks and dust collecting on it whilst the front glass is out (it'll stay out until the control panel is restored).
|
Since the original glass spacers had rotted away I made up some replacements. The spacers keep the glass from rubbing against the rough wood, damaging the artwork. In this case the glass already has some missing artwork at the edges so I coloured the spacers with a blank marker so the holes are less visible.
|
Glass spacers and repro instruction sheet fitted.
|
The edge connector was in pretty good condition, only missing the insulator from a repaired 12V connection. Simple repair. For power on I went with the Super Basketball to test with first in case anything nasty happenned.
|
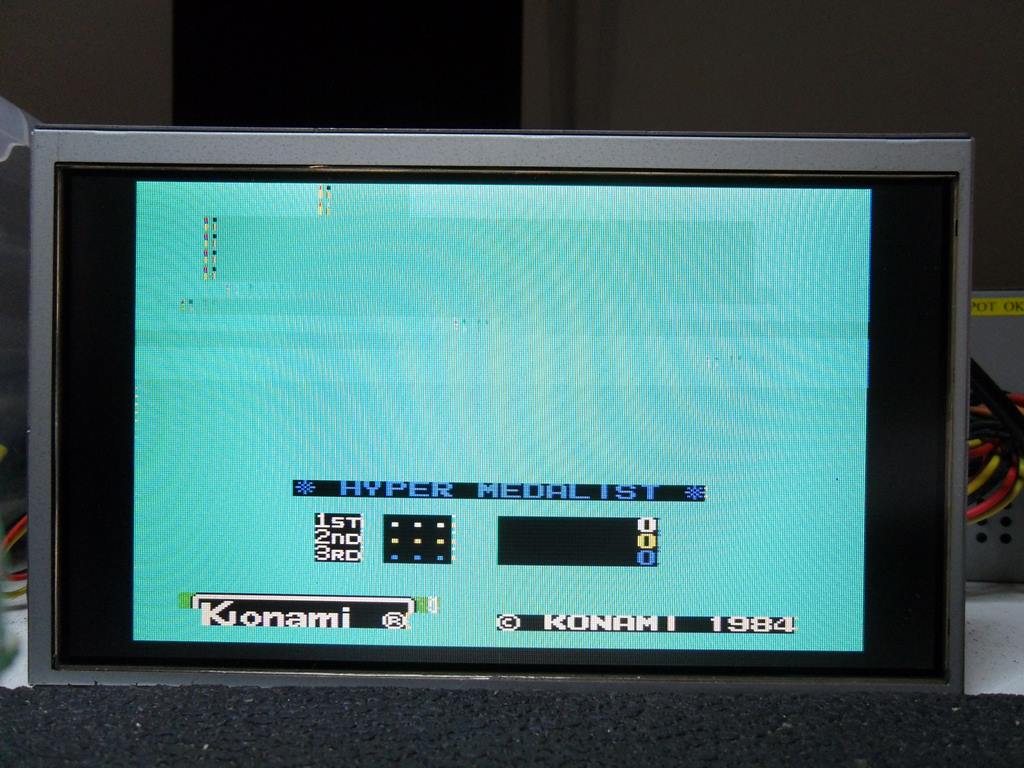
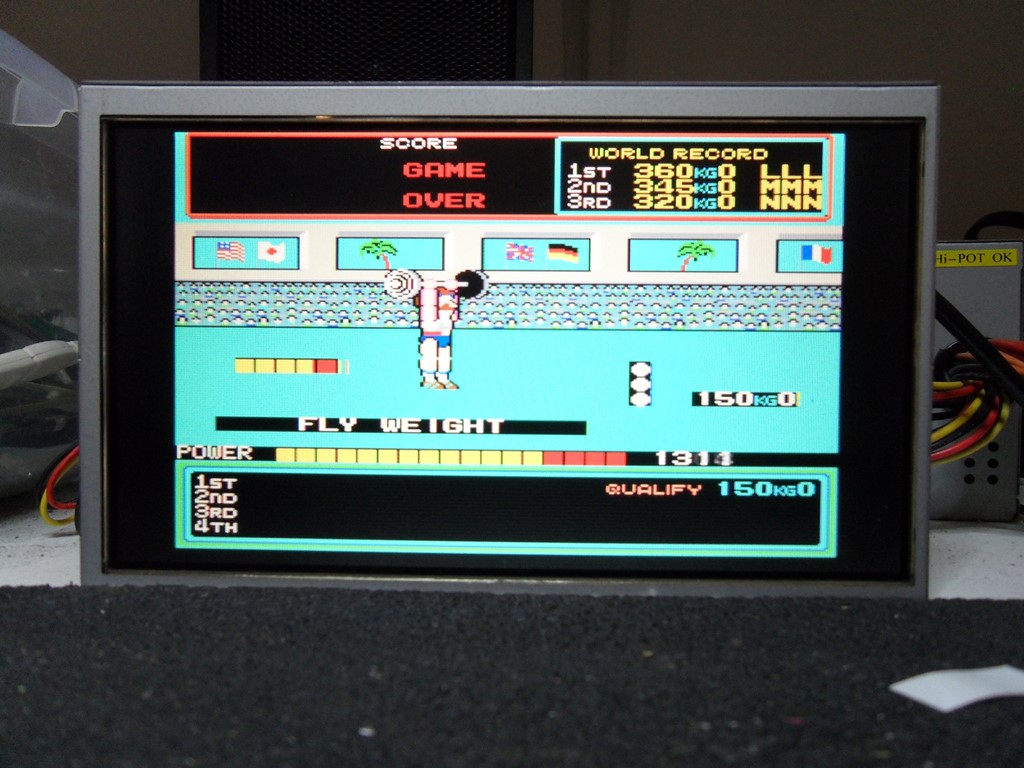
Marque & coin door lights came on fine and the game sounds were playing but still a bright white screen of raster and no sign of any game video :( In fact, neither the brightness/contrast had any effect and the LOPT screen control full low still left a bright white screen The monitor chassis was faulty :(
Looking through the MAME driver for Hyper Sports listed only two official Konami editions - Hyper Sports (Centuri license) and Hyper Olympic '84 (Konami). Since this cabinet is a UK released cabinet it seems unlikely that it would have had a US Centuri licensed game in it. The feeling was that there must be an official Konami edition of Hyper Sports (none-Centuri). Looking at the ROM set on one of the UK PCB sets showed a complete set of Cxx ROMS except for one Fxx ROM. Dumping all the ROMS lead to the following table that describes the Hyper Sports (Konami) release of the game:
| Hyper Sports (Centuri) |
Hyper Sports (Konami) |
Location | ||
|---|---|---|---|---|
| Label | MAME | Label | MAME | Location |
| C01 | c01 | C01 | c01 | G5 |
| C02 | c02 | C02 | c02 | G7 |
| C03 | c03 | C03 | c03 | G9 |
| C04 | c04 | F01 | 4.11g | G11 |
| C05 | c05 | C05 | c05 | G13 |
| C06 | c06 | C06 | c06 | G15 |
Basically, the "world" version of Hyper Sports without the Centuri license just has one ROM difference from the US Centuri "C" monikor set, location G11 on the top board that happens to be the same image as the one from the MAME bootleg set and has an "F" monikor. All the remaining ROMS are the same as the "C" monikor set on both top and bottom boards. For reference the "E" monikor set is the Hyper Olympic '84 edition. I've confirmed on two boards from the UK that this is a real edition of Hyper Sports at least for the UK market and it's likely this edition was the one that would be in this cabinet.


|
I programmed up a set of character ROMS to convert the Hyper Olympic '84 bottom video board to Hyper Sports and a new program ROM to convert the Centuri top board to be none-Centuri Hyper Sports. The latter needed a 27128 image making from the two relevant halves present in the masked ROMs used on this revision of the top board.

|
The pictures above show the revision C board, a close up of a bunch of jumpers and the revision B board. The revision B board uses 2764 EPROMS and has no jumpers. The schematic does not cover the revision C board, unfortunately.

|
The version conversion worked without a hitch. The only odd thing was that the masked top ROMS read as the Centuri version but the display is sans Centuri license. Therefore, there was no need to use the updated 27128 to replace G11 on the top PCB. I checked the images again and confirmed that they were the Centuri version of the code so it's a mystery as to why the title does not show the Centuri license. Not important for now.
|
|
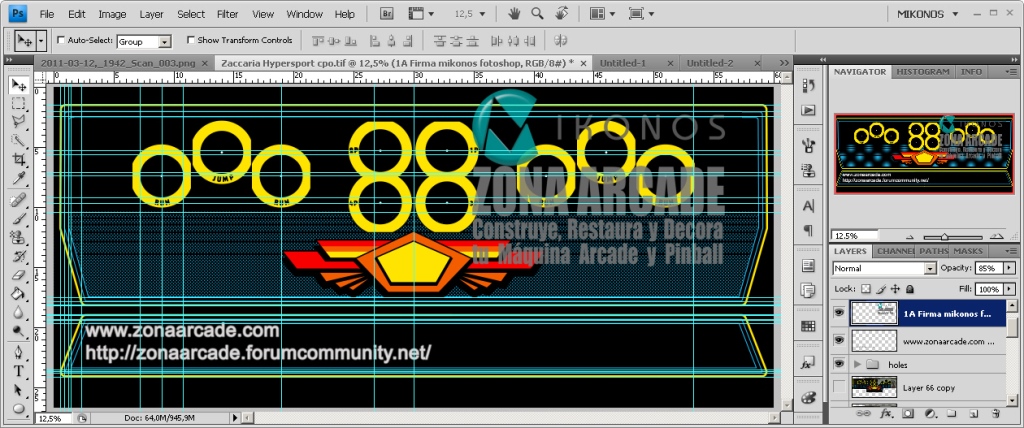
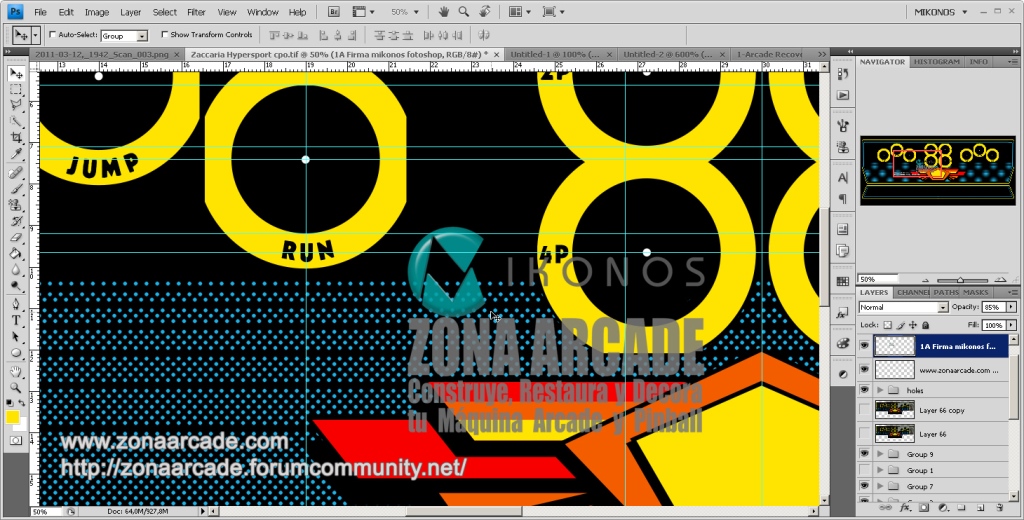
Mikonos from the ZonaArcade European forum picked up my request for help with the artwork (having done another Zaccaria CPO already) and came up with this reproduction that's now on it's way to be printed :)

|
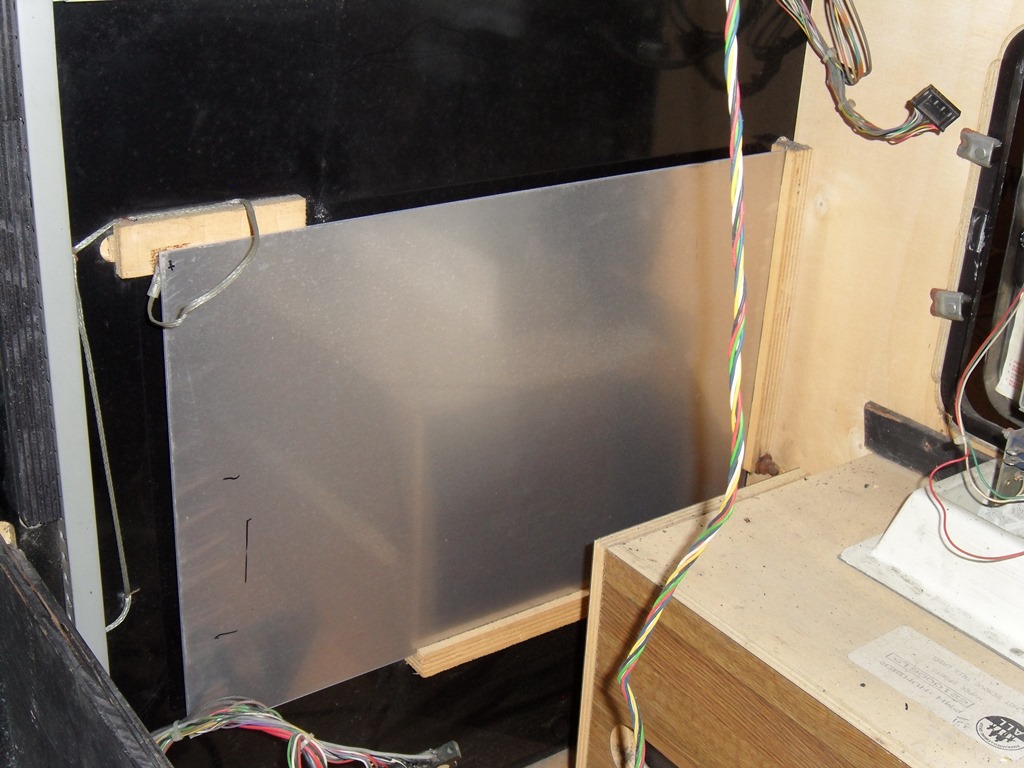
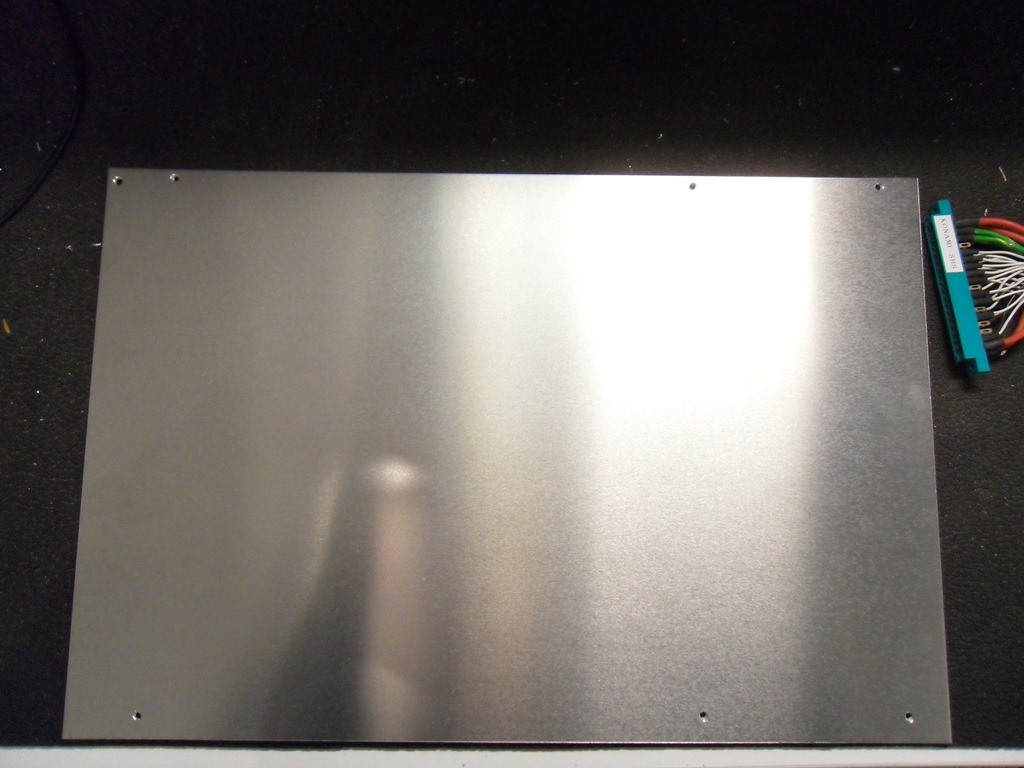
Using the last of the three repro mounting plates from OnlineMetals I marked and drilled the mounting holes. The Hyper Sports only just fit on the plate so the next batch I'll get a half inch higher to accomodate larger board sets.
|
On the bench the problem with the chassis turned out to be quick to find. There was no 190V on the guns so they were wide open (hence the bright white screen). Tracking back, there was no 190V out of the main chassis to the neck board. Tracking that back yielded R131, a 10 Ohm 1W resistor, as open.

|
Since the resistor showed no signs of burning up due to some other fault I replaced it with one from a scrap chassis. The resistor has a ceramic insulator on each pin that needed to be secured with a little masking tape to ease getting it back in place (sandwiched between the LOPT and the heat sink). With the resistor fixed there was a reasonable picture and the new resistor didn't smoke. It wasn't even getting hot, so looking good. After a few minutes there was the tell-tale acride smell of capacitor failure so it needed a cap kit next.

|
At least one capacitor on the neck board looked bloated & leaking. Part way through fitting one of Bob Roberts MTC-900E cap kits I realized that his kit didn't fully fit this chassis. I've used his kits on MTC-900E/USA versions of the chassis with no issues but this was the first MTC-900E (none-USA, or European (EU) version) and it has some capacitor differences on the interface (PE07) board:
| PE07 50143182 | |||
|---|---|---|---|
| Location | Original | E Manual | E (USA) Kit |
| C18 | 4.7uF 25V |
4.7uF 16V |
4.7uF 25V |
| C19 | 4.7uF 25V |
4.7uF 16V |
4.7uF 25V |
| C20 | 4.7uF 25V |
4.7uF 16V |
4.7uF 25V |
| C21 | 10uF 25V |
10uF 16V |
10uF 16V |
| C22 | 10uF 25V |
10uF 16V |
10uF 16V |
| C27 | 10uF 25V |
10uF 16V |
10uF 16V |
| C29 | 10uF 25V |
10uF 16V |
10uF 16V |
| C38 | 10uF 25V |
10uF 16V |
10uF 16V |
| C39 | 10uF 25V |
10uF 16V |
10uF 16V |
| C36 | 22uF 50V |
22uF 35V |
22uF 50V |
| C25 | 47uF 25V |
47uF 16V |
47uF 50V |
| C83 | 47uF 25V |
47uF 25V |
47uF 50V |
| C4 | 10uF 25V |
10uF 16V |
25V |
| C5 | 10uF 25V |
10uF 16V |
25V |
| C6 | 10uF 25V |
10uF 16V |
n/a |
| C7 | 100uF 25V |
100uF 16V |
n/a |
| C8 | 100uF 25V |
100uF 16V |
n/a |
| C9 | 100uF 25V |
100uF 16V |
n/a |
So Bobs 900E kit needed 3 x 10uF@25v and 3 x 100uF@25V adding to it and leaves 2 x 220uF@25V left over. In terms of circuit differences in addition to the power supply difference, the MTC-900E/USA also has simultaneous positive and negative sync inputs whereas the MTC-900E (EU) version has a single pair of sync inputs that can be switched to positive or negative together. The RGB input signals on the MTC-900E/USA are DC coupled inputs whereas the MTC-900E (EU) has AC coupled inputs with a jumper option to select inverted video input.


|
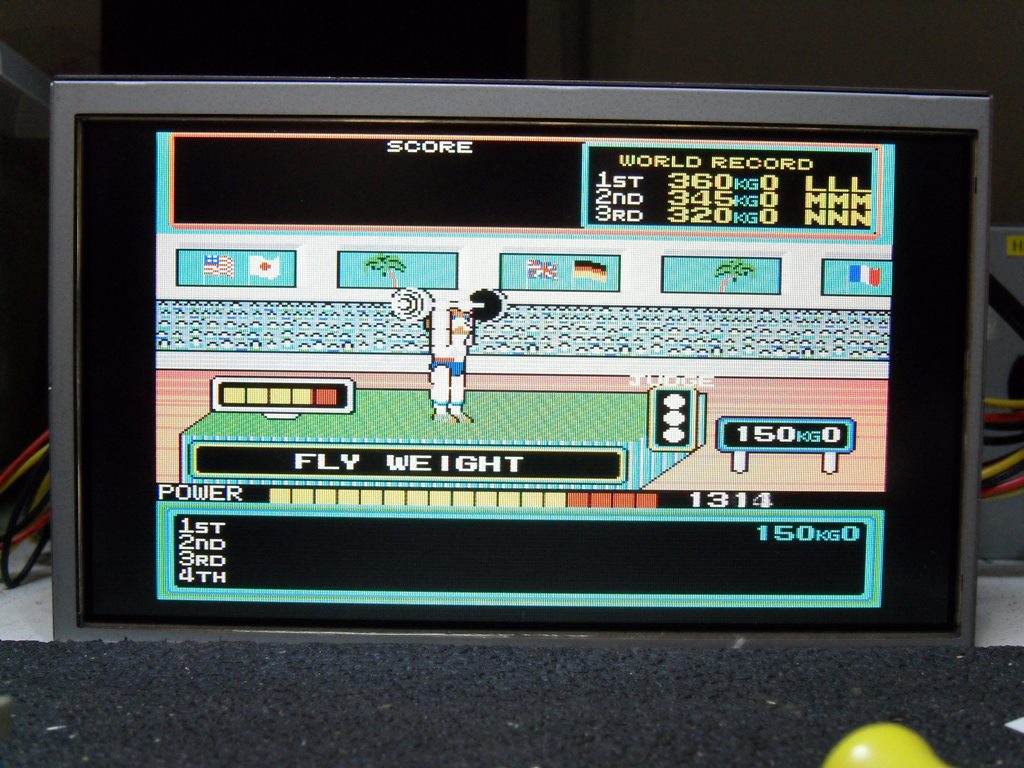
Installed the chassis back into the cab and adjusted the picture. Picture looks pretty good (these pictures taken still with the cling wrap on the tube).
|
No issues after 3 hours of burn in testing :)

|
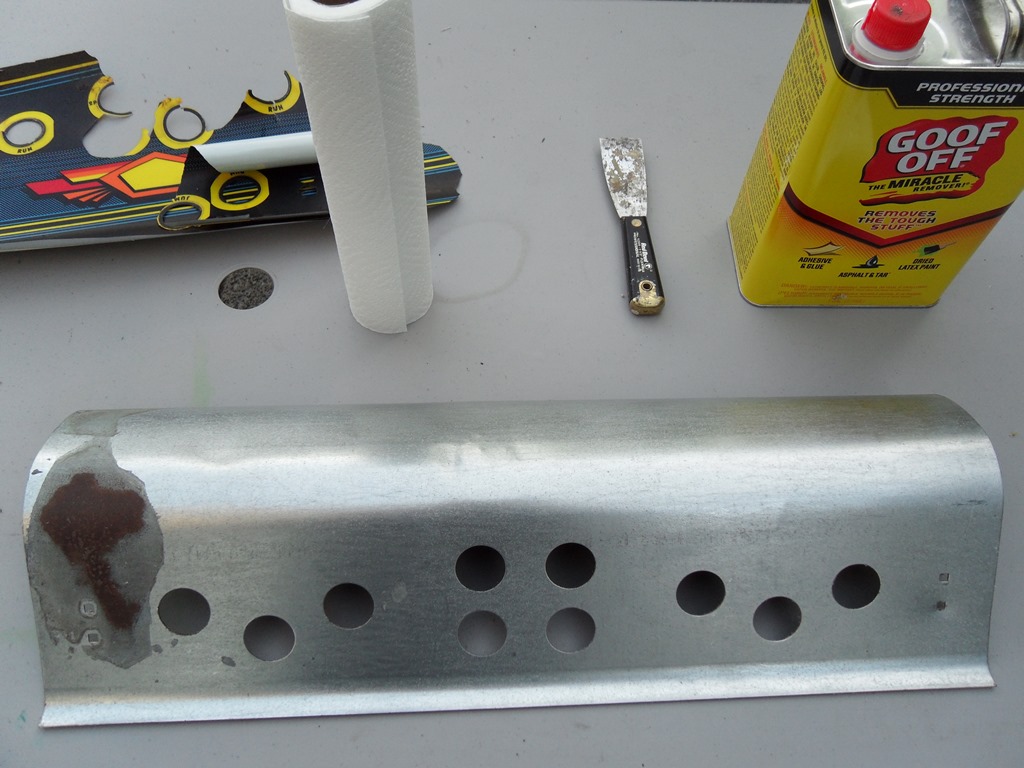
The overlay itself came off in various large peices for the most part leaving a layer of underlay & glue behind. The underlay was a bit tougher to get off, needing some rolling & rubbing to get it off taking the glue with it. Still left behind were some patches of glue that separated from the underlay. A scraper & Goof Off got rid of the remaining glue.
|
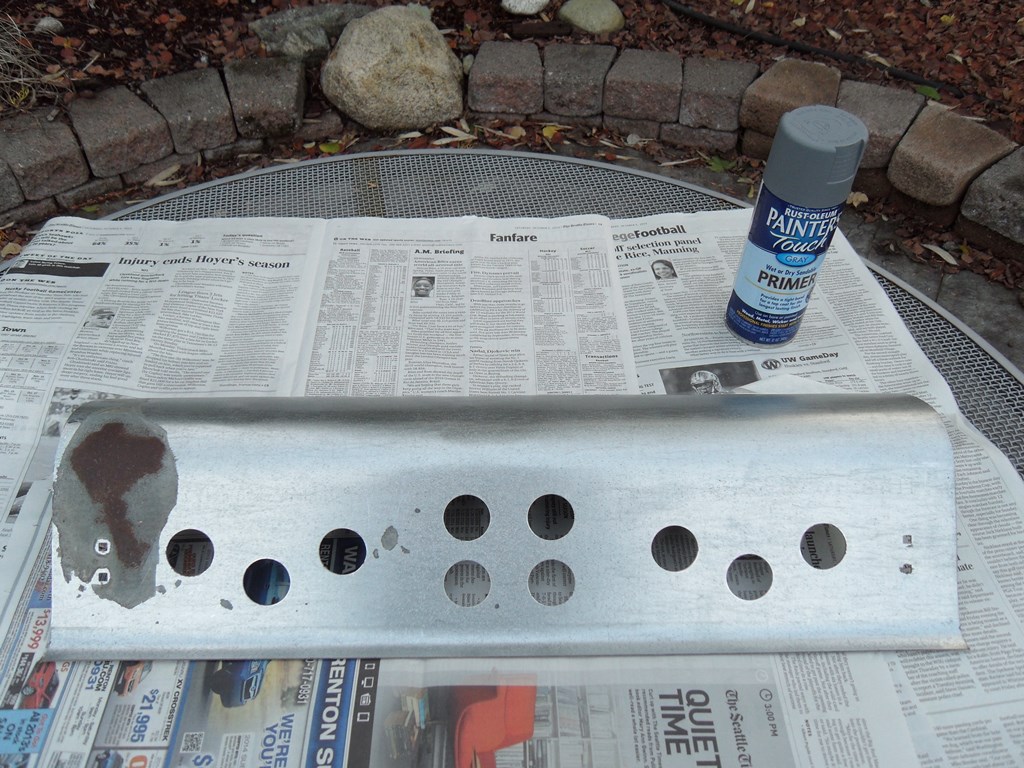
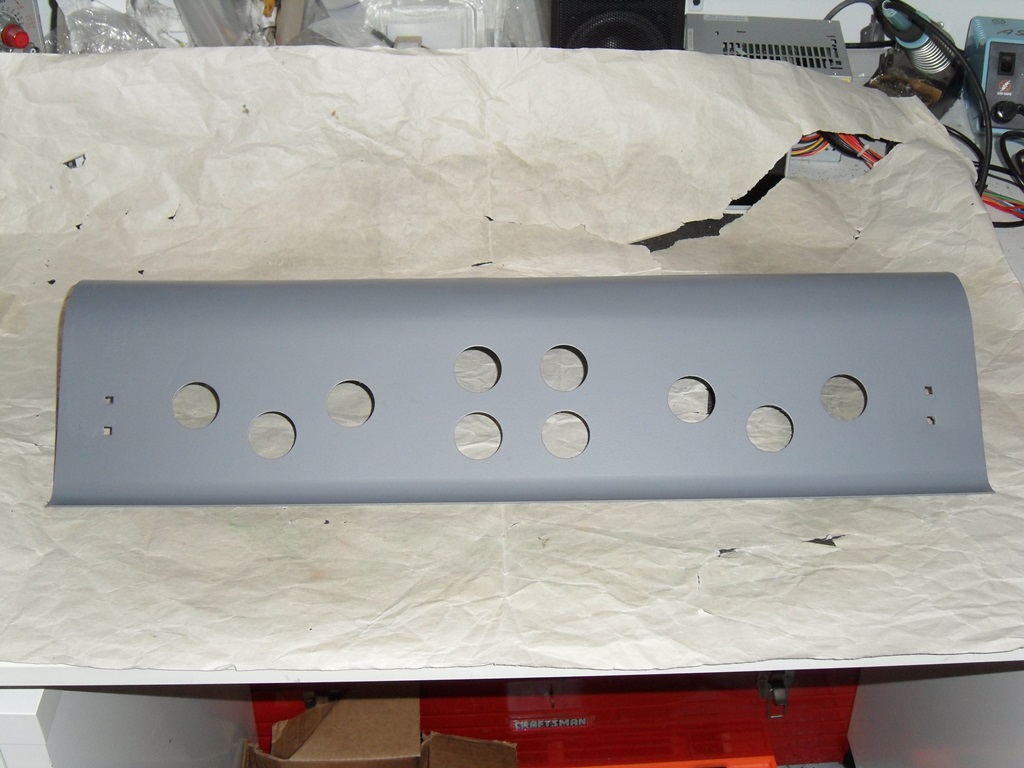
Primed the bare metal of the control panel to even out the finish (covering the area on the left where the plating had come off and metal discoloured). The hope is that it'll also provide a better surface for the glue of the repro control panel overlay to adhere to.
|
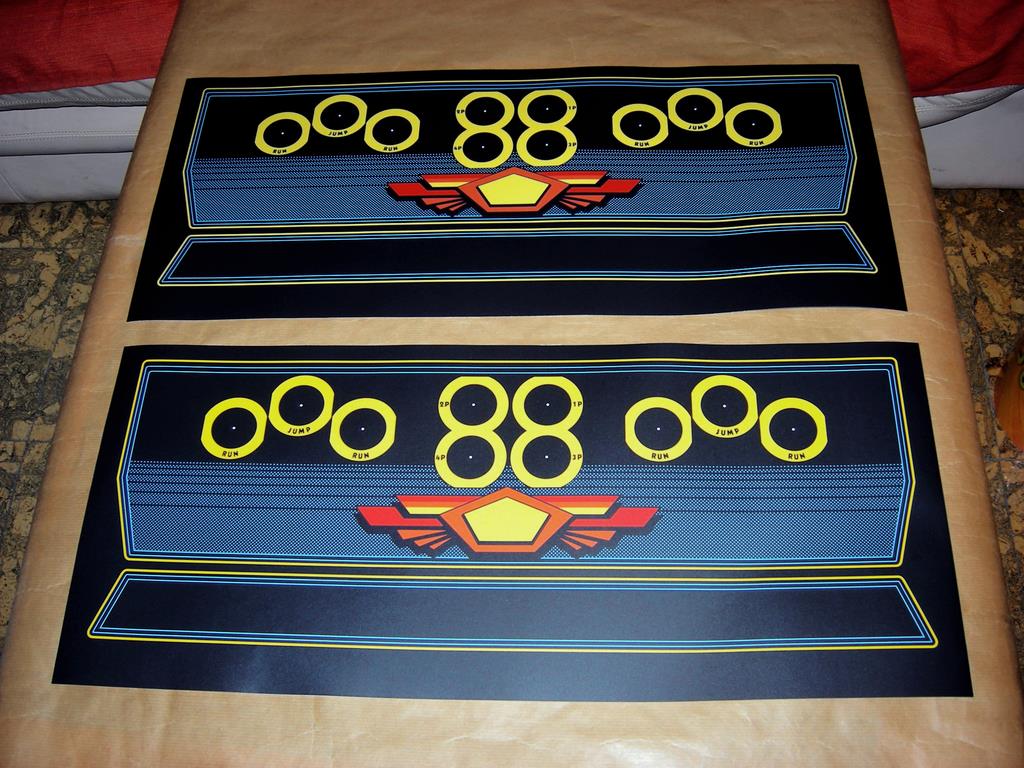
The repro Mikonos made has arrived back from the print shop in Europe and is now on it's way to me here in the US. Looks good to me :)
|
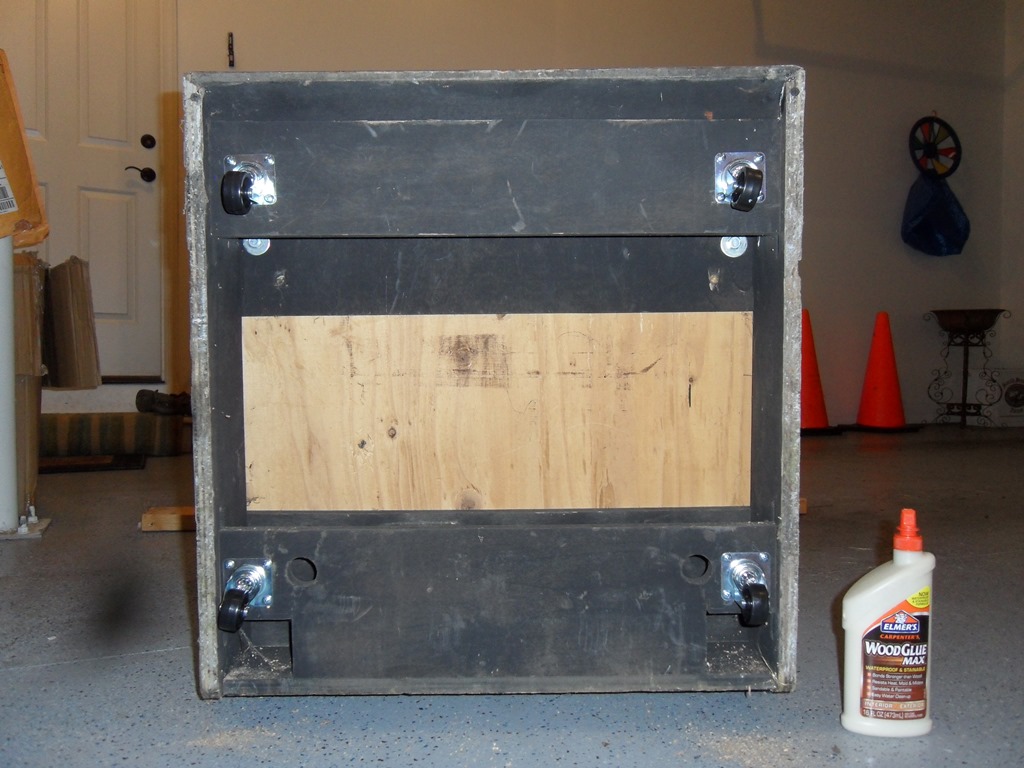
One foot was missing and the existing feet were only press fitted into the foot rest base. Replaced them all with castors as usual. The foot rest top had separated from the base and was reattached with wood glue and a couple of screws on the ends to hold the foot rest top in place.
|
|
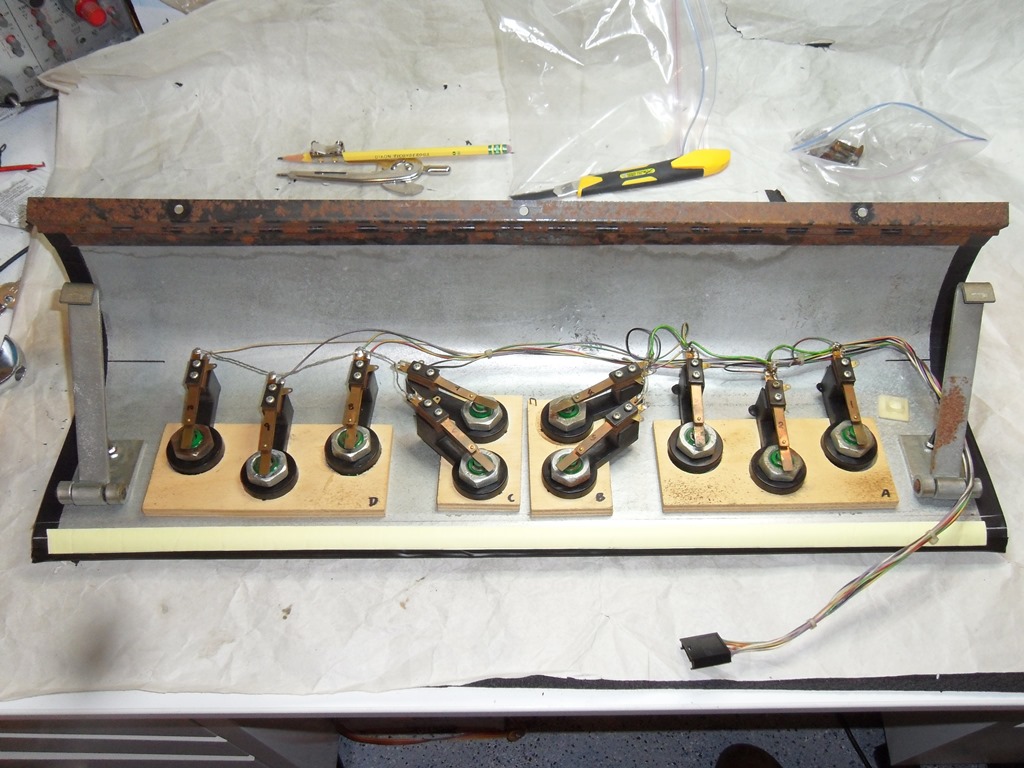
The coin switch wiring was partly hacked and missing come connections so I fixed that and tidied it up at the same time as assembling and fitting the credit button.
|
Disassembled the control panel buttons and put the separate plastics through the top rack of the dishwasher to clean off the gunk from the insides. The springs were rusty to varying degrees but still OK to use - I'll put the best ones back on the game buttons and the poorer ones on the start buttons.
|
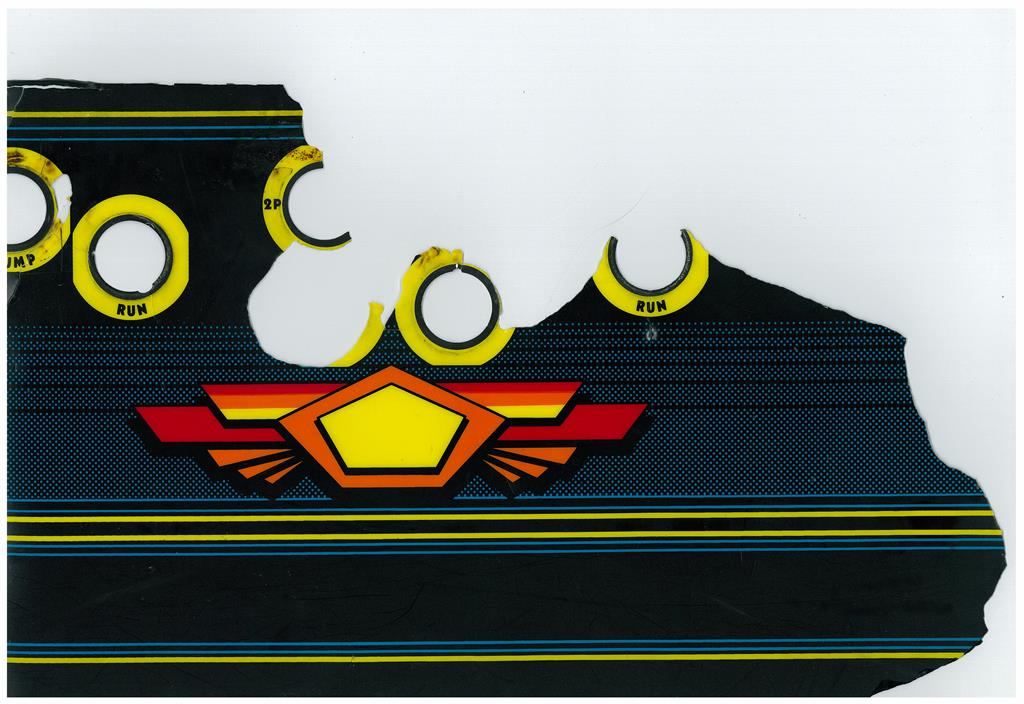
Scanned in the remains of the peeled off Hyper Sports control panel overlay.
200 DPI Hyper Sports control panel overlay scan (2.3MB).

|
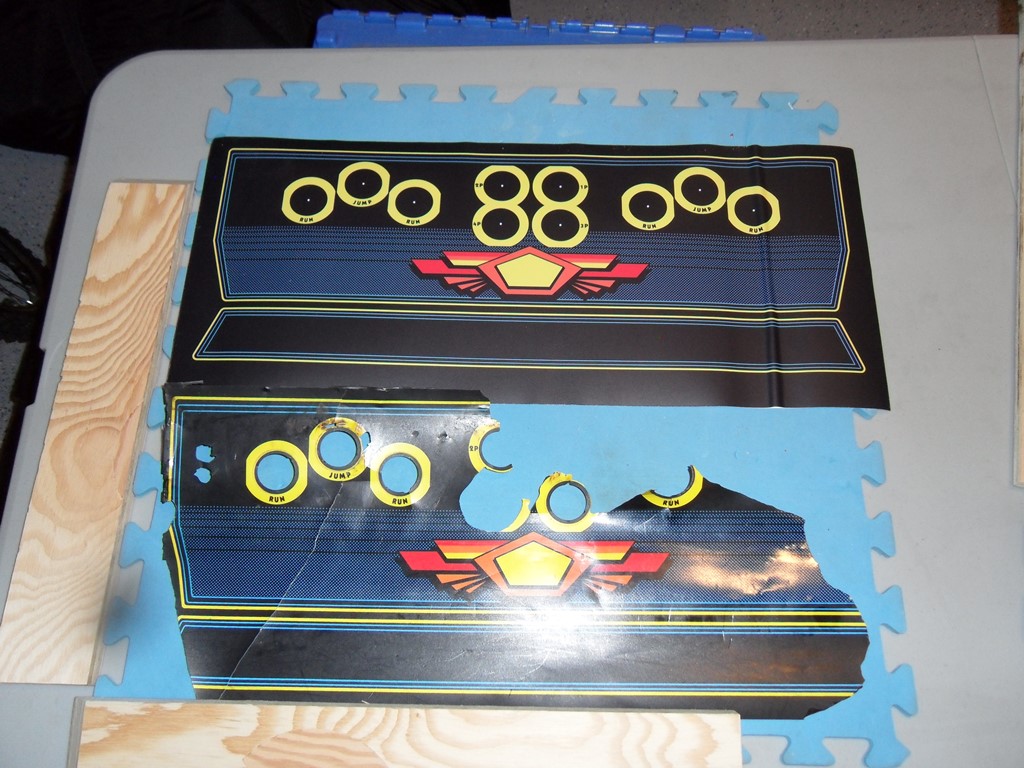
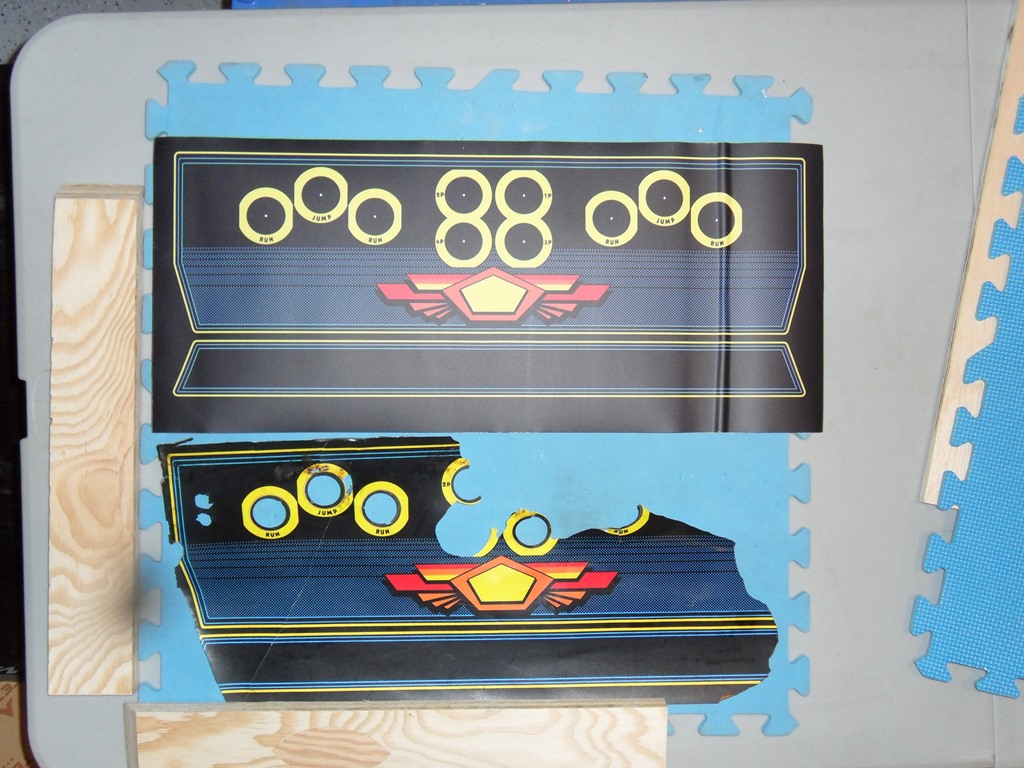
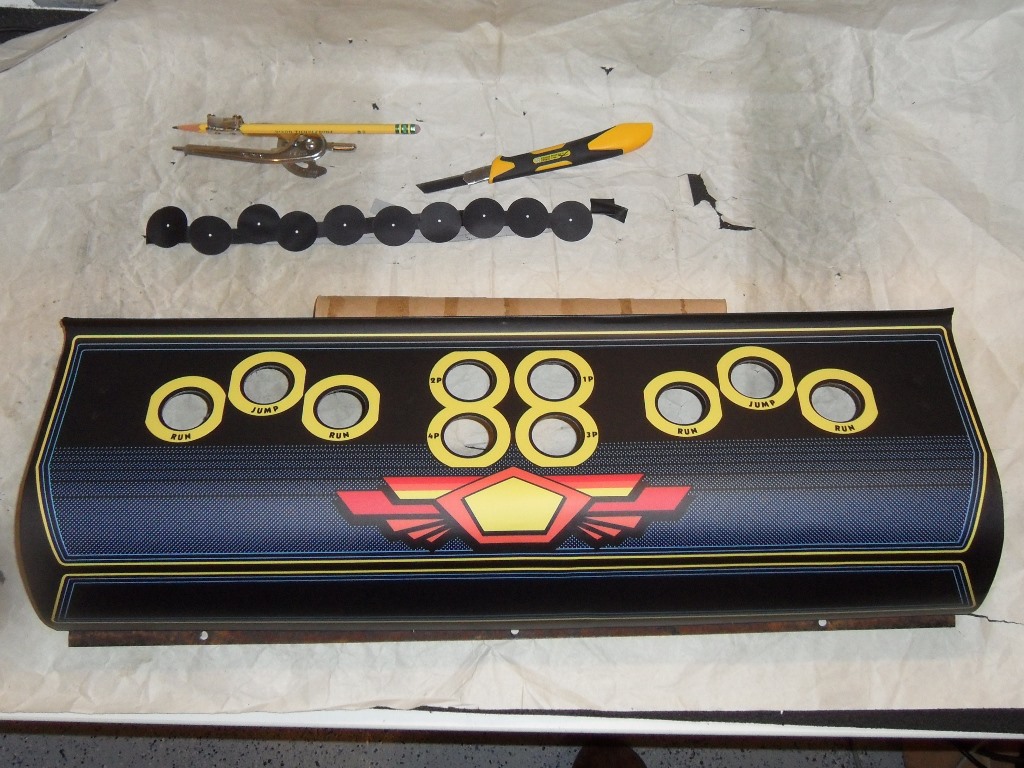
Mikonos's repro control panel overlay arrives and looks great :)
|
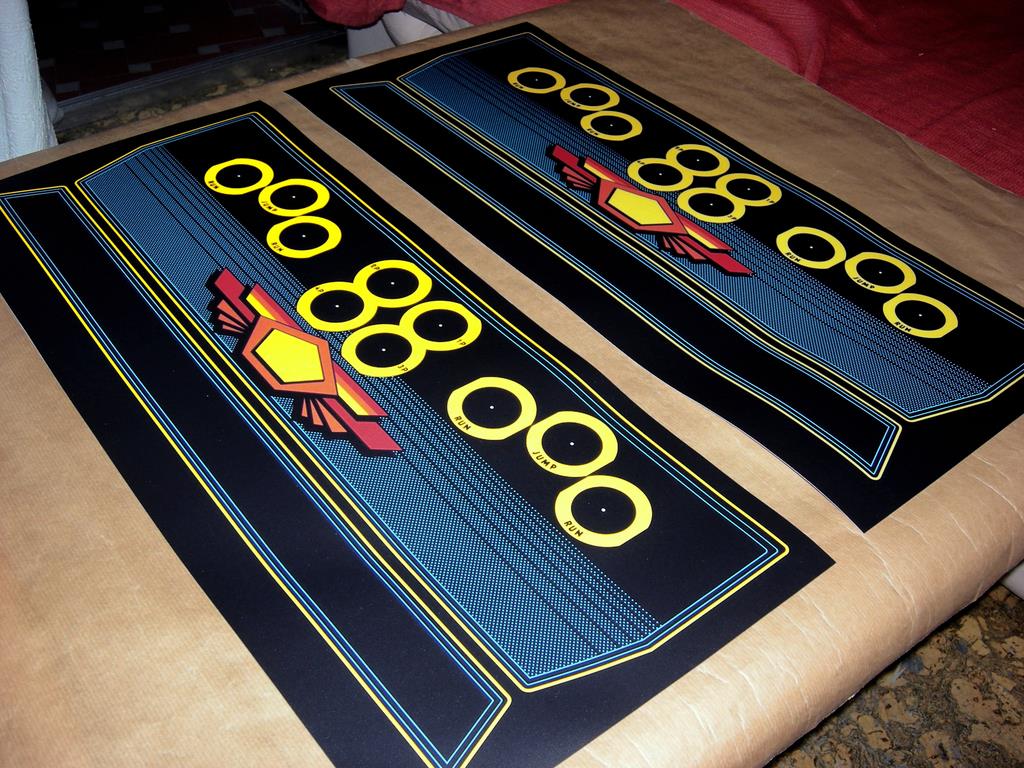
The repro control panel overlay had bubbled off the backing whilst coiled in the shipping tube. To allow the overlay to flatten out fully before fitting I cut down the bubble and flattened it out (using a peice of plastic wrap to keep the exposed glue clean).


|
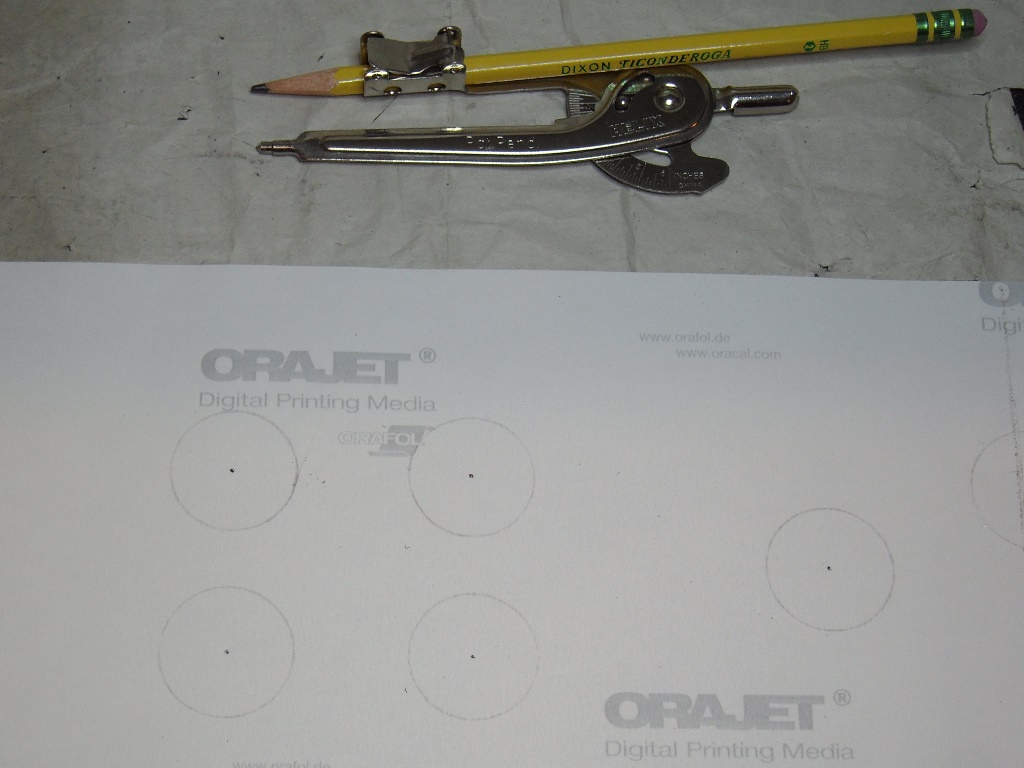
Step one was to propagate the button cut outs onto the back of the overlay using a back light, sharpie and compass. The button alignment looks pretty good.
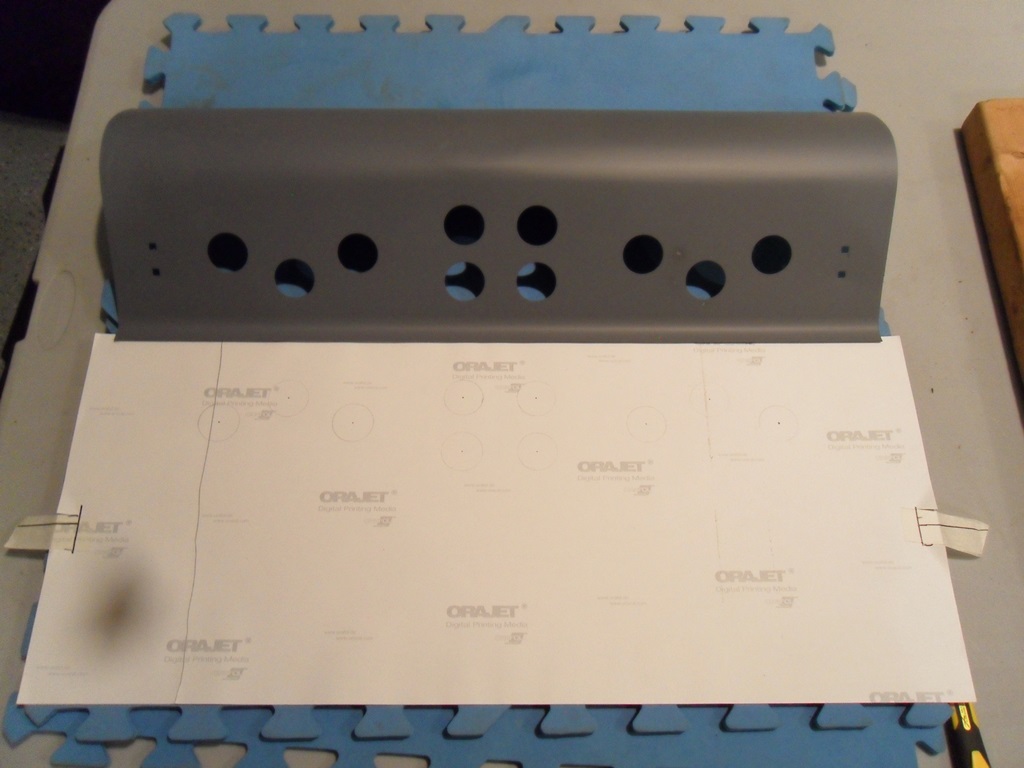
|
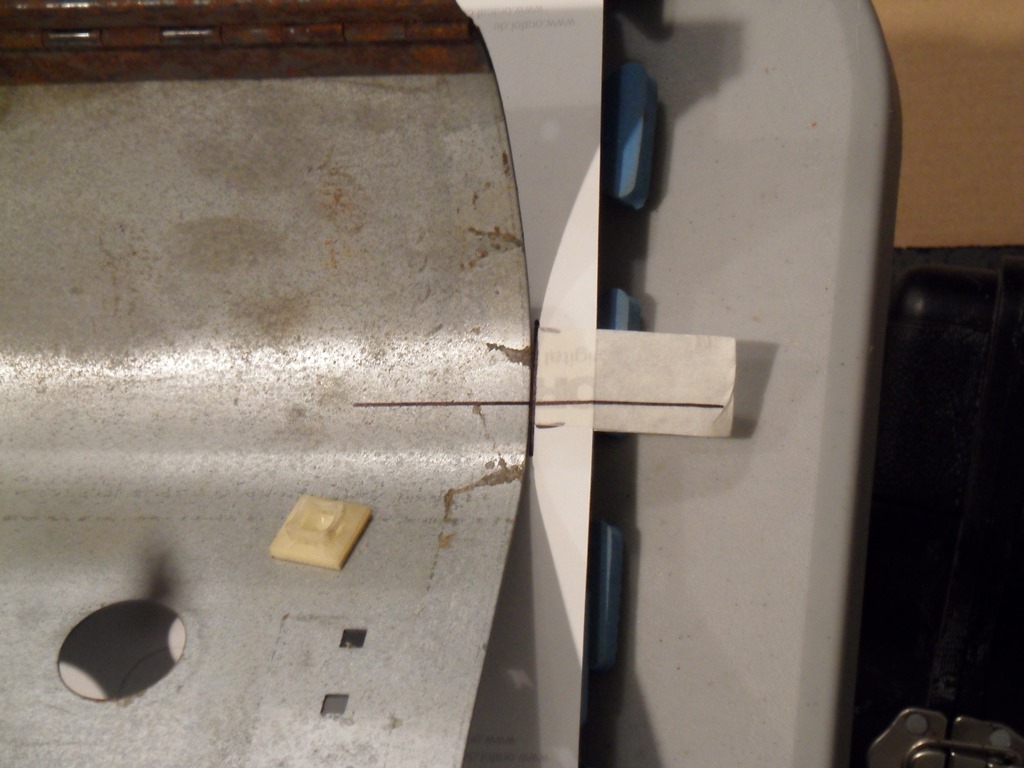
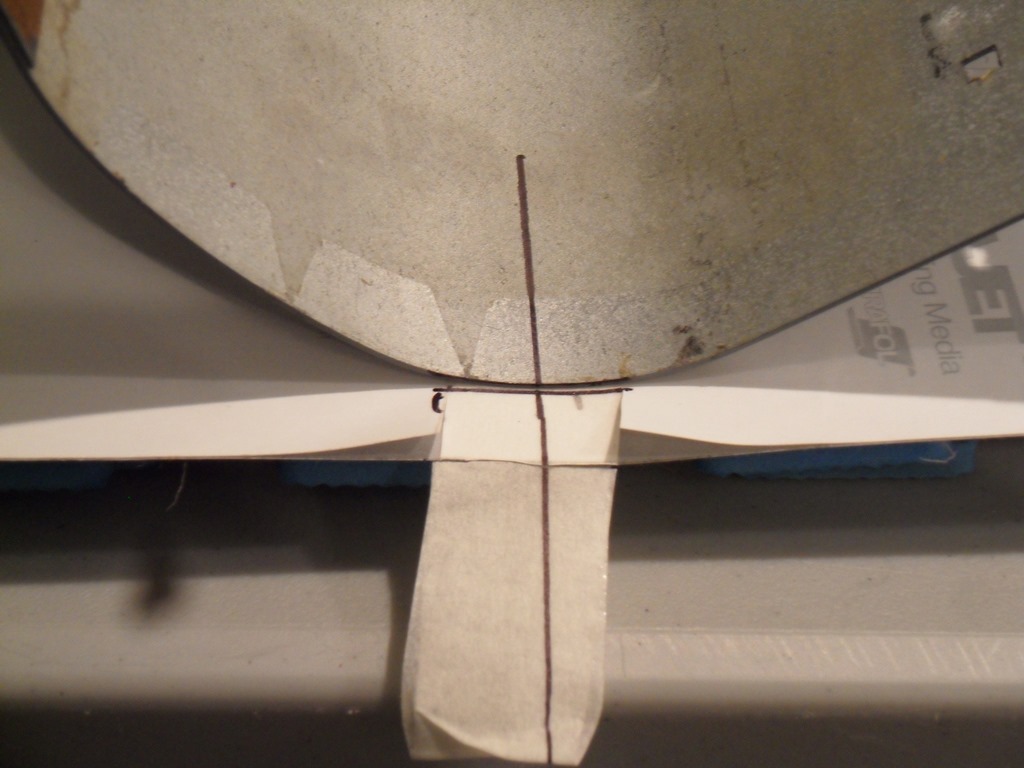
Step two was to align the control panel holes with the overlay holes and "roll" that position to the natural center of the curve on the control panel. Two masking tape tabs were added to that position to extend the line as a way to give a better visual cue that it was aligned correctly. Horizontal & vertical position was marked on the backing.


|
Step three was to carefully cut around the alignment marks on the backing and remove all of the backing except for the alignment areas. Next, I aligned the control panel to the overlay, pushed down and gradually applied it completely. The smooth side of a large foam floor tile acted as a flat base to press on.
|
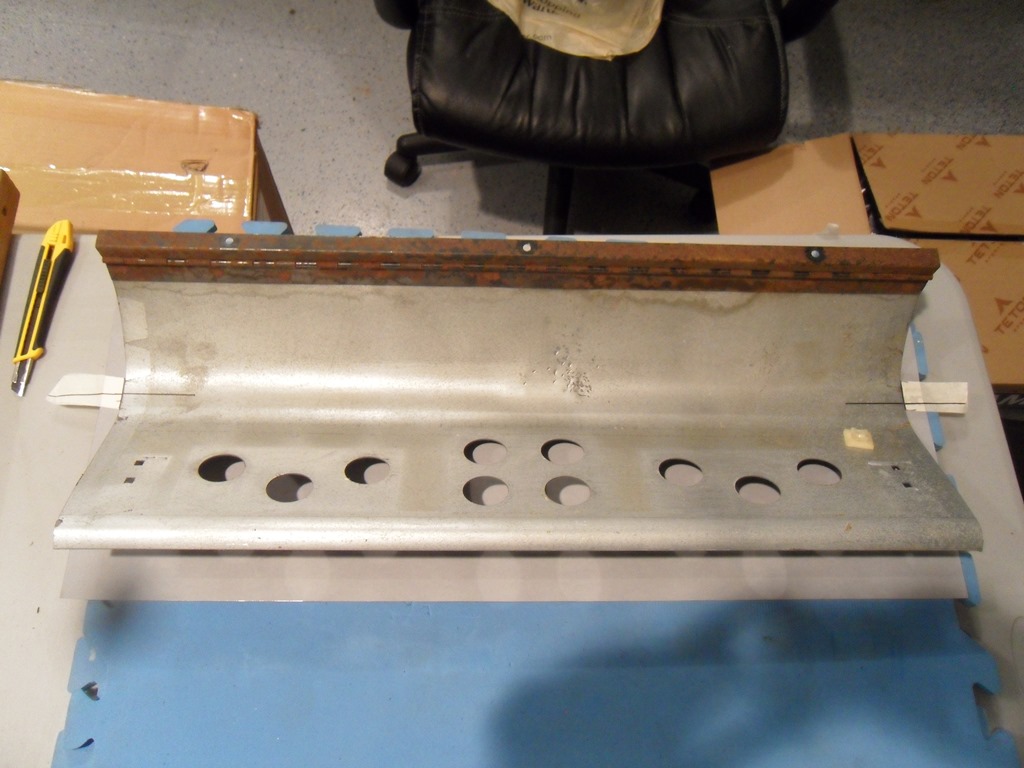
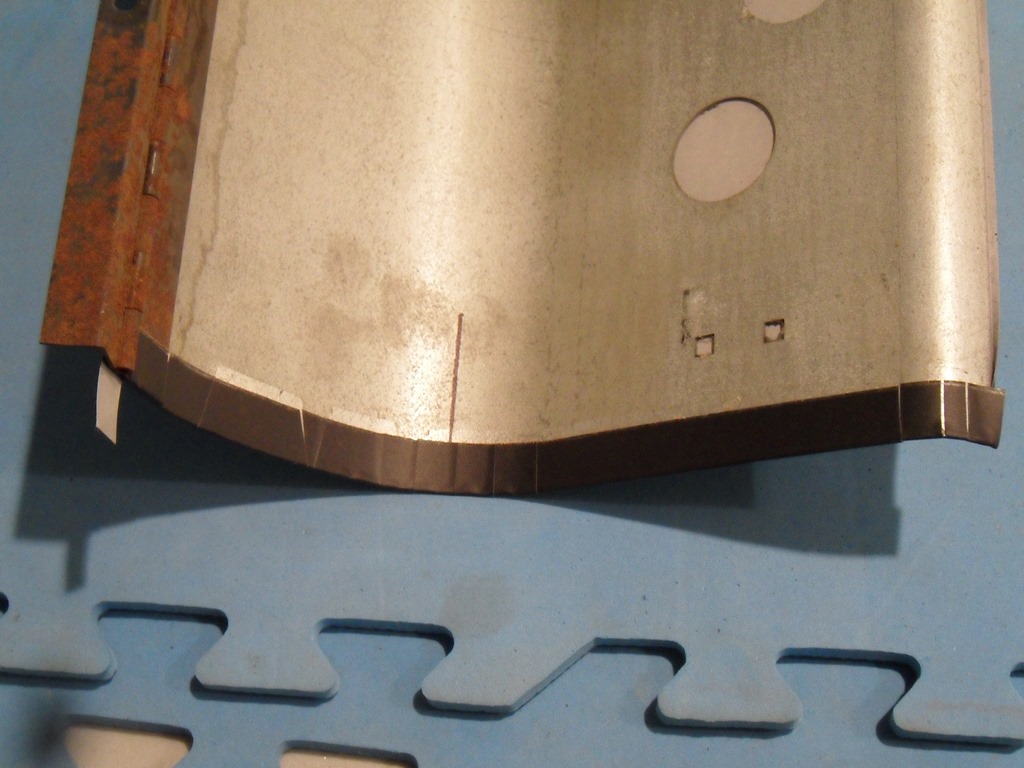
Making a few cuts along the side tabs allowed the tabs to bend over properly around the curved portion. Finally cutting out the holes revealed pretty reasonable alignment - the start buttons are near perfect but the holes for the game buttons are slightly too low but not too big a deal.
|
Rebuilt the control panel (putting the spacers, buttons and latches). The wiring had been "repaired" with what looks like a plumbers iron & solder so I tidied that up at the same time. Refitting, the panel looks great :)

|
Ran the game for a few hours of burn in and did the pre-show checklist on it. Played a few games with my son, who's inherited my Hyper Sports prowess. Alas, I suck at it :)