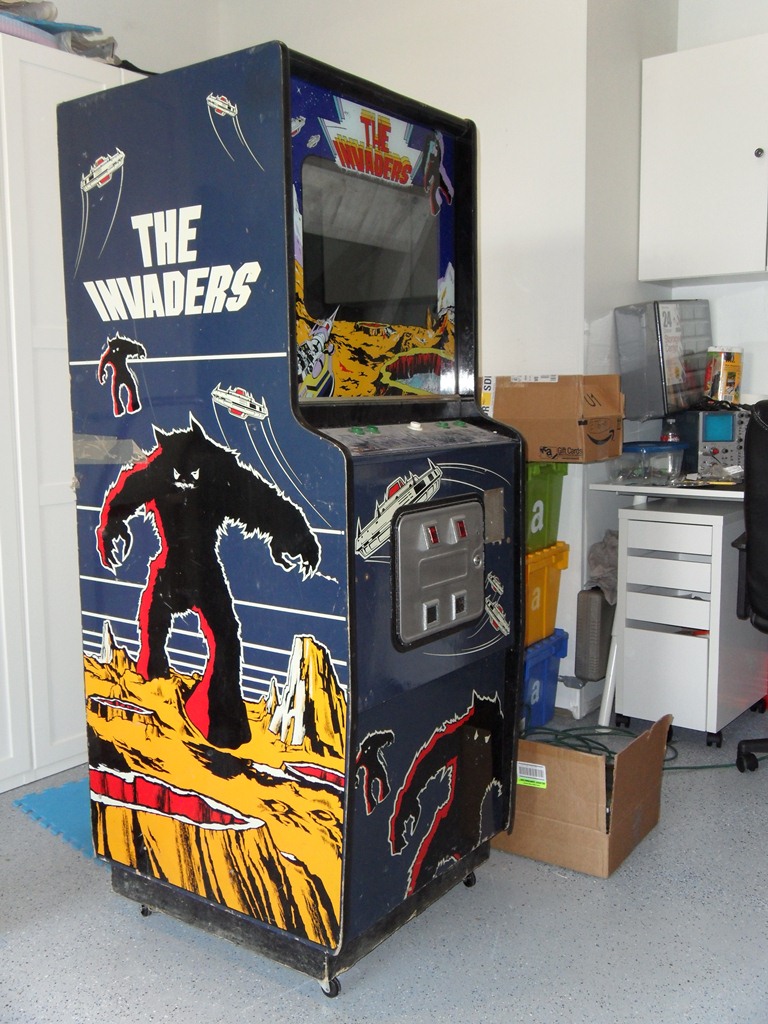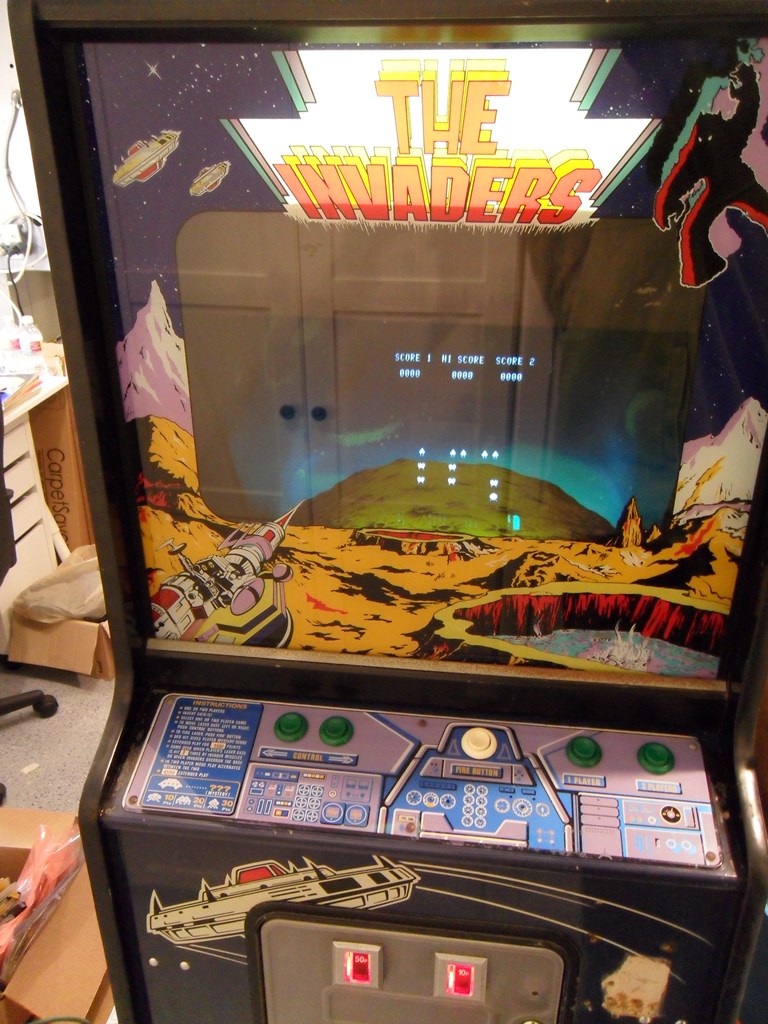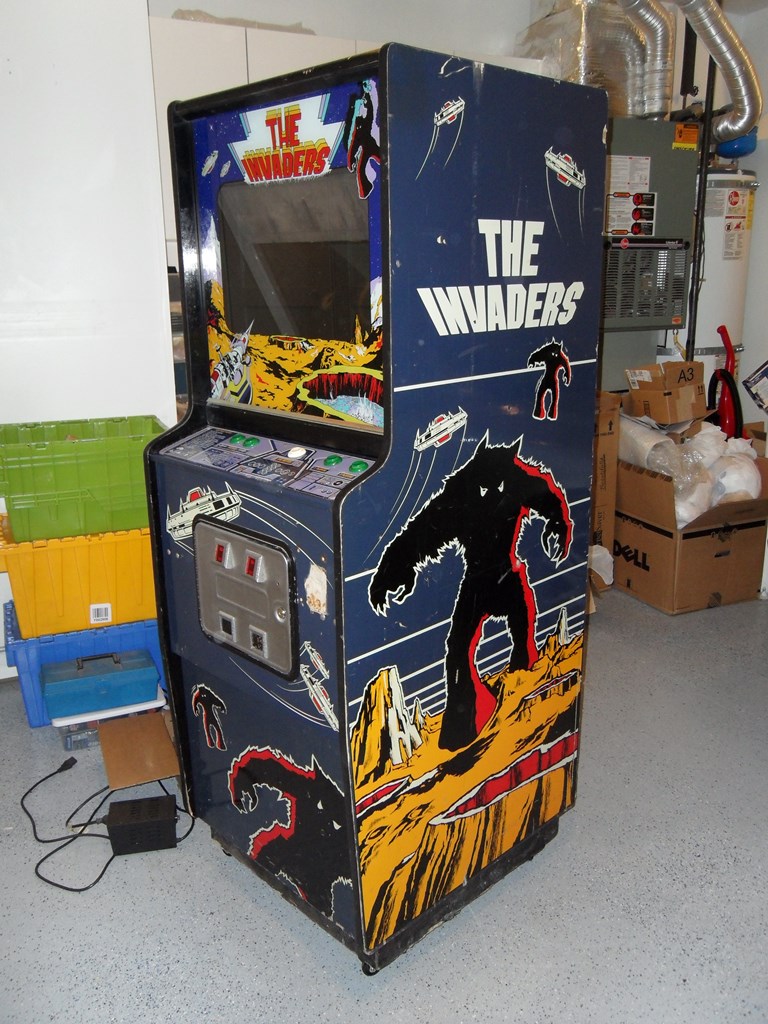
Zaccaria The Invaders Restoration
Background
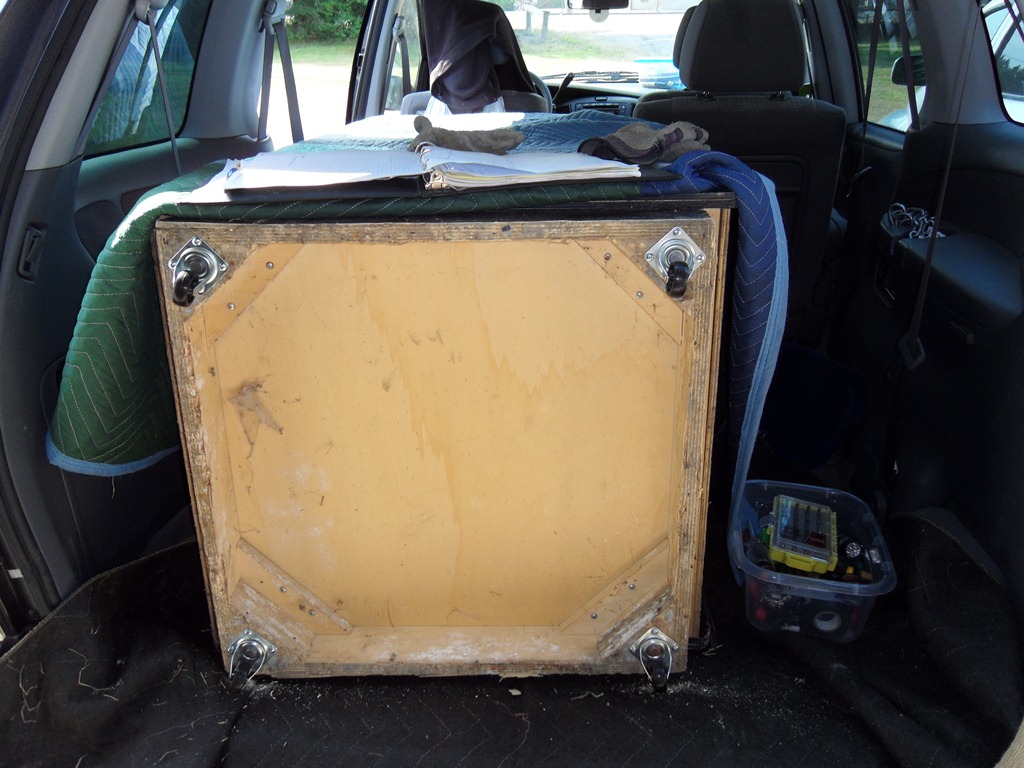
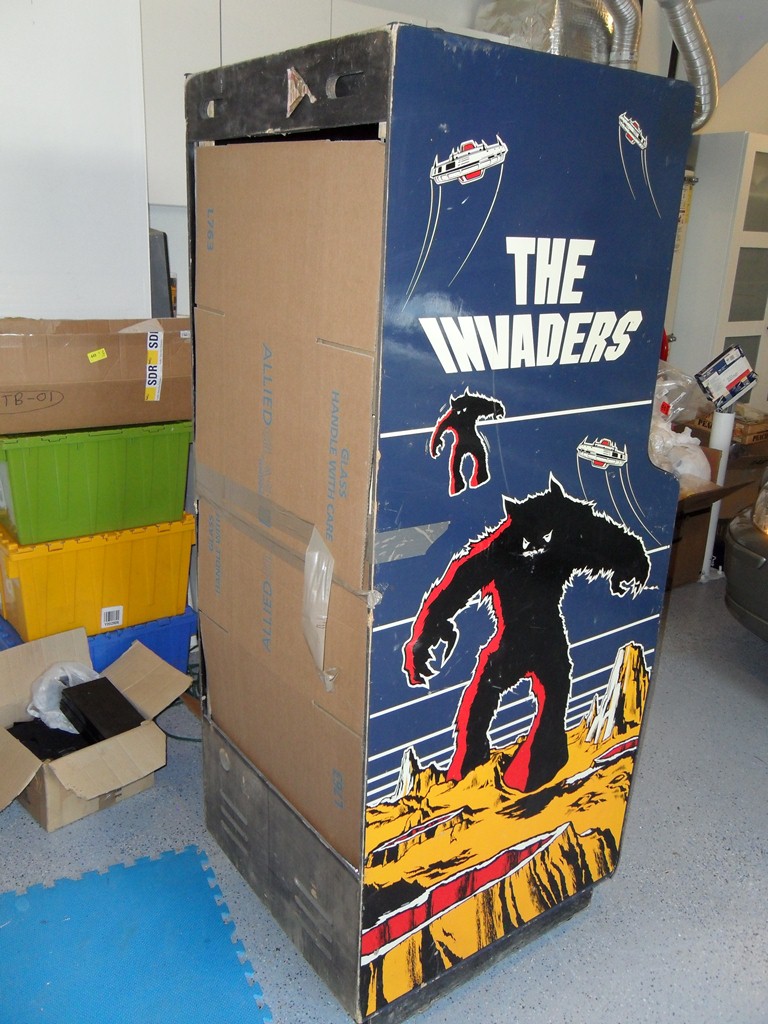
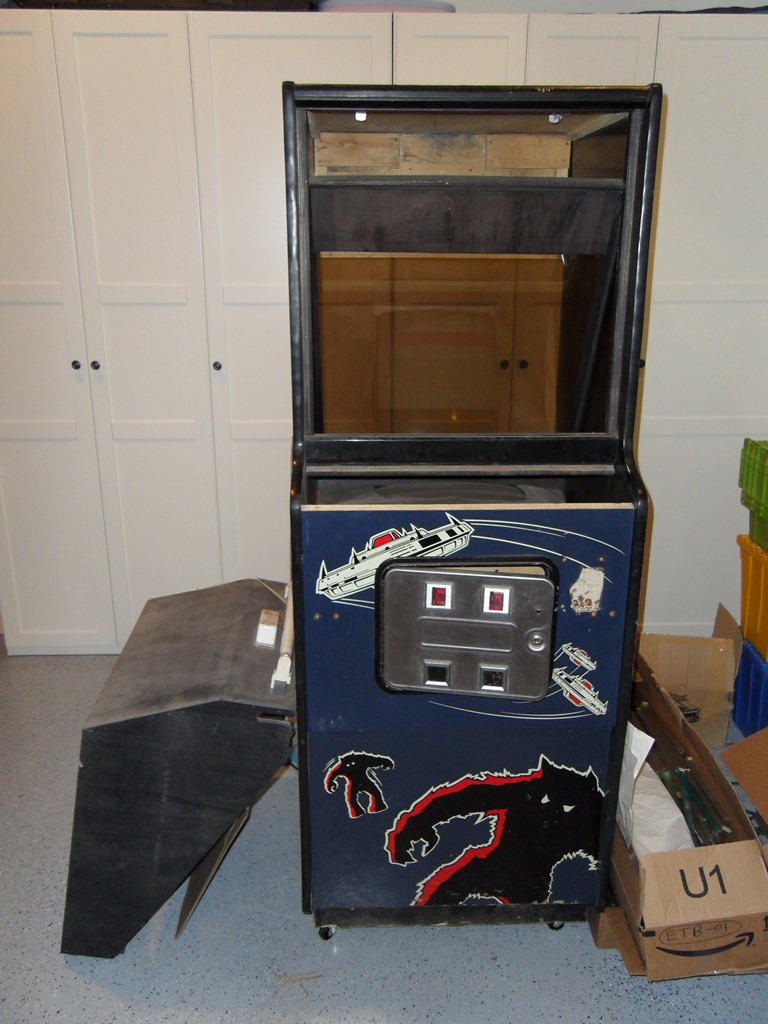
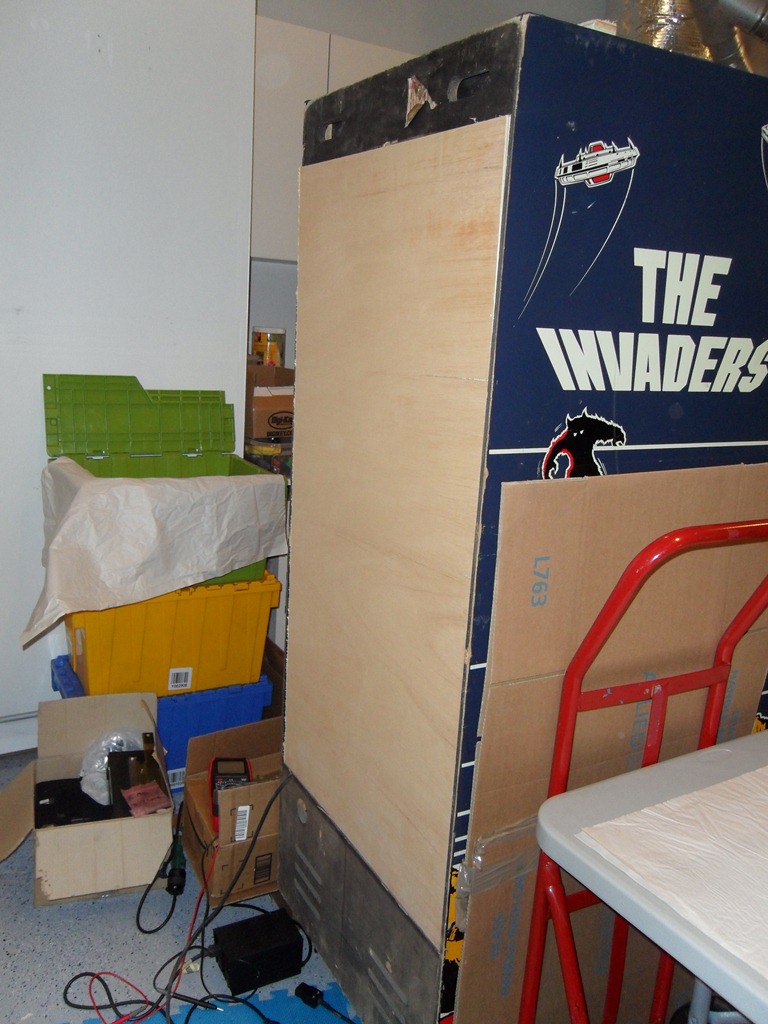
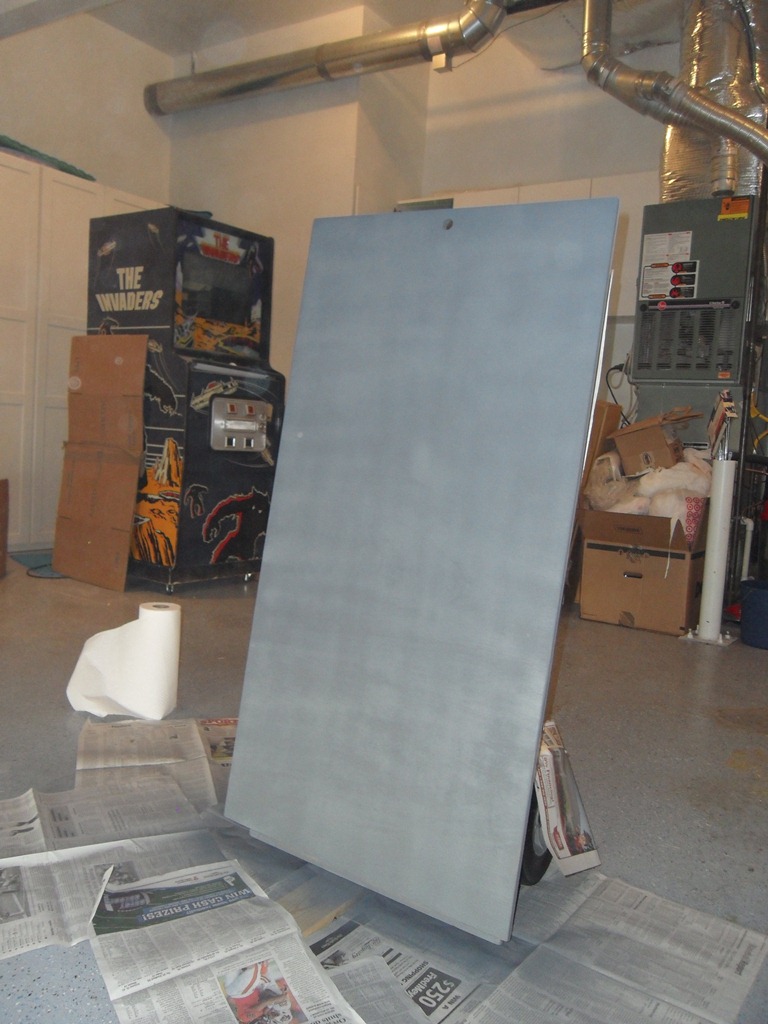
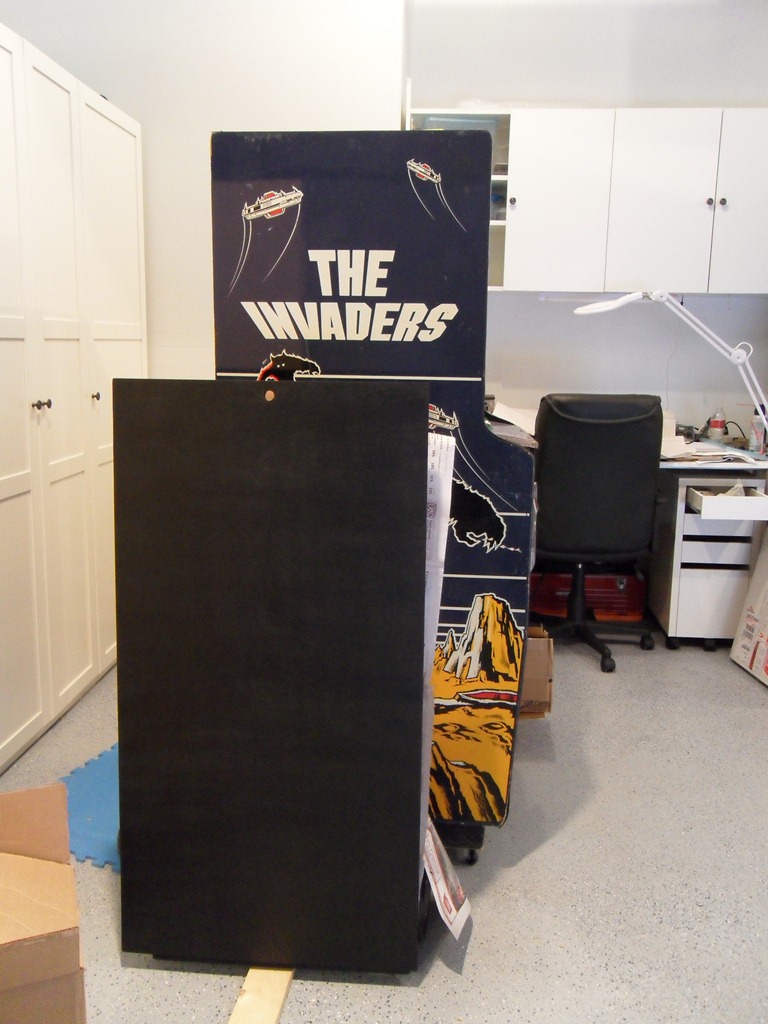
Acquired in the UK and it looks complete and original except for the missing back door.
26/08/2012 - Initial assessment
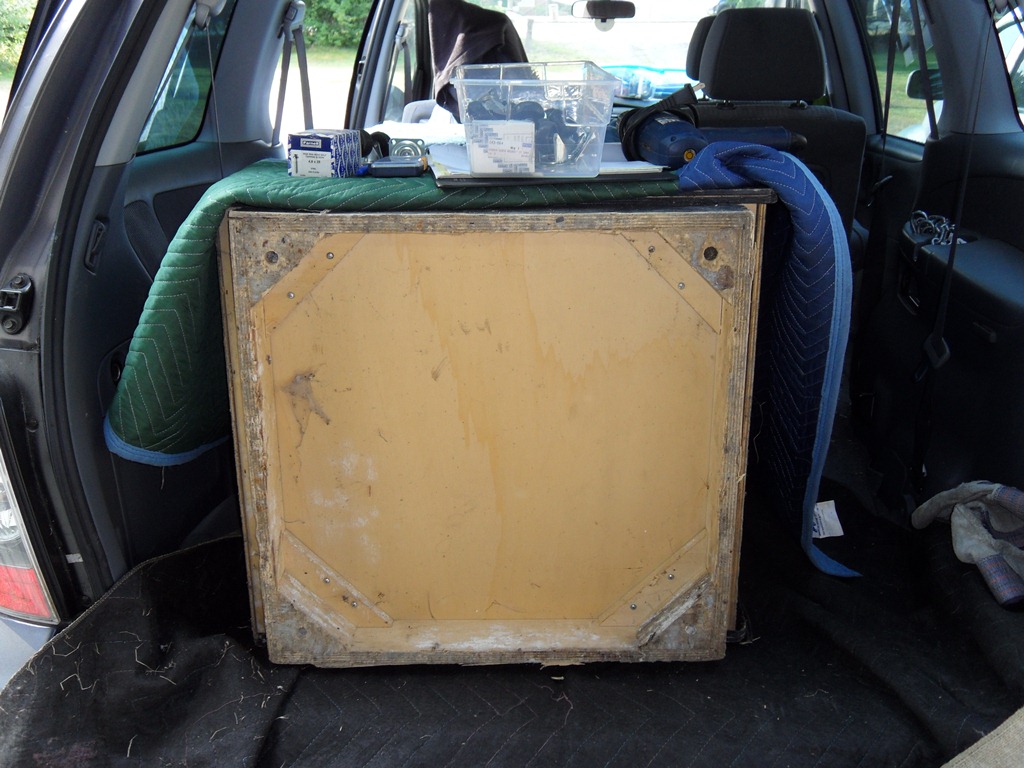
The first thing to do was add some castors whilst it was in the back of the van since
the feet were missing.
The cabinet seems to be in pretty good condition as is. There is a little bit of scratch
graffiti here and there and the main Invader has been given a mouth :)
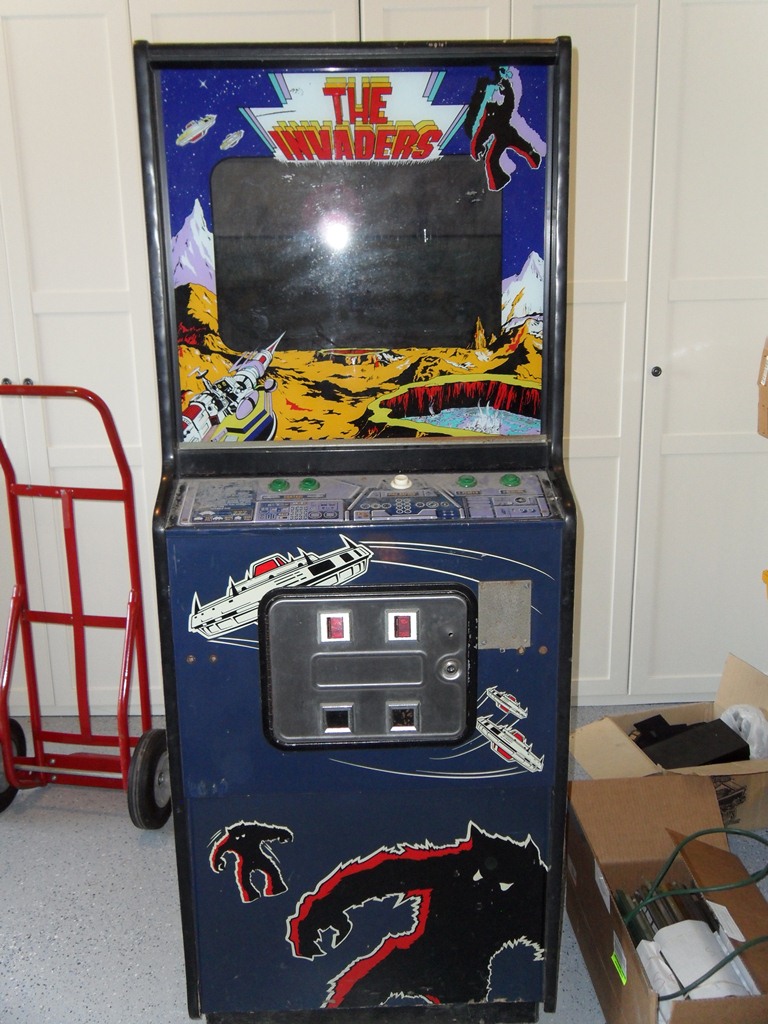
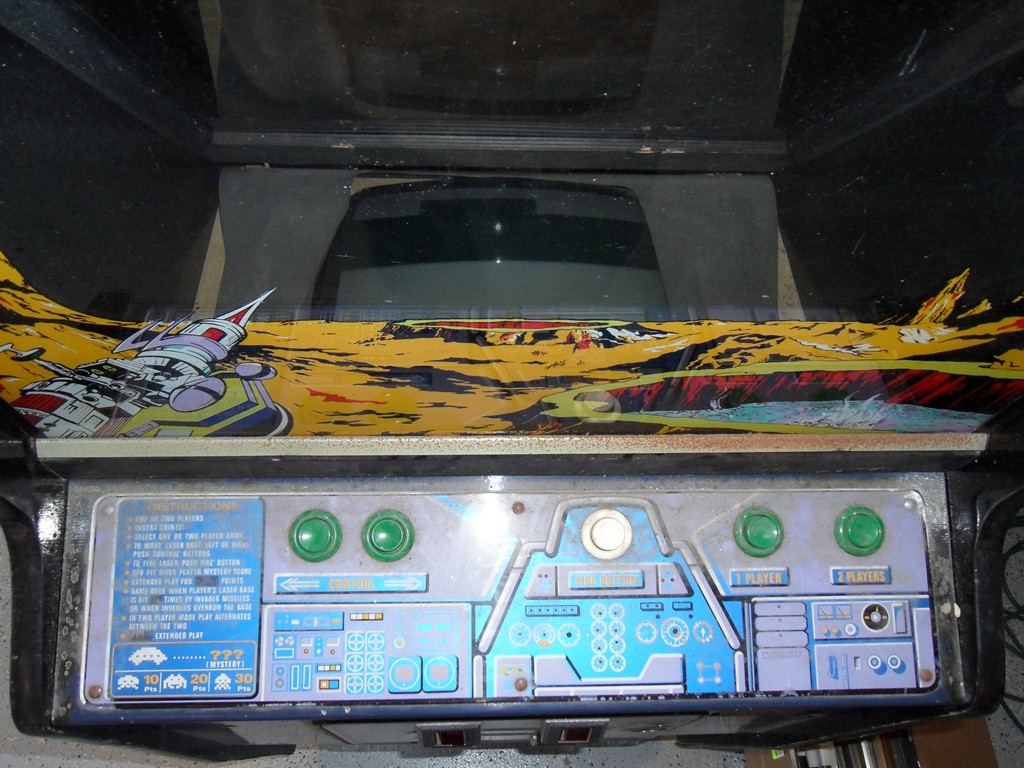
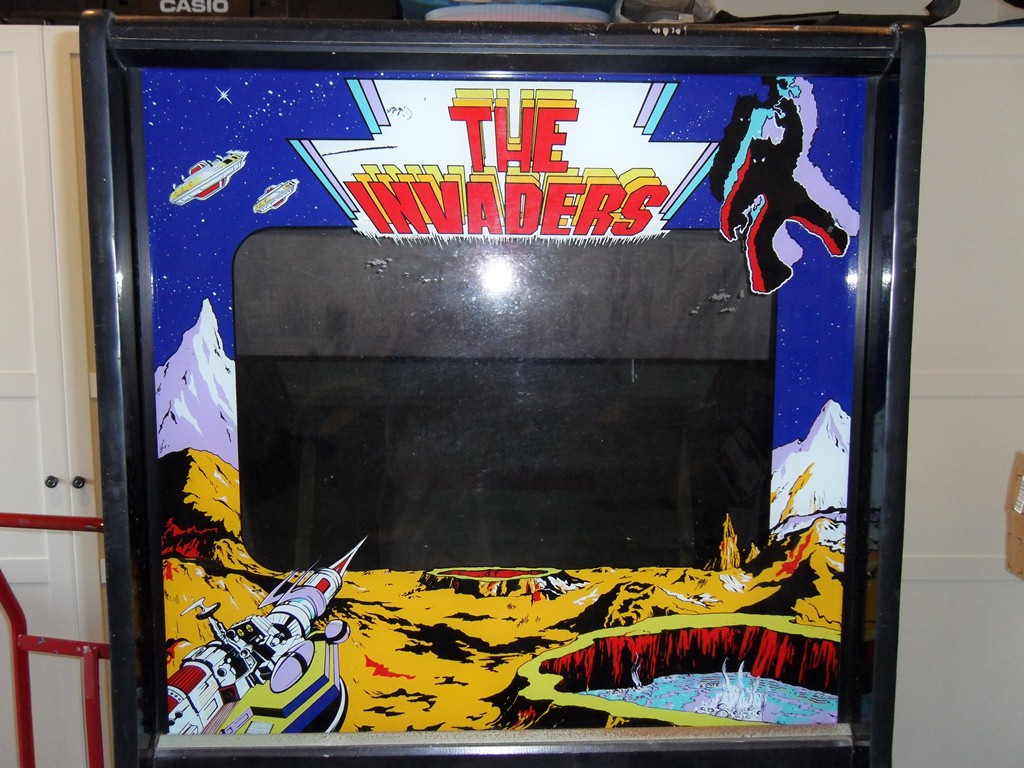
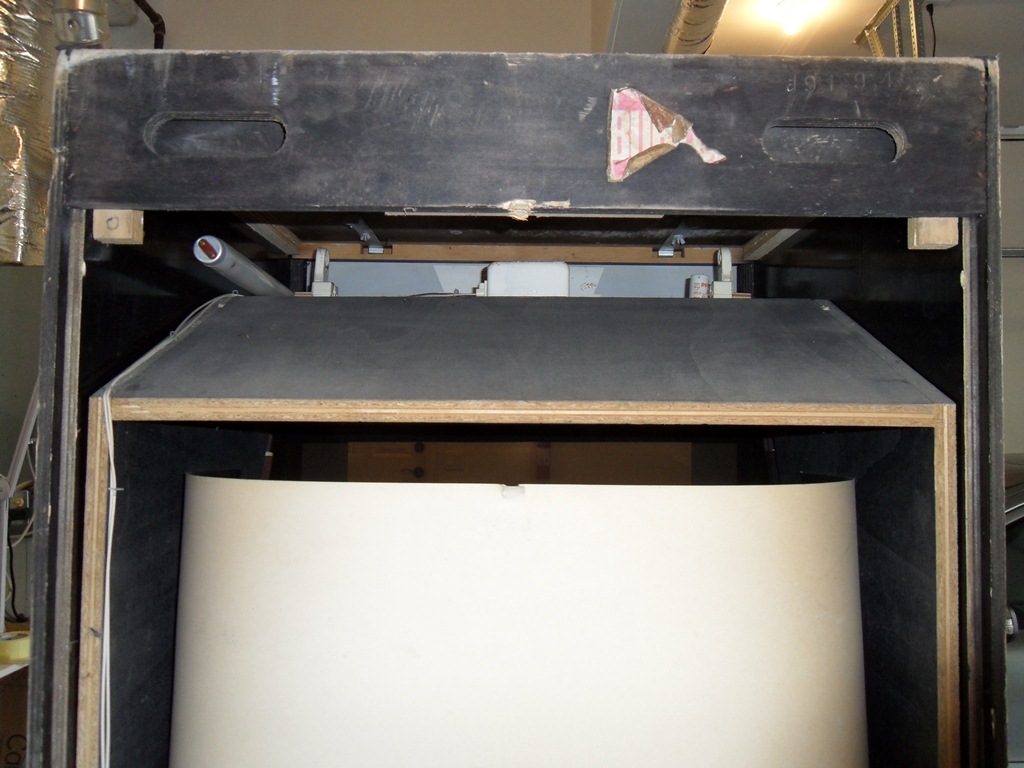
The control panel is dirty and the front glass has scratch damage at the top
in the white on the back through the art. I might be able to touch that up a bit
later on.
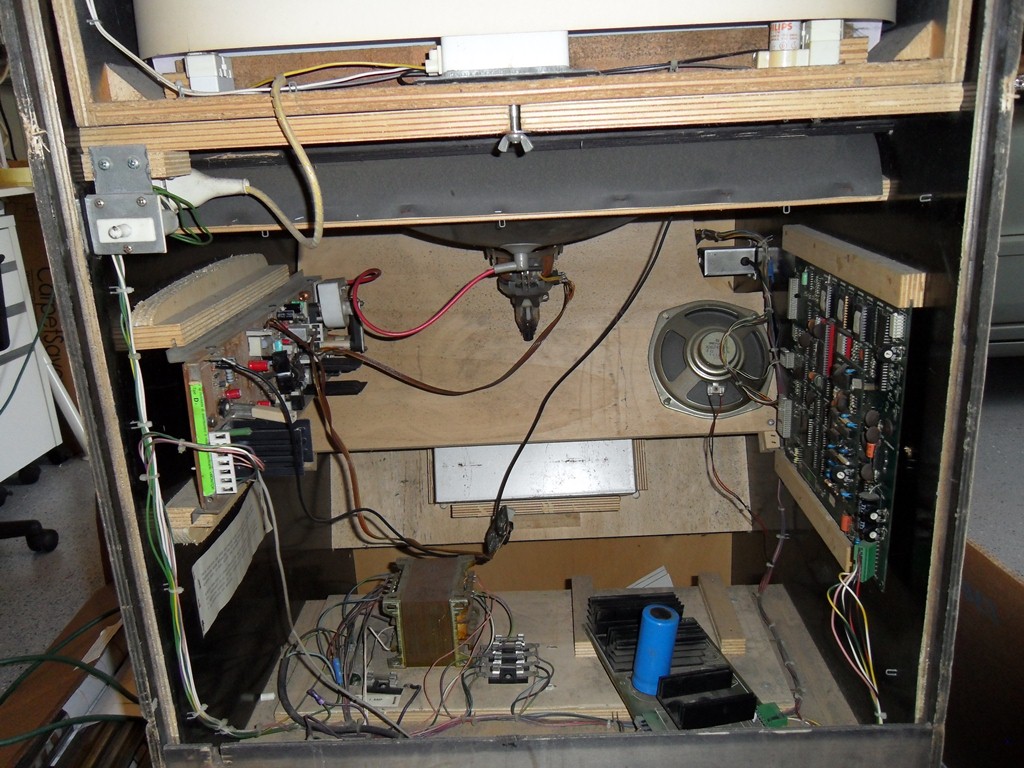
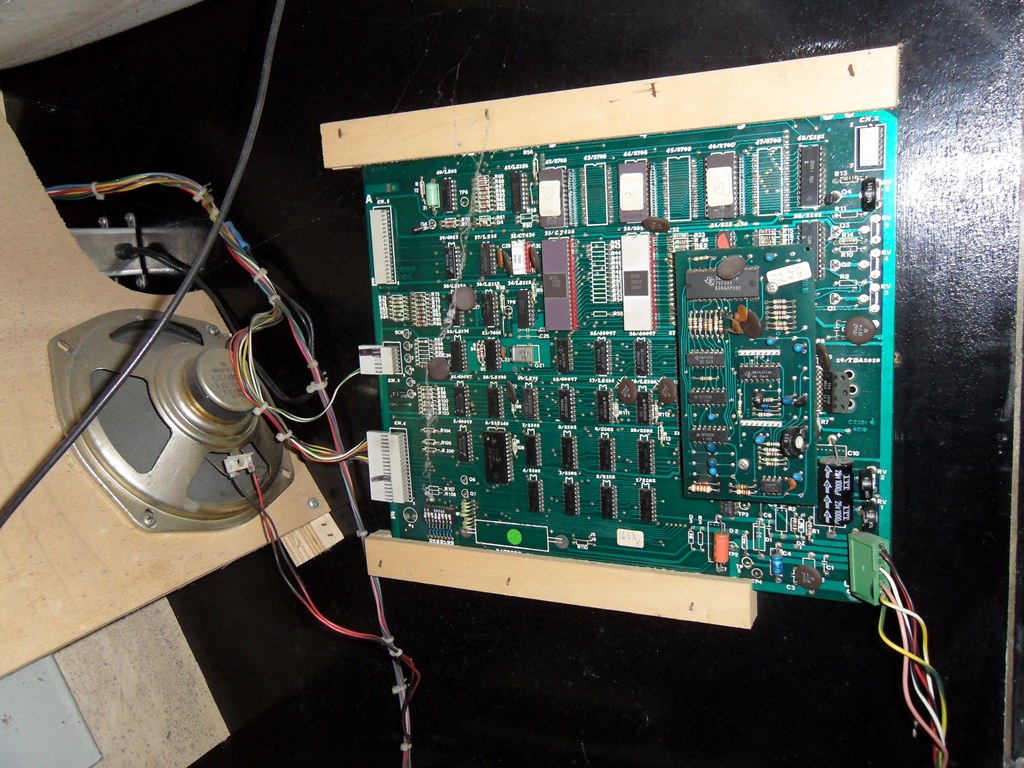
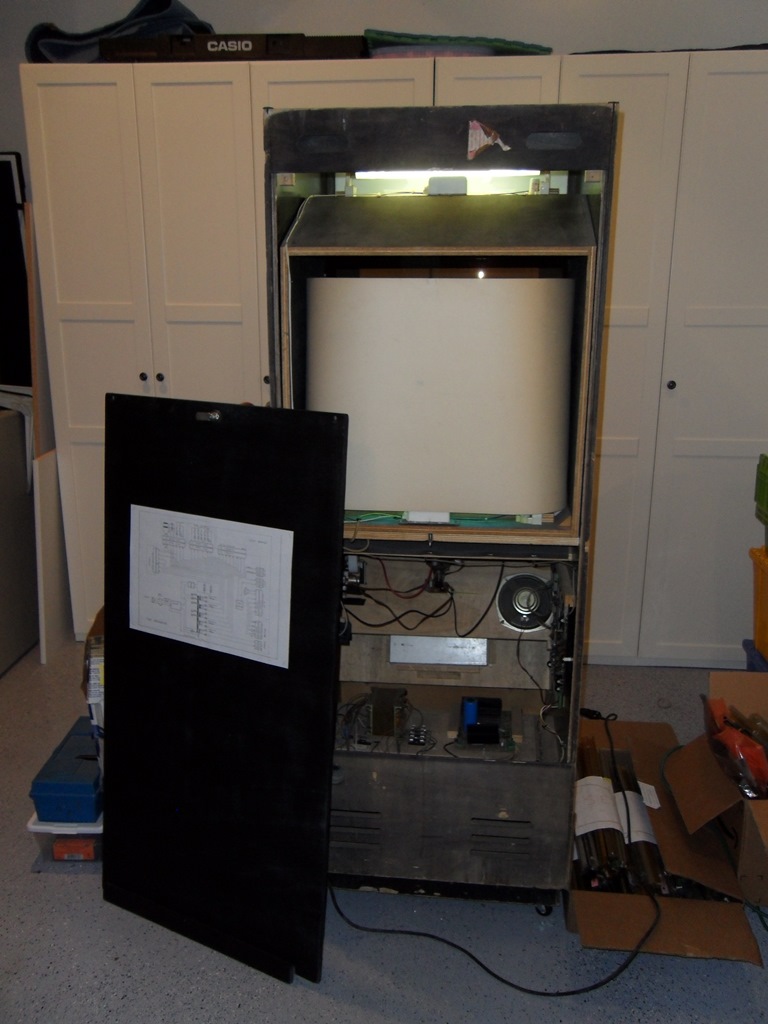
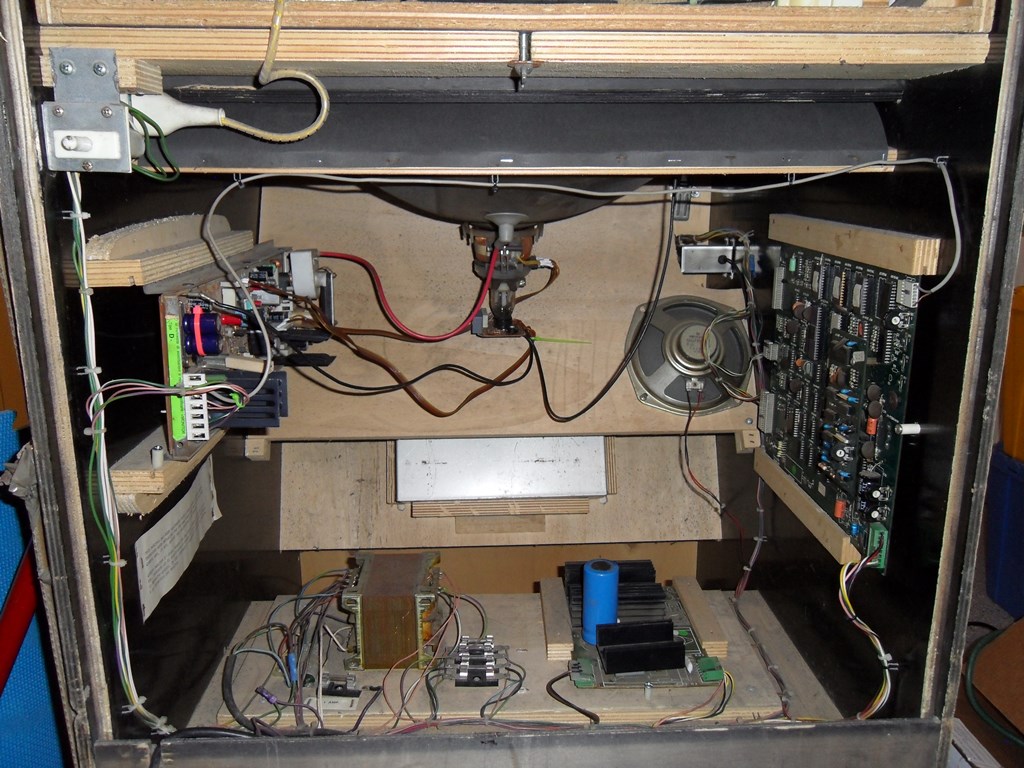
The inside electrics are floating around unattached and the monitor neck connector
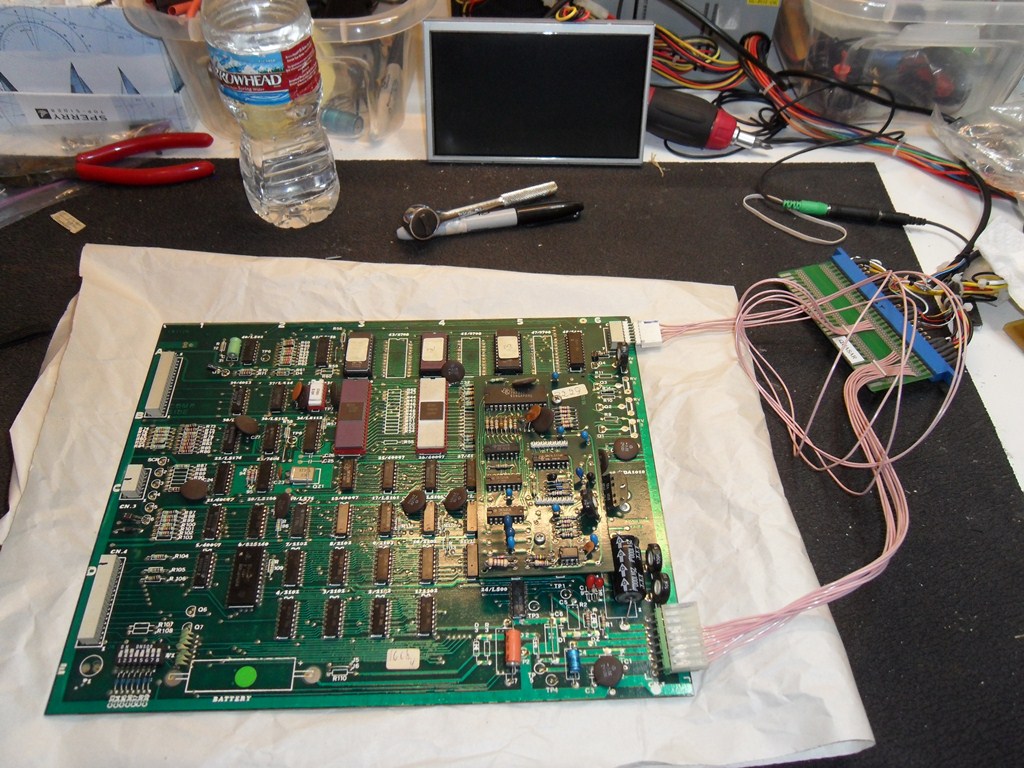
is off. Wiring and boards all look complete and present in tact.
28/08/2012 - First power on
Replaced the UK plug with an IEC 14 socket (the standard I've chosen to separate
240V games) and reseated all the PCB's and off connectors.
The first power on was to check the line-in side and power supply
only (no monitor or game PCB). The backdrop light and coin door lights came on OK
and the +5V and +12V measured OK no load. The marque light tube is floating around
in the cab so I didn't expect that to come on :)
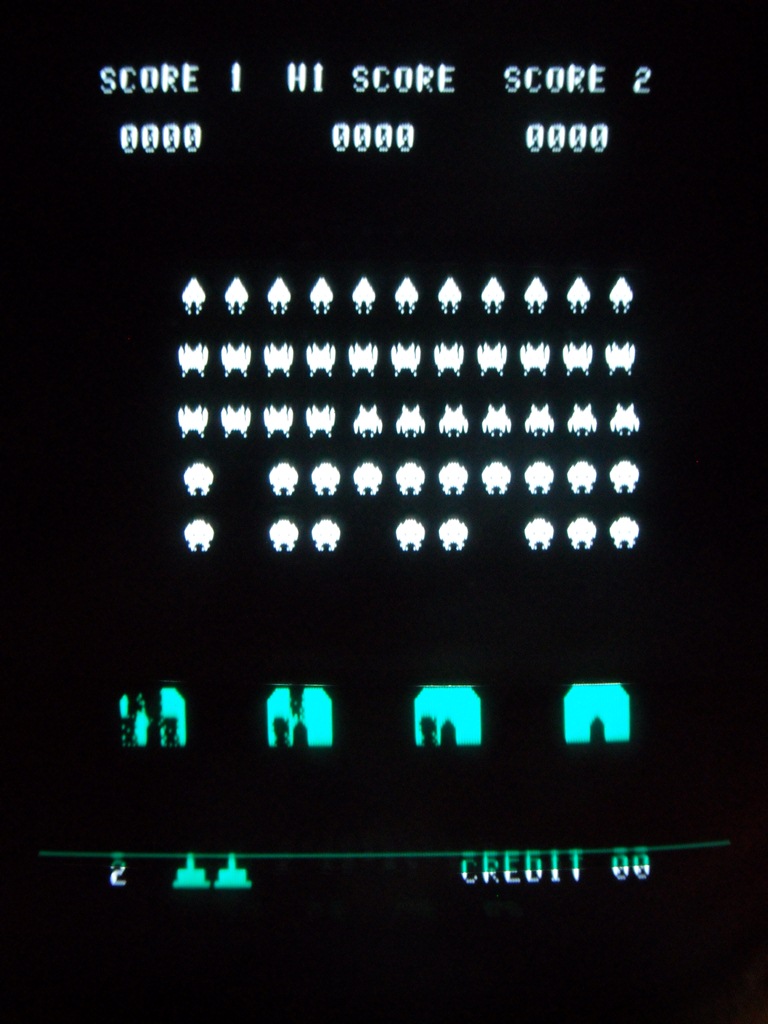
The second power on was with the monitor and game board connected. The monitor was
alive but looks like it may need a cap kit, at least. No sign of an actual picture or video
sync.
The game board only had a thumping noise out of the speaker with no other signs of life.
29/08/2012 - Board investigation
Looks like the power and video wiring matches that of Quasar, mostly, so I was
able to power up the board on that adaptor (jumpering sync to a colour to see video).
There was nothing out of video out (on
screen or on the scope). Poking around it looked like the video output transistor
was dead (video going in, nothing coming out).
Replacing the original BC548B with a broadly compatible 2N2222A brought
back video output on the bench. Back in the cab there was still no hint of a video signal on the
monitor, though. Poking around a bit more and it looks like the monitor video input
is short to ground (thus the BC548 on the game board probably overheated and burnt out) :(
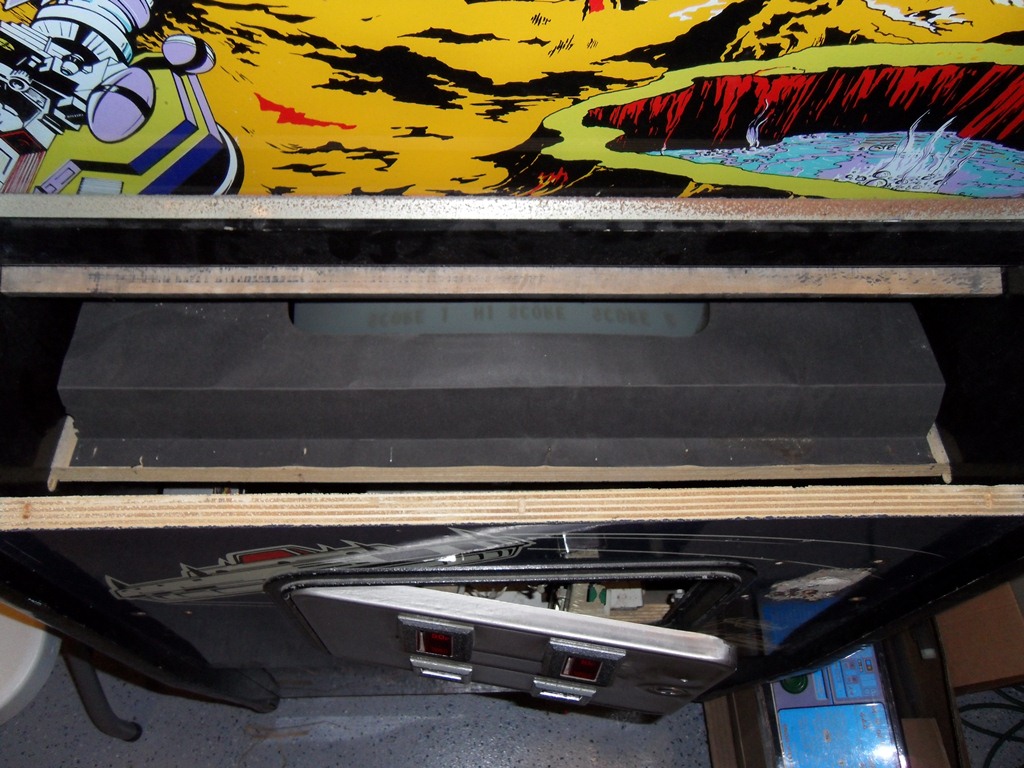
30/08/2012 - First look at the monitor
Pulled out the monitor chassis (a black and white Tipo chassis that looks near
identical to a Hantarex MT-1). It looks like it's already had a cap kit done on it.
Further, there was no short on the video input. Going back to the cab, a single strand
of the earth braid from the monitor cable was caught on the signal wire. Fixed that
and put the chassis back in the cab. Alas, the only change in picture was rolling with
signal and no roll without - it was still a badly disfigured syncless white out :(
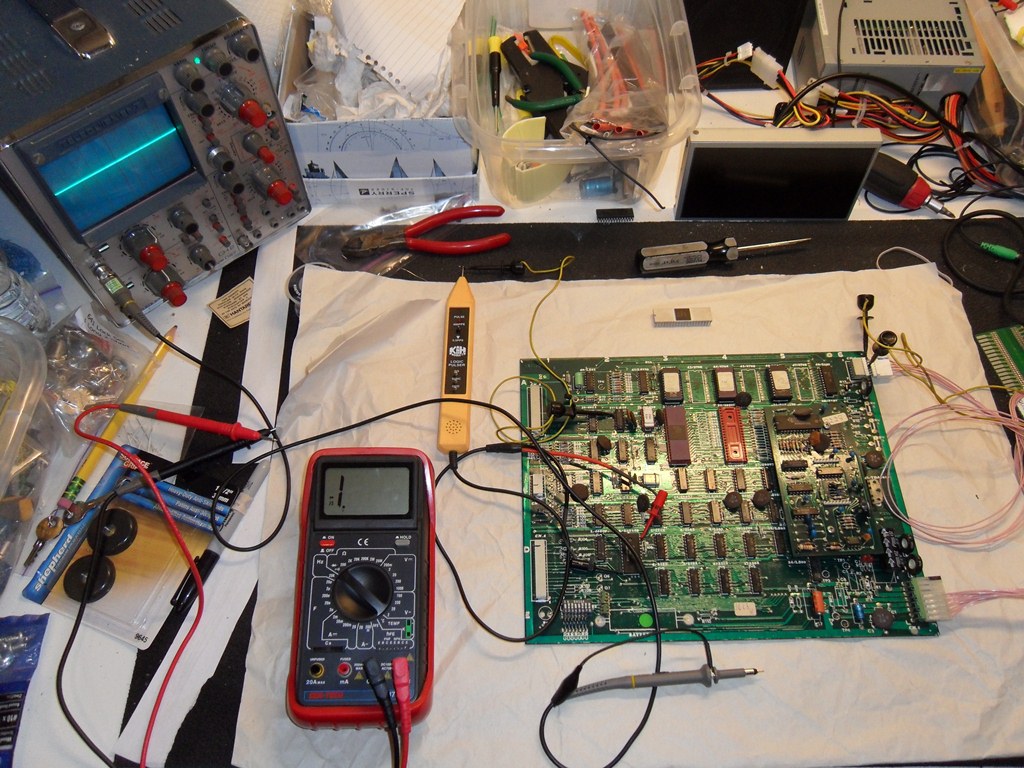
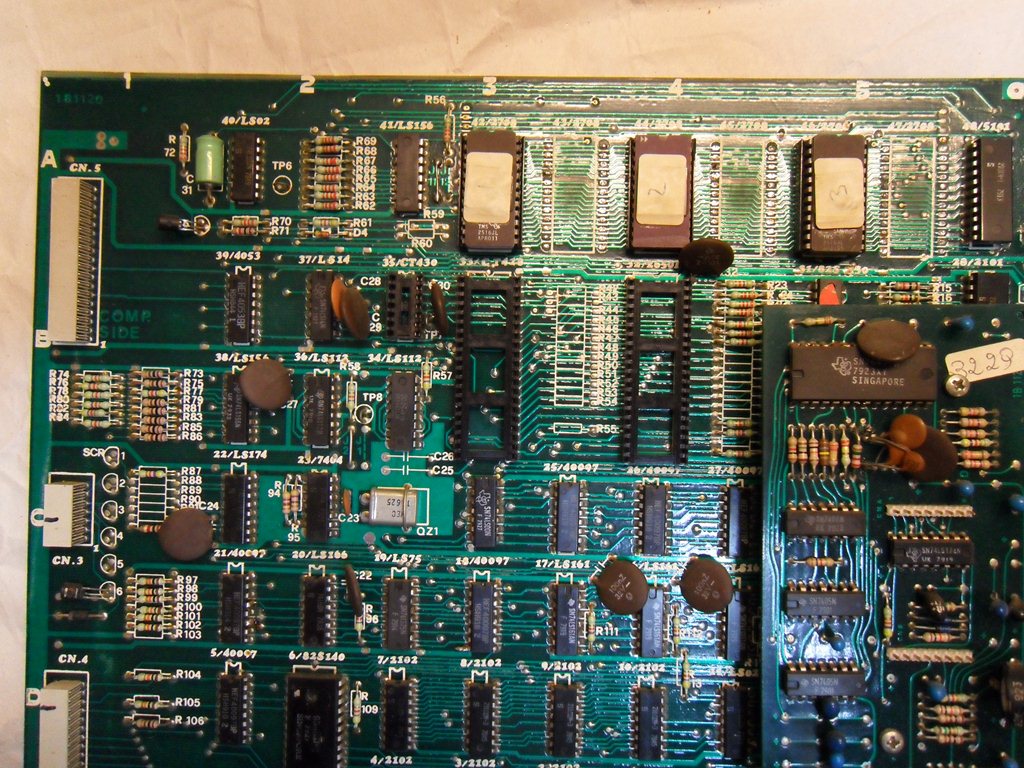
30/08/2012 - Game PCB investigation
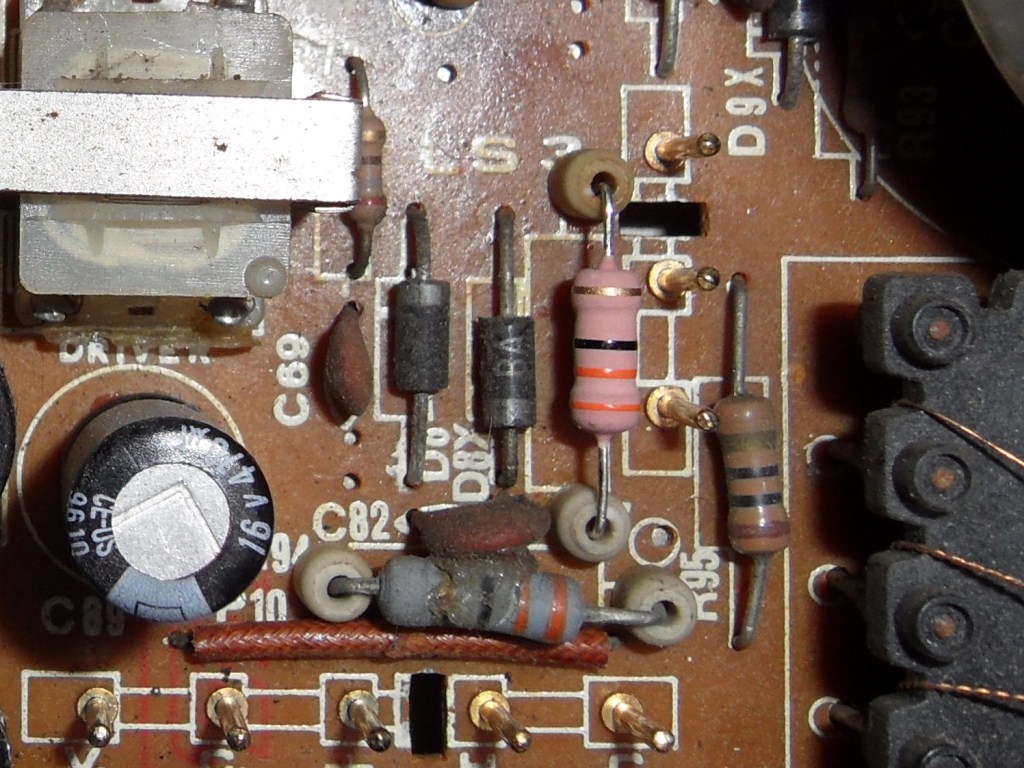
Back on the bench with a scope the 2650 wasn't doing anything (address/data idle).
No sign of a watchdog reset so the plan of action was to connect up the logic pulser
(400pps) on the reset line to keep the CPU busy doing something. In this set up, the 2650
looked to be
driving address, data and control properly. On the EPROMS, though, A3 and A4 looked
off. These are supposed to come directly from the 2650 (no buffers). Poking around
with a meter and the A4 of the 2650 only contacted when it's pin was pressed on sideways.
Crappy sockets.
With a new set of sockets the board appeared to be doing something (though hard to
tell since the composite B&W is completely unsynced on the RGB LCD monitor). Back in
the cab the monitor had no change in picture - but - the game clicked the counter
on coin and seemed to play (still no picture) :)
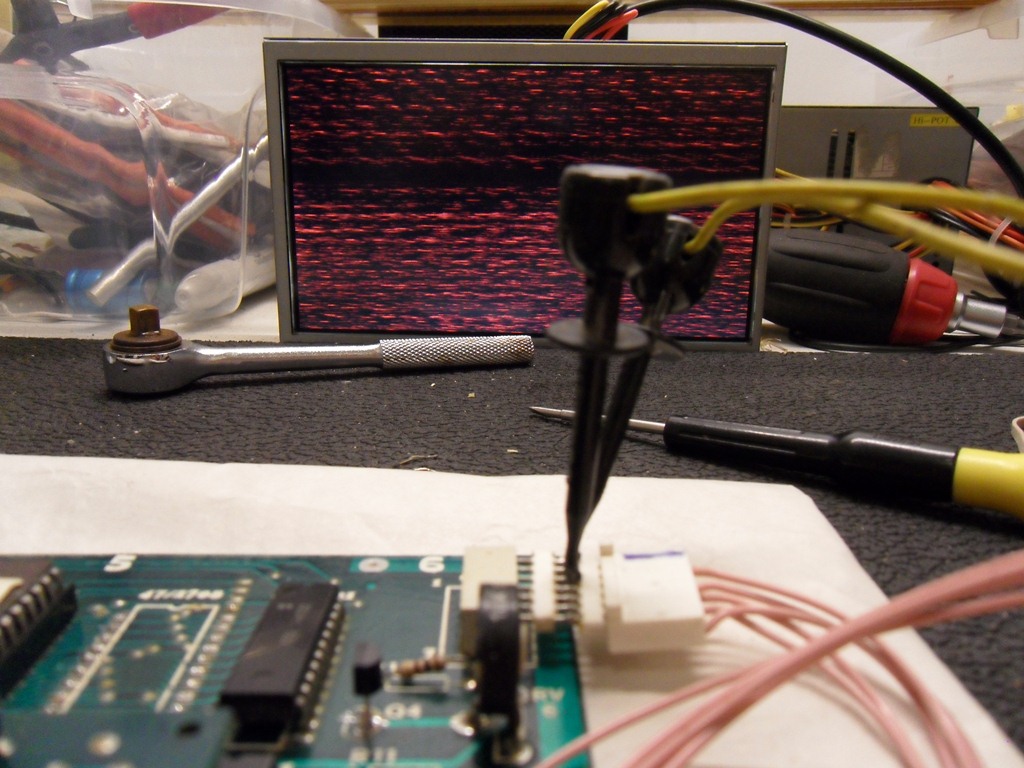
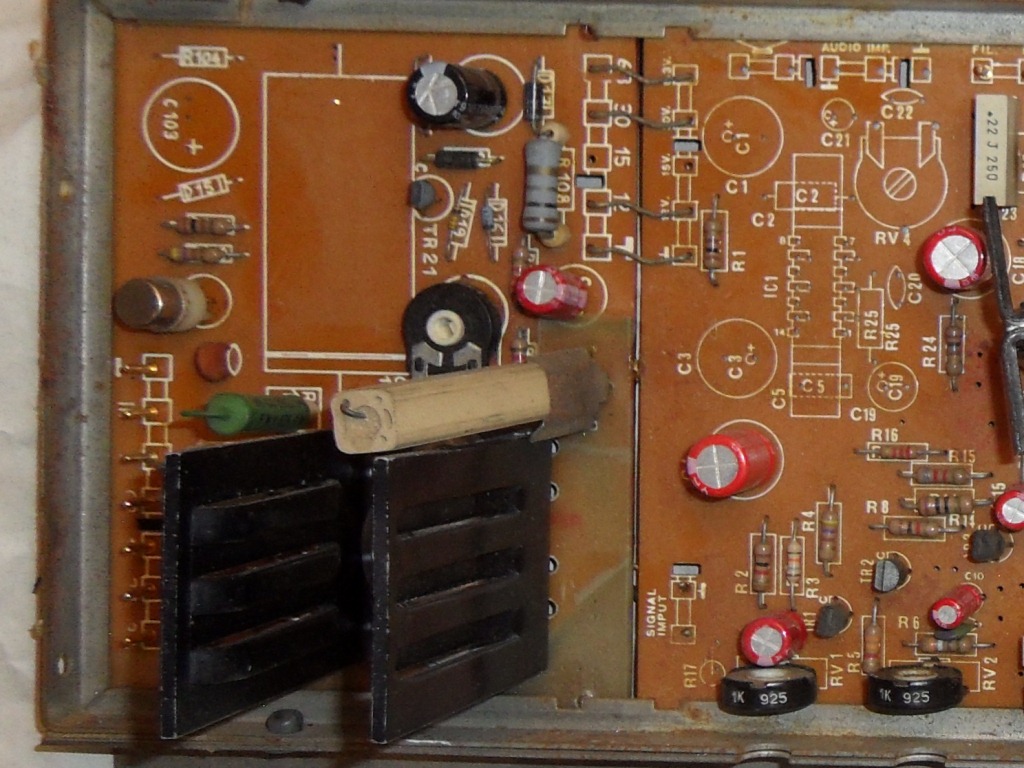
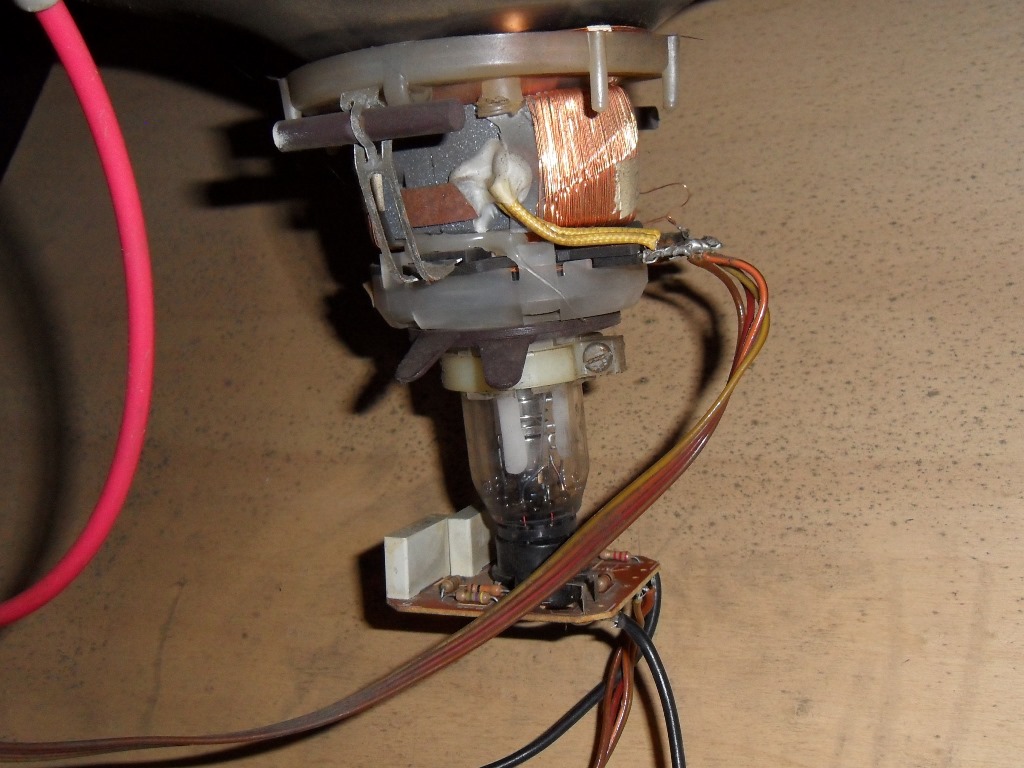
03/09/2012 - Monitor investigation
Pulled out the monitor chassis back on the bench and performed a back-to-back diode
check on all the transistors. All looked good except TR6, a BF 460 with a large heatsink
not secured. This design error had resulted in one of the pins breaking. Patched the pin
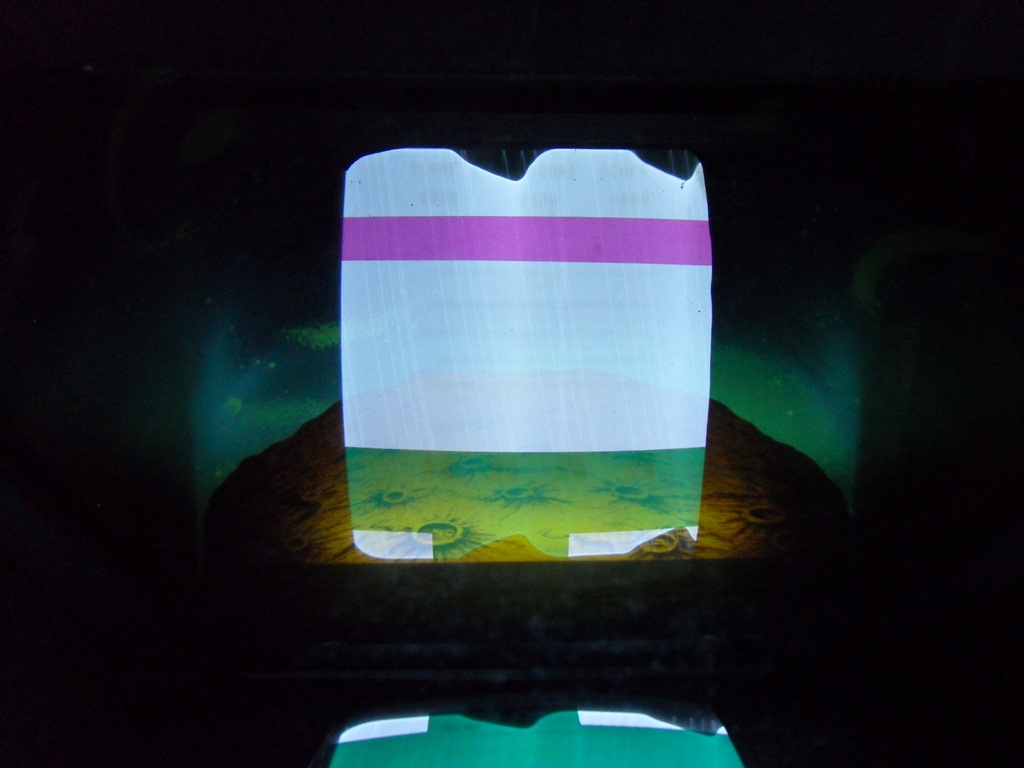
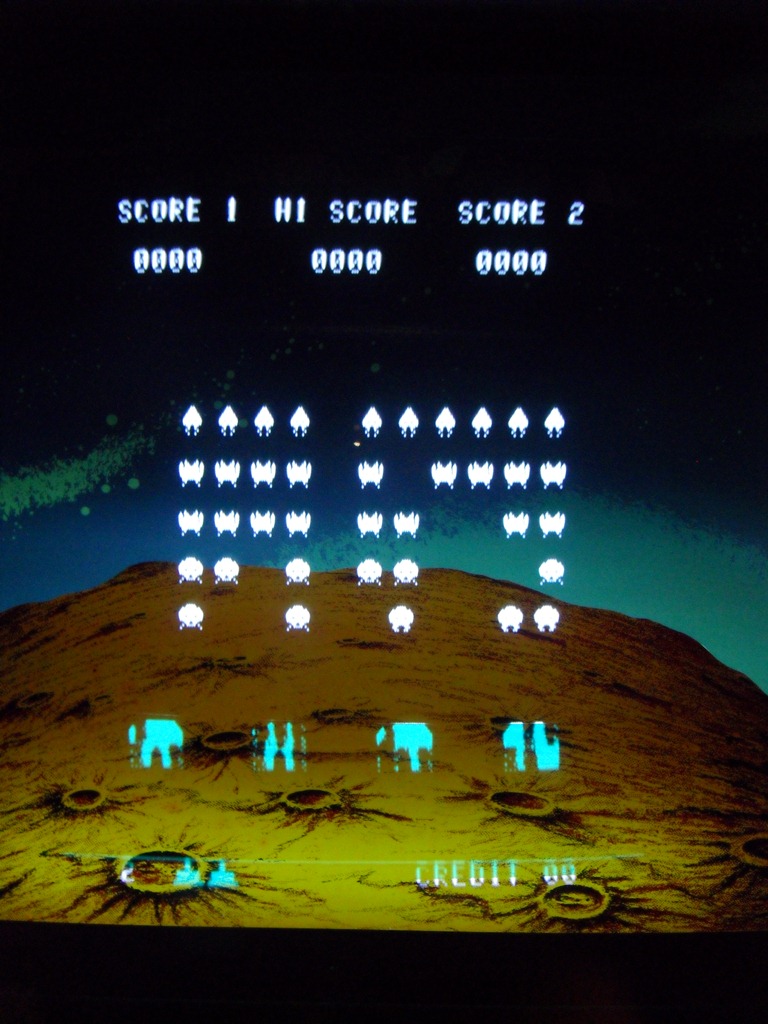
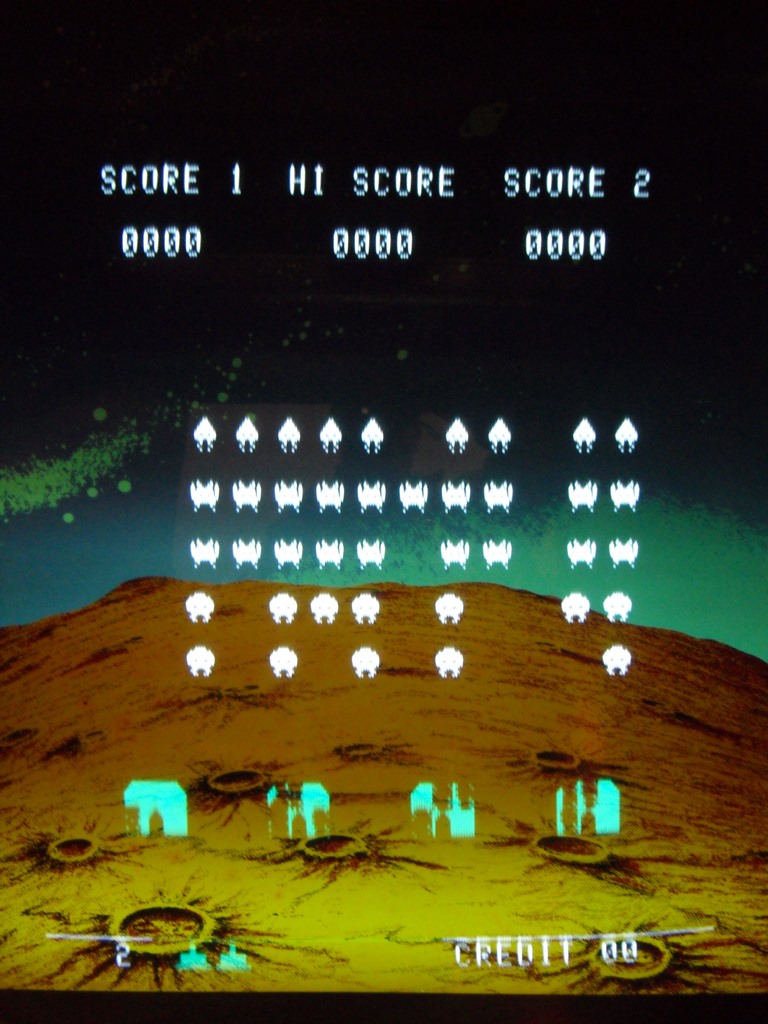
back on for now as the transistor itself checked out OK. Finally, some sort of picture.
There is sync lock and the distortion is heavy ripple over the top. The schematics show
a large capacitor, 2200uF/63V, at C101 but it looks like someone removed it. Seems likely
this is the cause of the heavy ripple.
None of the adjustment pots affected the heavy bleeding/low contrast/poor black level so
I think there is still something else wrong in addition to C101 missing :(
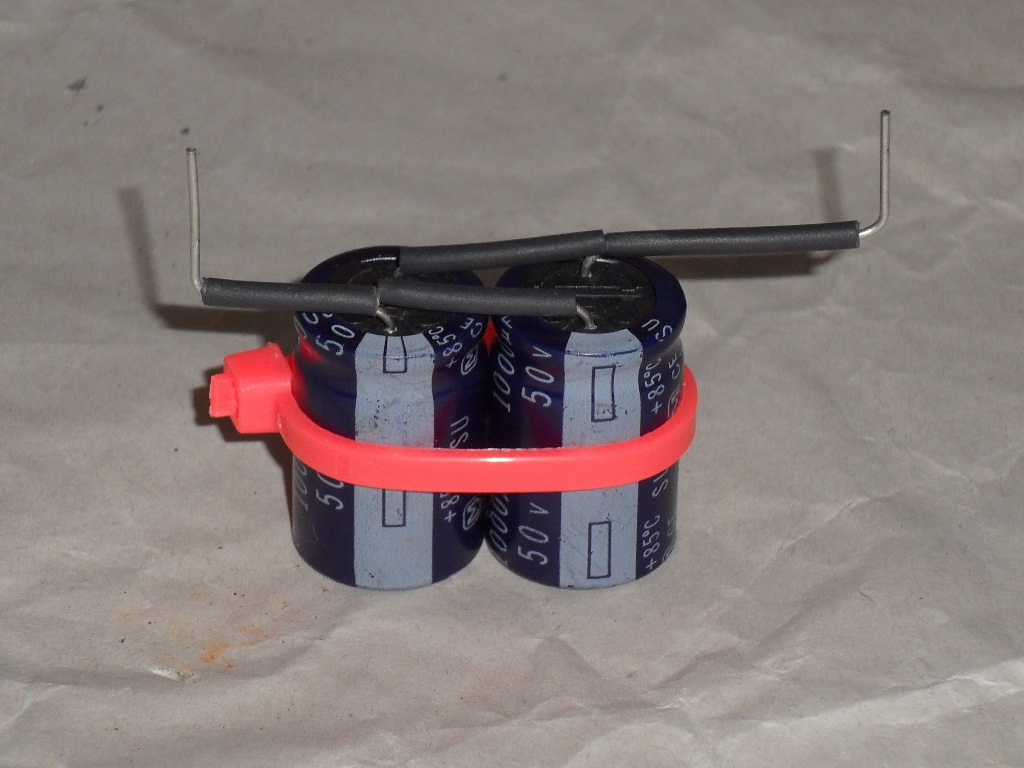
Measured the voltage at C101 to be ~34V so 2 x 1000uF @ 50V would seem to be
a suitable replacement, at least for now, for the missing 2200uF @ 63V. On retest
the ripple was fixed but as expected the contrast was still poor with heavy bleading.
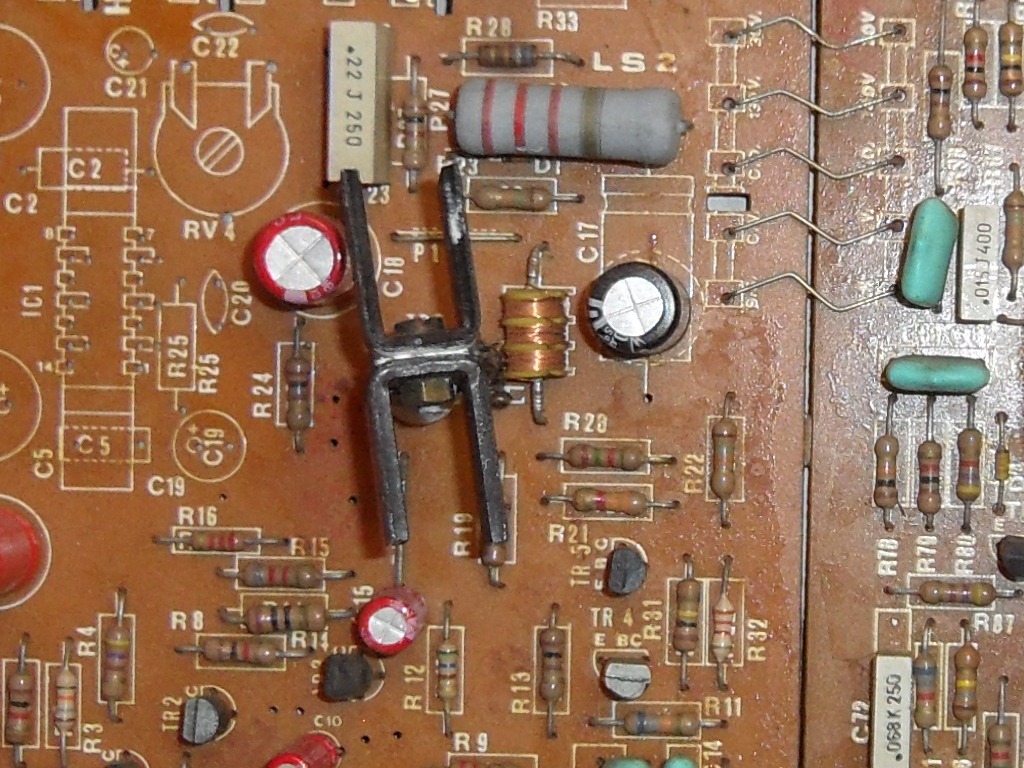
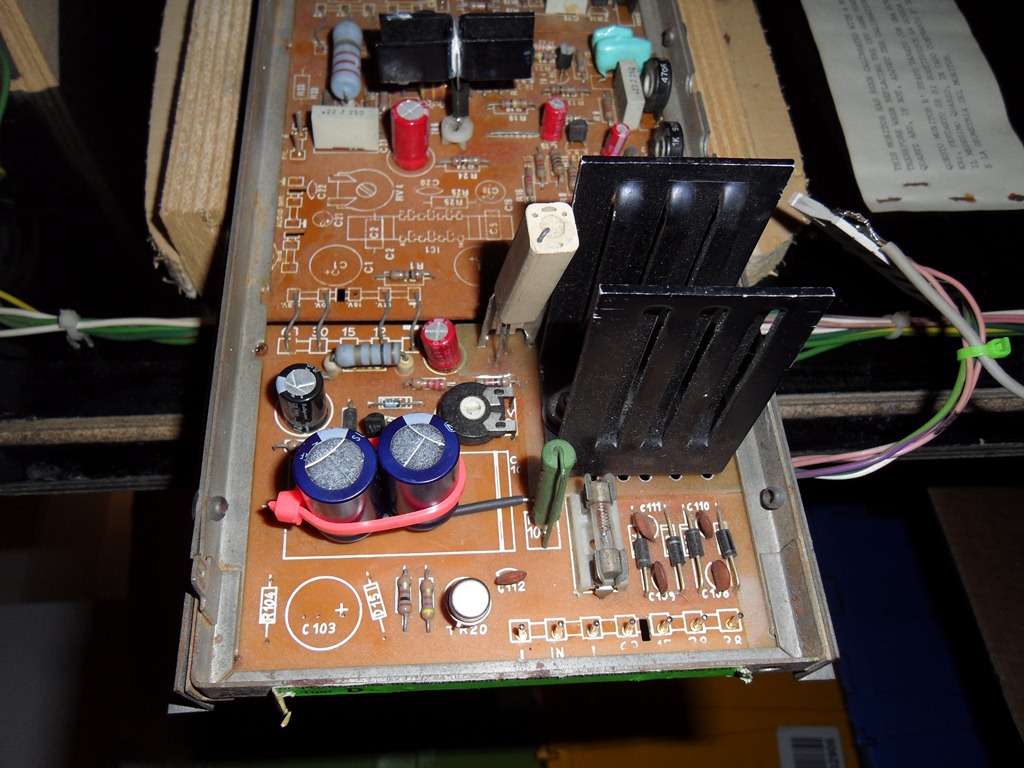
04/09/2012 - Monitor investigation continued

|
Poking around with the meter with the chassis back in the cab I discovered
reasonable focus voltage (~450V versus ~600V on the schematic) but the +140V
was barely 25V or so. Similarly, "K" was the same when it's supposed to be
related to the 140V. Pulled the chassis out back on the bench to investigate.
The 140V is a tap off the flyback with half-wave rectification. Both diodes
appeared OK but R77 measured open and looked a bit chalky. Since power resistors
usually don't burn out all by themselves, I poked around a bit more. All the caps
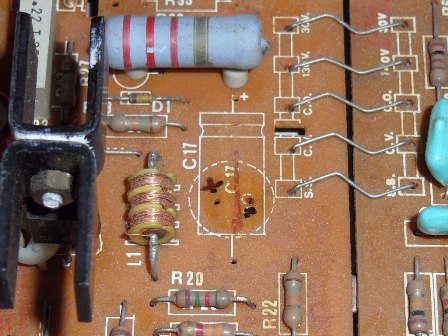
had been replaced by a prior owner and I noticed C17 (140V smoothing) looking
slightly bloated. Not much, just a little bit. Looking at the tracking it had the
"+" side connected to ground - didn't seem right. Popped it out and it became
clear that the prior owner had been caught out by some incorrect silk screening
- the axial markings were correct, but the radial markings were wrong so the cap
was in backwards. Corrected the error with a Sharpie "for the next guy" and popped
in a suitable replacement. Don't have any 33R 1W resistors in stock so can't retest
until they arrive. Fingers crossed!
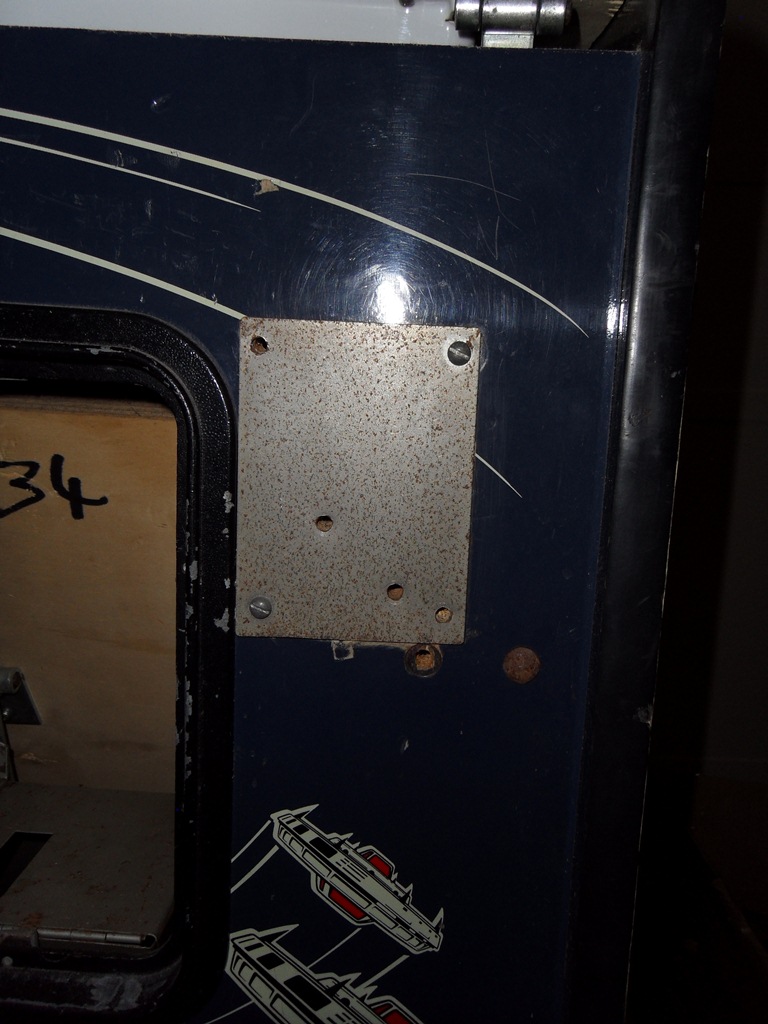
04/09/2012 - Cleaning
Took off the odd metal plate with the holes in it to find the reason for it's
presence - there is a hole and cabinet damage behind it that's been wood filled :(
Not decided yet what to do about it :(
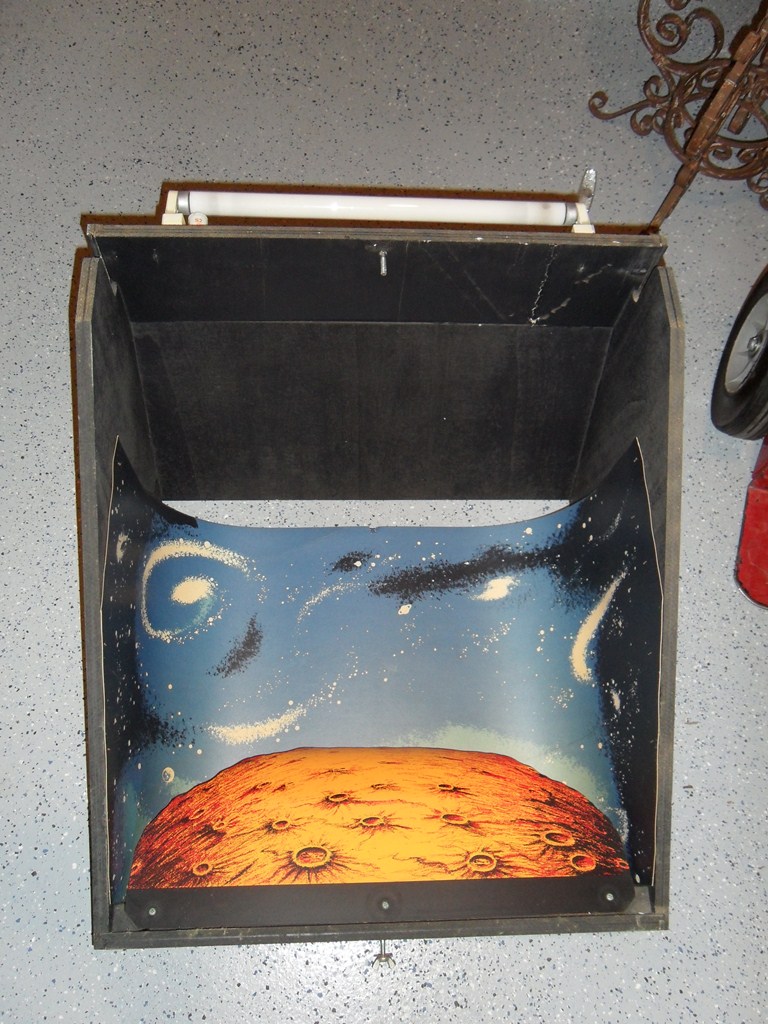
Removed the back box and cleaned it and the mirror glass. Also removed the
cardboard monitor surround, cleaned it and set it to flatten for later work.
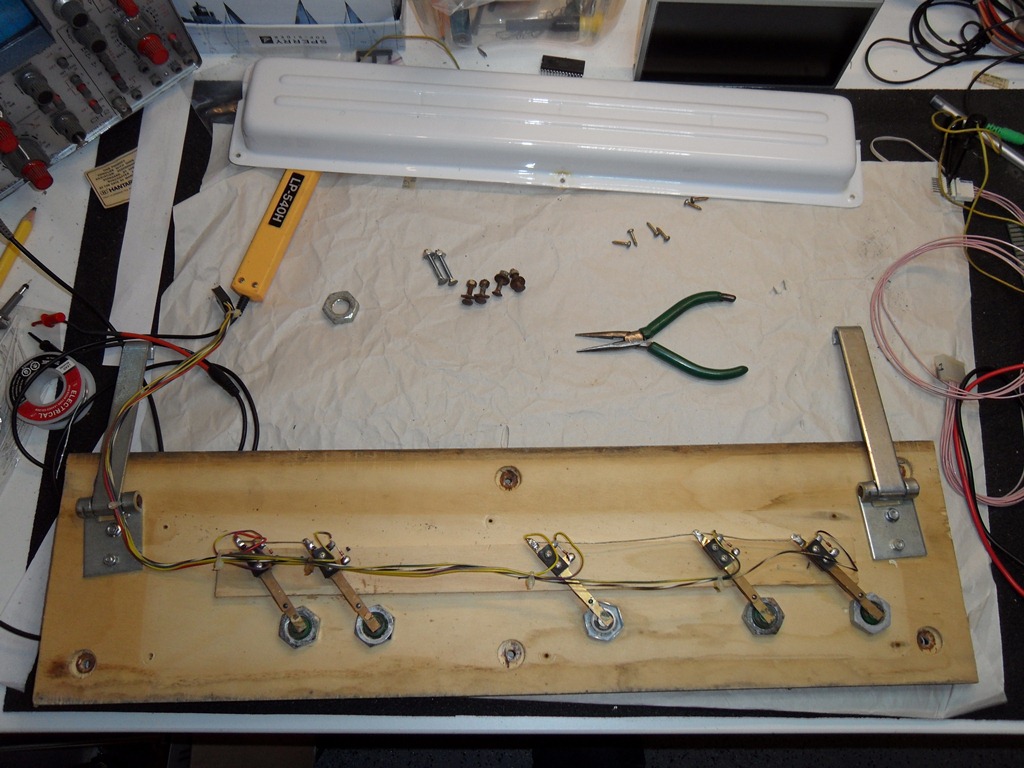
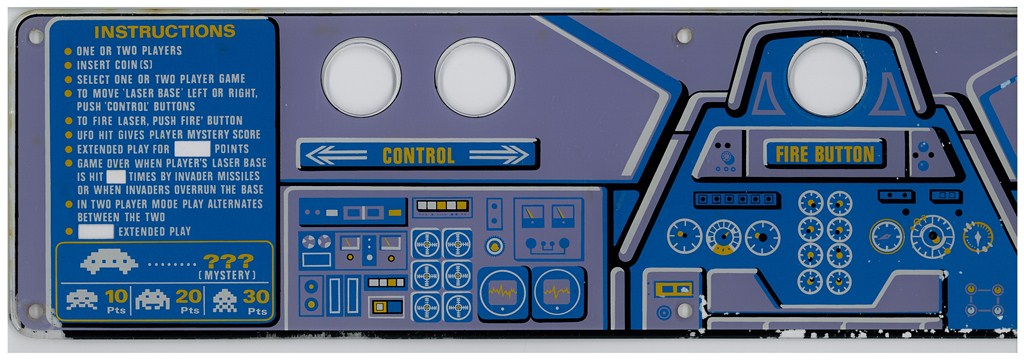
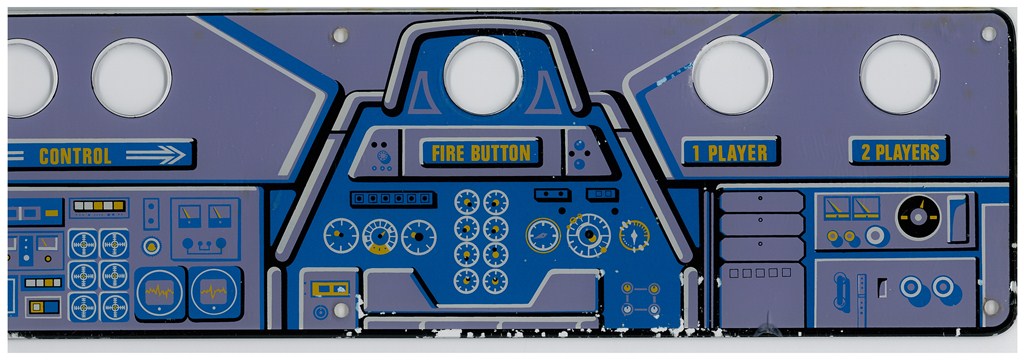
05/09/2012 - Control panel cleaning
Dissassembled the control panel to remove and clean the wood and plexi.
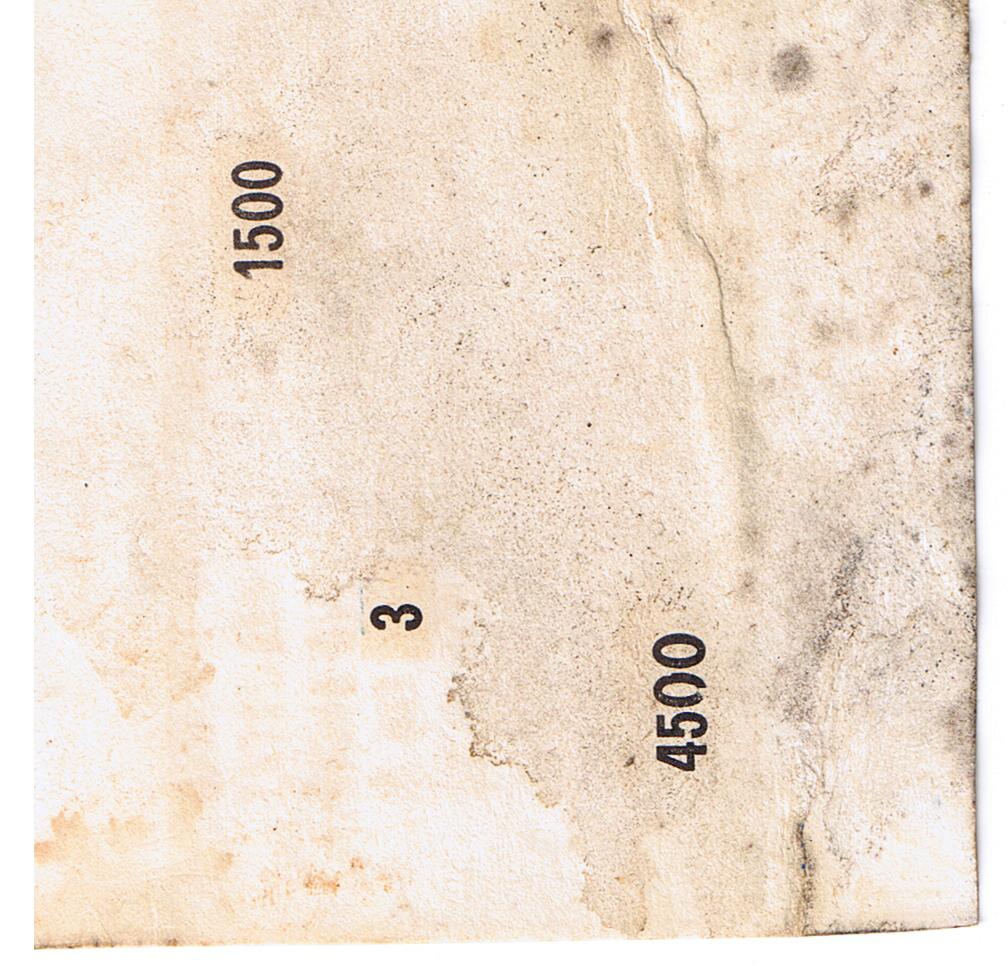
The score/base/bonus underlay had been removed (and was in the coin box) so
that can be scanned and go back under when the overlay is put back on.
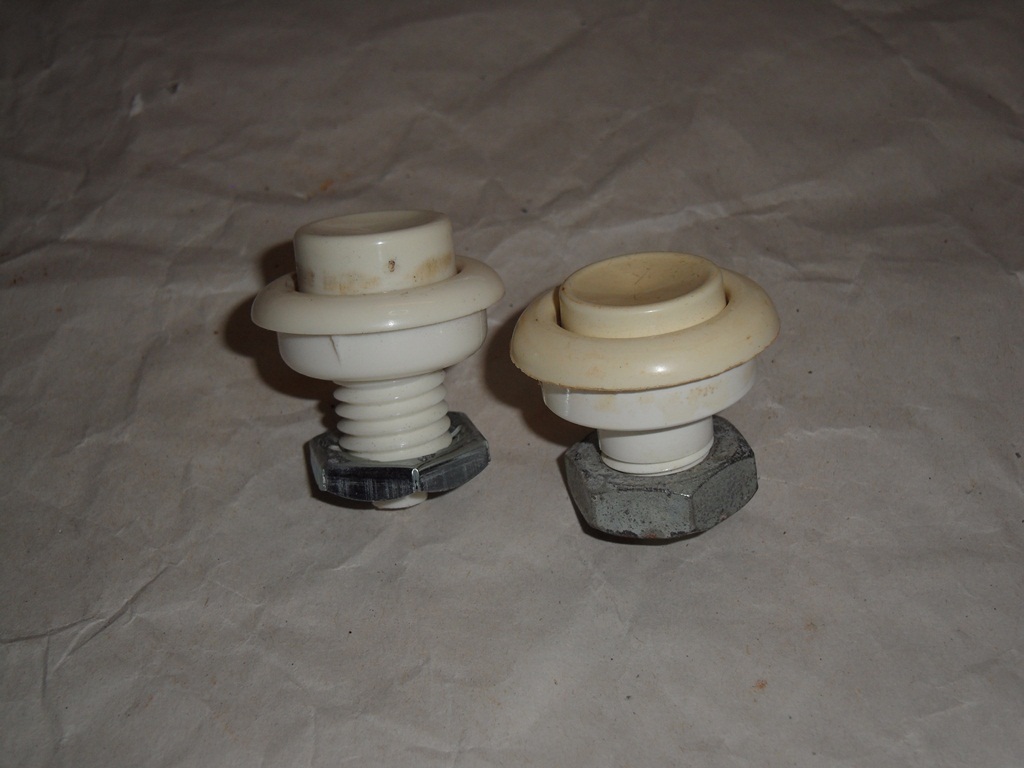
There was also a white button in the coin box that appears to be the original
fire button. The control panel had a replacement button. The one in the coin
box appeared to have a blown/wrong spring so swapped over to use the good spring
in the original button.
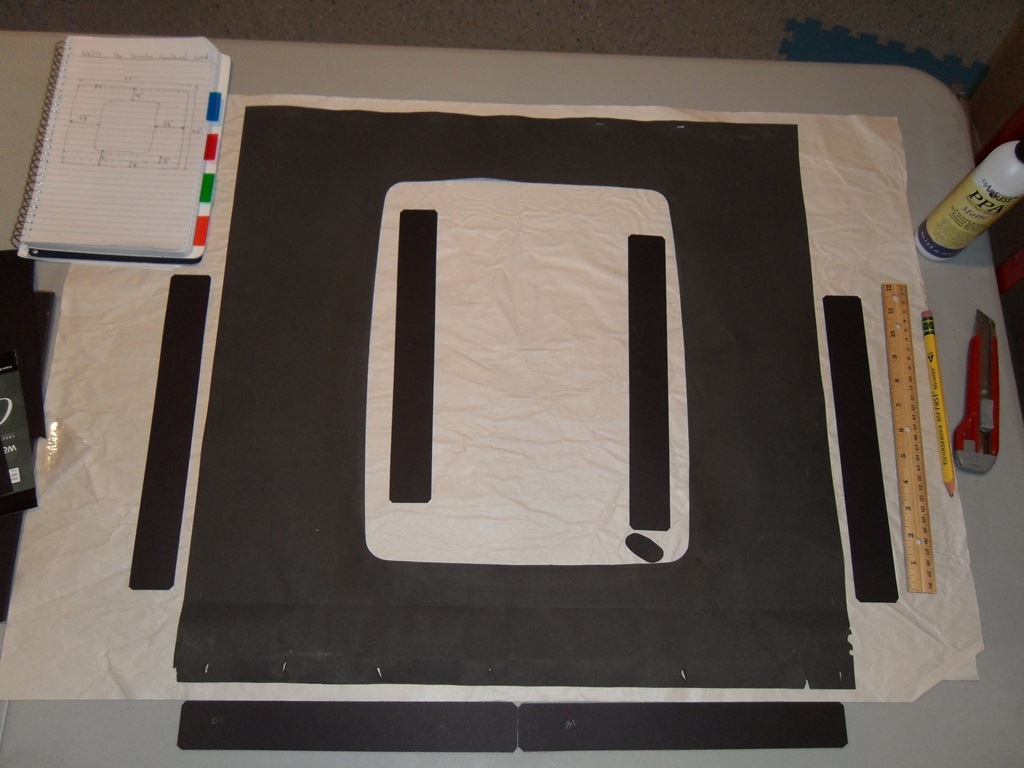
Scanned in the control panel overlay and score sheet underlay for future use.
300DPI The Invaders control panel overlay scan (6Mb).
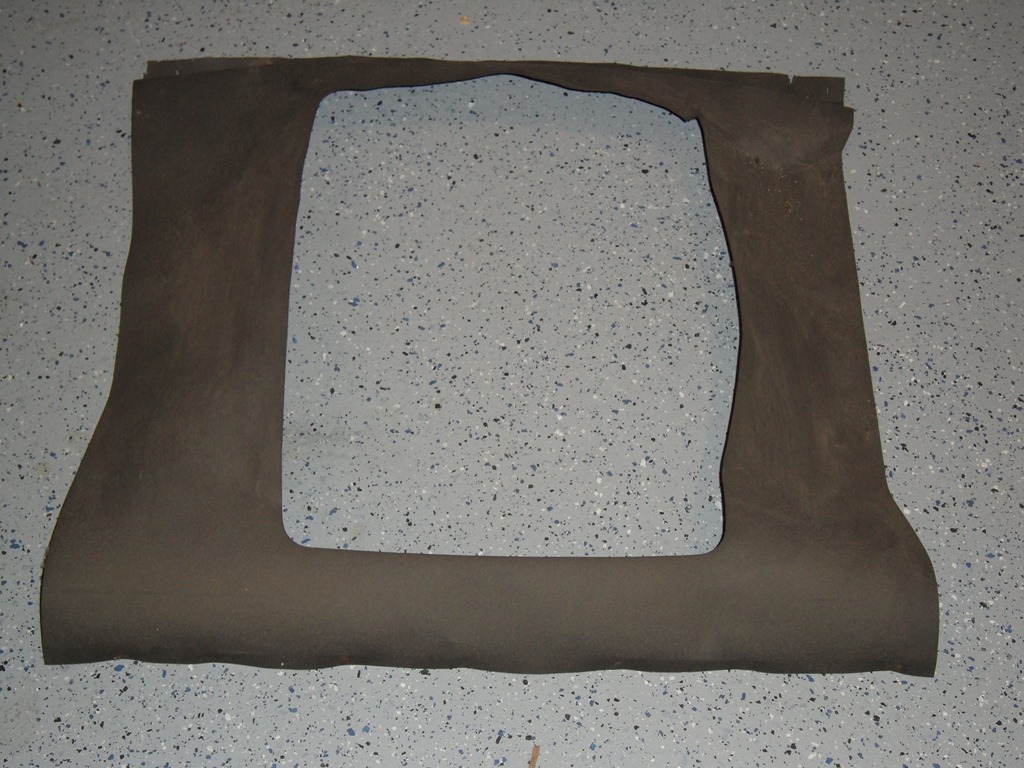
06/09/2012
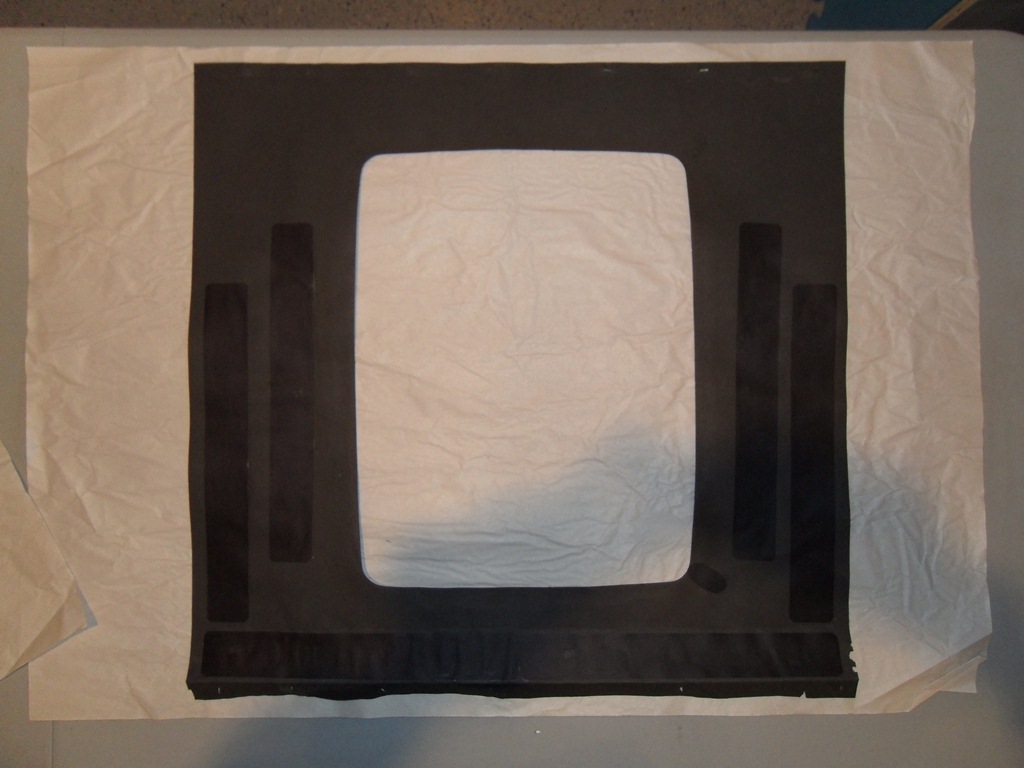
Cut the repair and reinforcement strips for the monitor surround cardboard
then glued them in place and set the surround to dry flat again. Also did a minor
repair of the background cardboard that had a small tear in it.
The 33R 2W resistors arrived so I can finally try the monitor again. Mostly success :)
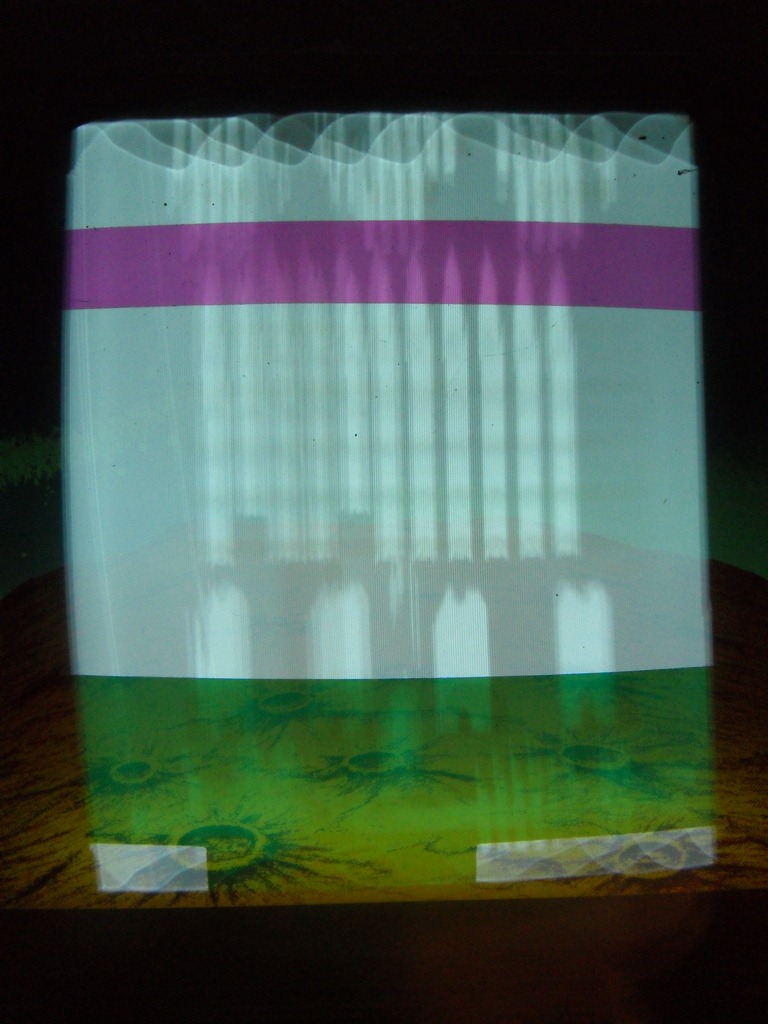
The picture is still a bit bleedy as if the gun response is slow but it's playable. The
geometry alignment with the colour film overlay seems impossible without an obvious way
to change the H-size or H-position. There must be a trick to do that that I don't know
yet.
08/09/2012 - Display assembly
Used the Dremel to cut a screw head into a seized carriage bolt that held in
the front glass bracket so that the rusted bolts could be replaced. Refitted the
dry monitor surround cardboard back in the cab and restapled.
With all the display peices reassembled back into the cabinet and reconnected
it's looking OK and playing OK.
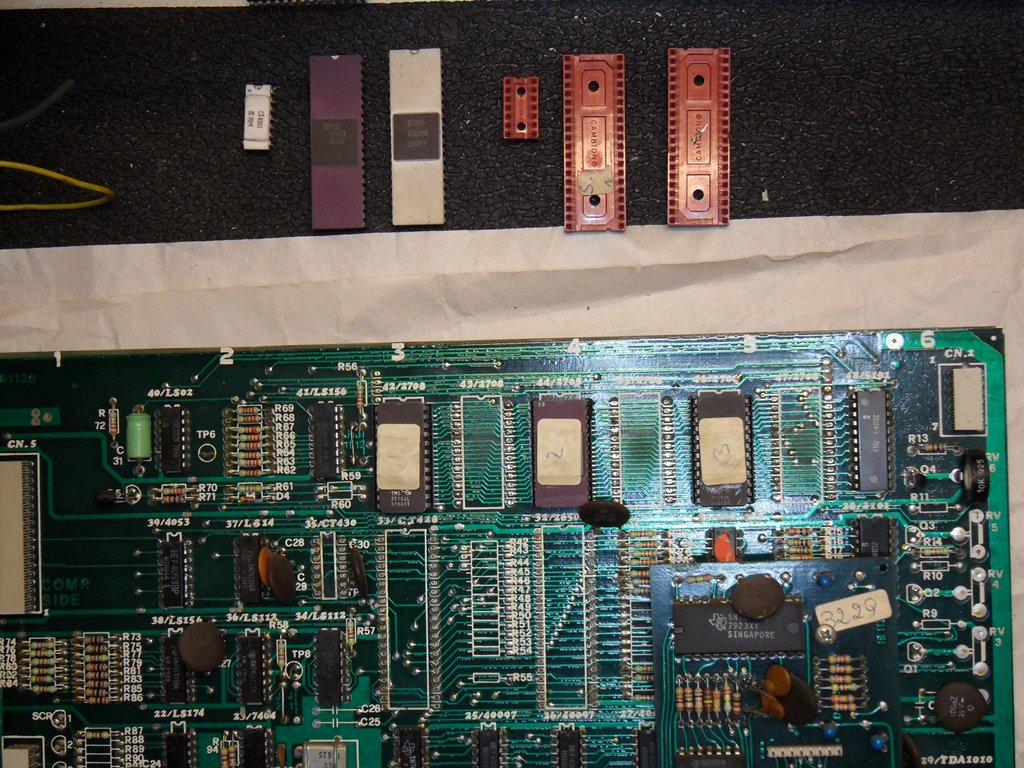
08/09/2012 - An aside about game PCB's
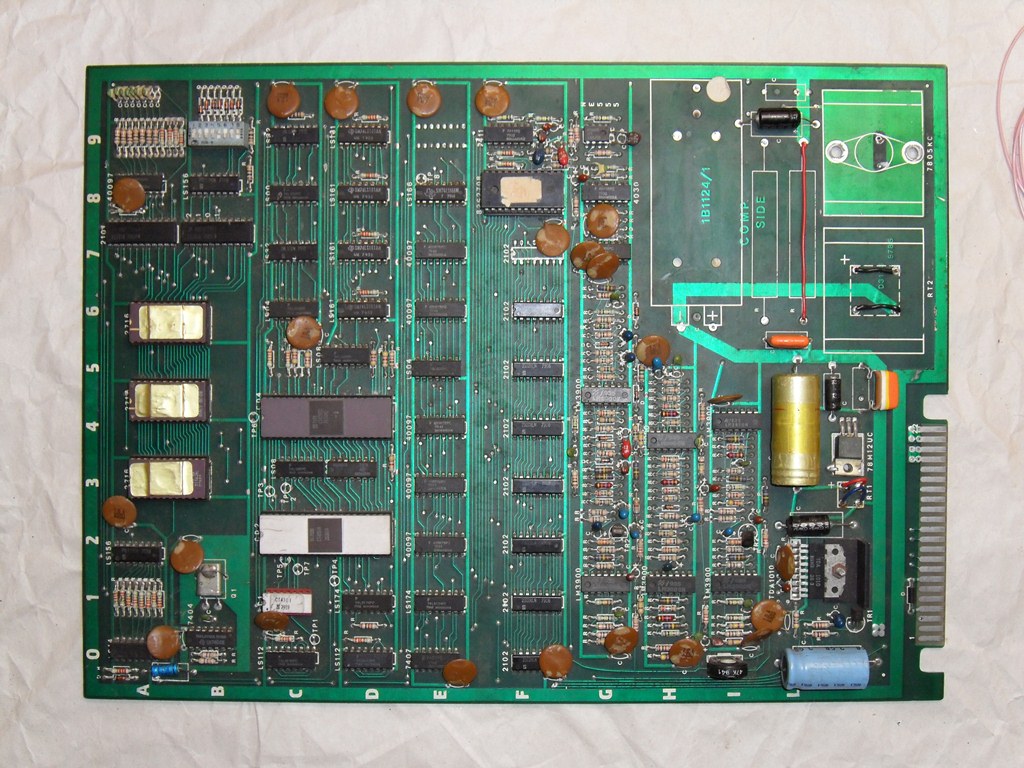
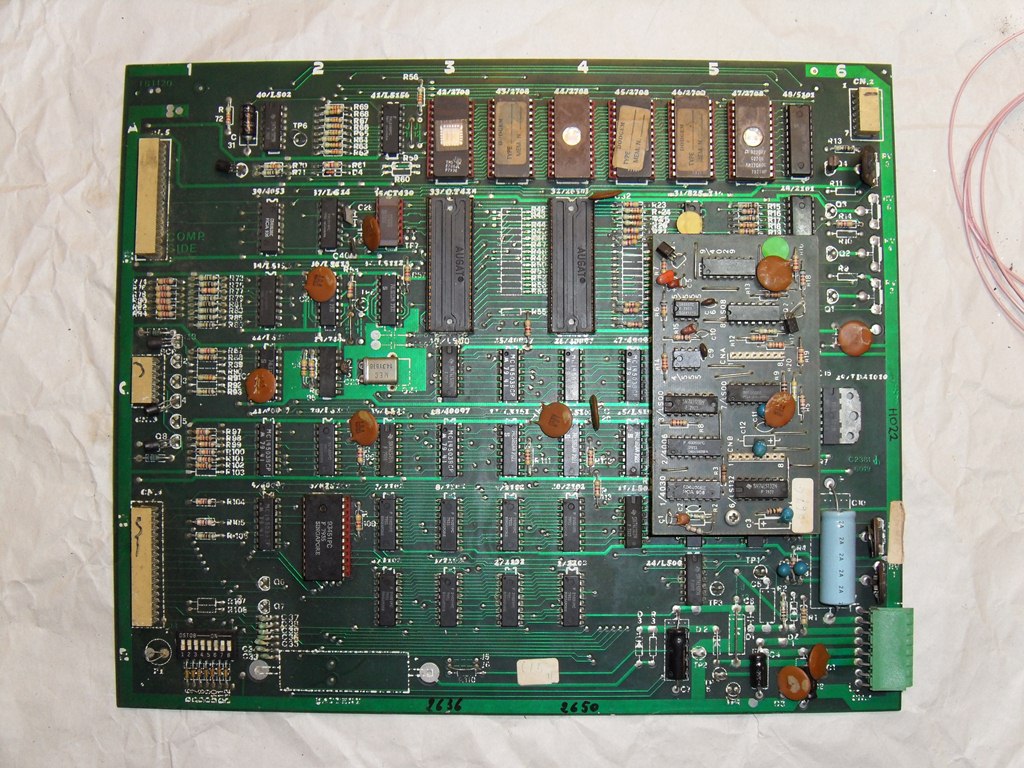
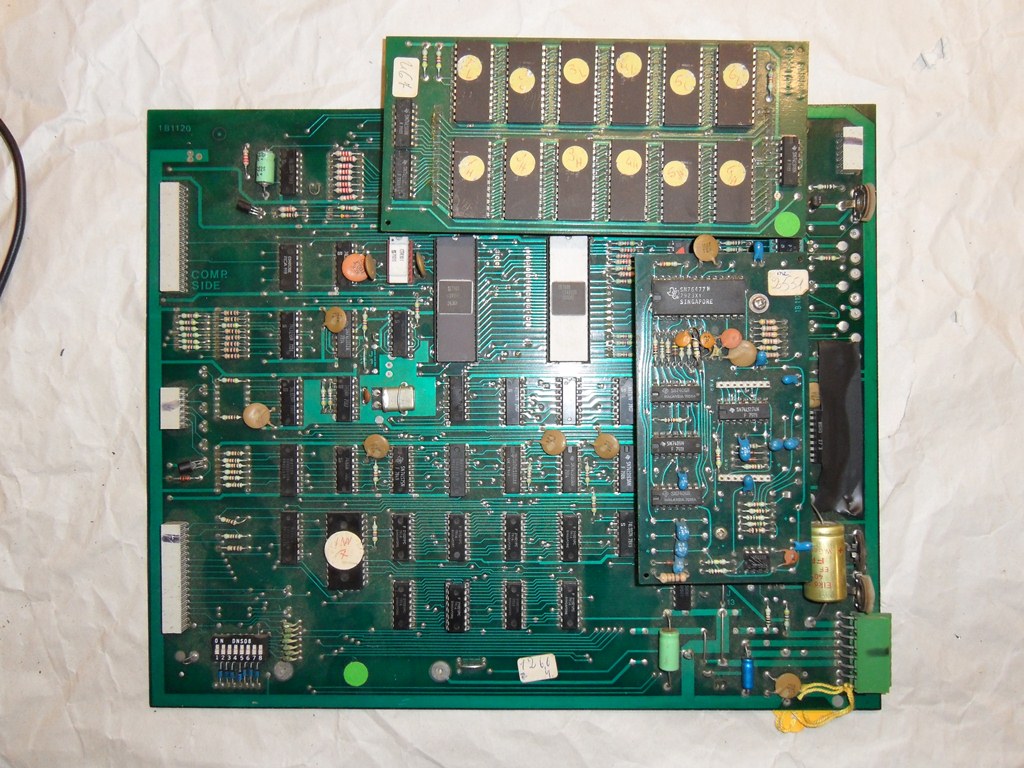
Dug out the spare The Invaders and Dodgem game PCB's for a little comparison:
- The first one is labelled "Zaccaria The Invaders cocktail only" by the distributor.
From the model number (1B1124/1) it would appear to be a later edition of the PCB with a
traditional edge connector and the option to populate the power regulation on the PCB
itself.
- The second one is a Zaccaria Dodgem PCB that shares the same base board as The Invaders
but has a different sound board.
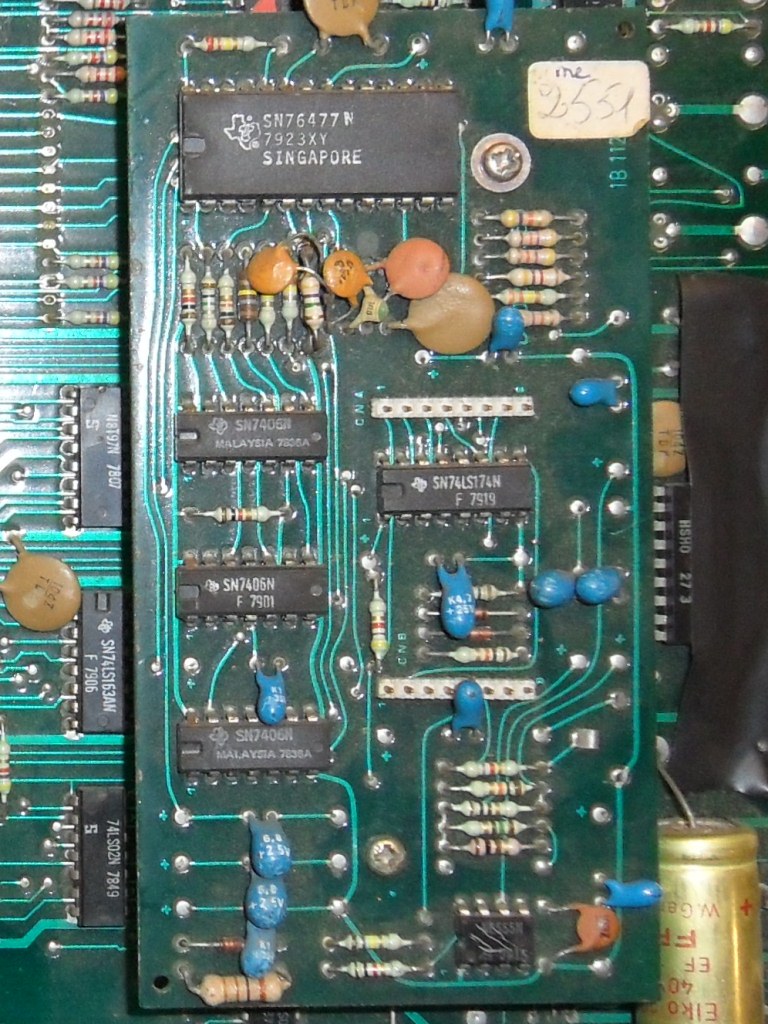
- The third one is a Zaccaria The Invaders PCB, in this case with a daughter board stuffed
with what looks like 2704-like one time programmable game ROMS.
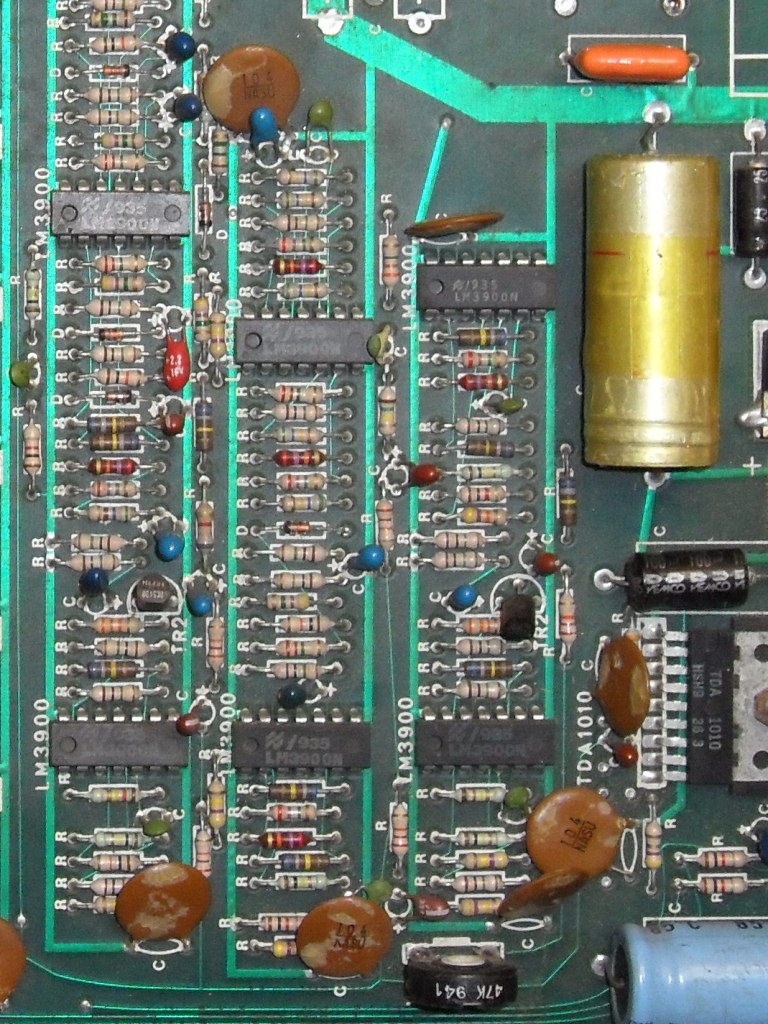
The interesting part is that the The Invaders cocktail PCB has completely different
sound hardware than the upright PCB with the separate sound daughter board. It looks
LM3900 based, like the original Taito edition of the game. I need to dump the game
EPROMs from this board to determine if it's running different game code as a result.
Dodgem and The Invaders have different sound daughter boards.
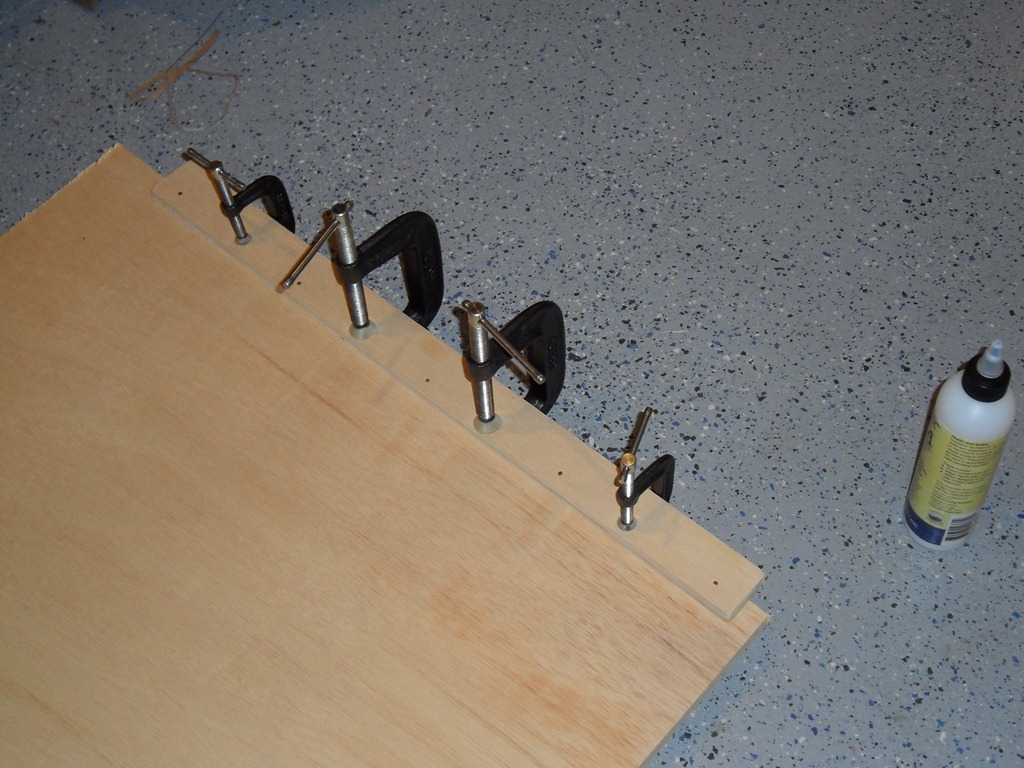
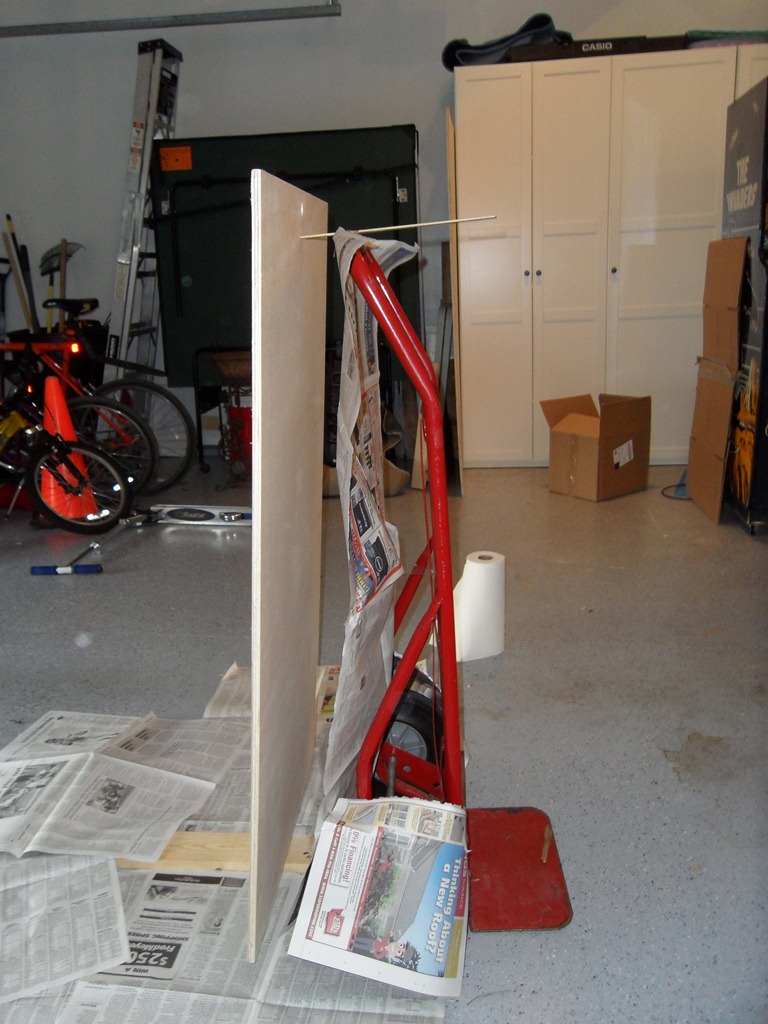
10/09/2012 - Back door assembly
The back door was 3/4" too wide to be able to use a stock 2ft x 4ft panel so
I had to get a 4ft x 8ft panel and have Home Depot cut it down. Perfect fit
with a ~4ft x 6ft panel left over for future back doors.
Bela provided the correct location for the lock hole - centered 30cm from each end,
2cm diameter hole centered 2.7cm from the top.
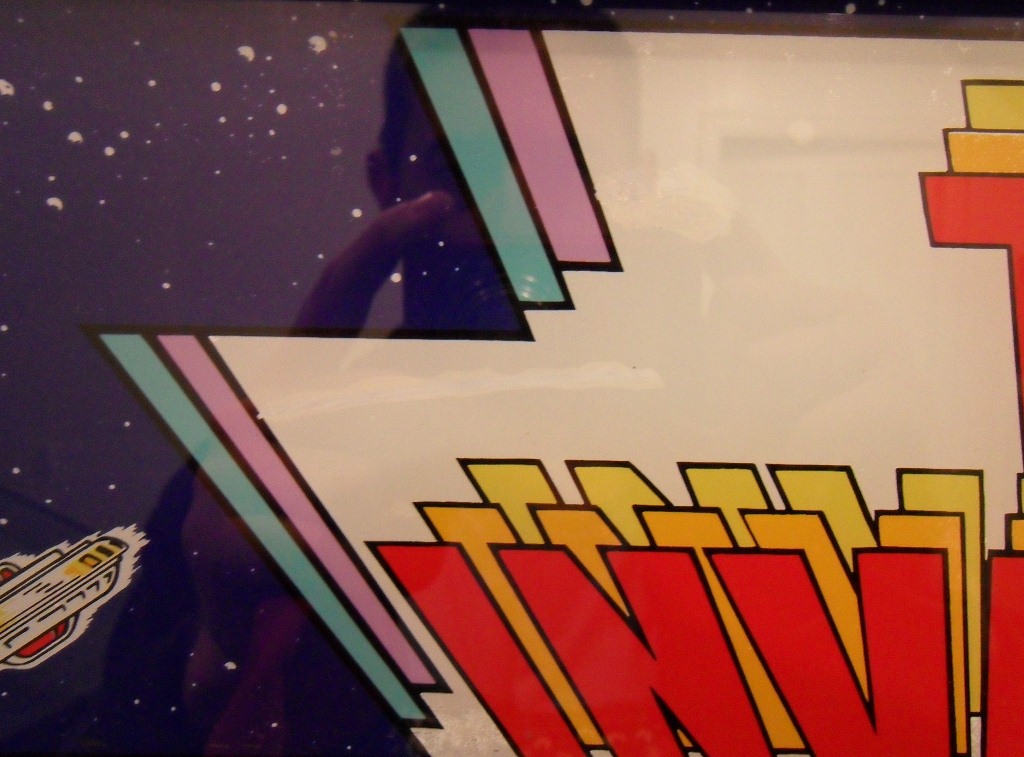
11/09/2012 - Front bezel touch up
I used a plain white glass paint to touch up the damage to the monitor bezel
art as best I could. Not touching the other minor areas for now.
13/09/2012 - Back door painting
Junior helped me prime and top coat the new back door.
15/09/2012 - Bits and bobs
Found a couple of control panel clasps (the same as the ones that were missing)
and fitted them along with new back door and coin door locks.
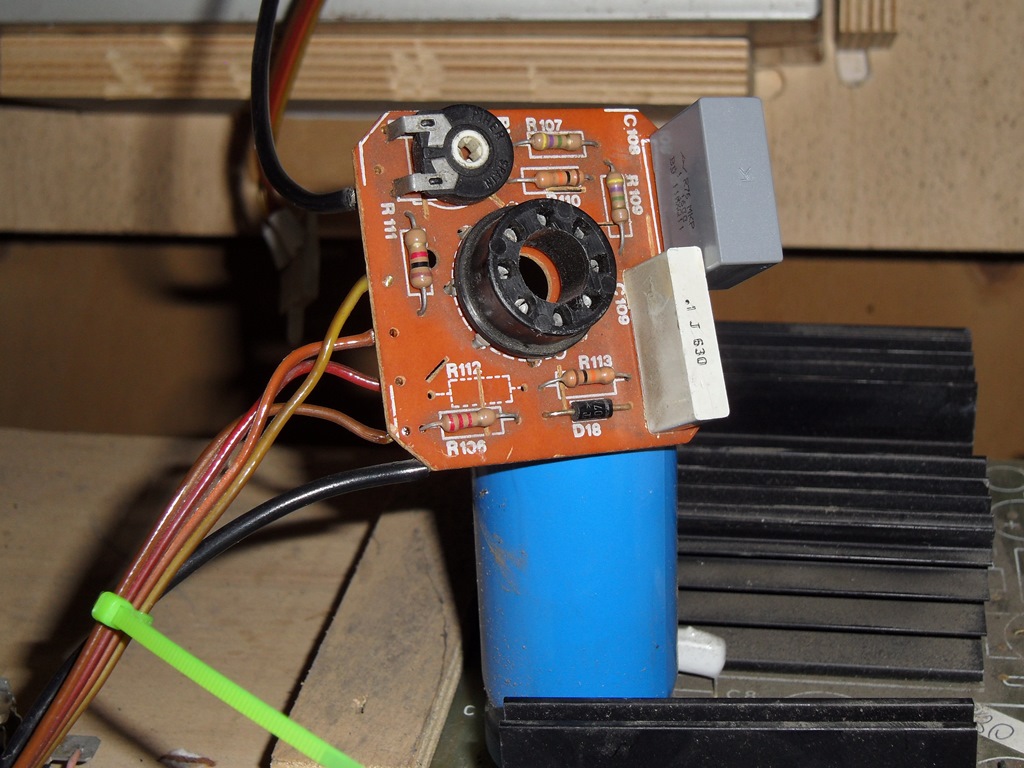
19/09/2012 - Wiring refresh
Much of the monitor wiring connecting the yoke and neck board was fraying
with no strain relief. I decided to reflow and shrink tube the connections along
with some cable ties to keep it tidy. One of the HV caps on the neck board looked
cracked all the way accross the top and down the side - the replacement is much
larger but is rated 1.6Kv versus the one that cracked that was rated 630V but
on the focus line at 600V seemed a bit too close a margin.
29/09/2012 - Finishing up for now
Made another attempt to adjust the monitor and managed to get it looking a little
better than before. Probably as good as I'm going to get out of it for now. Completed
reassembly as done for now.
The Invaders Maintenance 2019
The Invaders Maintenance 2021
The Invaders Maintenance 2022
prswan@gmail.com