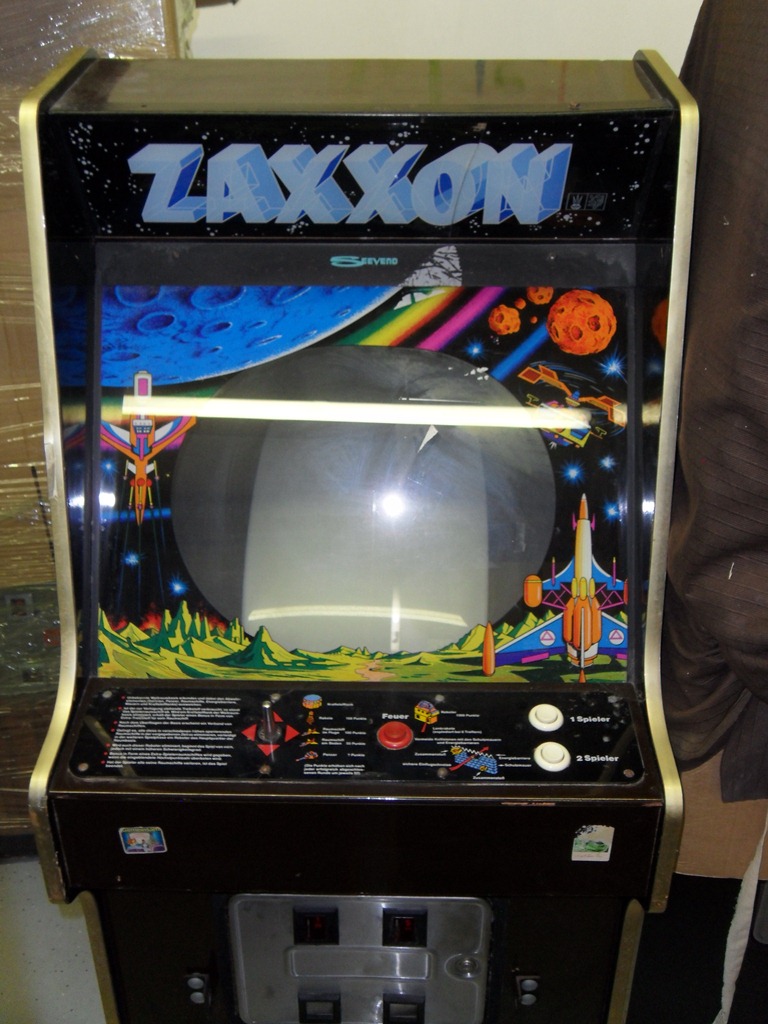
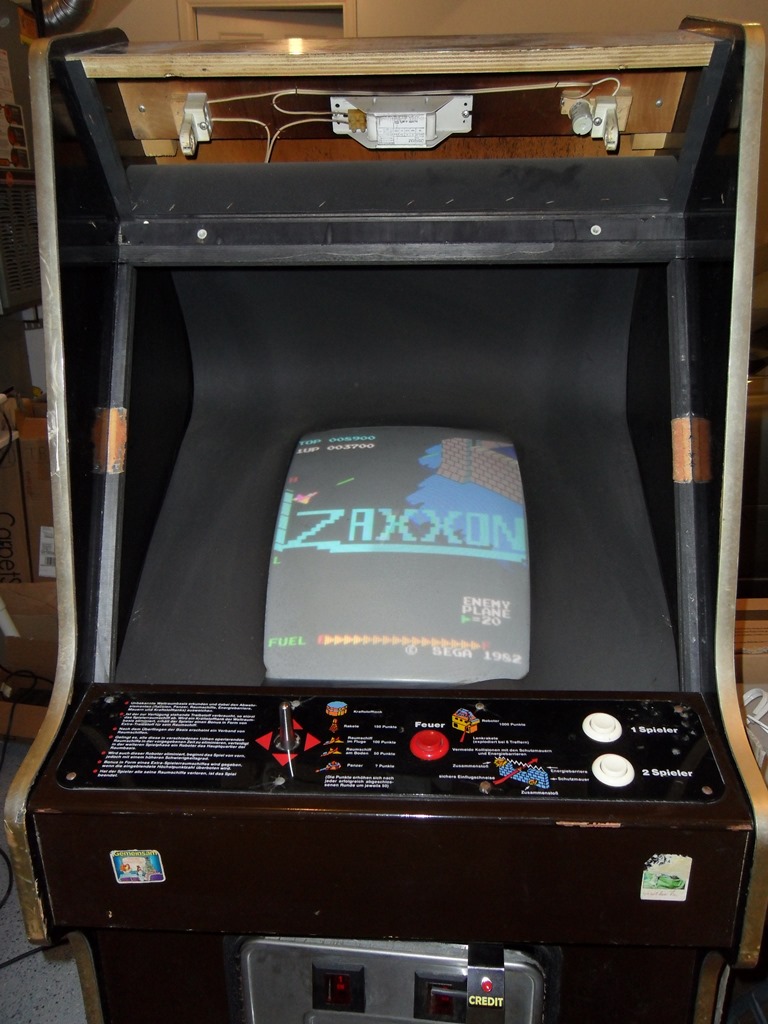
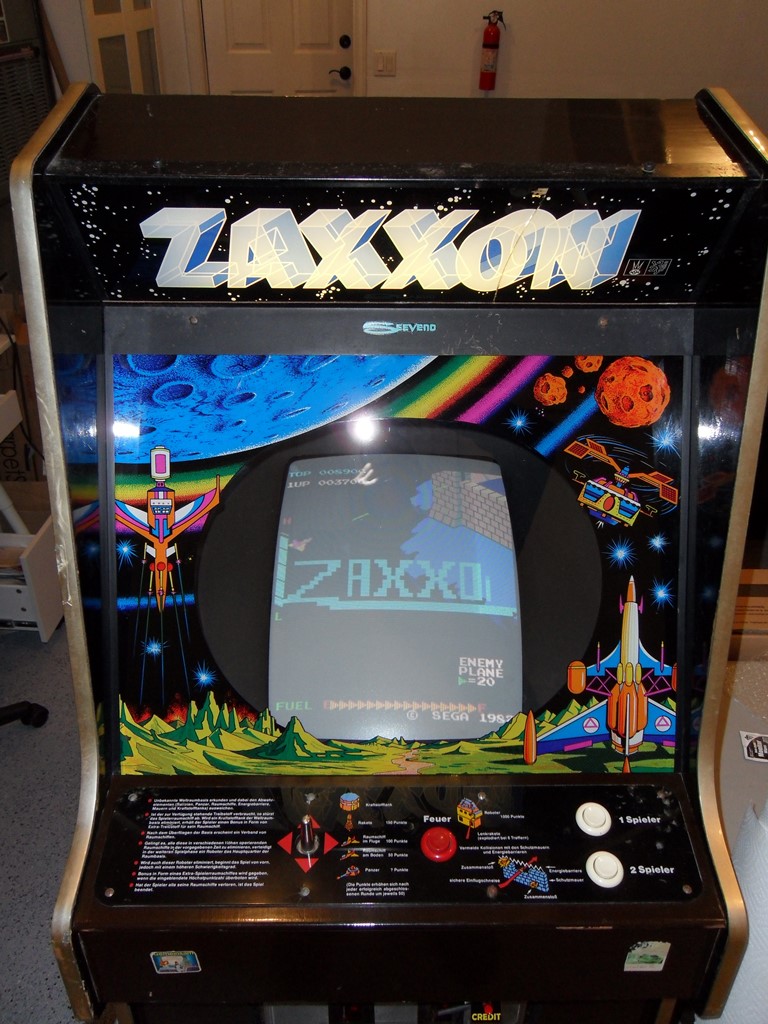
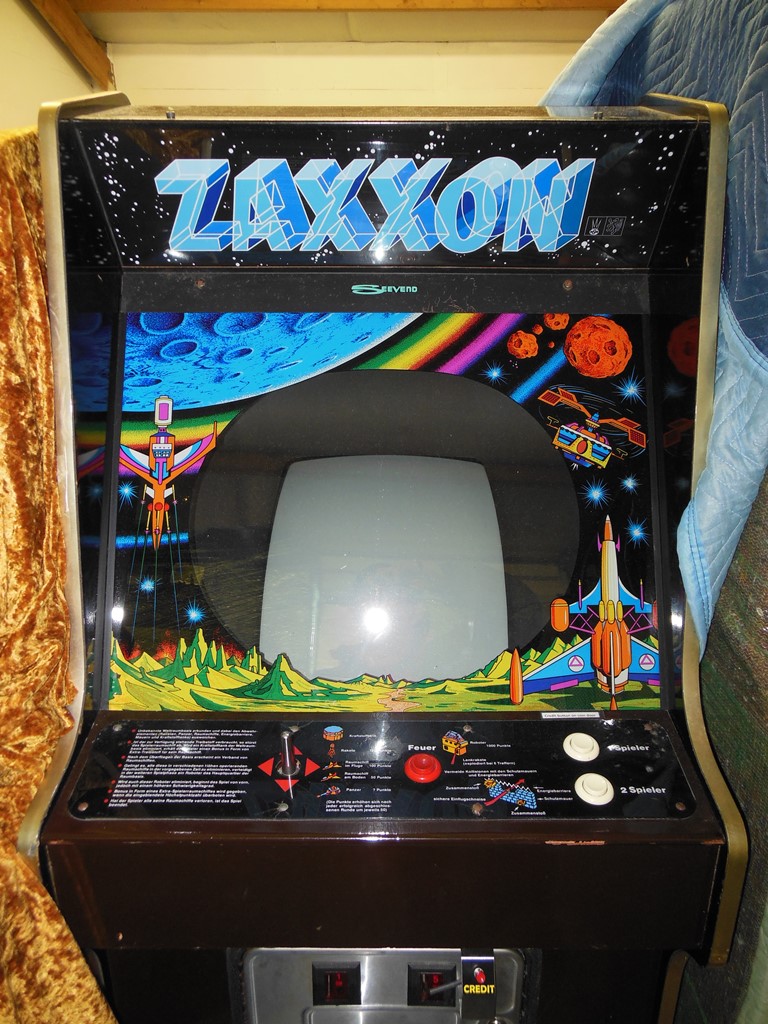
Can't remember where this one came from (likely Ebay DE) but it looks complete, original and dedicated for the German market. It's being worked on at my storage place so updates will be intermittant.
|
|
|
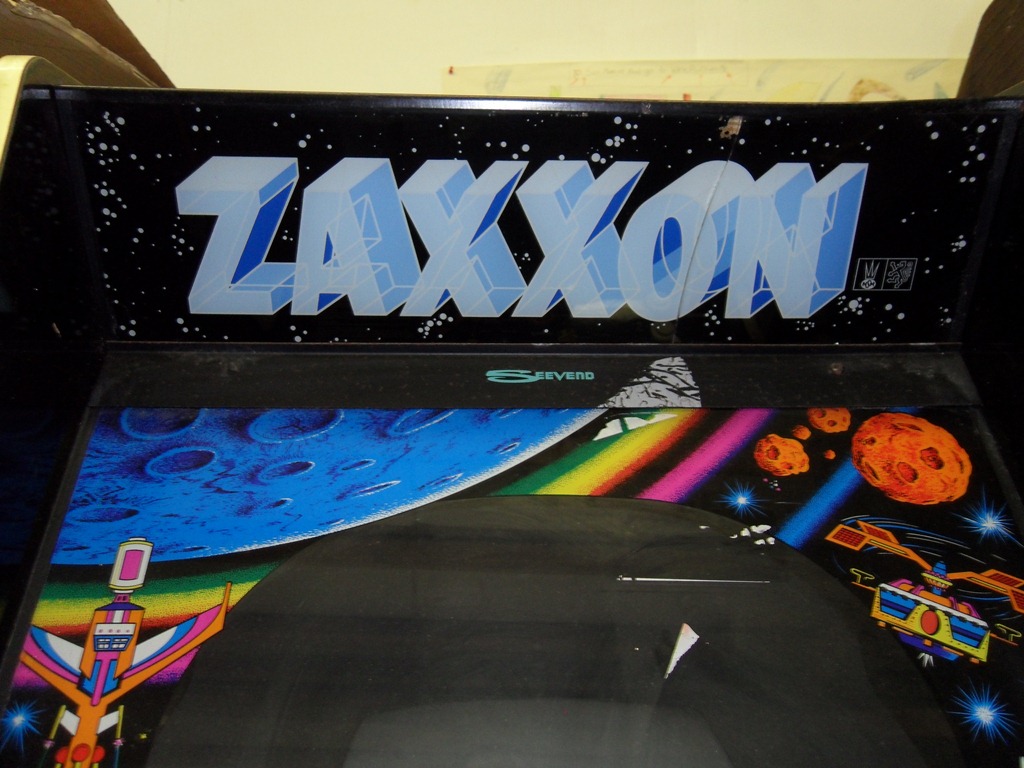
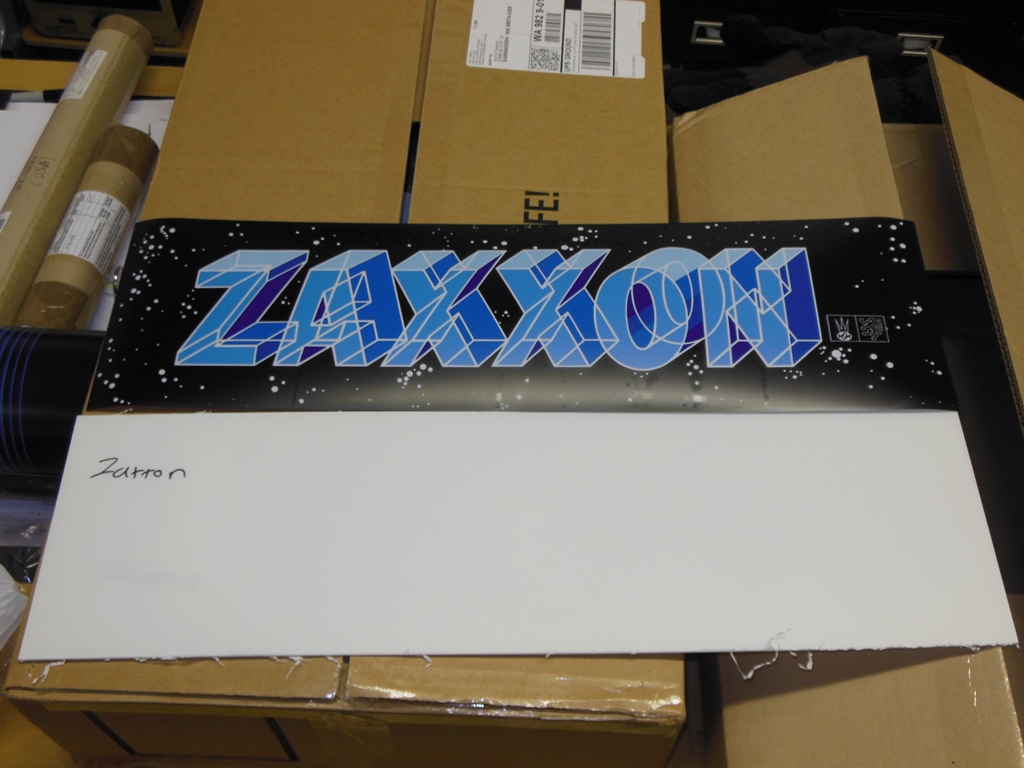
All the front artwork is in generally good condition execpt the glass marque is cleanly split broken in two and the control panel overlay has some cracking around the carriage bolts.

|
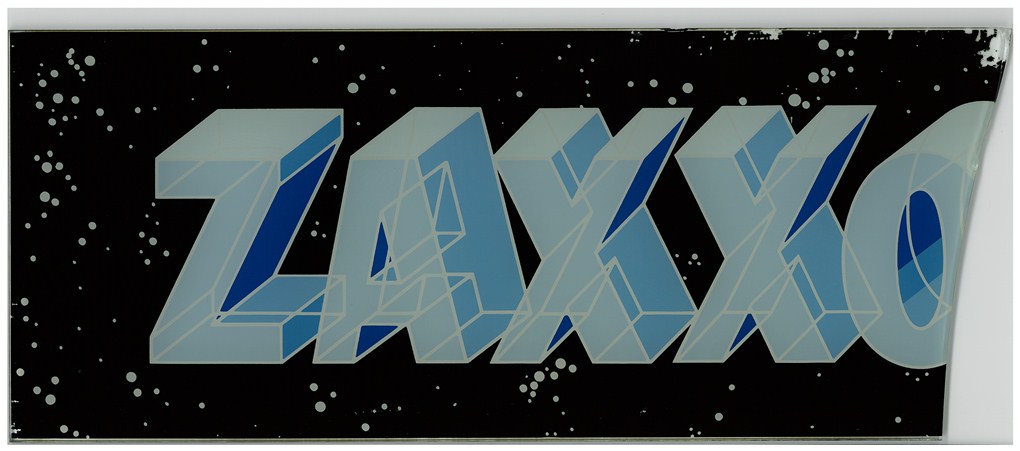
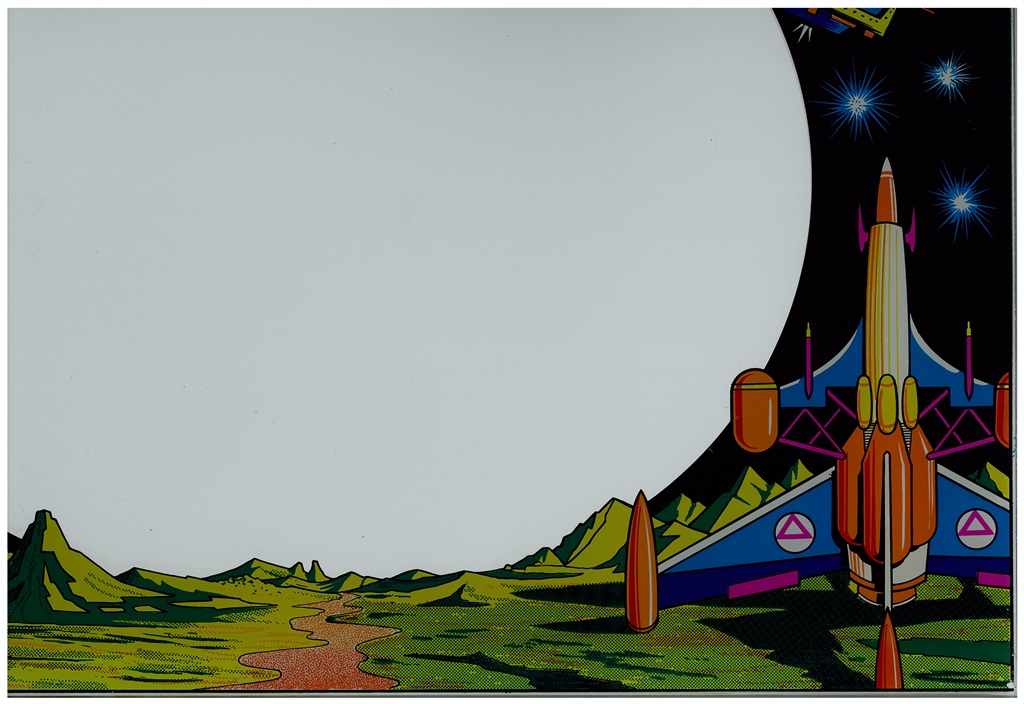
Scanned in the marque peices and put out a request for help combining, restoring
and making a repro. For now the broken one can go back in the cab.
300 DPI Zaxxon marque scan (7.5Mb).
|
|
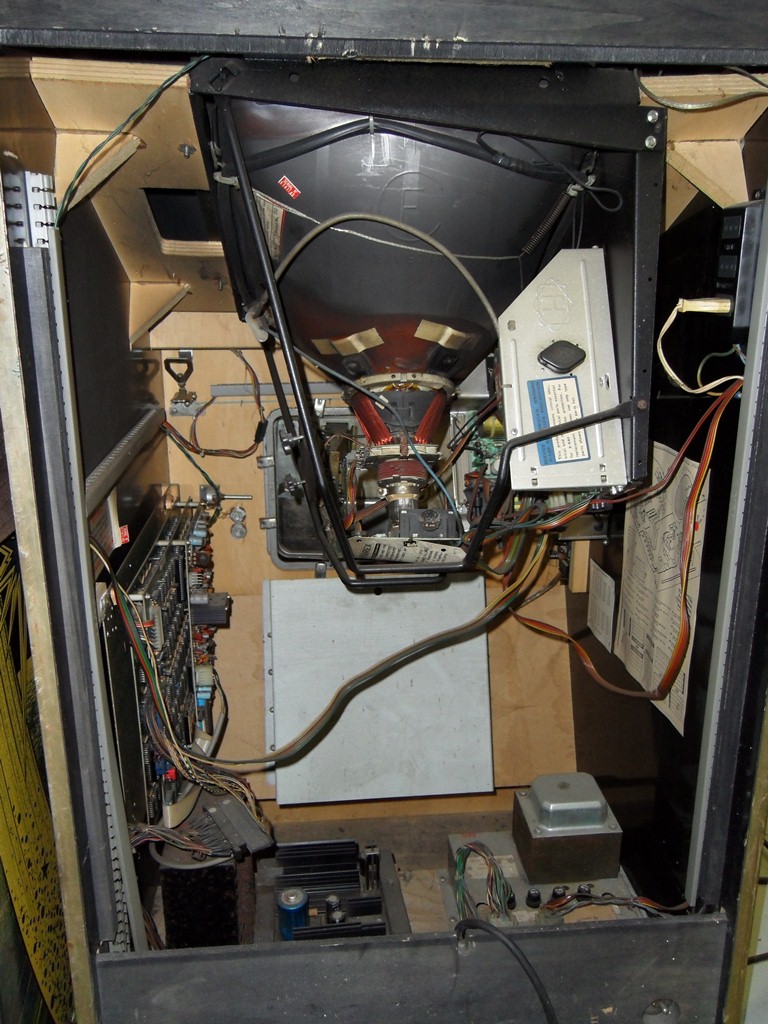
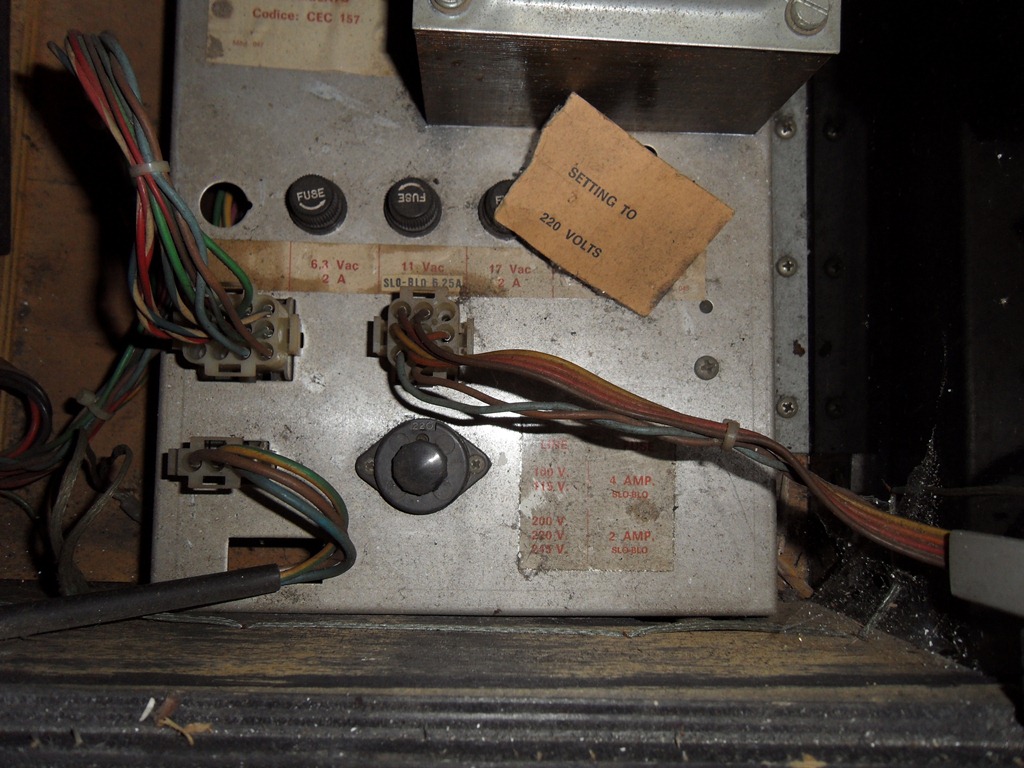
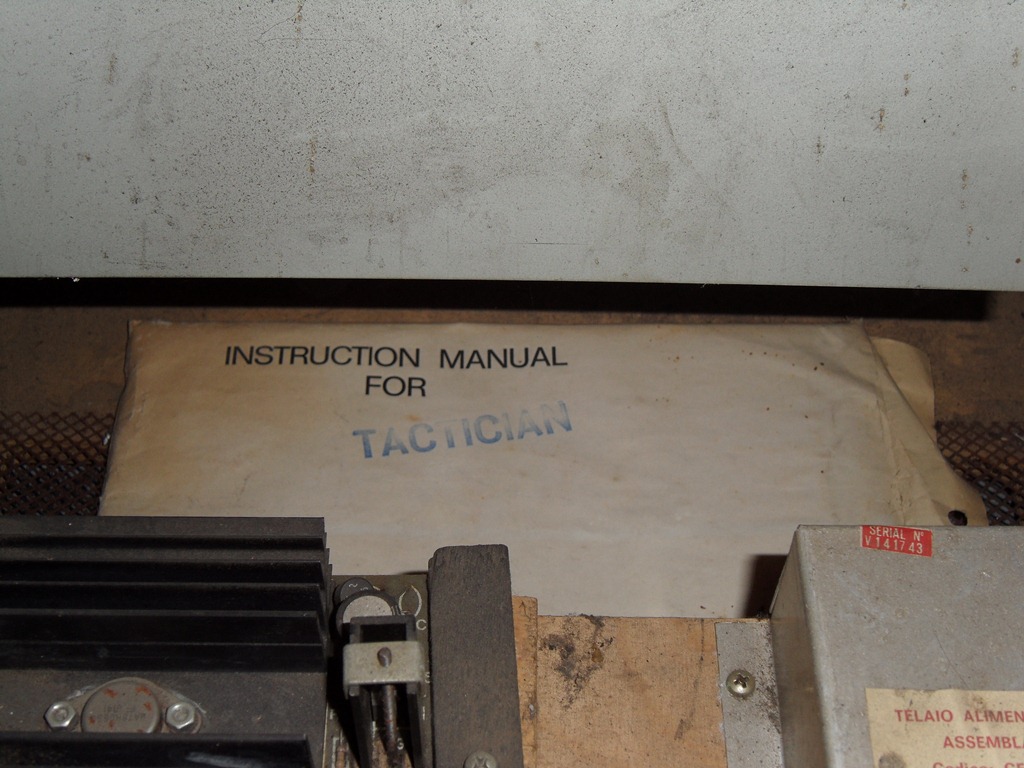
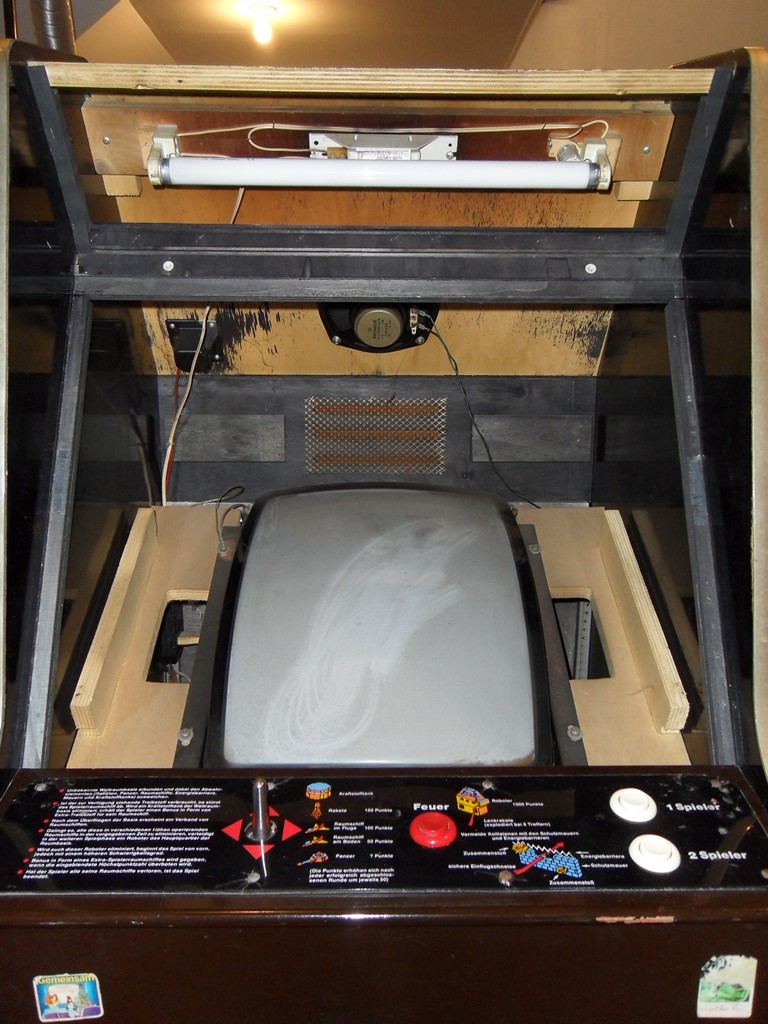
Opened up the back and adjusted the voltage (still need to replace the German power plug in order to power on, though). Also found a manual package - but for Konami Tactician. I had a quick look inside the manual and this cabinet matches the manual and the Zaxxon game board is running off a Konami -> Zaxxon adaptor. This is a new find as I've never seen or heard of Zaccaria making a Tactician!

|
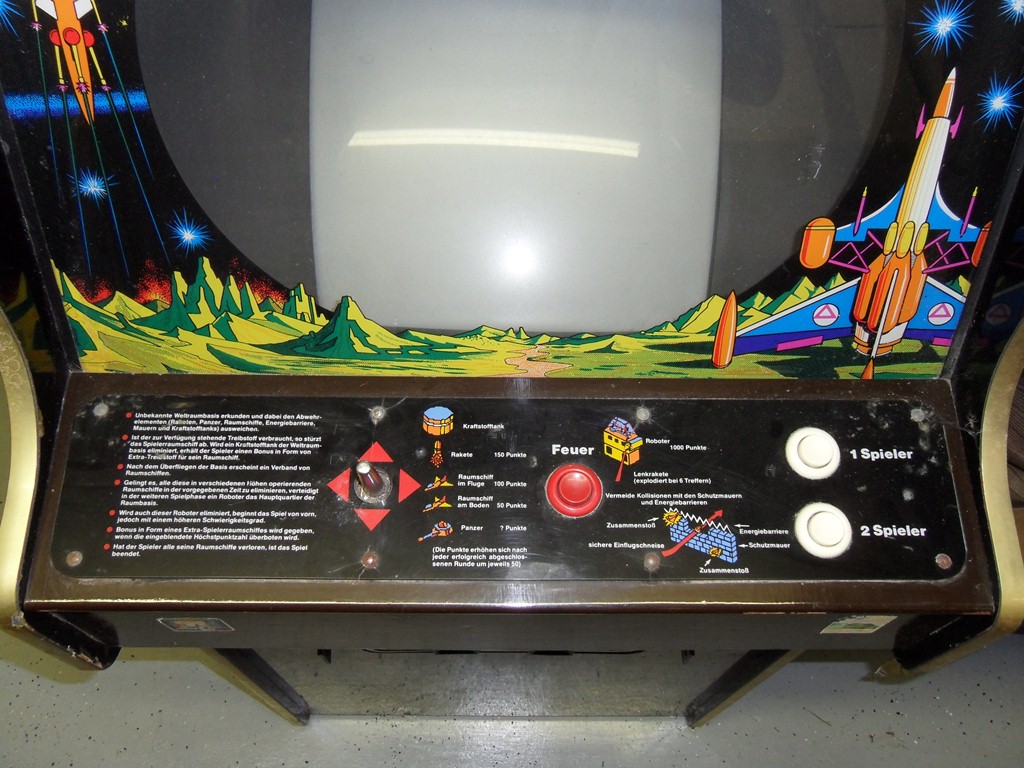
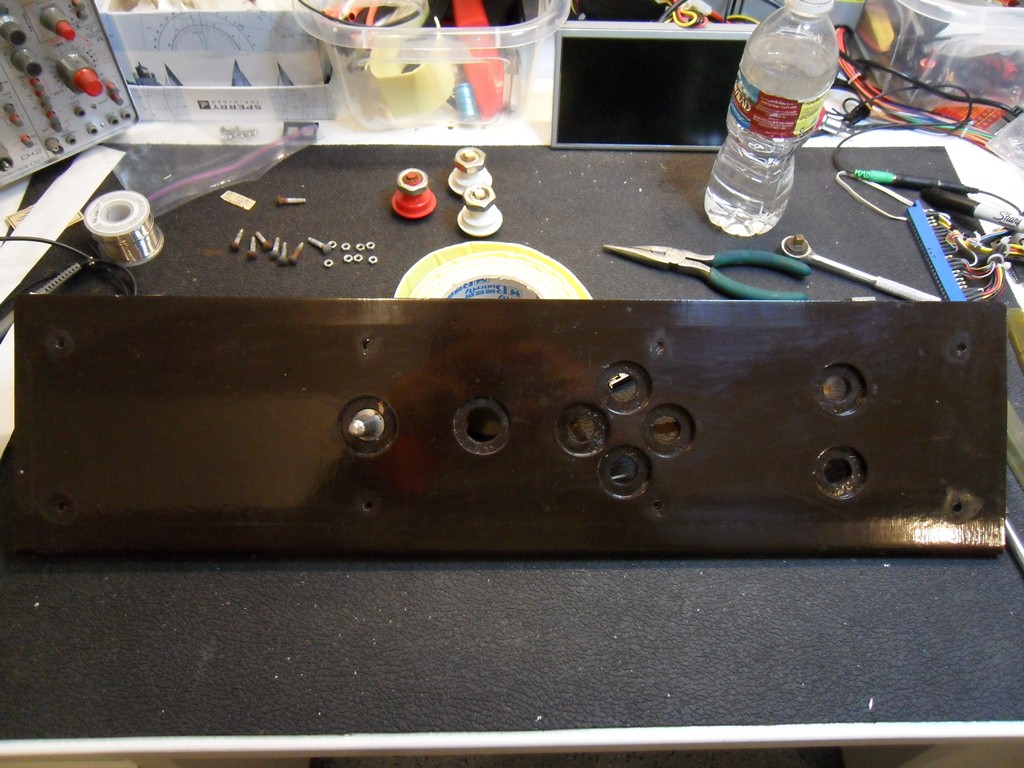
Another peice of evidence that this had Tactician heritage - the control panel still has the leaf switch for the extra button used on Tactician. Removed the control panel plexi and cleaned all the surfaces.
|
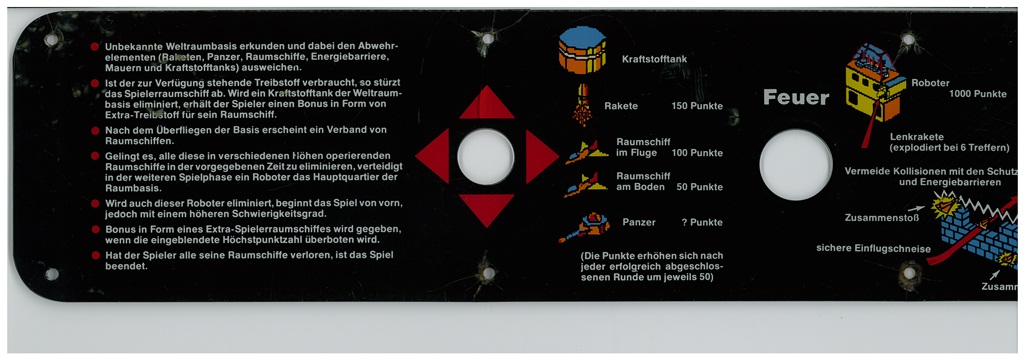
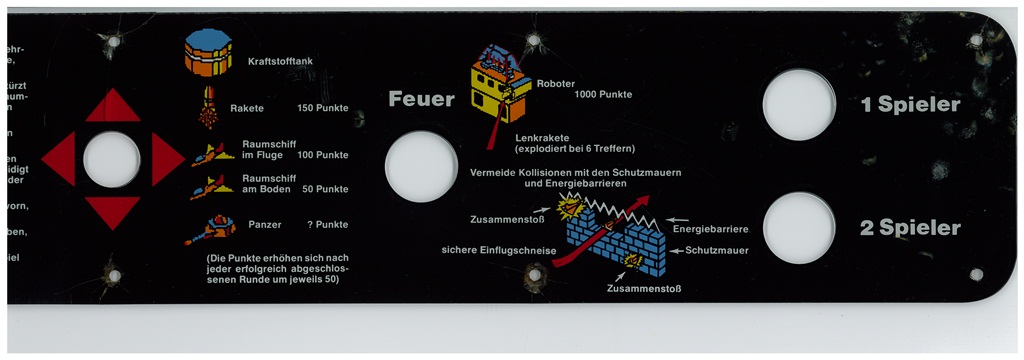
Scanned in the control panel overlay for future use.
400DPI Zaxxon control panel overlay scan (8.5Mb).
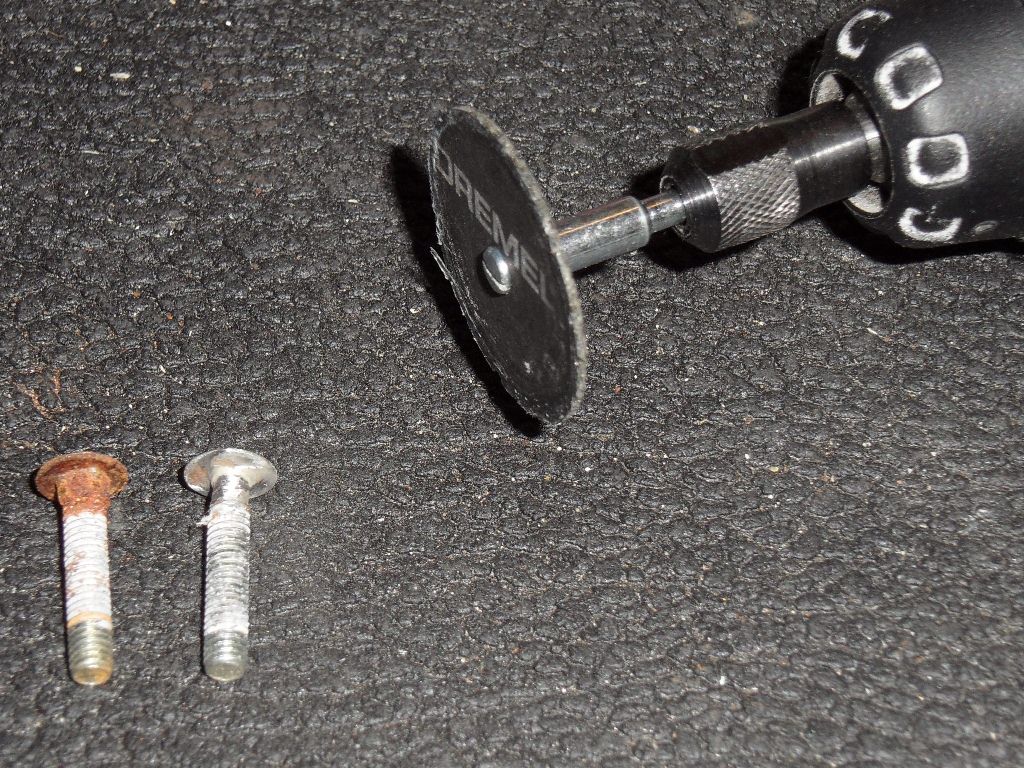
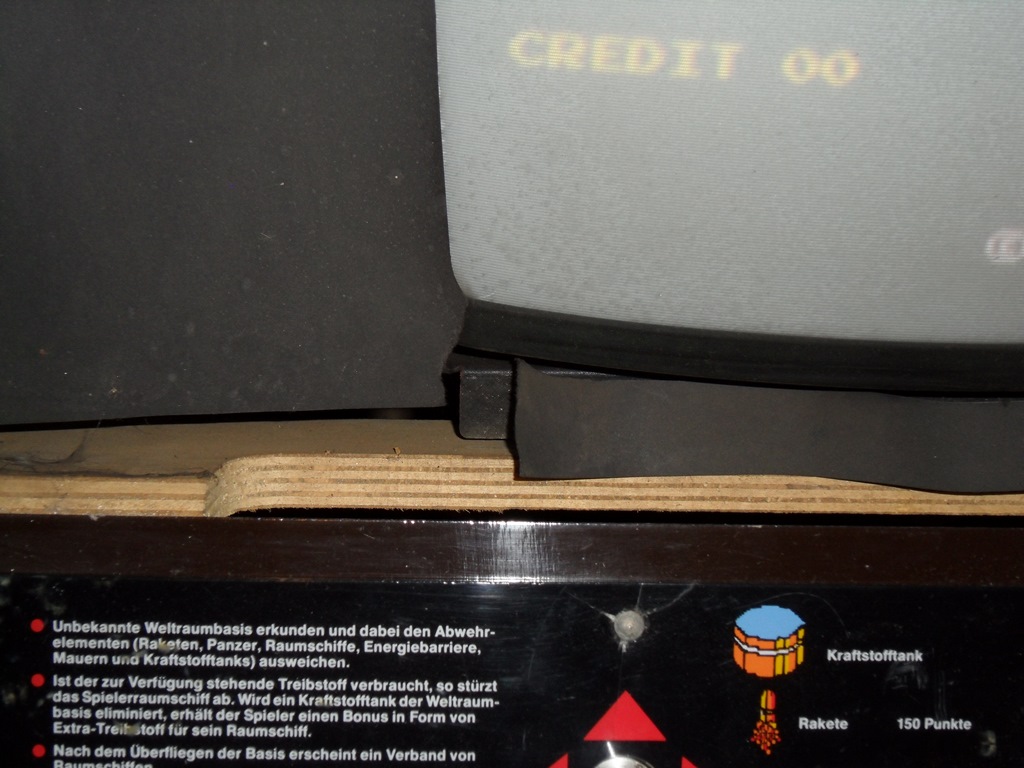
It looks like the cracking in the plexi around the carriage bolts is because the plexi
holes are large enough for the thread but not for the square collar under the heads.
The two choices to fix this are to drill larger holes in the plexi or grind off the collars on
the carriage bolts. I think I'm going to go with the latter as the plexi holes look
fragile now.

|
Trimmed off the collars of the carriage bolts and they now fit the holes of the plexi properly. Reassembled the control panel ready to go back on the cab.
|
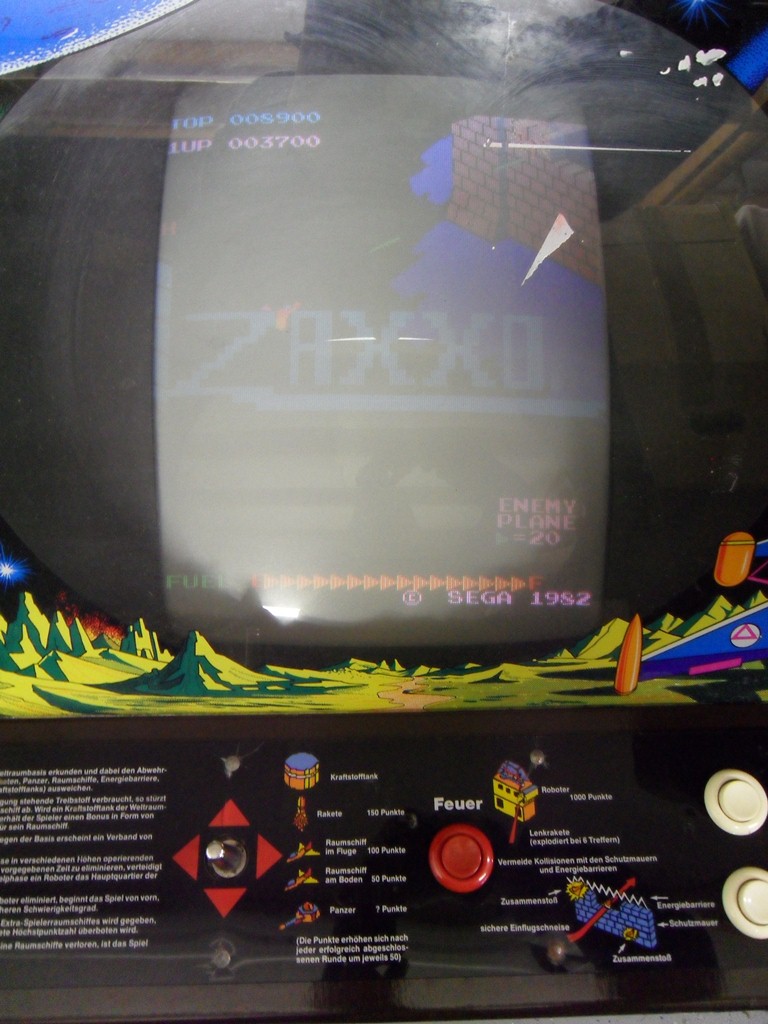
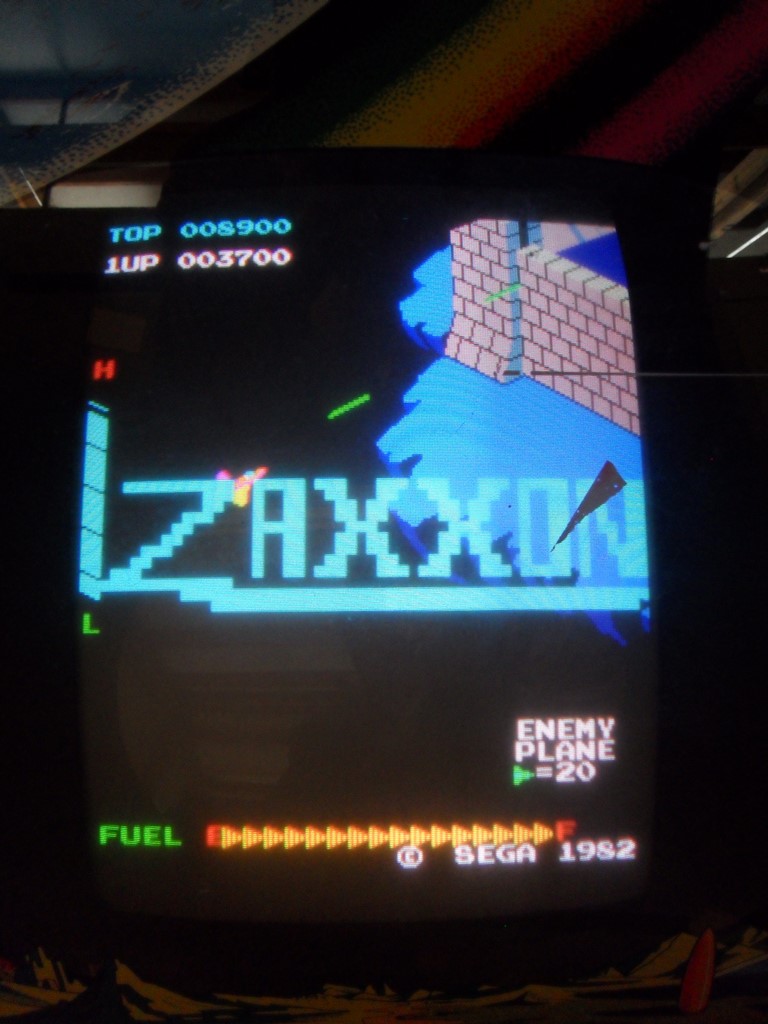
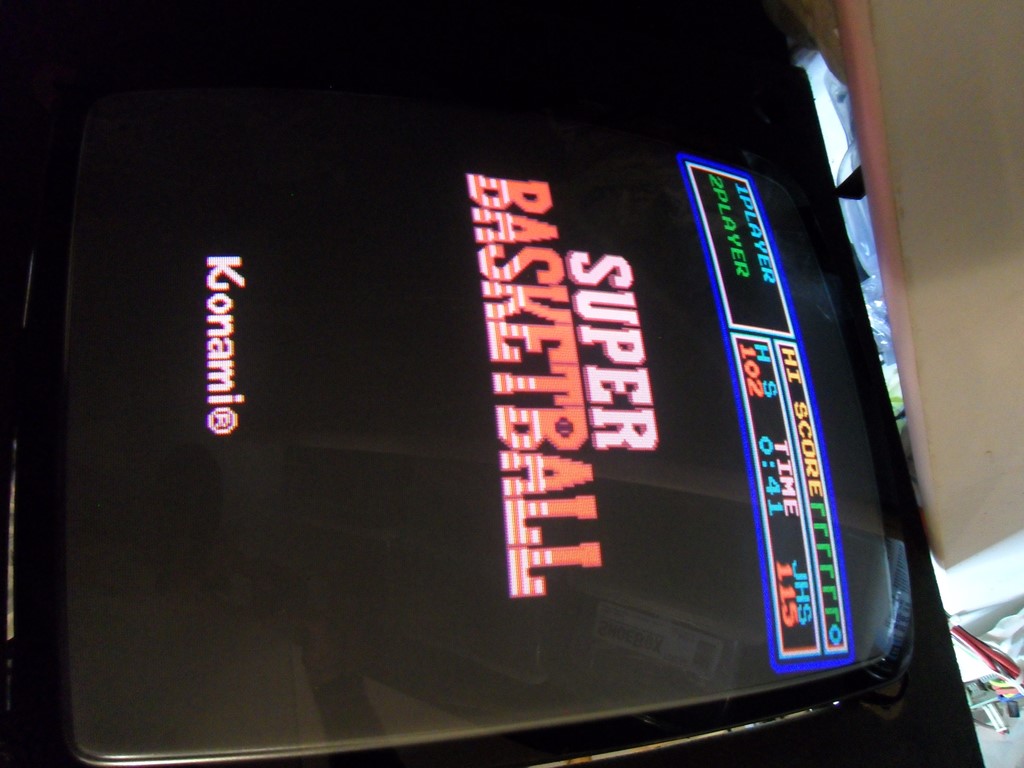
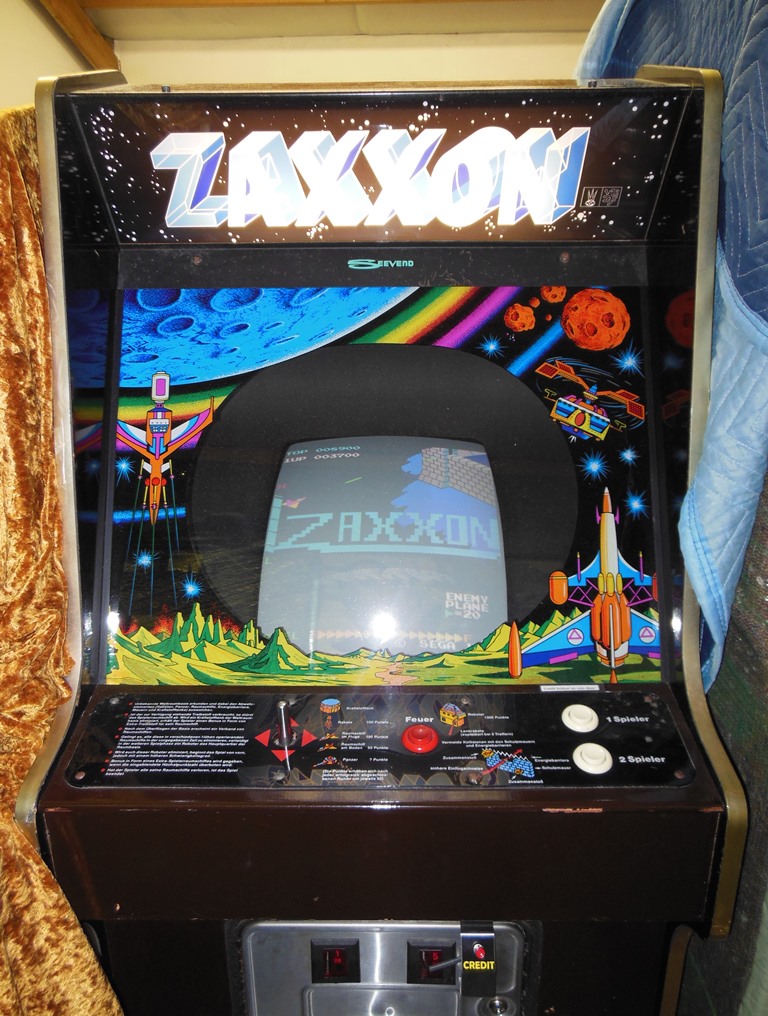
First power on - a picture but the board initially didn't boot. After a minute or so the game eventually booted up, though. The monitor was very dim with uneven brightness. After a few minutes, the monitor let out a gaseous "pssssssssss", the picture shrank a little and a nasty smell came out the back. Likely a cap gave out, I think. Next step is to pull out the monitor chassis and a do a cap kit (MTC-900).


|
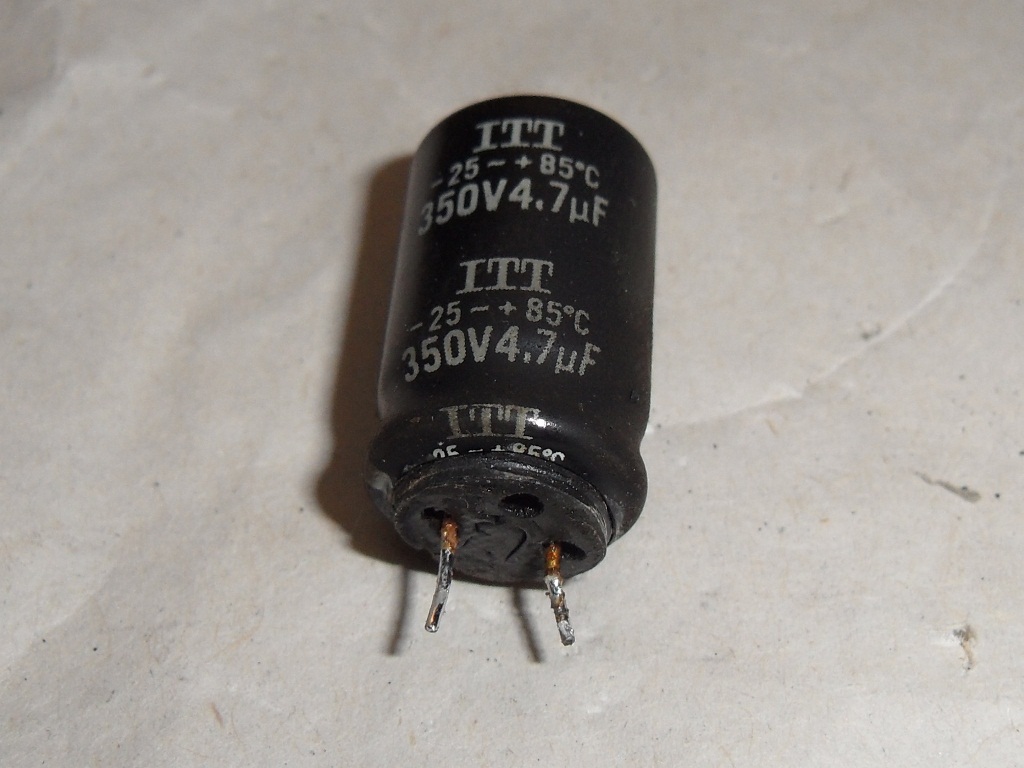
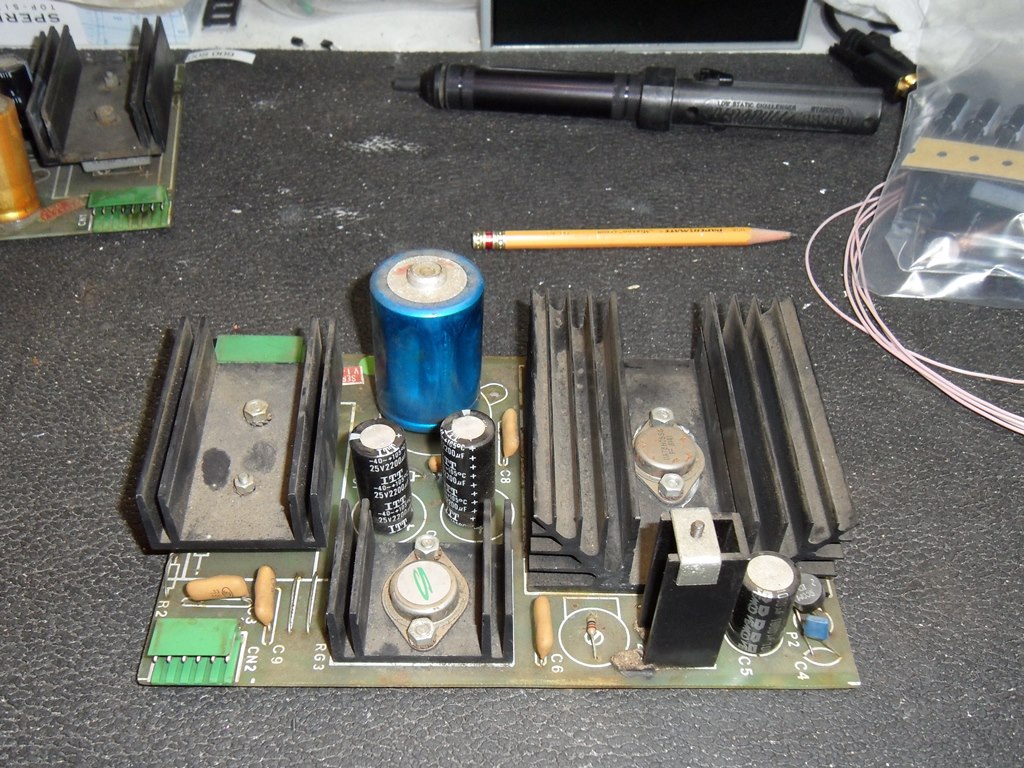
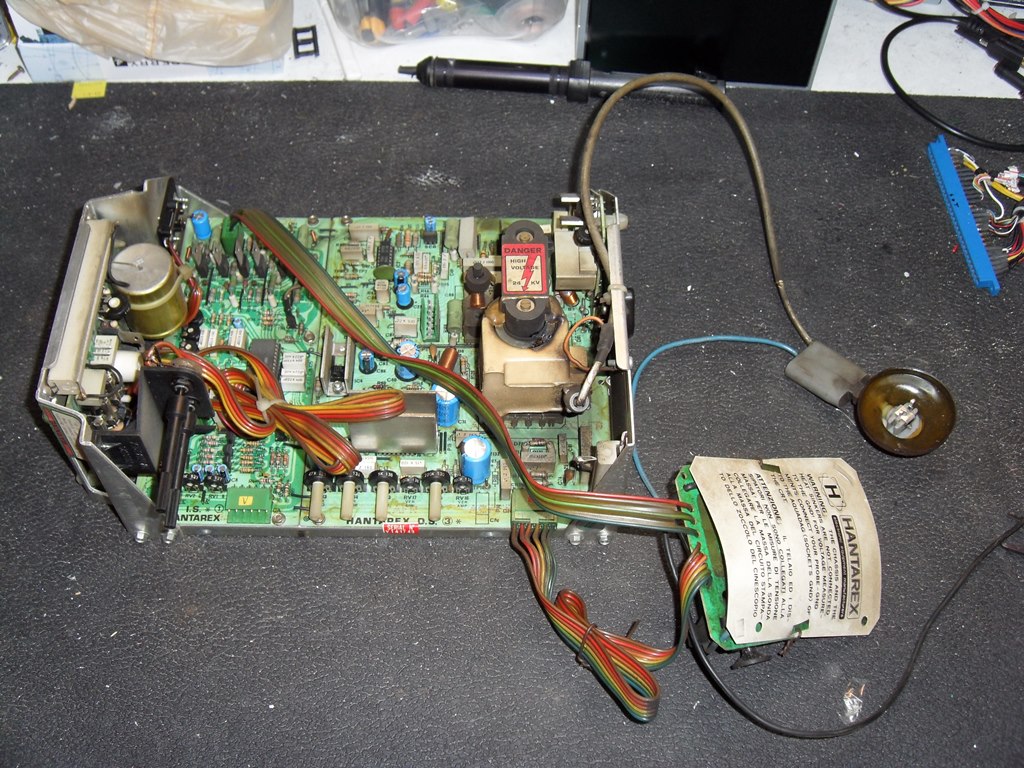
Removed the chassis and looked over caps, eventually finding one that looked suspicious as the source of the vent out. I decided to cap kit the whole chassis. Bob Roberts only stocks cap kits for the next generation 900E chassis so I decided to see how far off that was from the 900. The 900E has a lot more capacitors than the 900 with only 2 values missing from the 900E kit that I had to order.
| IS 50142230 | DS 50142270 | EW 50142250 | |||||||||
|---|---|---|---|---|---|---|---|---|---|---|---|
| Location | Original | Manual | E Kit | Location | Original | Manual | E Kit | Location | Original | Manual | E Kit |
| C65 | 4.7uF 350V |
4.7uF 250V |
4.7uF 250V |
C66 | 2.2uF 63V |
2.2uF 63V |
2.2uF 160V |
C84 | 220uF 16V |
220uF 16V |
220uF 25V |
| C18 | 22uF 25V |
22uF 16V |
22uF 50V |
C23 | 100uF 25V |
100uF 25V |
100uF 50V |
C87 | 10uF 40V |
10uF 35V |
10uF 63V (not in kit) |
| C17 | 10uF 16V |
10uF 16V |
10uF 16V |
C94 | 100uF 25V |
100uF 16V |
100uF 50V |
. | . | . | . |
| C53 | 22uF 25V |
22uF 16V |
22uF 63V (not in kit) |
C85 | 100uF 25V |
100uF 25V |
100uF 50V |
. | . | . | . |
| C8 | 10uF 16V |
10uF 16V |
10uF 16V |
C60 | 1000uF 16V |
1000uF 16V |
1000uF 50V |
. | . | . | . |
| C9 | 10uF 16V |
10uF 16V |
10uF 16V |
C31 | 1000uF 35V |
1000uF 35V |
1000uF 50V |
. | . | . | . |
| C10 | 10uF 16V |
10uF 16V |
10uF 16V |
C72 | 47uF 250V |
47uF 200V |
47uF 250V |
. | . | . | . |
| . | . | . | . | C97 | 47uF 250V |
47uF 200V |
47uF 250V |
. | . | . | . |
| . | . | . | . | C33 | 100uF 40V |
100uF 35V |
100uF 50V |
. | . | . | . |
| . | . | . | . | C55 | 22uF 16V |
22uF 16V |
22uF 63V (not in kit) |
. | . | . | . |
| . | . | . | . | C40 | 4.7uF 40V |
4.7uF 16V |
4.7uF 25V |
. | . | . | . |
The only caps not in Bobs 900E kit were the 2 x 22uF @ 63V and 1 x 10uF @ 63V that were available for less than $15 for 50 of each from DigiKey. The caps left over in the 900E kit are mostly small ones. I didn't replace the large power cap on the PS PCB that looked visually OK (330uF @ 250V).
|
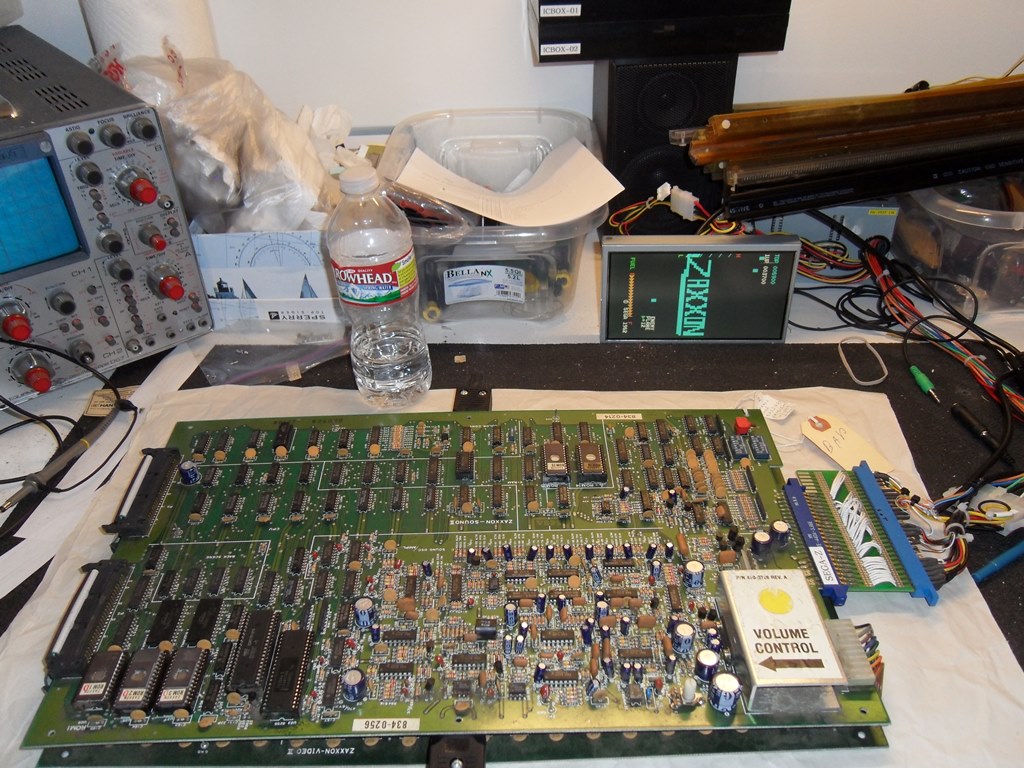
Made a Zaxxon to JAMMA adaptor for future PCB repairs. This PCB is one from a box of 2-board set editions though the one in the cab looks like a 3-set edition. The 3-set edition might have been intended for a small Japanese cocktail version of the game(?)
|
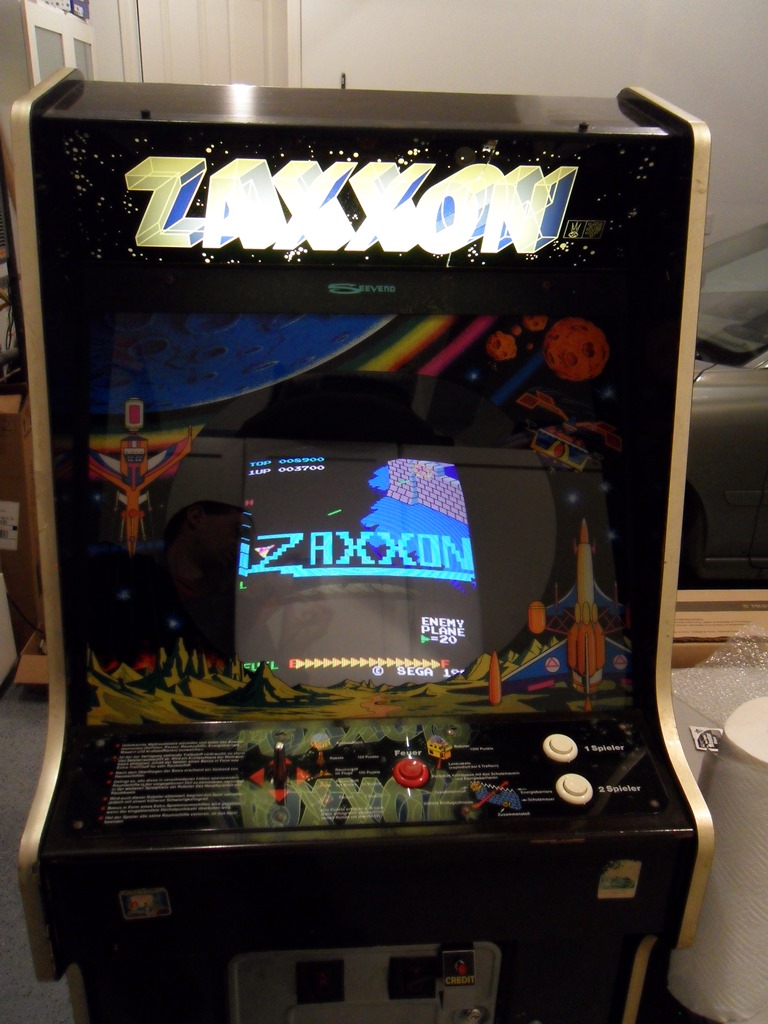
After the cap kit to replace the blown capacitor and some adjusting the picture is now reasonable. The picture still looks a bit soft but I suspect that's a layer of dirt on the tube (and there are still some tape fragments on the front glass to scrape off).

|
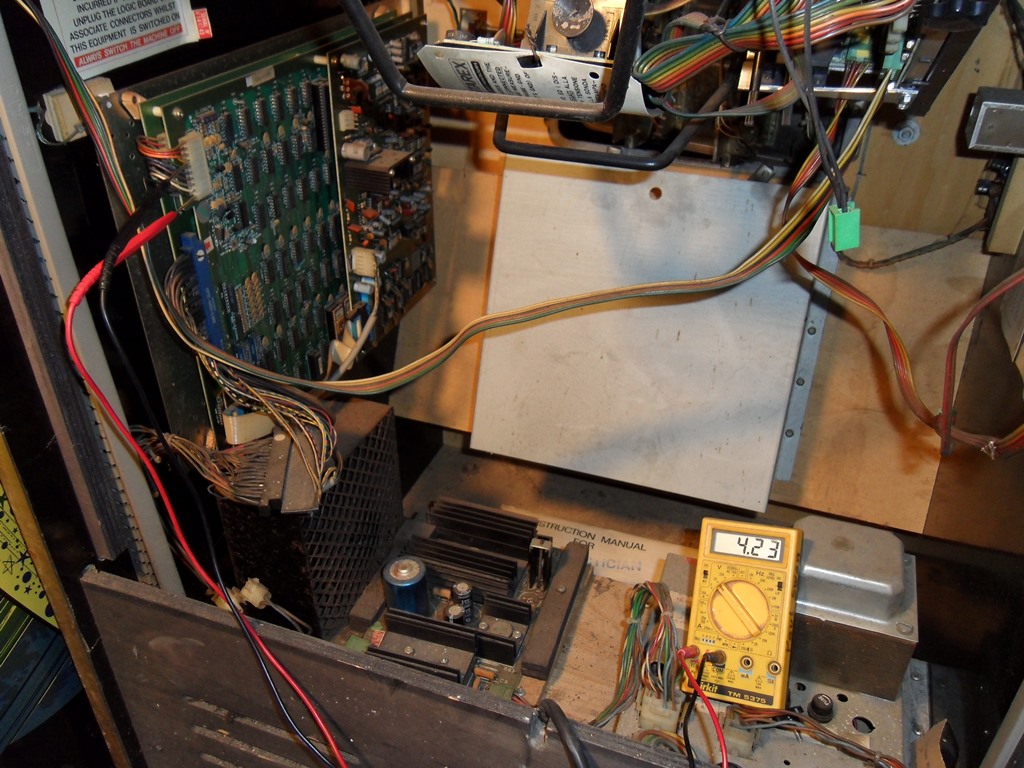
The game is not fully stable yet - poking around with a meter showed that the +5V was quite a bit too low at 4.23V on board. No load (game board disconnected) it measured 5.30V hinting there is basic regulation. At the native Konami connector it was still 4.30V suggesting a power supply or wiring/connnector issue.
Both the connectors on the power regulator PCB were hot suggesting the connectors might be the cause of the voltage drop. Some light cleaning yielded 4.79V on the game PCB and 4.93V at the Konami connector. Though 4.79V is still low the game runs properly, however the AC input connector is still hot (DC output connector now cold, though). Next step is switch cleaner & a wire brush all connectors.

|
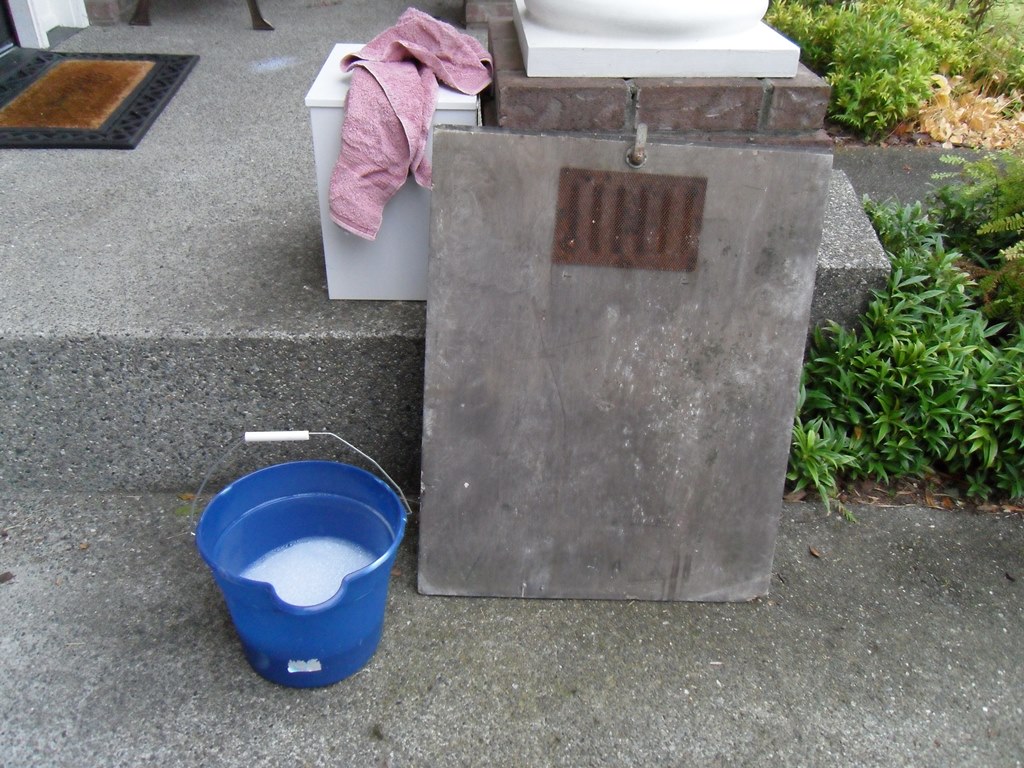
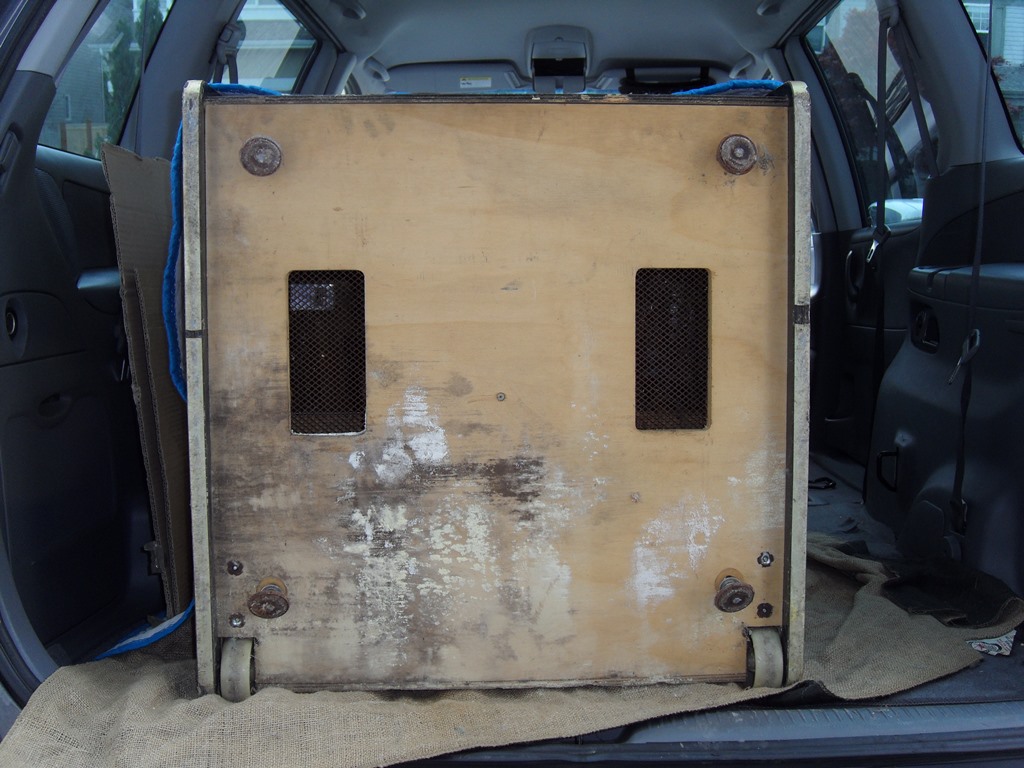
It looked like the back door had been separate from the machine a long time and stored in the rafters of a barn - one side was covered with bird droppings and dust. It cleaned up OK with warm soapy water.
|
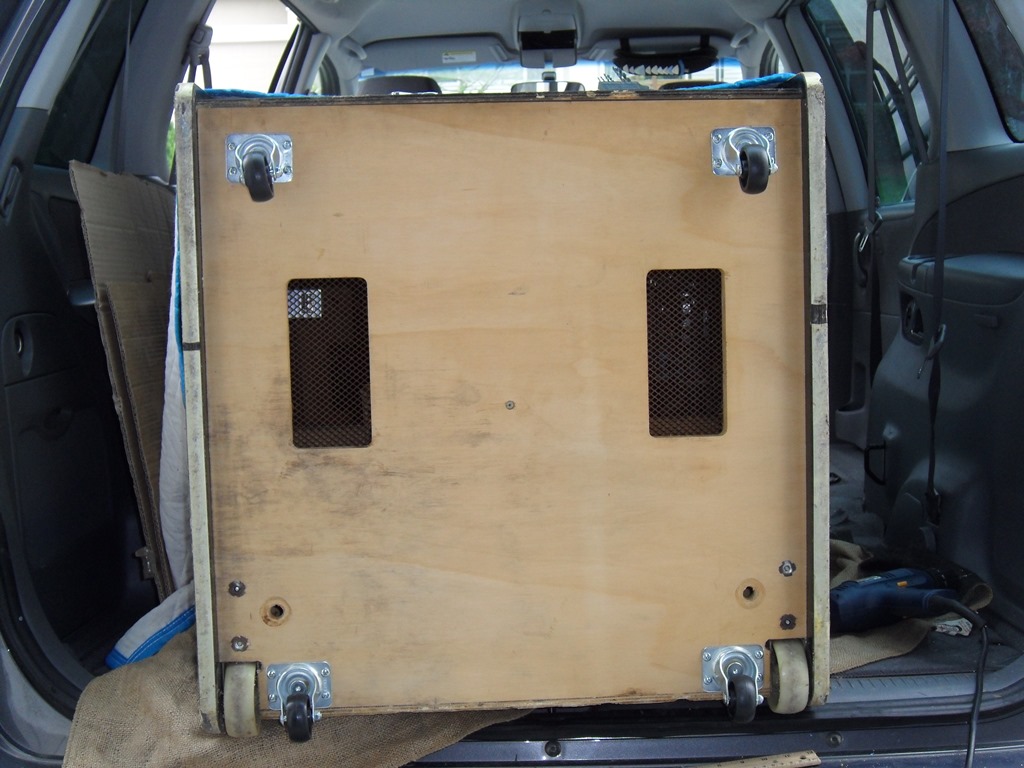
I brought the Zaxxon home to finish it off for the show in June. The base was a little bit moldy and the feet all loose. Cleaned off the mold with diluted bleach and replaced the feet with castors.
|
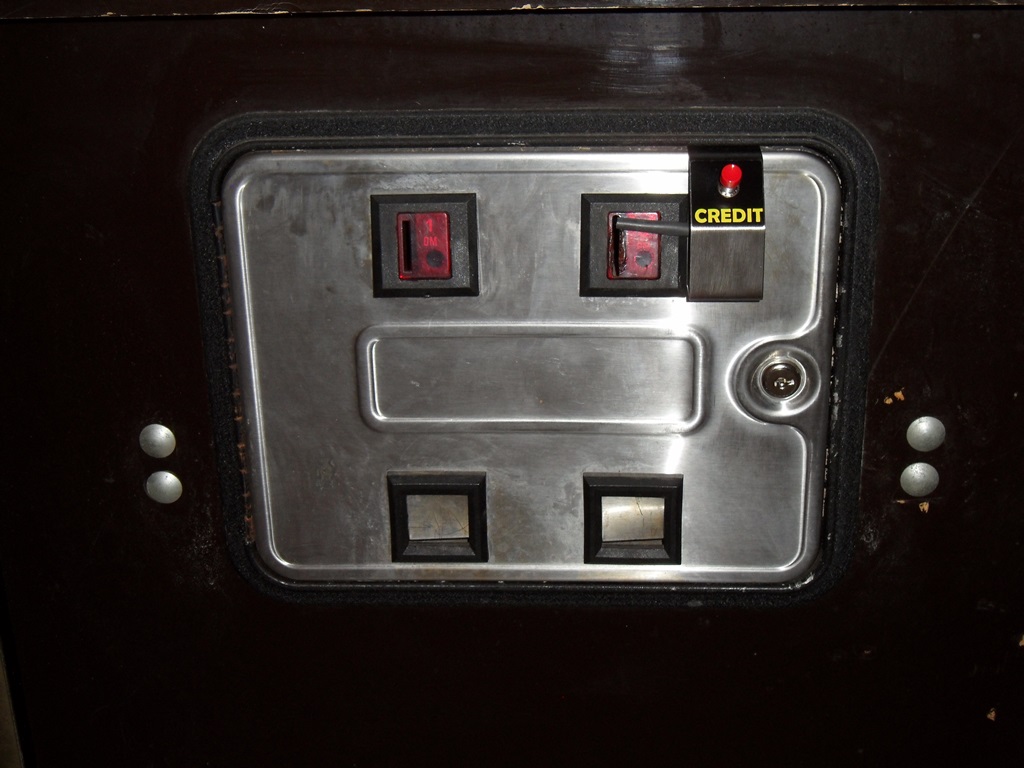
Removed the lock bar brackets and fitted the credit switch on the nice bracket built by a guy on Dragons Lair Fans in Europe. It's an NC/NO switch for this cabinet. Note that this cabinet doesn't have the usual Zaccaria coin door.
|
Removed the glassware and the surround for later repair and cleaning. Also replaced the blown marque light. The picture tube had the usual mix of dirt and nicotene residue.

|
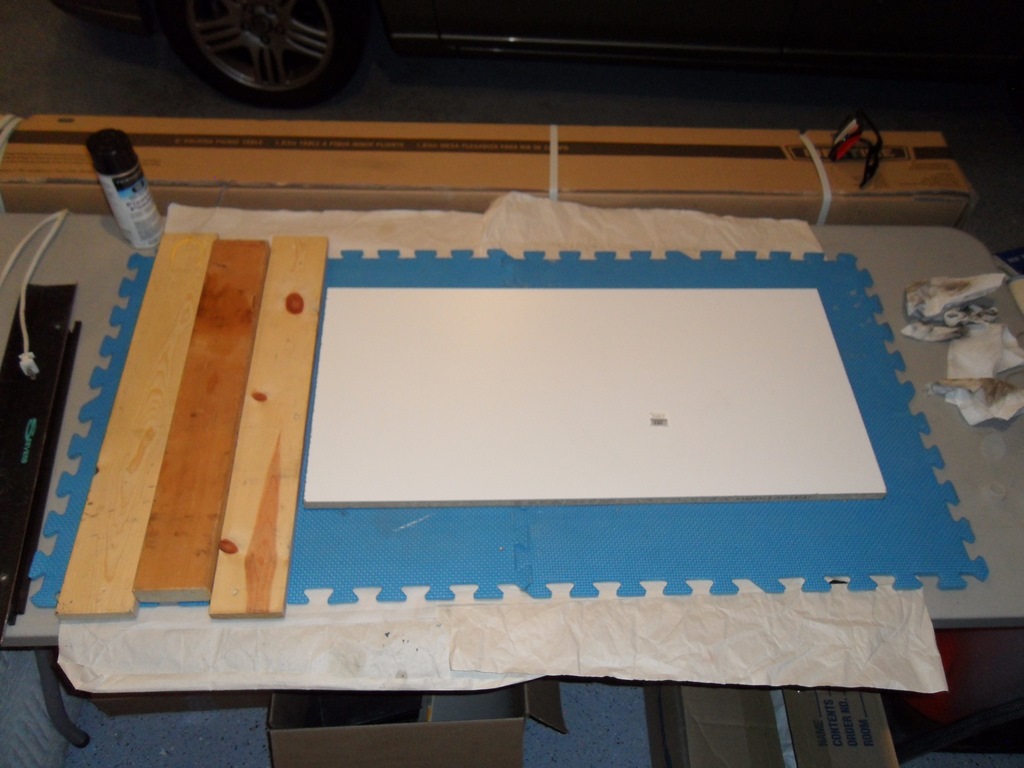
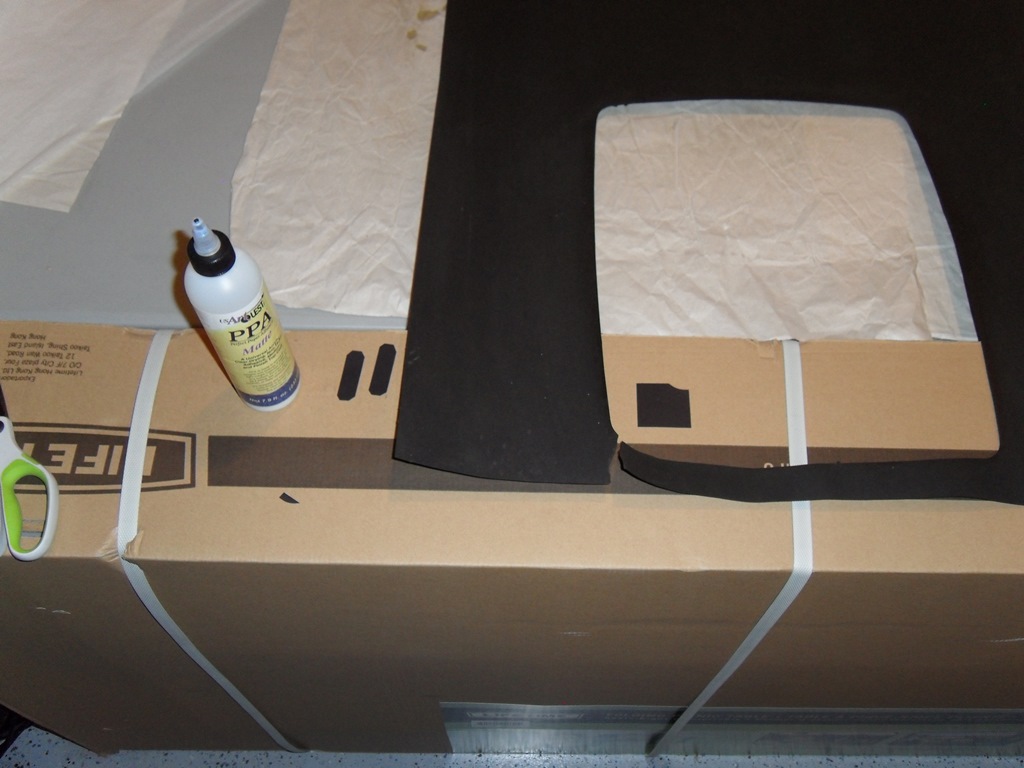
The surround has a small tear in the lower left of the picture tube cut-out that I'll repair after it's cleaned and flattened. Cleaning is done in two parts - first using a dry cloth to remove the loose dirt and then using a damp cloth to remove the baked on dirt and soften the card to help it flatten out (24 hours).
|
The repair of the tear and two staple holes was straight forward using similar black cardboard pieces and good quality paper glue.
|
|
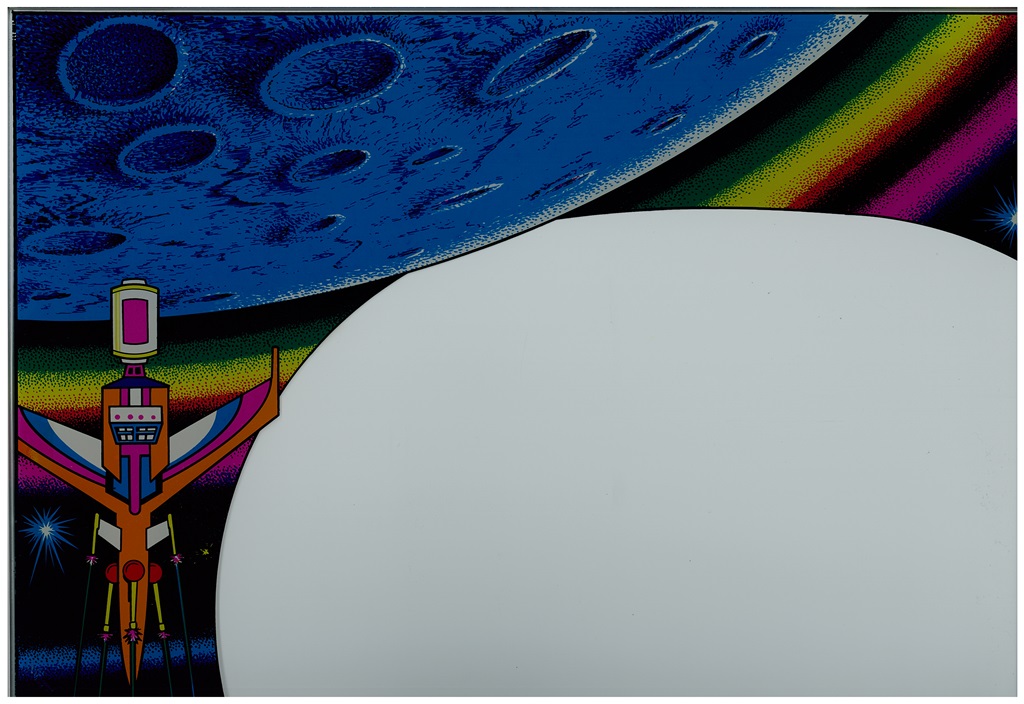
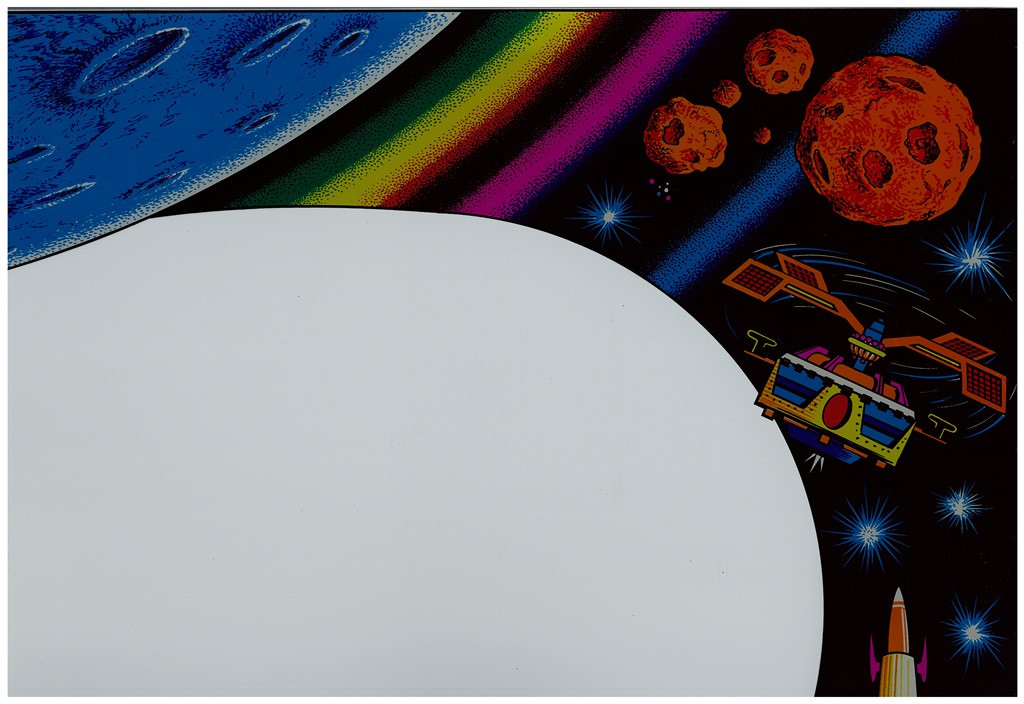
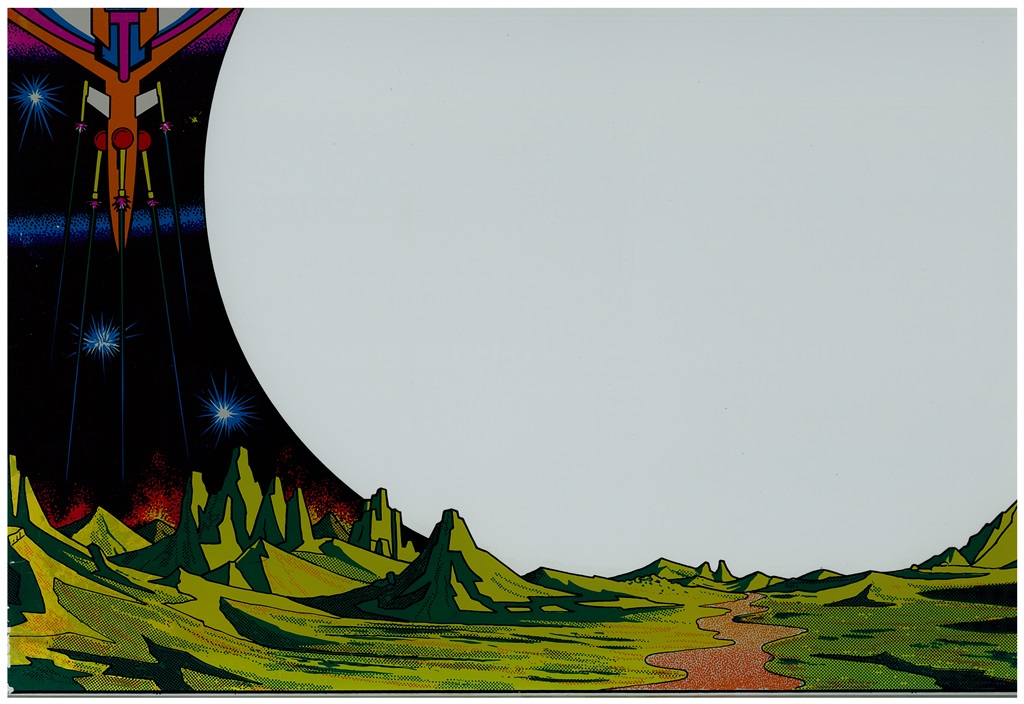
Scanned in the Zaxxon monitor glass.
300 DPI Zaxxon monitor glass scan (20.2MB).
|
Reassembled and after final video and sound tweaking the machine is up and running fine. One small issue remains - the speaker hums loudly after cold power on that gradually fades away over a few minutes.

|
To attempt to get rid of the nasty power on hum I made up a cap kit for the standard Zaccaria 1B1126 regulator board (used on almost all cabinets up to 1983). I also decided to change the fixed 22 Ohm 5V supply adjustment resistor for a 50 Ohm trimmer pot, an optional configuration described in the manual. Since all of these capacitors are nestled in between some large heat sinks I decided to go with Rubycon PX series 2000hr/105 degrees rated replacements.
| Zaccaria 1B1126 | |||||
|---|---|---|---|---|---|
| Location | Original | Manual | Replacement | Mfr. Part Code | Digi-Key Part Code |
| C2 | 10,000uF 16V |
10,000uF 16V |
10,000uF 25V |
25PX10000MEFC18X35.5 | 1189-1223 |
| C5 | 1,000uF 25V |
1,000uF 25V |
1,000uF 25V |
25PX1000MEFCT810X16 | 1189-1583 |
| C7 | 2 x 2,200uF 25V |
2 x 2,000uF 25V |
2 x 2,200uF 35V |
35PX2200MEFC16X25 | 1189-1276 |
| R1 | 22R 0.5W |
22R 0.5W |
Removed | - | - |
| T1 | - | 47R Trimmer 0.5W |
50R Trimmer 0.5W |
3386F-1-500LF | 3386F-500LF |
With the capacitors replaced the power on hum is gone and the trimmer pot allowed the +5V to be set correctly.
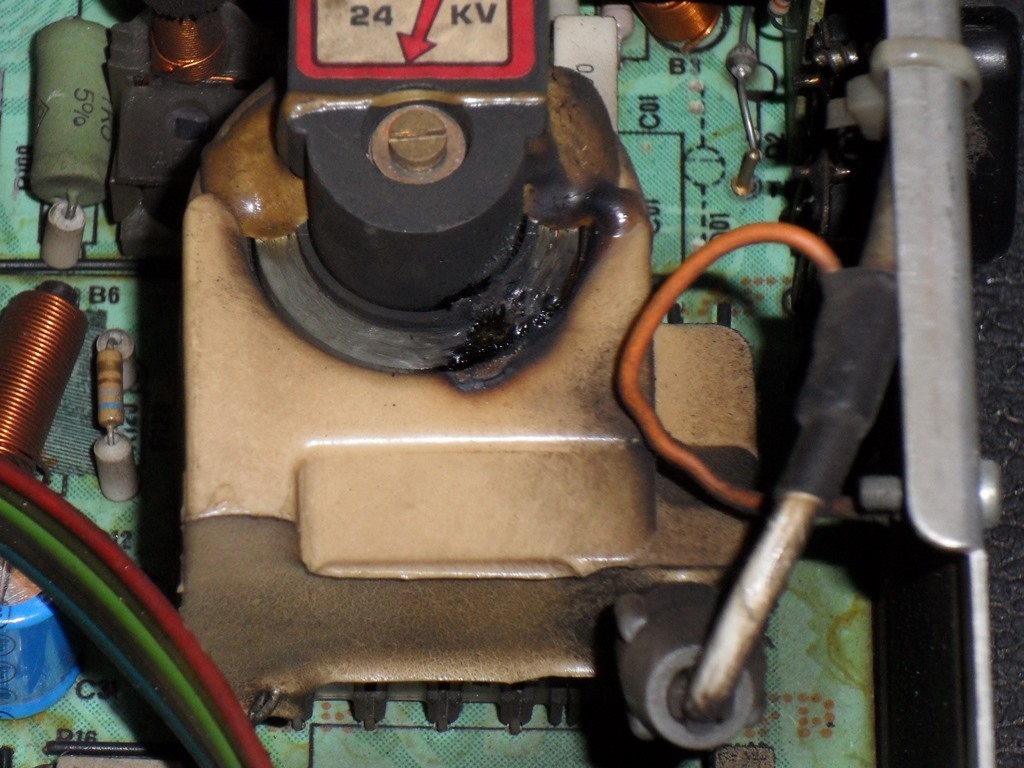
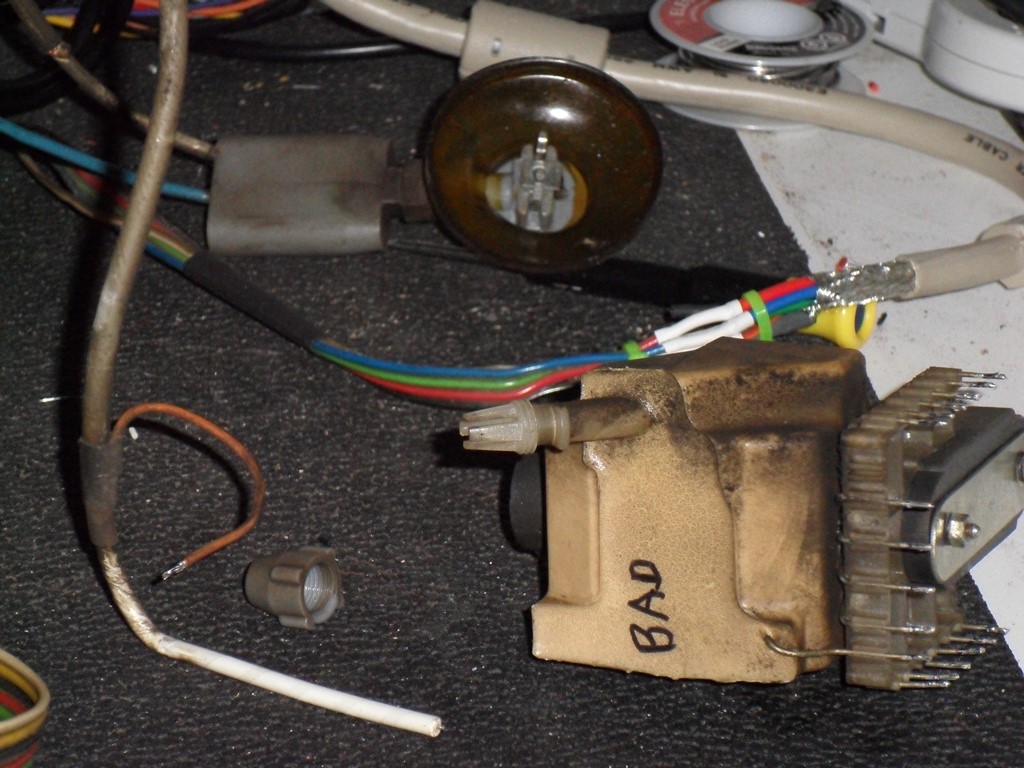
Submitted for the first time into the show as one of ten machines. The game ran fine through to Saturday (2 days) before succumbing to catastrophic LOPT failure :(
|
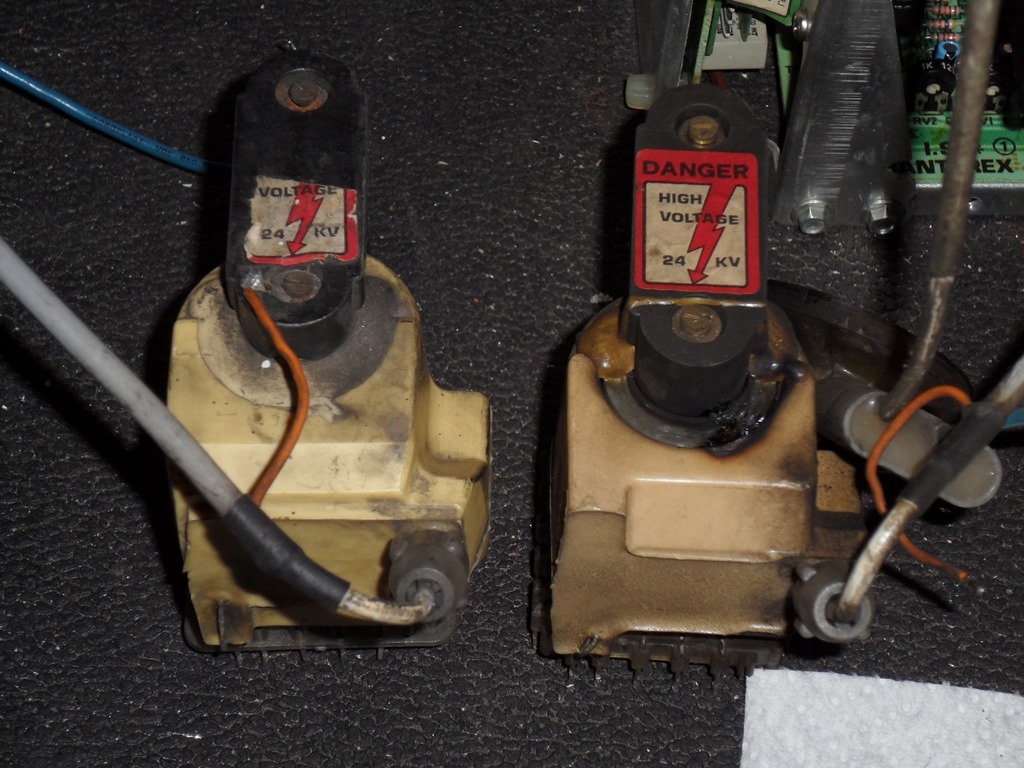
Obviously it needs a new LOPT but no replacement LOPT is known to exist for this chassis. Therefore I had to pull an unknown one out of a scrap chassis and hope for the best. Side-by-side the two LOPTs are slightly different and it looks like the reclaimed LOPT has the top of the coils sealed whereas the one that failed doesn't. I'd guess that this was a "design defect" discovered and fixed in subsequent batches to improve long term reliability. Hopefully the reclaimed LOPT will last a bit longer as a result. Hopefully.

|
On first power on there was a picture but with a lot of interference and audible arcing from inside the reclaimed LOPT :(
|
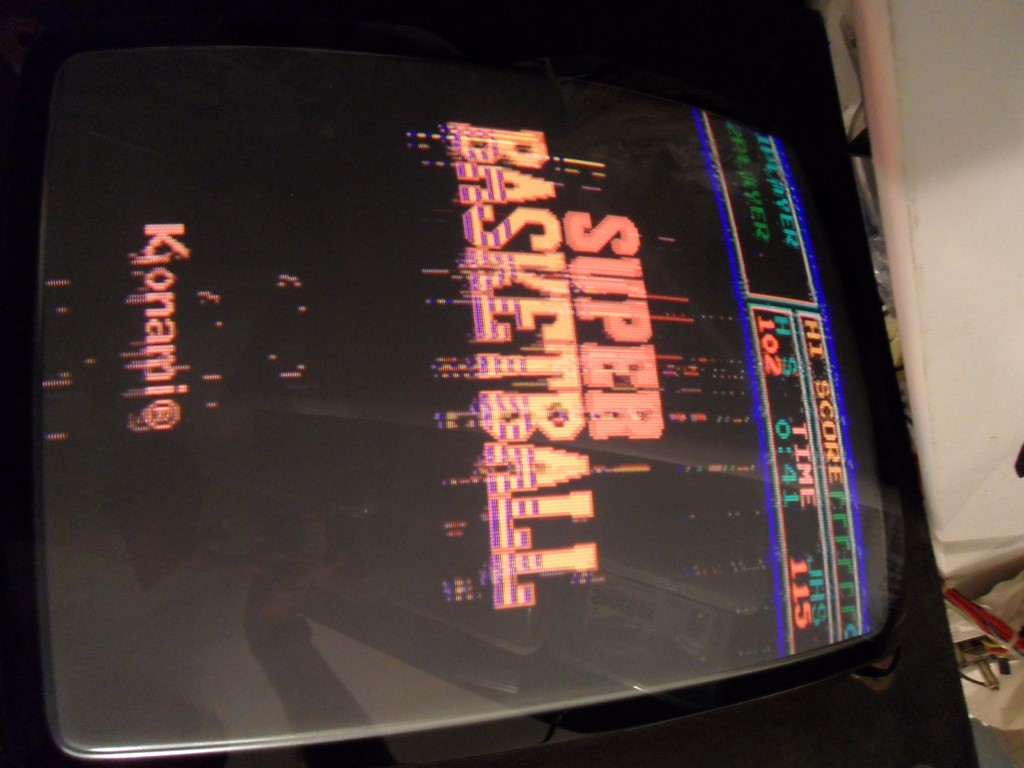
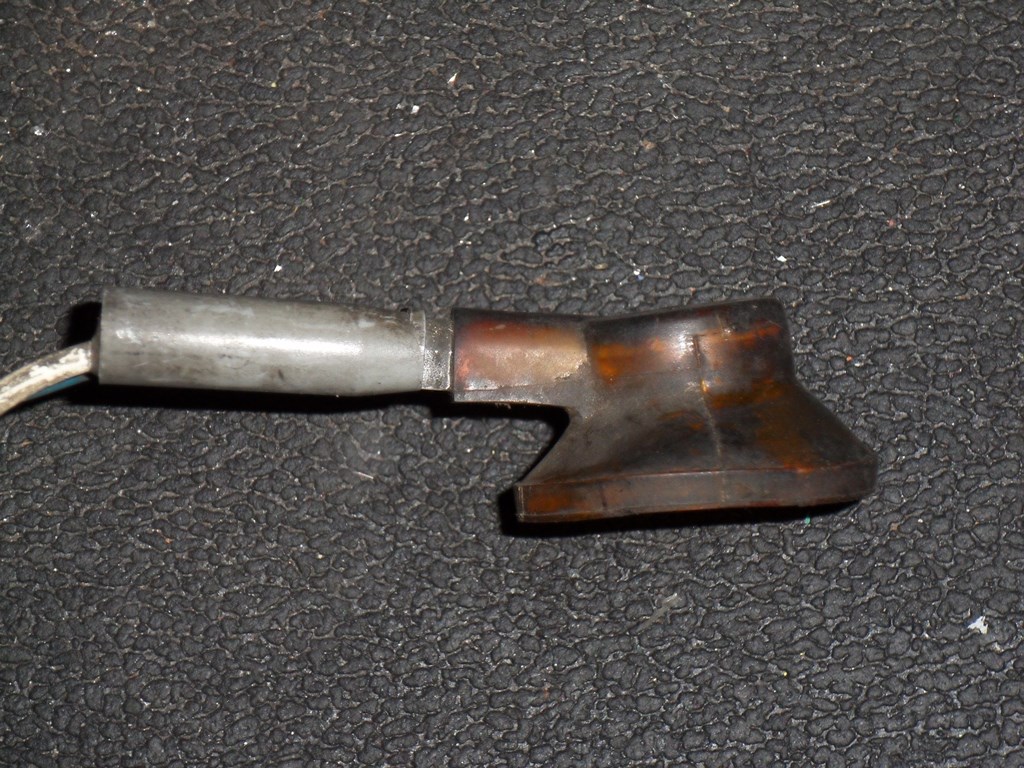
This LOPT design has a removable HV lead so I wondered if the reclaimed LOPT's HV lead had come loose. I loosend the cable clamping screw and sure enough was able to push it down a bit further. On power on this time the picture was crisp and clear with no interference or LOPT arcing :)

|
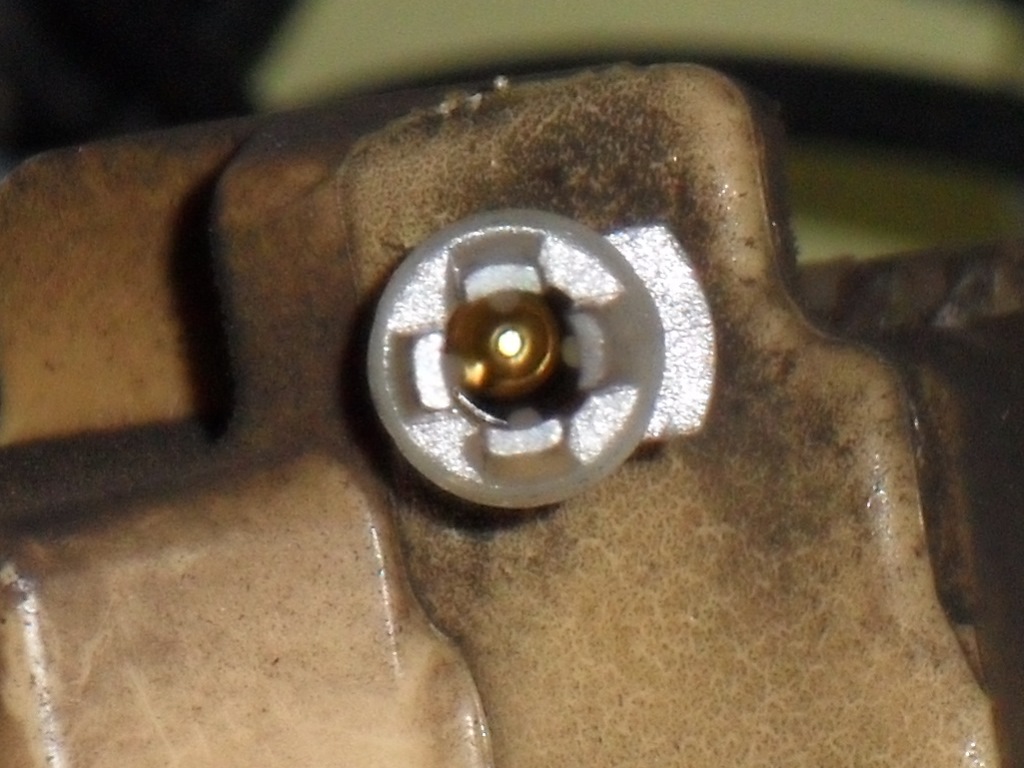
The reclaimed LOPT had a deformed CRT cup so I had two choices - reform the cup or replace the HV lead assembly with the one from the old LOPT. Since the reclaimed LOPT was otherwise working fine I decided to try and reform the existing cup. As an experiment I used a heat gun on low heat and gently heated only the cup (not wanting to overheat the focus bleeder attached to it). Sure enough my high school plastics teacher was right and the cup reformed back to its natural shape.

|
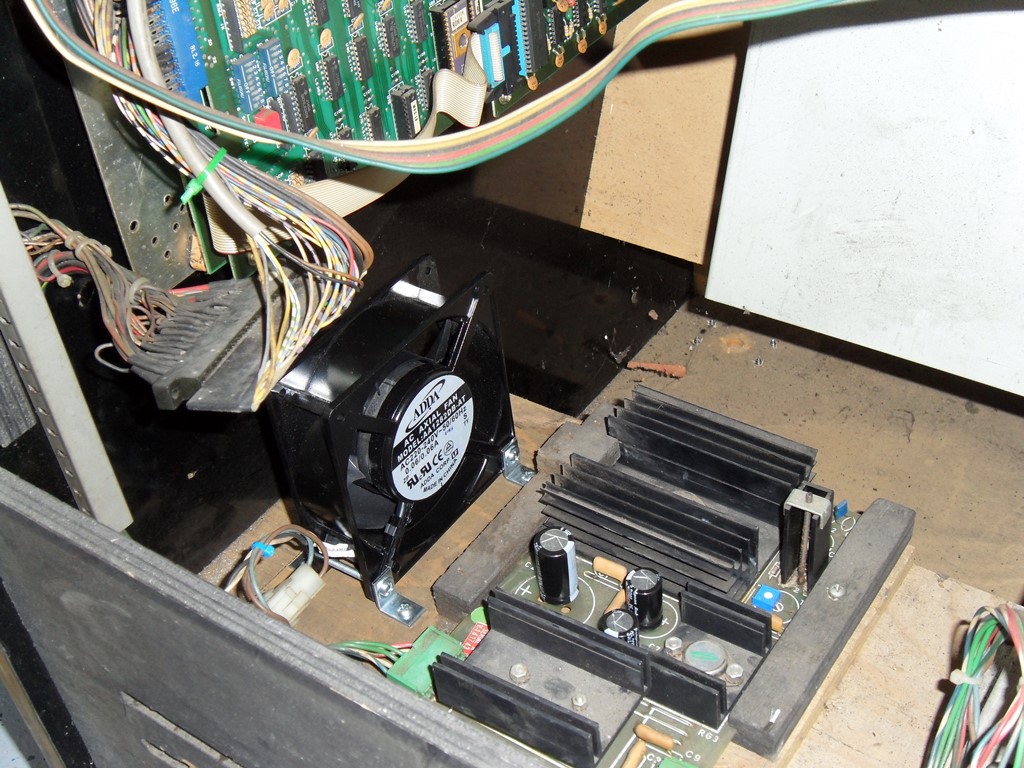
Fitted the repaired chassis back into the cabinet. No issues :)
|
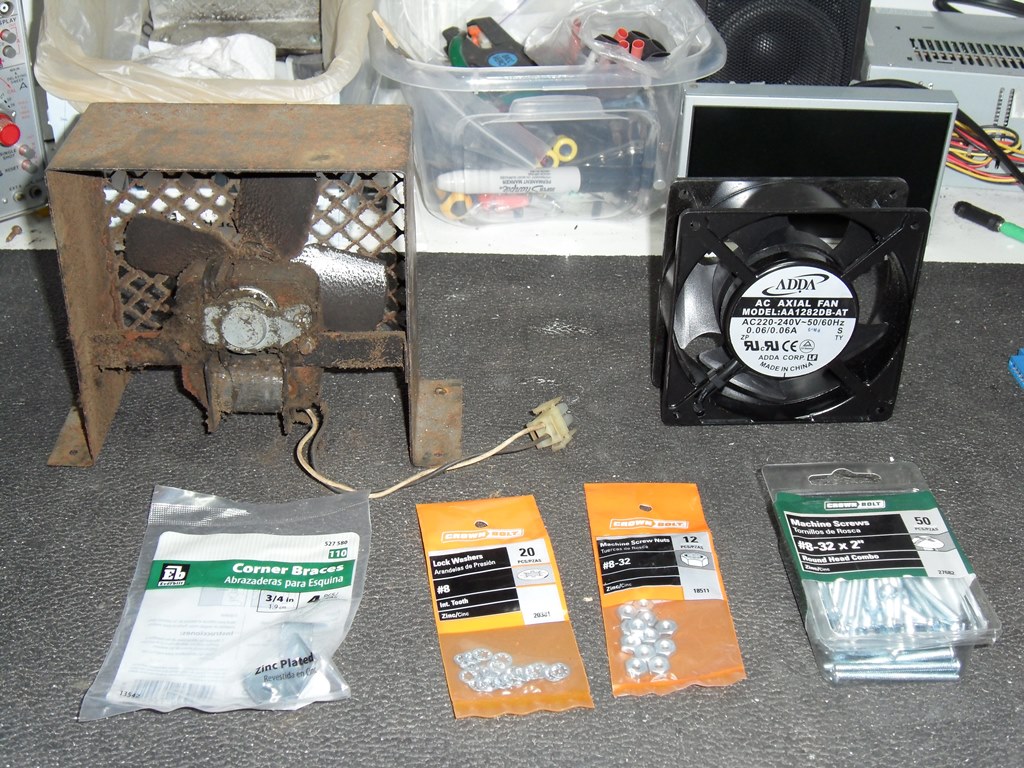
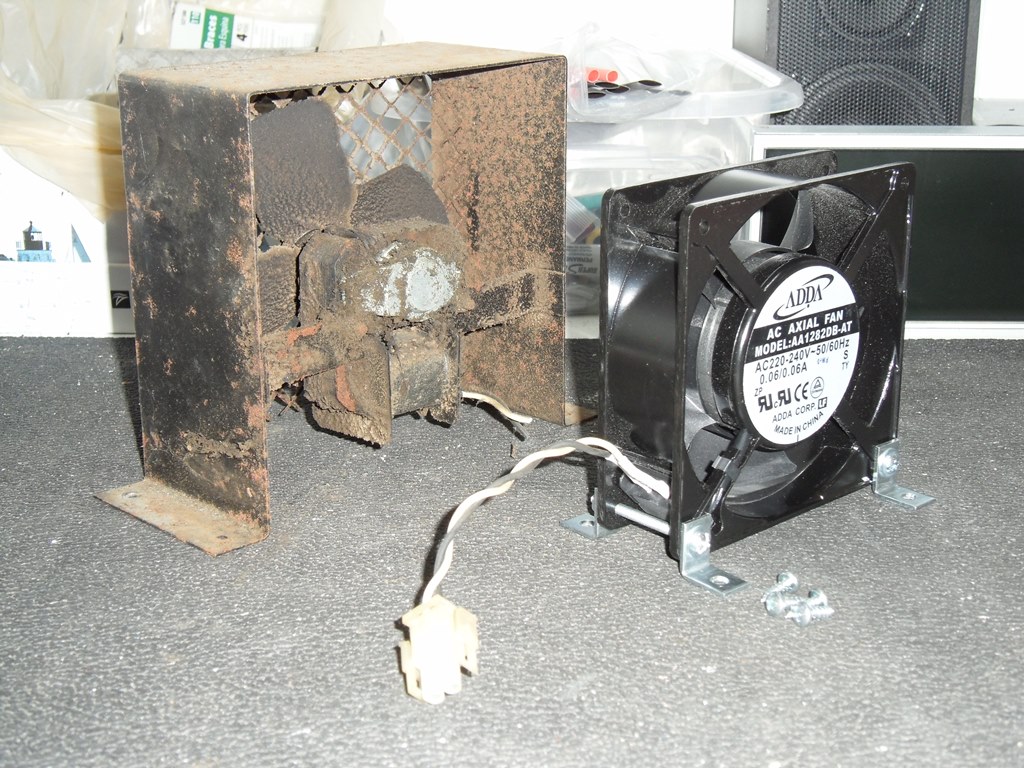
Built a replacement fan to replace the original long worn out fan. The replacement was a low power, low noise ADDA AA1282DB-AT (220-240V 50/60Hz) mounted onto simple 3/4" corner brackets from Home Depot. Installed in the cab it ran fine with little noise and no interference on the monitor. Hopefully this will help improve the reliability, particularly during the show.
|
Mikonos did a great job joining and restoring the artwork. The plexi print came out pretty well.
|
Peeled off the protective cover from the two perspex sheets and sandwitched the plexi in between them. Perfect fit in the cabinet.